Dave Stragand, Patron Saint of The Forward Look, gave me a link to an obsolete web page on his website. Now, to find those Borg Warner parts…
Check RockAuto!
Of course search for a Plymouth, 59, engine doesn’t matter.
Go to electrical bulb and socket, pick Parking lamp socket. There you go!
Solder the original wires from your sockets to the new ones and you keep the original connections
NAPA.
I did check Rock Auto, Matthew - here’s what they show, for both the outside (turn/park/brake) and inside (park/brake - the backup is the same as the park/brake):
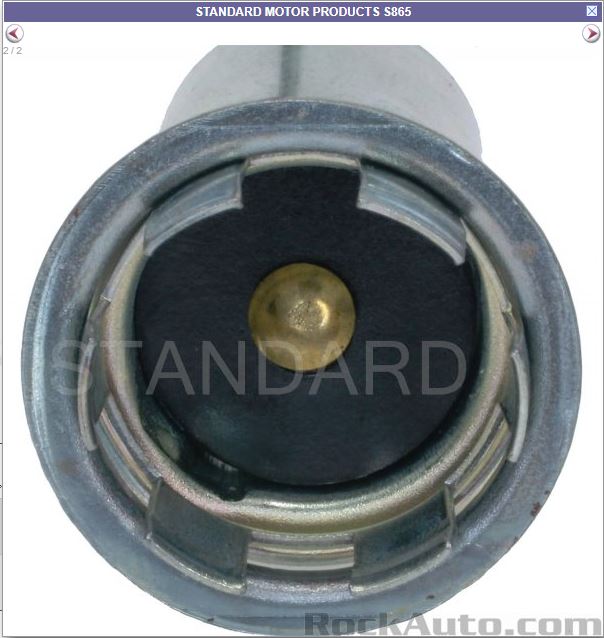
But the outer turn/park/brake should be different than the inner park/brake. The outer has two contacts, the inner (and backup) has one. And how can I be sure they’re right about the size, if they’re not right about the contacts? Why they don’t list the size of the hole they fit is beyond me… I bought the ones I have from Goers, and never thought to check the size.
The PT94 (park/brake, and backup) looks to be right - but here’s what Amazon shows for a PT32:
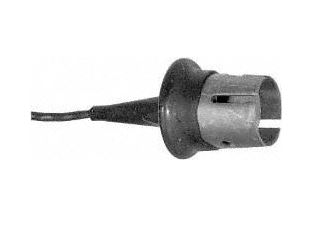
No snapclips, and a single pigtail. This doesn’t look right to me.
I went to NAPA yesterday, Dick. I showed him what I had, asked for one that was 3/4", but he told me he had to look it up by his book. He did, brought something back, and it looked right - but, it was 5/8".
This shouldn’t be rocket science, but I do seem to be wasting a lot of time on it.
I’m pretty sure the rockauto fittings will be good as I ordered a pair for a friend with a C10.
They have singles and doubles
Rockauto saves the day!
You mean, Matthew saves the day!!
Thanks!!
OK - taillight sockets on order, thanks to Matthew. So I worked on putting the headlight buckets together today - came out nice.
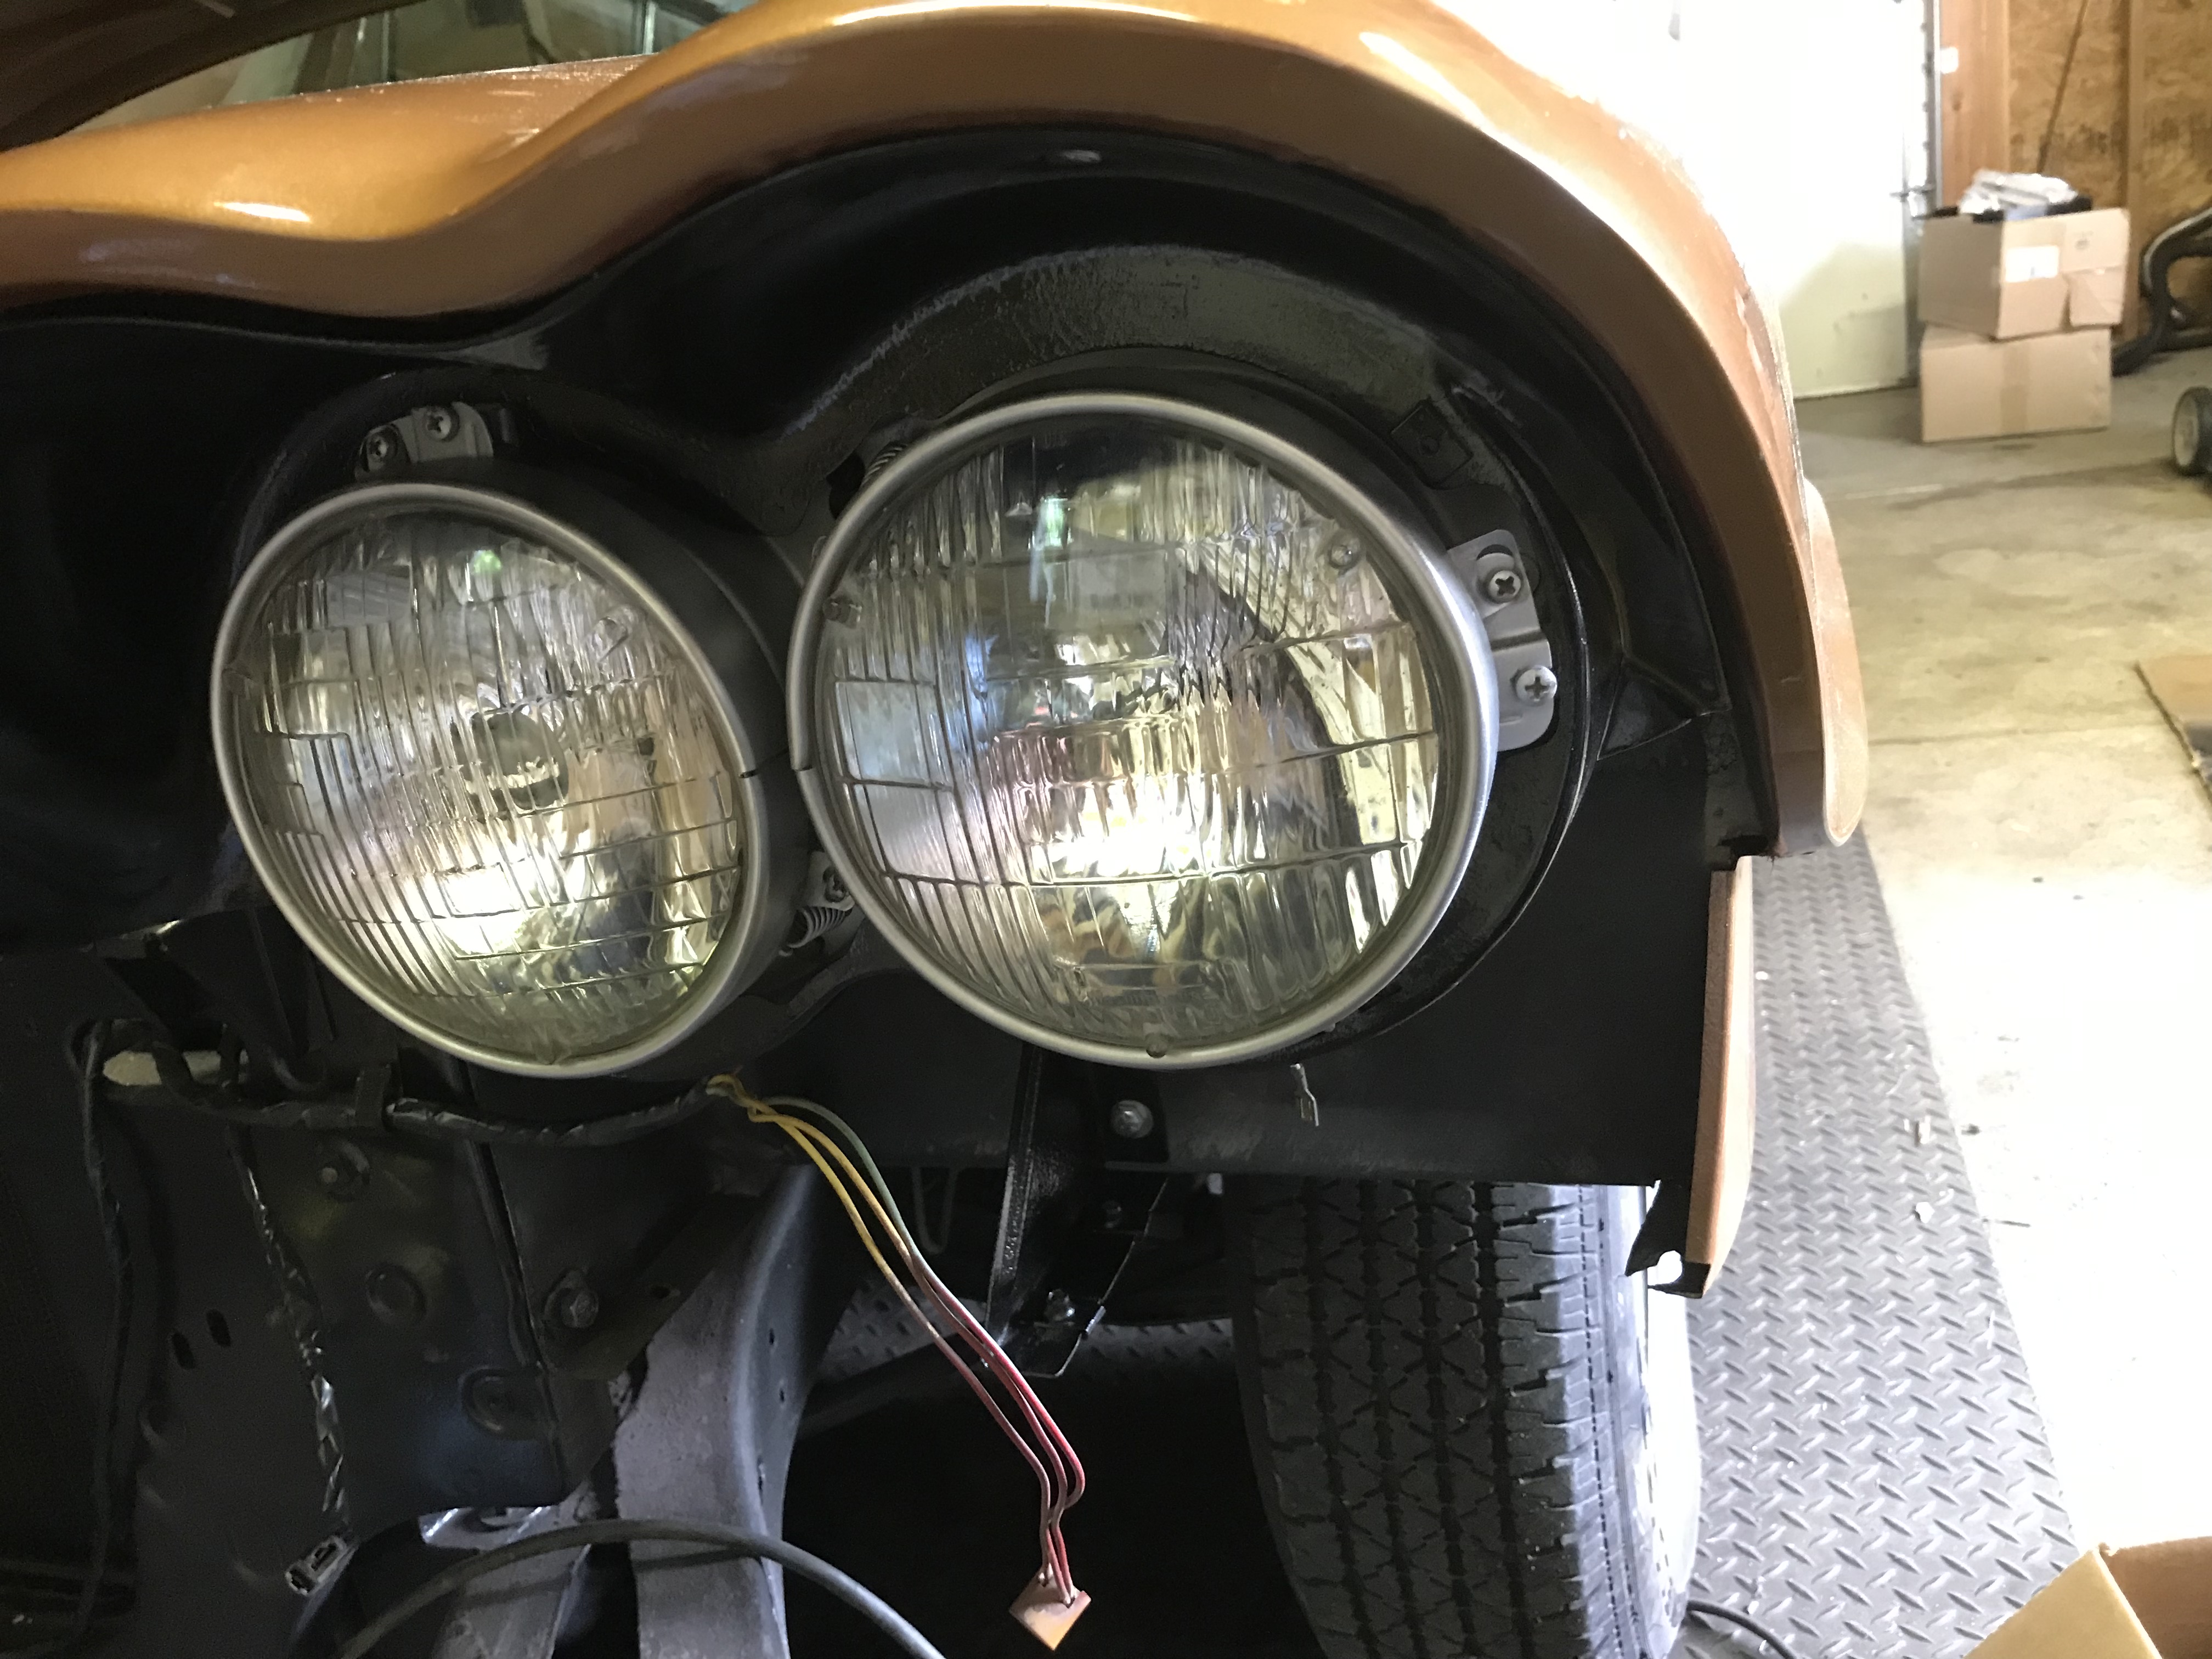
No working headlights, though! ![]()
![]() Headlight switch? Maybe - it was flaky before. I have a replacement I bought, thanks to Matthew pointing it out to me! One more task for the list…
Headlight switch? Maybe - it was flaky before. I have a replacement I bought, thanks to Matthew pointing it out to me! One more task for the list…
Folks, when you put your roof rails back on - what did you use for sealant? Did you put it on the rail, or on the body, or both? Any pix?
Well doncha know, Tom Fox gave some advice on this in this thread. It turns out the search feature of the Forum is pretty useful - I’ll have to tell Dick about it ![]()
Today was taillight housing day - I managed to get both of them together, but only the one mounted when I ran out of gas. Also, I thought I took a pic, but I guess I didn’t: Where the side chrome piece mounts to one of the housings, there was some chrome flash from the replating. I tried to file it, but was getting nowhere - I carefully took my angle grinder, and ground it down. And managed not to destroy the housing in the process ![]()
![]()
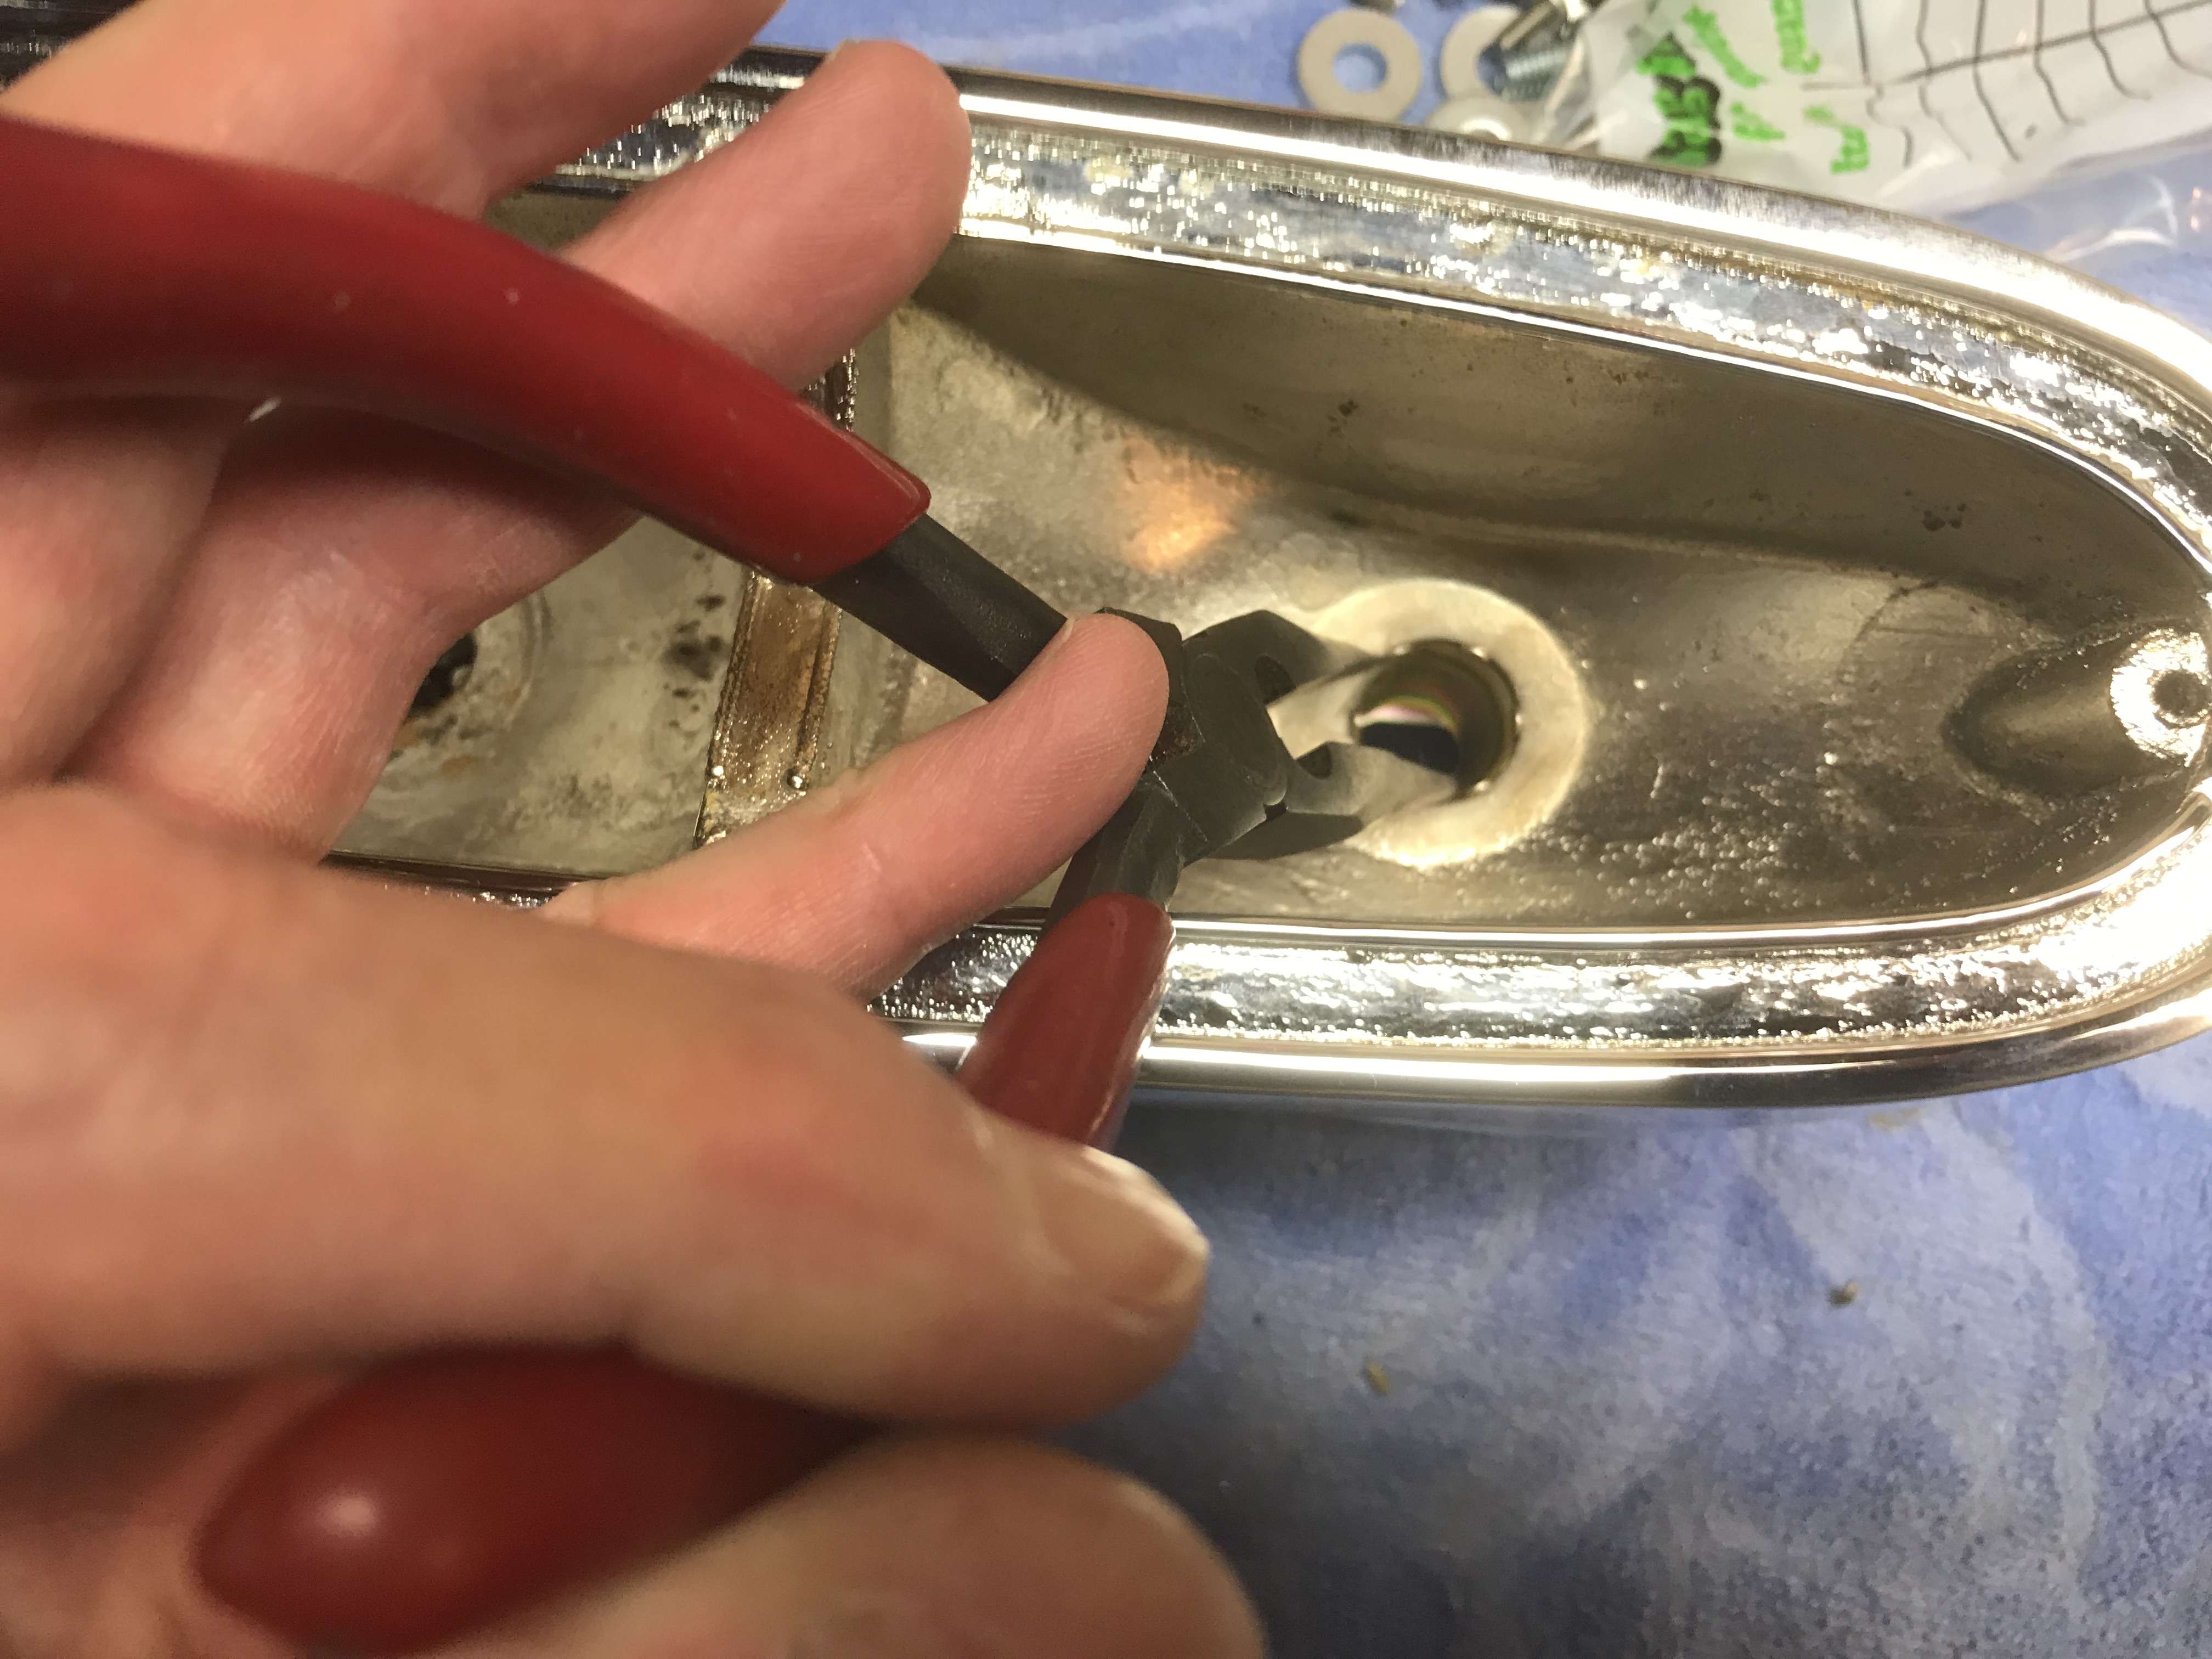
Spreading the socket tabs locked them down tight
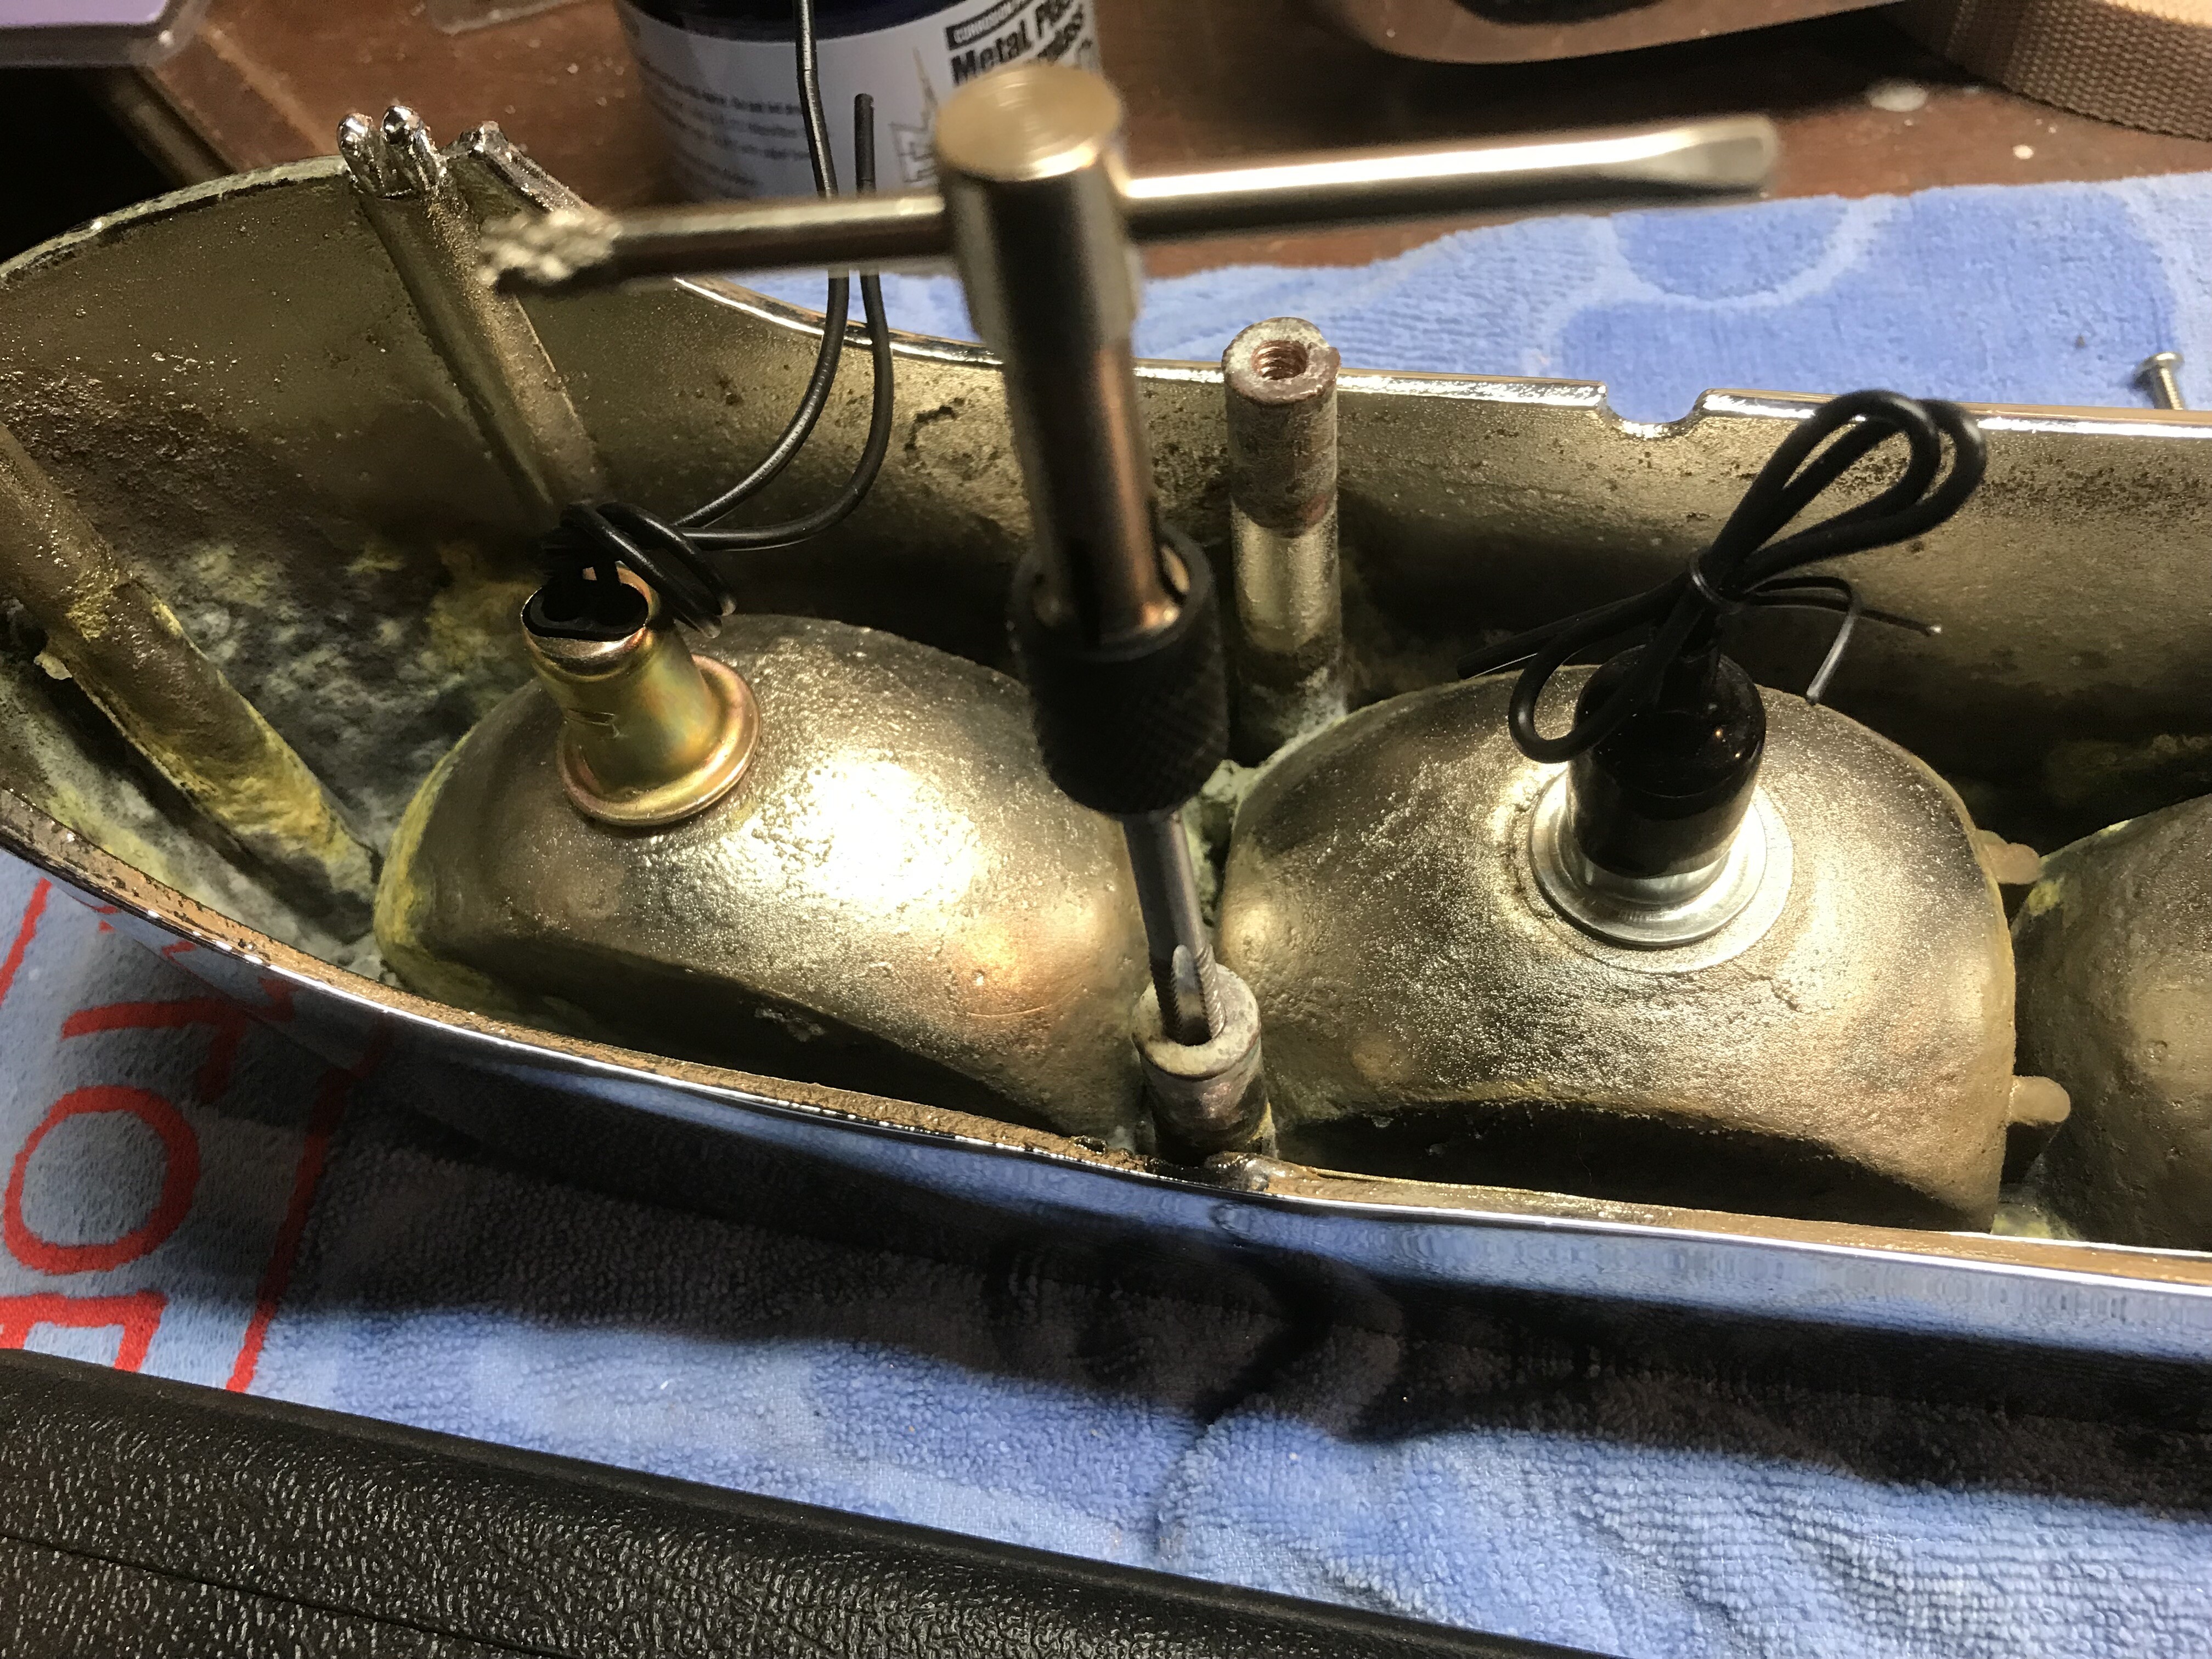
There was a lot of interior crud left from the replating process - running a tap through the threads to clean things up a bit
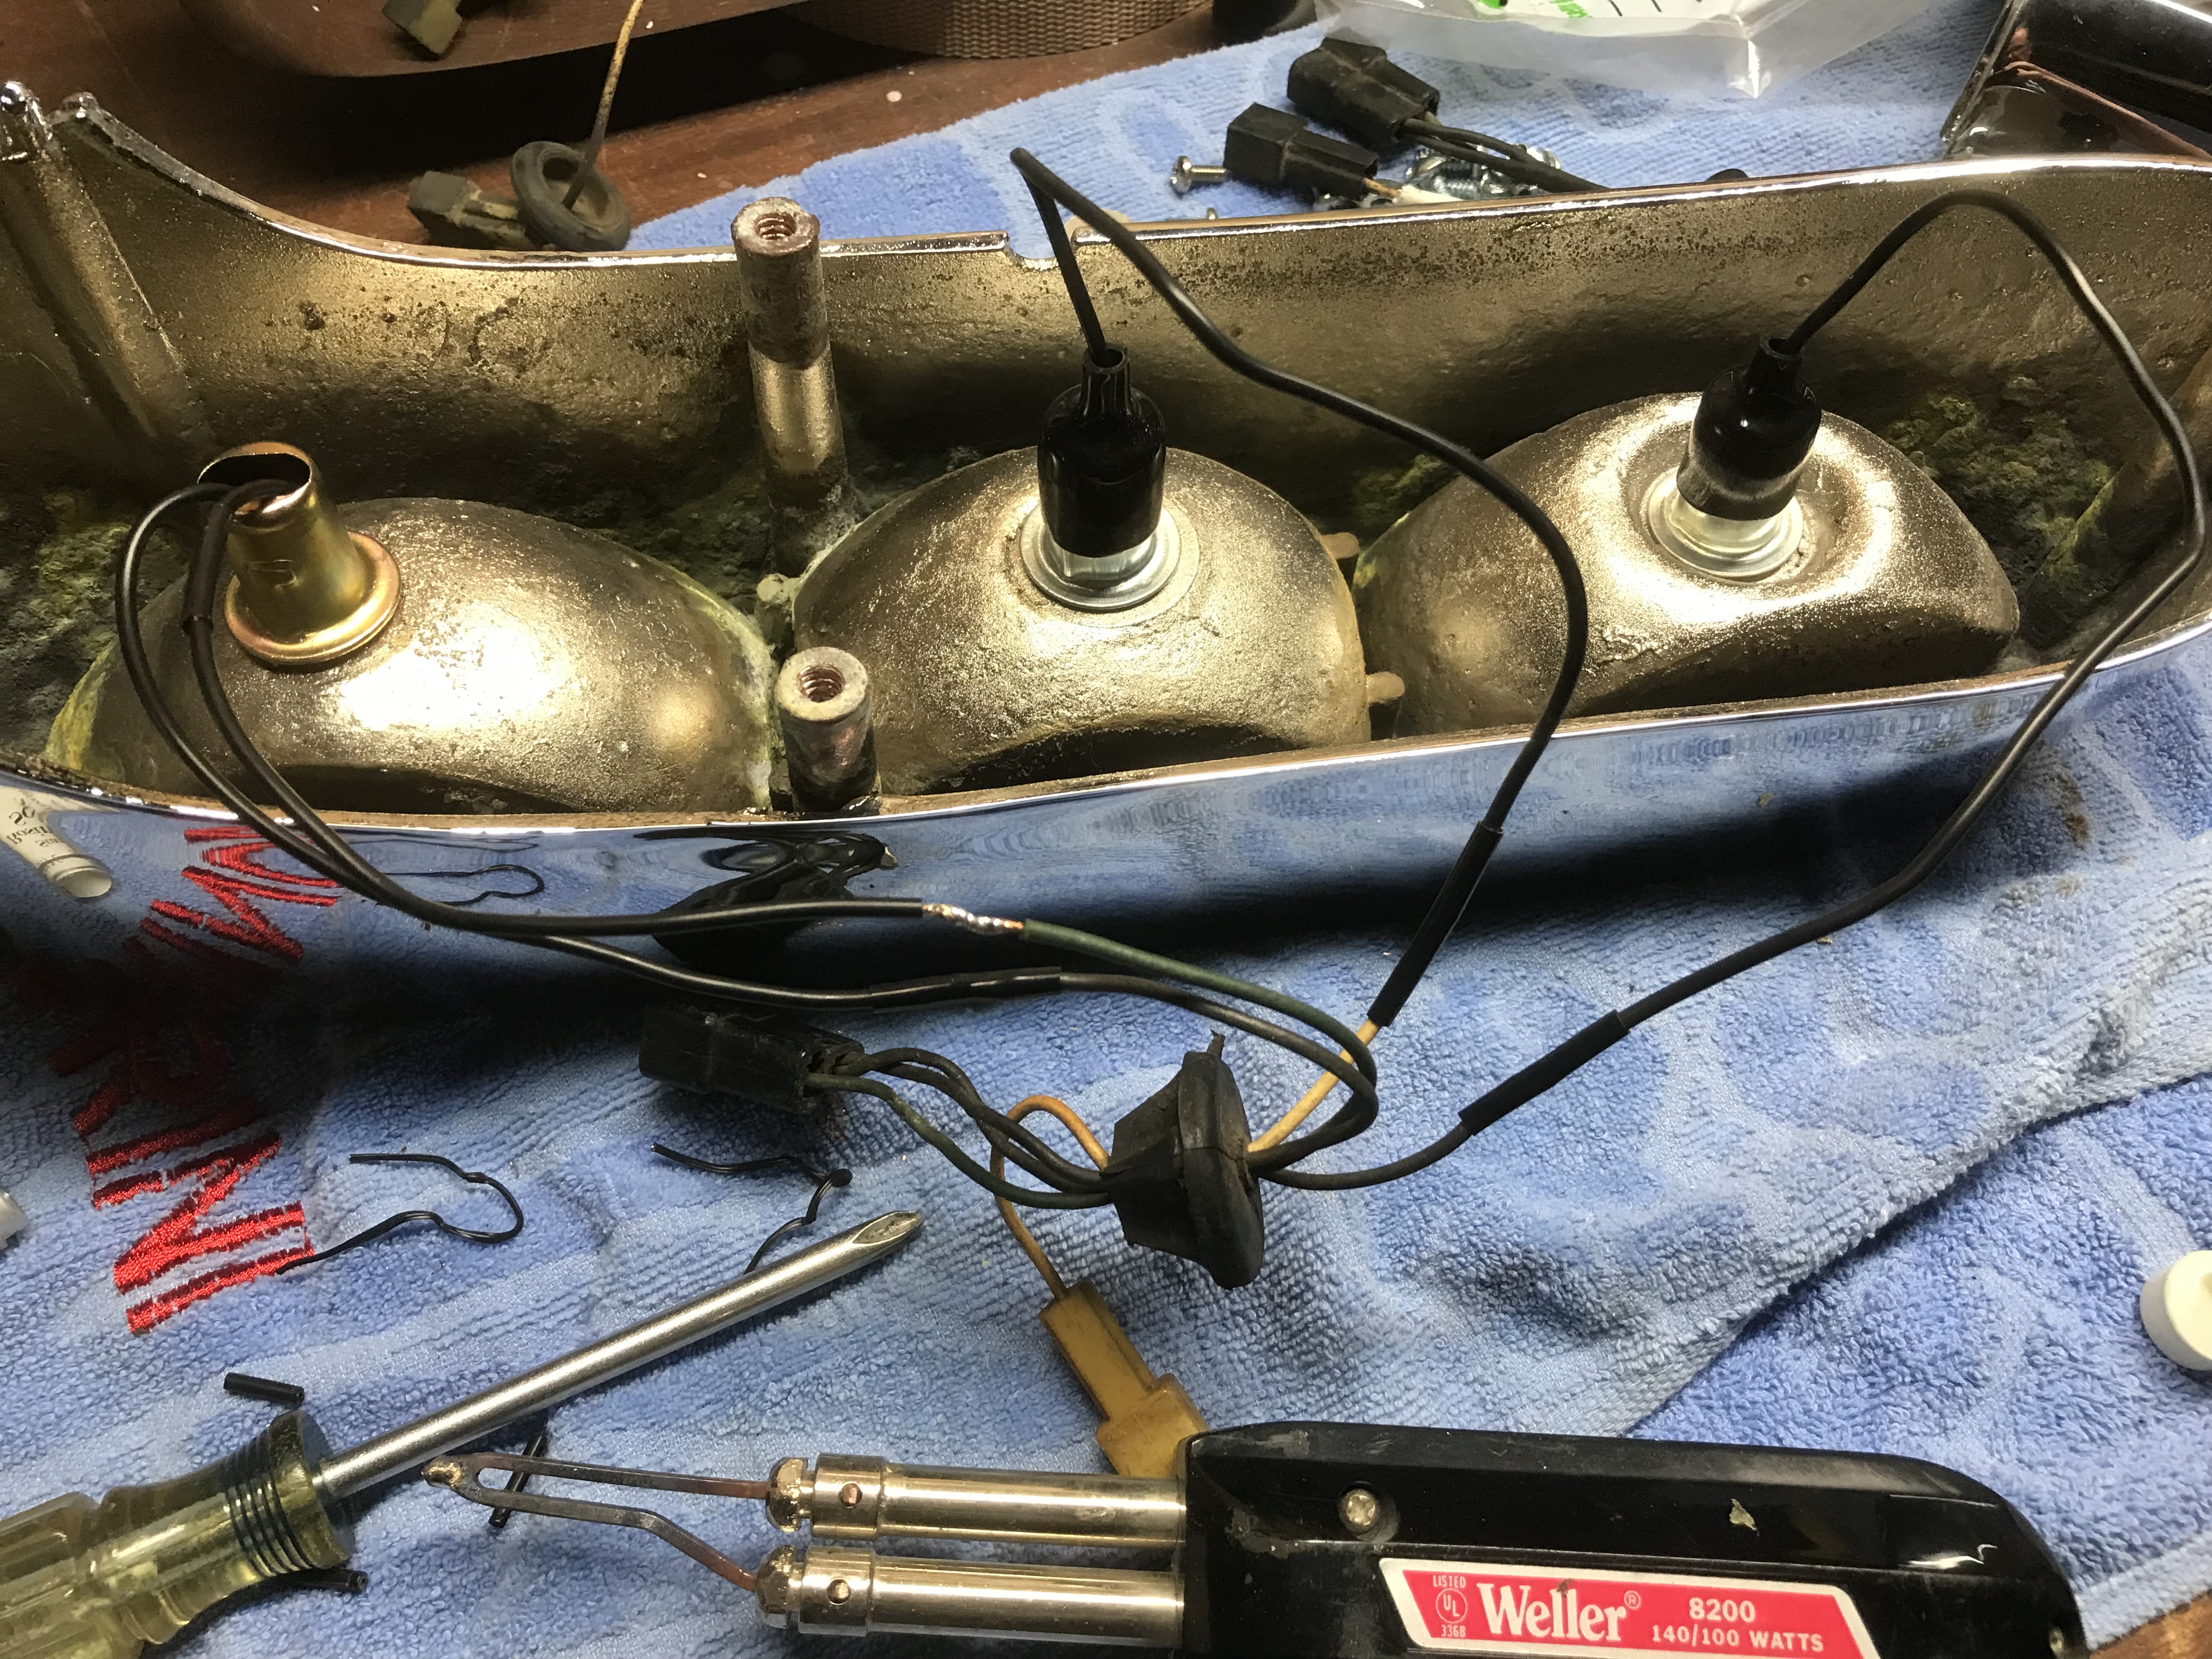
Matthew says, solder the wires, so I do - remembering to slip on a piece of heat-shrink tubing to dress it up
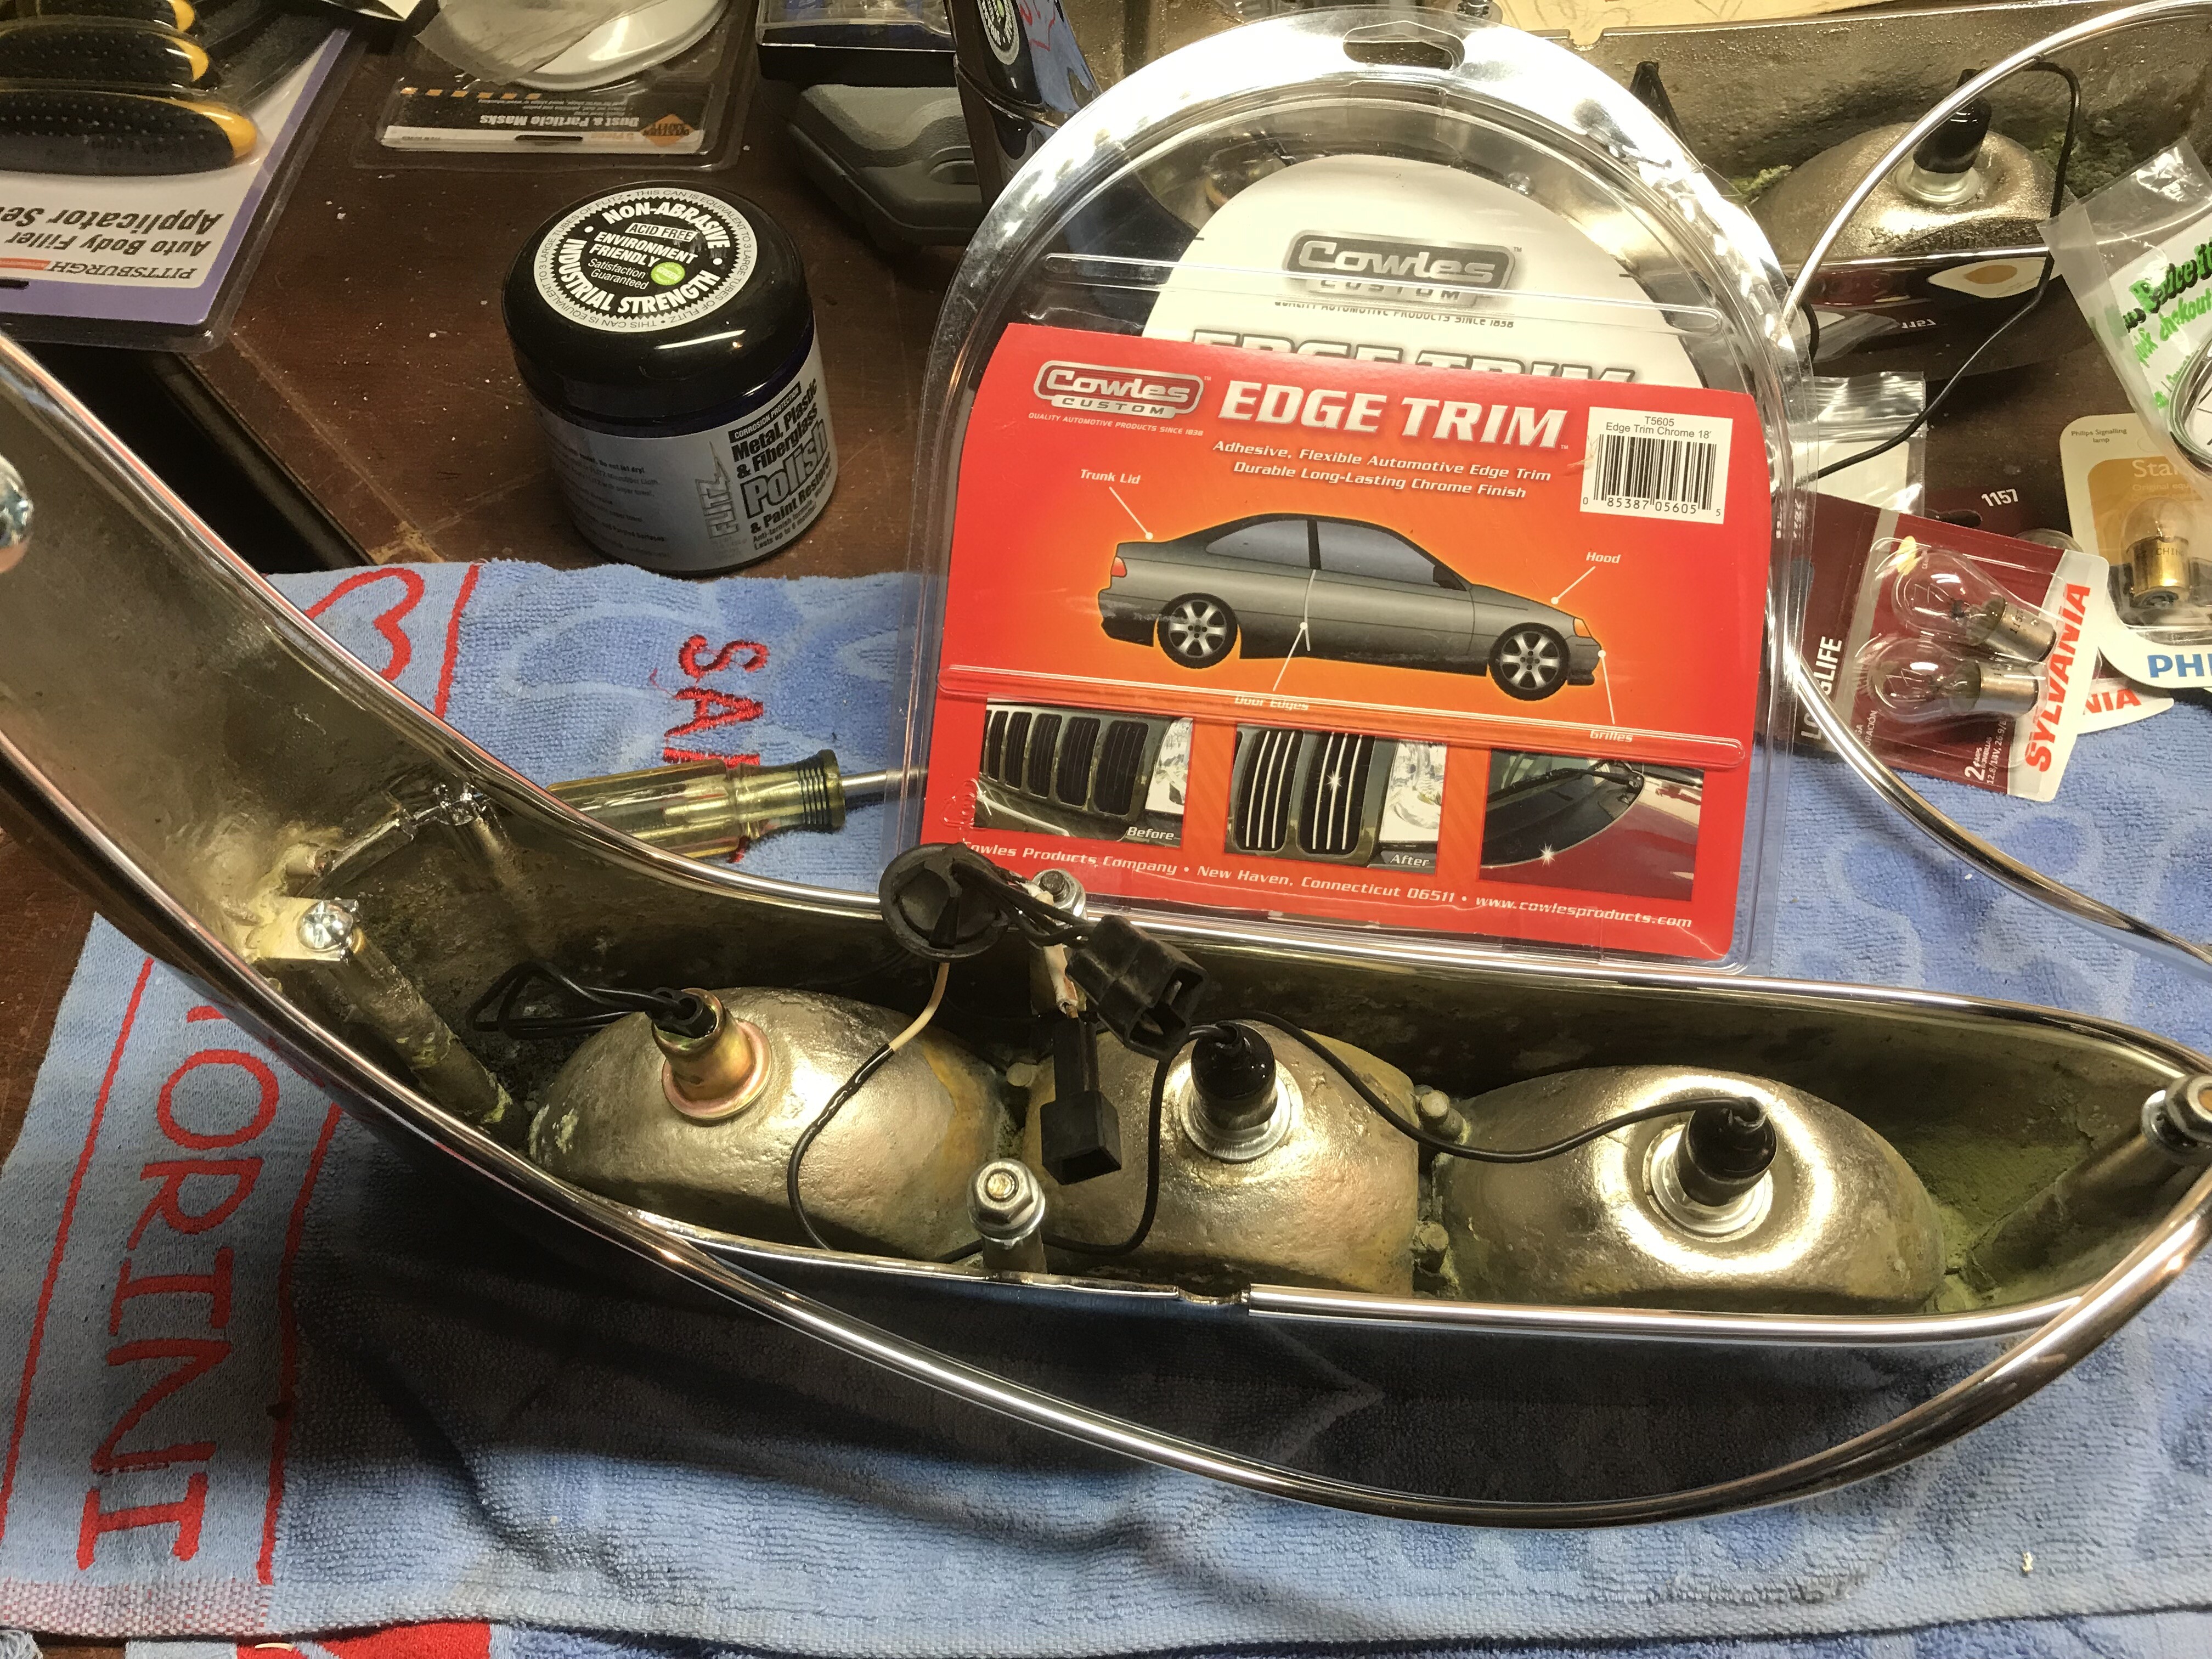
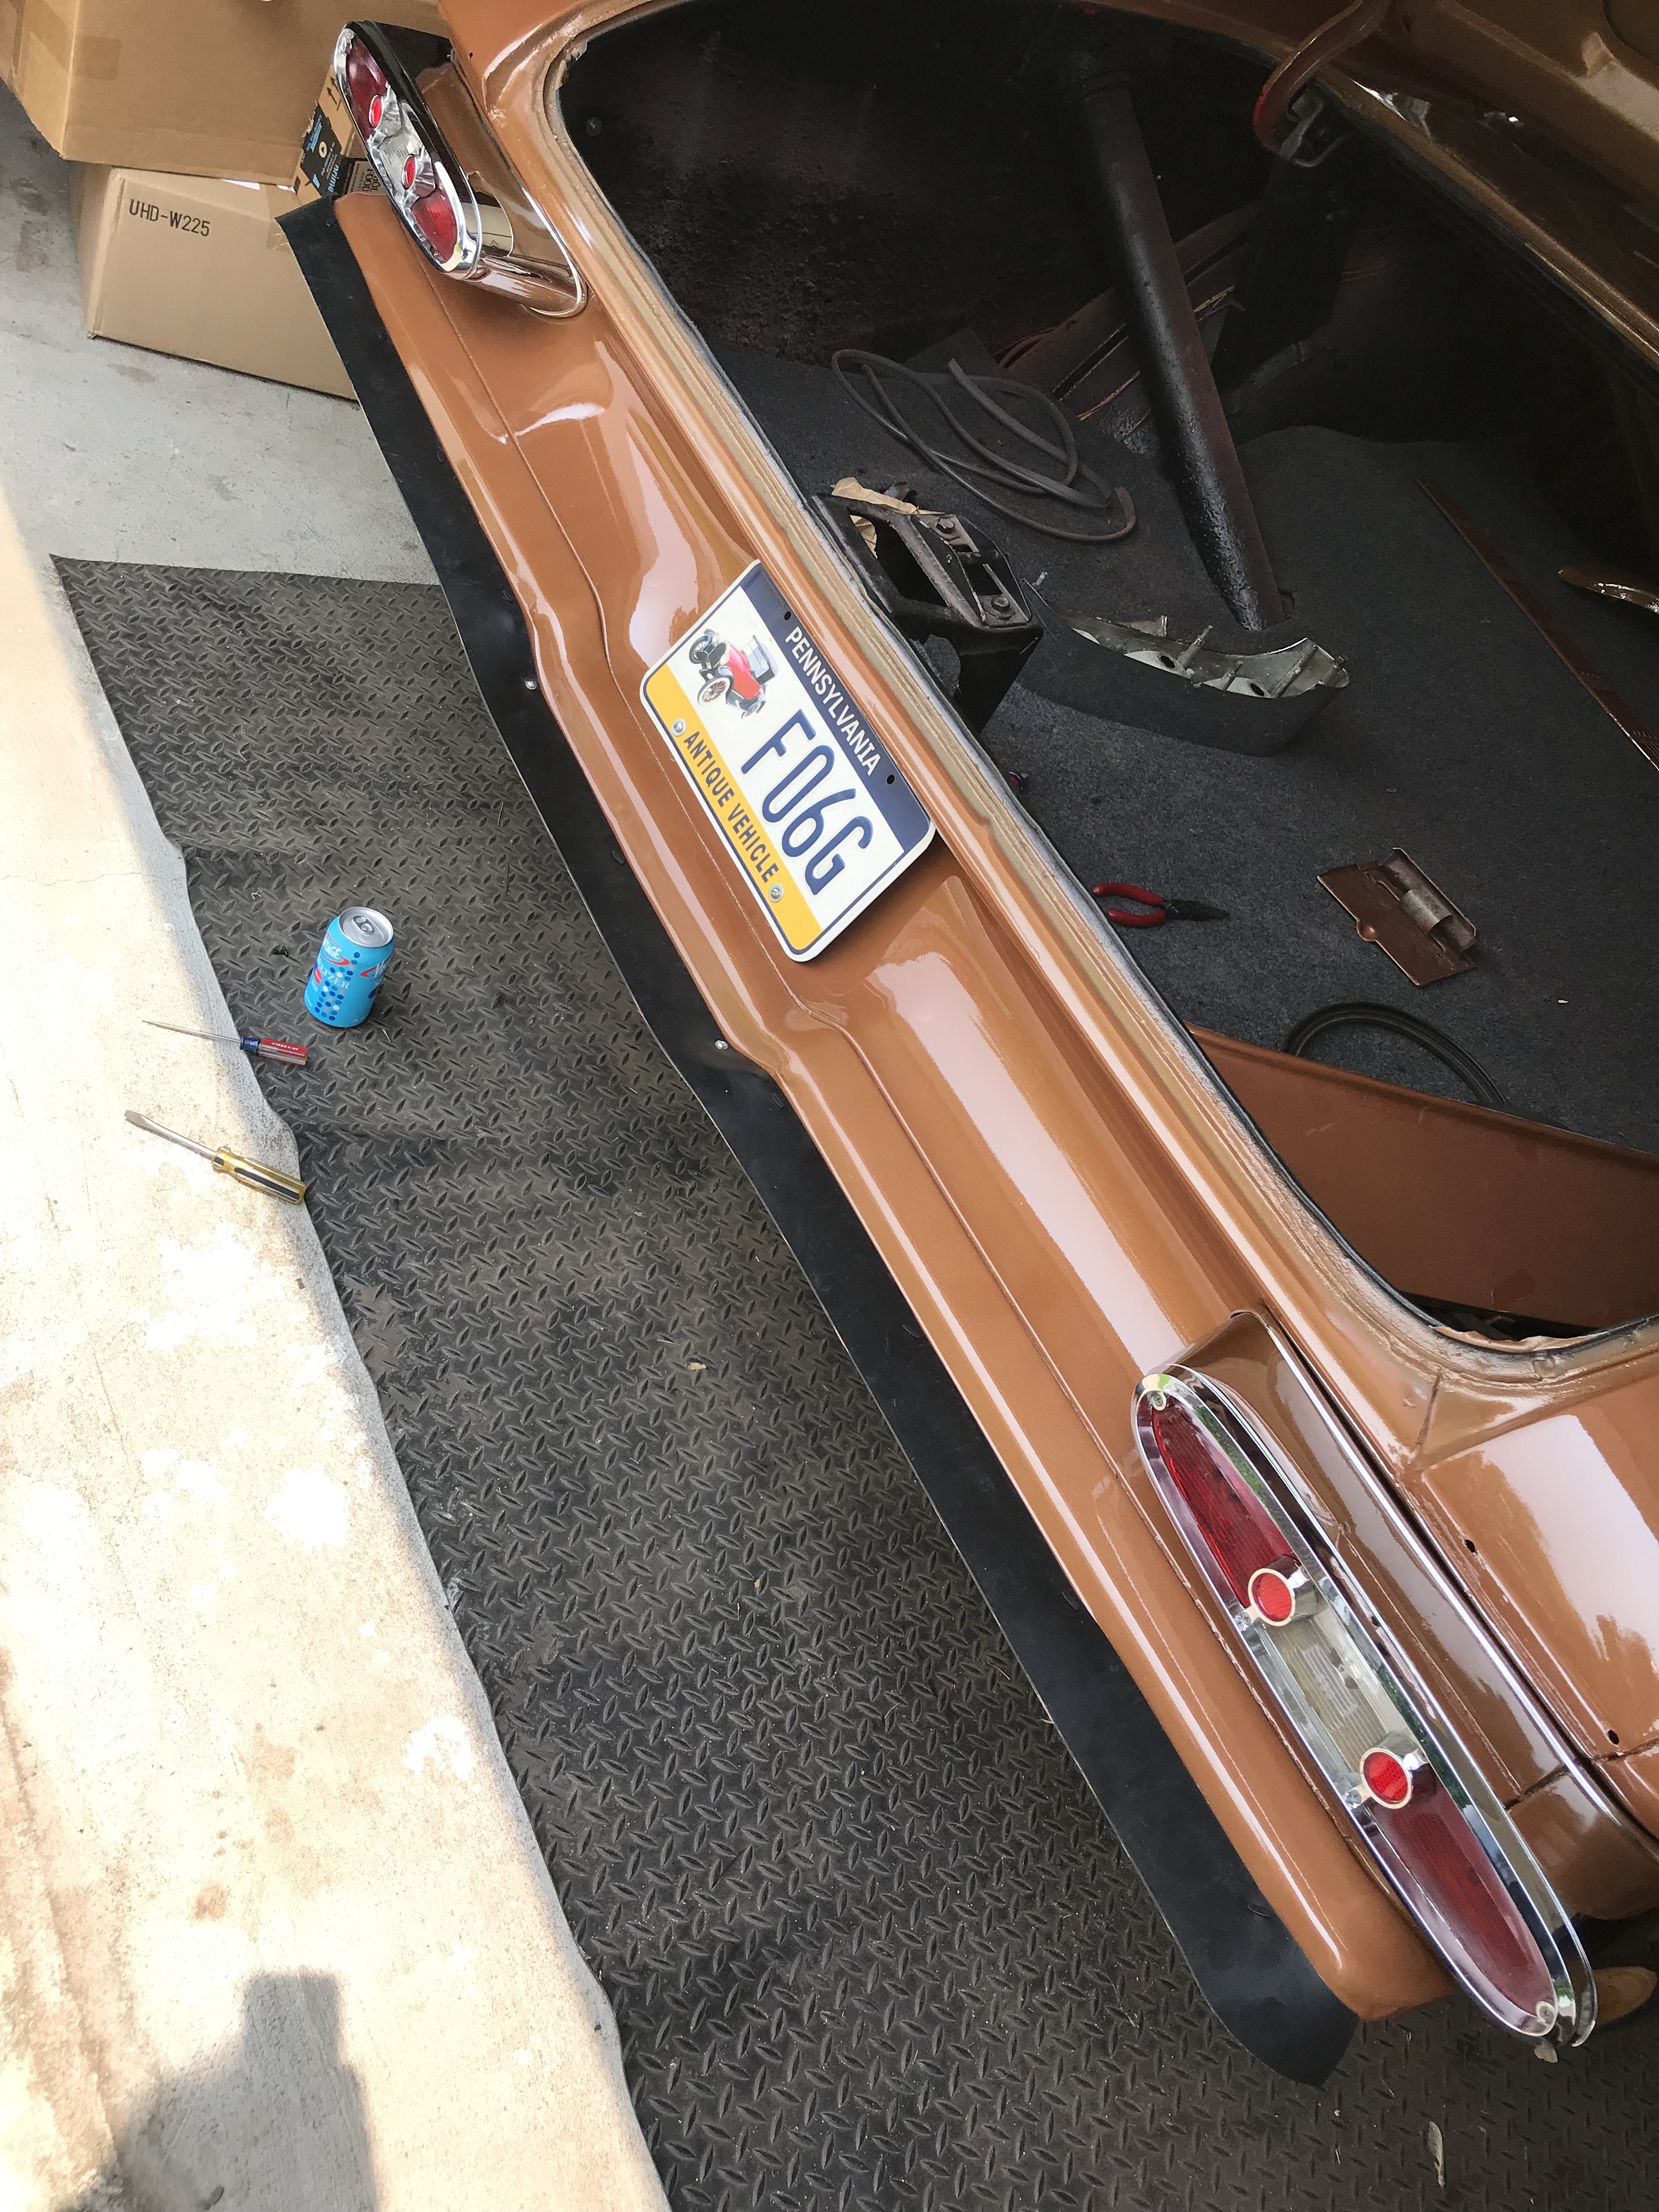
Dick, that door edge protector worked out great! Just like you said it would, it took the bends nicely
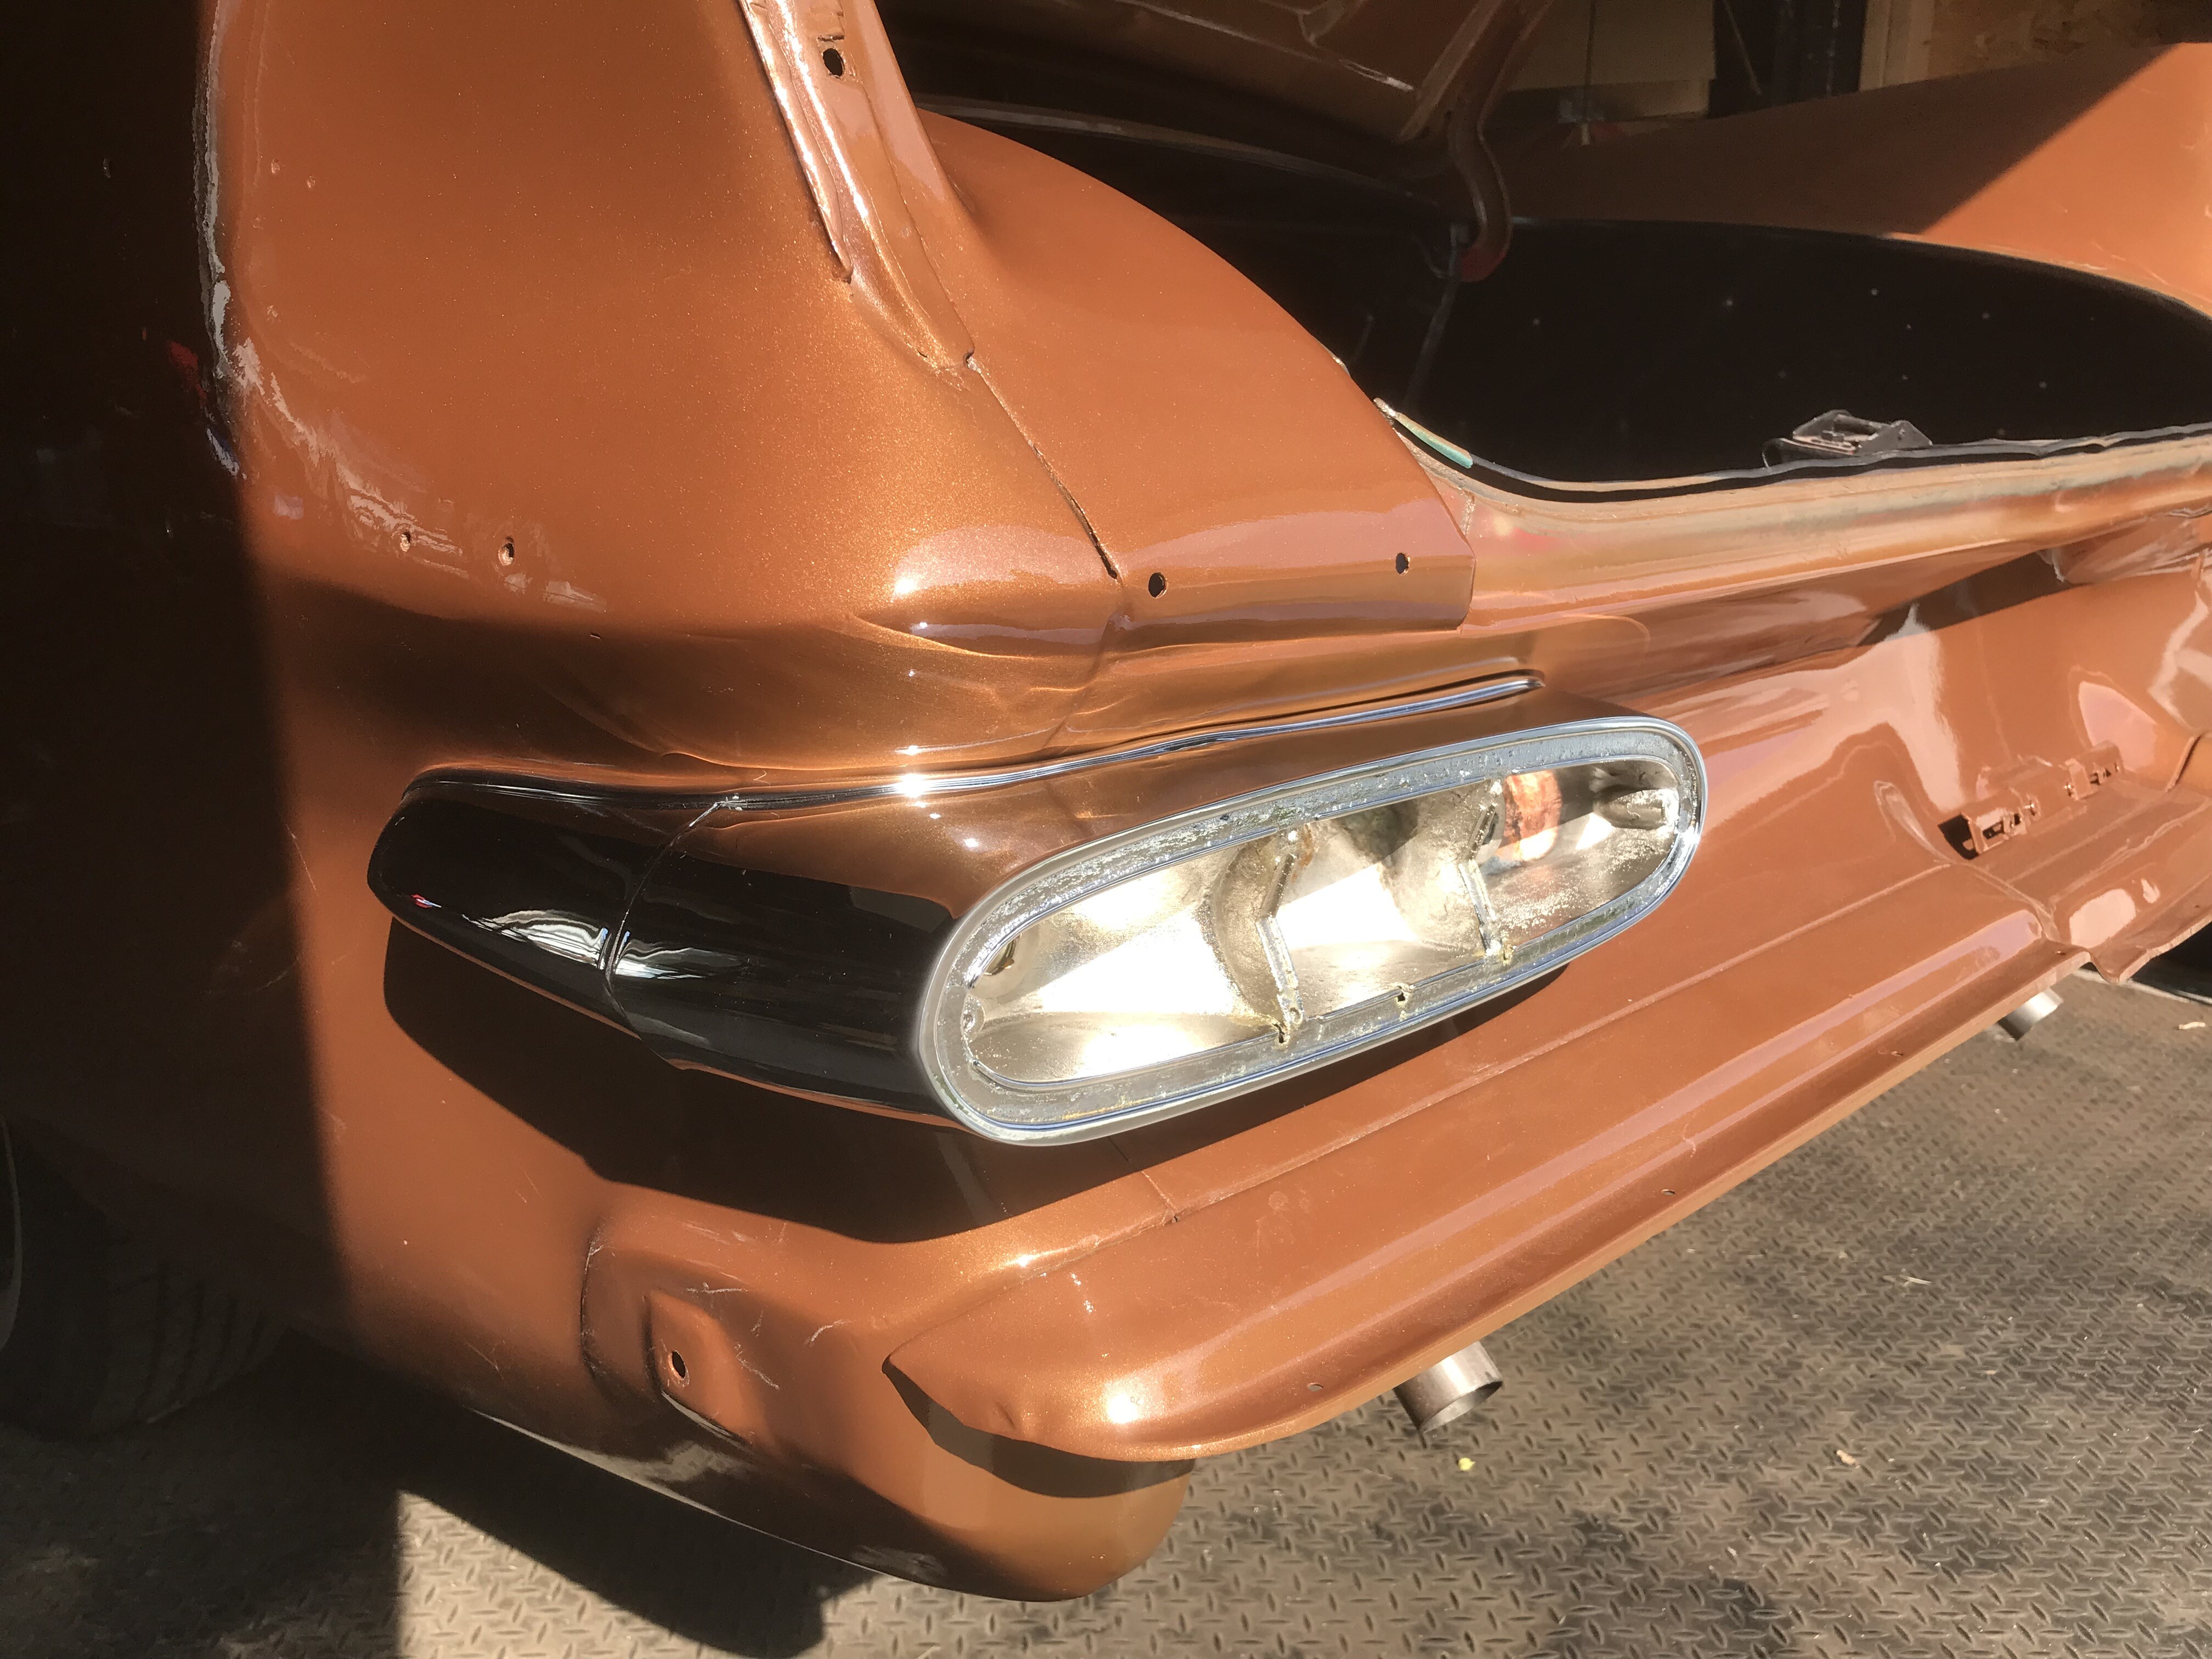
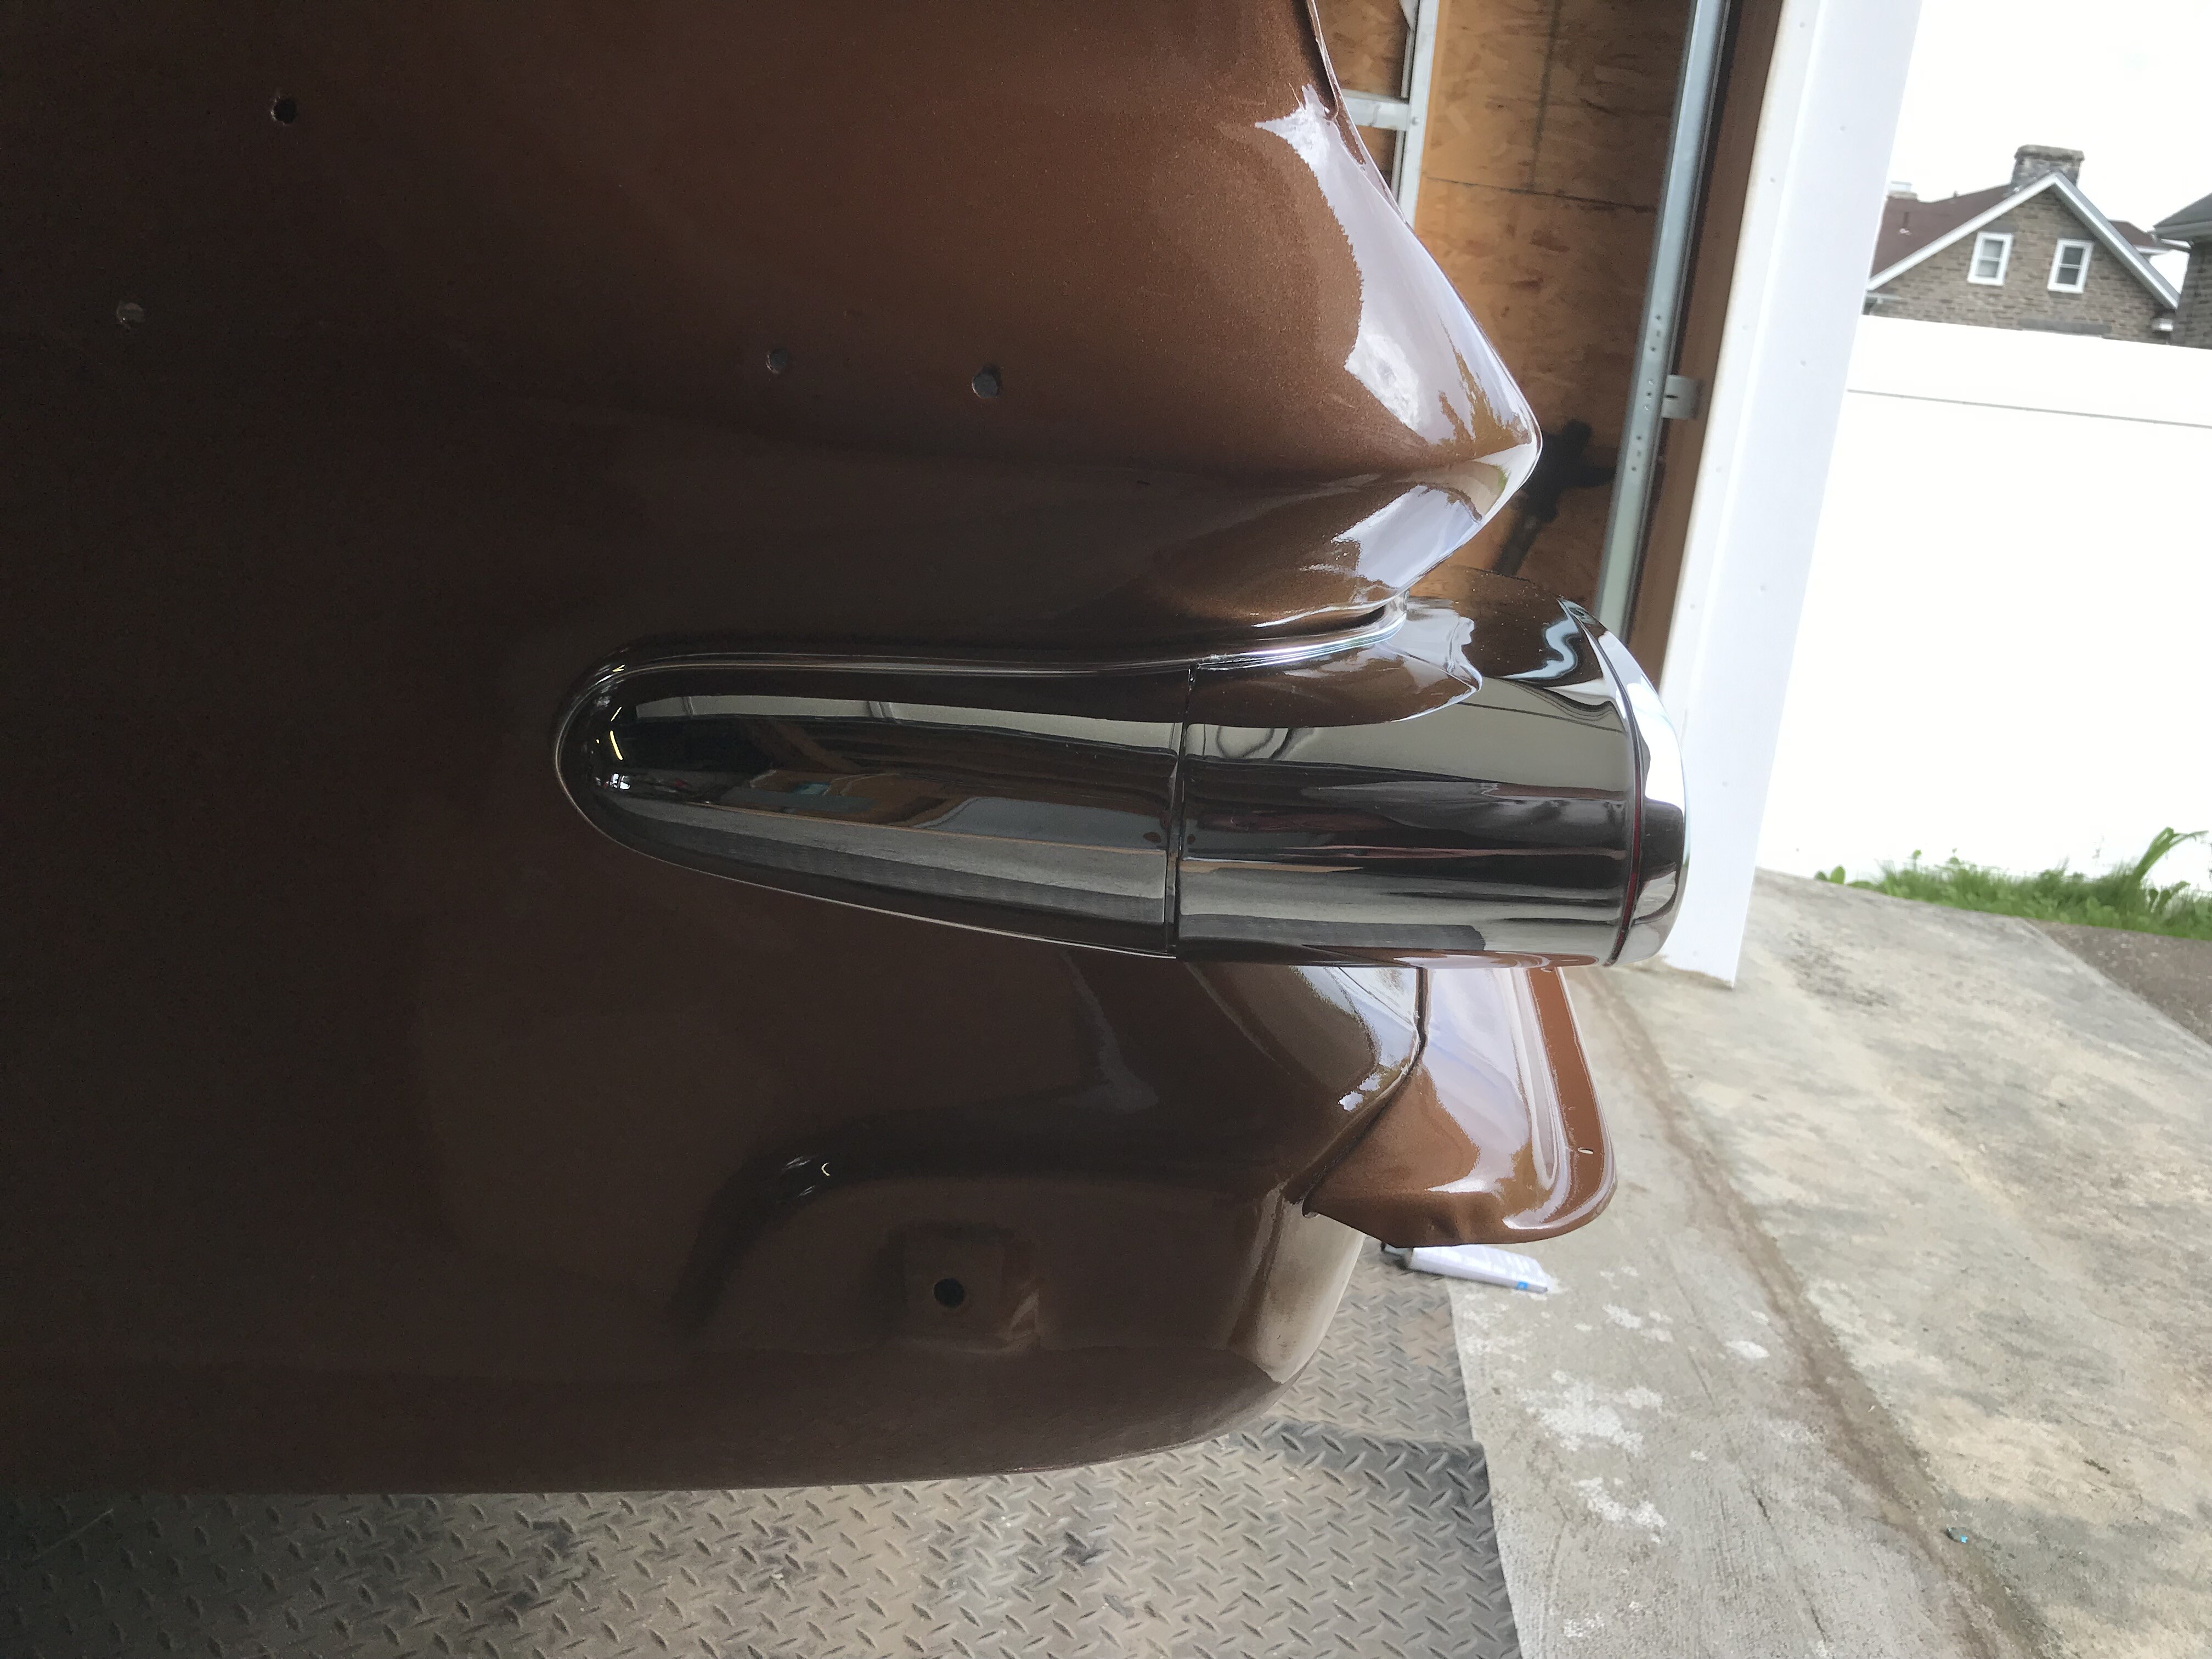
This is where Faulkner had been hit in some previous decade - I had my choice for the lead chrome piece: Snug to the housing, and leave a gap to the quarter panel, or snug to the quarter panel, and a little gap with the housing. I chose the latter. (There’s still dust from the paint shop on the car, those aren’t cracks! A good wipe down is in order)
Dan, l have a Mopar Guru friend that soldered the wires when he installed the electronic ignition in Bertha Irene. The only time l ever broke down in one of my old cars was on l-10 halfway to New Orleans when a soldered wire came loose. I have never had a crimped connection fail.
I had a crimped wire connector failure that left me stranded on the side of the road ![]() was also a wire for the electronic ignition.
was also a wire for the electronic ignition.
Soldered wires on an engine are something else the. A taillight luckily ![]()
Dan, you ready for some beers, cheesesteaks and working on a 59 for a couple days in July?
Matthew! I am counting on it!! I will get done as much as I can, but the side trim will await your masterful installation. You worry about the trim, I’ll worry about the beer and cheesesteaks! ![]()
Both taillights are on and working. Now to get the headlights working, and the parking lights installed…
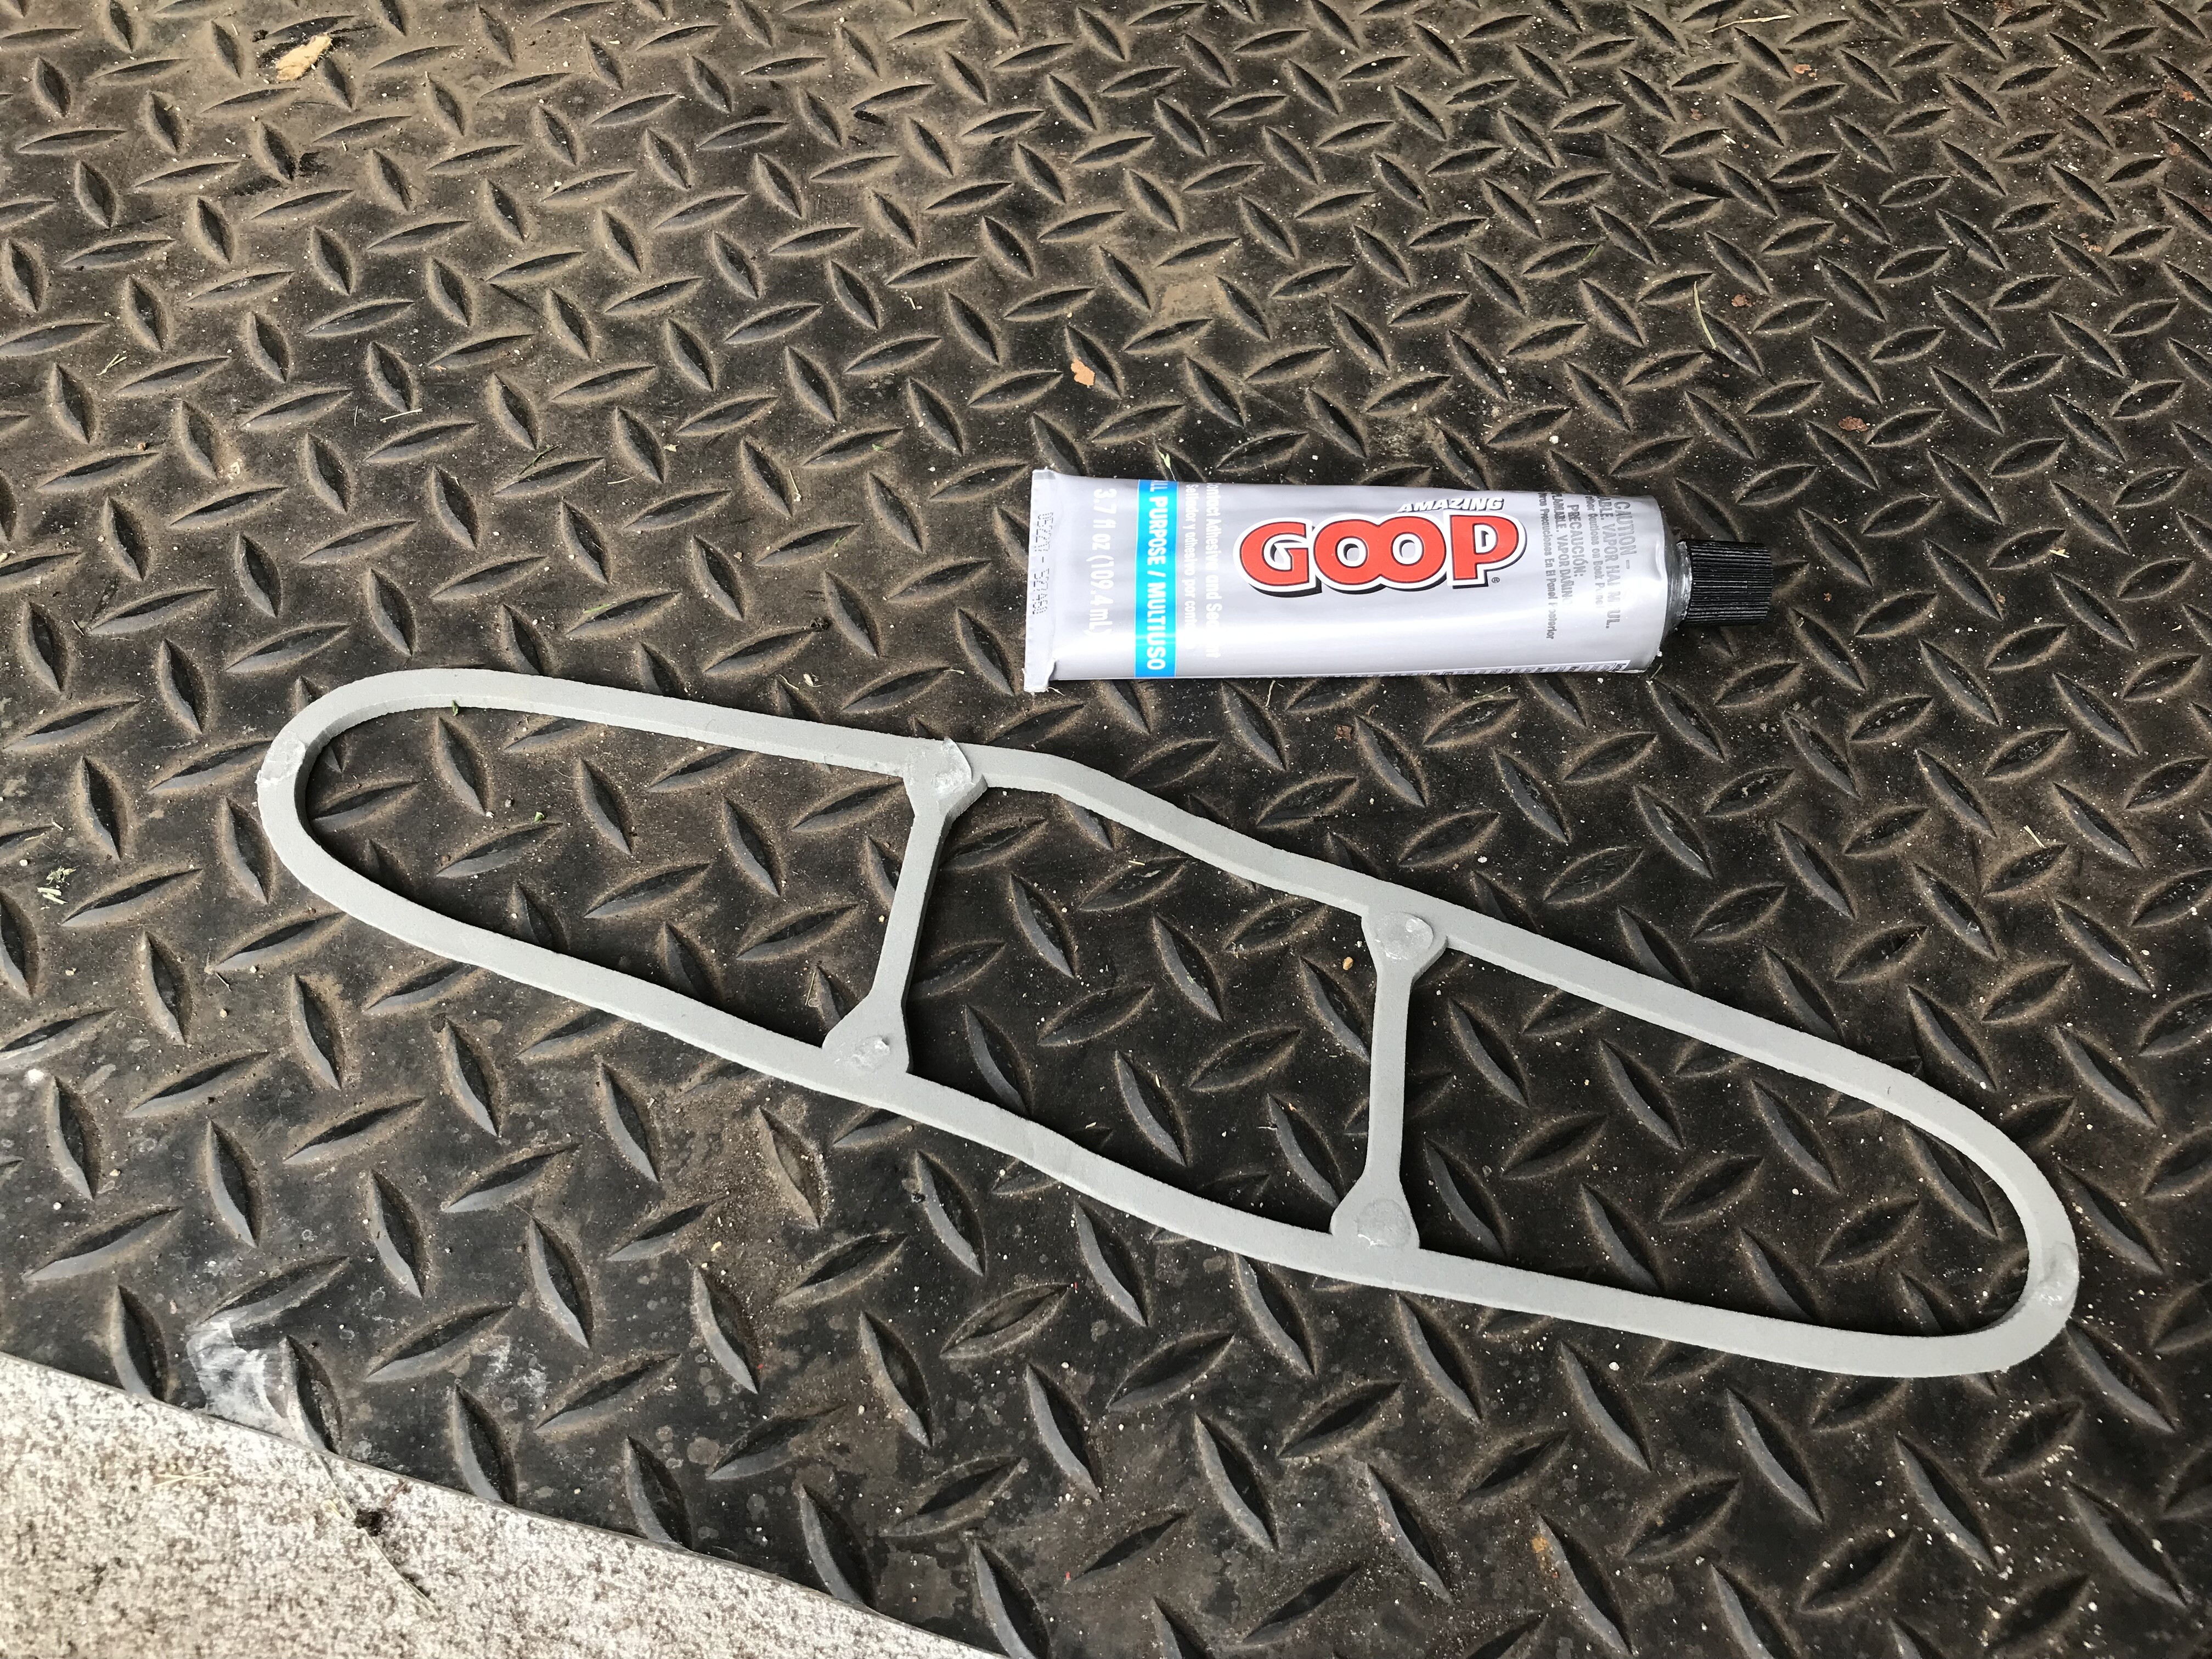
a little Goop to hold gasket in place

a little gap here… (sigh) my best option. Still, nothing to see but chrome
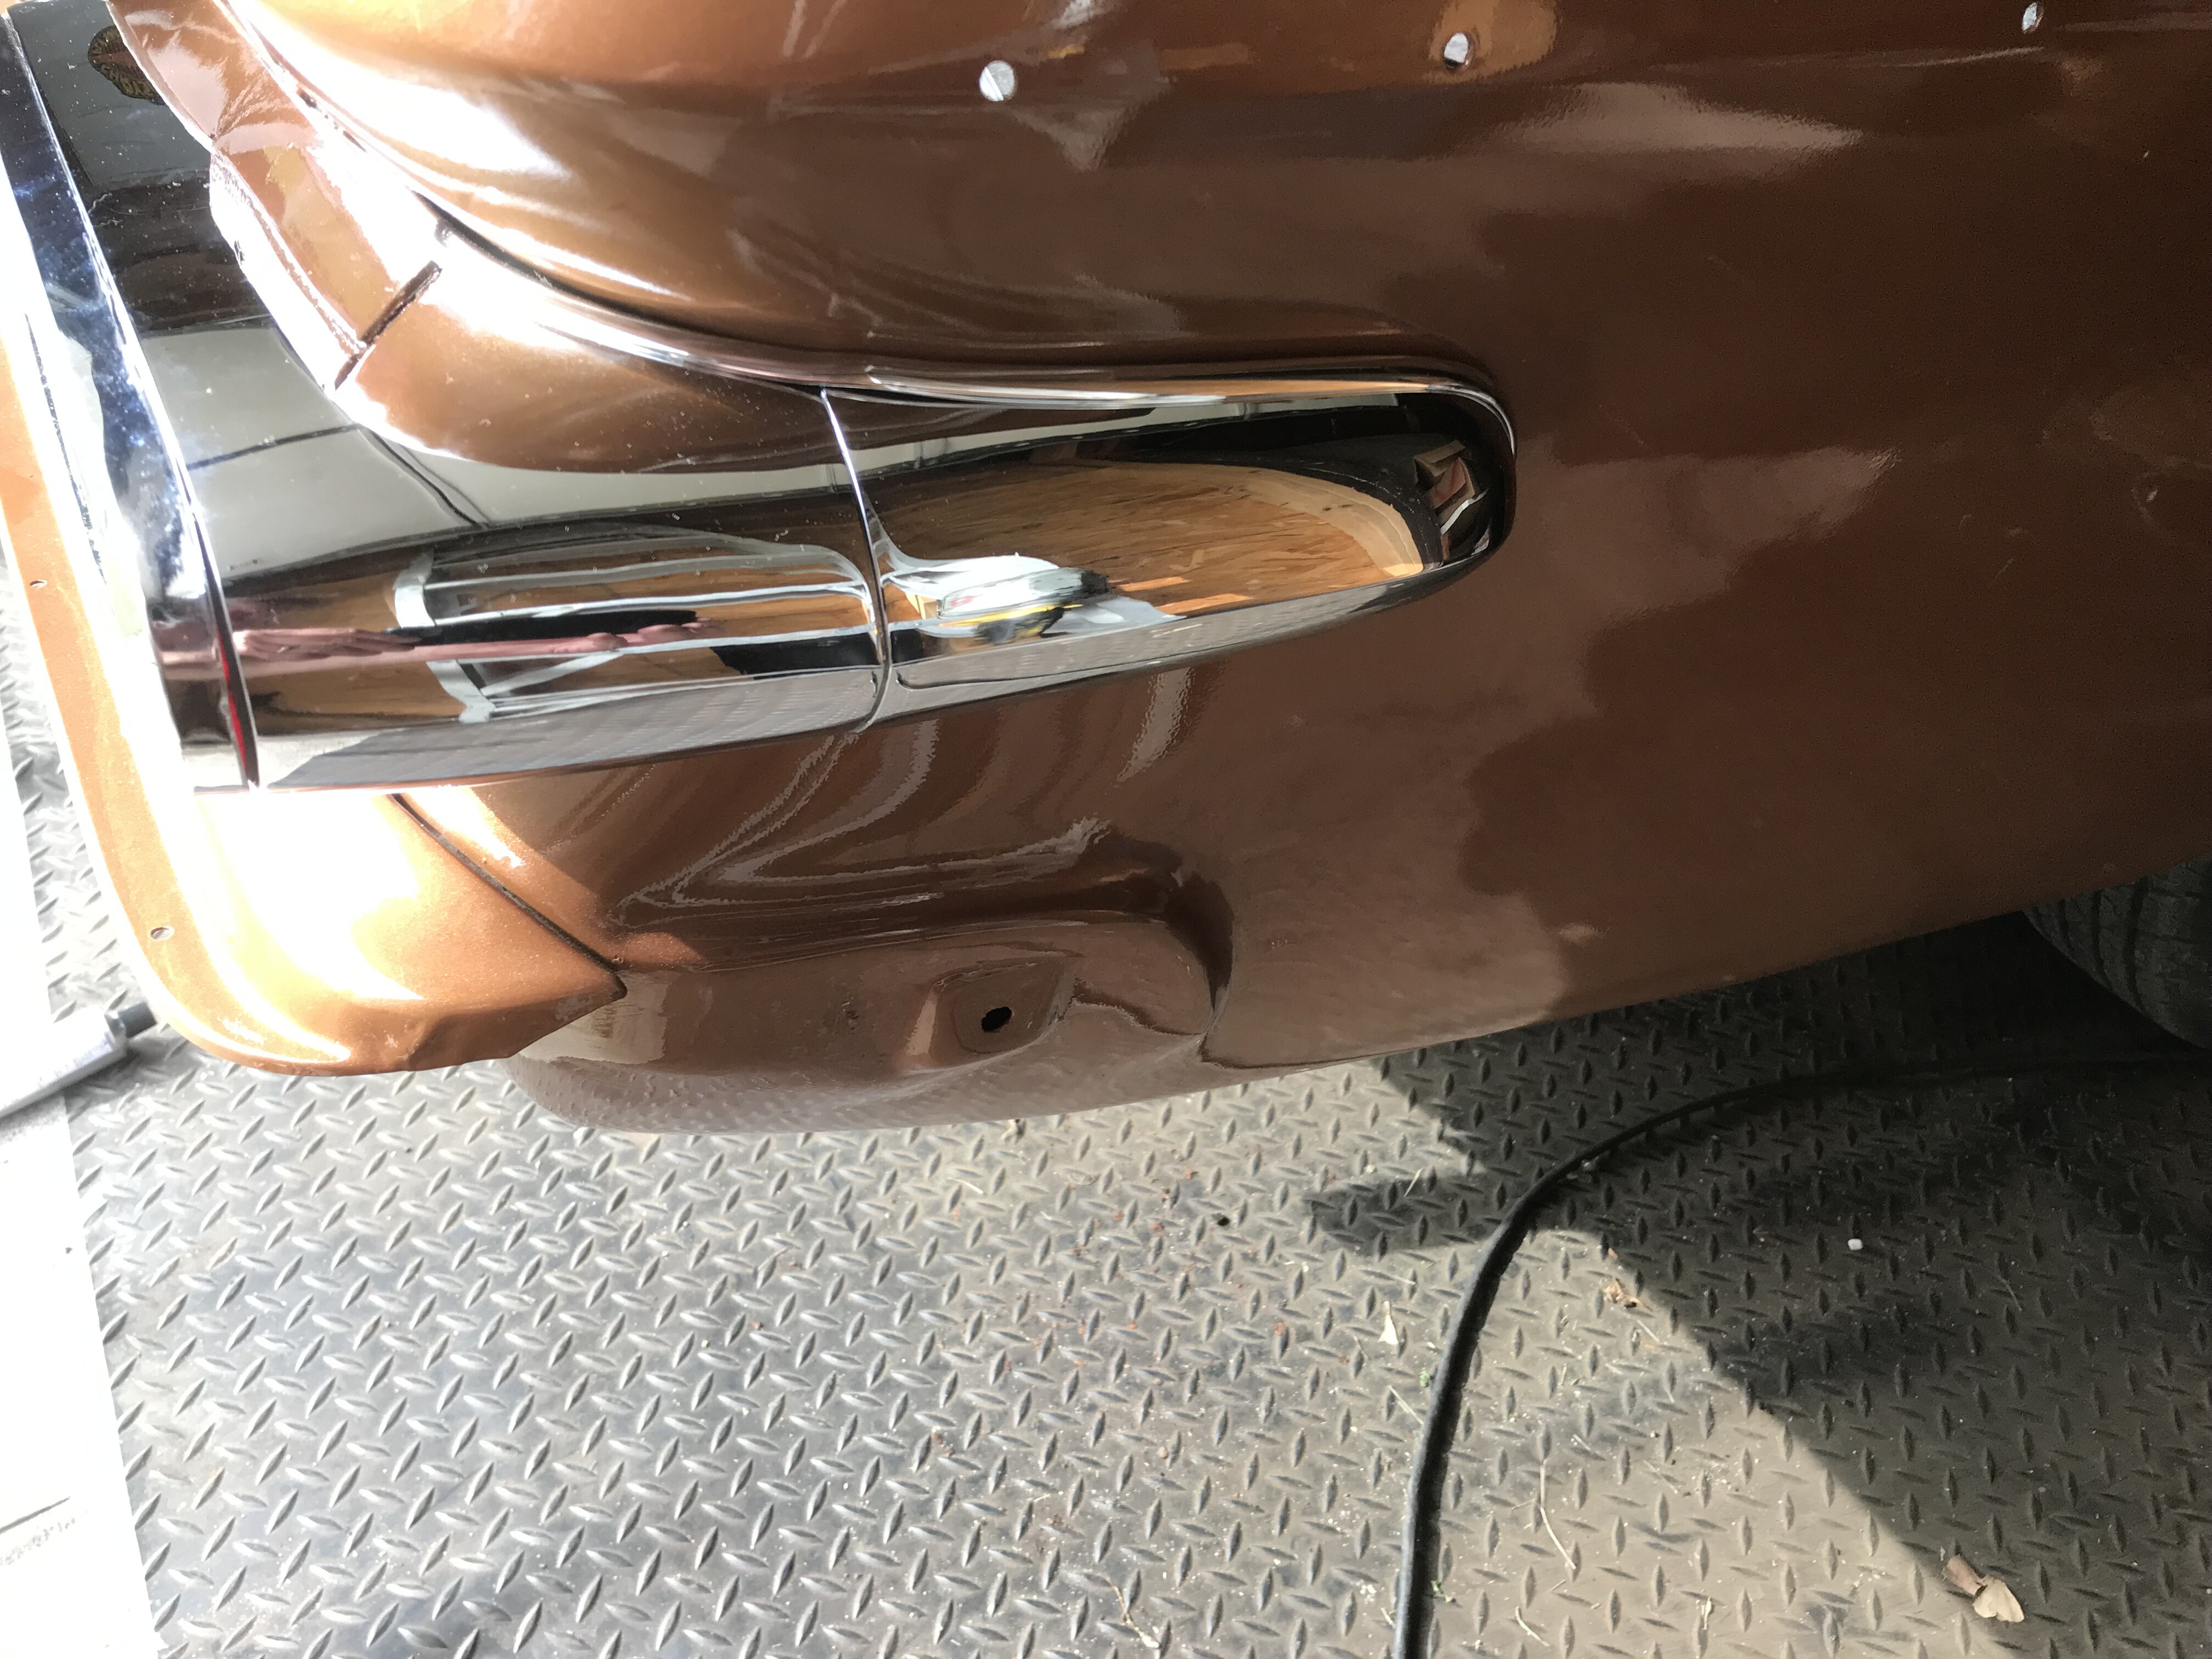
good alignment here
Don’t put in the rear seat, arm rests or door panels yet! Might make it a bit easier with the trim.
I’m pretty sure we can put it all back together in a couple days even if we have to work through the nights ![]()
Ah, the long, long saga of my P/S pump! Here’s a little refresher:
I can’t find the thread - but, Lares couldn’t rebuild it either!! They sent it back to me; I bought a used one from Jim Rawa to have rebuilt instead (which came to me by way of Forward Look Frank, visiting Jim when Matthew was in the states and dropped off his TorqueFlite for Jim to rebuild.) I made the mistake of sending to my local “guy” again. He rebuilt it, and I put it on Faulkner. Then…
And that was the last I posted about the P/S pump. Until now.
The frickin’ P/S was still not working!!! I don’t think my “guy” did a thing with it when I returned for repair. In frustration - and, desperation - I called Doc '59, and asked his advice. He offered to send a pump he had rebuilt himself, which was sitting on the shelf. It came yesterday, but secretly I worried - was my steering unit shot, and would it need to be rebuilt? What else could it be, if this Hail Mary didn’t work?
I needn’t have worried. This morning, I put Dick’s rebuilt unit on, filled it up, and when Faulkner fired up, I turned the wheel with my pinkie.
I must remember the maxim: If you want something done right, get Dick (or, Matthew) to do it. Once again, Dick has saved my sorry *ss.
Thanks Dick!
I backed Faulkner out of the garage today - no fighting the steering! - and gave him a damp wipe-down to get all the paint shop dust off. The car will go back next weekend for some buffing and fixups.
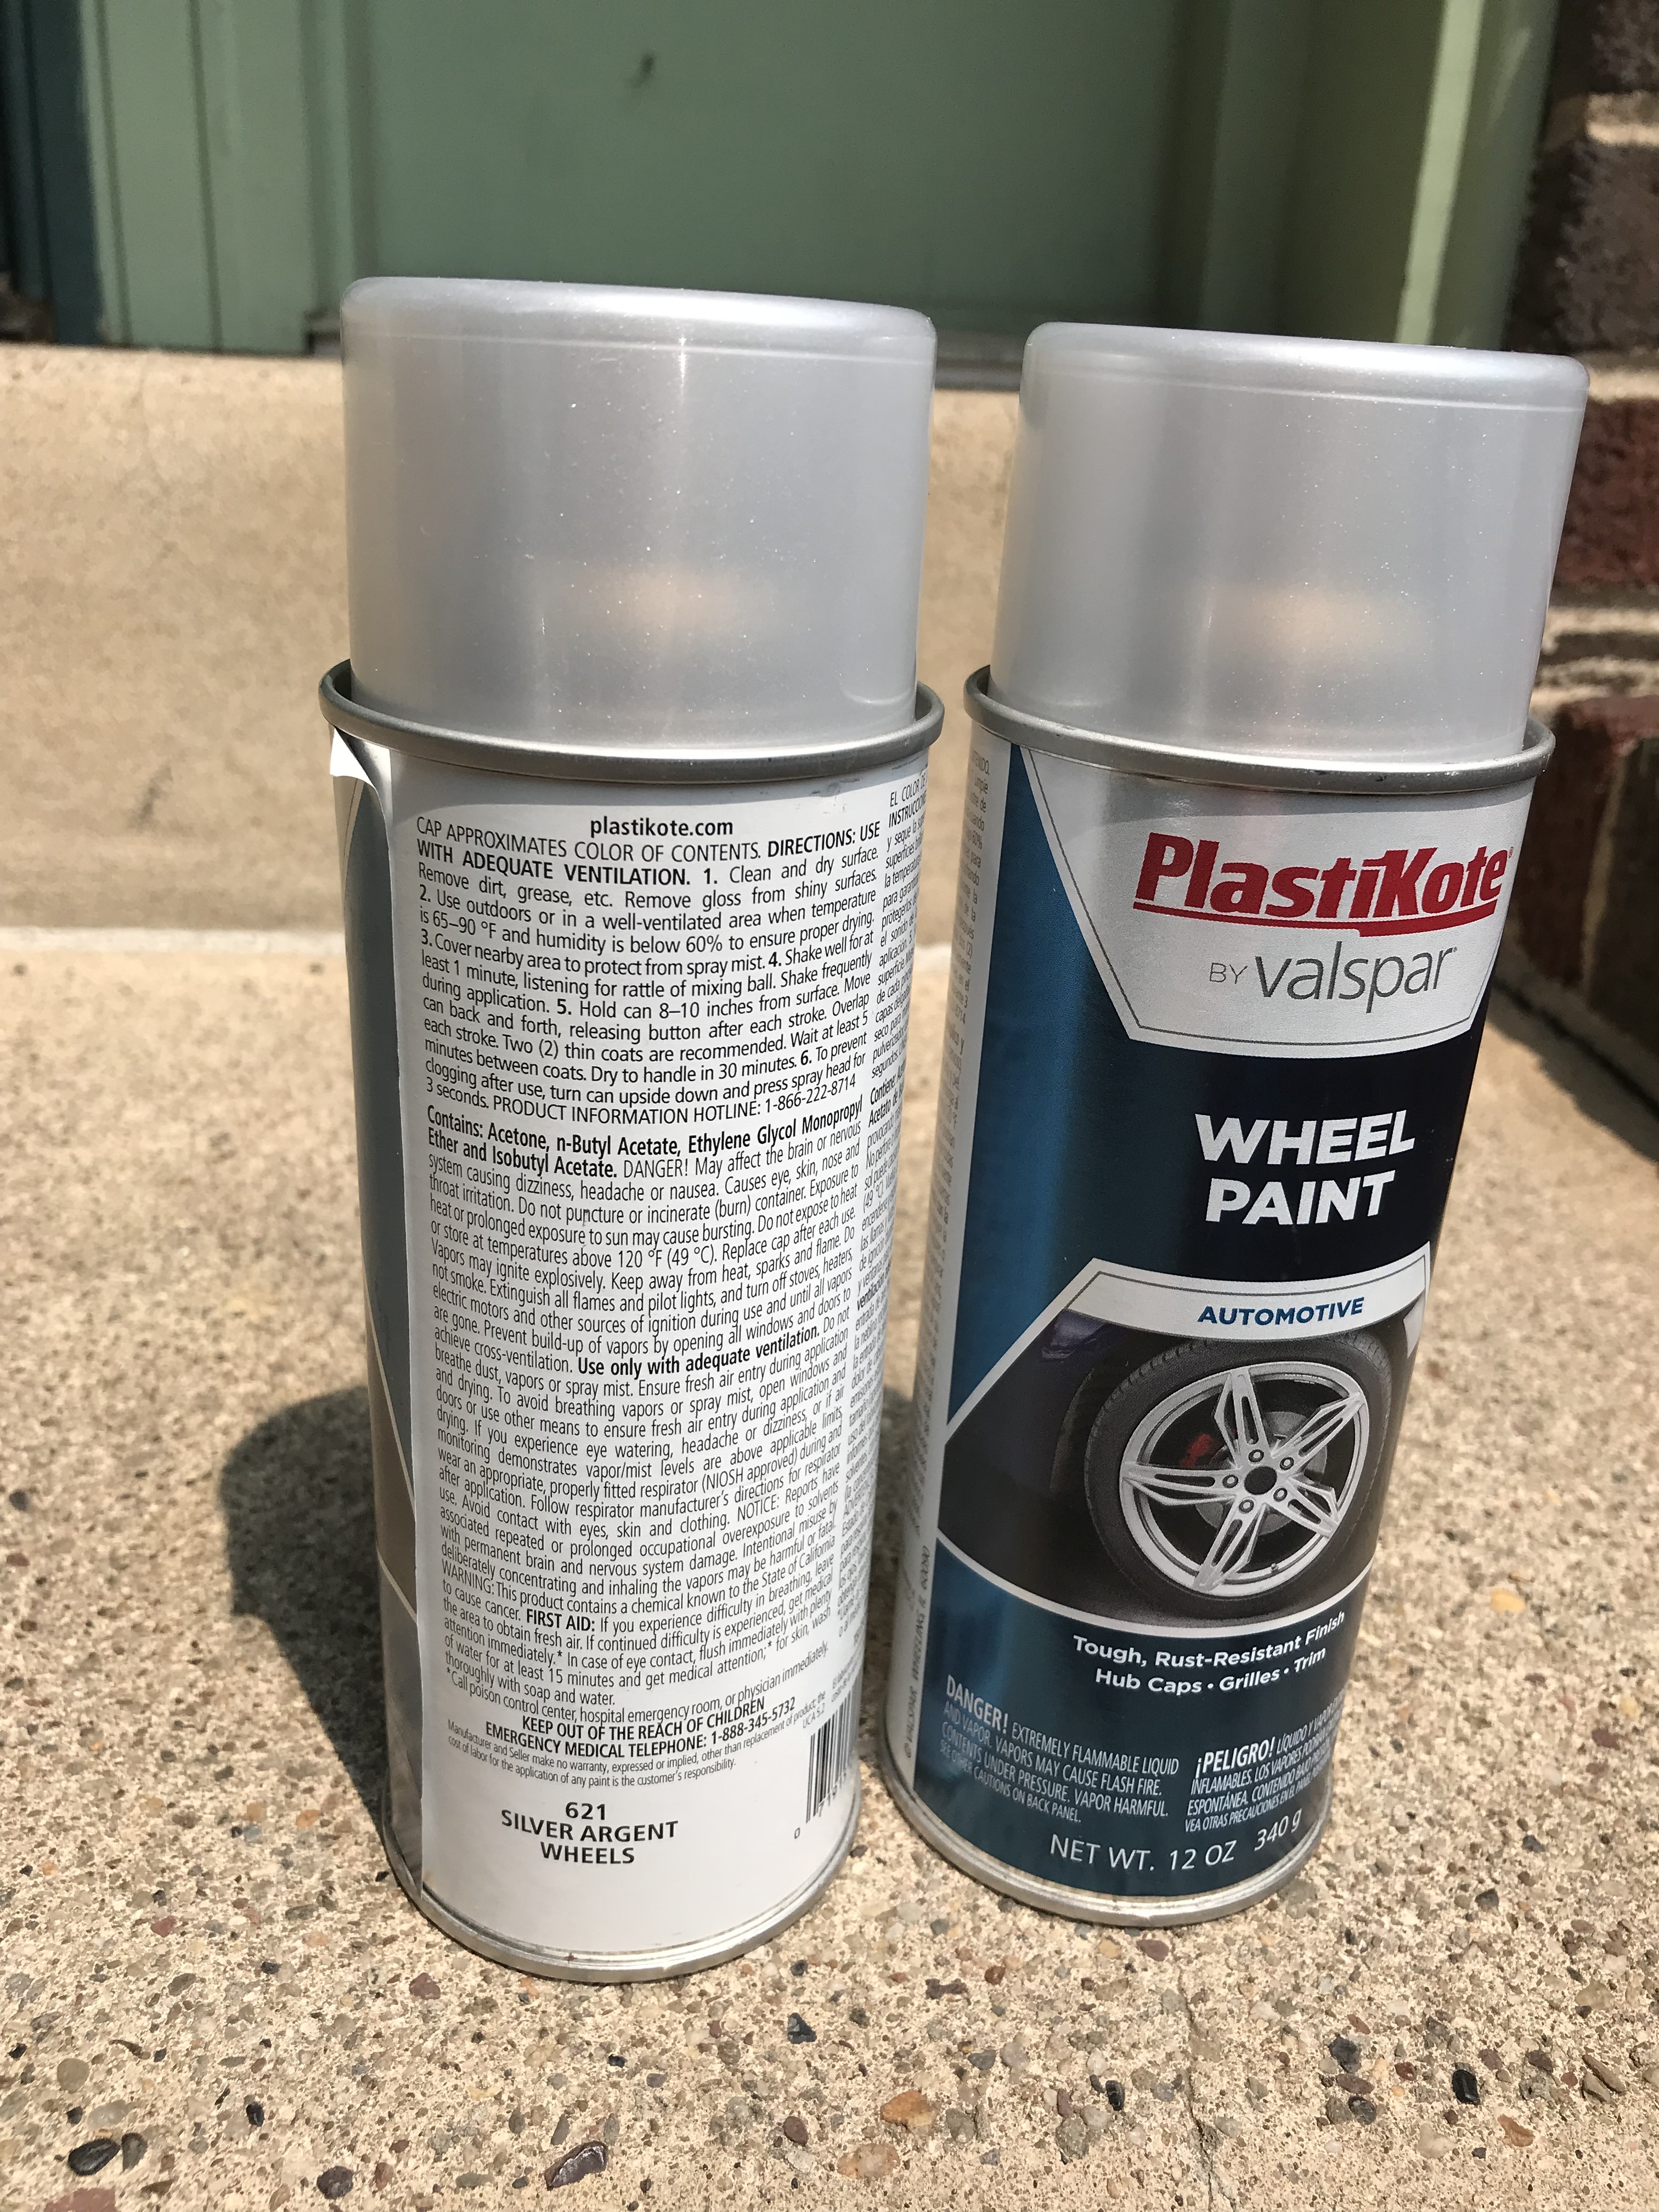
This allowed me to get the bumpers, valence and splash pan down from the upper garage shelf. Oh yeah! I have to treat and paint the inside of the front bumper where there’s a little rust. And, I have to paint the valence. Do you recall the brand name of the paint you used on the splash pan, Dick? Not that a slightly different shade would be all that visible… I’ll be needing a run to the hardware store, methinks, for some bolts. I bagged and labeled everything, but I did snap a couple.
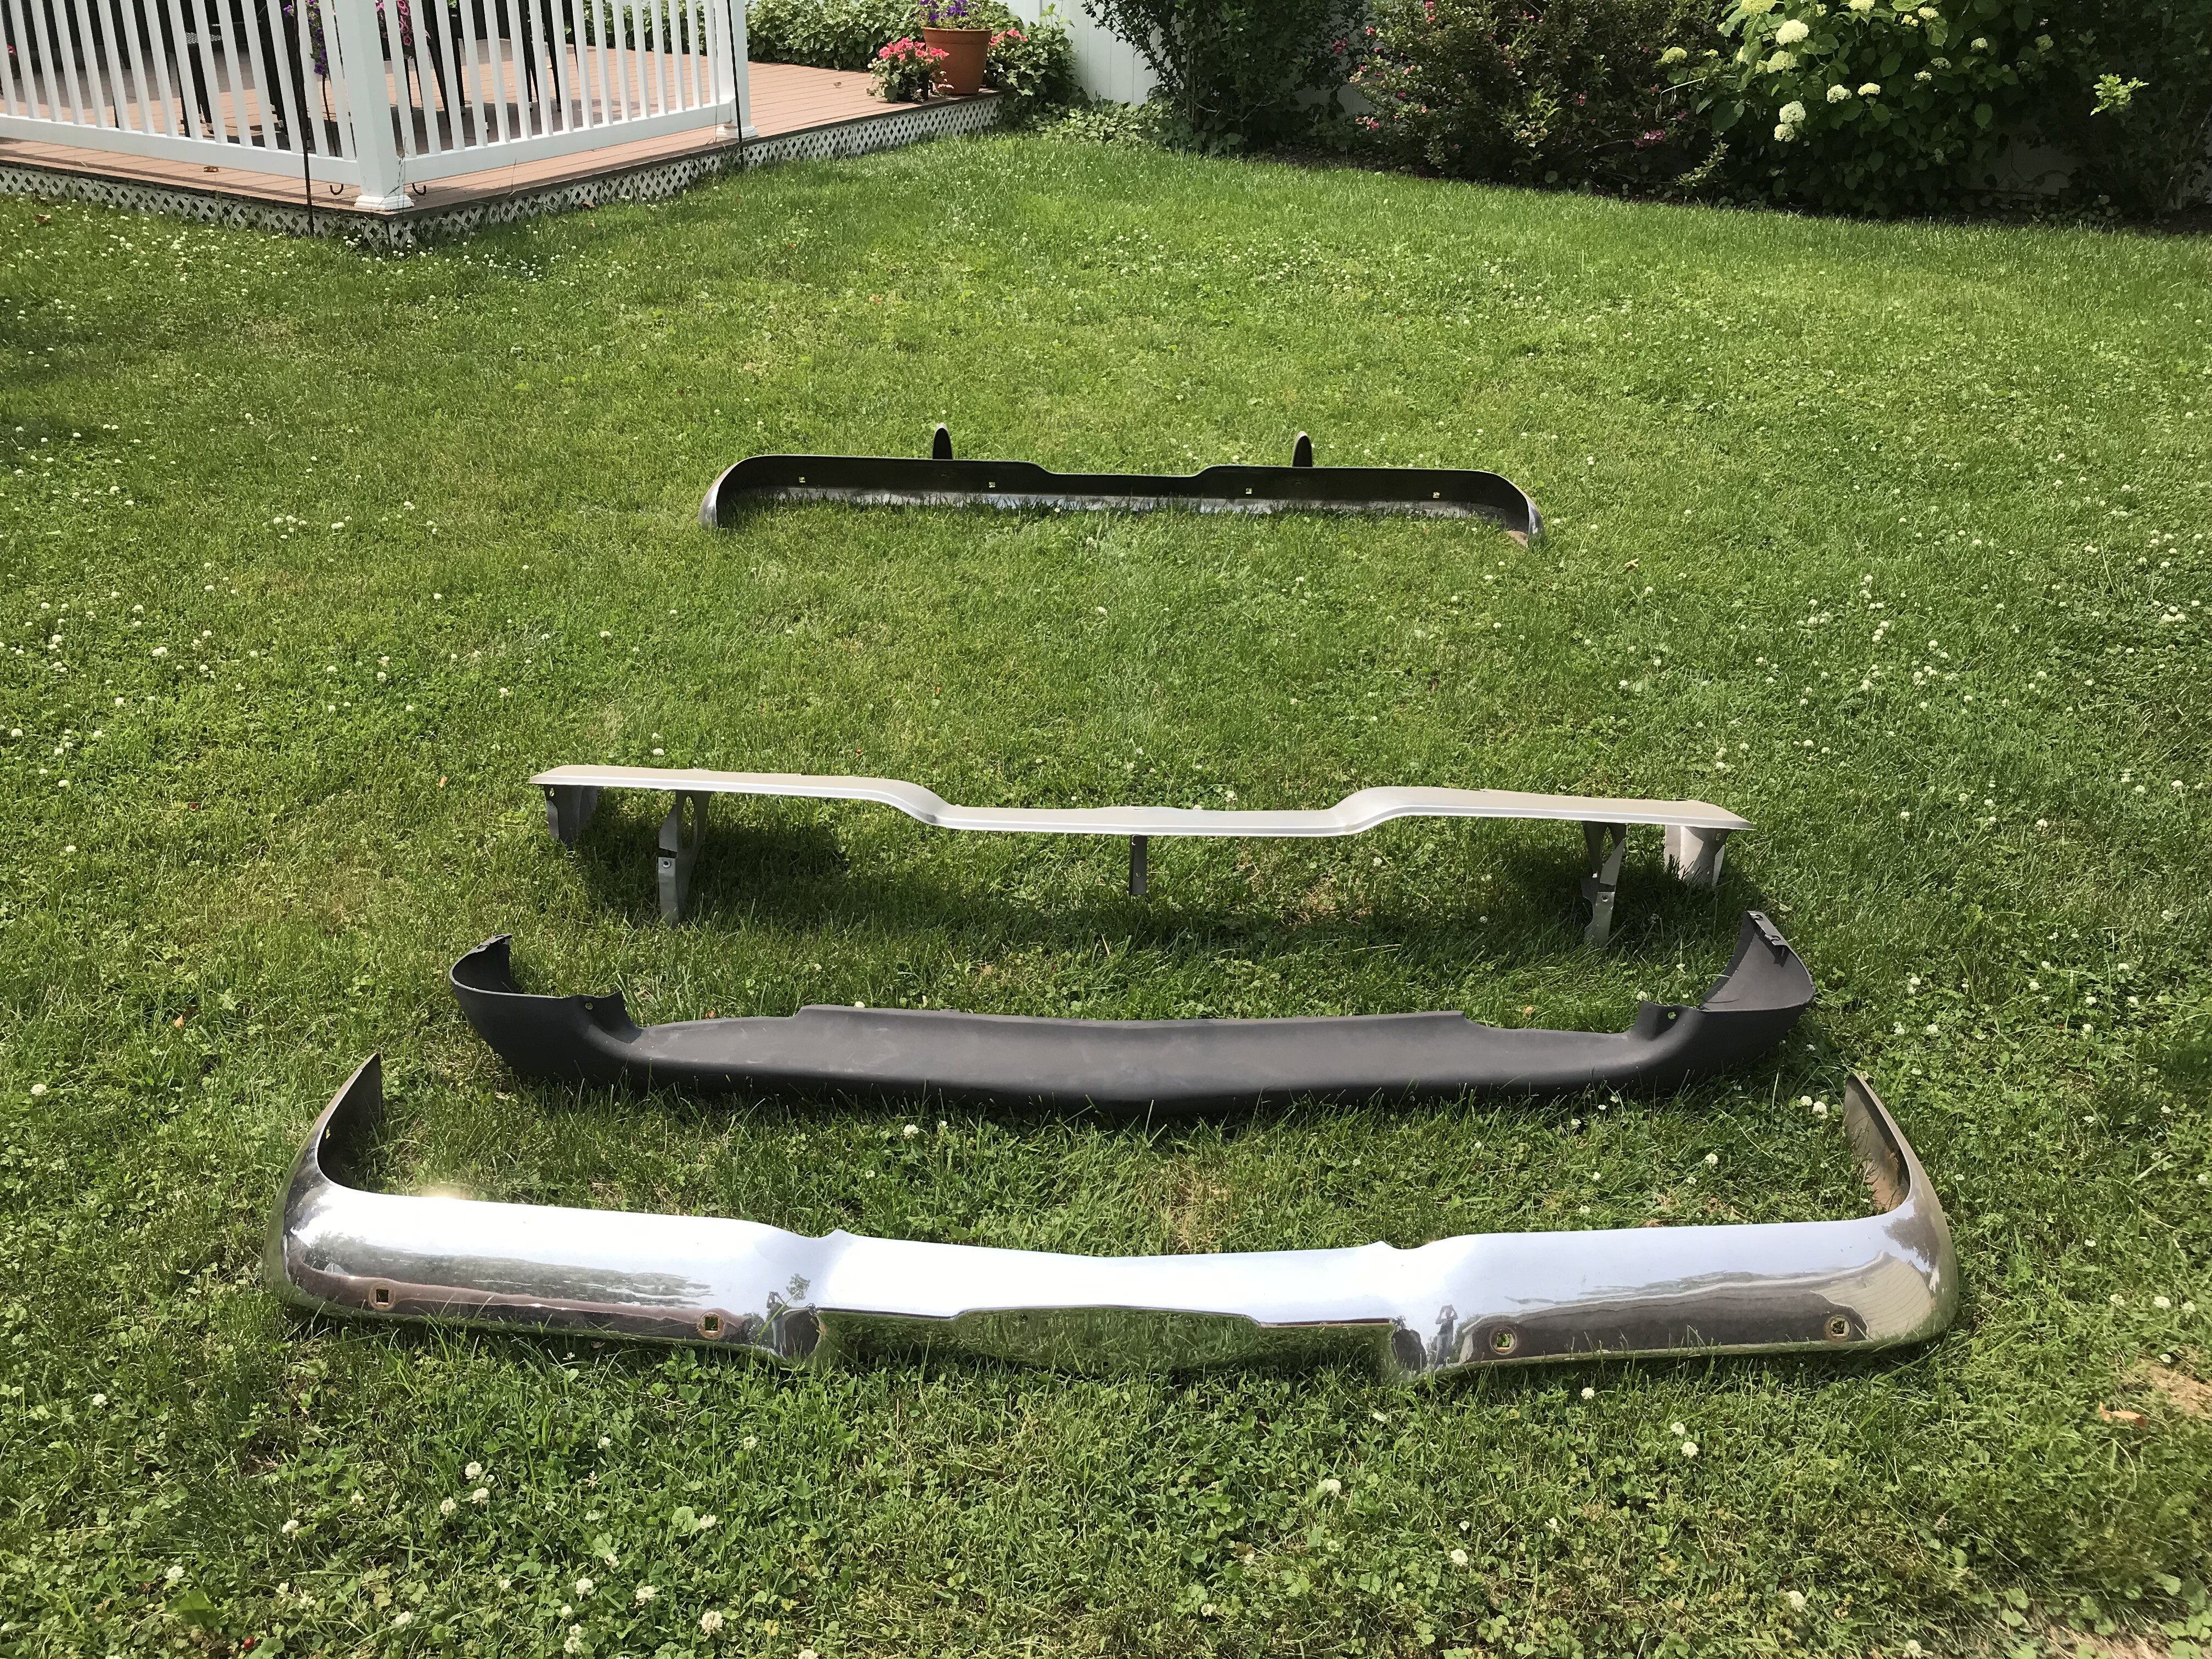

The hole alignment of this rear gravel shield from Gary Goers was perfect.
Came with push clips, too, although I resorted to using stainless hardware in the corners because the clips wouldn’t stay, given the steep curve. (sniff…) I miss Gary!
You are welcome Dan, just dont forget my hamburger and frosty. I always use Eastwood silver argent on my valence, splashpan and wheels. I also recommend thier silver epoxy encapsulator for the inside of the bumpers but the black is good too.