The TV gave up the ghost; time to wire up all the subsystems to the new one. The dryer gave up the ghost; had to take the basement door and door stops off, to get the new one down and install it. While sitting on the throne, I noticed that the linoleum tile was lifting adjacent to it. Yup, a leak; the toilet’s off, the tile is up and I am surveying the damage.
Needless to say, this is not a Faulkner weekend. (sigh)…
At least you are paying attention to things. I know of a guy that lost a sister in law to a toilet collapse. A funny story… I wish I could tell it like he did. Something like ‘She rode the toilet like it was a hobby horse’, and the flooring and plumbing gave away. He doesn’t tell this story the same way when his wife is in the room.Keep up the good work, I enjoy reading this thread.
Wow, I’d love to hear that story after your bud has a couple of Colorado Natives in him!
Thanks, Rick. Hey, do me a favor, and get Mr. Quinn to comment on this thread? And have him send me his build card while he’s at it!
Dan
Okay, Will do, john is at the Firefighters car show today. I was going to go also when a grand daughter fishing trip was planned. I love fishing and catching.
The new TV is hooked up, I installed the gas dryer (and the basement door stop and door put back on, which I took off to get the dryer down there), the bathroom floor repaired and commode put back on. Now, back to fun stuff.
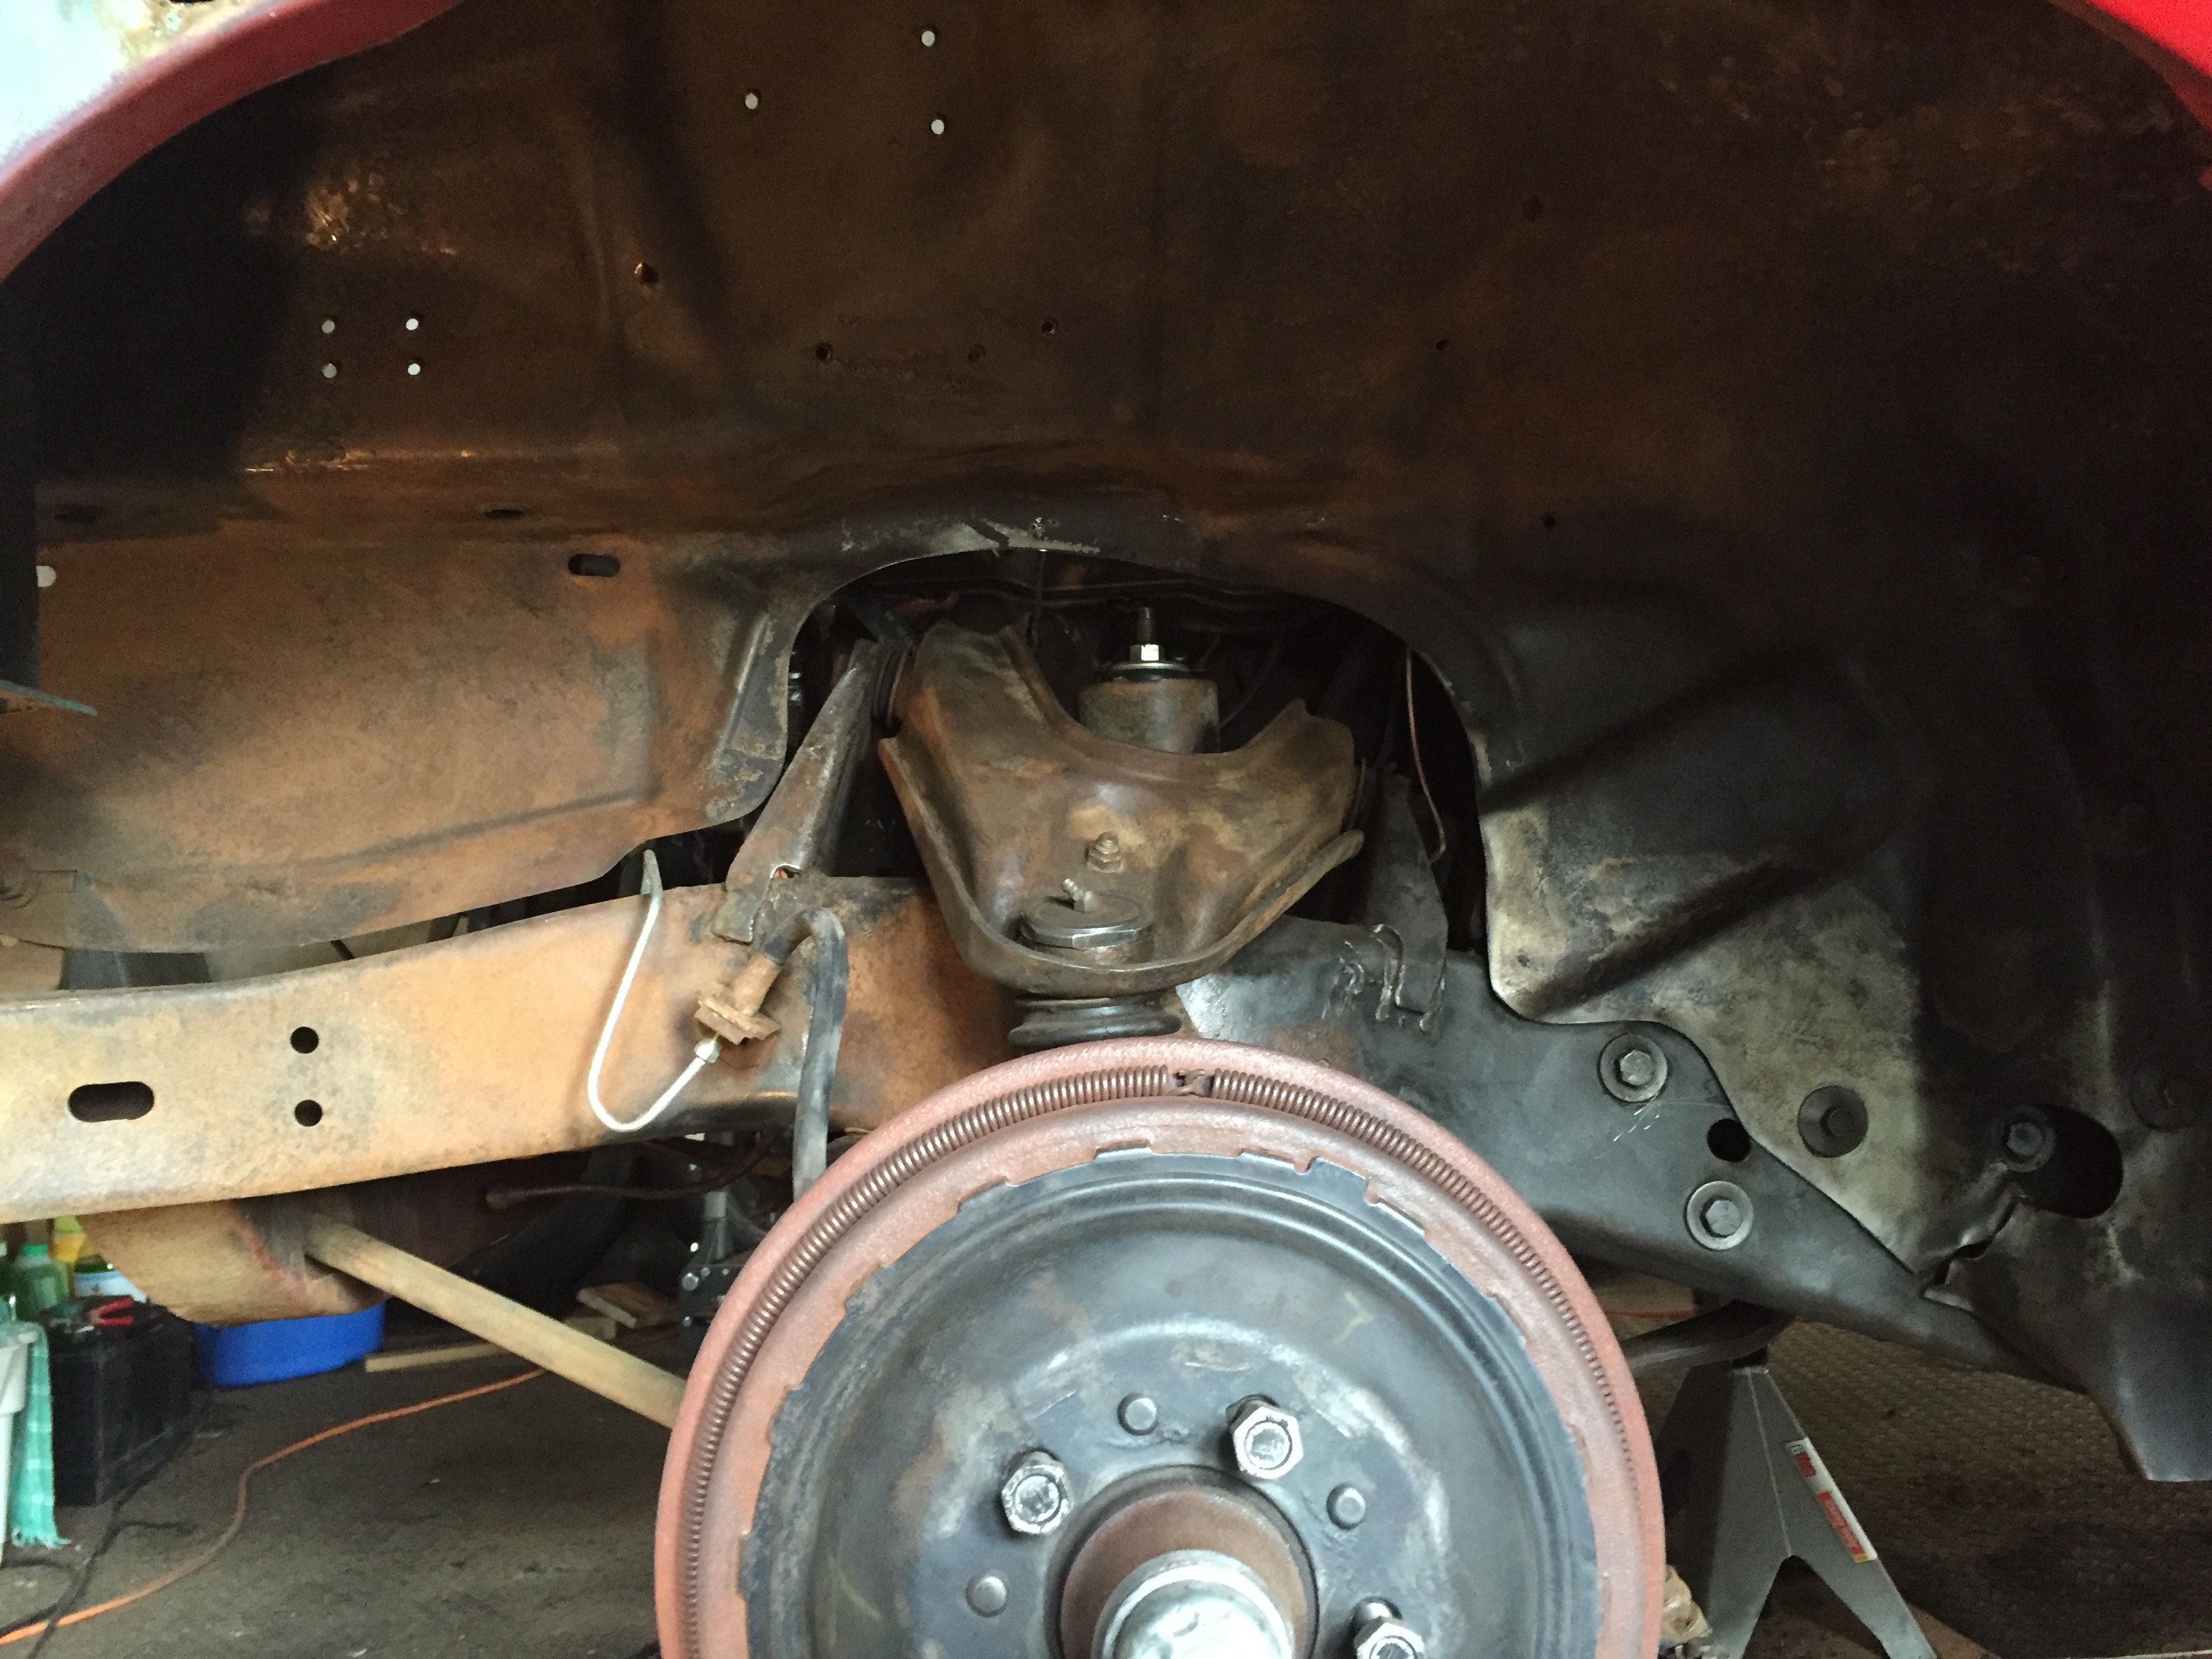
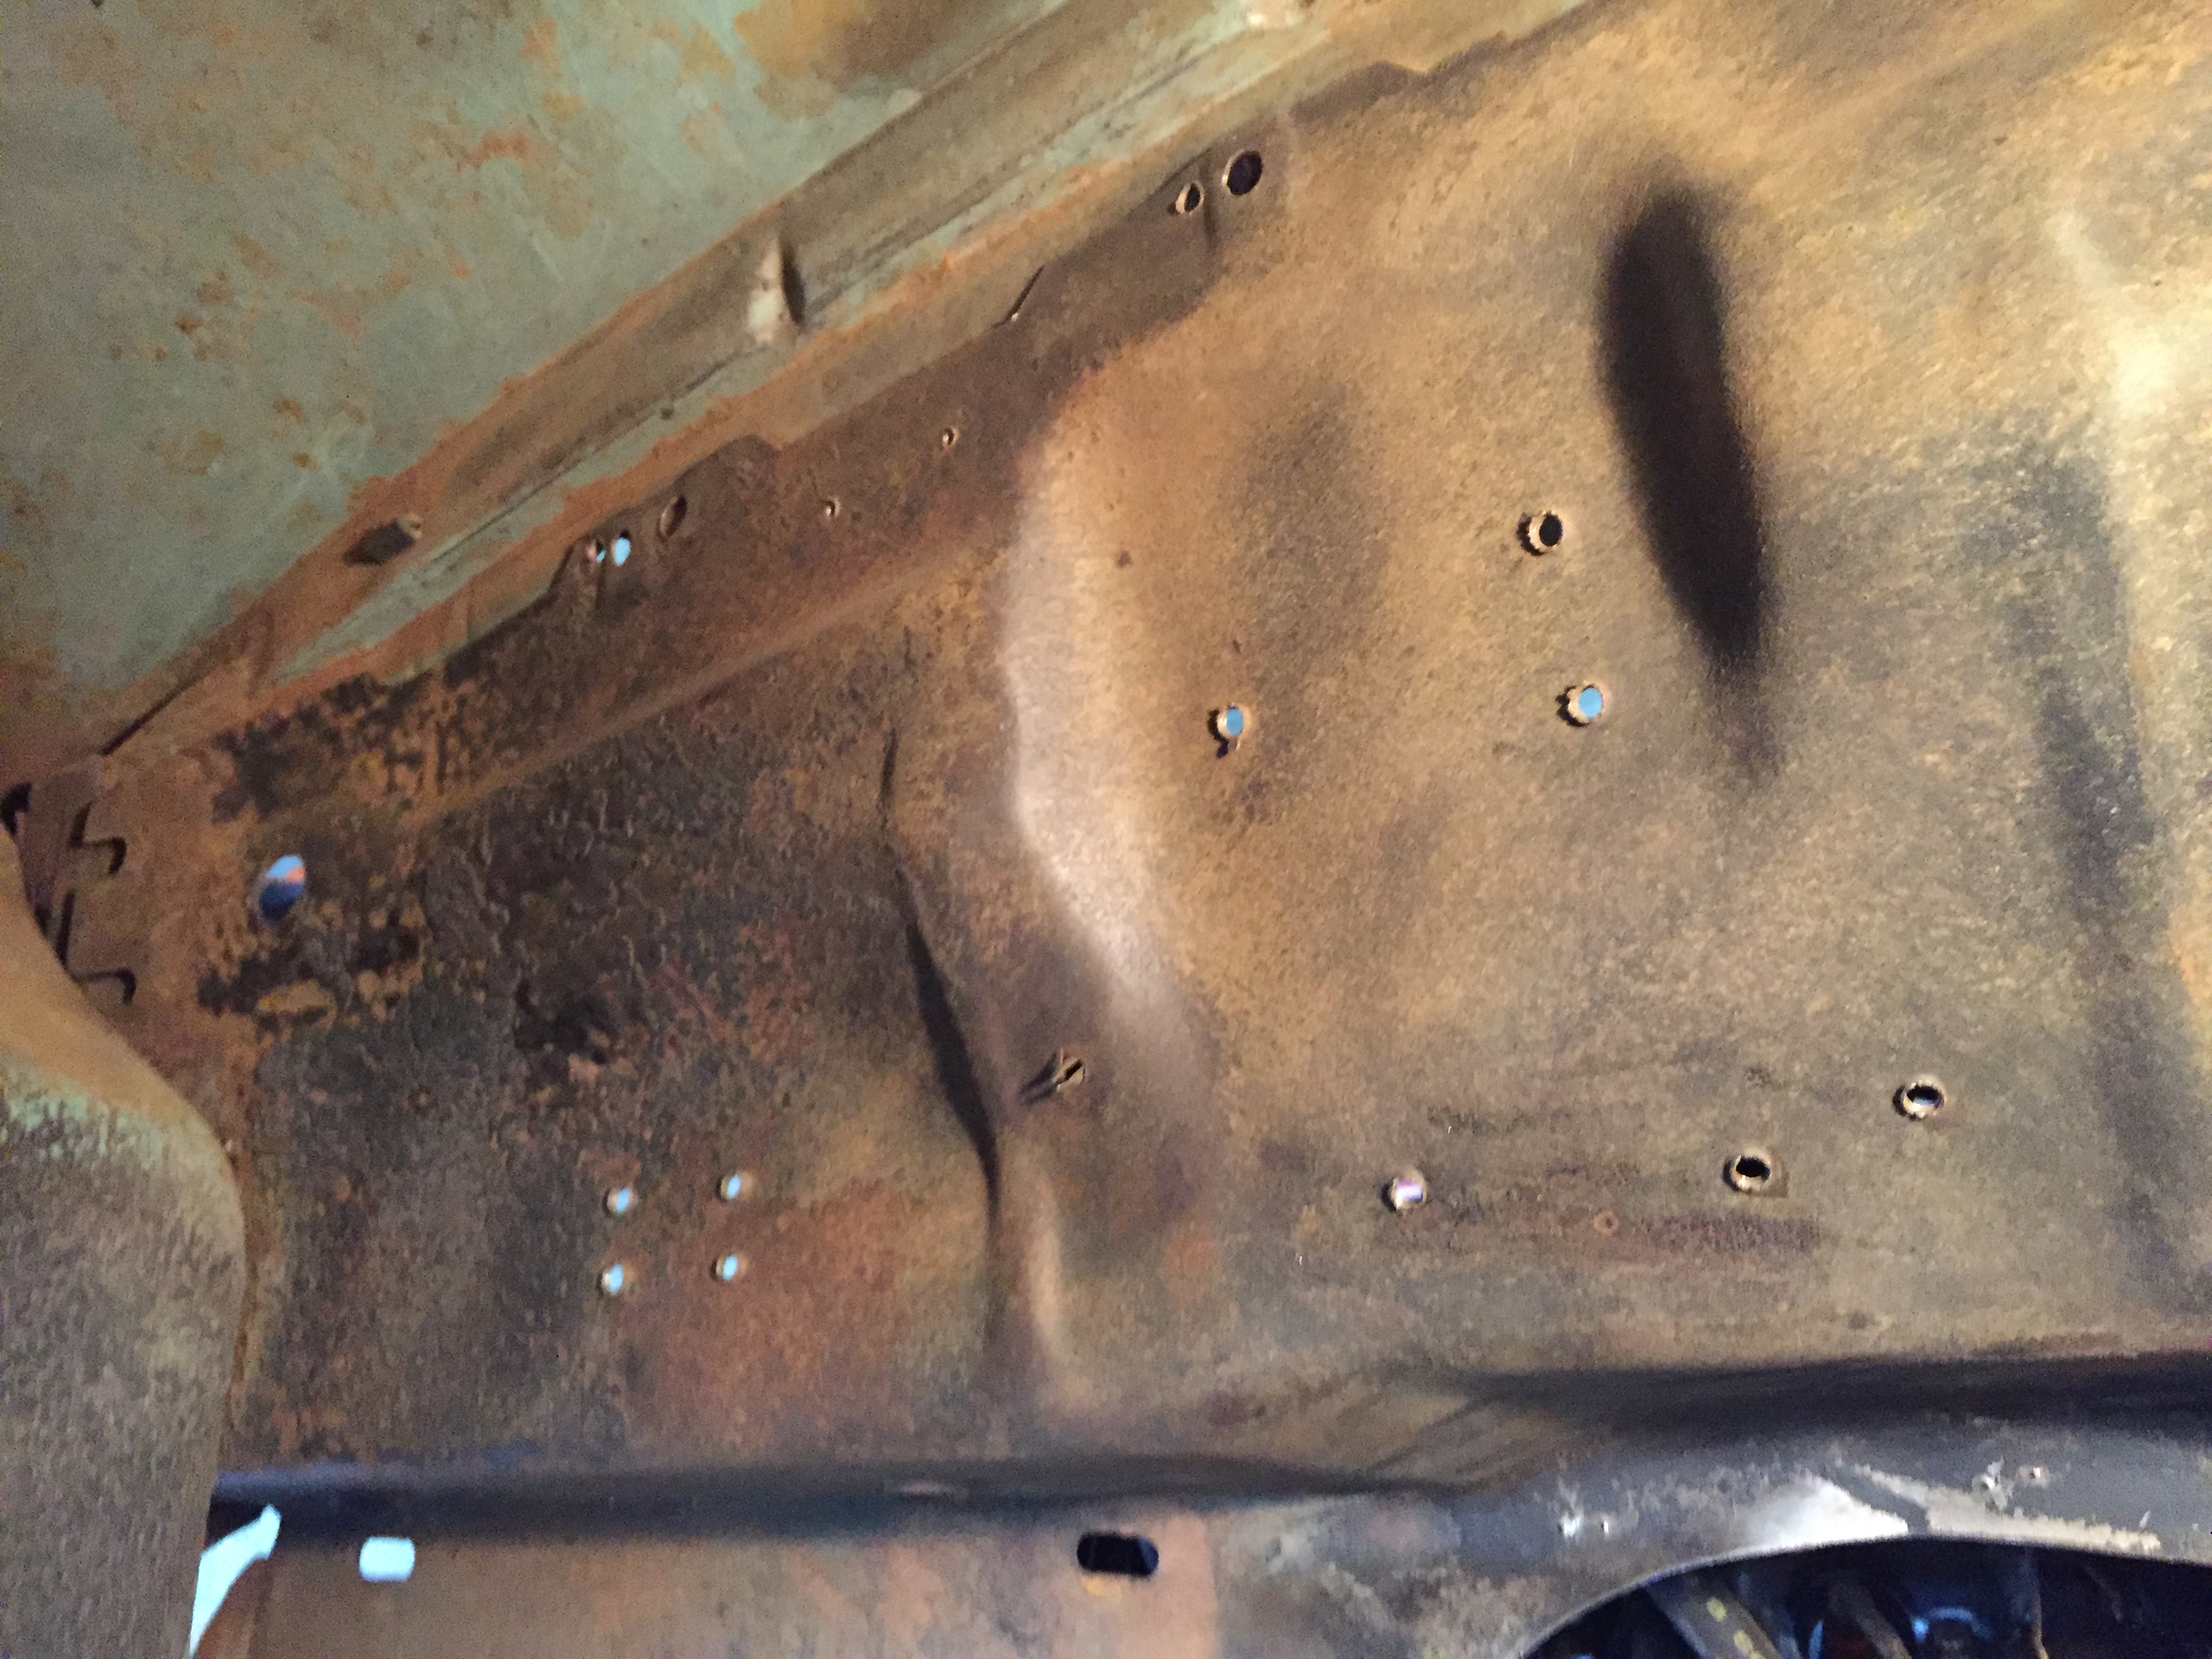
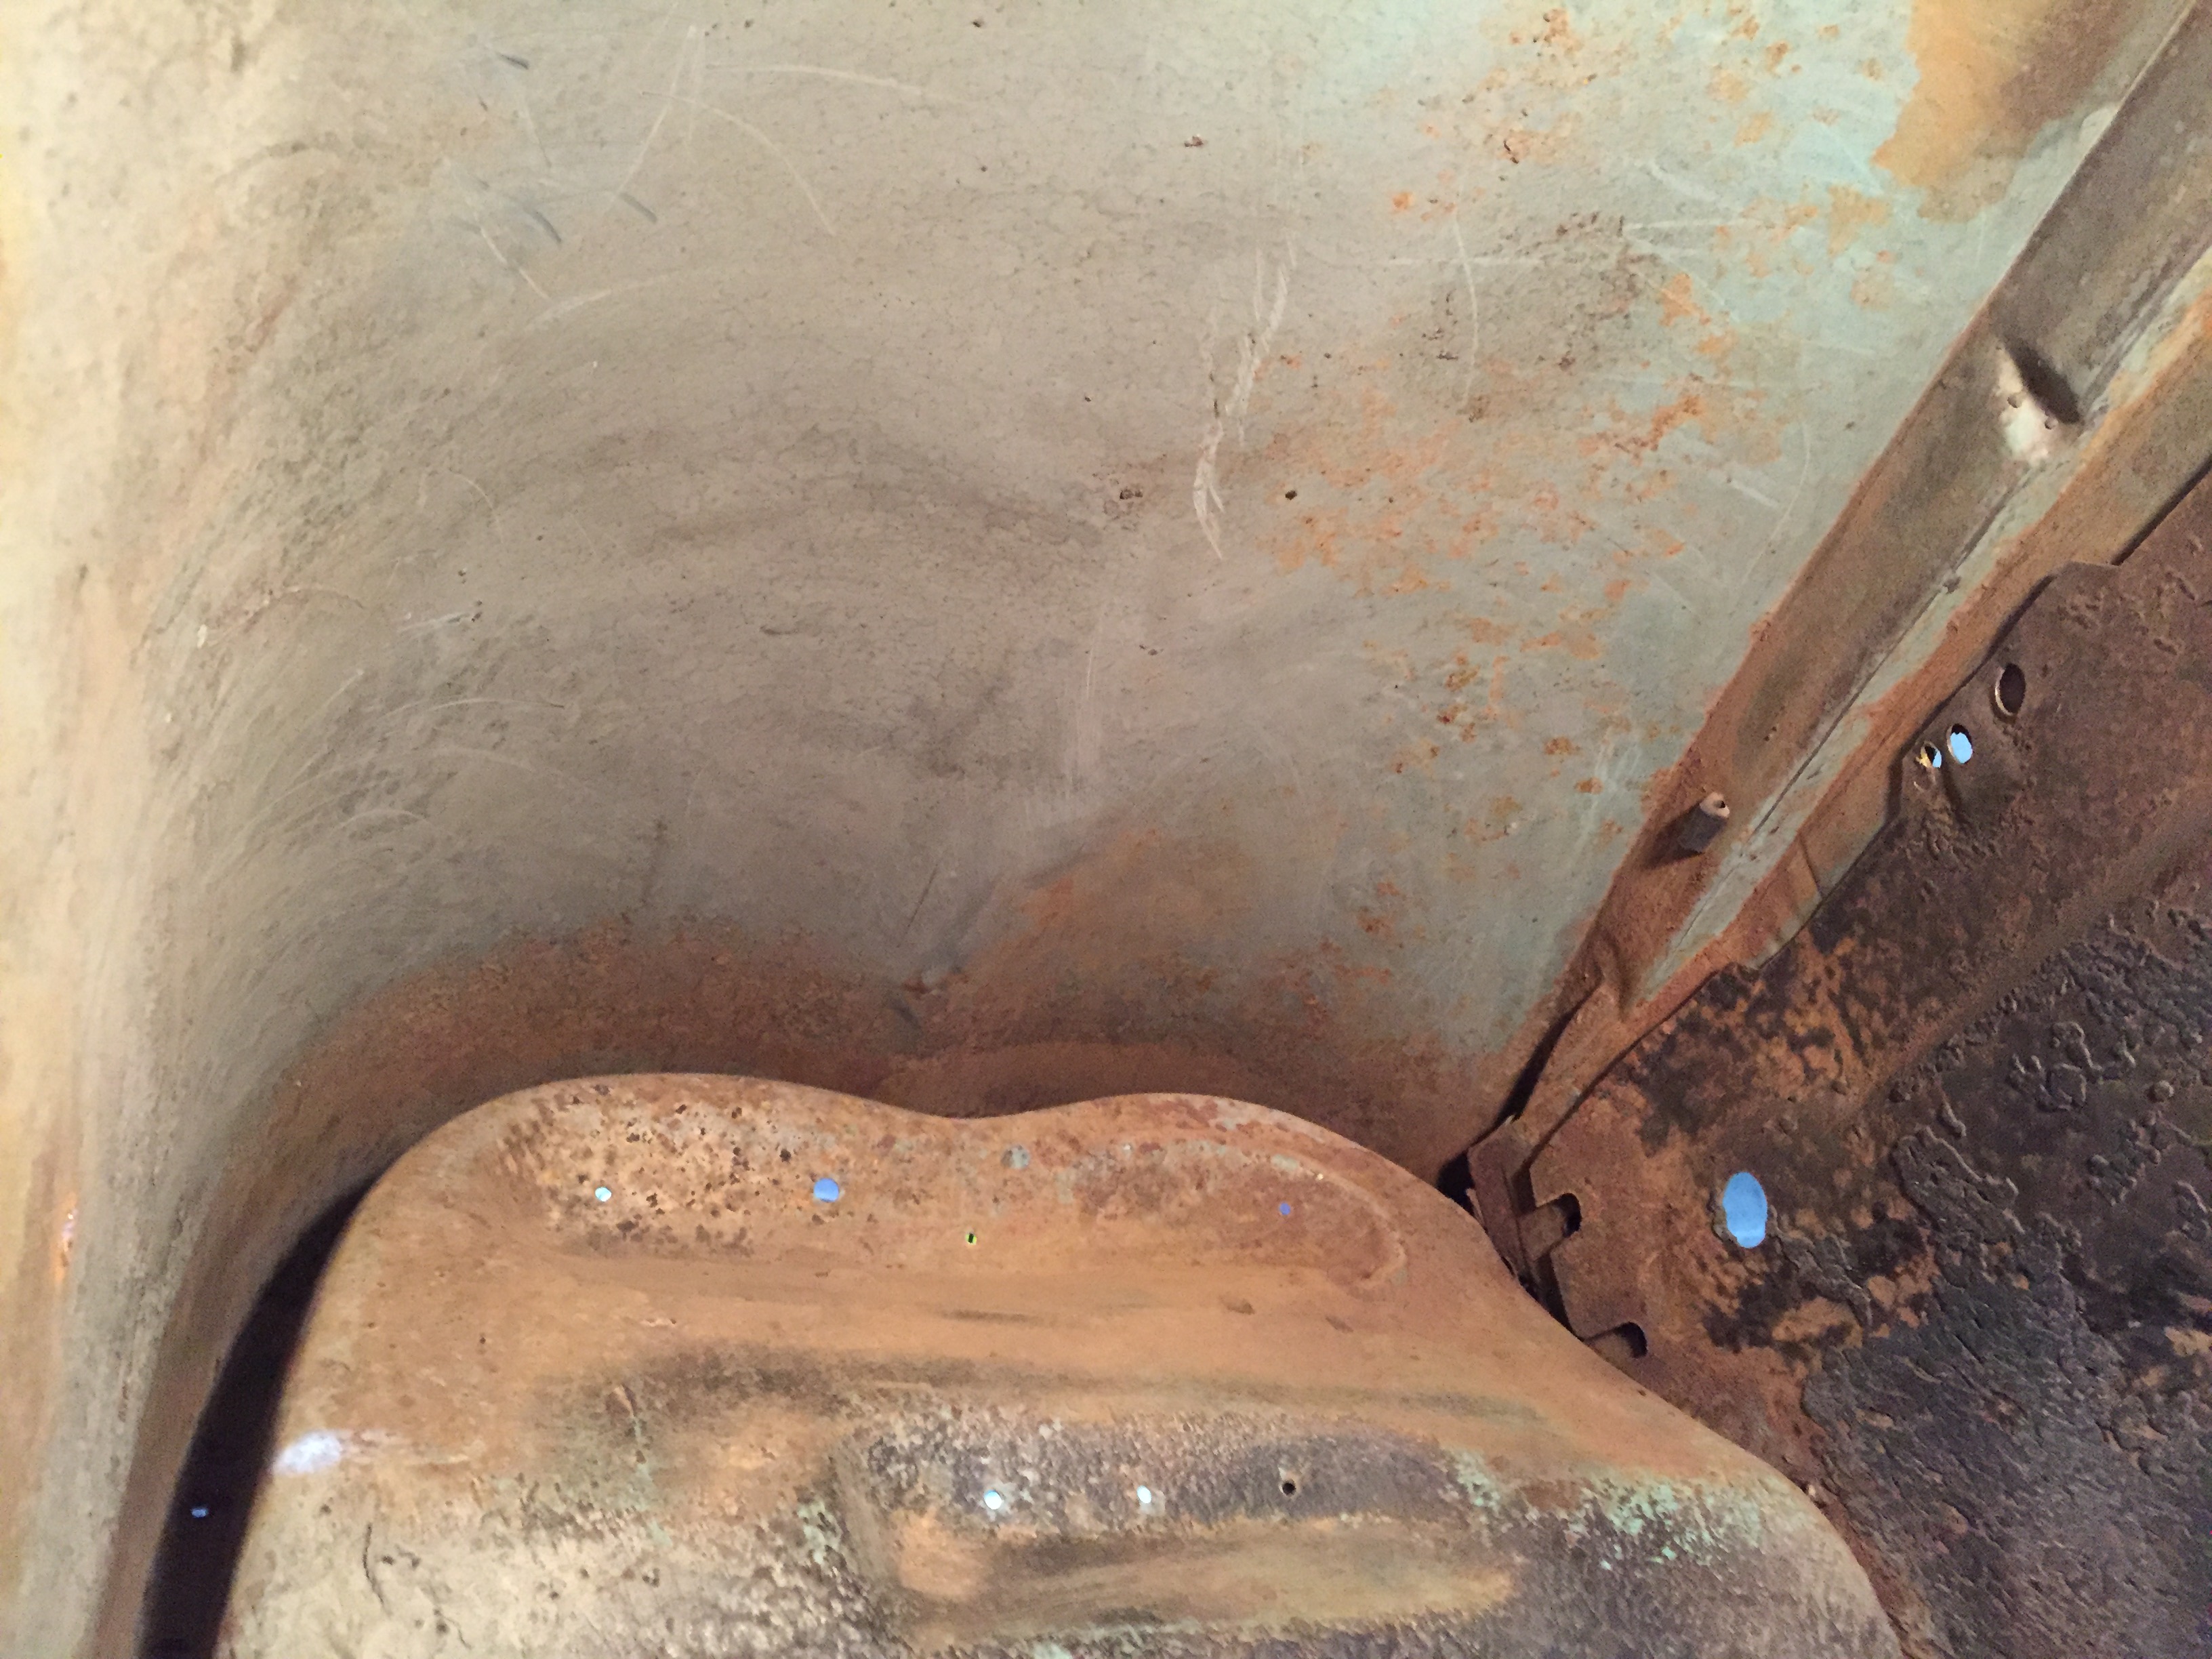
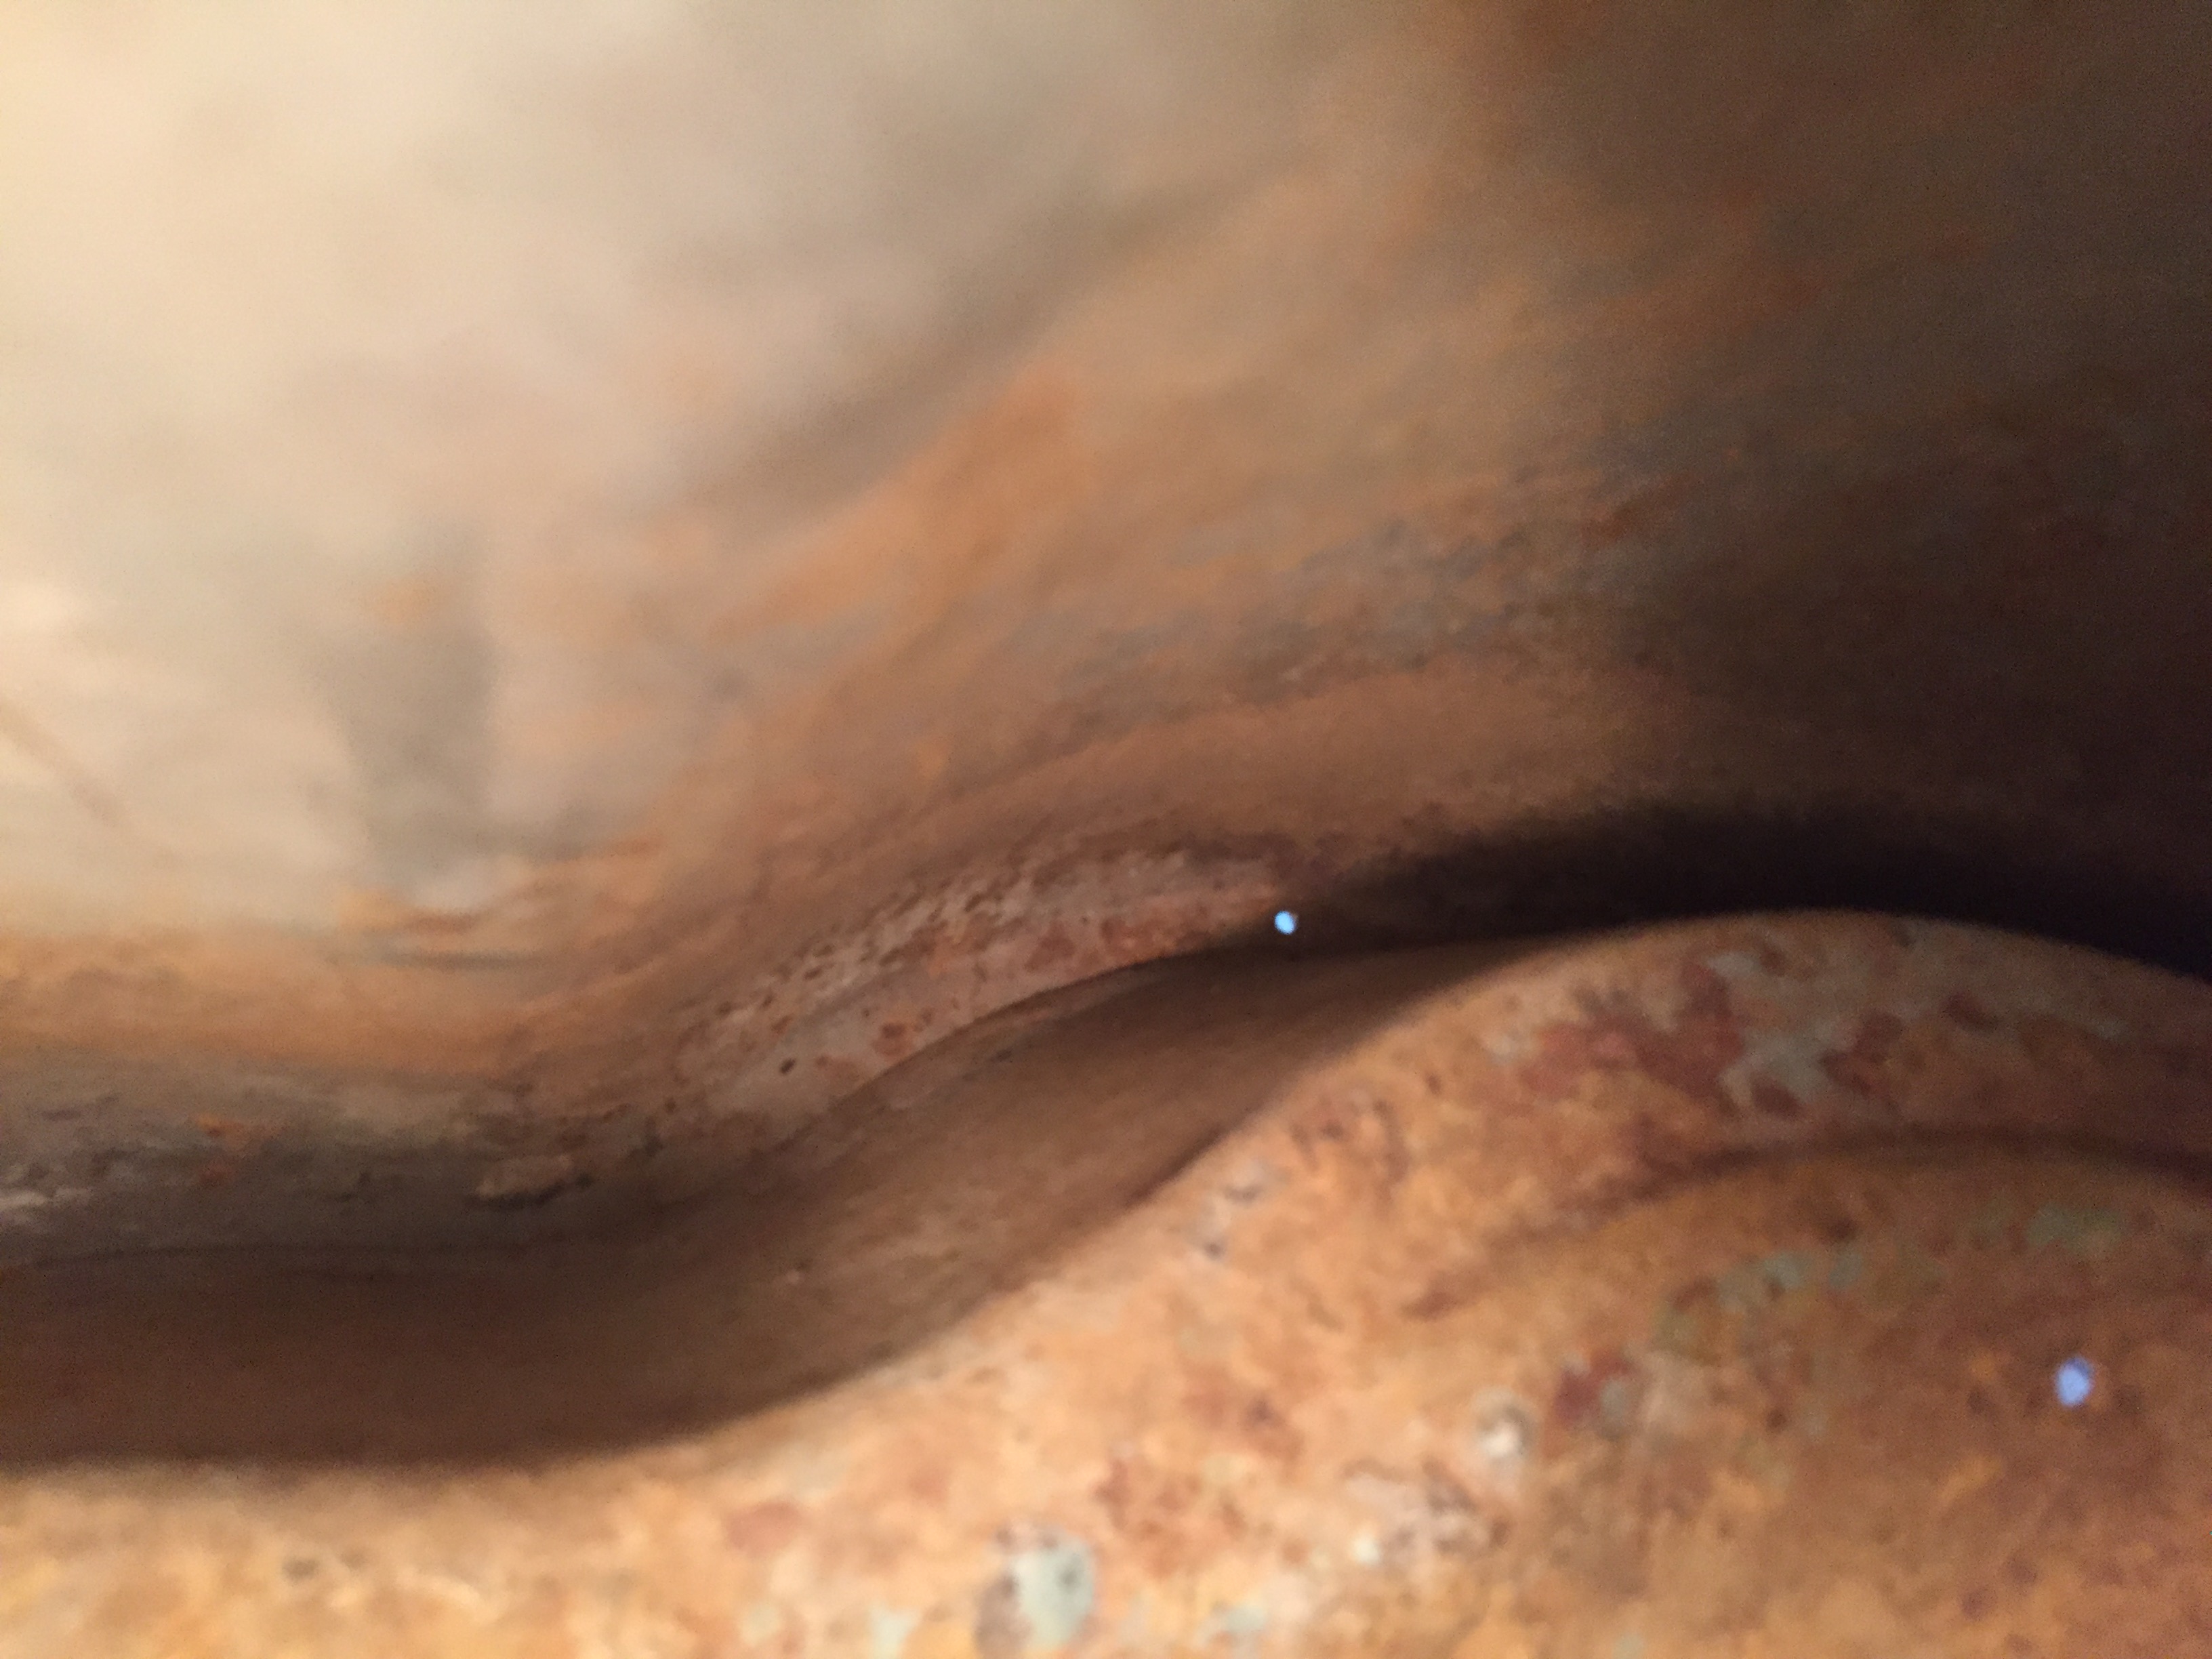
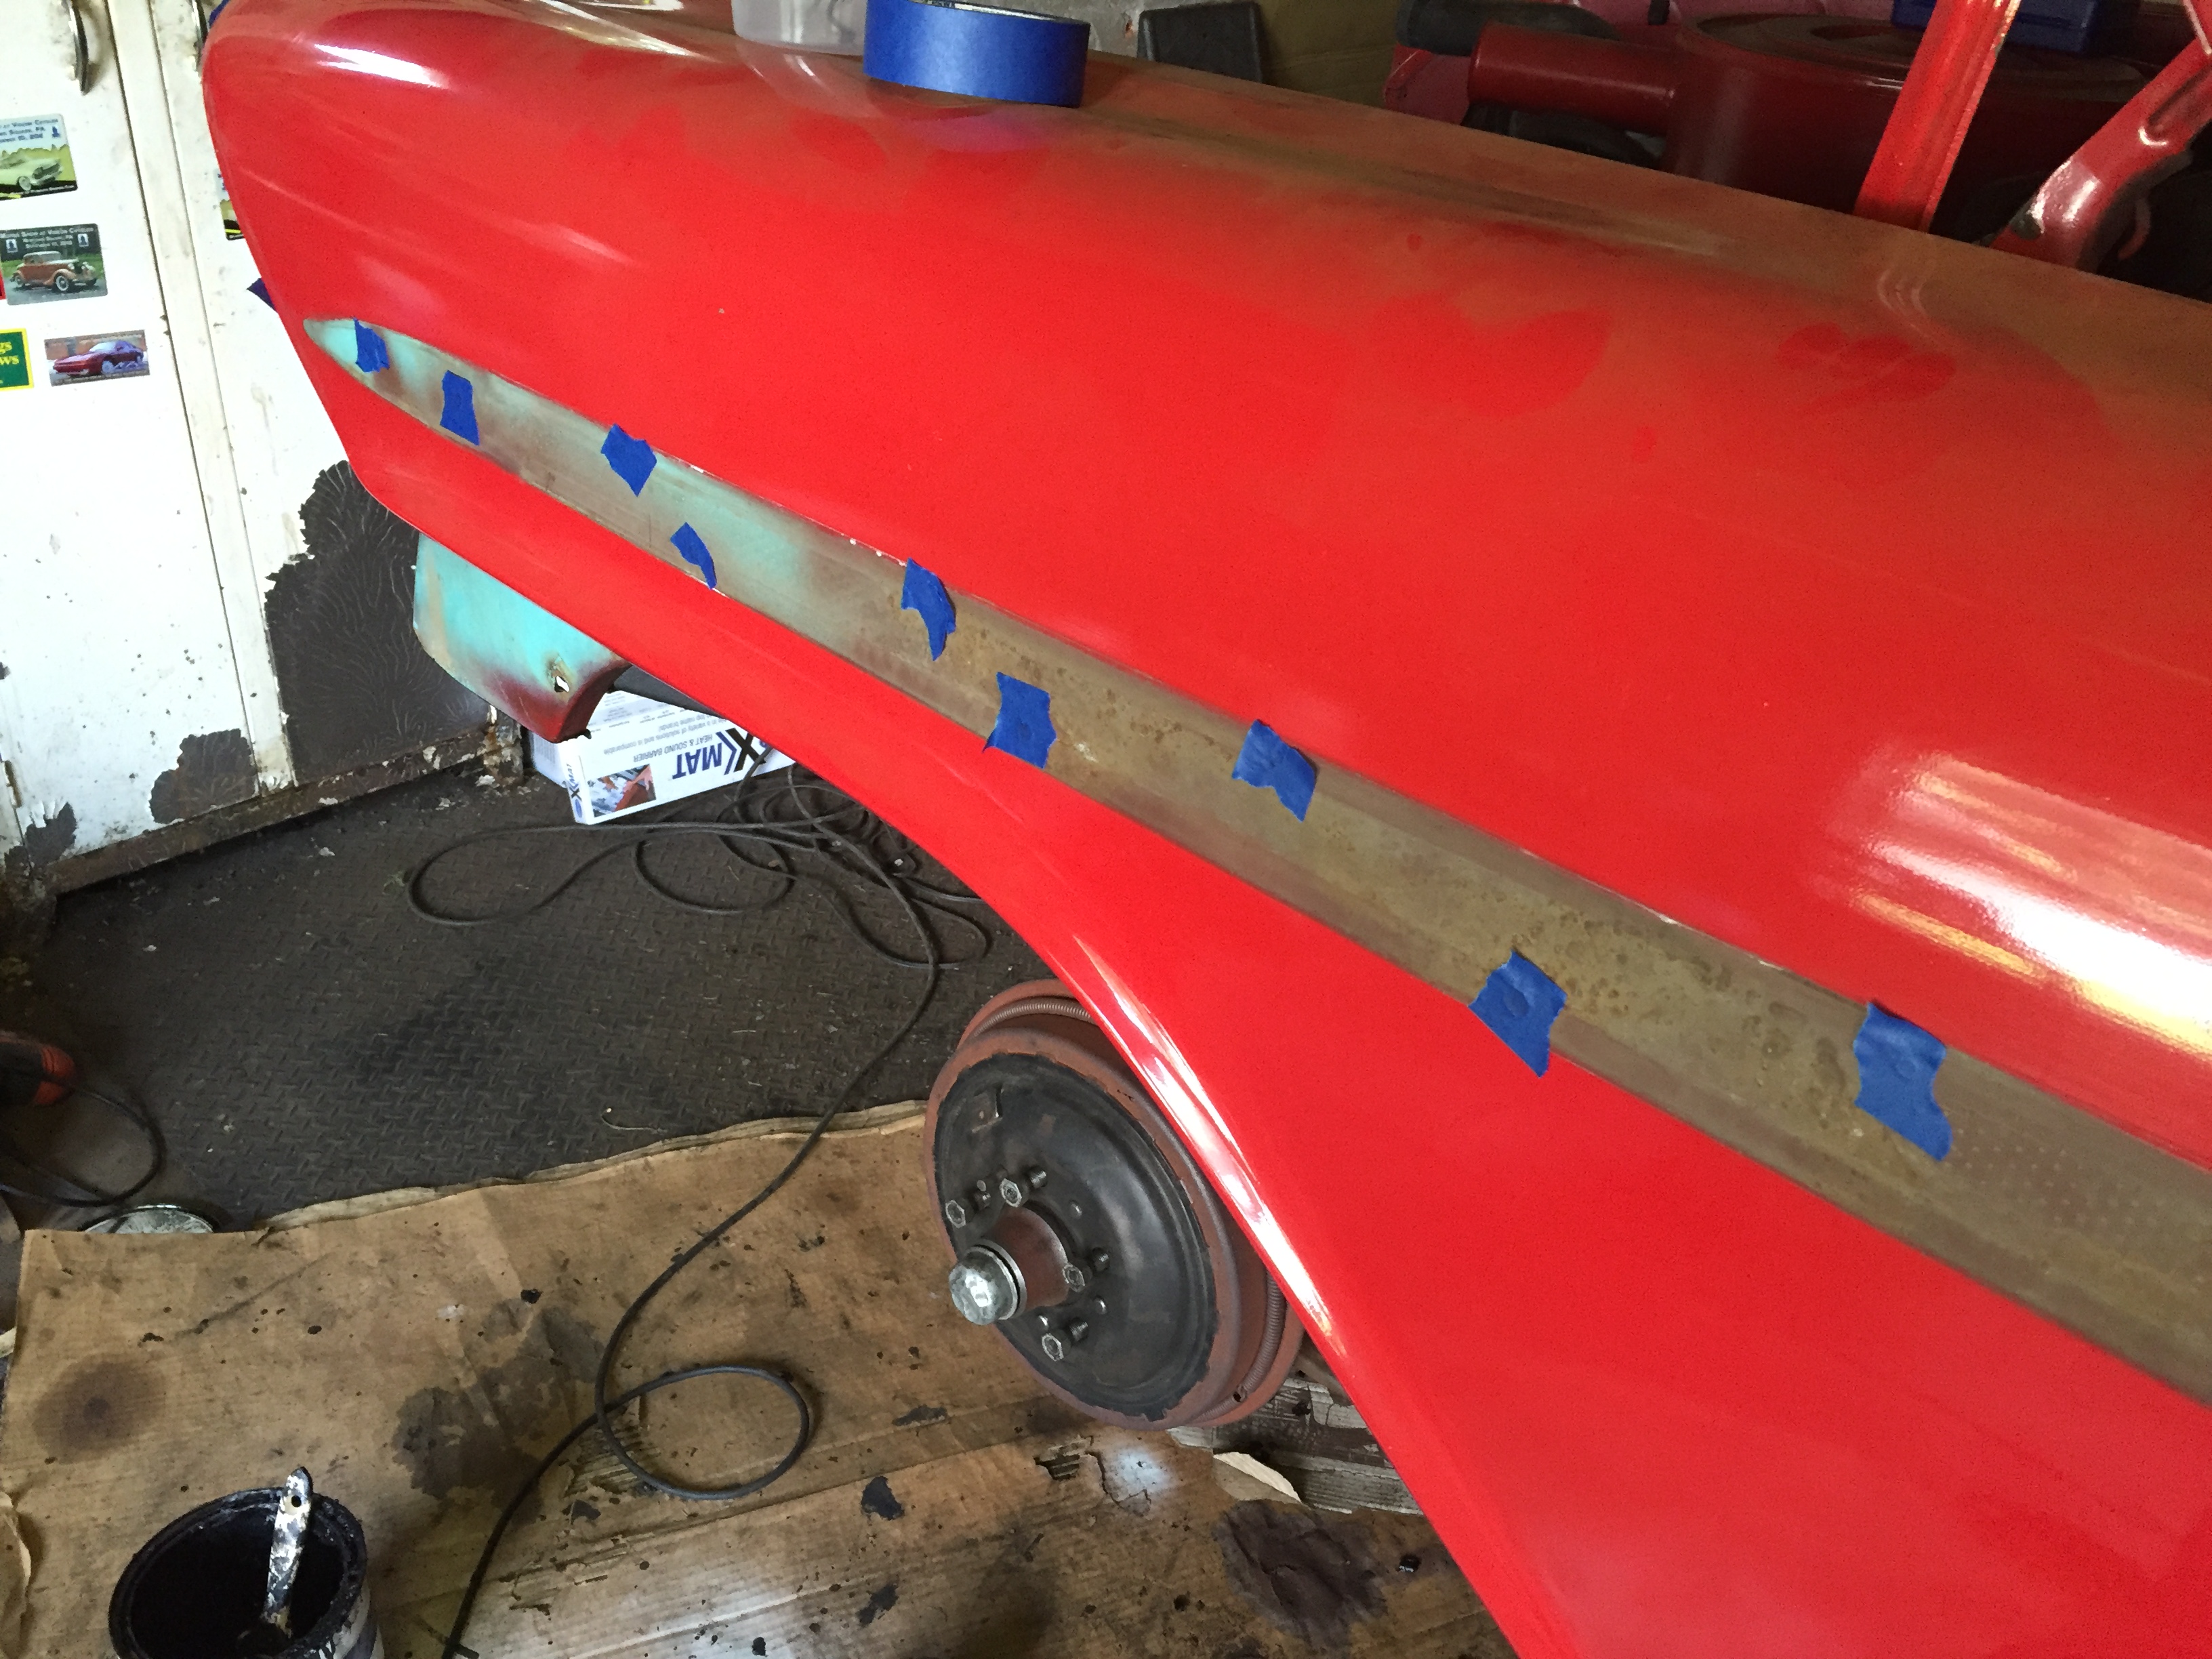
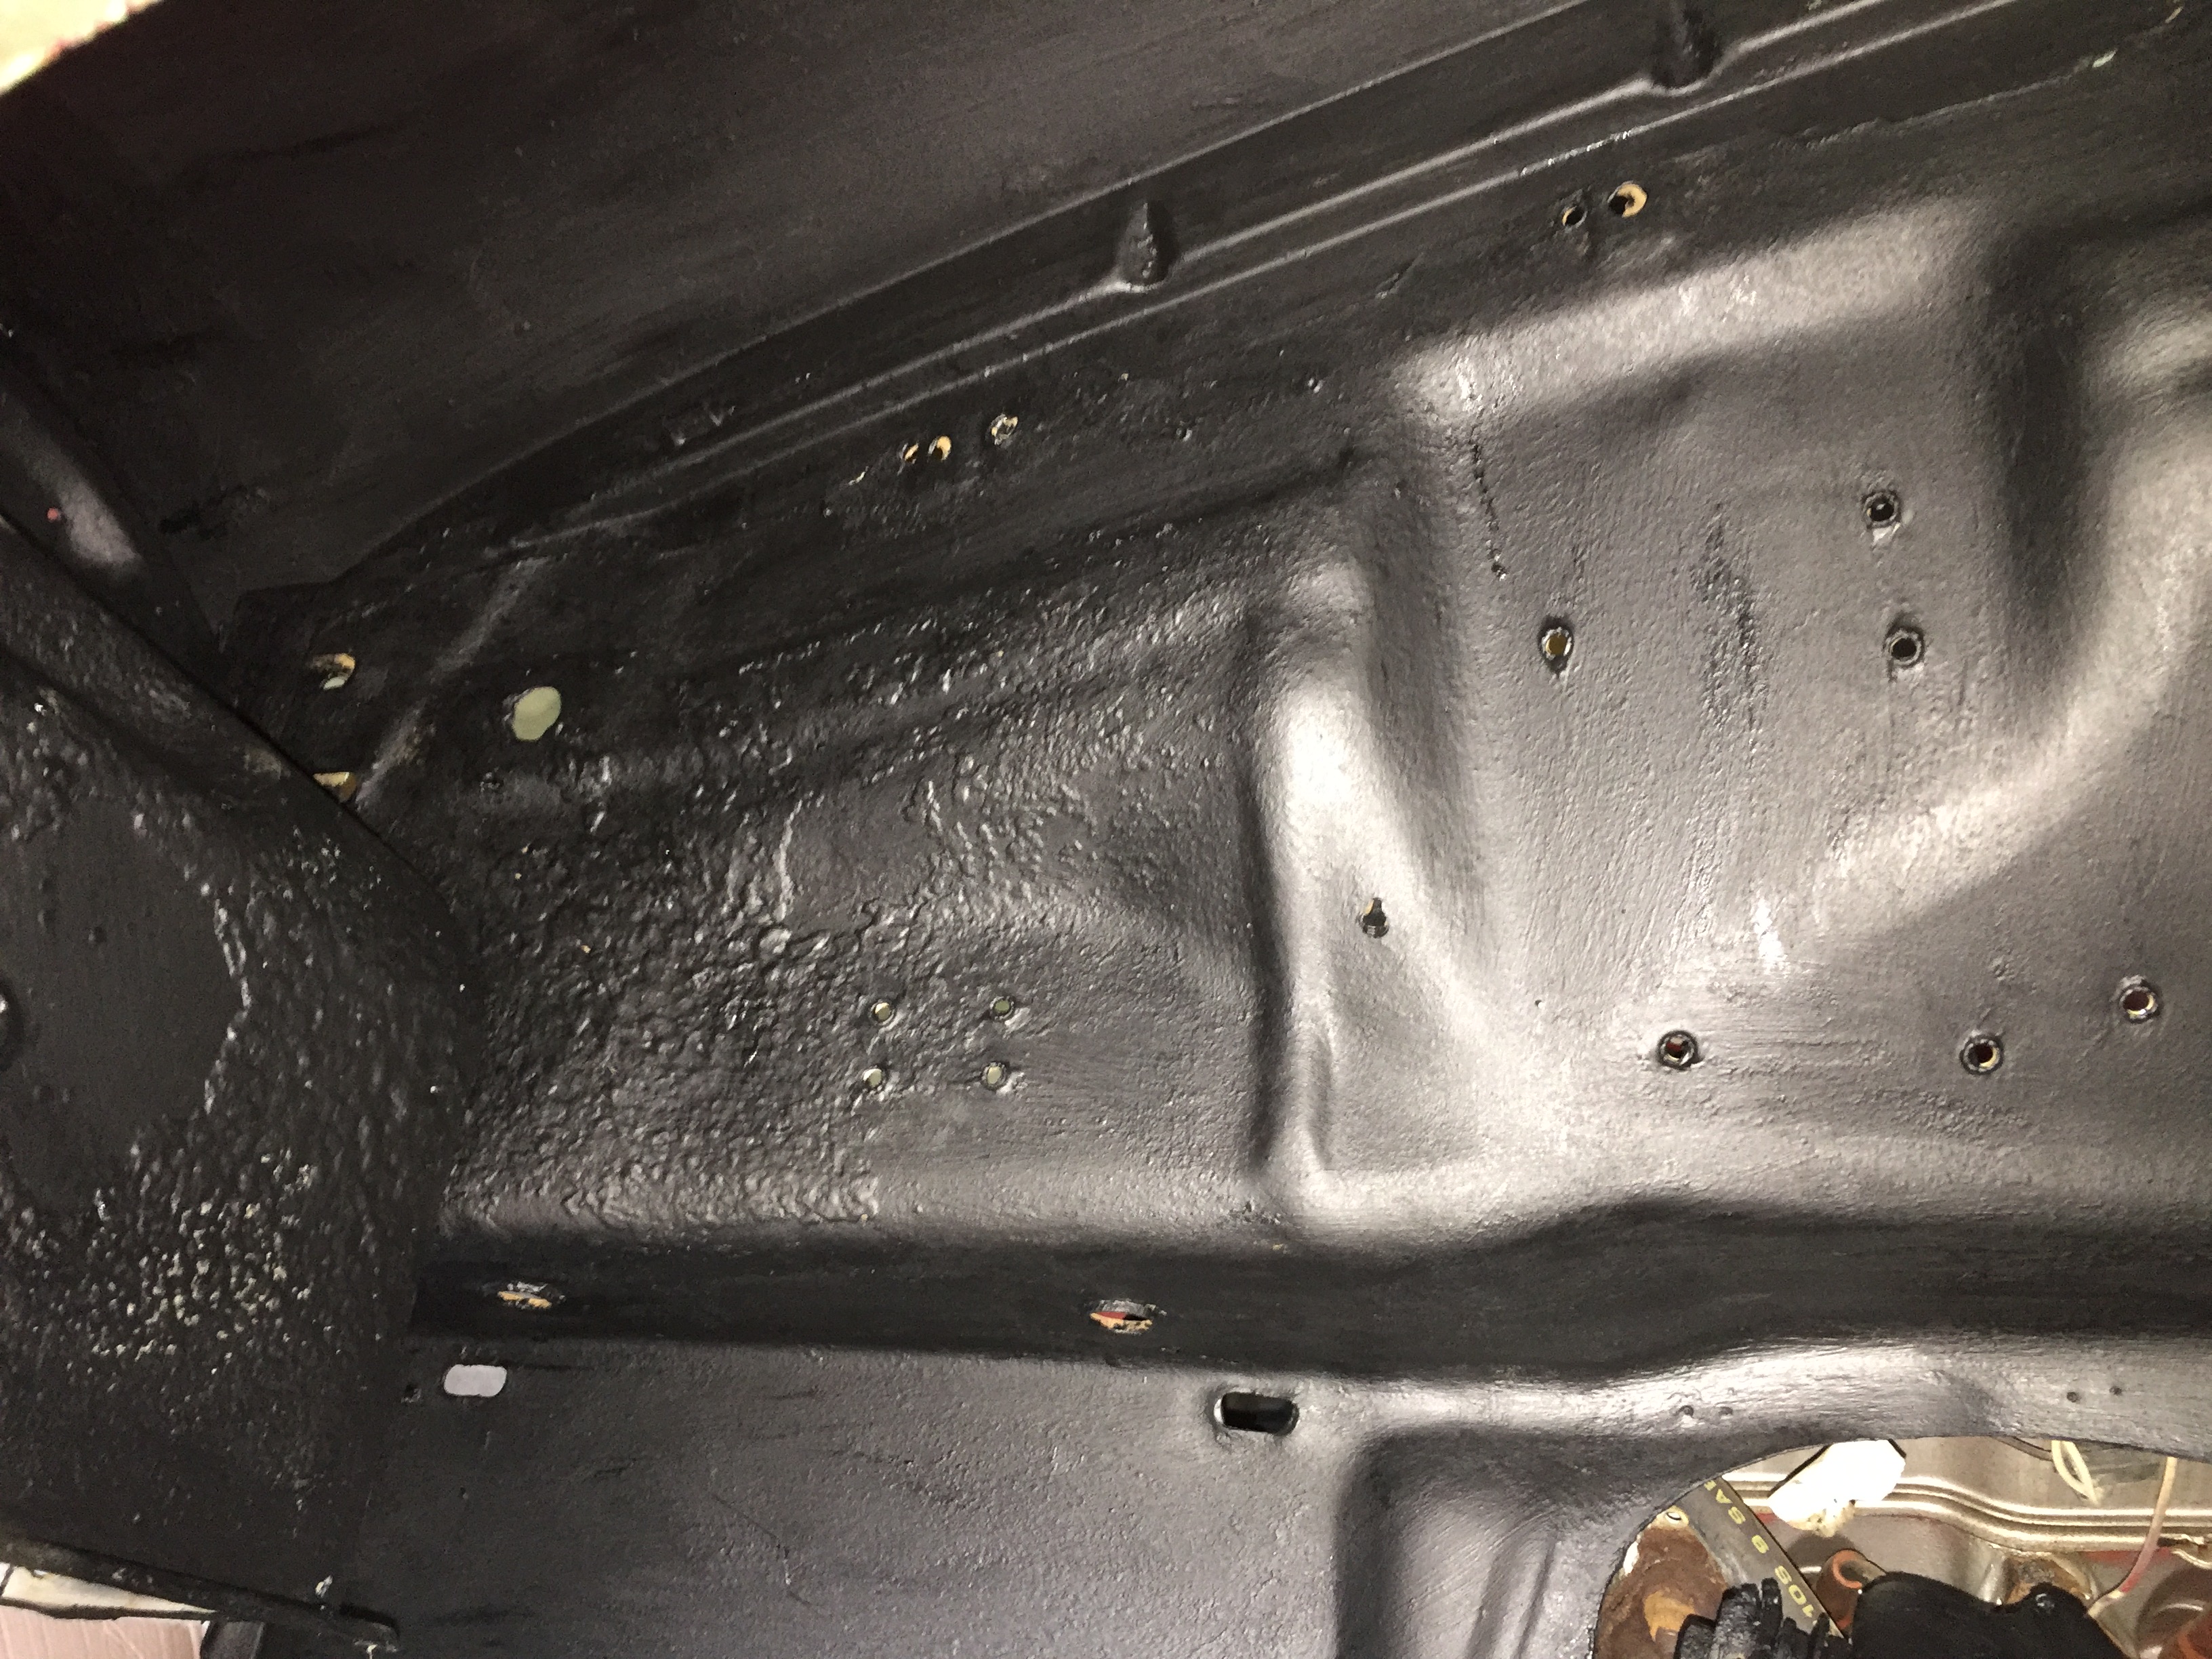
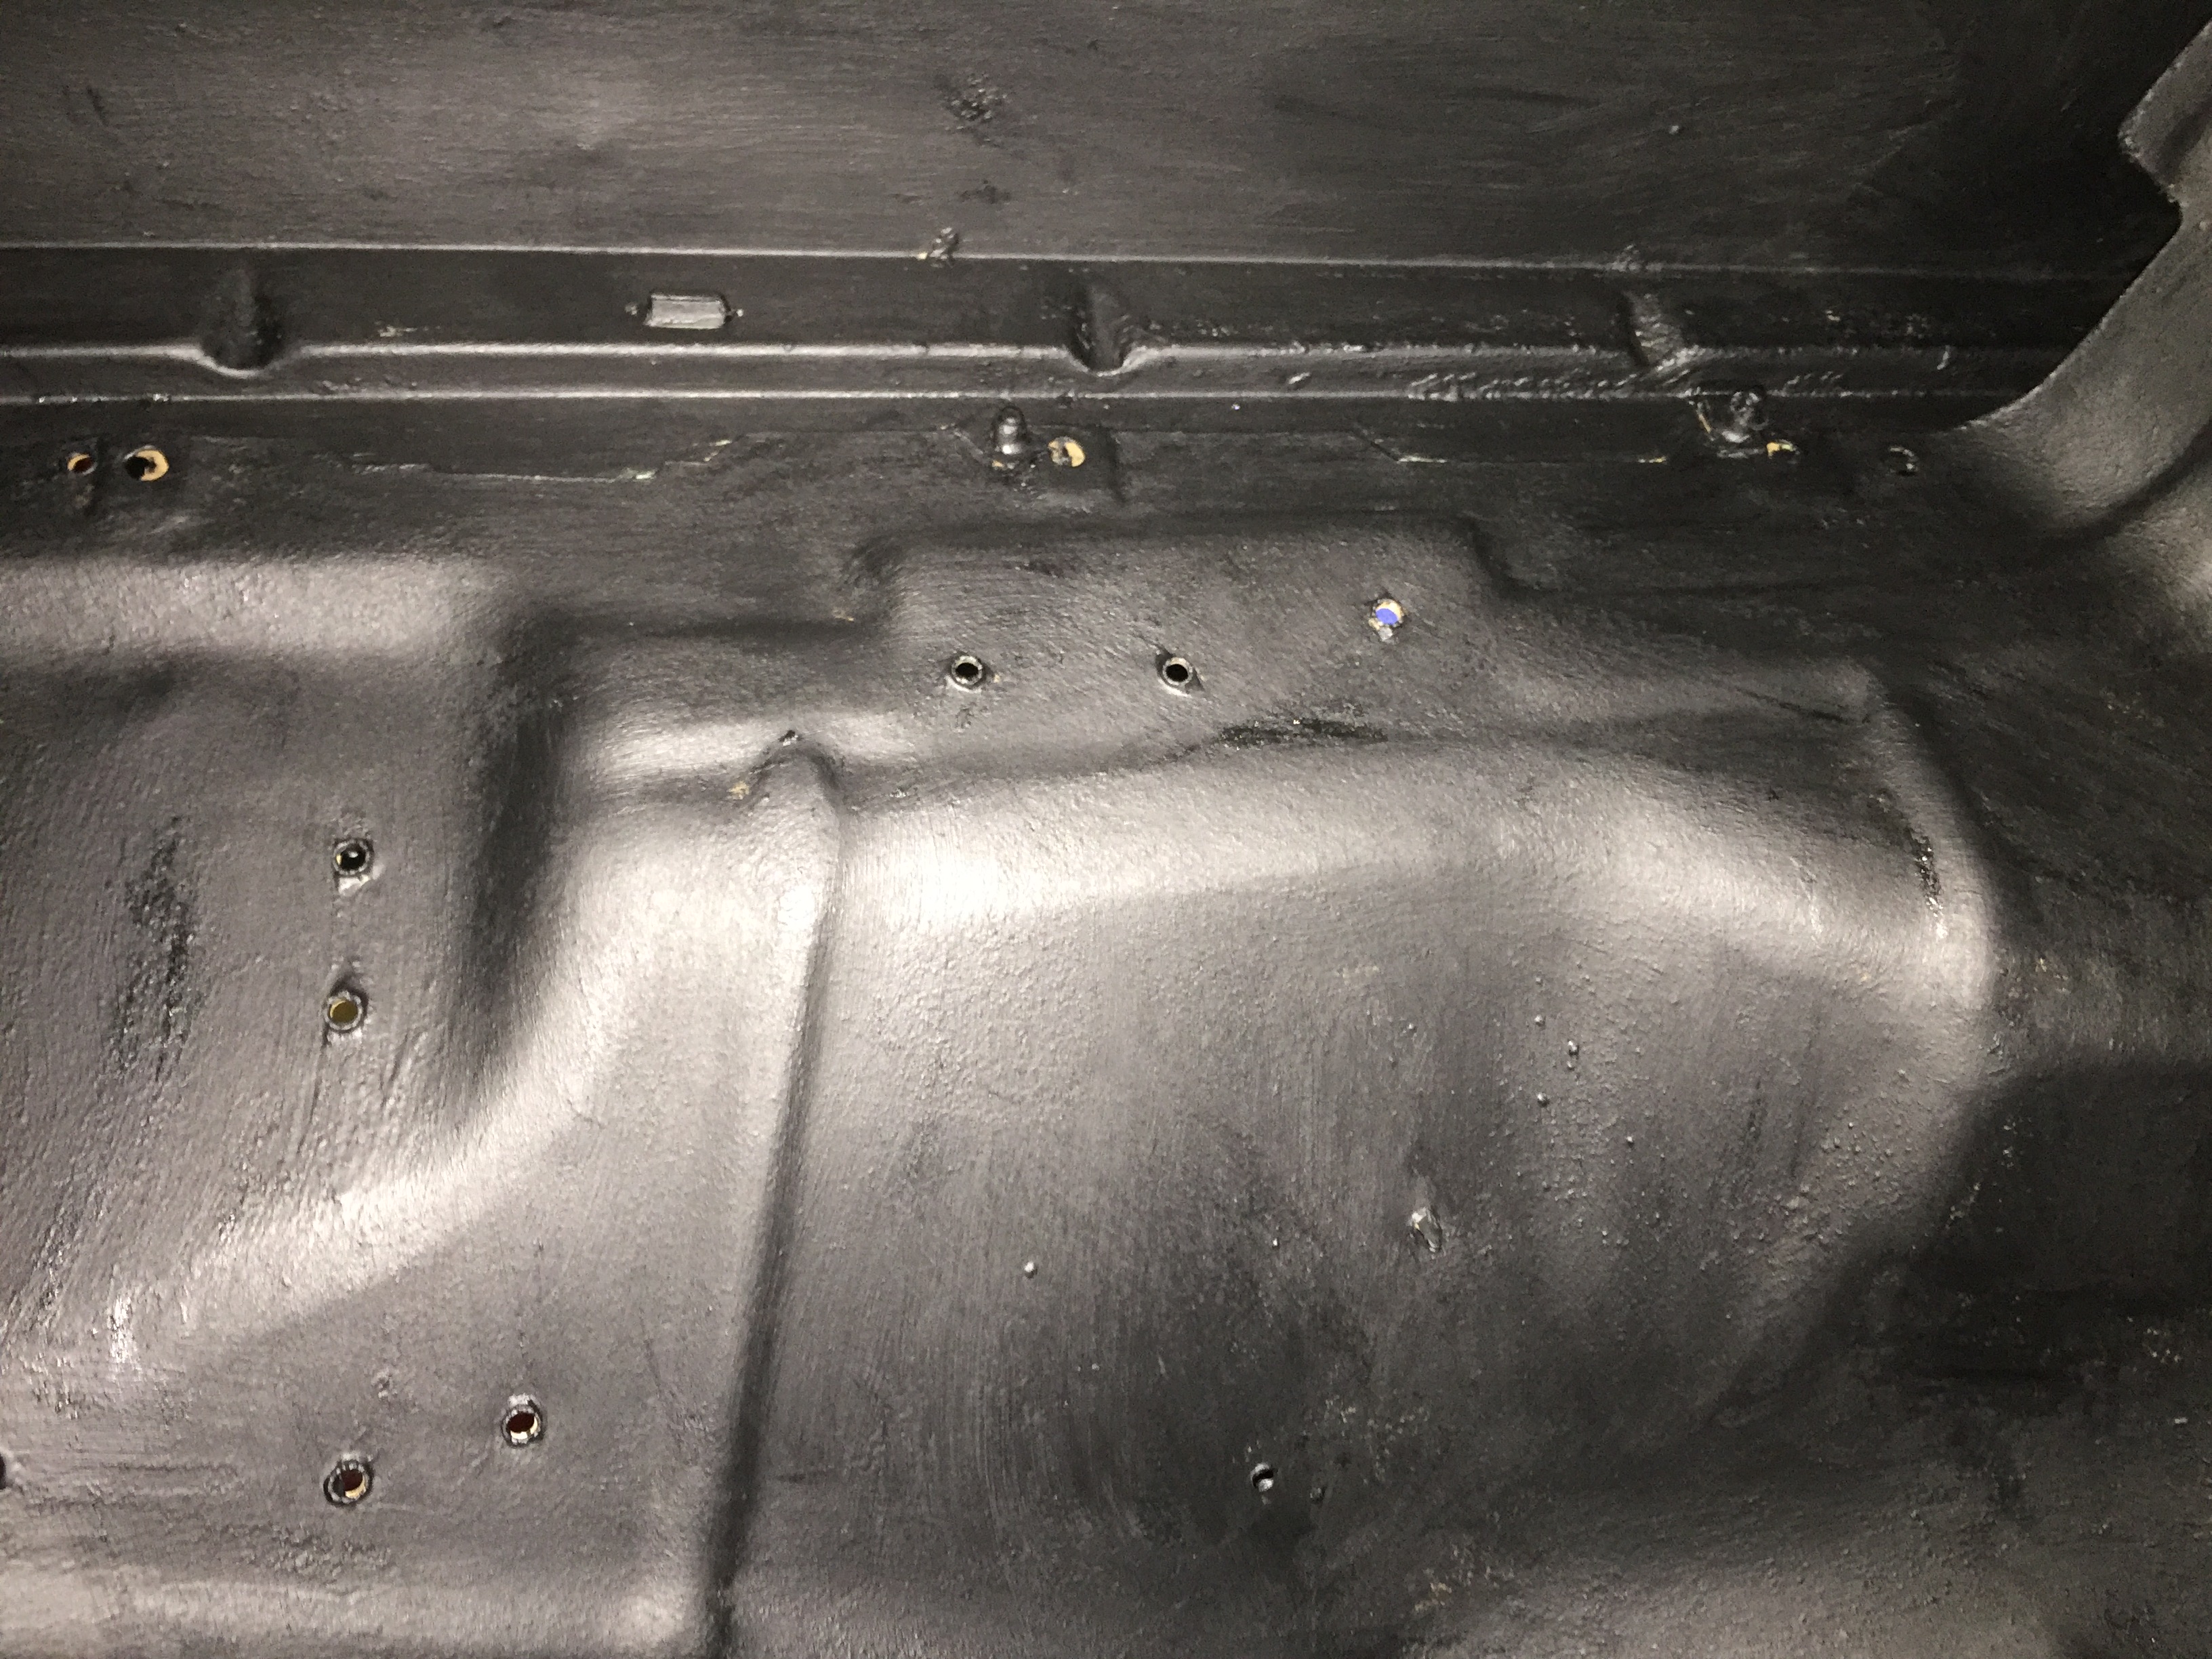
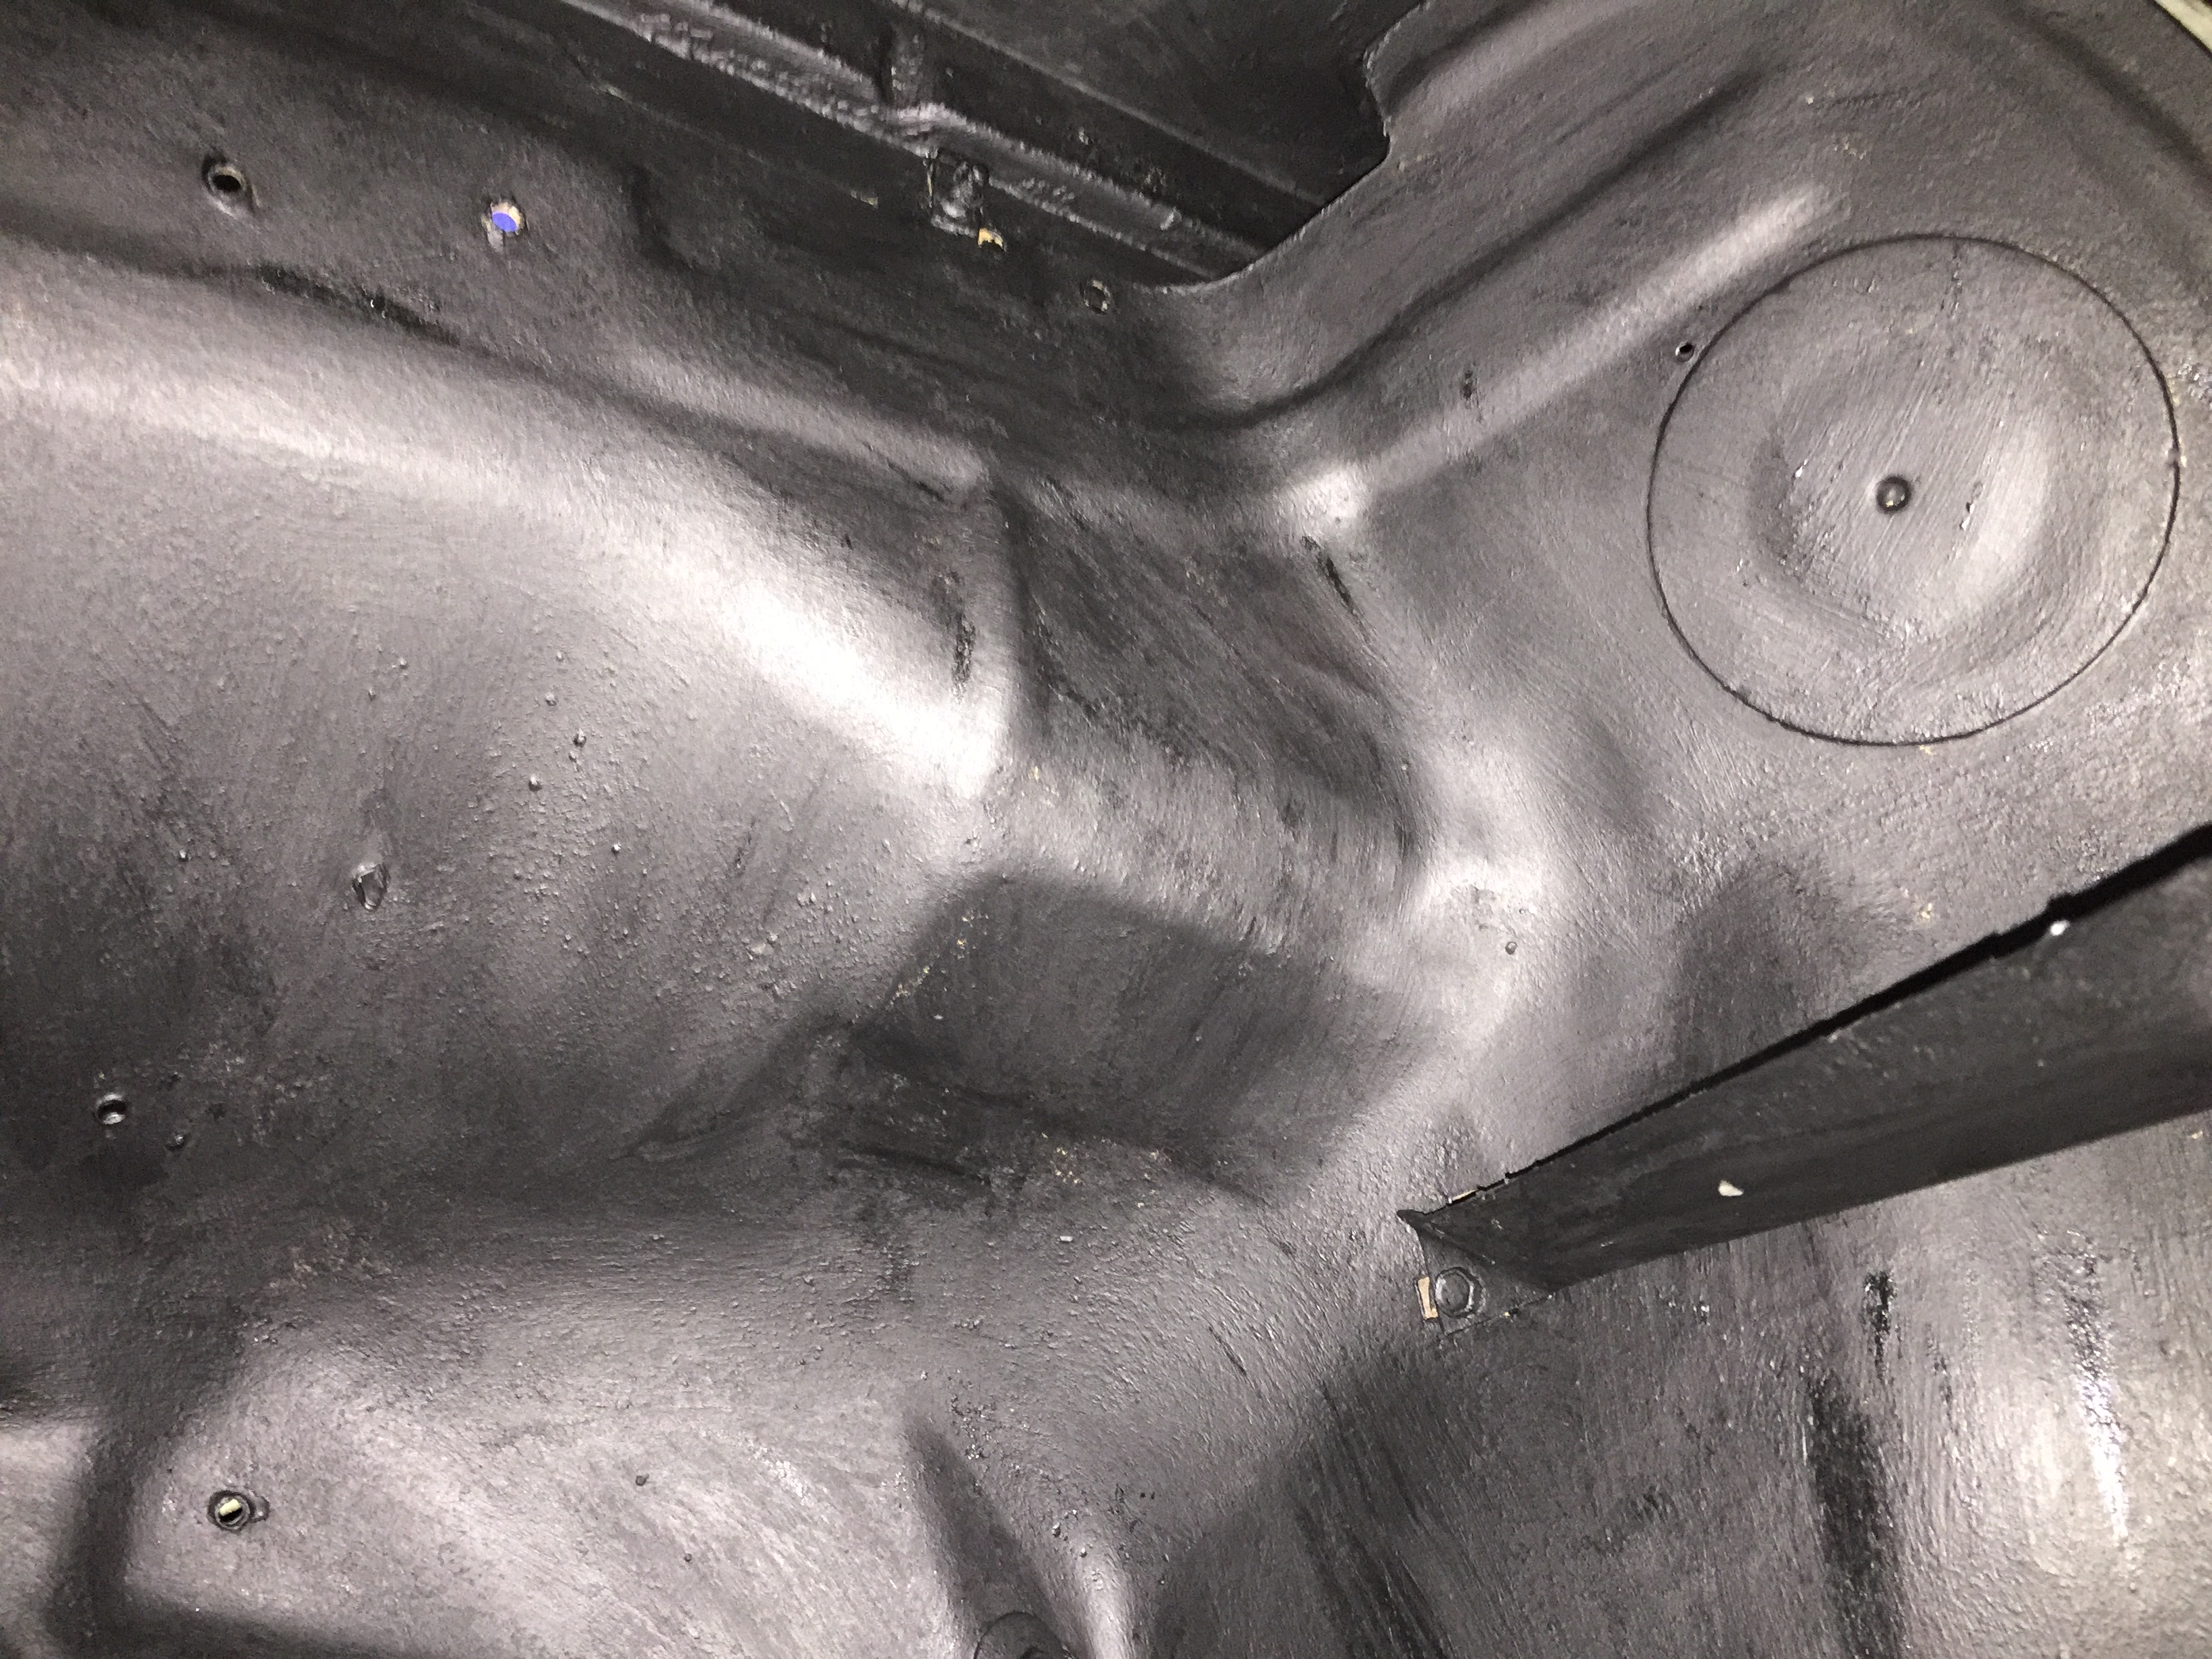
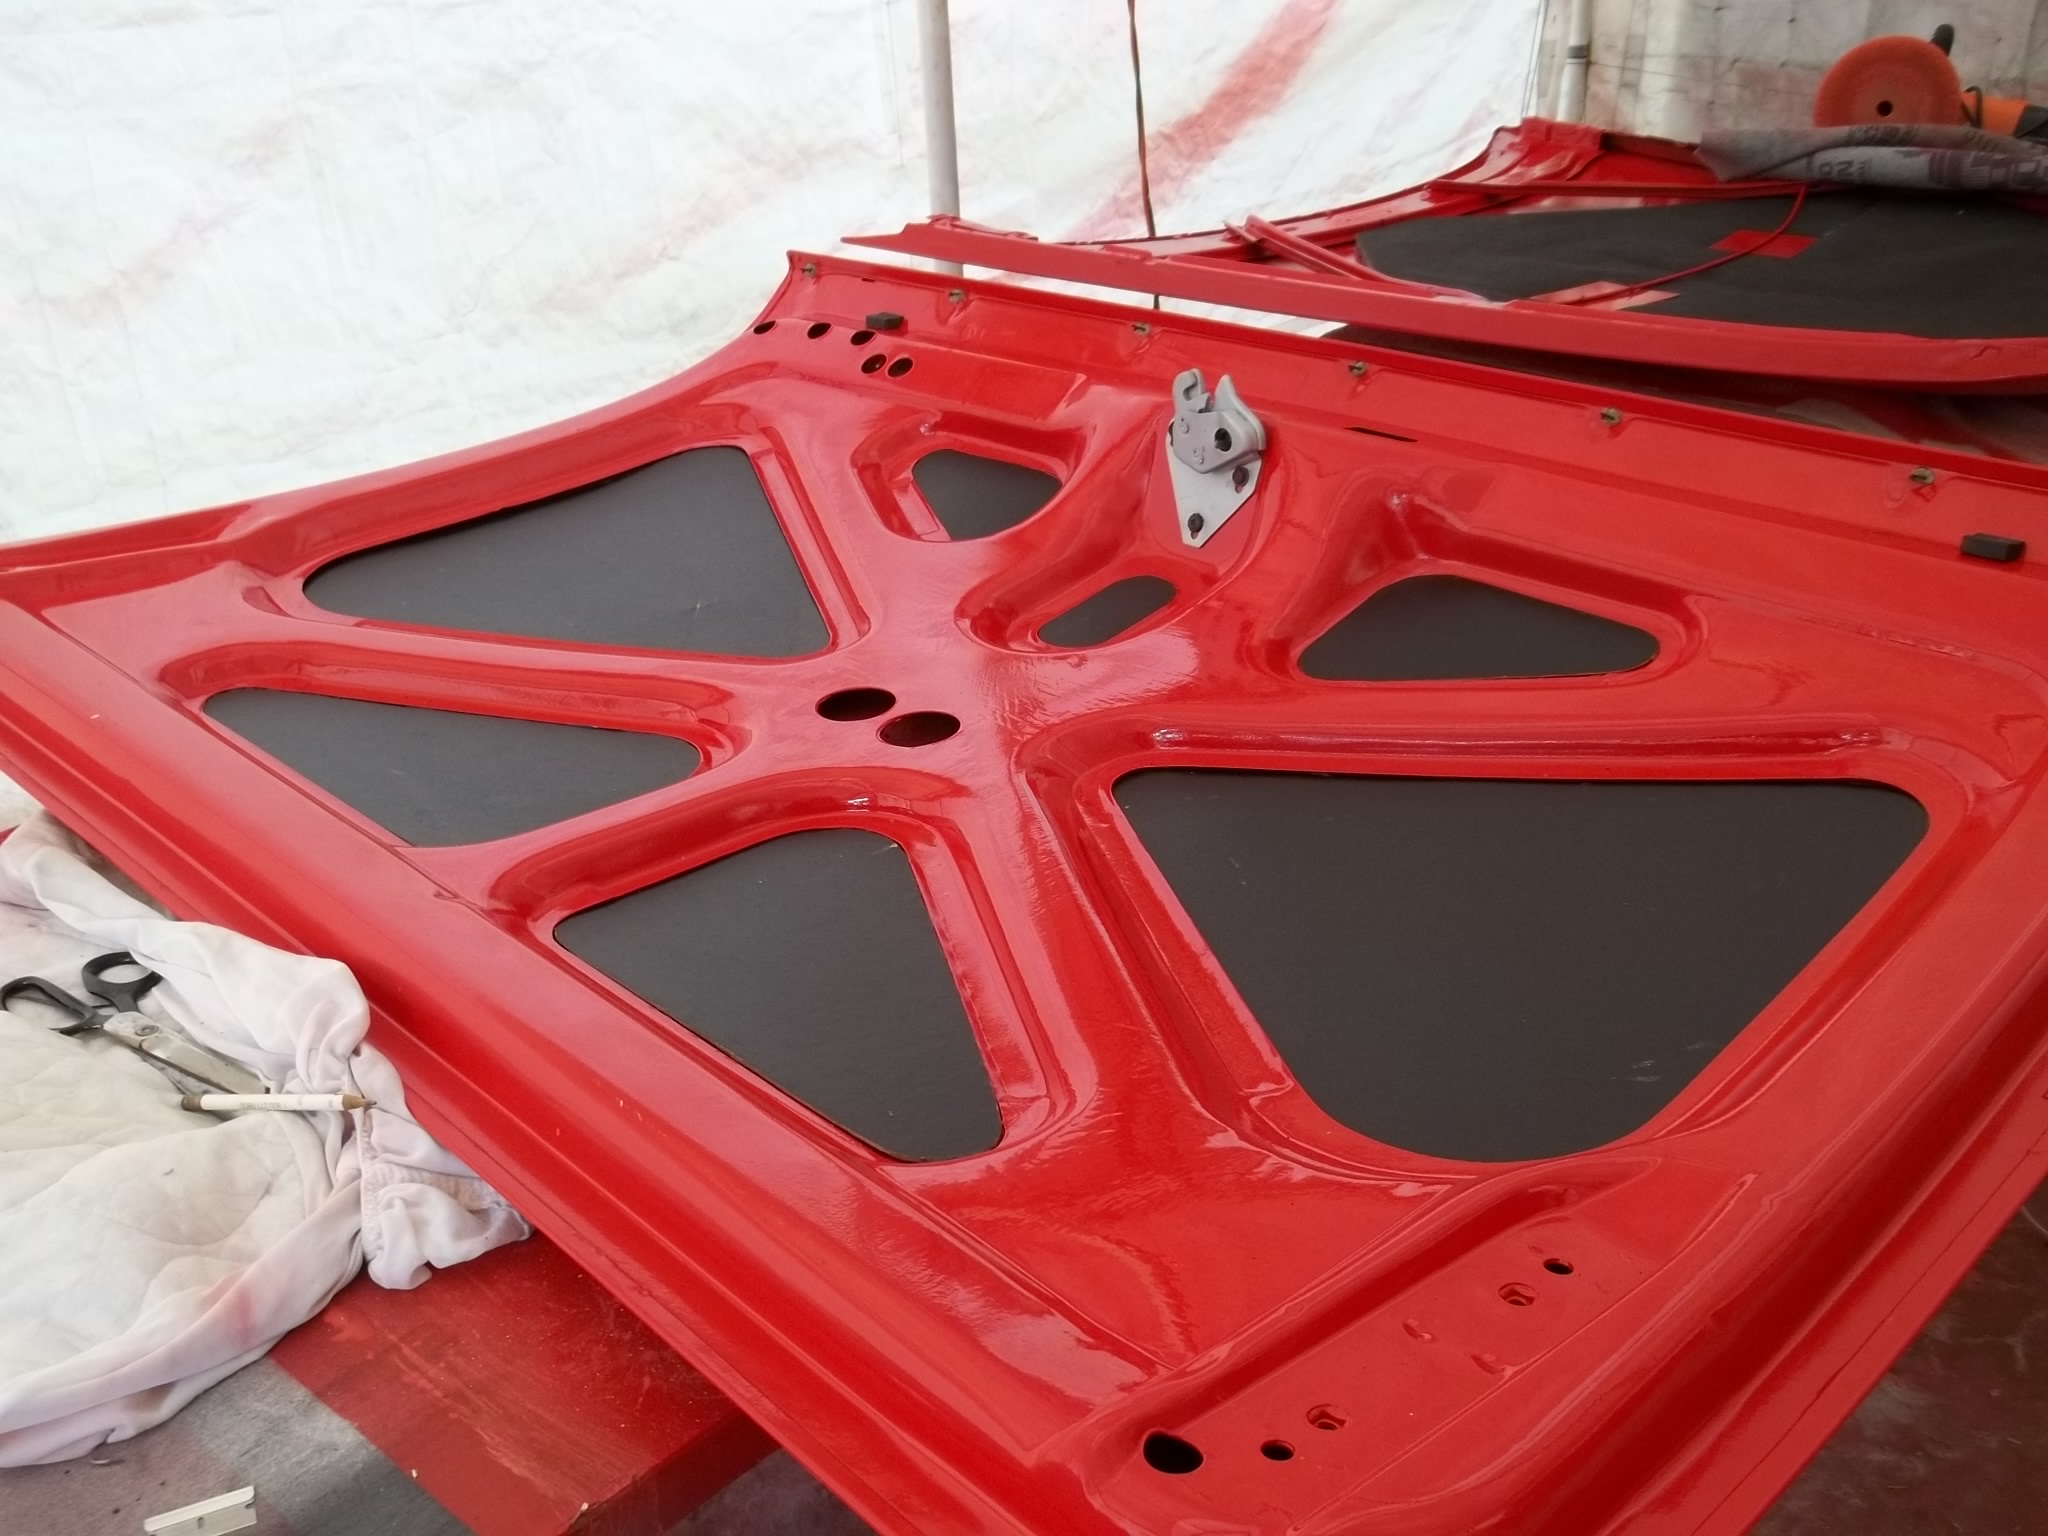
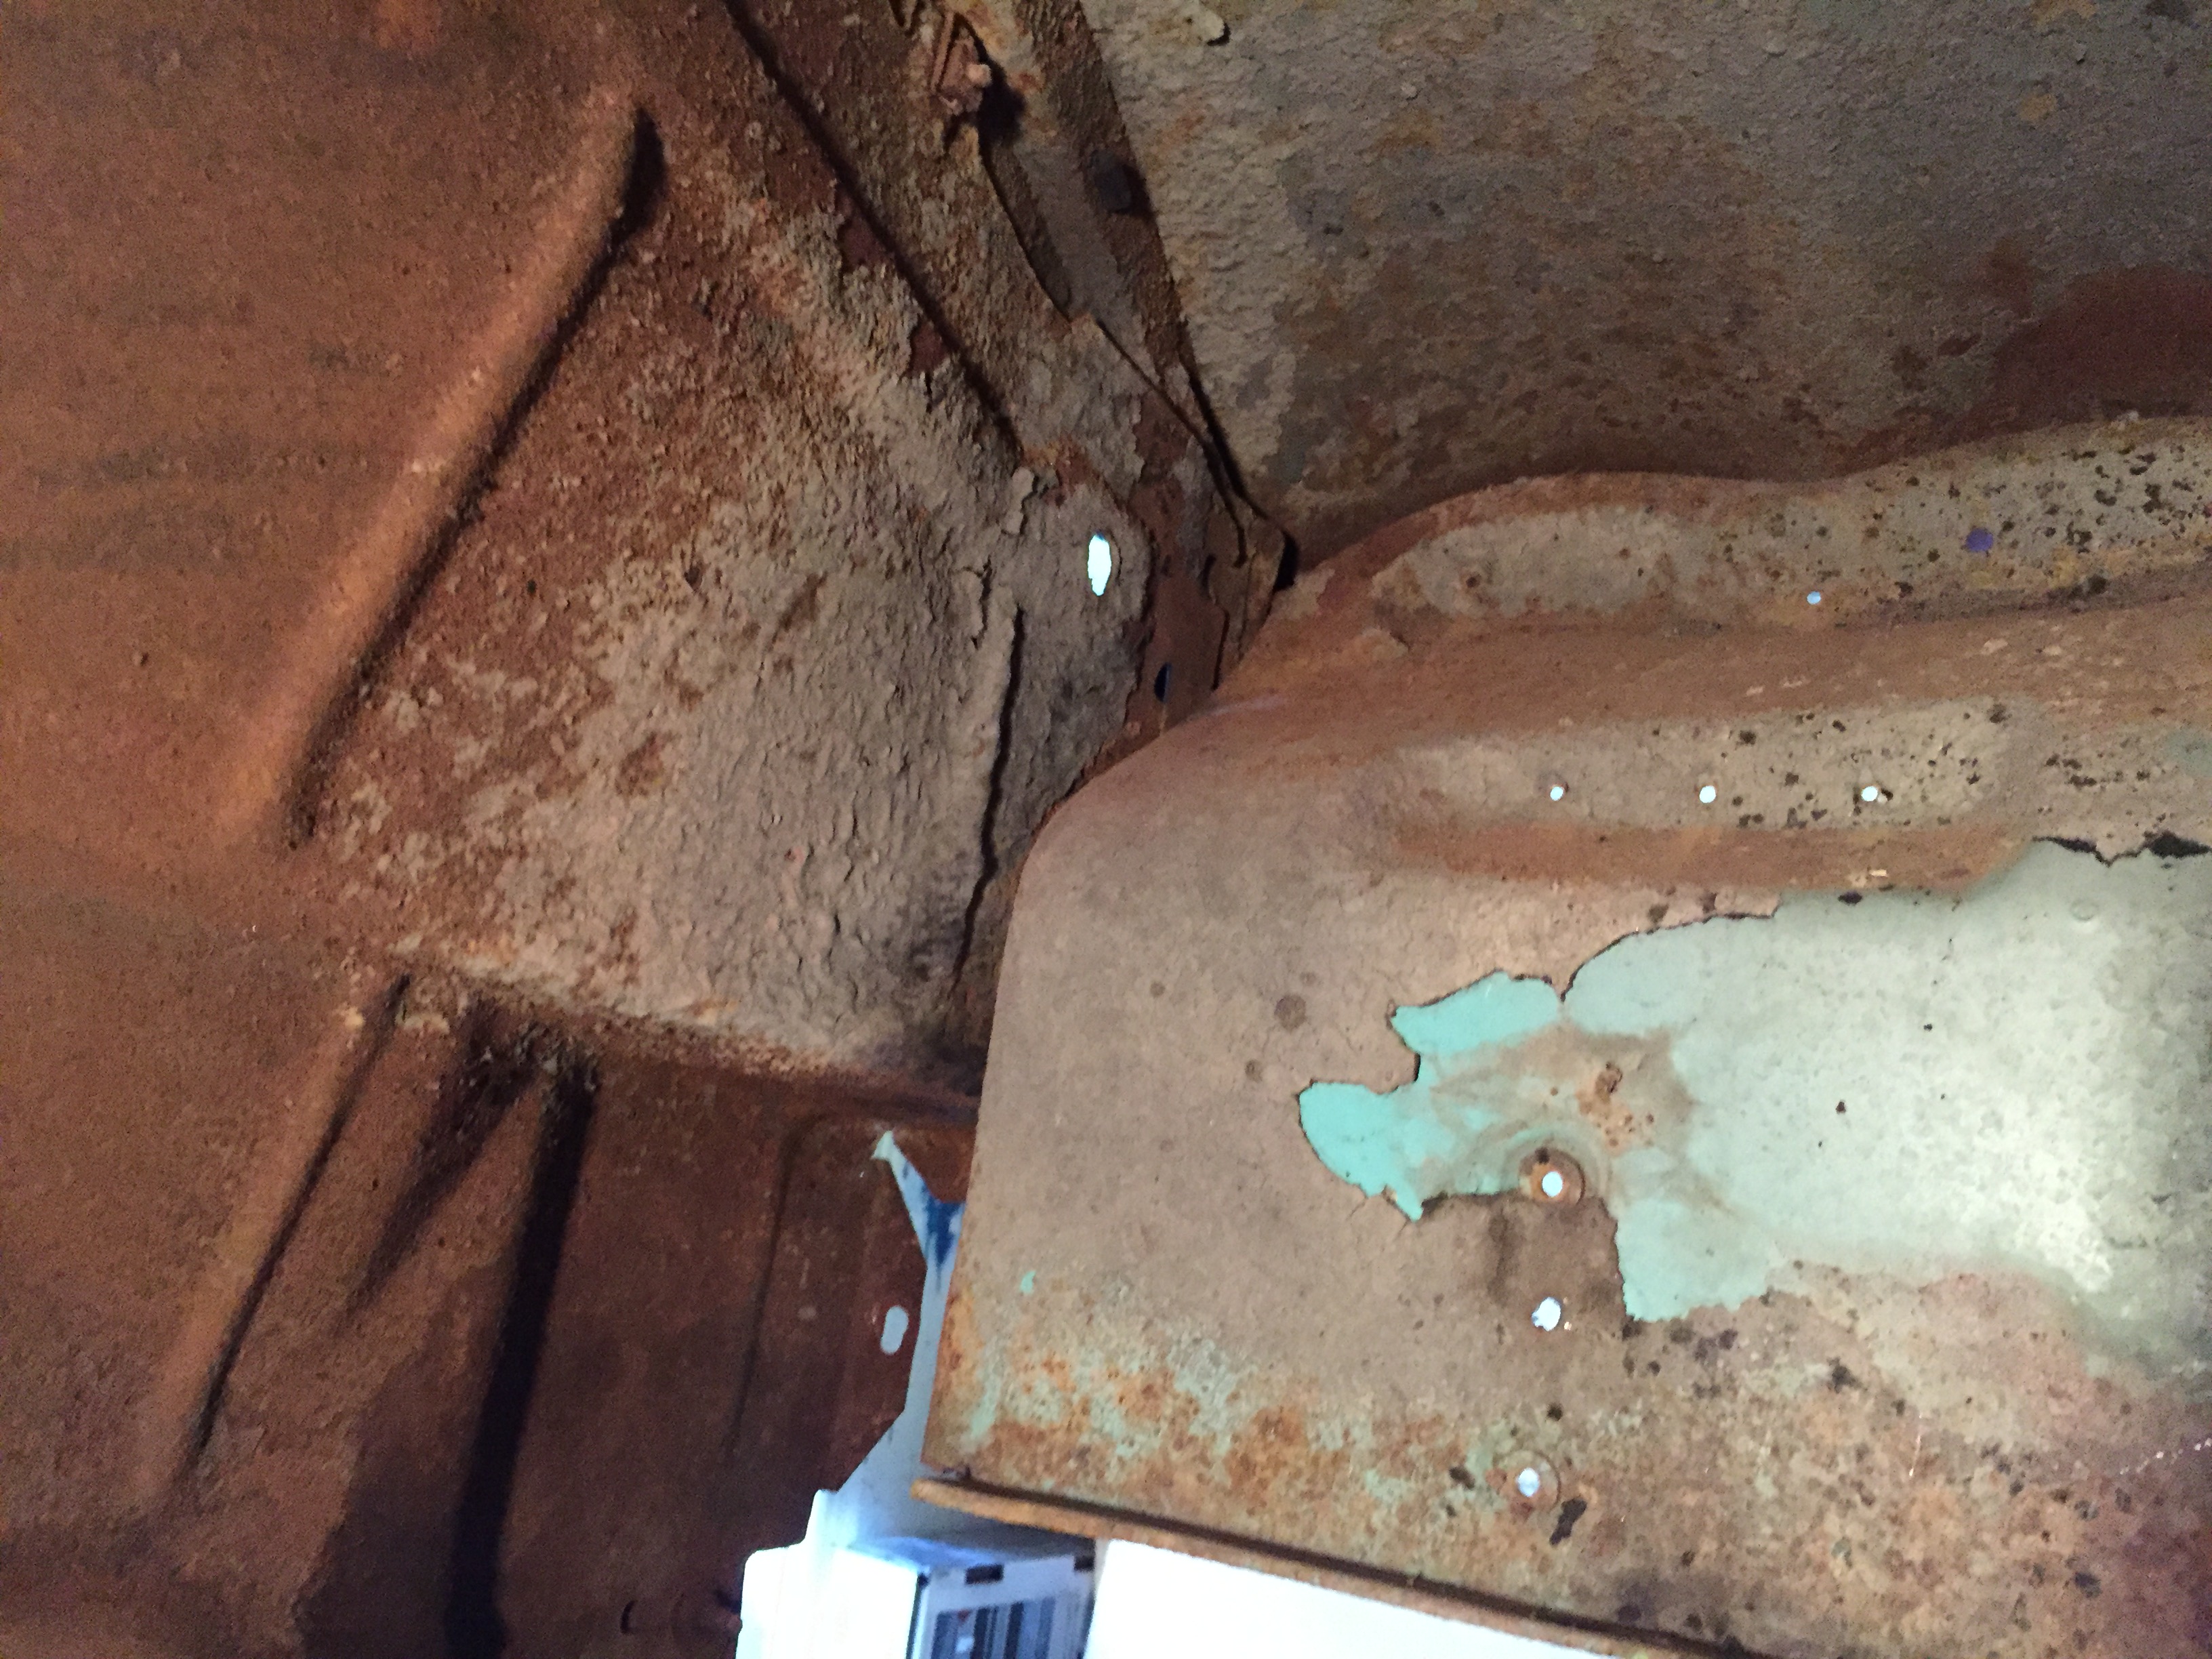
 Not fun, fershur. I spent most of the day scraping, brushing and sanding inside the driver’s side fender. I still have some degreasing to do with mineral spirits, but here are the results:
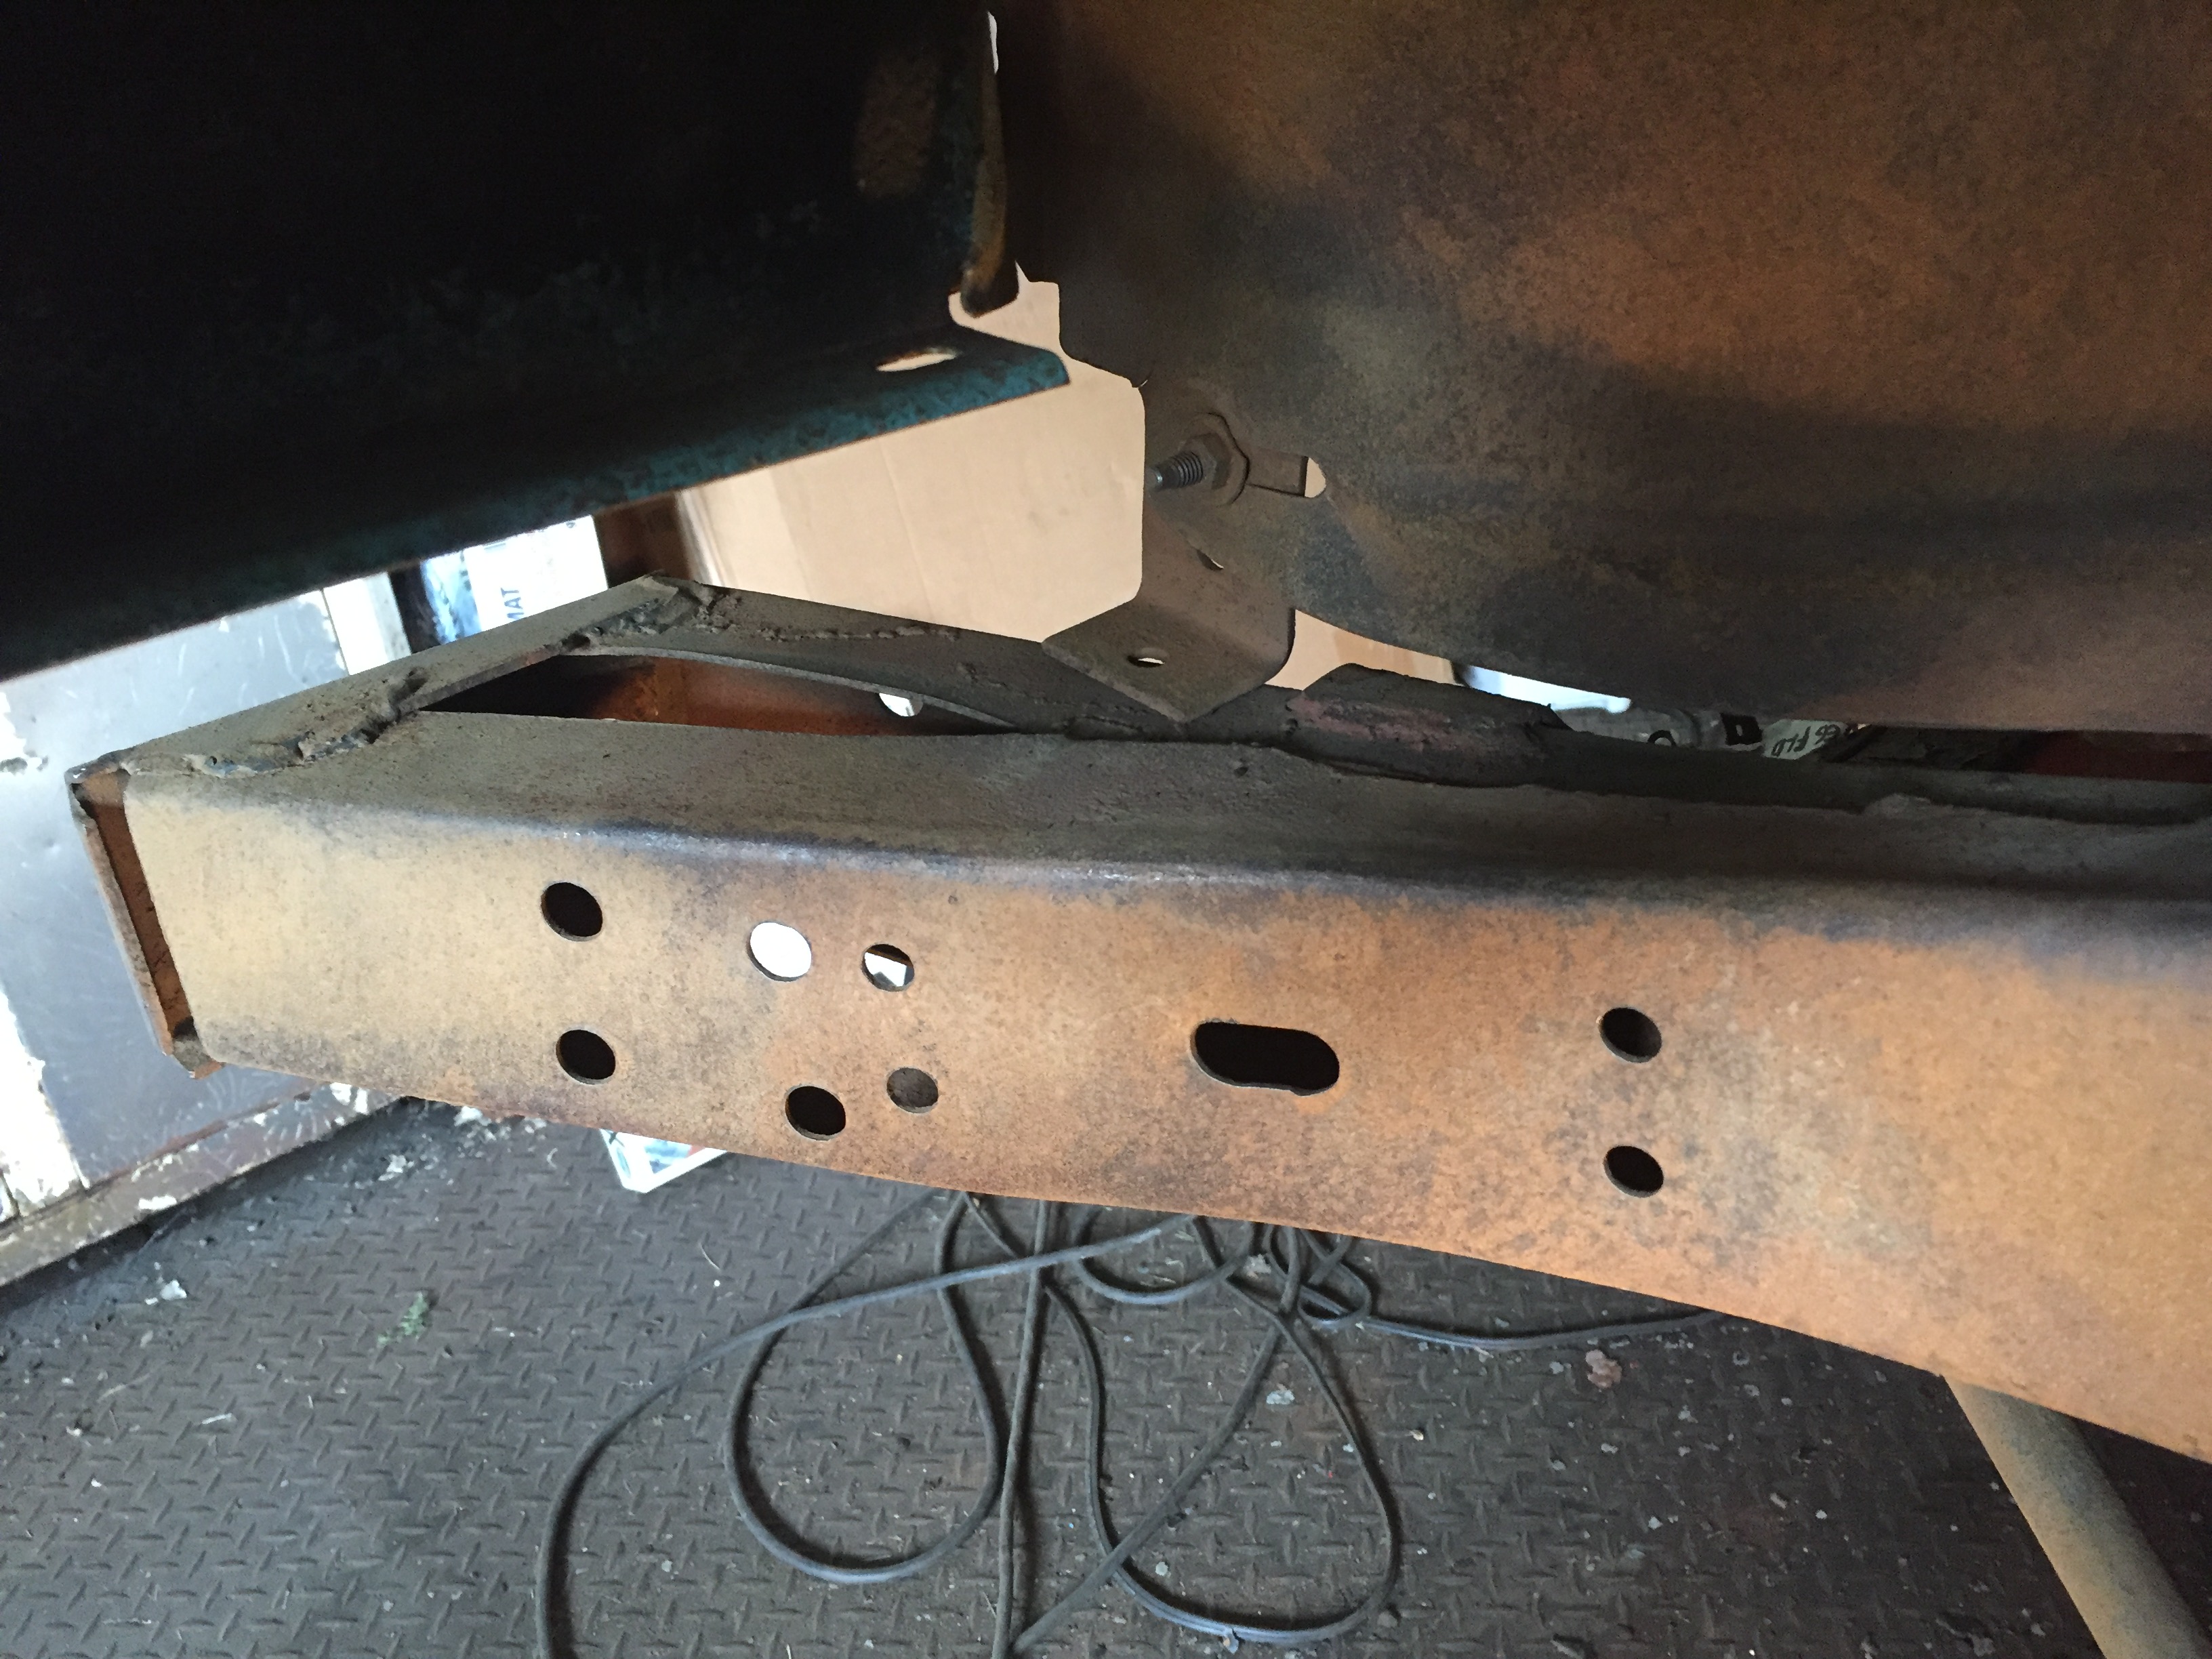
The eyebrows are really pretty solid, except for the corner towards the hood. This was skillfully repaired with welding and body filler
Oops! Missed a spot
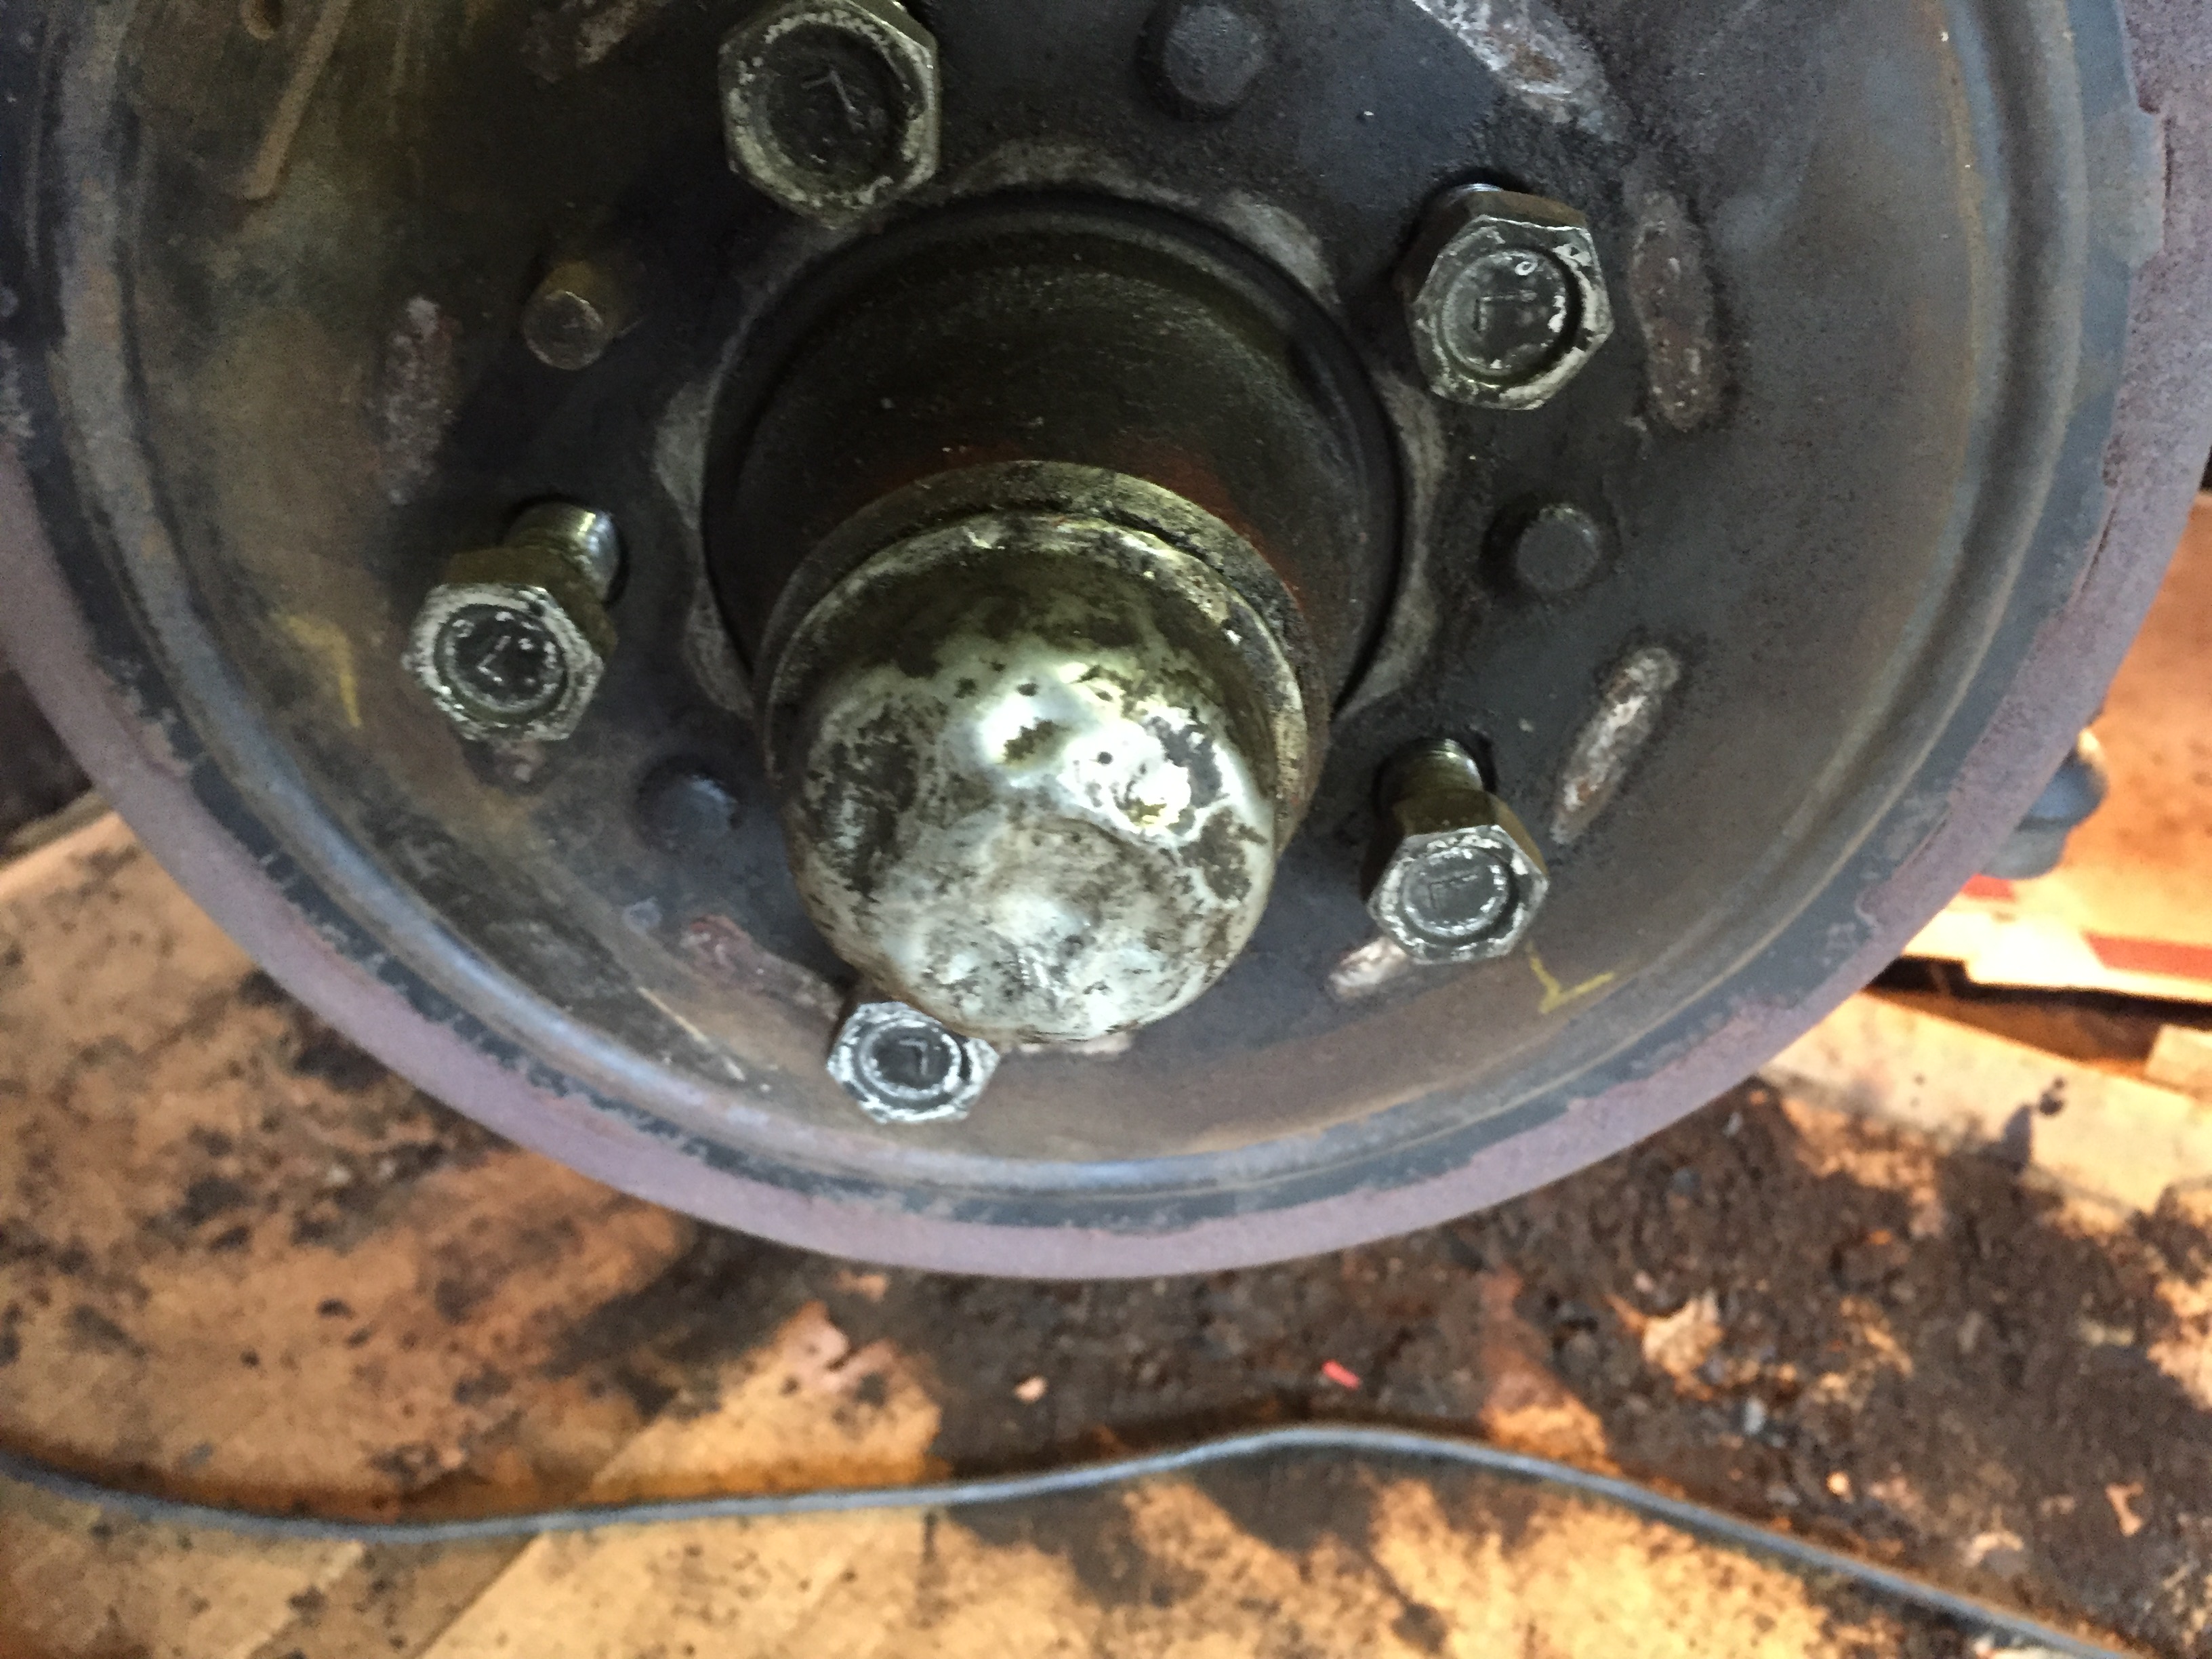
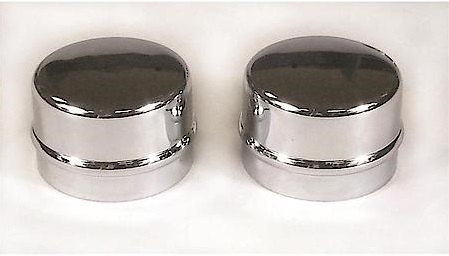
My grease caps have seen better days. Is this something I could pick up at Rock Auto?
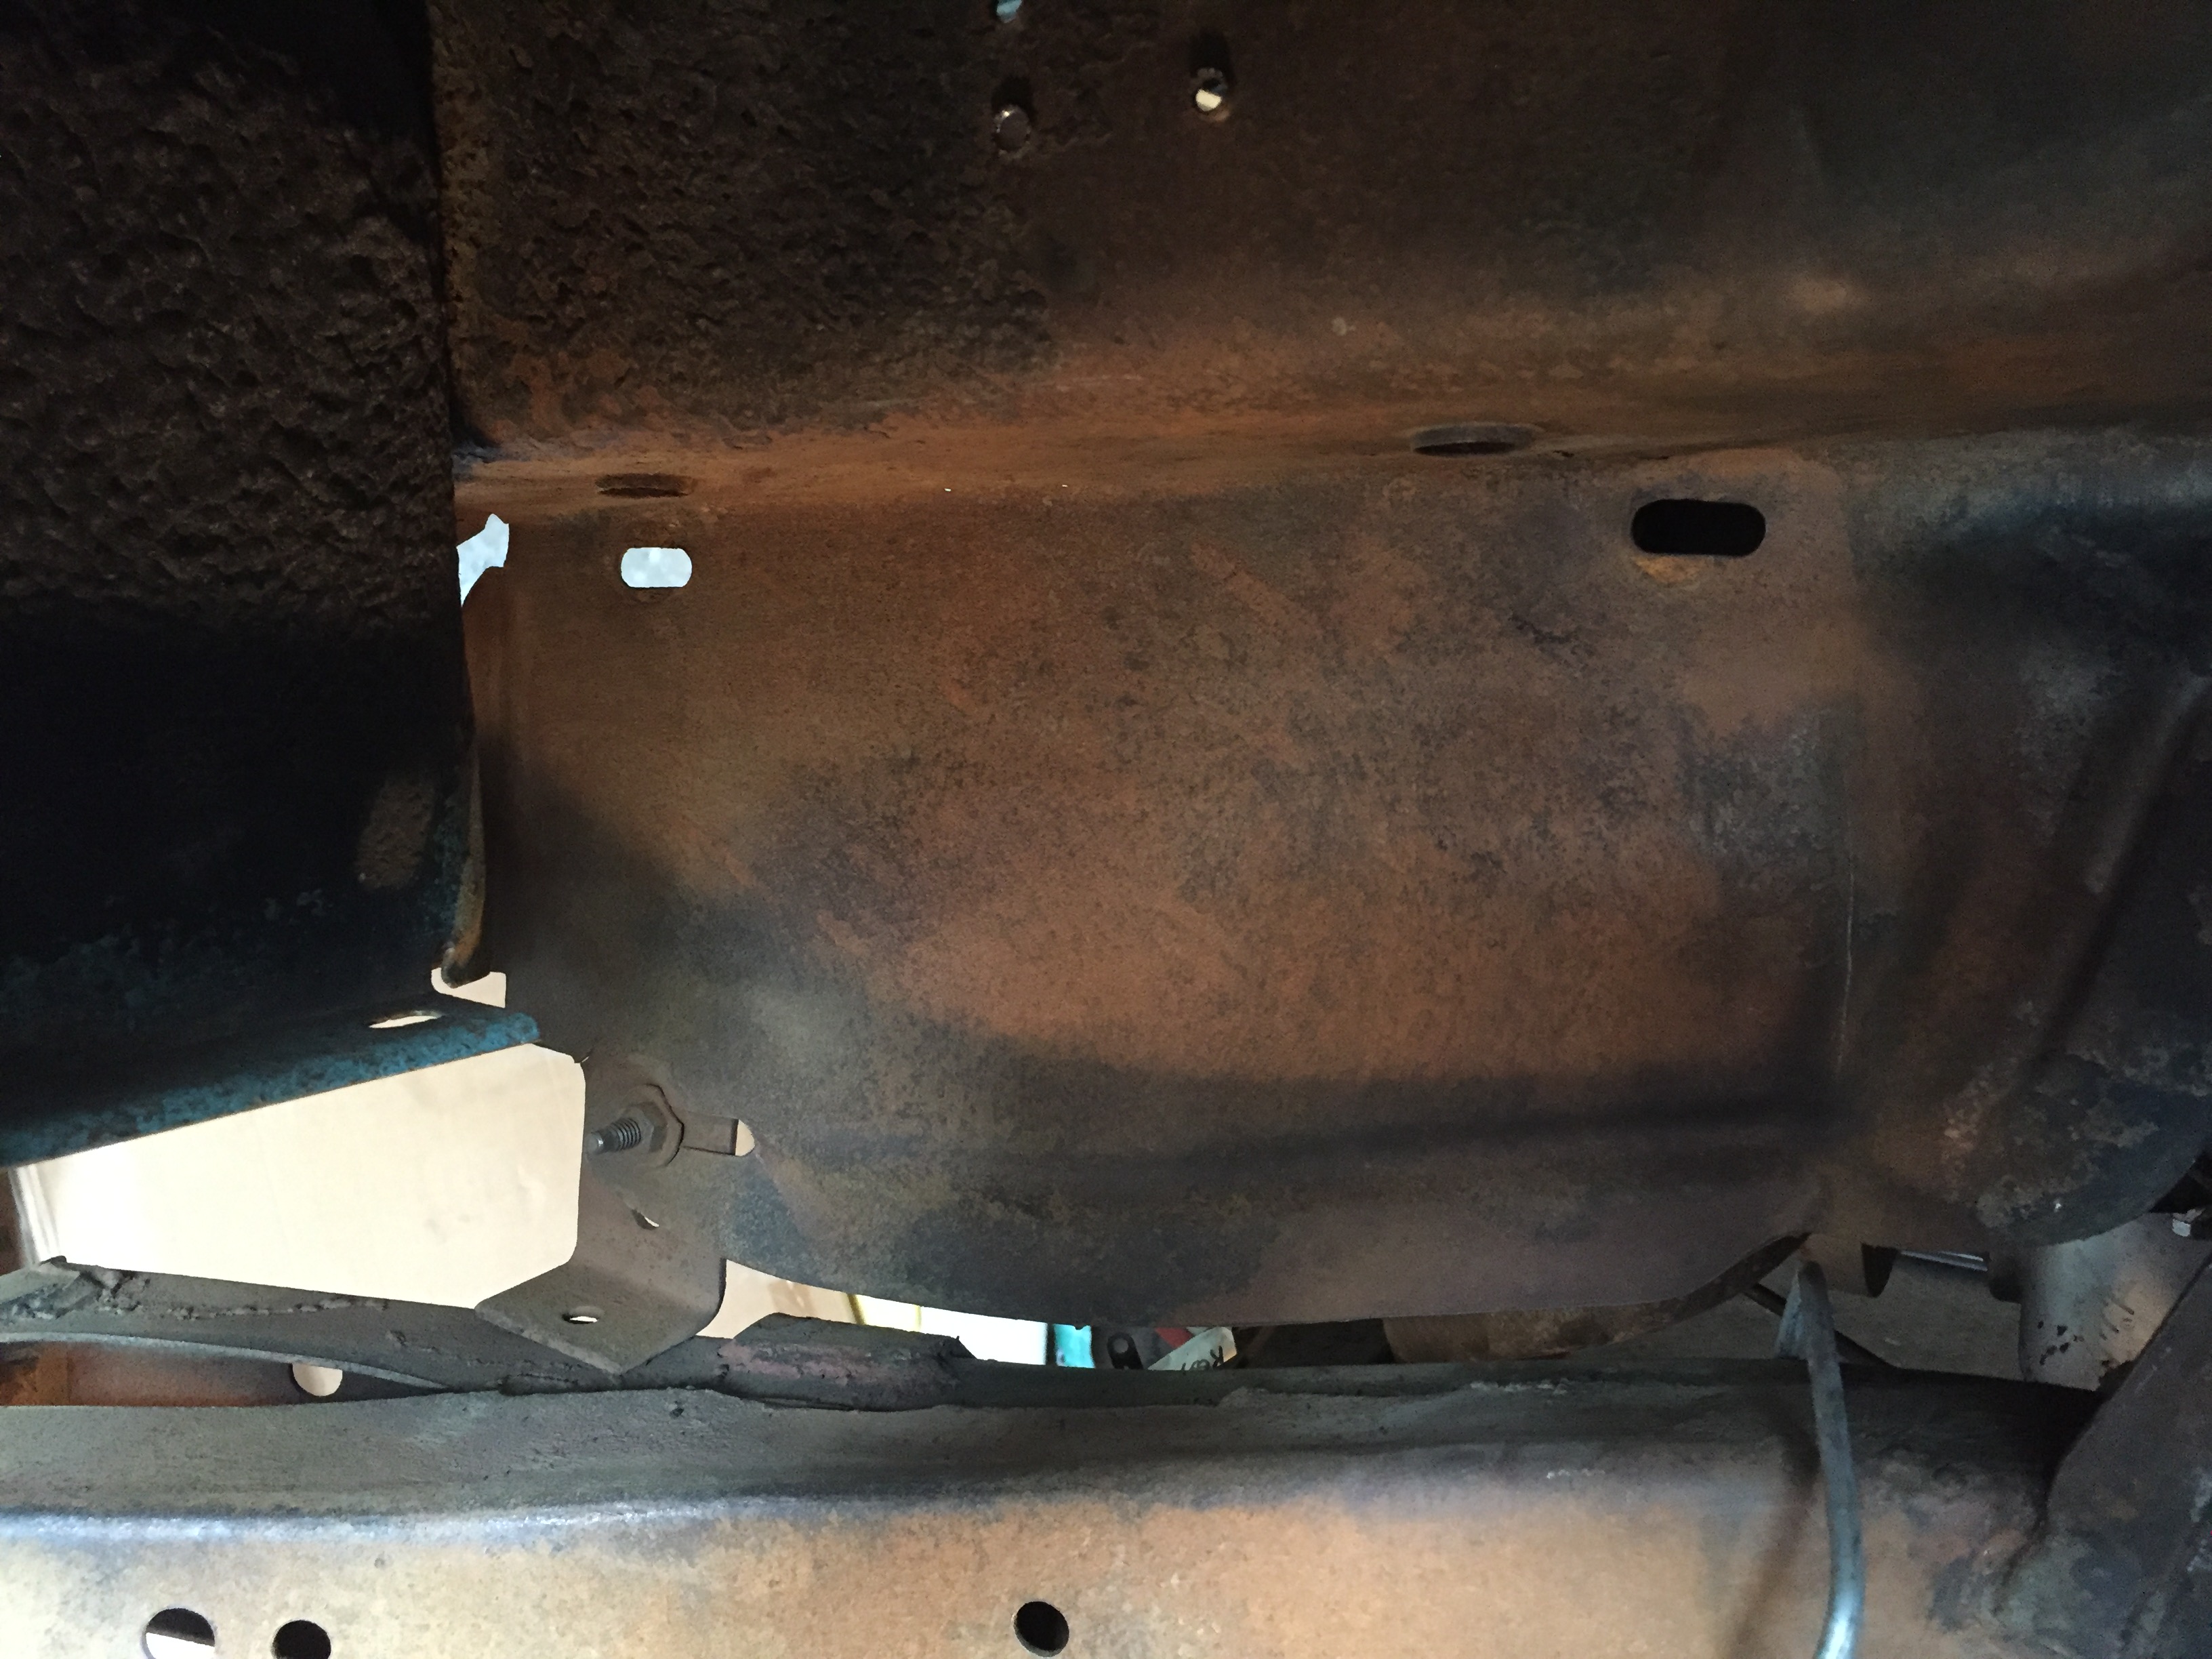
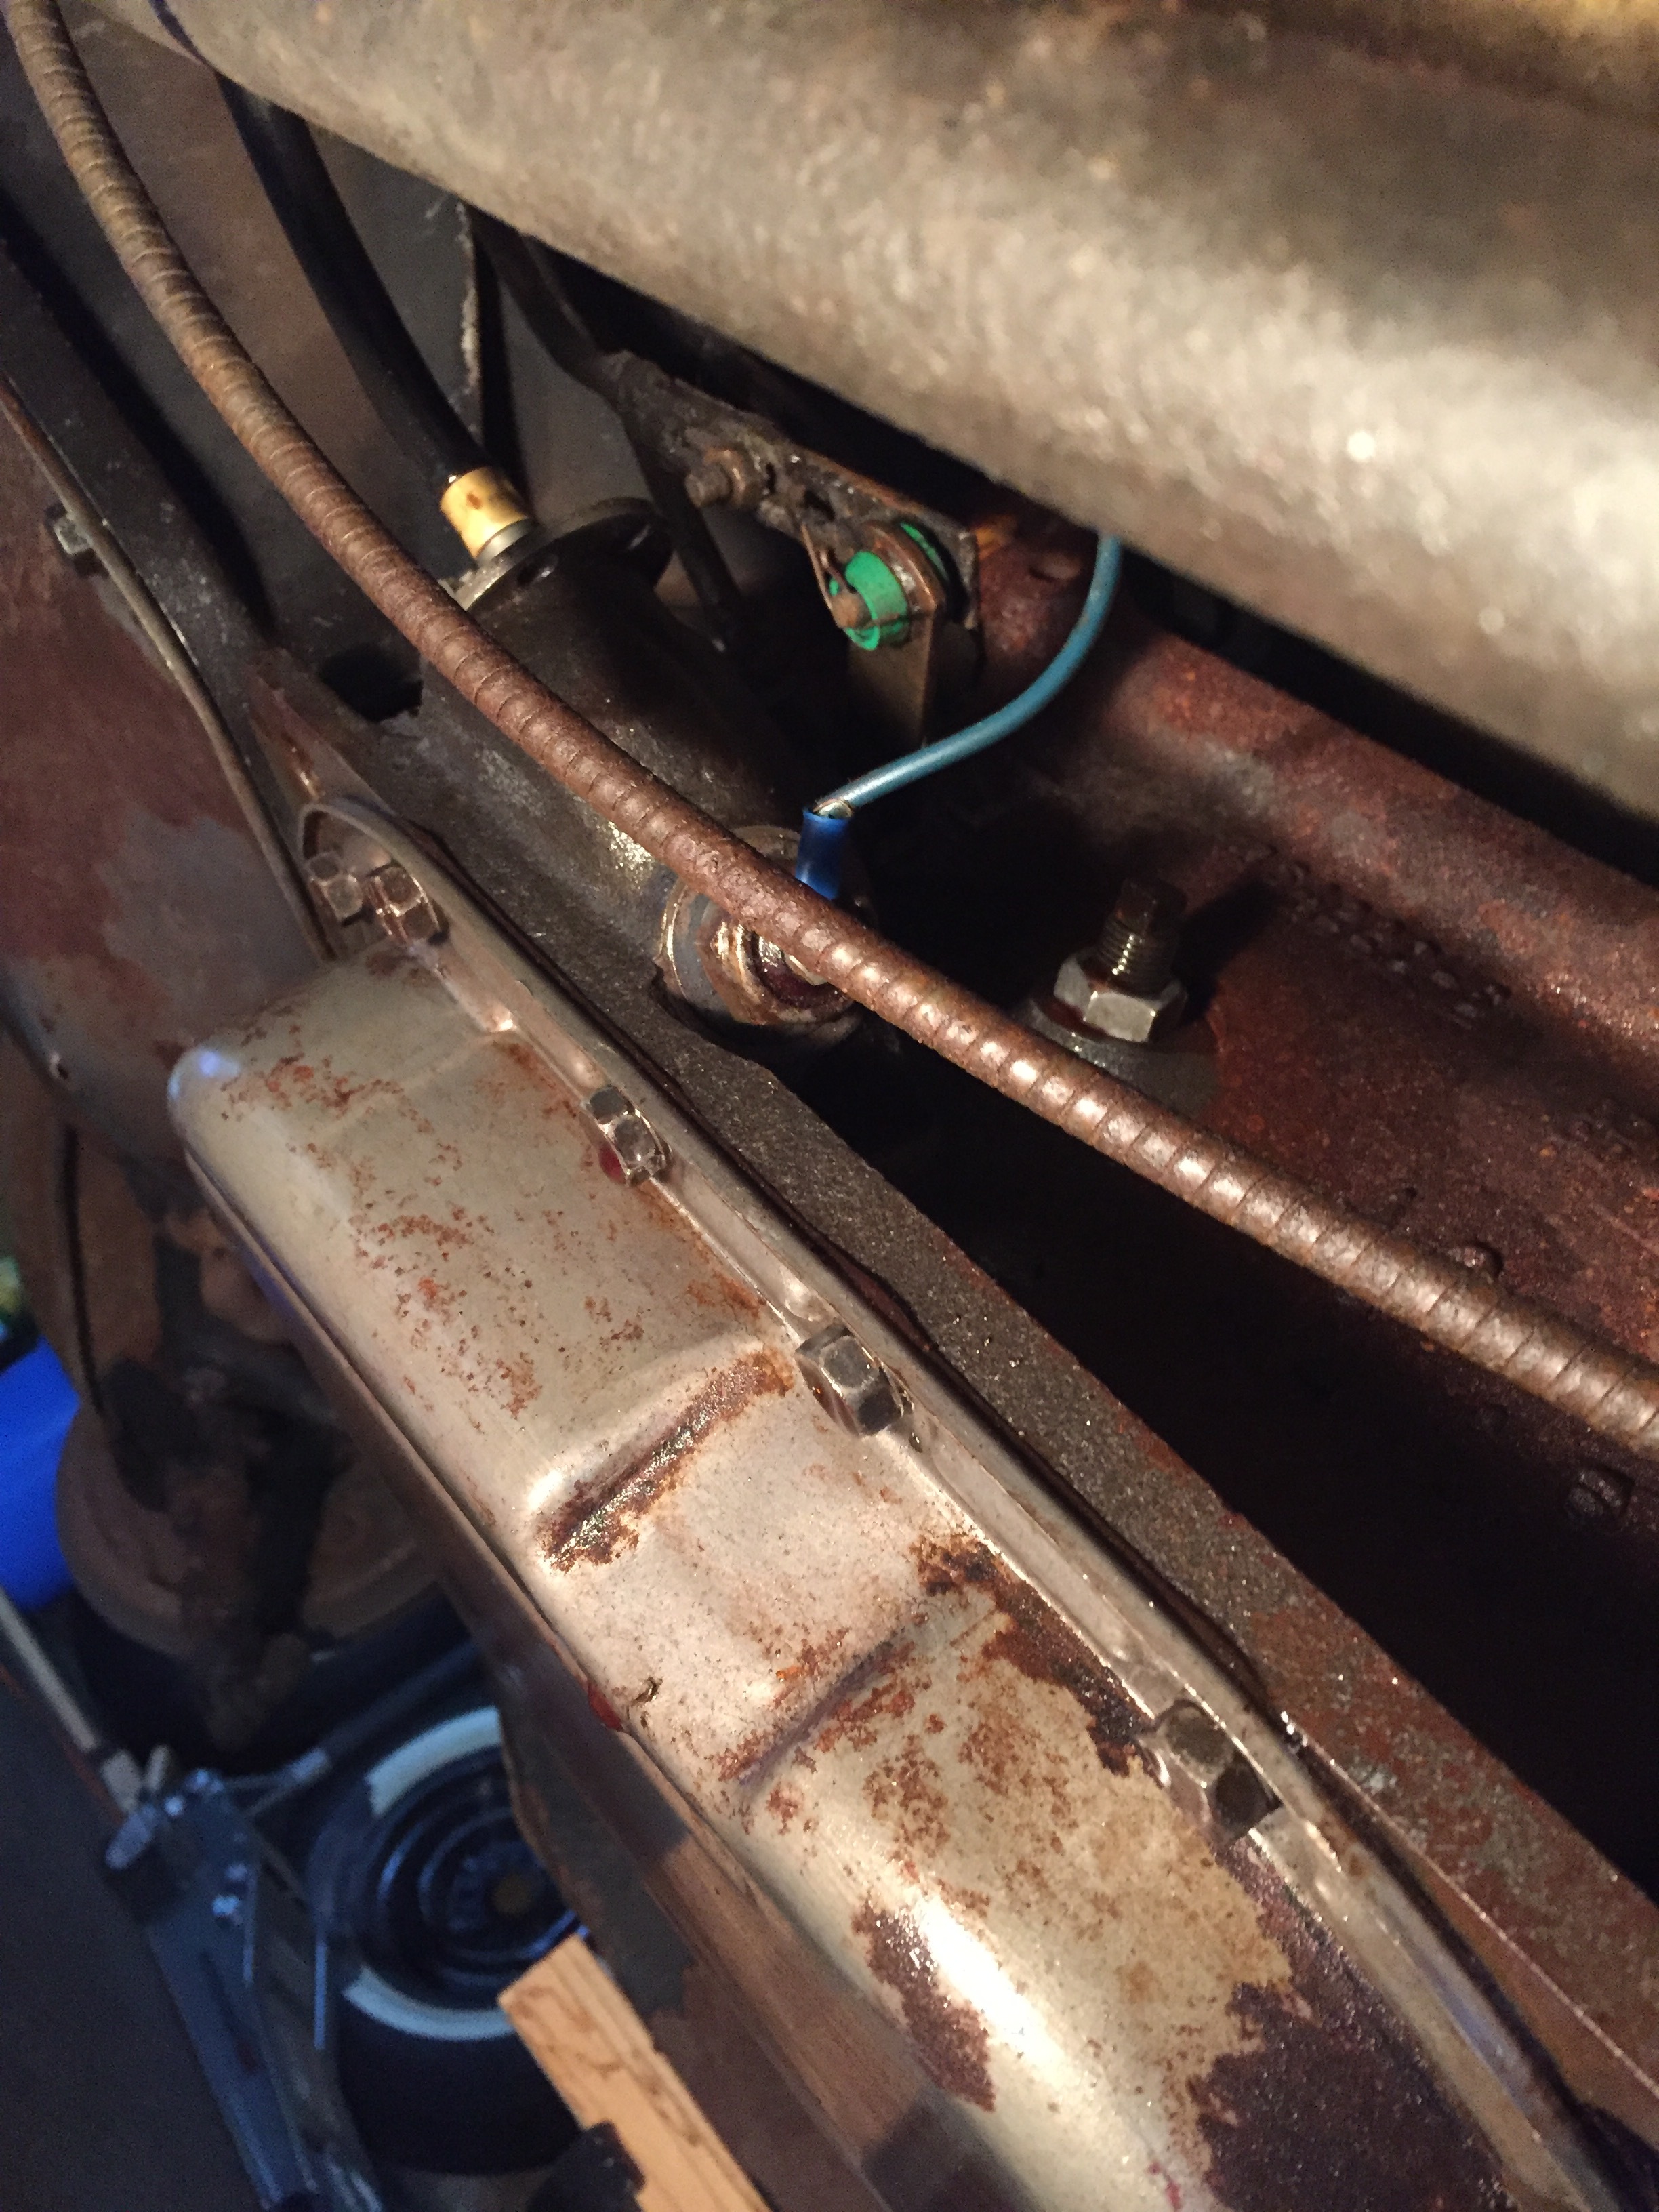
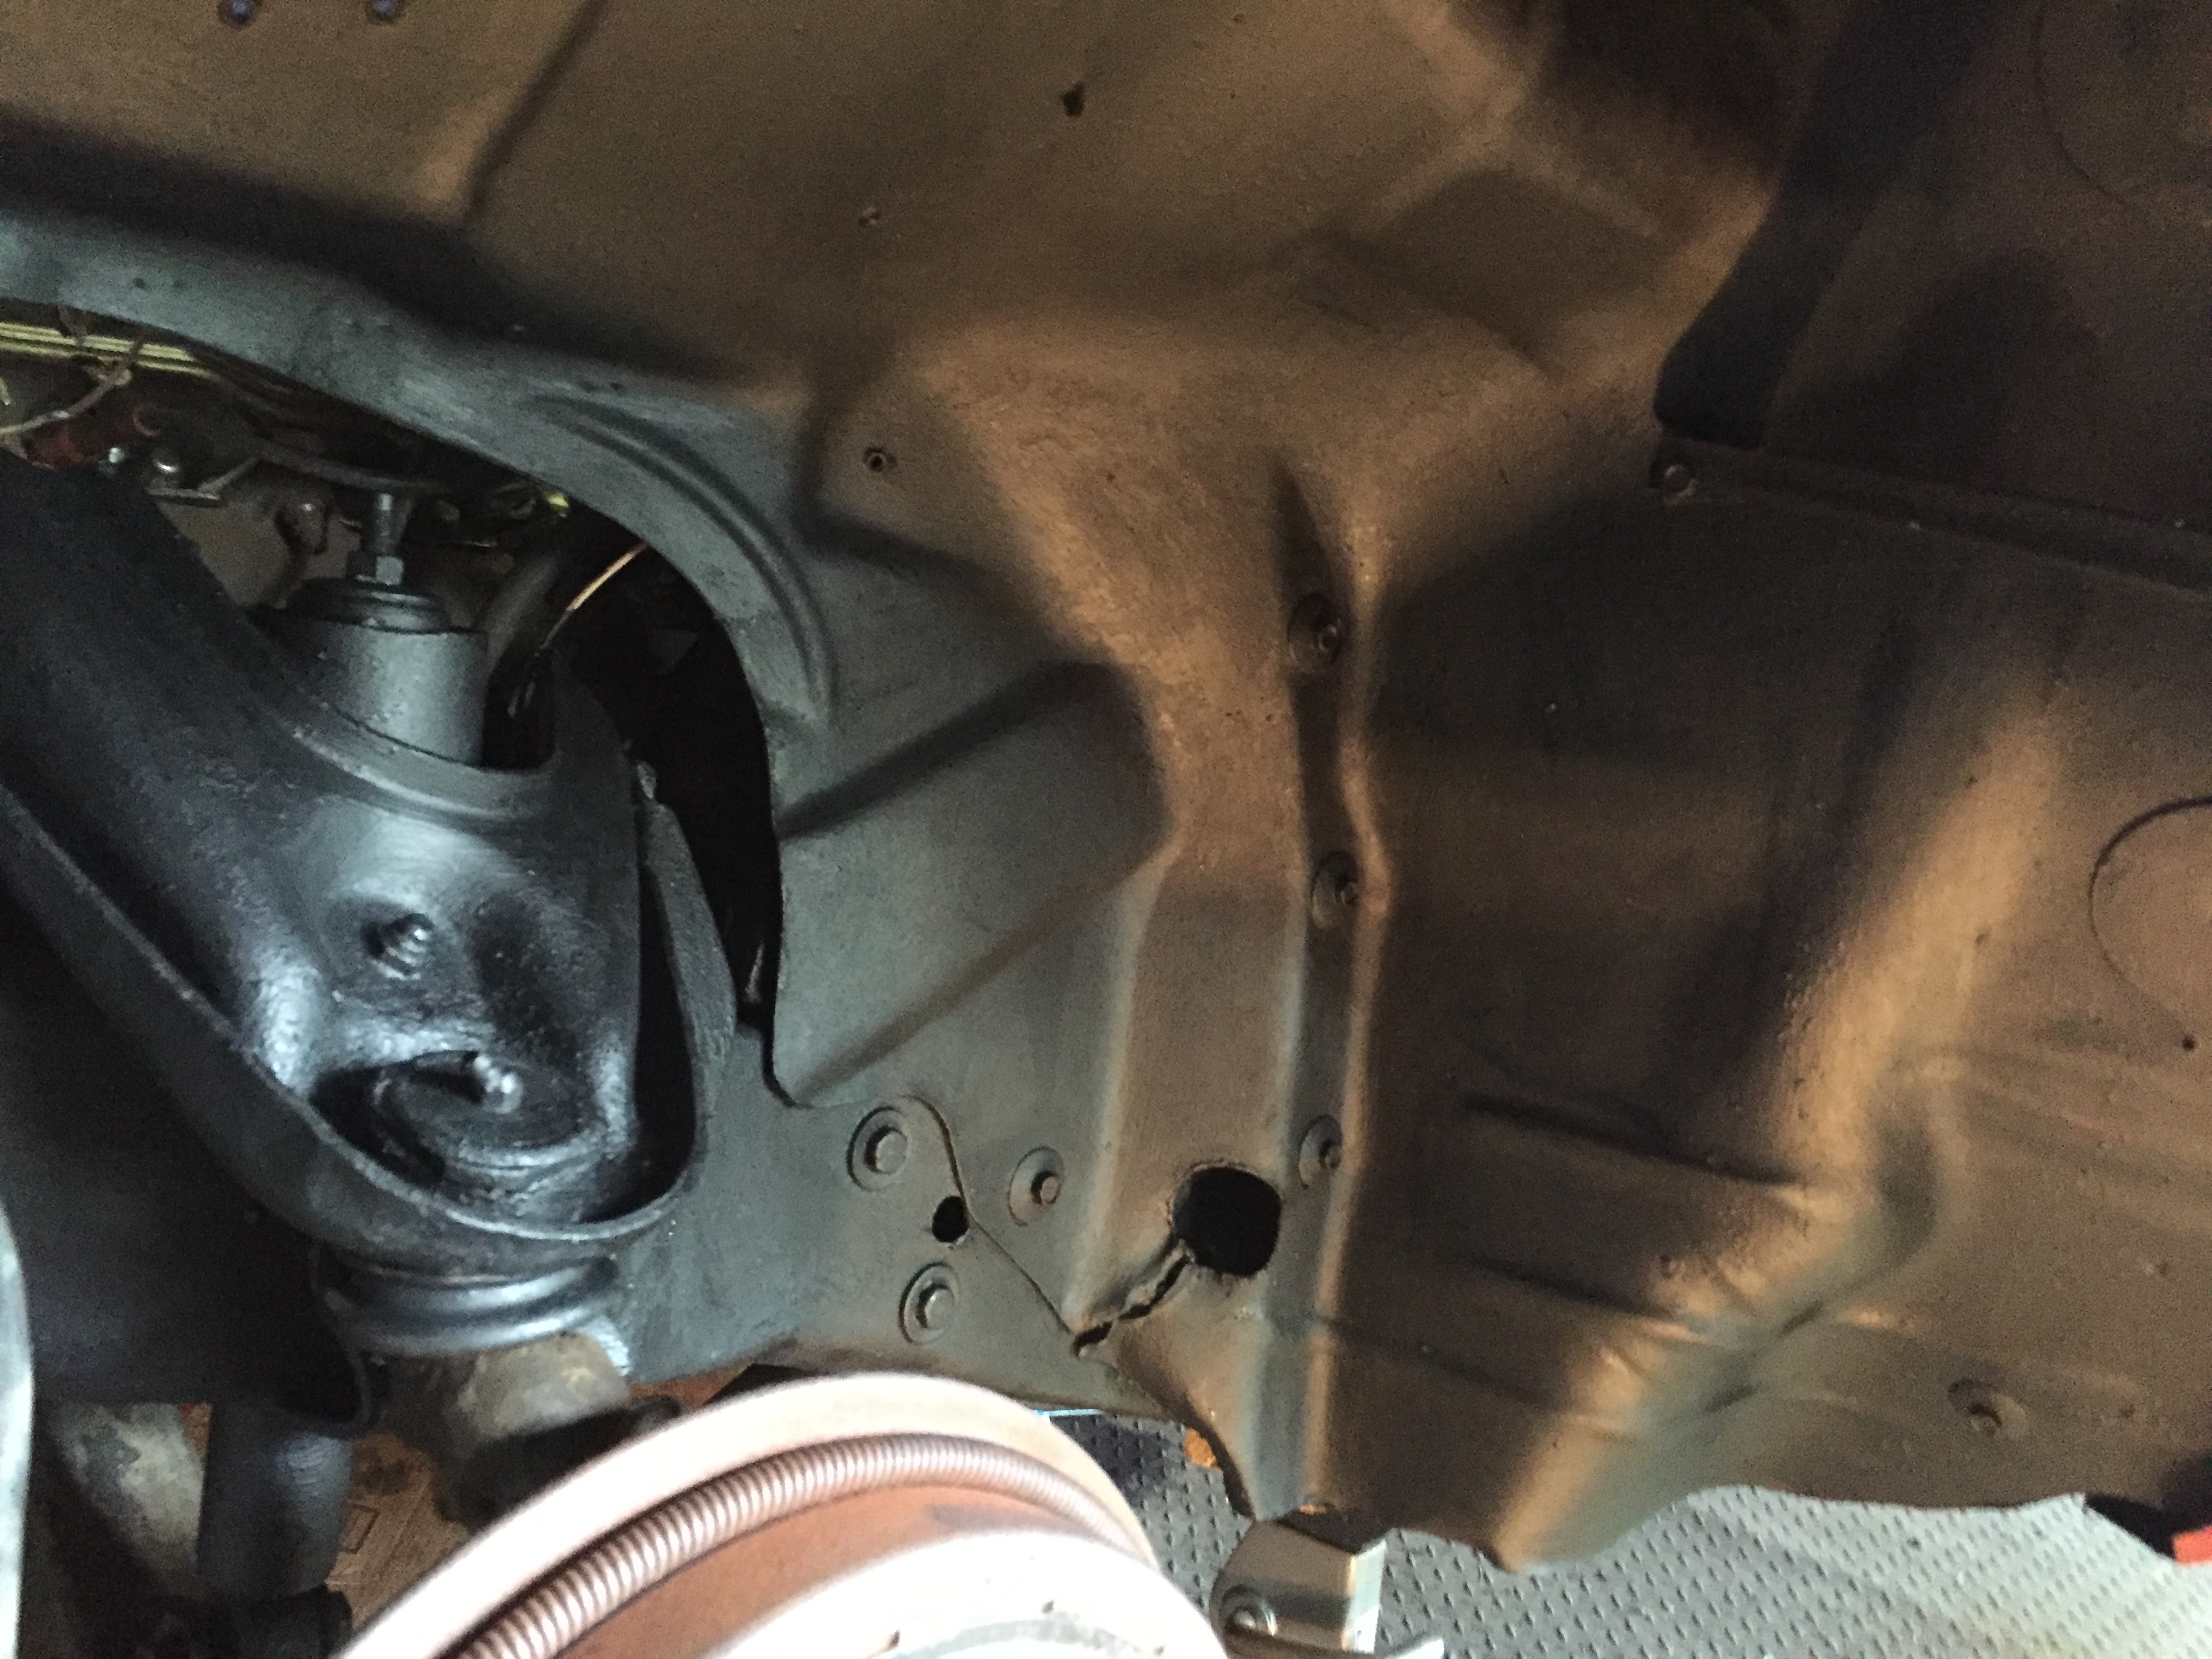
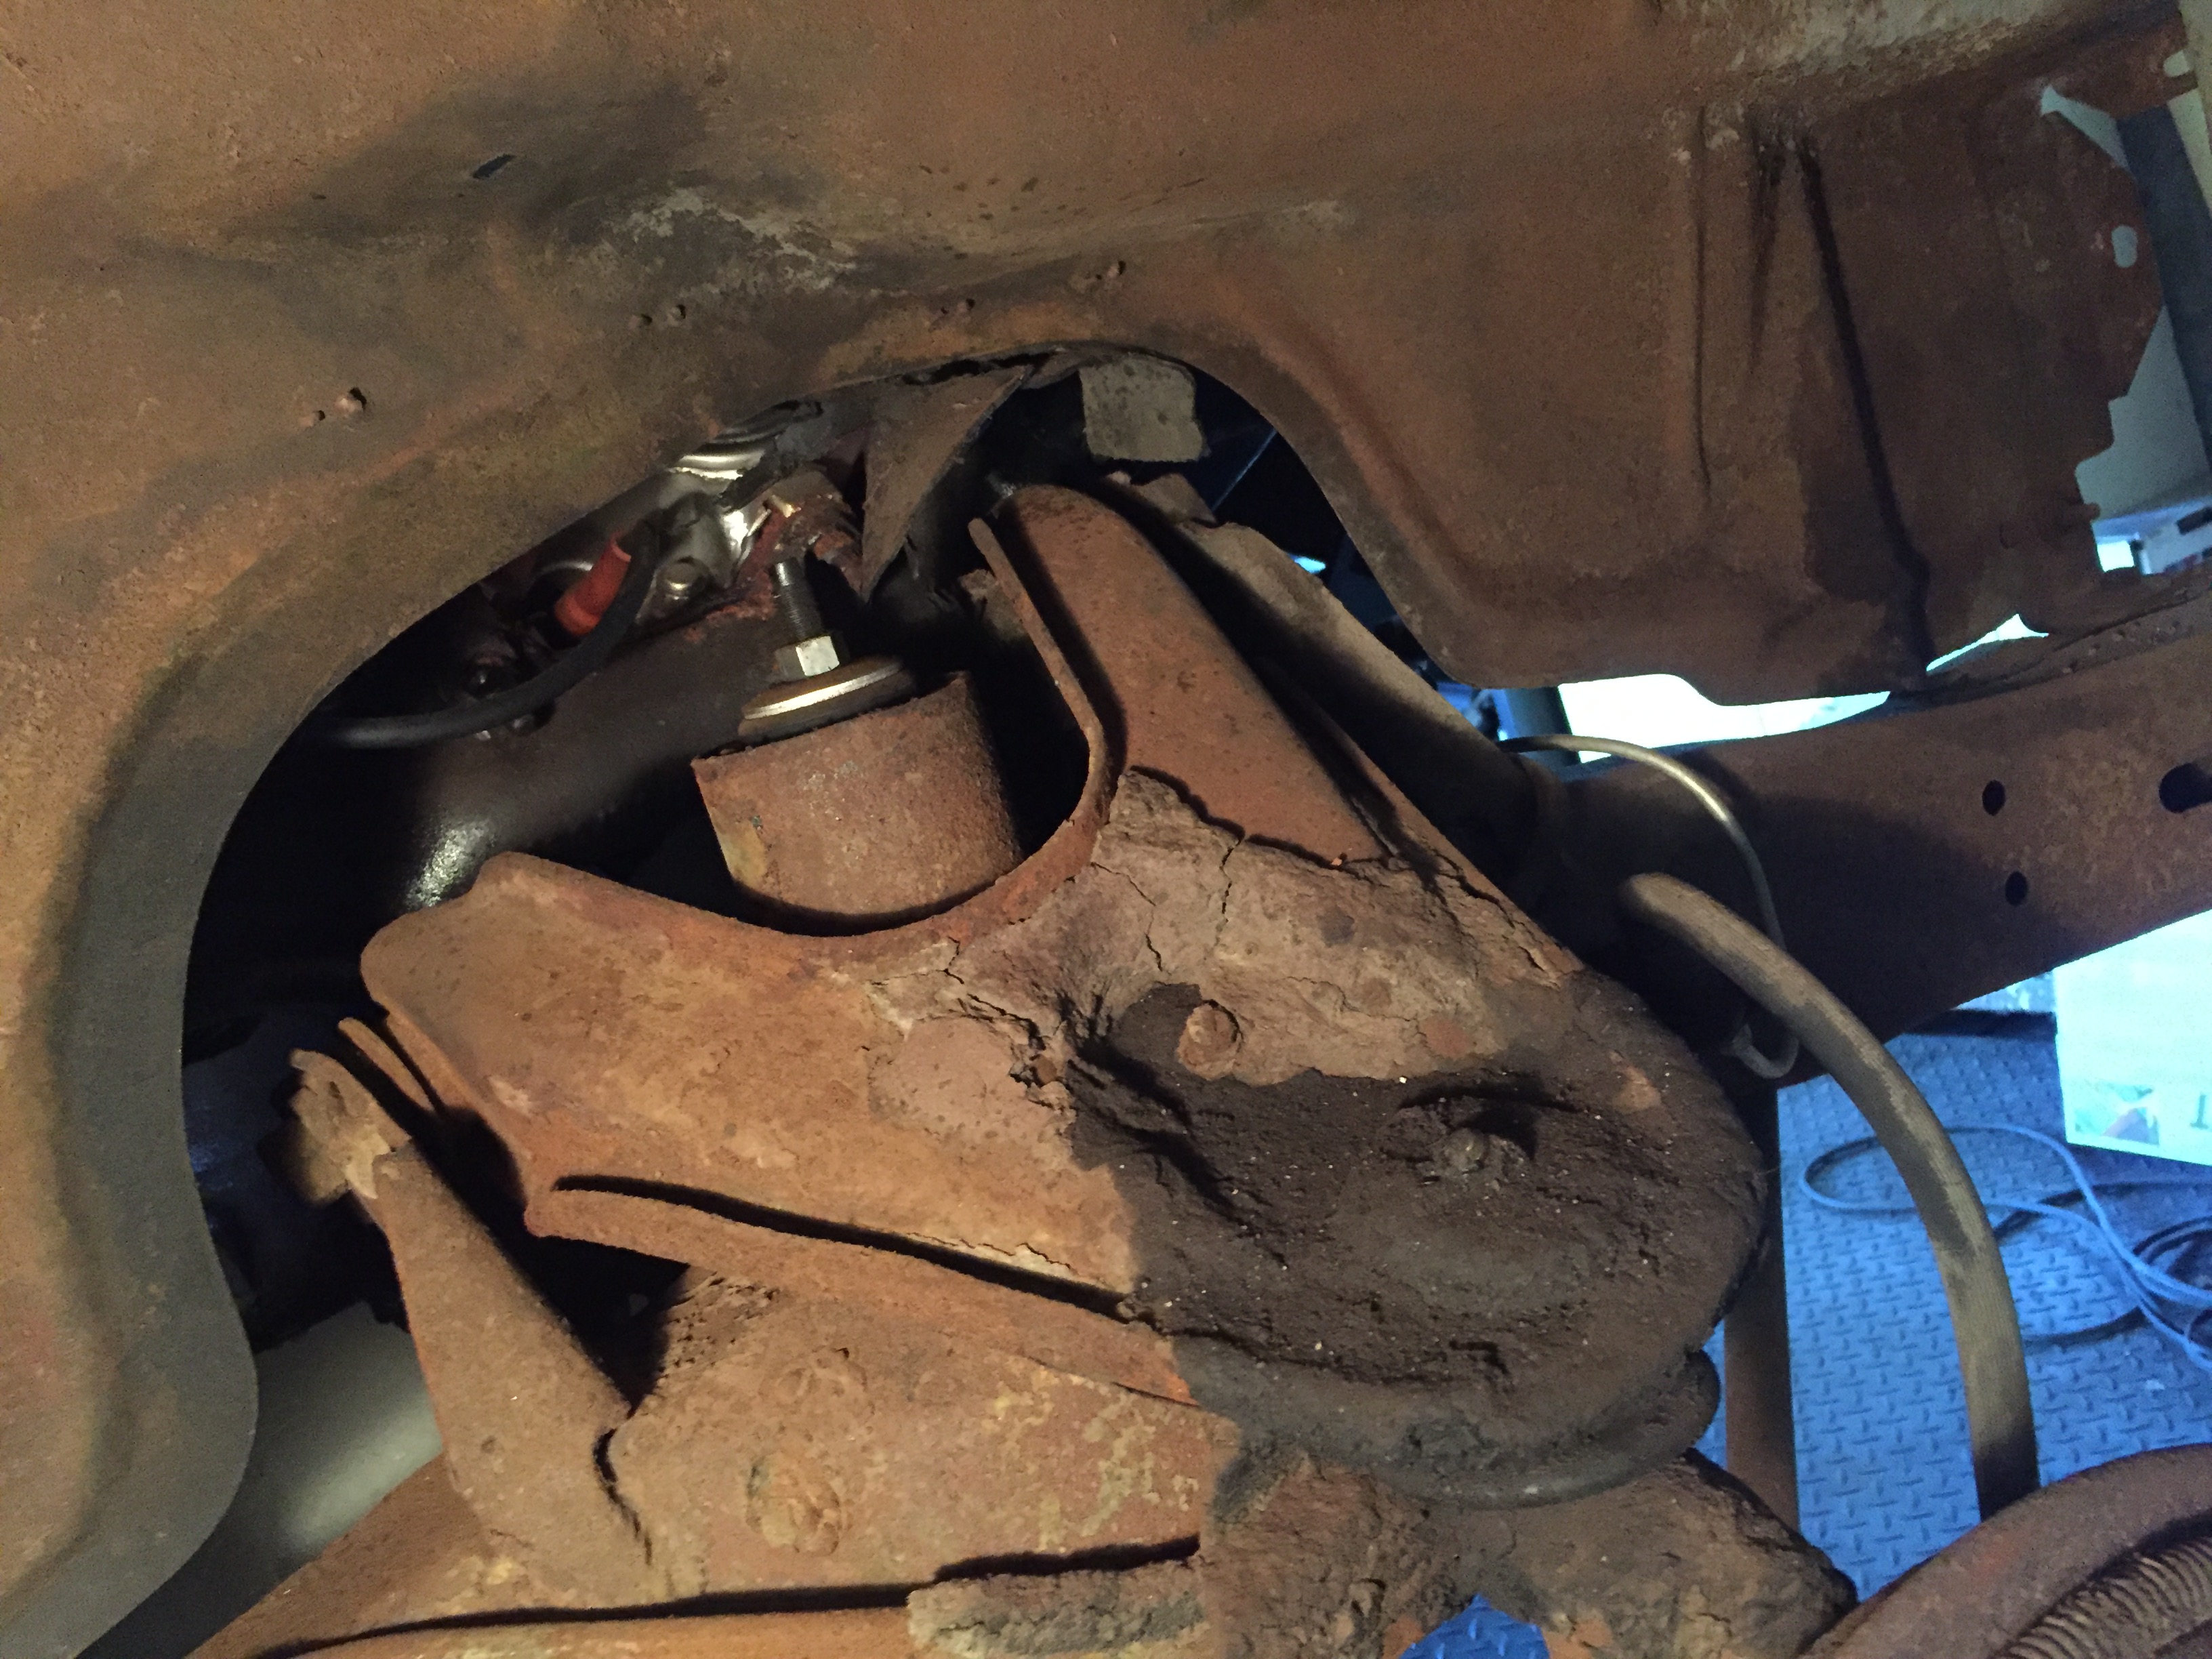
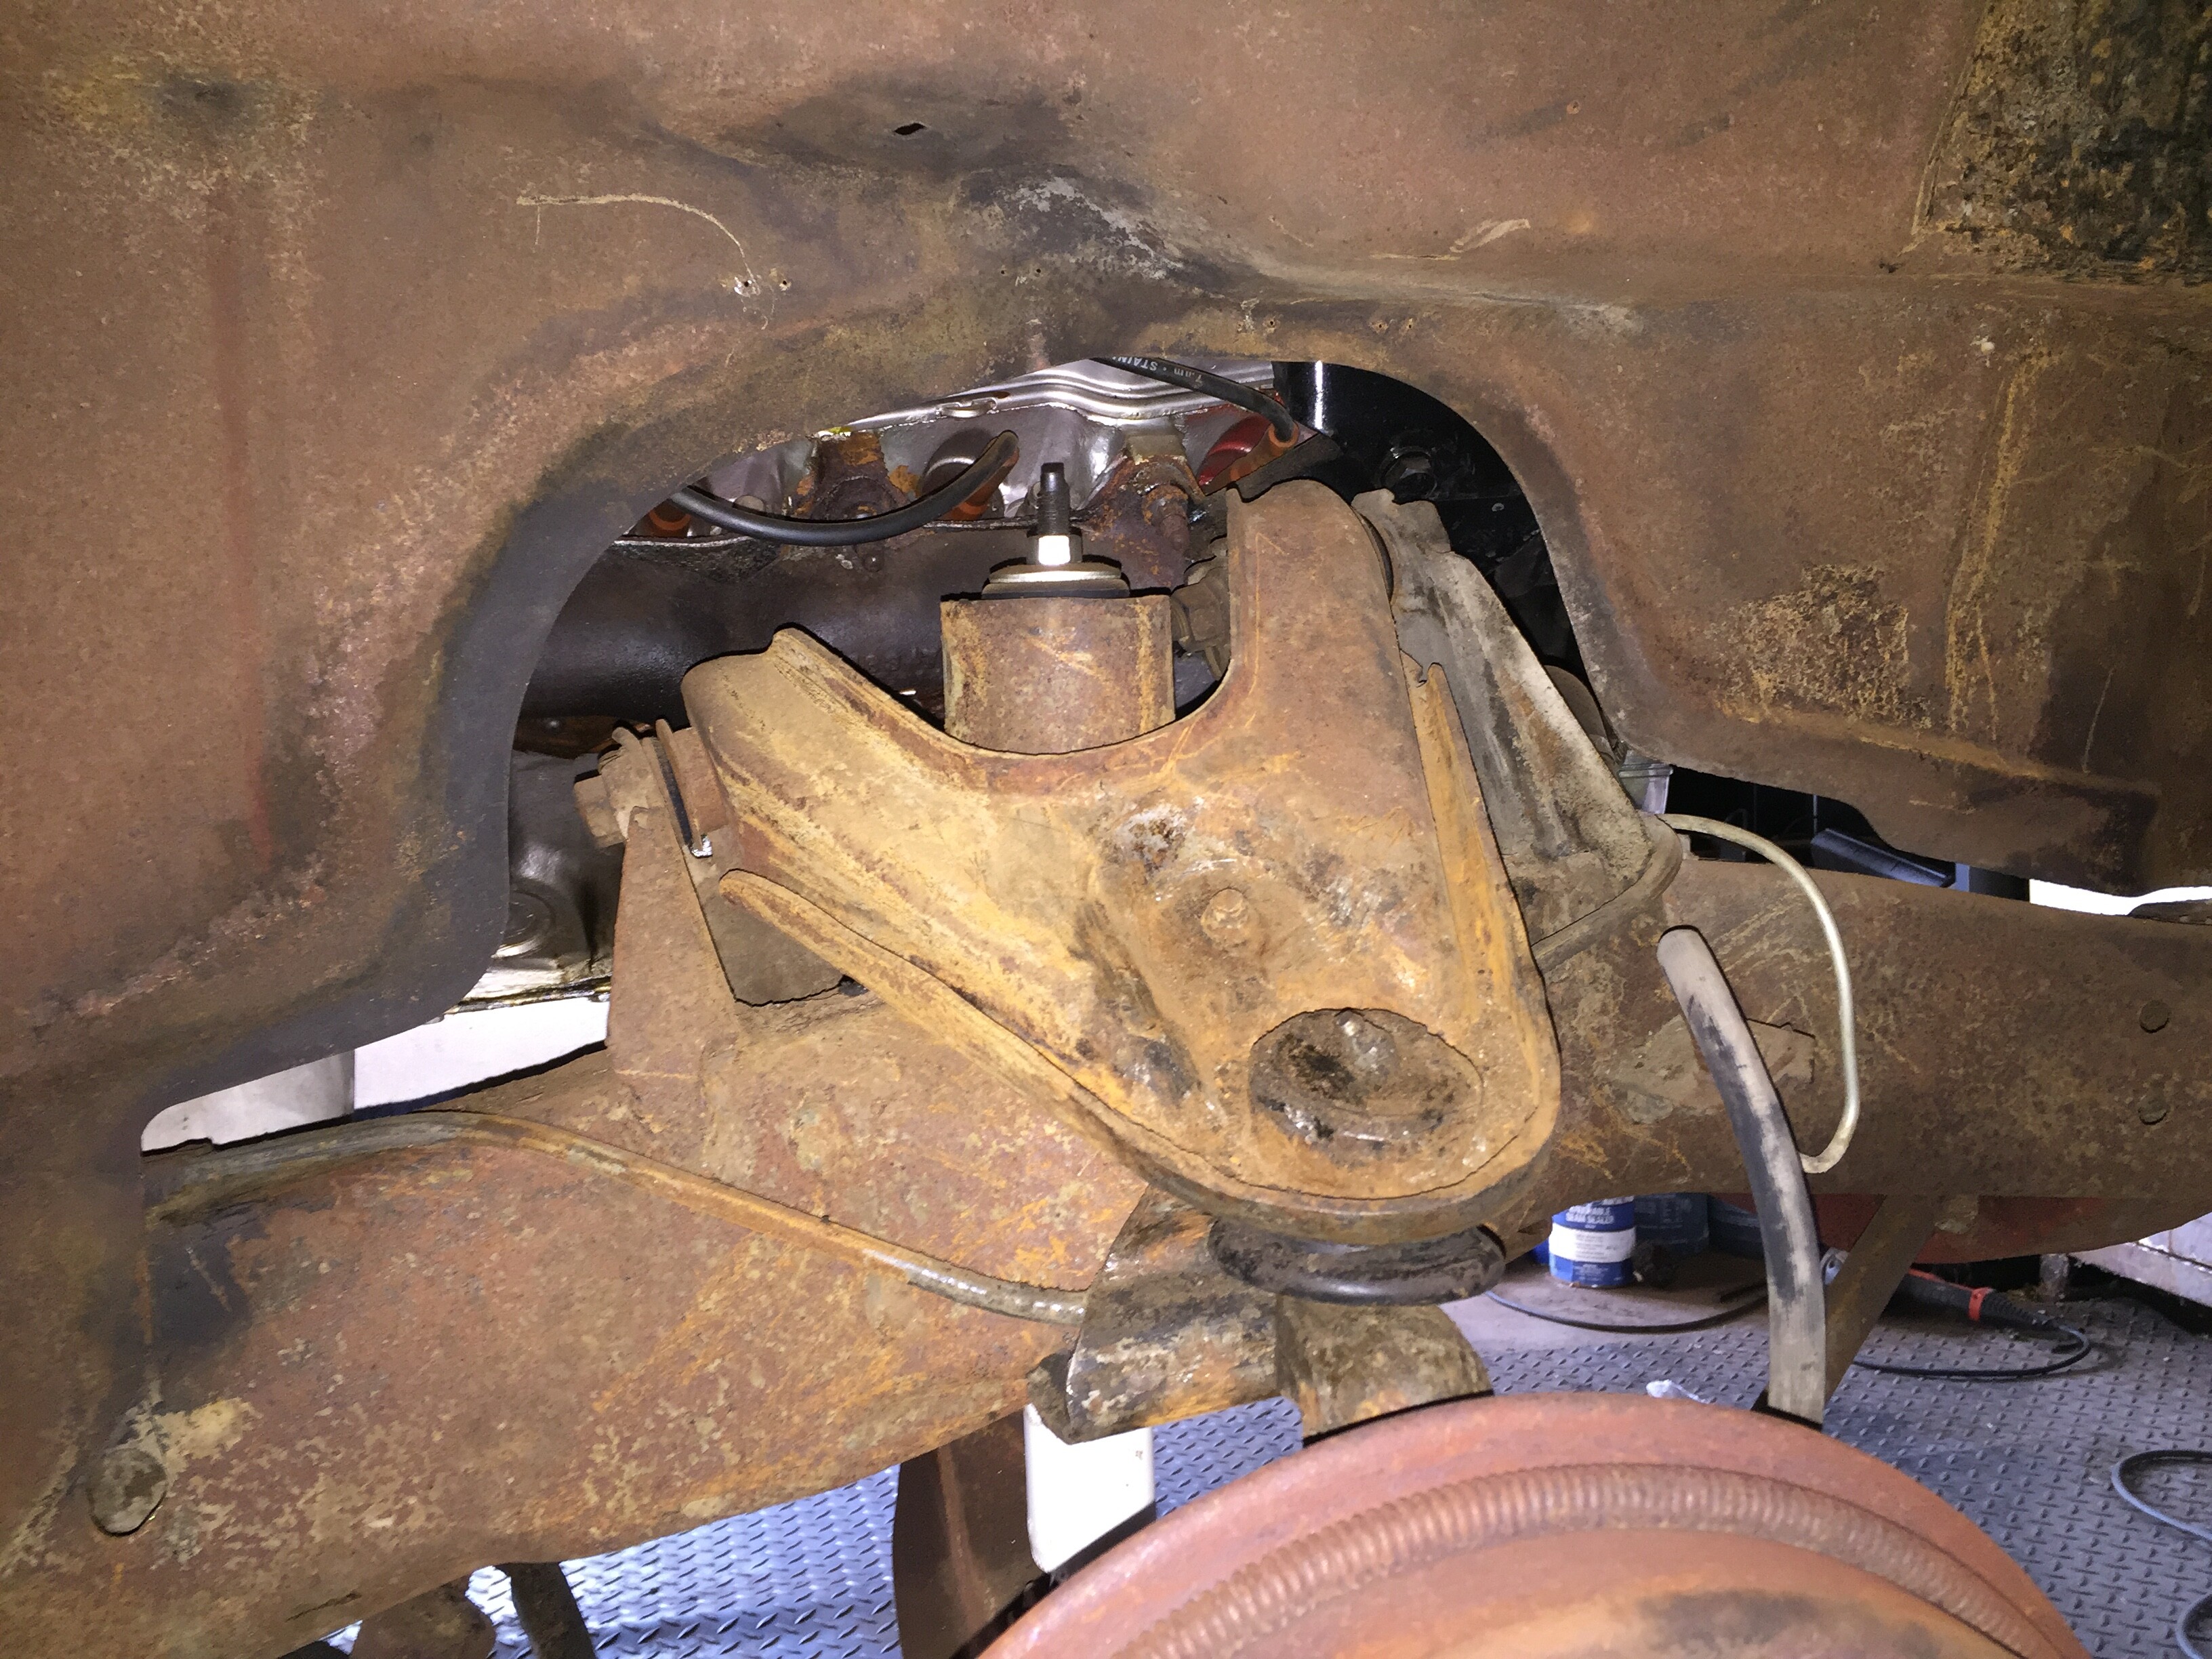
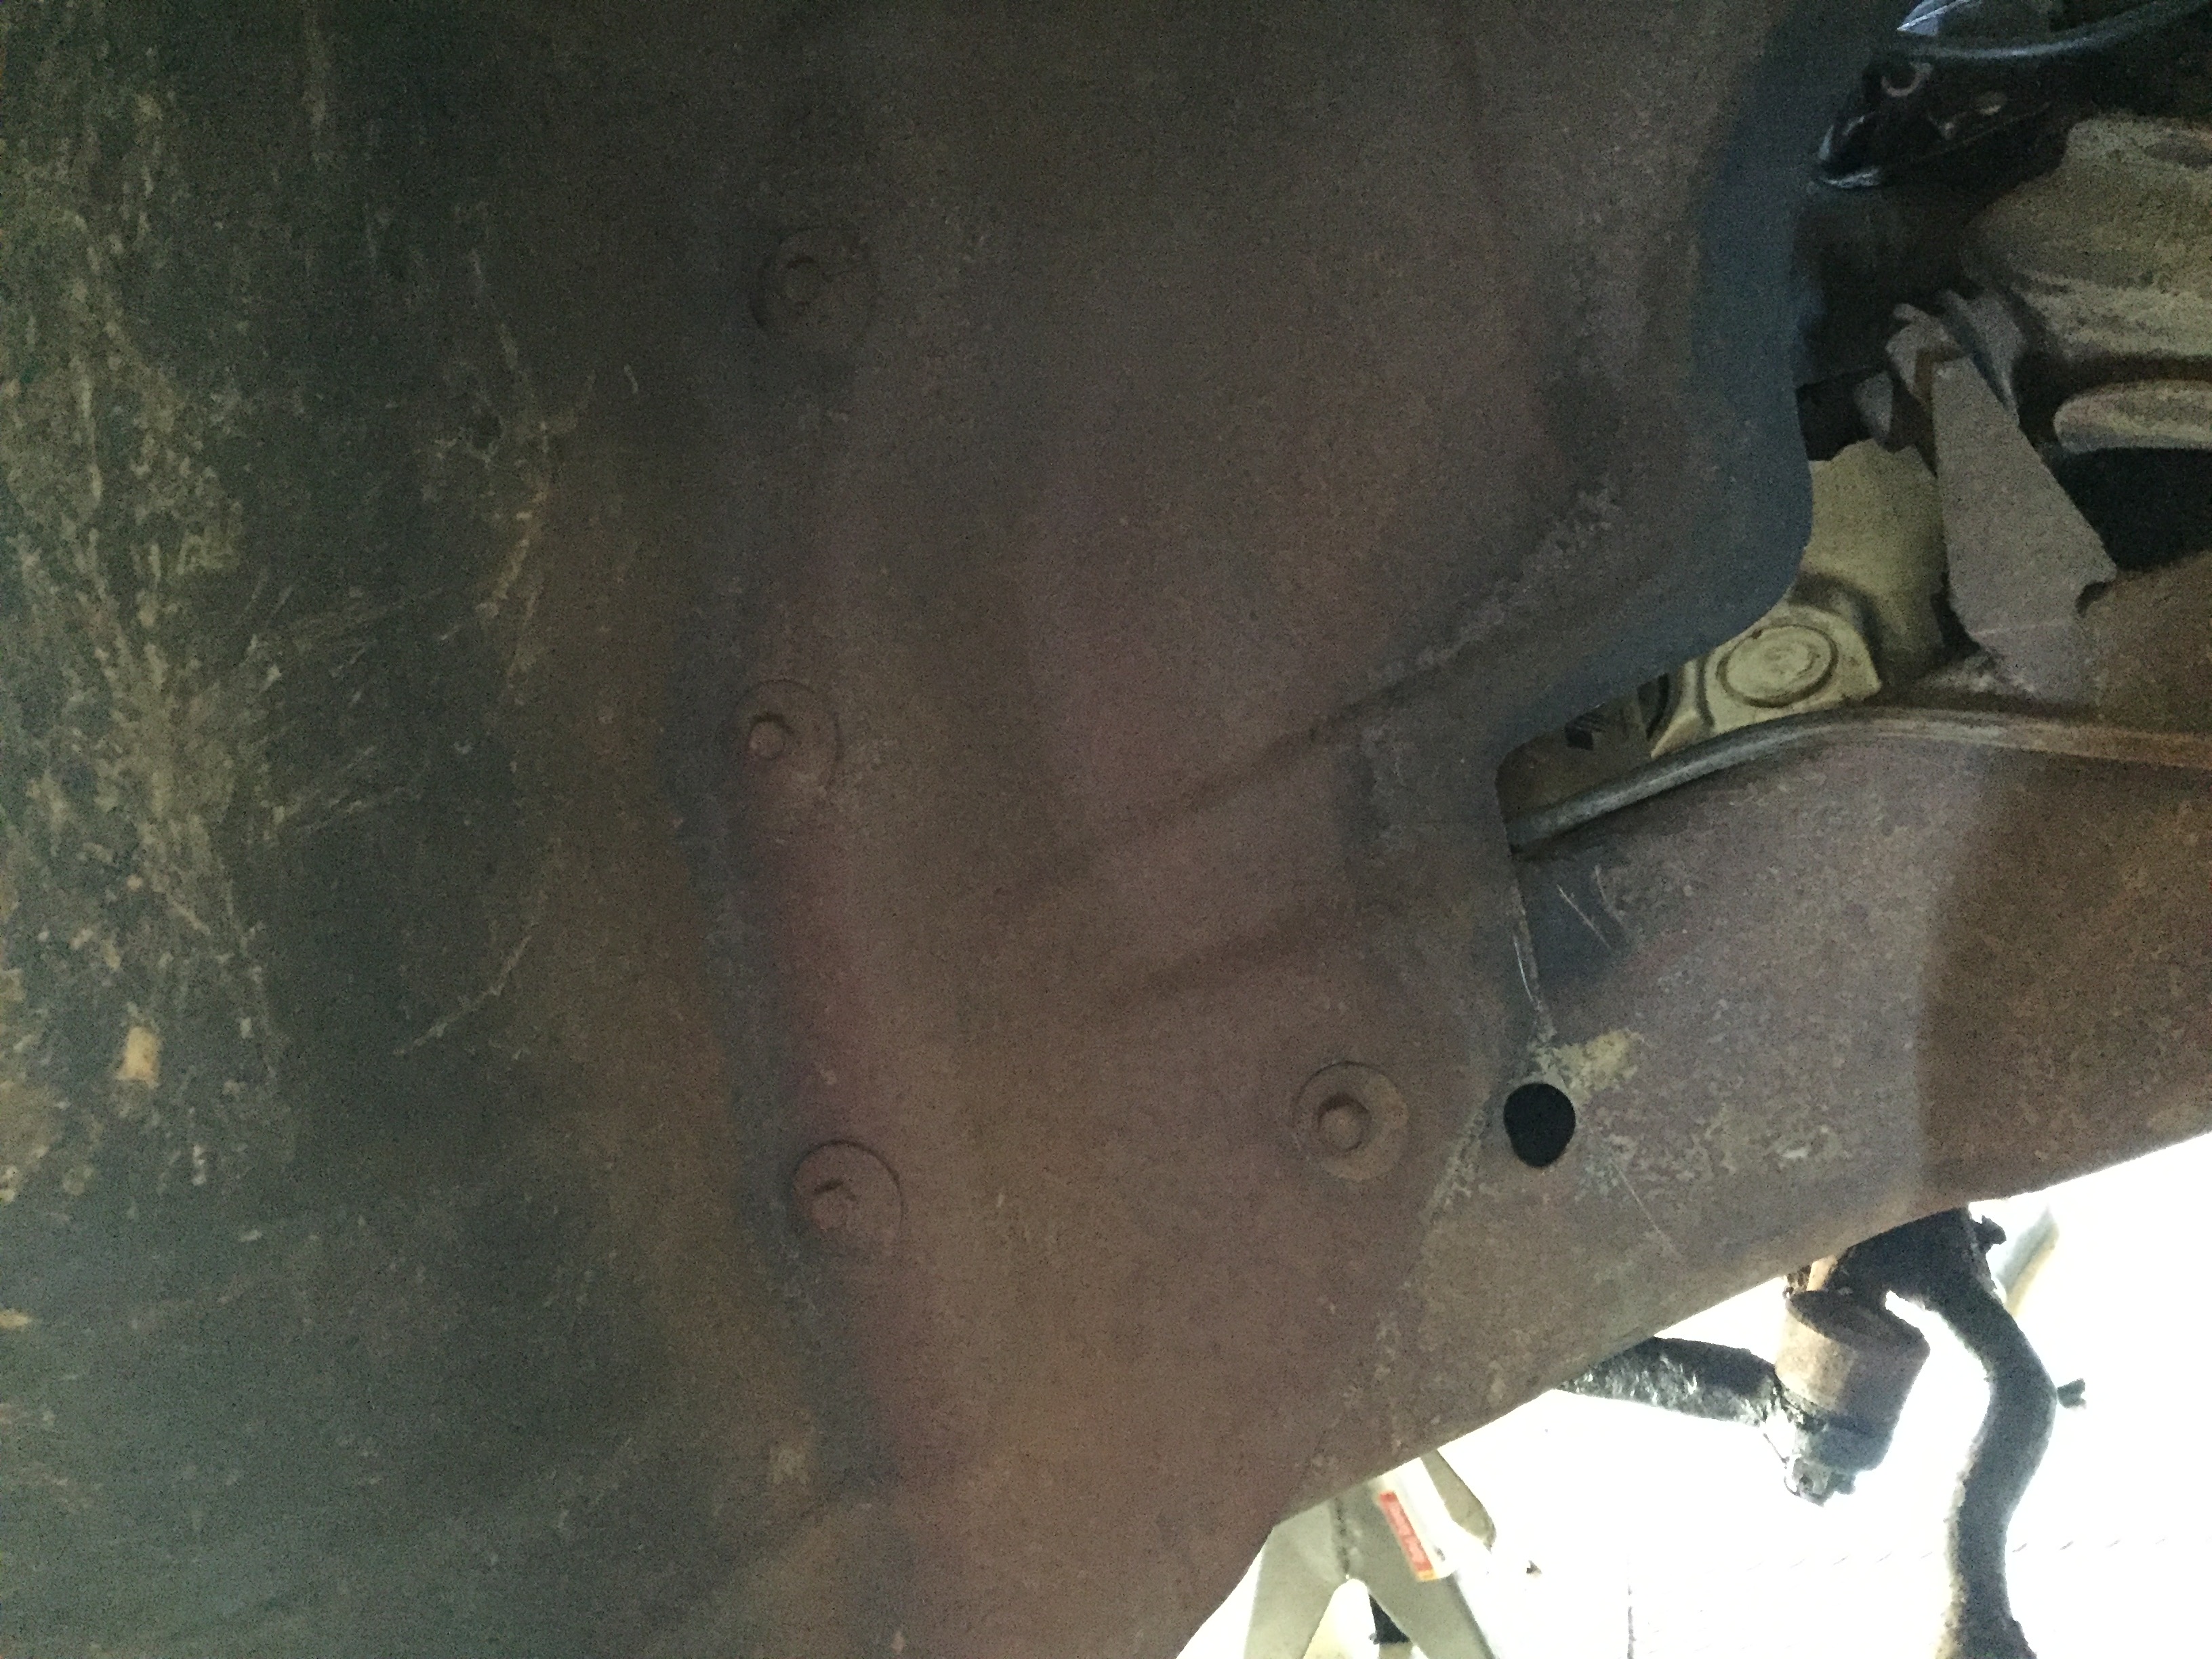
Tomorrow, I touch up, degrease and encapsulate. I also took a look at the transmission leak at the kickdown adjustment screw.
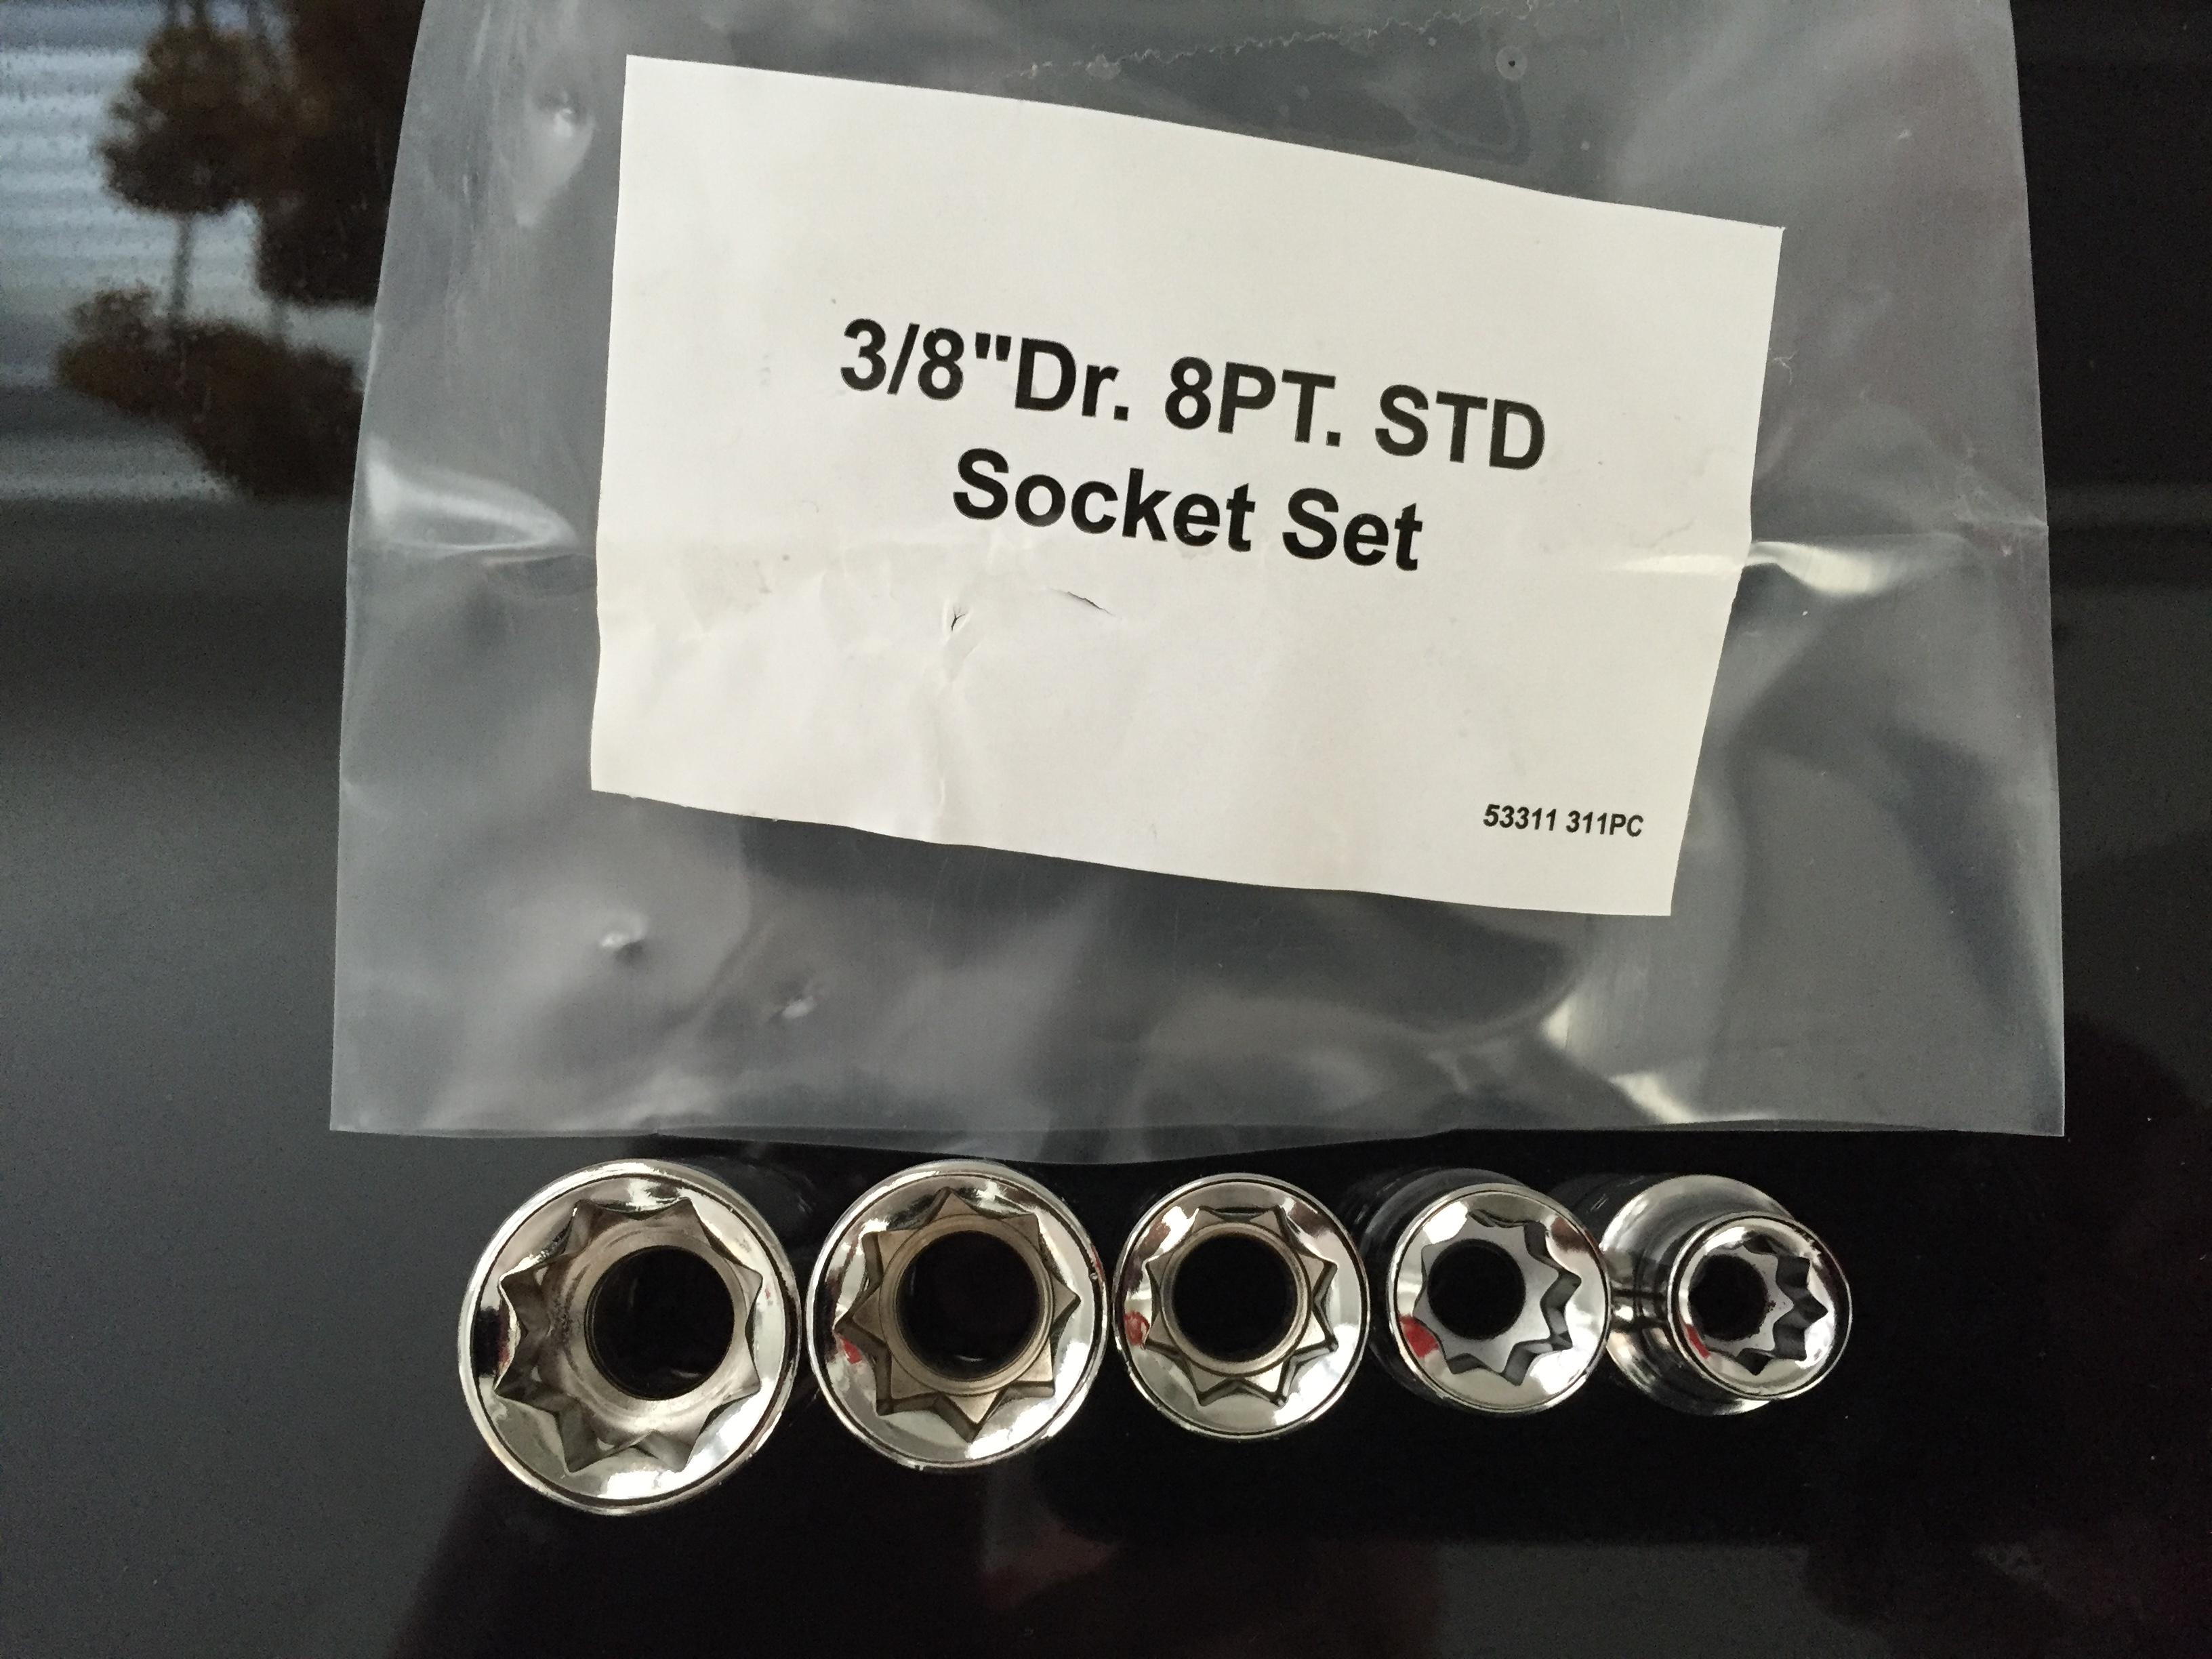
I had bought an inch-pound torque wrench from Harbor Freight, just like Doc '59 told me to. I removed the lockdown nut, but then realized after messing with it that a regular hex-head socket wouldn’t fit on a 5/16" square head. I ran to Auto Zone, and picked up a star socket set; but doncha know, it went from E14 to E16. The former is too small, and the latter is too large. I need a @#$!%@!! E15! Oh well, I’ll order from Amazon, and deal with this next week.
Looks good Dan.It’s getting there.I take my grease caps and tink it out (dents), I am sure they can be found on A good forward look parts car but new at rock I doubt. Keep going at it Mark
I have to admit, this is more fun than putting bamboo splints under my fingernails.
Done for the day, although not completely done painting this side. Some spots I’ll only be able to get to with spray, so that’s what I’ll do.
Look Ma, no dribbles!
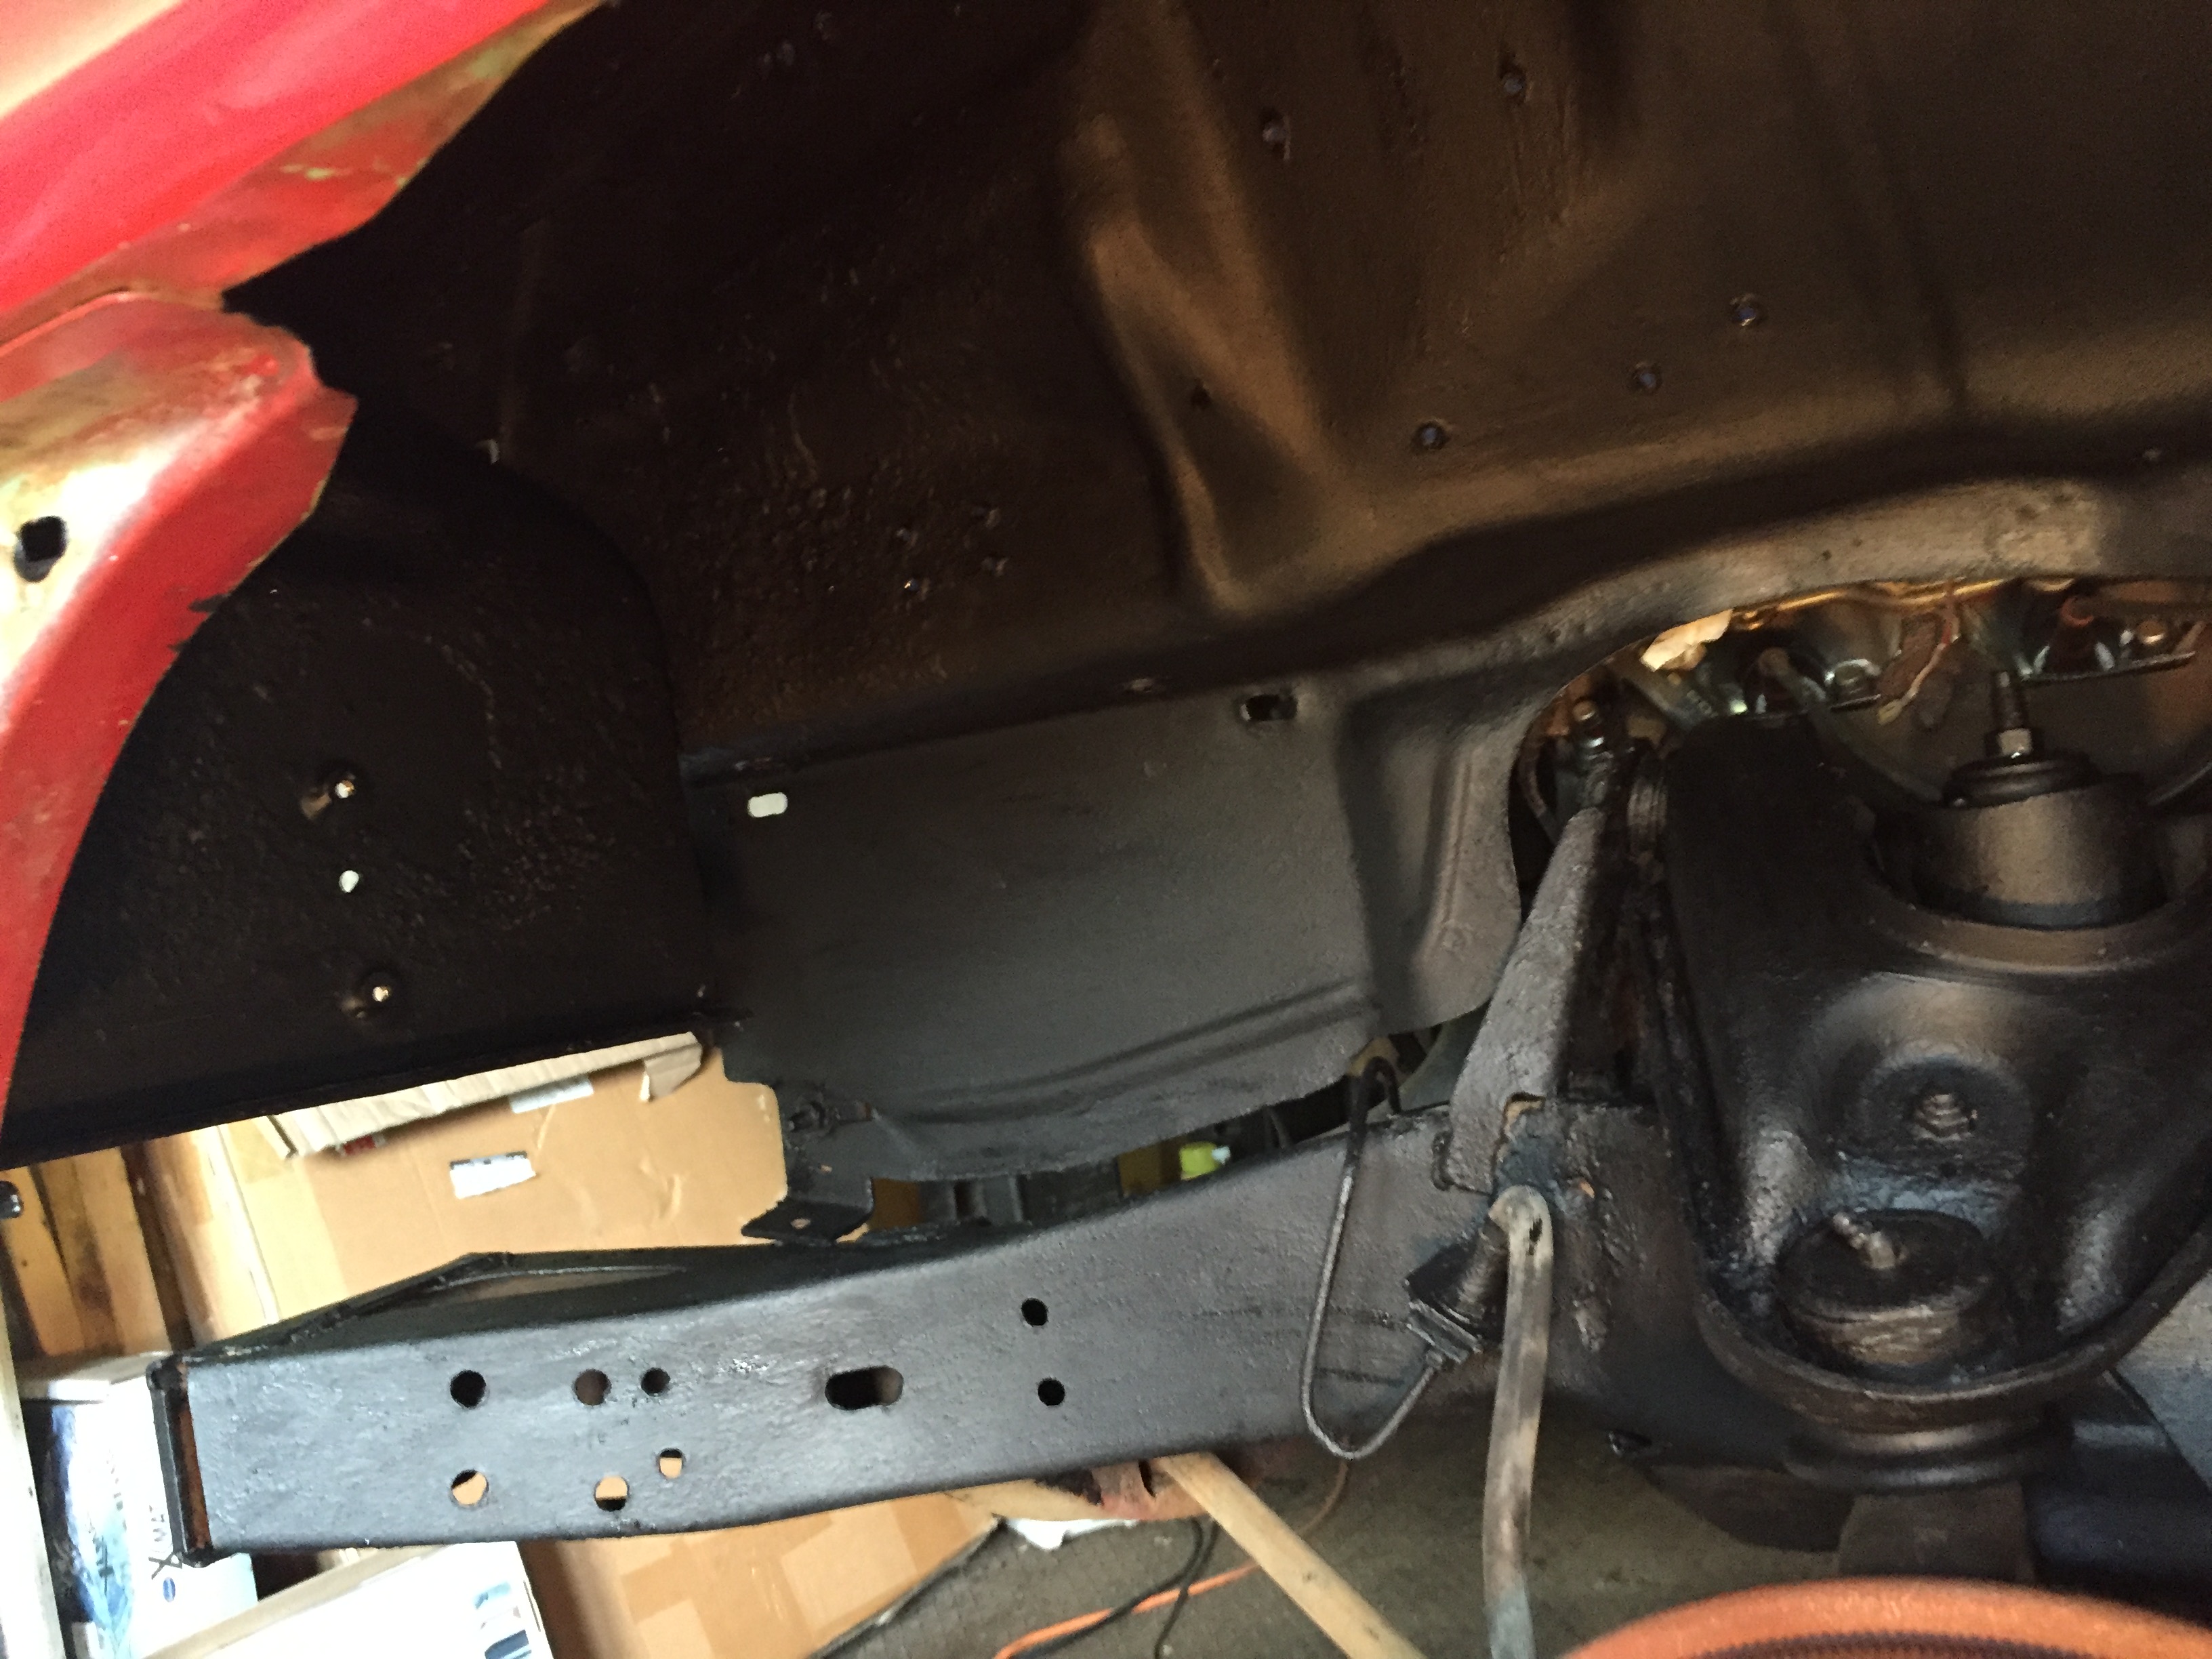
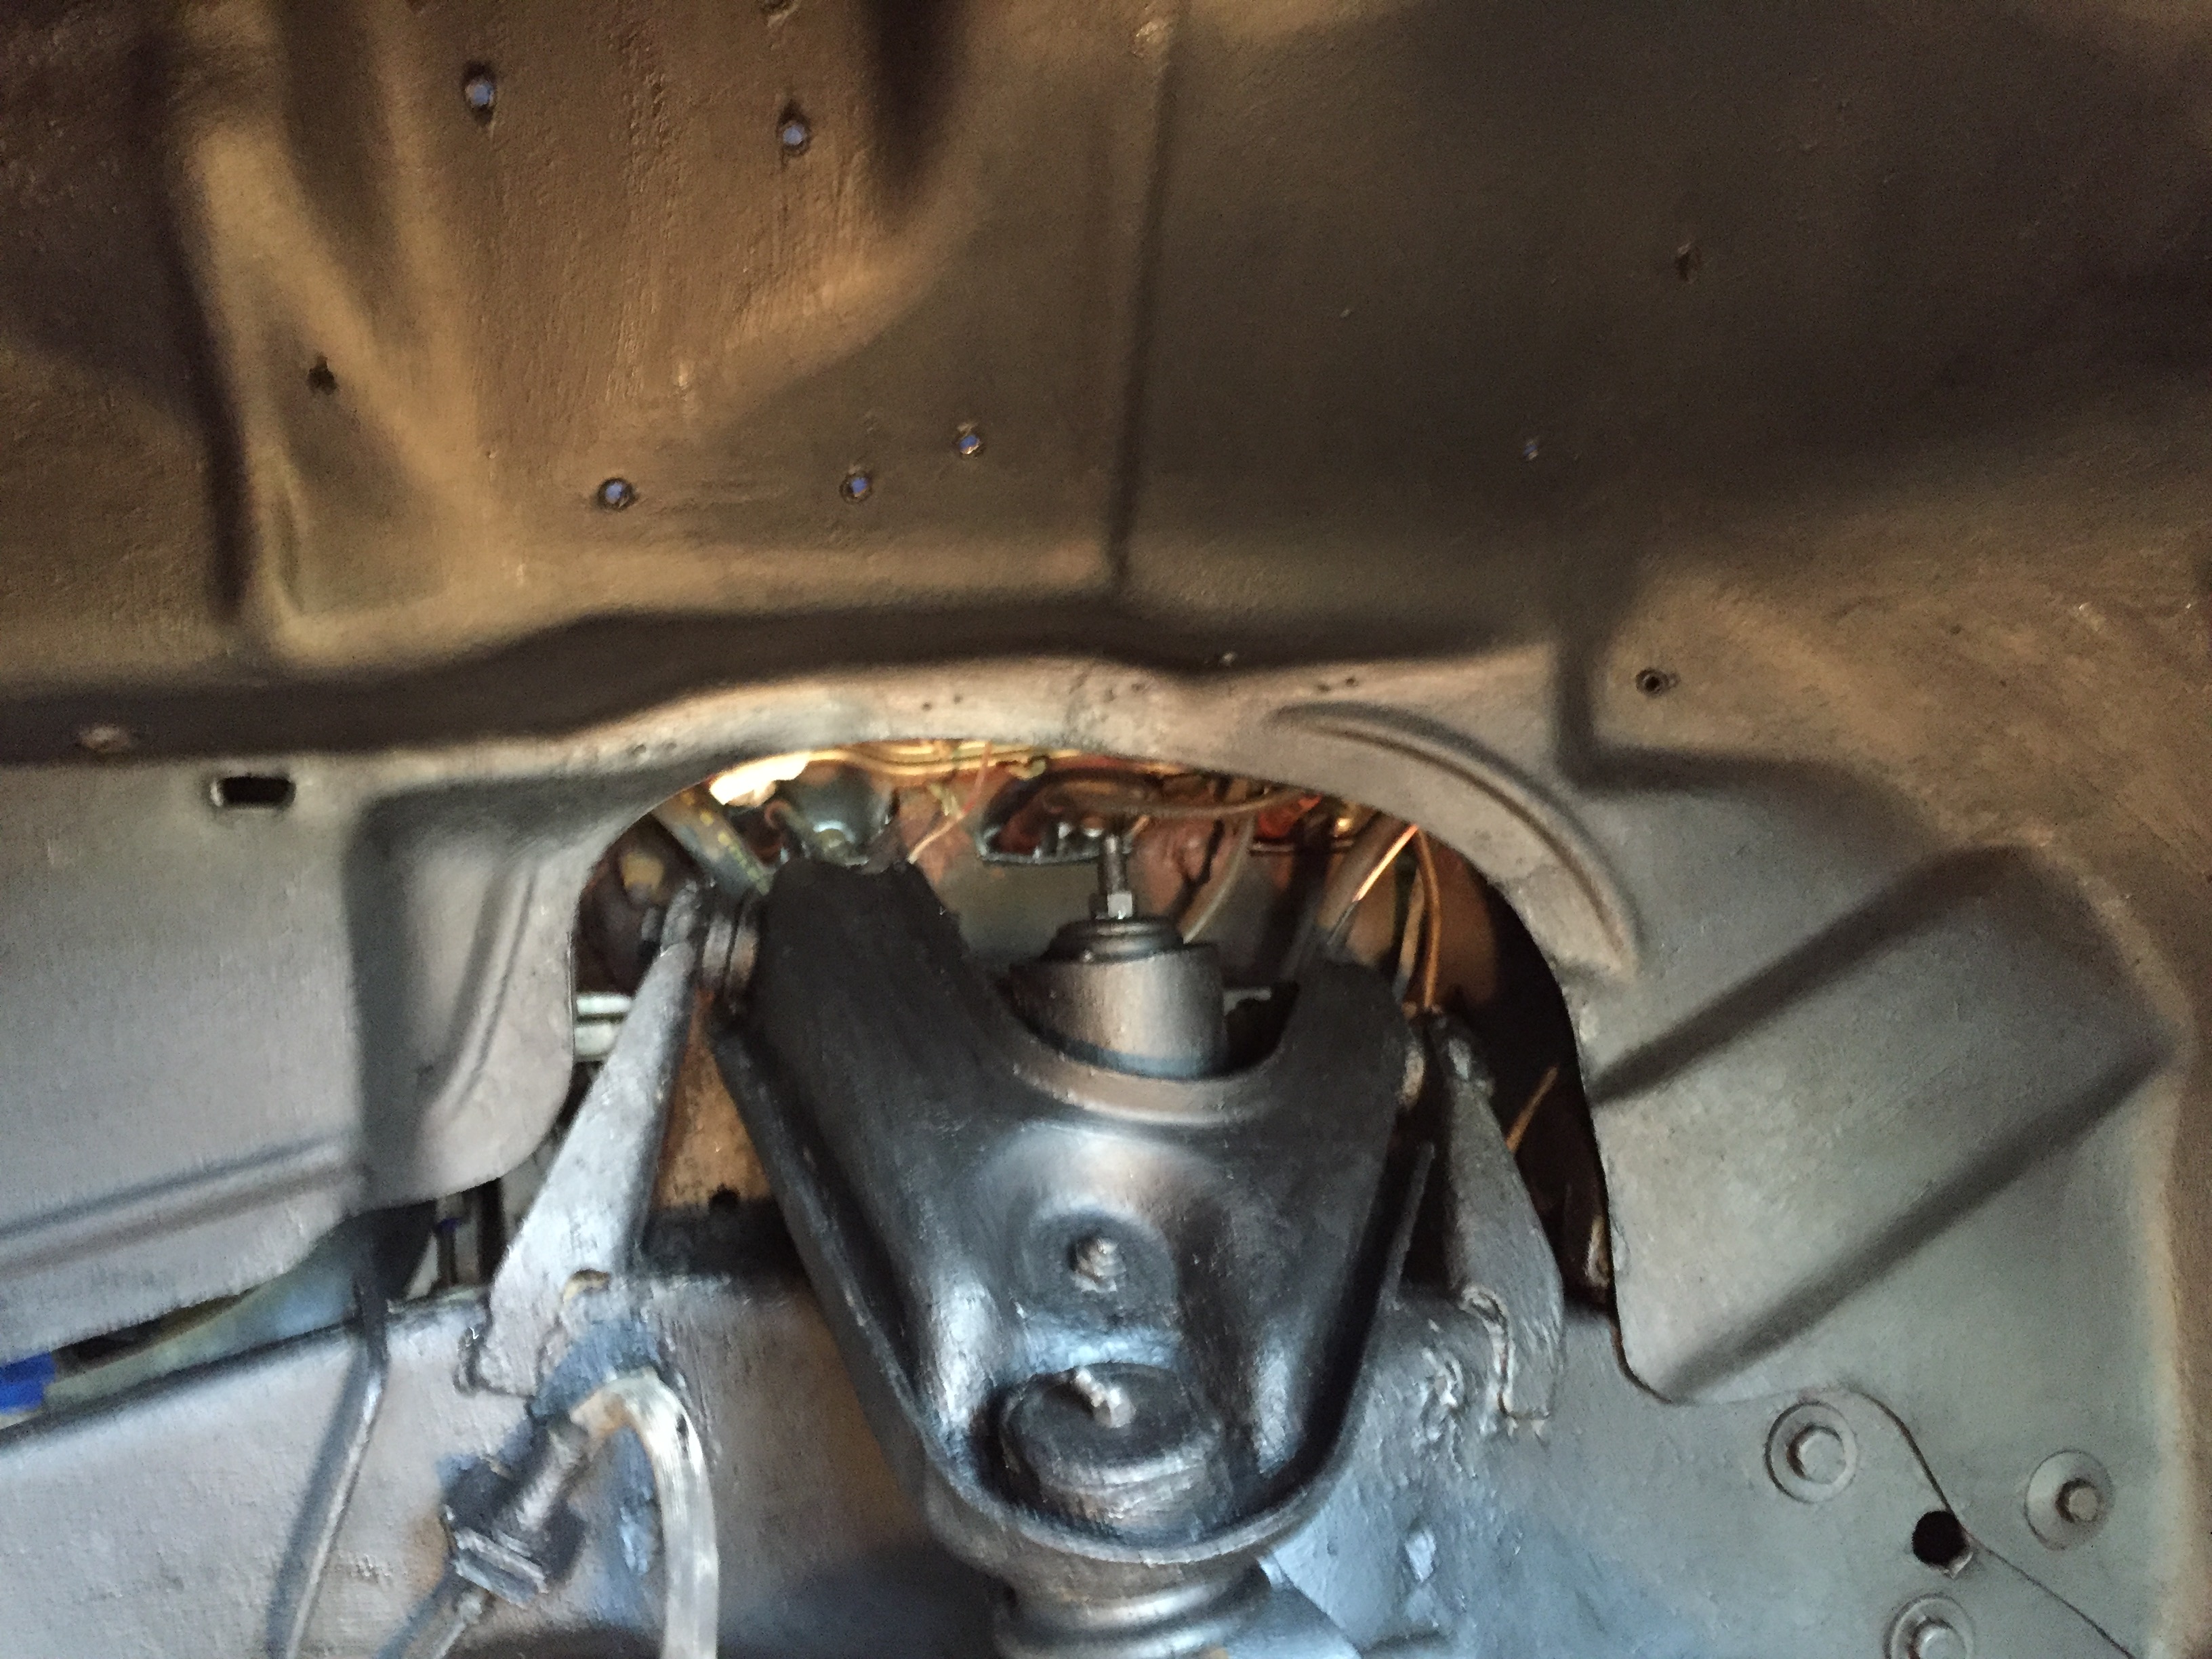
I’m into my third gallon of Eastwood rust encapsulator, by the way. I expect I’ll be getting a fourth before this job is complete - I have the passenger fender, the doors, and the underframe around the motor and trans to do yet.
How did you get these panels in here so neatly, Dick?
The old stuff in my lid is not coming out cleanly, I’m wondering the best way to give enough clearance around the perimeter to work heavy cardboard into the opening.
Yup, not at Rock Auto - but, Advance Auto has them. Not original, but hey, they’re under the hubcaps, right? I like the way these look - I think I might go for them.
(tap, tap)… Hey, is this mike on?!? I haven’t heard from Dick Koch in many a day… Is all well in Palm Beach Gardens, Dick?
Dan - l thought l replied? Must have forgot to tap the submit button. I had a 36 inch wide roll of heavy kraft paper l used for masking when l painted the cars. I placed the paper over the opening and ran my thumb along the opening edge to outline a pattern. I found some heavy black picture backing board at Michael’s Kraft Store. You may be able to source some at a upholsterer, they use it as a separator to block off the back of the seat when you open the trunk and for door panels. I then used the pattern to mark the board for cutting then used clear liquid nails adhesive in a smal ltube.
Dick.
Those grease/dust covers can be sourced at NAPA or any parts store.
Dick.
Thanks Dick!
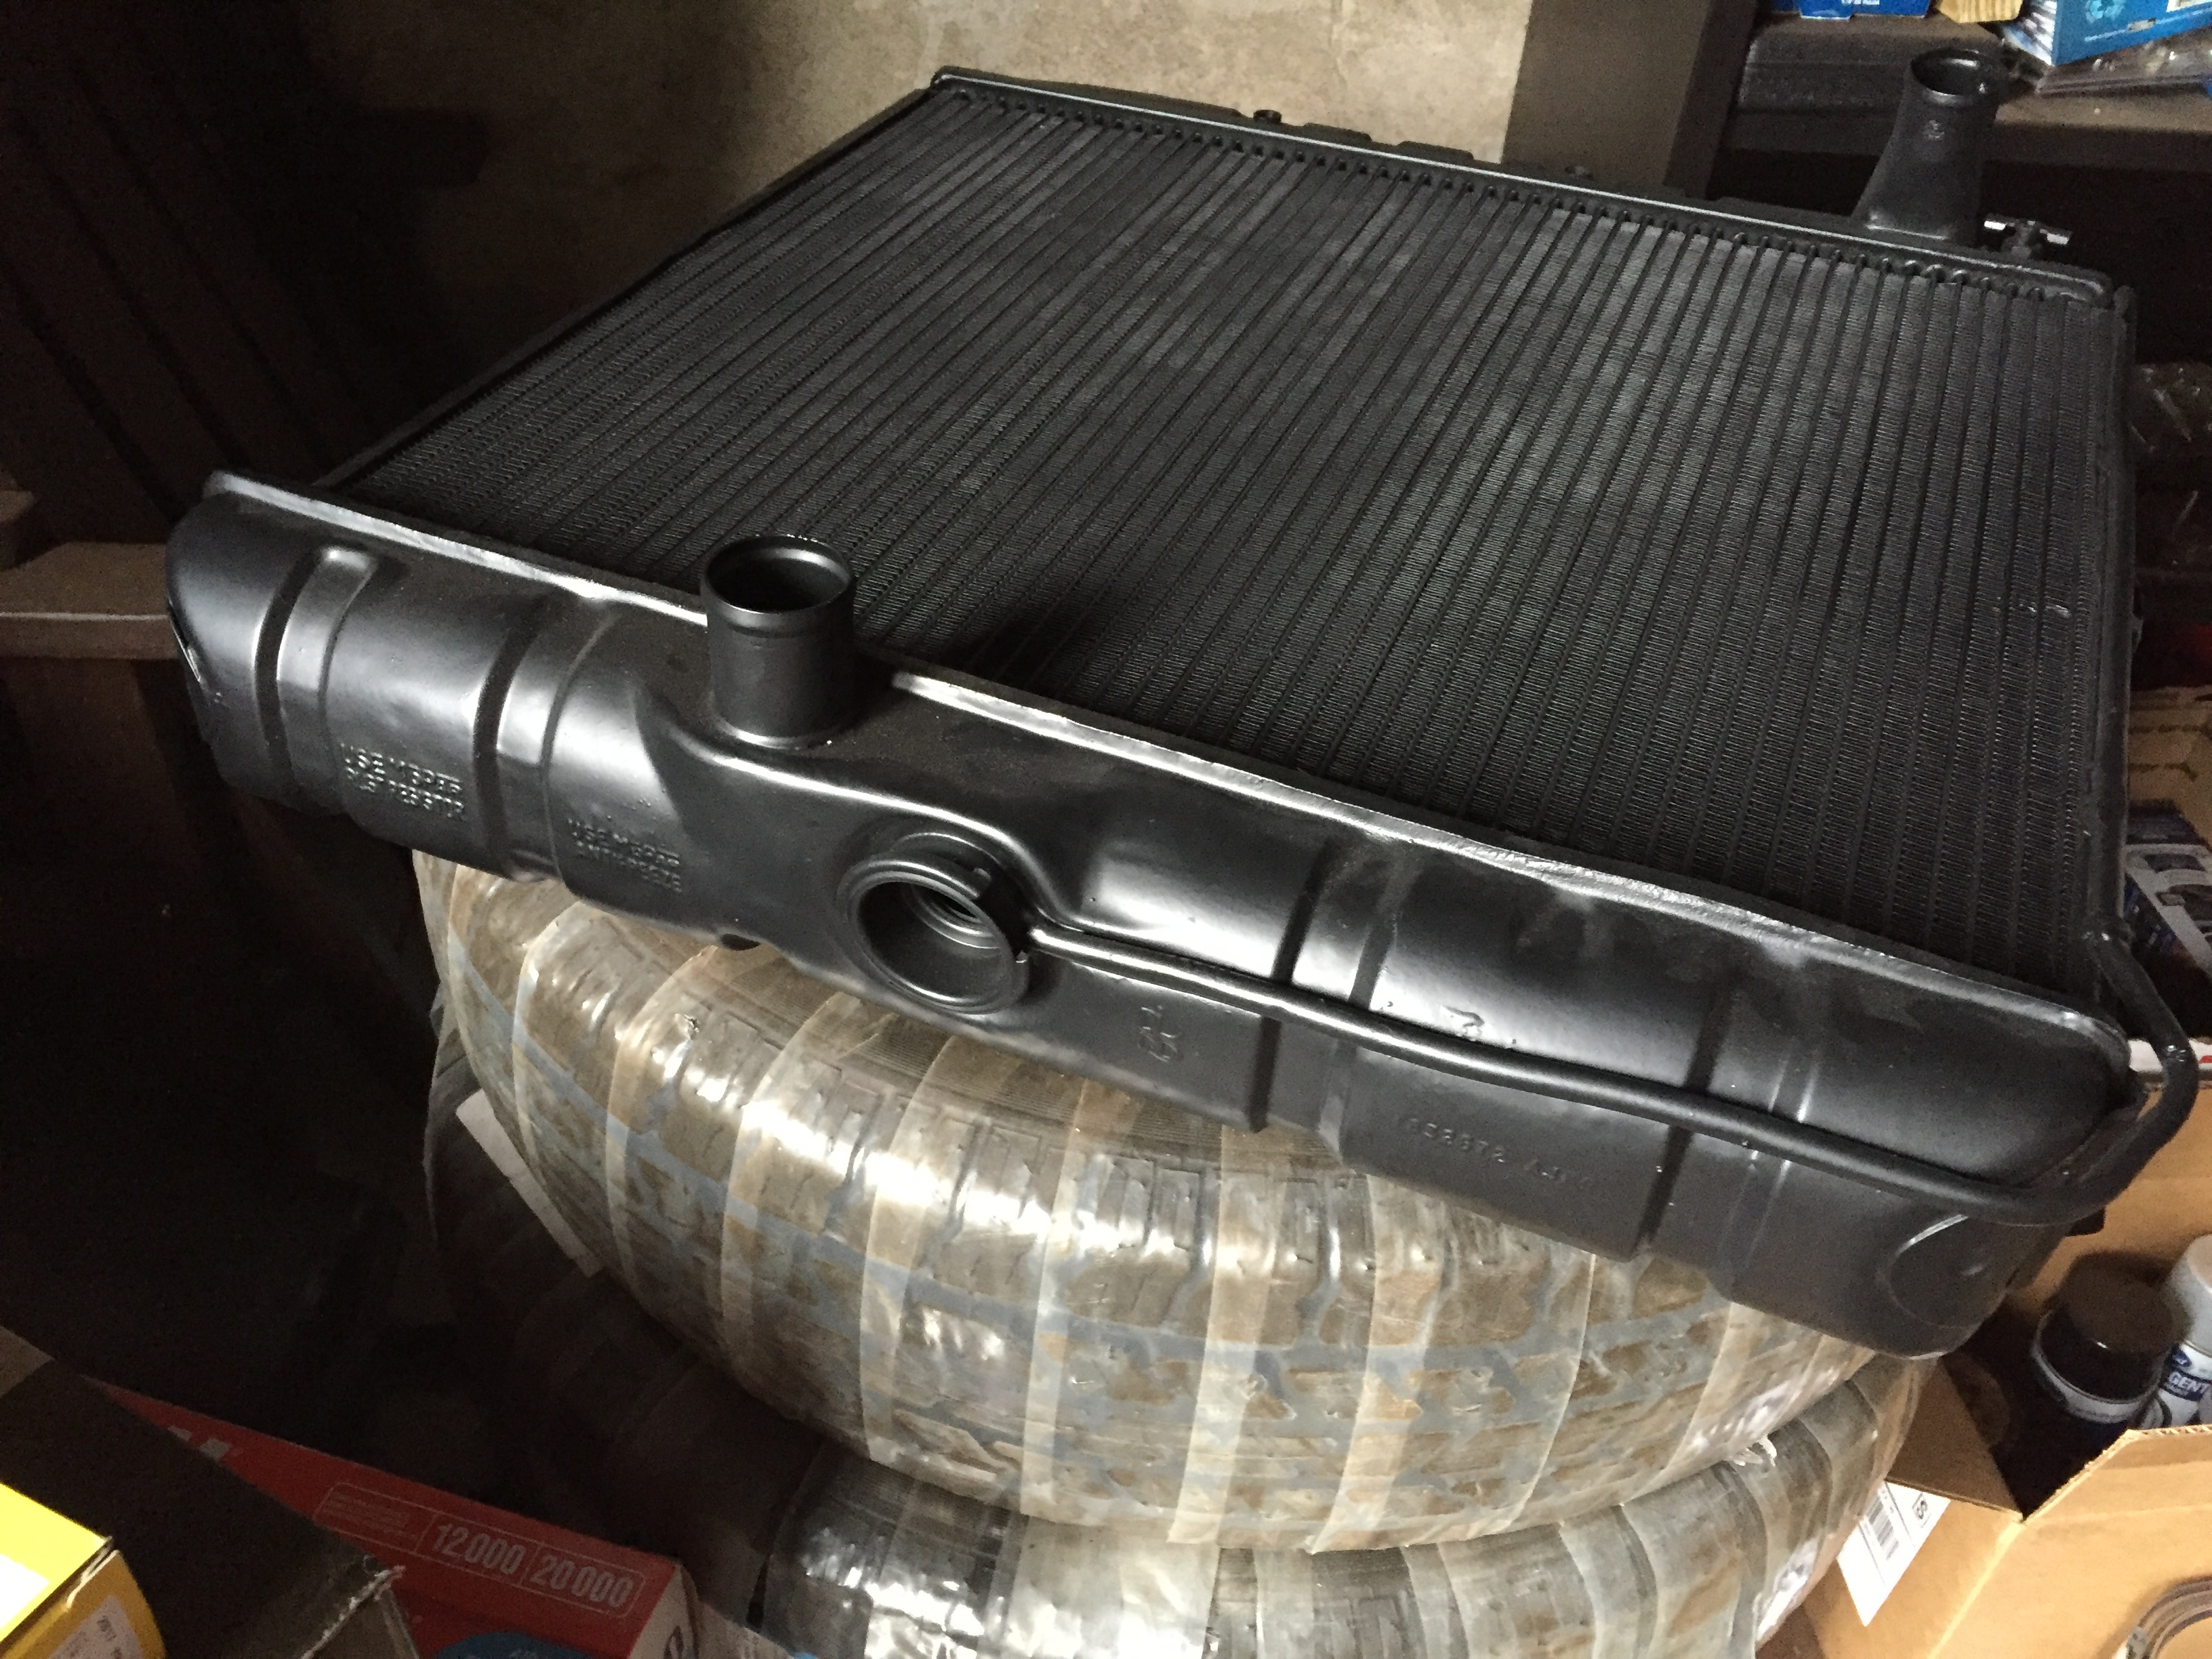
I picked up the radiator today - they did a decent job in taking out the dent and repairing the damage - I’m satisfied. Now if it holds antifreeze, I’m golden!
Wow, they did a great job on that radiator.
What Dick said. She looks good enough to make another sixty years.
Thanks Guys!
I still have so more painting to do on the driver’s side - particularly, spray painting with interior frame coating where I can’t reach with a brush. But I decided to tackle the passenger side today.
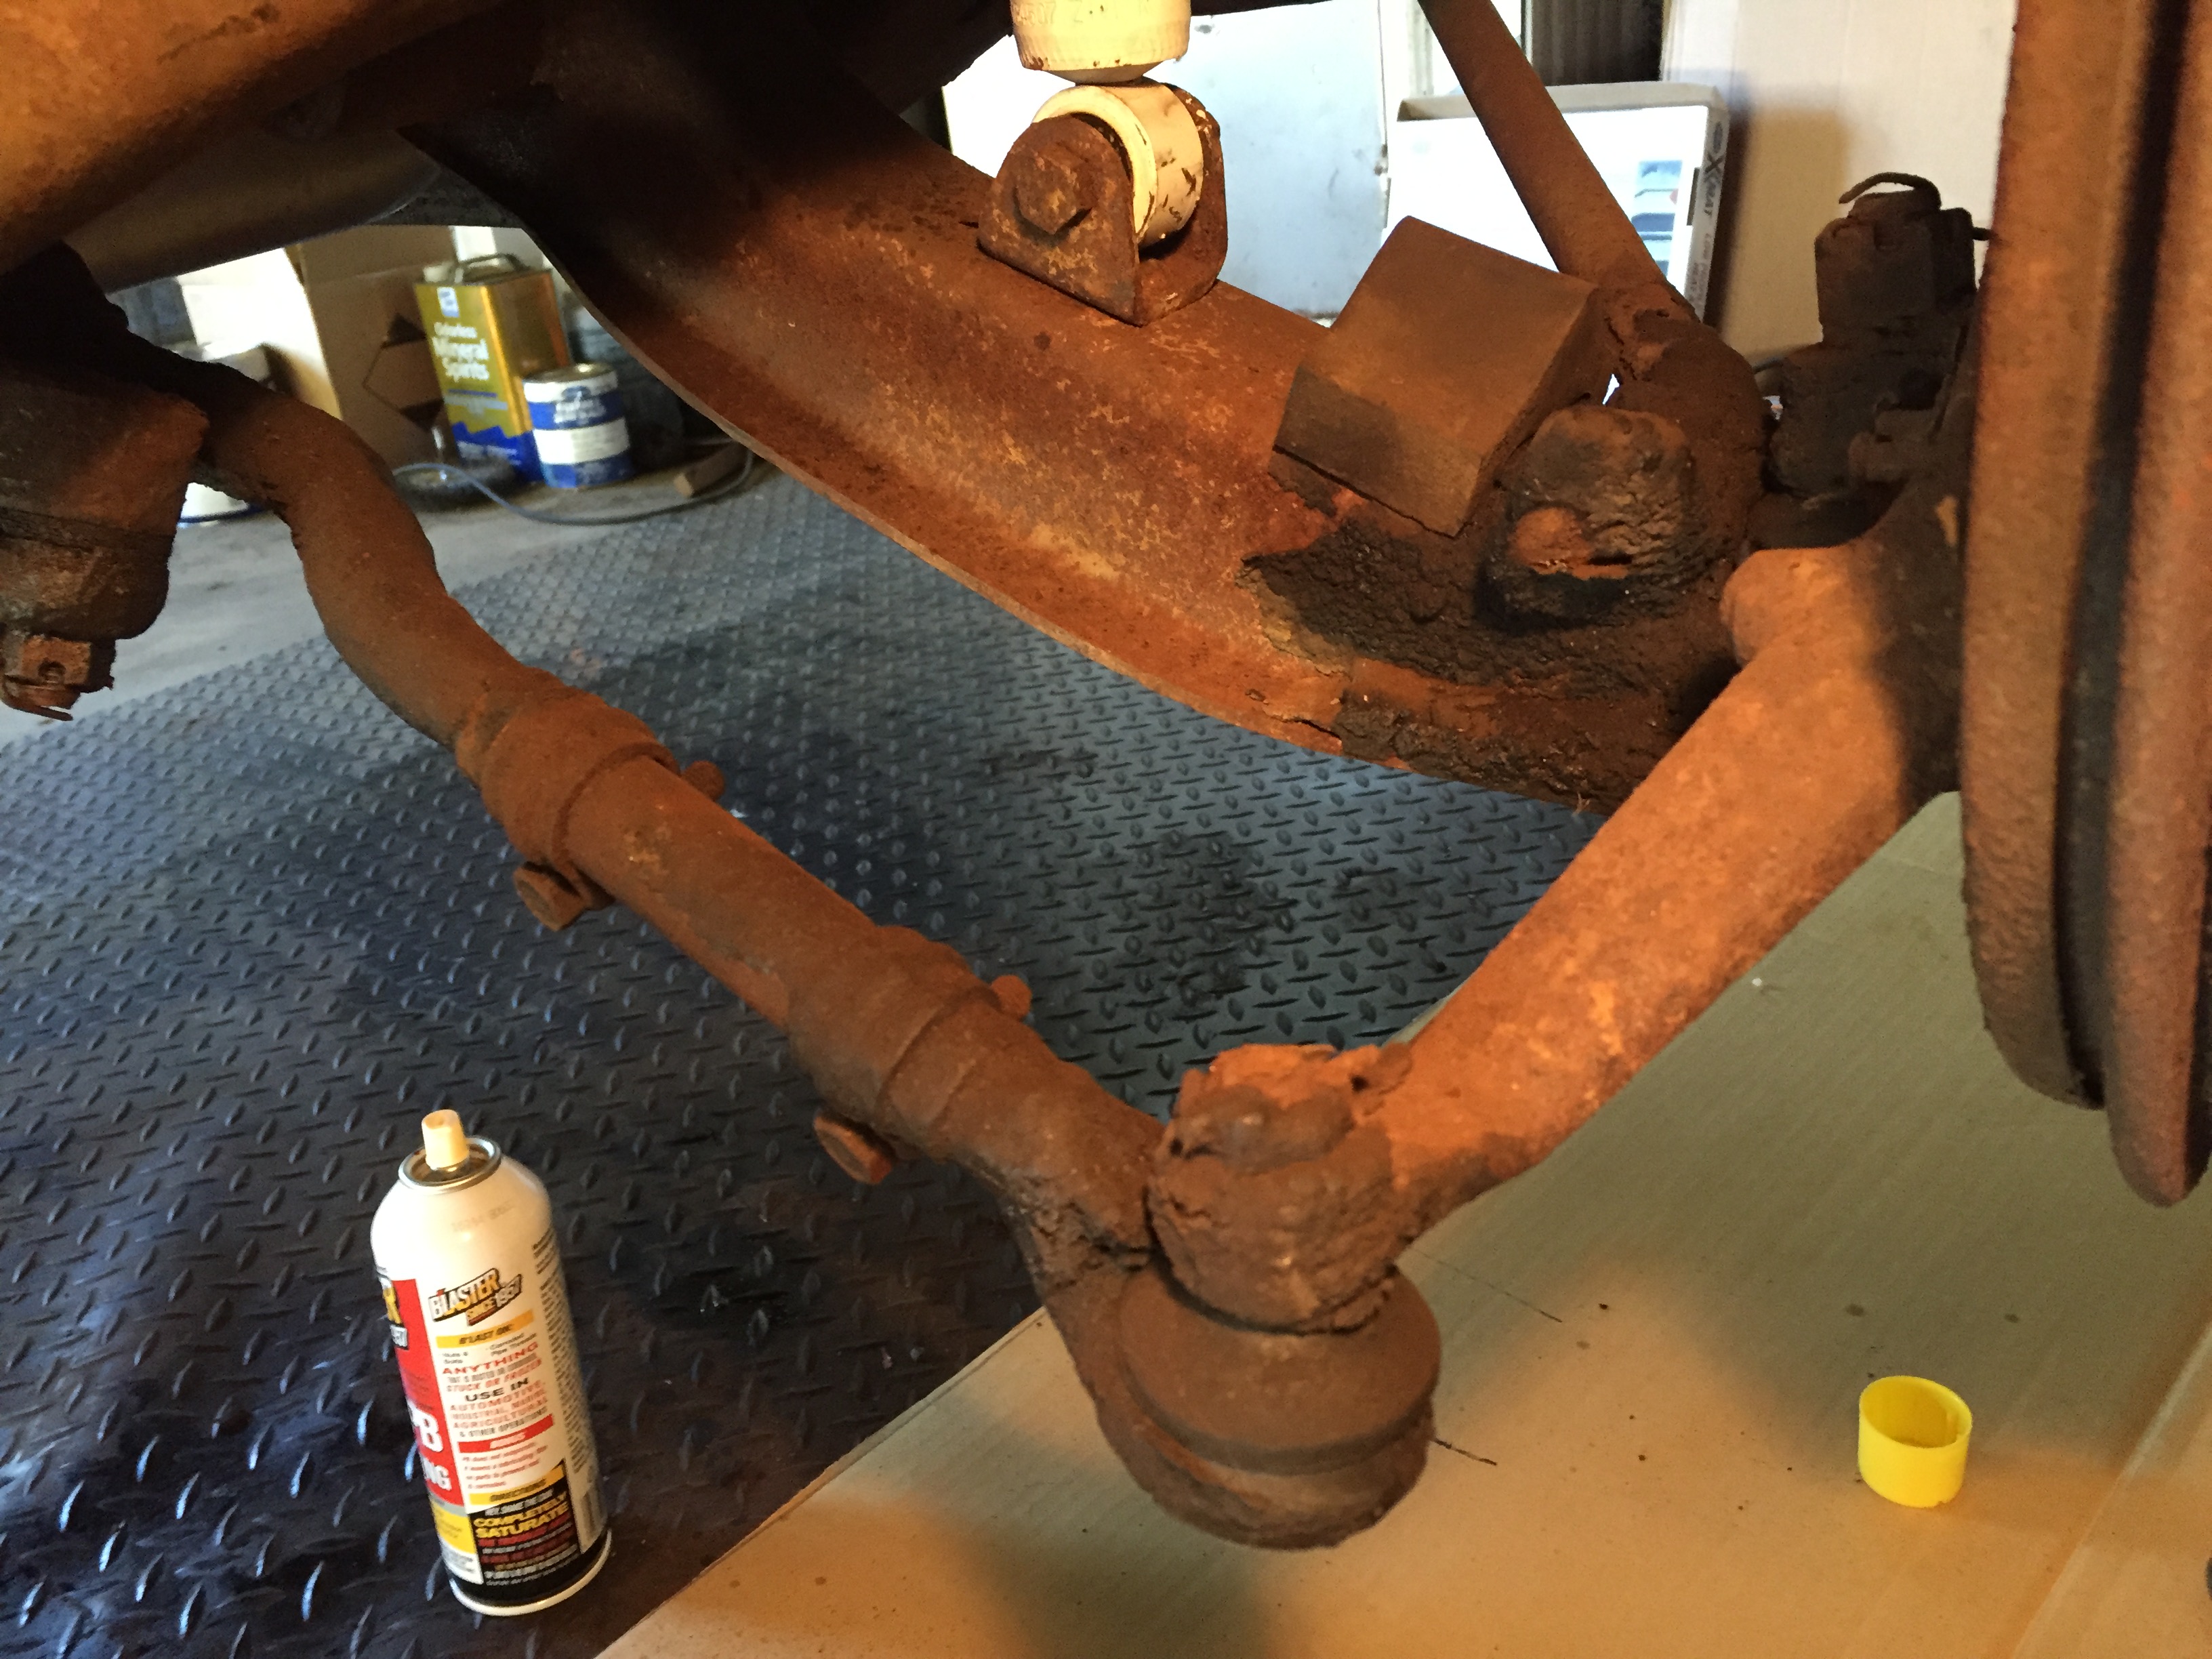
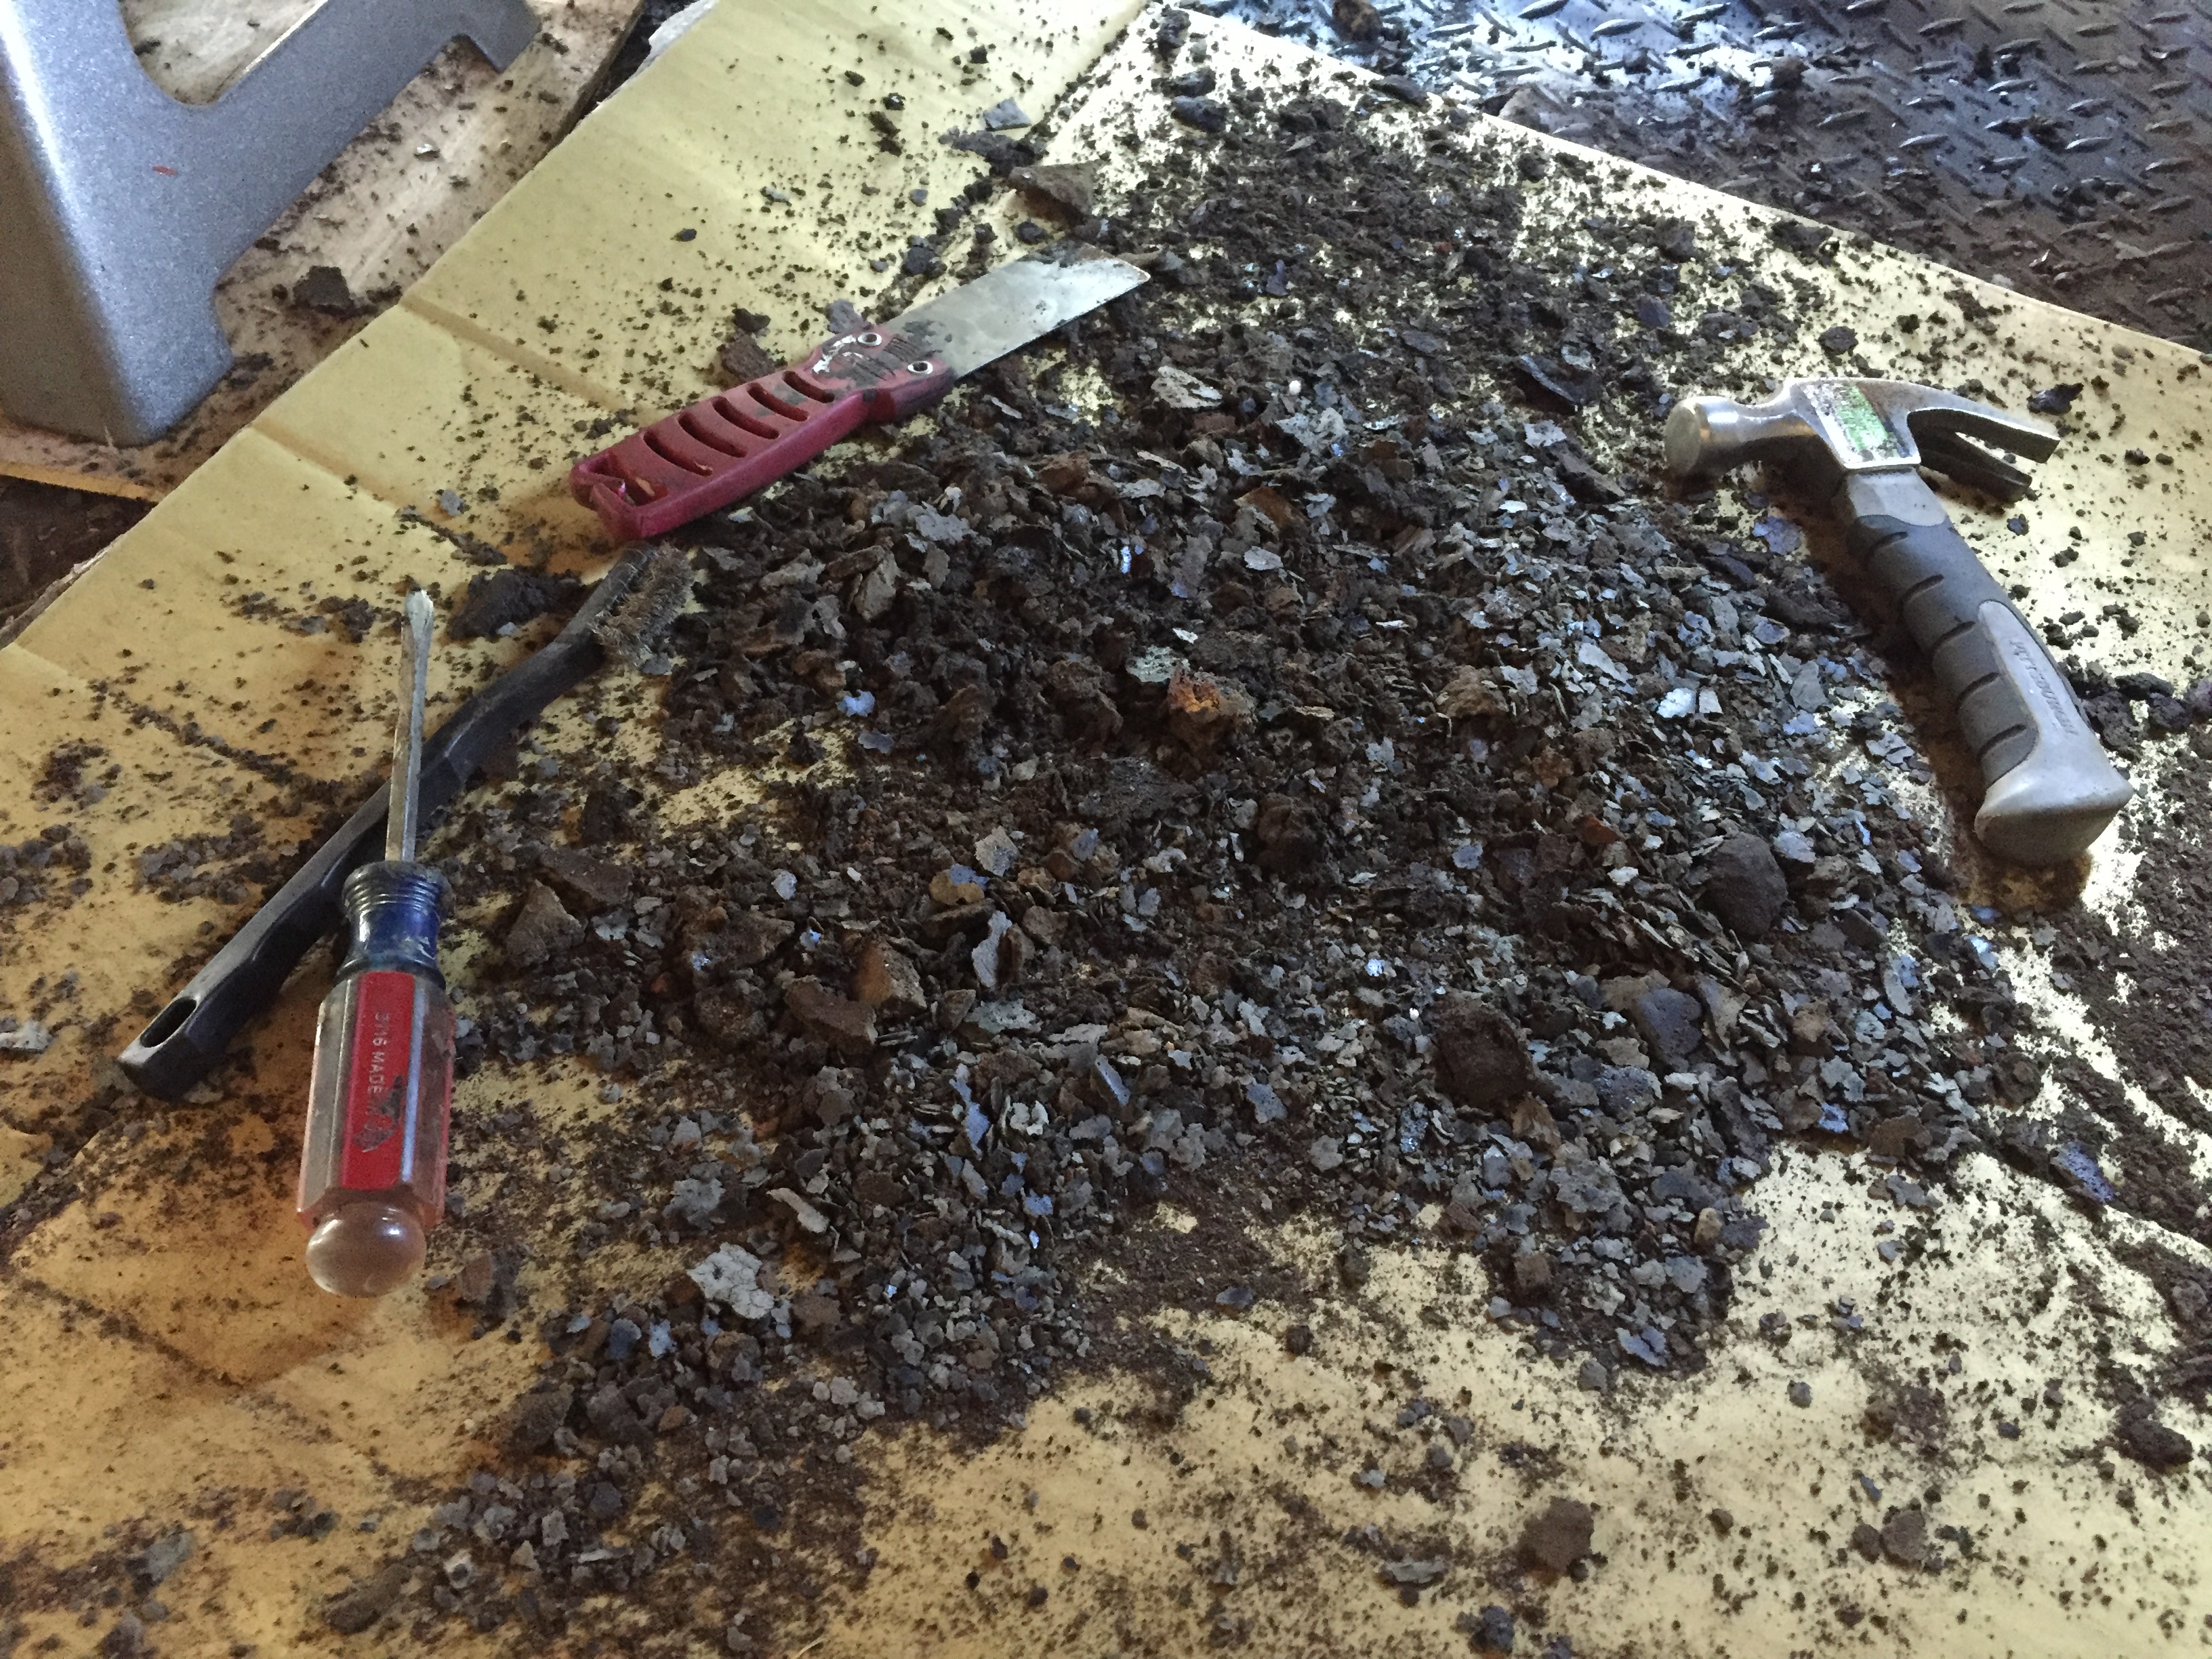
What a mess! That PB Blaster was used today on the manifold bolts, will hit again tomorrow
Here’s the pile of crud that came raining down. This is not all of it - some remained on me
Post chiseling and scraping, using The Weenie Hammer ™. Tomorrow I’ll wire brush and prepare for painting
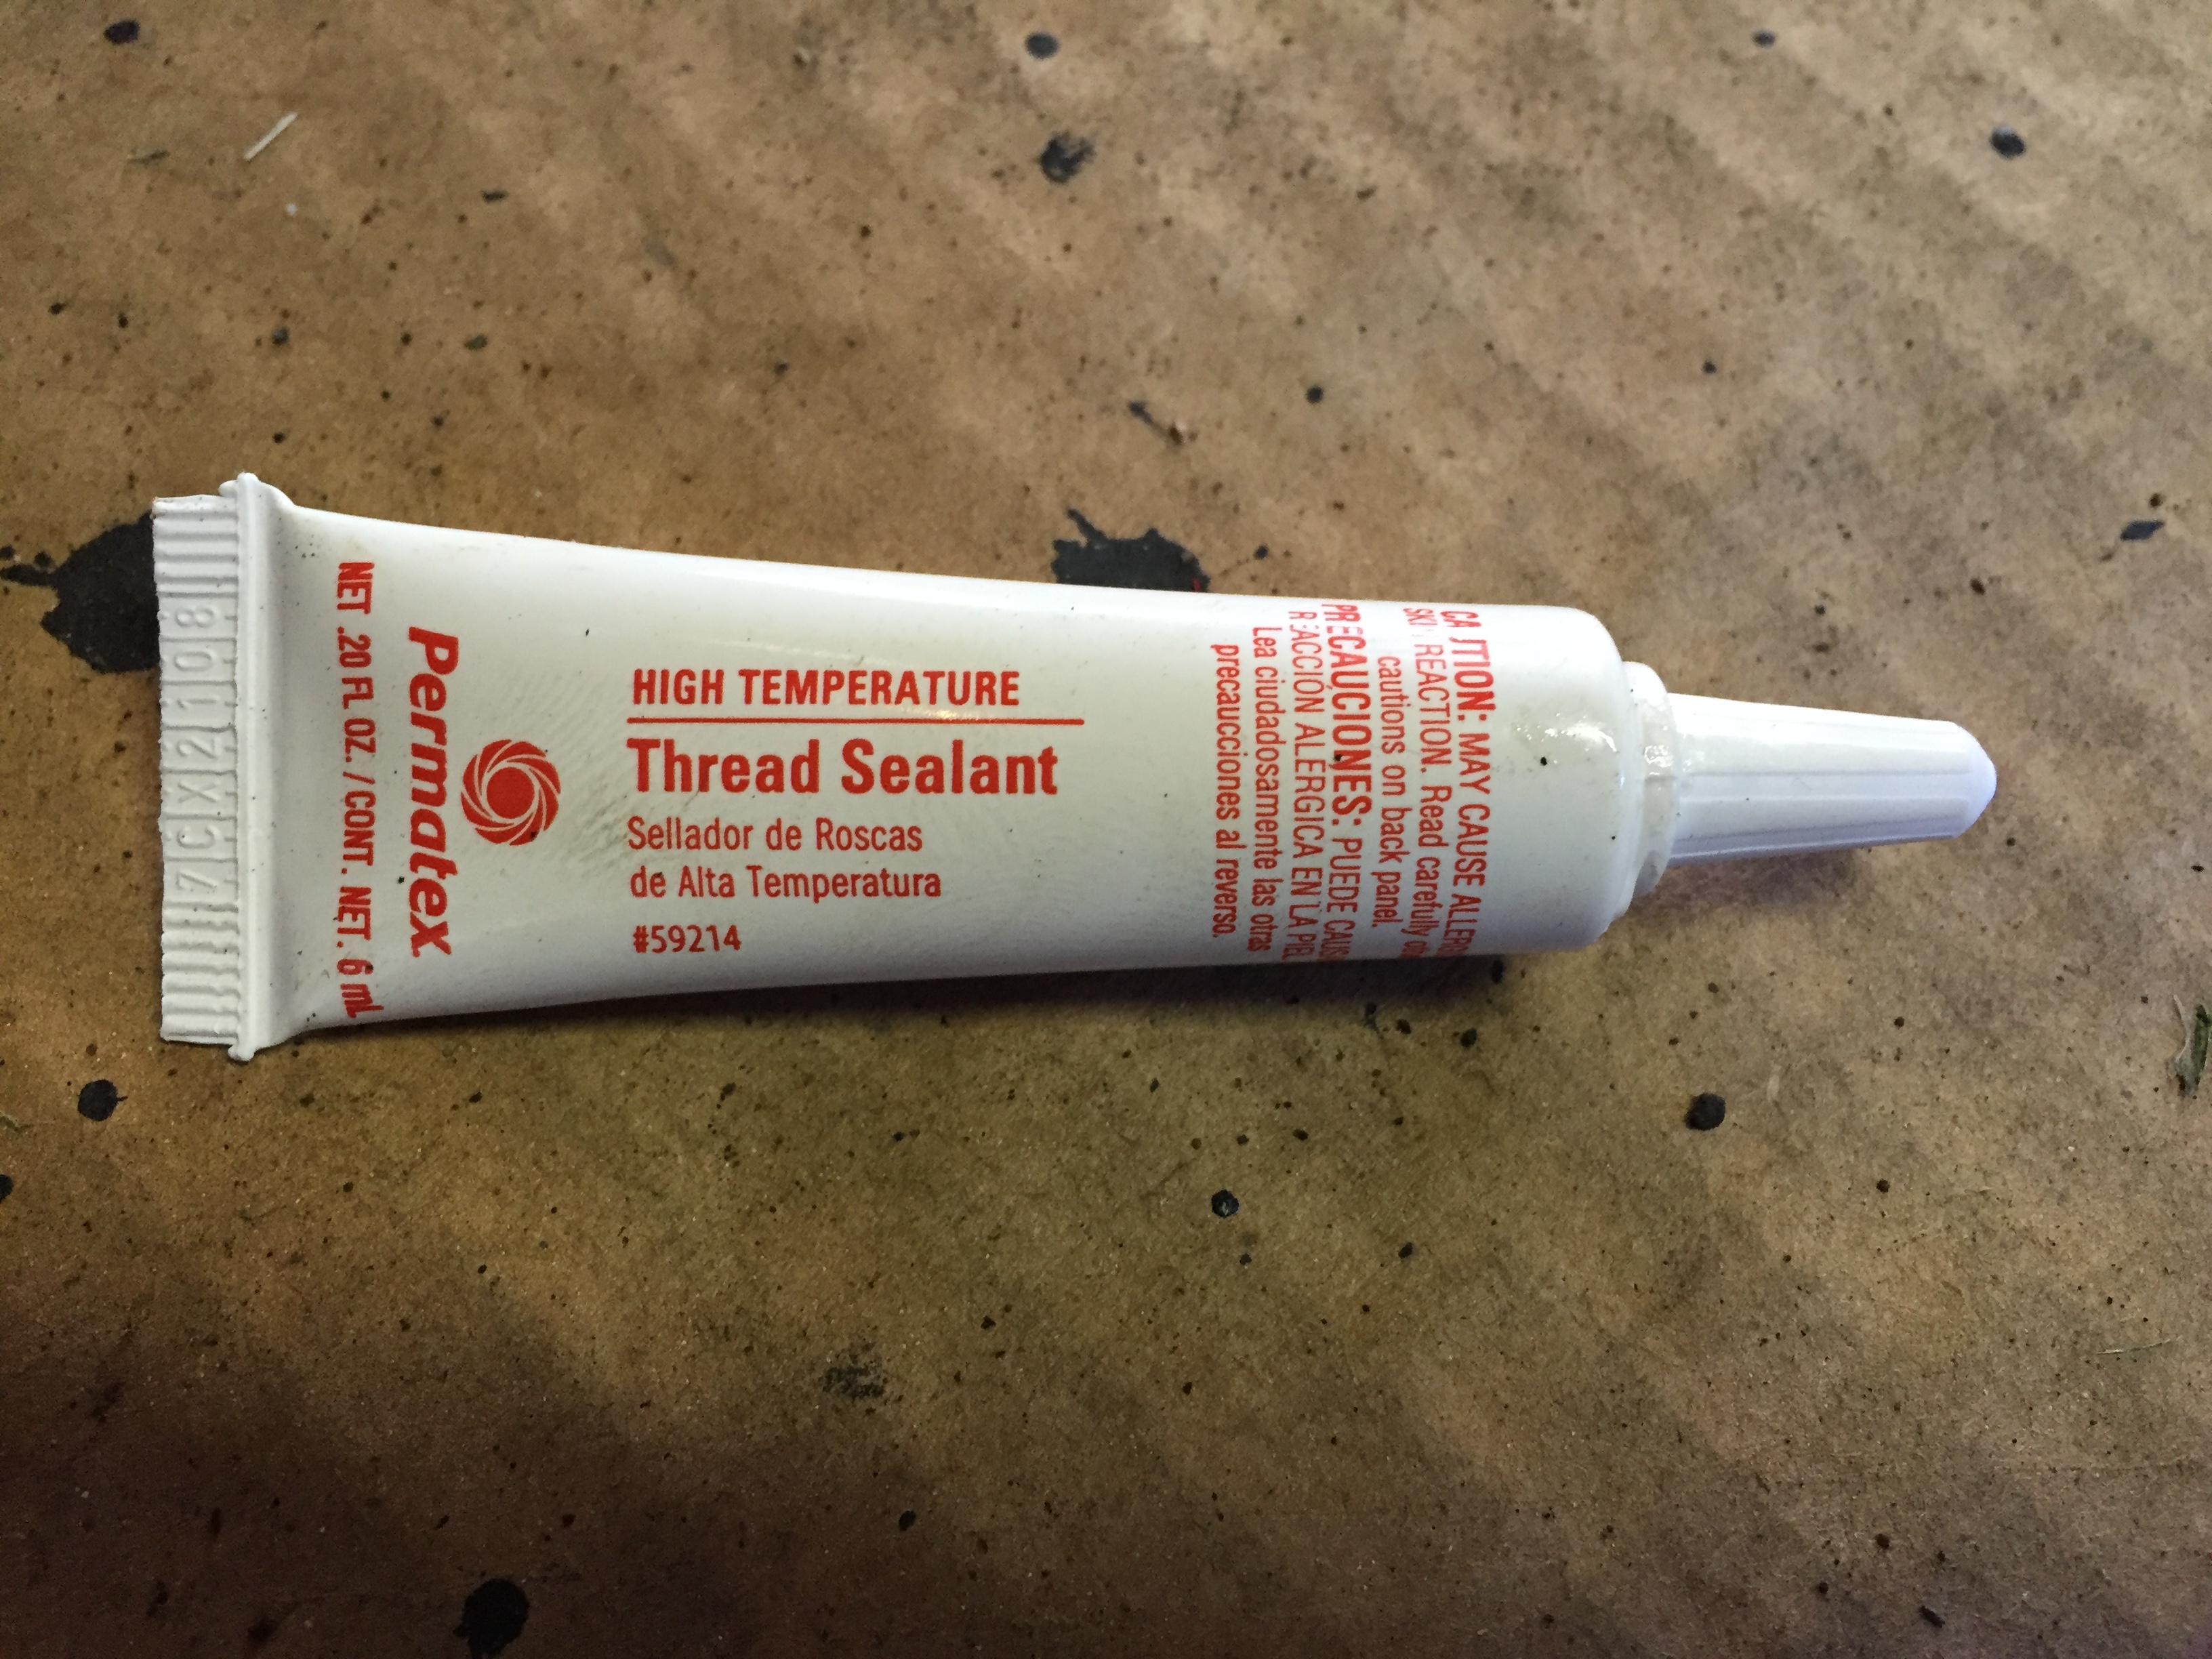
The 8-point sockets arrived - allowing me to torque down the kickdown bolt. I got high-temp Permatex with teflon, too.
I torqued the bolt to 50 inch pounds, then backed it off - but it felt too wobbly at 3.5 turns. I left it at 1 full turn, and locked down the nut. If this comes back to bite me, I’ll experiment some more.
I wiped everything down with brake cleaner, tomorrow I’ll look for signs of leaks - not expecting one now from this bolt.
No scratches or bruises - except for my ego. But I’ve cleaned up pretty good, time for my Power Nap
Dan, Are you talking about the band adjustment? with the square head? If you are, your adjustment of 3 and 1/2 is correct for the 318 engine. And 2 and 1/4 for the 361 engine. They have different band lever apply lever ratios. One turn is too tight, for either one.
Perhaps I have a problem then, Rick. You’ll remember in this post that Dick thought the screw was already too far out. When I snug it up to 50 inch-pounds and start backing it out, I can easily turn it with my fingers after about a turn - and at three and a half, it feels wobbly as if it’s going to fall out.
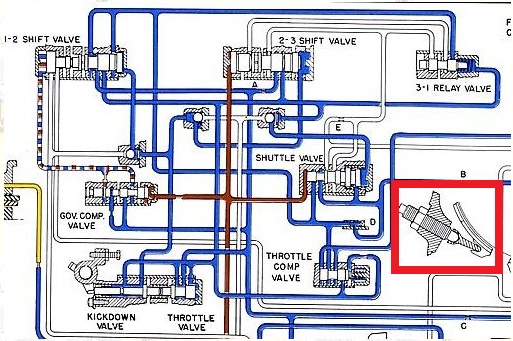
Here’s a reference Dick provided in a “How To” post, that shows the kickdown screw in this diagram:
Funny, I could always get it to downshift by punching it. Kinda wishing I never touched it, except that it was leaking.
**Dan, it’s a cast iron case, it’s tough. Relax and try the 2 and 1/4 adjustment. I will look at the pictures again. Remember… each turn is only 1 thread.**I I just checked out all transmission related pictures, You have a band that is in good condition, lots of lining. you will be okay. try the 2 and 1/4 first. if it seem a little grabby /rough. try the 3 and 1/2. we don’t know if there have up grades or other repairs or changed out. The adjustment bolt is not below fluid level, the shift cable is. adjustment bolts weep bad cables and o rings leak, lots of dripping.
Sounds like a plan, Rick. I’m in my last third of a century now, I should have taken ibuprofen last night. But I’m going to drag my sorry *ss out to the garage now, I can’t put it off any longer.