Dan, I am impressed with your drive, as well of choice of vehicles. You are the man! Your thread is really full of great information. Your support team is very knowledgeable. The research is fantastic. In all reality the 59 Torque Flite transmissions were puzzling, two piece valve body or one piece, stator supports were aluminum or cast iron, how many clutch disc? it goes on and on. … I rebuilt one for a Chrysler Imperial Southampton years ago. must have been through a flood, lots of damage.
Rick, you are too kind! Truer words were never written:
That would include you! ![]() If it weren’t for the folks on this website, I don’t know what I’d do. In hindsight, starting the site was the best thing I could have ever done for my car
If it weren’t for the folks on this website, I don’t know what I’d do. In hindsight, starting the site was the best thing I could have ever done for my car ![]()
BTW, I torqued the screw down to 50 in-lb again, backed it off a full 3.5 turns (14 quarter turns to present a new screw face, count 'em), and locked it down just fine. With another dose of teflon.
I guess the leak from the screw must have been when the pumps were running, and there certainly was none here today. None from the pan gasket, either. But, the shifter cable has a spot of transmission fluid on it… (sigh). I replaced this o-ring once maybe thirteen years ago, and I found the best way to do it was to drop the pan. Fortunately, I had already ordered both a gasket and a pair of o-rings (there are two sizes) from Fatsco, so I’ll add this to my to do list.
More work on the passenger side today, wirebrushing. But I still have miles to go. Next weekend!
Oops! Missed a spot on the tie rod end
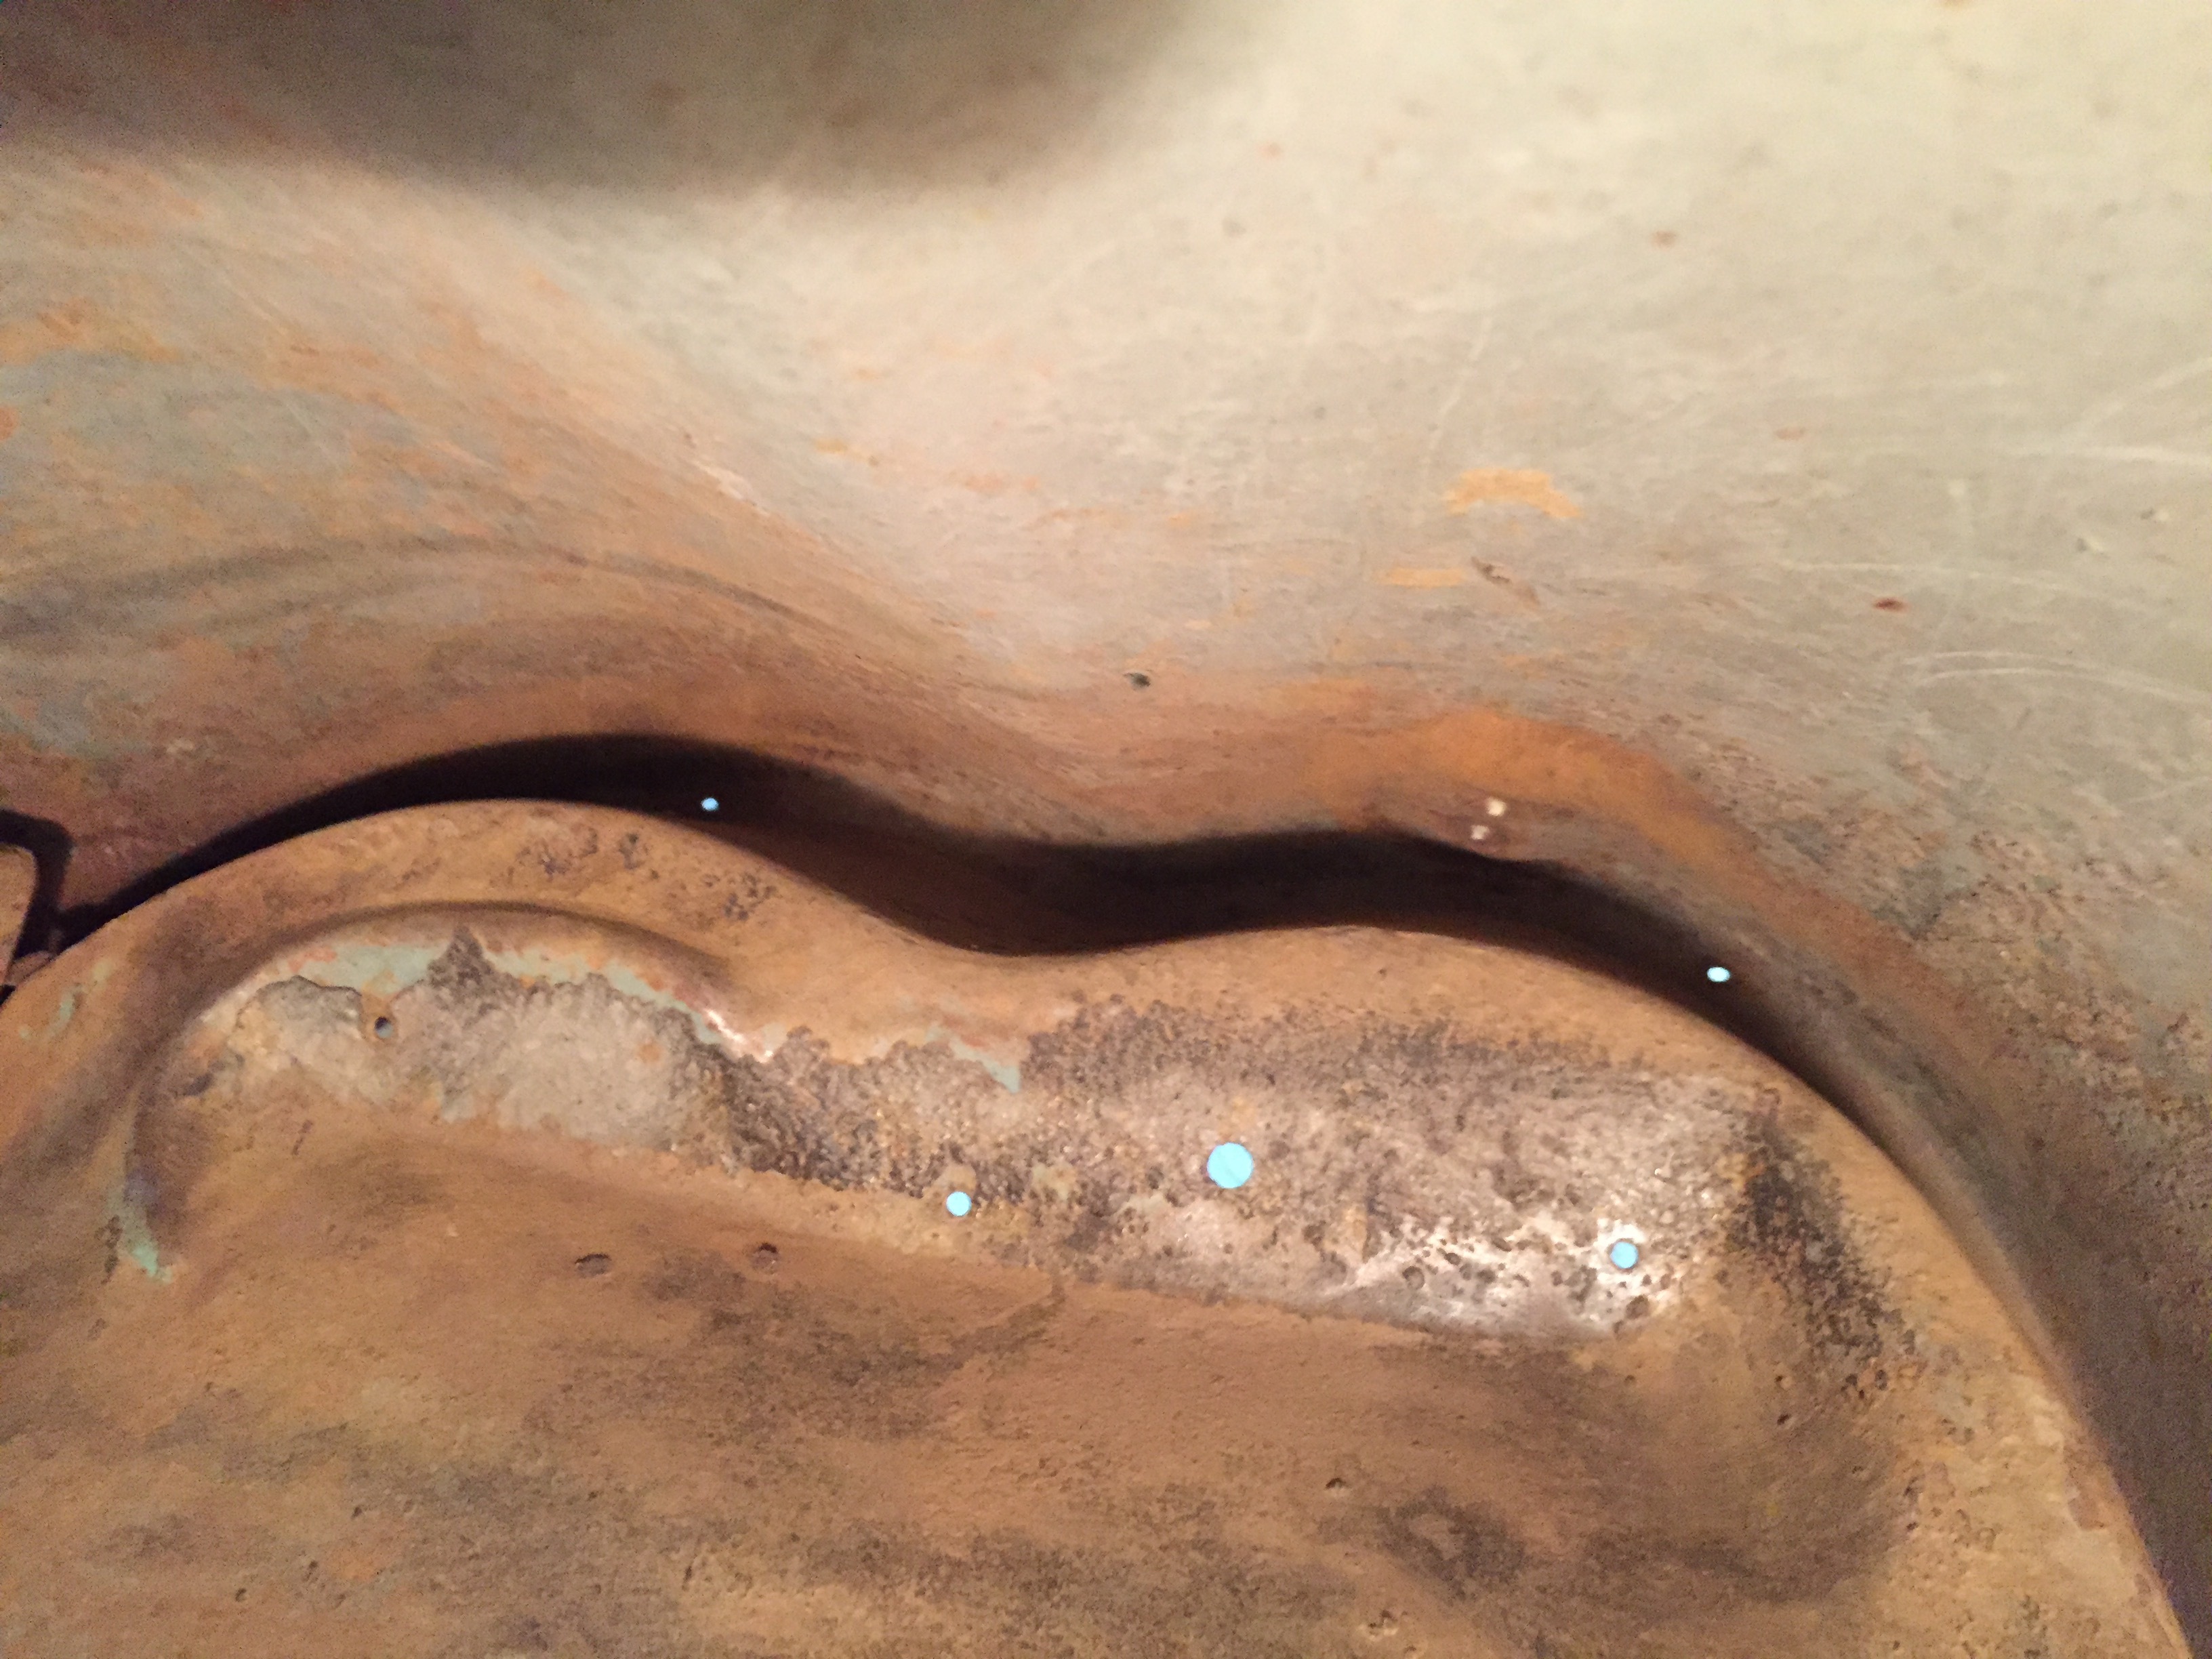
The eyebrow is nice and healthy
Dan - You bring back a lot of memories, especially crud in the face. Speaking of faces, what the hell happened to yours, a jack stand fail? Not to worry, you can make it like new with the Holy trinity. Soap & water, Ospho and Encapsulated!
Heh, heh.
Dick
Don’t forget mineral spirits, Dick! It’s amazing how greasy things get as you move towards the front end.
After I finish treating the passenger side, I’ll encapsulate it and the finish the driver’s side - all those hard to reach places. That will leave to do:
- The center portion, fore of the the transmission tailstock crossmember - the inside frame, crossmembers and linkage;
- The door panels and rear window body skins;
- The rocker panels - I’ve discovered the access plug in the rear wheel well, I’m making a rake from all-thread to scrape out as much detritus as I can.
The, go back and hit any spots I’ve missed, and spray the hell out of the frame and rockers with interior rustproof spray.
Then, on to detail the engine compartment, slap that back together, install the exhaust, install the gas tank, replace the trans o-ring, finish the brakes. That should take me through the winter, and maybe in the spring Faulkner will be ready for the drive to the local body shop for some body work and a paint job. With any luck, I’ll have the old boy back together for the 60th Anniversary at Carlisle. Mark it on your calendar, Dick! July, 2019.
All night l was thinking about mineral spirits. Dan l envy you in many ways and to tell you the truth l wish l had another restoration in me but with all the things I still want to do to the cars l have and trying to get Yvonne’s Saturn fixed and back on the road and trying to keep up with my perpetual “honey do list” it’s out of the question for now. Notice l left the door open! At your current pace you are on a tear and should be ready for Carlisle. I will do my damdest to try and make it myself. Maybe tow the Convertible with the Desoto.
Two things l recommend you add to your list. I reached up as far as l could and with a 2" long handle paint brush and coated with seamsealer the interior of the fender brows and the top of the area over the headlights. Water sits there and is the main cause of rust in that area. For the interior of the rockers after l got as much debris as l could l hosed it out with water real good and after it dried real good with the help of my air hose l coated the interior with Eastwood’s coating with the 360 degree nozzle. Easy to do with the drain holes in the bottom and the big hole in the rear.
Keep trucking,
Dick
Hey, that’s a good idea, Dick. I’ve got long arms - I’m 6’ 3" (used to be, anyway) - and I can actually reach in and feel all around the lip. I’ll try your trick.
I searched the Forum for a discussion about transmission o-rings, but couldn’t find it. It’s because it was fourteen years ago that I did it! I found an email on the Forward Look mailing list:
From: Forward Look Mopar Discussion List [mailto:> L-FORWARDLOOK@LISTS.PSU.EDU> ]
Sent: Friday, May 23, 2003 4:26 PM
To: > L-FORWARDLOOK@LISTS.PSU.EDU
Subject: [FWDLK] Incontinent No MoreThe long string of leaks from Faulkner’s underbelly seem to have stopped!
I replaced the o-ring on the pushbutton cable that goes into the adapter housing, filled the tranny and took it for a spin. Shifts great, and no leaks!
Most helpful was Dave Grove’s suggestion to drop the transmission pan, on two counts. 1) You can readily release the spring retainer for the pushbutton cable in order to remove (and reinsert) it, and 2) You can easily see if the cable is properly adjusted or not. In Dave’s own words: “What you are looking for is that the pointer on the valve body piece (the one the cable snaps into) that contacts the neutral safety switch is perfectly centered on the switch when the “N” button is pushed.” I did this, and the buttons work perfectly.Thanks, Dave.
Now, if the skies don’t open up tomorrow, on to the Collingswood Car Show!
Wait… What’s that green stuff on the bottom radiator hose?!
Dan
'59 Sport Faulkner
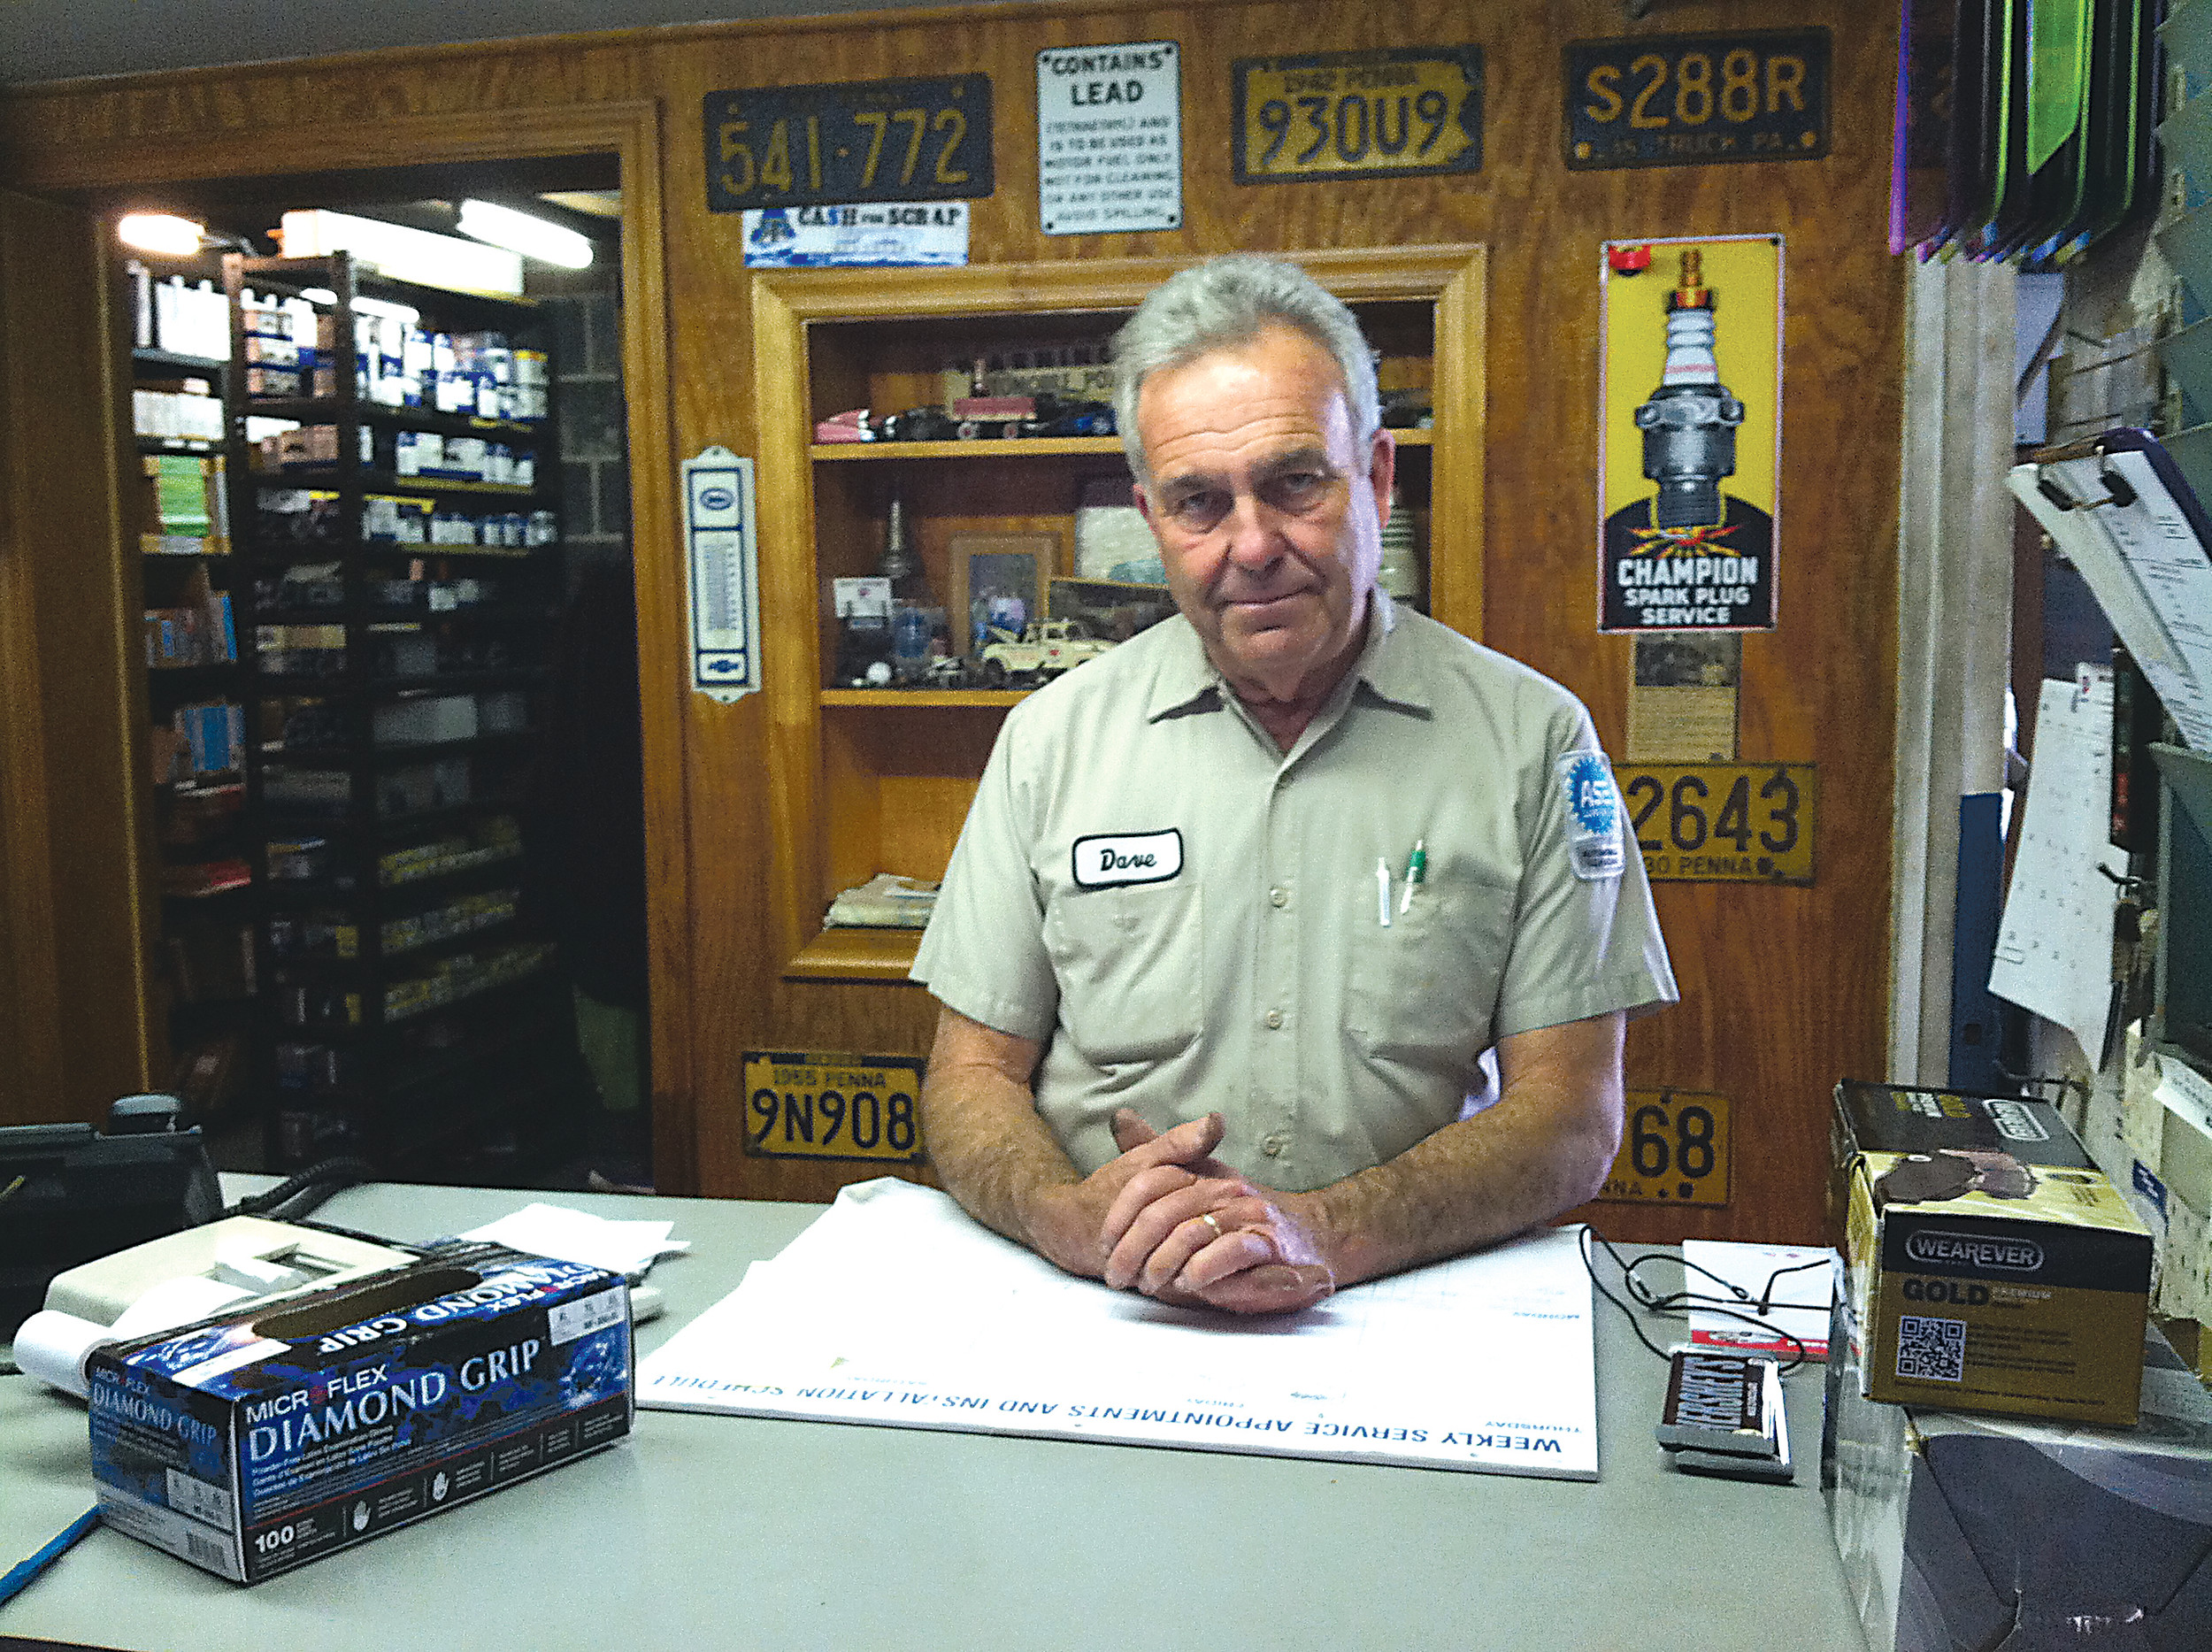
On a lark, I searched for Dave Grove Automotive, and found that he just closed his doors in May. Time, my friends, marches on:
http://www.pressandjournal.com/stories/after-70-years-grove-motors-to-close-doors,9574
You’re making some excellent progress, Dan!
Hopefully it hasn’t been to hot there, that can make the crud scraping much more miserable!!
John, the heat hasn’t been too unbearable. Danke Gott I don’t live in Florida ![]()
![]() I was going to take the day off, but thought better of it and headed out to the garage.
I was going to take the day off, but thought better of it and headed out to the garage.
I finished wirebrushing and treating the passenger side today, tomorrow I encapsulate. But I decided to take a crack at the passenger side manifold today, since I now have a bolt extractor kit. I have been spraying and spraying with PB Blaster.
First I hack-sawed as close as I could to the flange, so I could get the extender for the breaker bar up there

Bolt extractor kit to the rescue
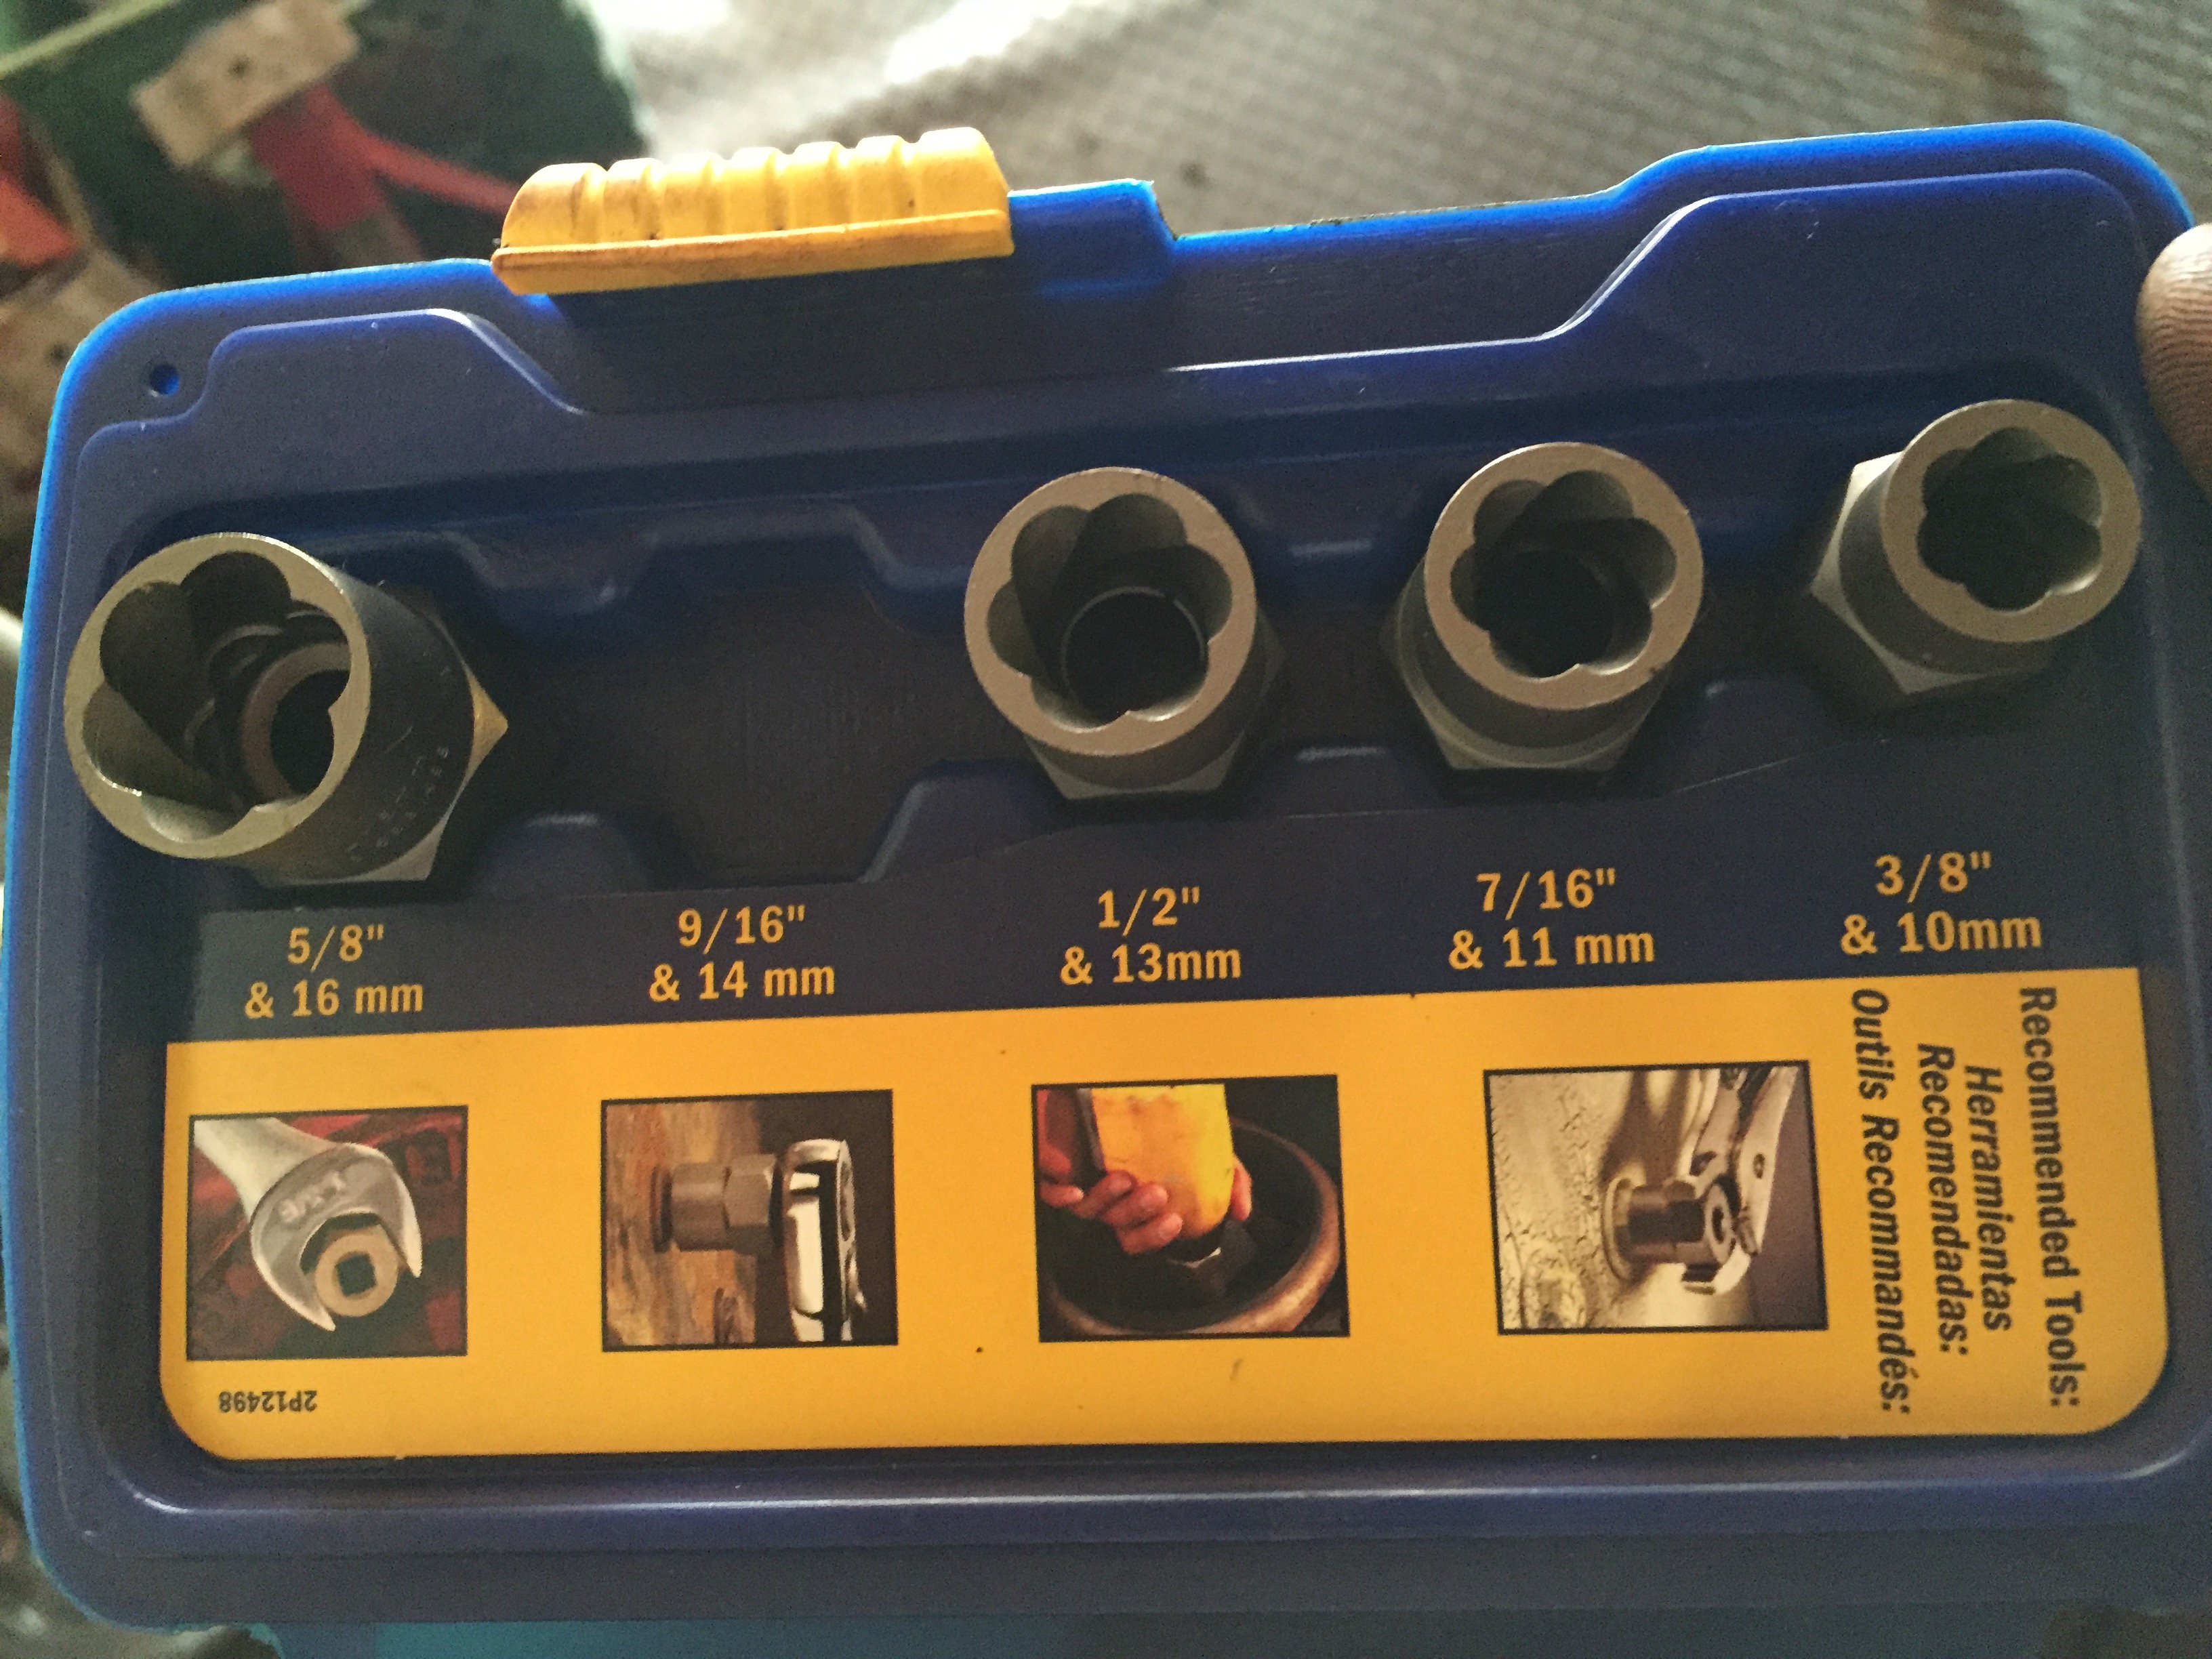
9/16" is the one
the rear bolt is out!
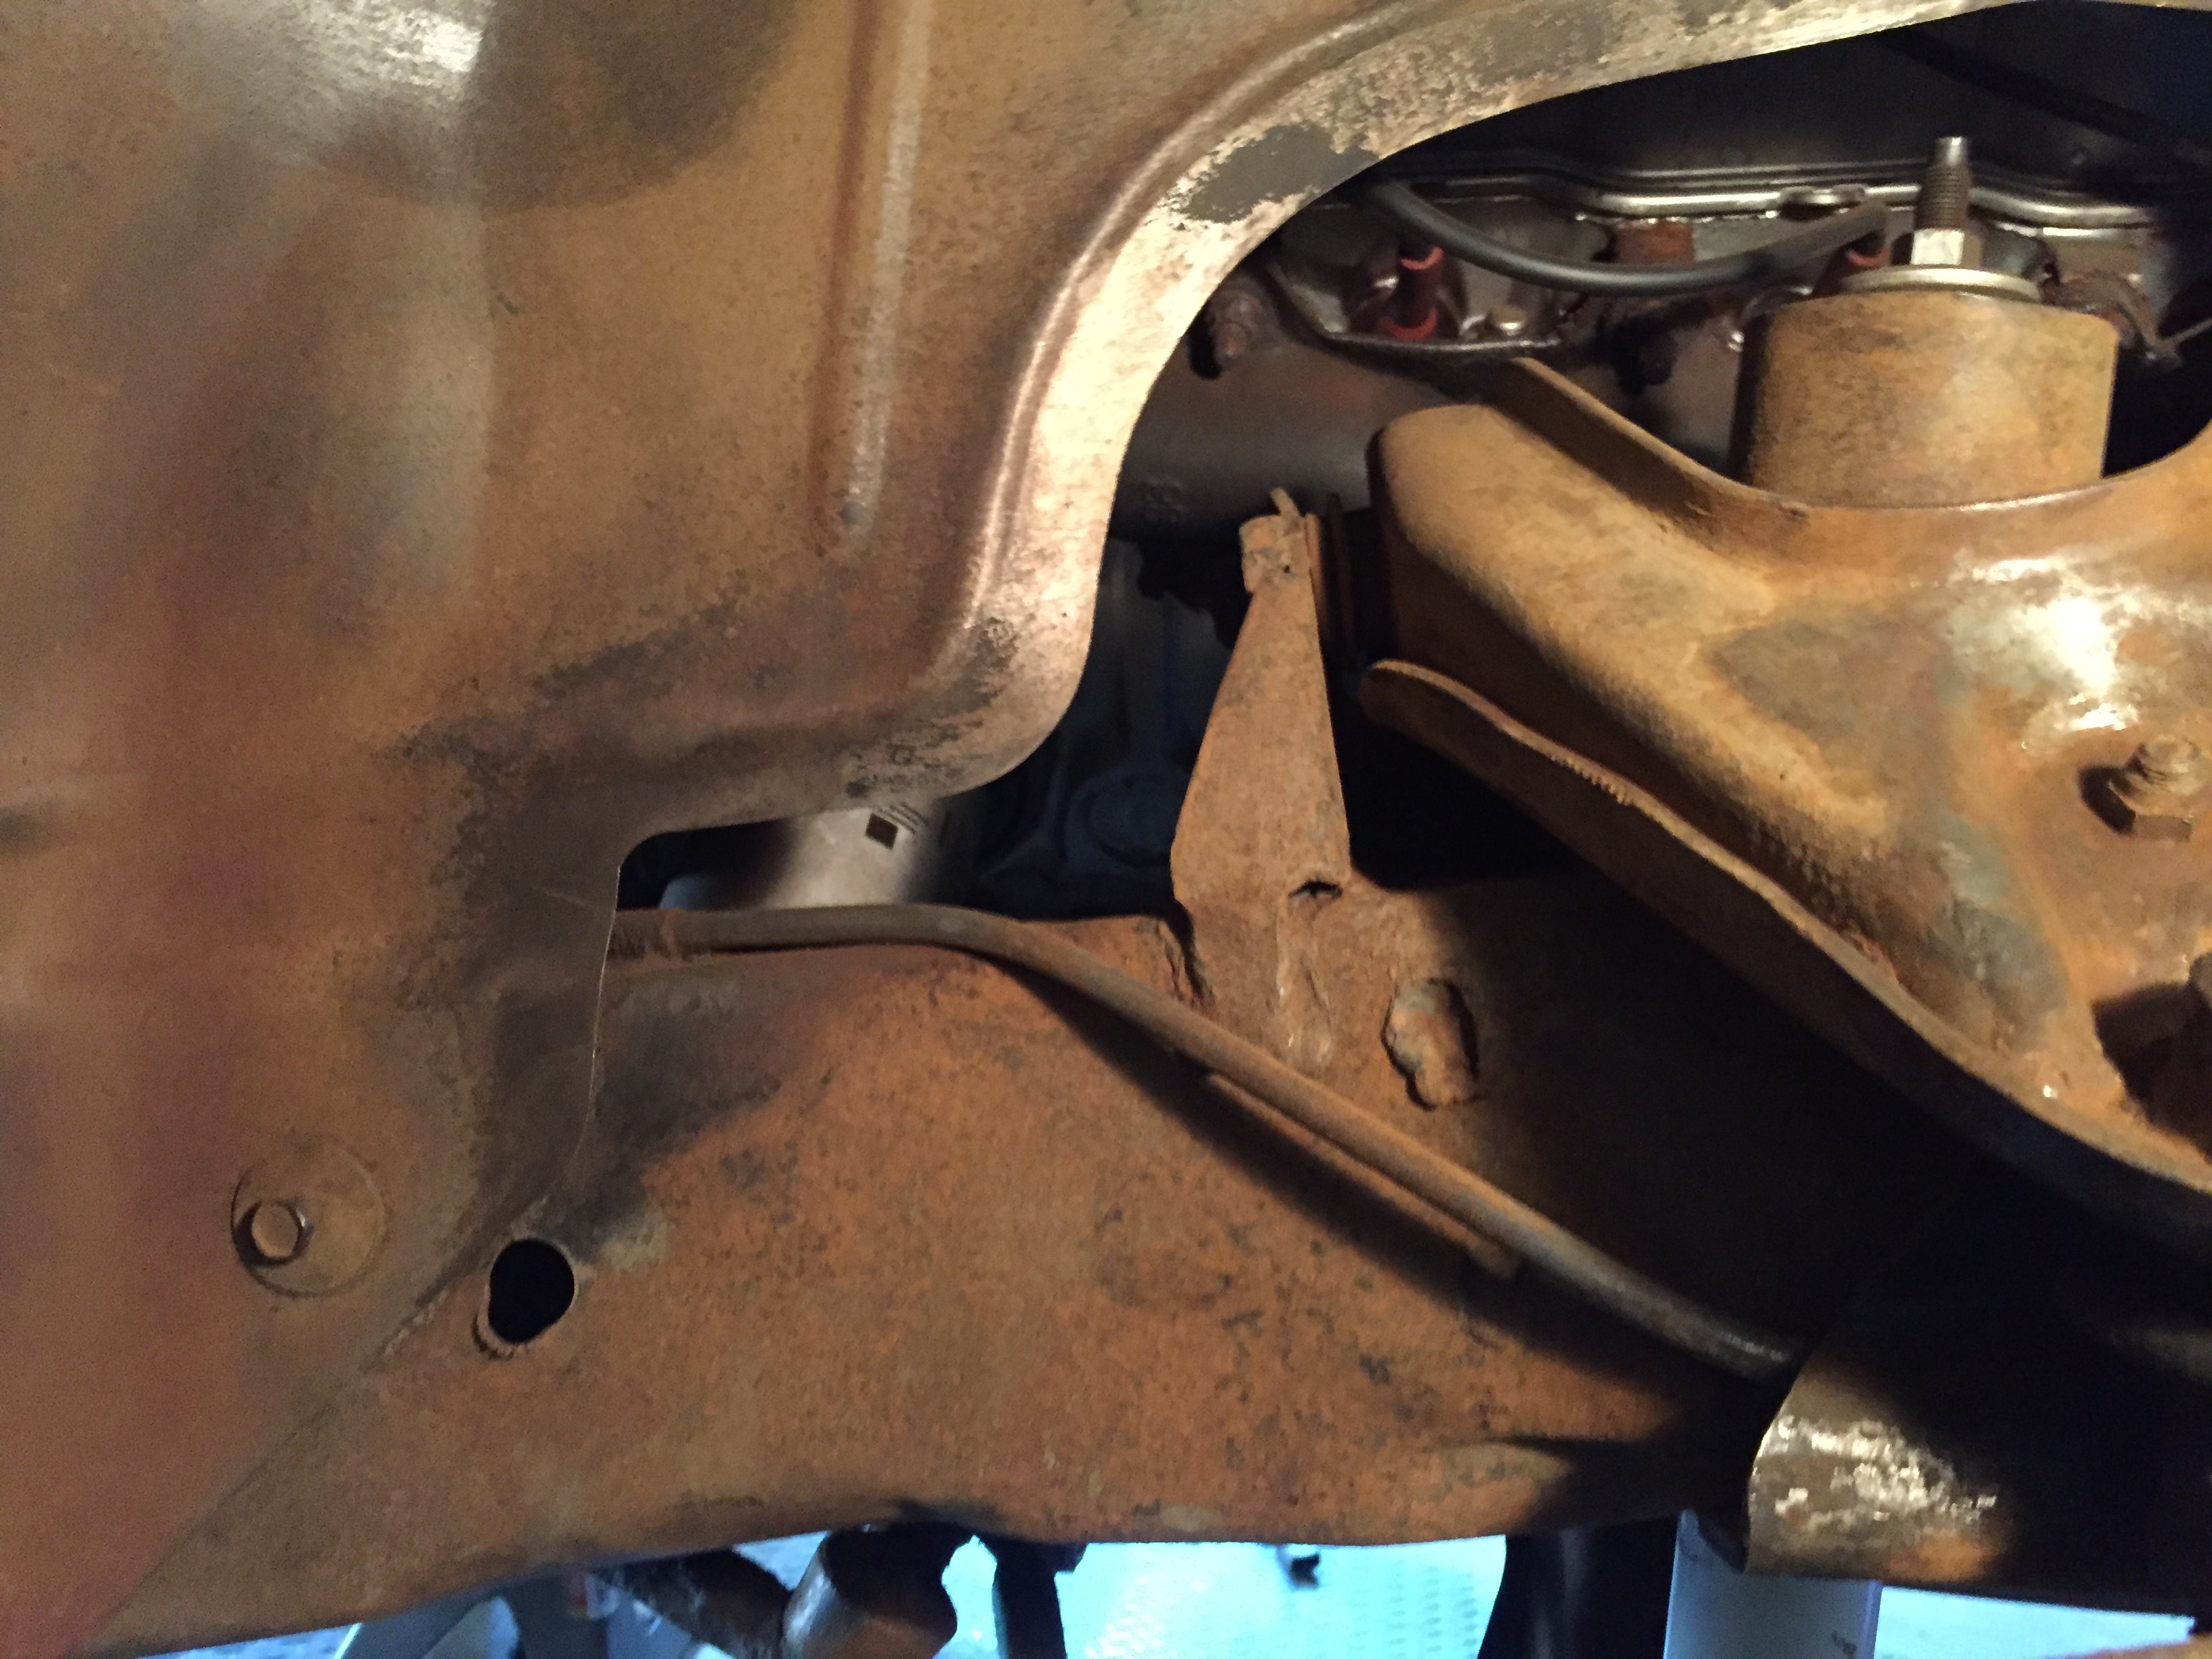
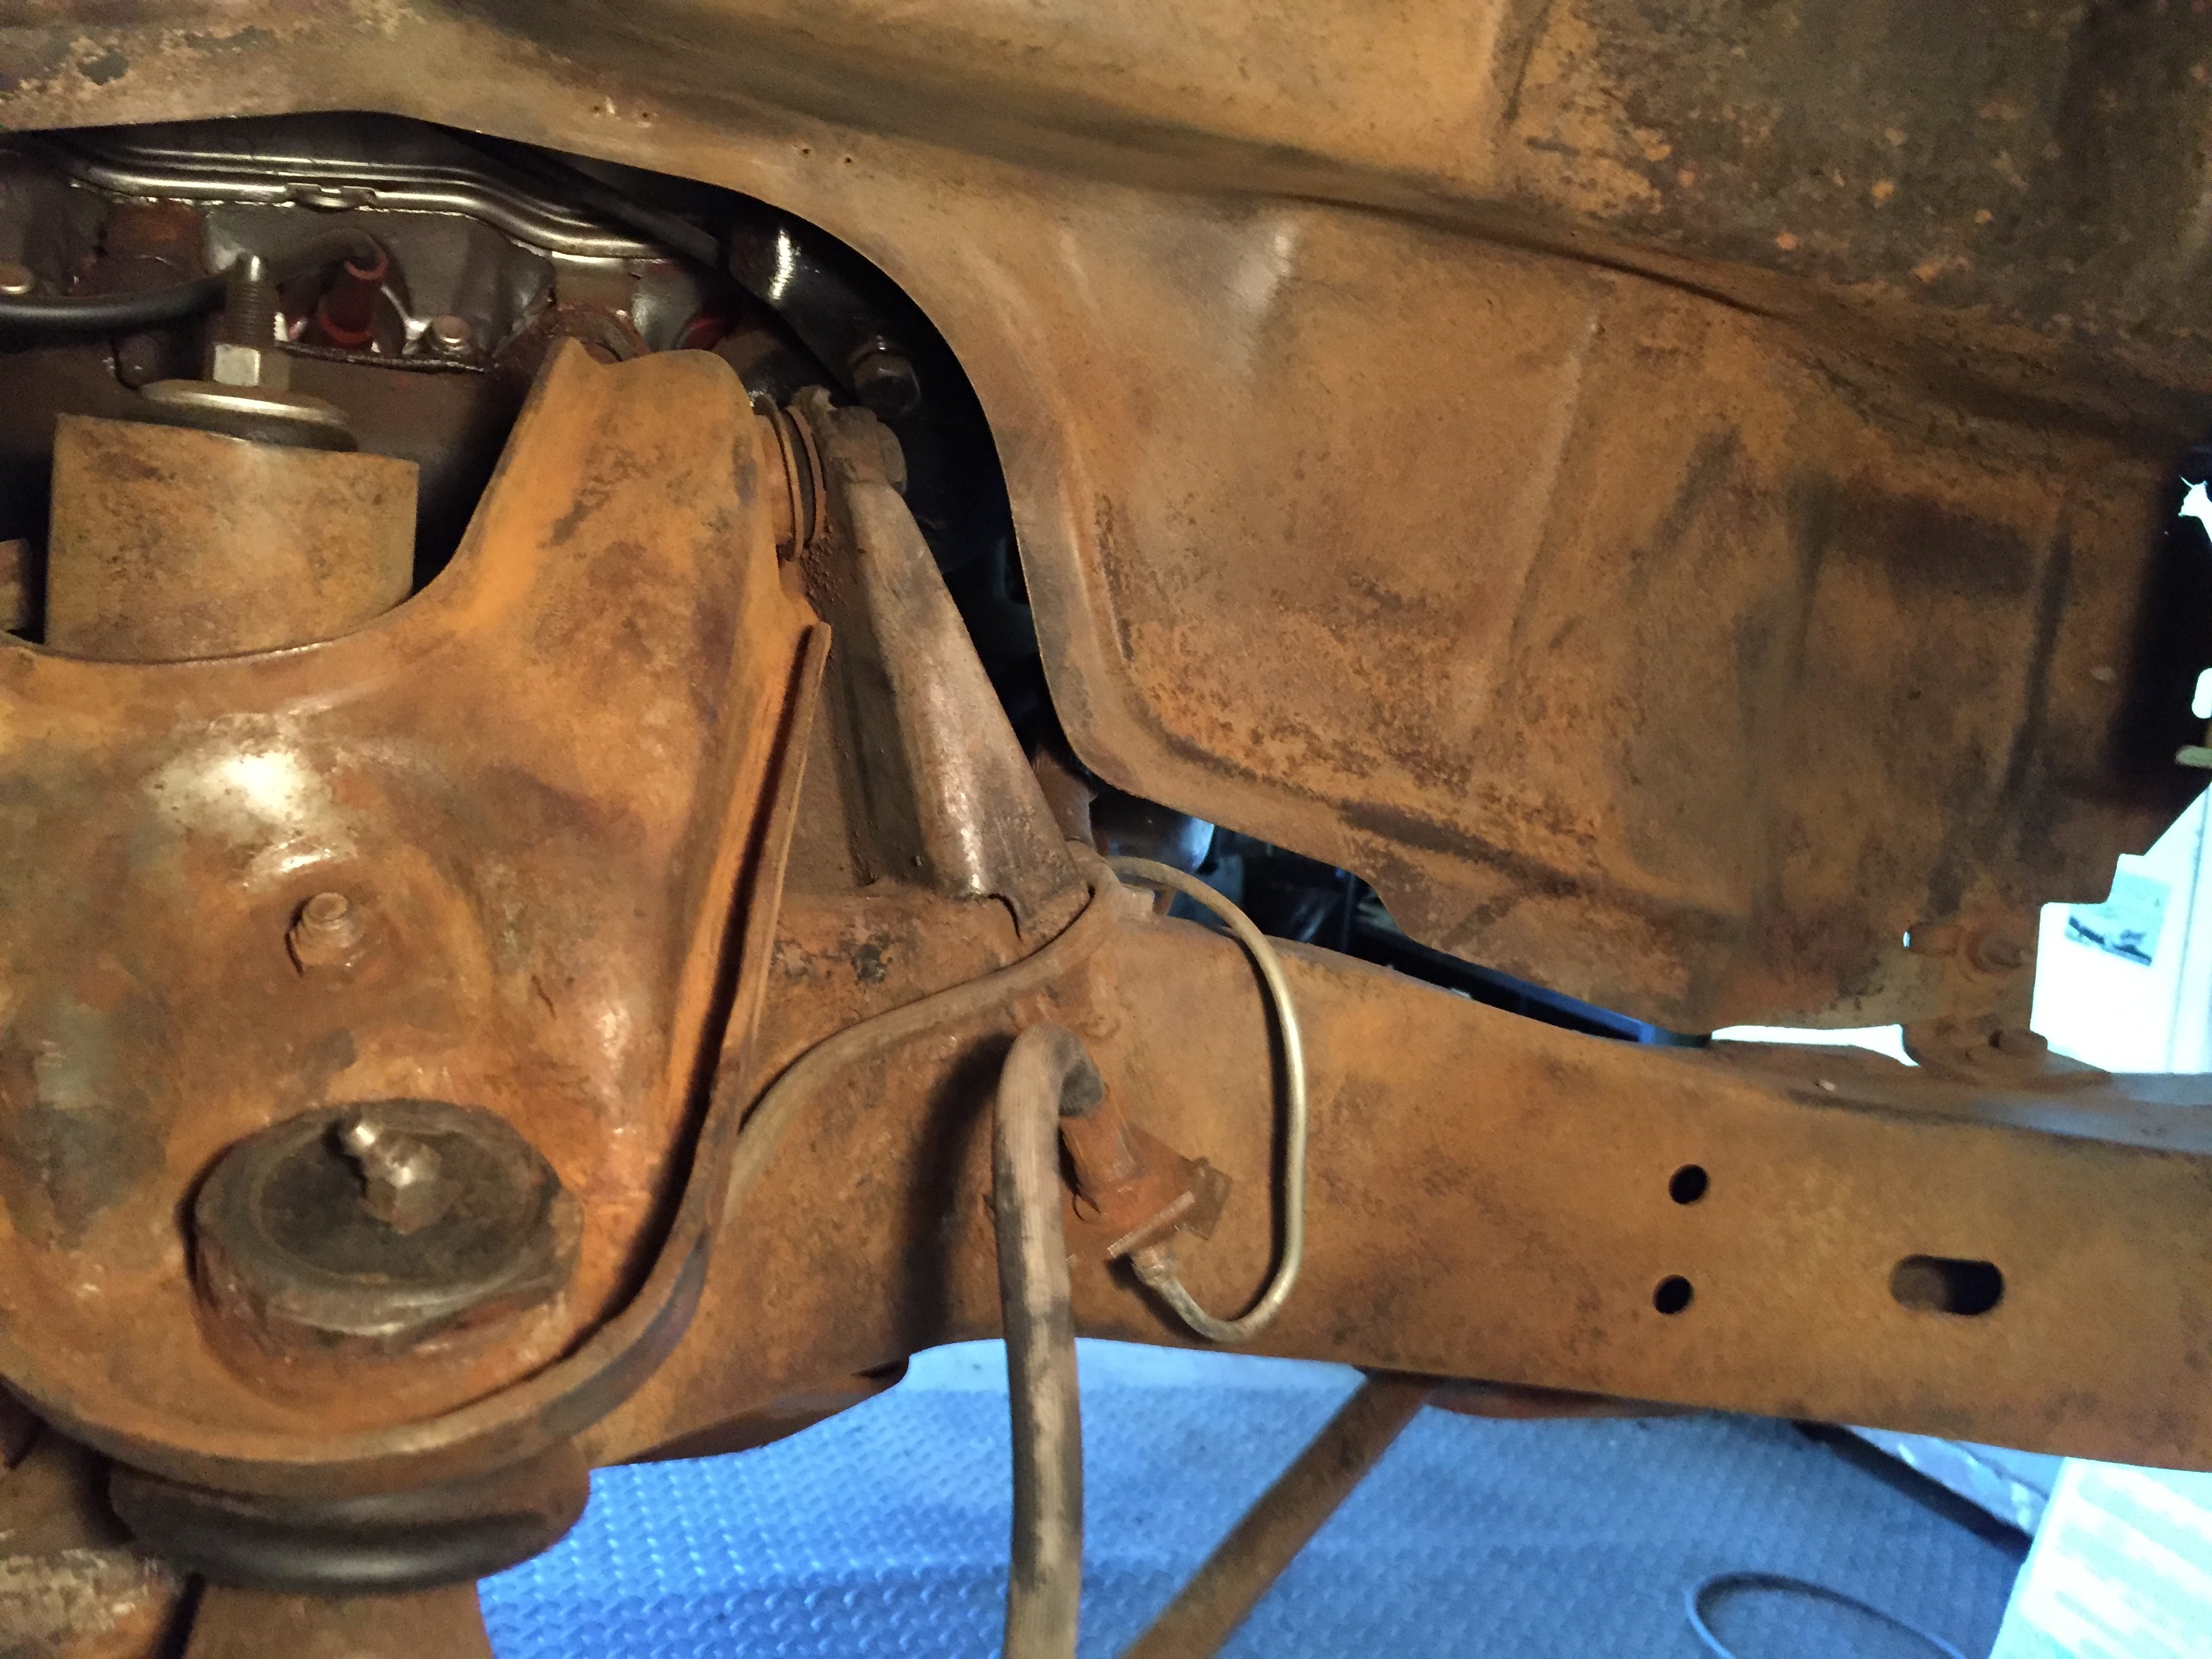
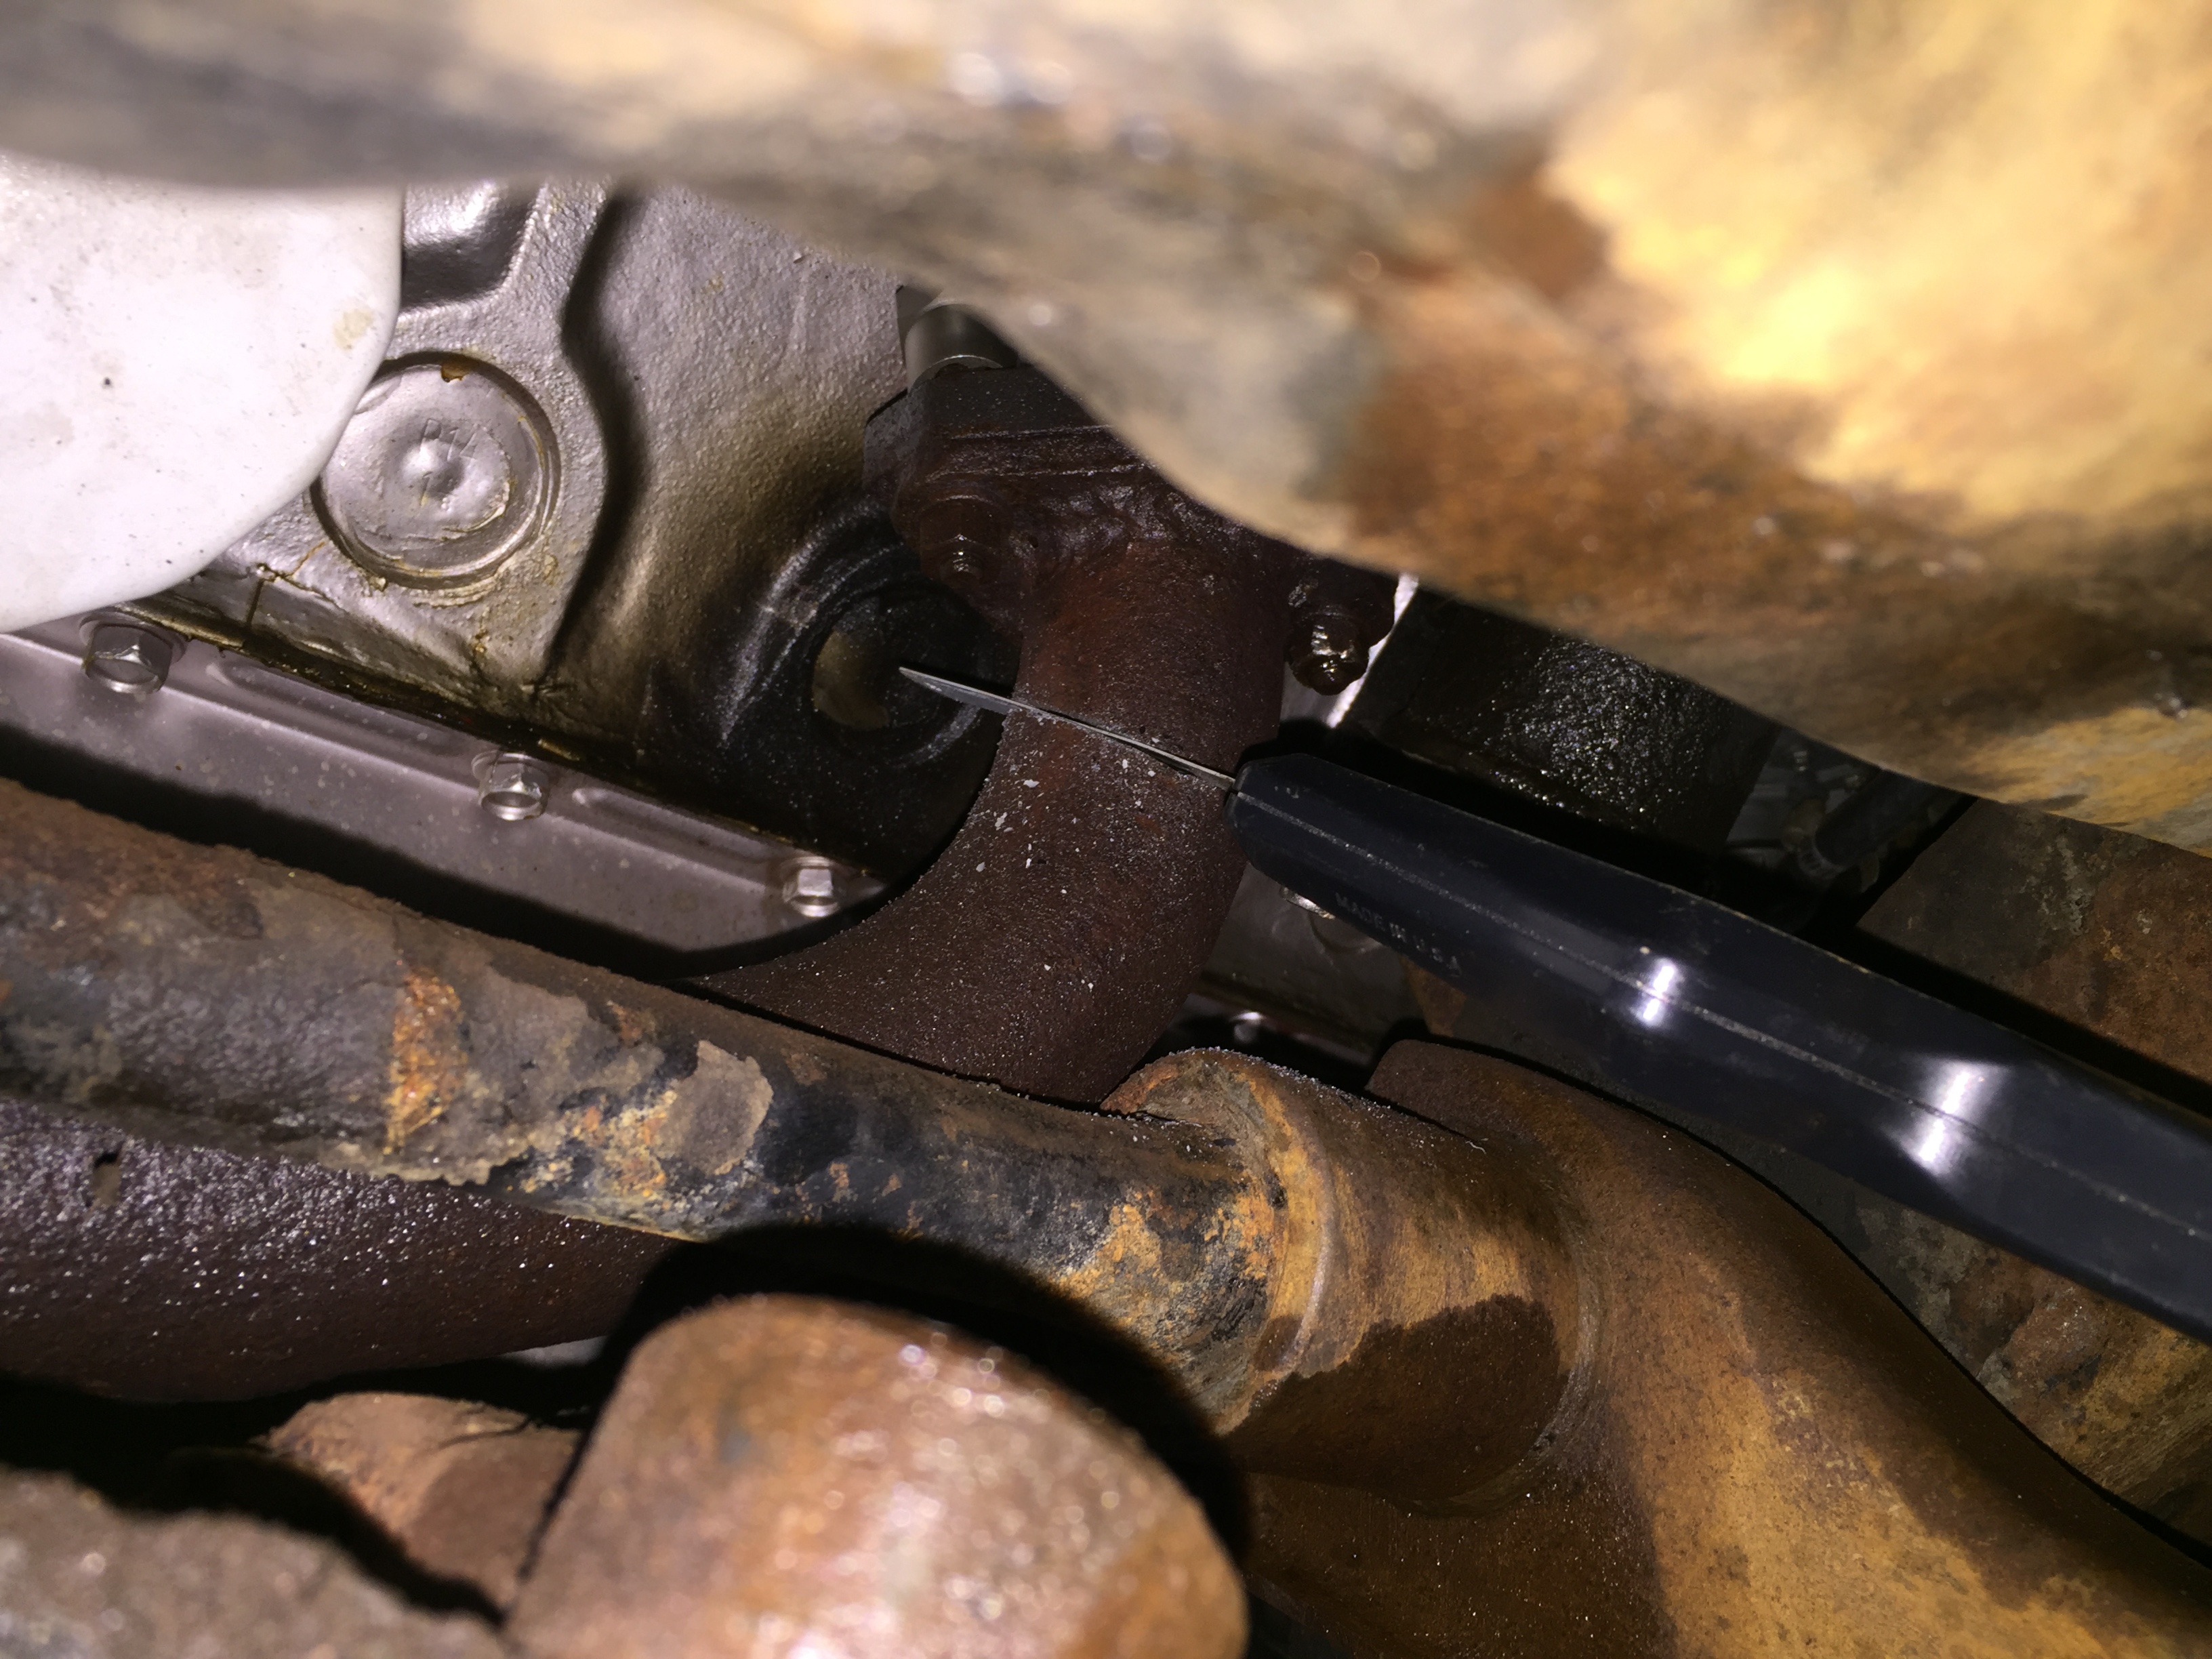
I tried like hell to get the front bolt out, and the extractor has got a tight grip on the bolt head - but, the torsion bar is in the way of the breaker bar extender to the nut underneath, and I can’t get enough leverage on a socket wrench to break the nut loose. I’ll try again tomorrow, maybe with a pipe extender on the socket wrench - if, there’s enough play.
Another frustrating day, trying to get that front manifold bolt off. At this point, I’ve managed to burr the nut up pretty good - so, I’m going to have to put the Irwin bolt extractor on the nut to get a good grip. I can see from up top that I can get a 9/16" open end wrench on the head and wedge it against the upper A frame assembly, and maybe get the VP of Finance (or the neighbor’s kid) to keep it from drifting with a little pressure.
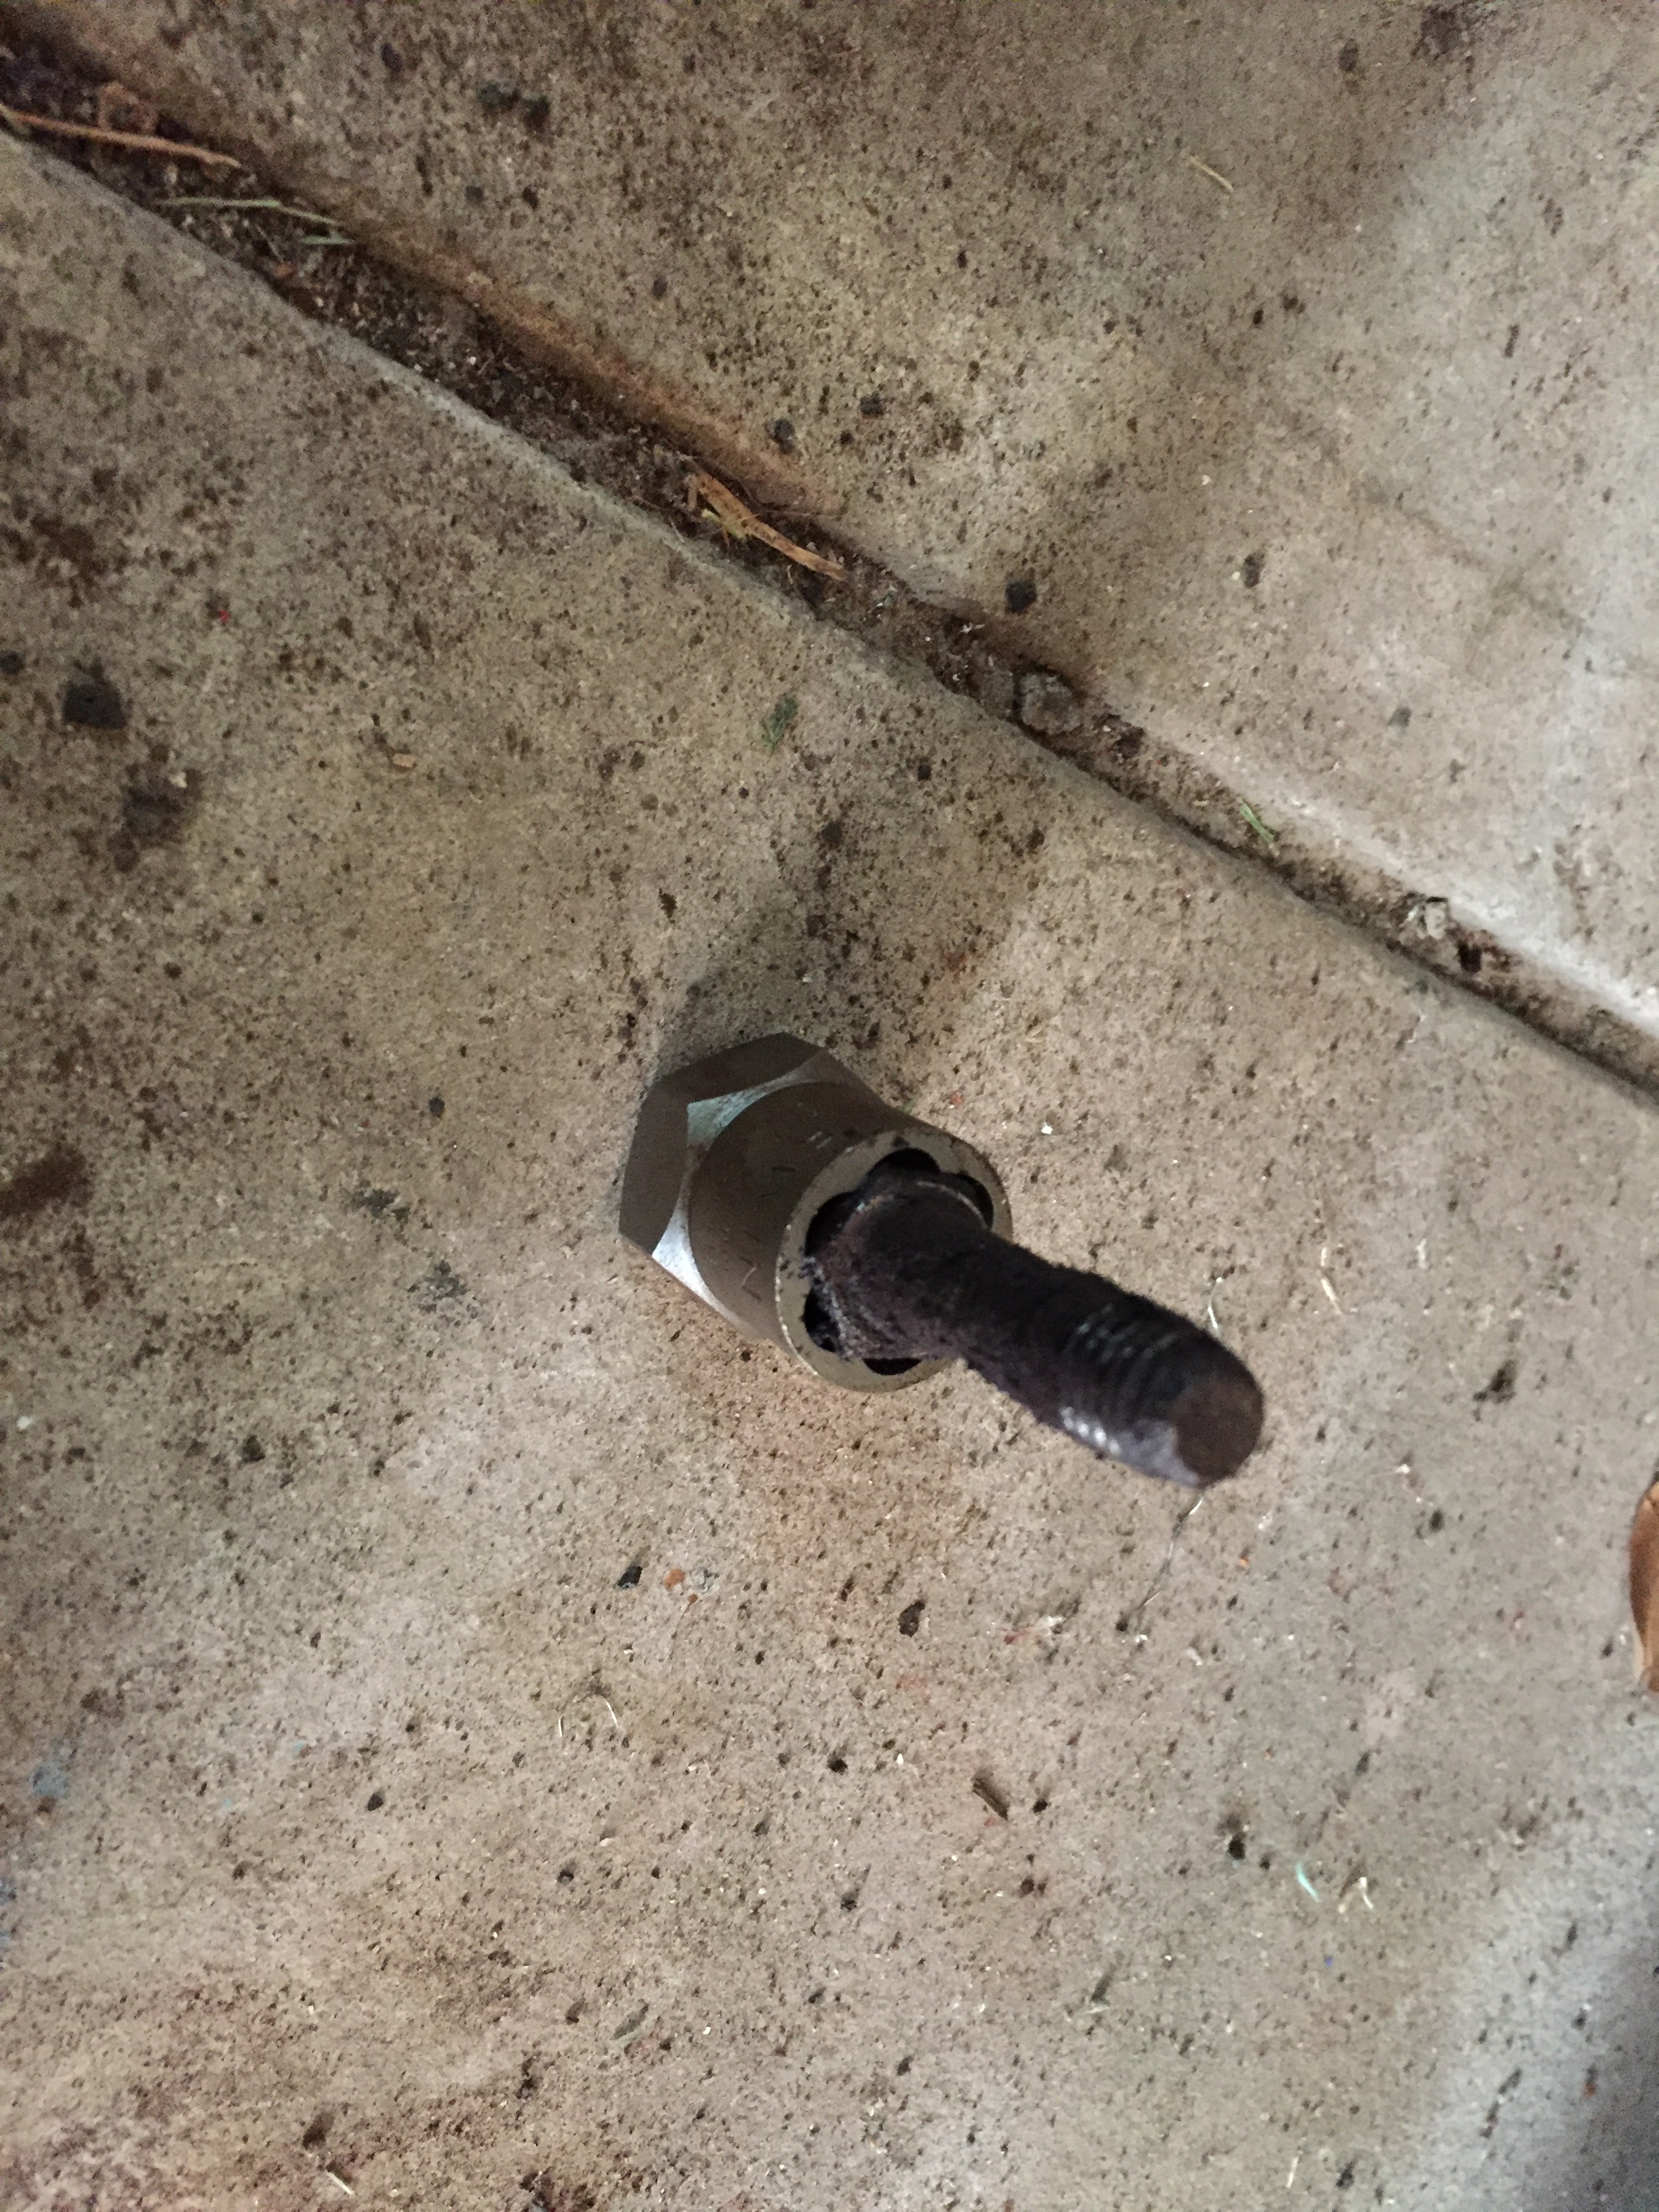
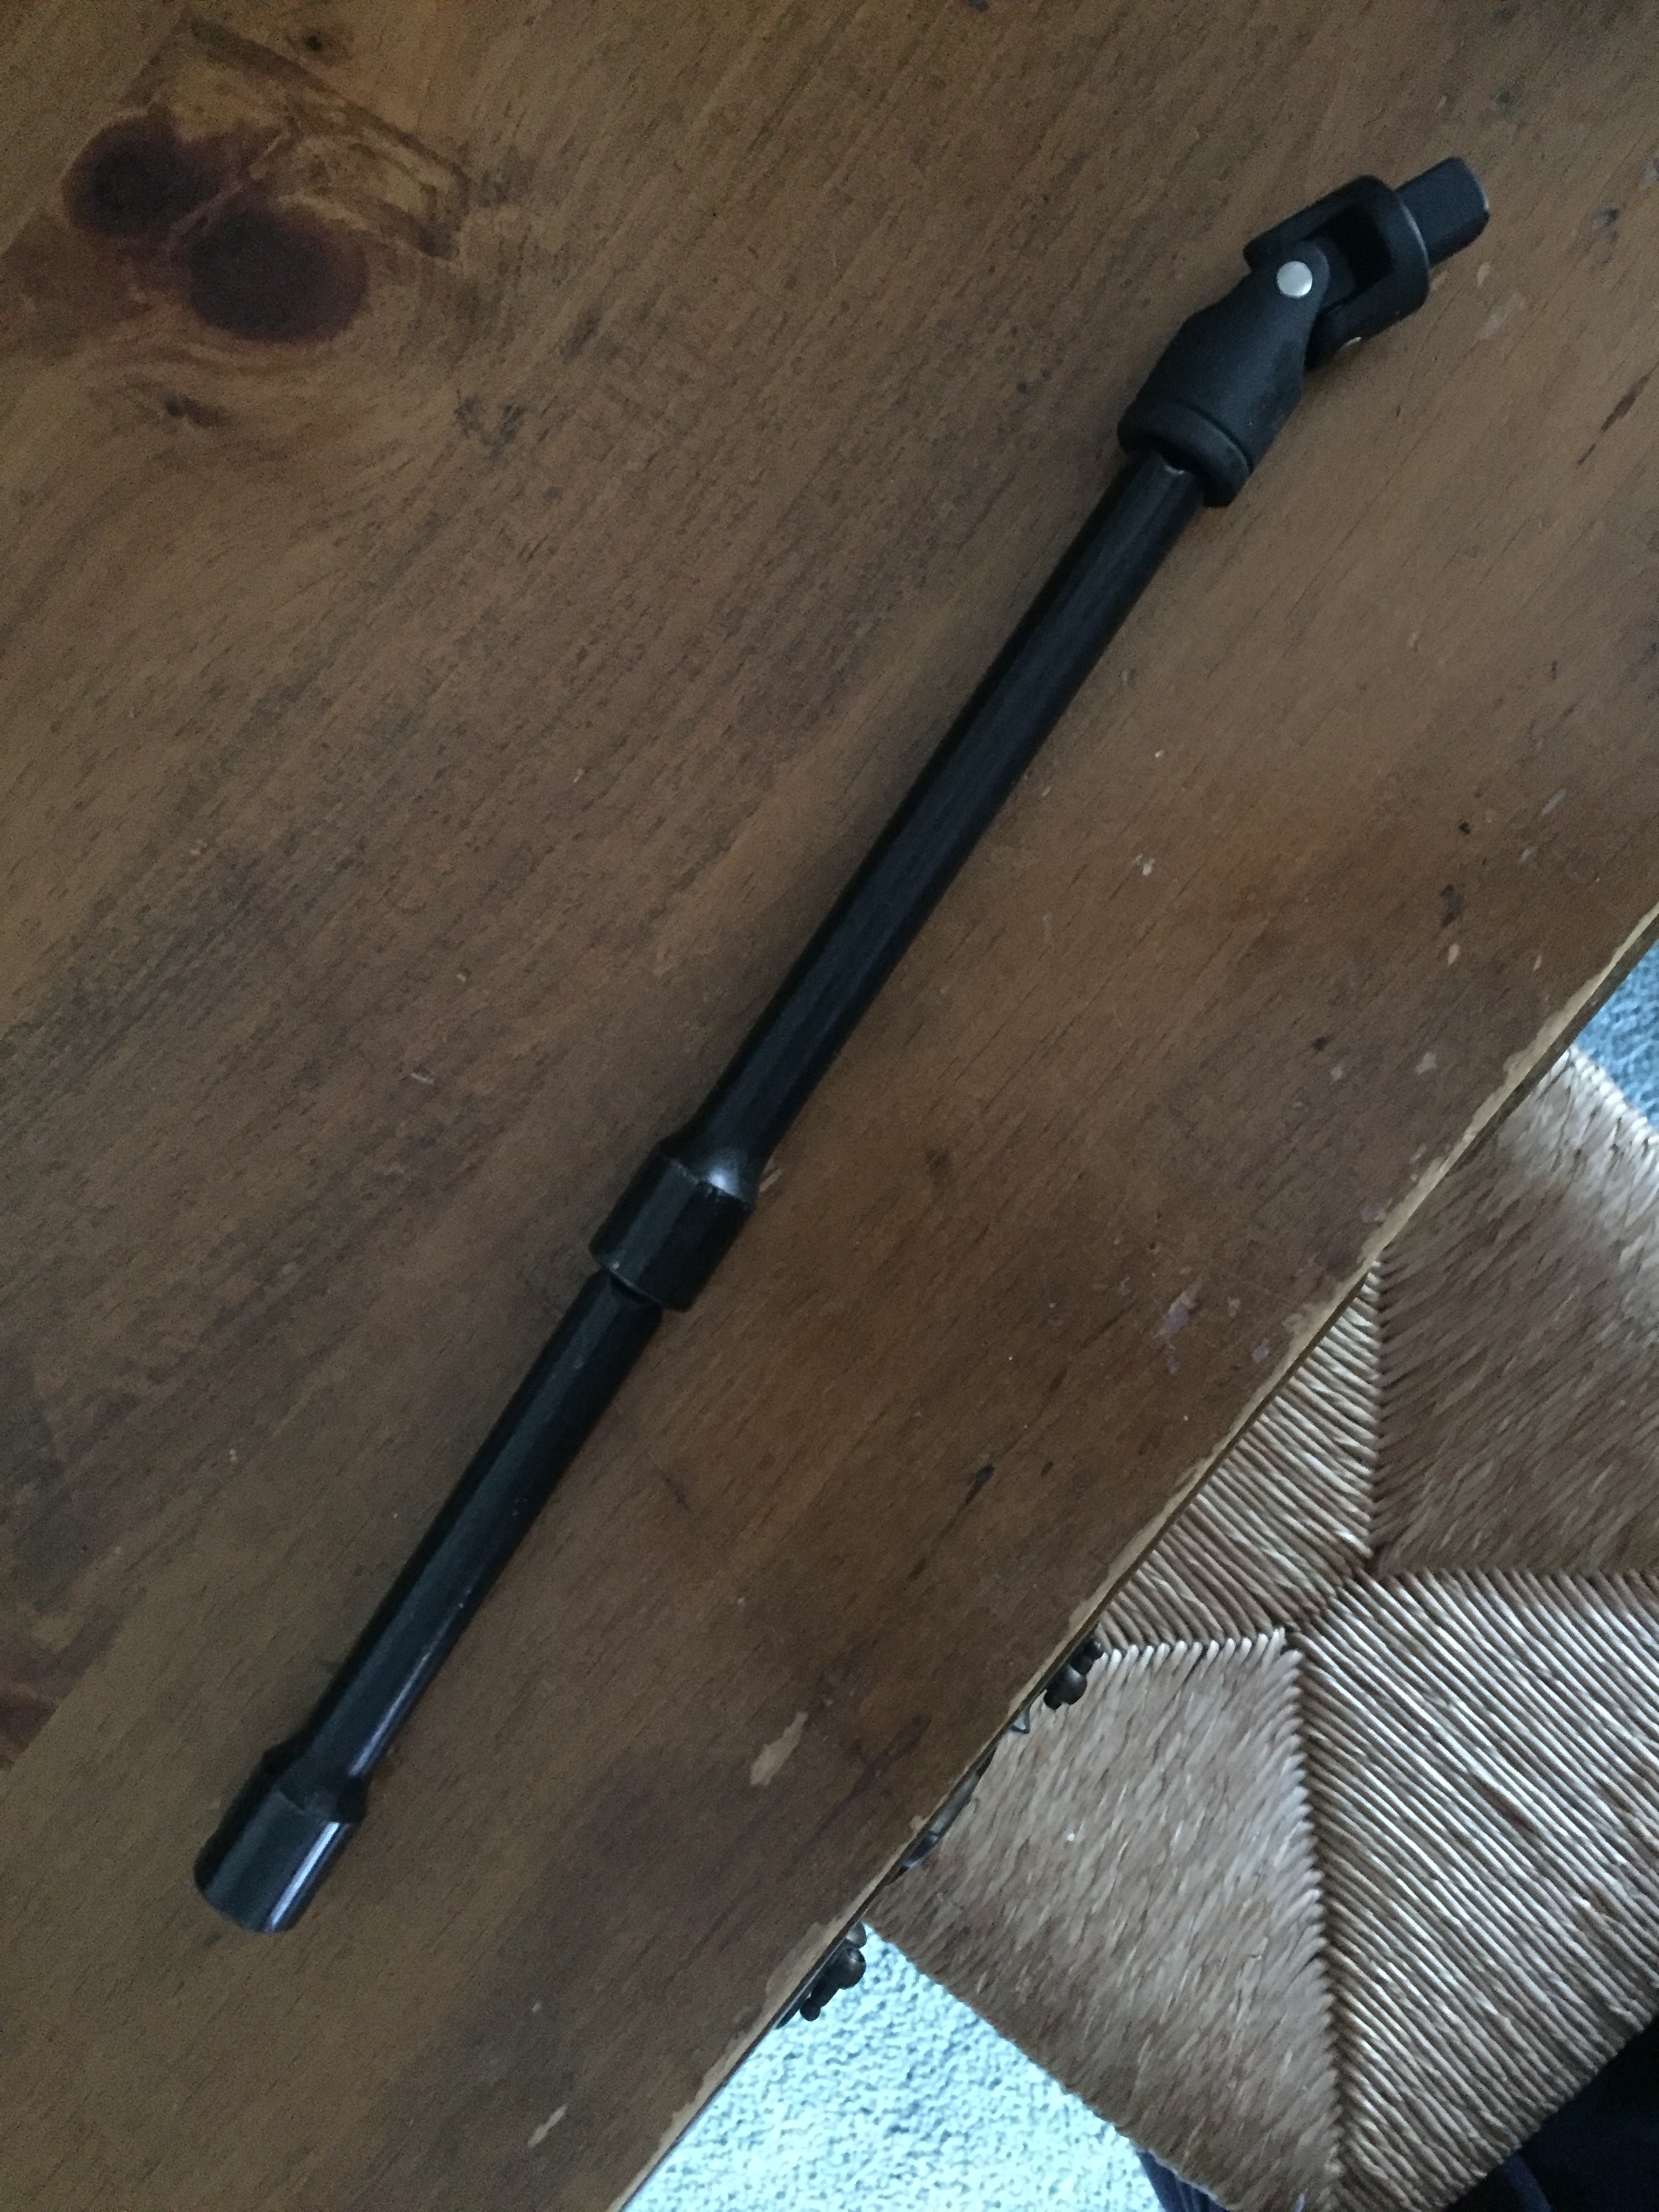
But the only way to get some clearance for the big-*ss breaker bar to swing, will be to offset the socket extension somehow - the torsion bar is in the way. I think I’m looking for something like this:
But, that is 3/8" male on one end, and 3/8" female on the other. Short, but just long enough to get me clear of the torsion bar while all the pieces parts are dead-on. Does anyone know of such a thing? Any other ideas?
As part of my effort to find room to maneuver, I removed the generator - it’s gotta get cleaned up anyway. I wish I took a picture of the plate before I cleaned it with a little brake cleaner - it was completely black! It cleaned up nicely…

This is what I’m tawkin’ about!! I could make this work - the socket extractor is 3/8", but with an adapter and a 1/2" extension (all mine are 3/8"), I could use my 1/2" big-*ss breaker bar.
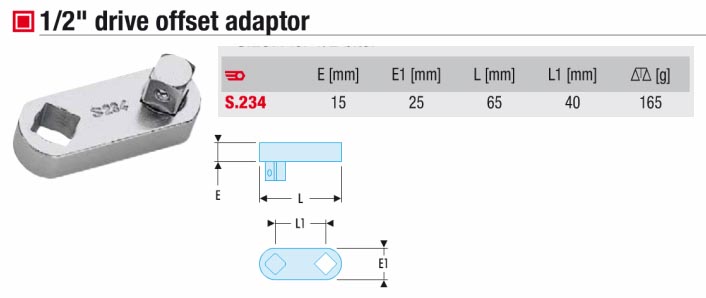
Yow!! Forty-six bucks, including delivery. For that, I’d have to be d*mn sure it’s gonna work. Looking for bright ideas from my homies…
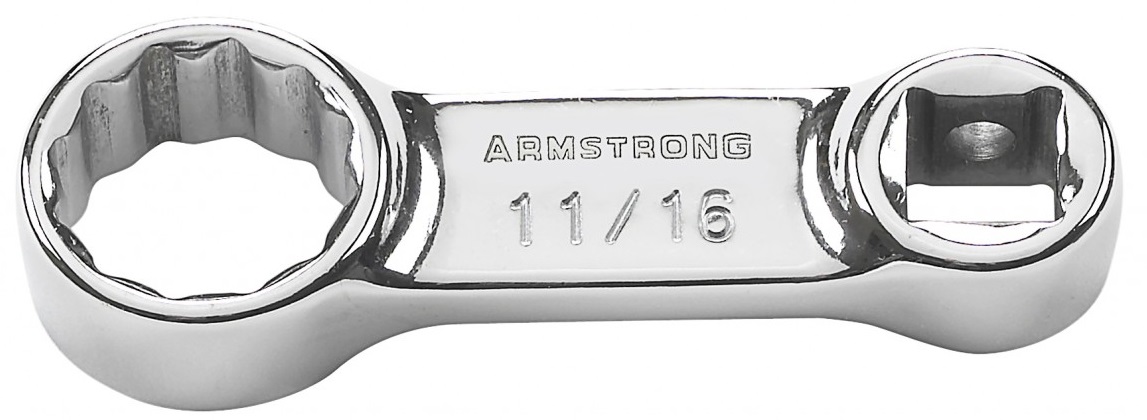
Wait, now I’m just being silly. Here’s what I need:

A slight deflection will still deliver plenty of torque. I’m going with 1/2" for strength - and use an adapter for the 3/8" Irwin extractor. Three’s the charm, but I won’t get a chance to try until Labor Day - next weekend Mary Kay and I are going out of town for her birthday.
…And then! Ten weeks of a new Radiology Imaging System deployment through 5 hospitals, starting September 10th and taking me to Thanksgiving. Twelve hour days - three to five per week, depending on the hospital - and some Sundays. I will likely be dropping off the radar. But hey, keep in touch!
Dan, You have the patience of Job … on this job. I would have ignited and lit the BLUE WRENCH. Have you tried heat and candle wax?
Haven’t tried that trick yet, Rick - although I have in the past, my old man taught me. But even then, I’d need to be able to get a good grip, which has been in short supply. I will tuck that away for later. Tell me about candle wax, though - that’s a new one to me.
Warm the stuck nut with a propane torch, does not need to be red hot. Touch the bolt and nut with the candle or bee’s wax and loosen the nut, while still warm. I have seen rusted and stuck lug nuts removed using a butane lighter and candle wax method.
That’s too kool for skool! I gotta try that - in about a week’s time, will let you know how I make out.
The ‘Old School’, some times teaches us what we can use later in life. This application has saved me hours of grief. Mechanical engineering and industrial chemistry with a touch of earth science
Come Monday… It’ll be alright
Come Monday… I’ll be turning you tight
Apologies to Jimmy Buffett. No time between now and Monday, but maybe then - between the blue wrench, a candlestick and this sucka - we’ll see some action.
Danke Gott I checked the weekend reservations! They are for Sunday night - we go away tomorrow, return Monday. So today was the day to work on Faulkner.
Very pleasant in the garage - but, a harbinger of things to come
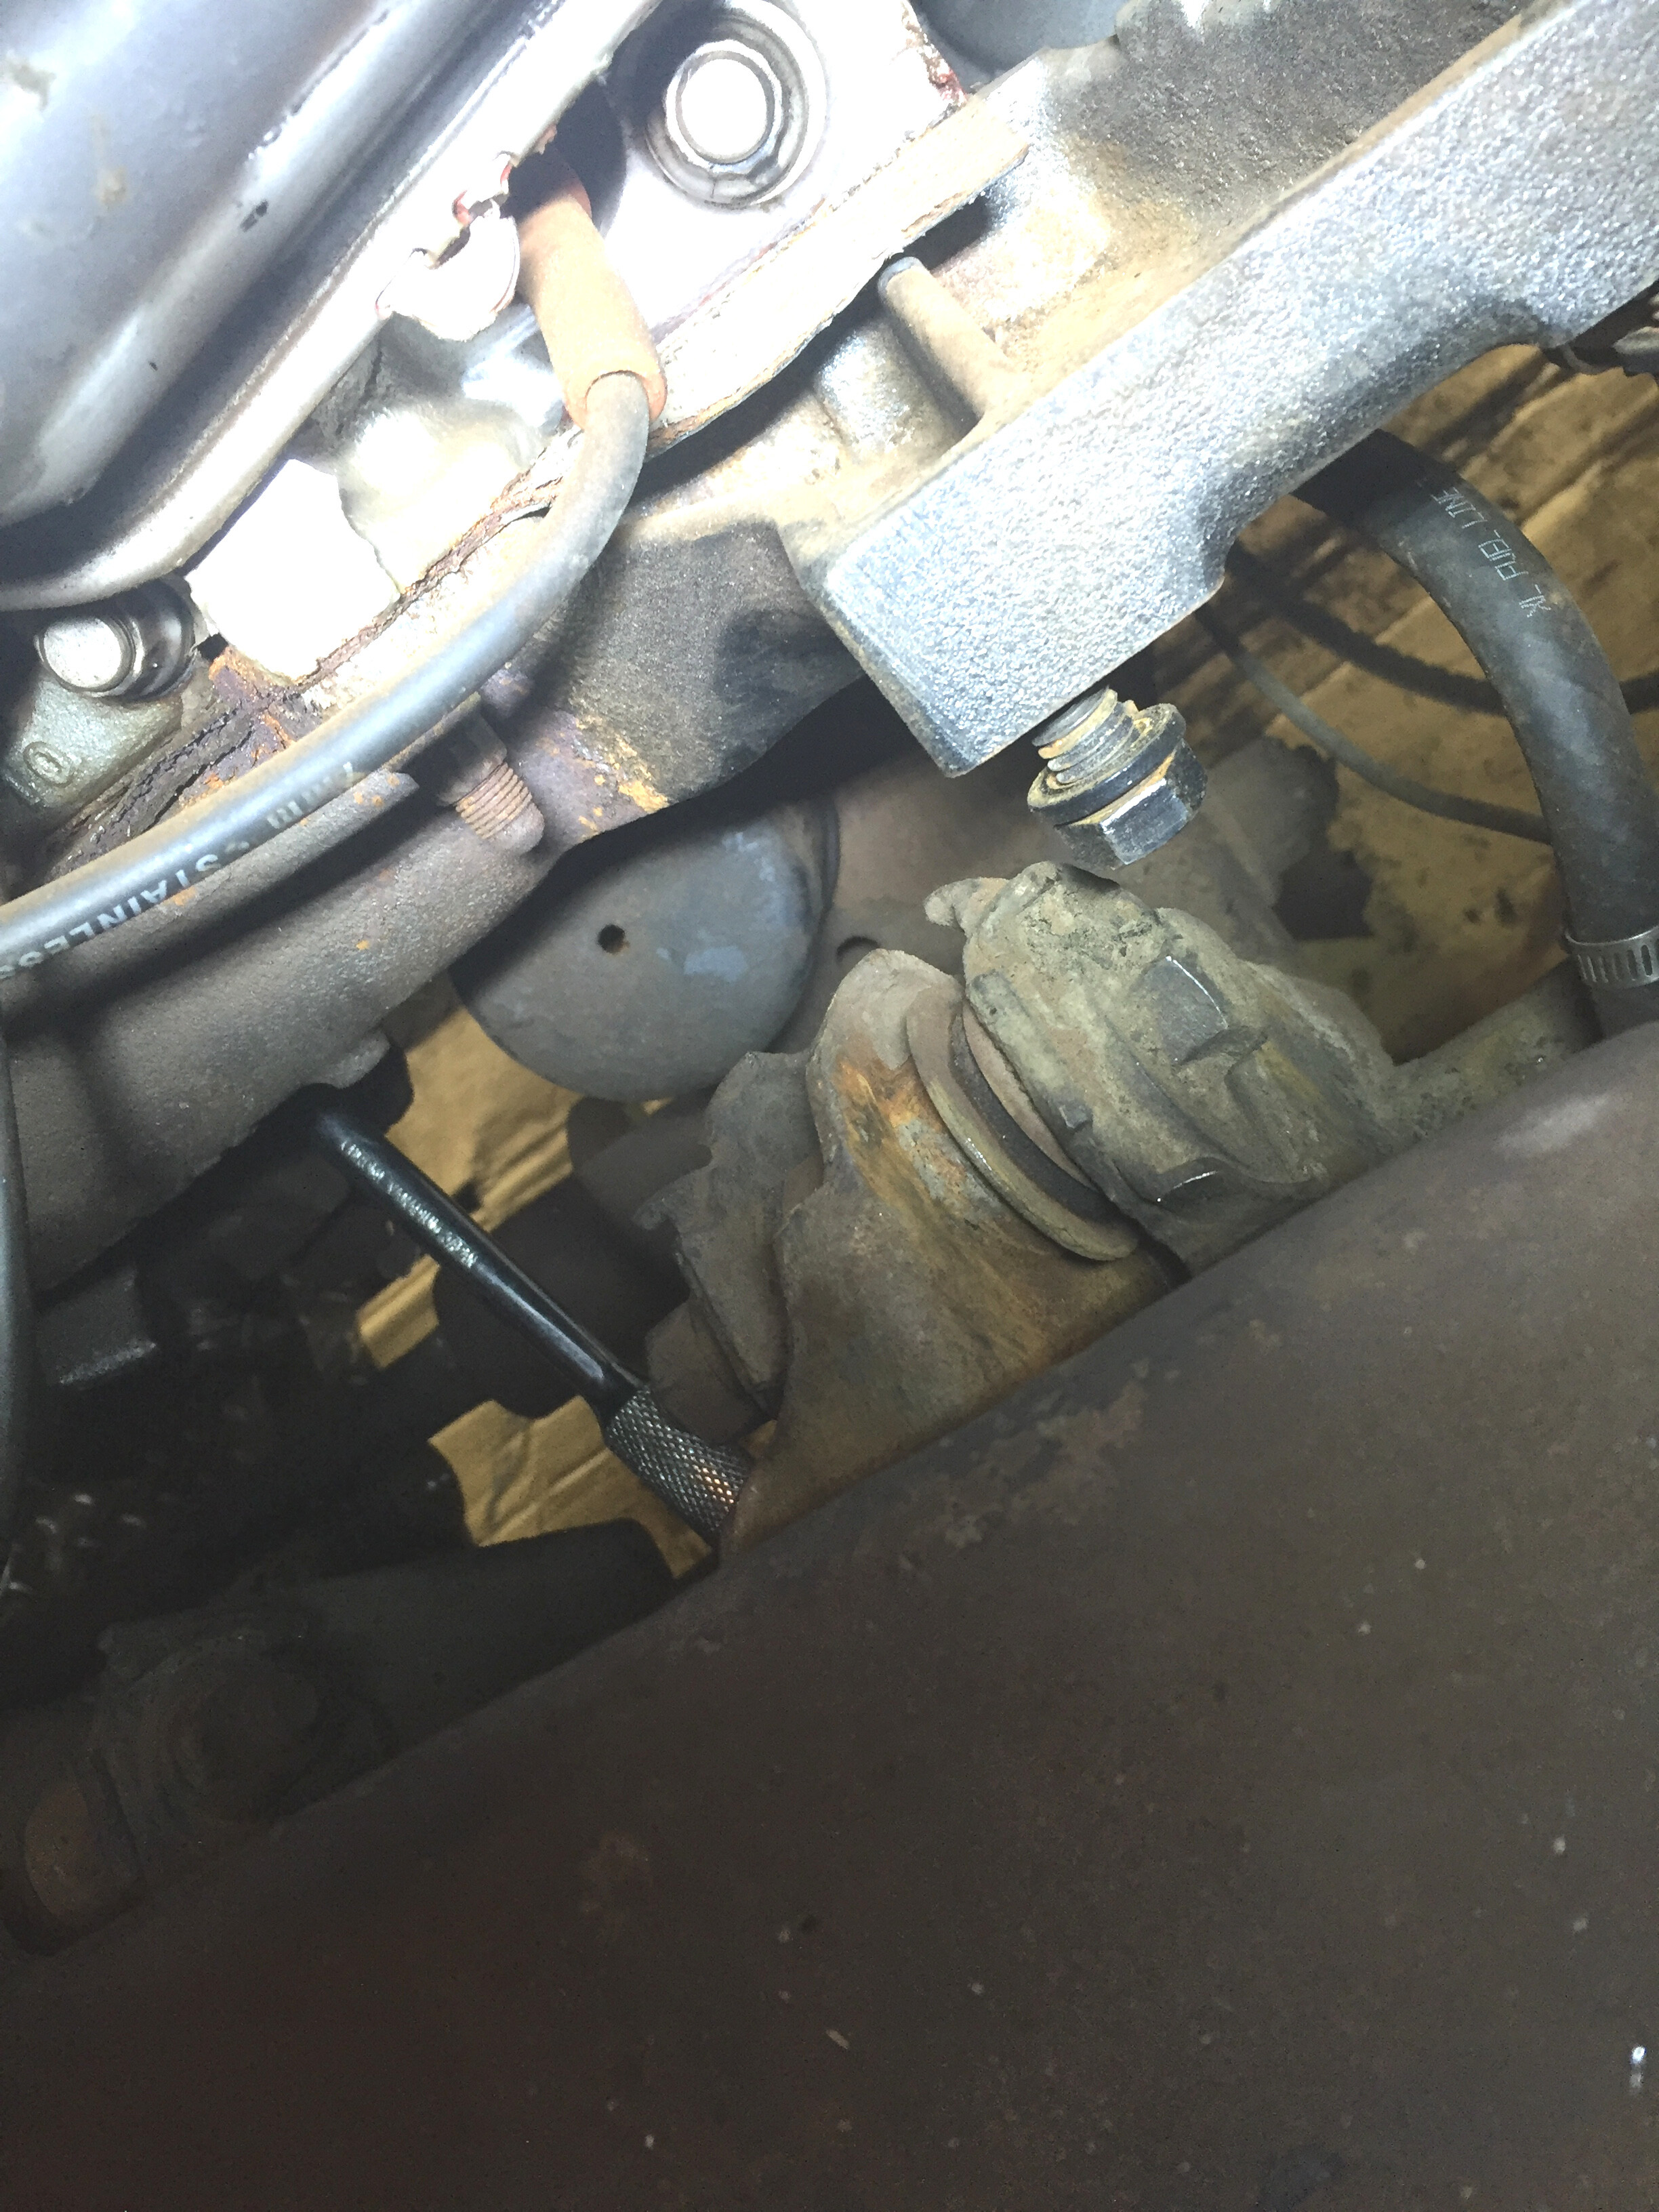
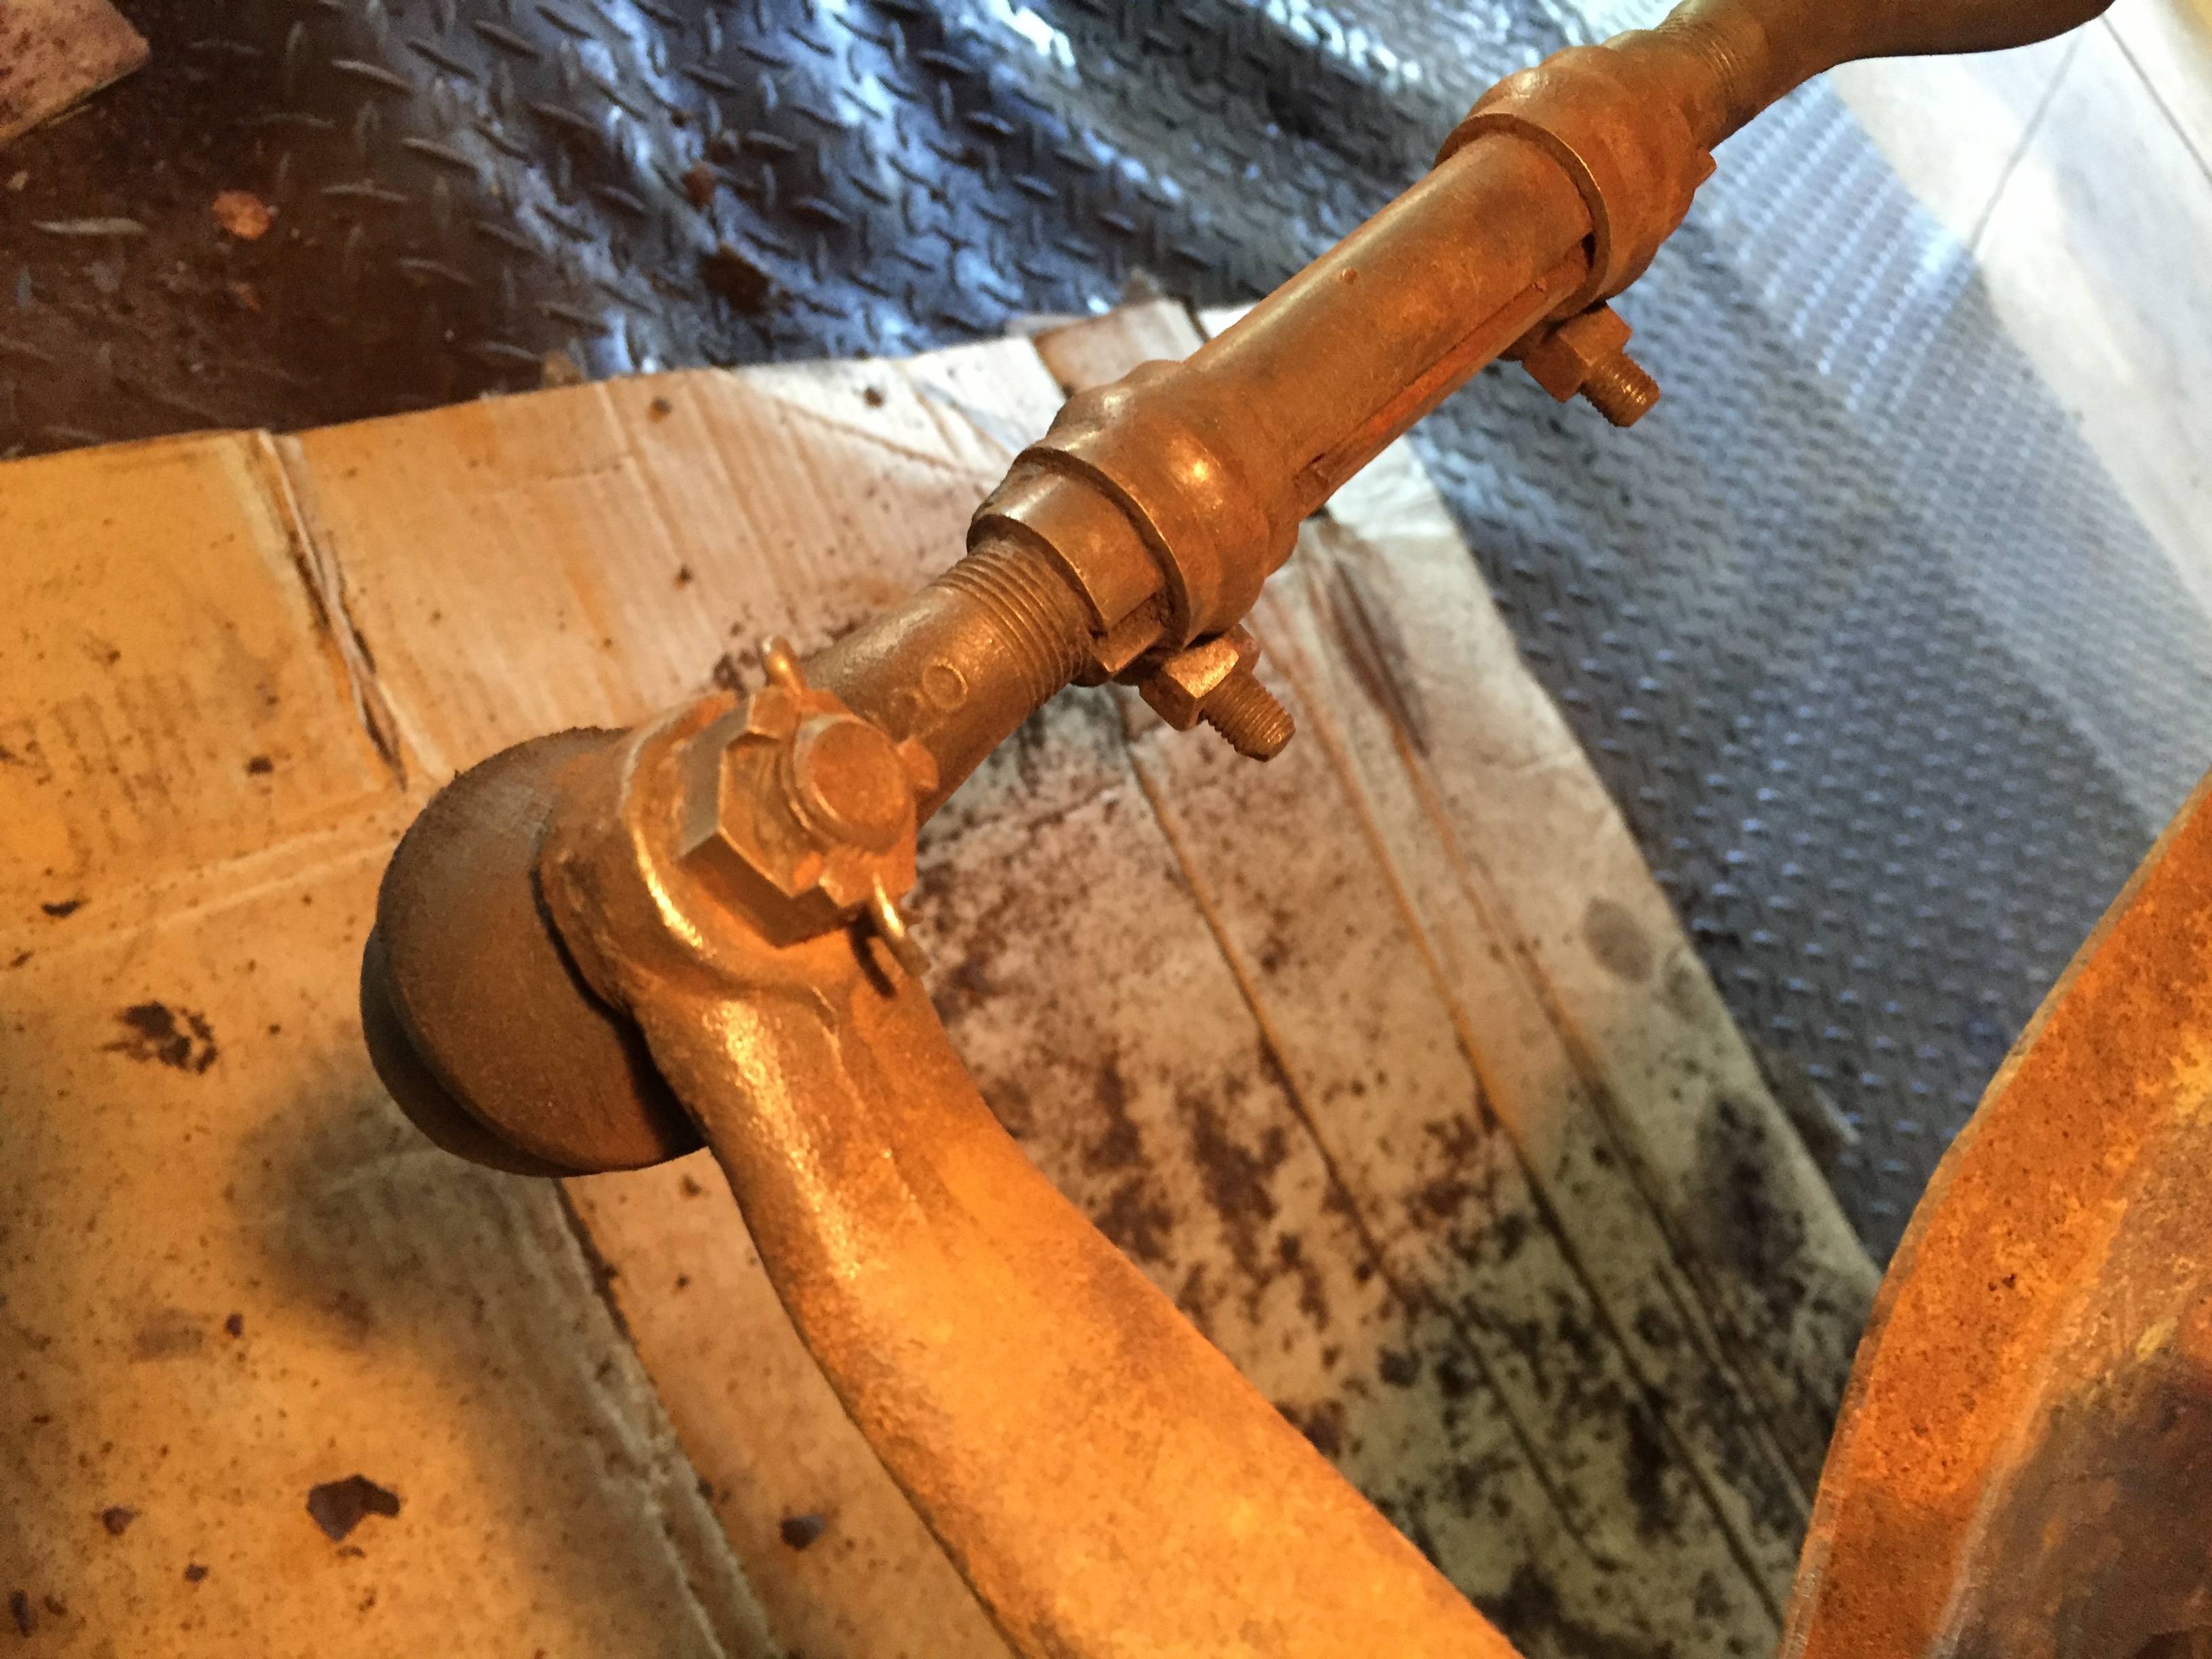
I’ve got the breaker bar snuggled in topside, the neighbor boy Skye held it in place for me
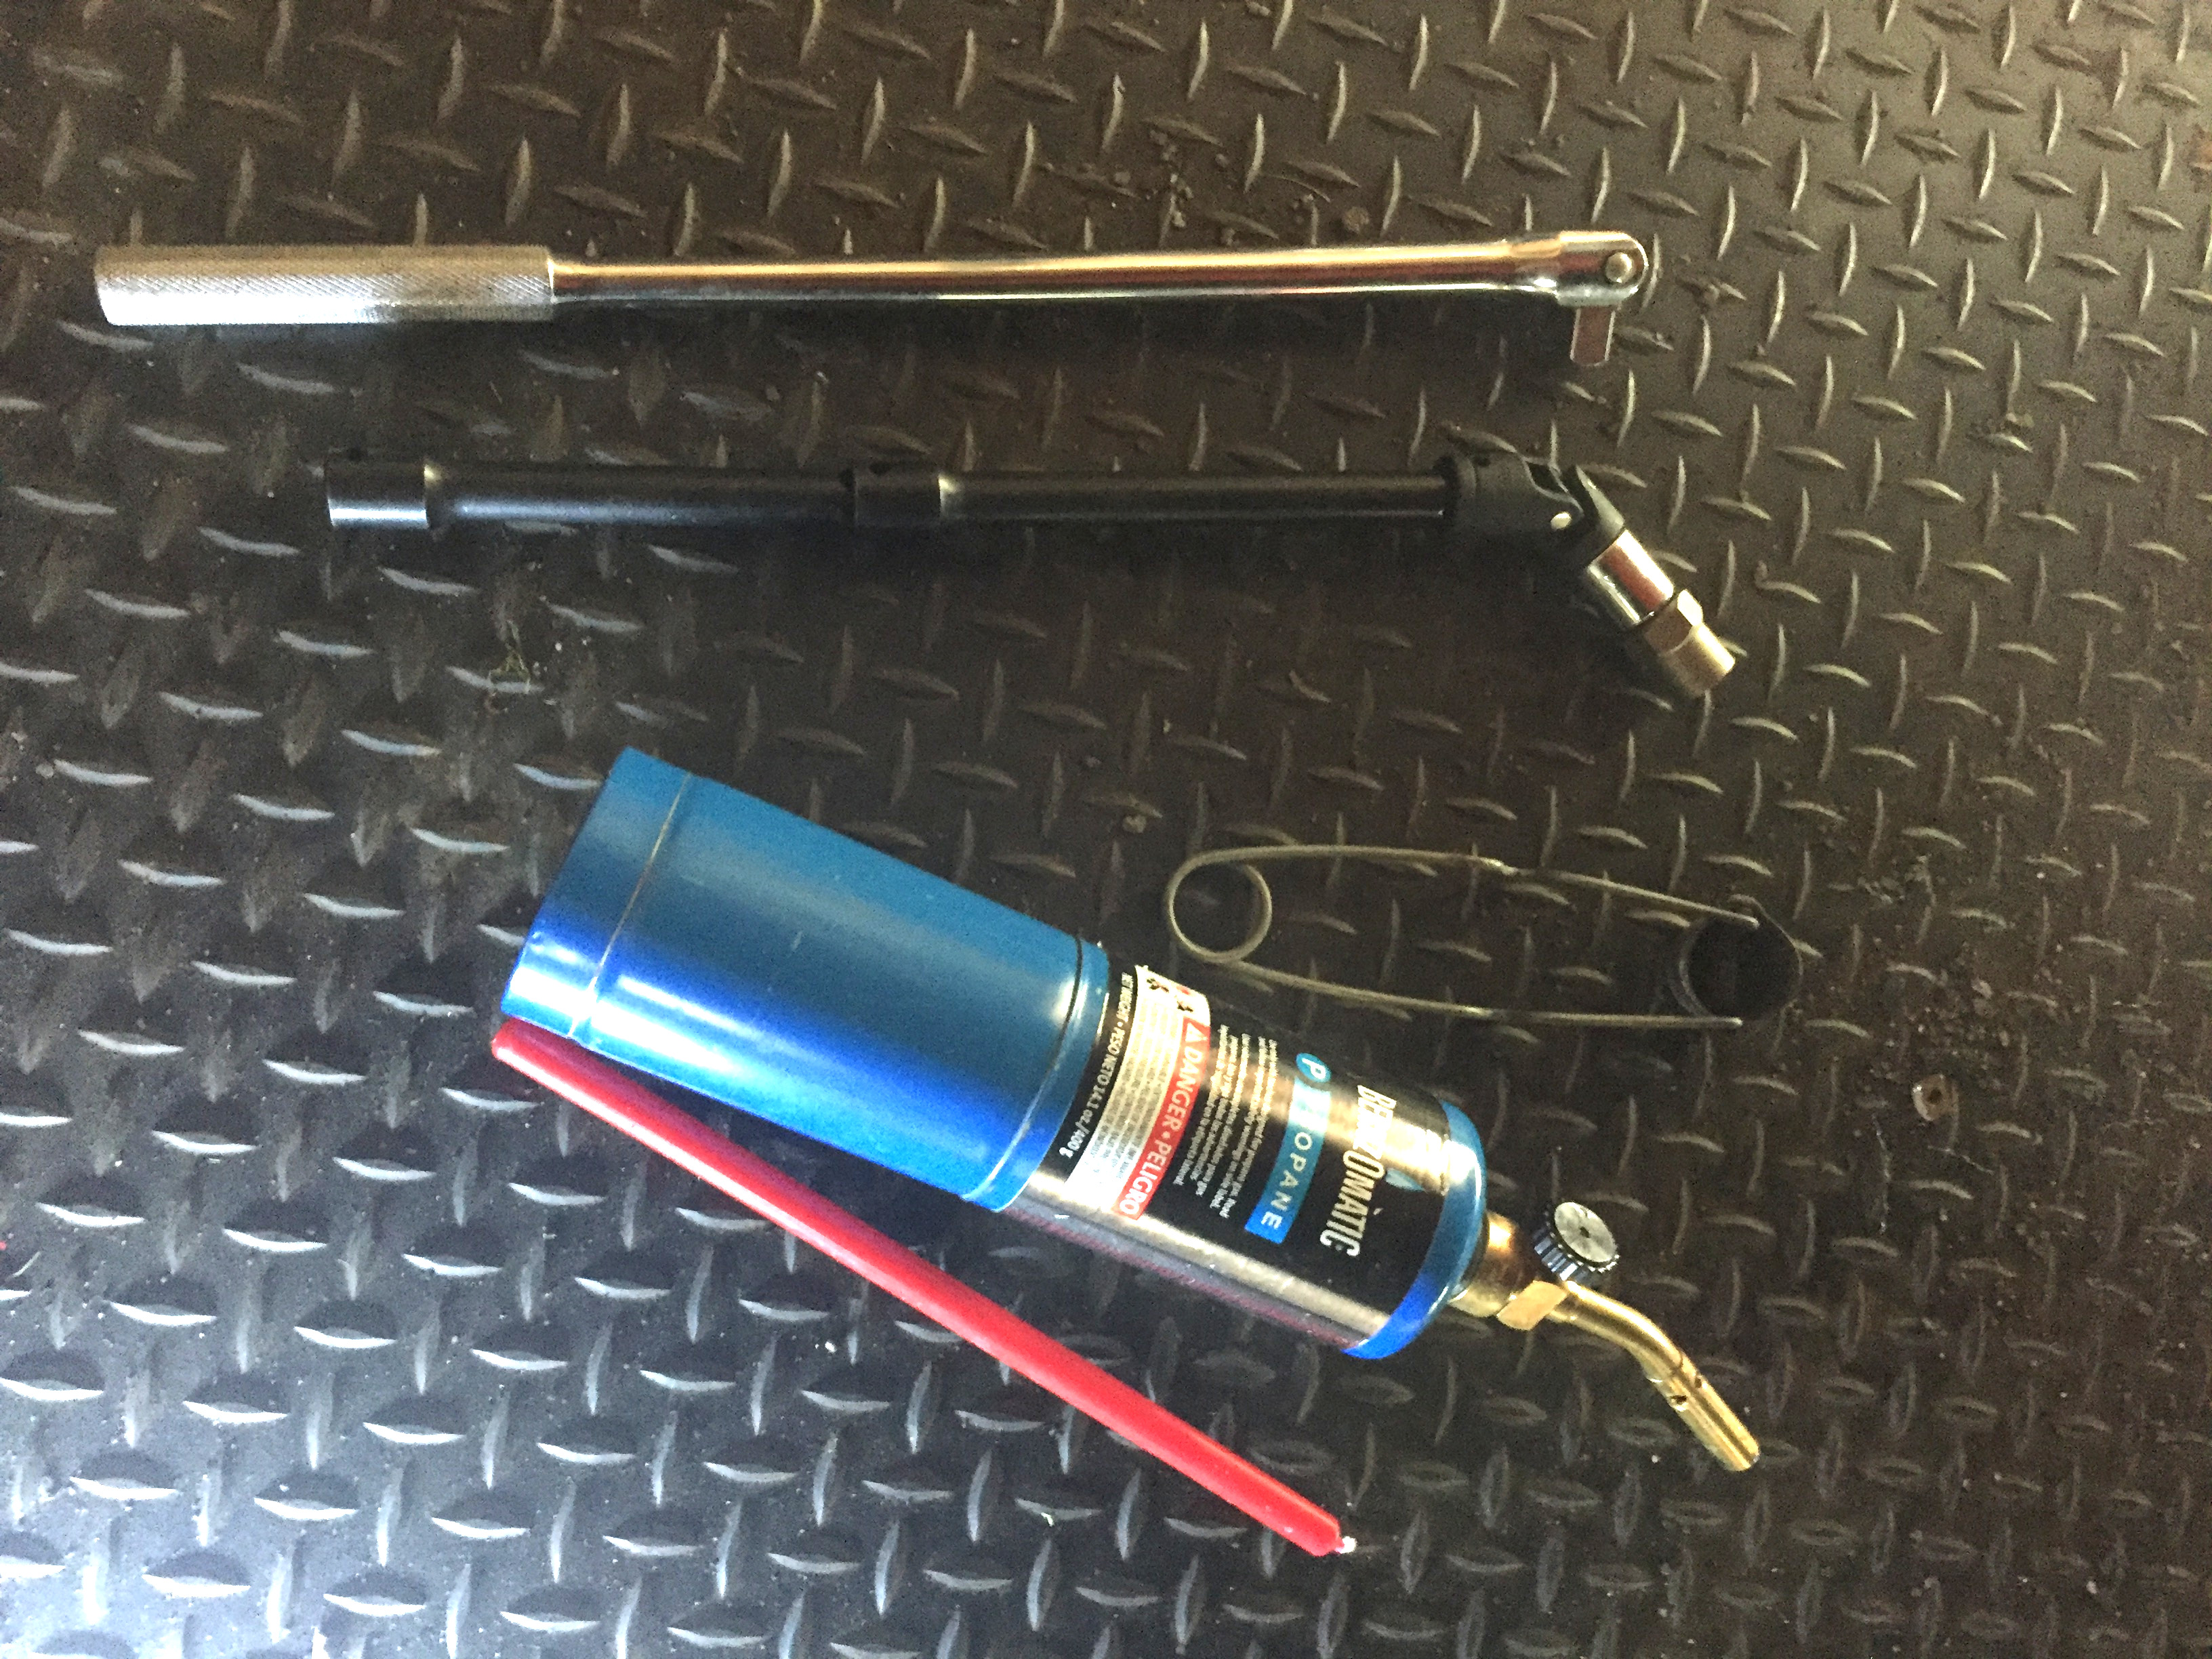
The A team! I heated up that sucker real well, and used a candle to load it with wax

the lower breaker bar in place, with the Irwin extractor
Damn. I could just not get a grip on that sucker, the extractor kept spinning off. I’m afraid the nut is just too far gone at this point.
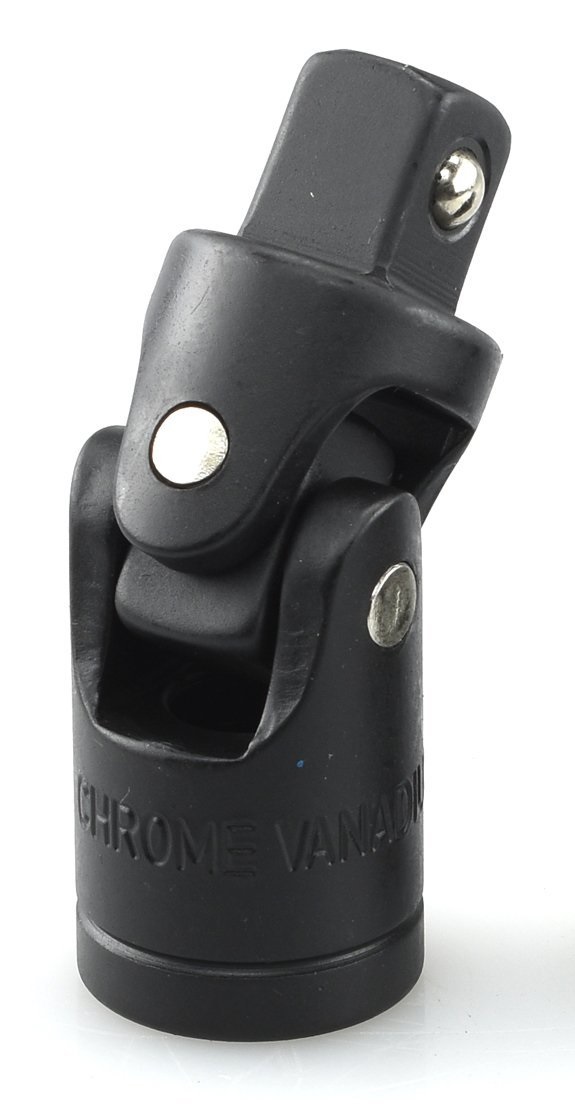
I’m running out of options. I don’t care about losing the bolt - it passes through the exhaust manifold. Here’s my next thought:
Other ideas?
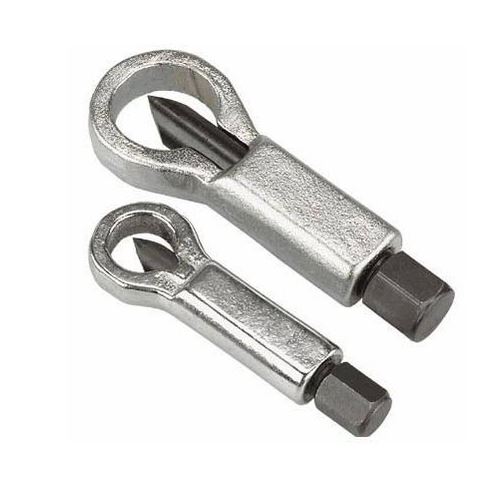
There is a tool called a nut extractor, it comes in a set, l think it goes up to 5/8". It is for removing rounded off nuts caused by laying on your back while car is on jack stands. Not sure but l think lts made by Irwin. Try NAPA or Harbor Freight.
Good luck,
Dick
Yeah - that’s what I used, Dick. But it wobbles with the adapter I used. The torsion bar is in the way of a straight shot, and anything closer gives me no room for leverage. Now, if I pull the block… ![]()