Man, who lit the fire, keep up the pace and it won’t be long before we will be doing Florida stuff!
Dick
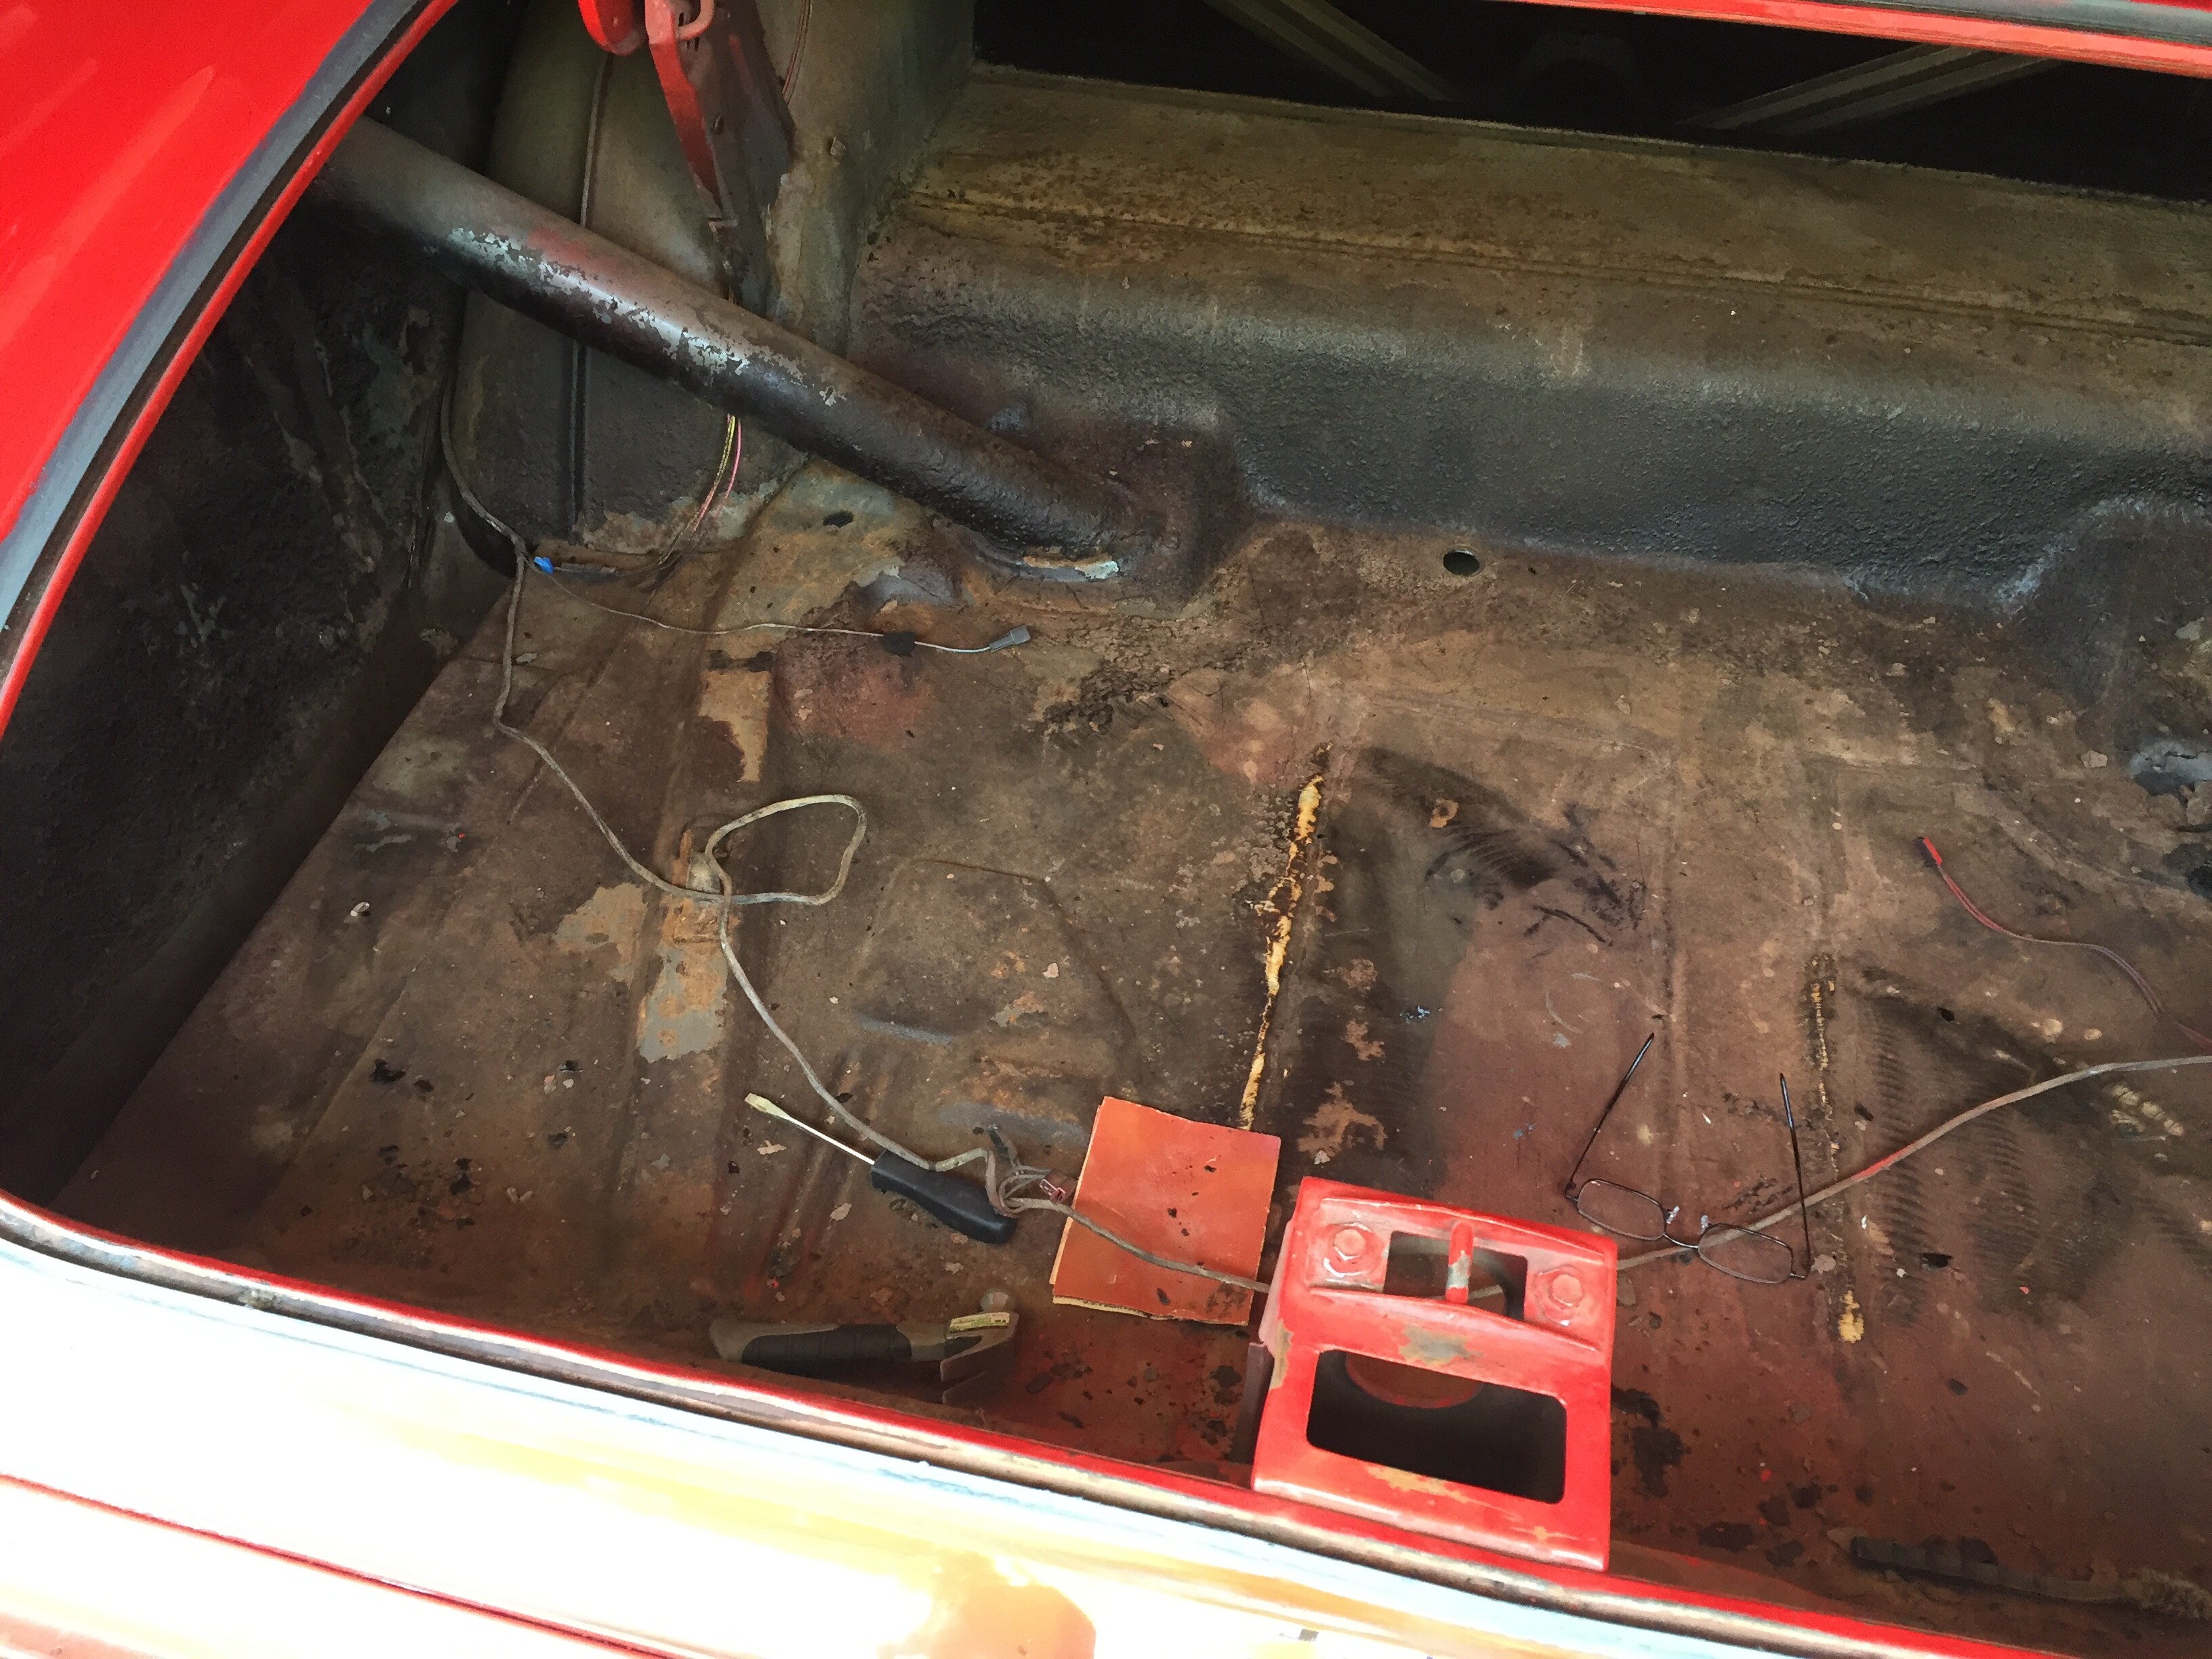
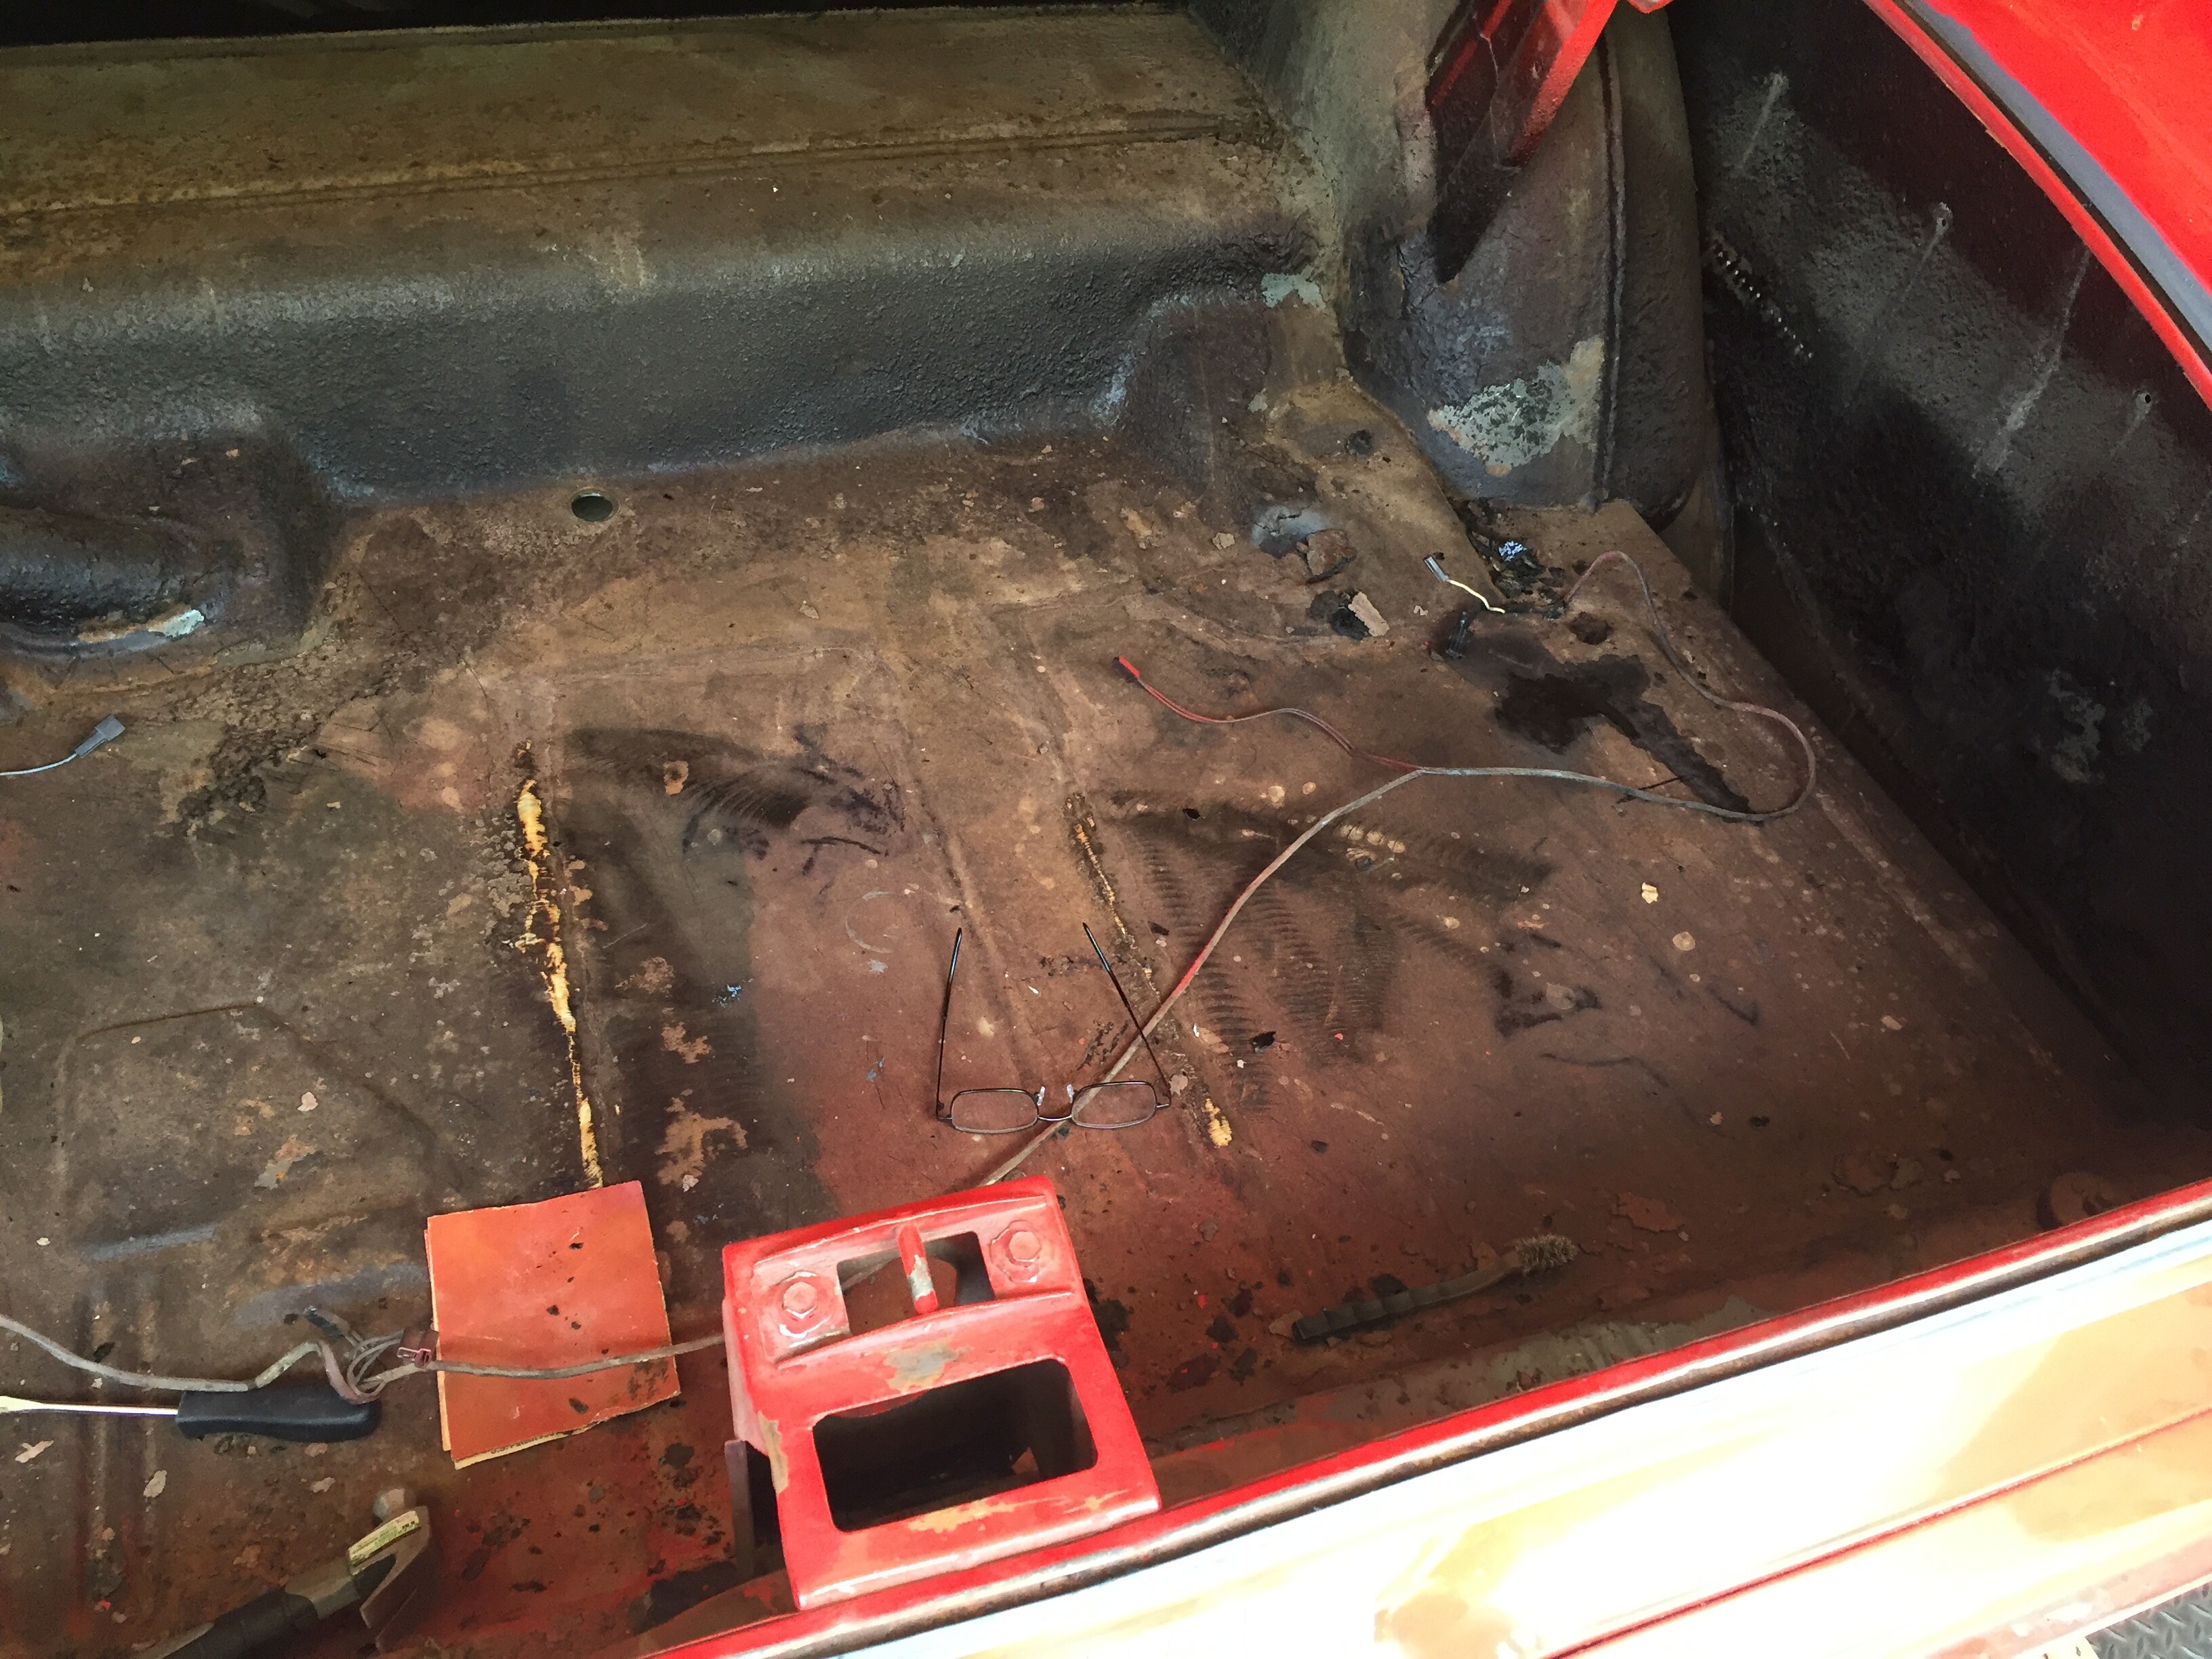
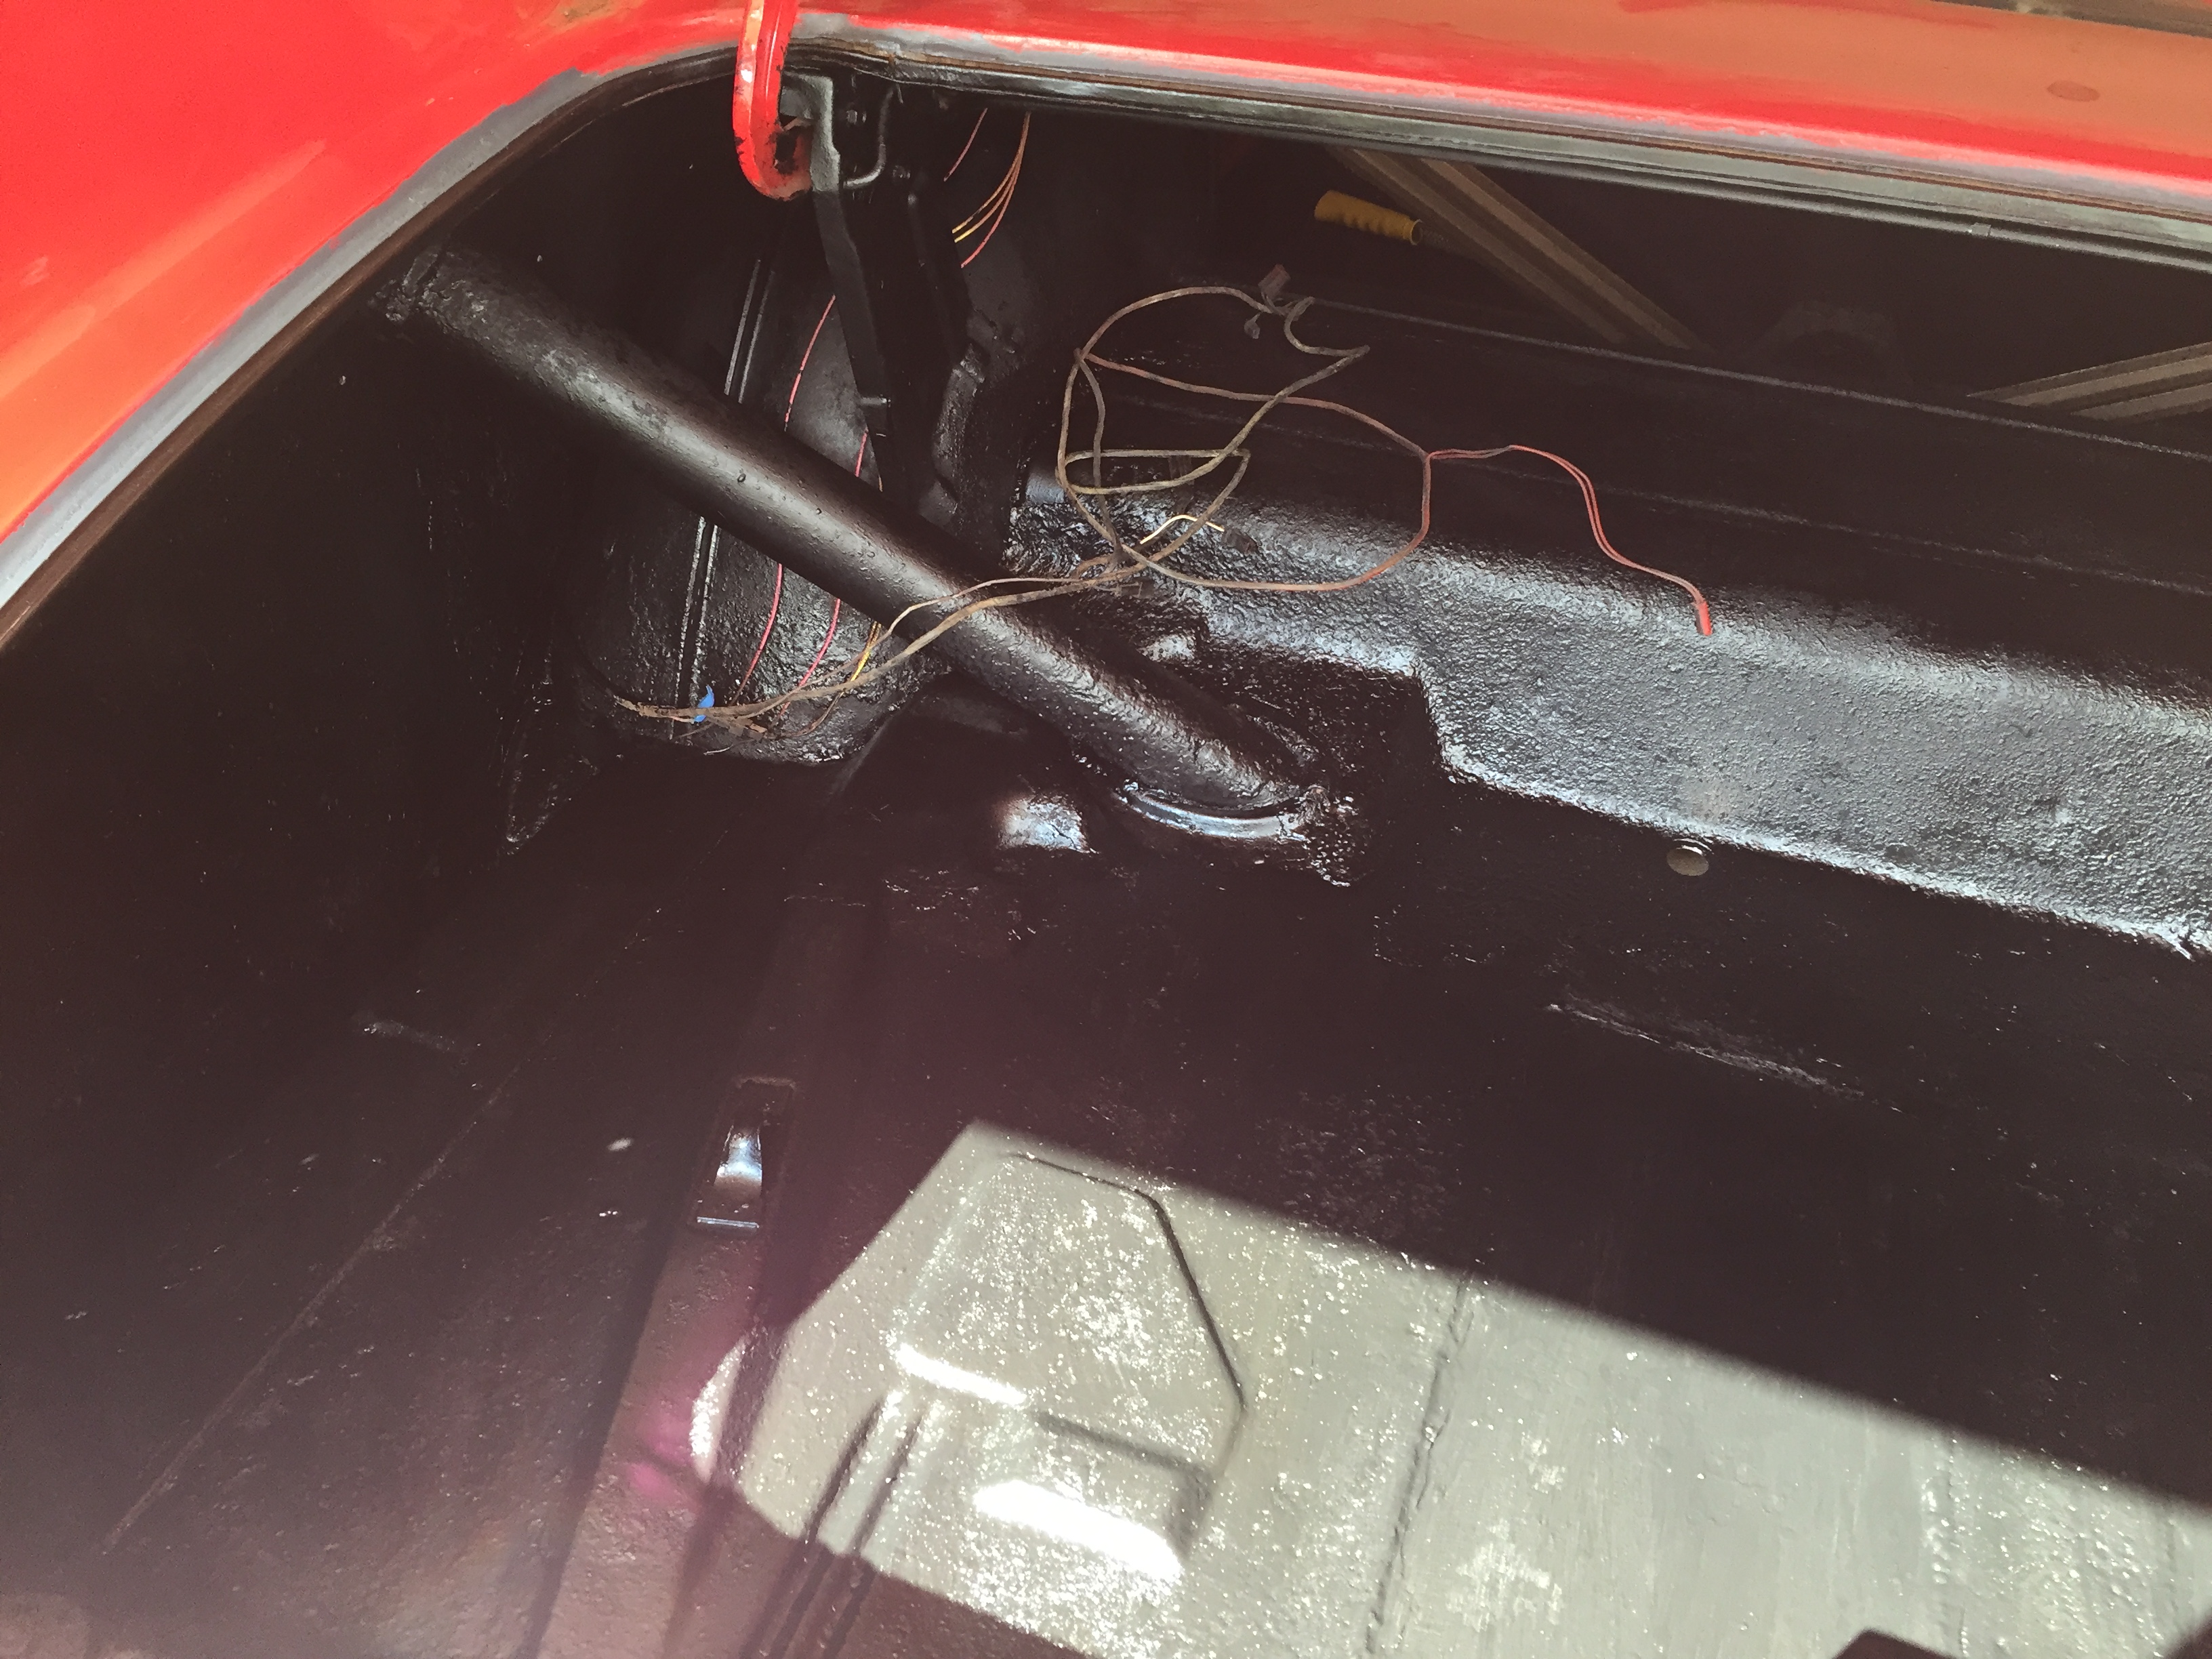
Trunk time. As with the interior compartment, my goal was not to remove the undercoating if it was tight, and not cracked. I tested spots with a screwdriver and removed a lot of loose pieces, but some of it remains.
It was not a fun way to spend my day - lying cramped inside a trunk, scraping and wire brushing, ospho-ing and painting. I reached as far forward as I could, I’ll put the windows up and give a good dousing with spray. Getting to the rear window lower trim holes was not easy, but I got it done - painted all under-surfaces, including up inside the fins. At one point Nick Sterling must have dropped a bunch of 3d finishing nails in the trunk, a lot of them ended up wedged in the crease between body panels in the license plate area. But lots of screwdriver action with the shop vac loosened them up and out.
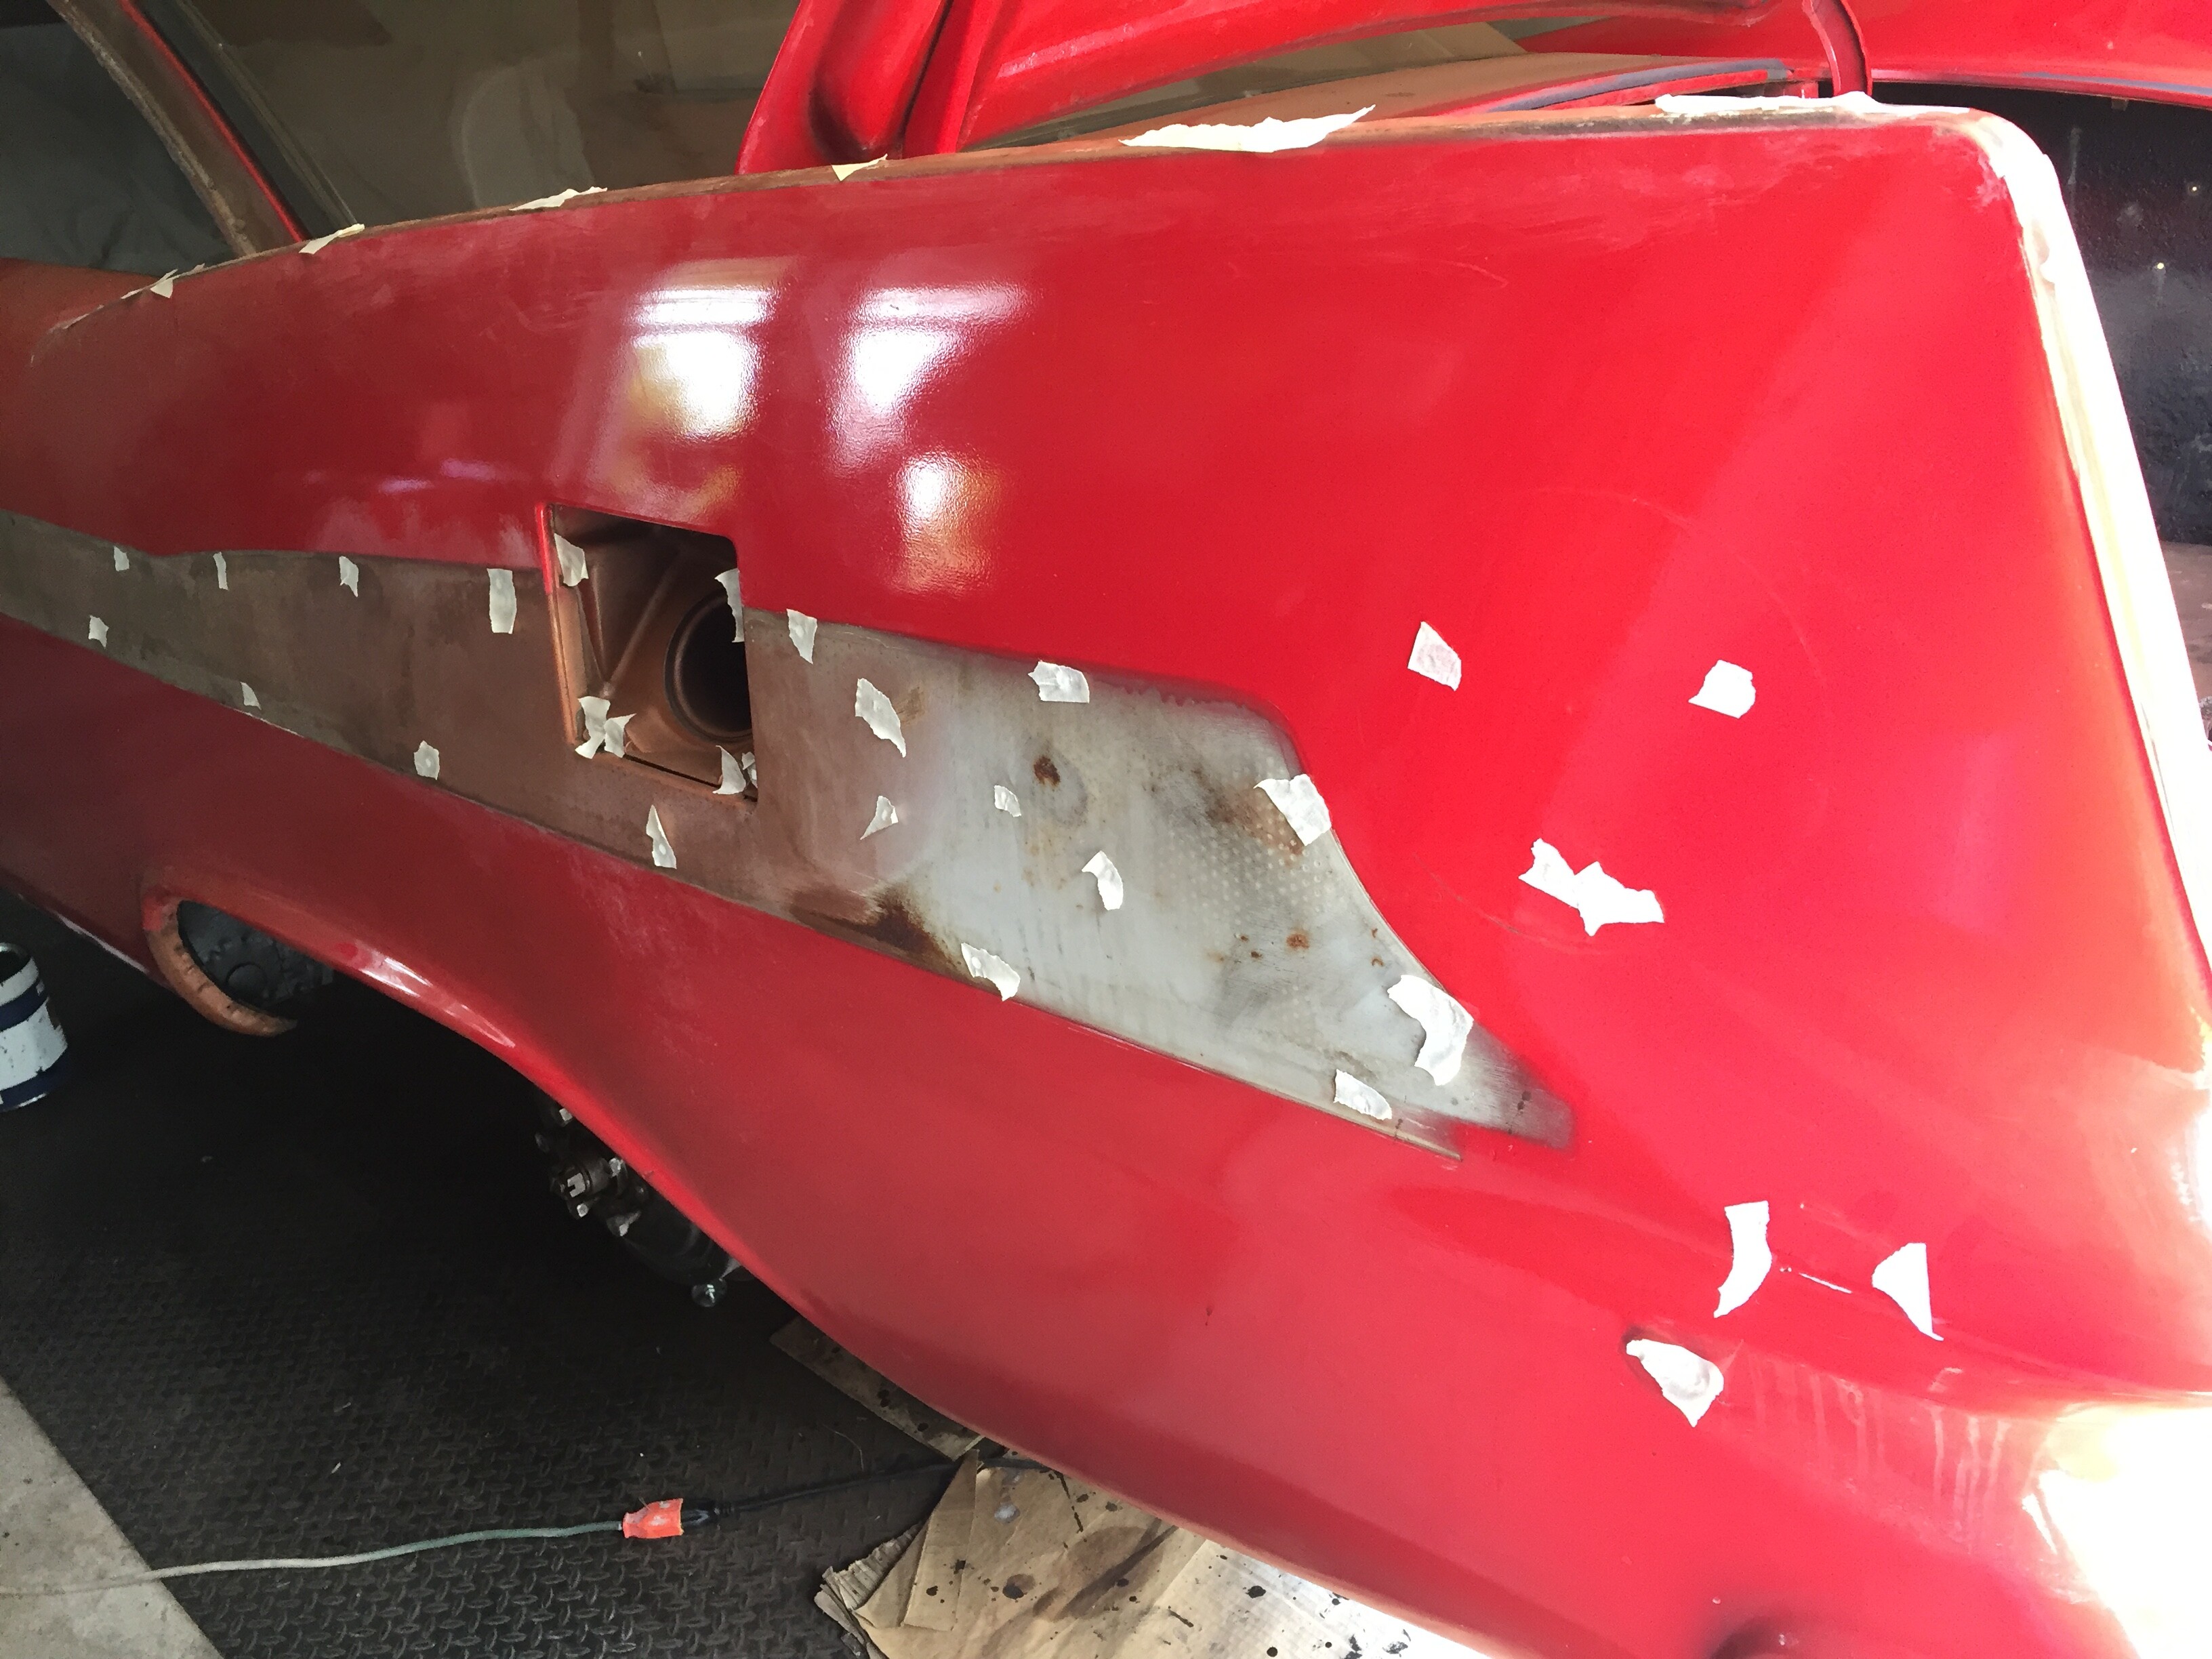
Pichuhs. Yeah, I missed a spot! I’ll save for another day. I think I’ll do the inside of the door skins before I start laying X-Mat - and judiciously use white grease on the pieces parts, like Doc '59 tole me to do. And you know, I do everything he tells me to do…
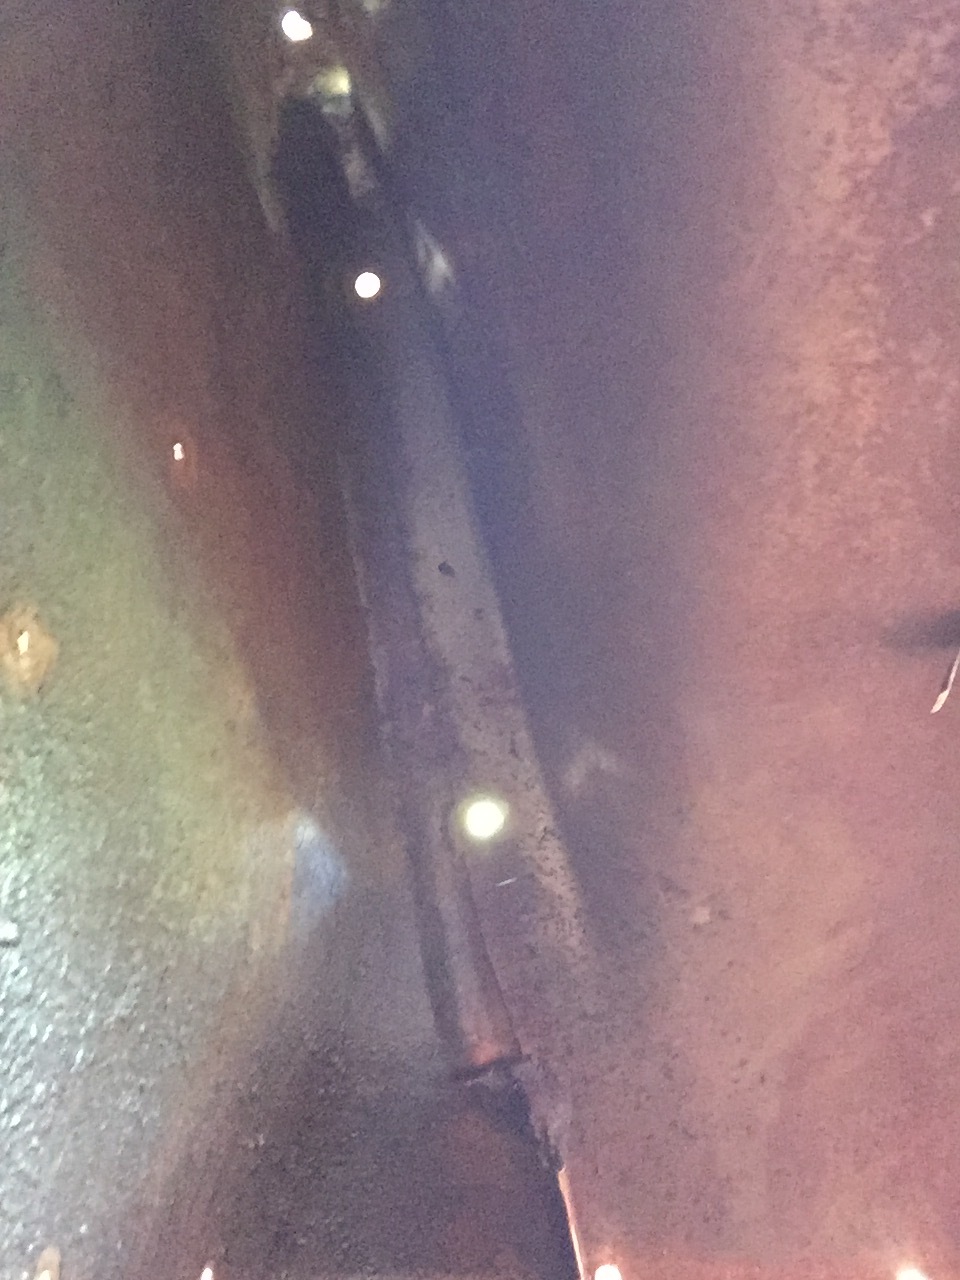
looking up into the tail fin from ground zero
just to keep drippy drabs from oozing out
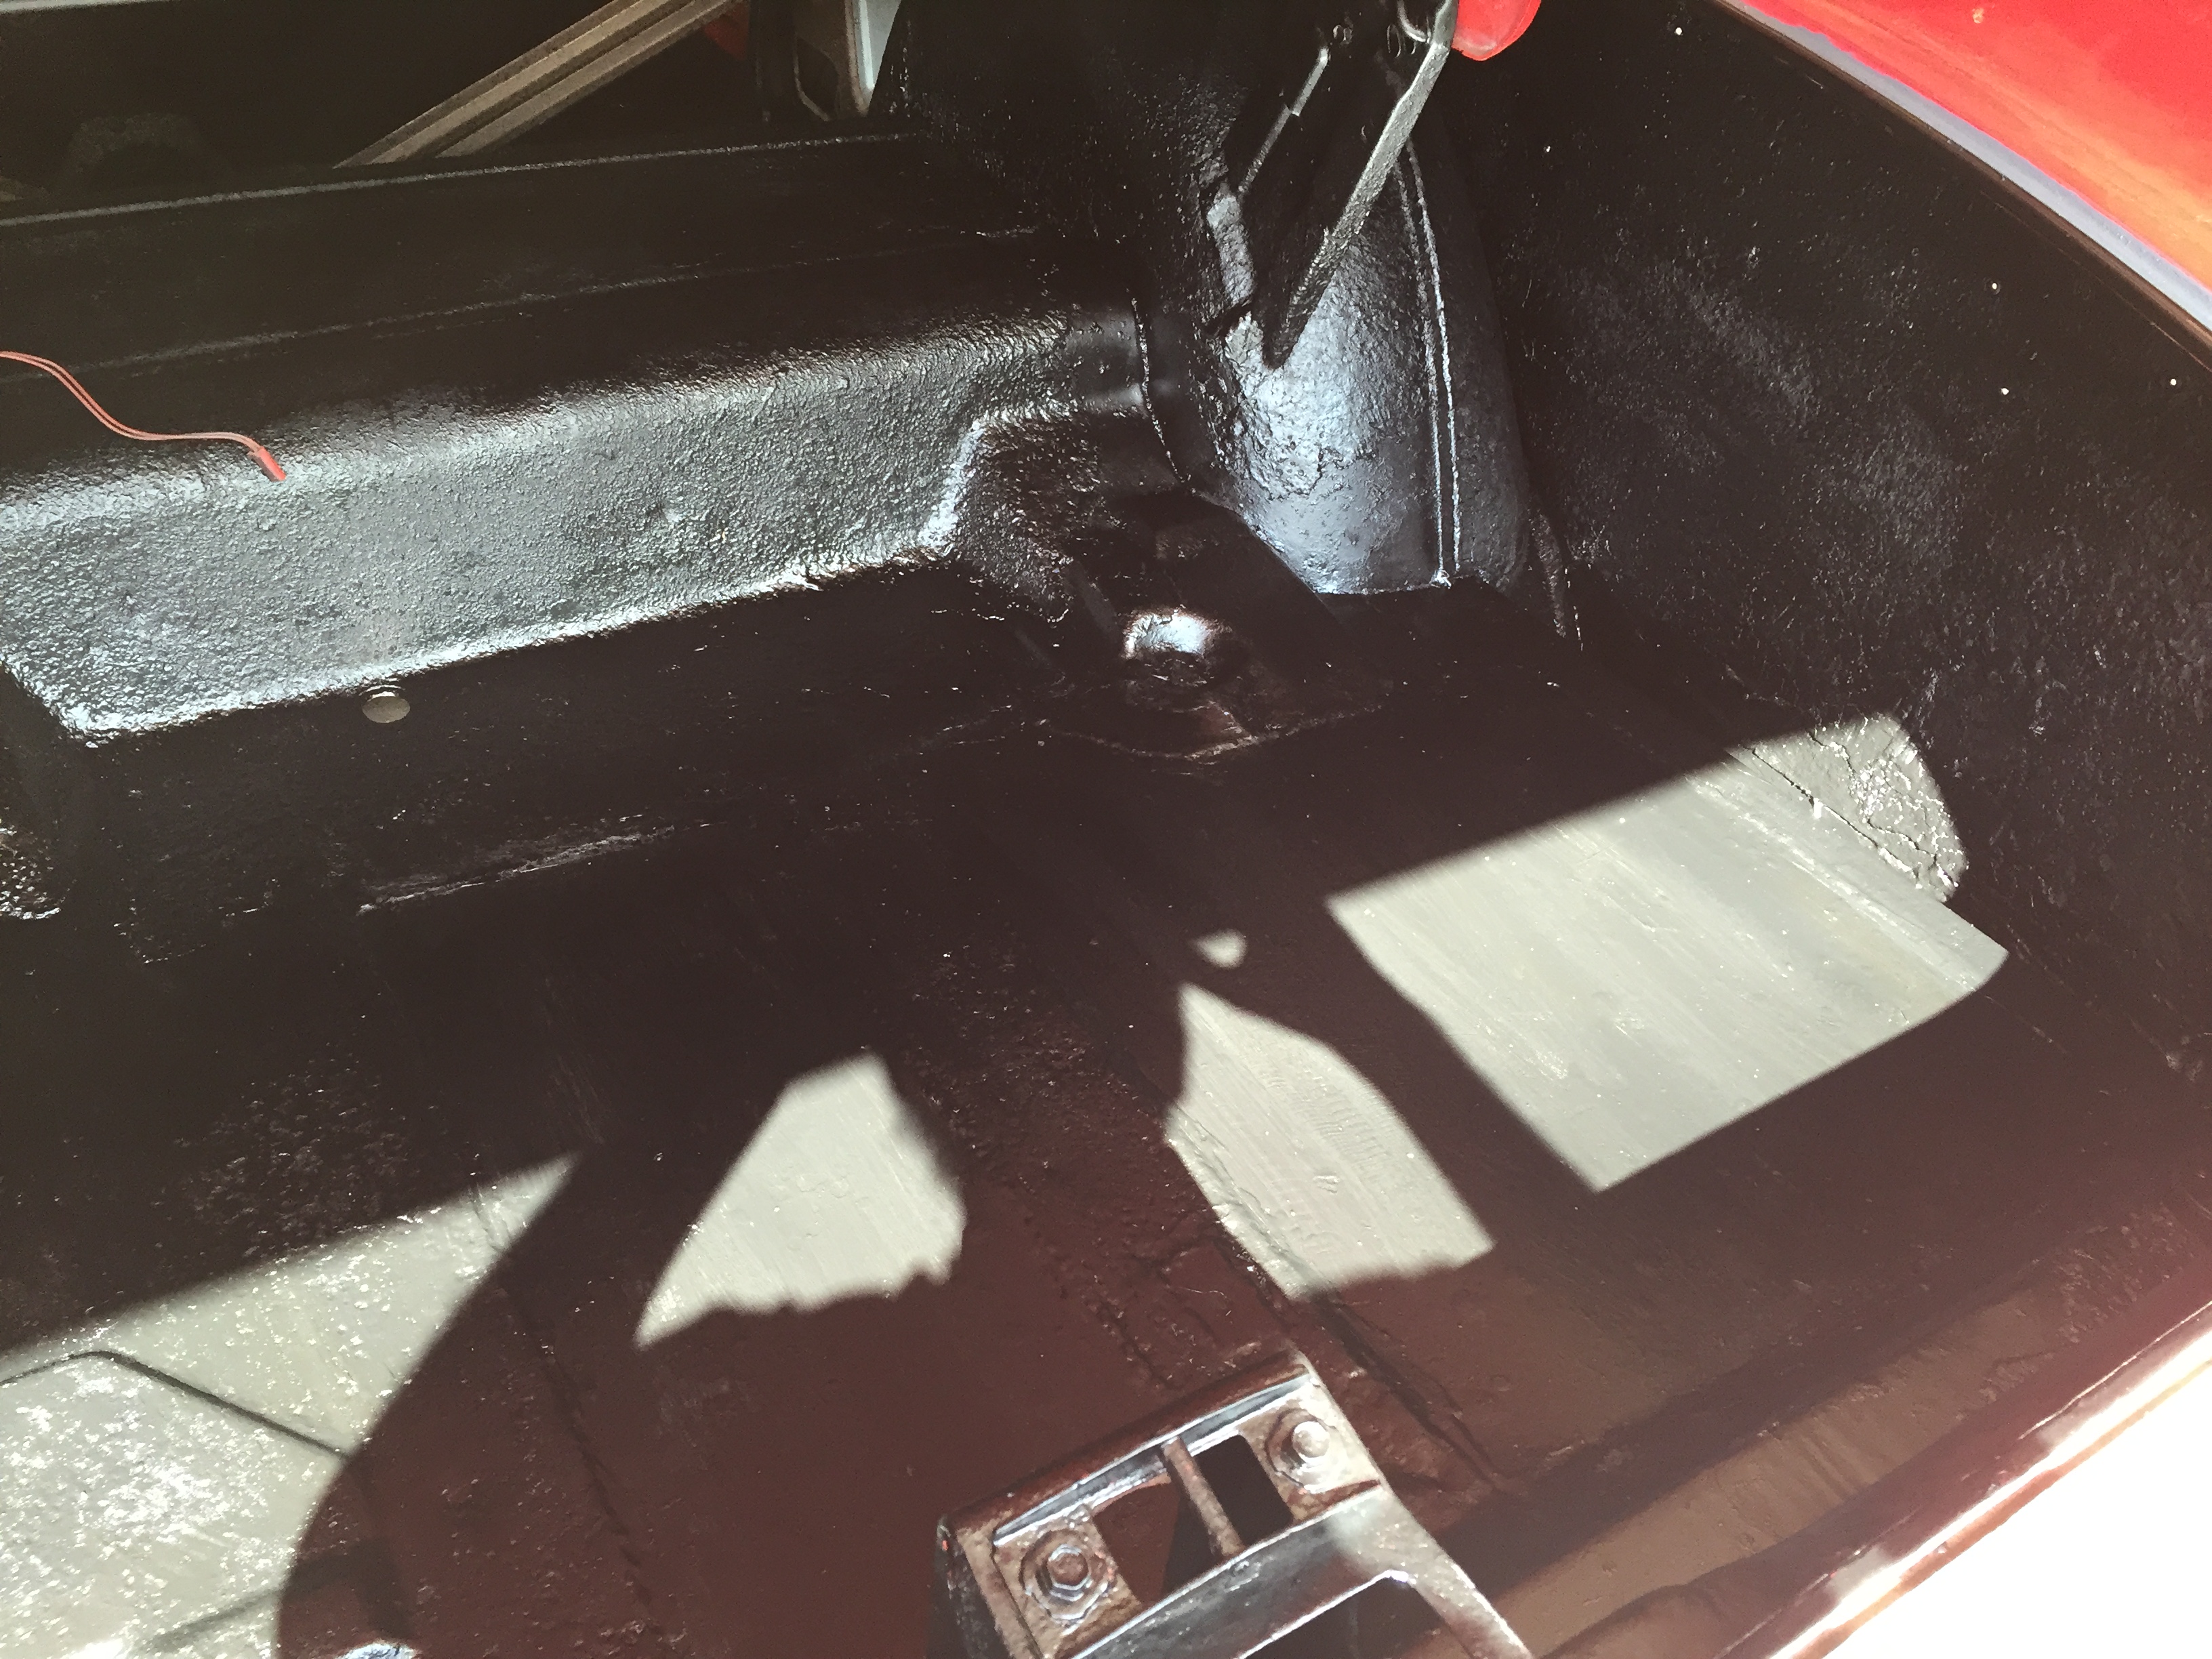
Feels good to be (mostly) done!
I thought all those little white pieces were toilet paper and you had just finished shaving your femder. Quit complaining and enjoy yourself, after all you are getting all that labor free. You will have more money to spend doing Florida stuff. Dont loose your vision. Ya doin good.
Dick
95F in the garage today! Balmy Florida weather.
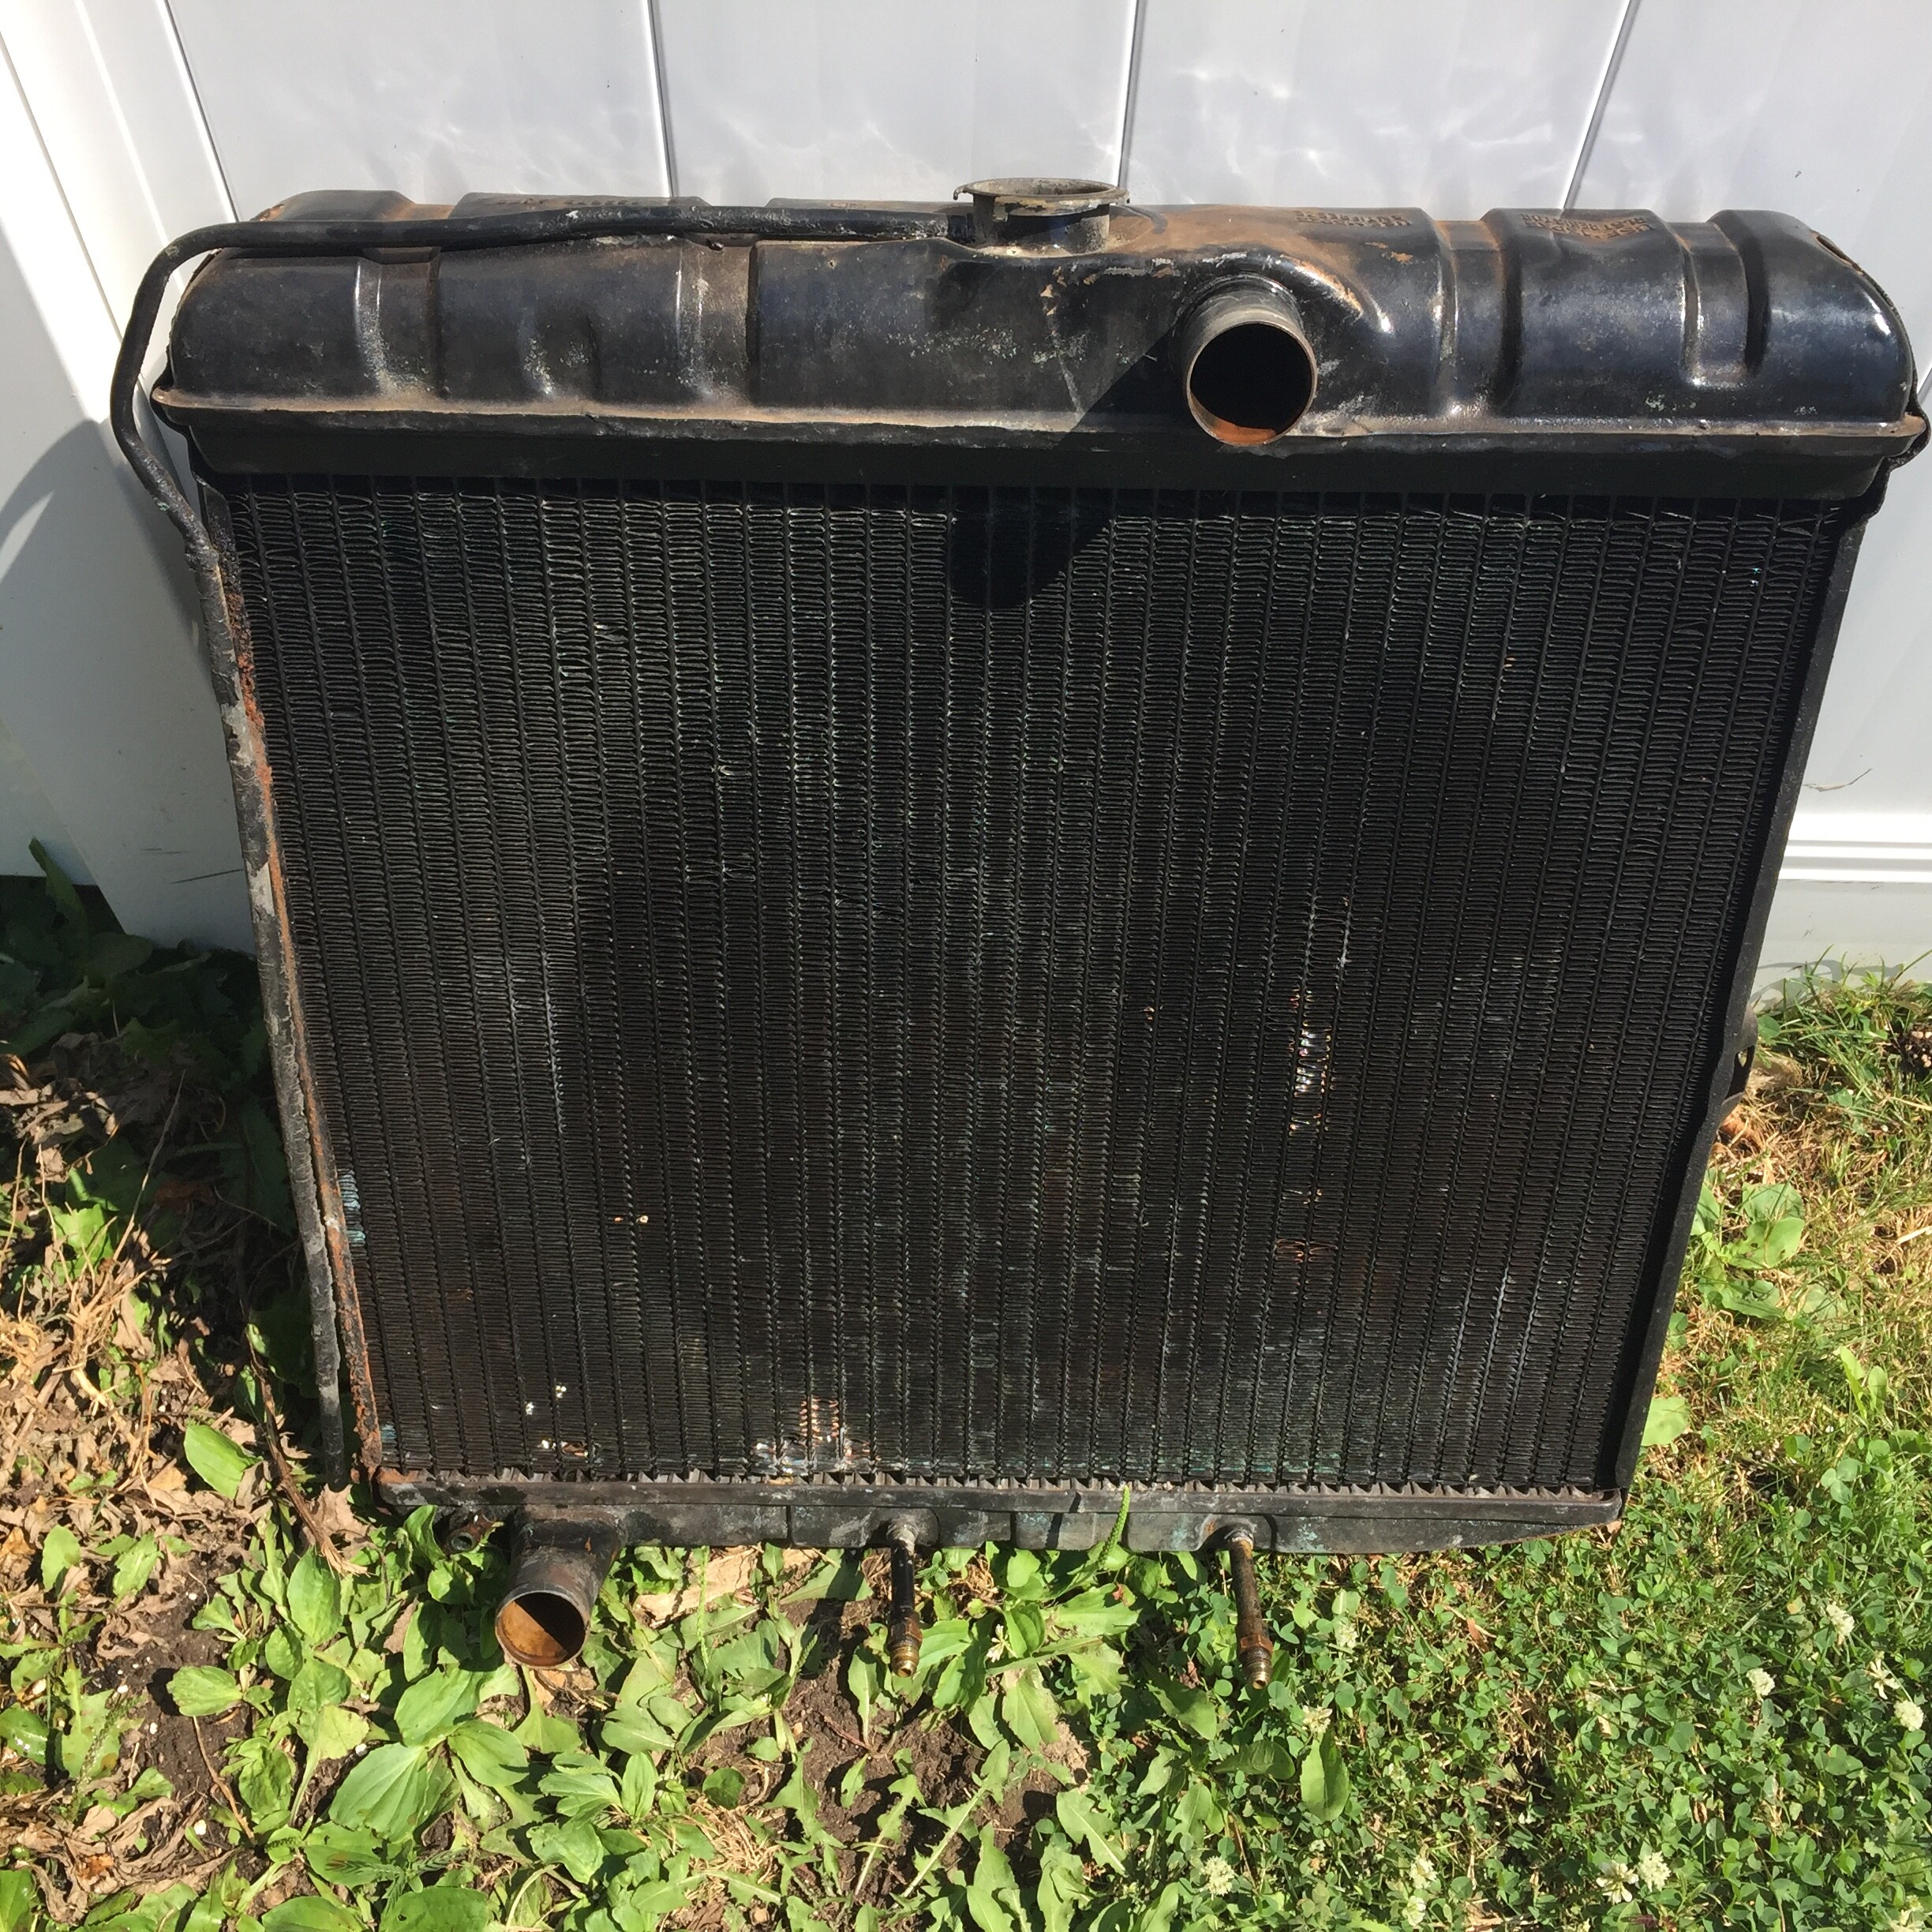
I figured I better deal with some of the things other folks will be doing for me, so they can be working on them while I’m working on Faulkner. So I pulled the radiator today, after removing the headlight buckets. Those pieces parts will need some cleaning up - lots and lots of little projects!
There’s a reputable radiator shop nearby, based on reviews on a local classic car forum. I hope they’re open tomorrow, because I’m off. I’ve seen worse - but, I’ve seen better. I’ll definitely ask if they can add a third row when they recore it.
OK, the radiator is in the shop for a recore (three rows) - and, to pop that dent out of the top tank that has been bothering me for all these years. It being the Fourth of July and all, and classic cars being as American as you can get, I’m out in the garage fiddling with removing the shroud.
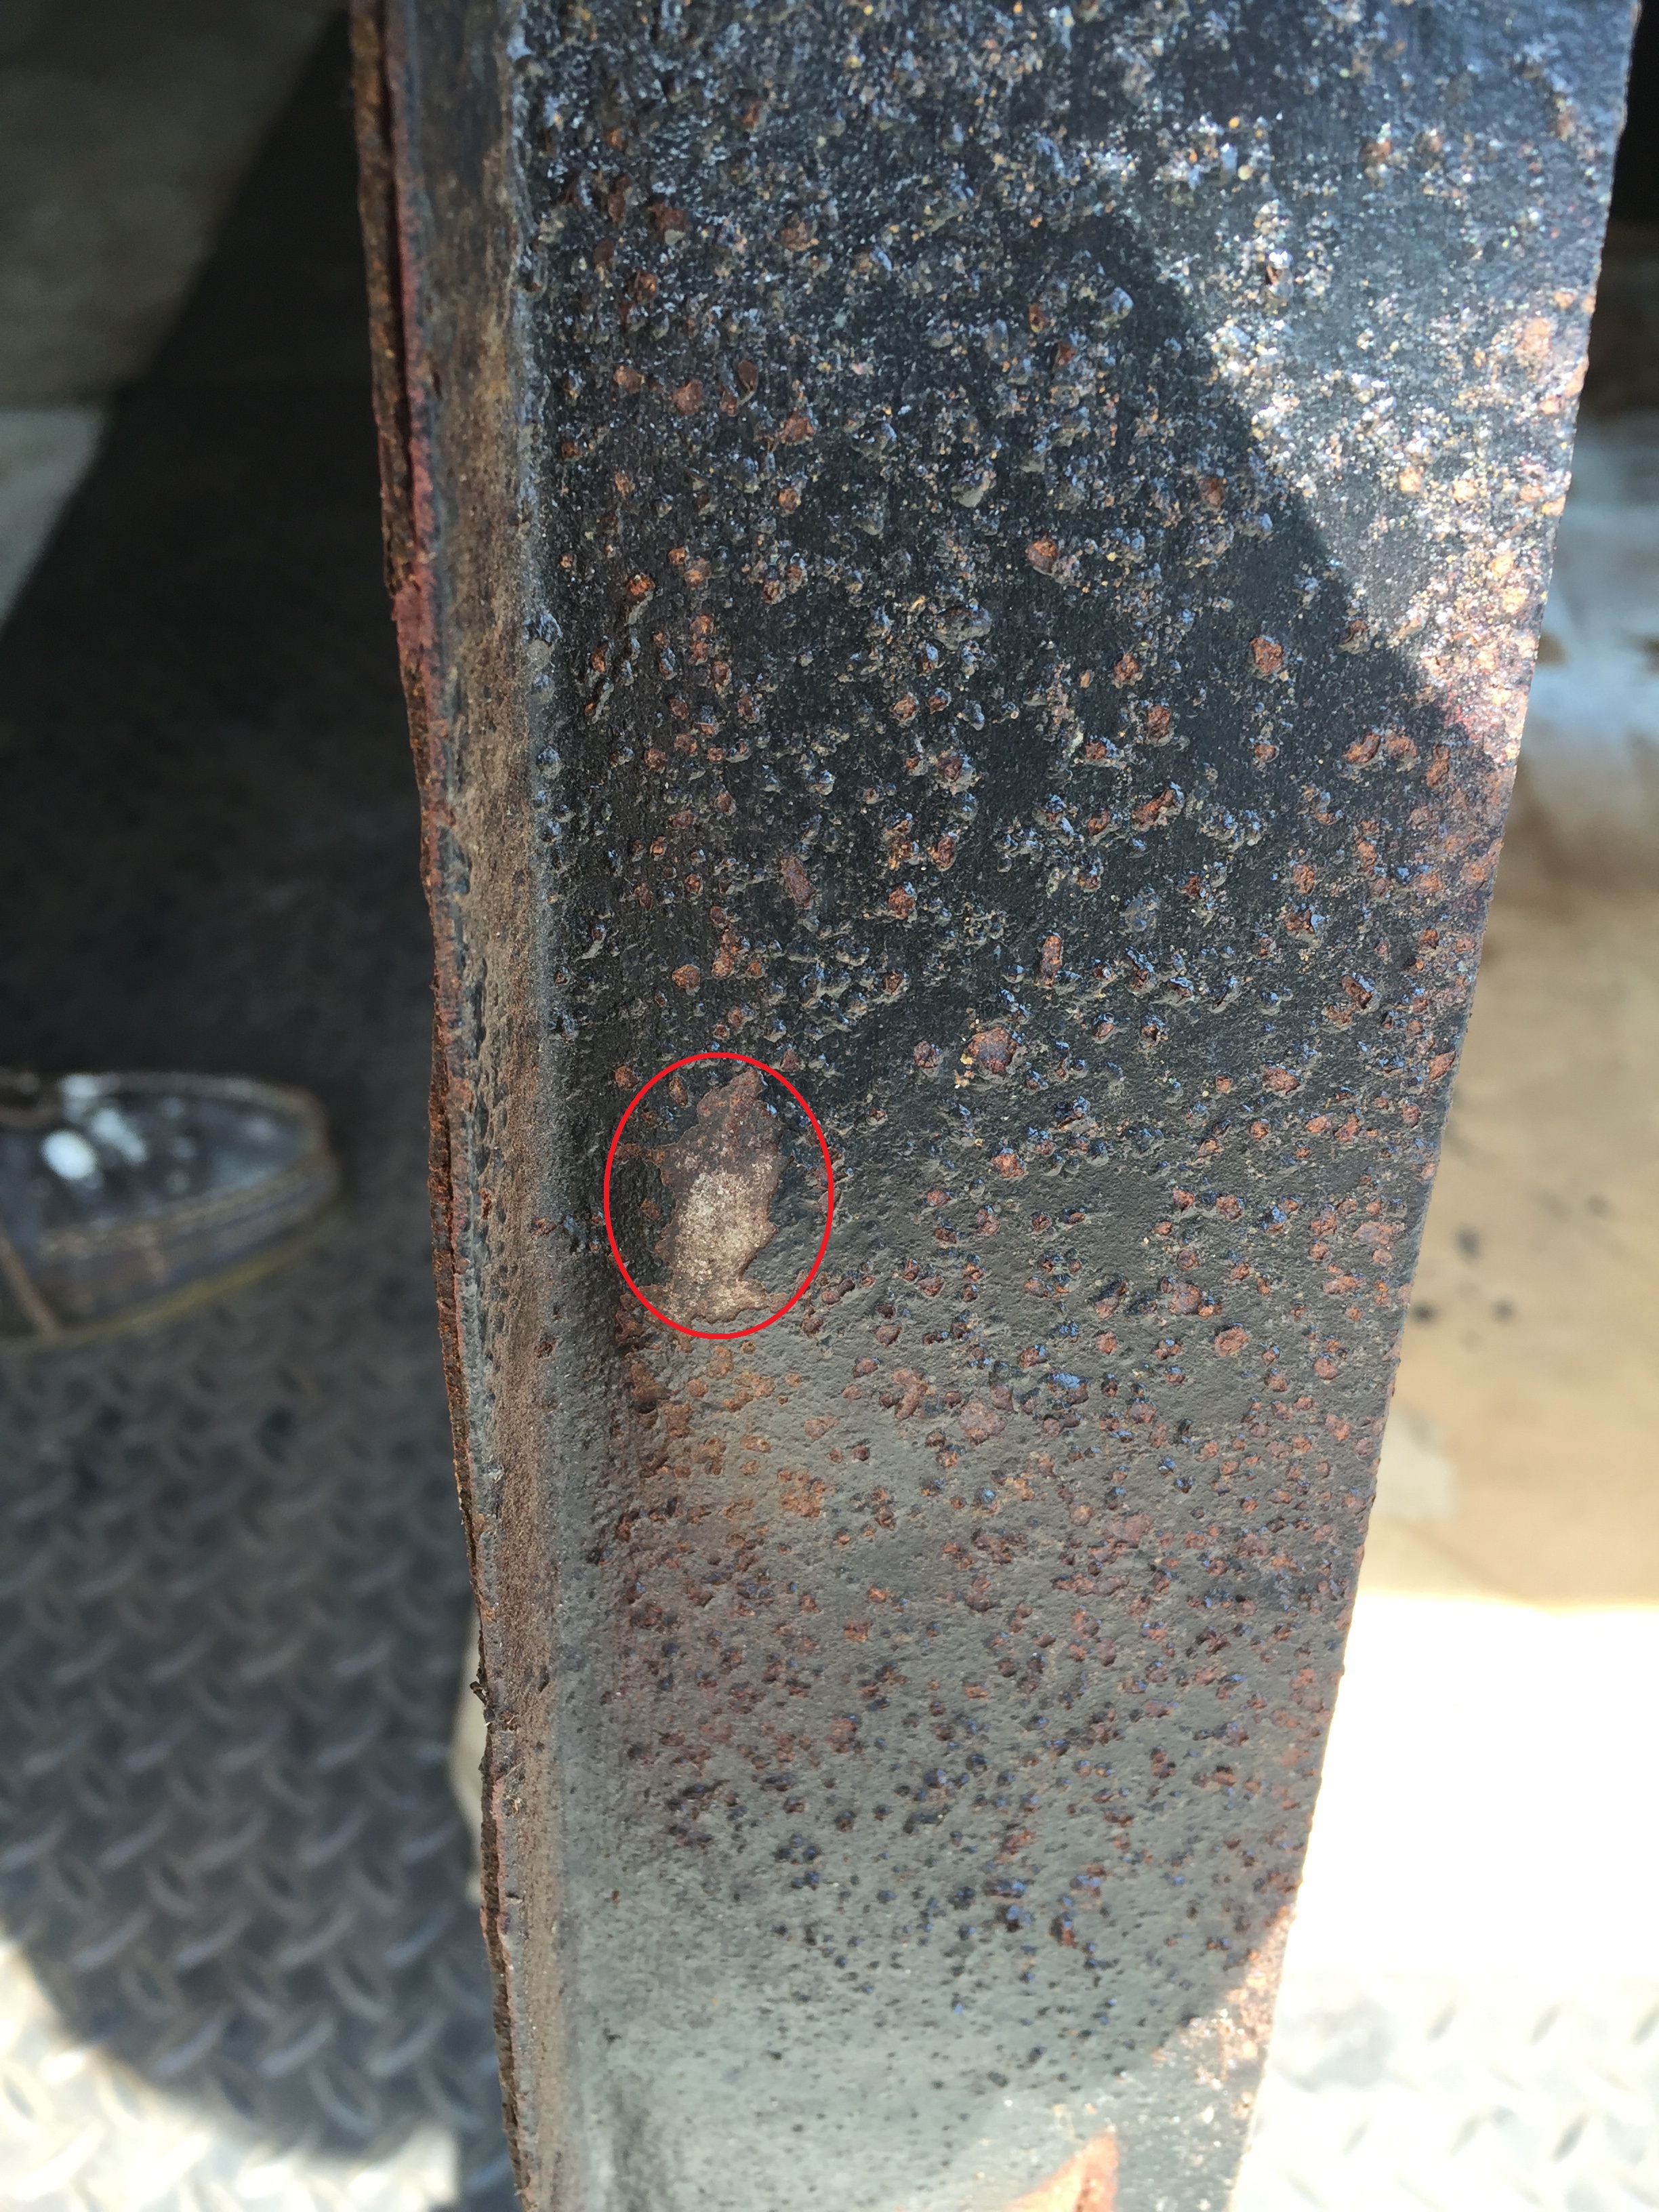
At first I thought, I’ll turn this 7/8" night right off that holds the bottom of the shroud to the frame - but, the bolt is turning. Ah! I have to remove the center piece to get to the nut inside the shroud. And what to my wondering eyes should appear:
\
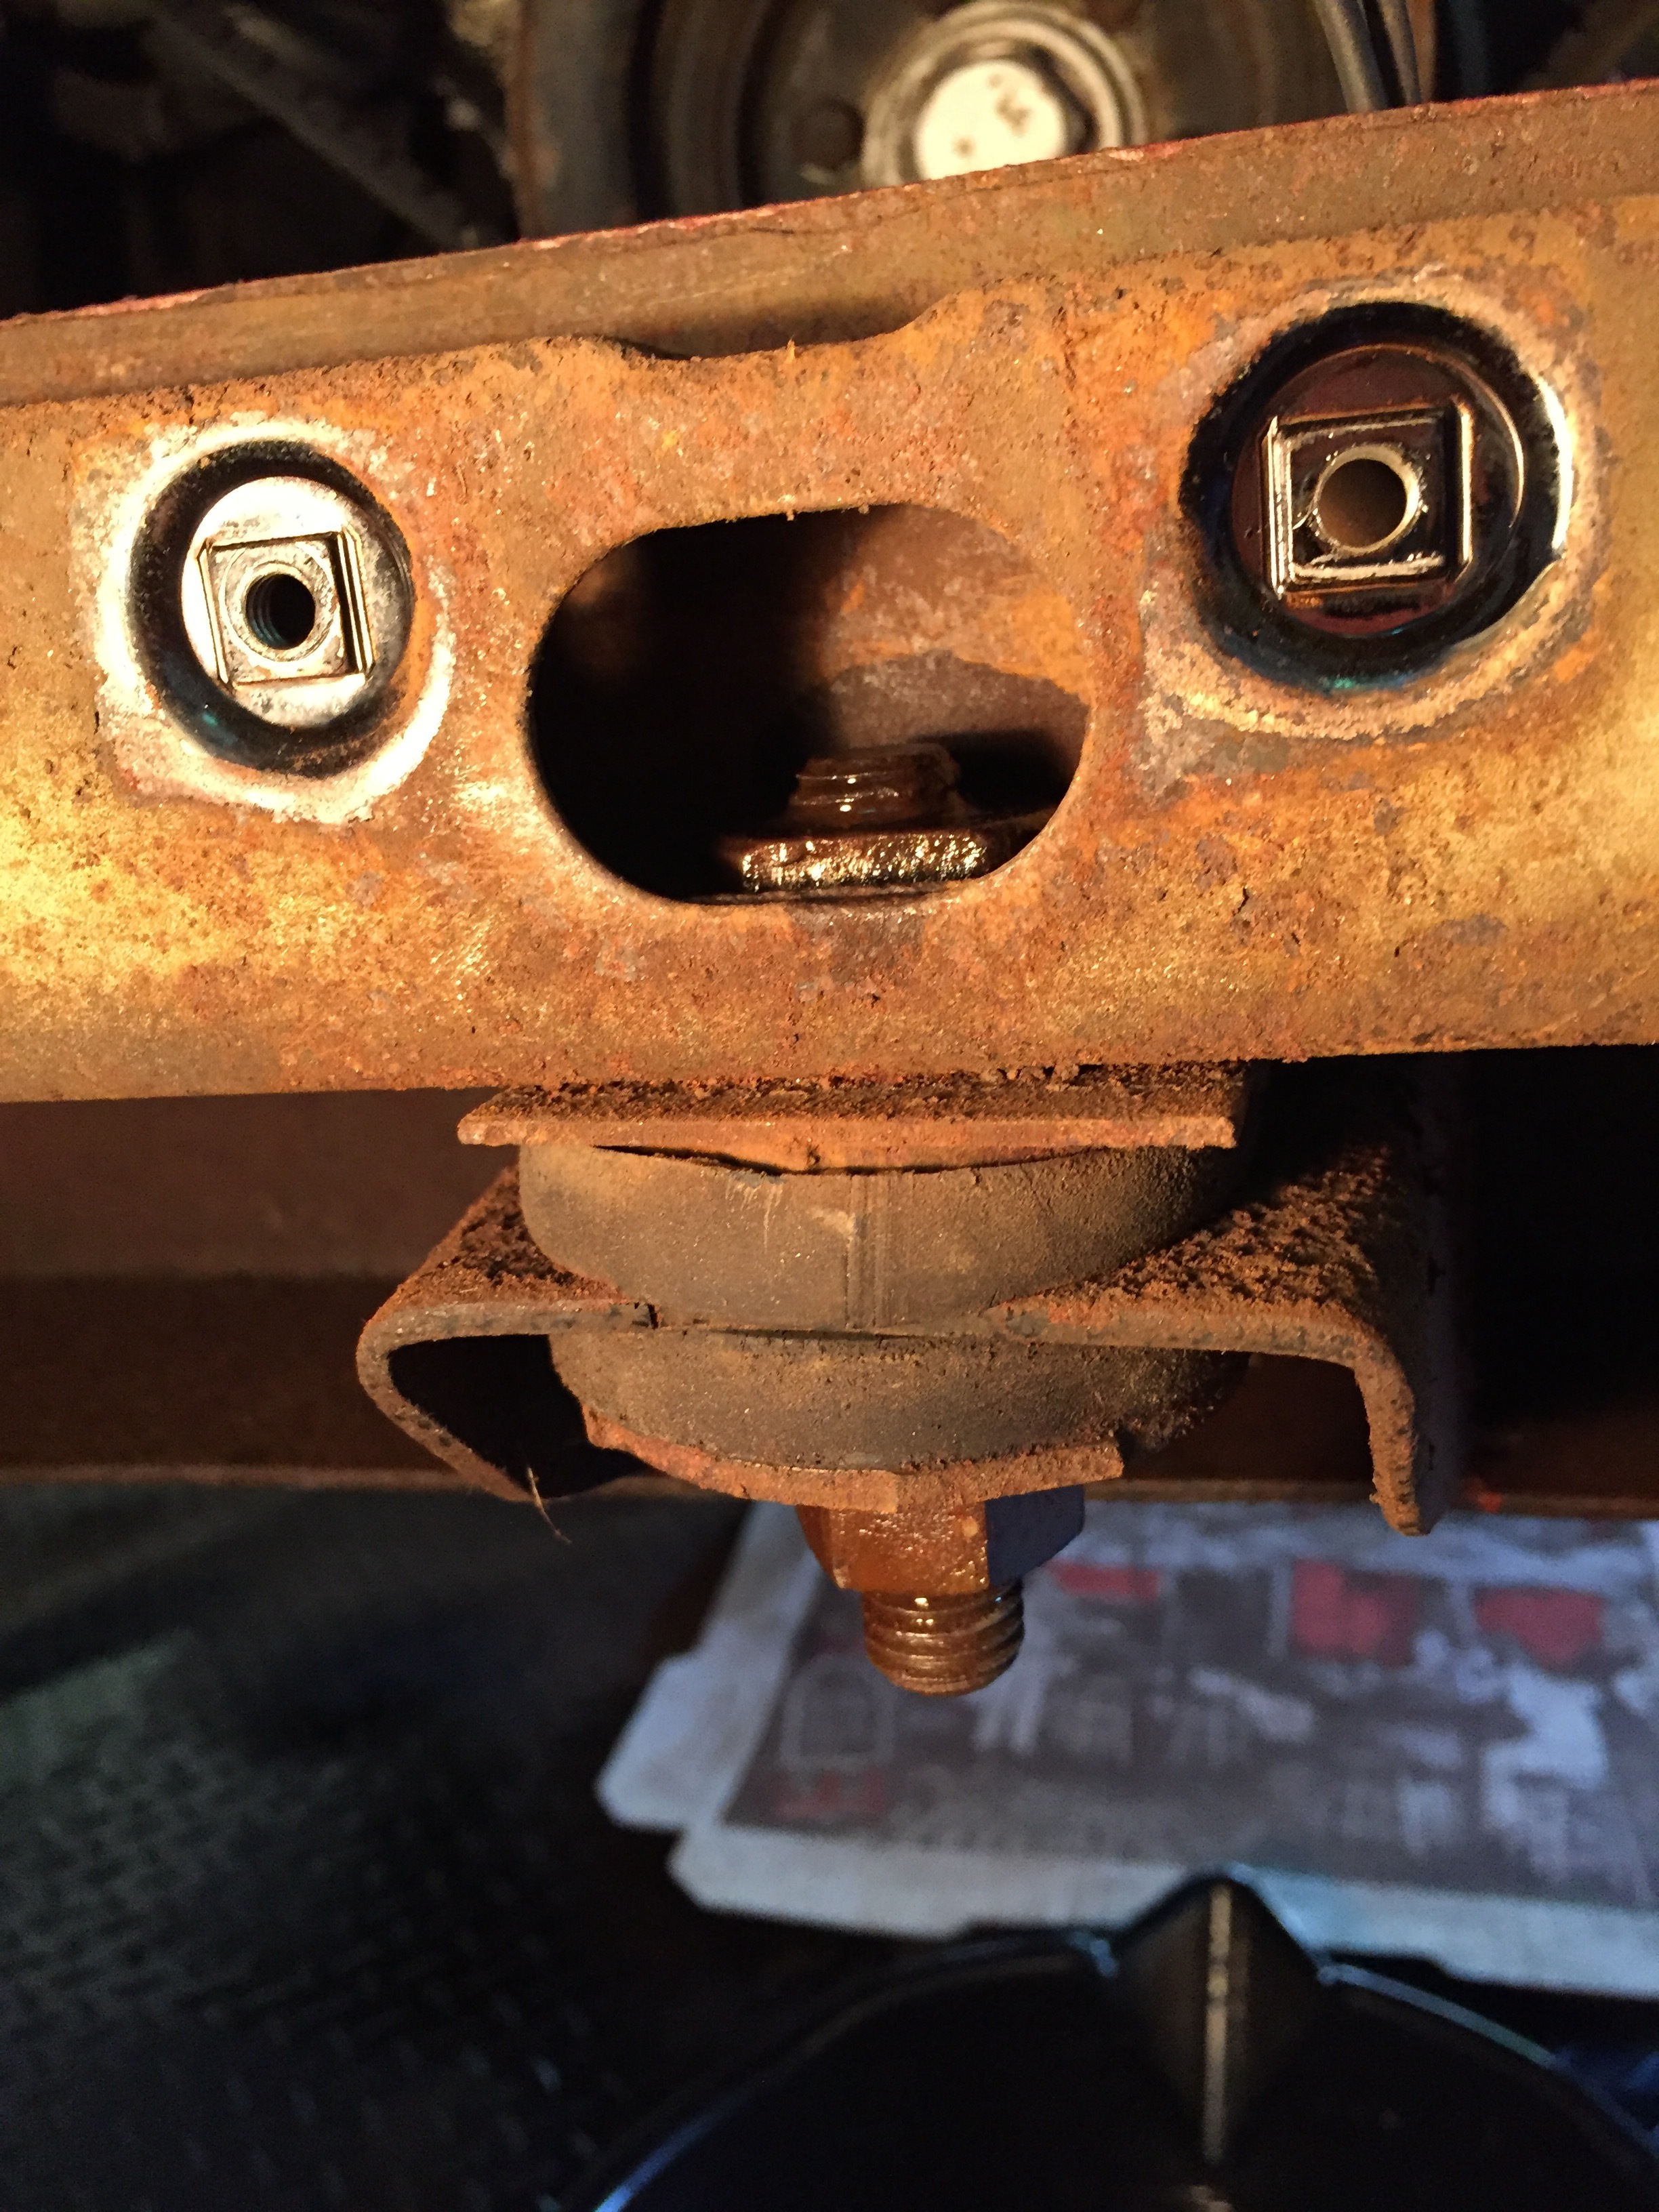
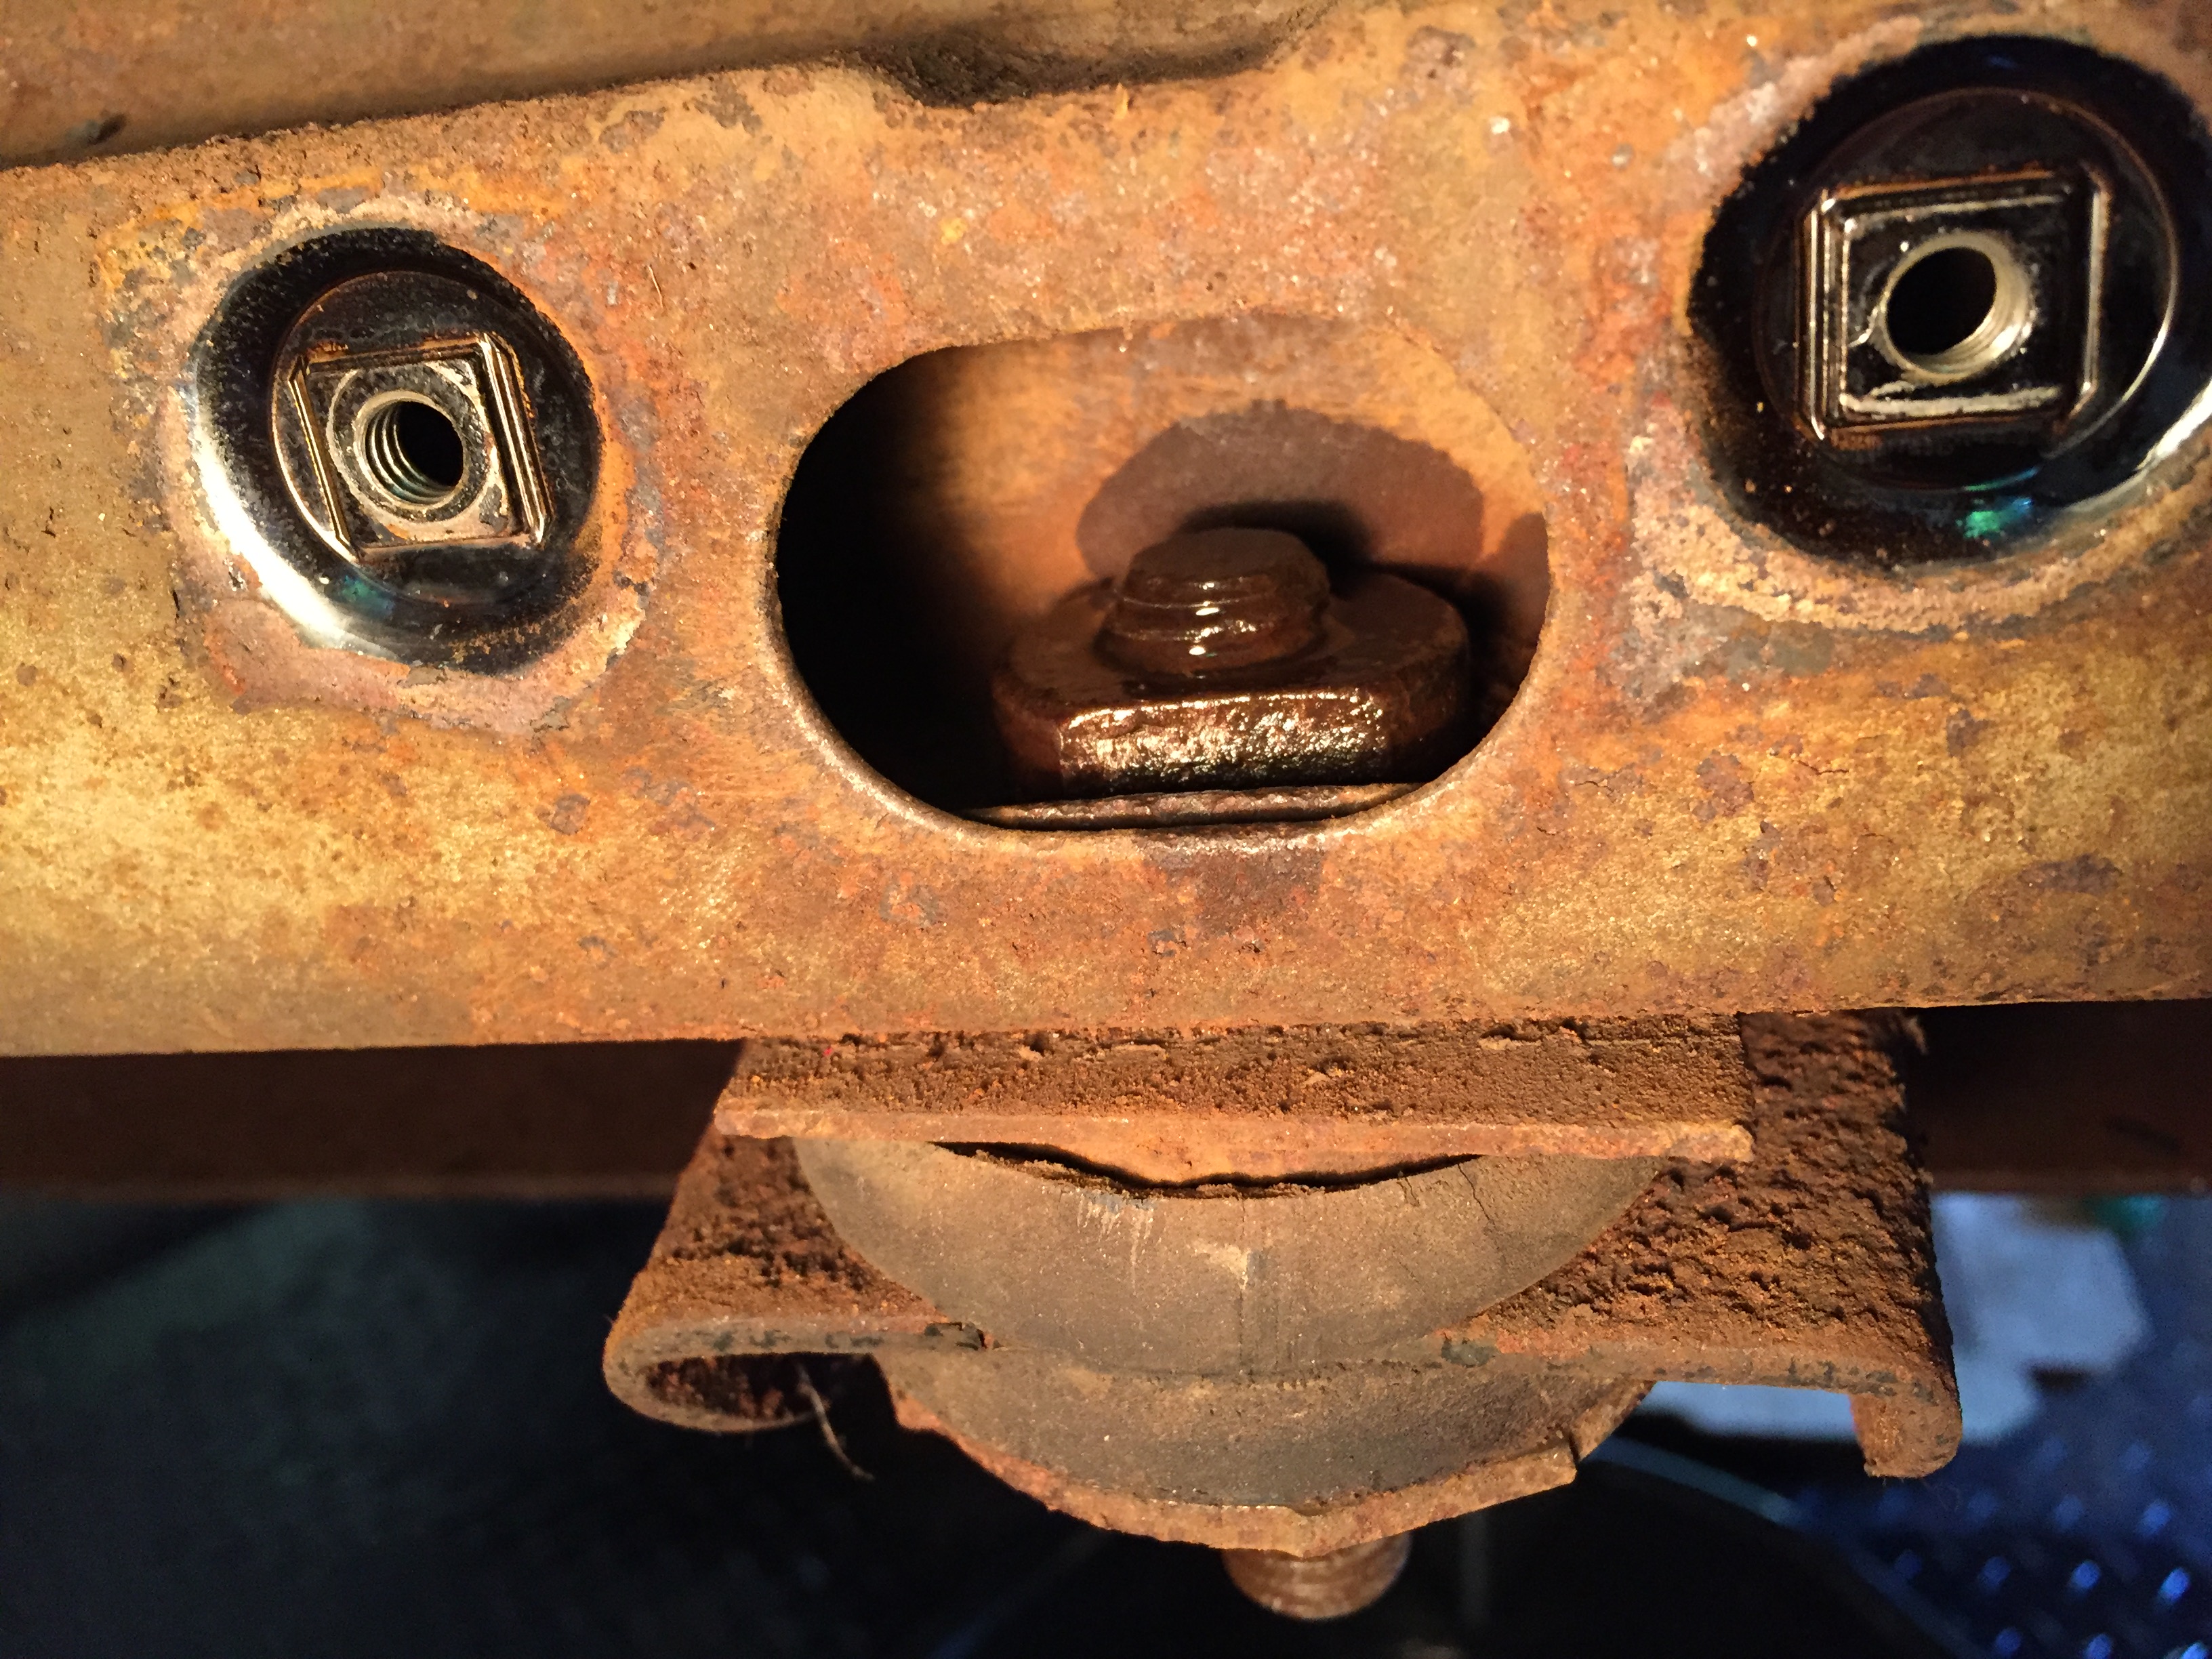
It’s a collar nut with a flat spot on it. Looks like I have to wedge something between the flat spot and the shroud - front, or back? What have folks done to get this off?
It looks rusty as hell - I wire-brushed it as best I could, and soaked it in liquid wrench. But some of the threads look corroded. I’m hoping for a happy ending here. Thoughts?
Happy Fourth of July everybody!
Does the collar nut turn or is it welded in place? It looks like that’s a stud and should just back out otherwise vice grips or a wedge of some kind should work.
Dick
It’s turning with the stud as I turn the bottom nut, Dick. I’m going to try parking a nut or two between the flat side and the rear of the shroud, we’ll see how that works out.
We cut away all the material on top as we couldn’t reach it with a pair of pliers. Another core support is ready to be mounted though as the old one had a lot of rust holes on the bottom
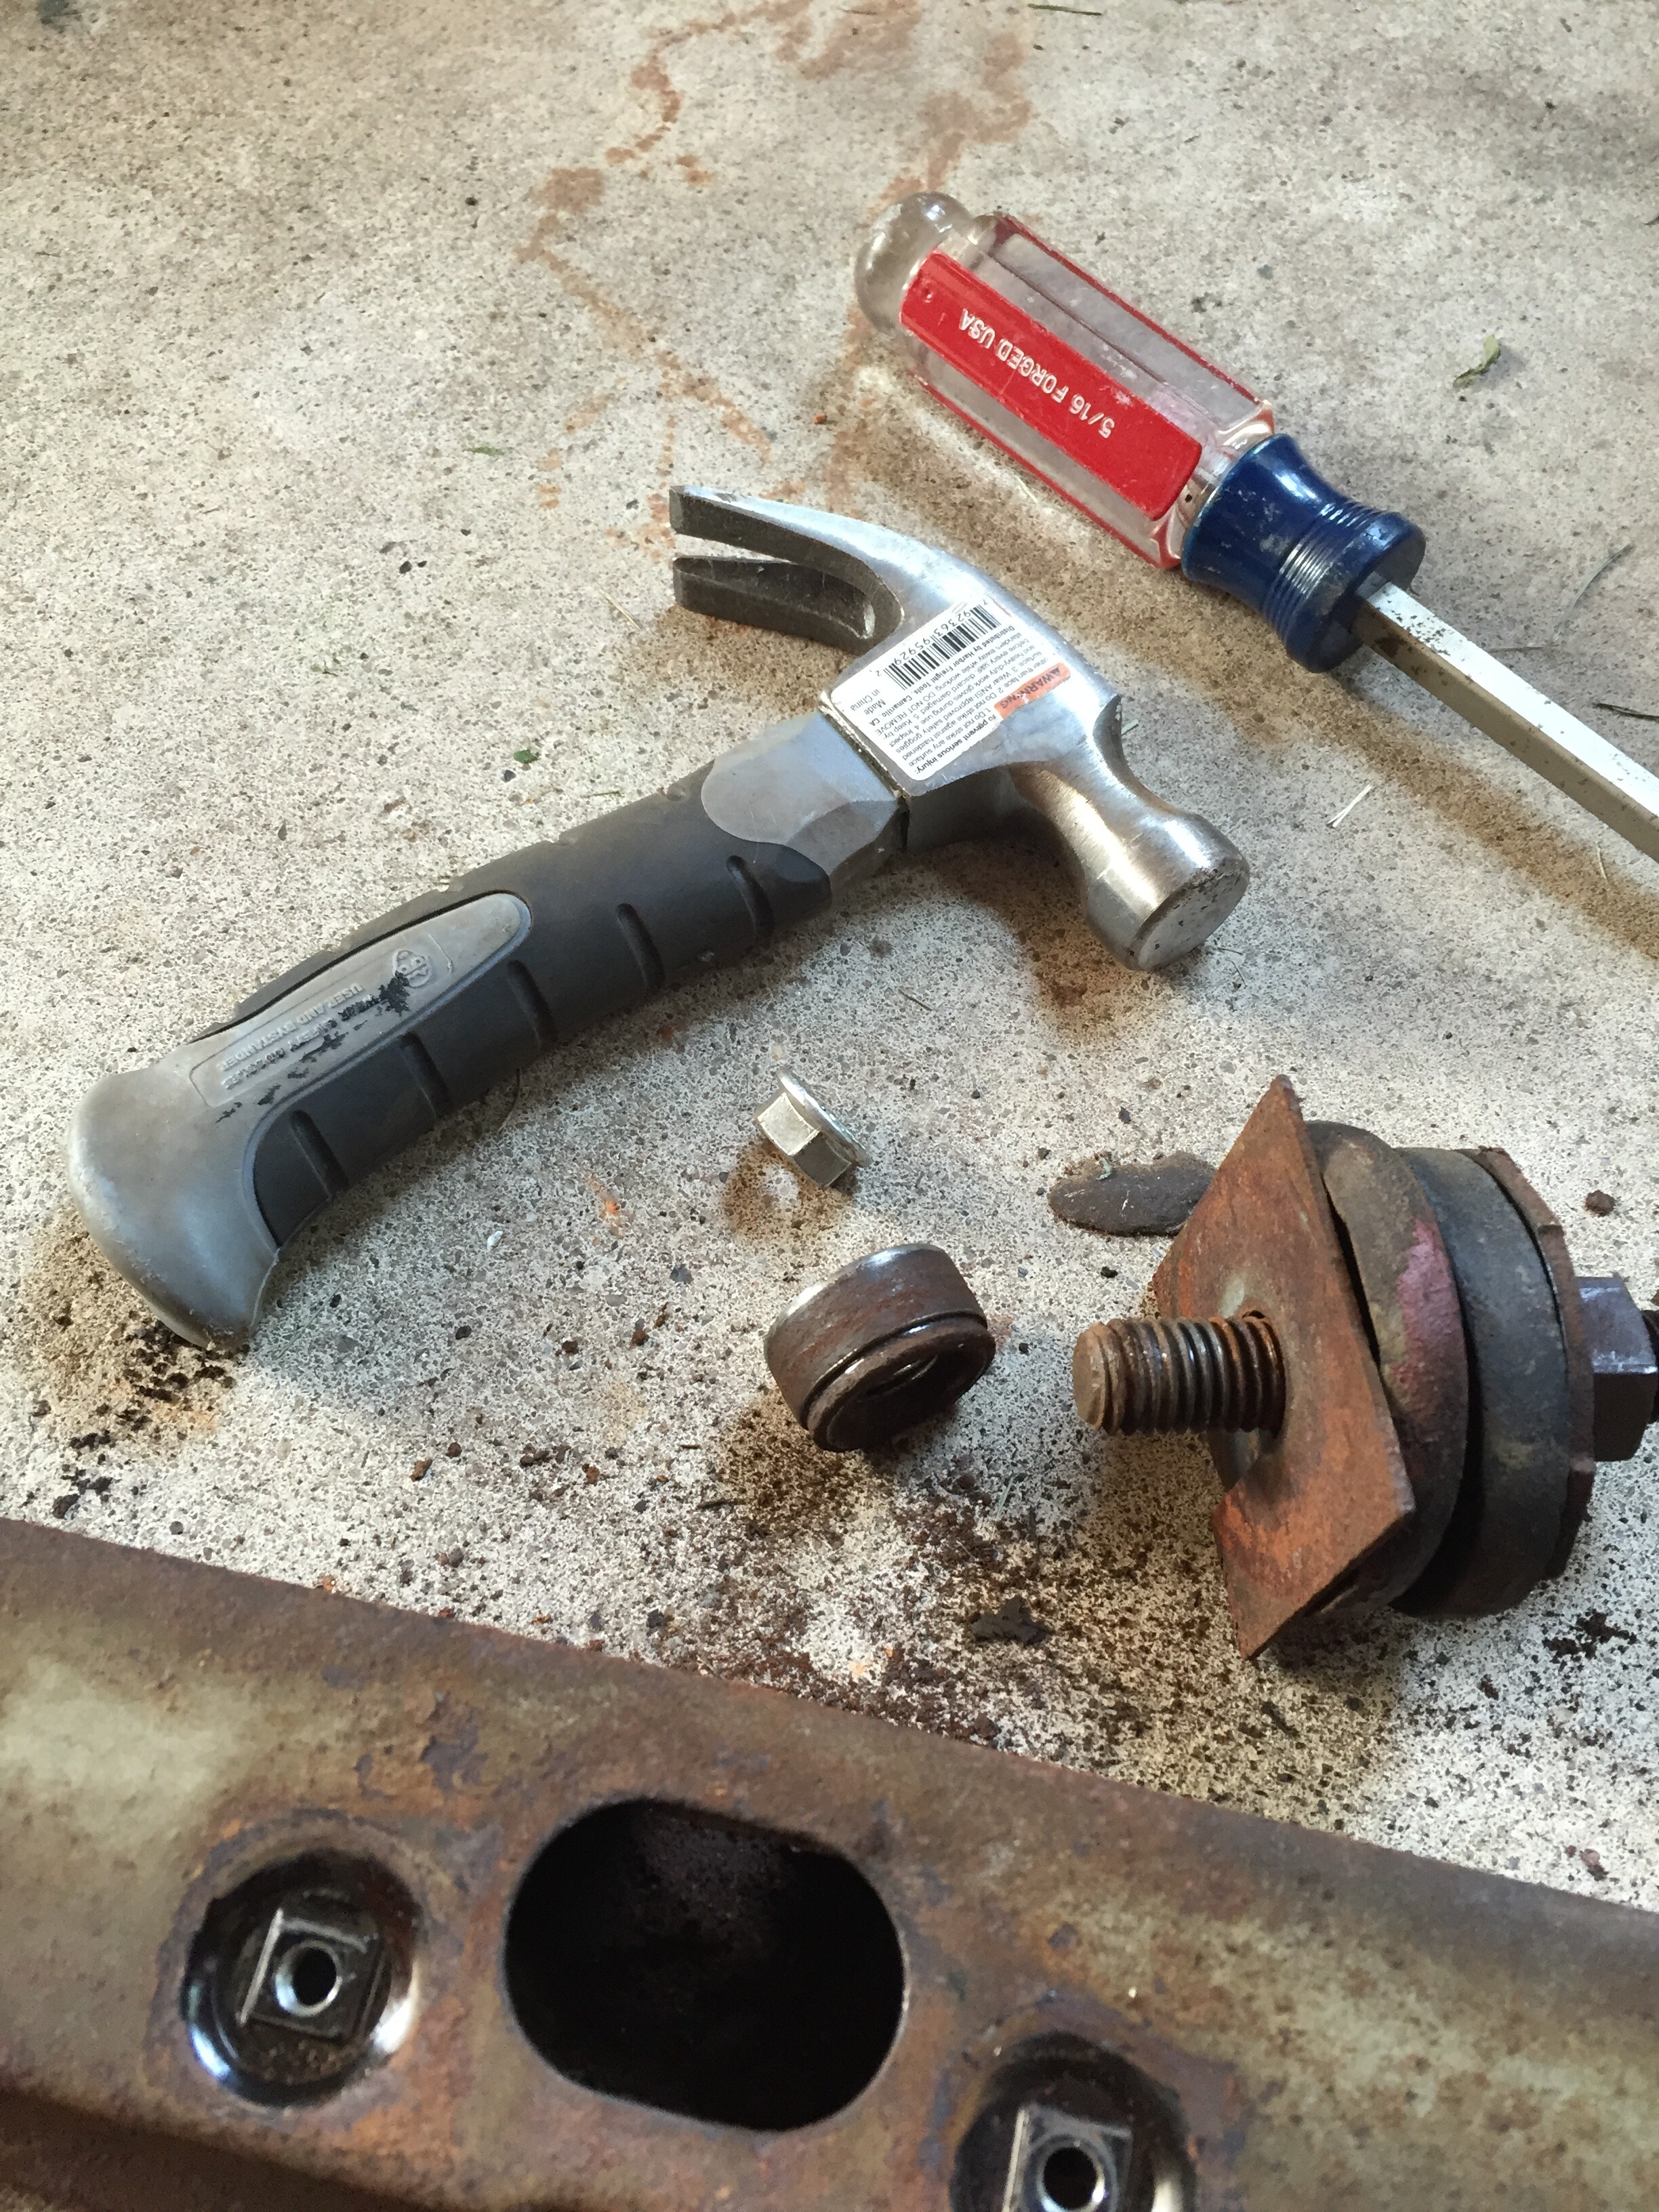
Well, mine is a little rusty, but salvageable. So, I gave the “wedge a nut in there” trick a try, and doncha know it worked!
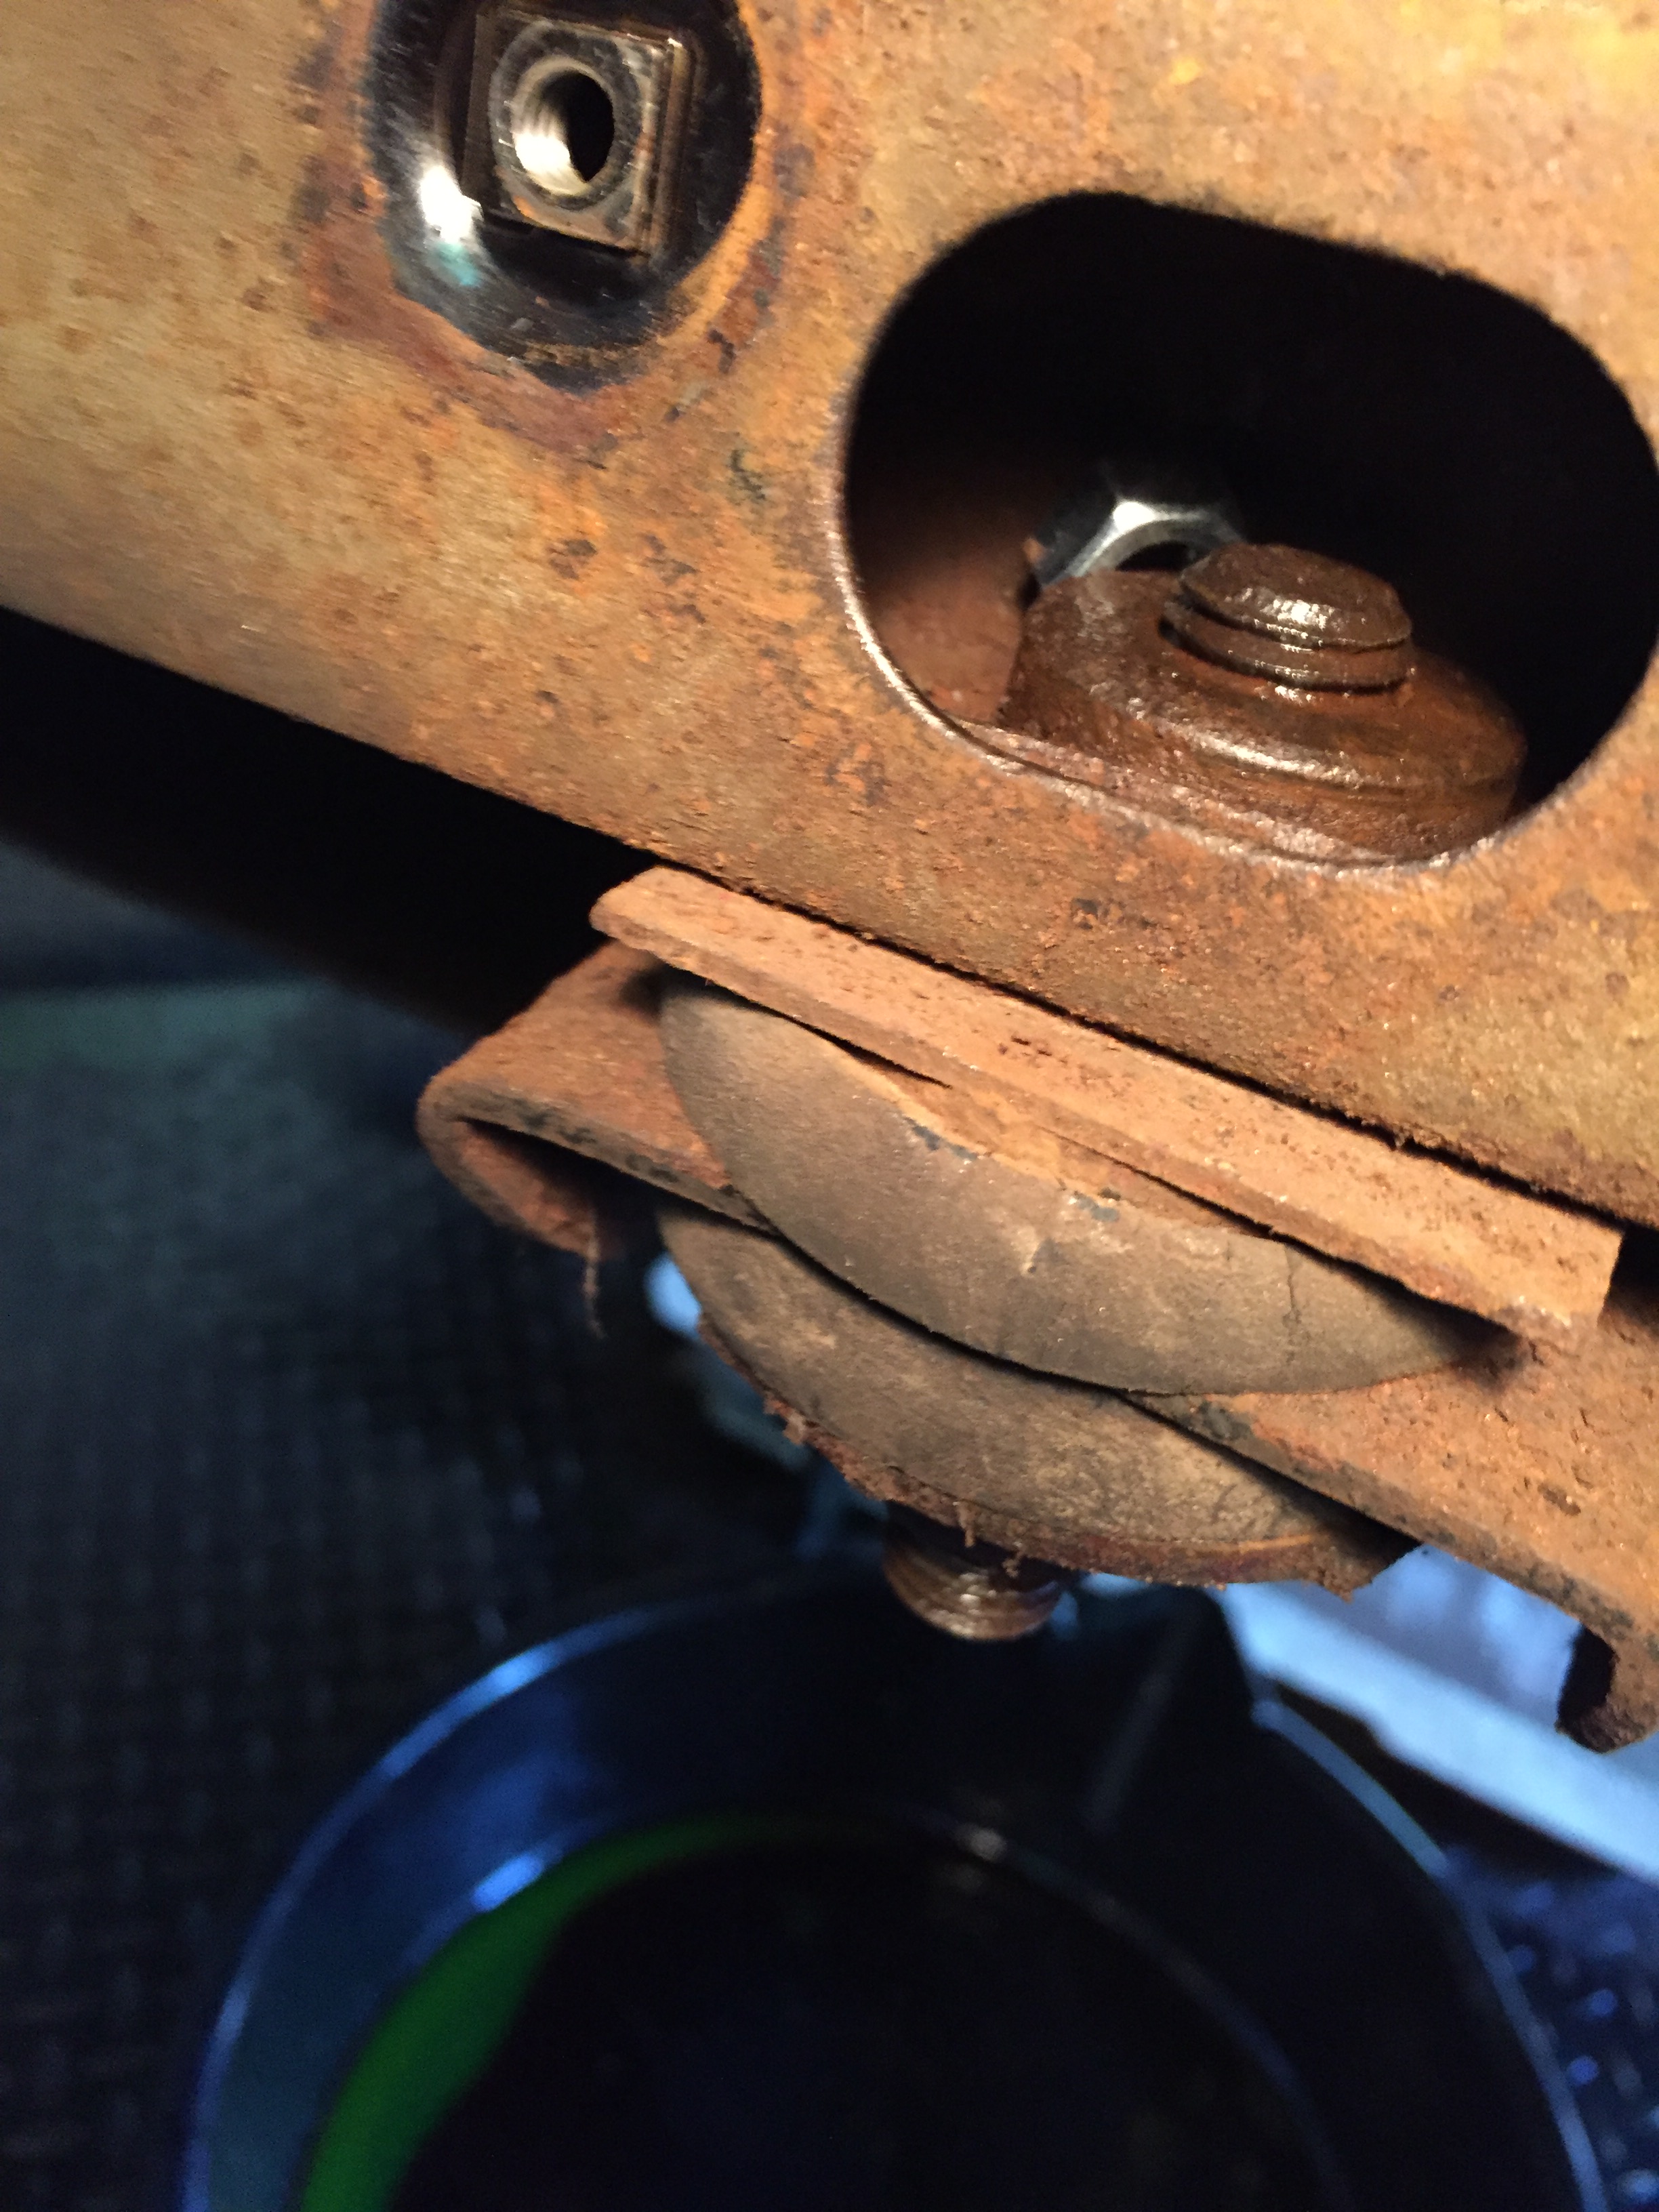
It actually popped the back out a tiny bit, and was wedged in there so good I had to take the weenie hammer ™ to the collar and nut. Im guessing it was spot-welded in there - that collar will be replaced by a nut, fershur.
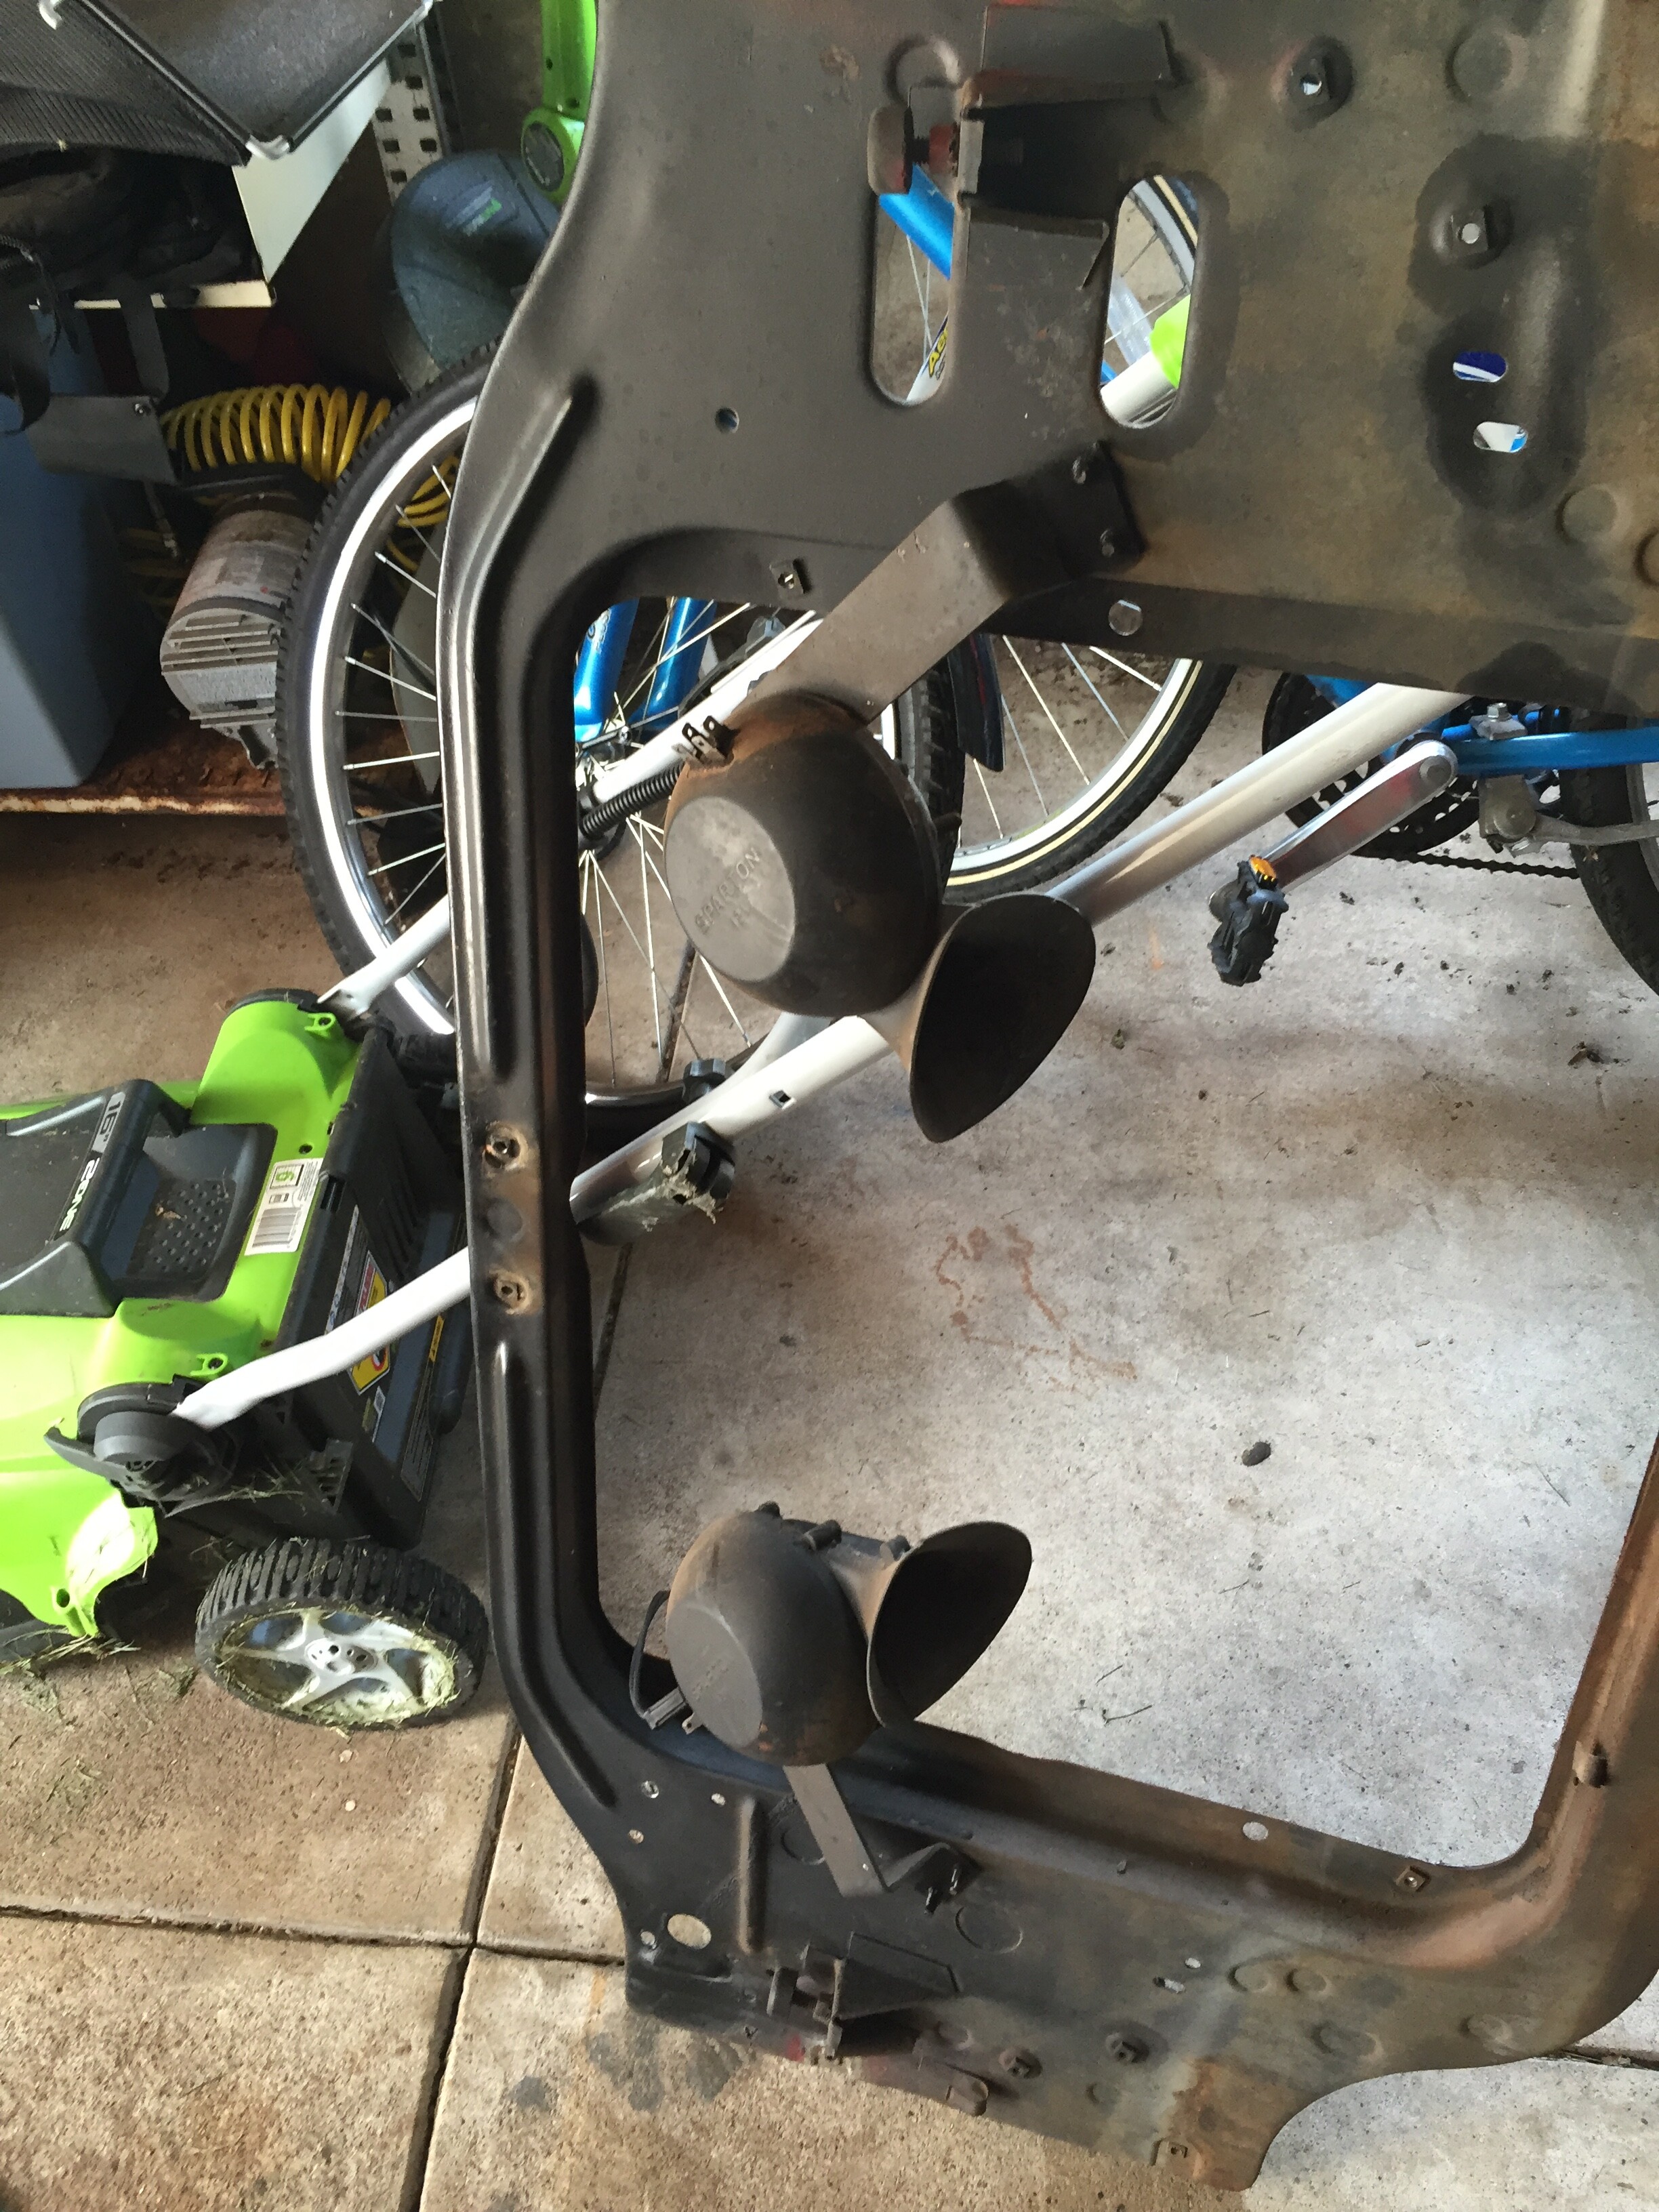
(Note to self: This is how the horns go back on, Dan, don’t screw it up.)
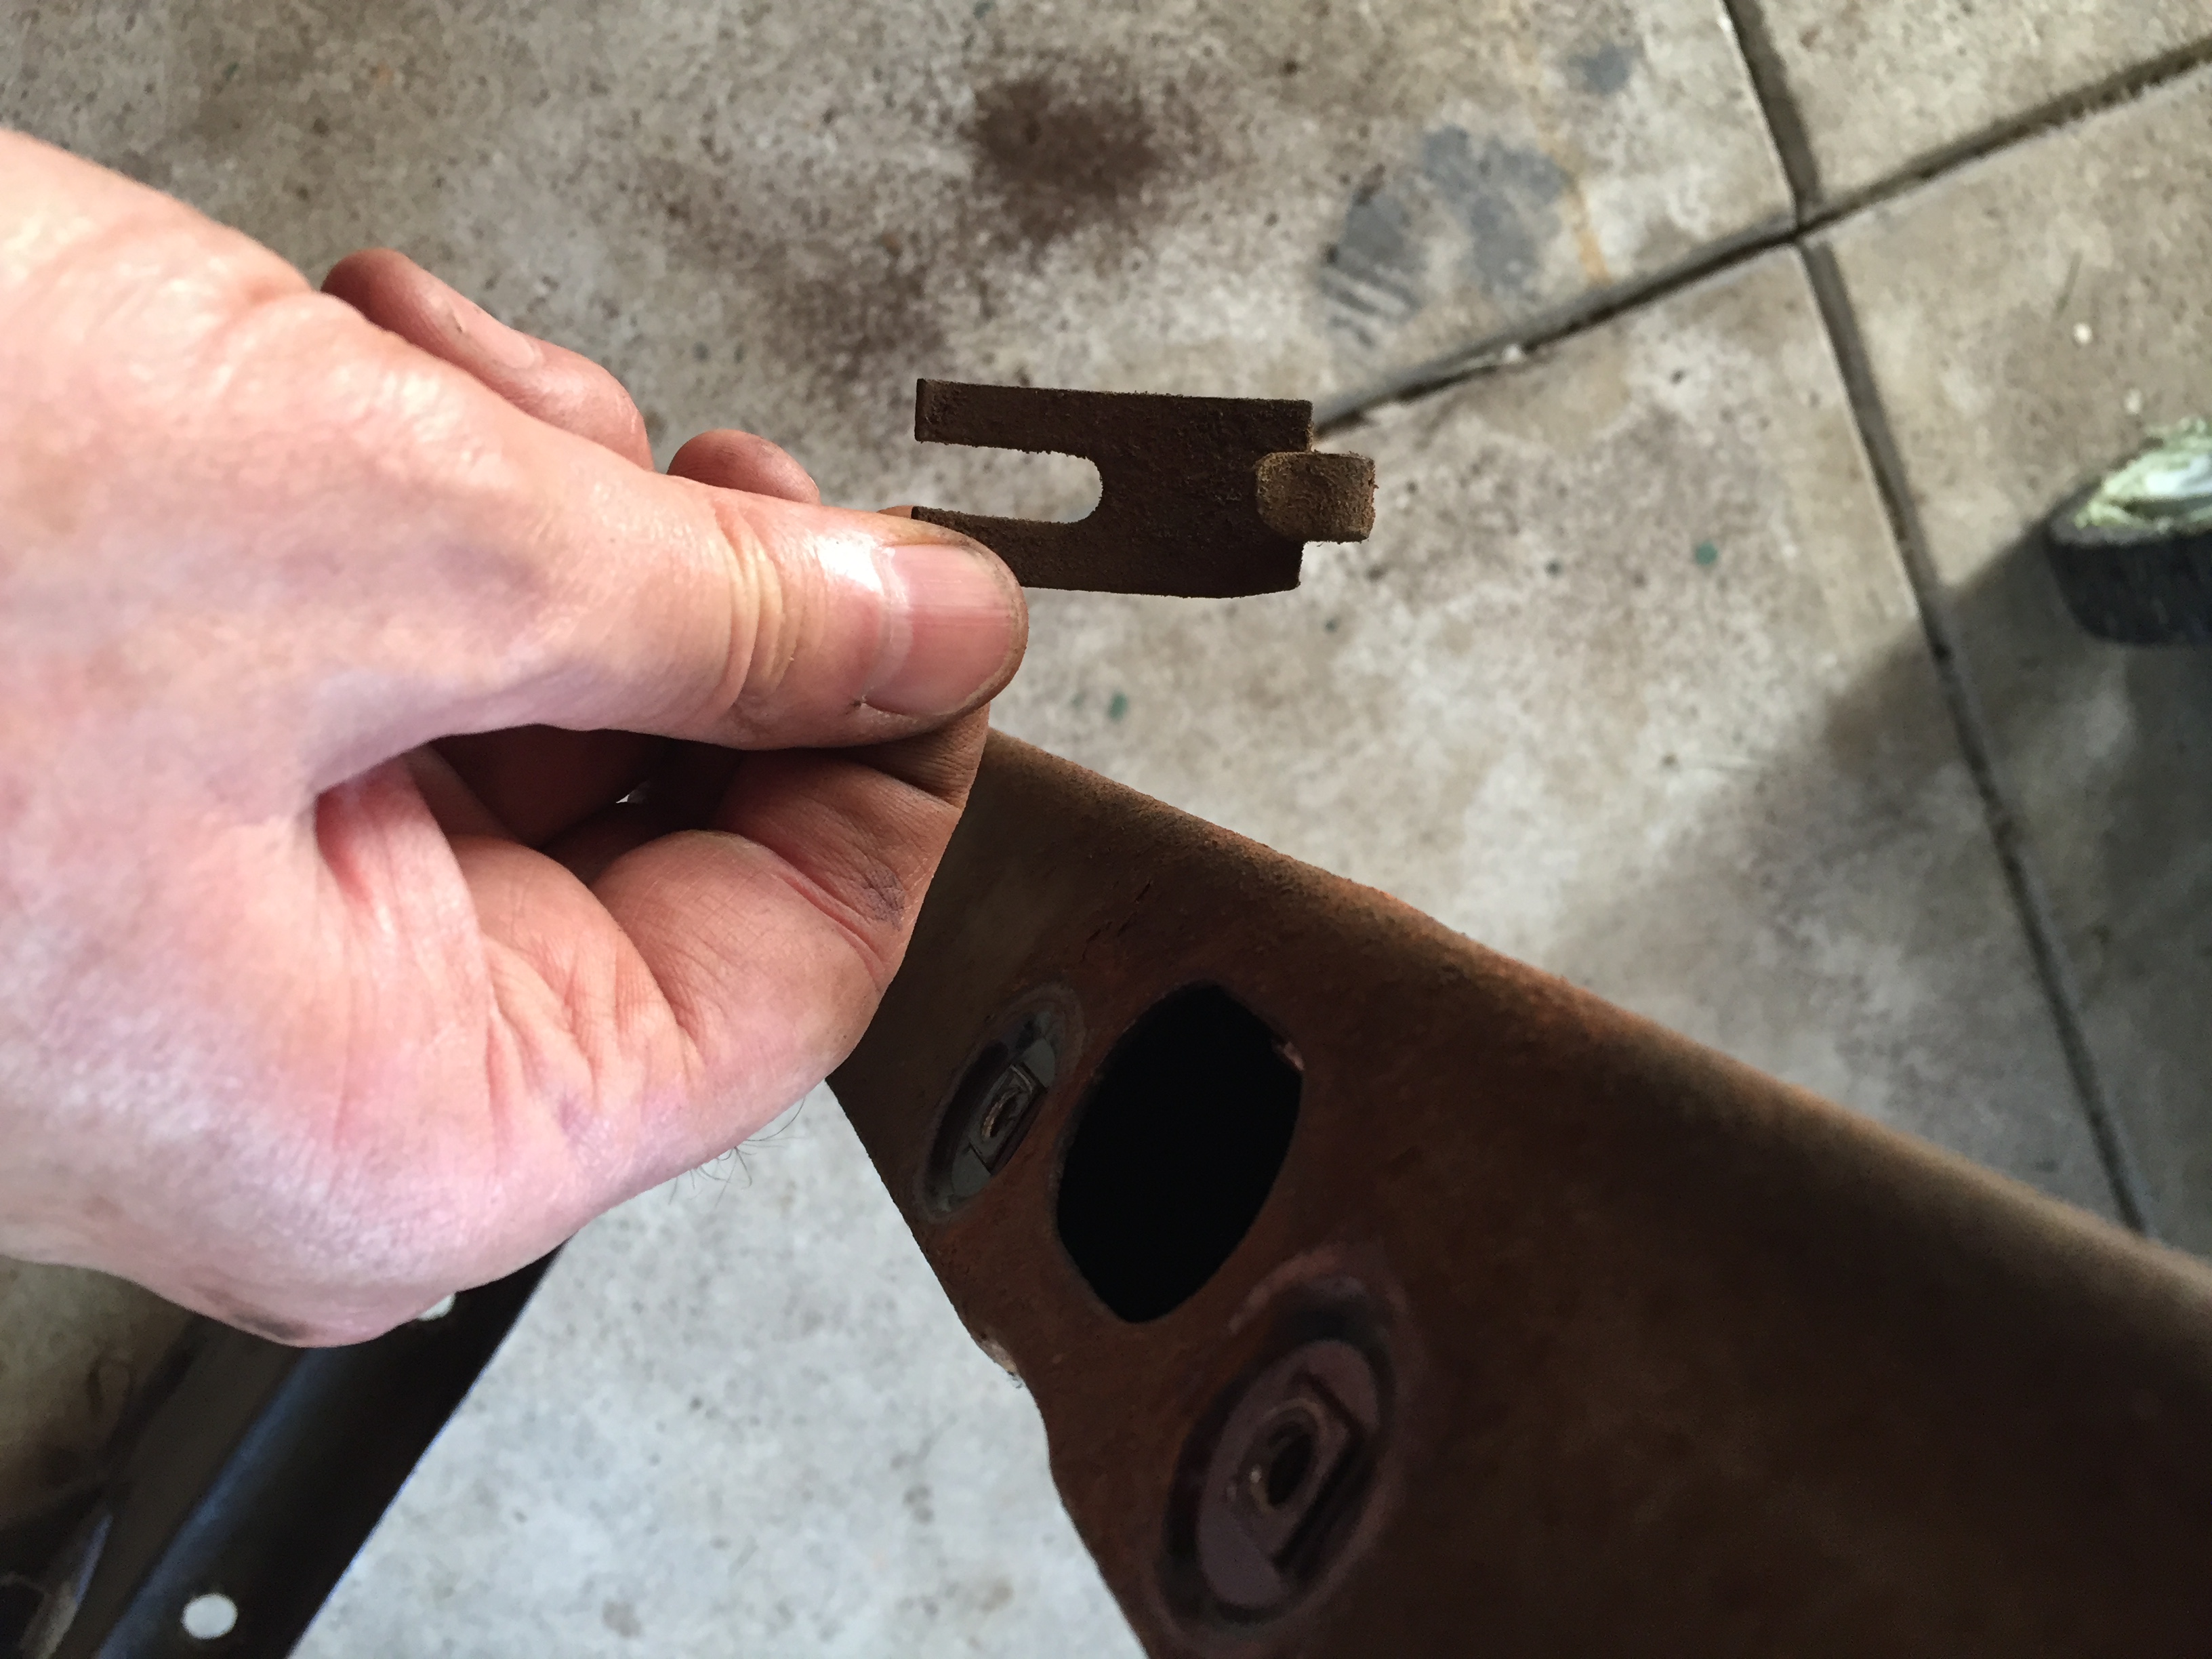
An interesting find, inside the shroud! I imagine there was a loud "ping" when that fell off and hit the fan, and found a place to hide inside the shroud frame. Fershur, I’ll be spraying the hell out of the lower channel with Eastwood interior frame spray.
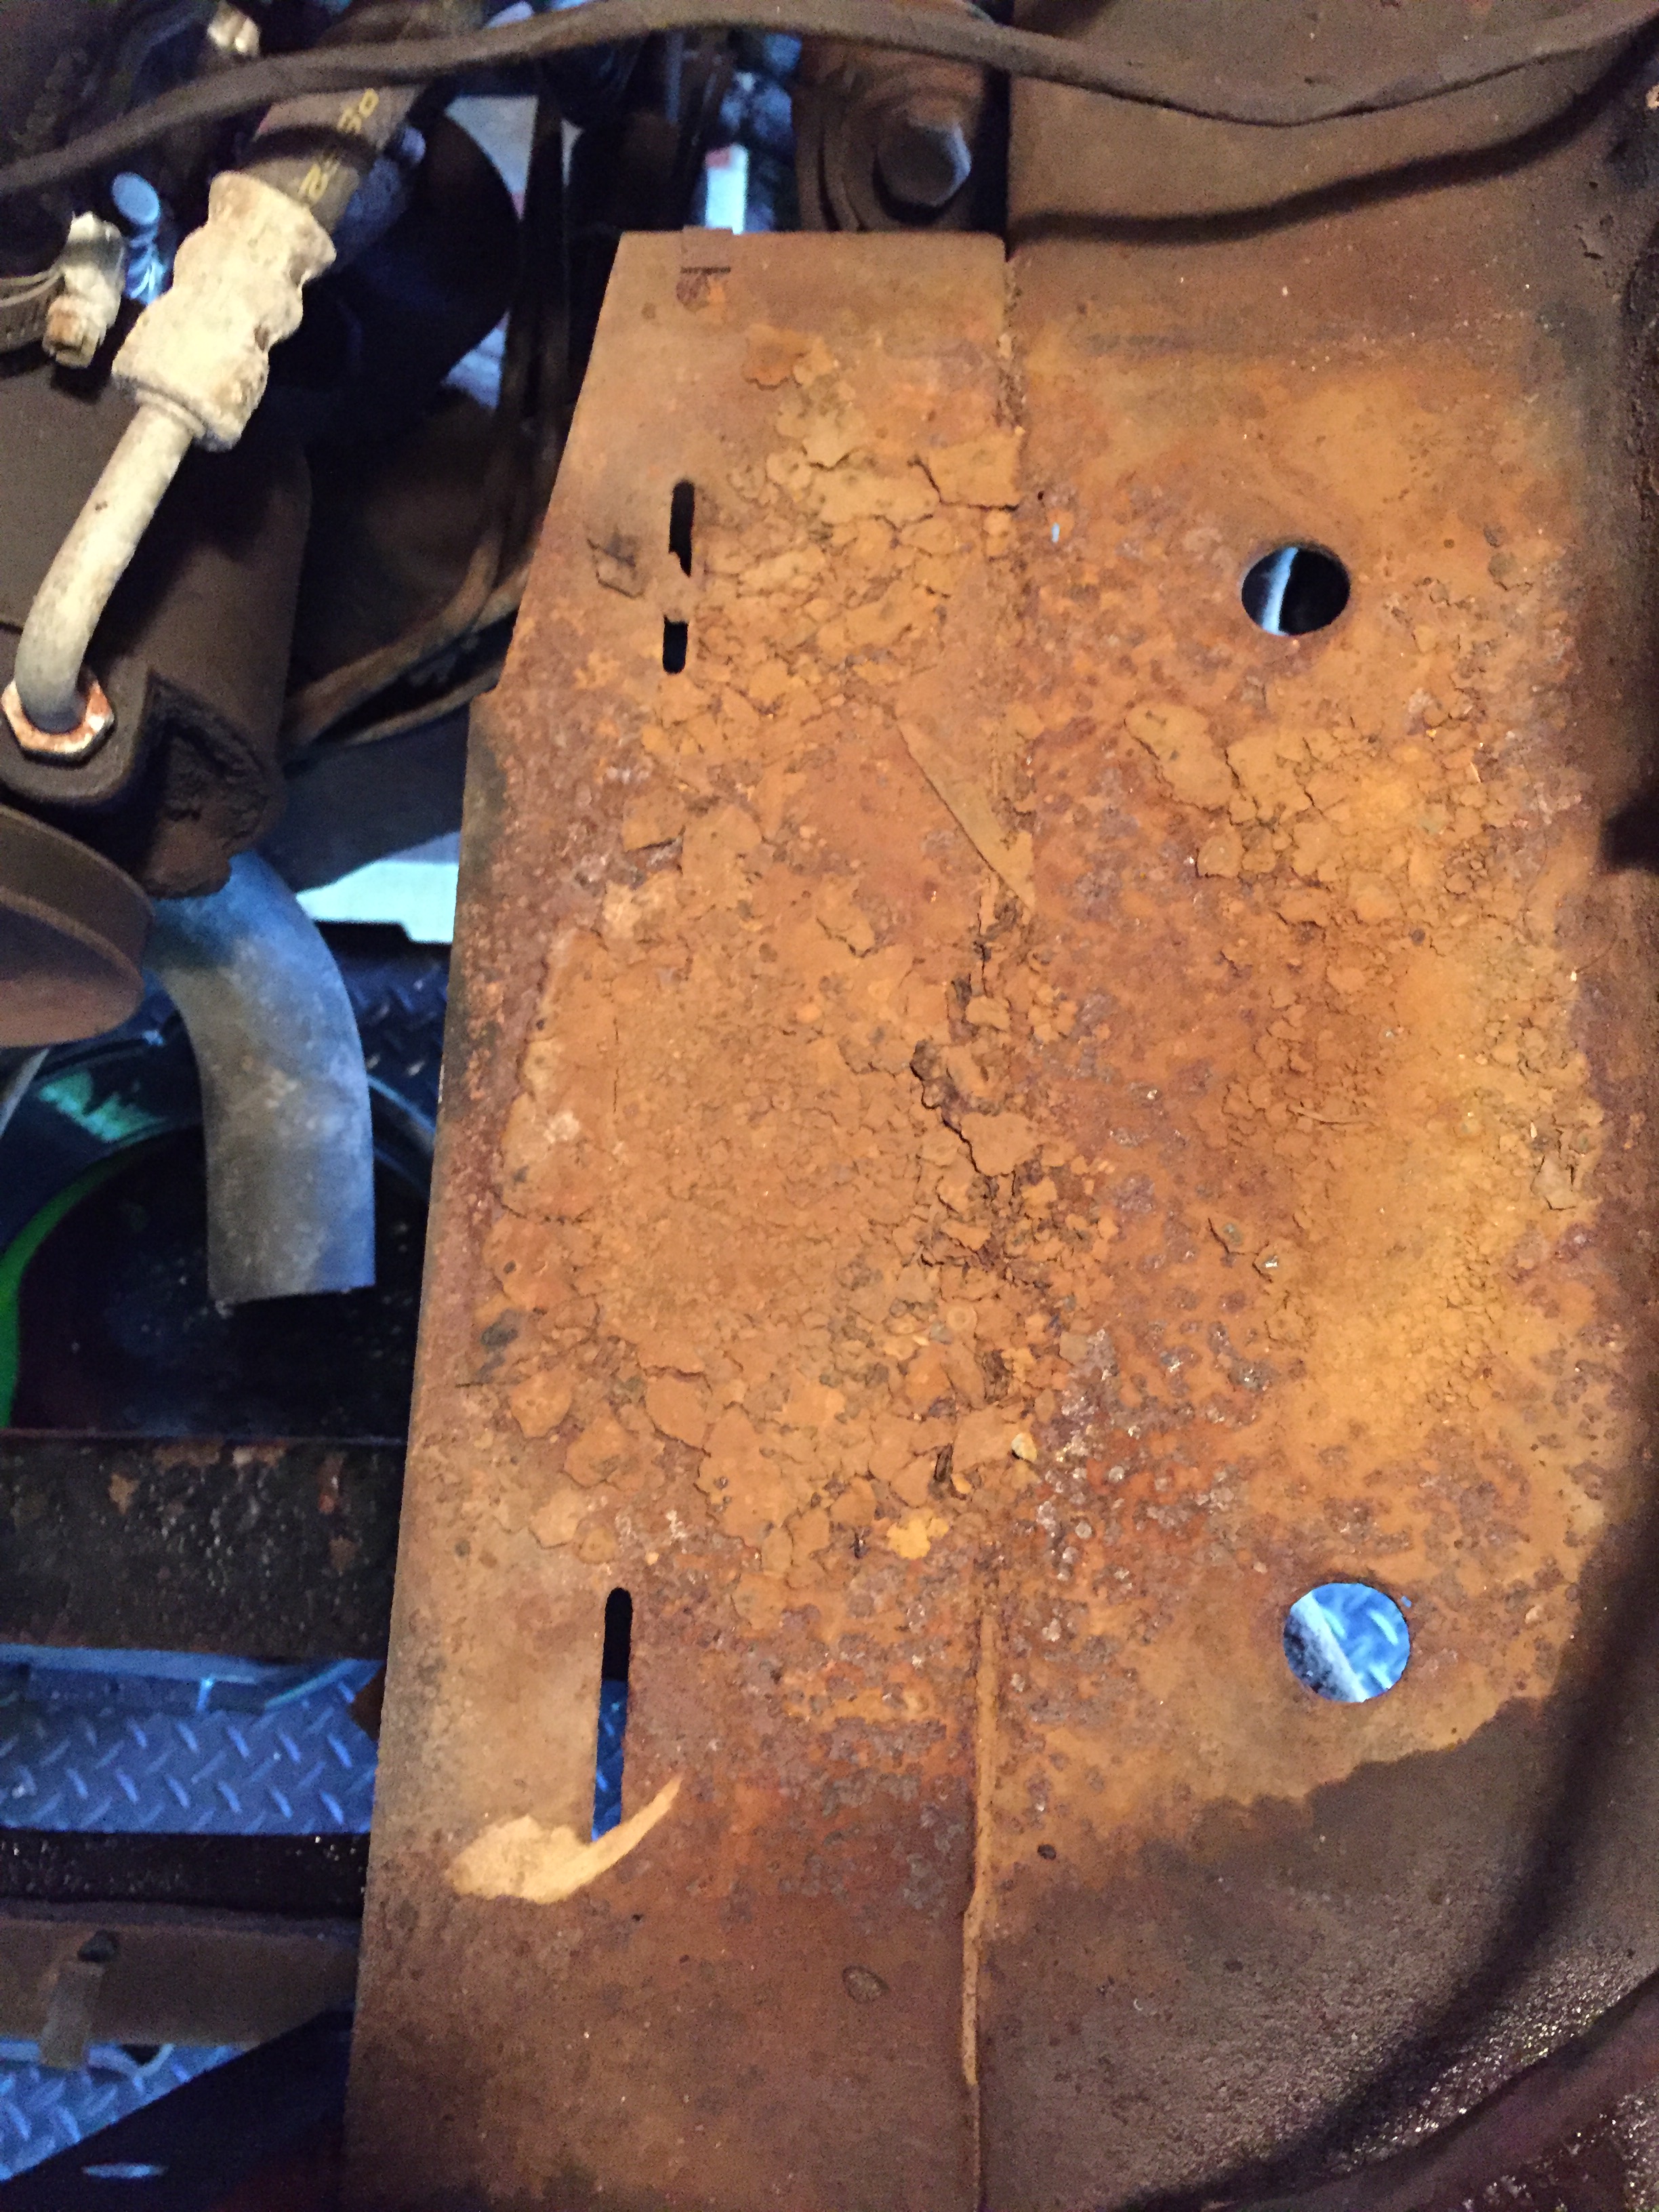
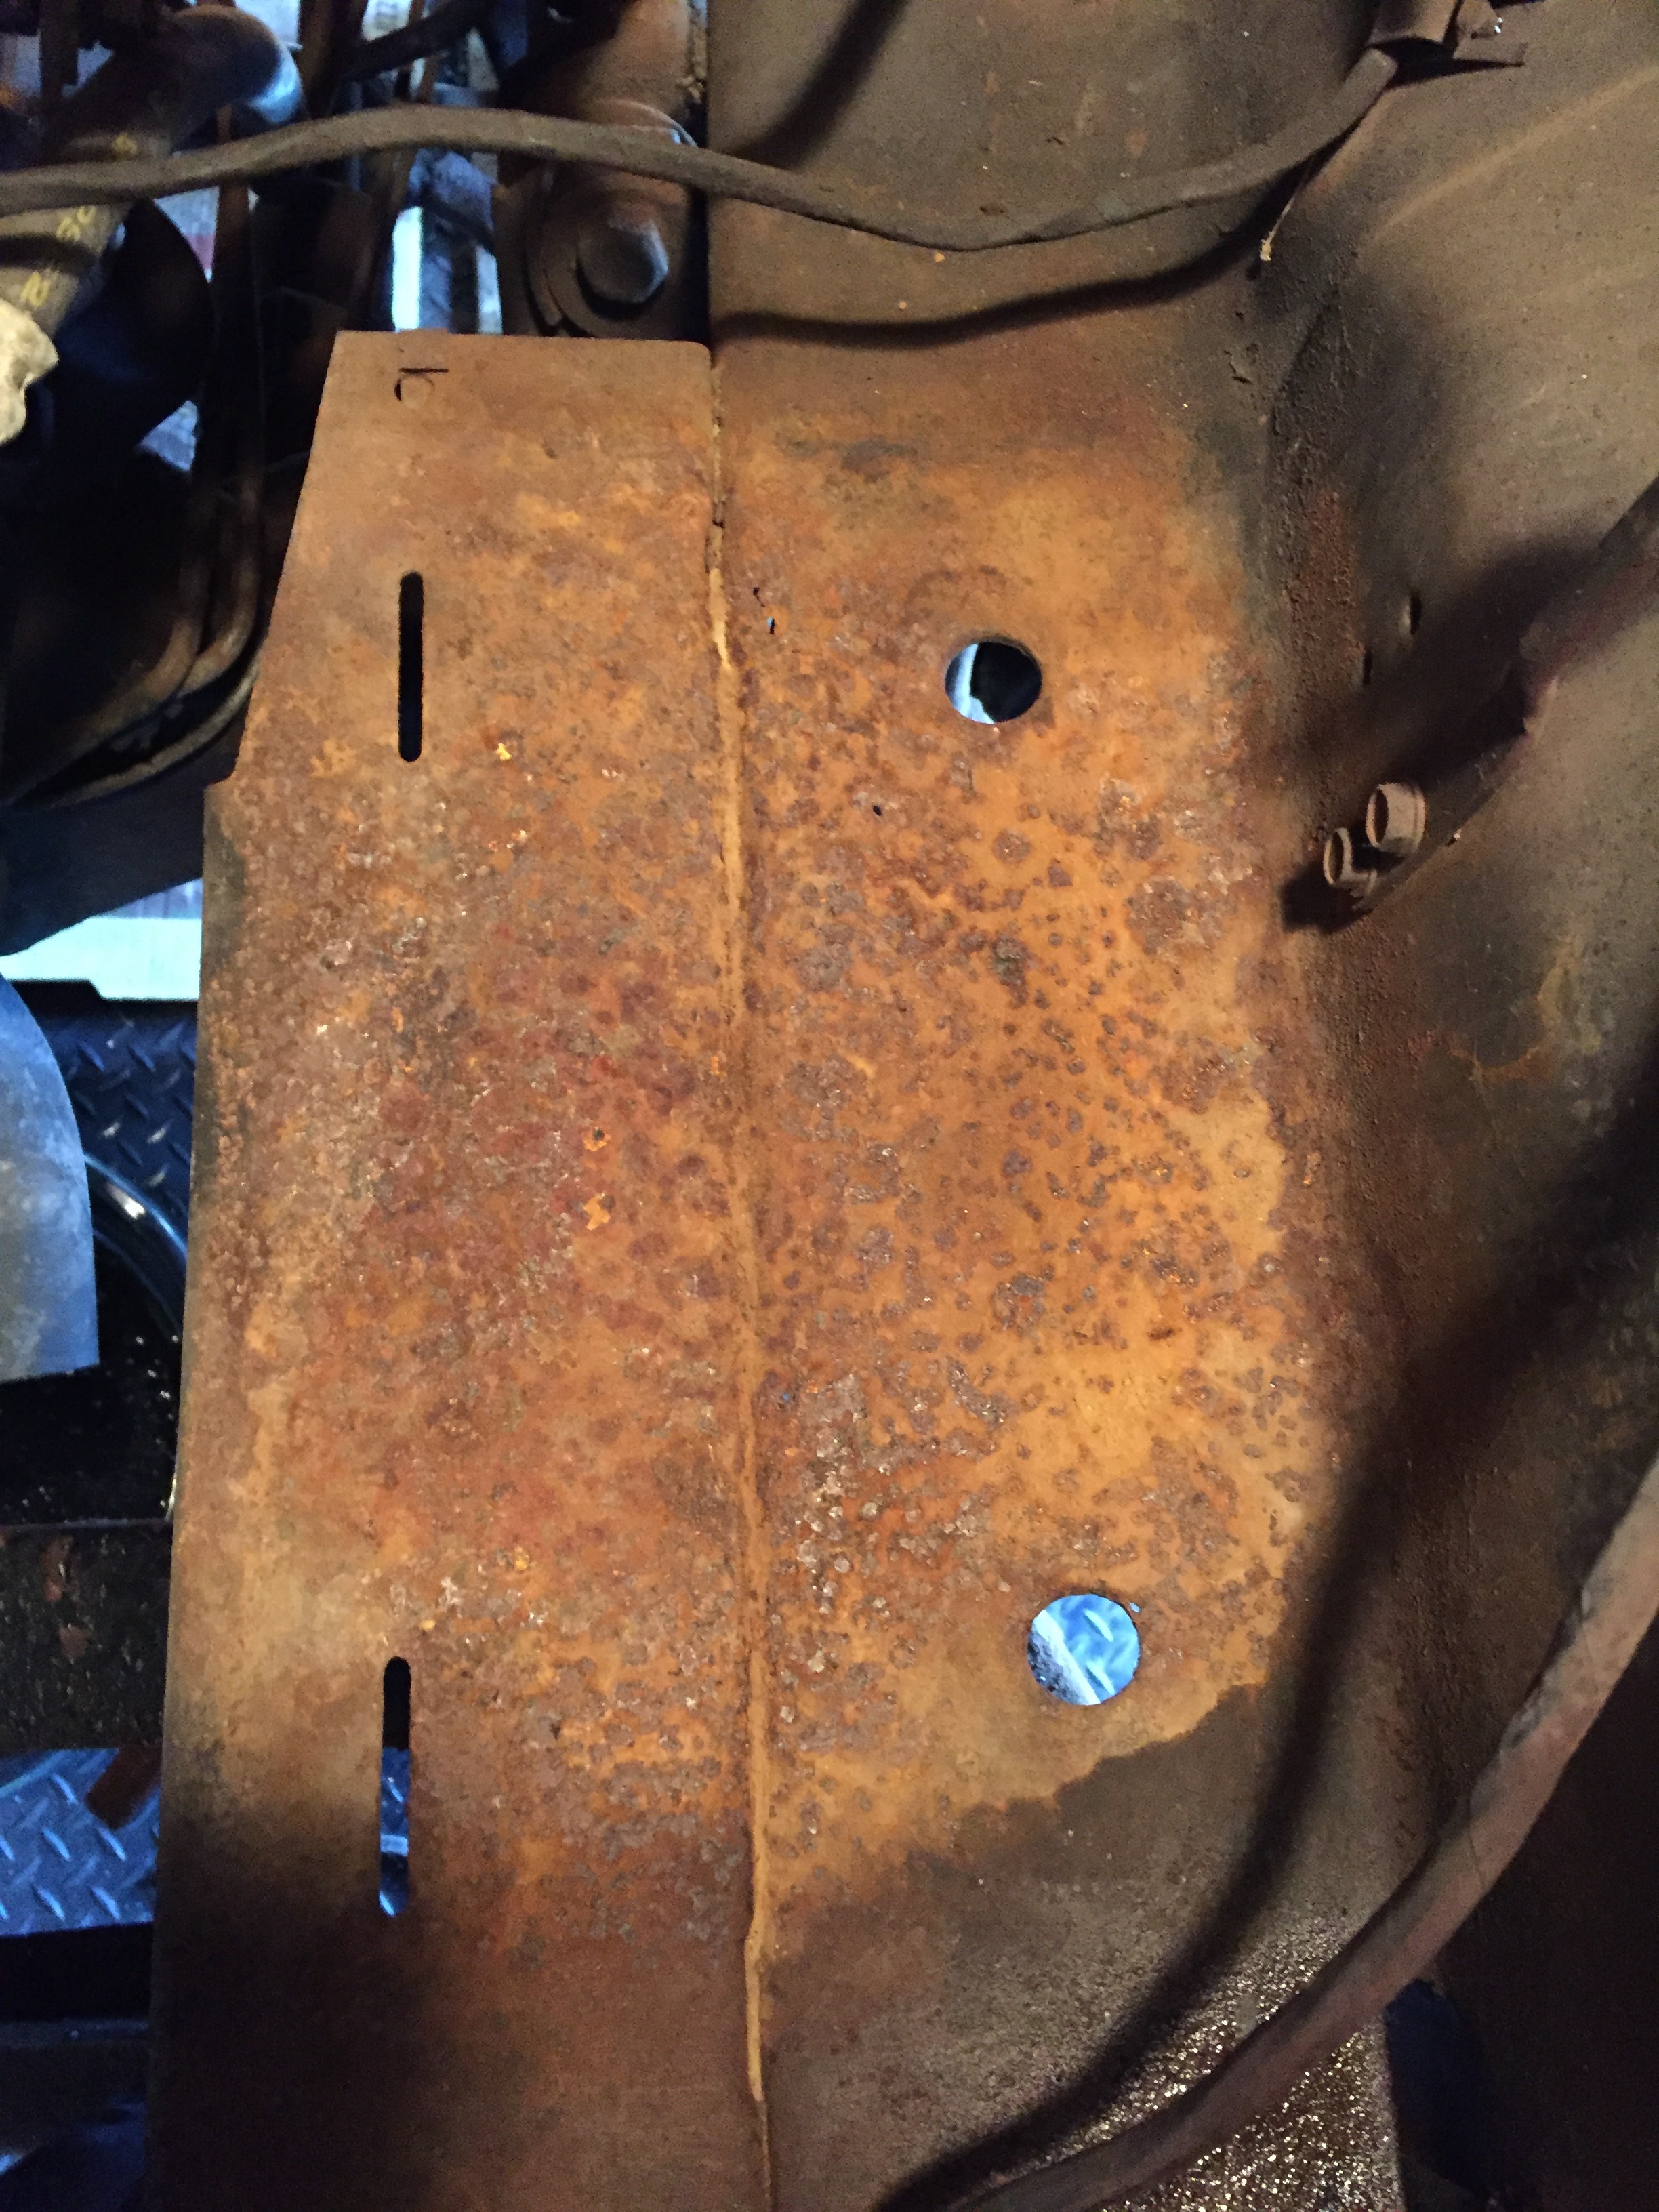
Under the battery is quite a mess - you hate to see things like this. A couple pin holes in the platform, but otherwise solid enough. This will get the usual treatment of power brushing, ospho, seam sealing and encapsulator. (That wet spot is liquid wrench, not battery electrolyte :o )
All in all, not a bad day’s work - but it’s hot in the garage, and I’m getting too old to go without a power nap.
You still have a few days to finish it ![]()
Matthew!! I have a special socket set for those exhaust manifold bolts on the passenger side. I don’t care if we snap 'em - the manifold has been drilled out for bolts in replacement of the studs - but I could use some help. Easier to reach from topside with the radiator and shroud out of the way! I’ll get from under if you hold the socket in place. Help an old man!

Two suggestions if you dont mind. On the battery tray, ospho, then encapsulator, then coat the whole tray with seamsealer, then rubber tray if you got one from Gary Goers. Keep the manifold bolts/studs soaked with pb blaster. You know l kinda miss doin that stuff. NOT!
DICK
Yup! Encapsulator before seam sealer. Then, encapsulator over the seam sealer, jut to match - it covers just fine, after the seam sealer sets up. And yes, I got the rubber tray from Gary.
I didn’t know about PB Blaster. Amazon to the rescue!
I know you do, Dick! And that’s why you should be going to Carlisle with us, with a stay at Chez Morton.
Wasamatteryou, didn’t you see the “NOT”. PB Blaster can be had at ACE and most auto parts stores.
Dick
Dick, I know you have another major project still in you! You can’t blame me for trying to make it Faulkner.
So far, I’ve been pretty successful! ![]()
Just before Carlisle, I took my radiator to have it re-cored - and, for them to take the dent out of the top tank. The company was highly recommended. Well, they totally screwed up the tank; besides not removing the obvious dent, there’s a bunch of little dents on the opposite side, and all along the side of the tank. Instead of taking a rounded block of wood, they used some pointed tool:
Because of city regulations, they can’t spray high-gloss paint. But you can see the dents even with the matte finish. No way I can spray this with gloss, without it being obvious that an amateur touched it.
He’s promised to make this right, even if he has to replace it. Well, we’ll see.
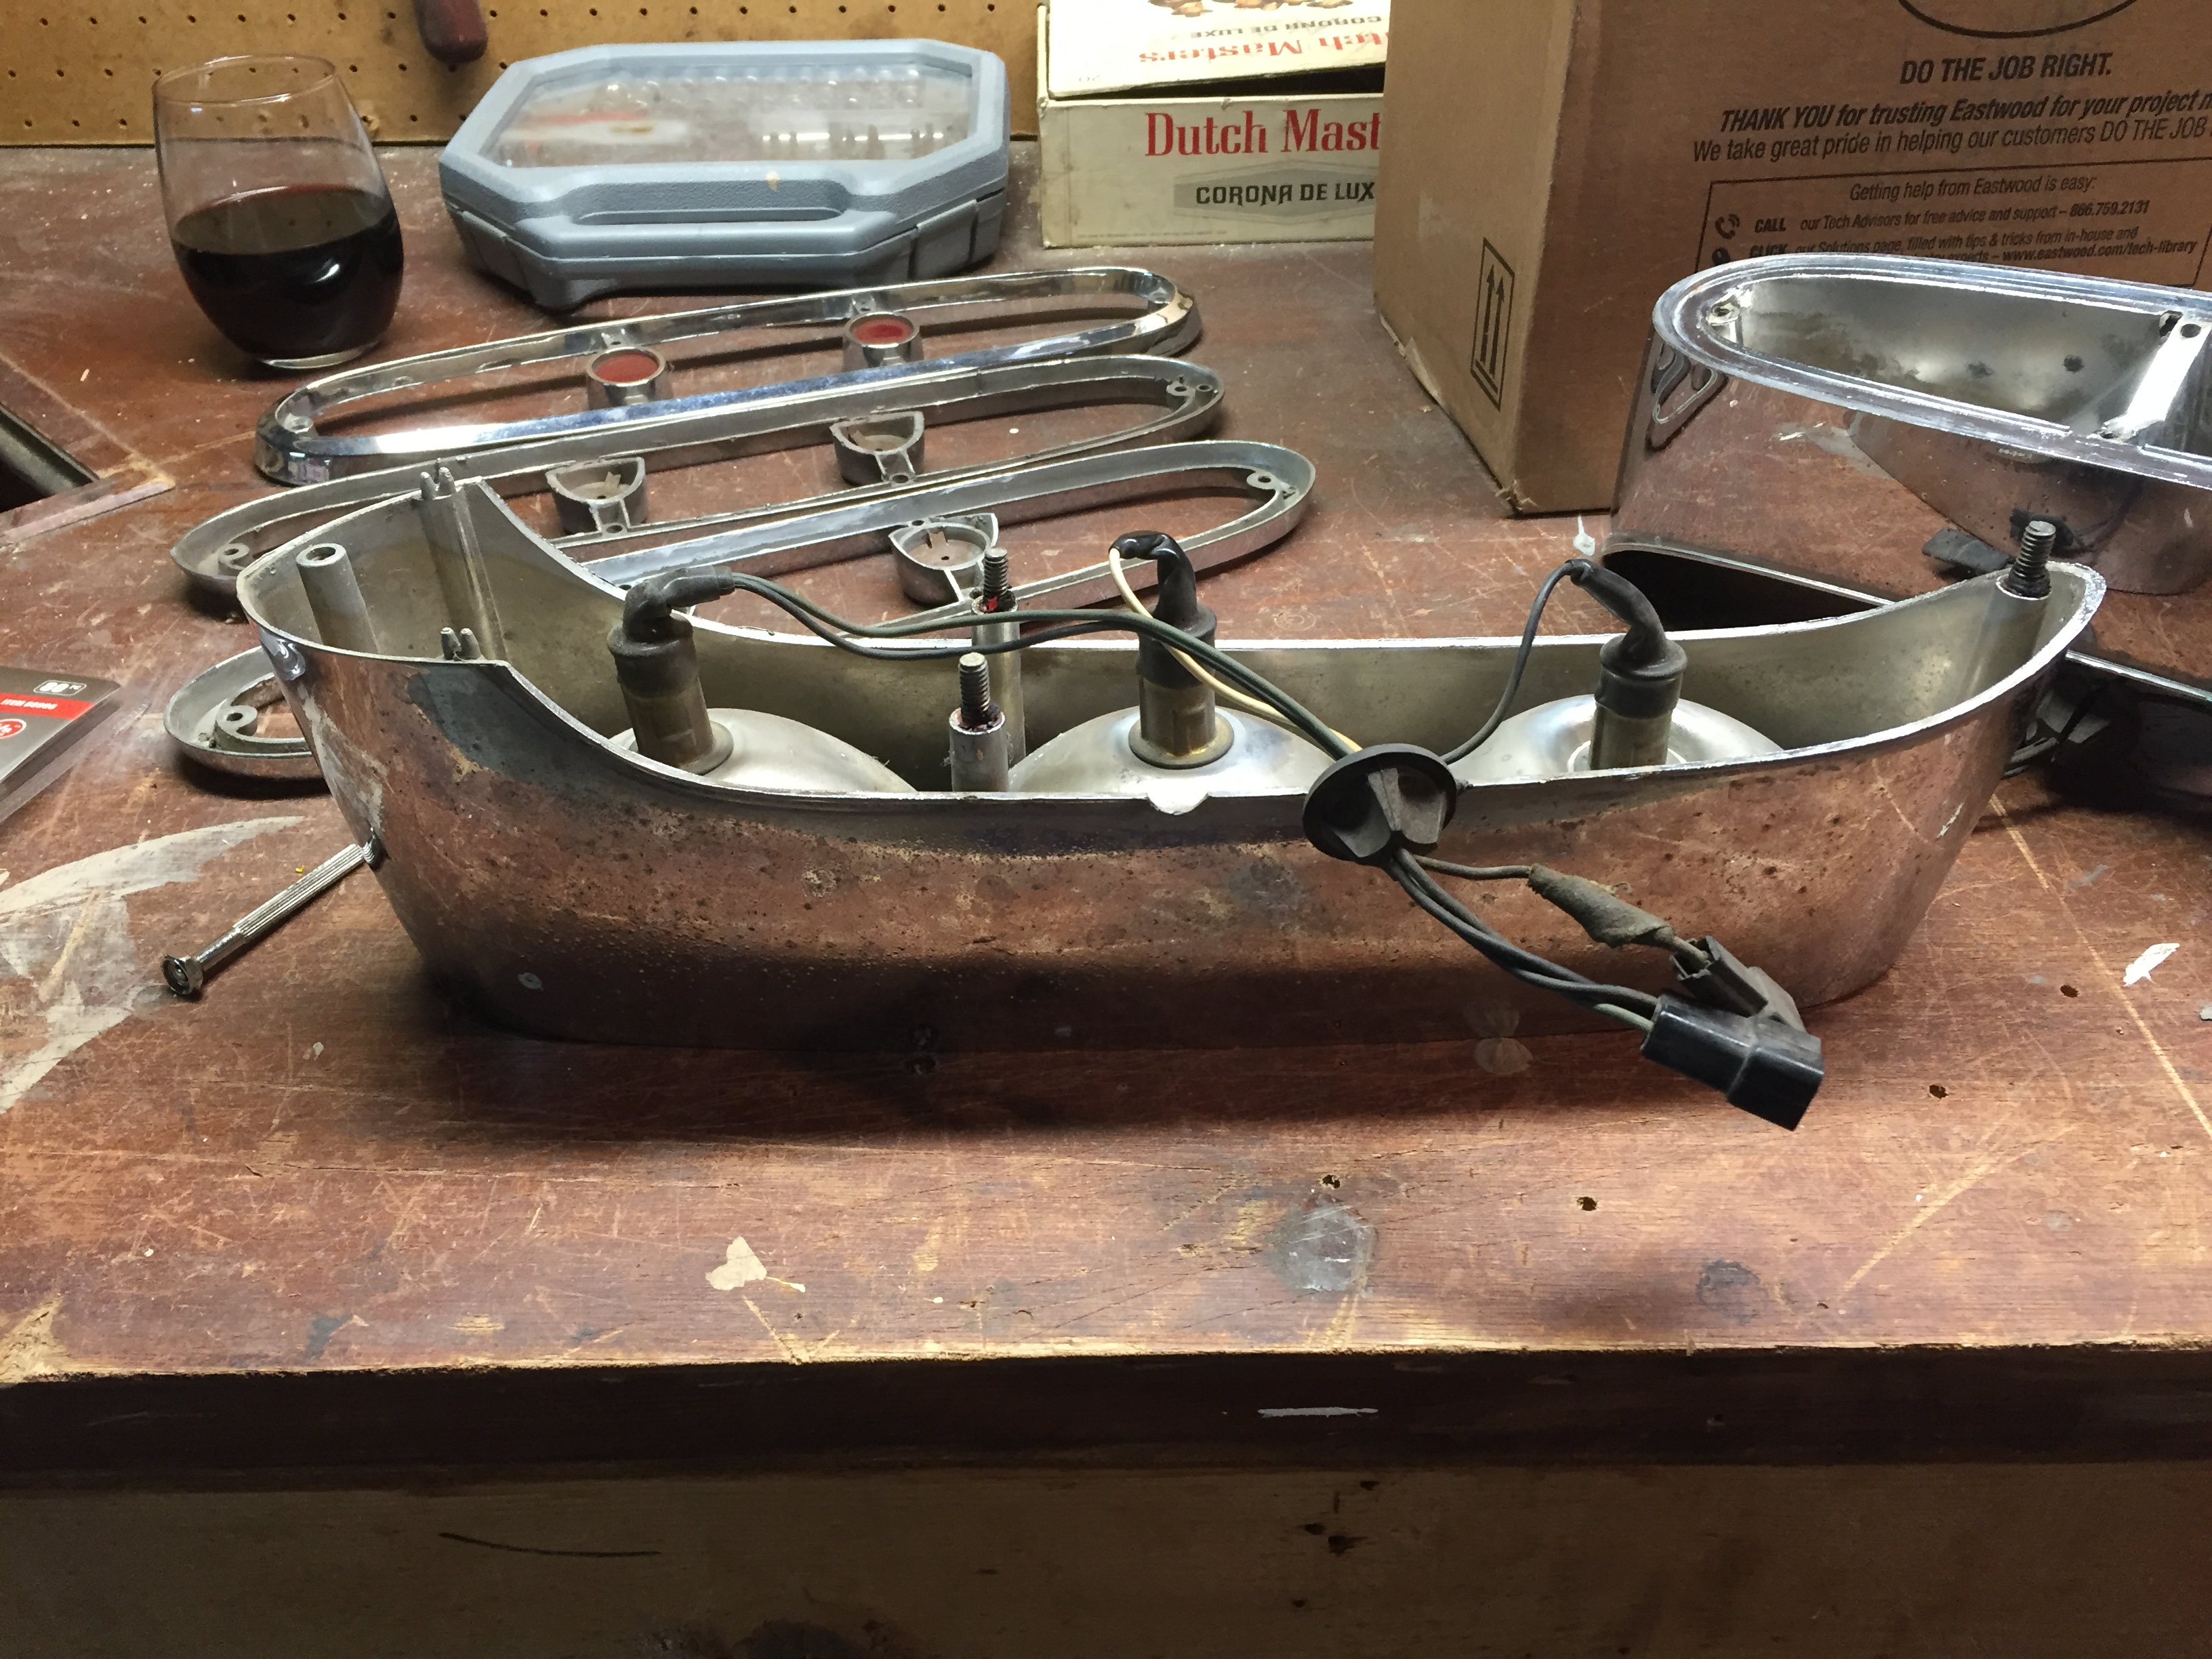
I have a window of time tomorrow morning to drop it off before work, and since Frankford Plating is not too far from the radiator shop, I got my butt down to the basement to prepare the taillight housings.
Dick! Did you mean from the back of the housing? At first, I was thinking the front - and wondering how the hell I could get a knife under that tight grommet. But I started working from the back, and don’t you know, the sockets popped off, leaving the grommet. I was able to grab the lip with needle nose pliers and twist towards the center - the grommet collapsed on itself, and fell through the hole. I have brand new replacement snap-in sockets from Goers, so I just need these pix for reference.

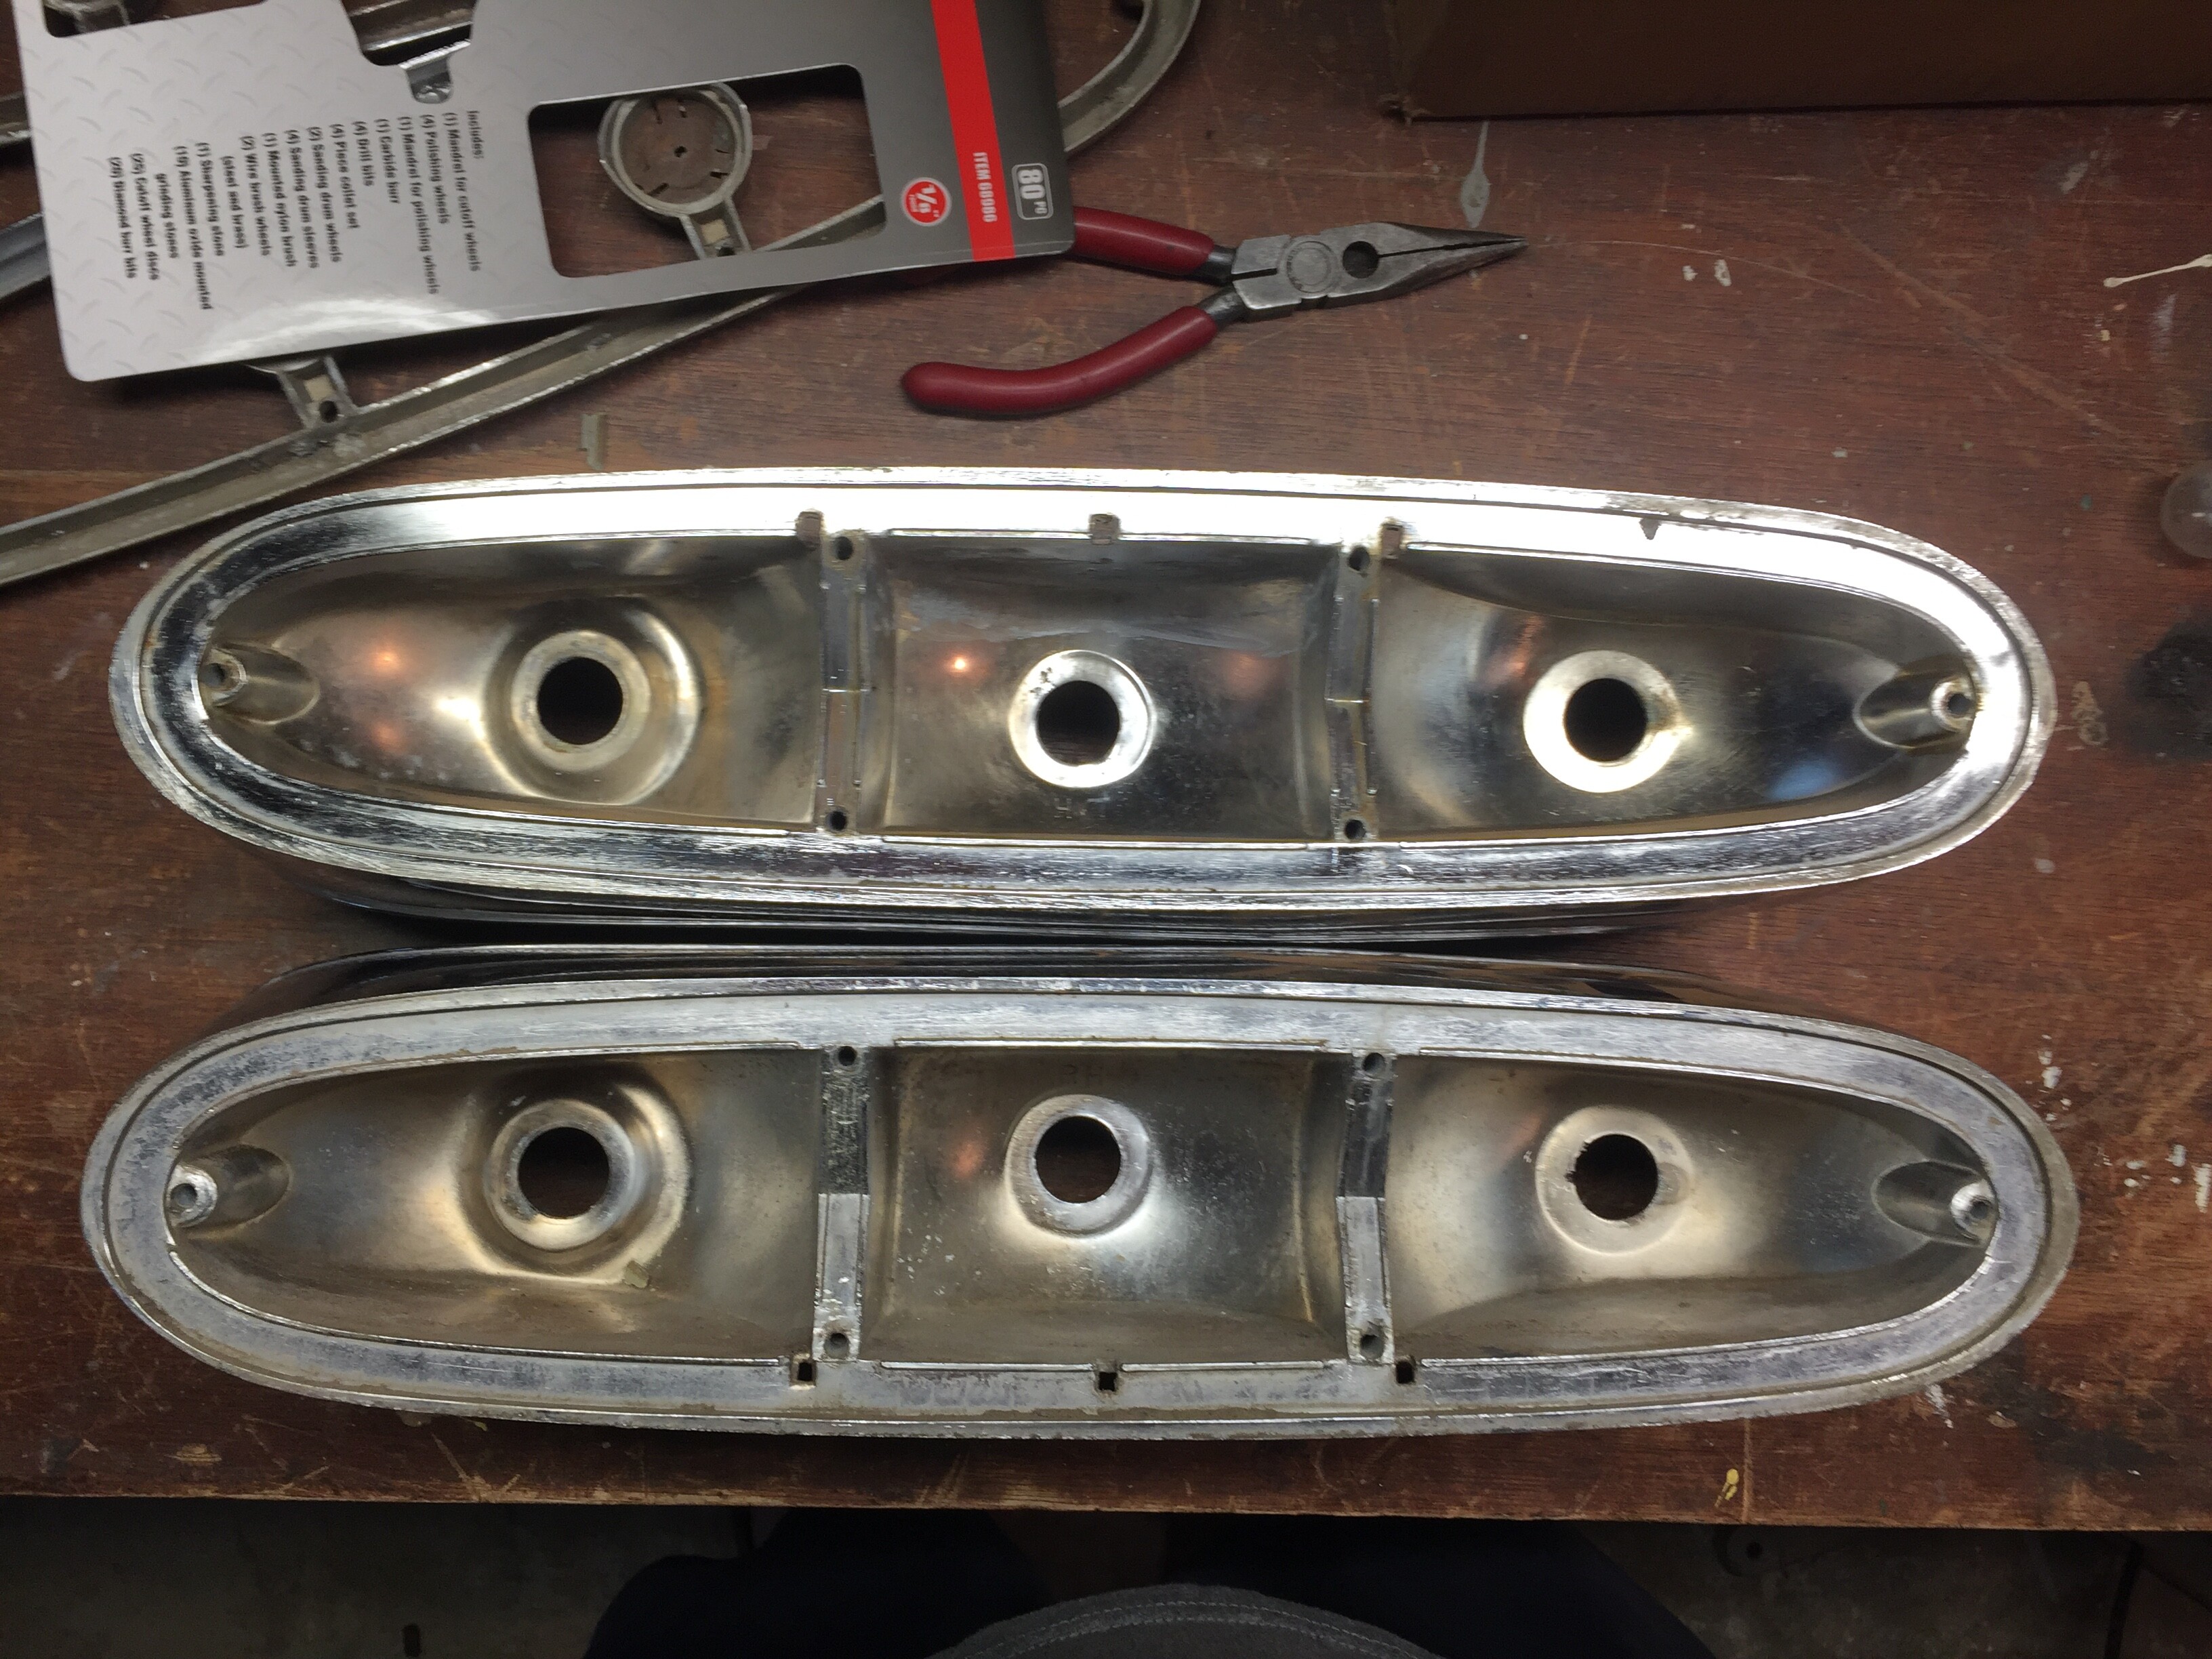
Off to the Plater’s tomorrow!
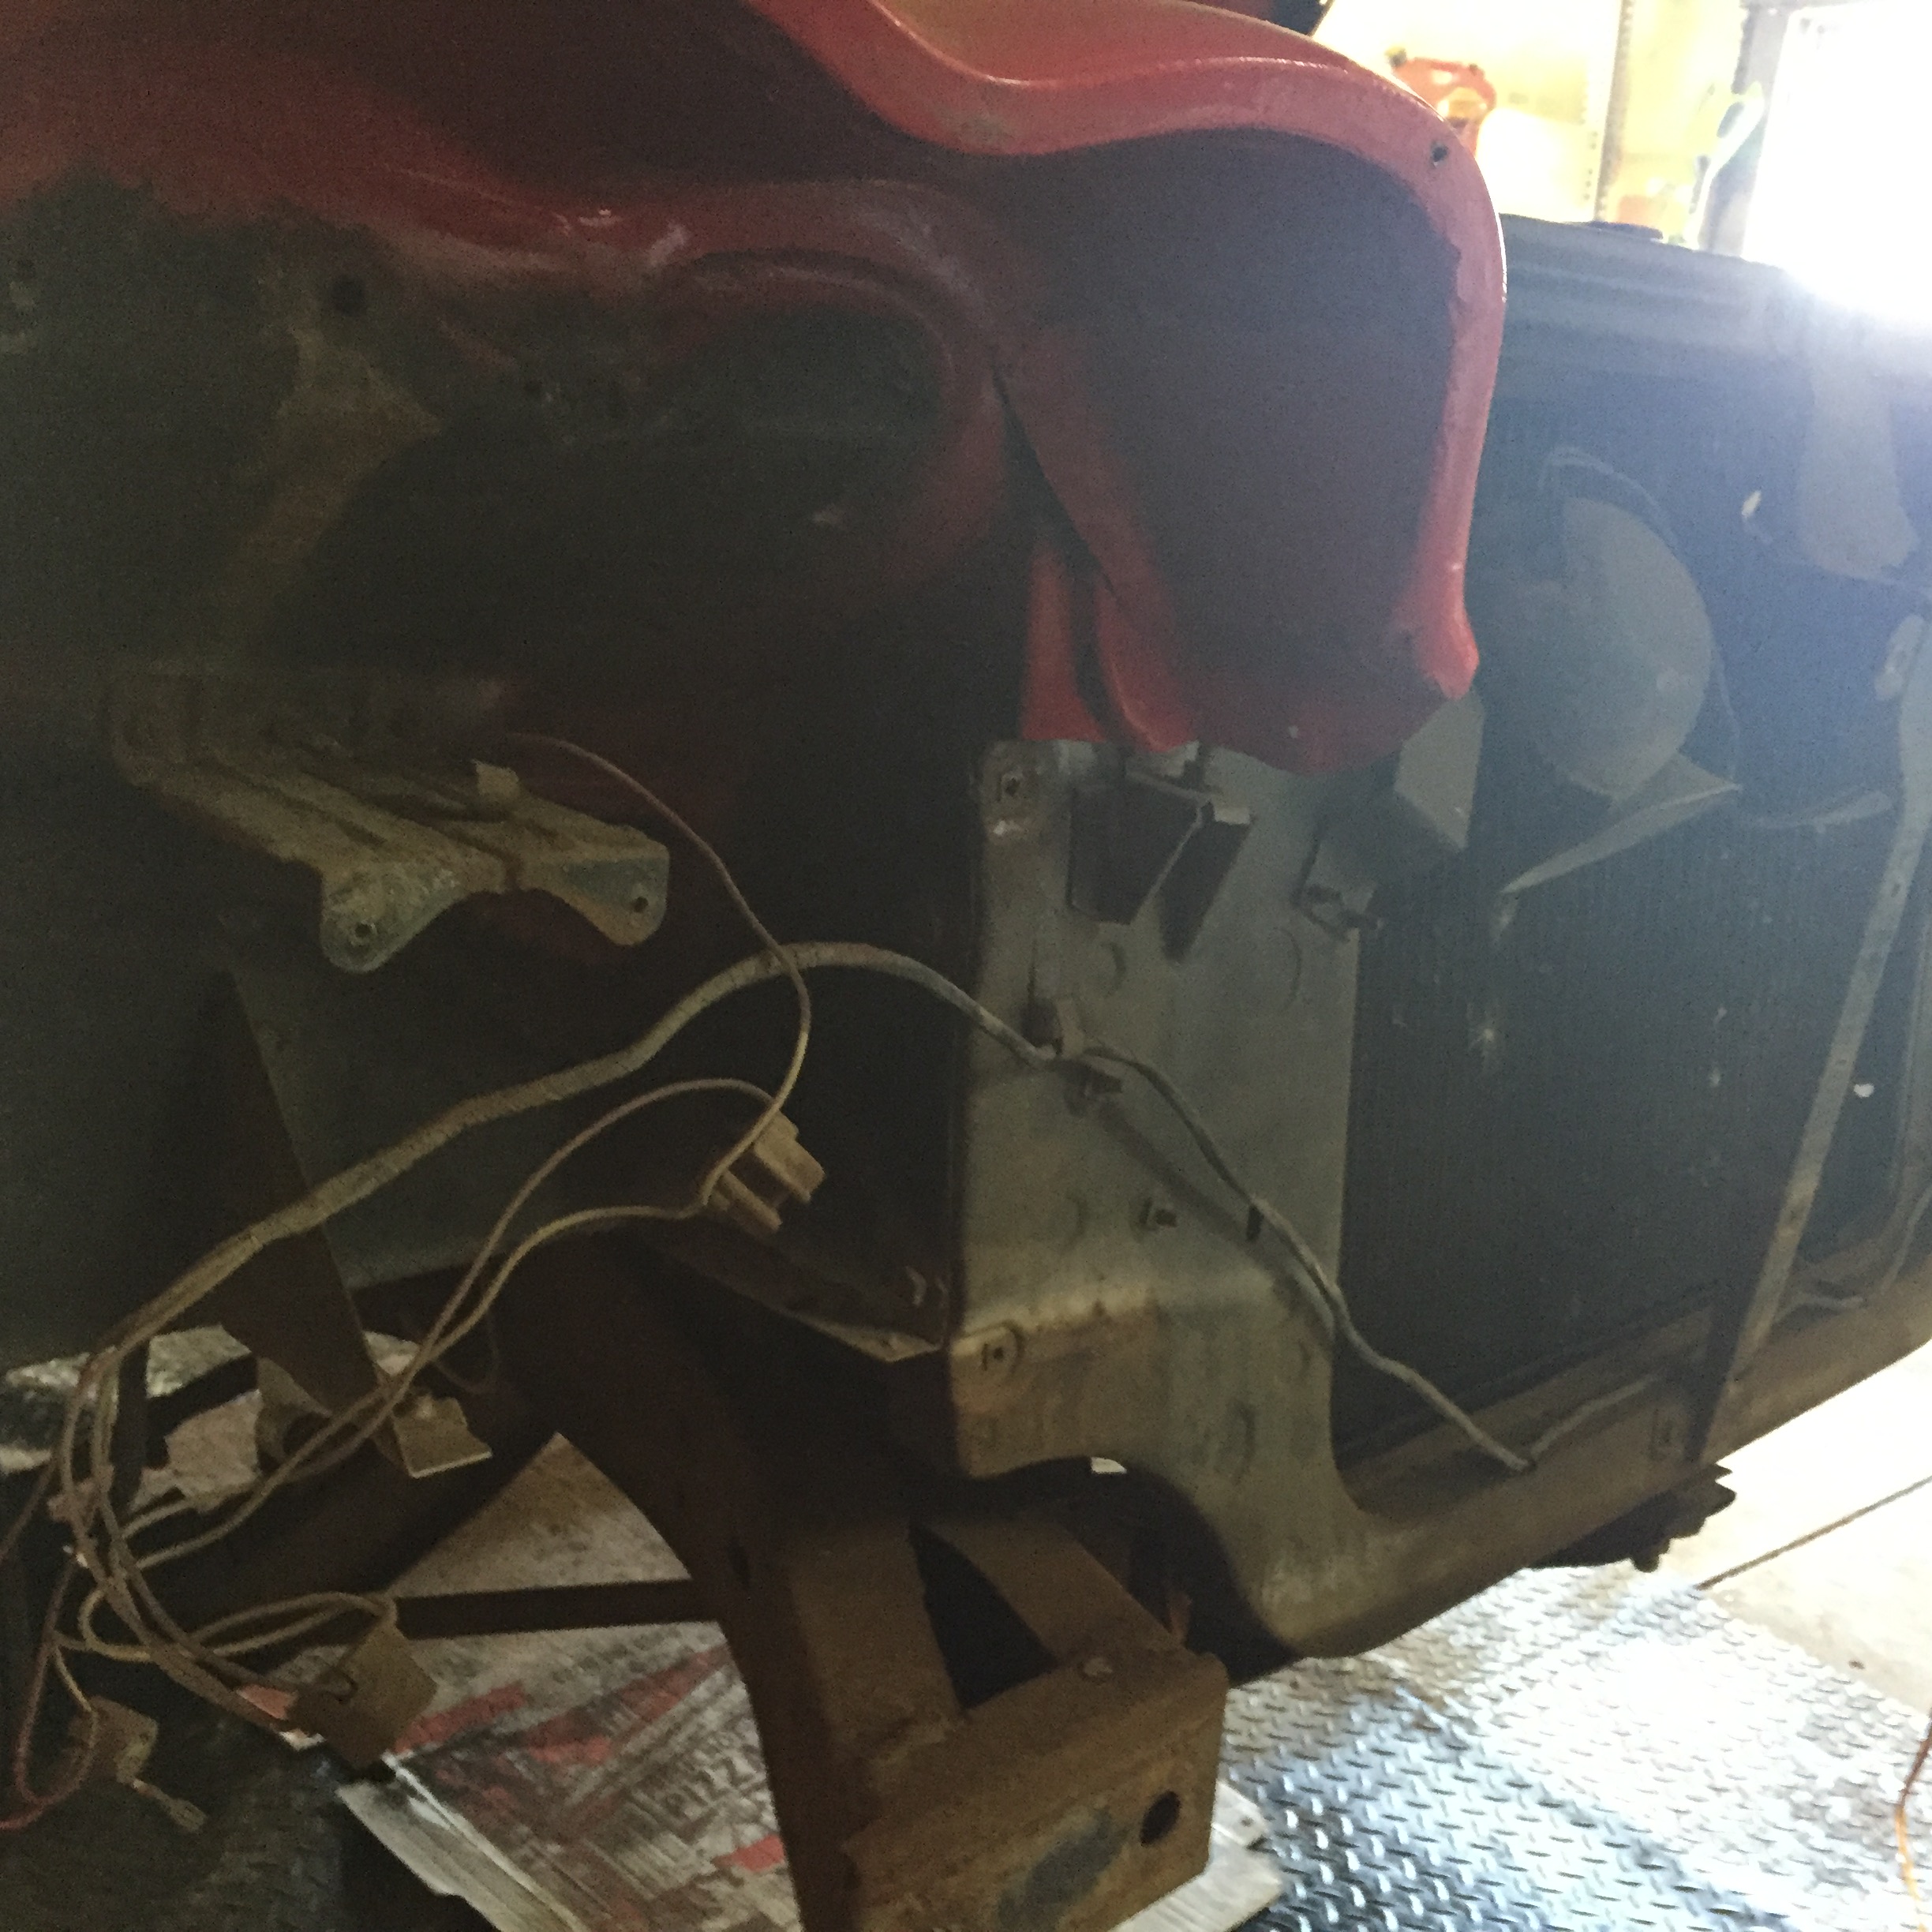
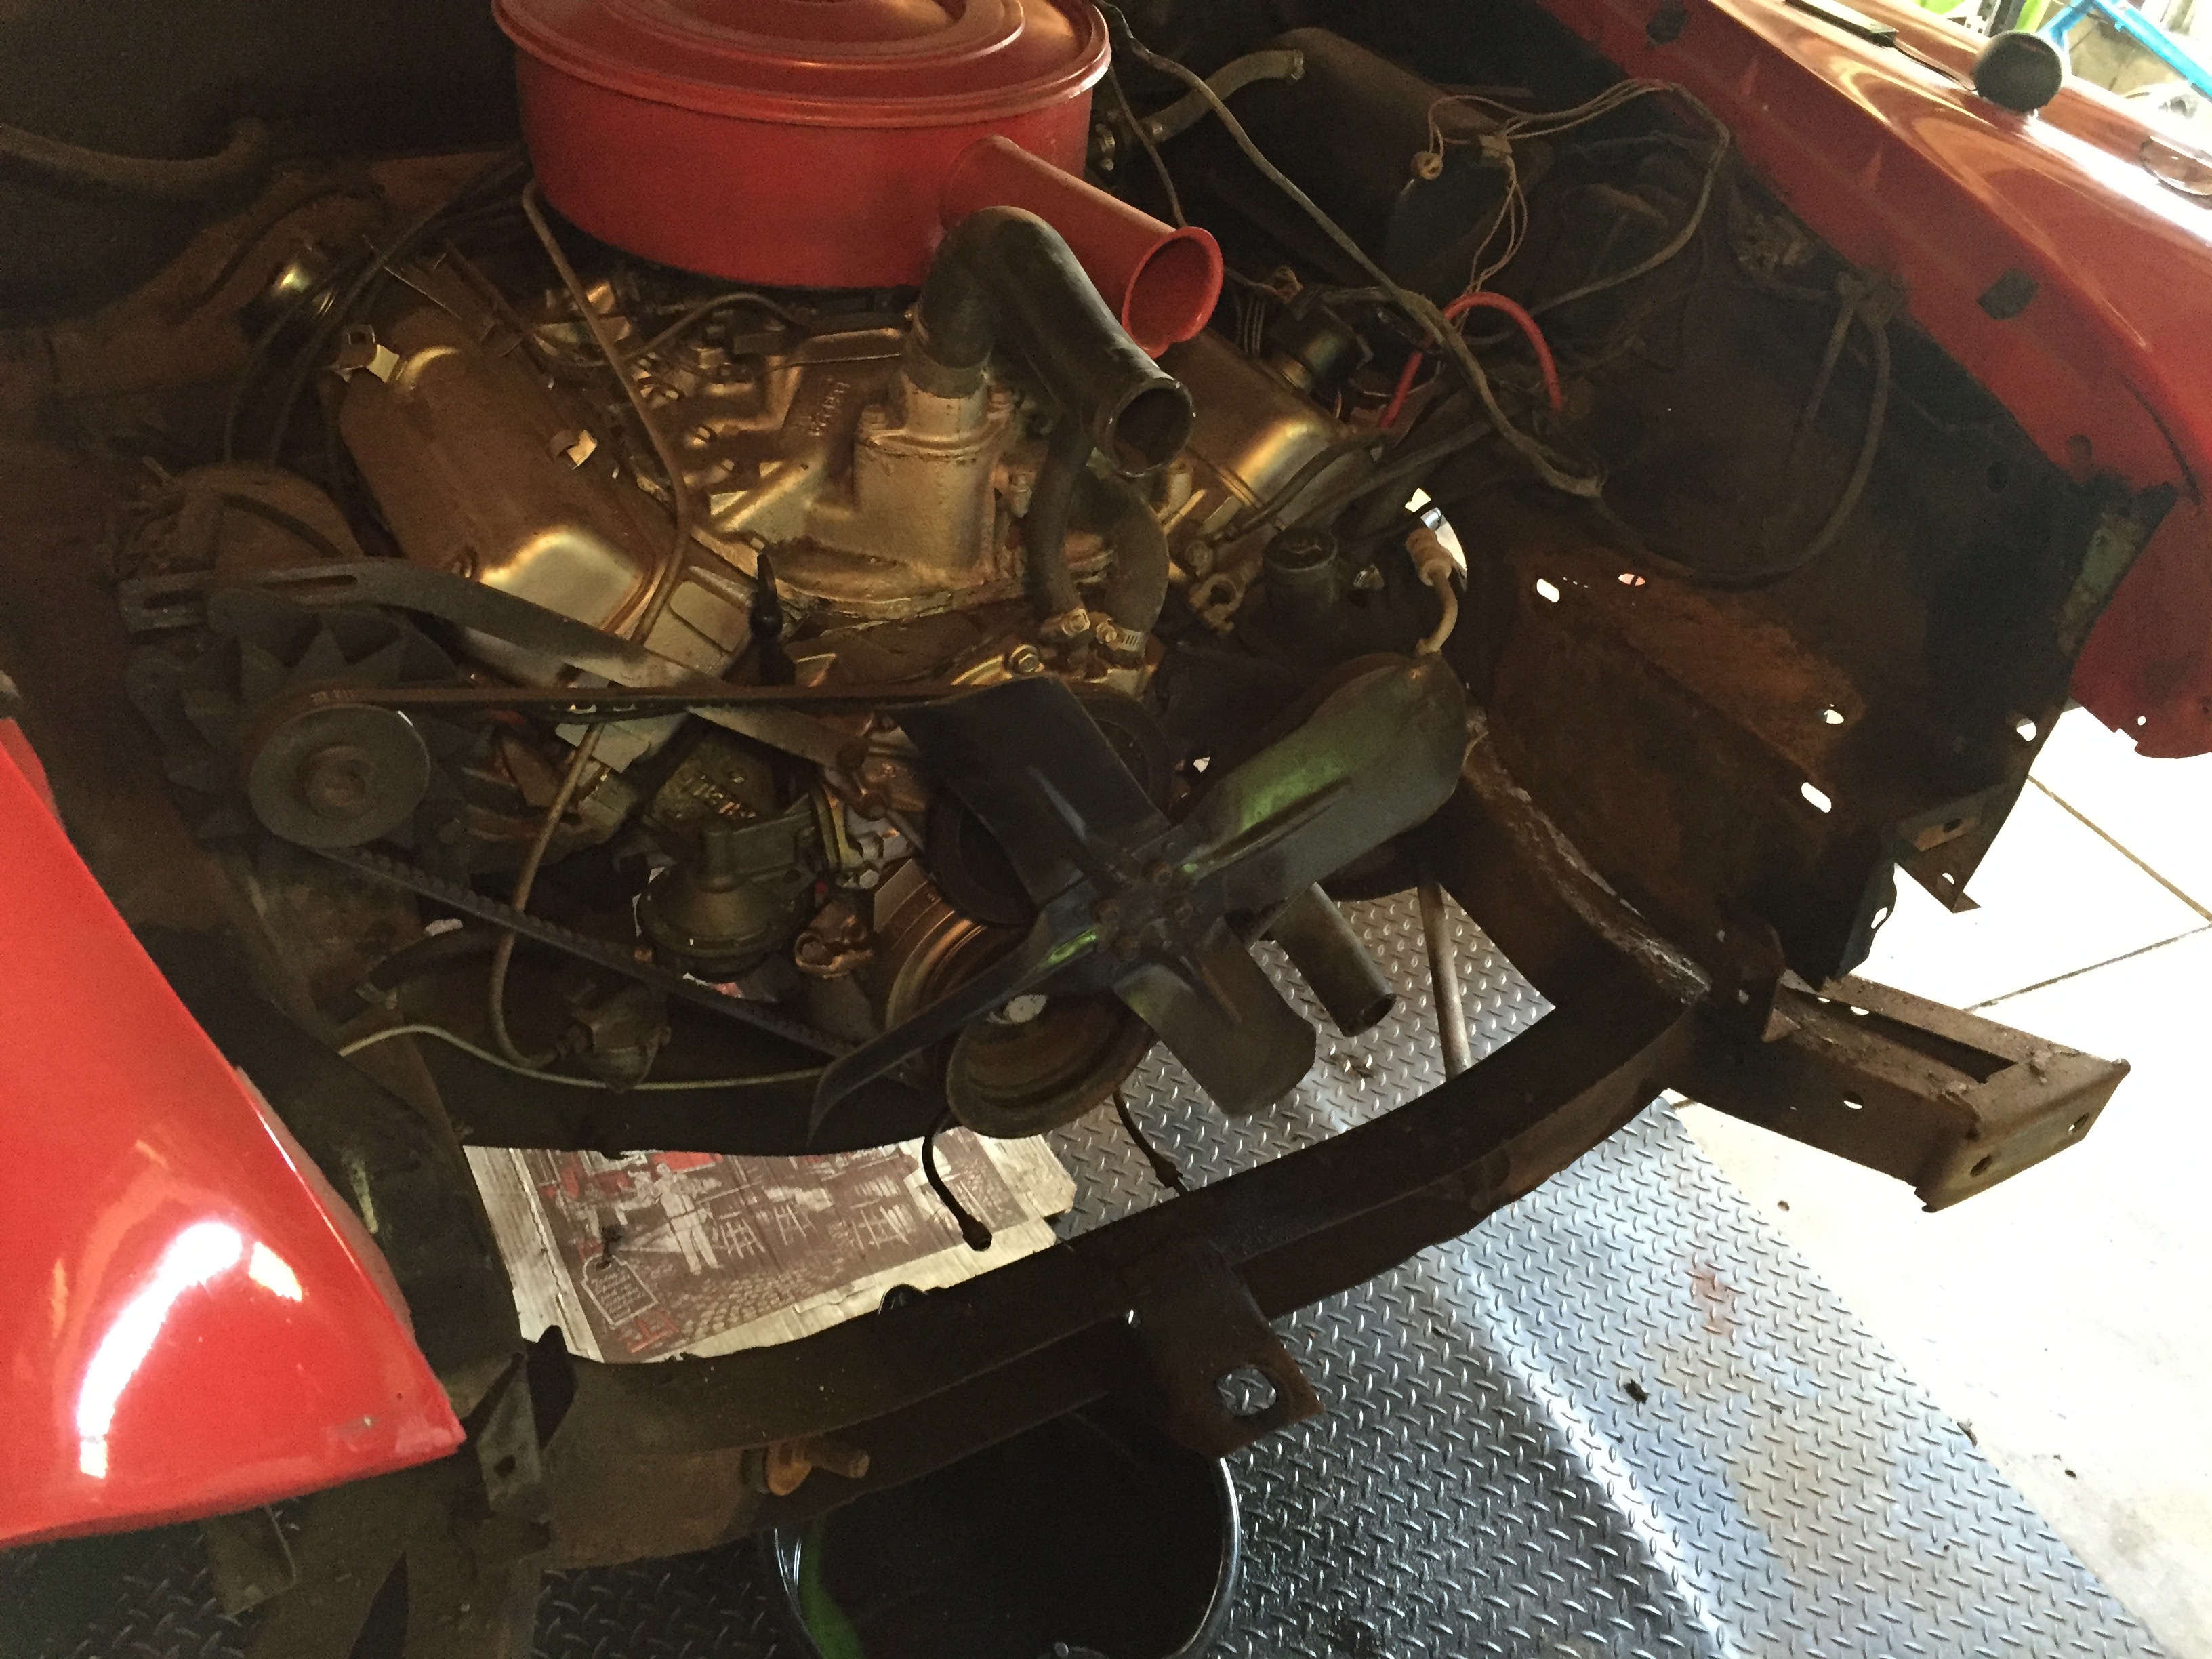
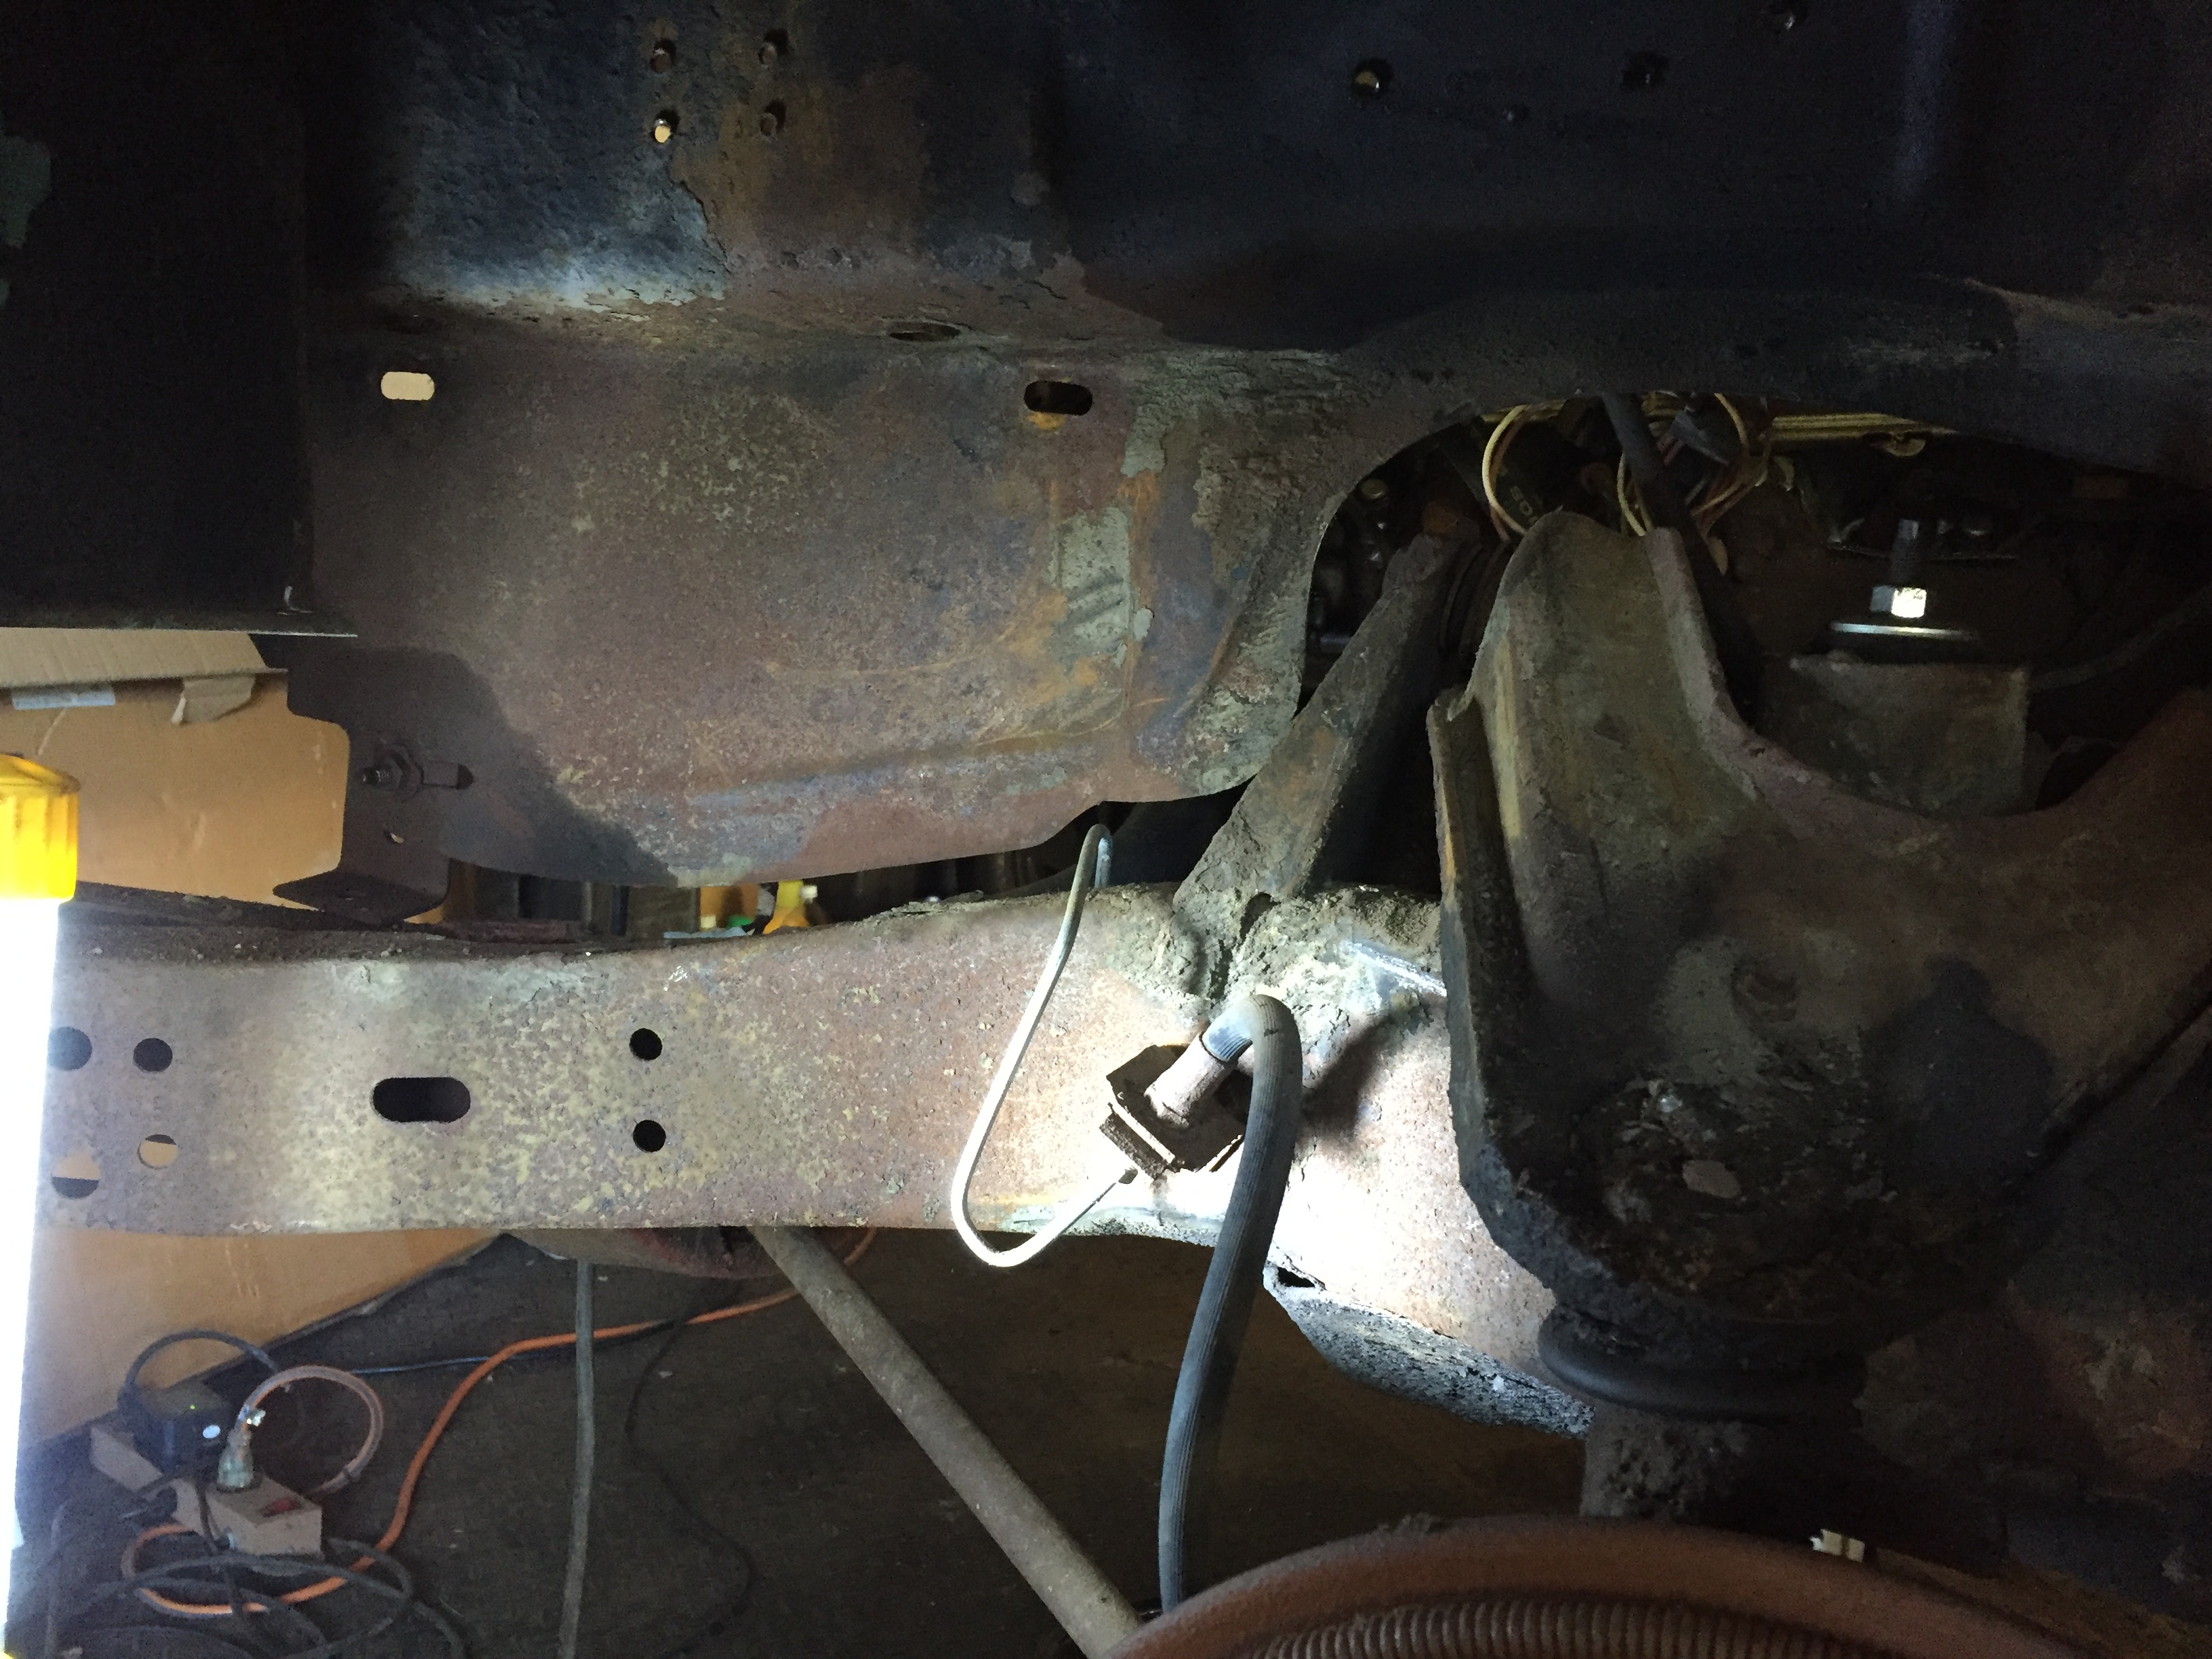
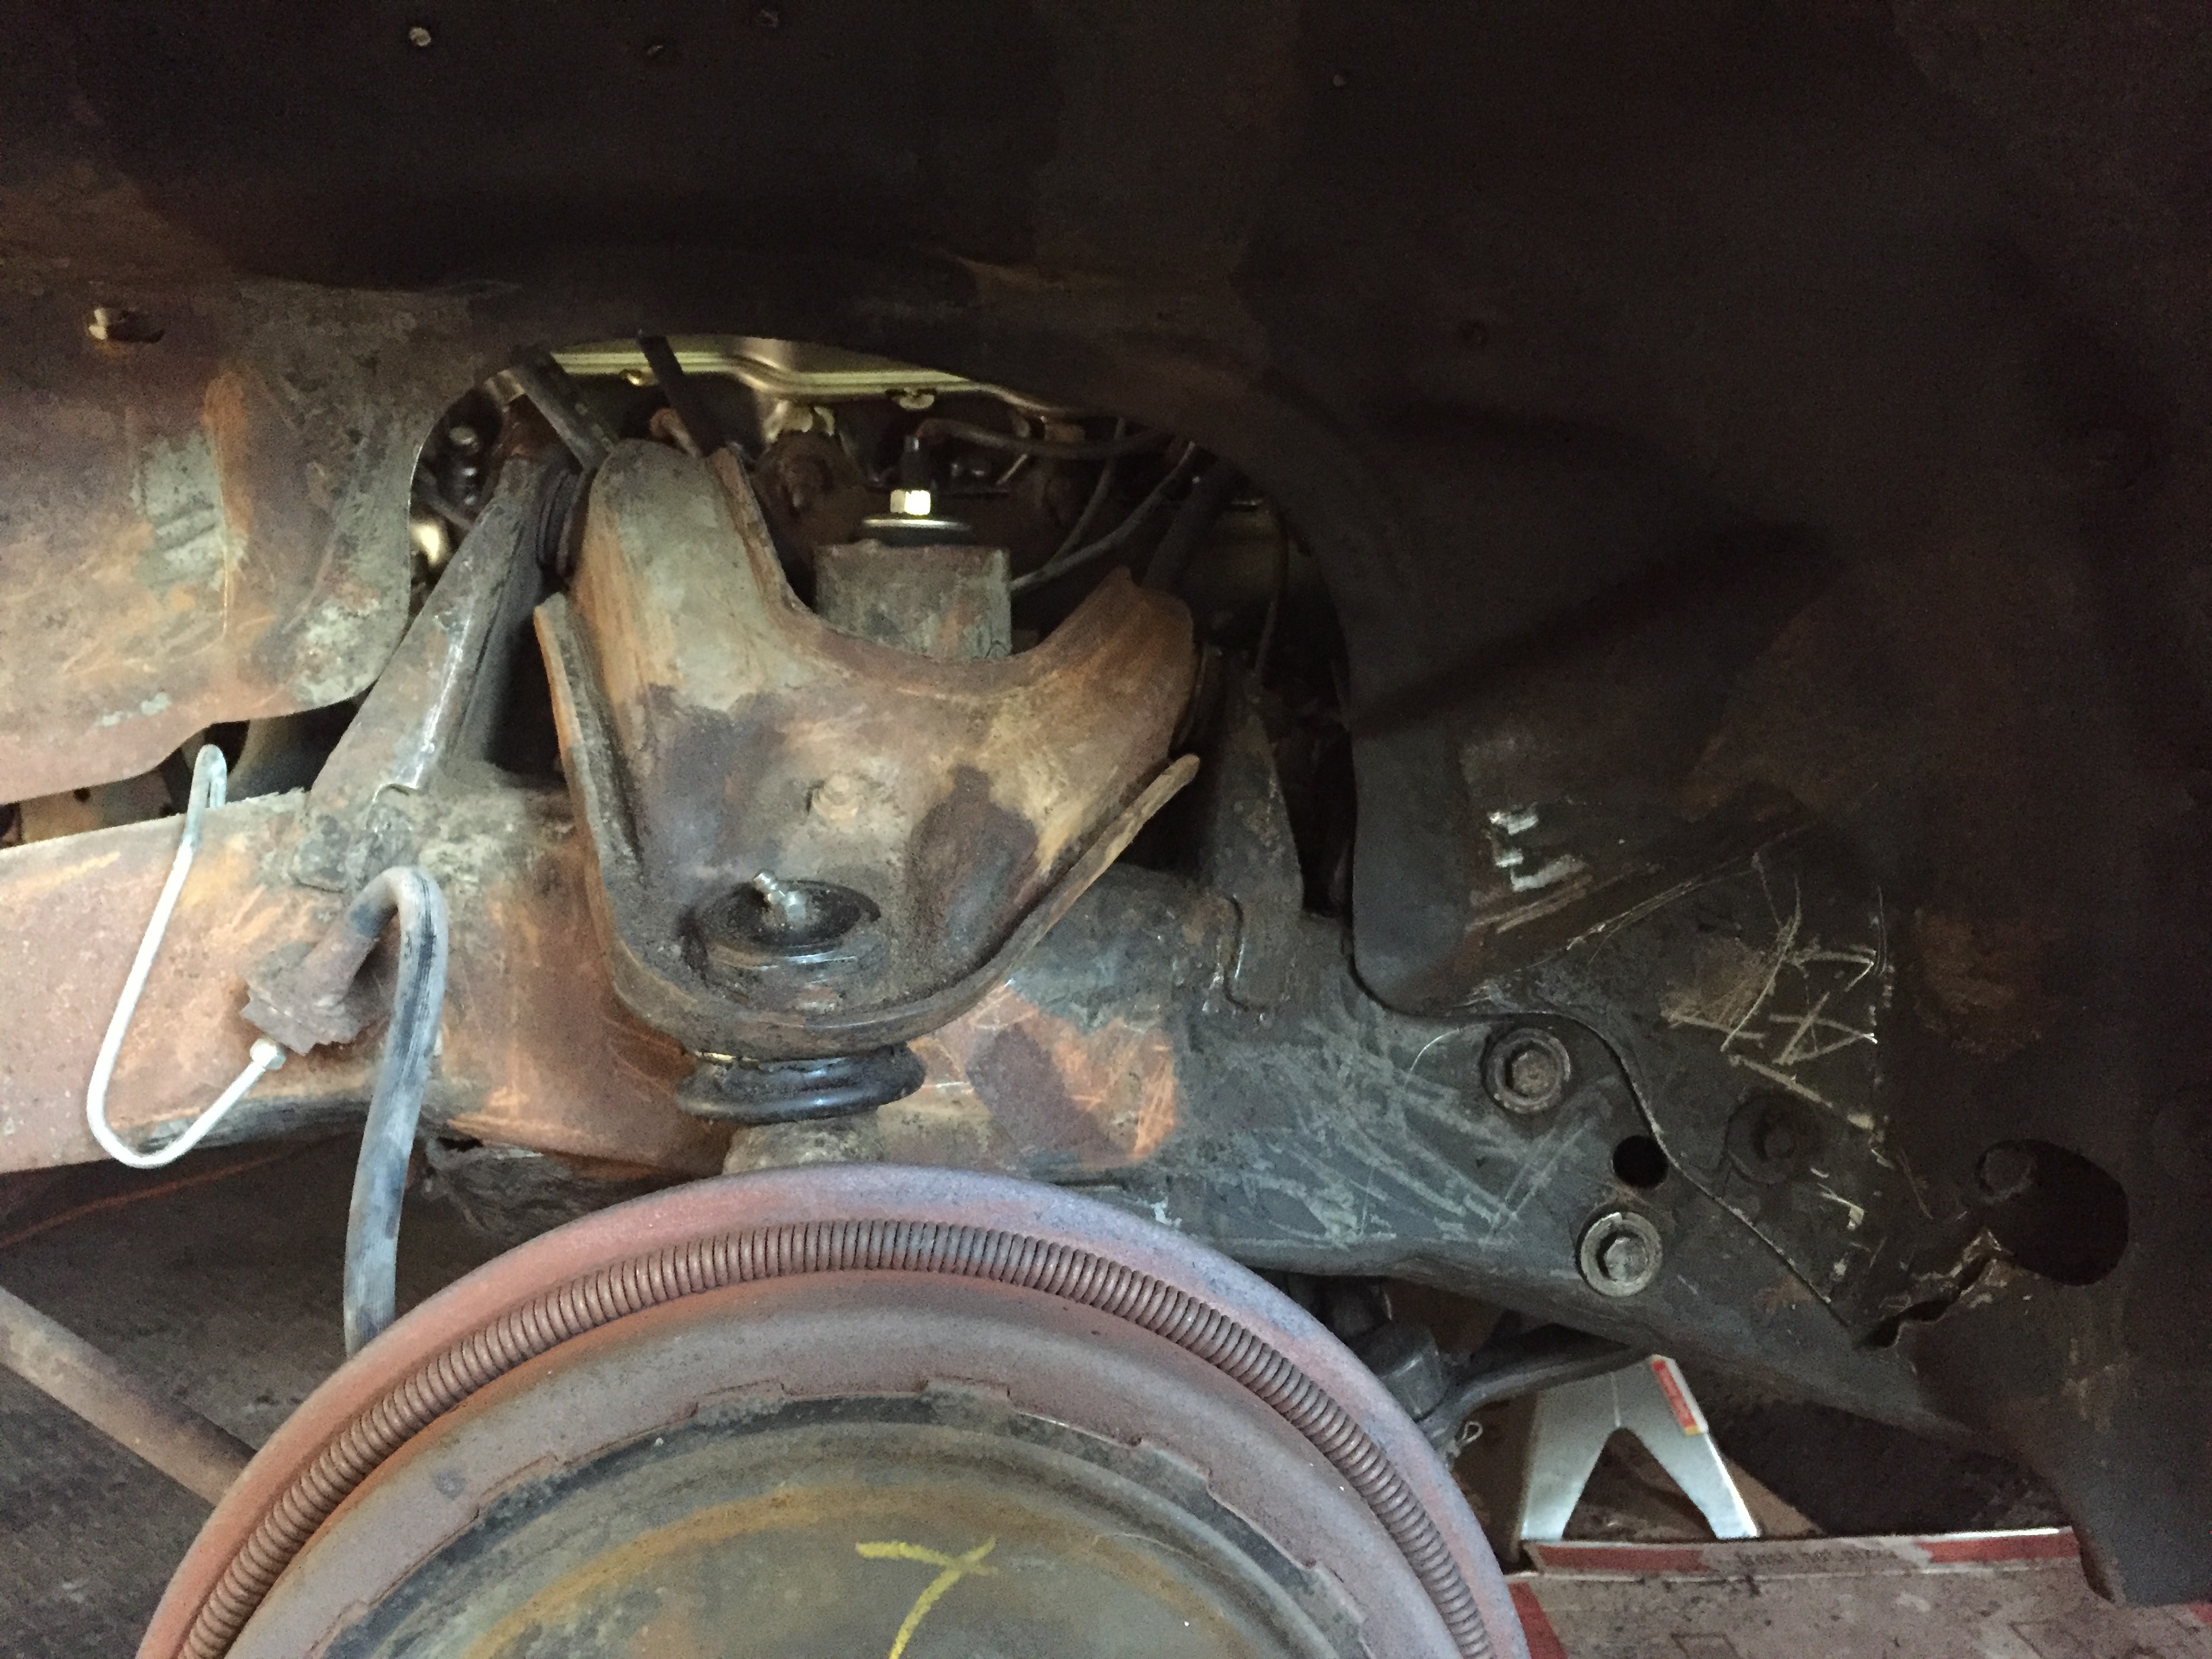
I knew - eventually - I would have to tackle the grimey, greasy front end of Faulkner. And today, I got started.
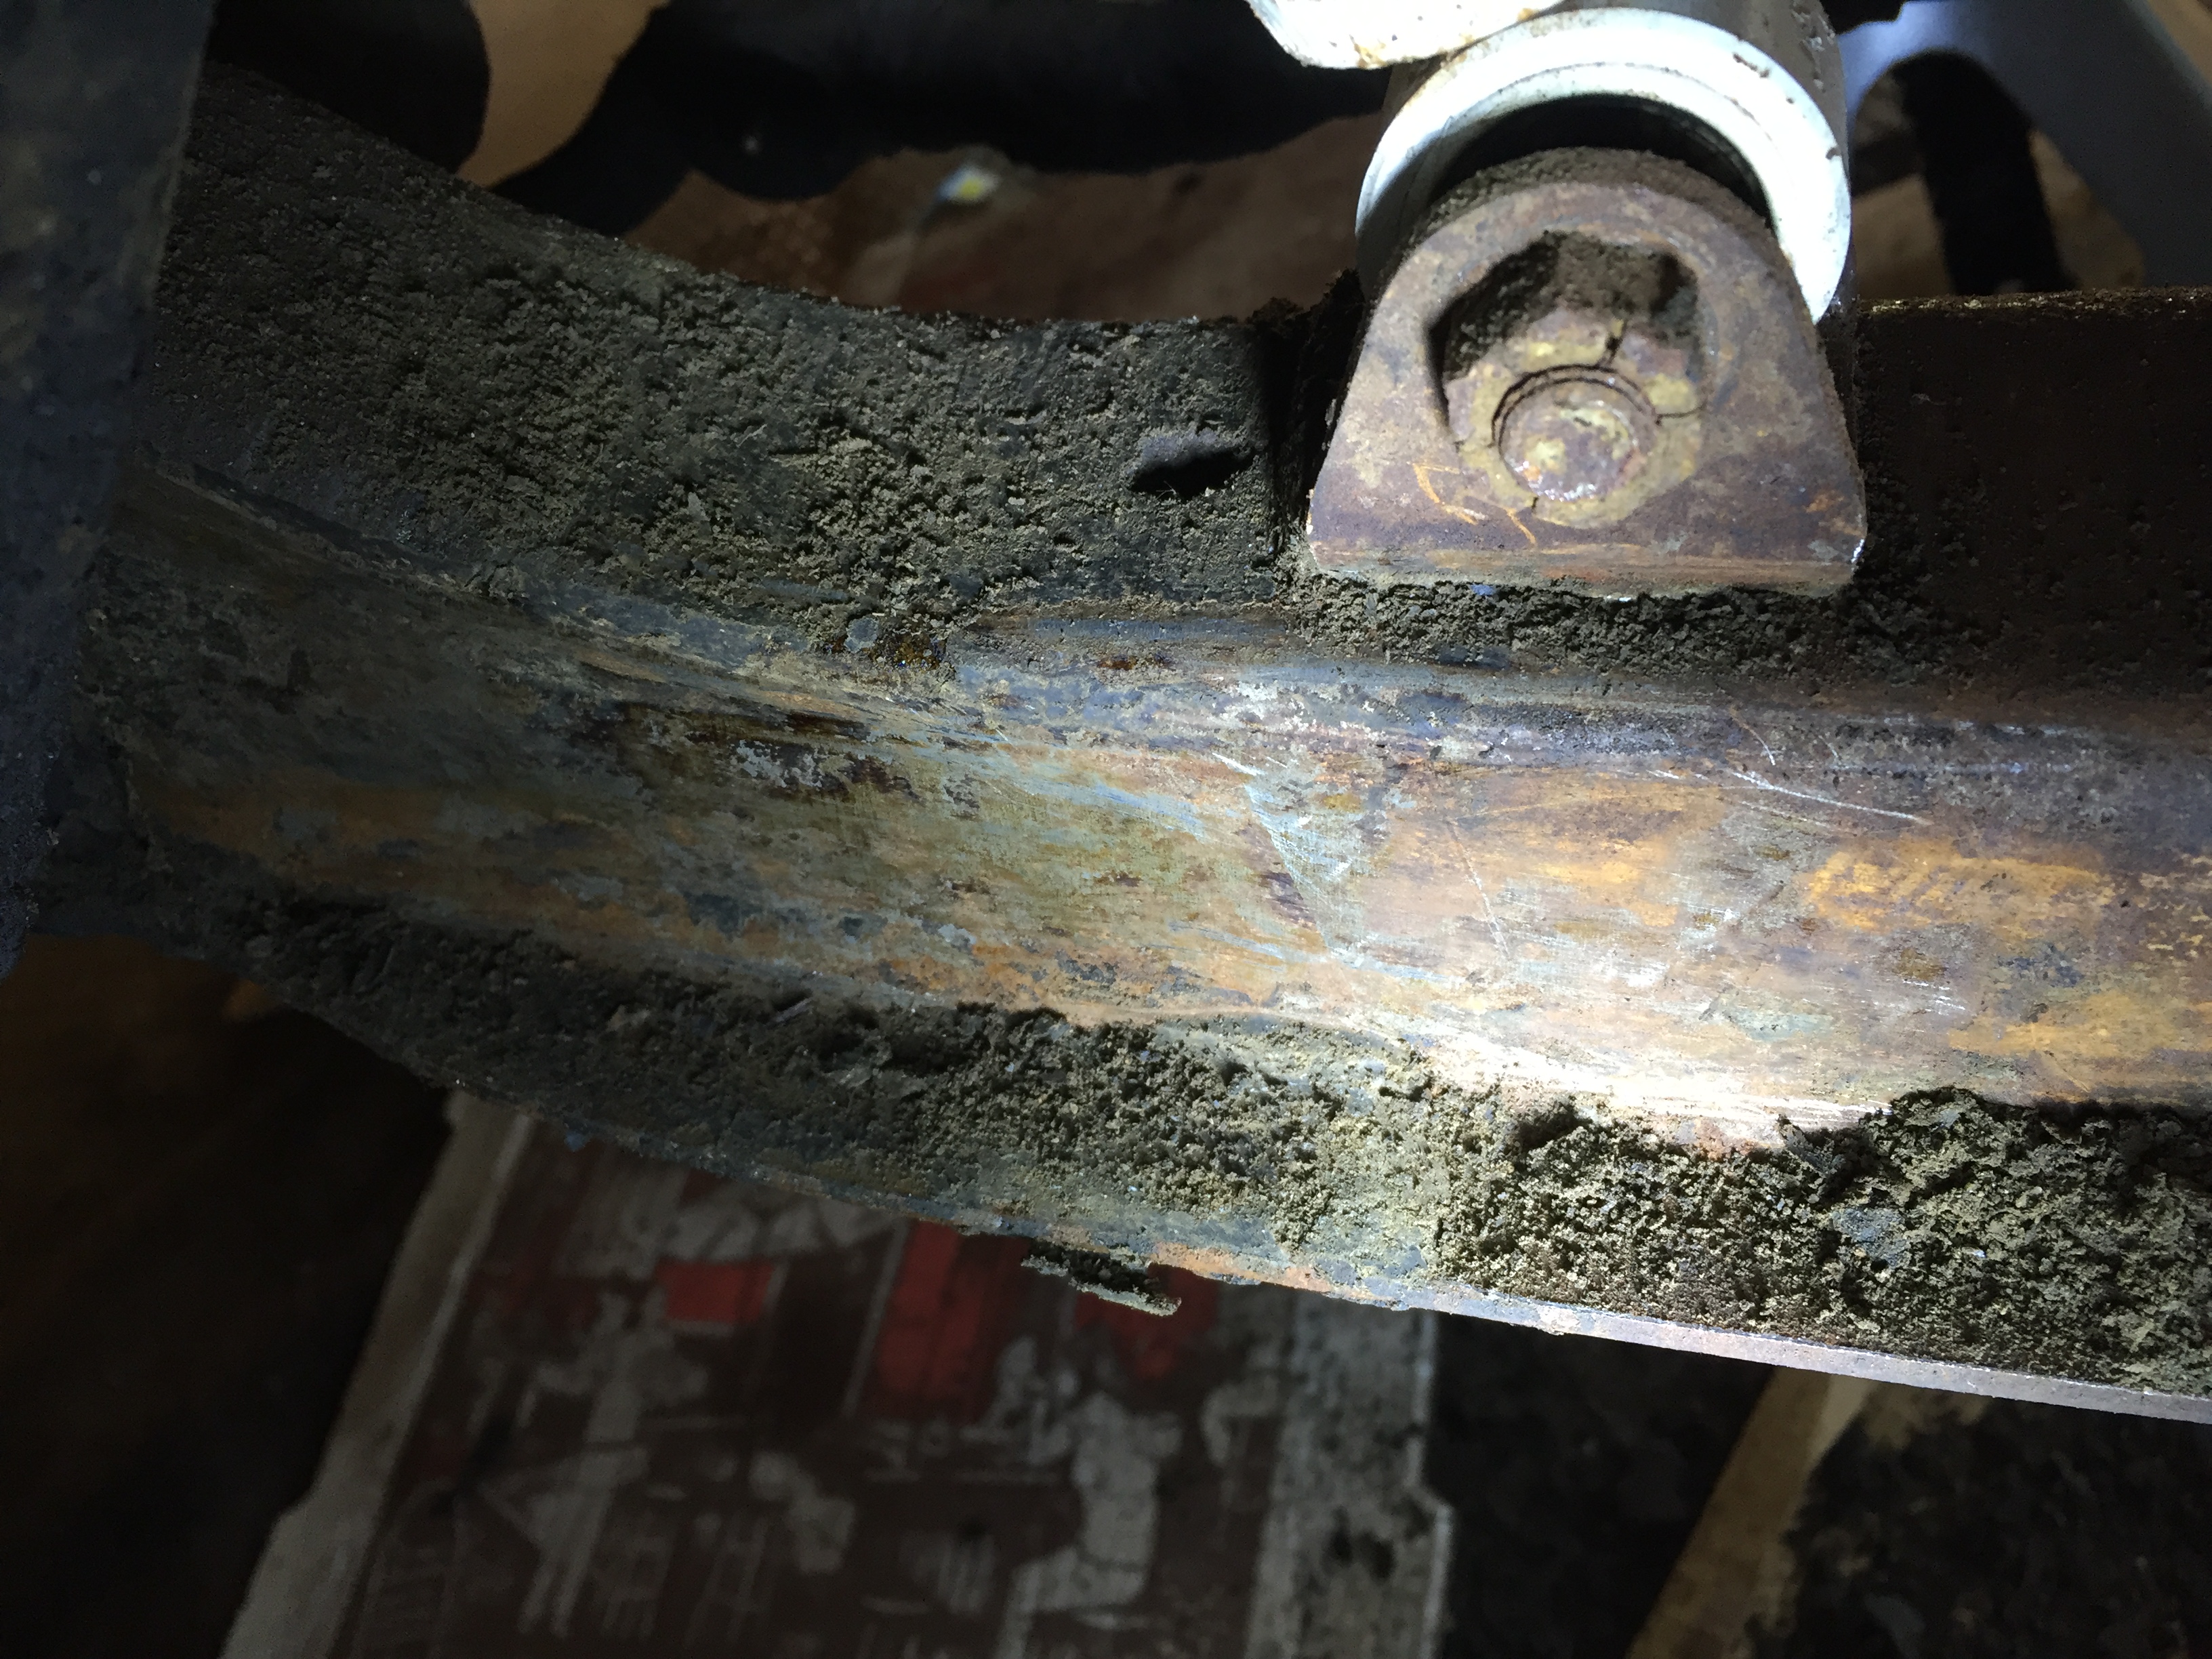
I had great ambitions of finishing the driver’s side fender today, but no such luck. It was all I could do to scrape 58 years worth of caked on grime and dirt from all the front end and steering components. Now to wire brush, wipe with mineral spirits to remove the sheen, ospho and rust encapsulate.
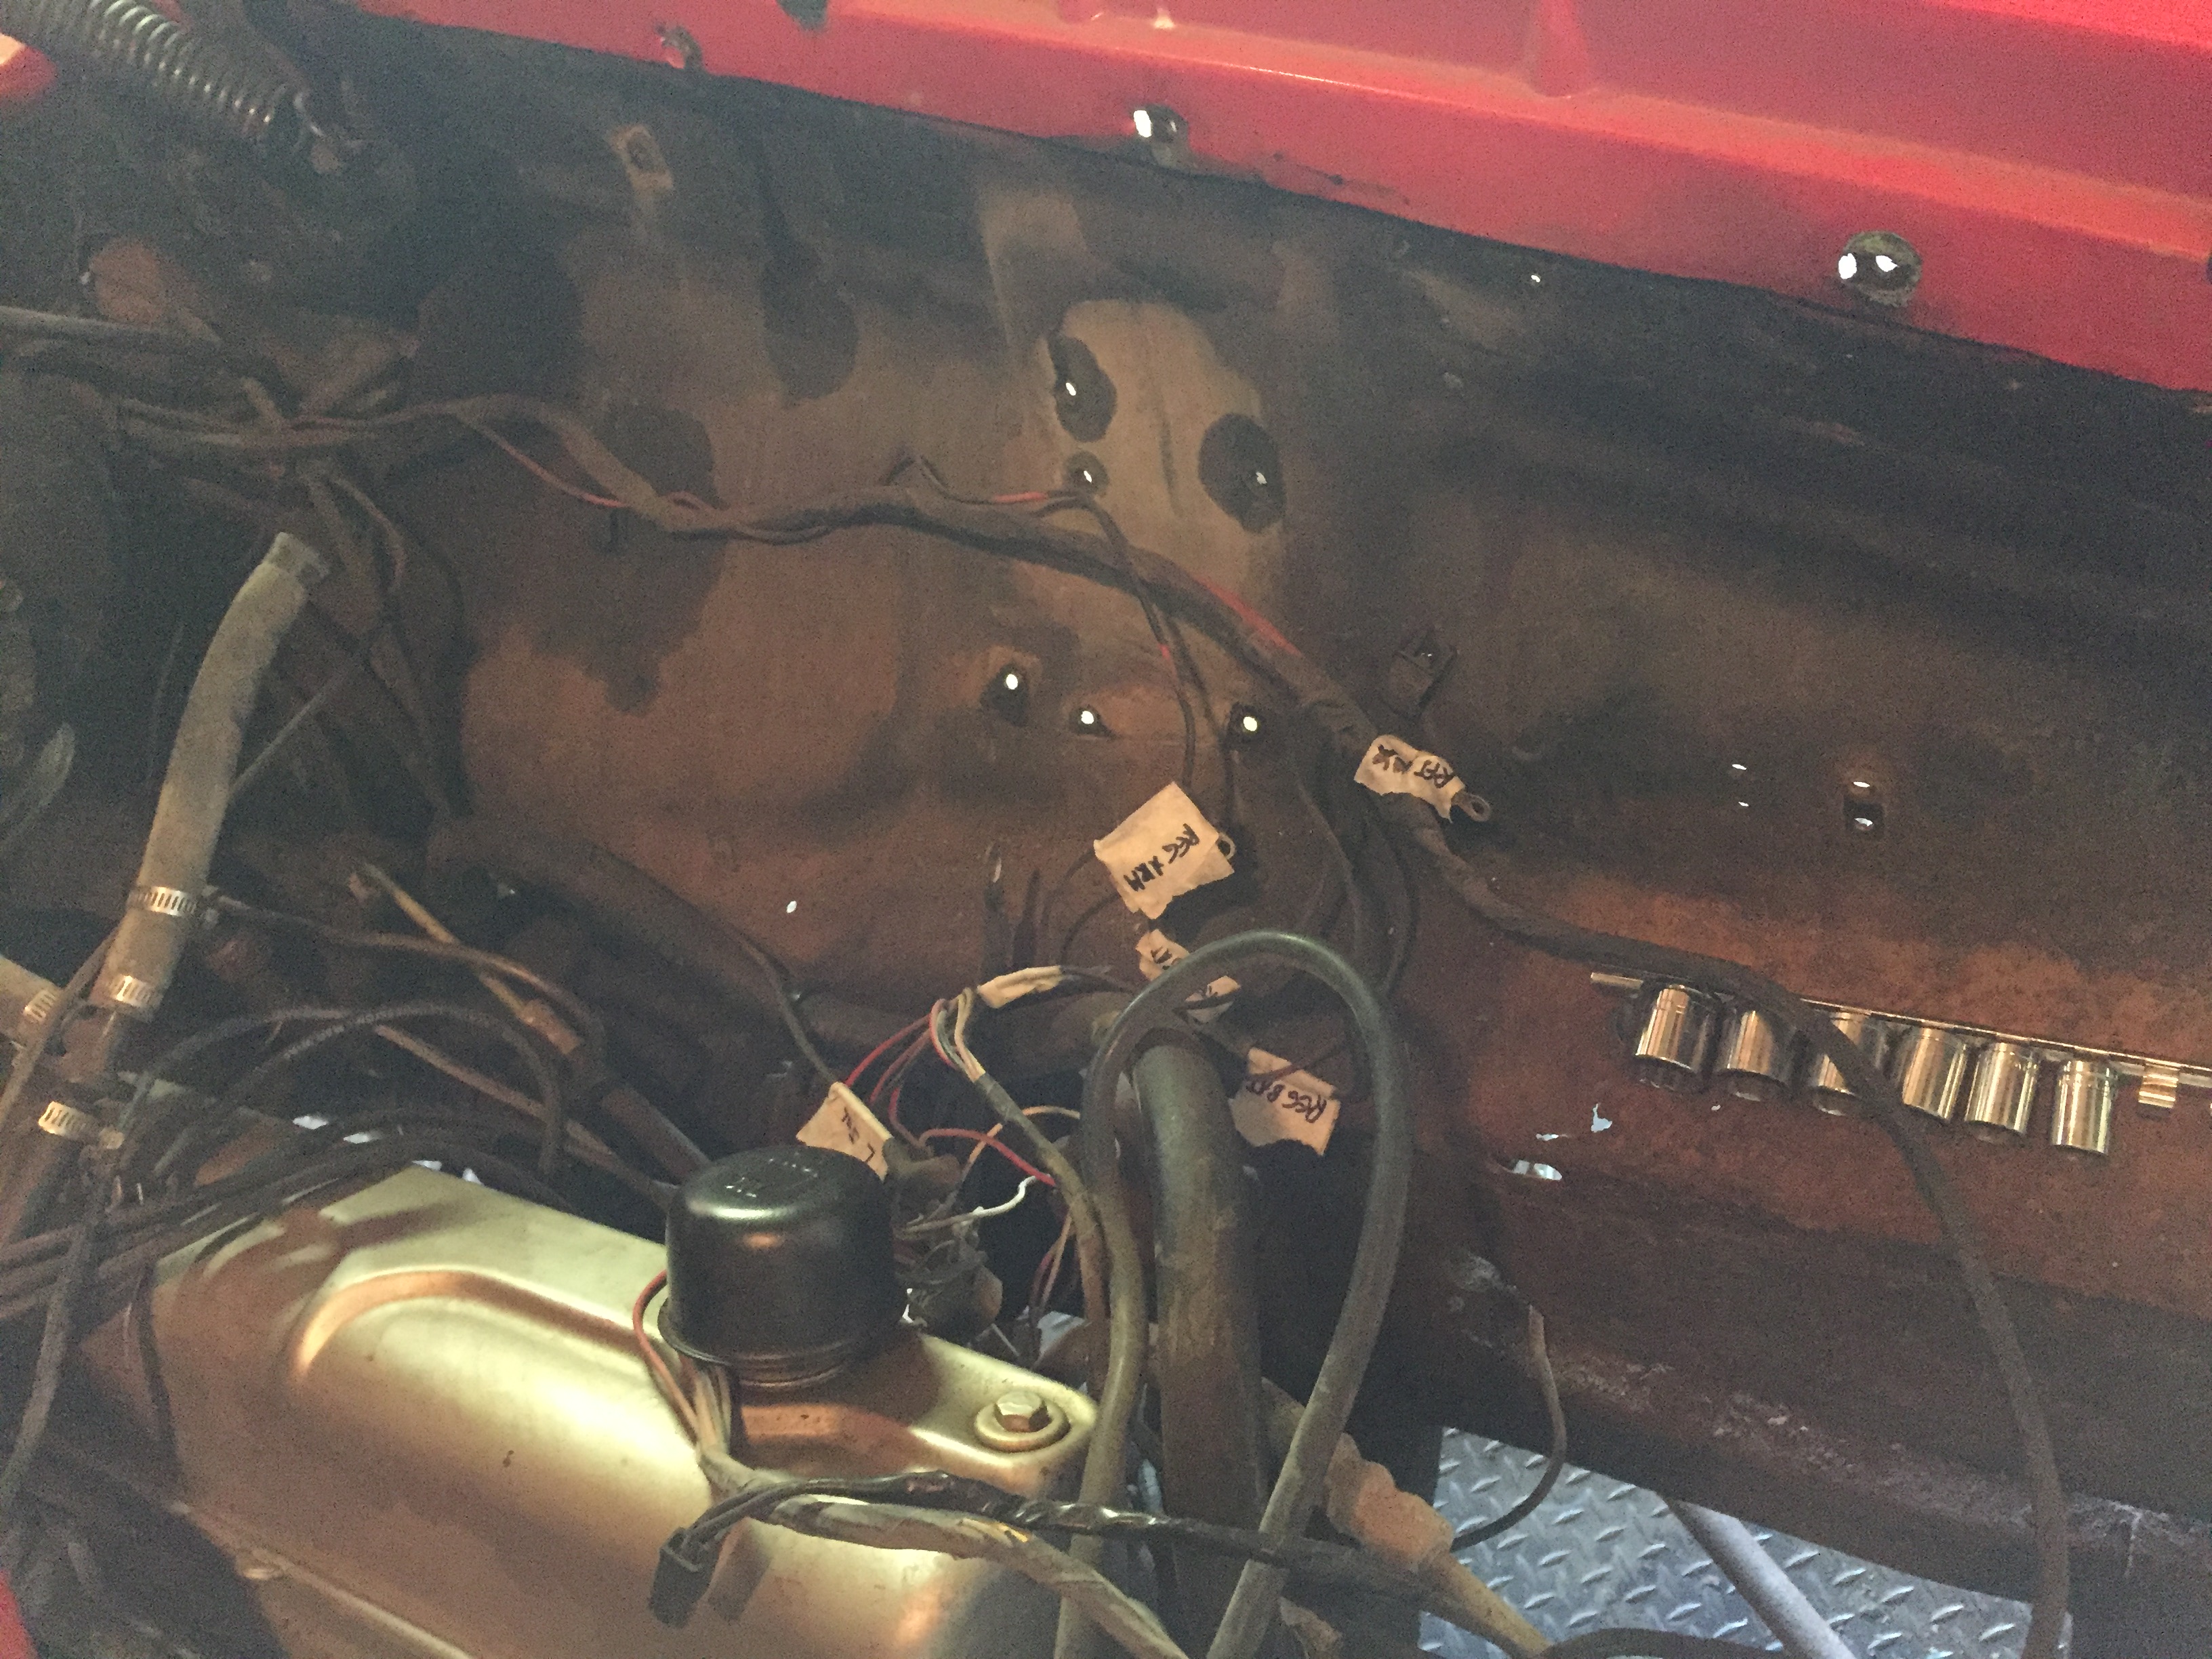
Because I plan to dress up the engine compartment as best I can, I removed all the electricals from the driver’s inner fender - labeling the wires as I go. I’ll dress these cables, too, with plastic tape - replacing connectors where it’s advisable.
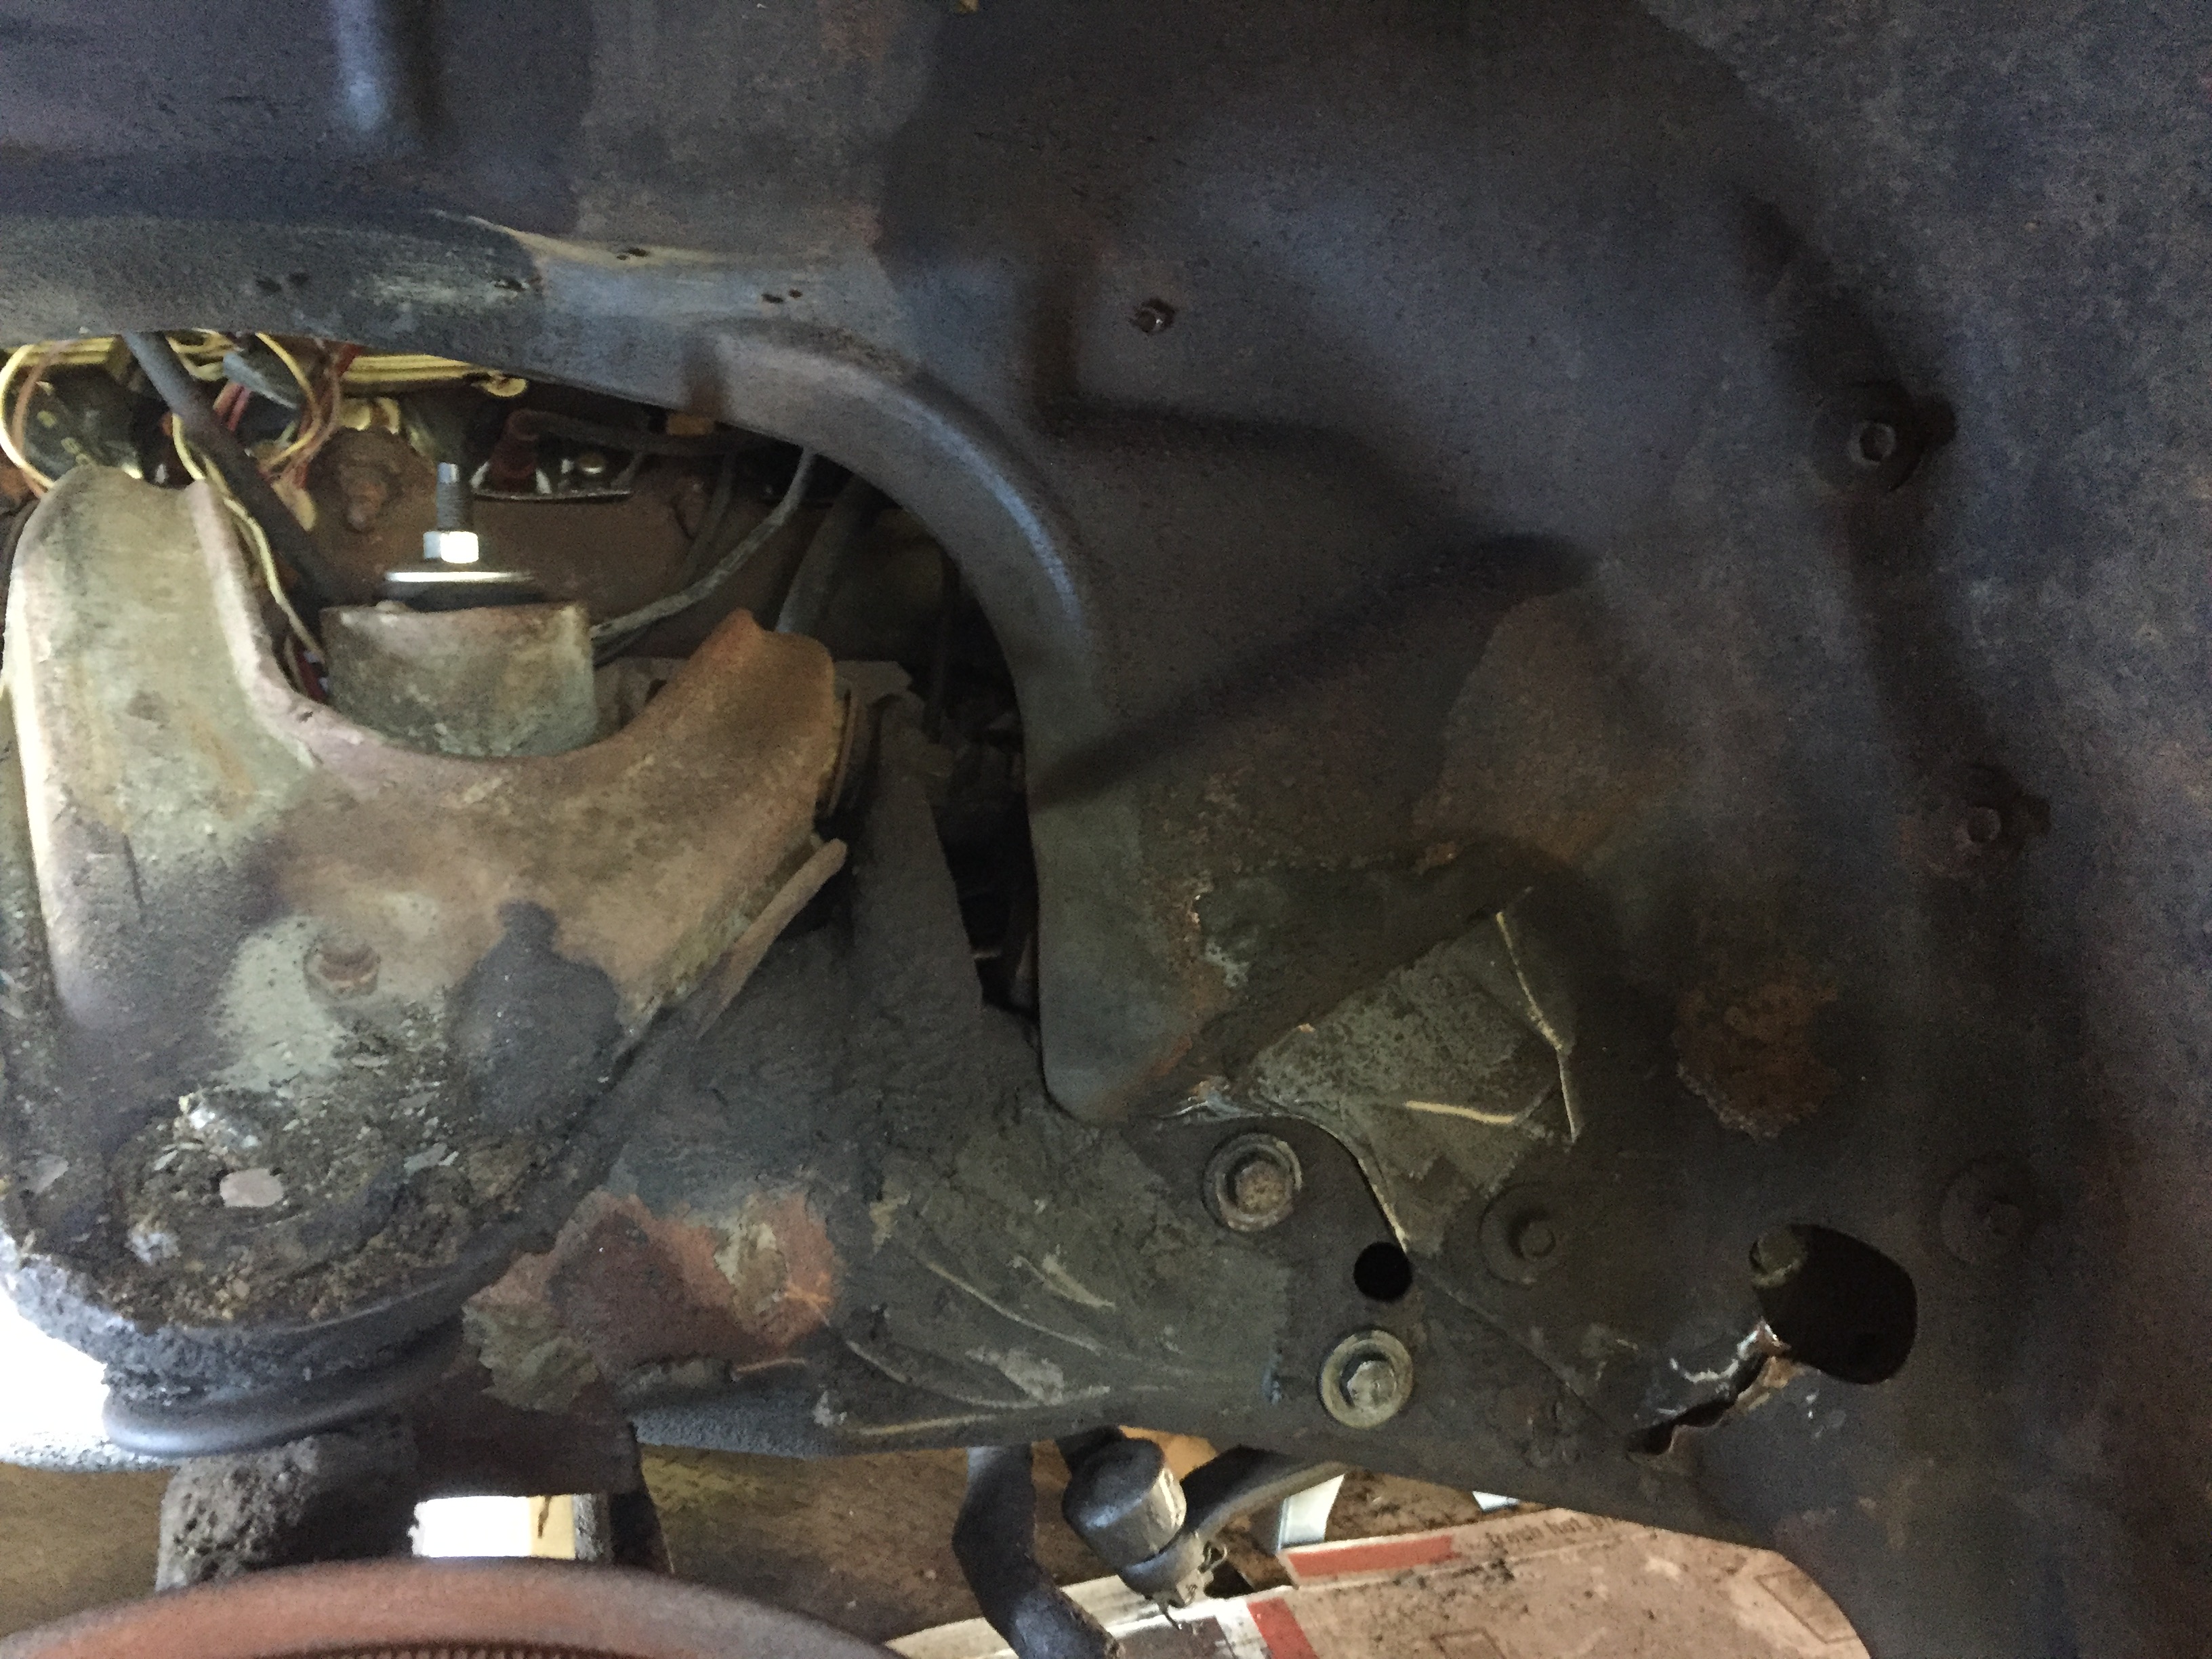
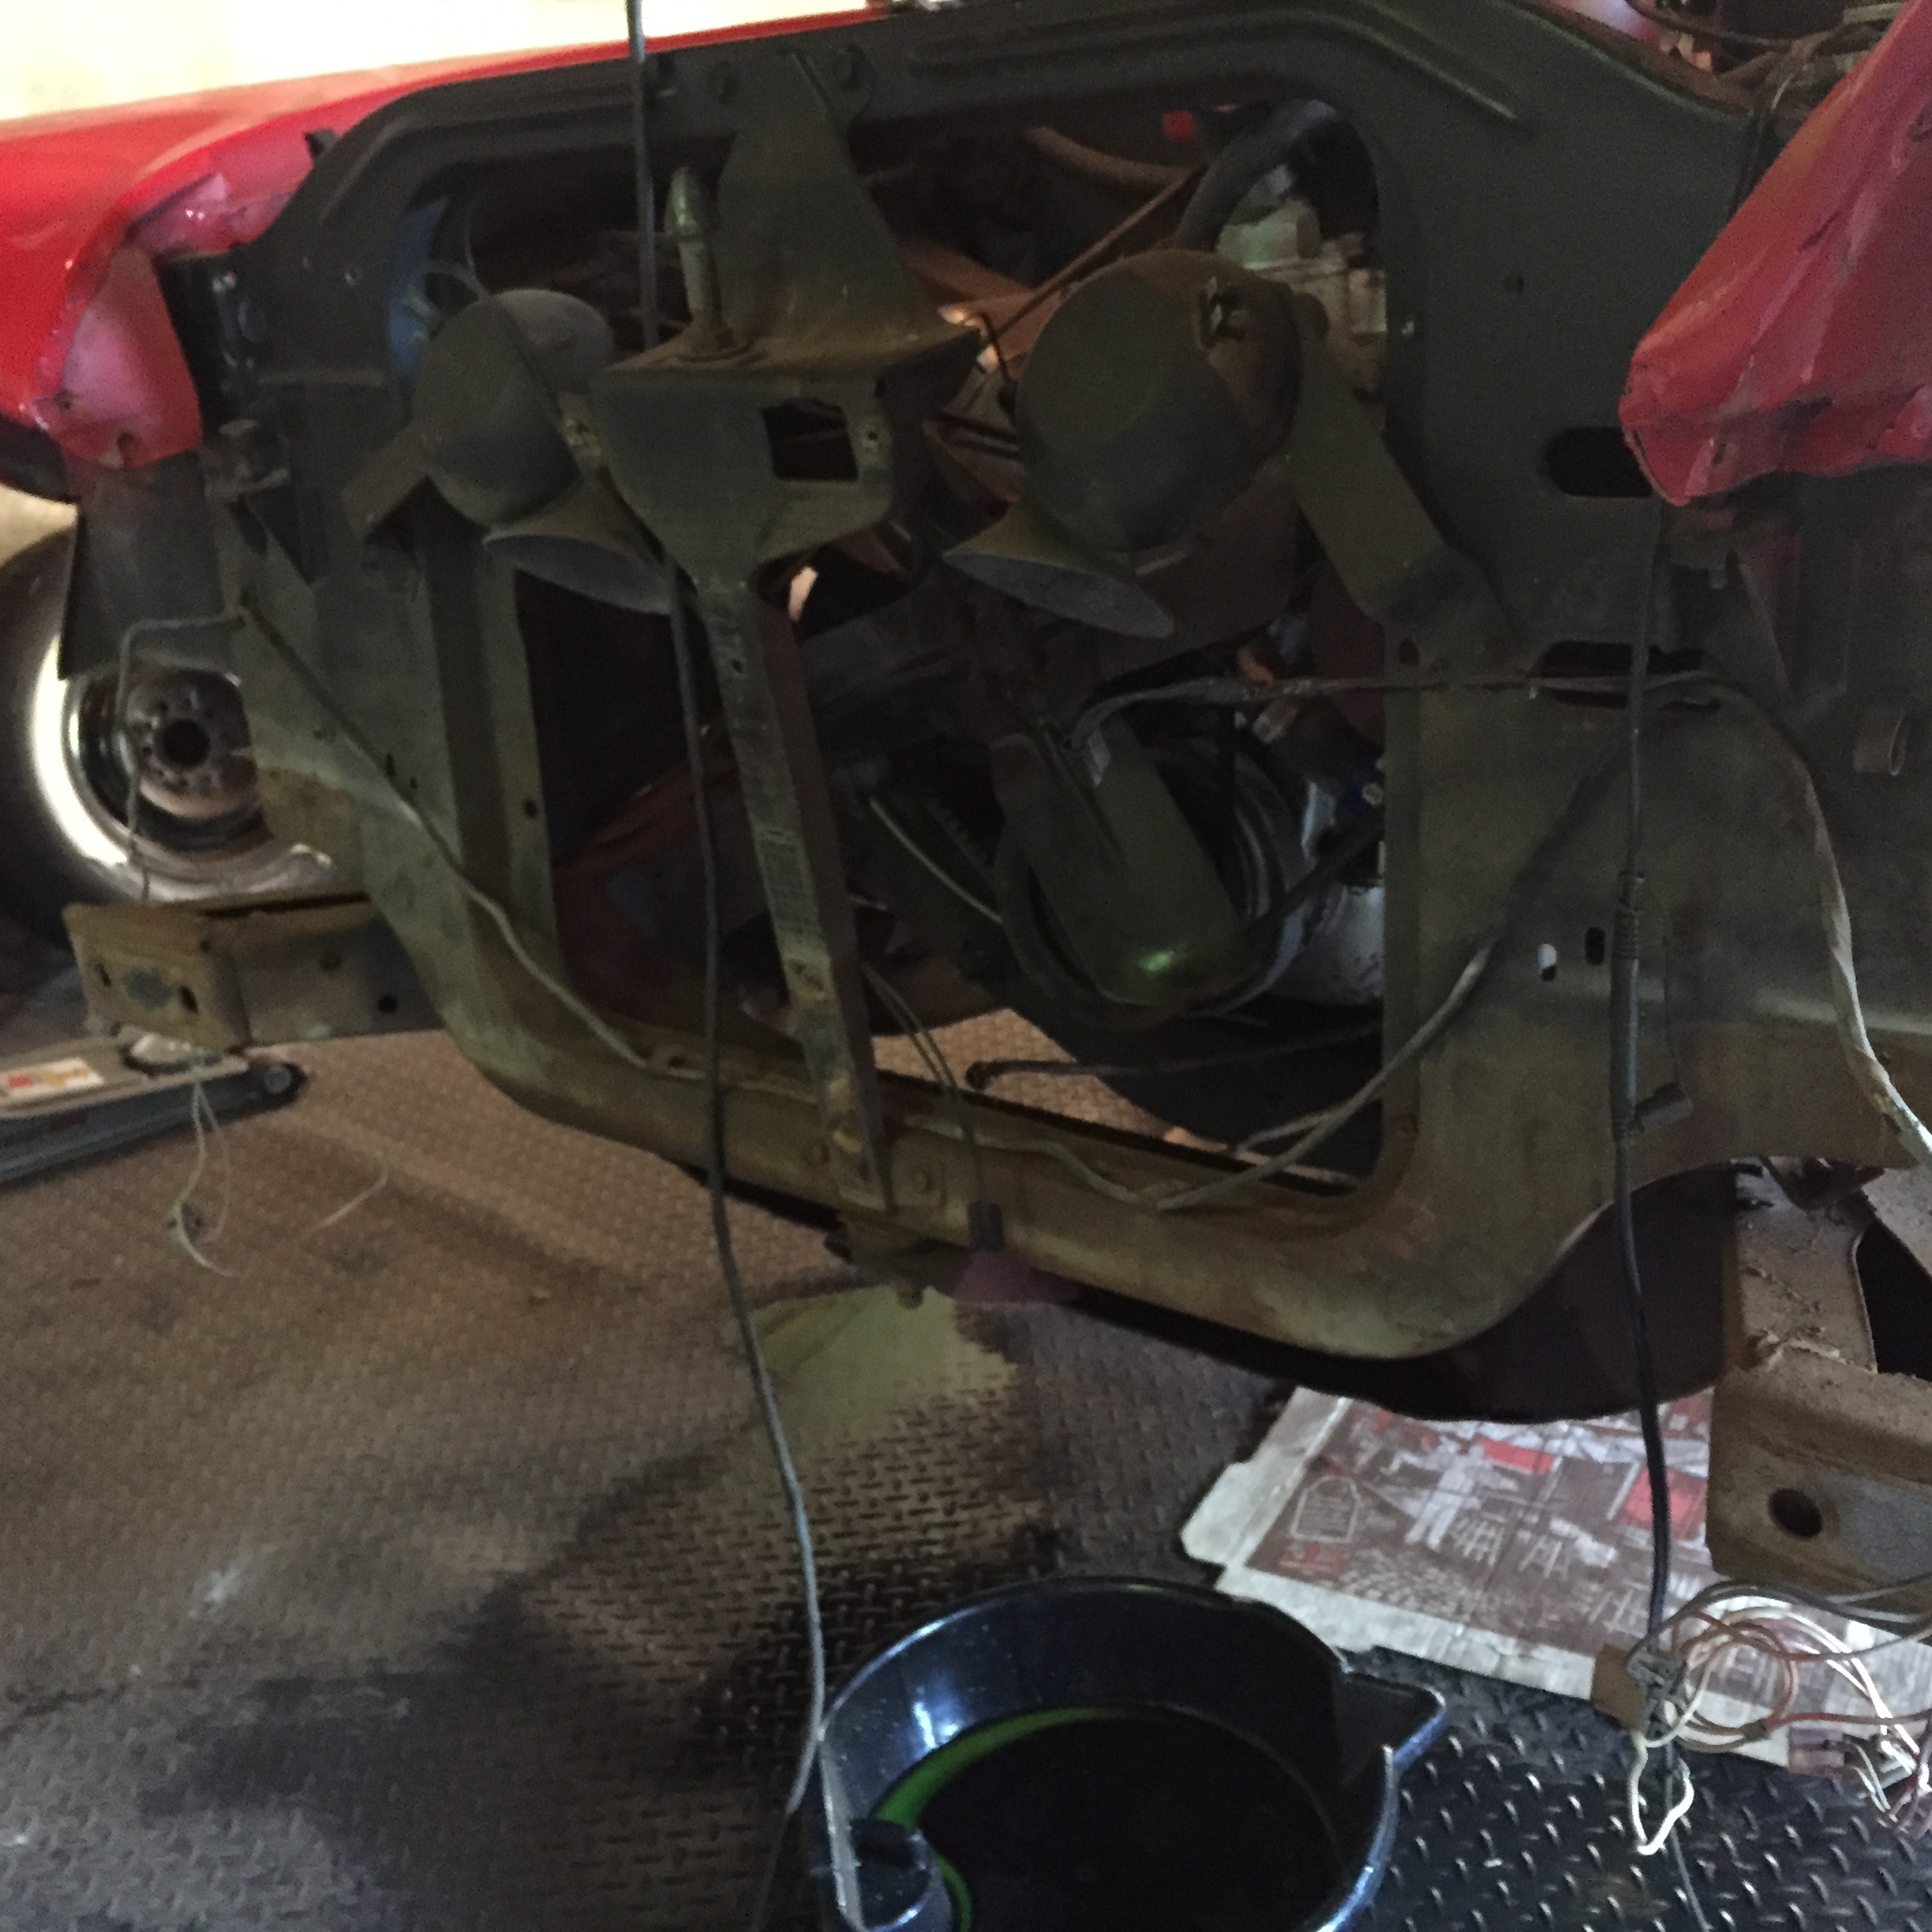
Here’s what I’m faced with…
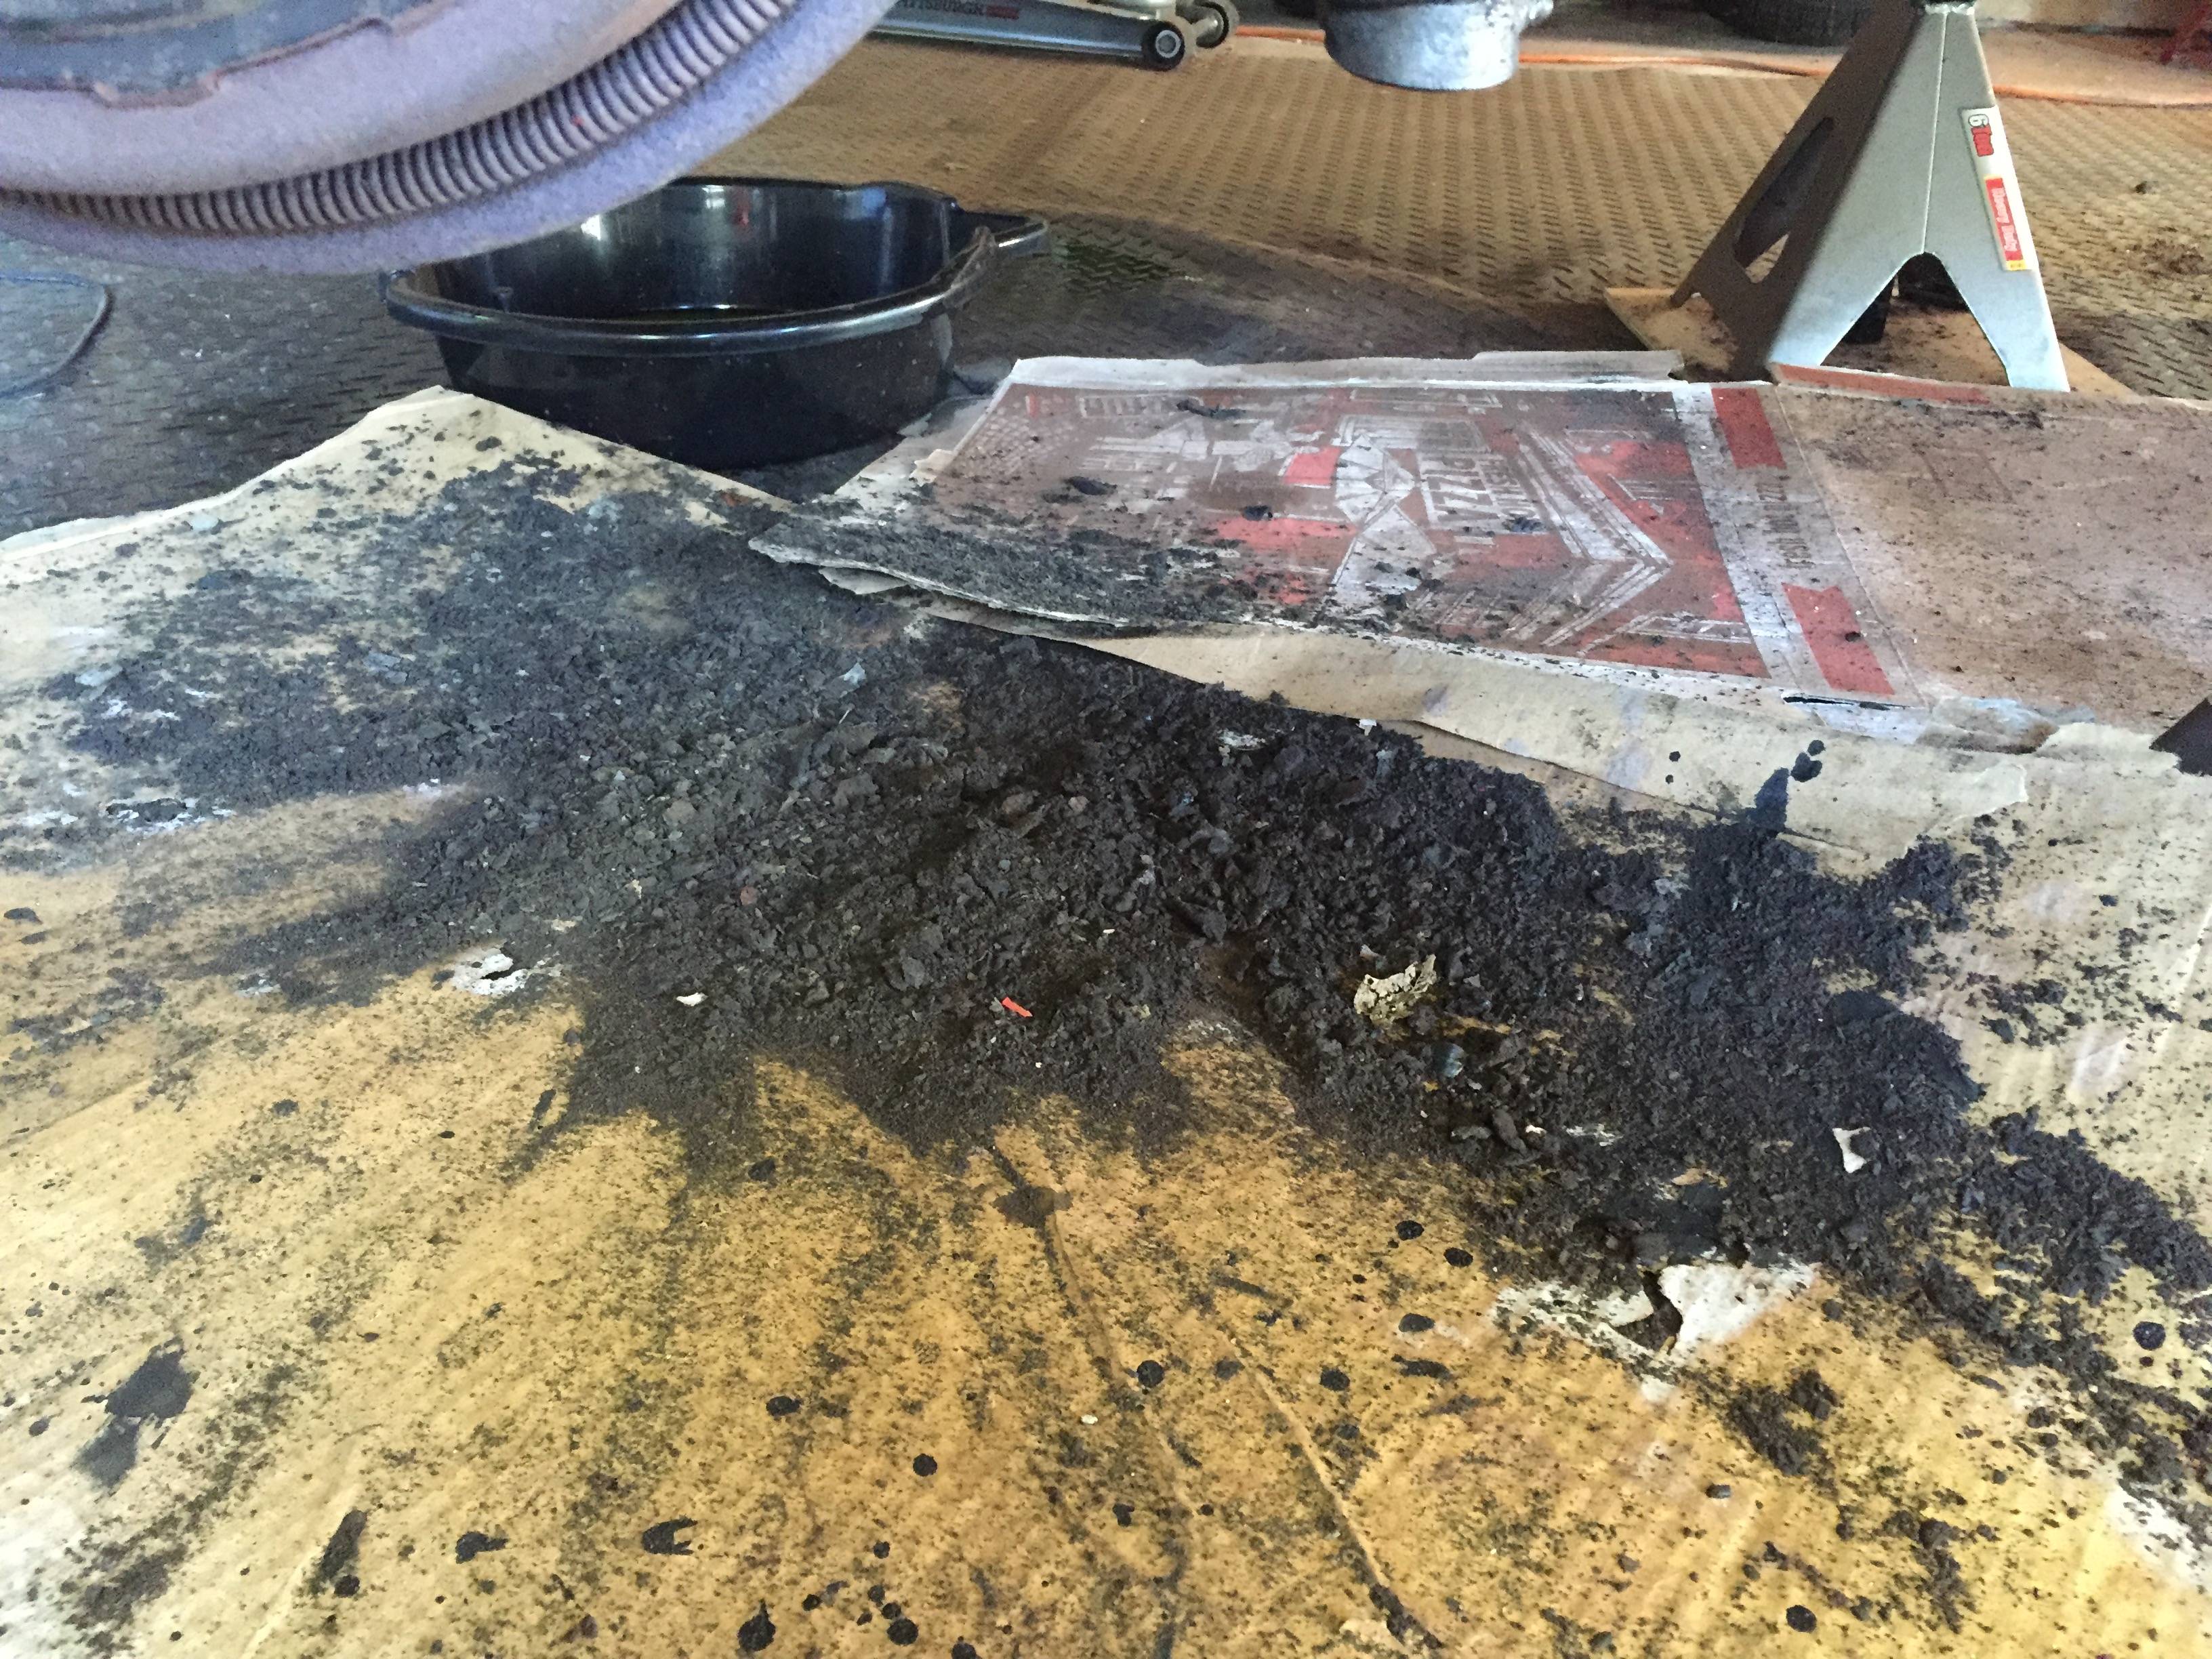
Here’s the pile of grime I scraped off on the first pass
Post scraping
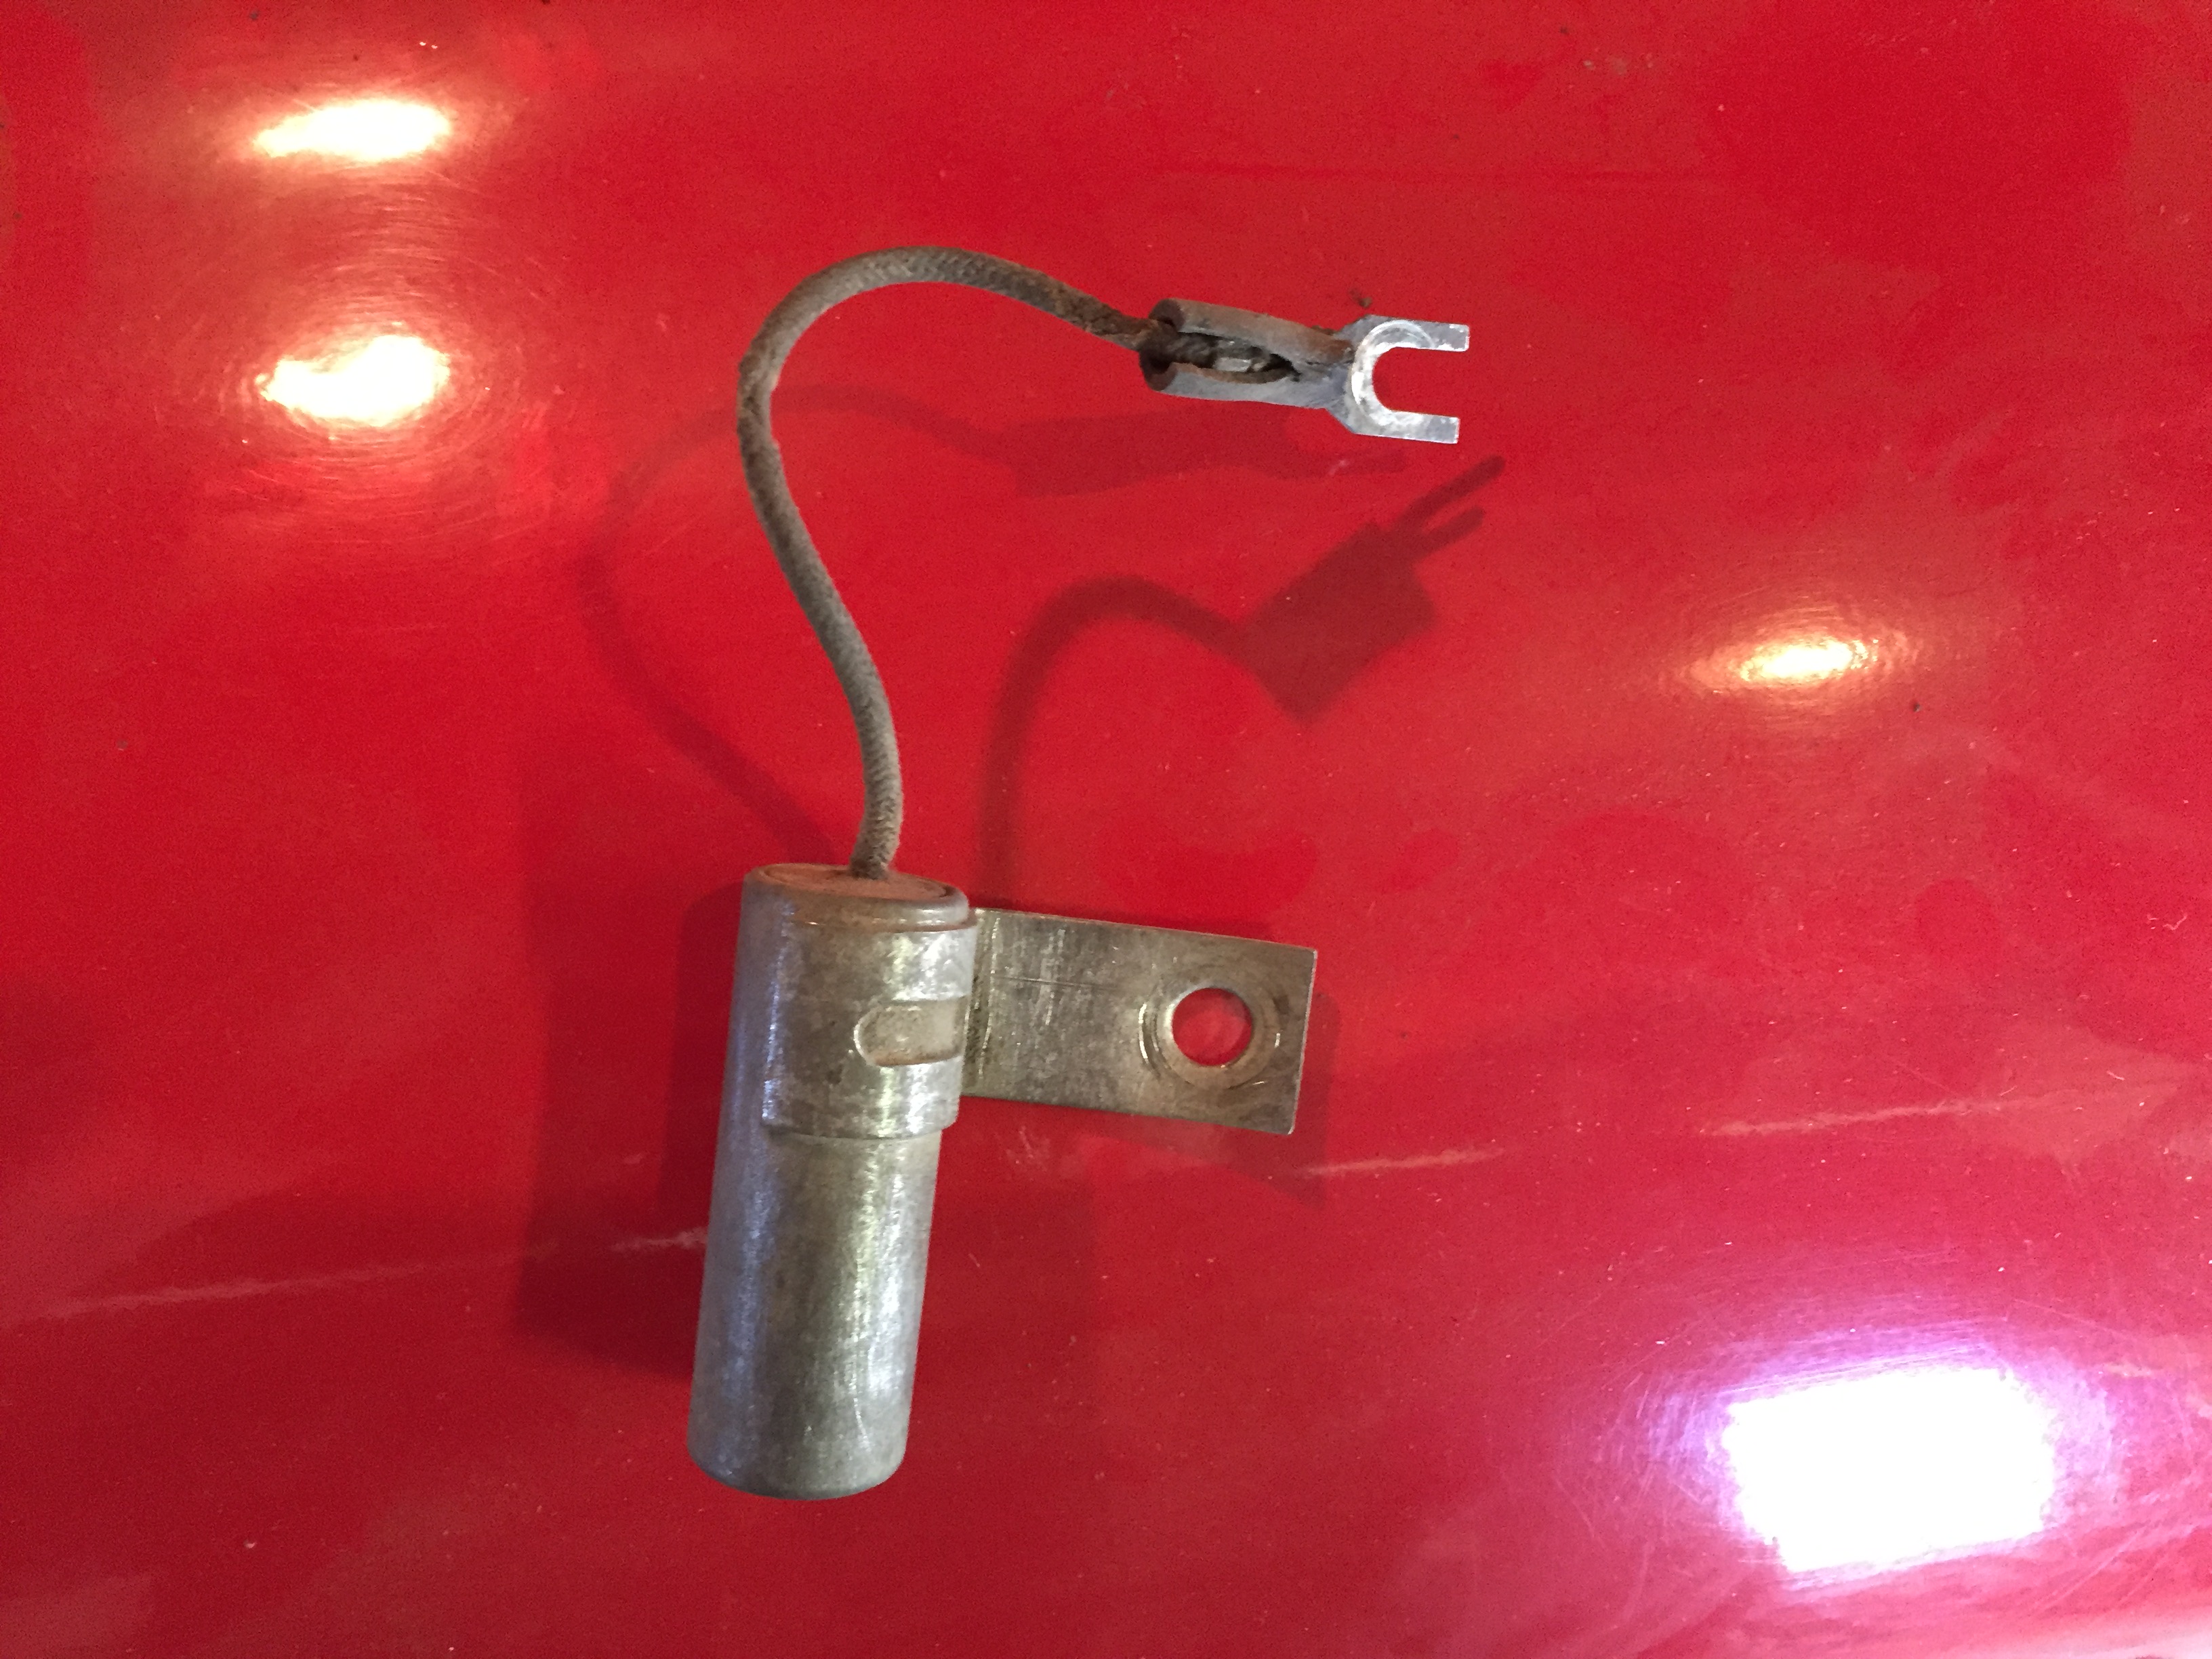
Most of the electrical components should be fine, I’ll wire brush and paint. This capacitor on the voltage regulator looks shaky, though - anyone know where I can get a new one?
Not sure who would have a new capacitor, it’s basically just a static suppressor for the generator, to improve radio quality.
A trick I use when painting an engine compartment, is to use aluminum foil to whap around harnesses and cables, it takes a half the time as paper and tape, and does a nice job.
—John
Ah! I remember that. There’s one on the generator, too. I guess I’ll confirm it’s not shorted, dress the cable with heat-shrink tubing and a new terminal, and hang it back on.
Hey! That’s a handy idea, for all sorts of things. Thanks for the tip, John.
Wow! great idea. And can be used over a few times.