How come my bumpers are both one piece while Mathew’s are three piece? Getting my bumper to the plater was like moving King Kong from the Congo to Manhatten.
Steve, I can’t tell if you are joking about the 3-piece bumper.
Steve,
Ron’ and Marjo’s car that Matthew is reporting on has the Optional bolt-on bumper wings as shown earlier in this post.
Curt
Thanks Curt, Sorry I got the car ownership confused. That was before my first cup of coffee. So after much perusal I figure Plymouth offerred optional wings for the front only?? Is that right? Boy that would have made shipment by UPS much easier and cheaper!
Steve, Plymouth indeed offered only bumper wings for the front. Out of the little book full of options from the 59 Plymouth:
Order code number
357
Outer wing, for front only (Do not order with rubber inserts) $18.05
What a price!!
It’s also time for my dad to post some new pics of the car
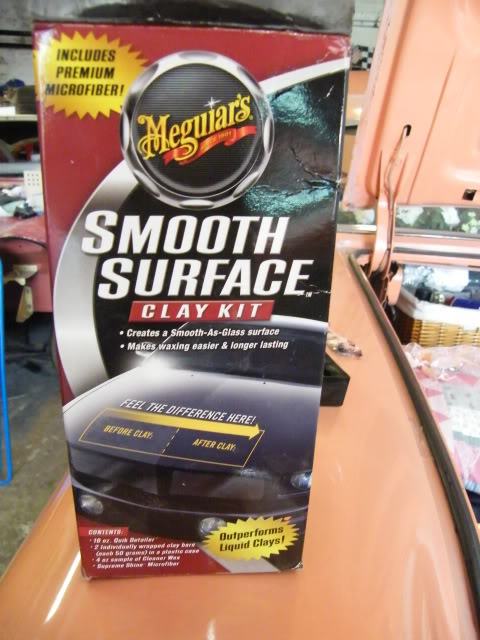
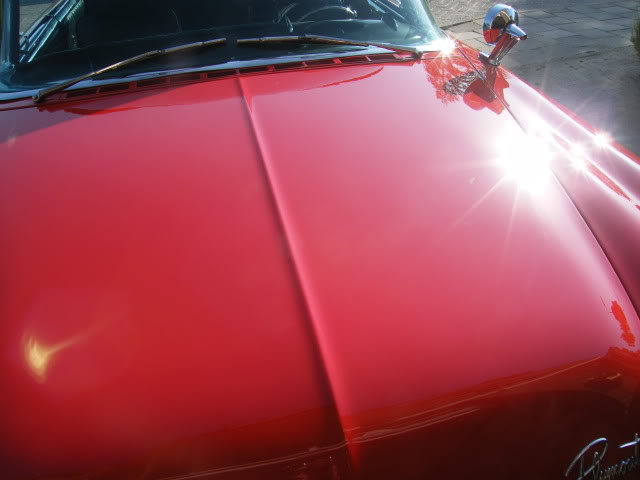
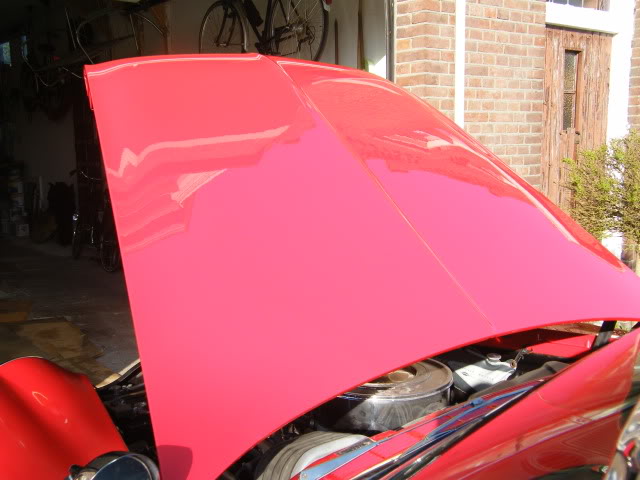
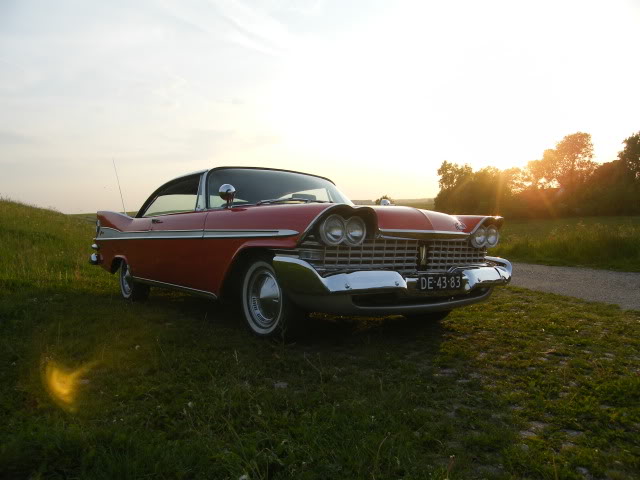
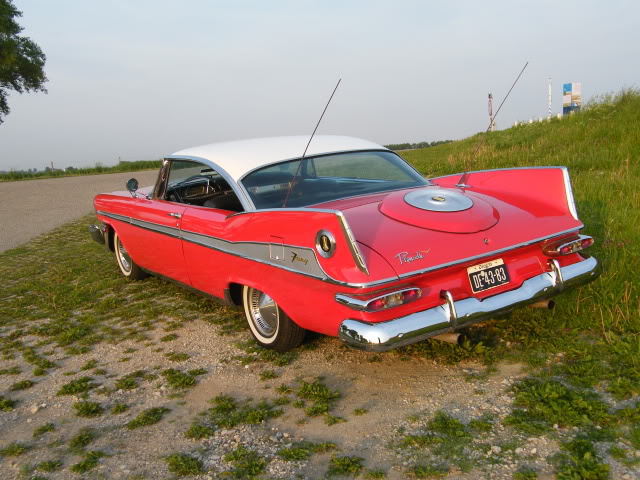
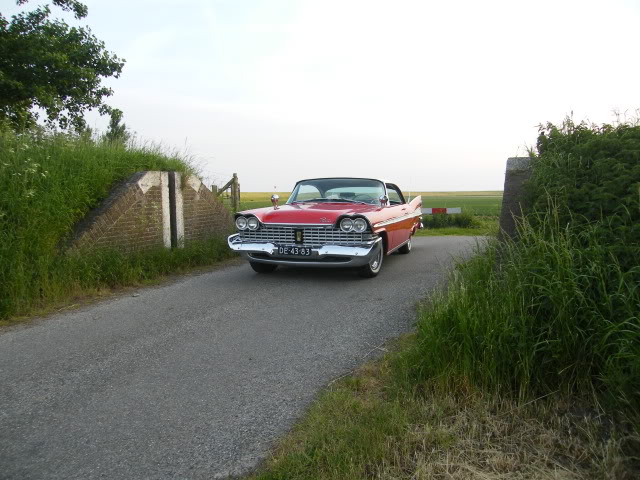
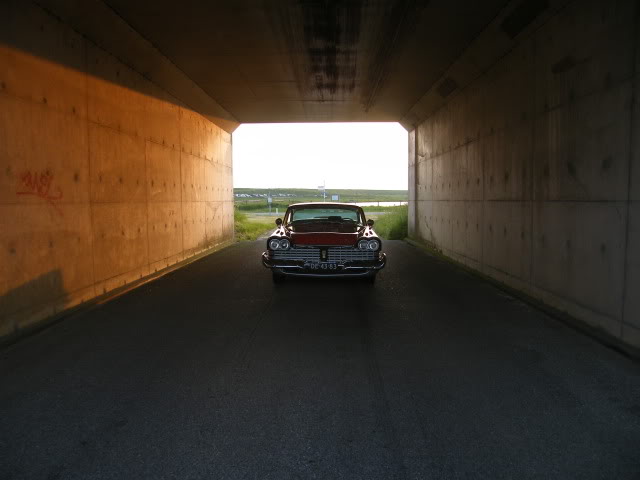
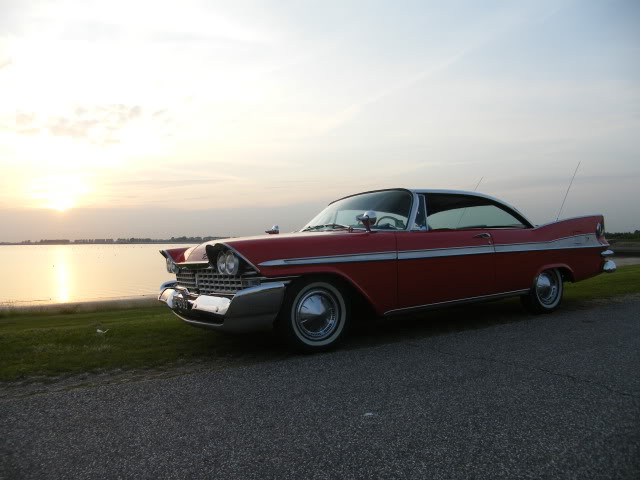
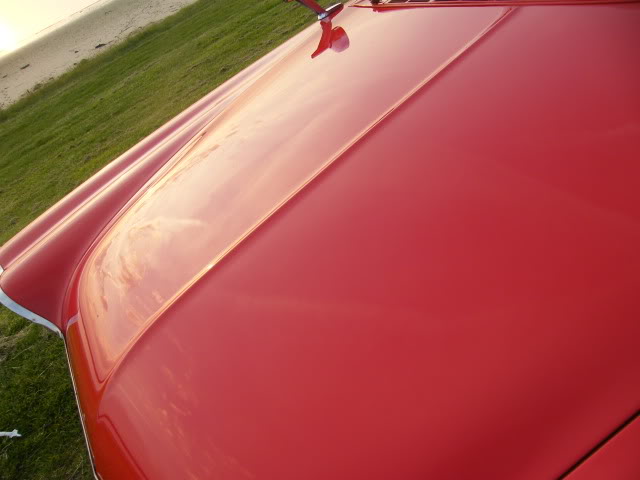
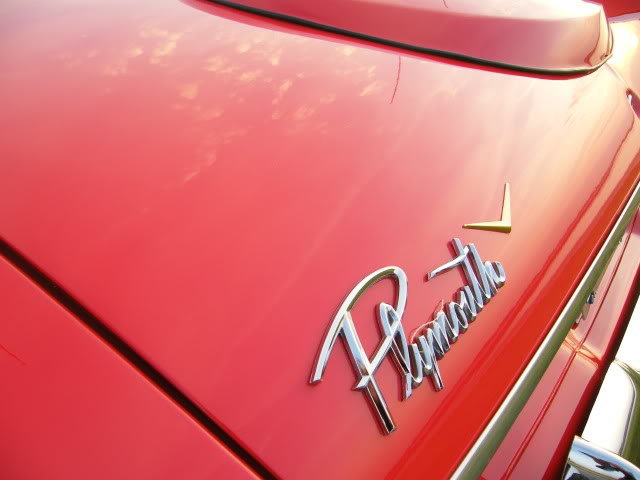
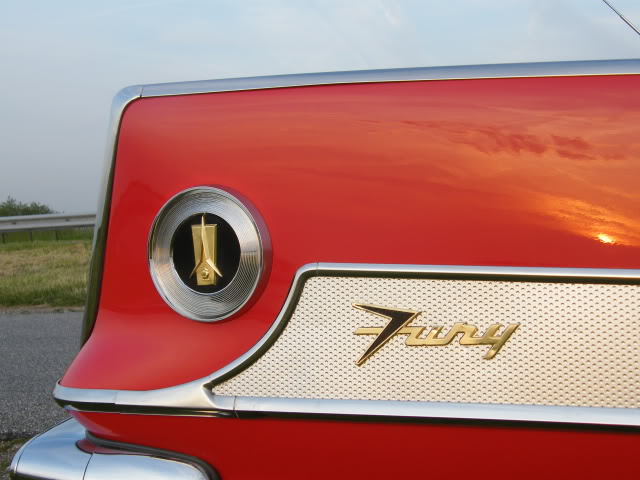
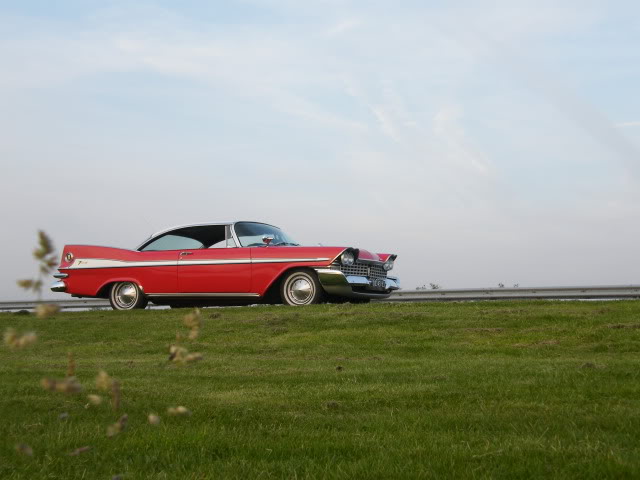
Absolutely fabalous Matthew, I can not wait to get back to restoring my red and white 59 but right now I have to finish painting my 60 Desoto. The rain here is the holdup right now. It’s funny you showed a picture of the clay bar, while waiting for the rain to stop I’ve taken a clay bar to the green 59. It has original paint that’s getting very thin so I have to be very careful about what I use to polish it. No matter what I use, in certain light it shows a mottled look but the clay bar has really put a lot of life back into the paint. Carnuba wax does no good so I have to find a good Hi-Tech polish. I’m very jealous and envious of your car and just pray mine comes out as beautiful as yours. Thanks for sharing.
Dick.
No more repaint stuff anymore!!
Just came back from Dan 2 days ago and already started on the Plymouth.
First I started to get the Mirror-matic apart as the glass was vibrating really bad, turns out the glue didn’t do it’s job anymore and came loose.
Glass maybe will be resilvered (?) again, nice job for my dad 
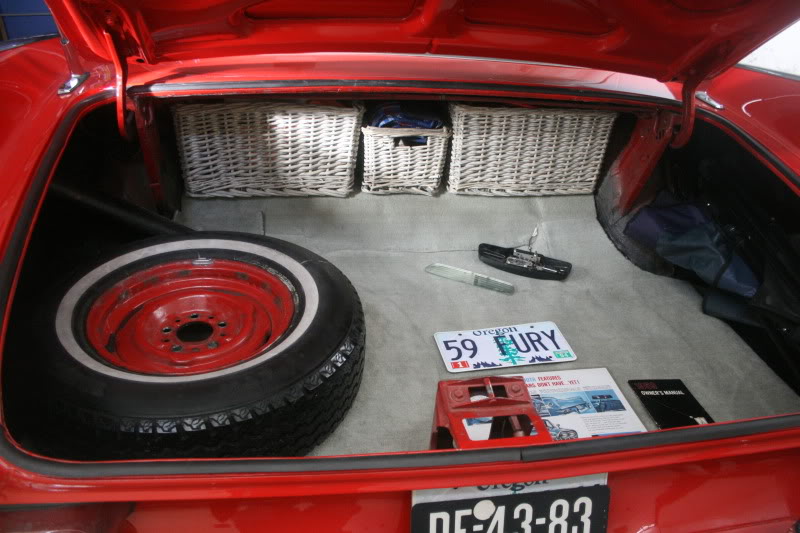
Got the trunk 99% done now, only thing is to repaint the cover for the spare wheel. Carpet came from Gary Goers and fits pretty good. Cutted the lip of it and cleaned out the trunk.
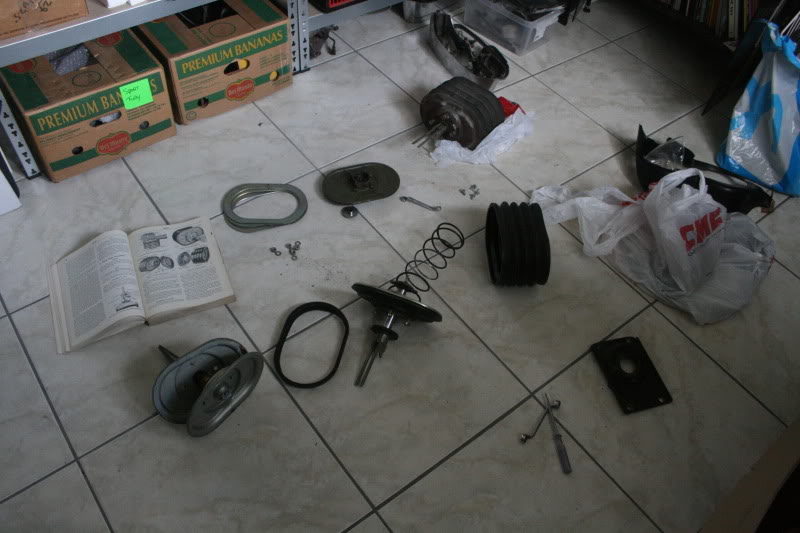
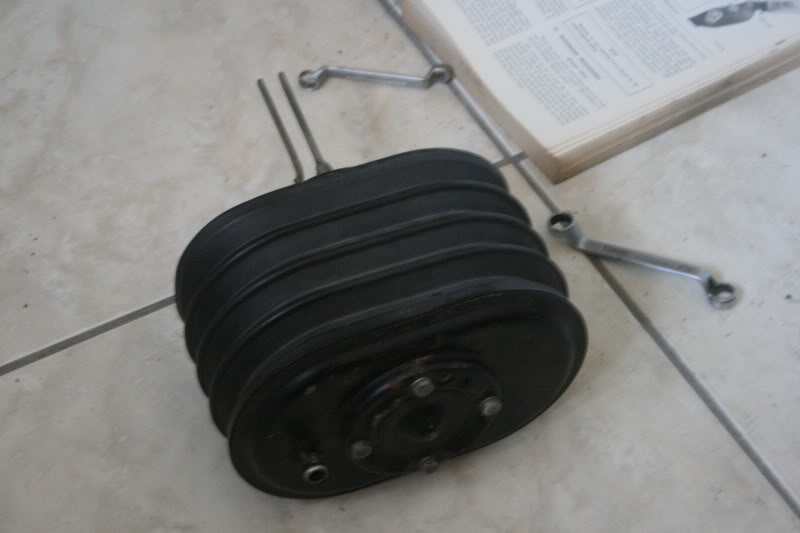
Last meet I went to I noticed the power brakes didn’t do a very good job and i’m pretty sure the brake booster is leaking
As we got a couple of them I tried to take some apart. This is what i’ve started with
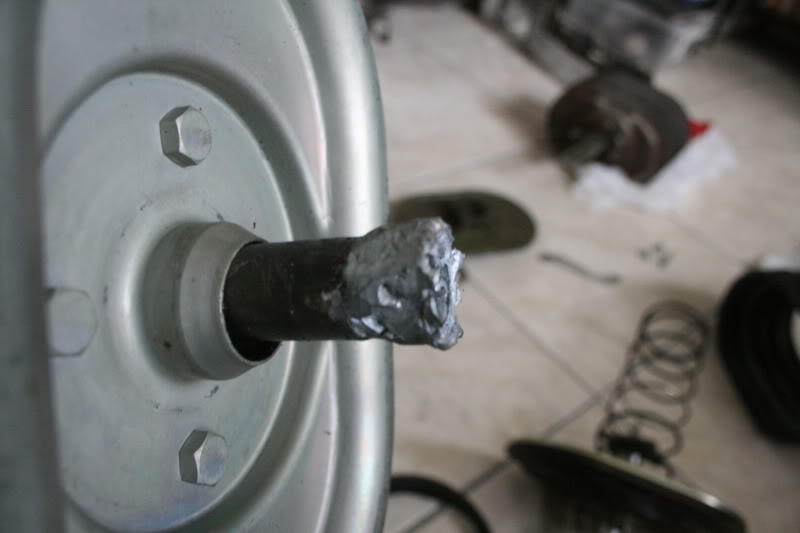
1 of the boosters also got a rattle, guess what!
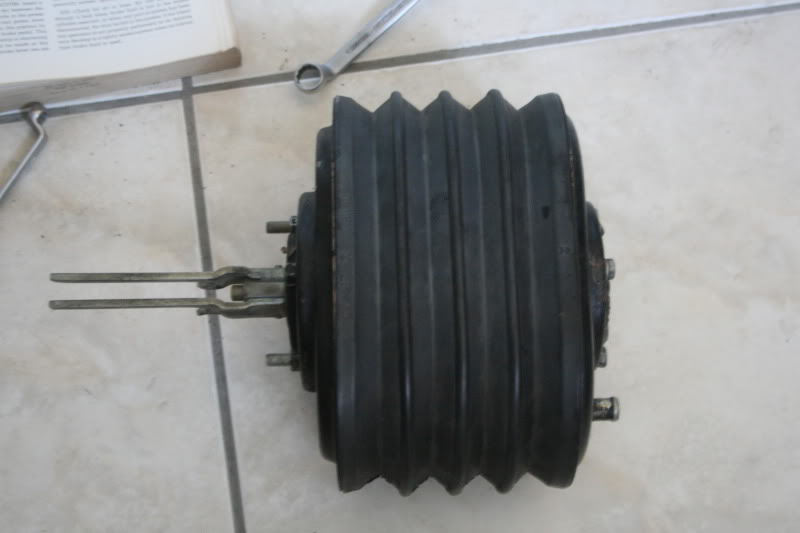
After playing around this is what i’ve got after 1½ hours, still needs some paint
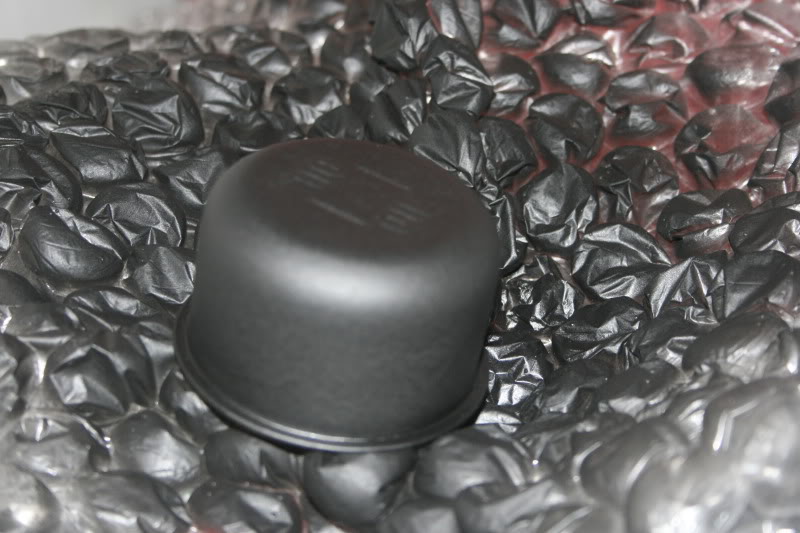
Also got a new Oil cap from Ed Ober (Thanks for that!!!) and I just painted it
Count on more work tomorrow!
And today more work!
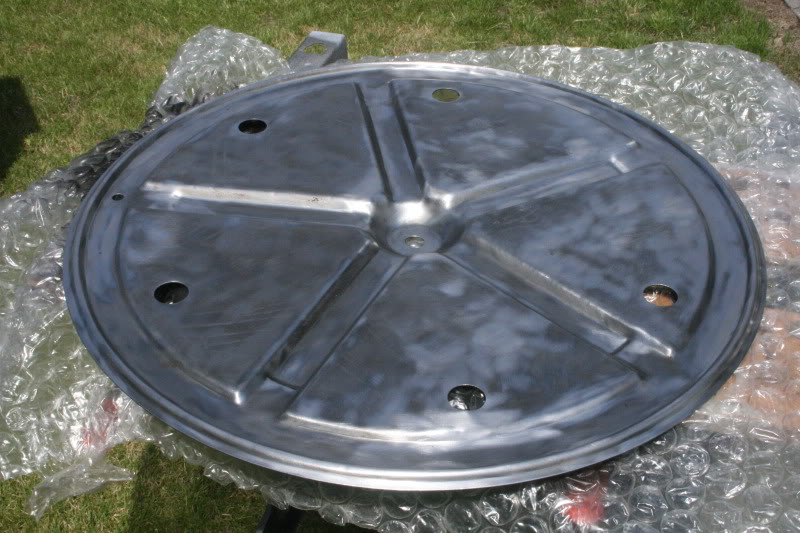
Started with the cover for the spare tire and gave it a good clean
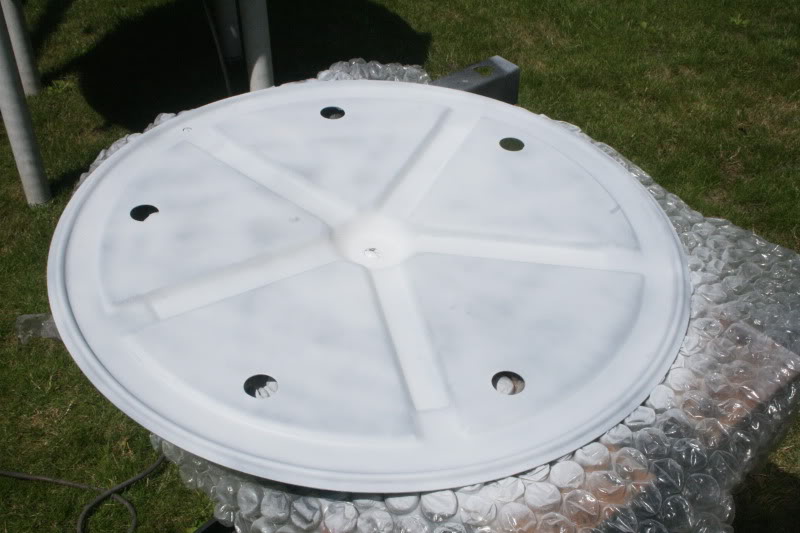
Primed and ready for paint
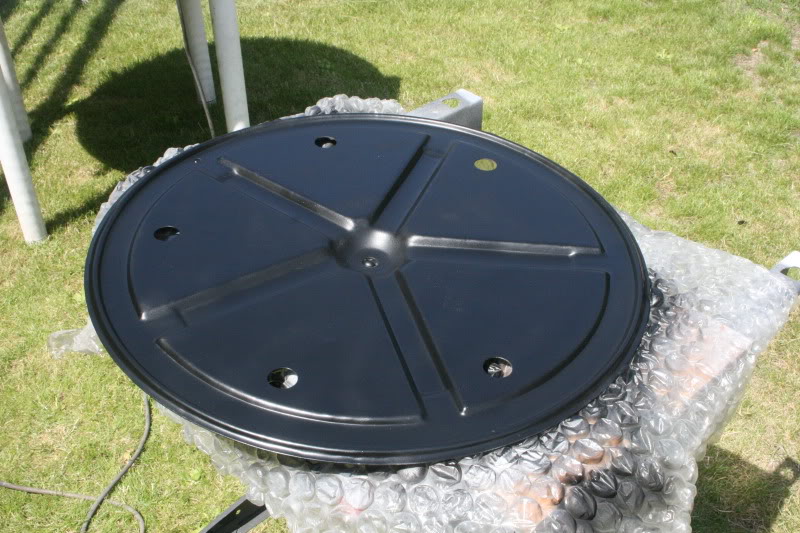
And painted
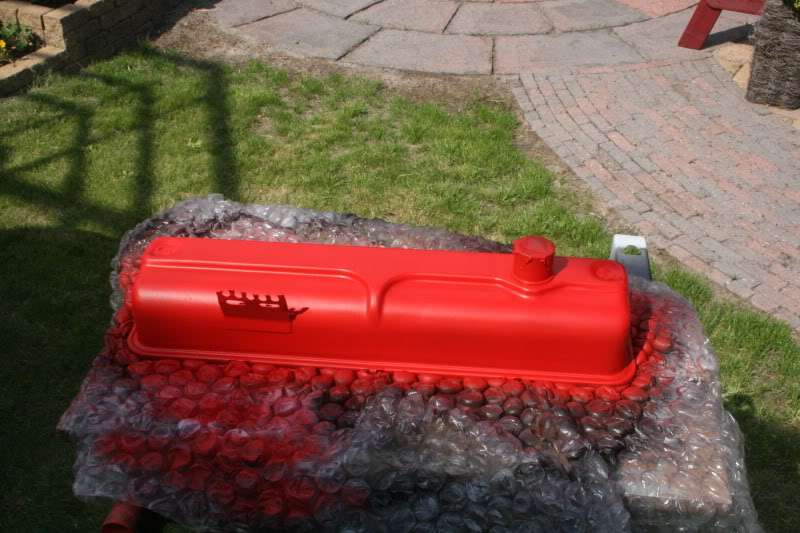
While it was drying I decided to paint a valve cover so just loosened the bolts and there it was.
After painting
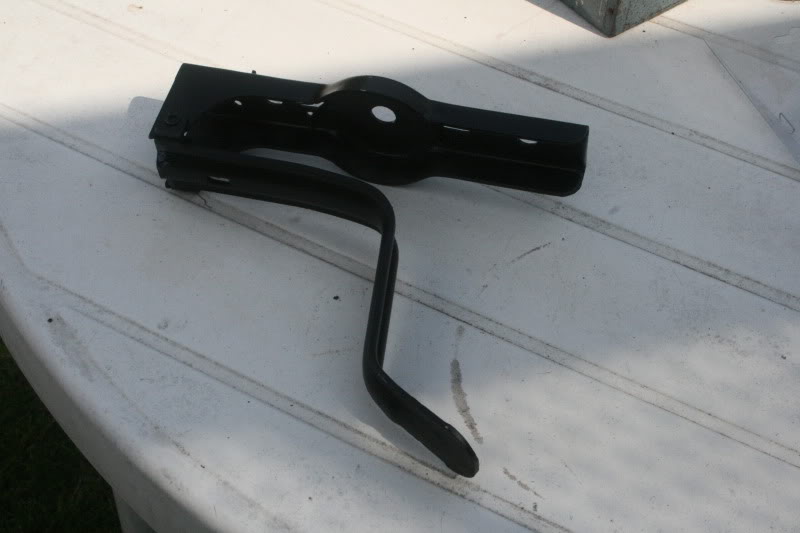
Windshield washer pump dissasembled and painted
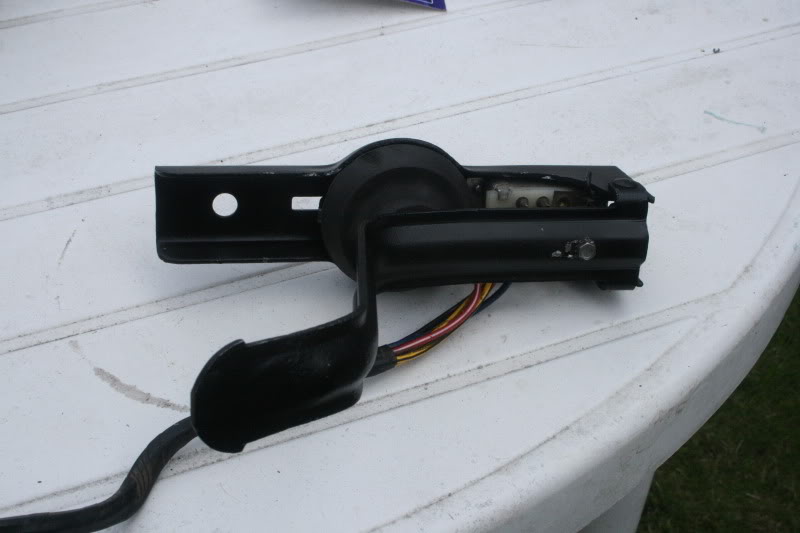
Windshield washer pump finished, only need to sort out the wires as there’s nothing in the 57-58 or 59 books about it!
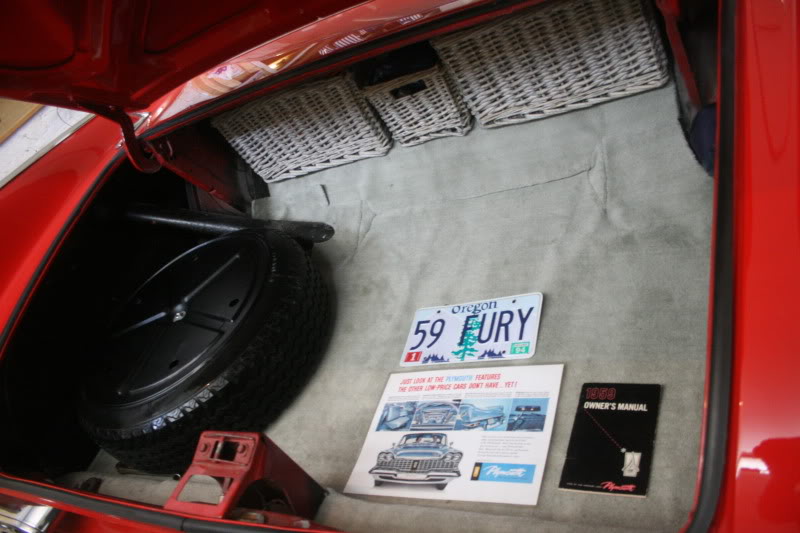
Finished the trunk
where did you get that license plate?
were spare tire covers an option? (Ive never seen one in a Plymouth)
what do you ned to know about wiring the washer assembly?
The license plates came from Tom Fox
I’ve seen these covers on other 59’s but I don’t know if they were on a Plymouth. Andre even had one like this in his 57 Imperial.
I want to know where the wires from the pump go, I can’t find it in the wiring diagrams in the books.
Both books don’t say anything about windshield washers.
Matthew,
The washer has four plugs out the back. Two plugs are red and yellow, (but one is female and one is male), third one is blue, and fourth one is black.
The system goes in between the wiper switch and the motor, so unplug the motor at the swith and plug the red/yellow female in its place. The other red/yello male now plugs into the wires to the motor. The blue goes to the center of the wiper switch, the black goes to the remaining terminal.
I have pictures, but I dont know how to post them.
Hi Roger,
Just email the pictures to me and I will post them on the forum tomorrow (european time).
Ron
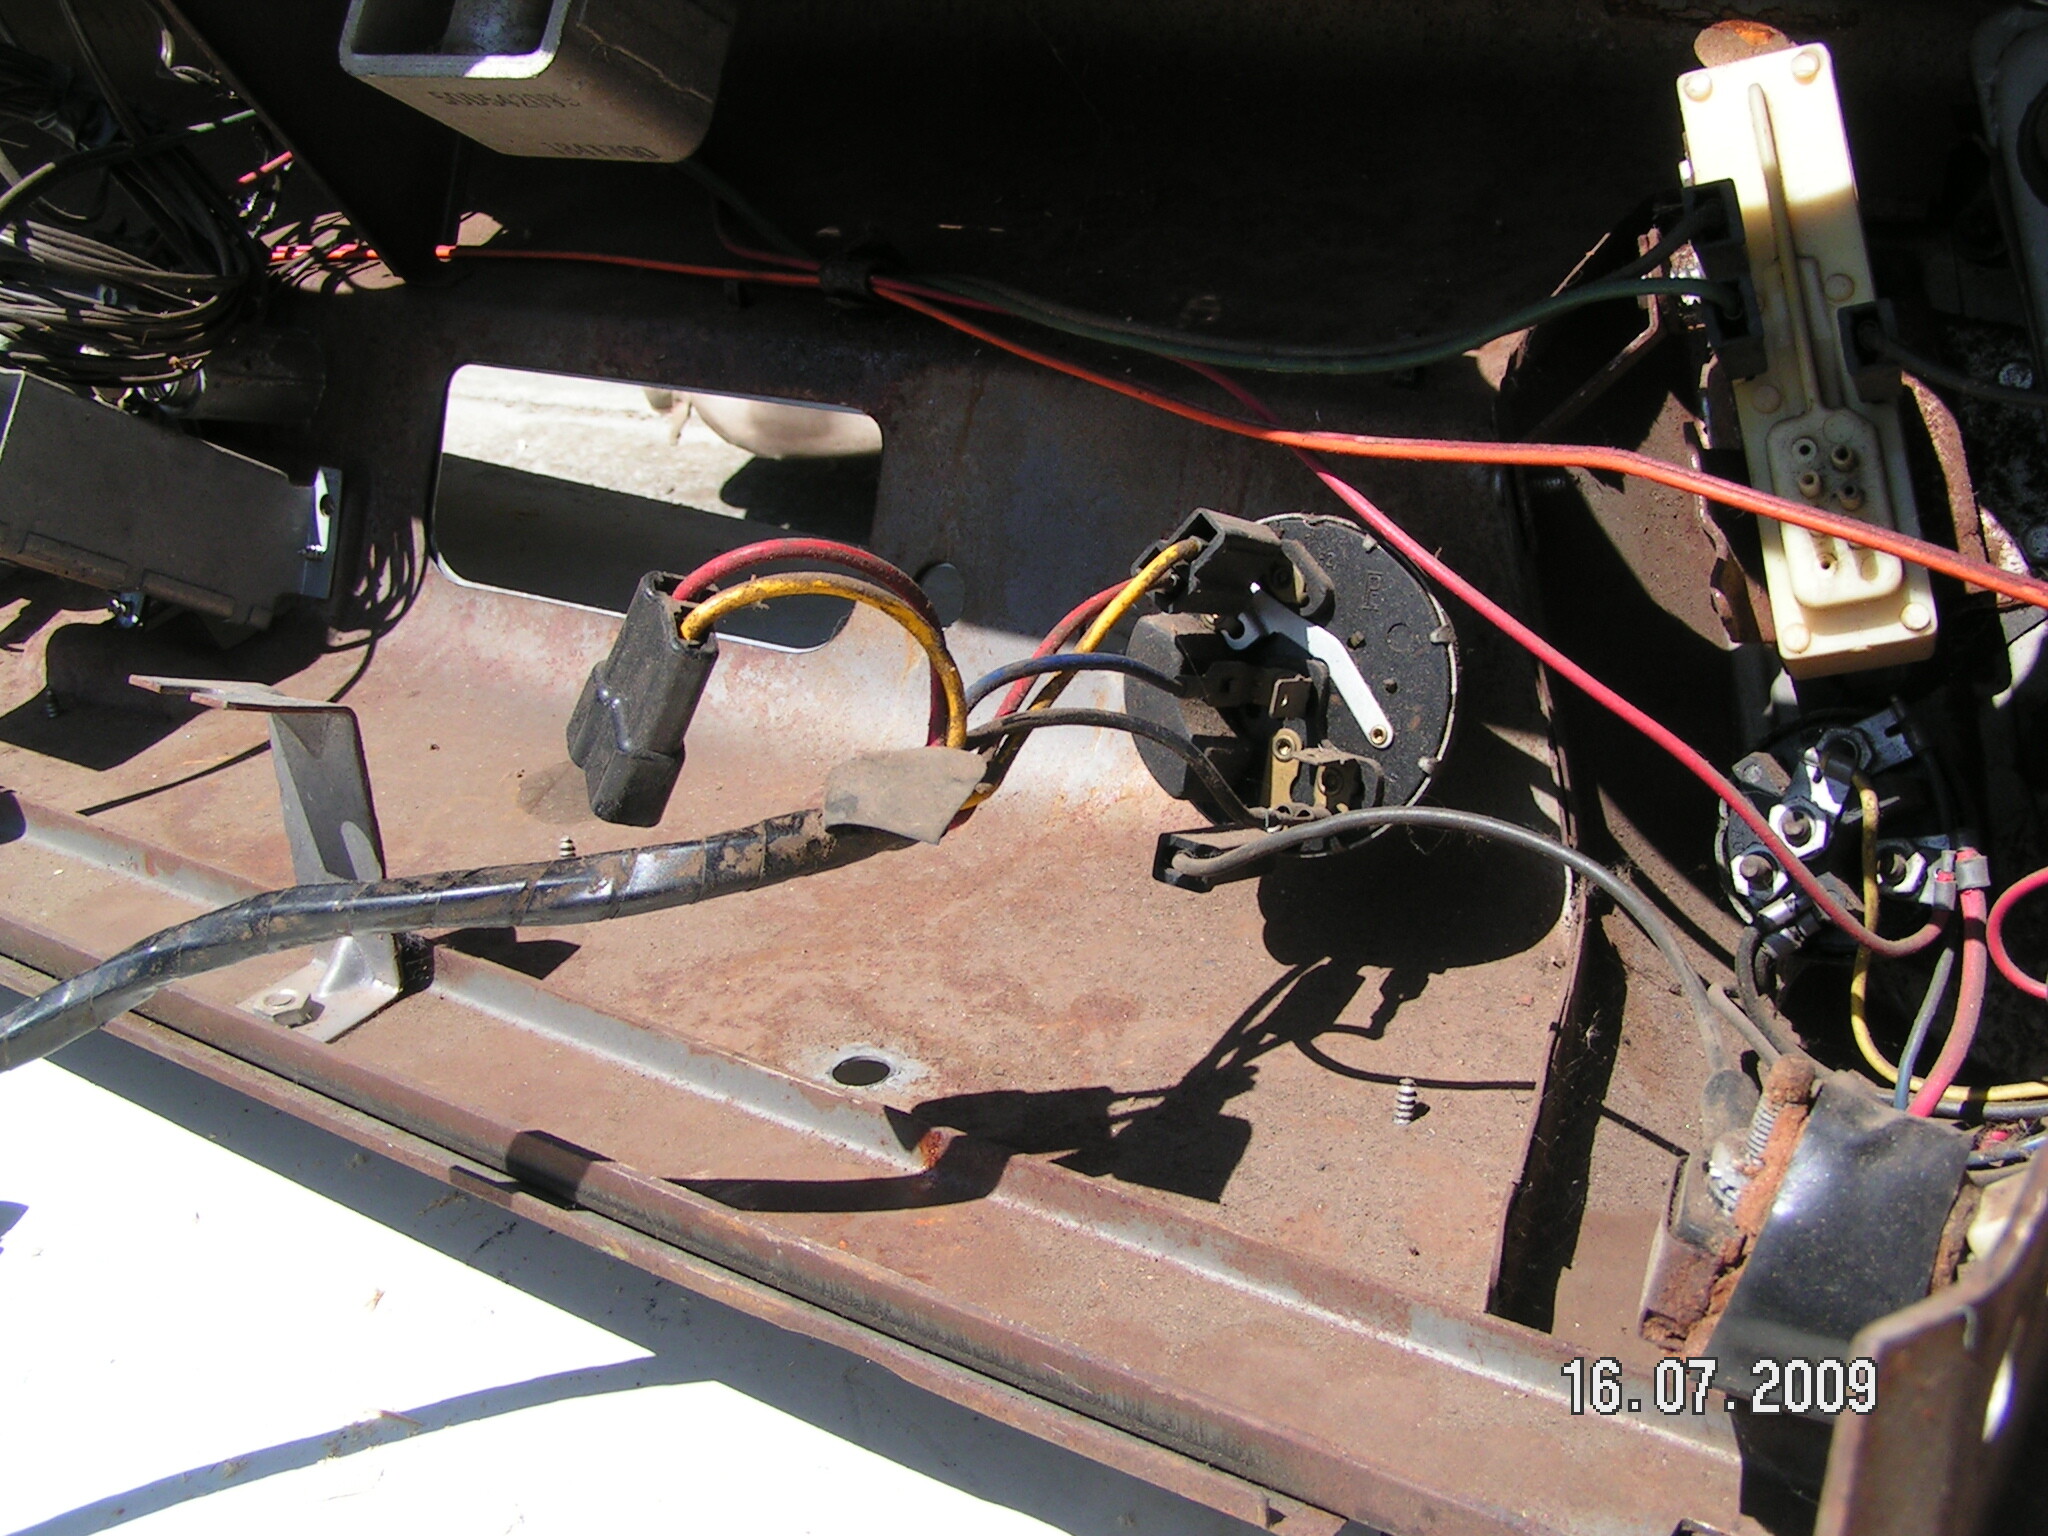
Thanks Roger!!!
Will sort it out over a while when we got another washer jet
You Liar! So now you figured out how to post pictures we expect a lot more pictures from you 
Ron
Dick you are 99% right, I think it is fabulous  But maybe fabalous is the word for Matthew, he did and does a wonderful job on the car! I am really proud of him for all the work he is doing and I couldn’t have done it without him!
Ron
Funny, not much is happening on Faulkner these days… I wonder if there’s a correlation.
Dan
I’ve made some more pics today but they will be uploaded when it’s done!
I’m replacing the carpet that we picked up at Dan’s house last week.
We found a carpet on ebay that was already molded into the shapes of the floor and was a direct fit. Well, the direct fit was a stuggle.
Sides were sticking out of the car so it needed to be cut to fit. Busy whole day but it is in now.
Only need to make a new kick panel for the drivers side as it’s curved as it can be by water. Gonna make it tomorrow and put some vinyl over it.
Seats will be cleaned completly as they have foam in it and some of it is dryed out so i’m gonna remove that stuff.
After that everything can go back in!
New pics!!!
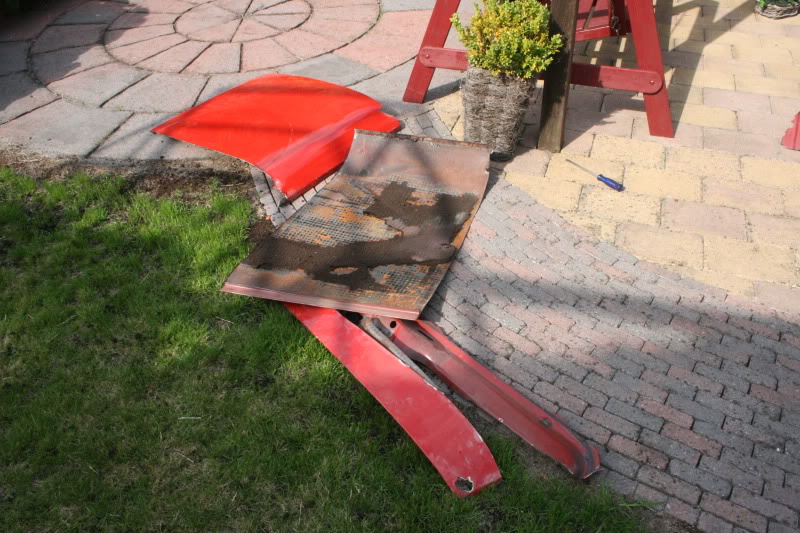
The old trunk lid was in the way so this is what is left of it now
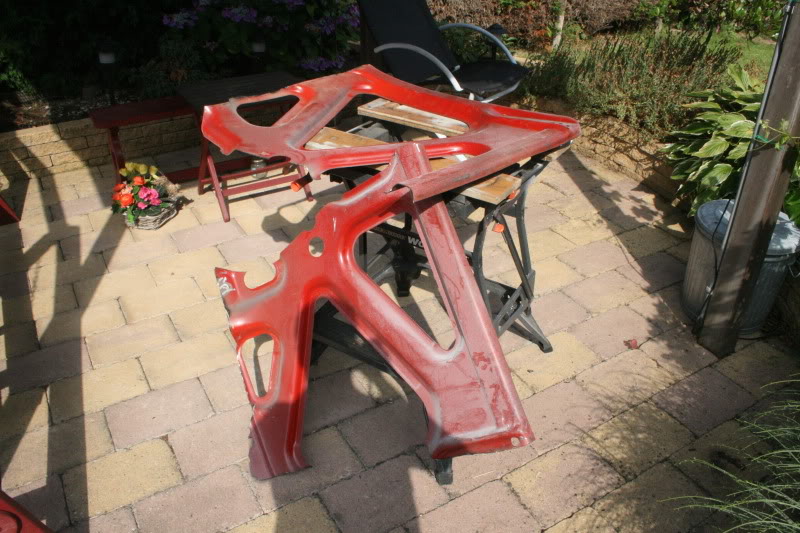
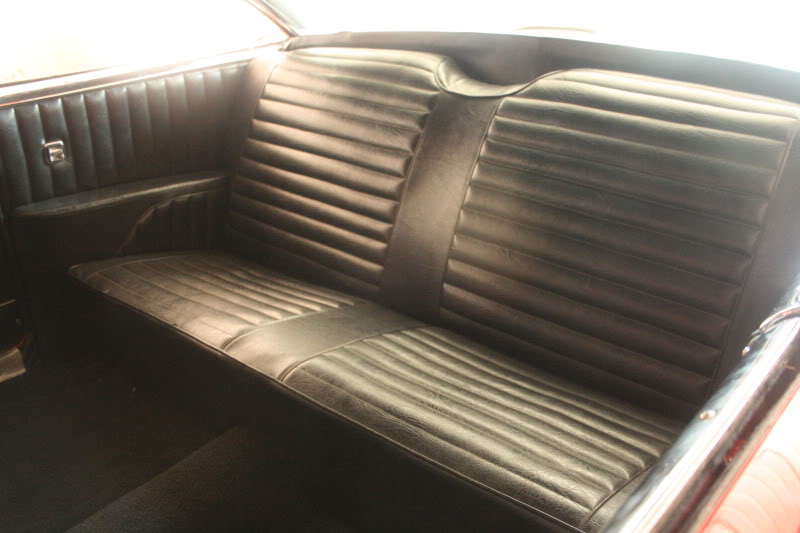
Got the carpet all in and the back seat too
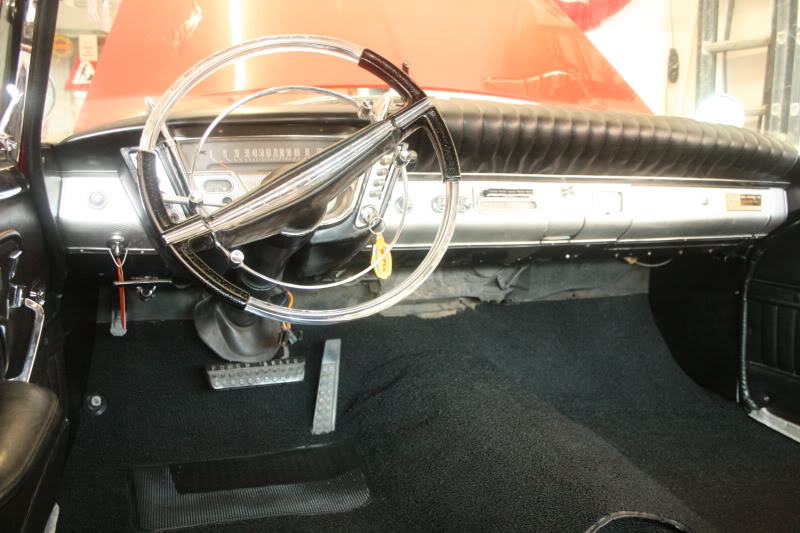
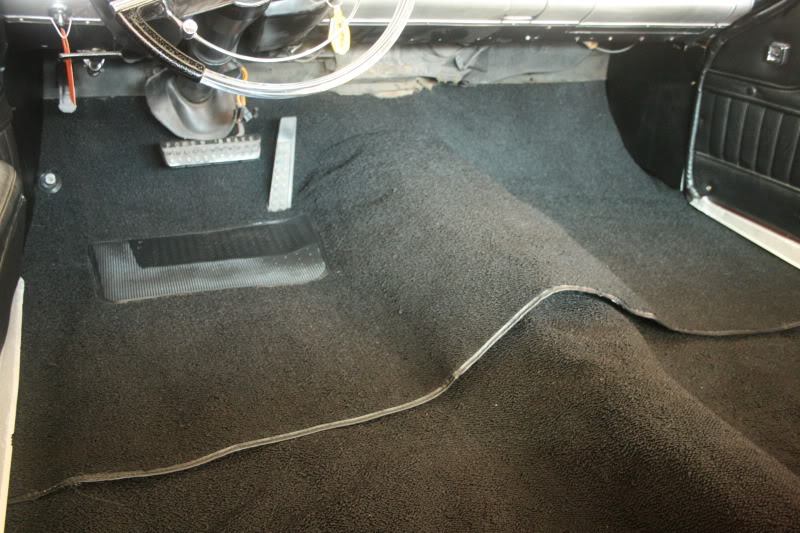
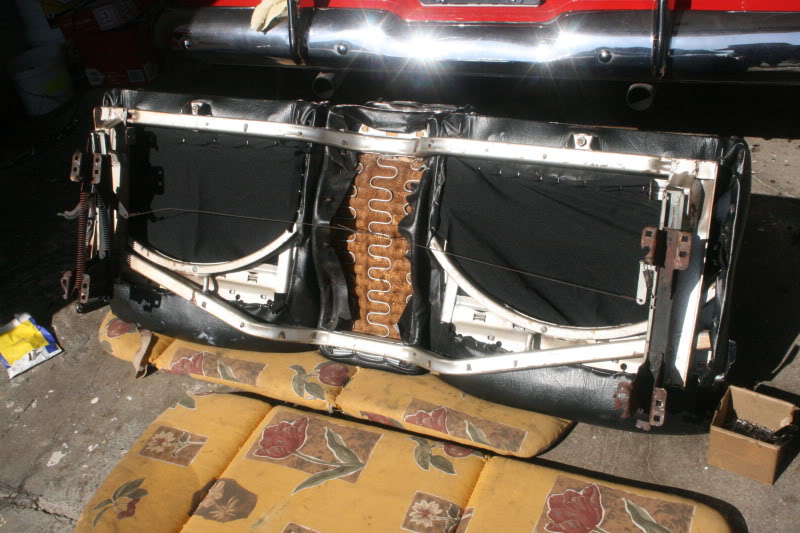
Got some fabric under the seats because under it is dryed out foam and it makes a mess on the carpet. Not the best looking job but it’s done and no more mess
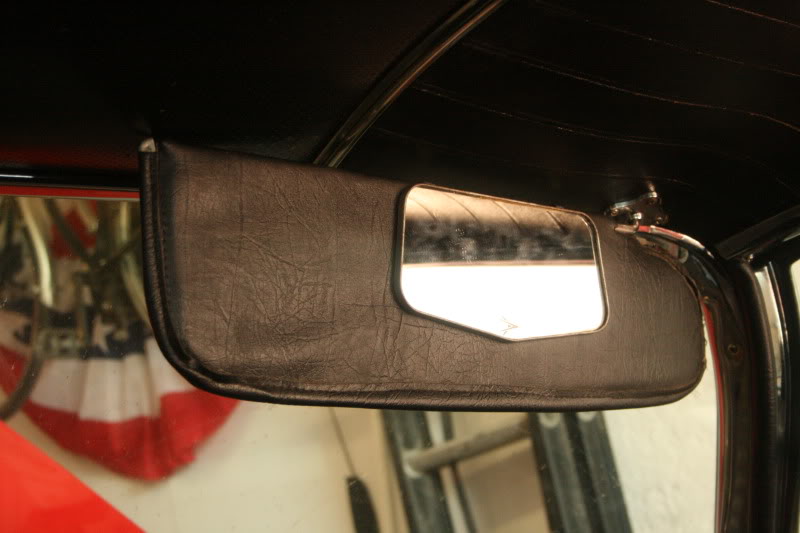
Also installed our visor mirror