Thanks guys
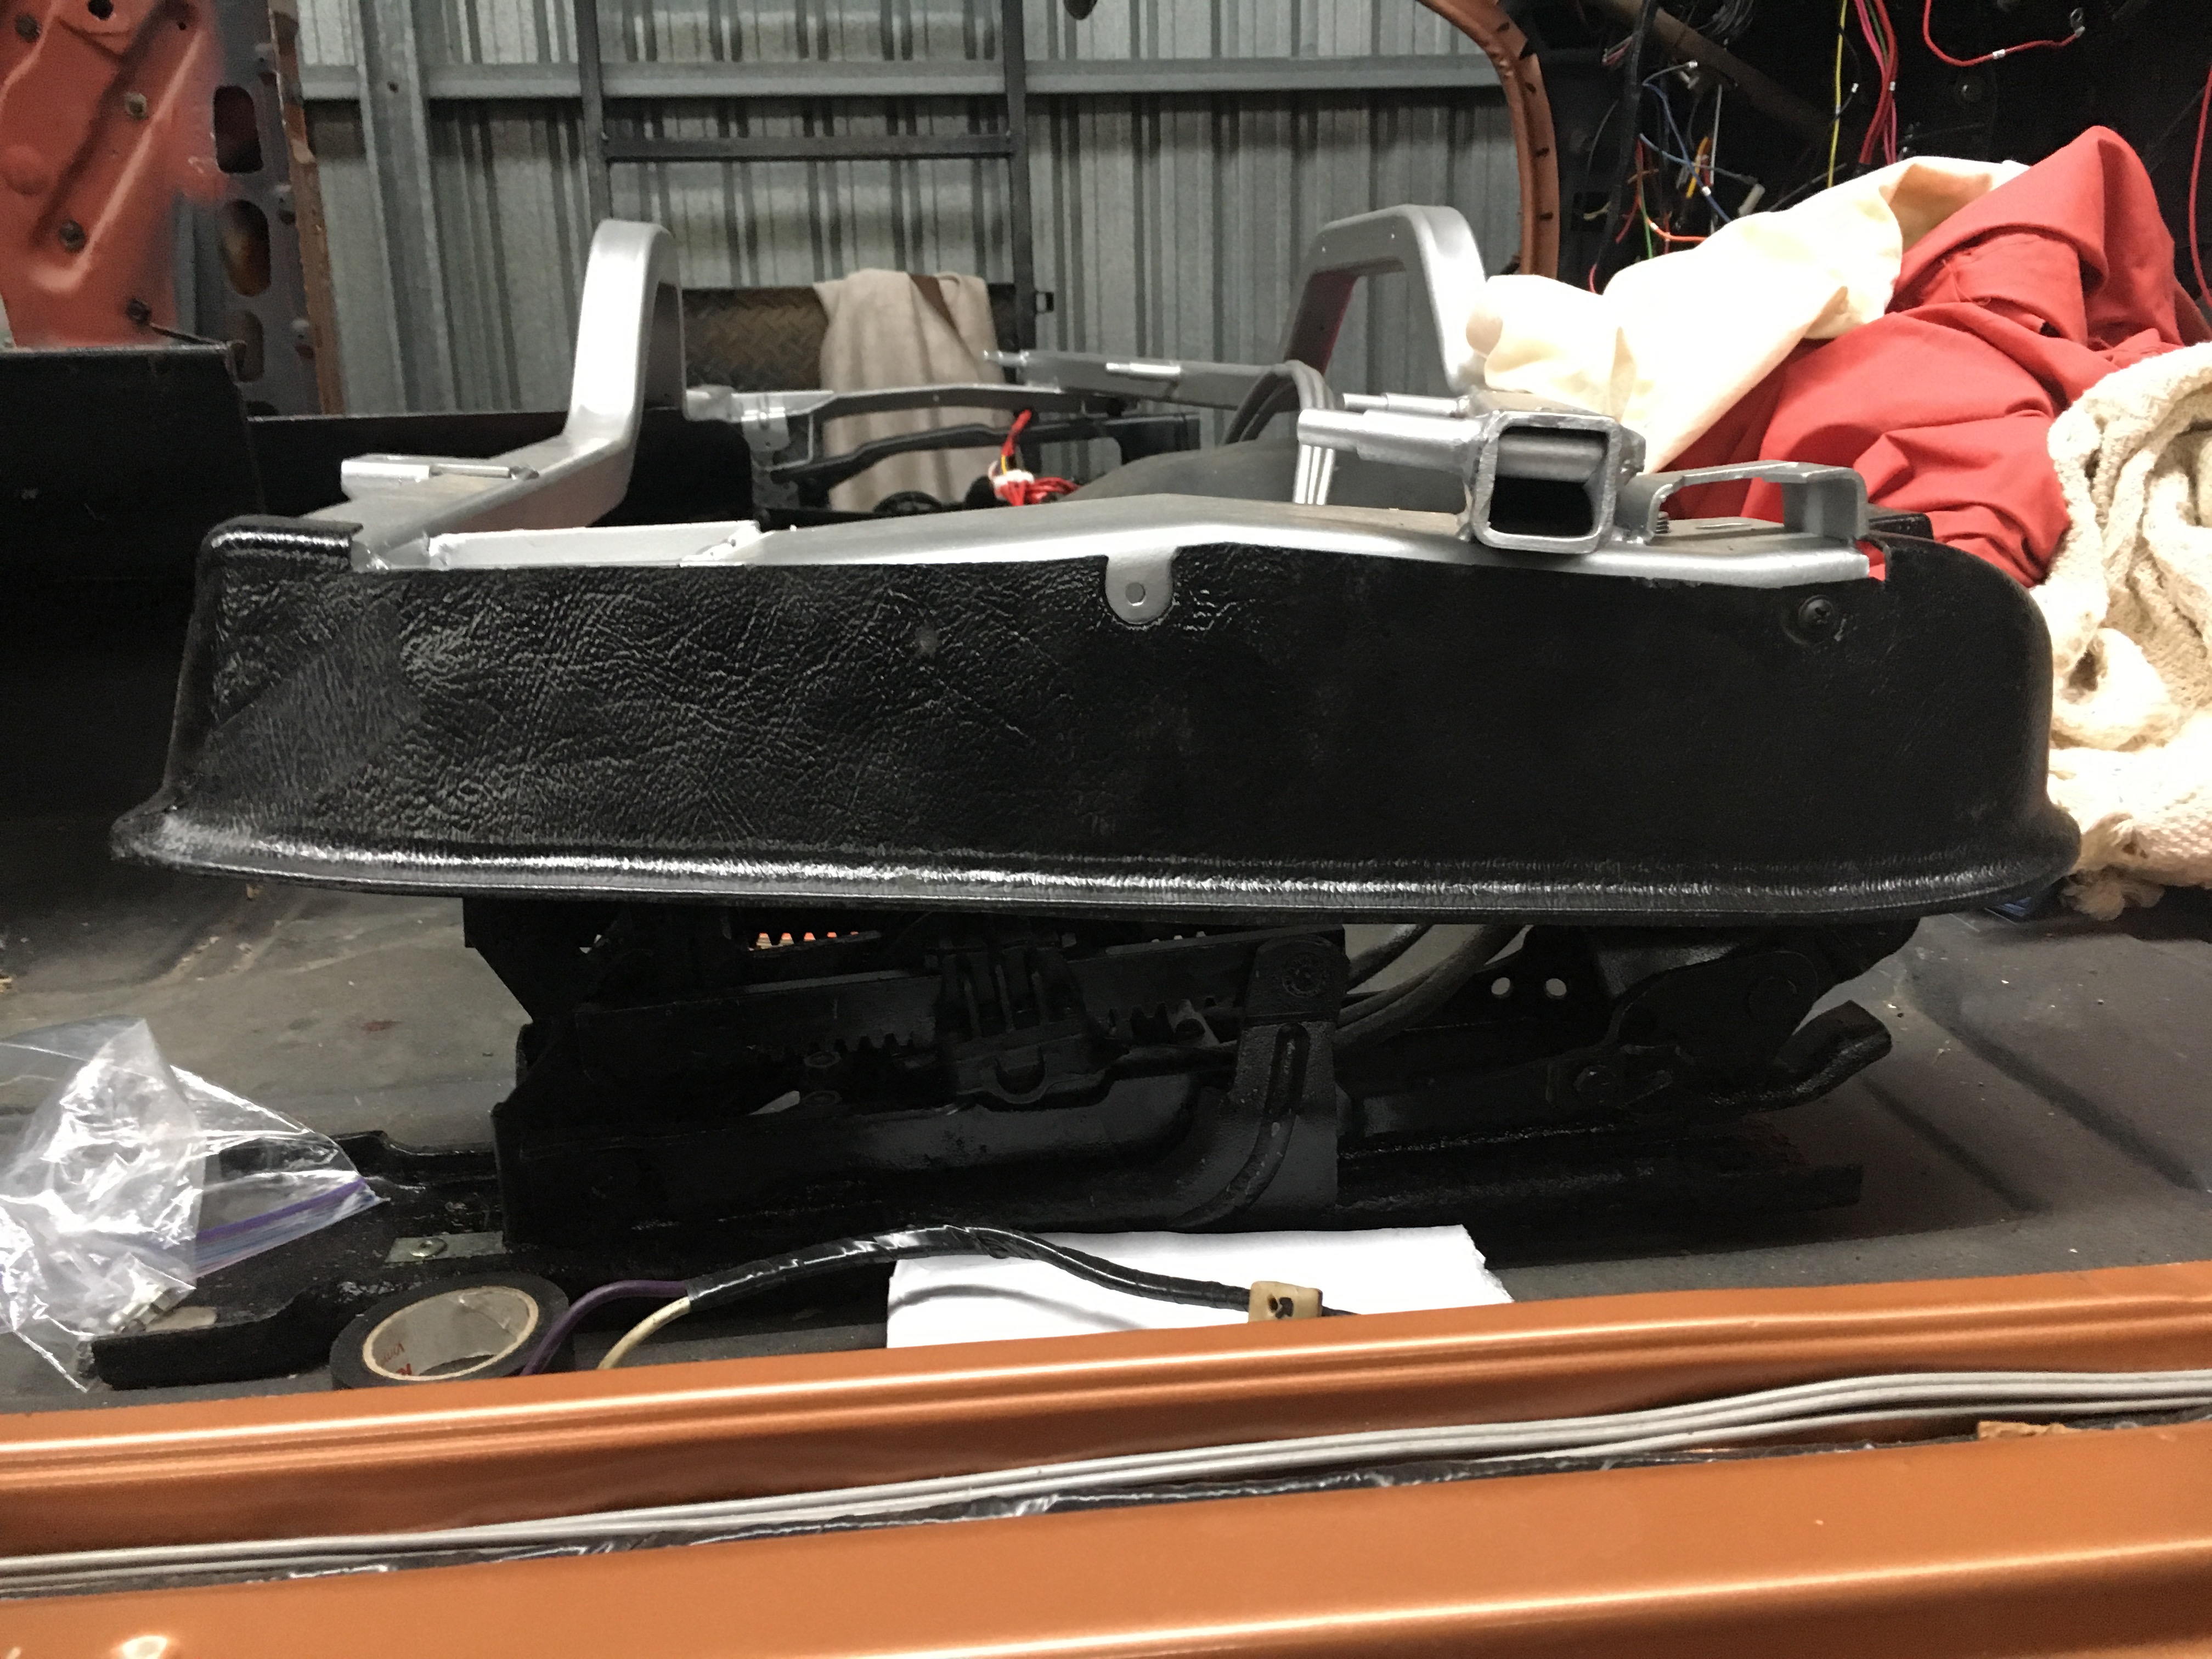
the only issue is i have a 6 way power seat so its sits pretty high
the manual cover wont cover the whole assembly and it looks a bit strange
i will post a pic tonight
Thanks guys
the only issue is i have a 6 way power seat so its sits pretty high
the manual cover wont cover the whole assembly and it looks a bit strange
i will post a pic tonight
Pic of plastic cover over power seat
Don’t think the seat is all the way
I’ll see if I can hook up power and put it in its lowest position
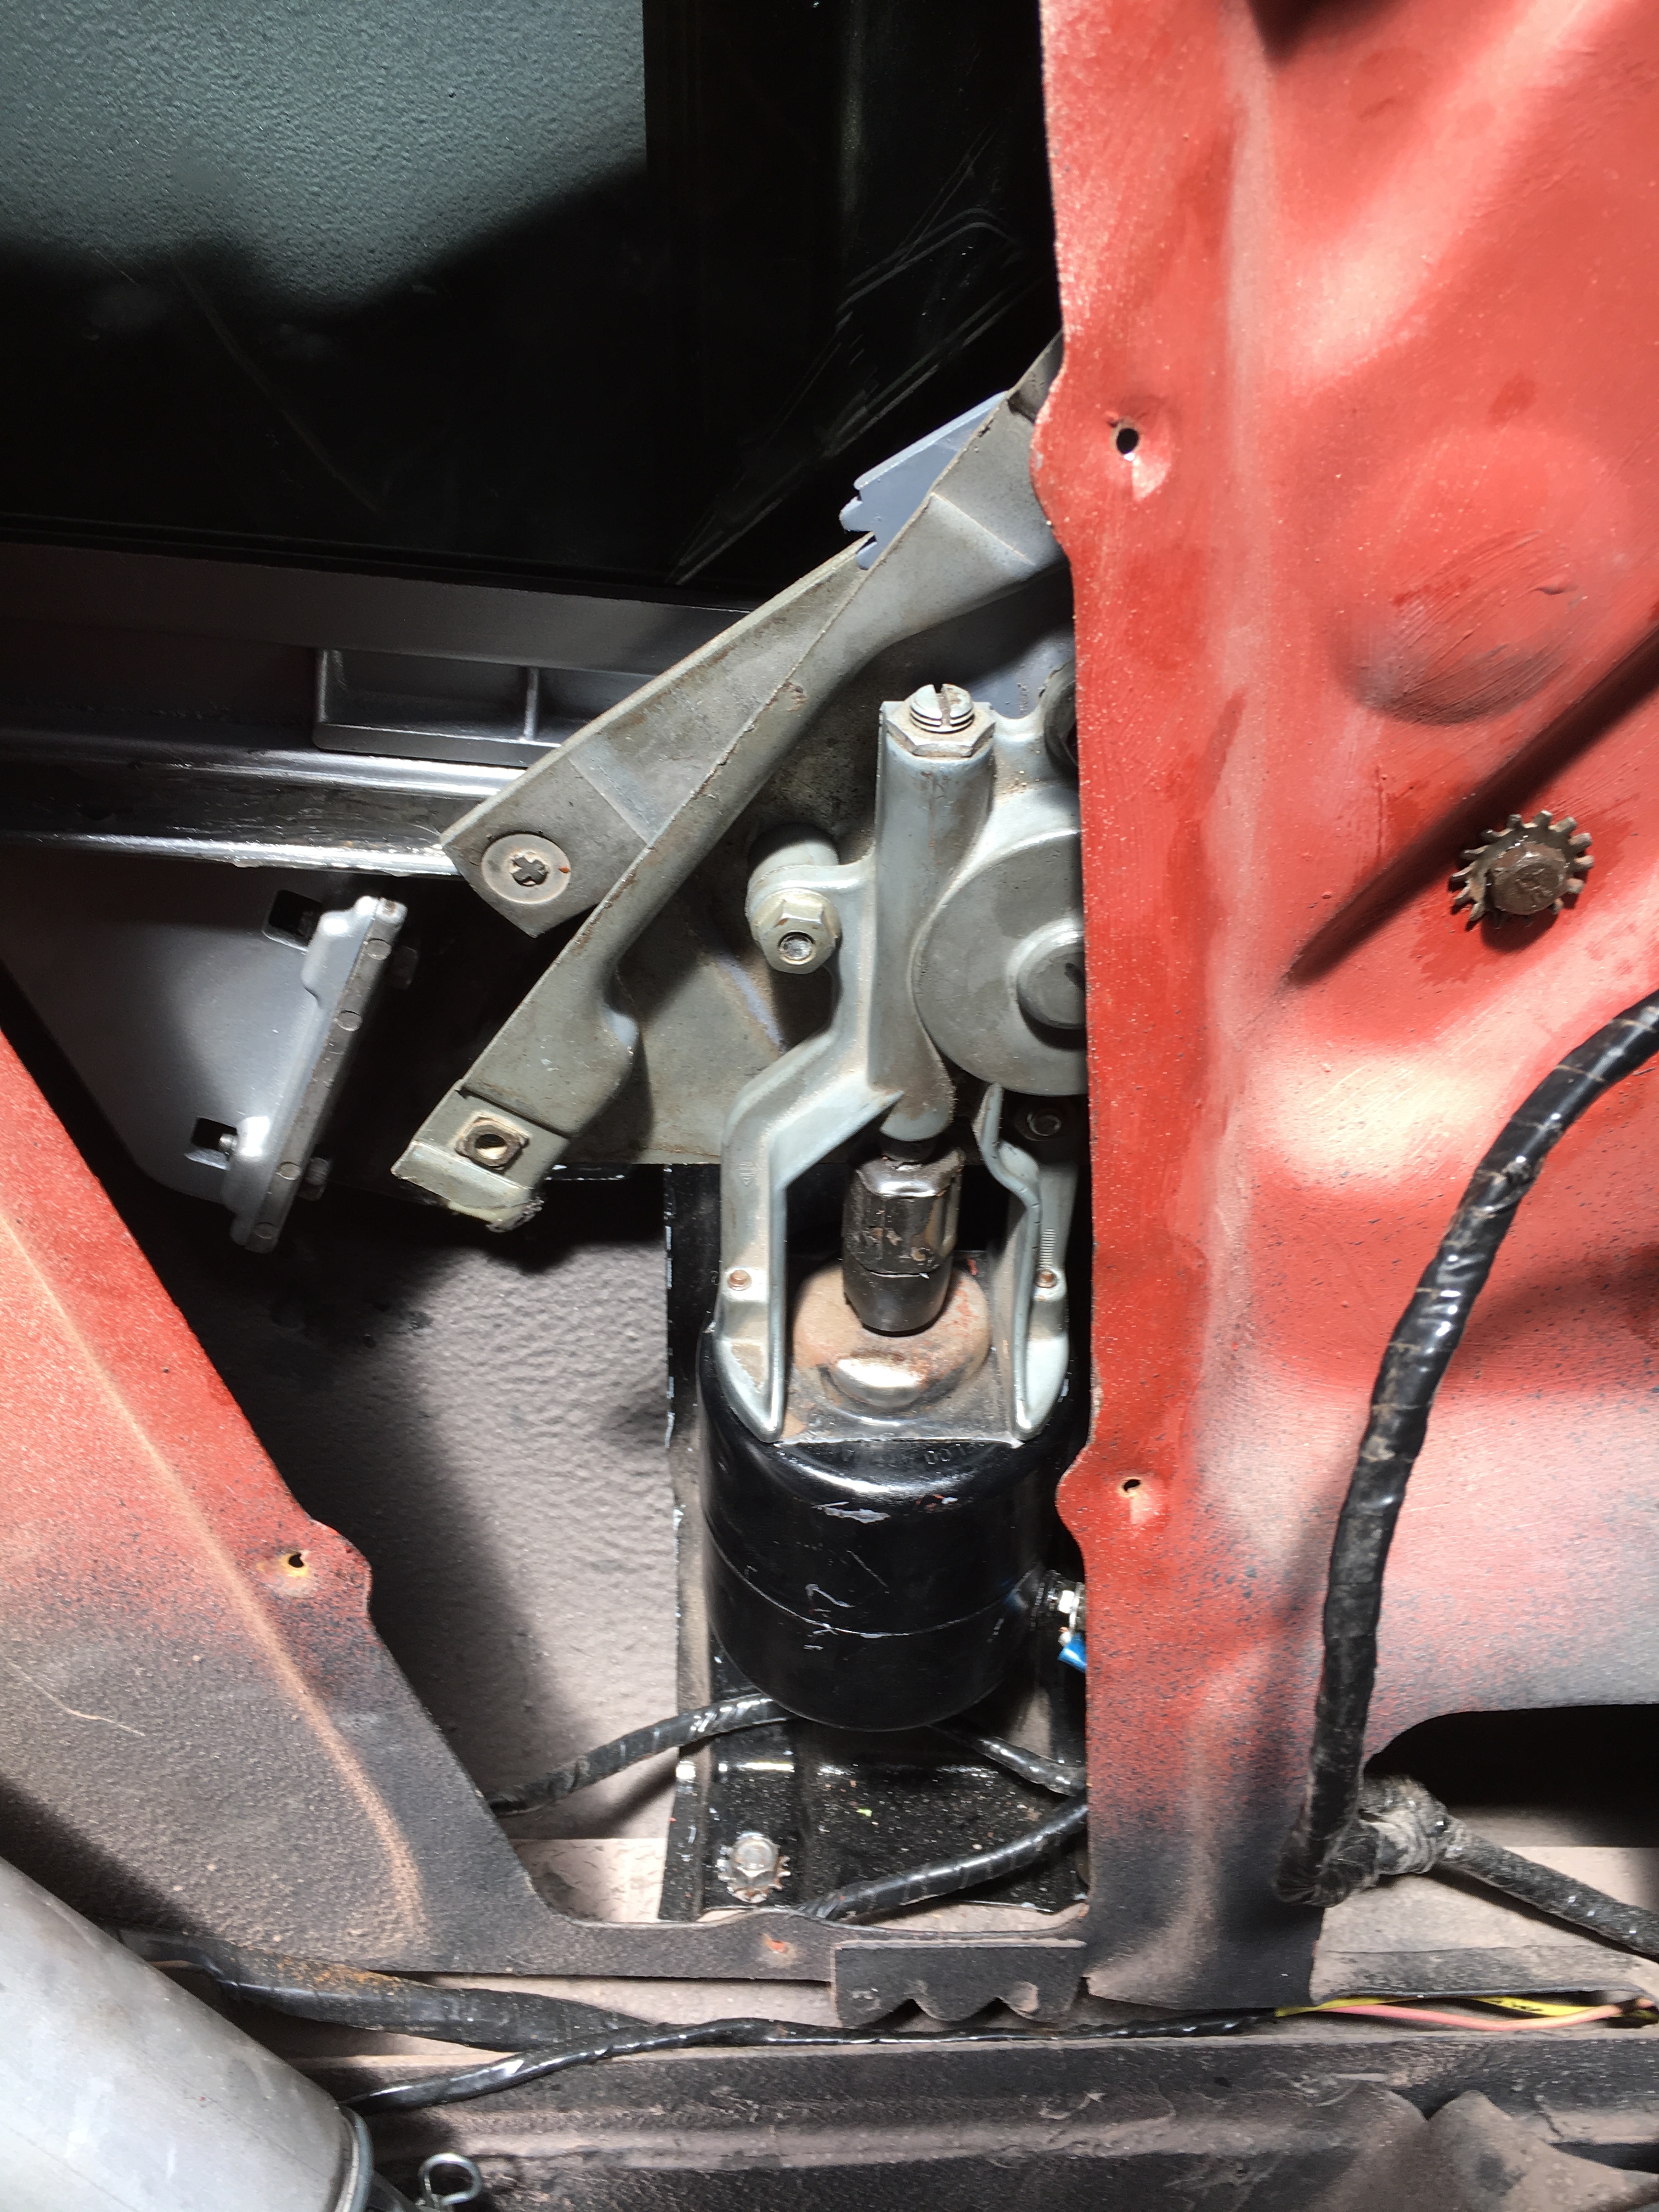
Managed to get one of my rear power windows working today
Came out really great - just need to lower the stop so the top of the window will line up with the weather trim
You may or may not recall the cvt had manual windows
I kept the power option out of my HT and had them modified to fit the conv
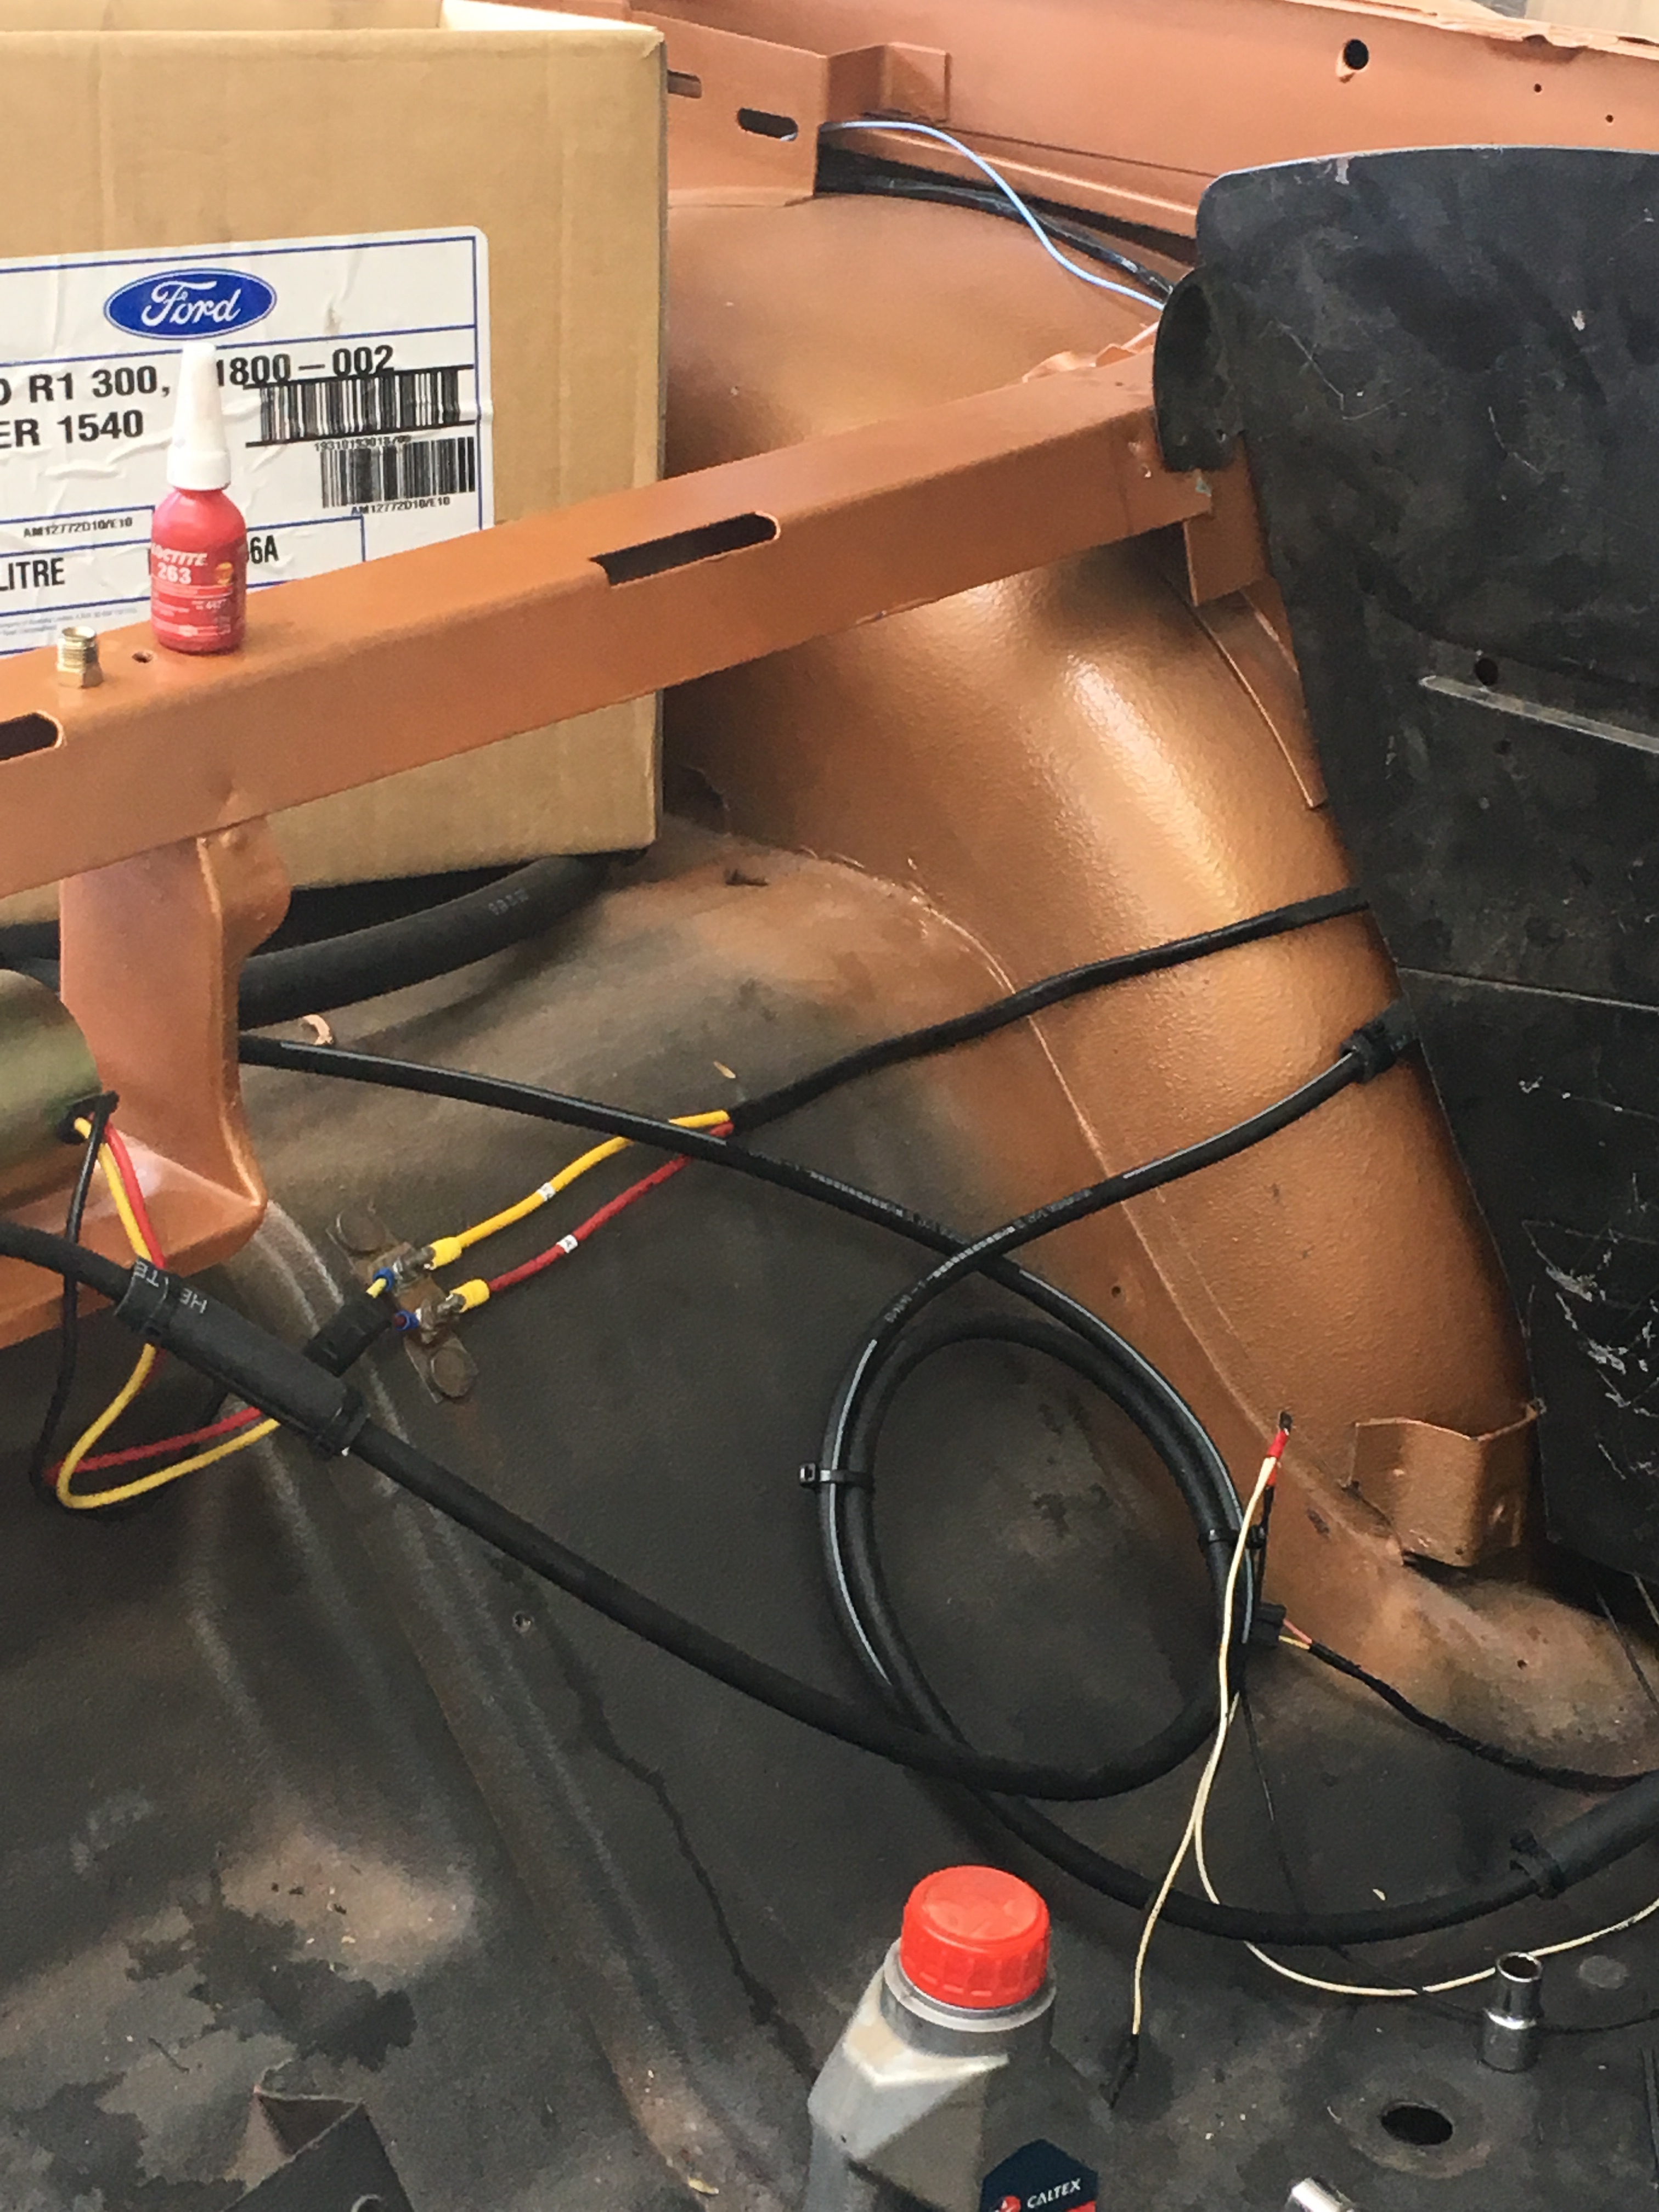
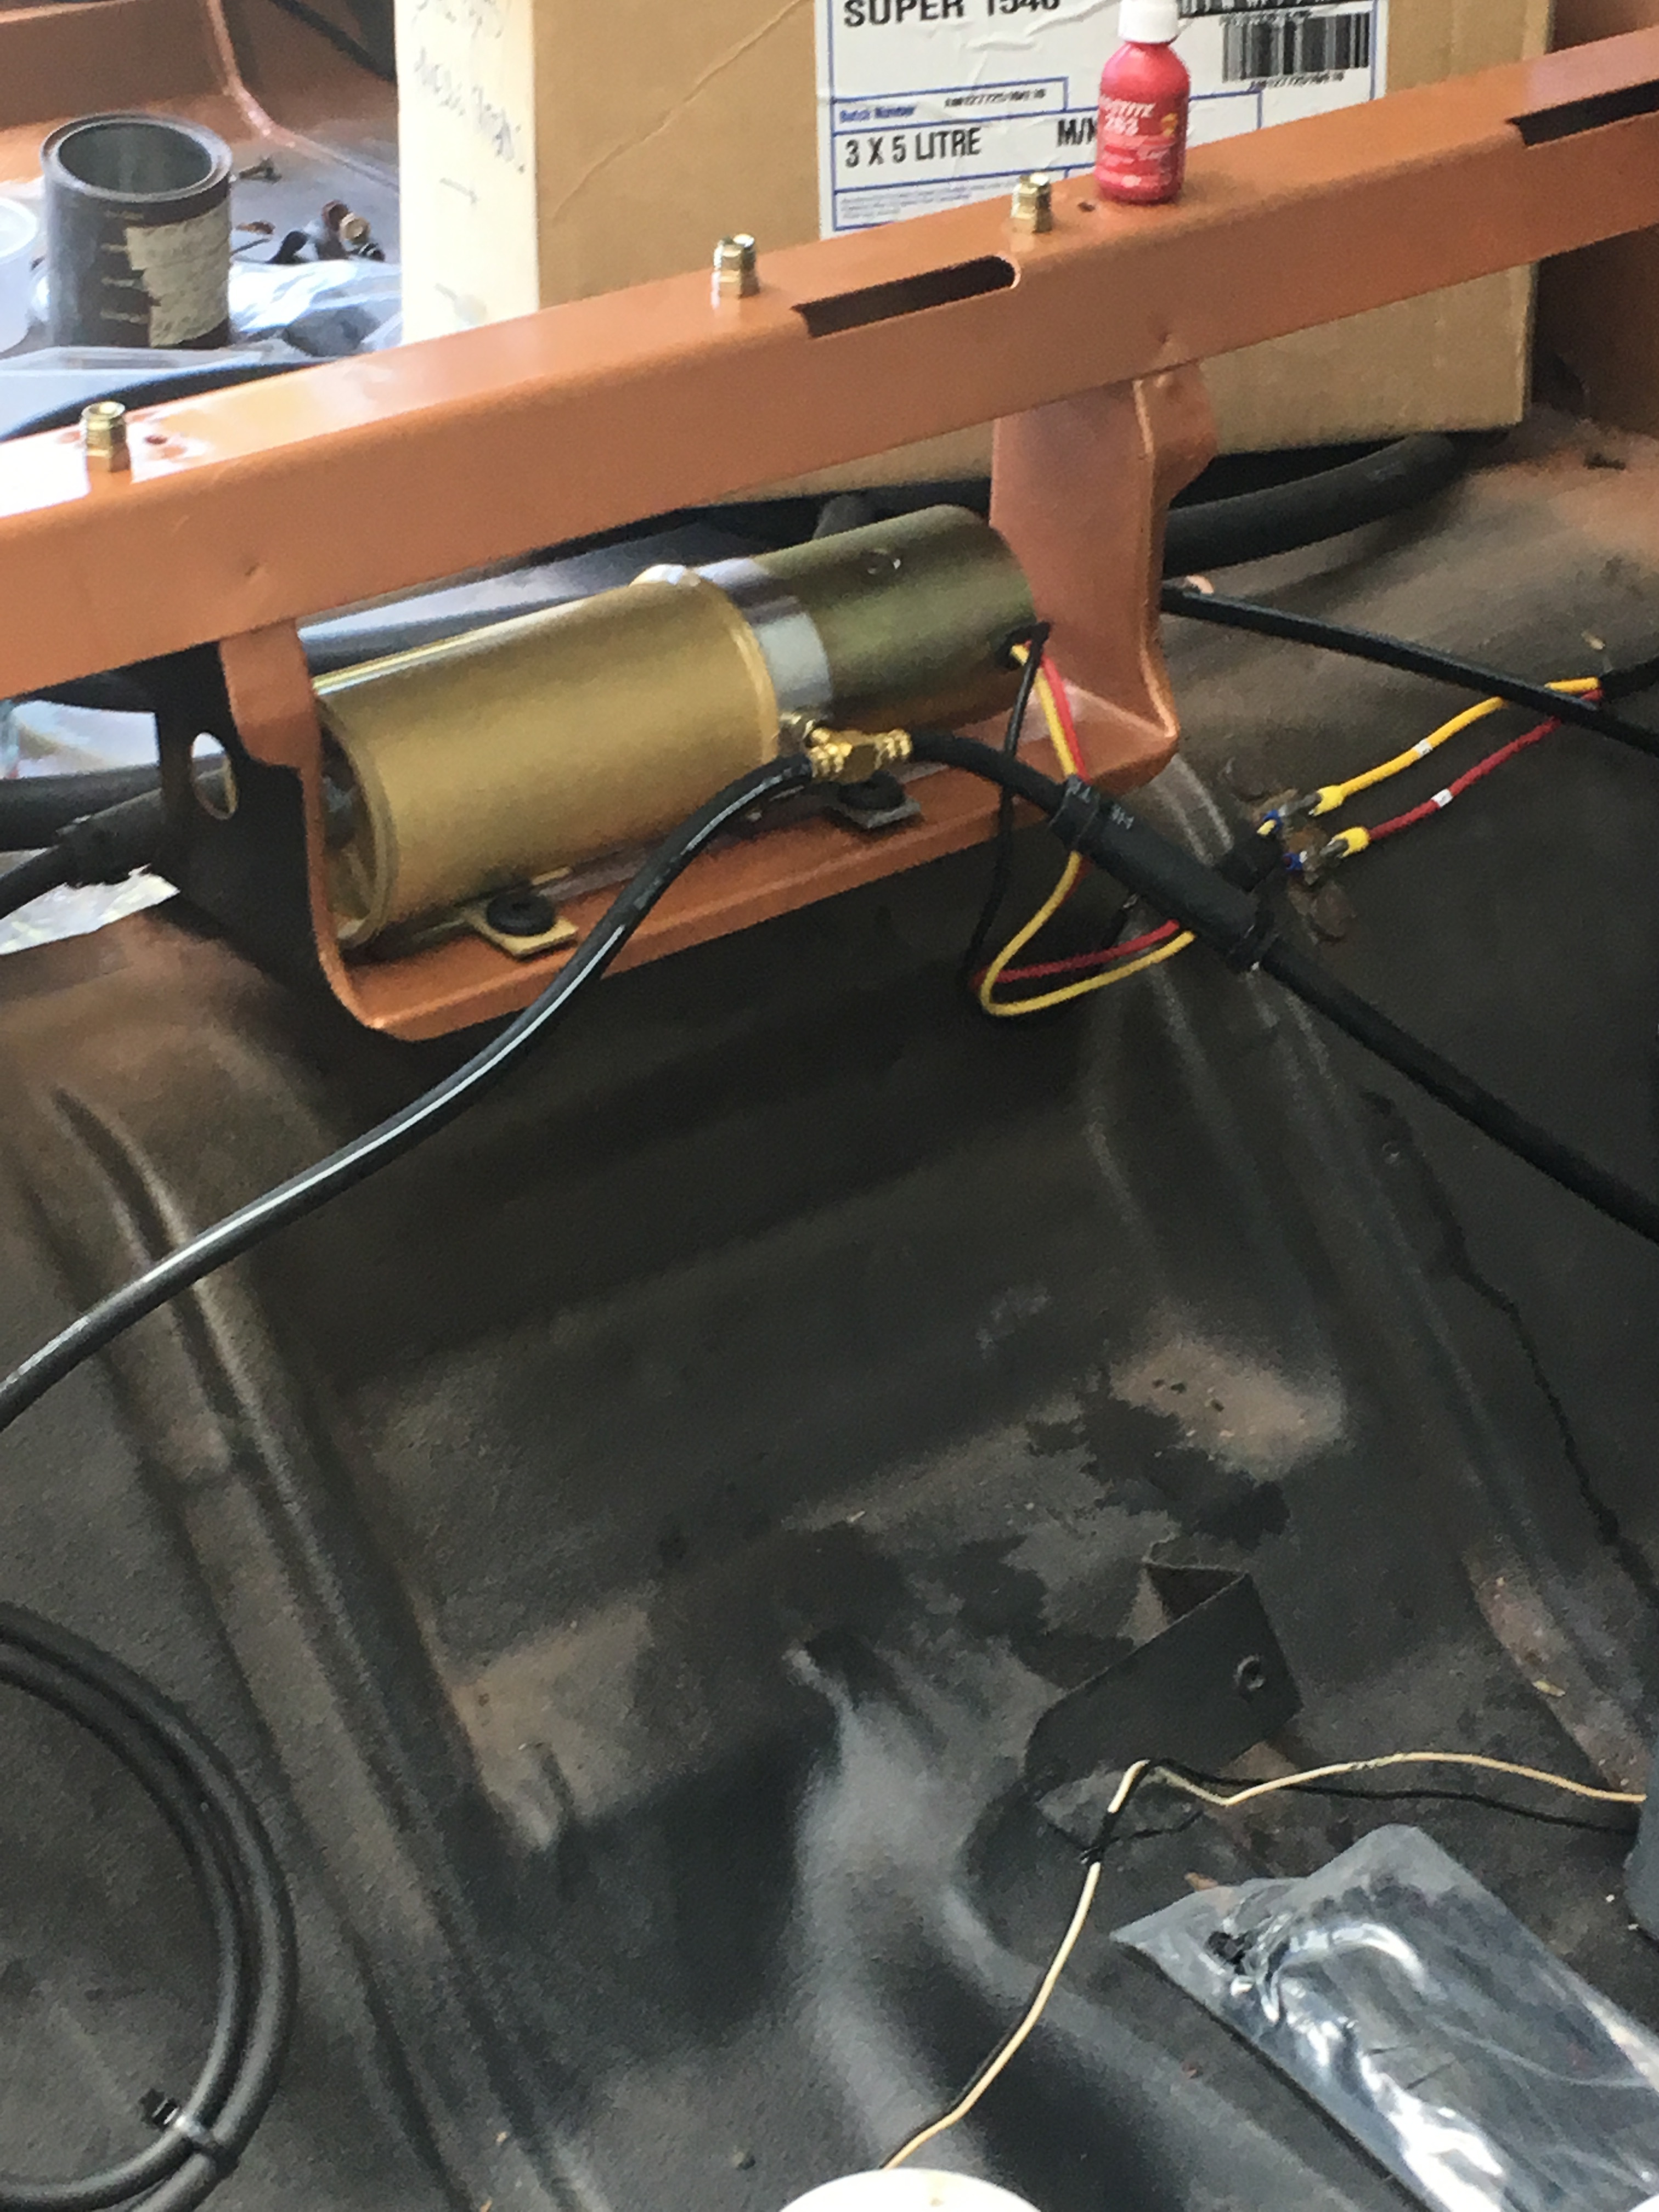
I then got started on my power top hydraulic hoses/pump
After much delay as the ones I ordered some time ago turned out to be incorrect (can’t understand why as I ordered them at the same time as the cylinder and said it was for a 59 Plymouth). Sometimes I wonder why I ever started this project as it seems to be one hurdle after the other
Anyways had them extended as one side was too short
Connected them all
Bled them out several times but couldn’t seem to get the passenger side working as quickly as the drivers side
Read up on the manual and it says to do it several times which I did
Anyone with a cvt experience this?
On another note as most of you are starting to have cold days we’re about to have a week with average temp of 94degf
Summers coming!
Amazing what sleeping does to the brain
Woke up in the middle of the night and realized I’d put both extended hoses on the same side
Given the restriction of the joiner I assumed this may have been the cause
Went out into the garage swapped them around and walla problem solvered
Then went back to bed!!
Nice!
If you need any vert related pics let me know, I’ve got the rear seat and armrests out so I can take pics easily.
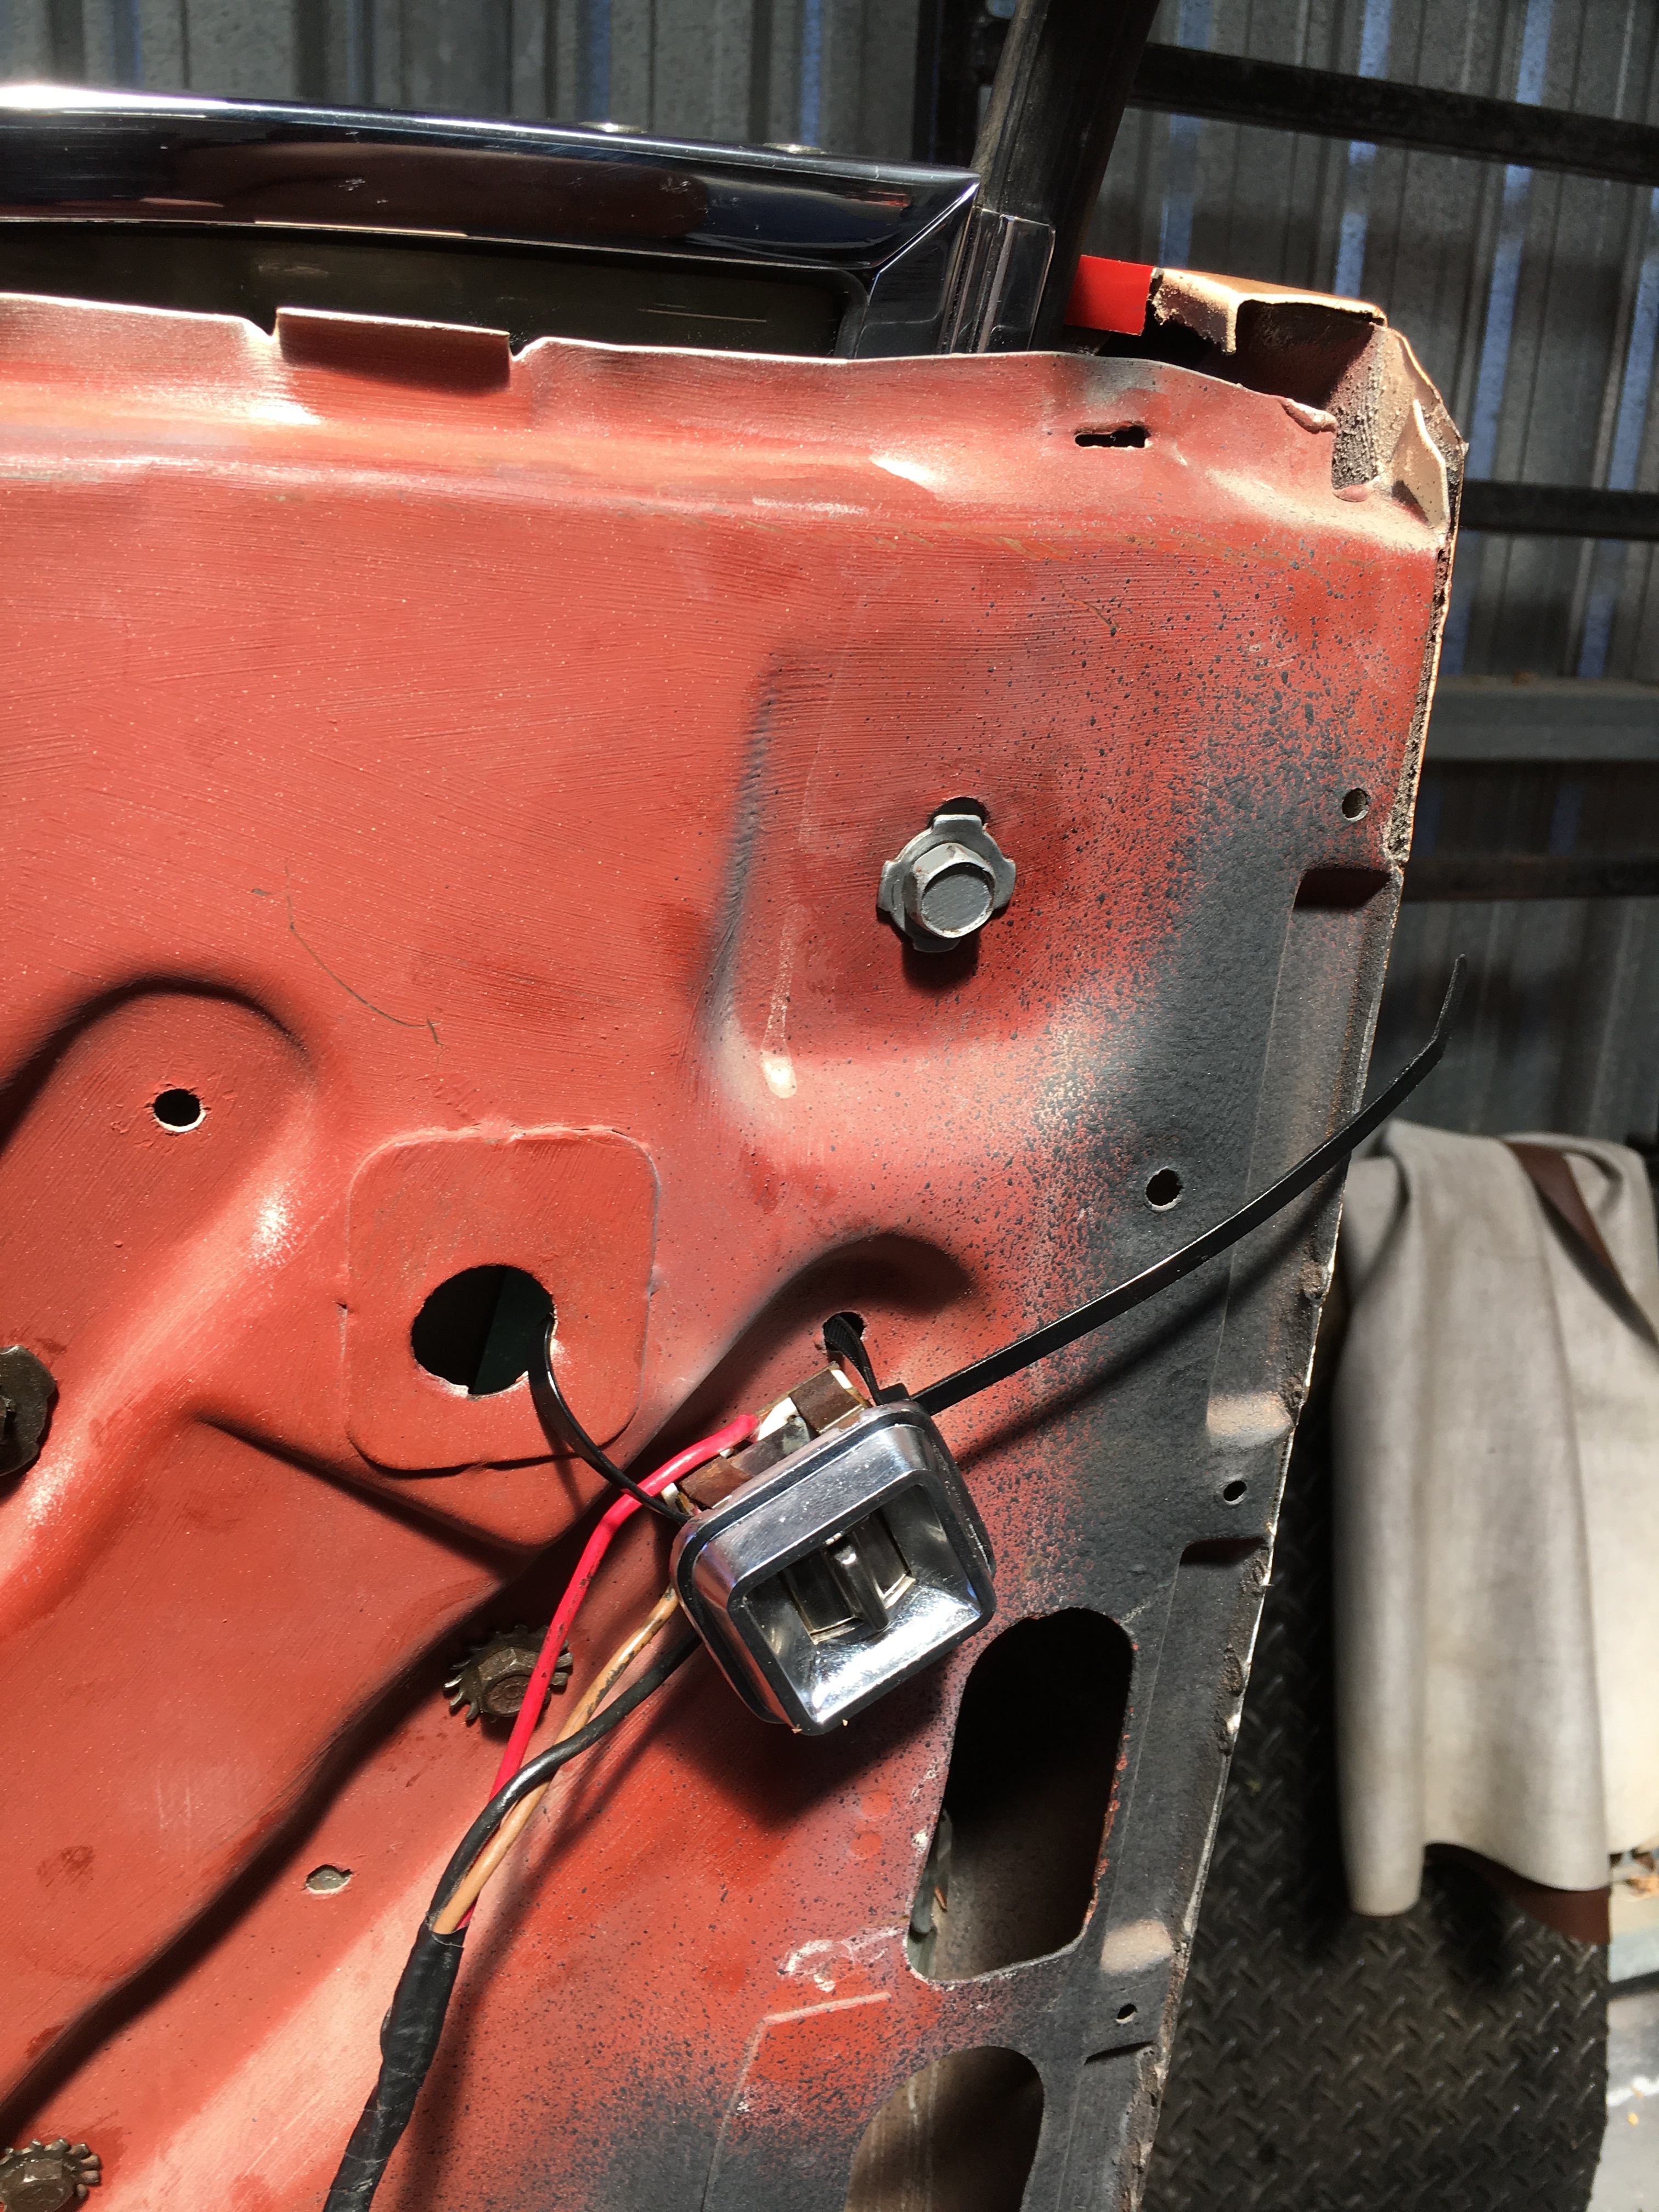
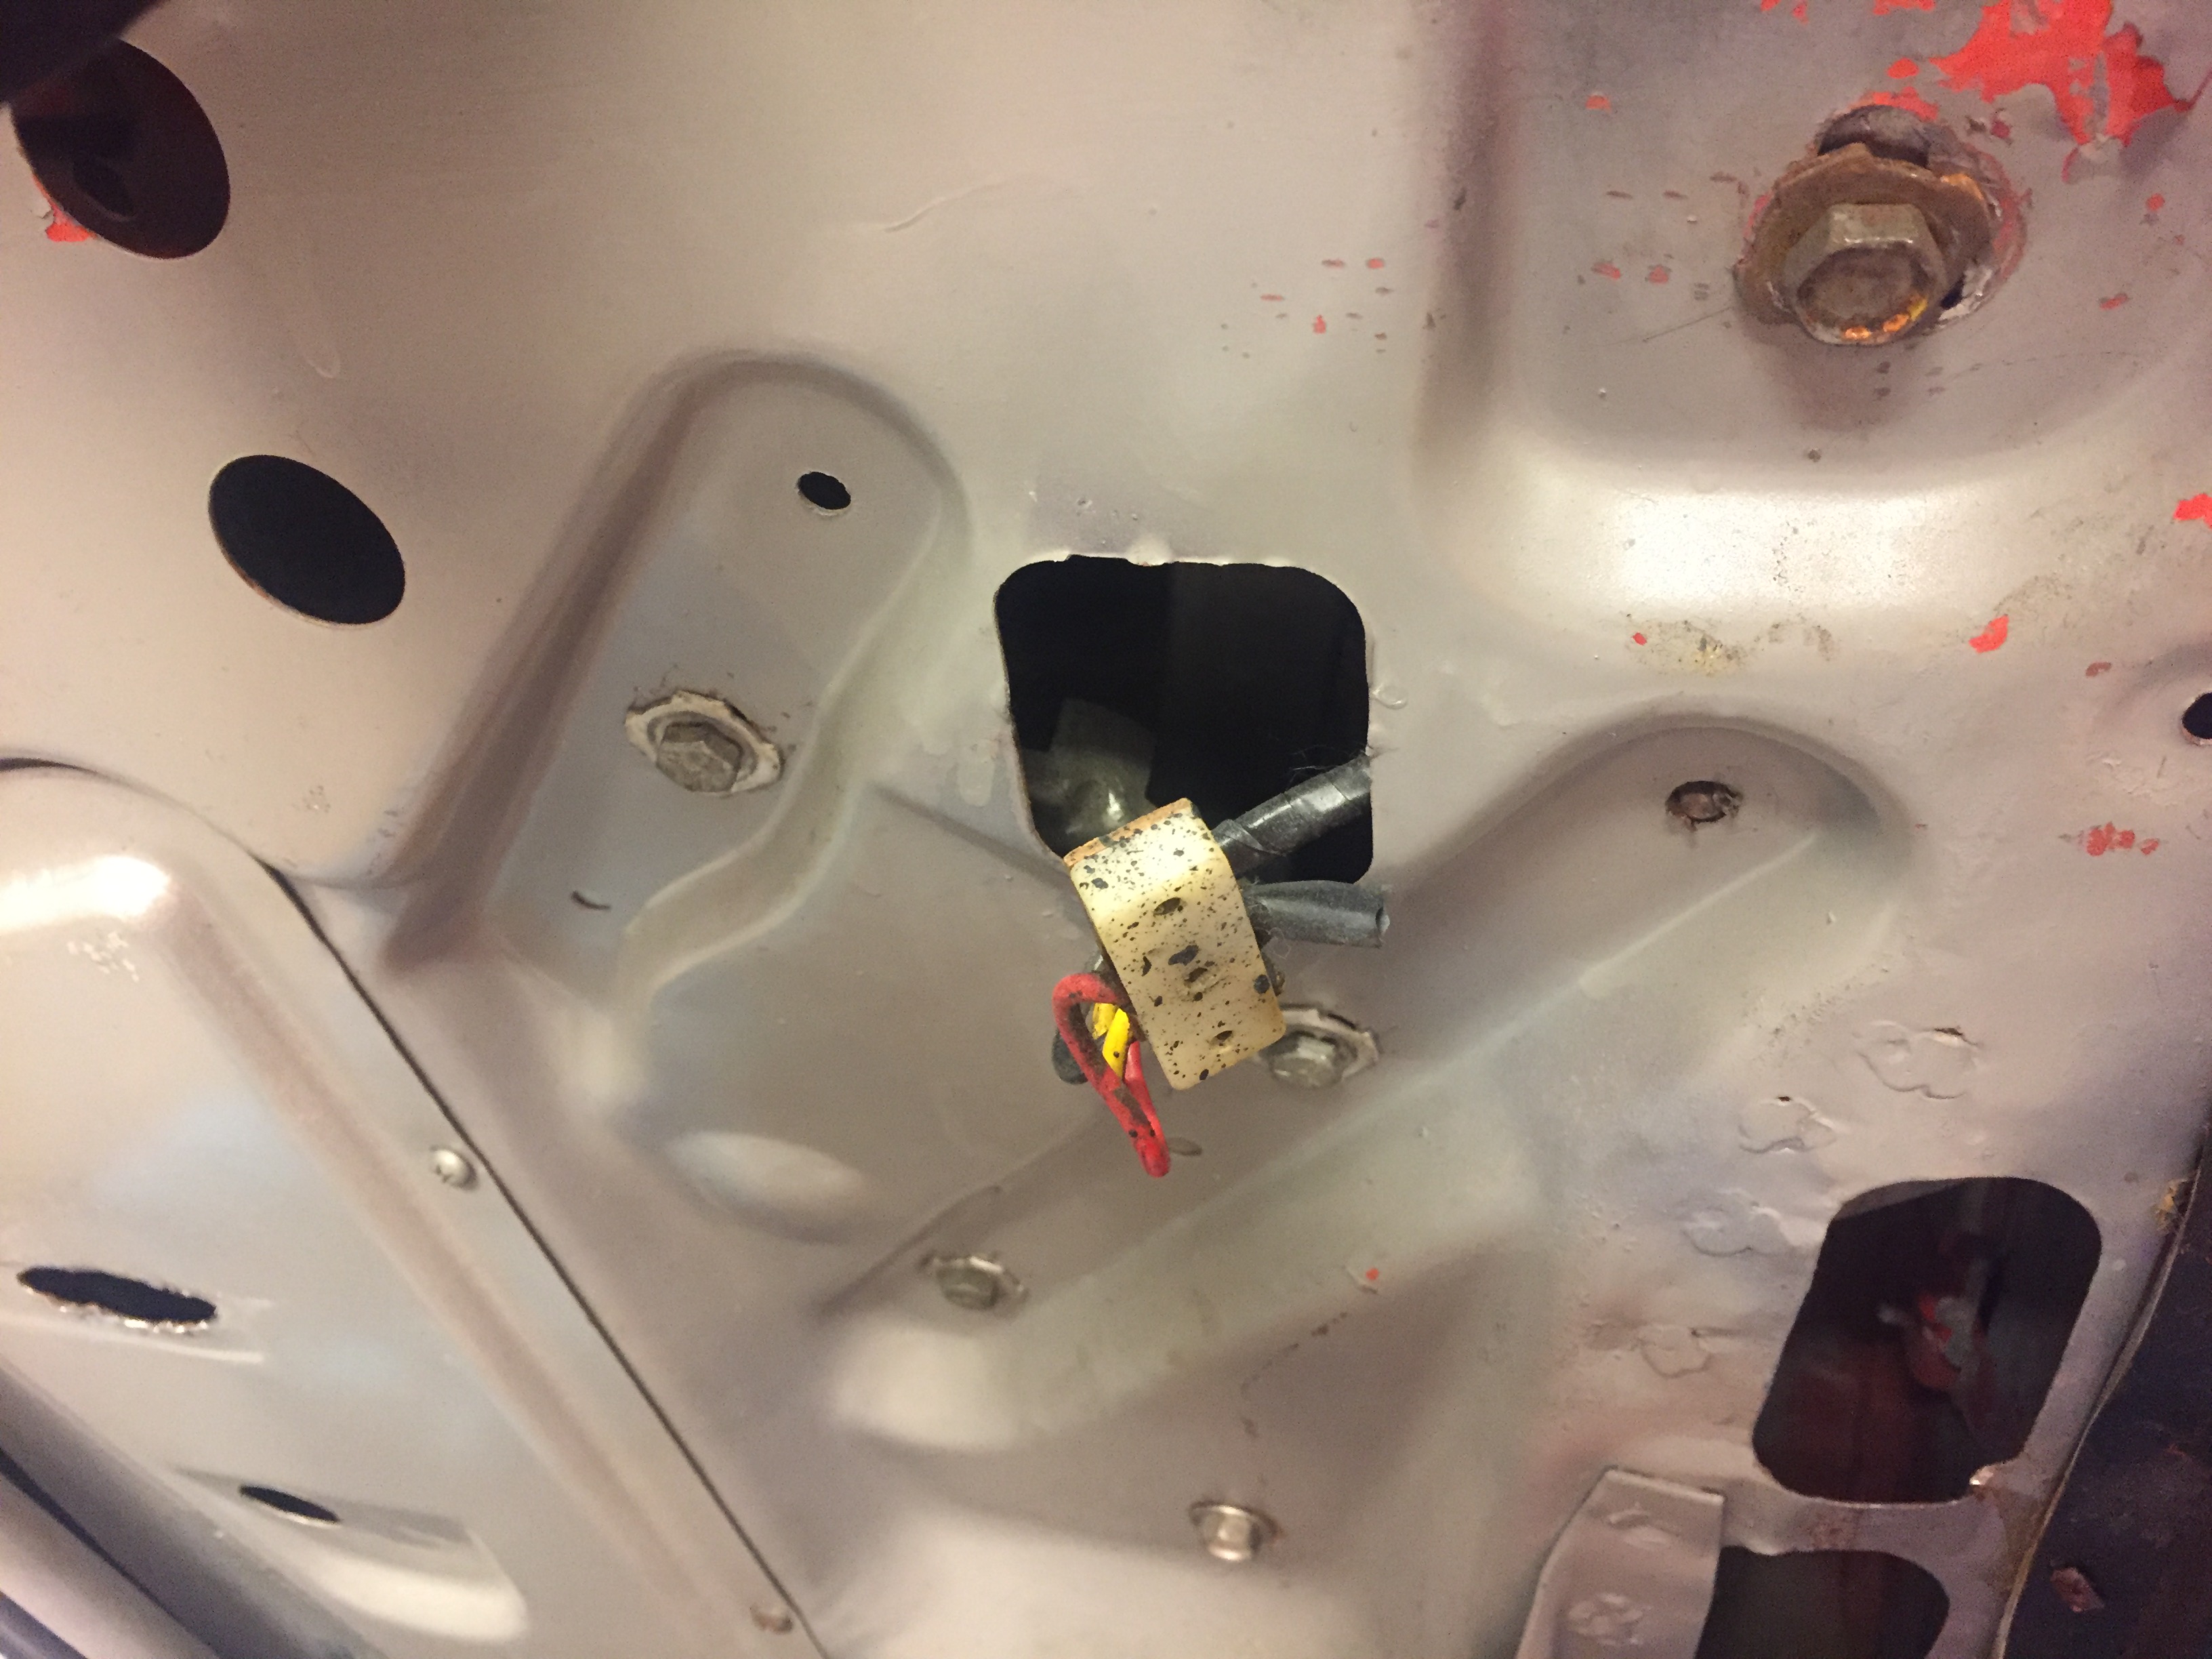
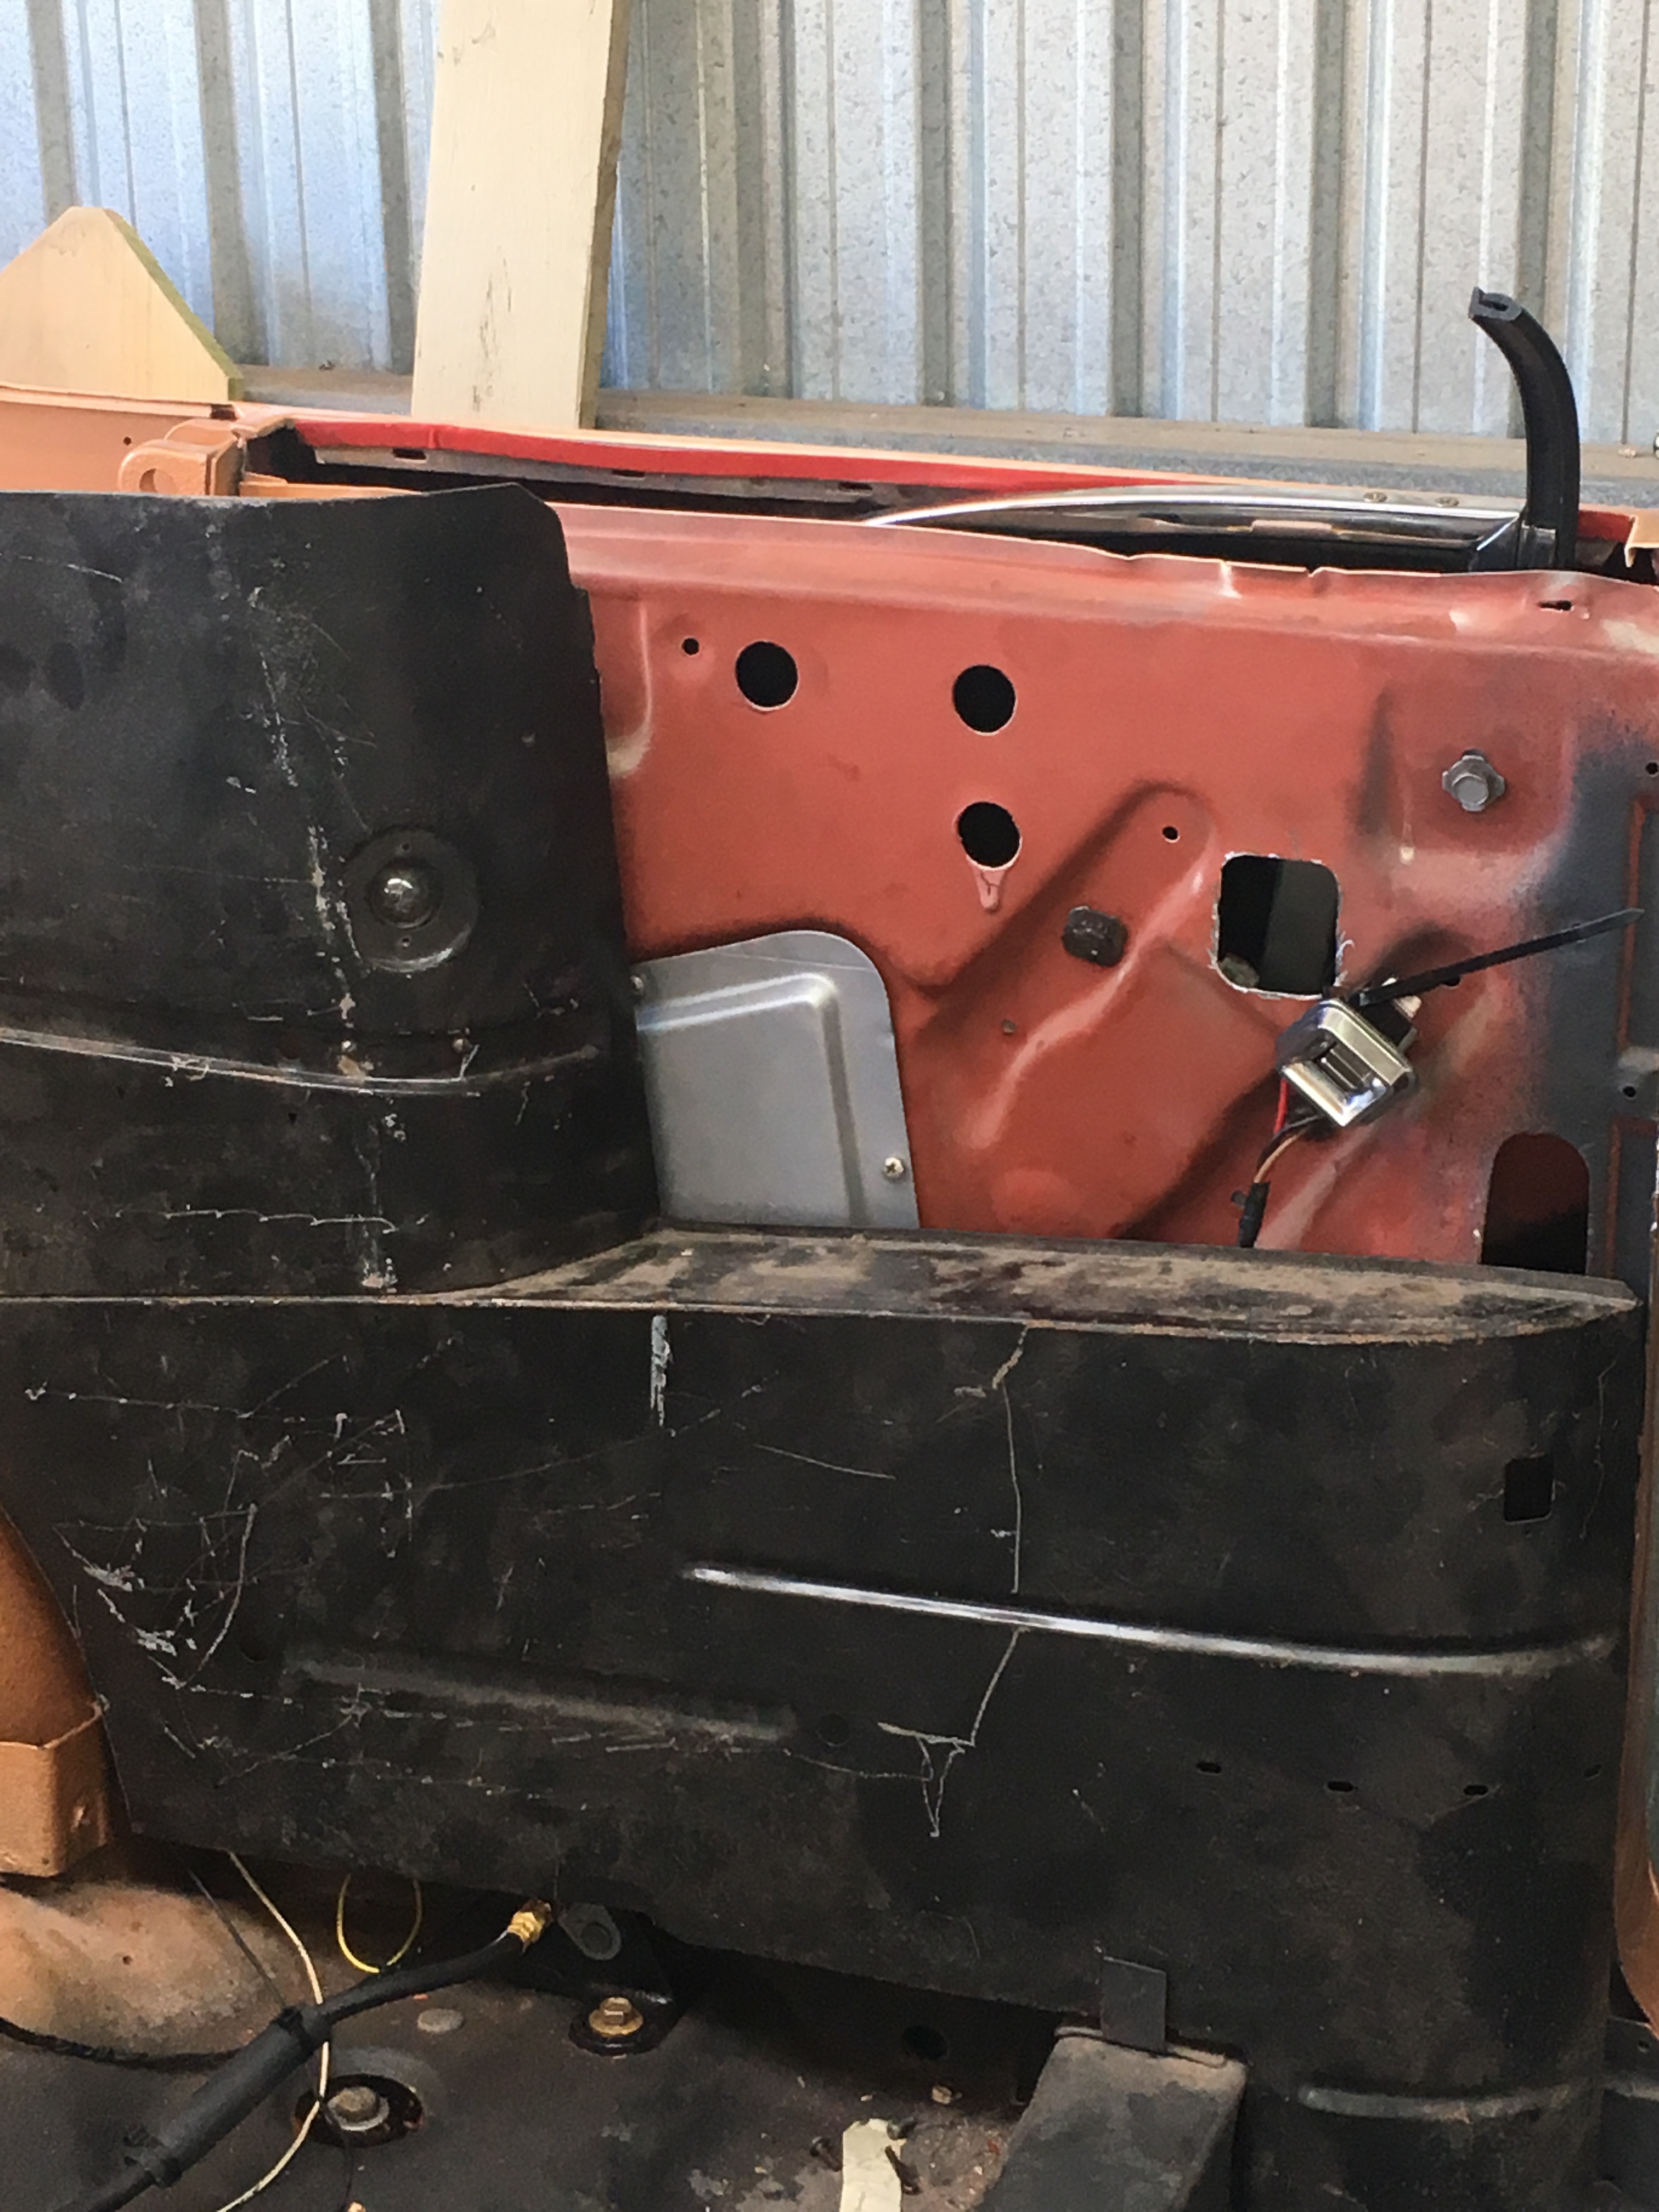
Before you install all the power window stuff make sure to remove the square plates welded in the interior (I can see it in one of your pics) where normally the handle is
Cheers Matthew
Given your statement am i to feed the wire from behind and feed it thru the hole? Therefore needing to remove the plate so that the switch fits in it!
That’s it! They welded those plates in for cheap windows.
I can make a pic tomorrow as I need to remove my panel
Thanks Matthew
Removed them today
I note there’s not much room to feed the cables thru
Not sure if it’s because I have the 2 door hard top motors but it looks like the wire will get pinched when the windows go up and down?
Managed to install the other rear window and it’s working
All hydraulics are in for the cvt motor
A small smile is slowly appearing as I complete another job 
Again thanks for your support
I want to fix my rear passenger side window.
Need pics where the wires go?
You do amazing work there!!!
Thanks Matthew
Pics would be awesome
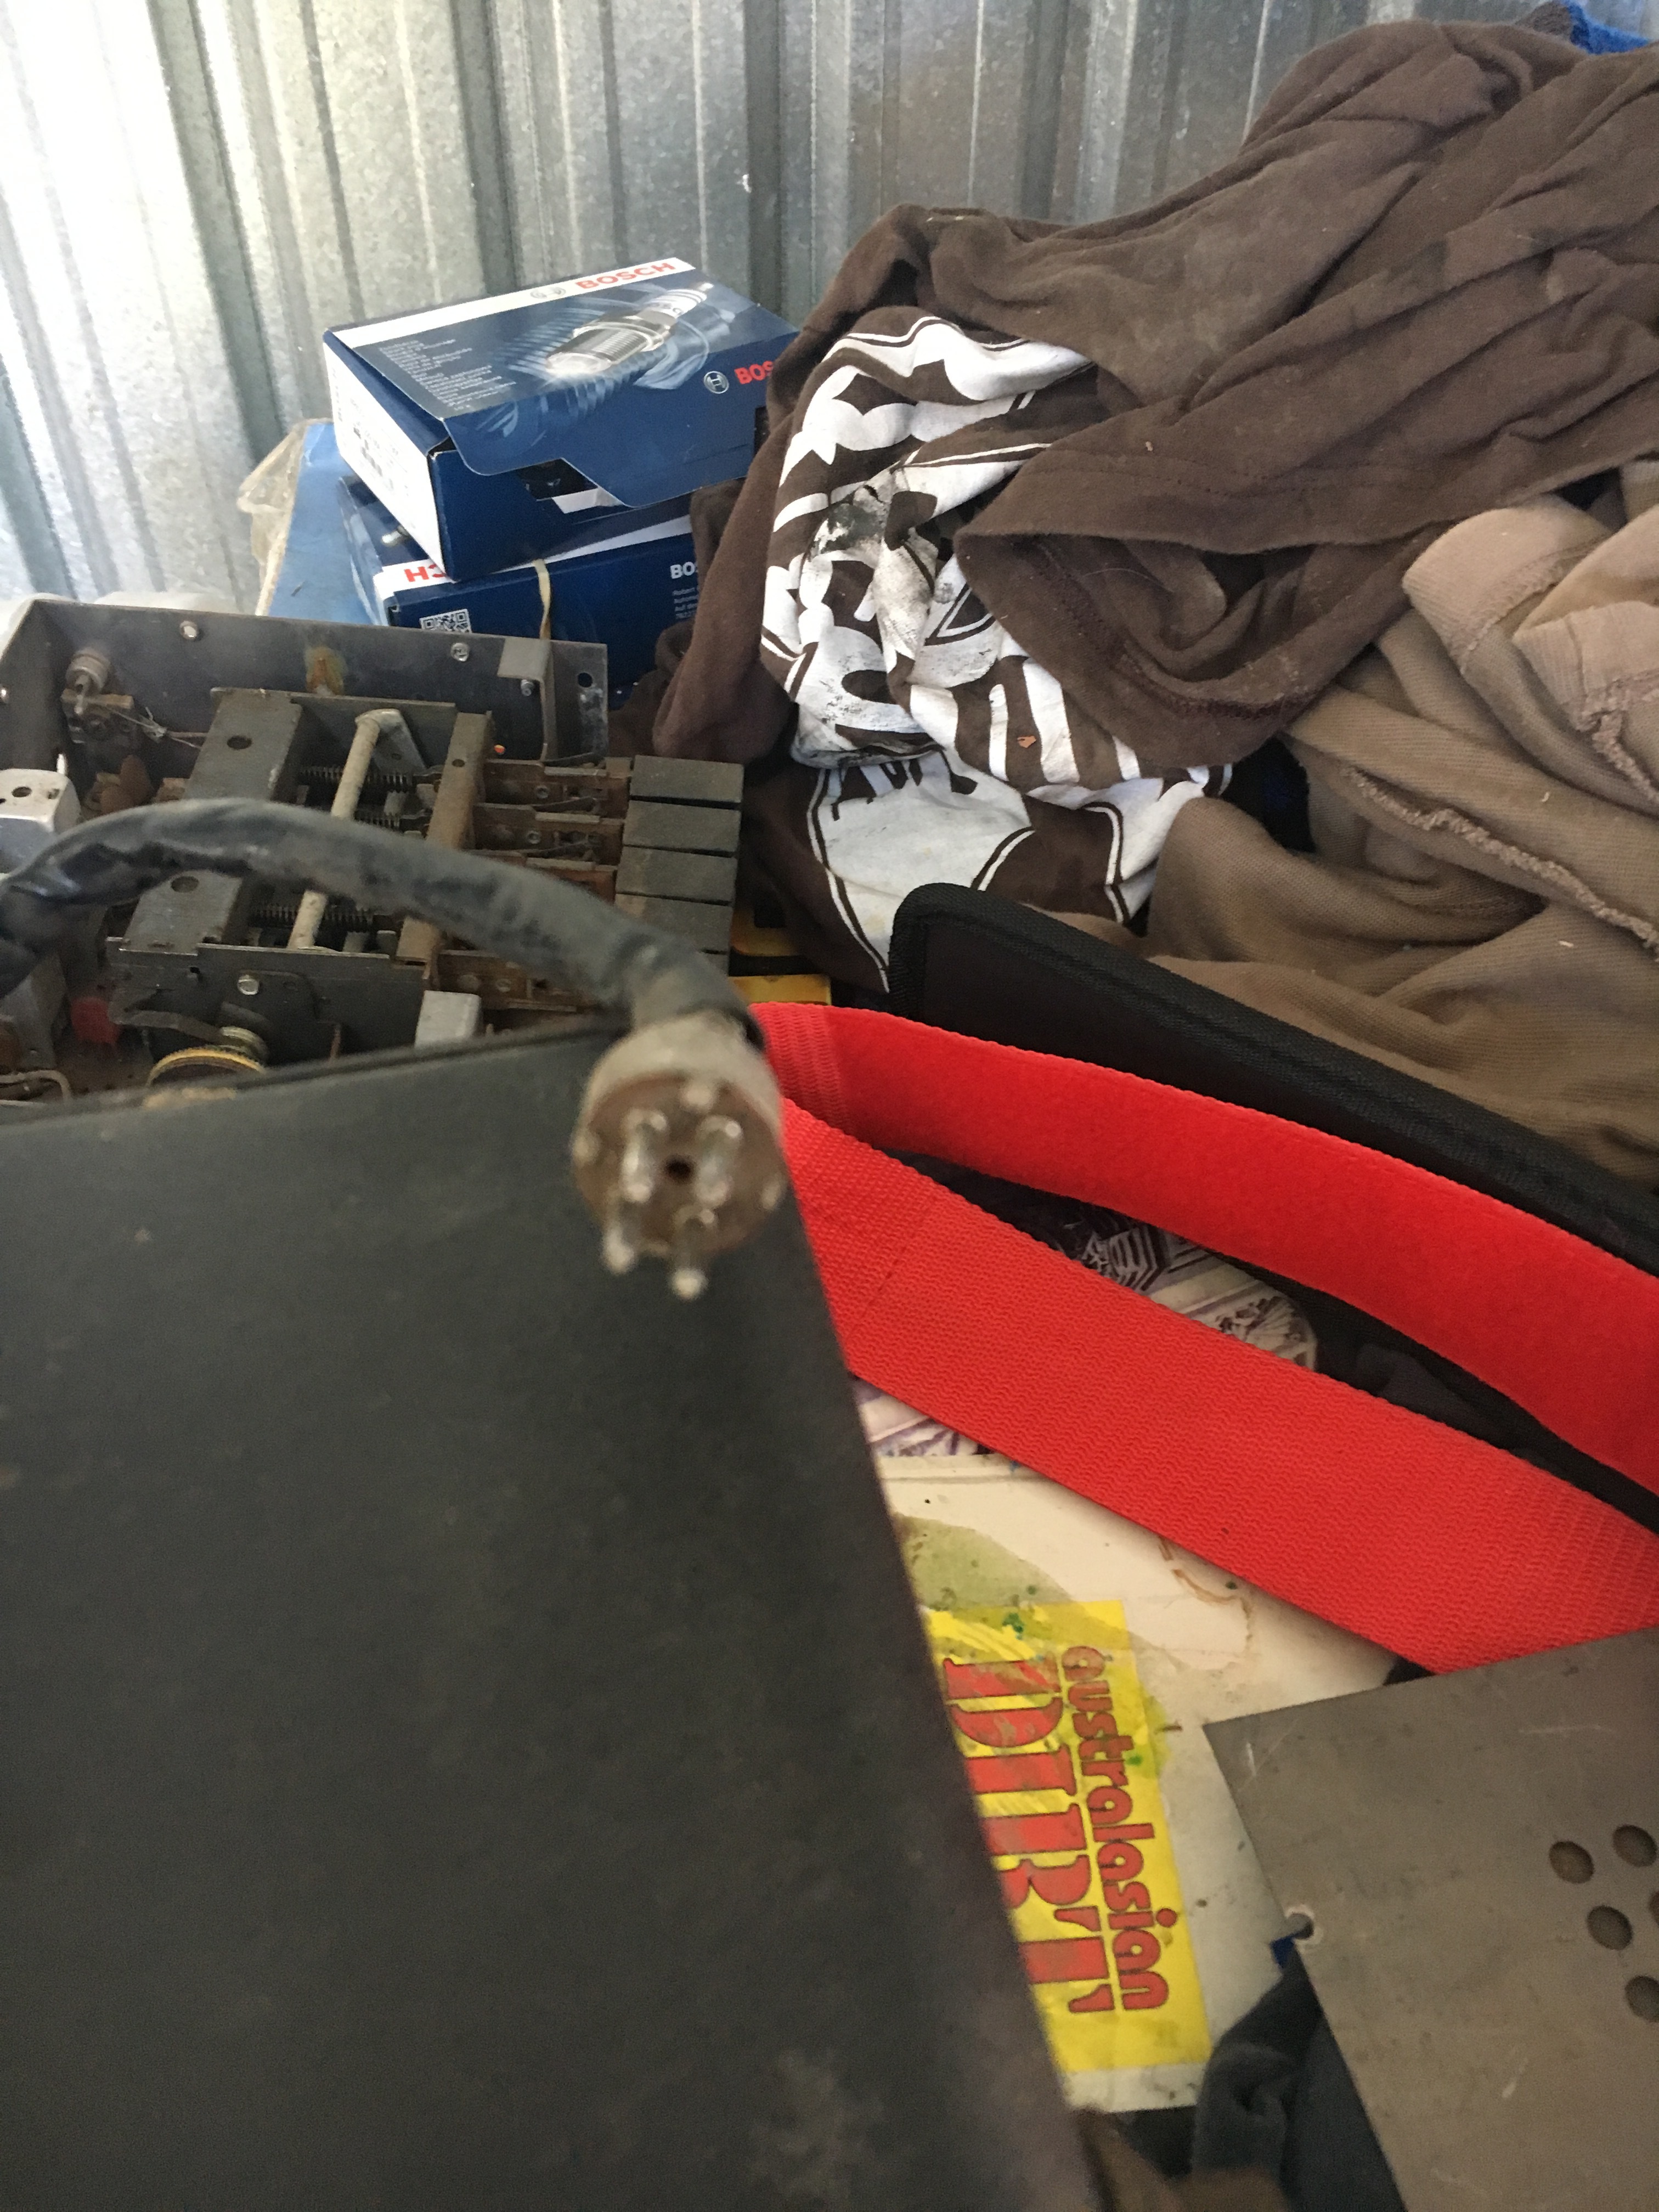
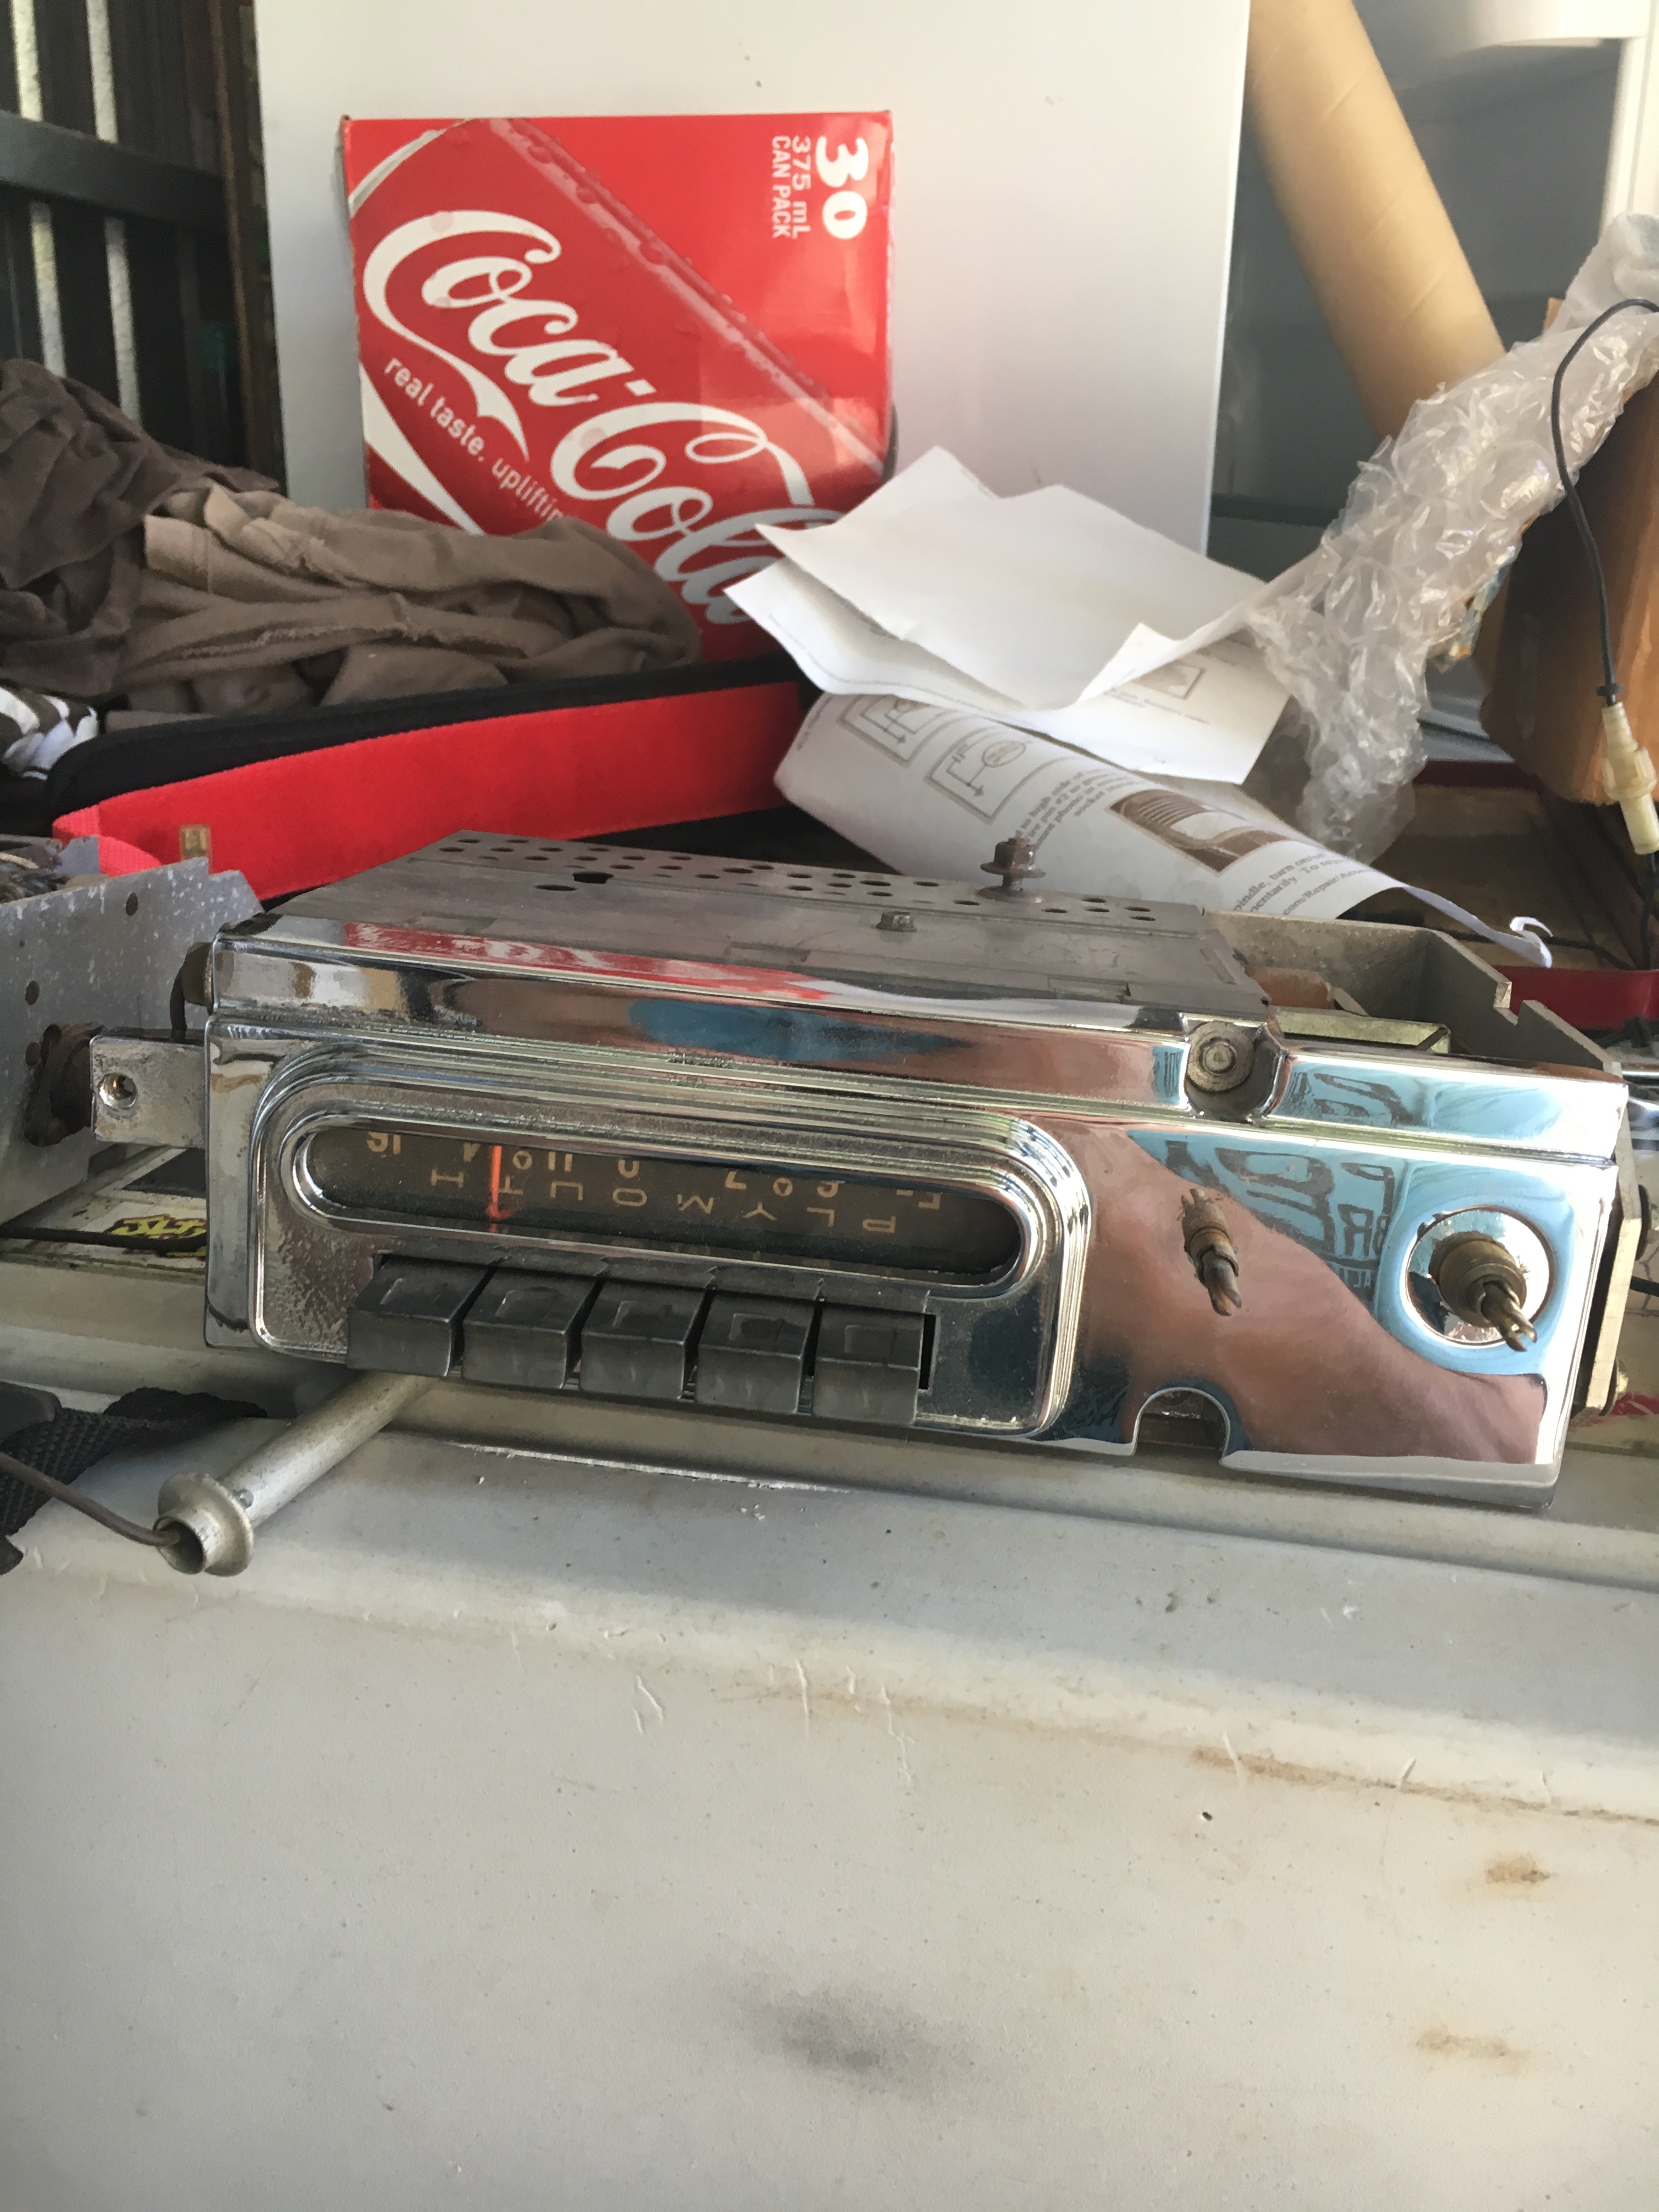
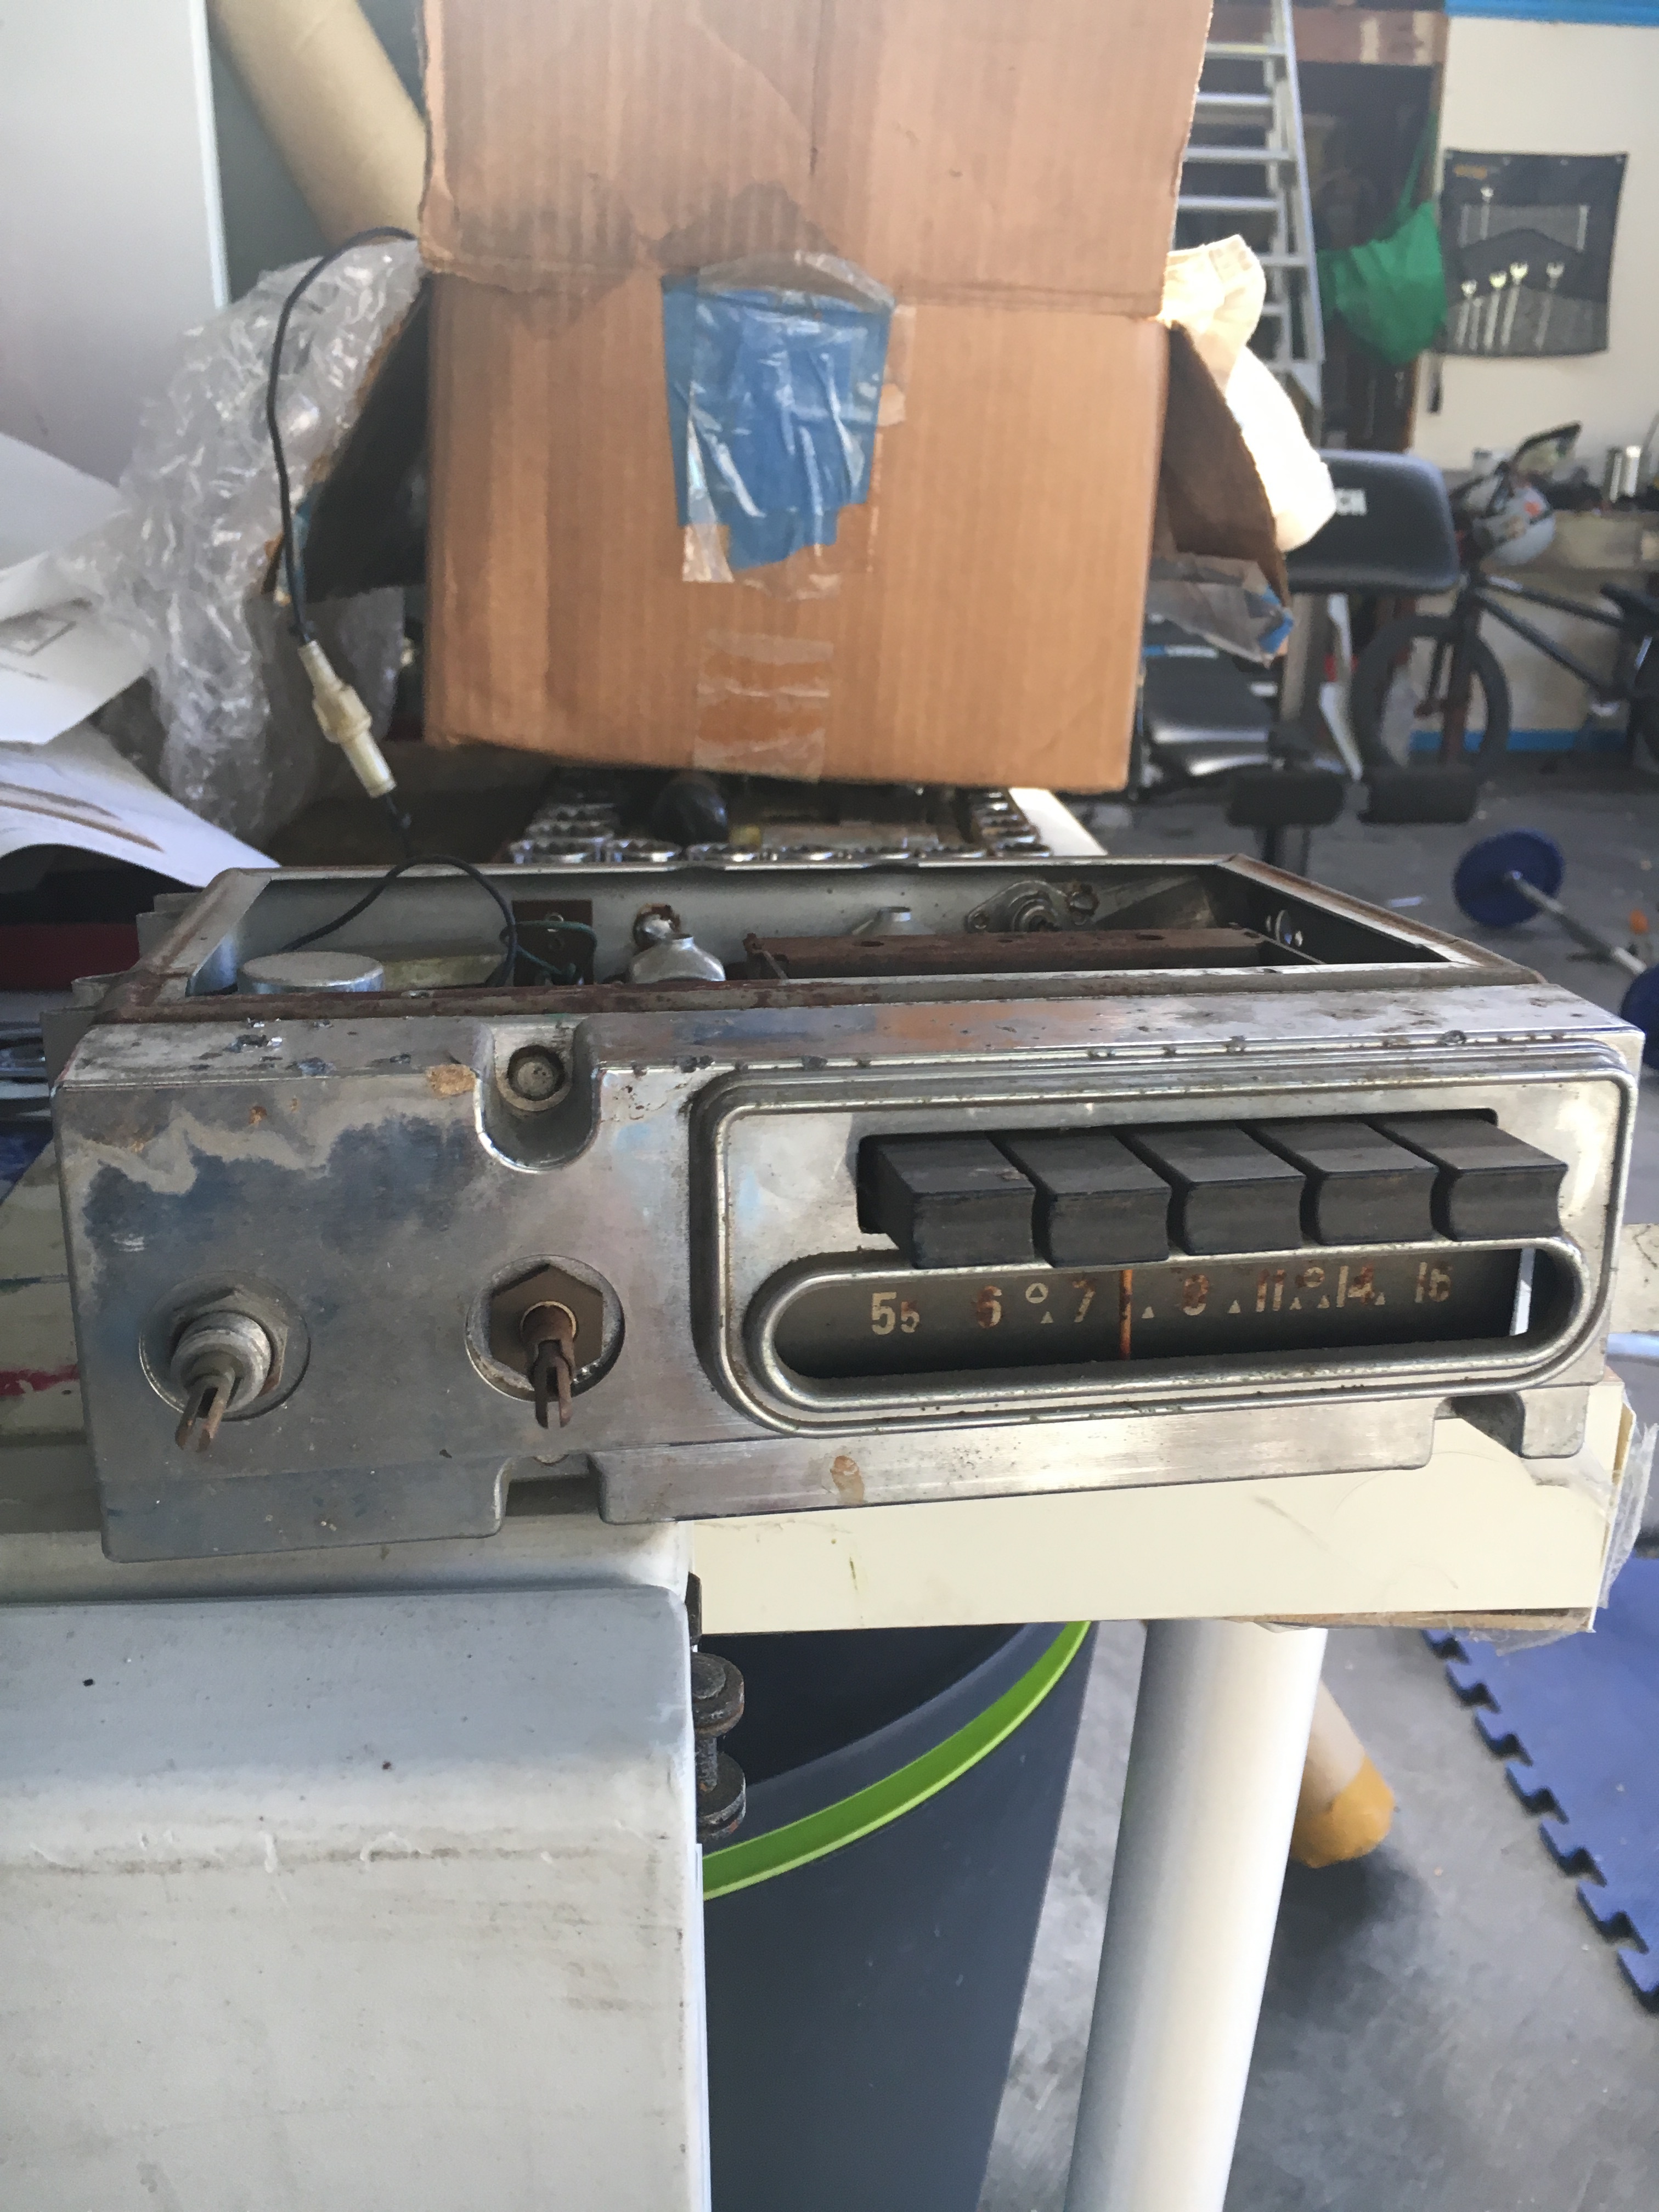
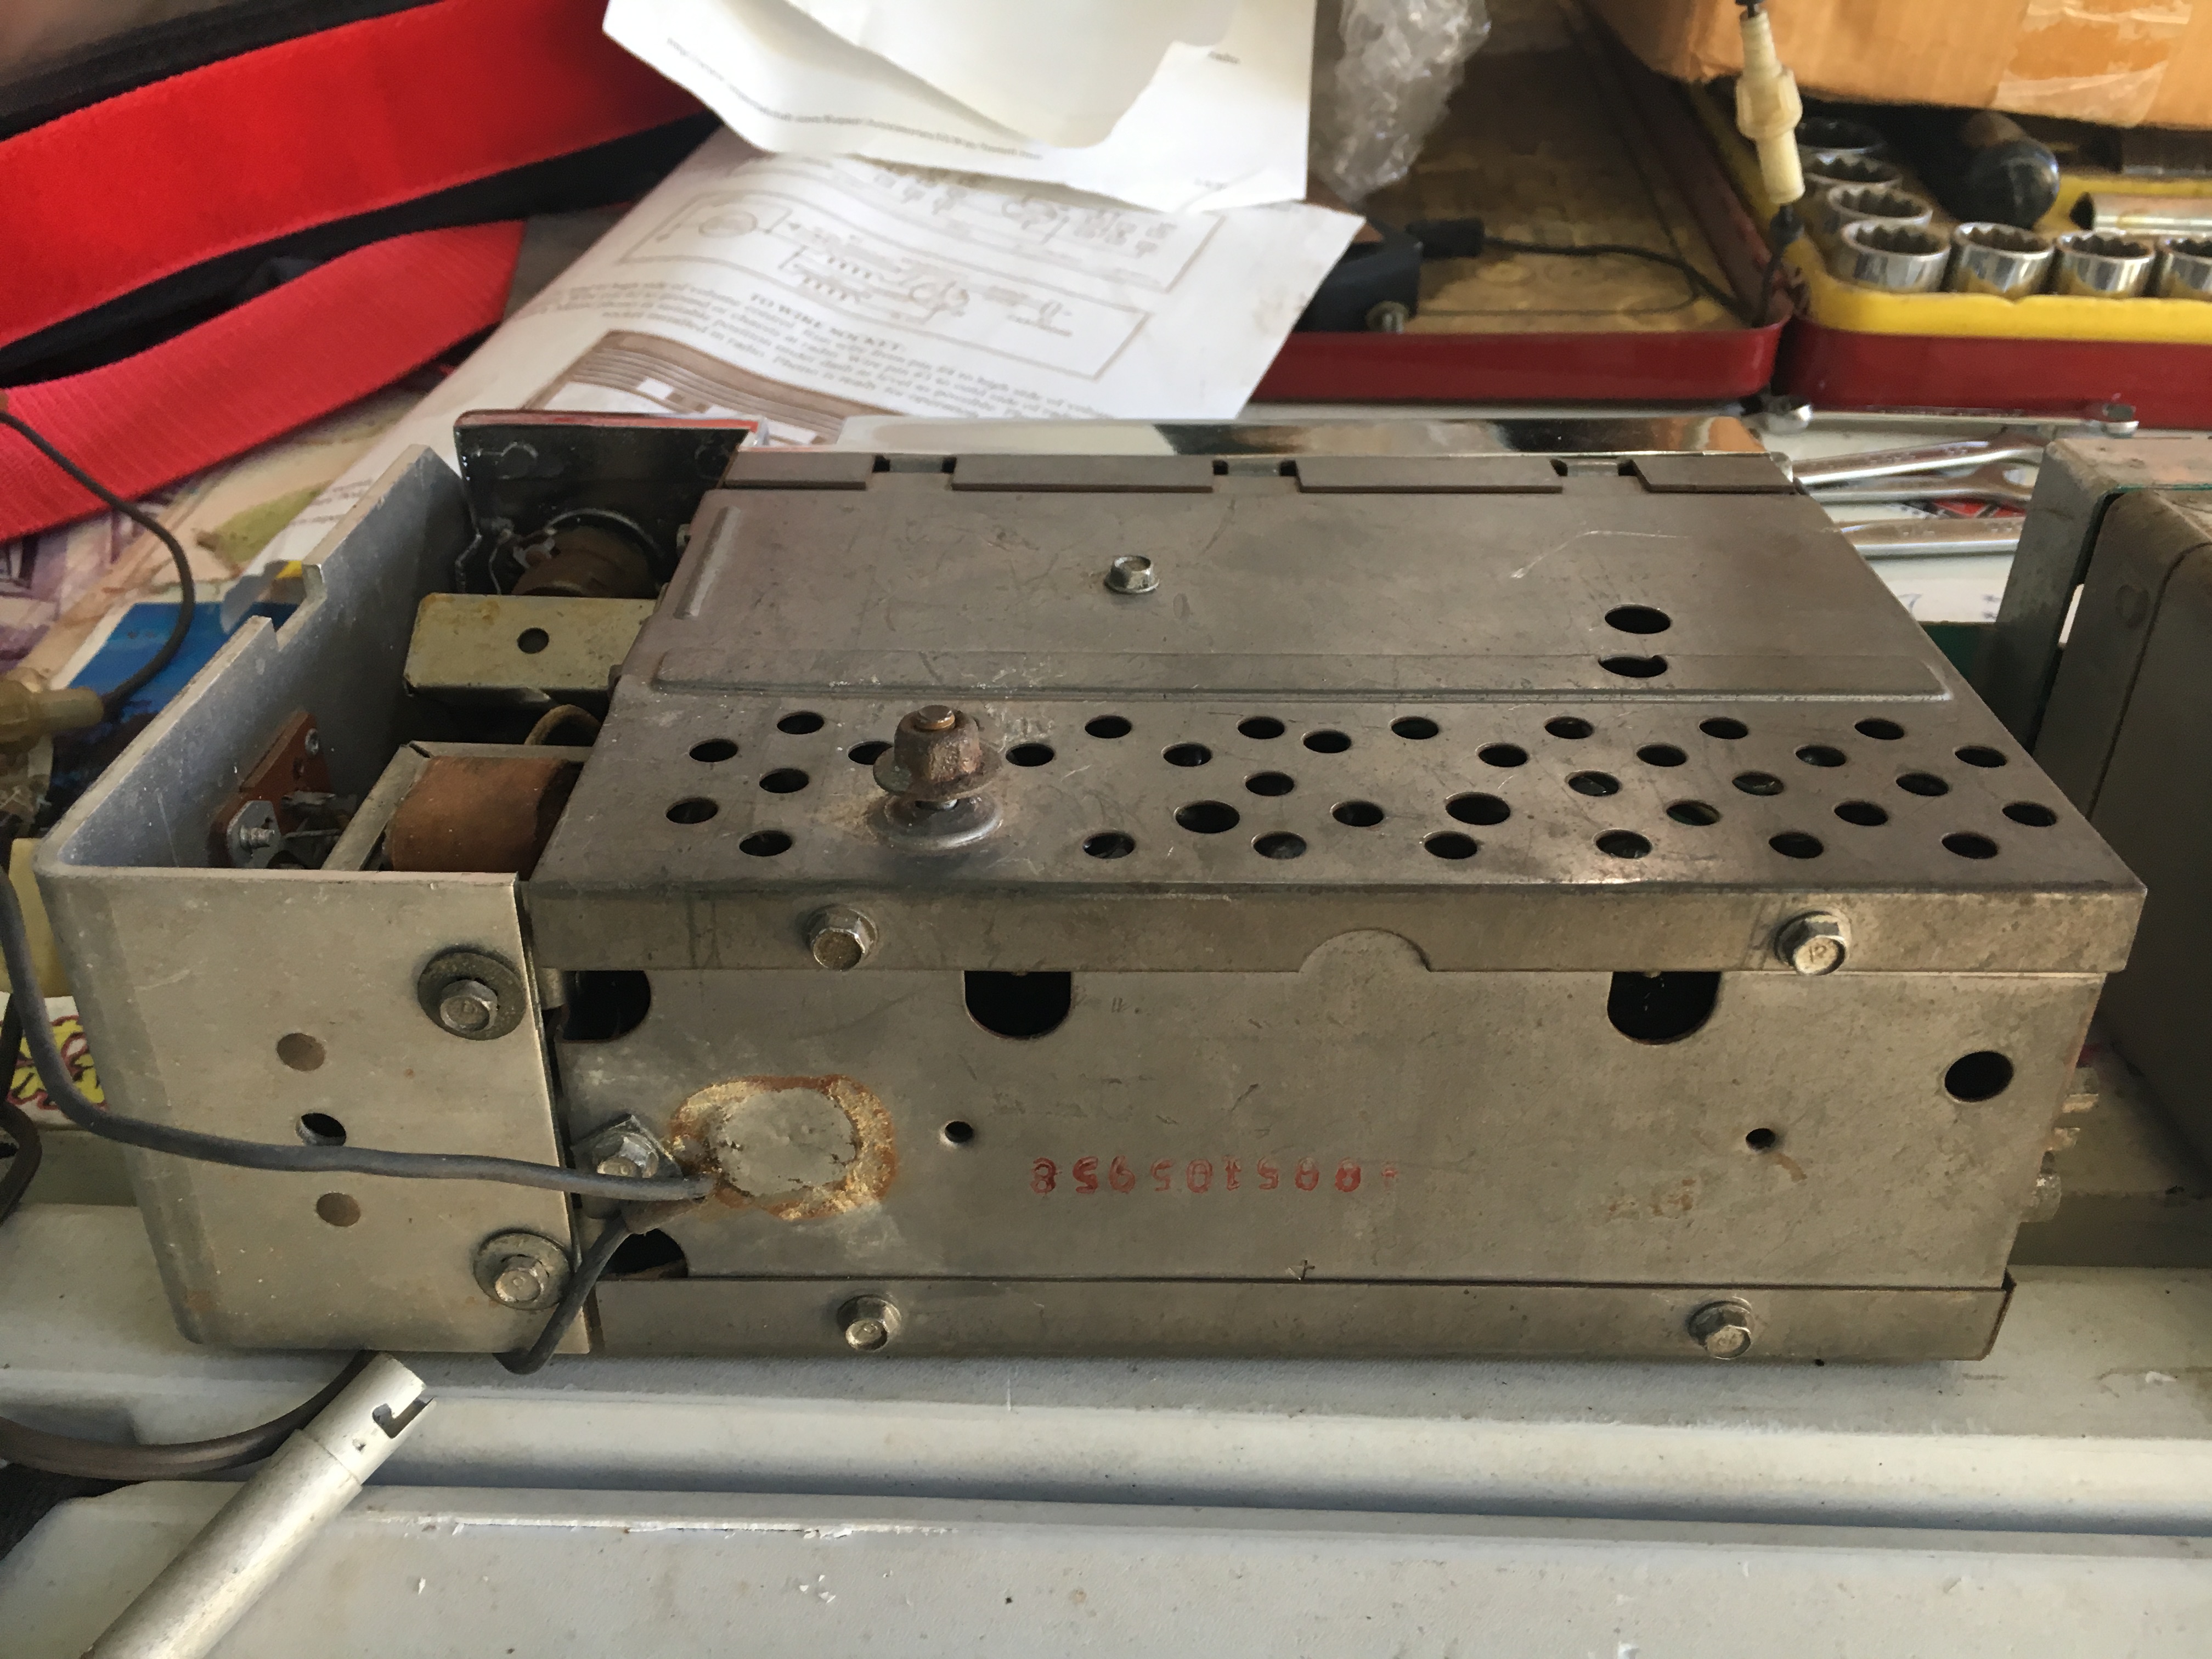
Now getting a start on the radio and record player
Looks like I’ll need someone to look at it
The stock radios don’t have a rear input connector required for the record player
I have a spare radio that low and behold has the input connector required
I’m trying to find someone who might be able to transplant it into the main radio and get it all working
I known forward look Frank can make your radio and record player work as new again but he is very busy the last months.
I’ll take pics when I can!
Thanks Matthew
I’ve managed to find someone locally and reasonably priced to look at the radio -will see how we go
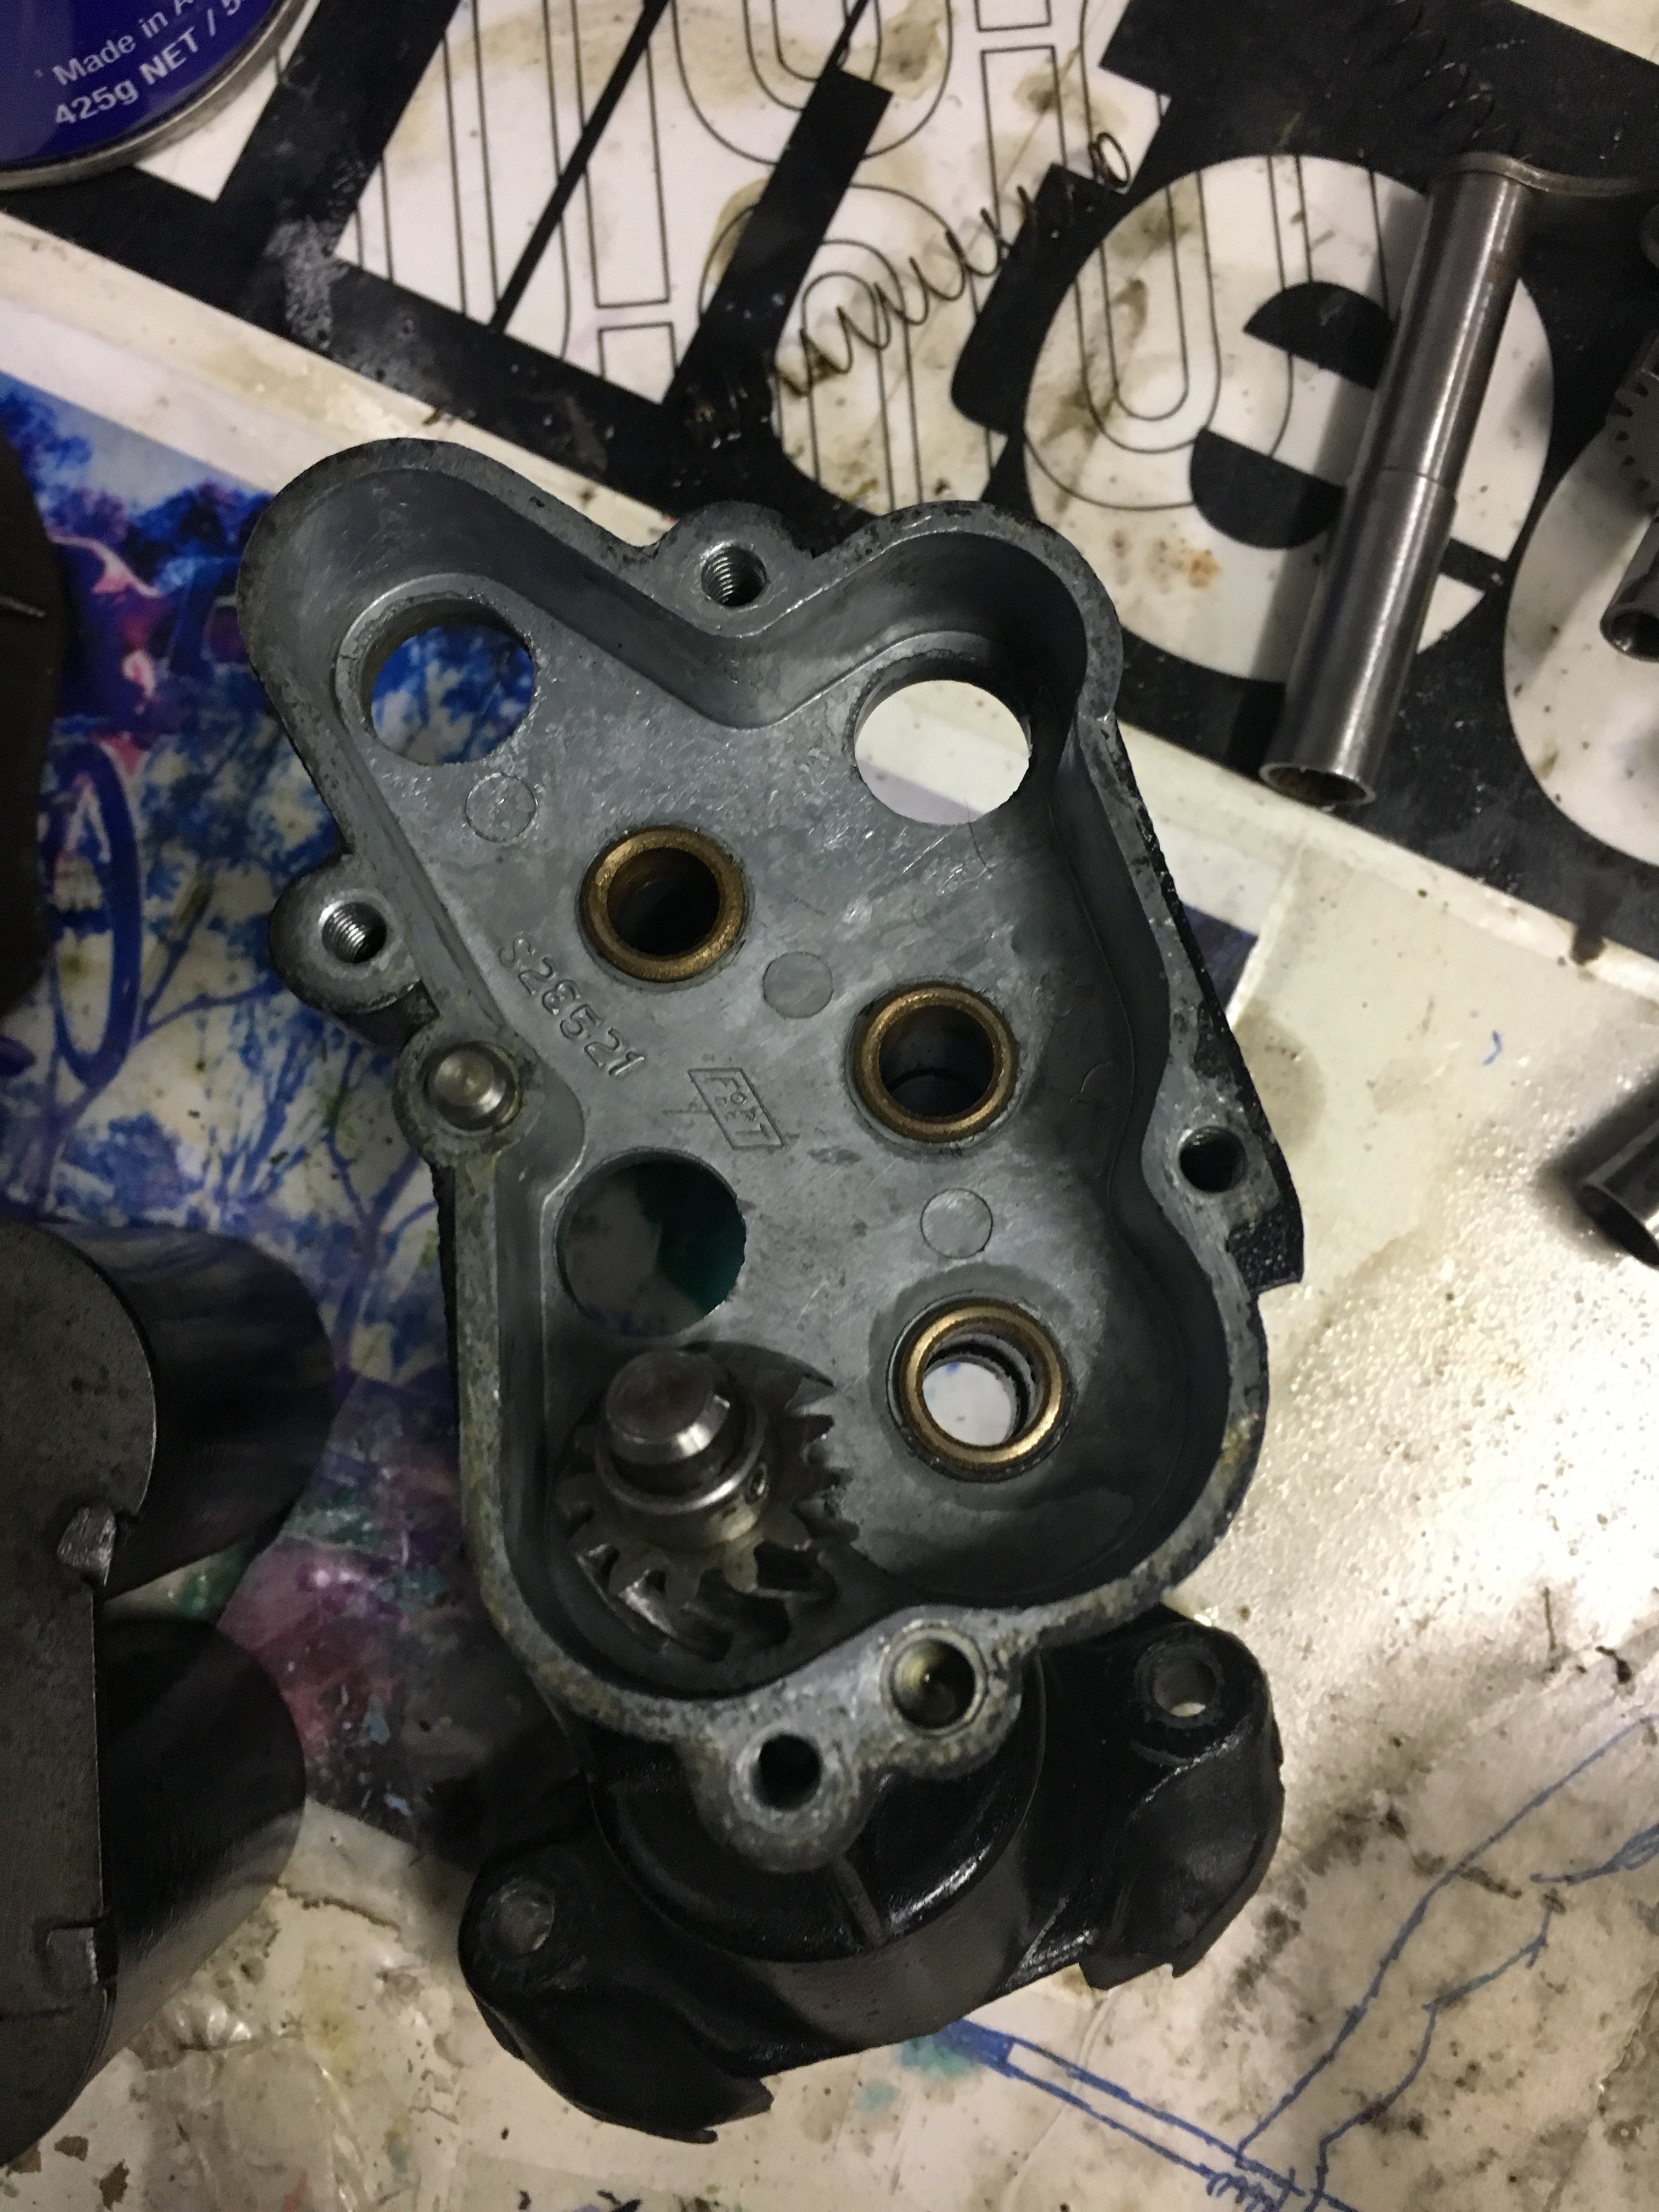
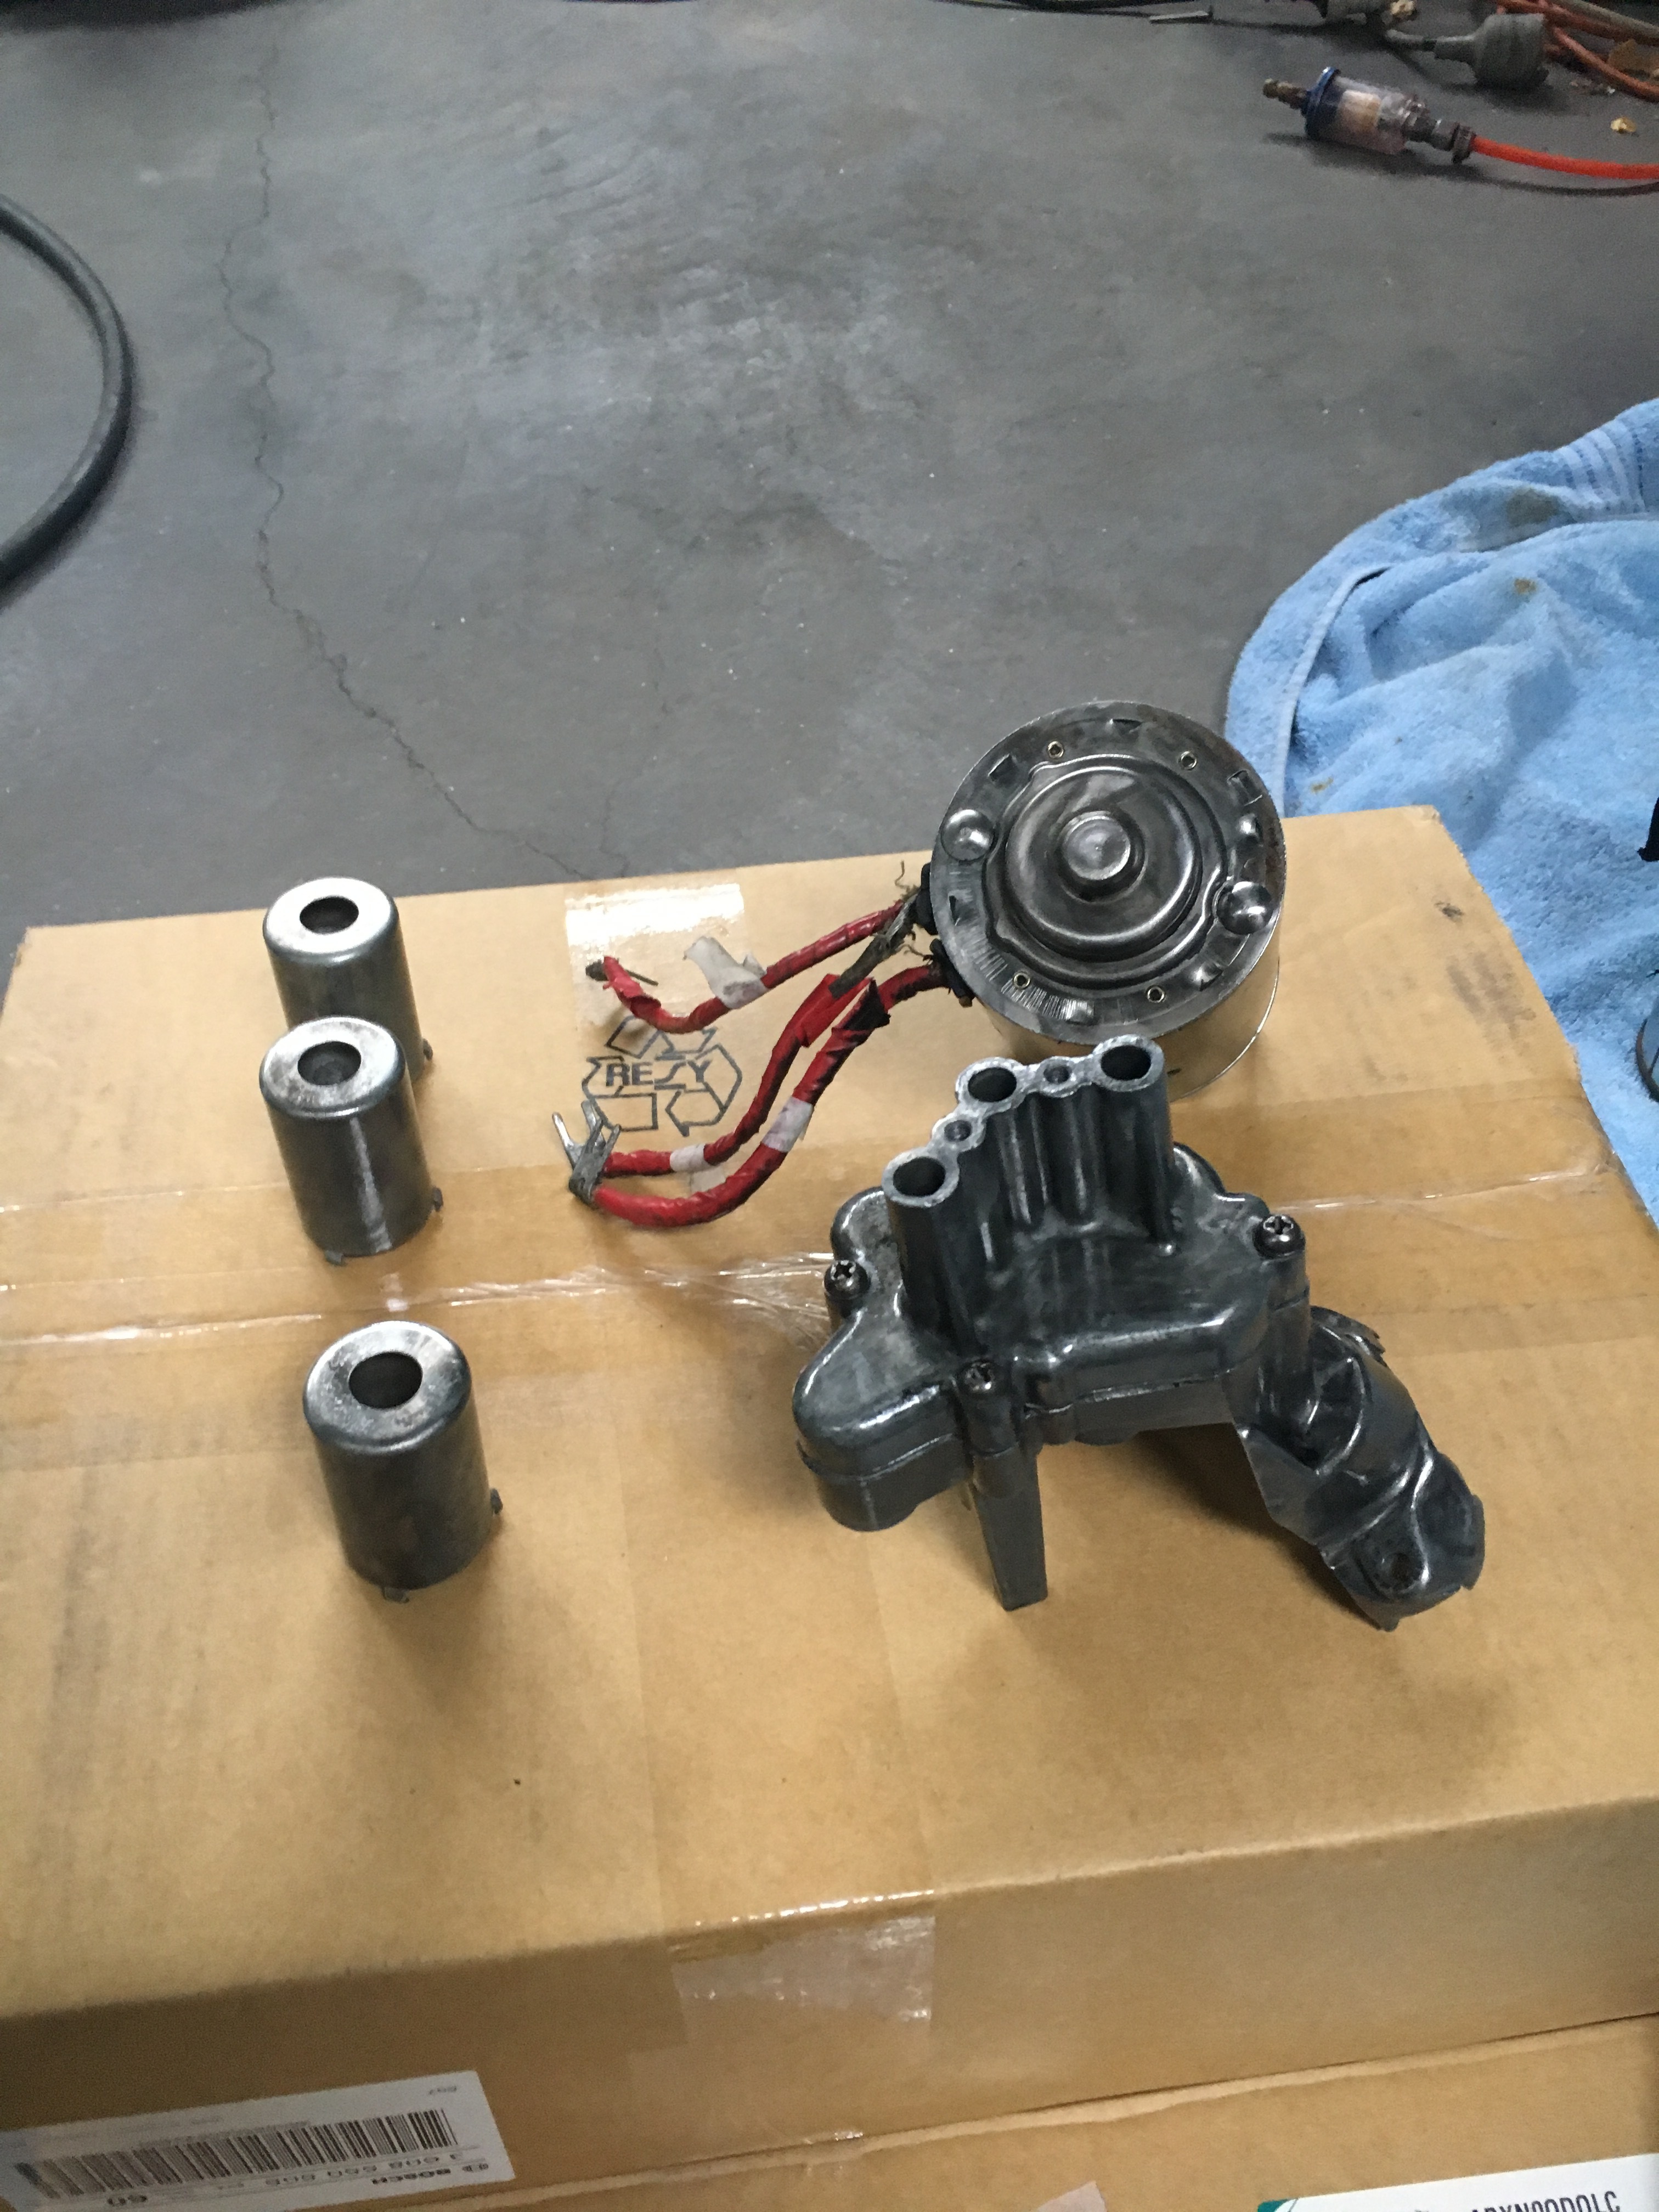
I was playing around with the power seat and noticed it was not working as it should
Noticed that the clutch wasn’t engaging when trying to raise and lower the front of the seat
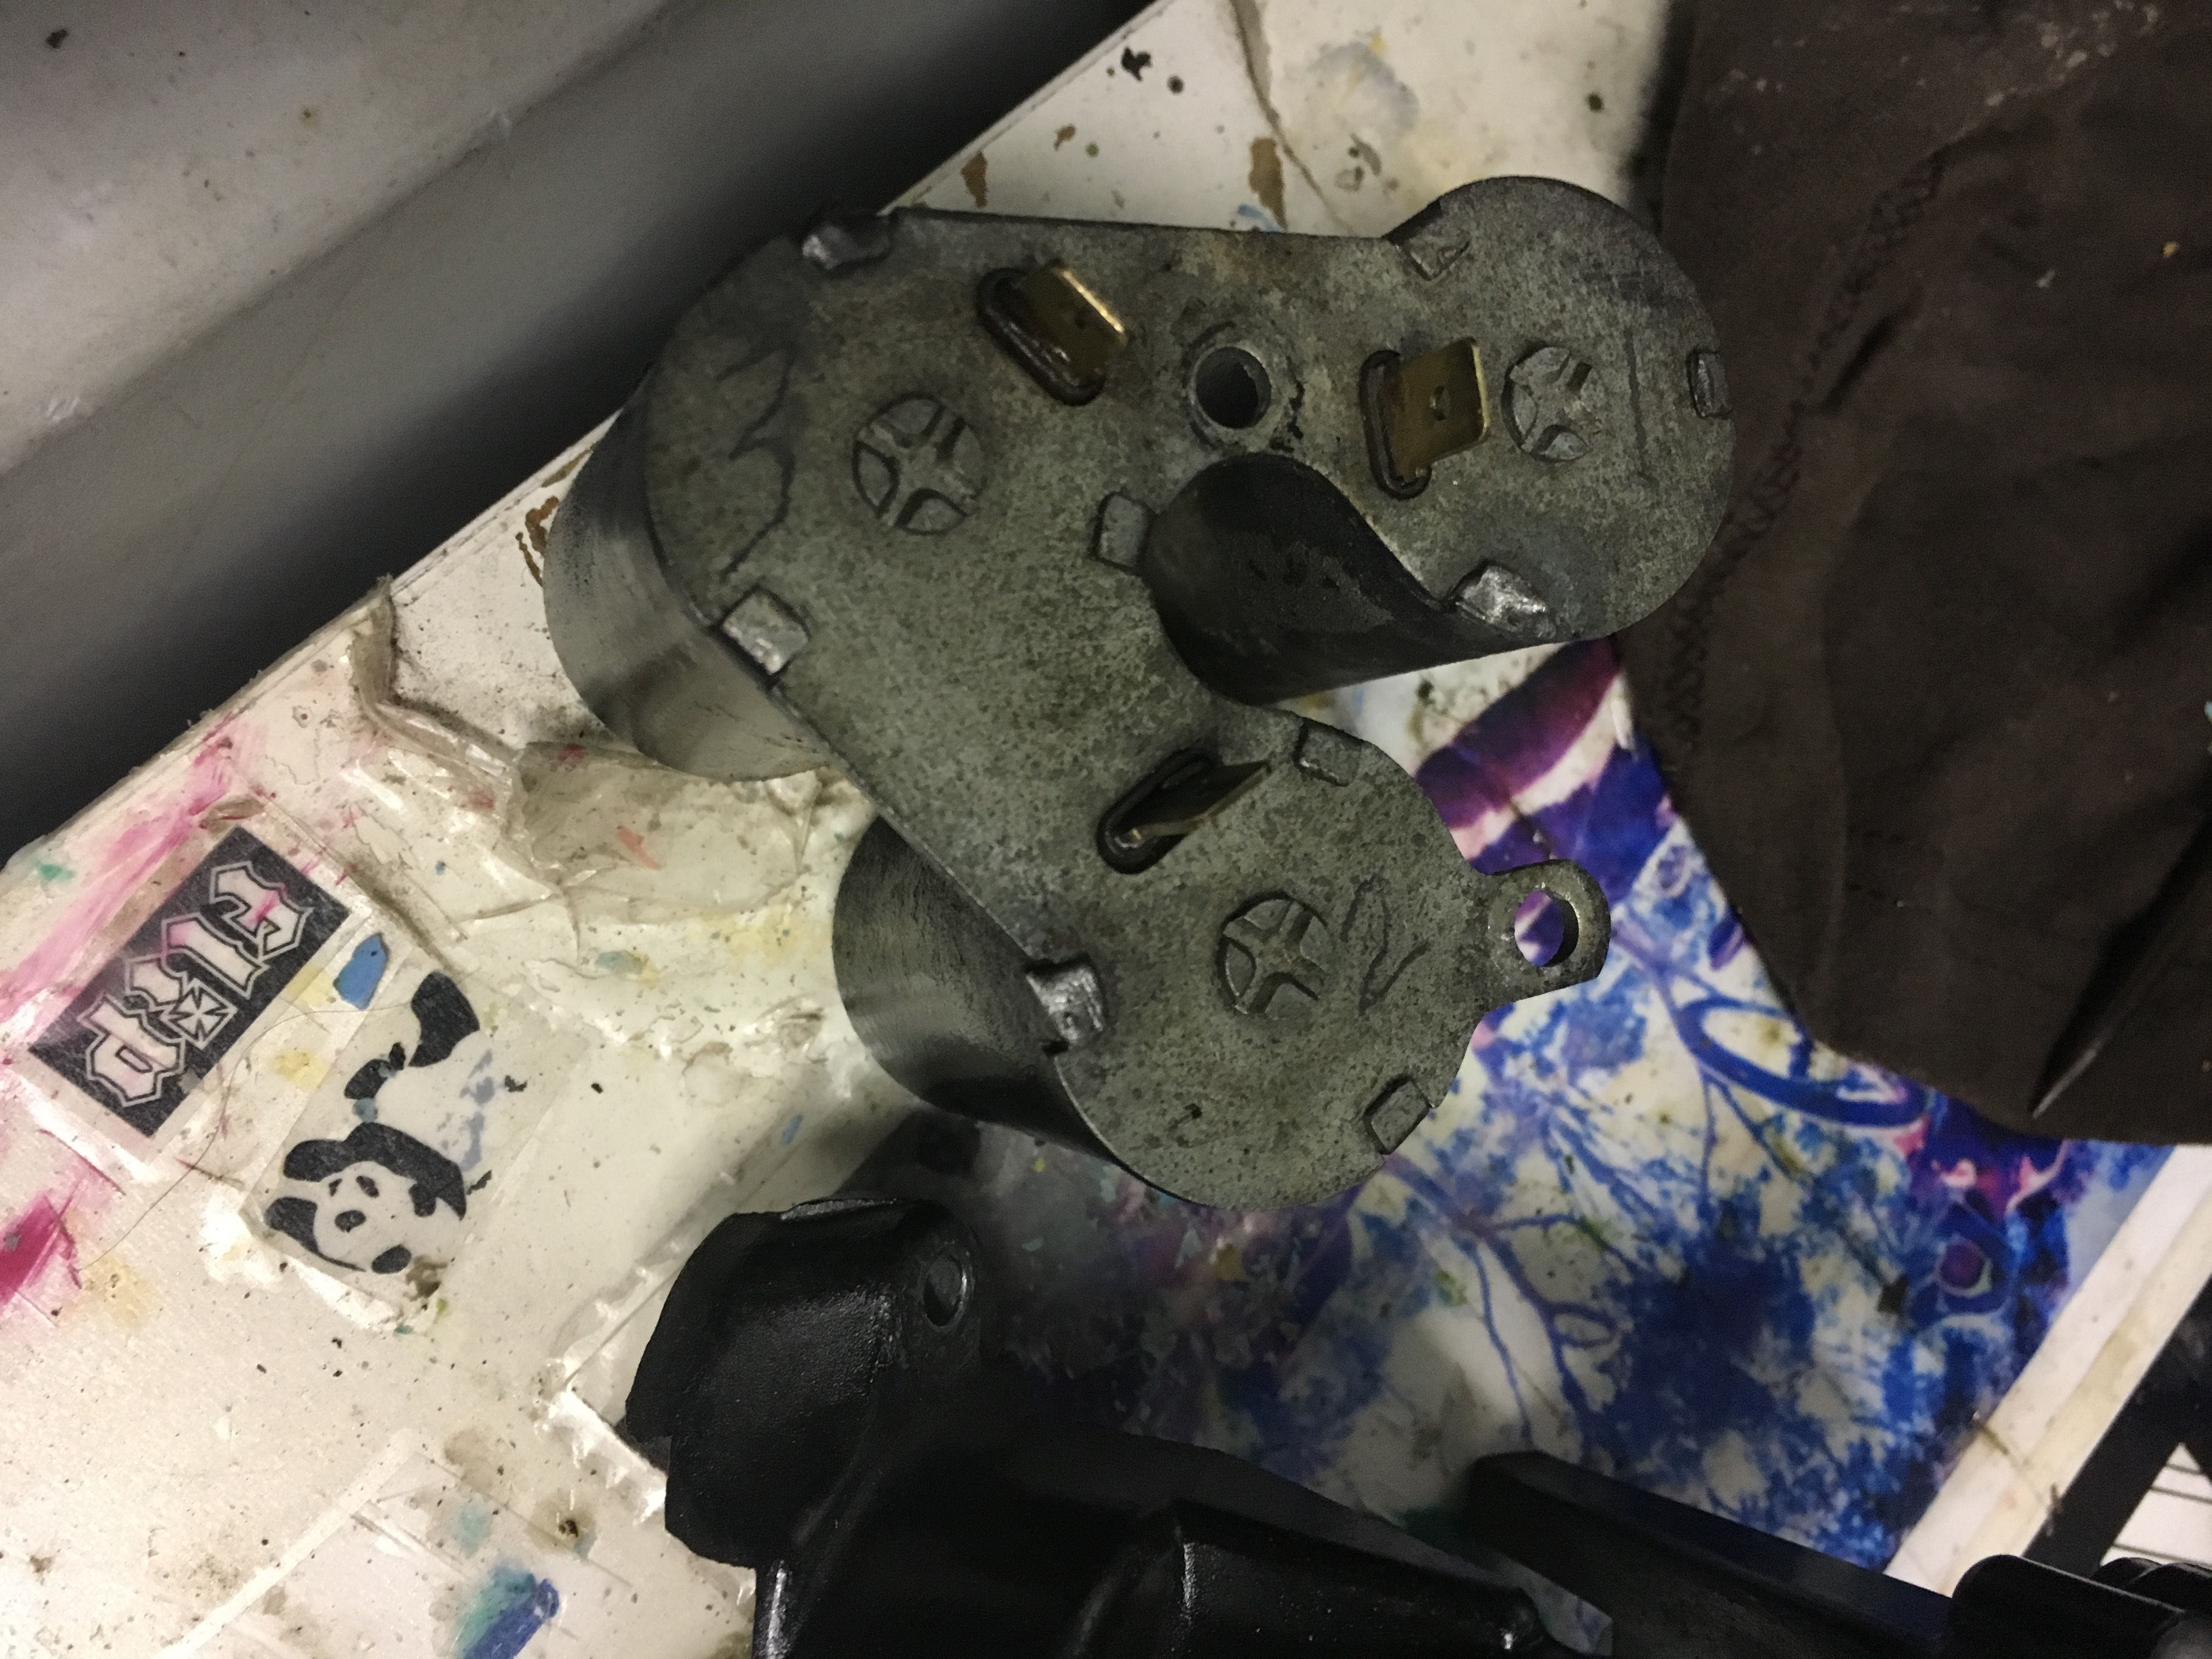
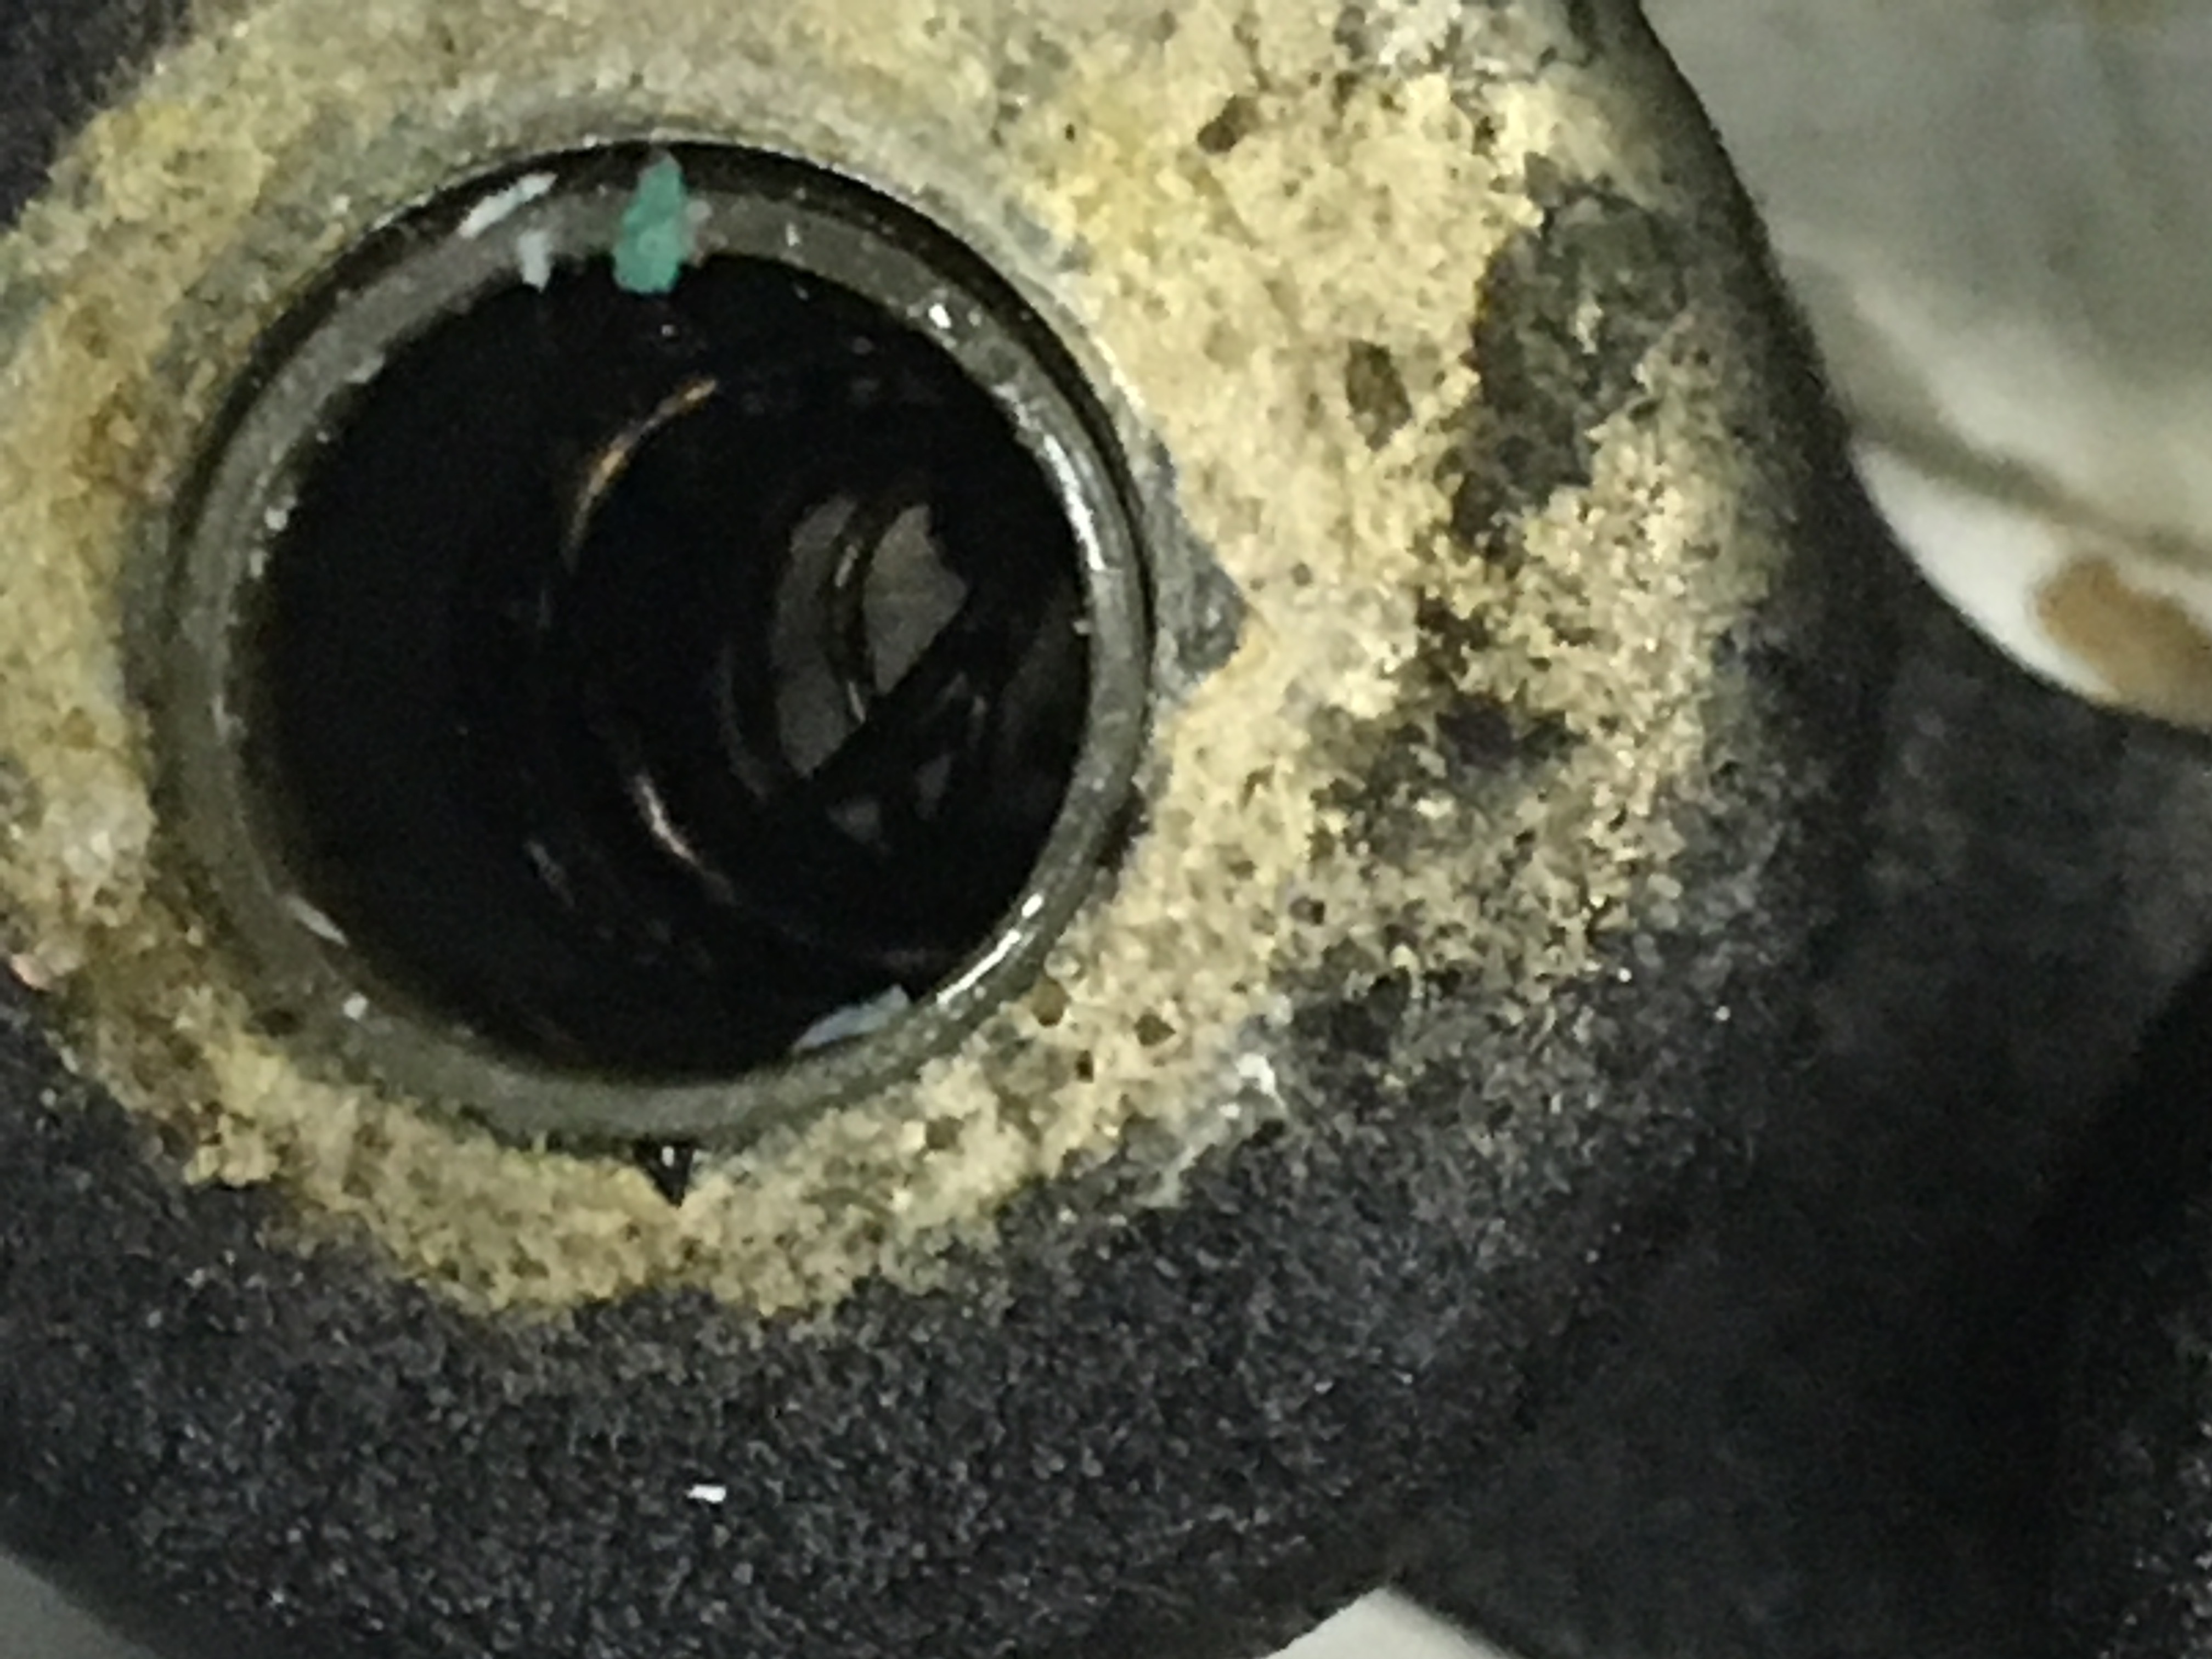
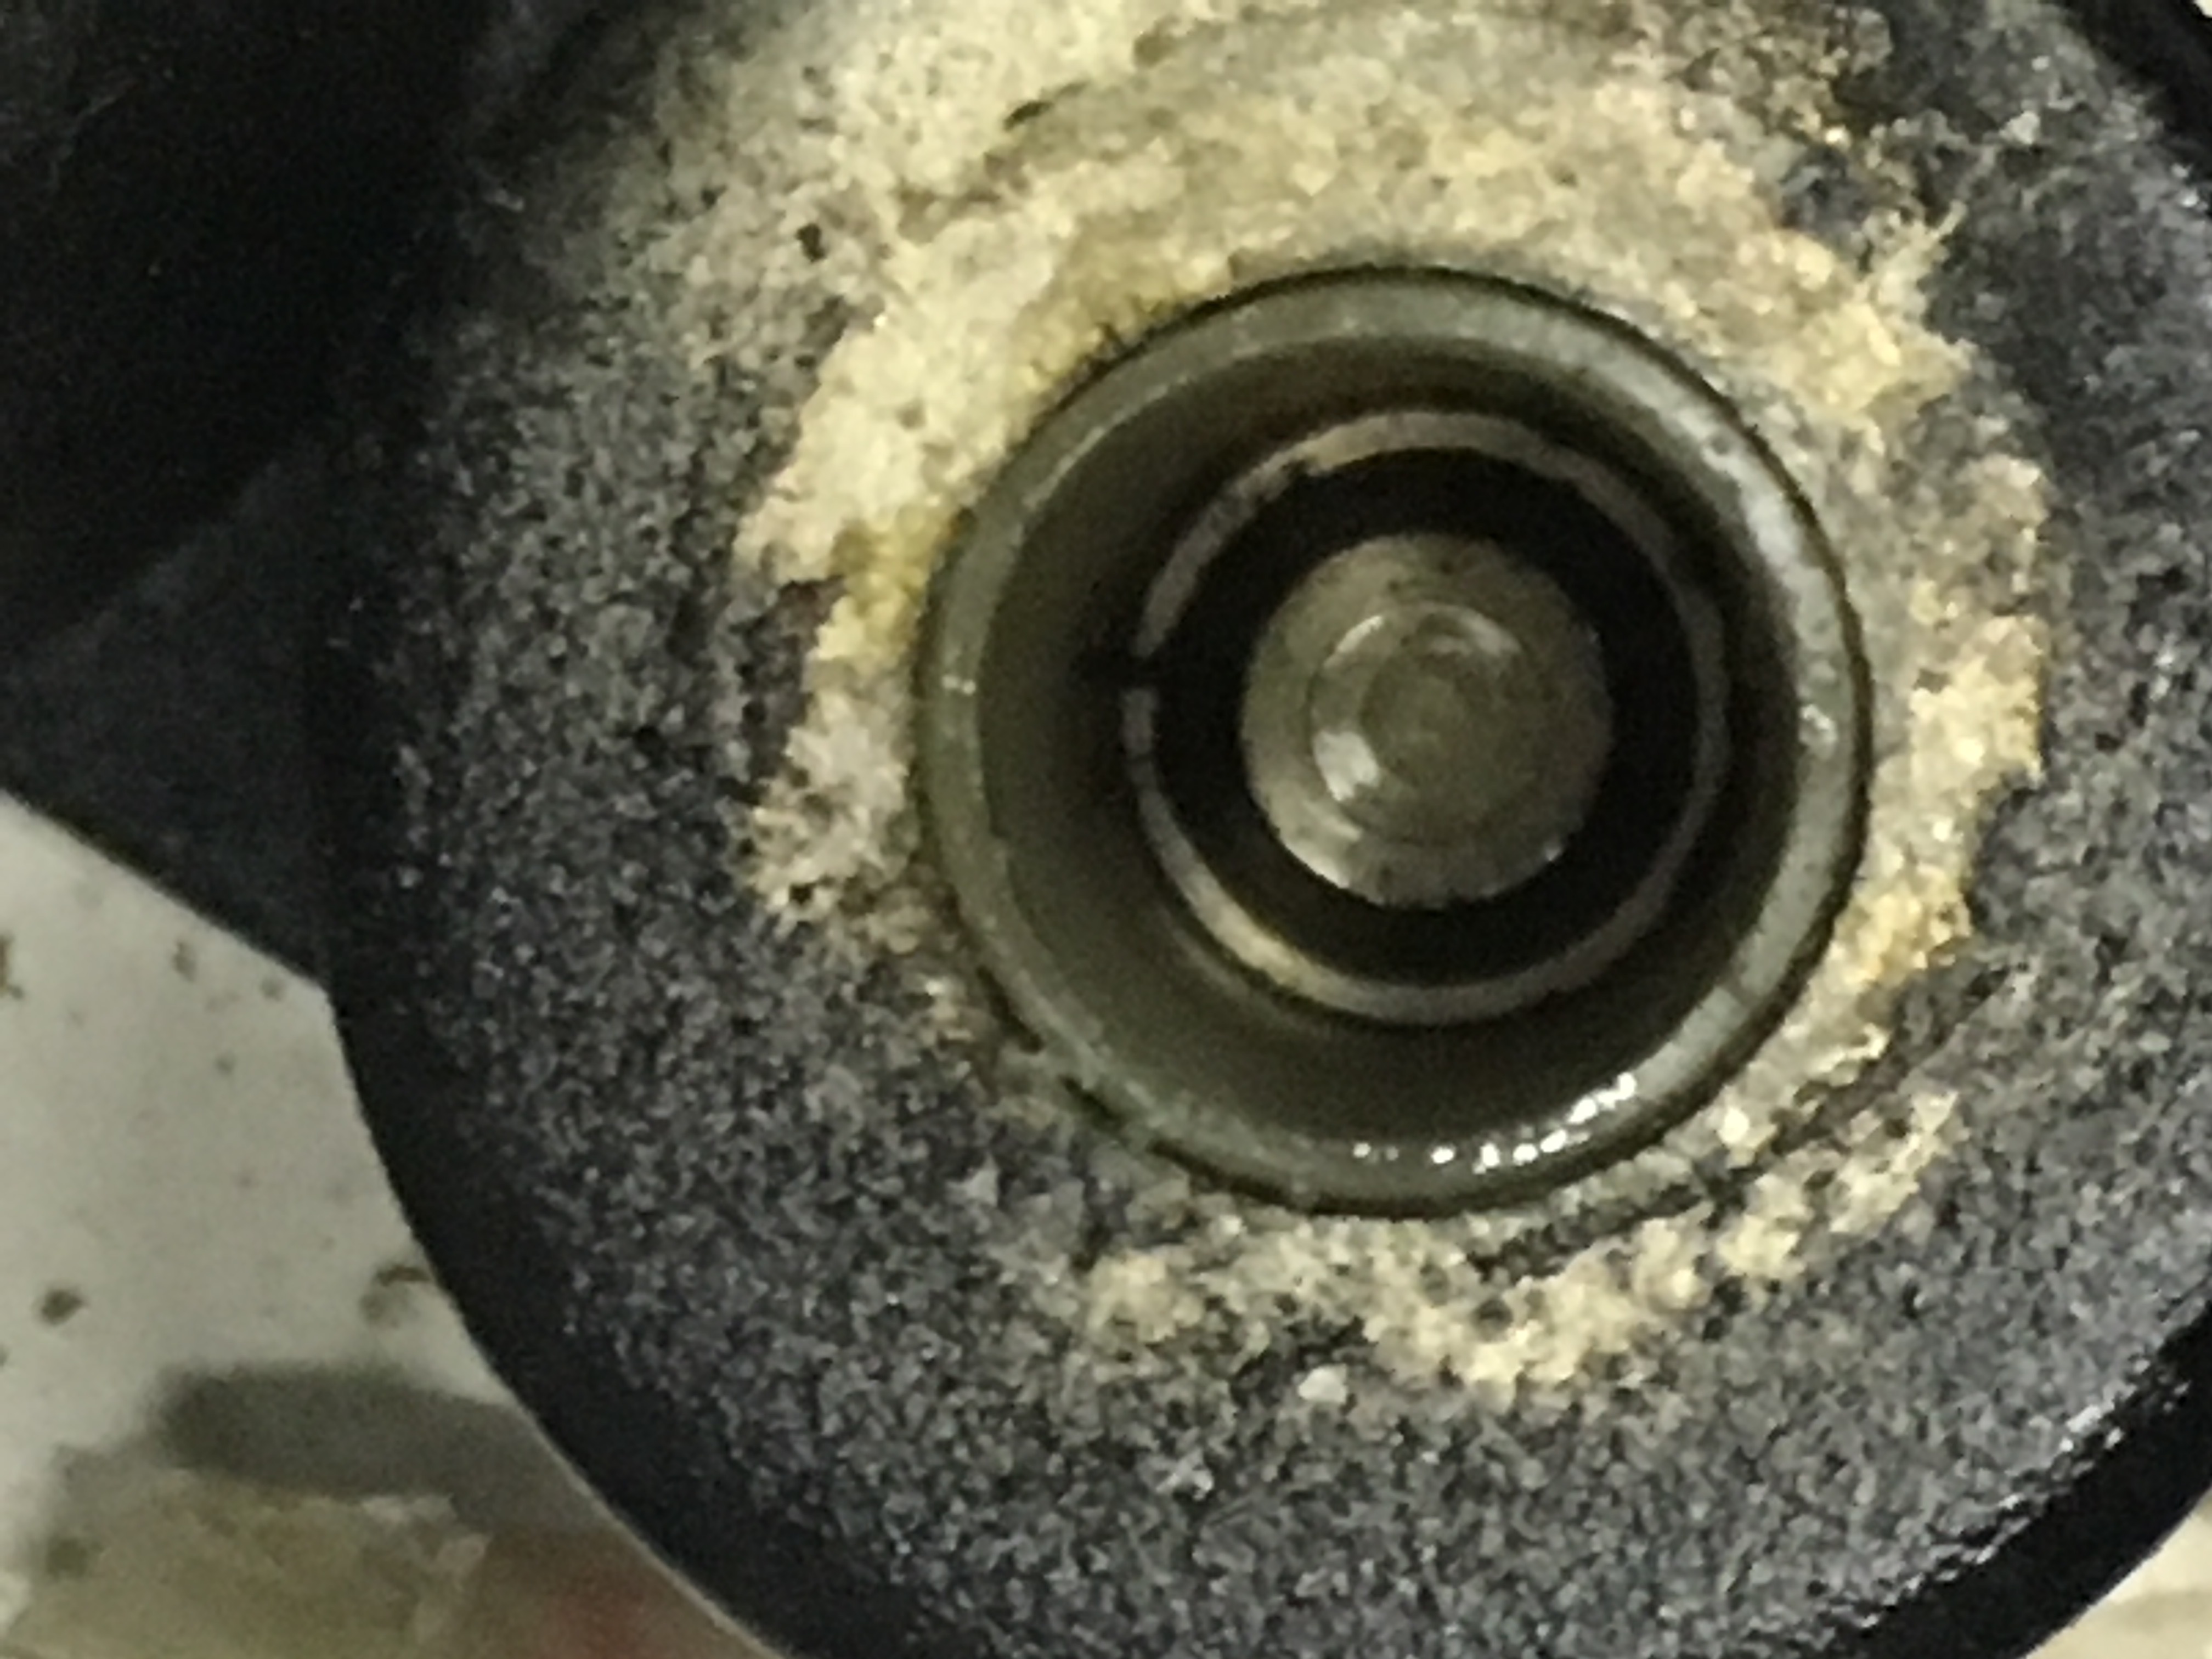
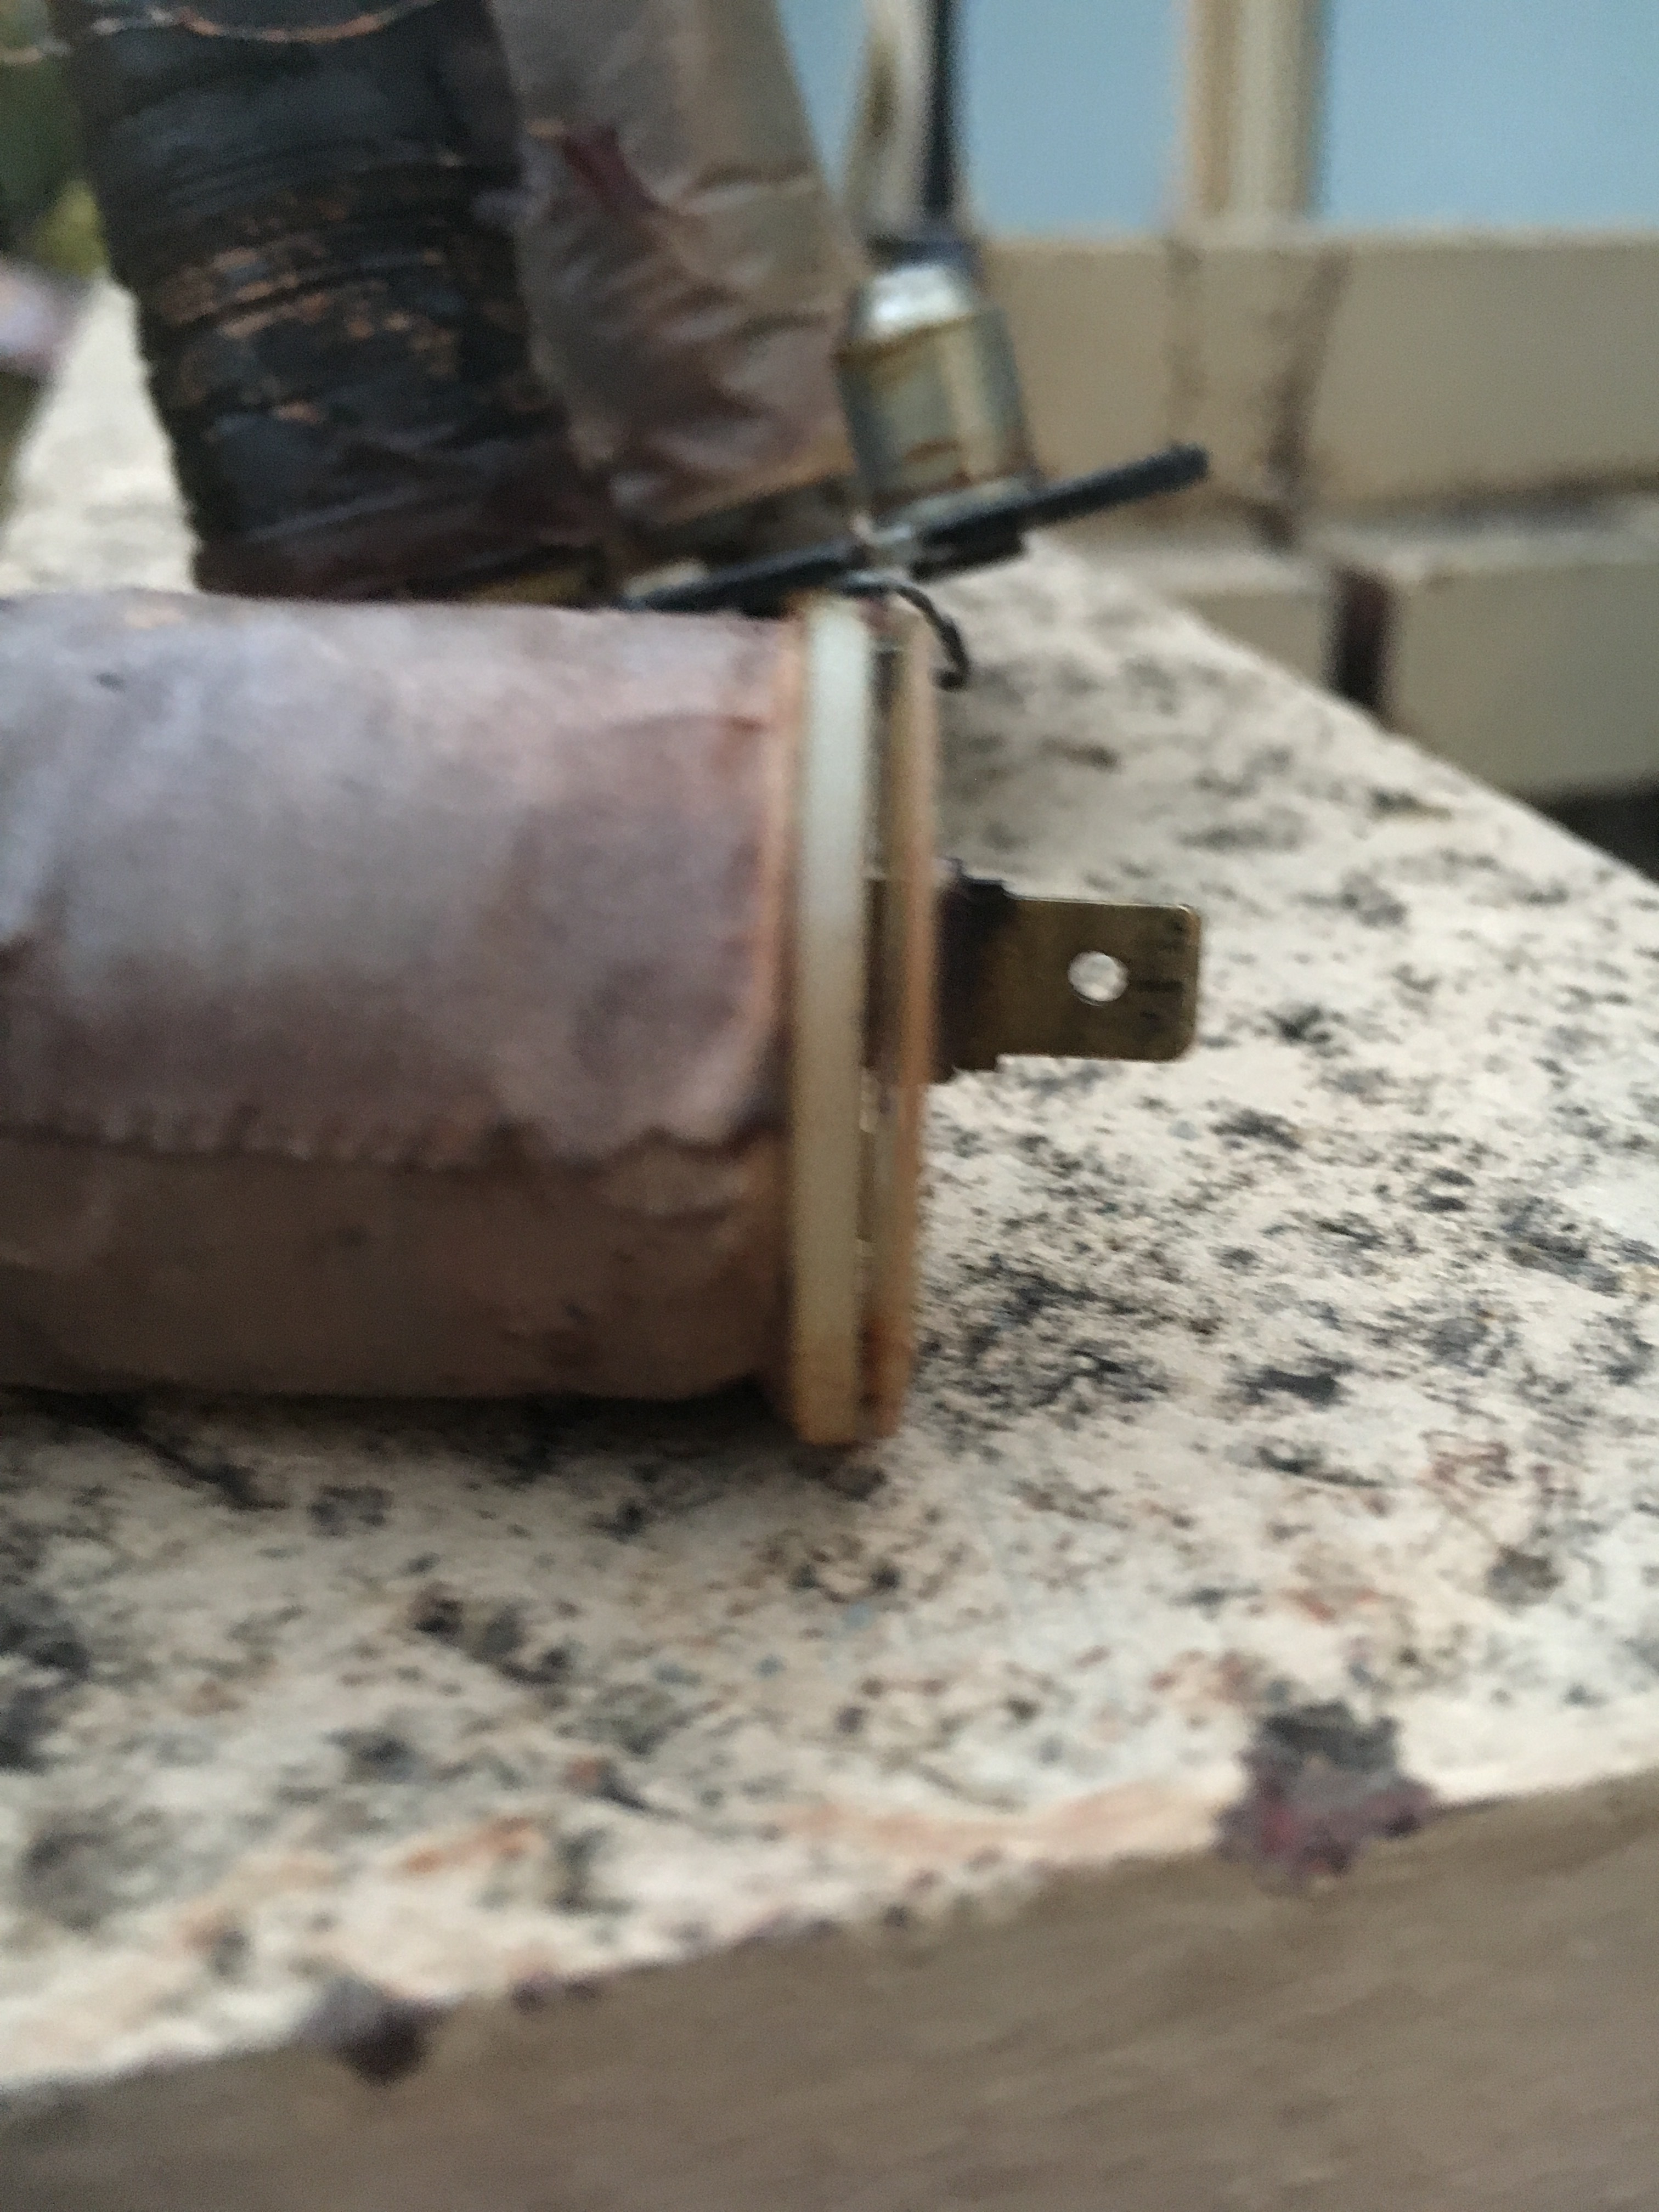
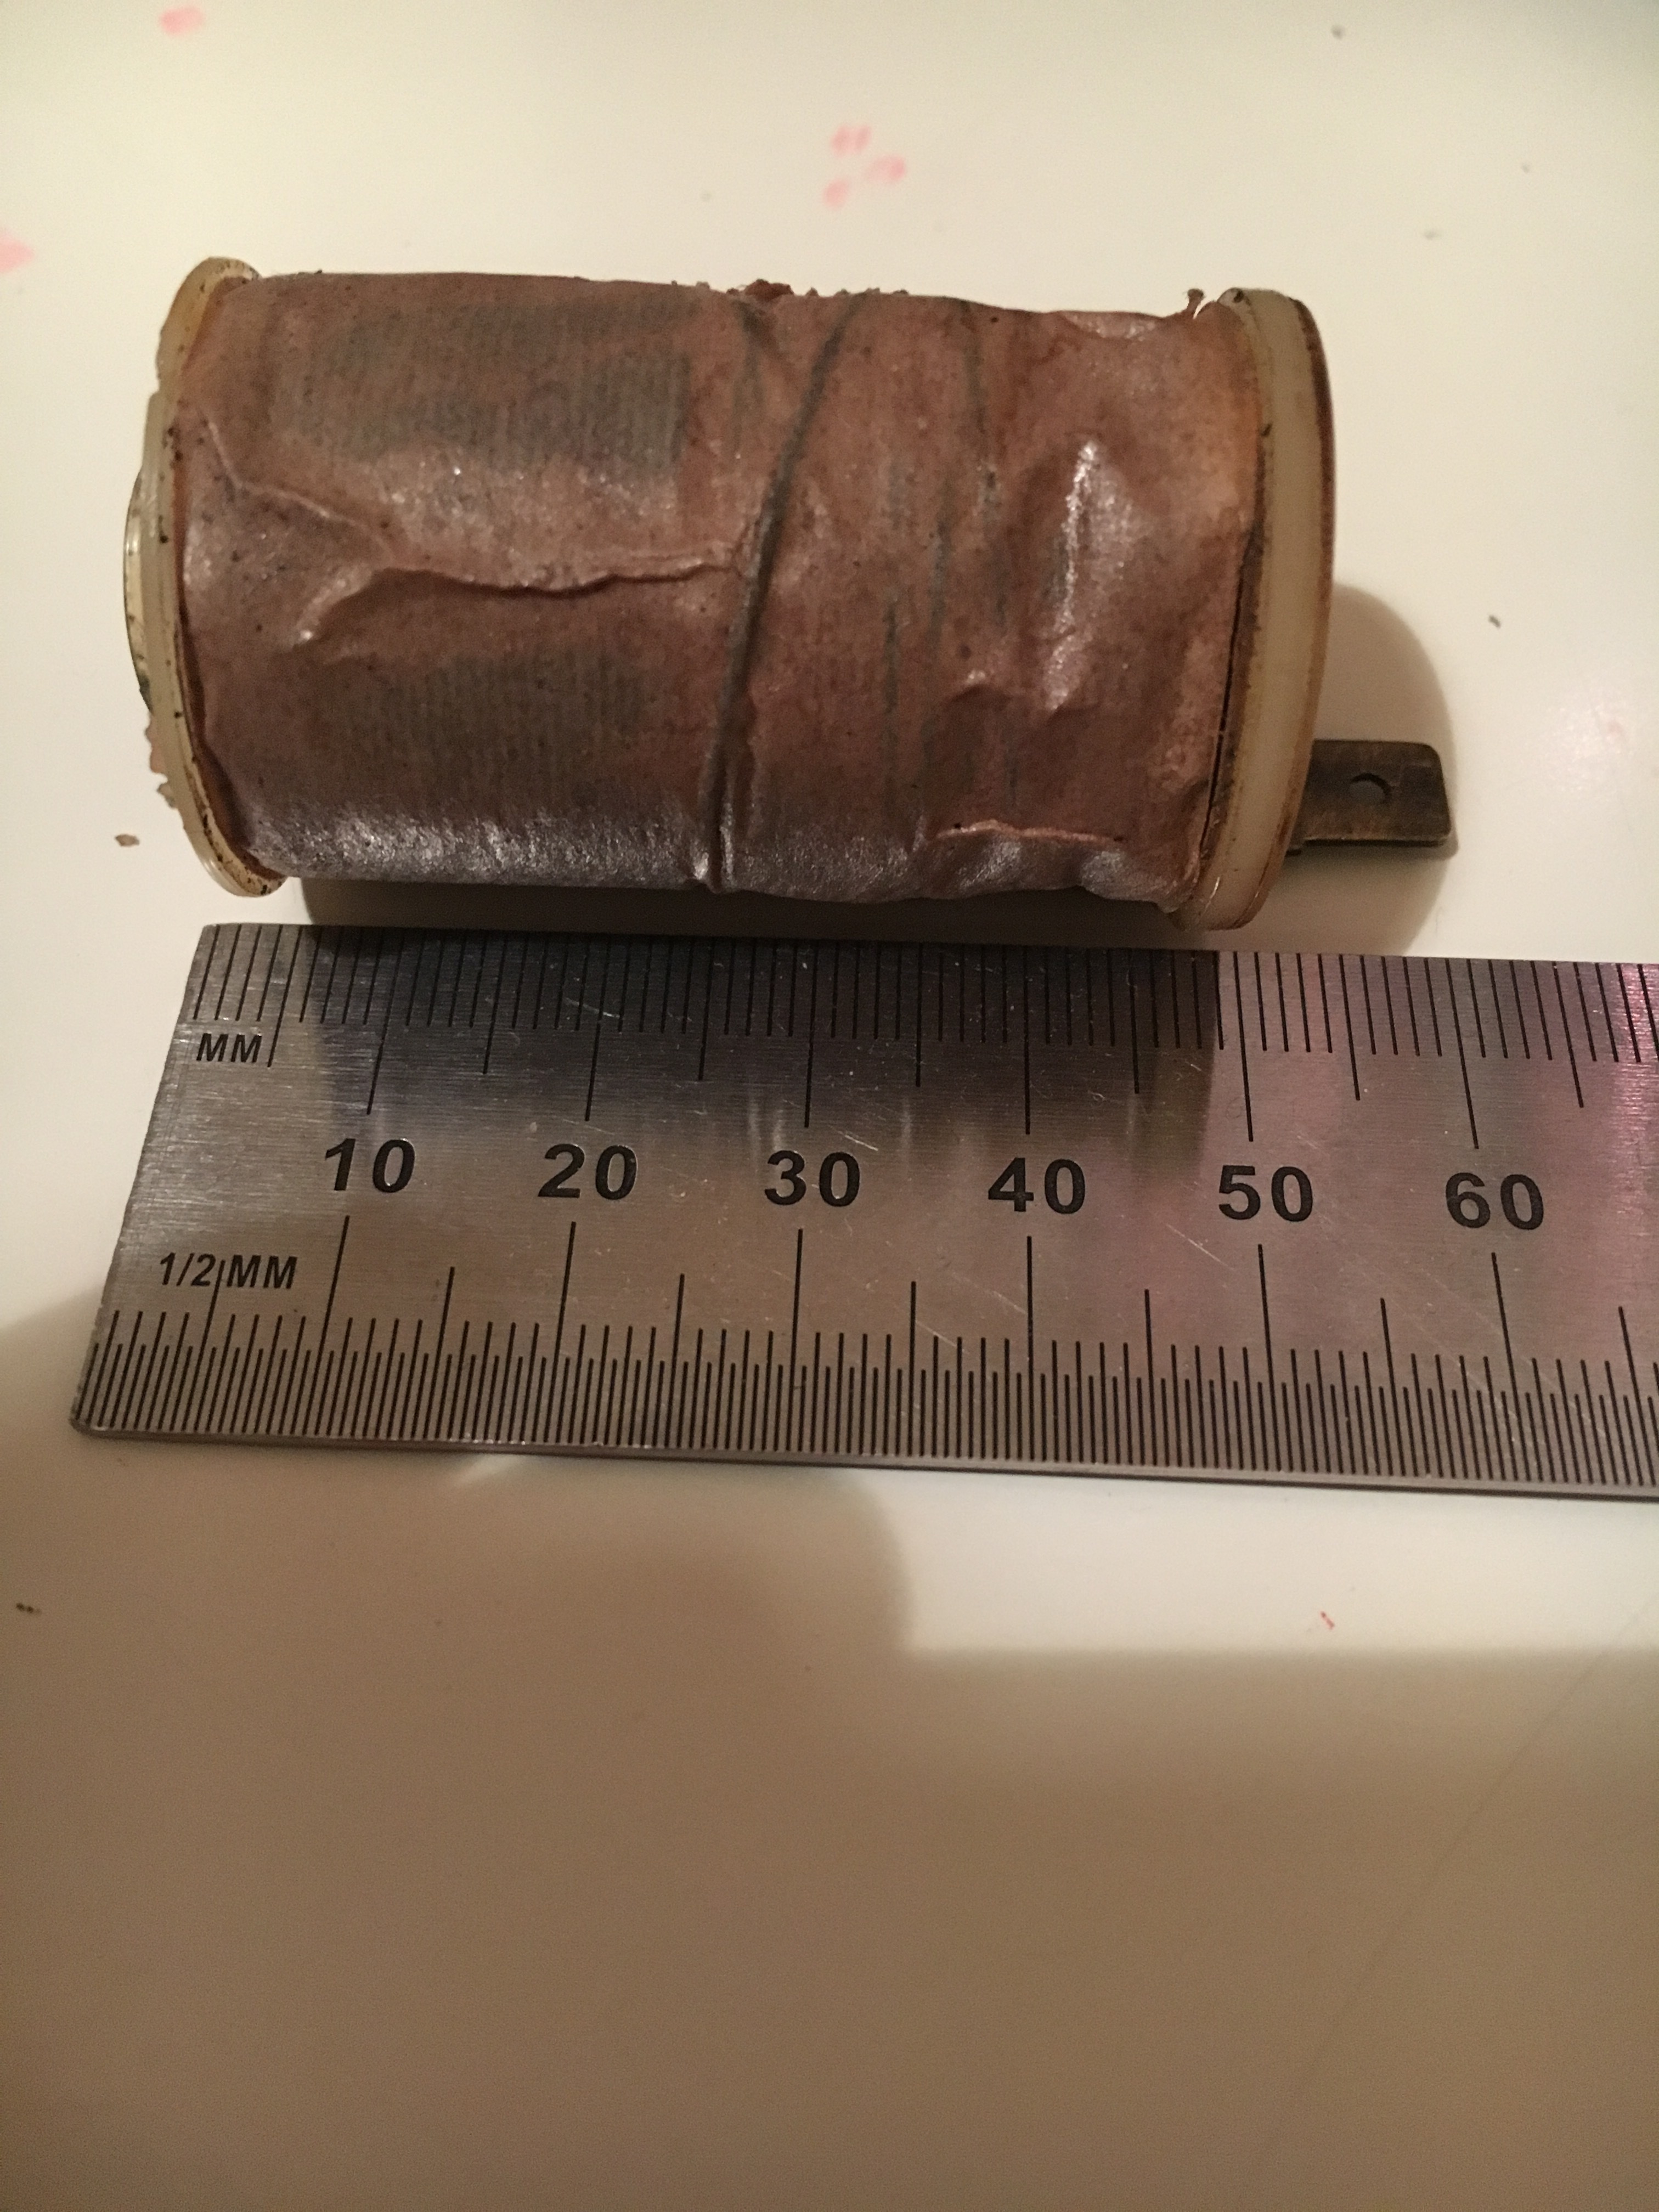
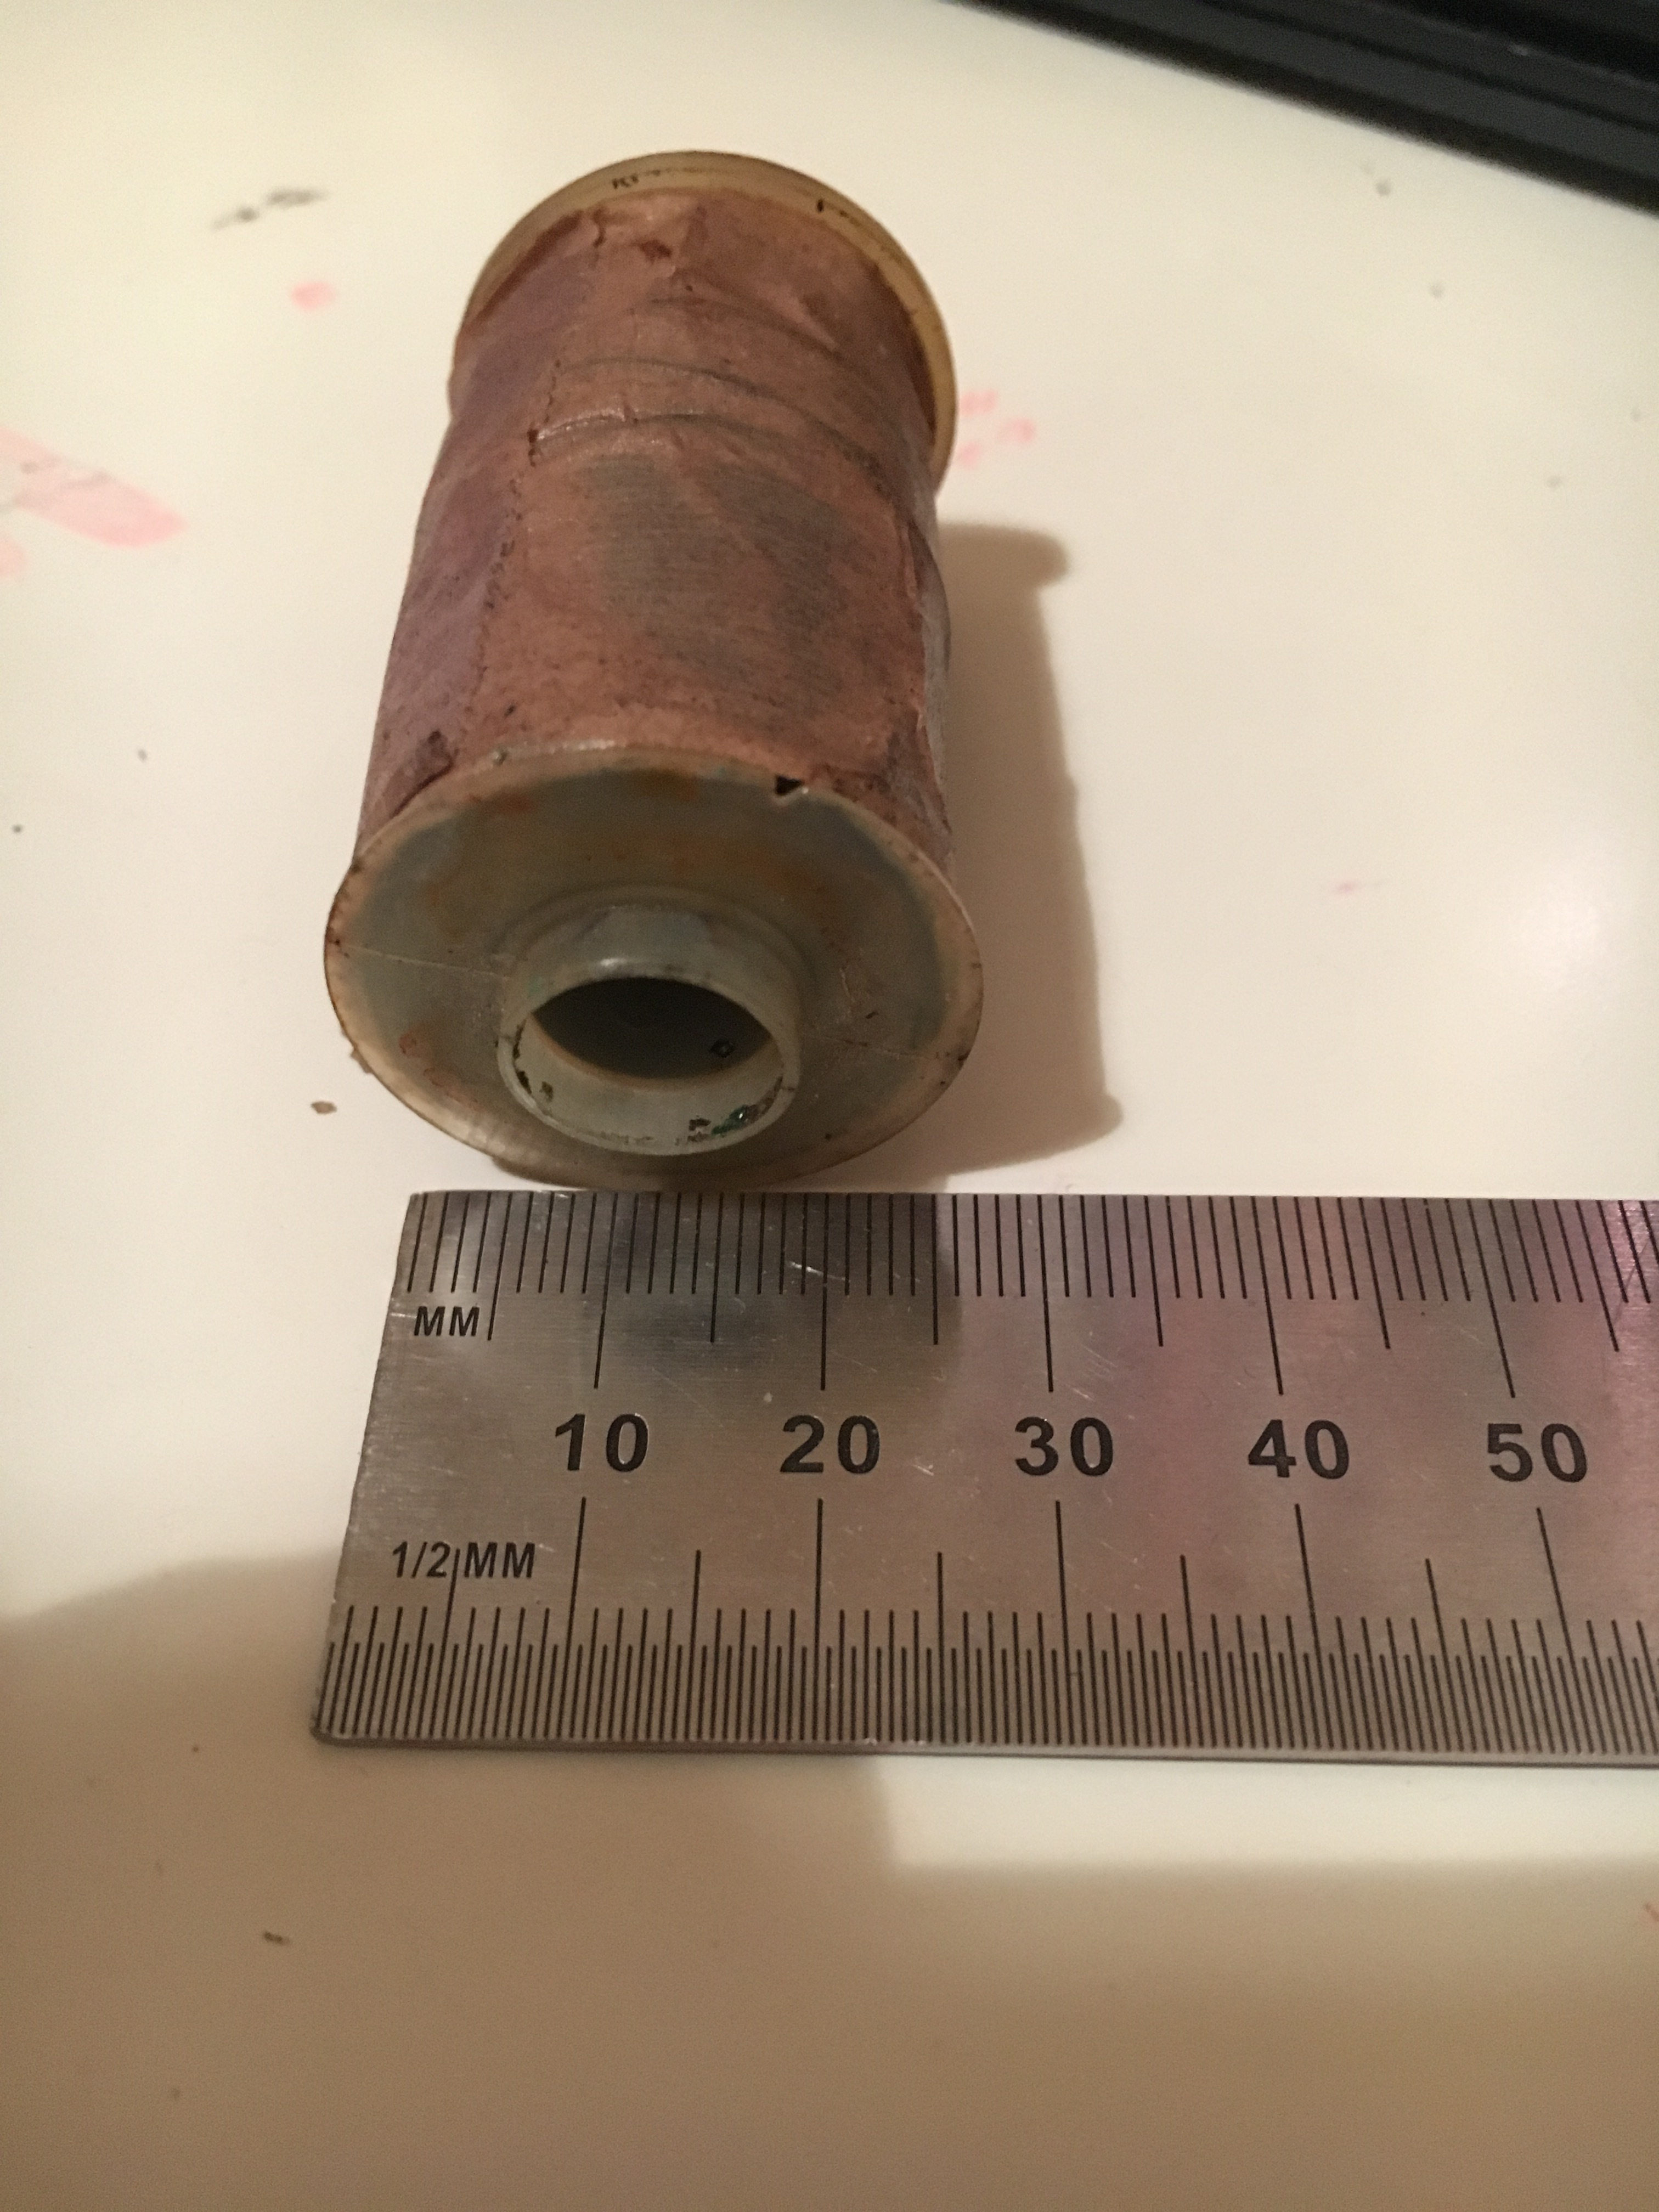
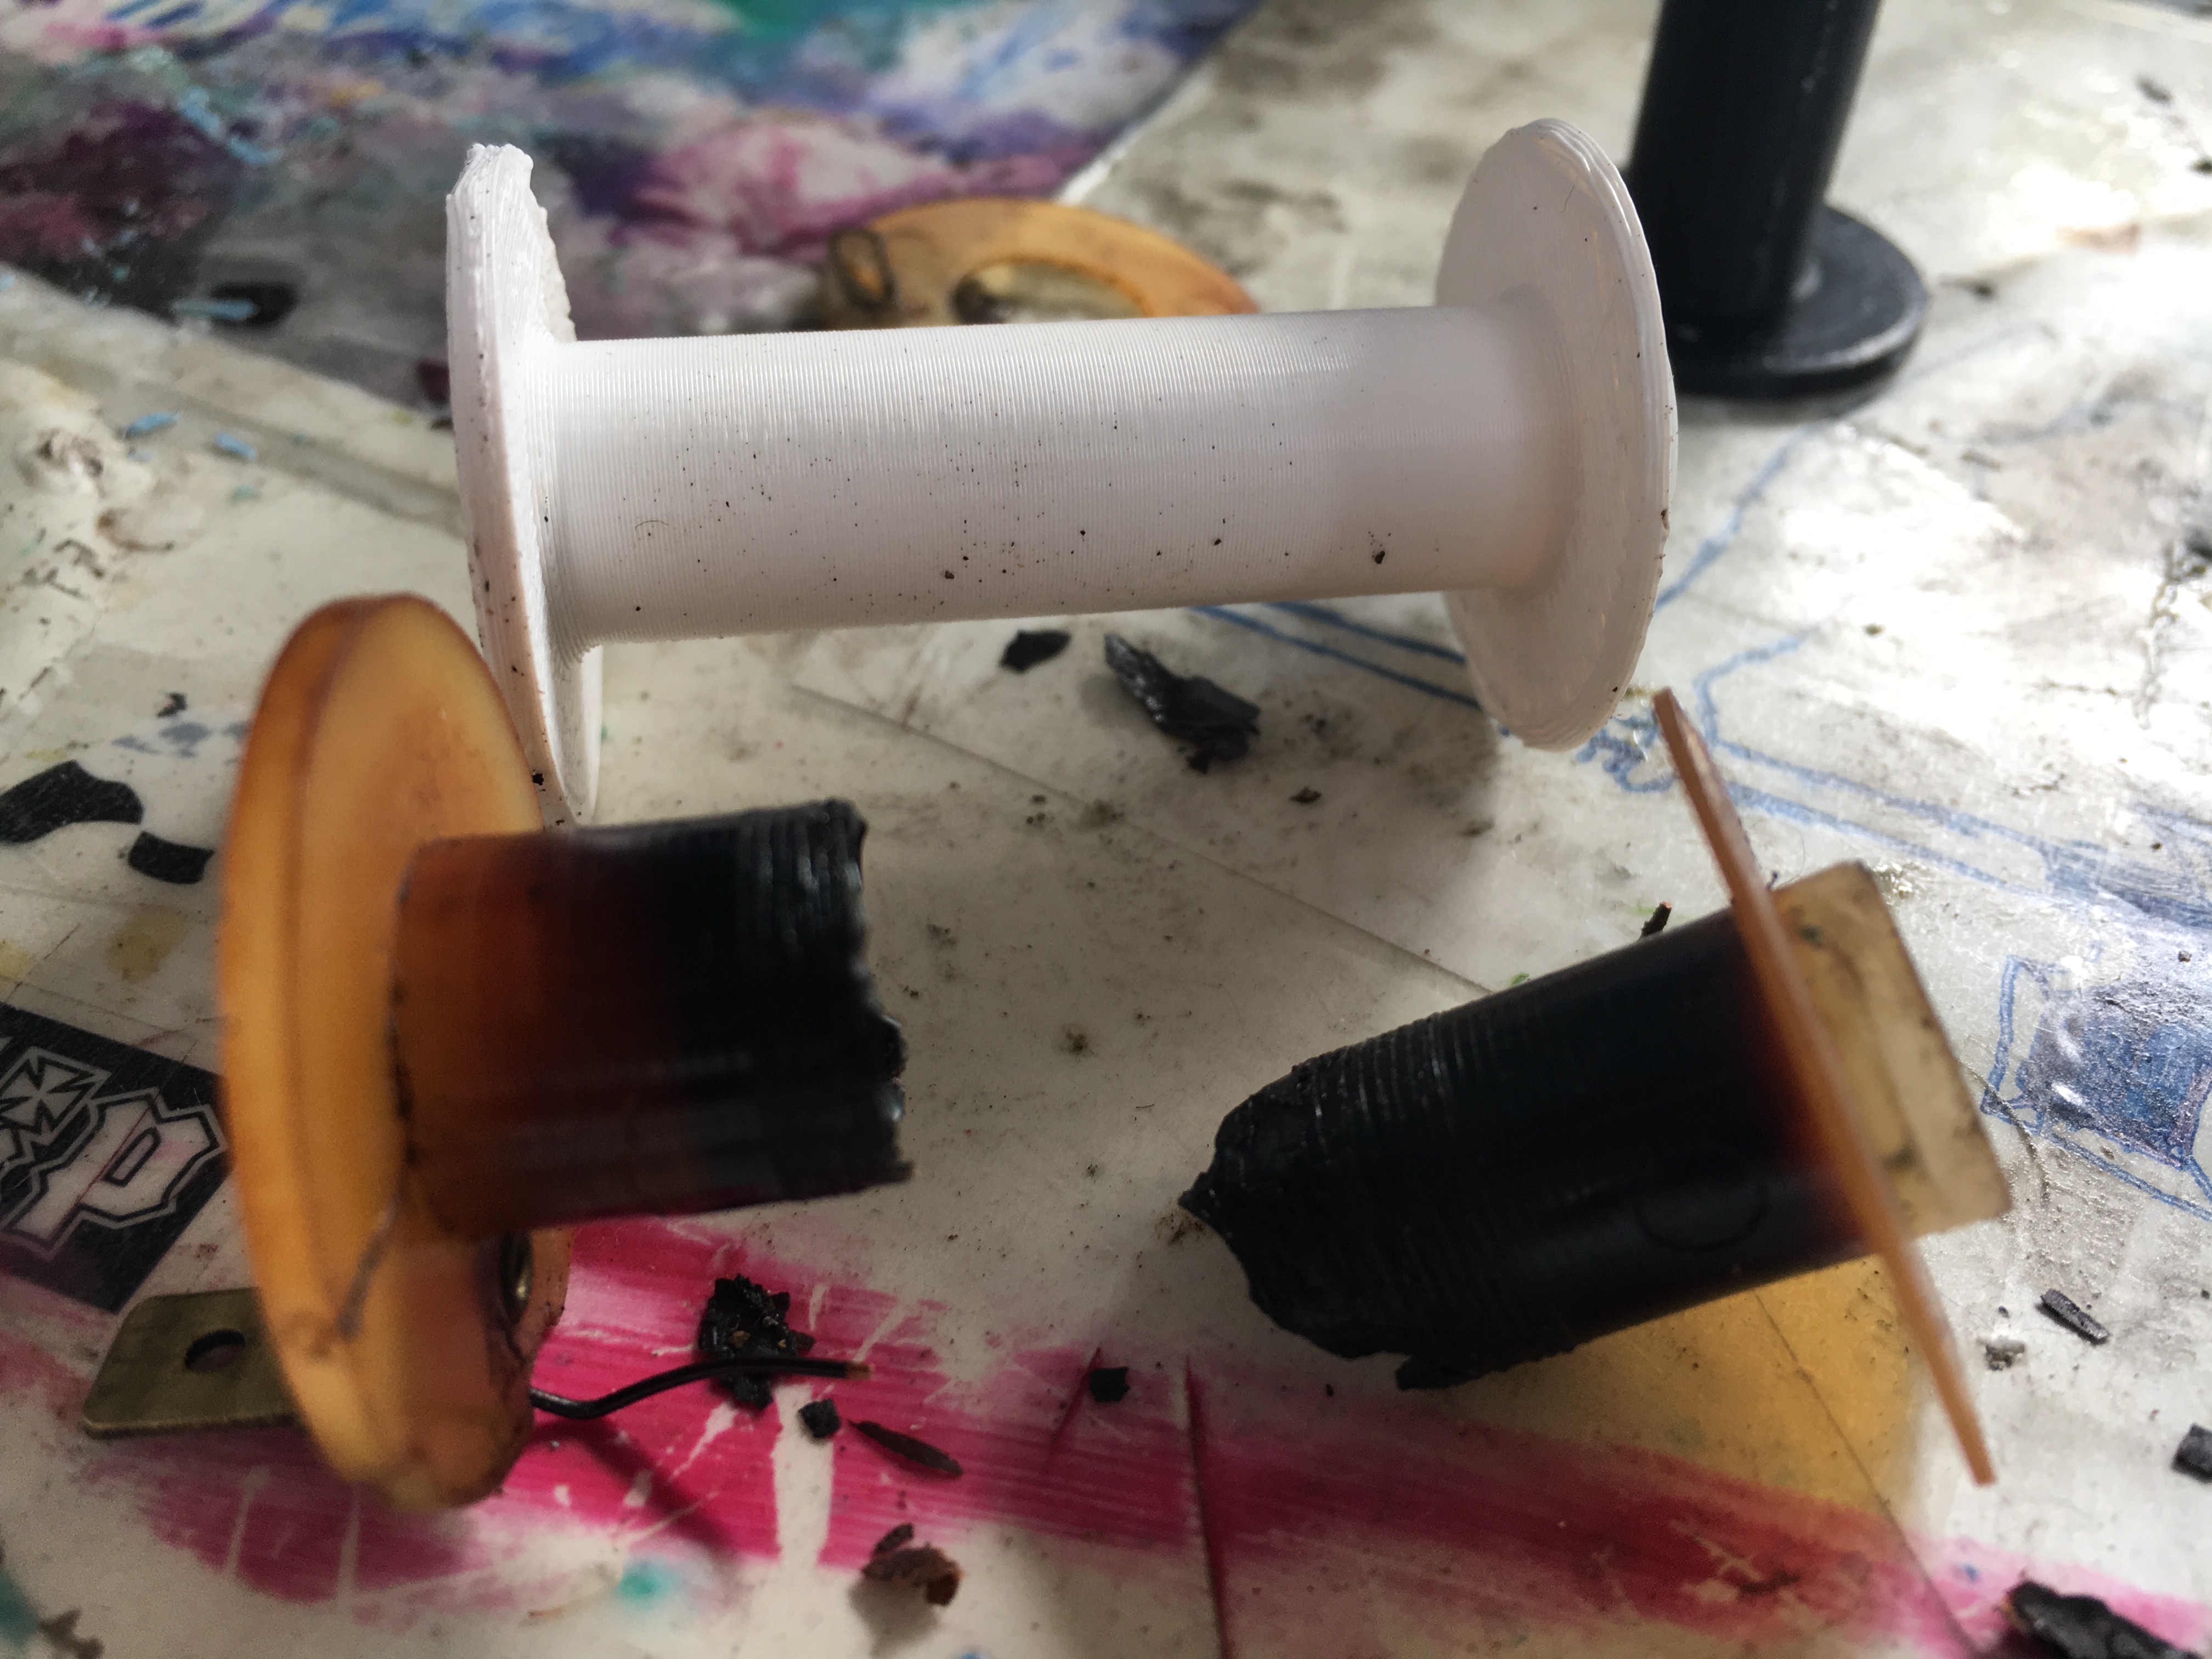
Took it apart and turns out one of the clutch motors plastic shaft was broken and coil was also broken - pretty corroded as the shaft was hard to pull out
Going to try one of my electrical locomotive friends to see if he or someone at his work can help
Never a dull moment
Hi Dan
I ended up cutting my main control mounting mould as it was too tight to house all the wires
see how you go
If we are going into details, Vincent is actually in Belgium 
Hope all had a nice Christmas and getting ready for New years
Some further update on the power seat
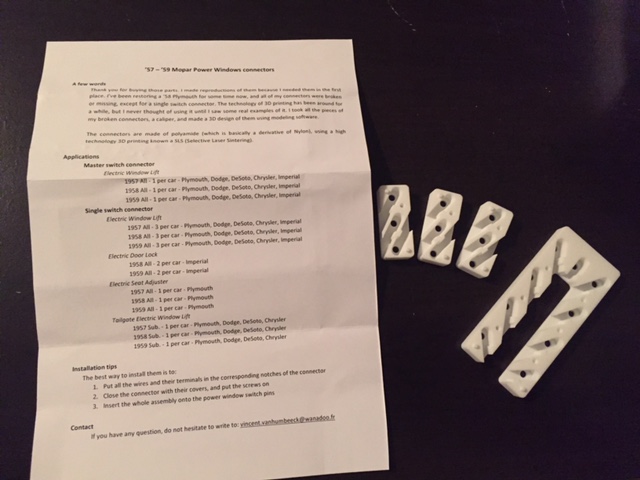
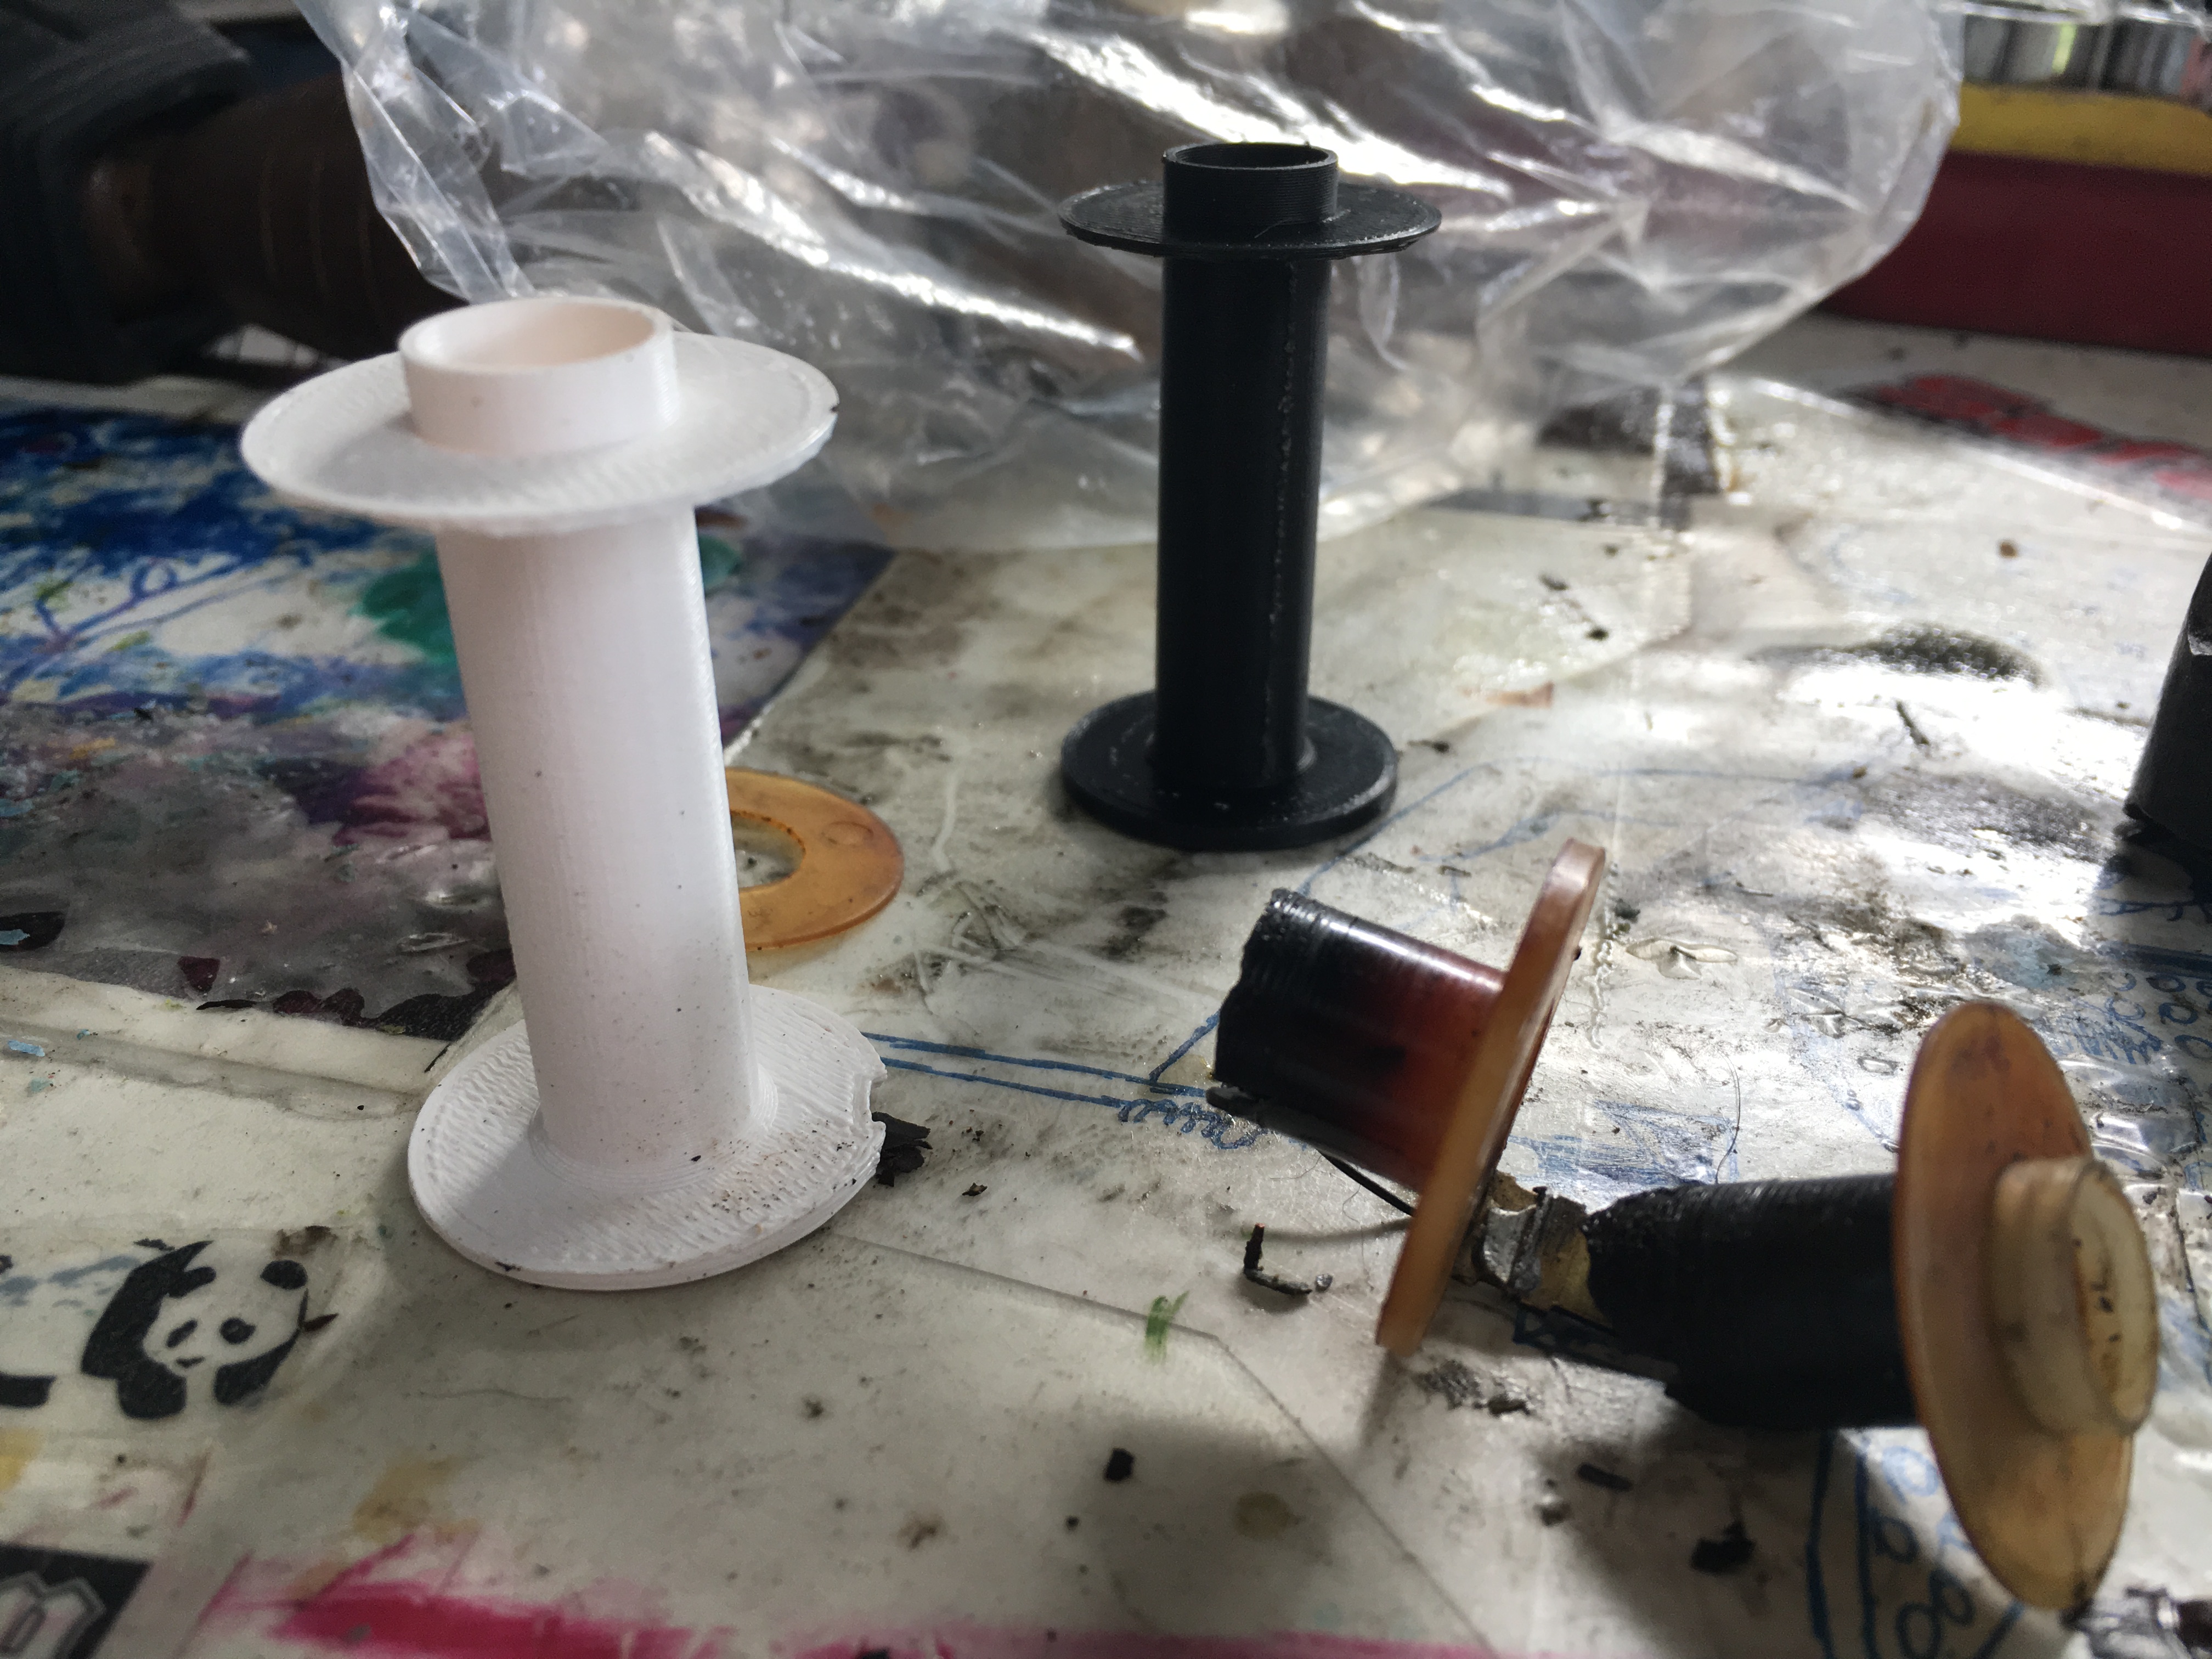
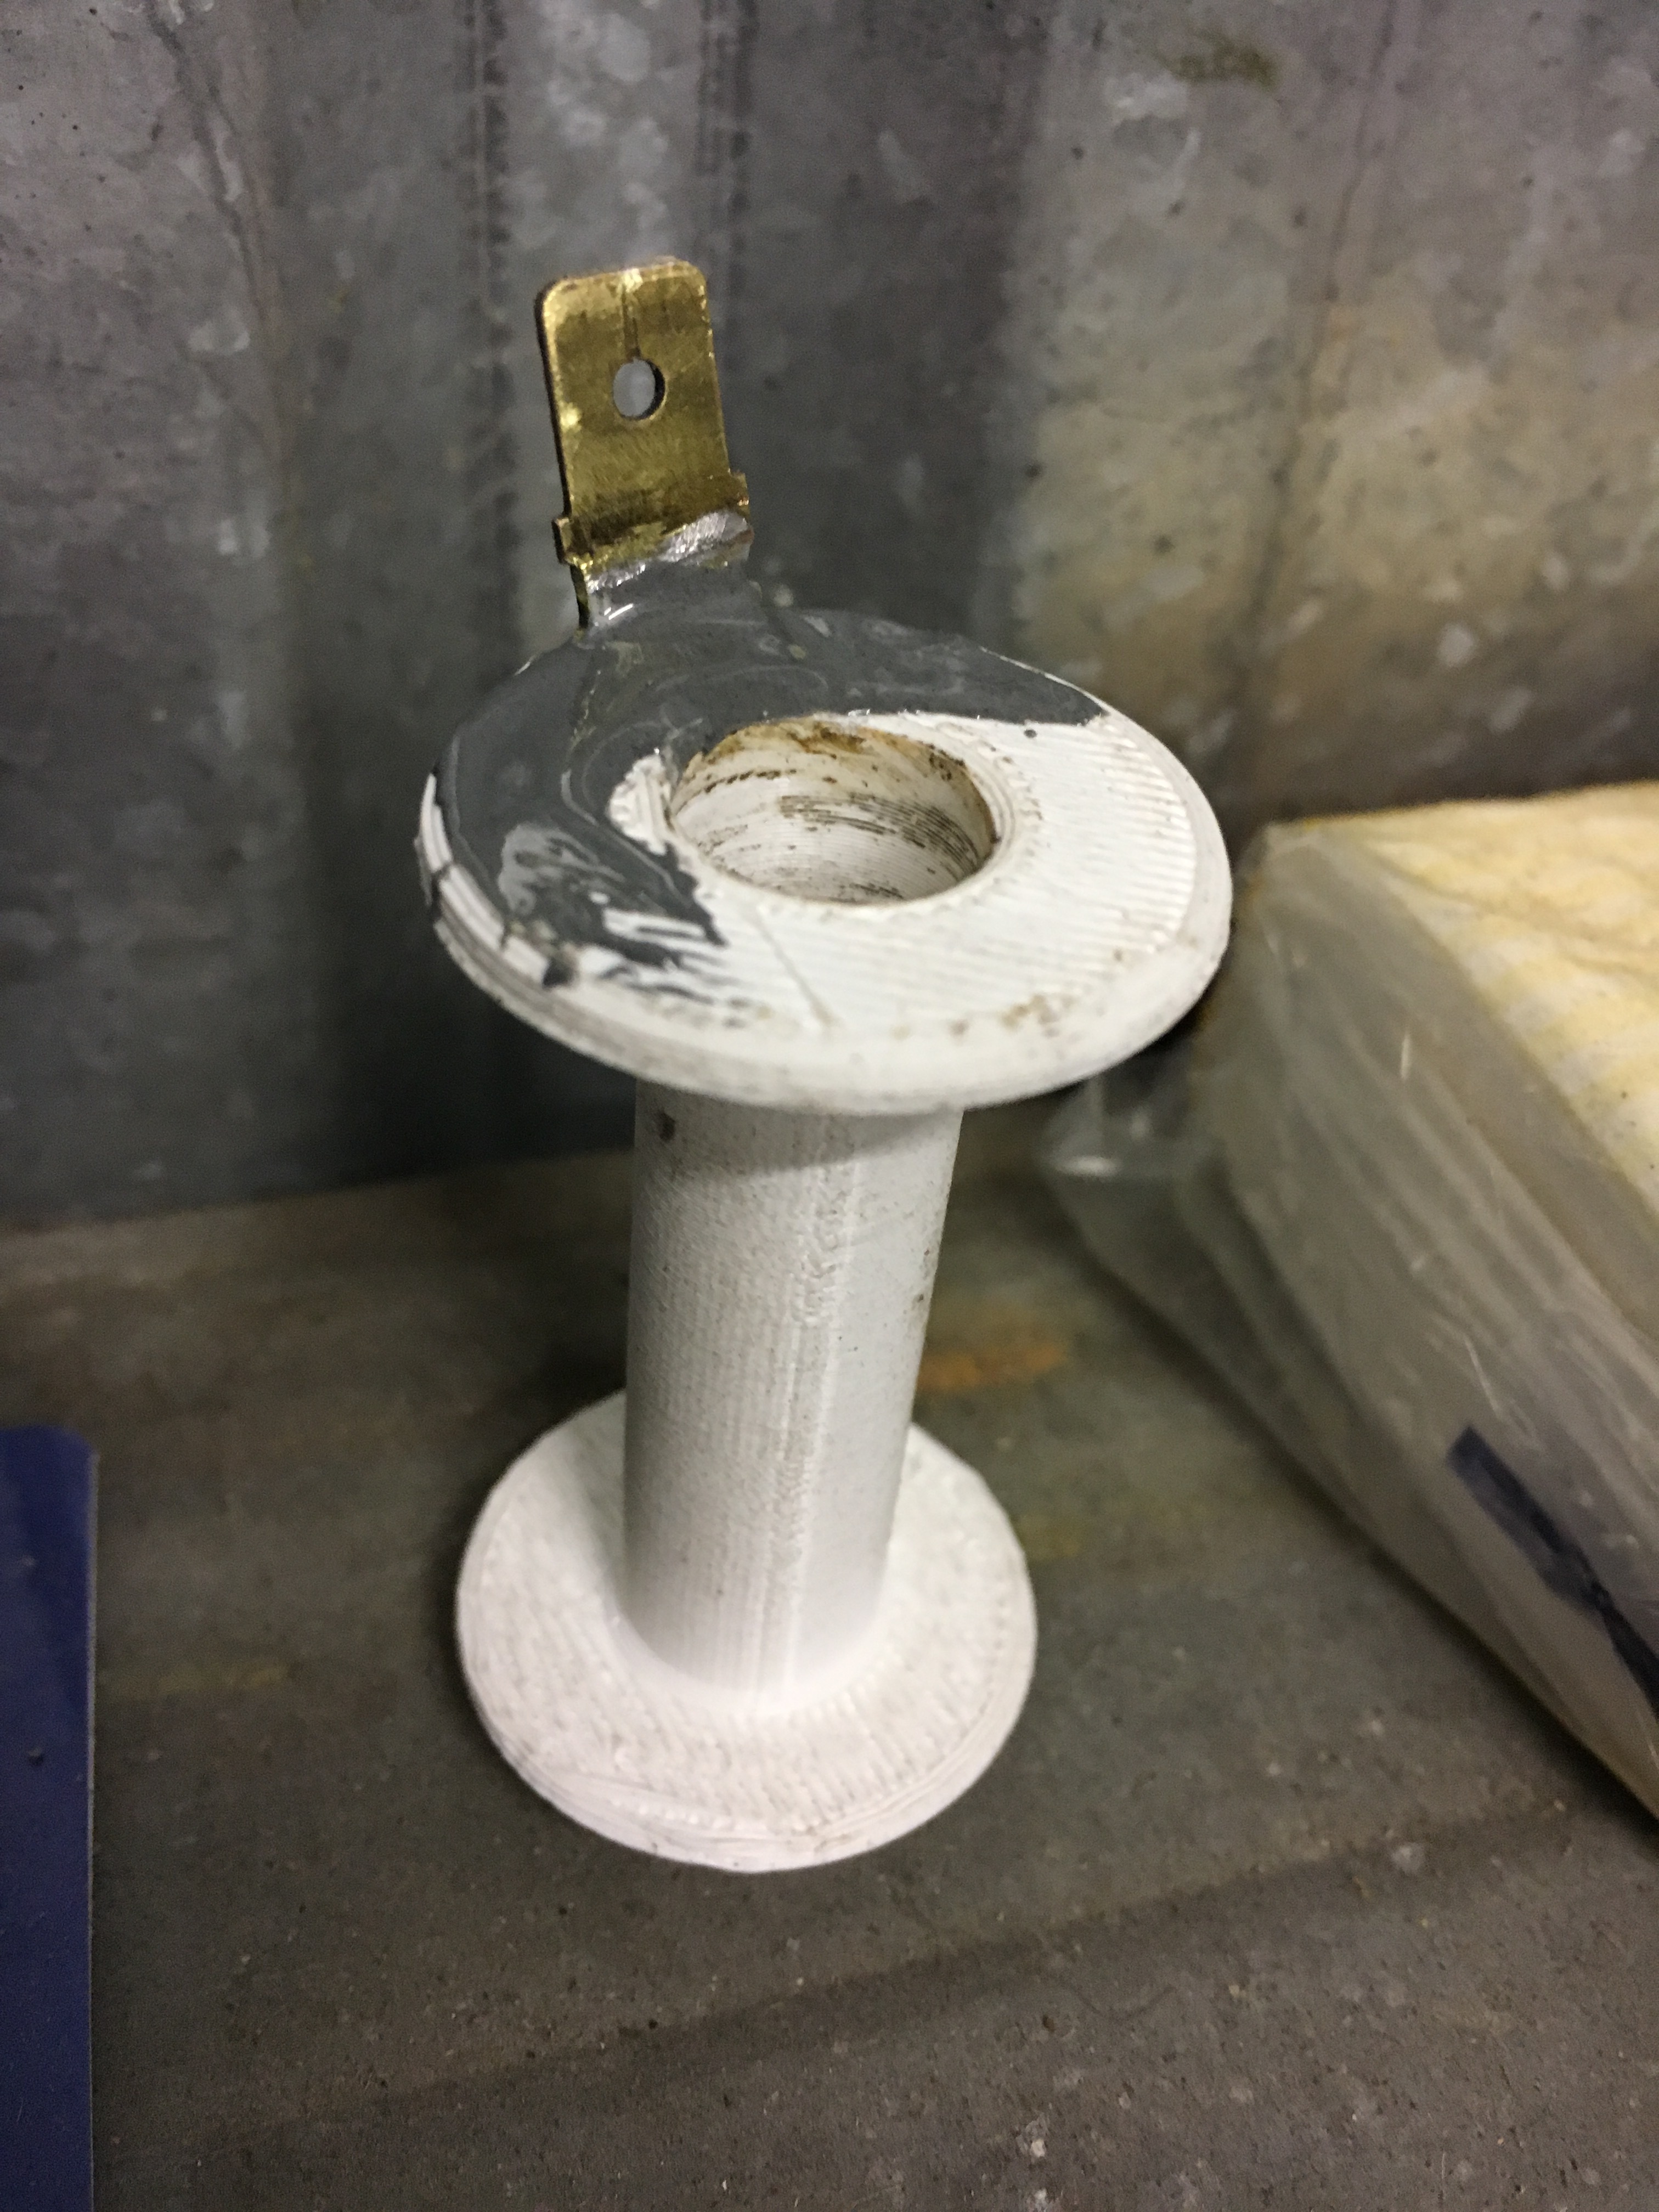
I’ve found someone who’s going to do a 3D print of the solenoid sleeve for $30 from that I hope to then make the new solenoid
Found out it’s a .6mm gauge wire with 3.2ohms output
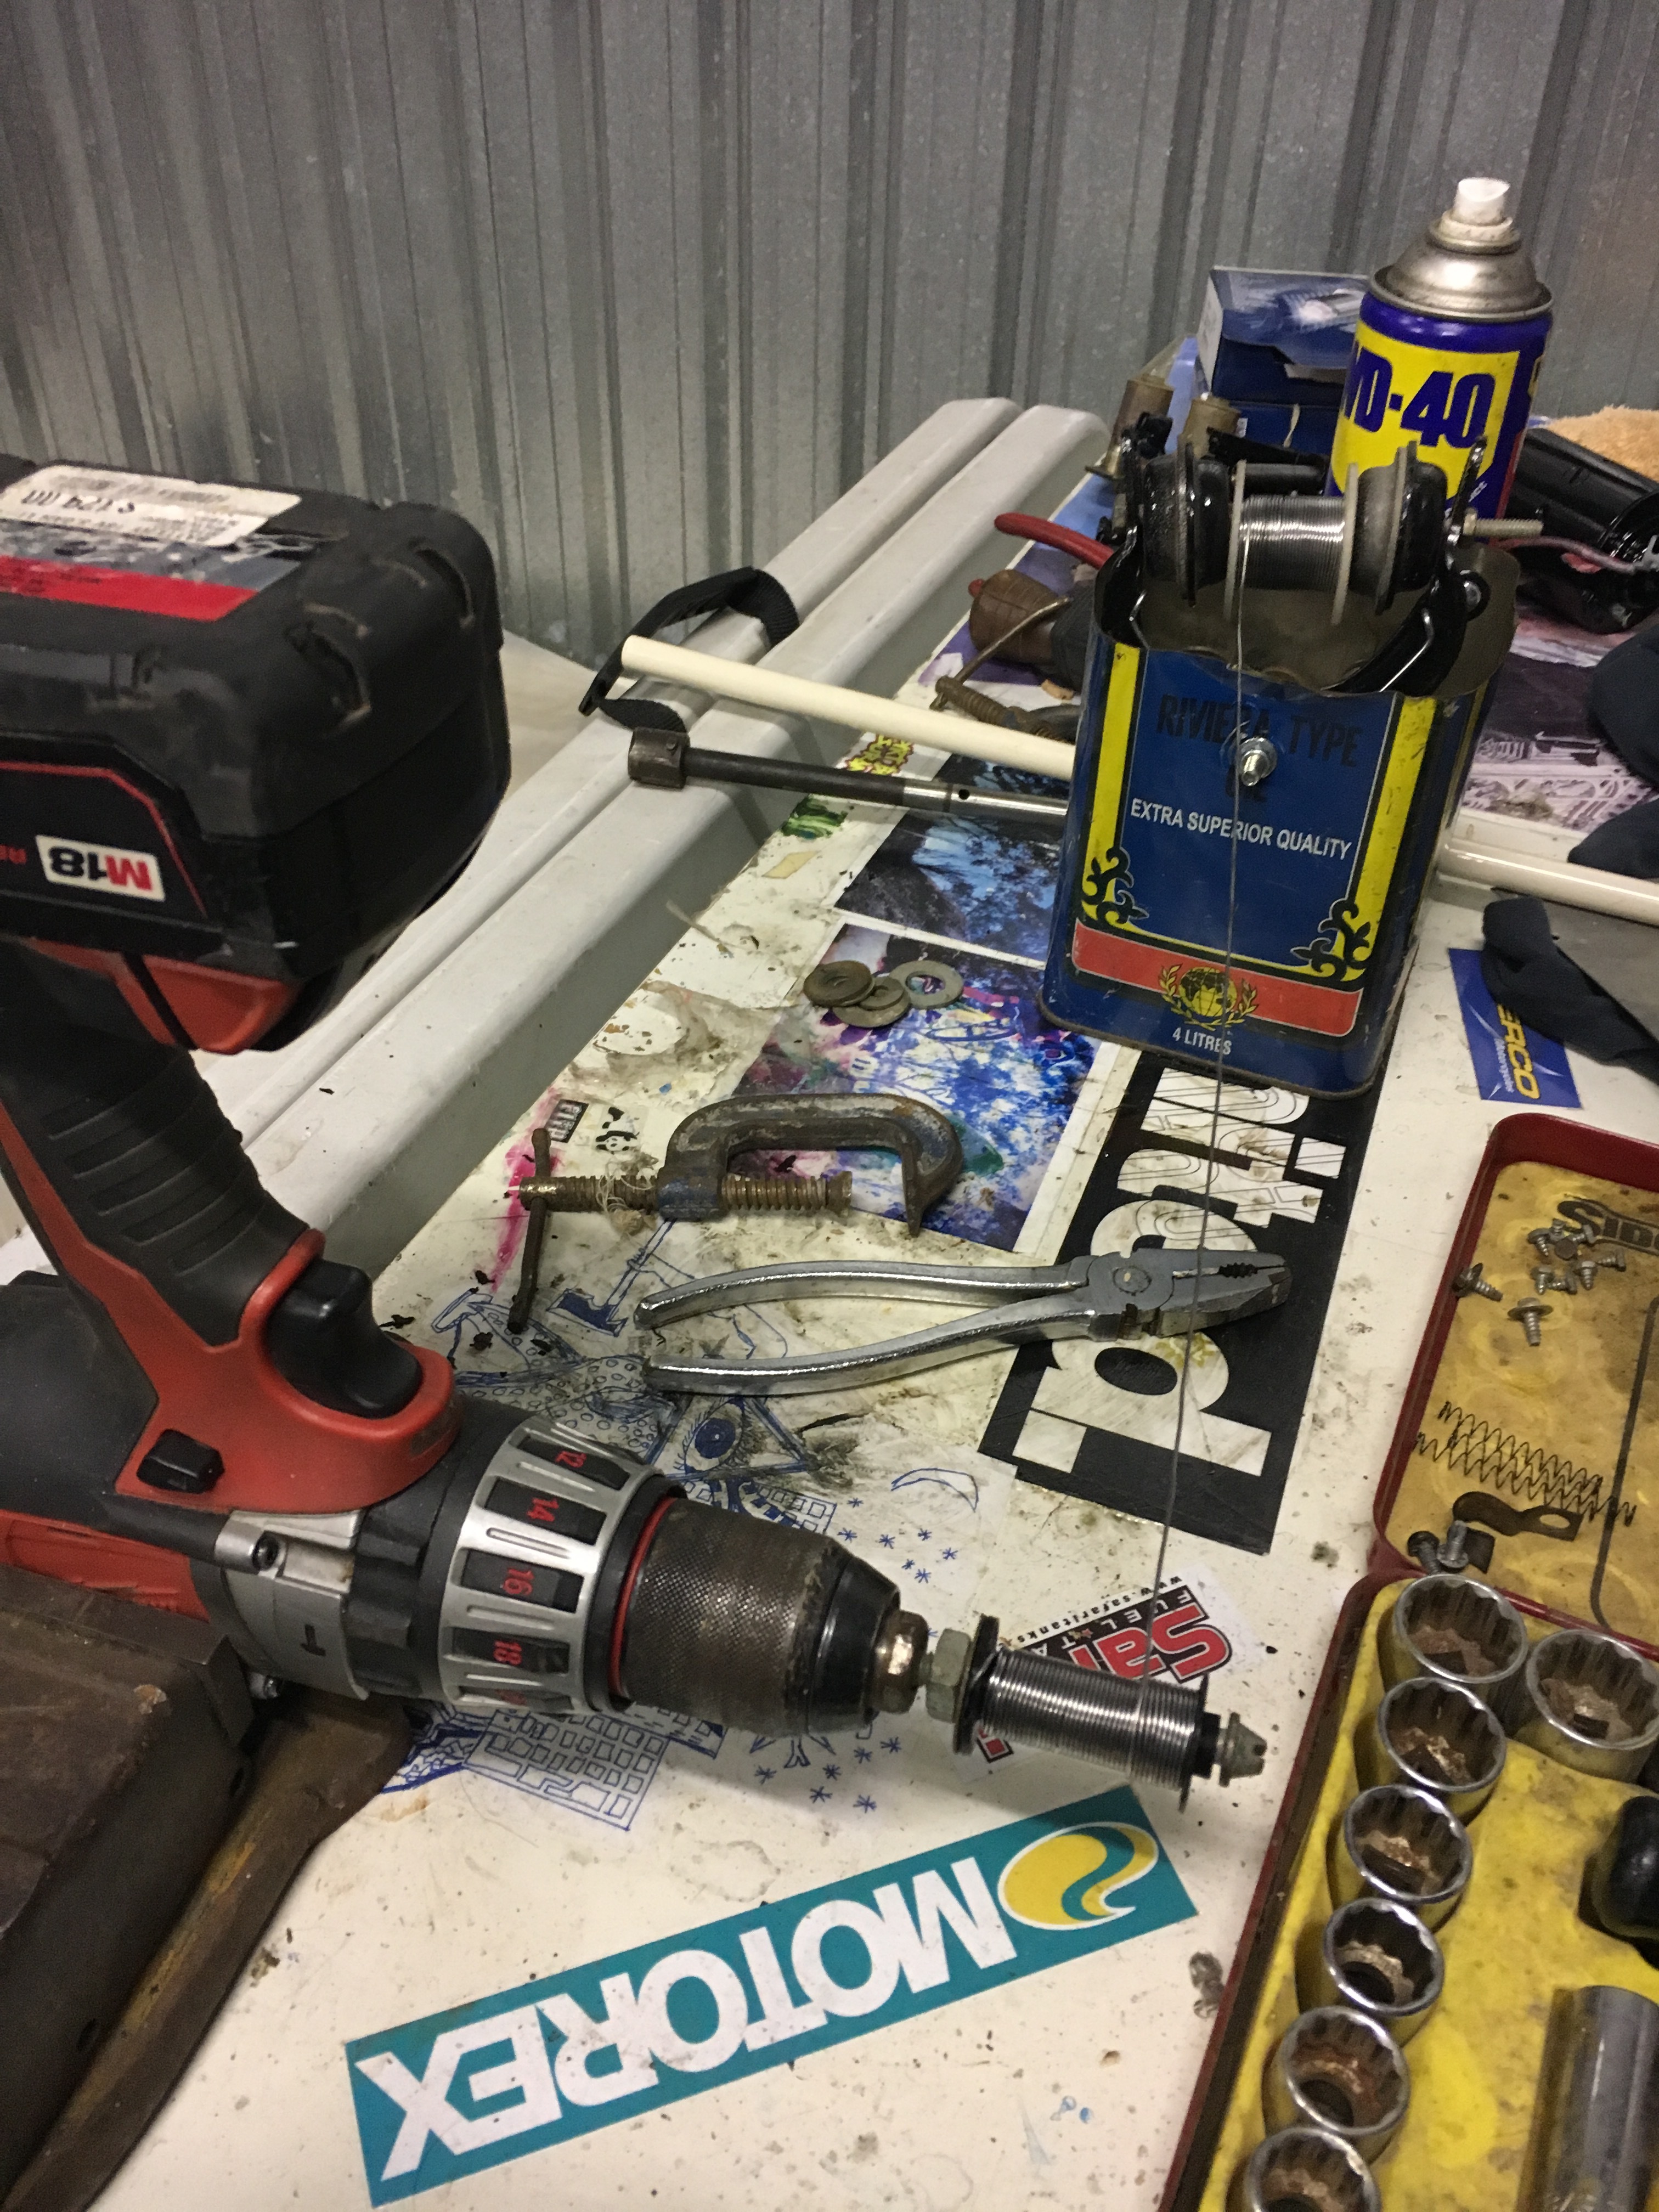
Should be approx 34m of wire - will be fun winding it up!!
Will keep you posted as to how it goes
Here’s some pics of the before
Best wishes to all for 2017
Sweet! What do you think about running a long bolt through the sleeve and putting it into a drill? At low speed, you could wind the core left to right and back again in pretty quick order. Or maybe it’s the kind of thing that best done manually with a bowl of chips in front of the telly 
Like your thinking Dan
If I do my maths correctly then that trick might just work
Cheers