Thanks Matthew
I have found quite a few good pics to get the ball rolling
If my upholsterer requires more detail i may call upon your help
Thanks again
Vic
Thanks Matthew
I have found quite a few good pics to get the ball rolling
If my upholsterer requires more detail i may call upon your help
Thanks again
Vic
No problem! That’s what we’re here for!
If you need a pic of something just ask and somebody will make it
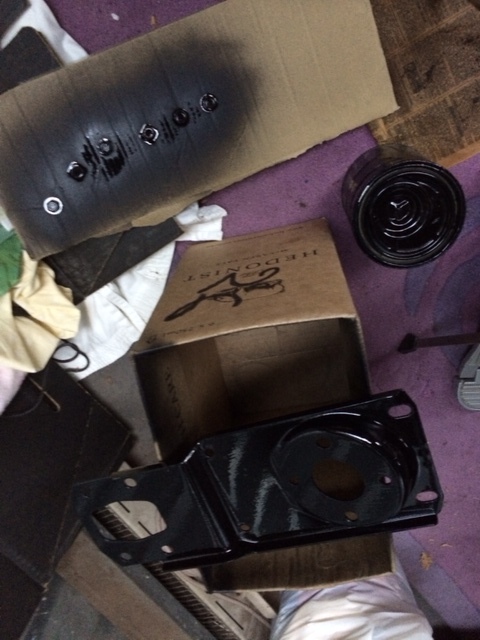
some more updates:
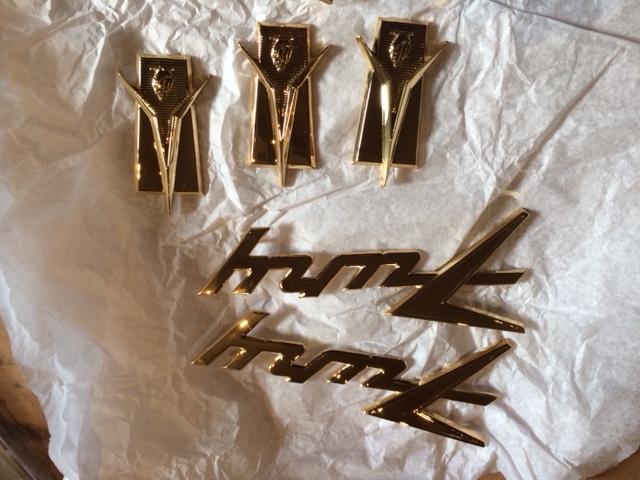
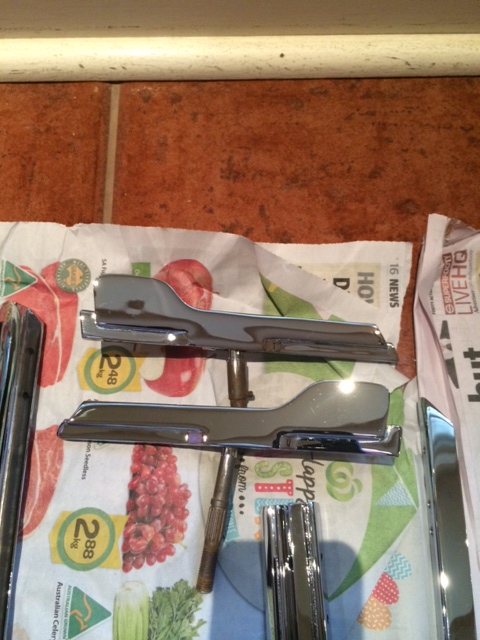
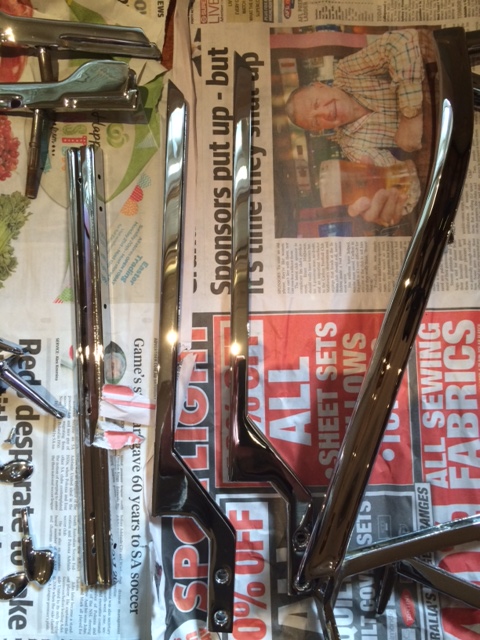
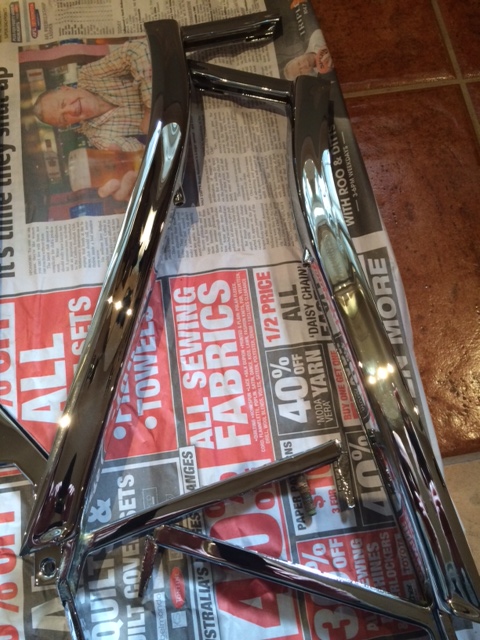
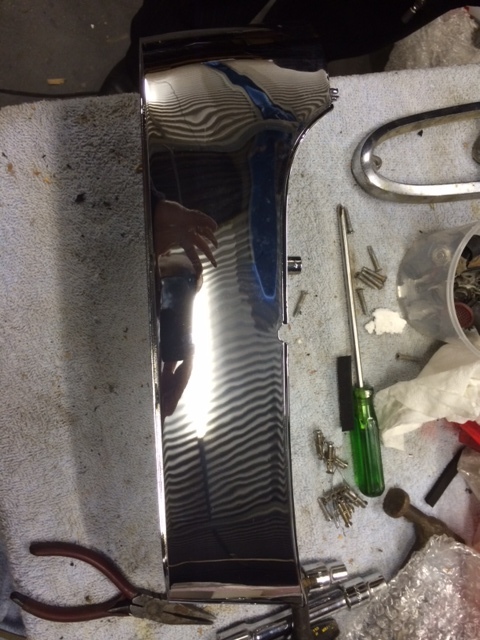
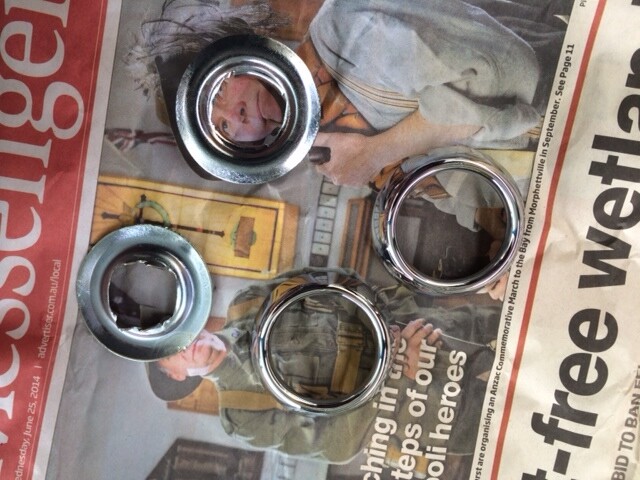
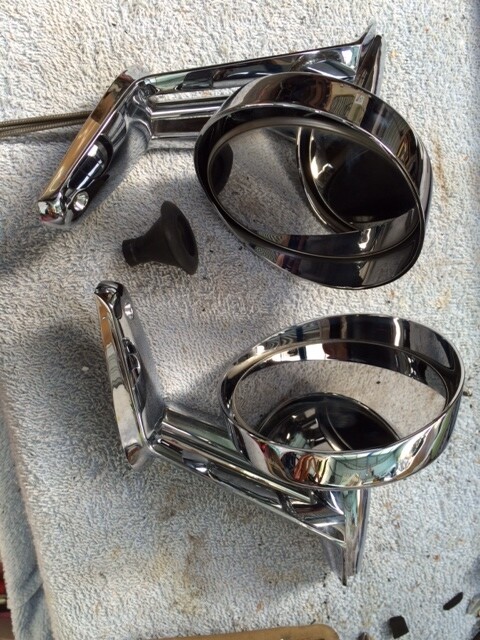
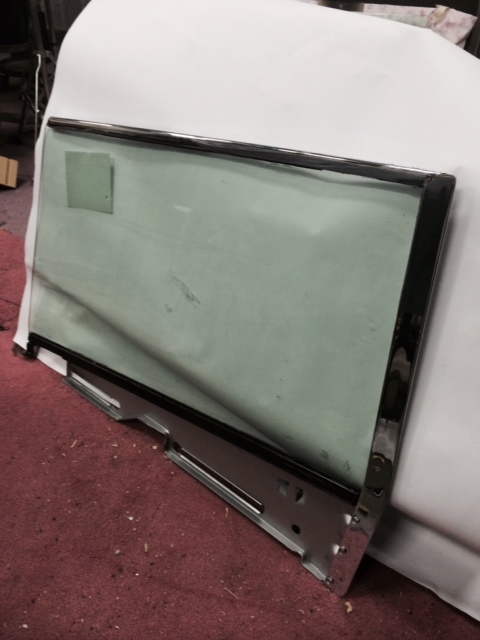
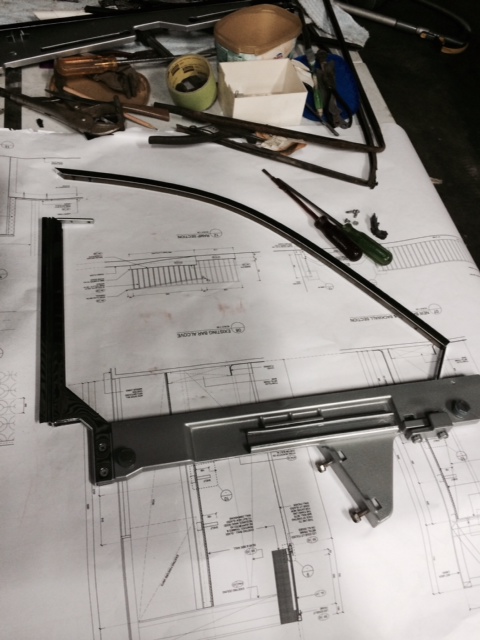
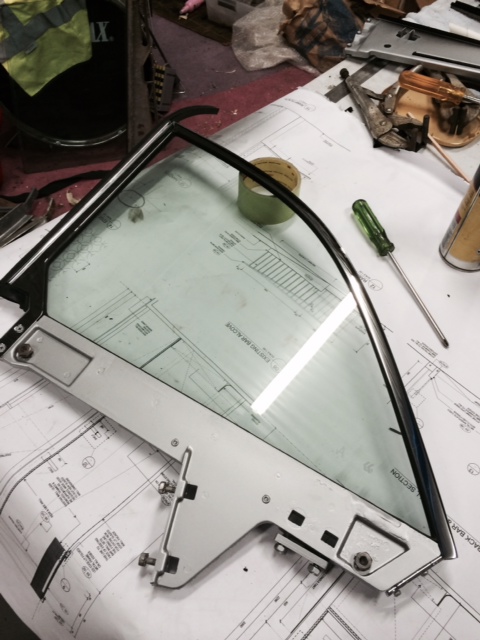
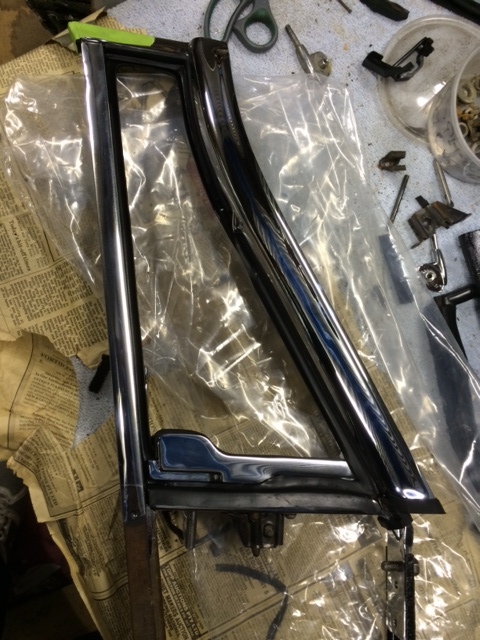
Got my chroming back - looks great but emptied my pocket!!  (this being said happy with how the pot metal turned out on the front quarter window frames)
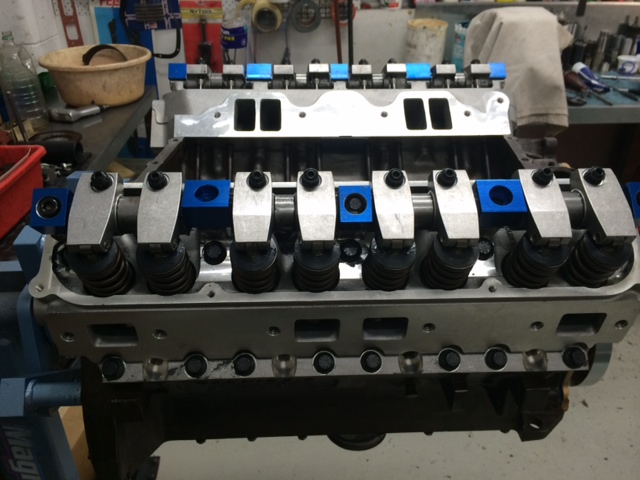
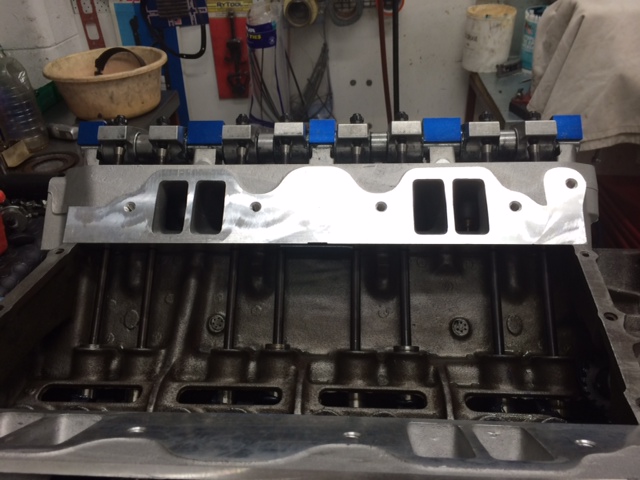
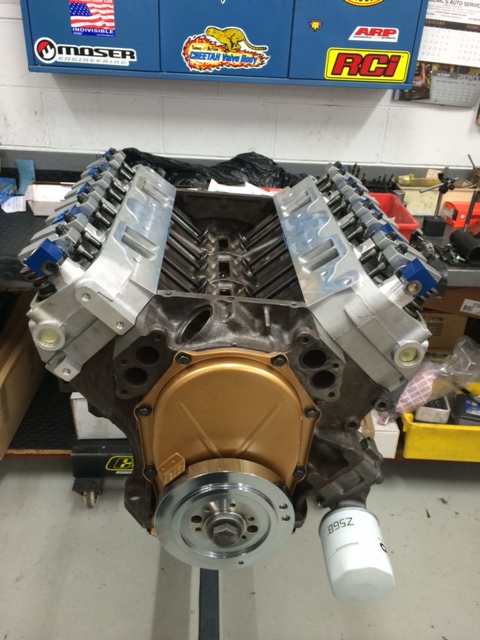
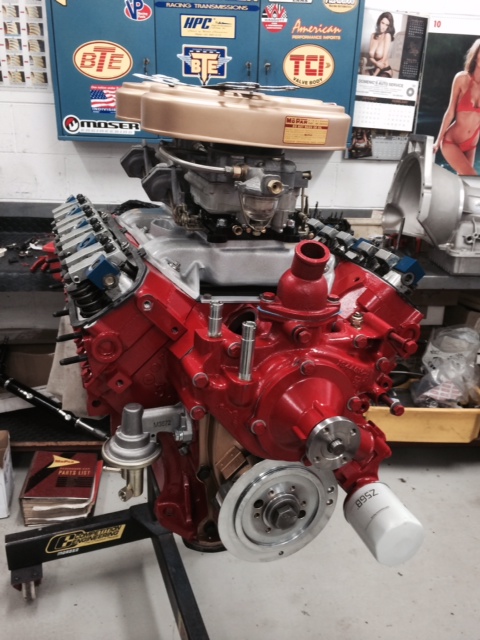
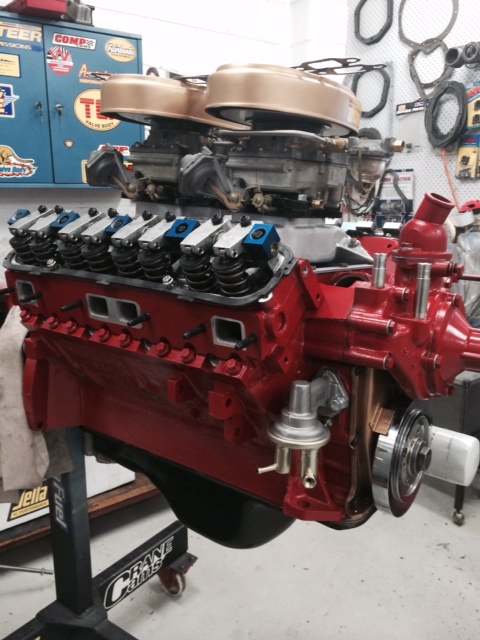
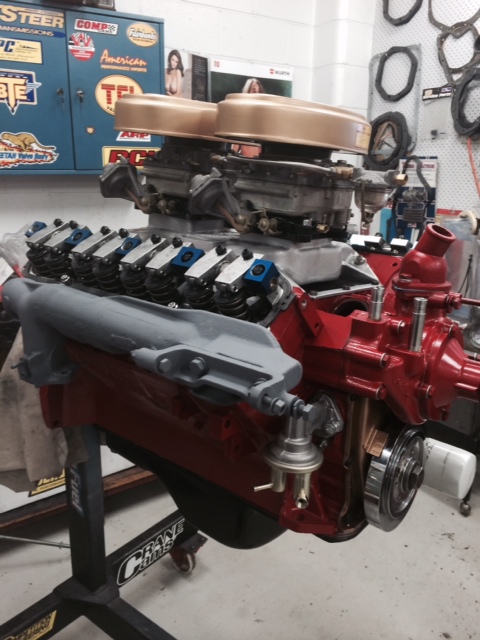
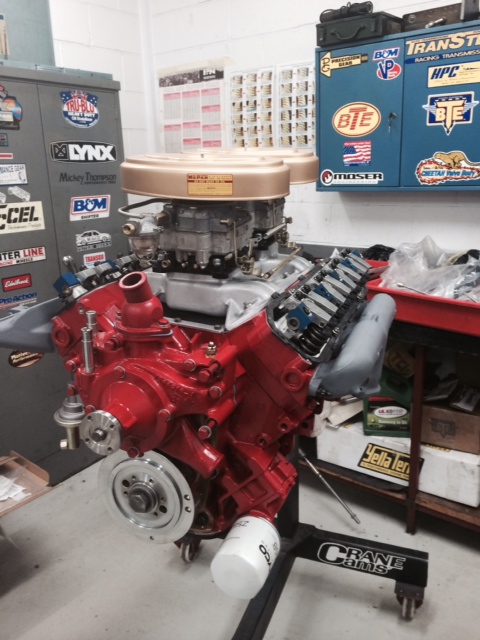
Worked on the engine over the weekend - managed to put the heads on and sort out the lifters & pushrods - the pushrods were just touching thru the guide hole so we had to grind out 8 of the inlet valve holes - that was fun! 
I ended up using the 440 Source Aluminum heads with the 451 Stroker kit - think it might get around 370BHP but not really sure
Dropped off my interior at the upholsterers today - anticipate a couple of months before i see anything from them given their work load - but i thought i might as well join the cue
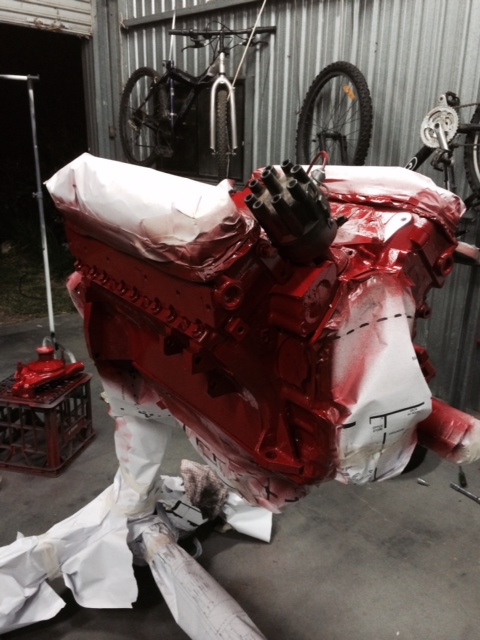
Hopefully this weekend we can finish off most of the top end on the engine so i can get it ready to paint
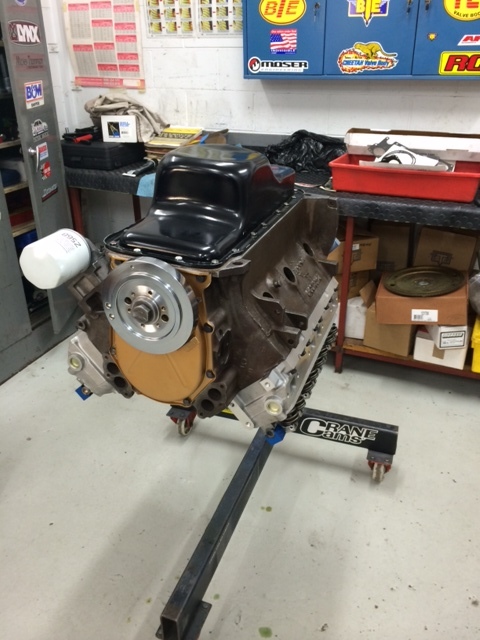
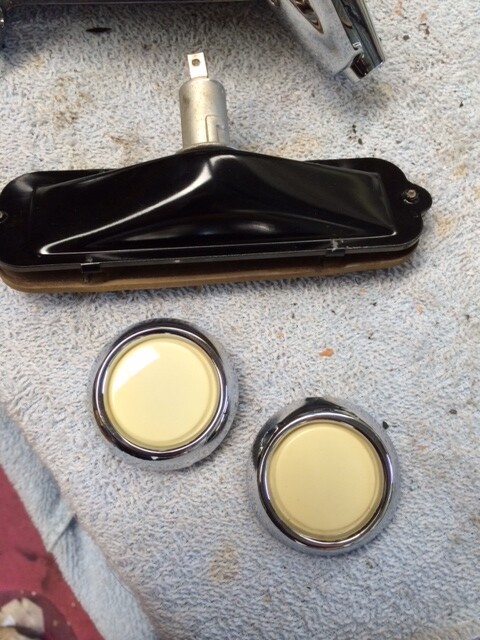
Here are some pics:
Wow Vic, Beautiful, I feel so inadequate!!!
Dick.
Quite the contrary Dick
I’ve followed your progress on both your cars and hats off to you on your finished product
It’s a joy to see them complete - it provides me with the motivation to continue
Cheers
Vic
some more pics to add to the collection (apologies about the orientation of some of the pics)
Over the weekend we primed the motor with oil and checked that we had oil flowing thru the motor. Turns out the rocker shafts was on upside down and no oil flowing thru to the rockers. Turned it around and oil started flowing.
Hope to have head/valve spring adjusted this weekend and then look at painting the motor.
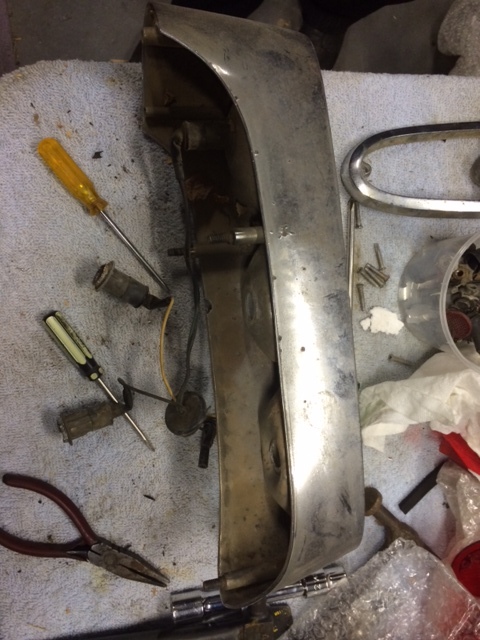
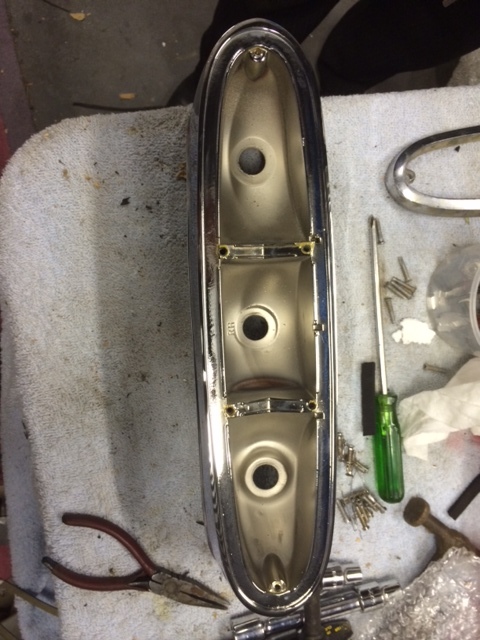
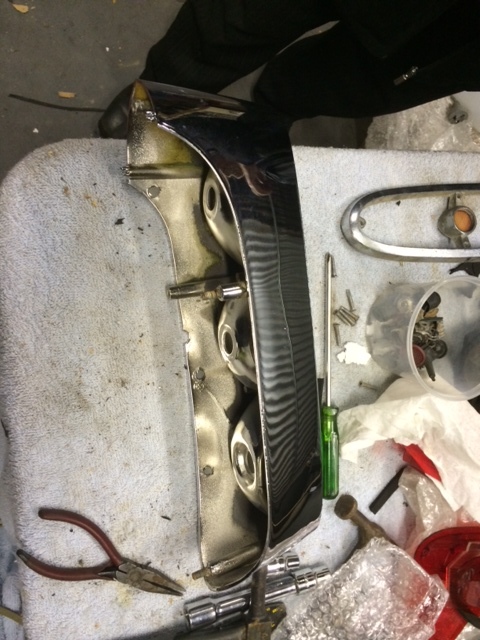
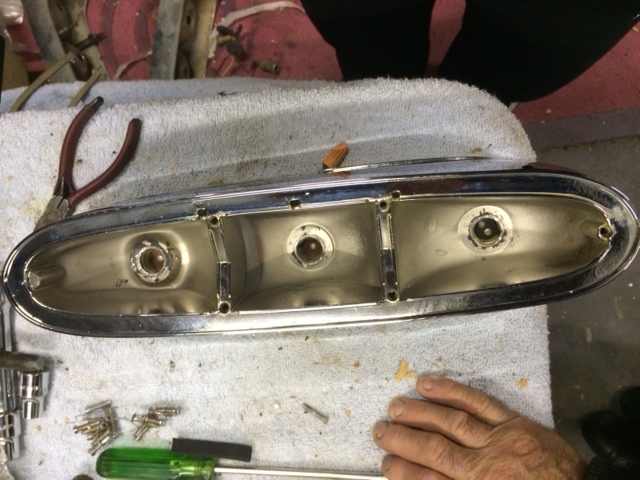
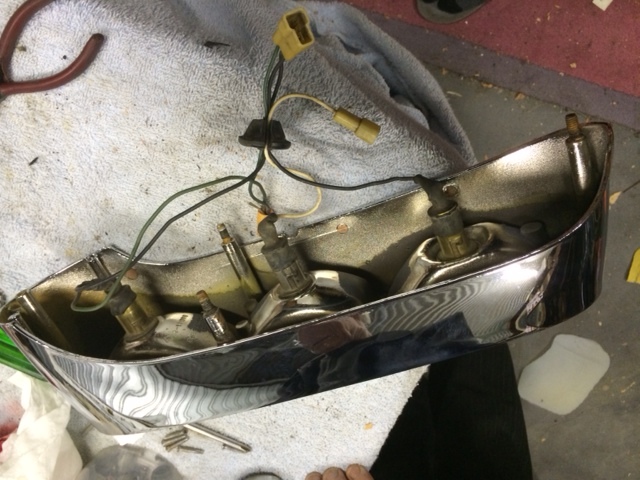
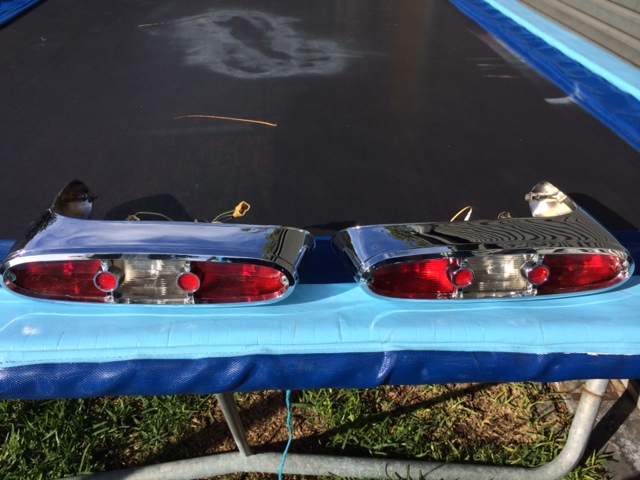
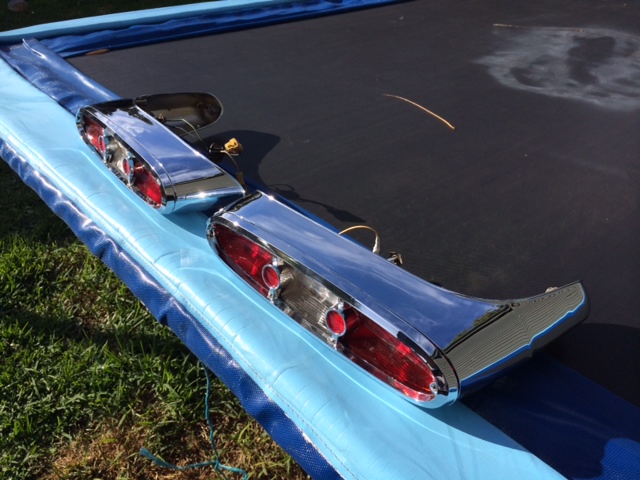
Got started on the rear tail lights. Had them re-chromed so re-assembled them. had to make temporary gaskets until i get some from Gary Goers.
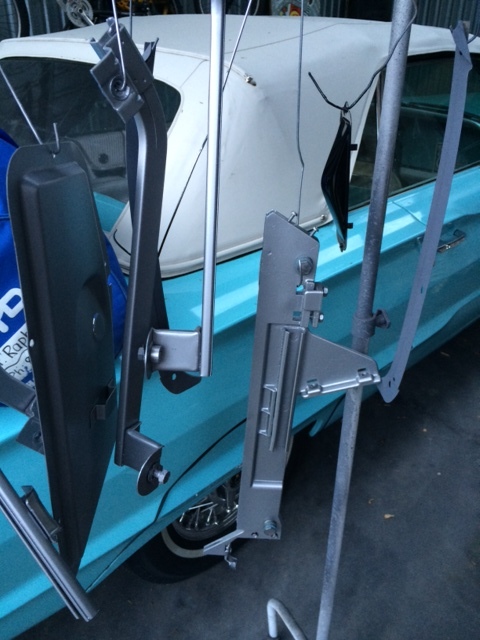
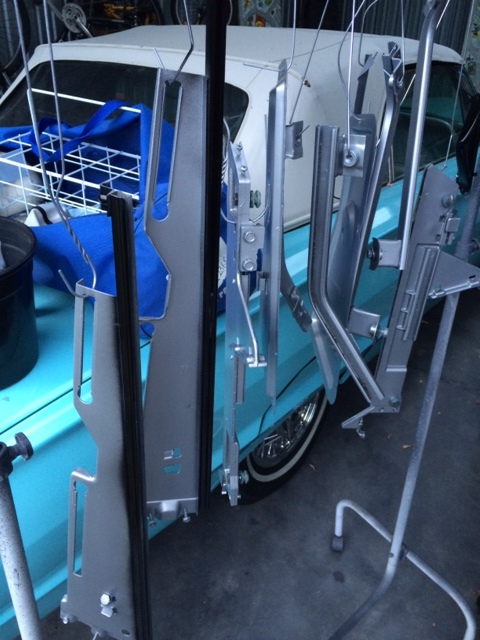
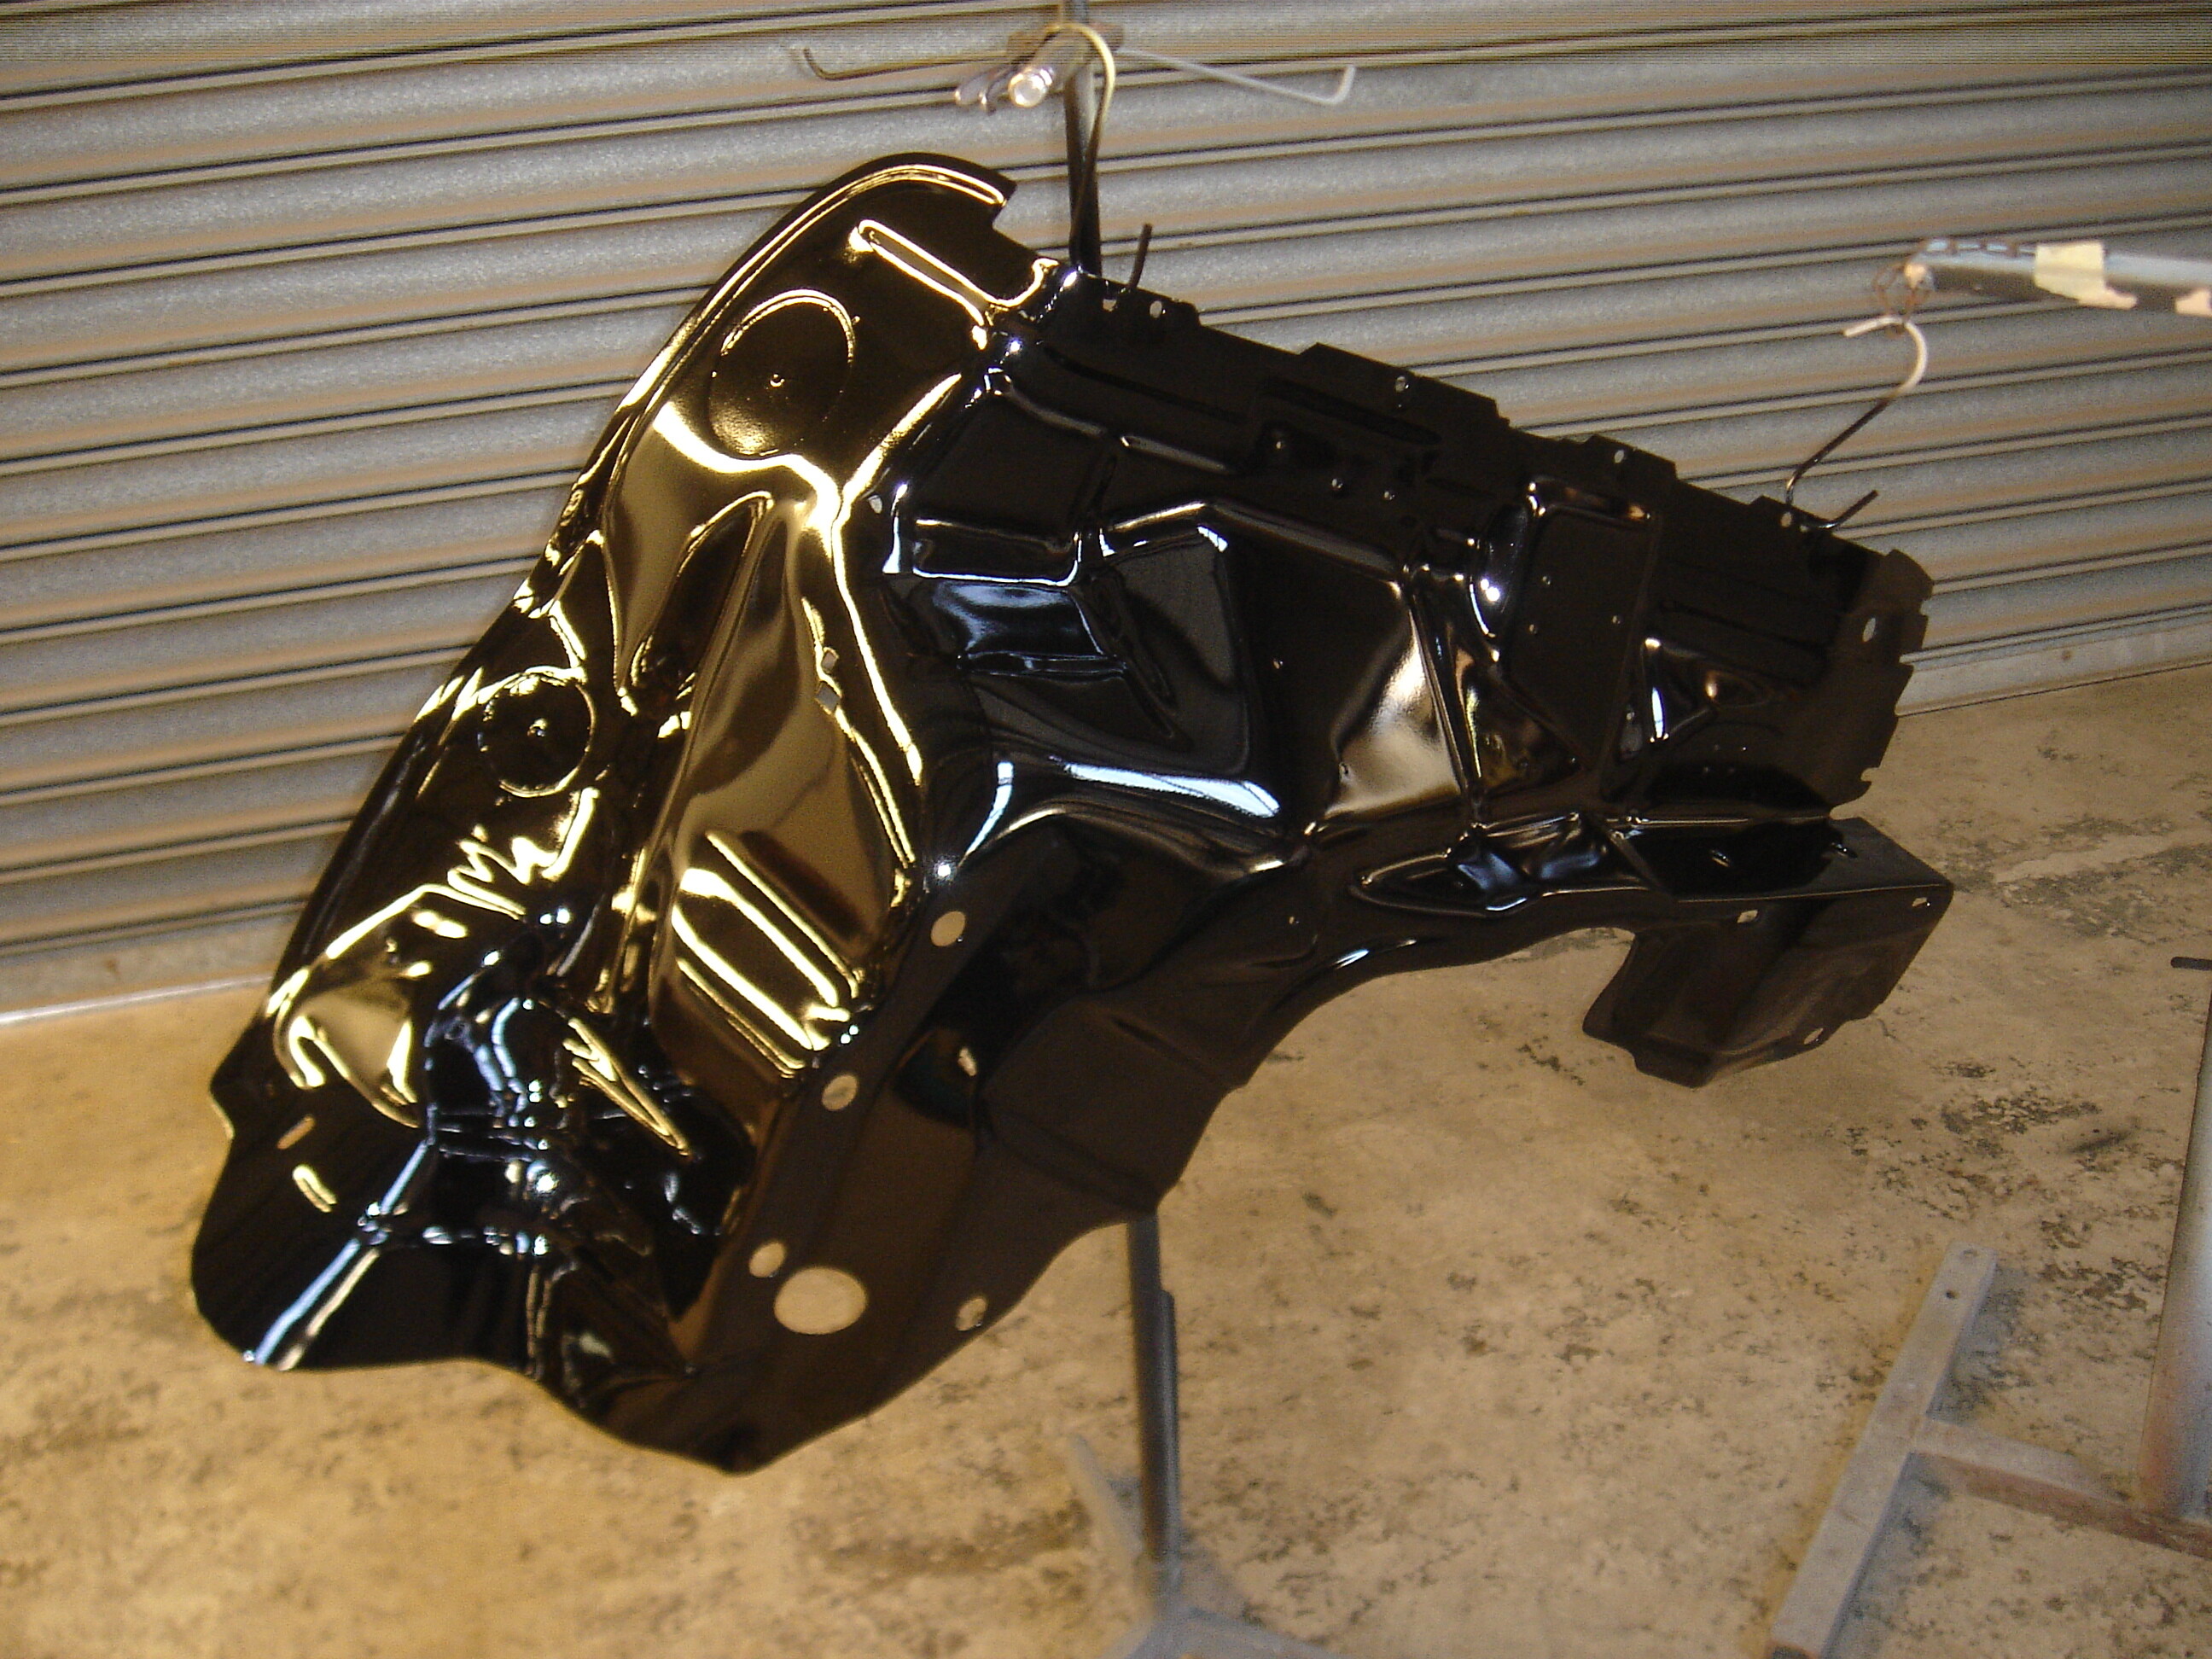
Painted up the base frames of the glass windows, hope to install the new glass and surrounding frames shortly
Hope all are well.
Cheers
Vic
Those taillights came out superbly, Vic!
—John
Cheers John
A few minor specs but otherwise pretty happy with the end result
Some more minor updates
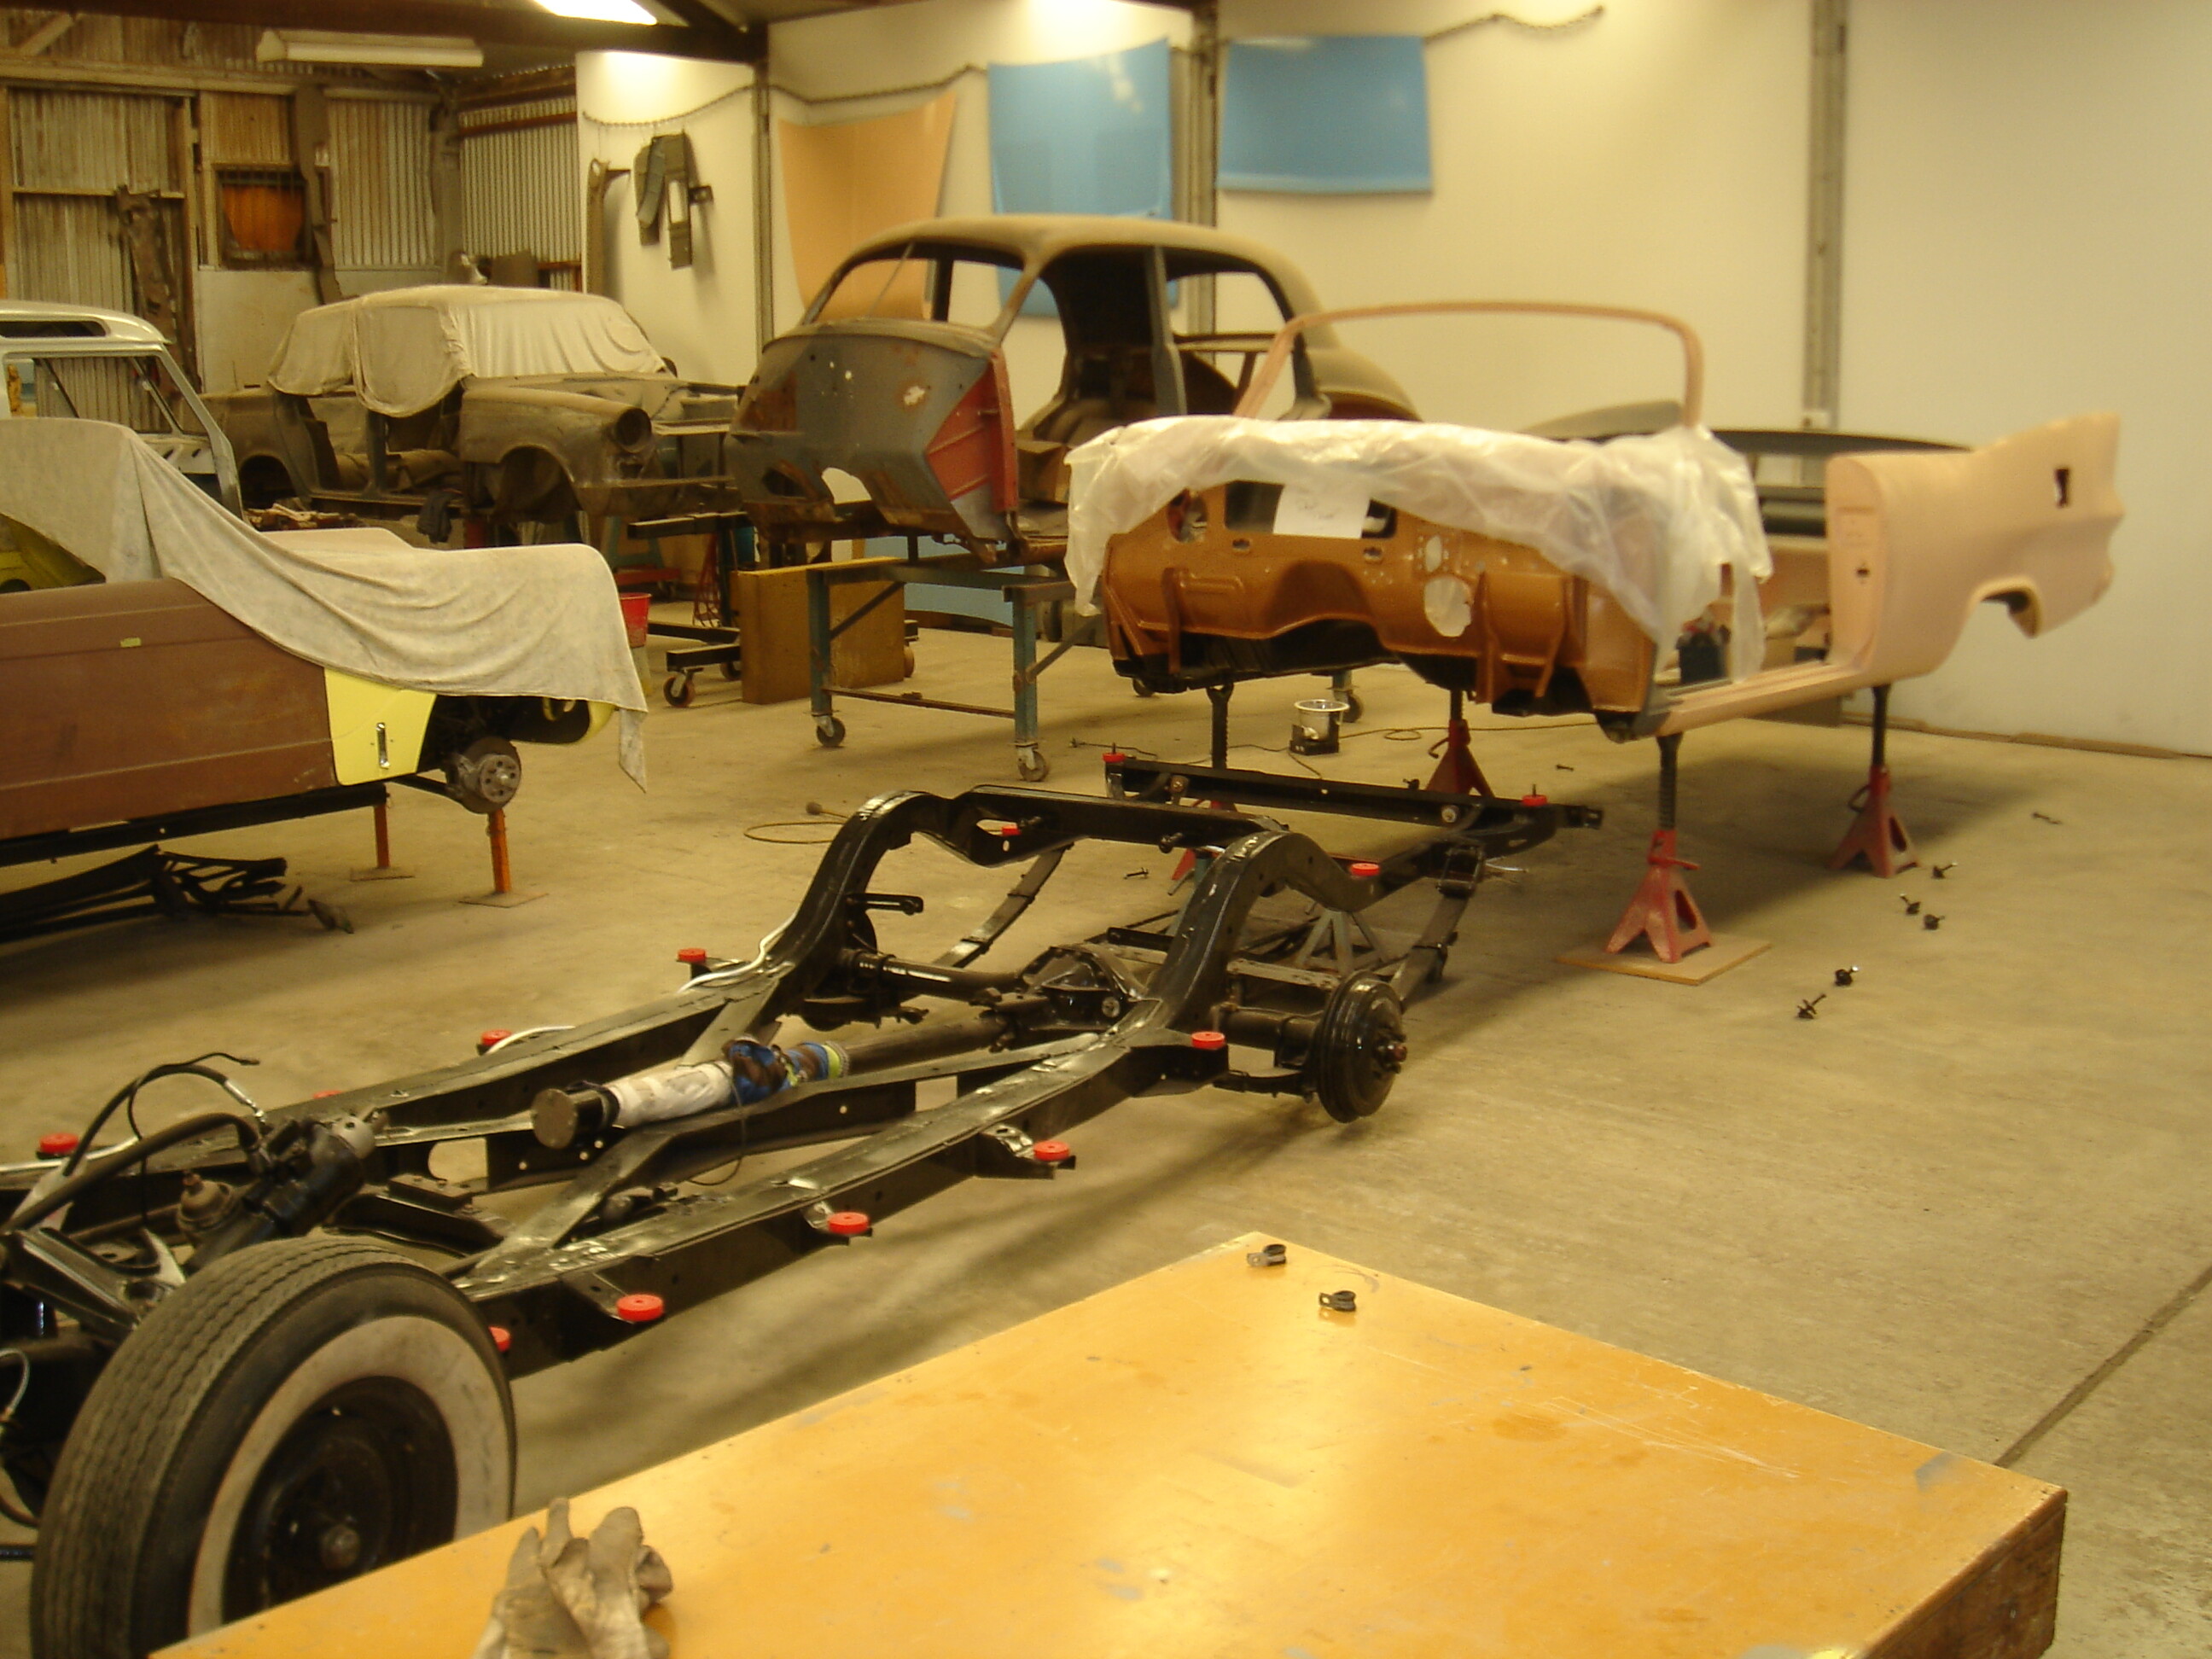
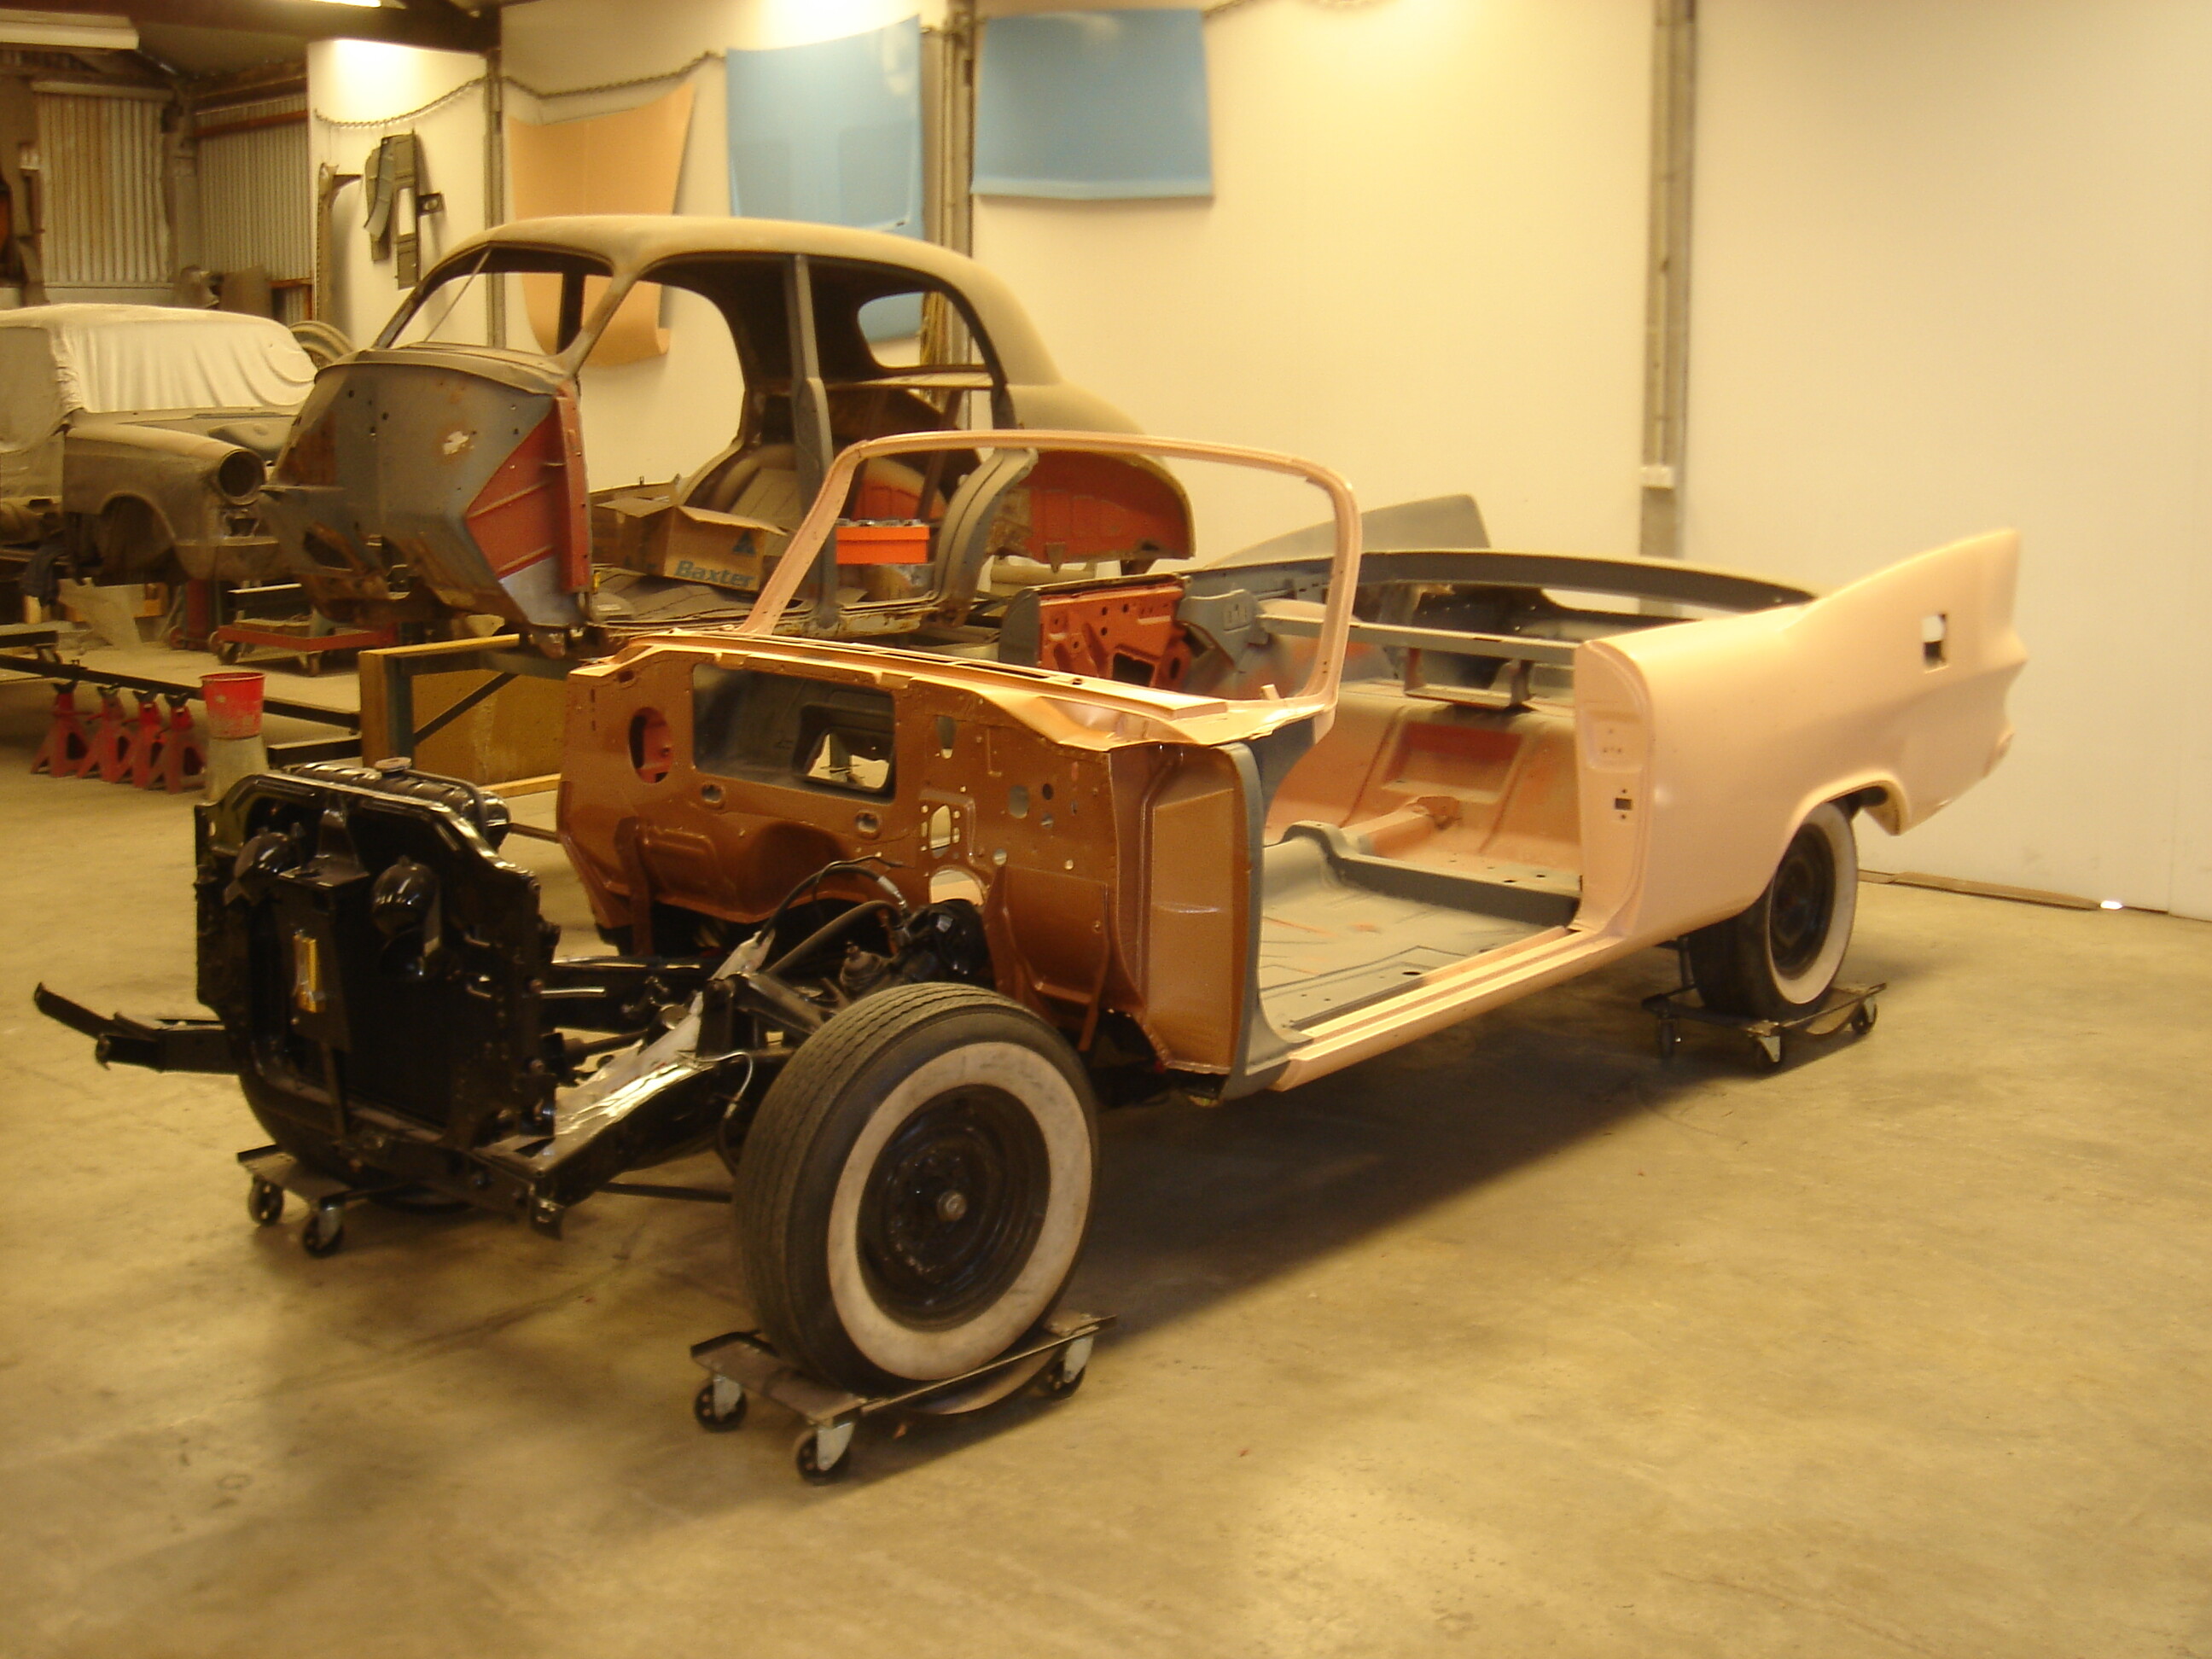
Hoping to mount the body on the chassis in the next couple of weeks.
Engine is ready to paint - hopefully can do this in the next week - not enough hours in a day!! week!! year!!
Vic
Vic - What you doin, creating a trailer queen. I hope not, at the rate you are going you will be leaving huge dust clouds in the outback.
Dick.
Hi Dick (et all)
This is by no means a trailer queen. Once on the road i will take every opportunity to drive it - will even take it to work on Fridays (when the sun’s shining). I guess once you start fixing something and you replace one part with a new part it just never stops!!
Had a little bit more progress lately:
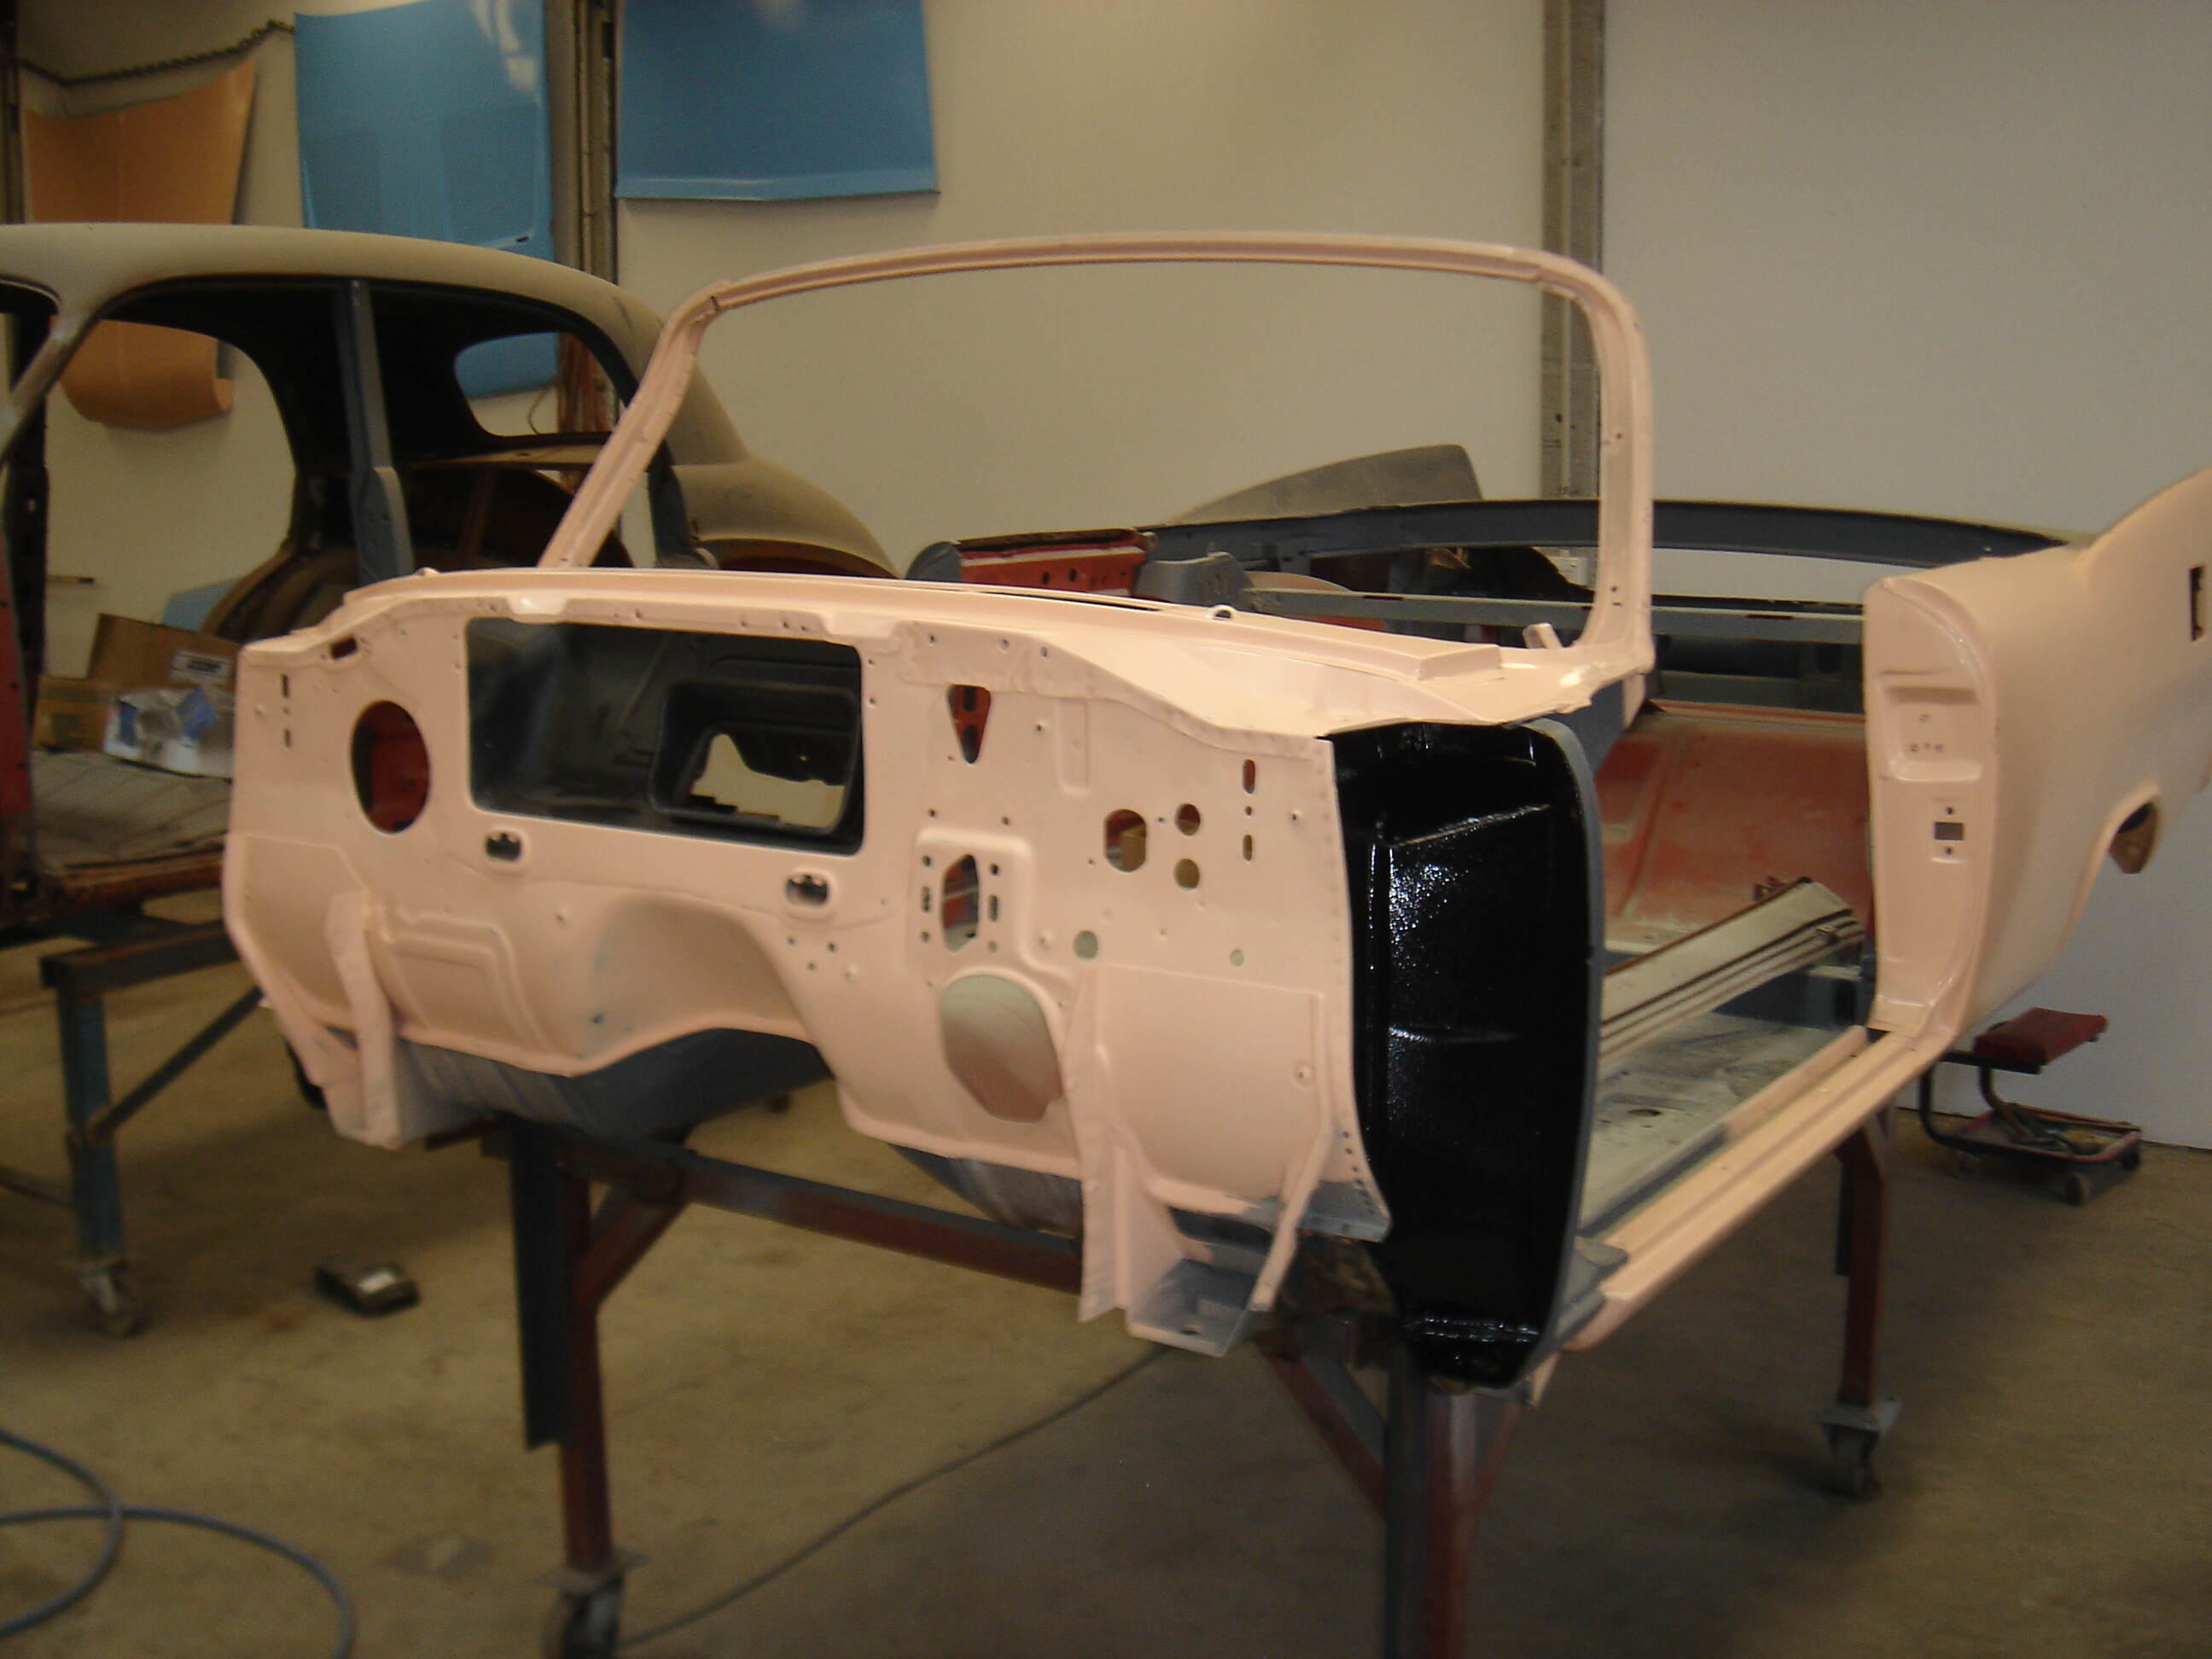
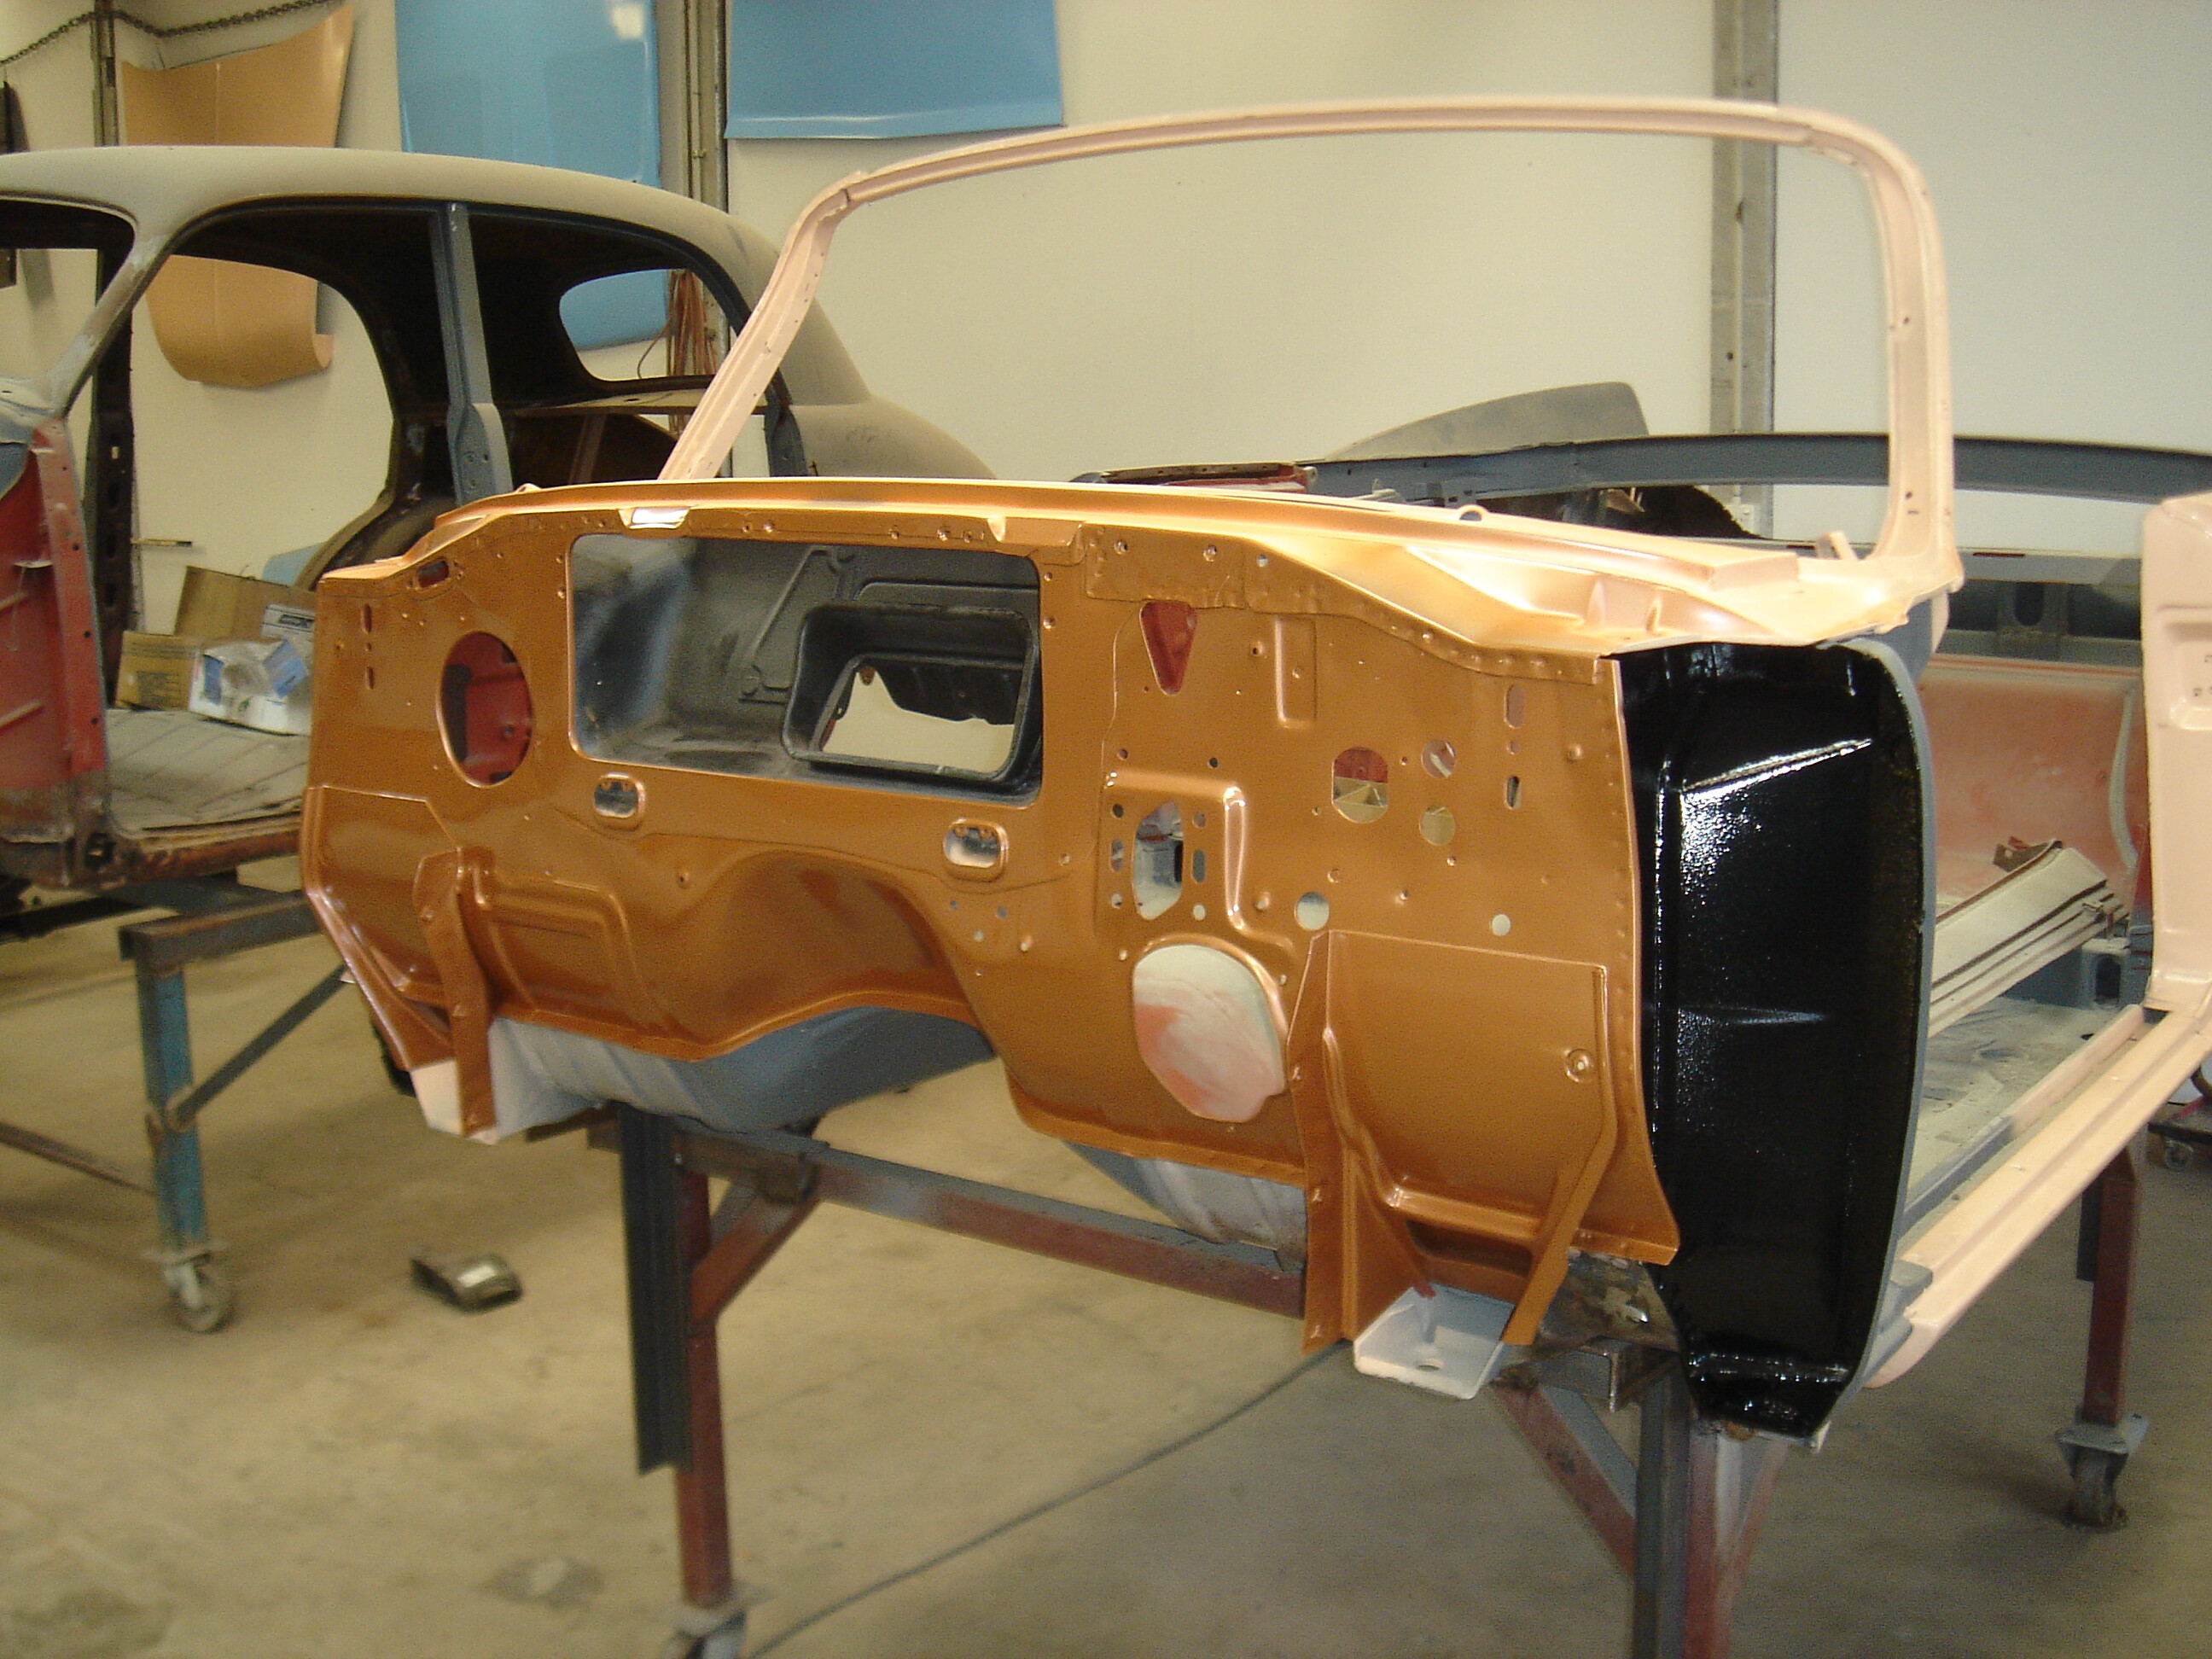
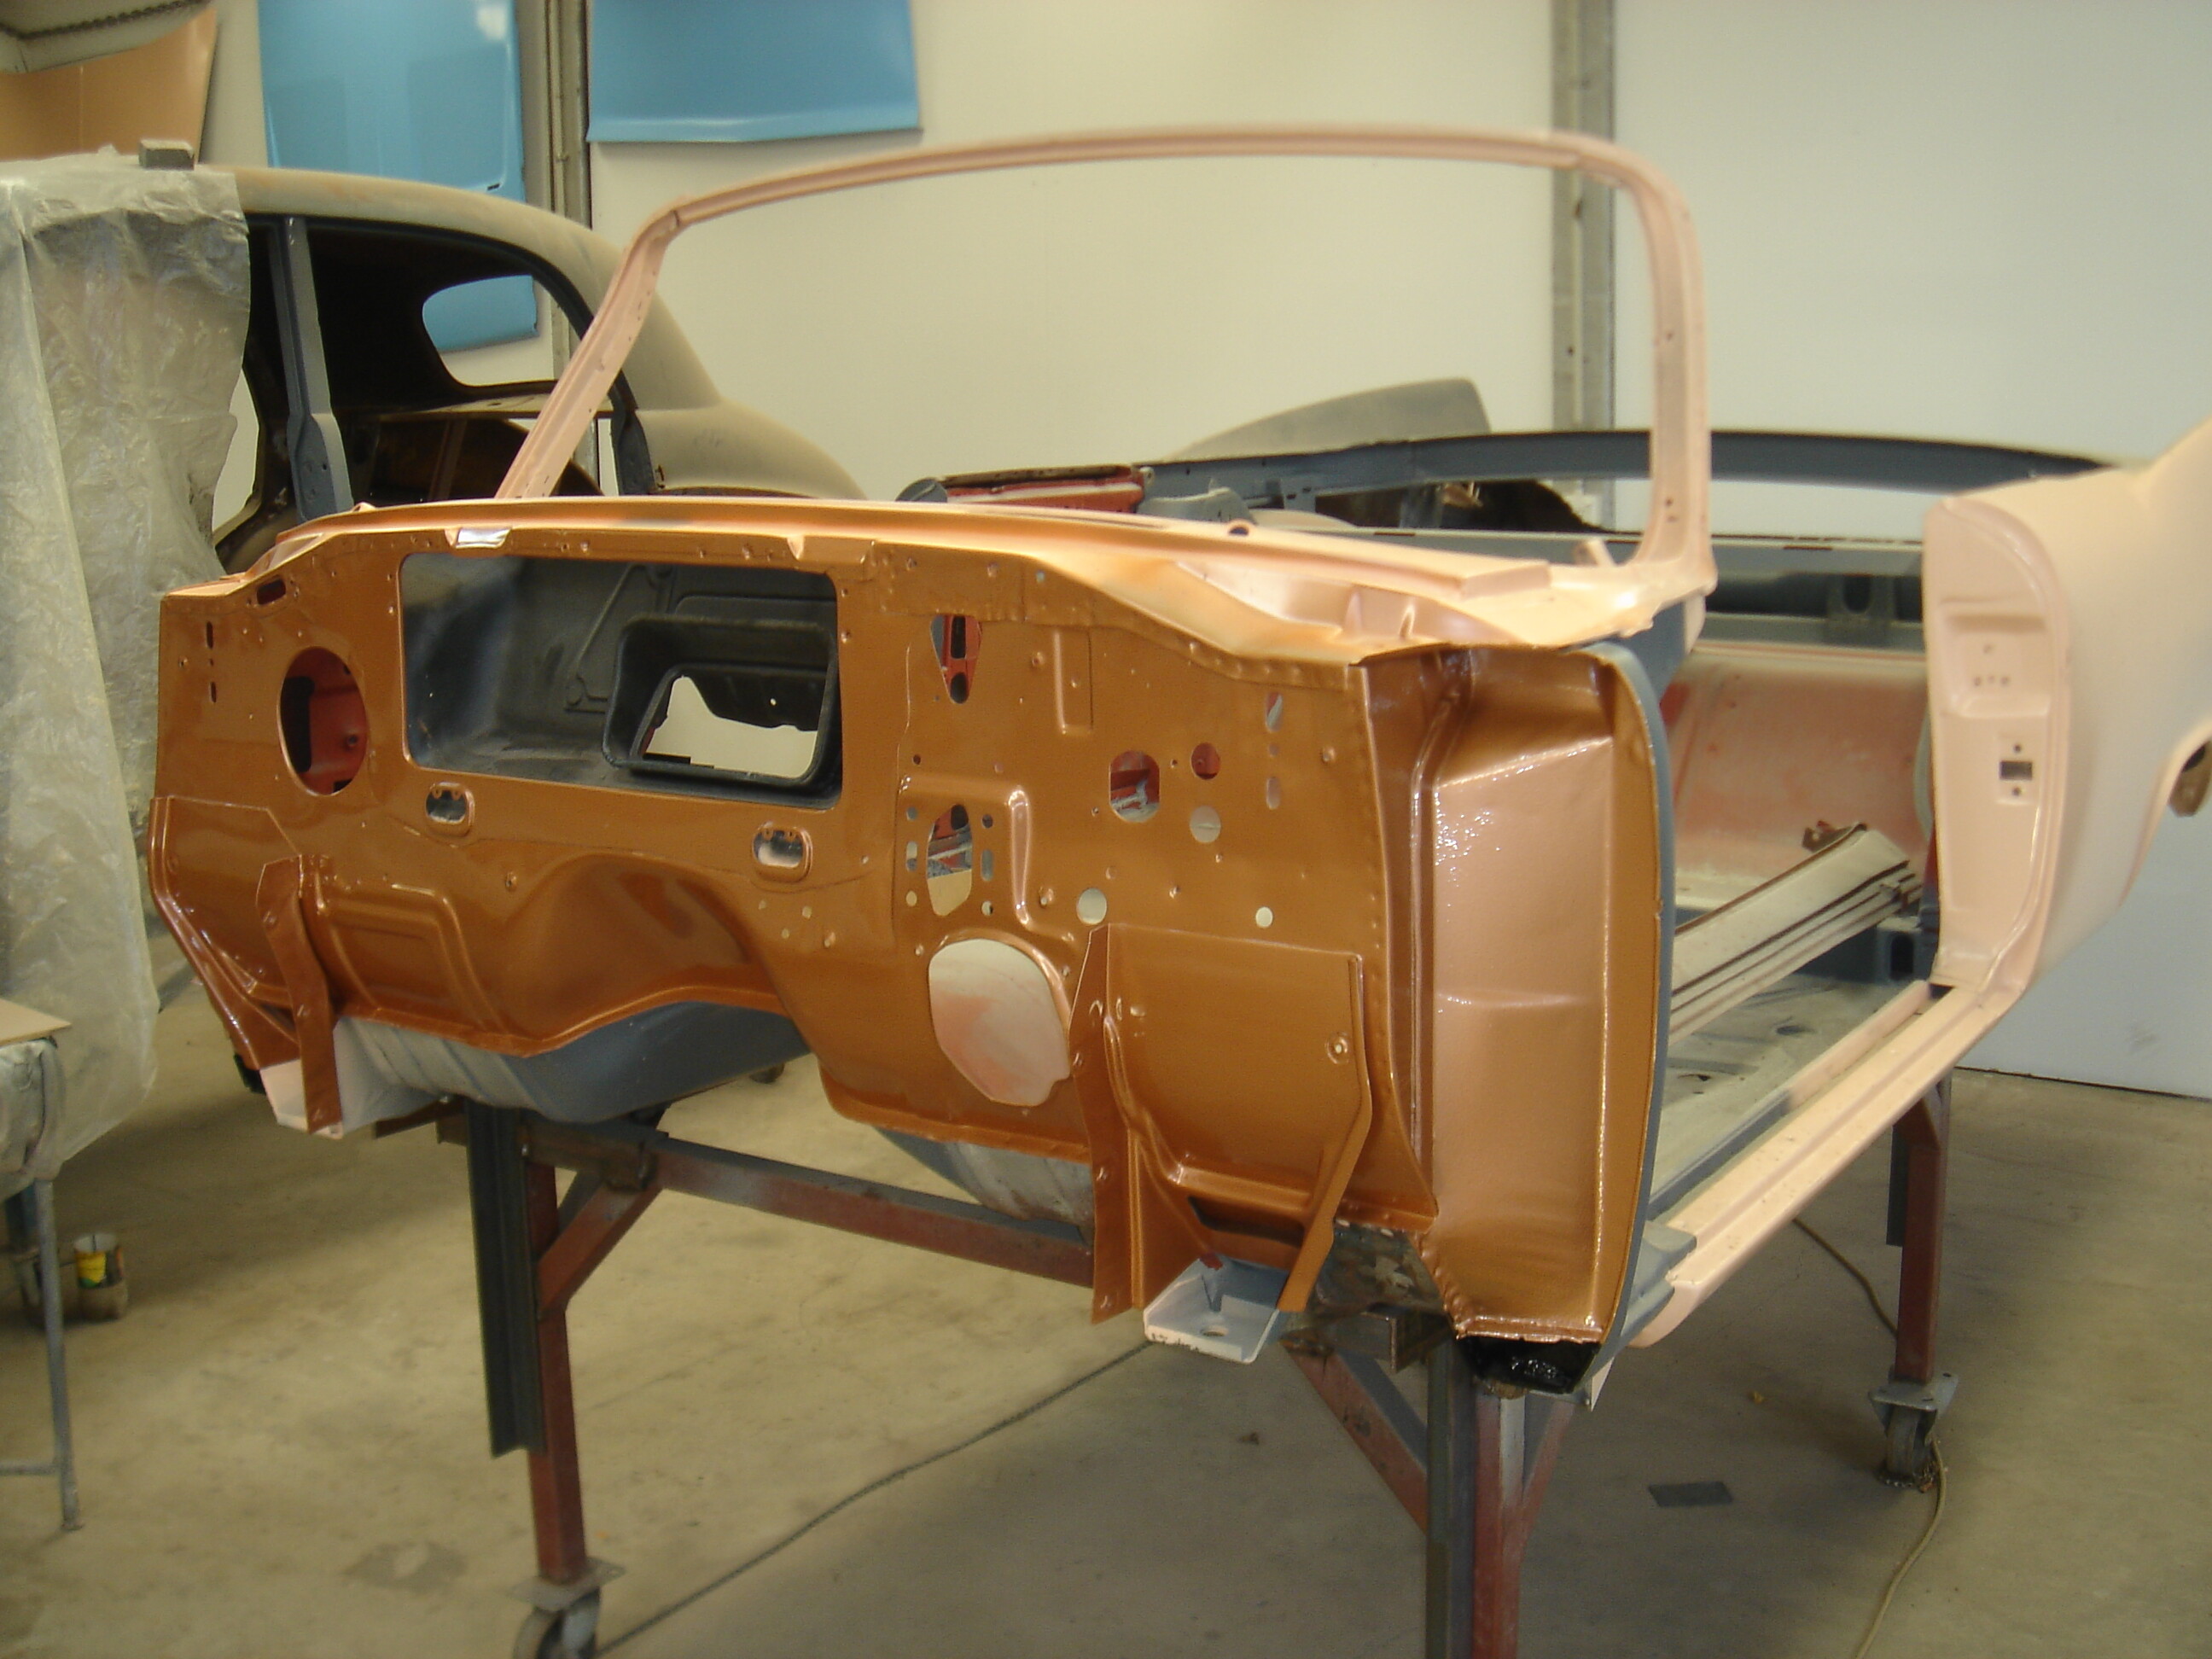
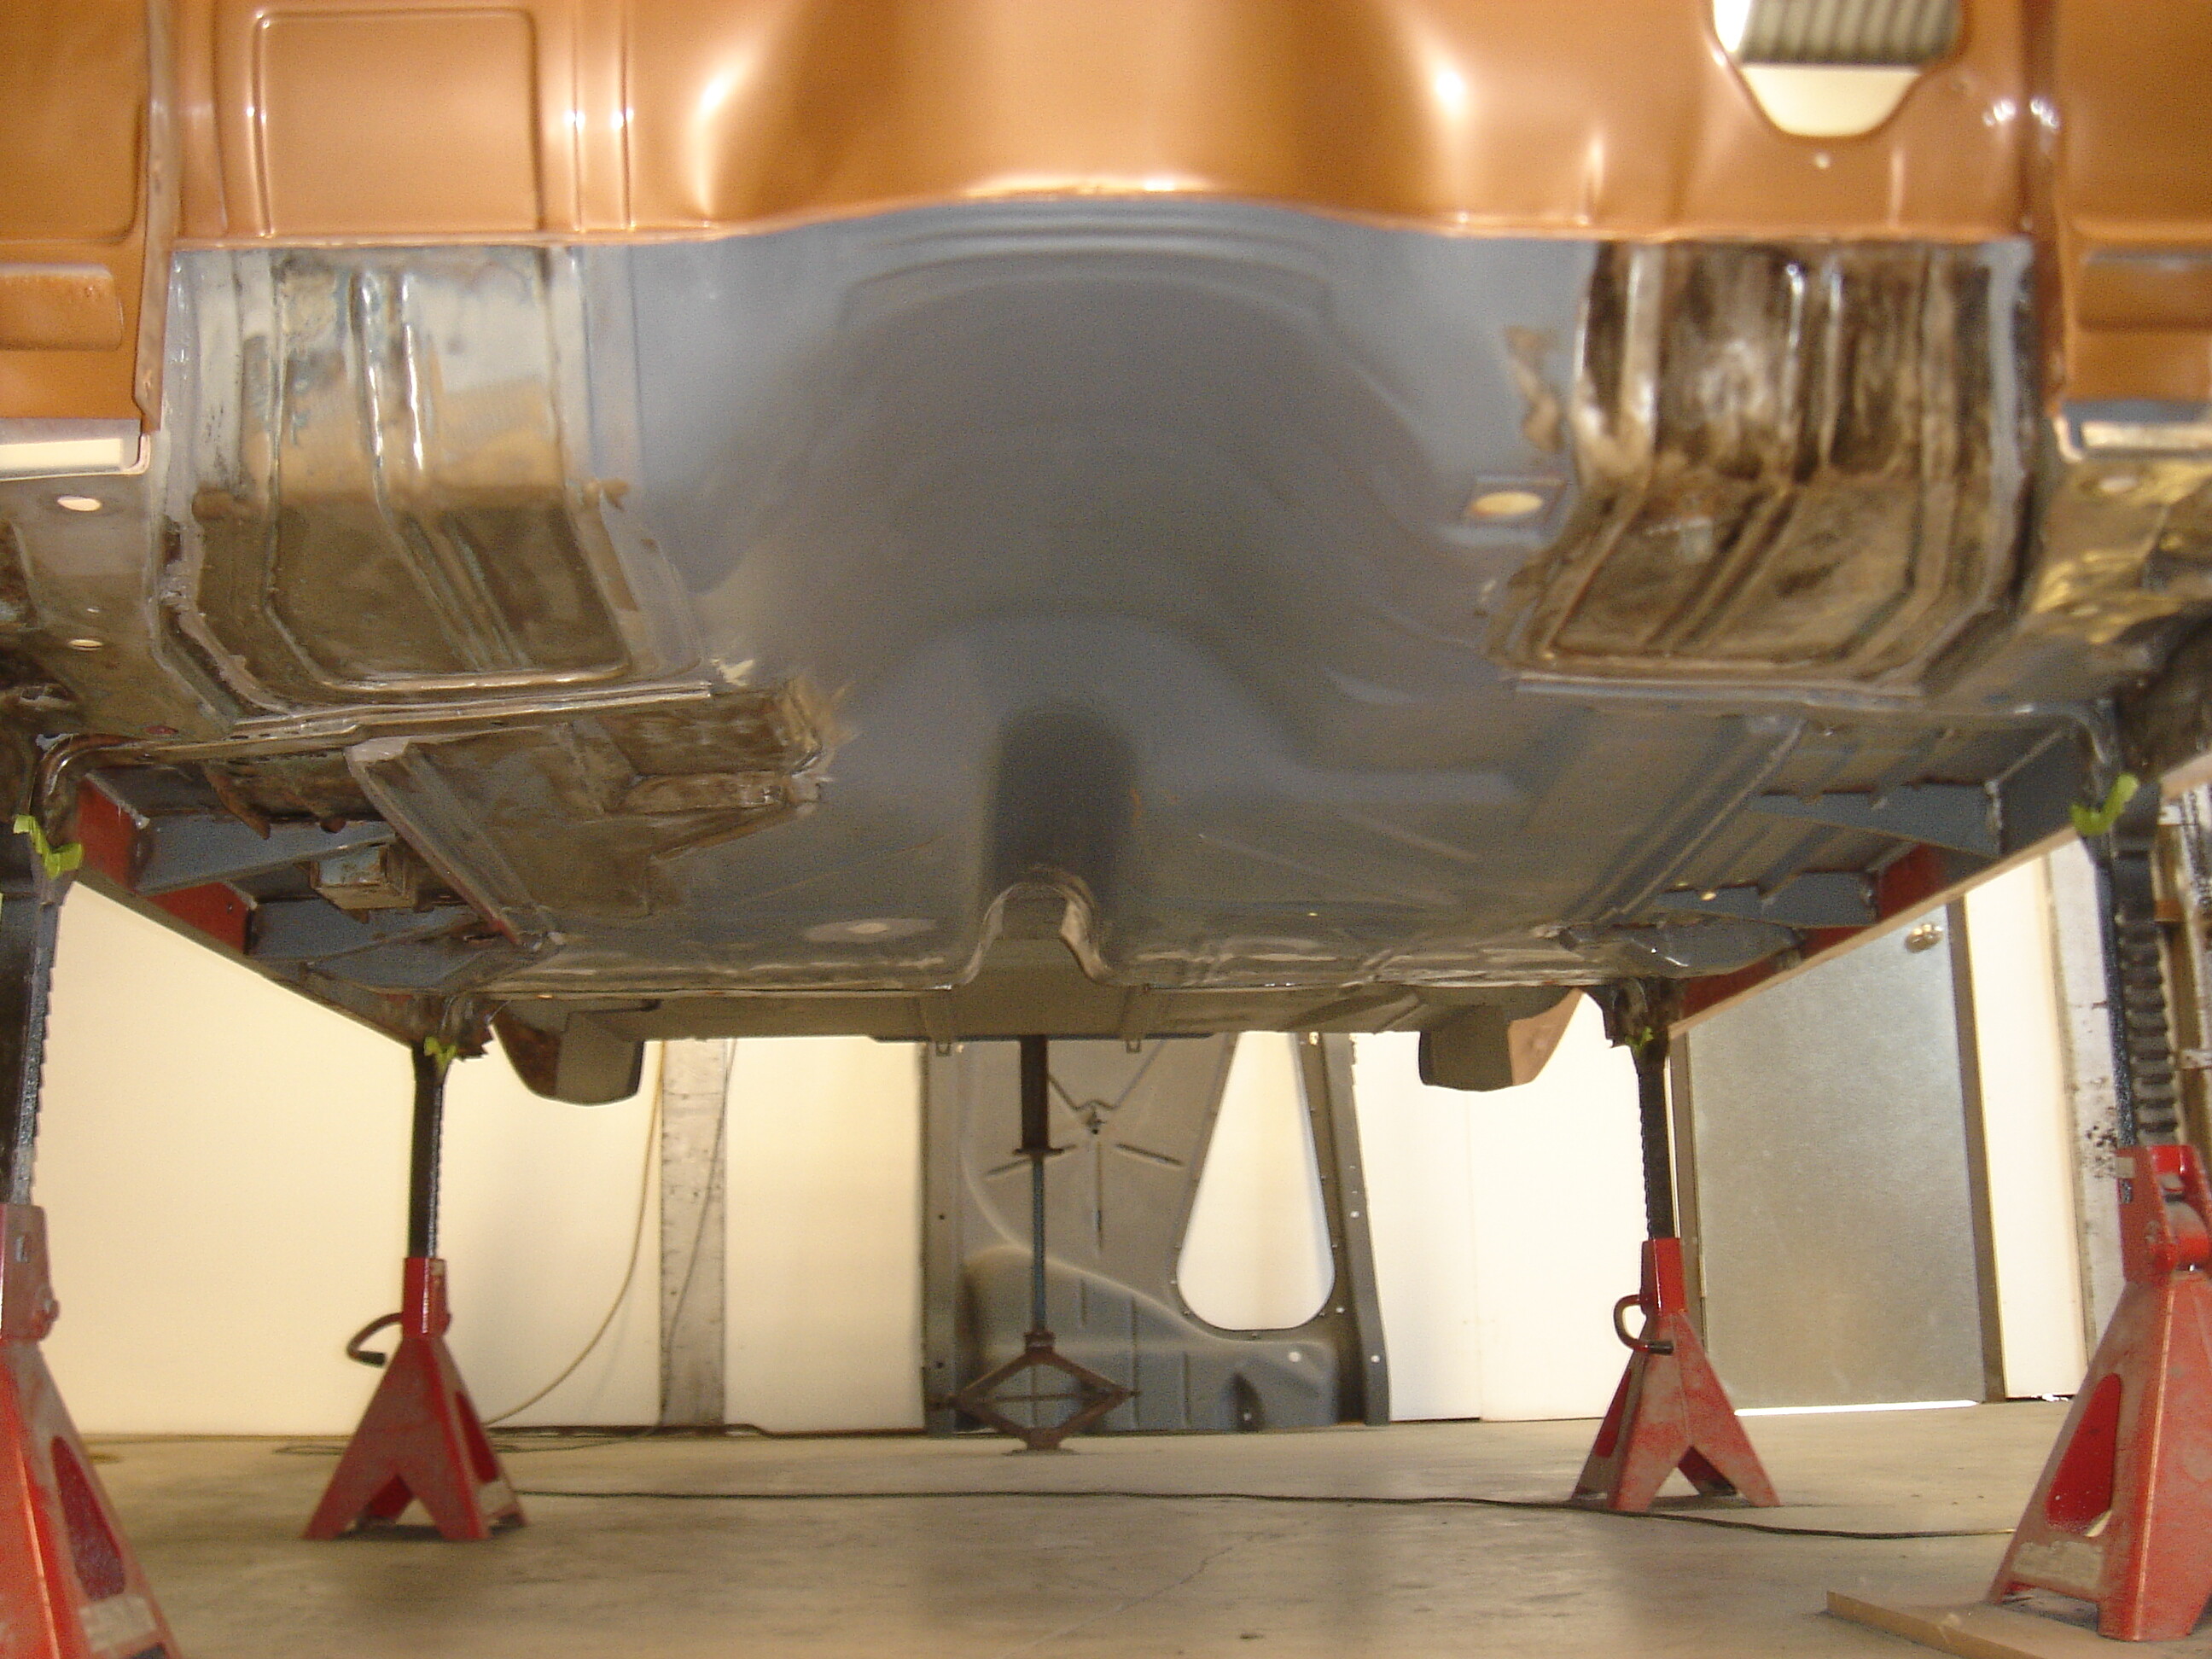
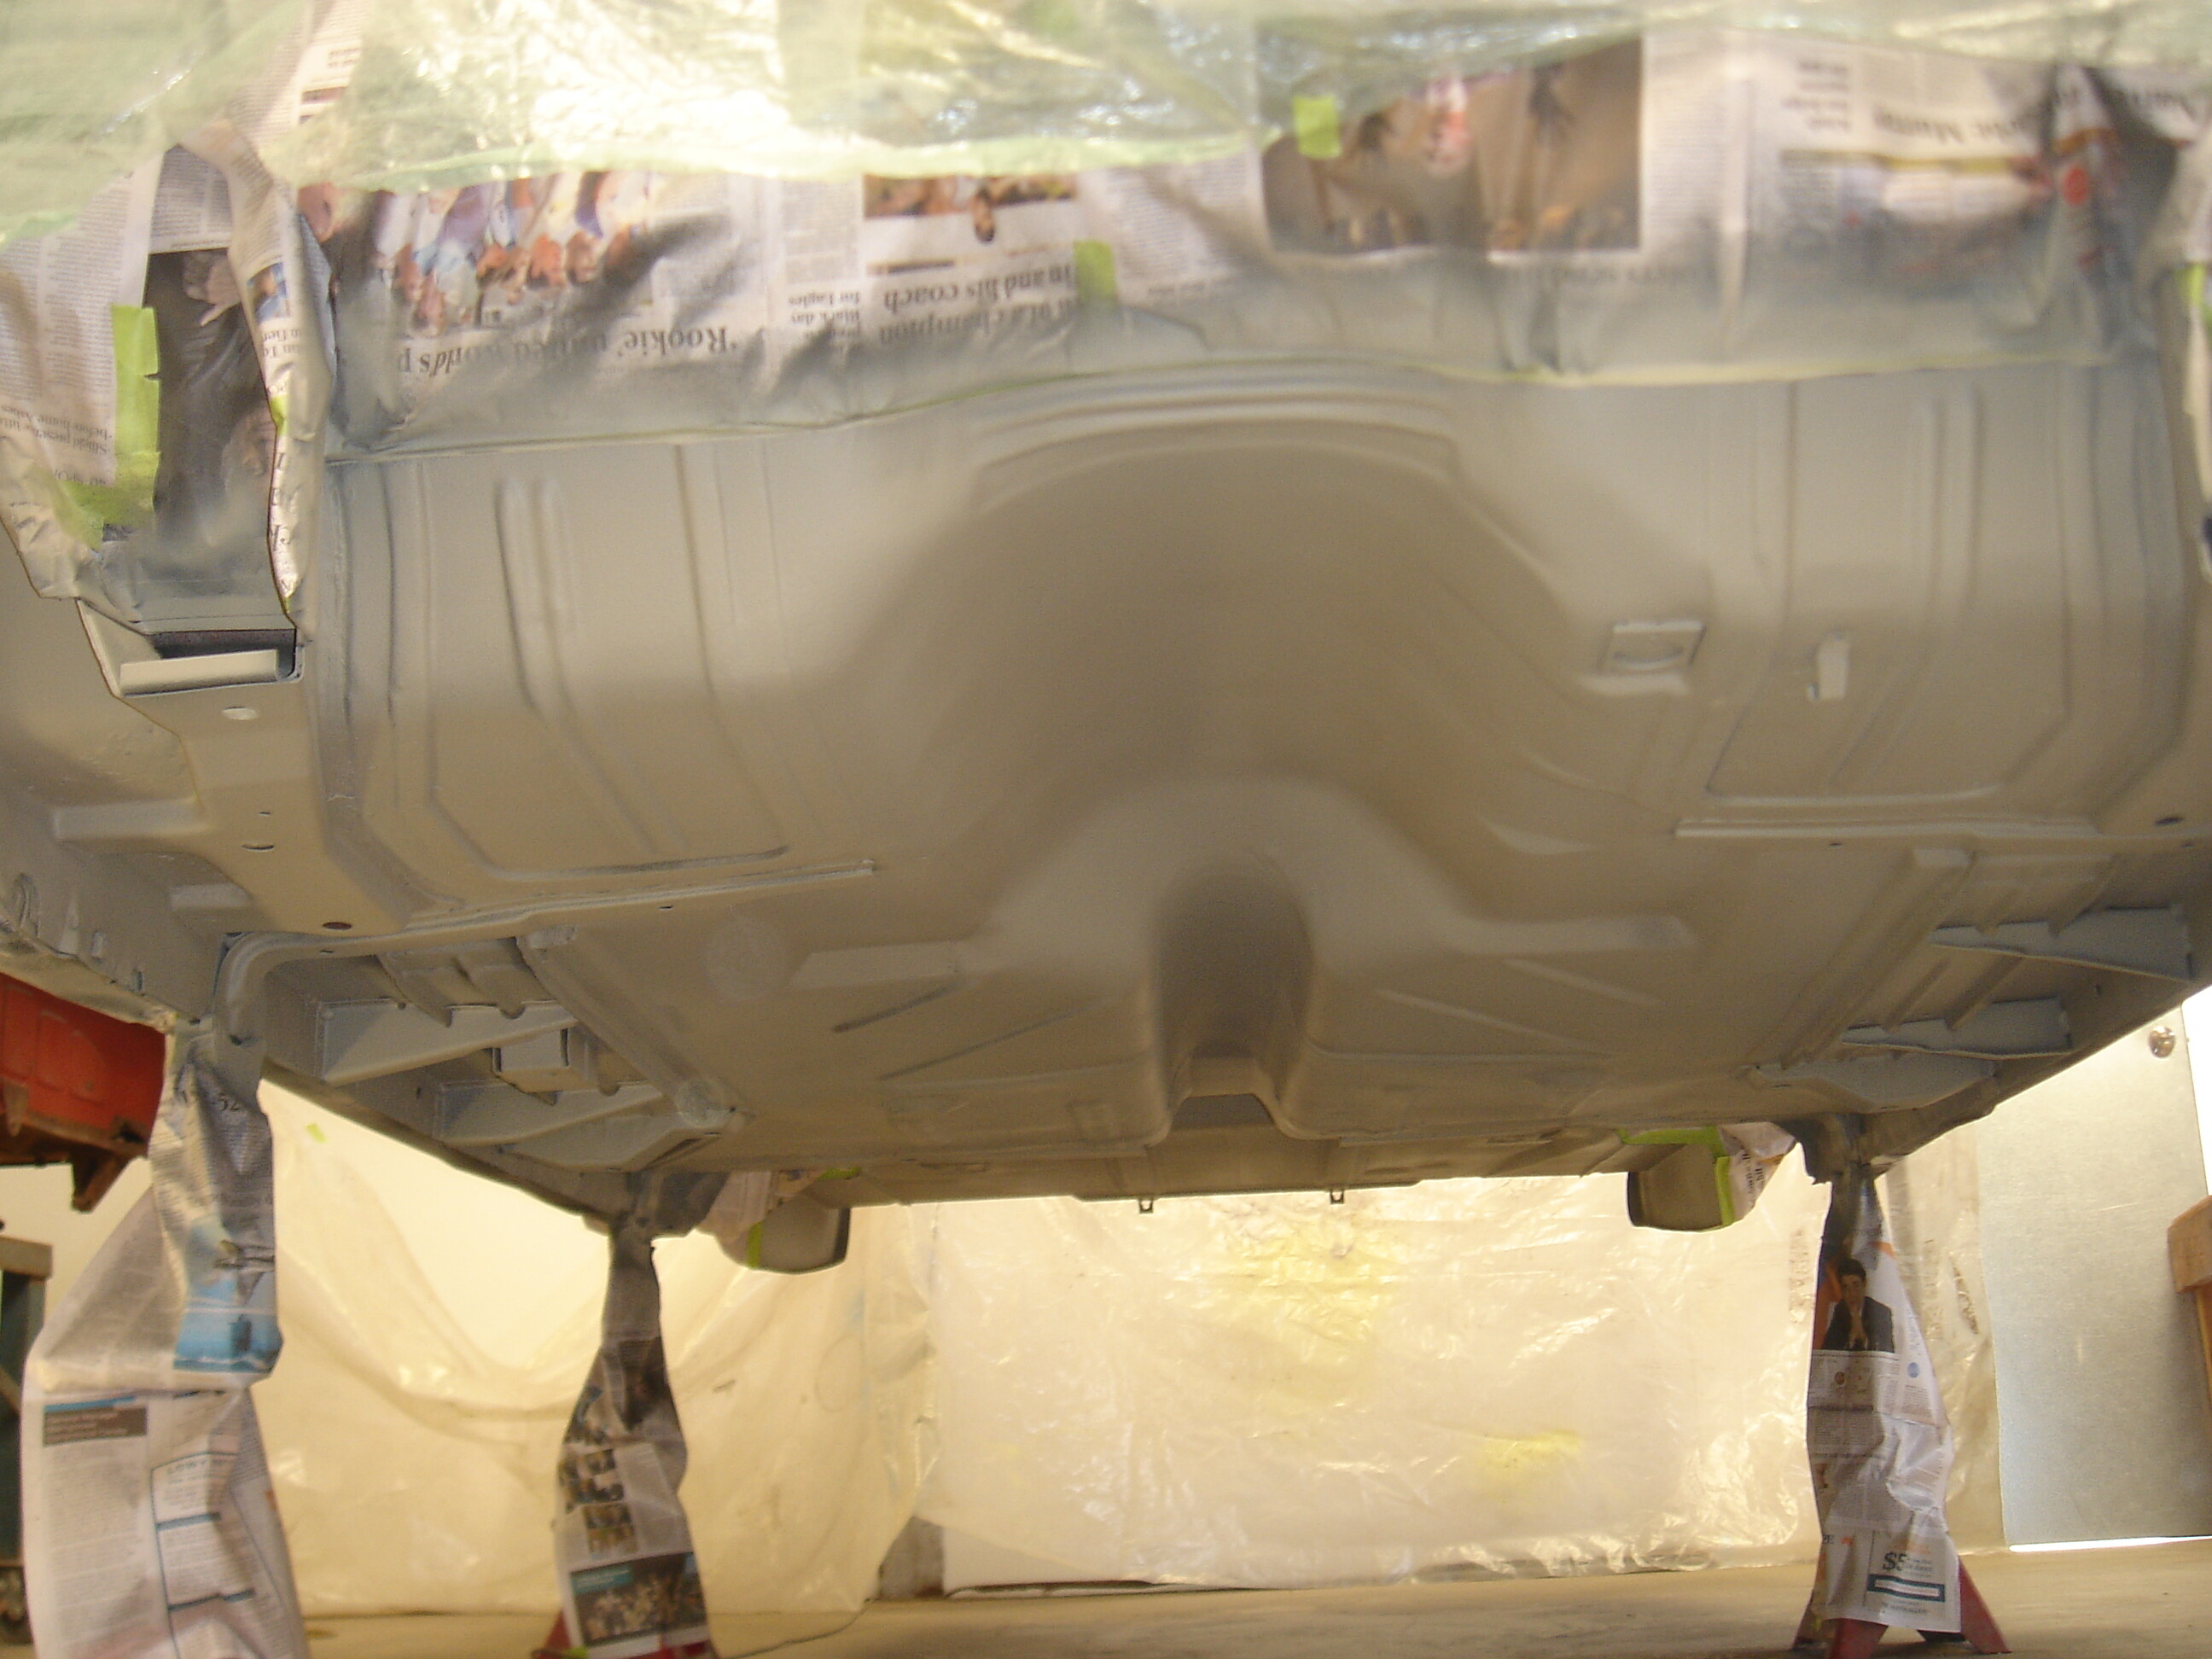
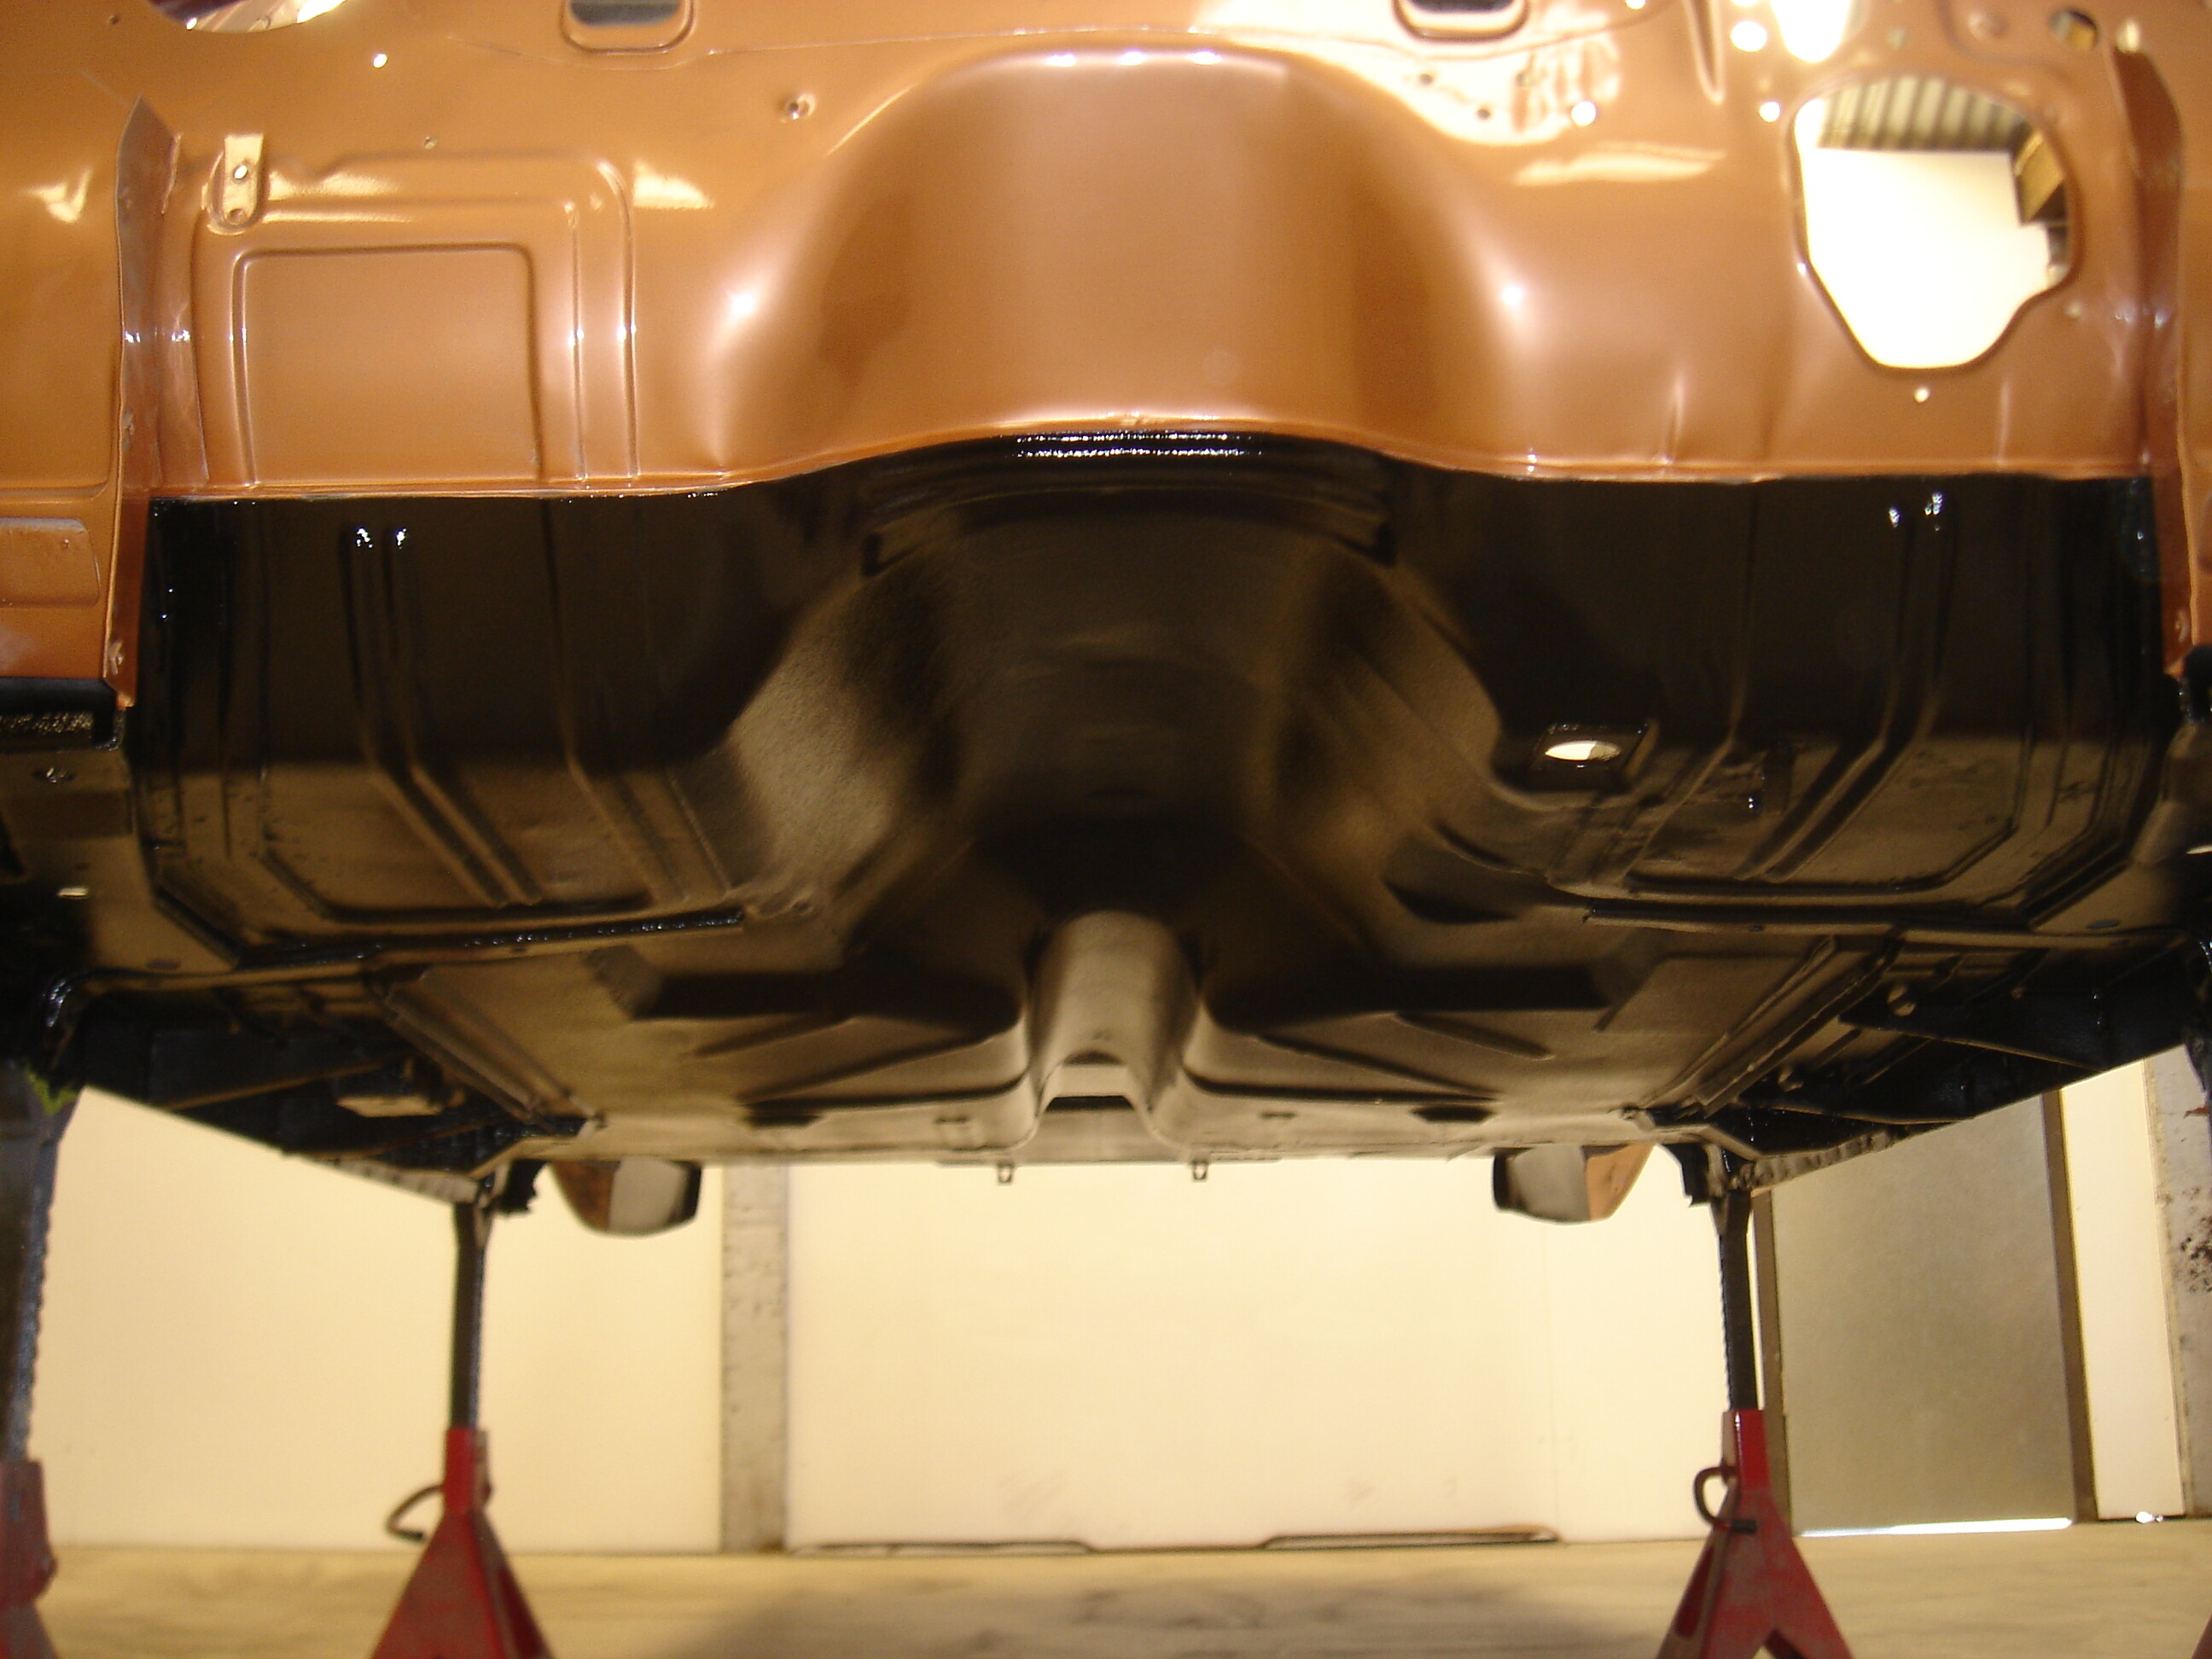
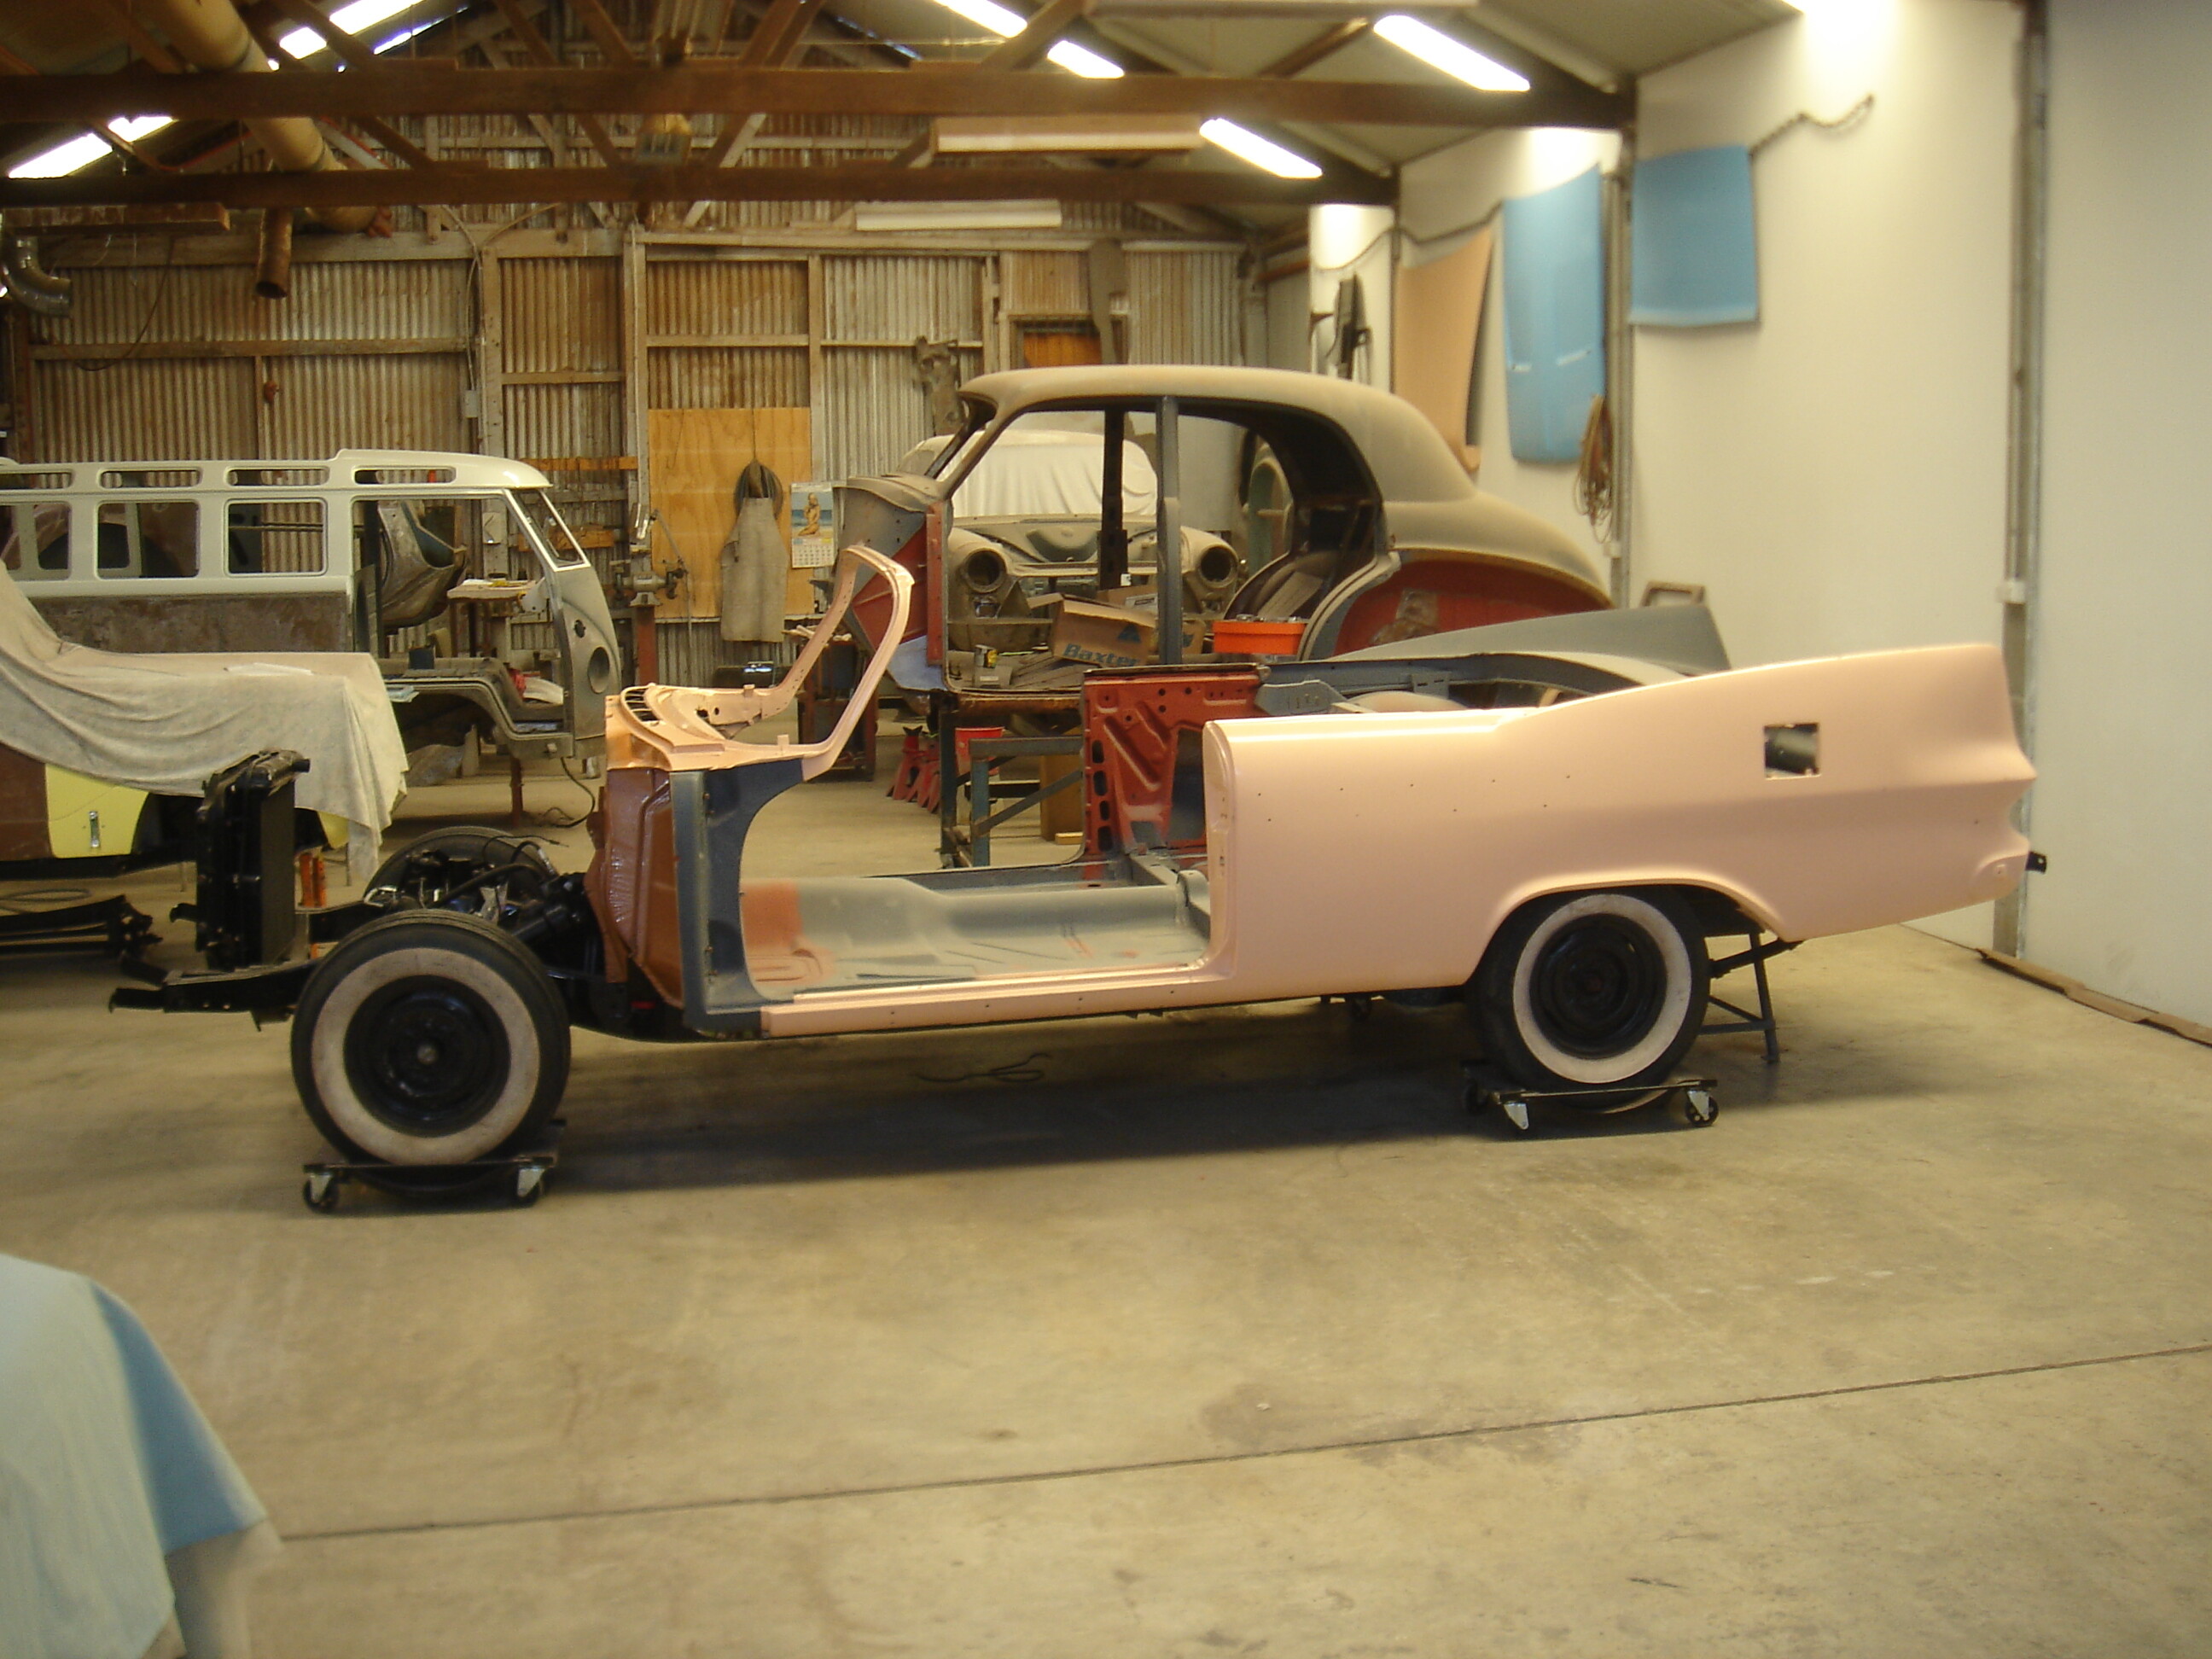
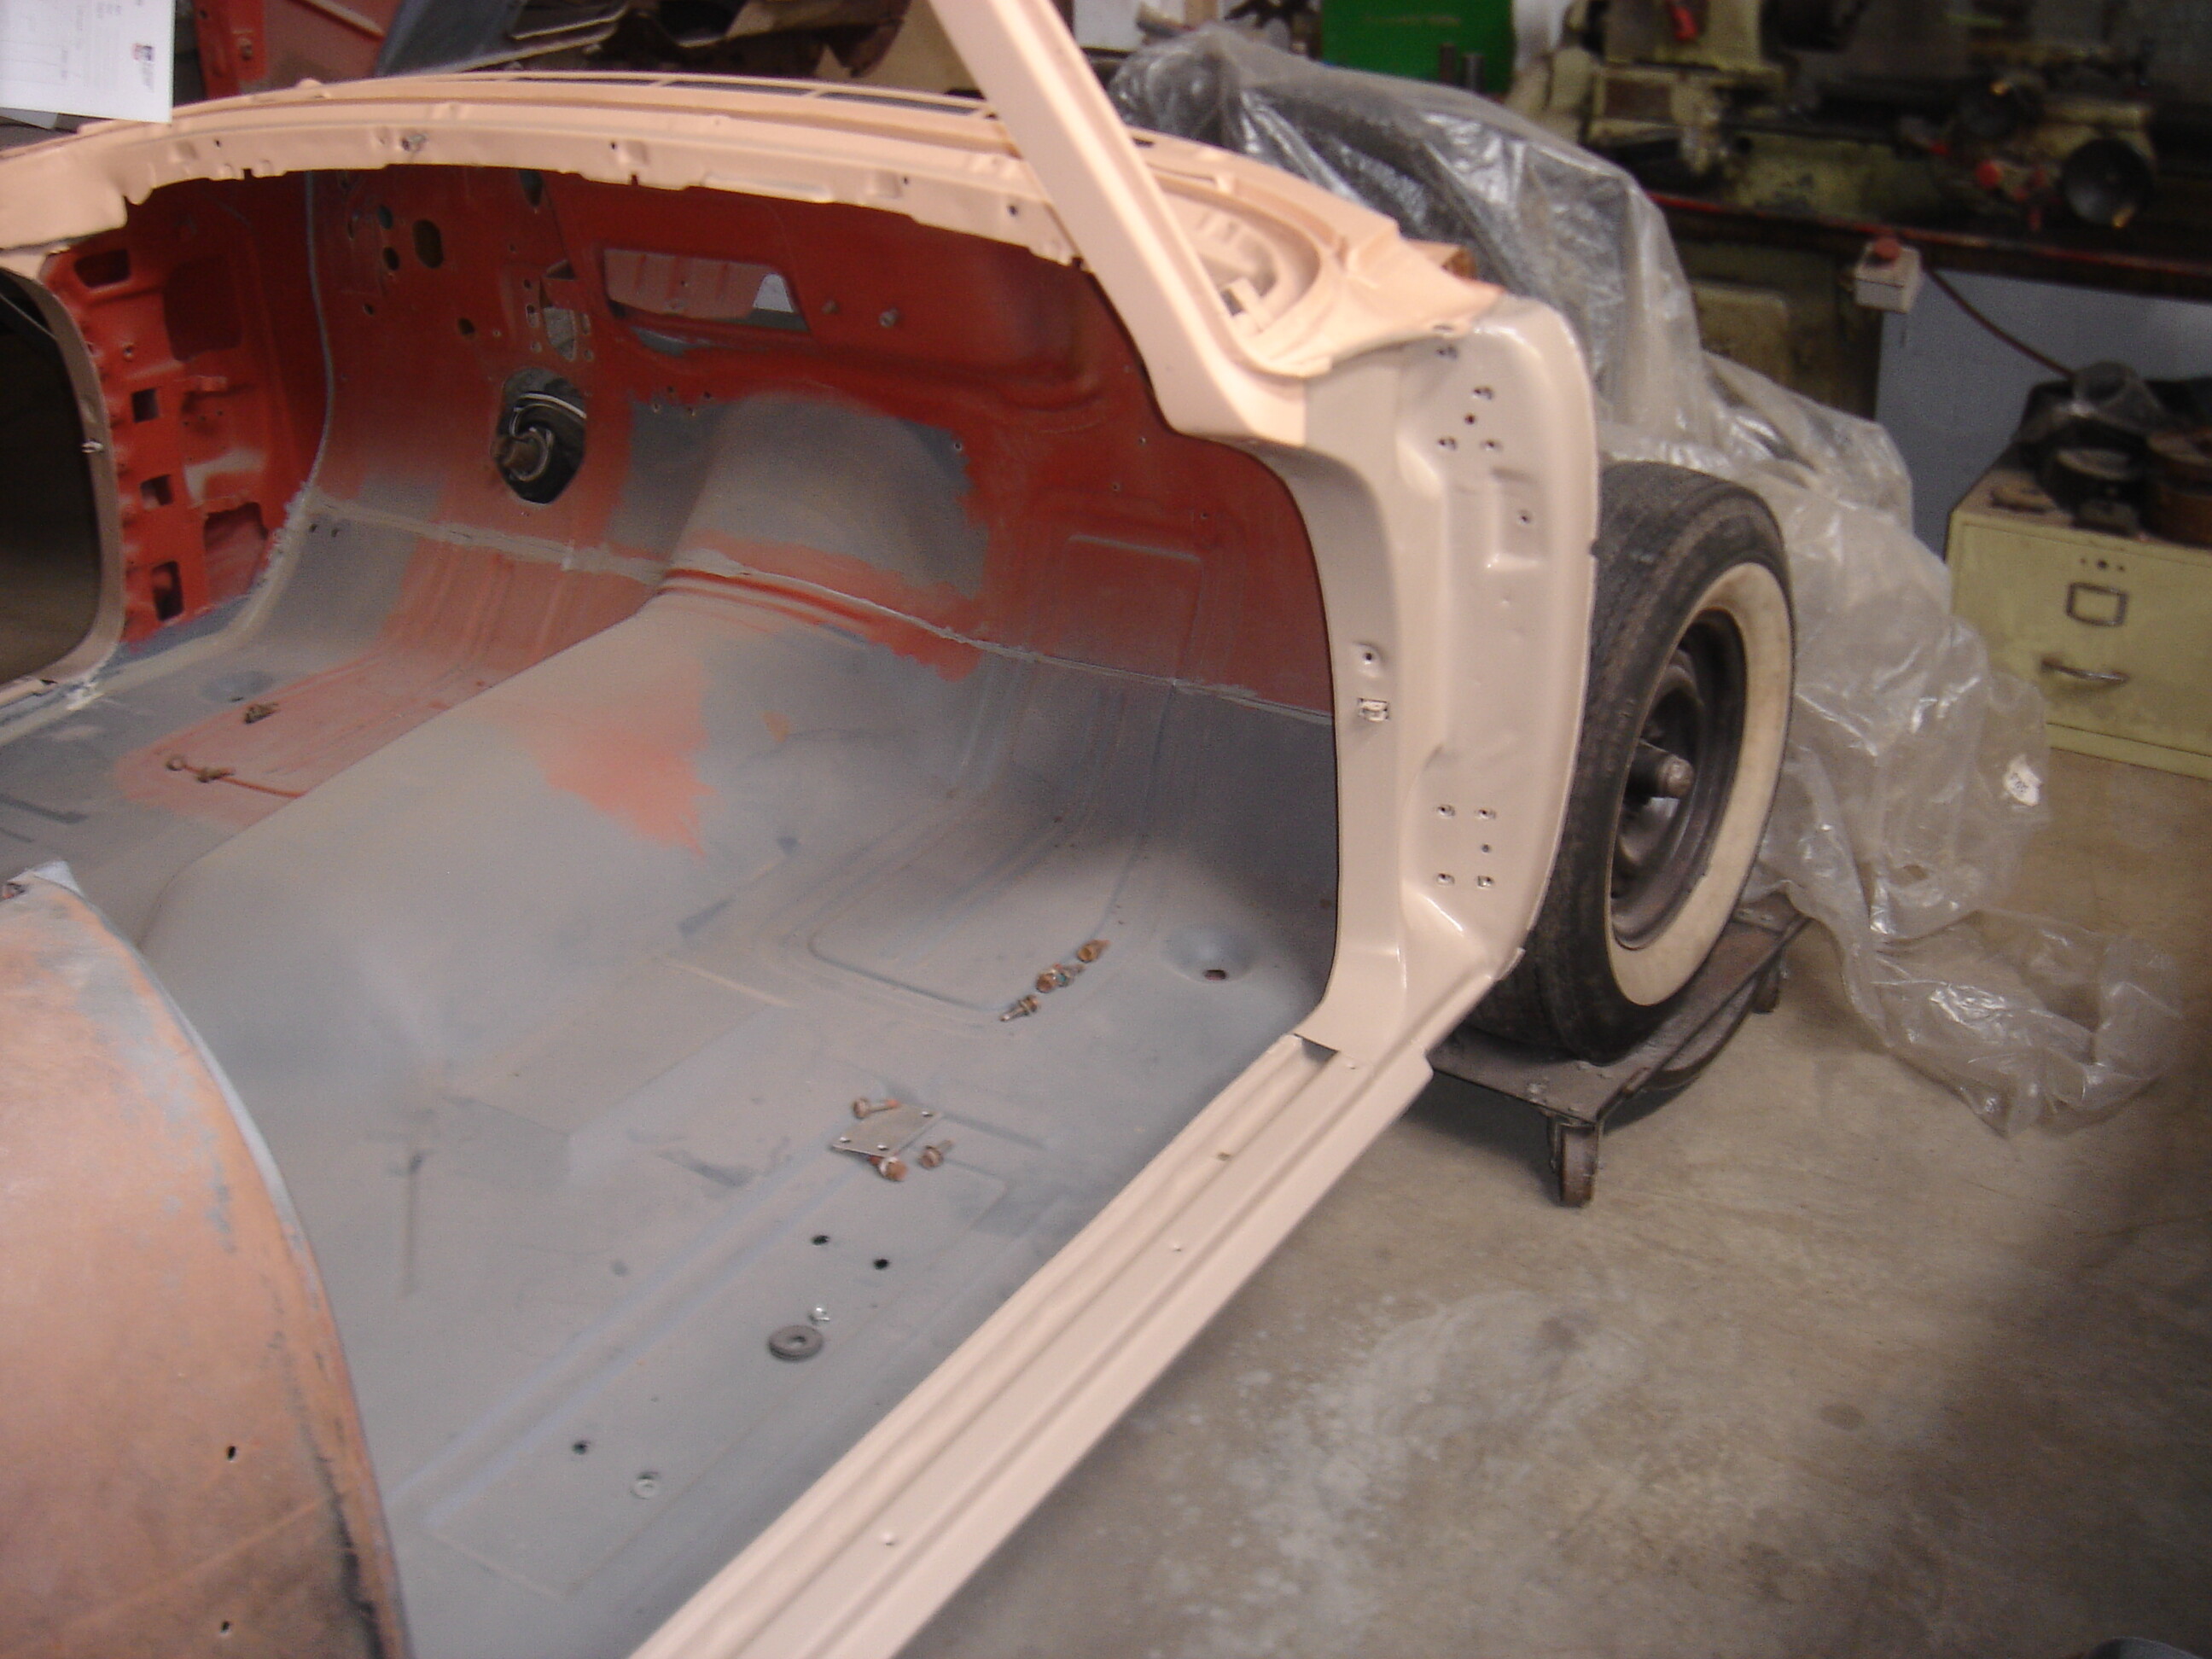
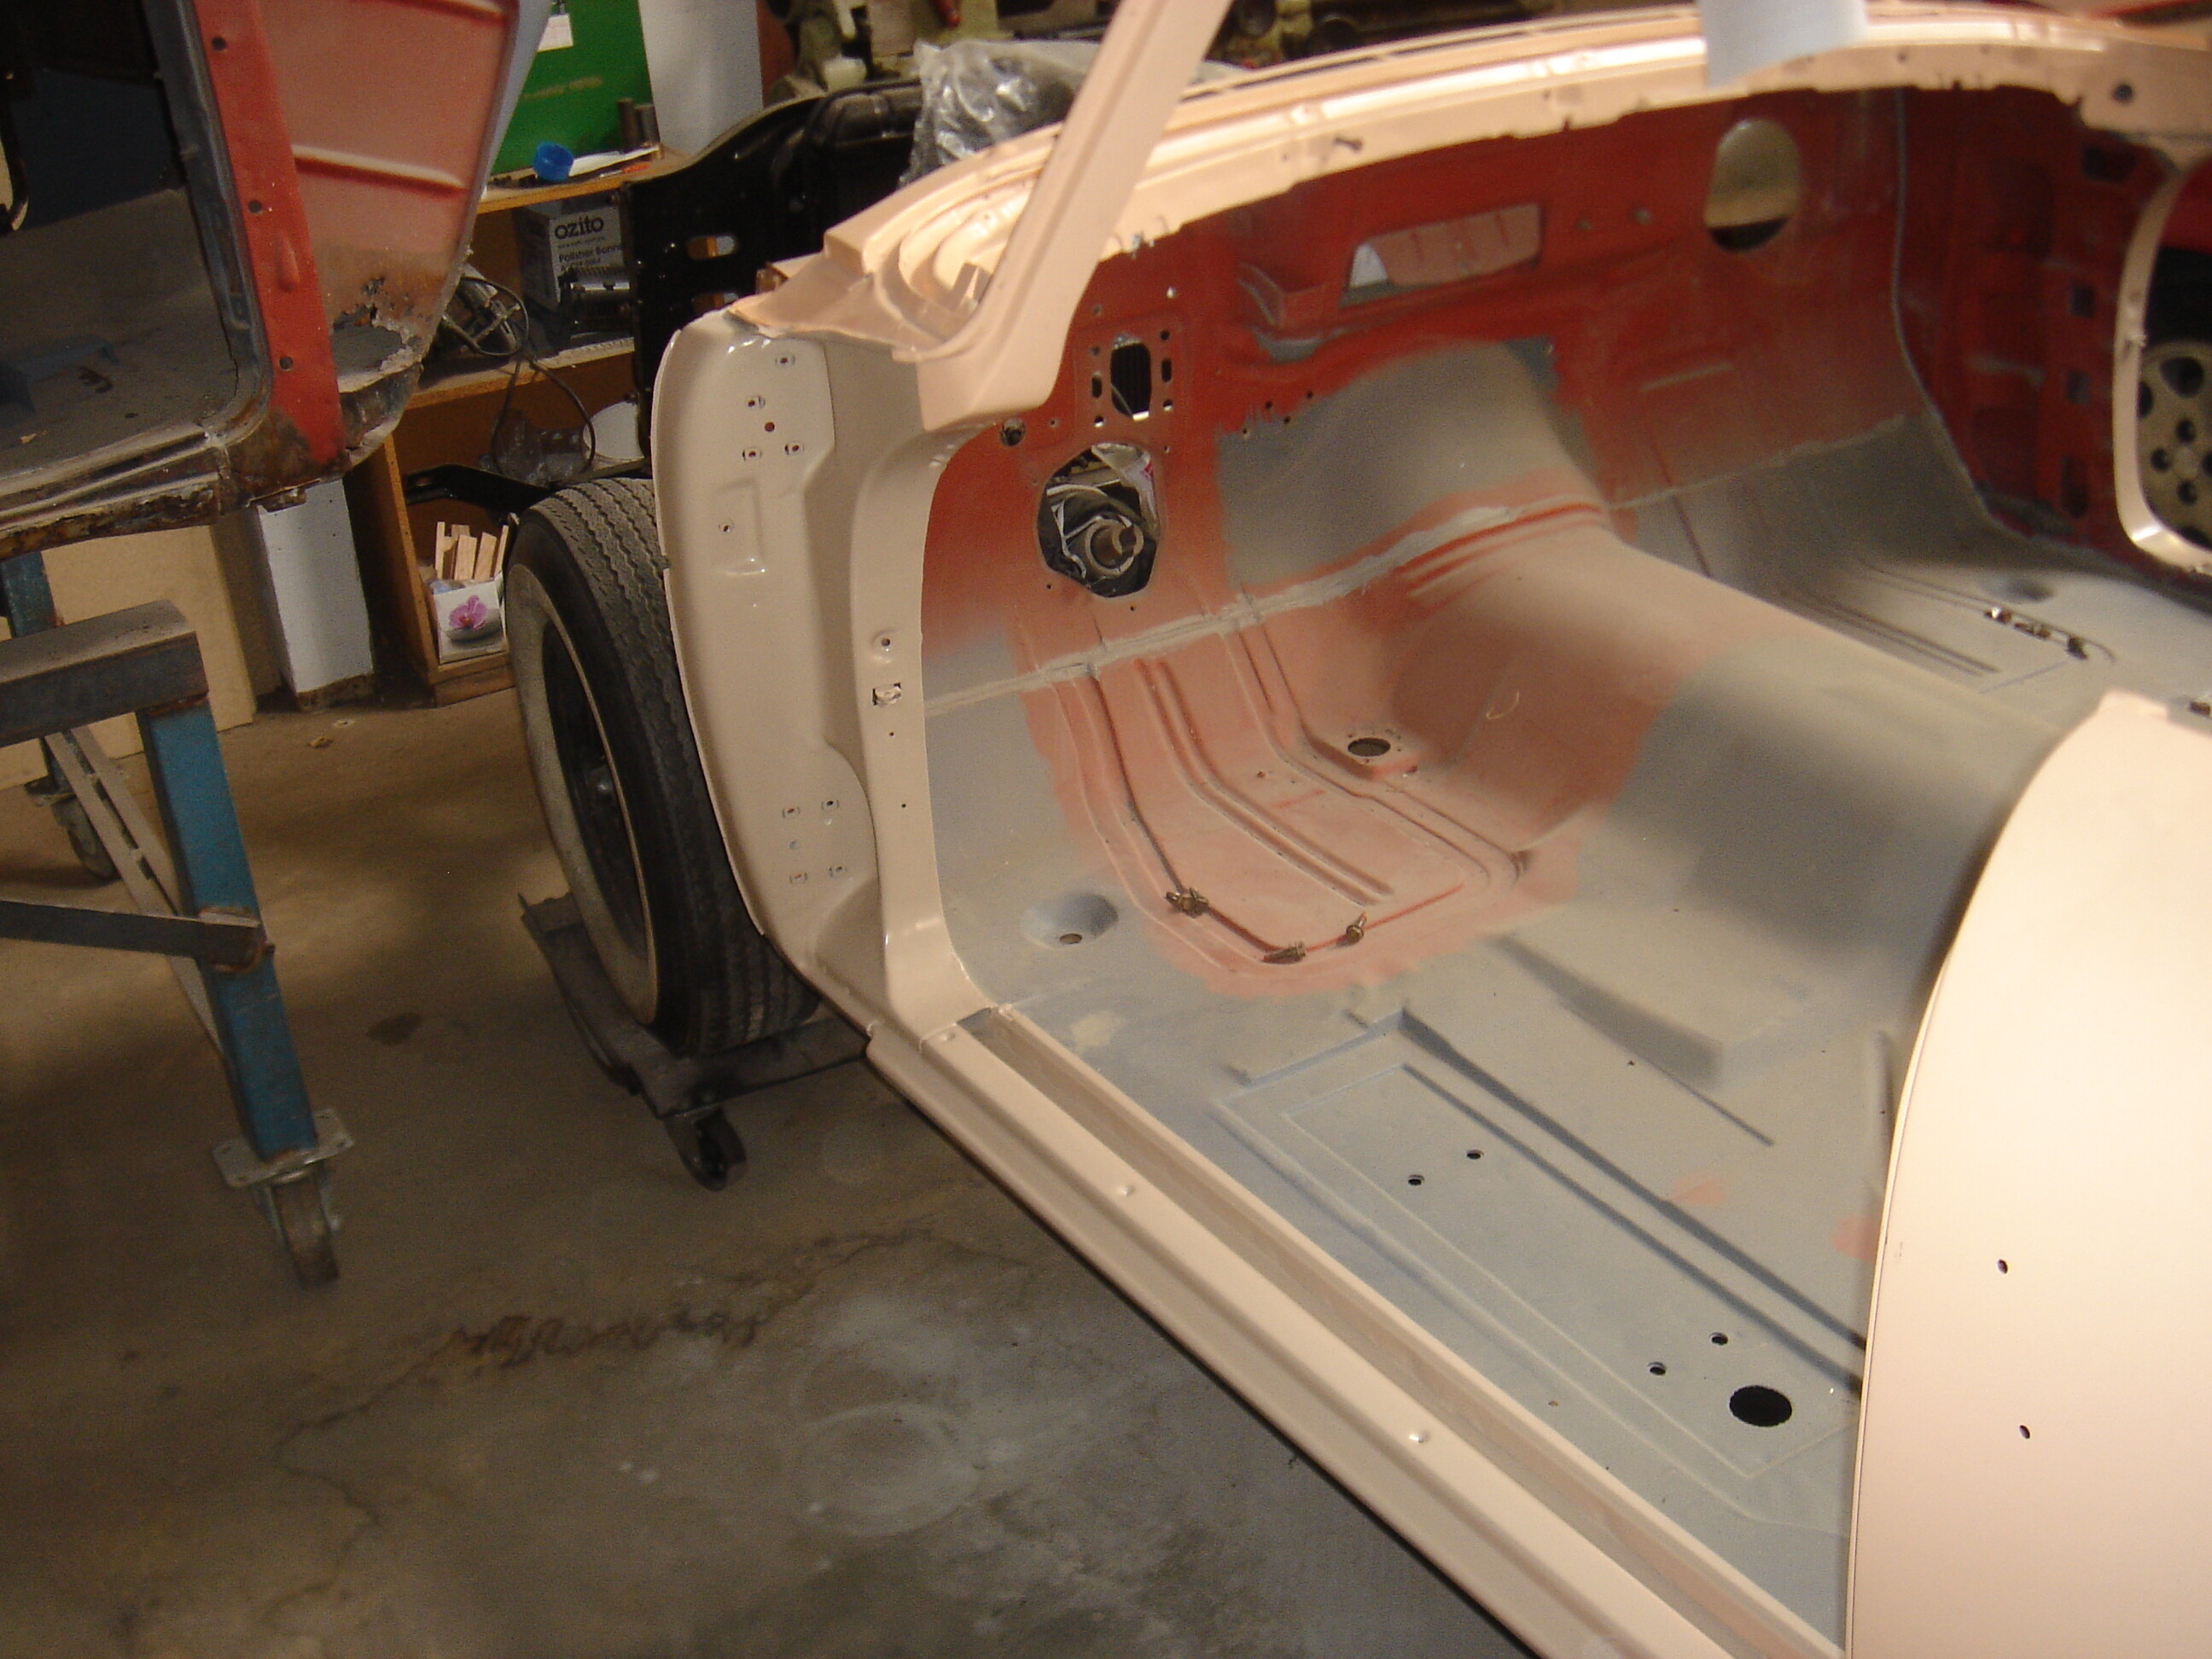
Underside of body complete and has been all body schultz up
Chassis dropped off to body work shop so that the body can be mounted back on (have one more rear quarter that needs a bit of tender loving care and then we should be set to start painting)
Put all of the new side glass back into the re-chromed frames and support - pretty happy with results
For those who have firm/brittle side vent window rubbers I ended up soaking mine in power steering fluid for a few weeks - softened them up pretty good and was also able to clean them up with a scourer (removed some former overspray)
Engine almost complete - just need to adjust tappets and then set up distributor etc ready for when we finally get to start her up
Weather here is starting to finally warm up so can spend a bit longer in the garage at nights
Chat soon
Hi all hope all are well
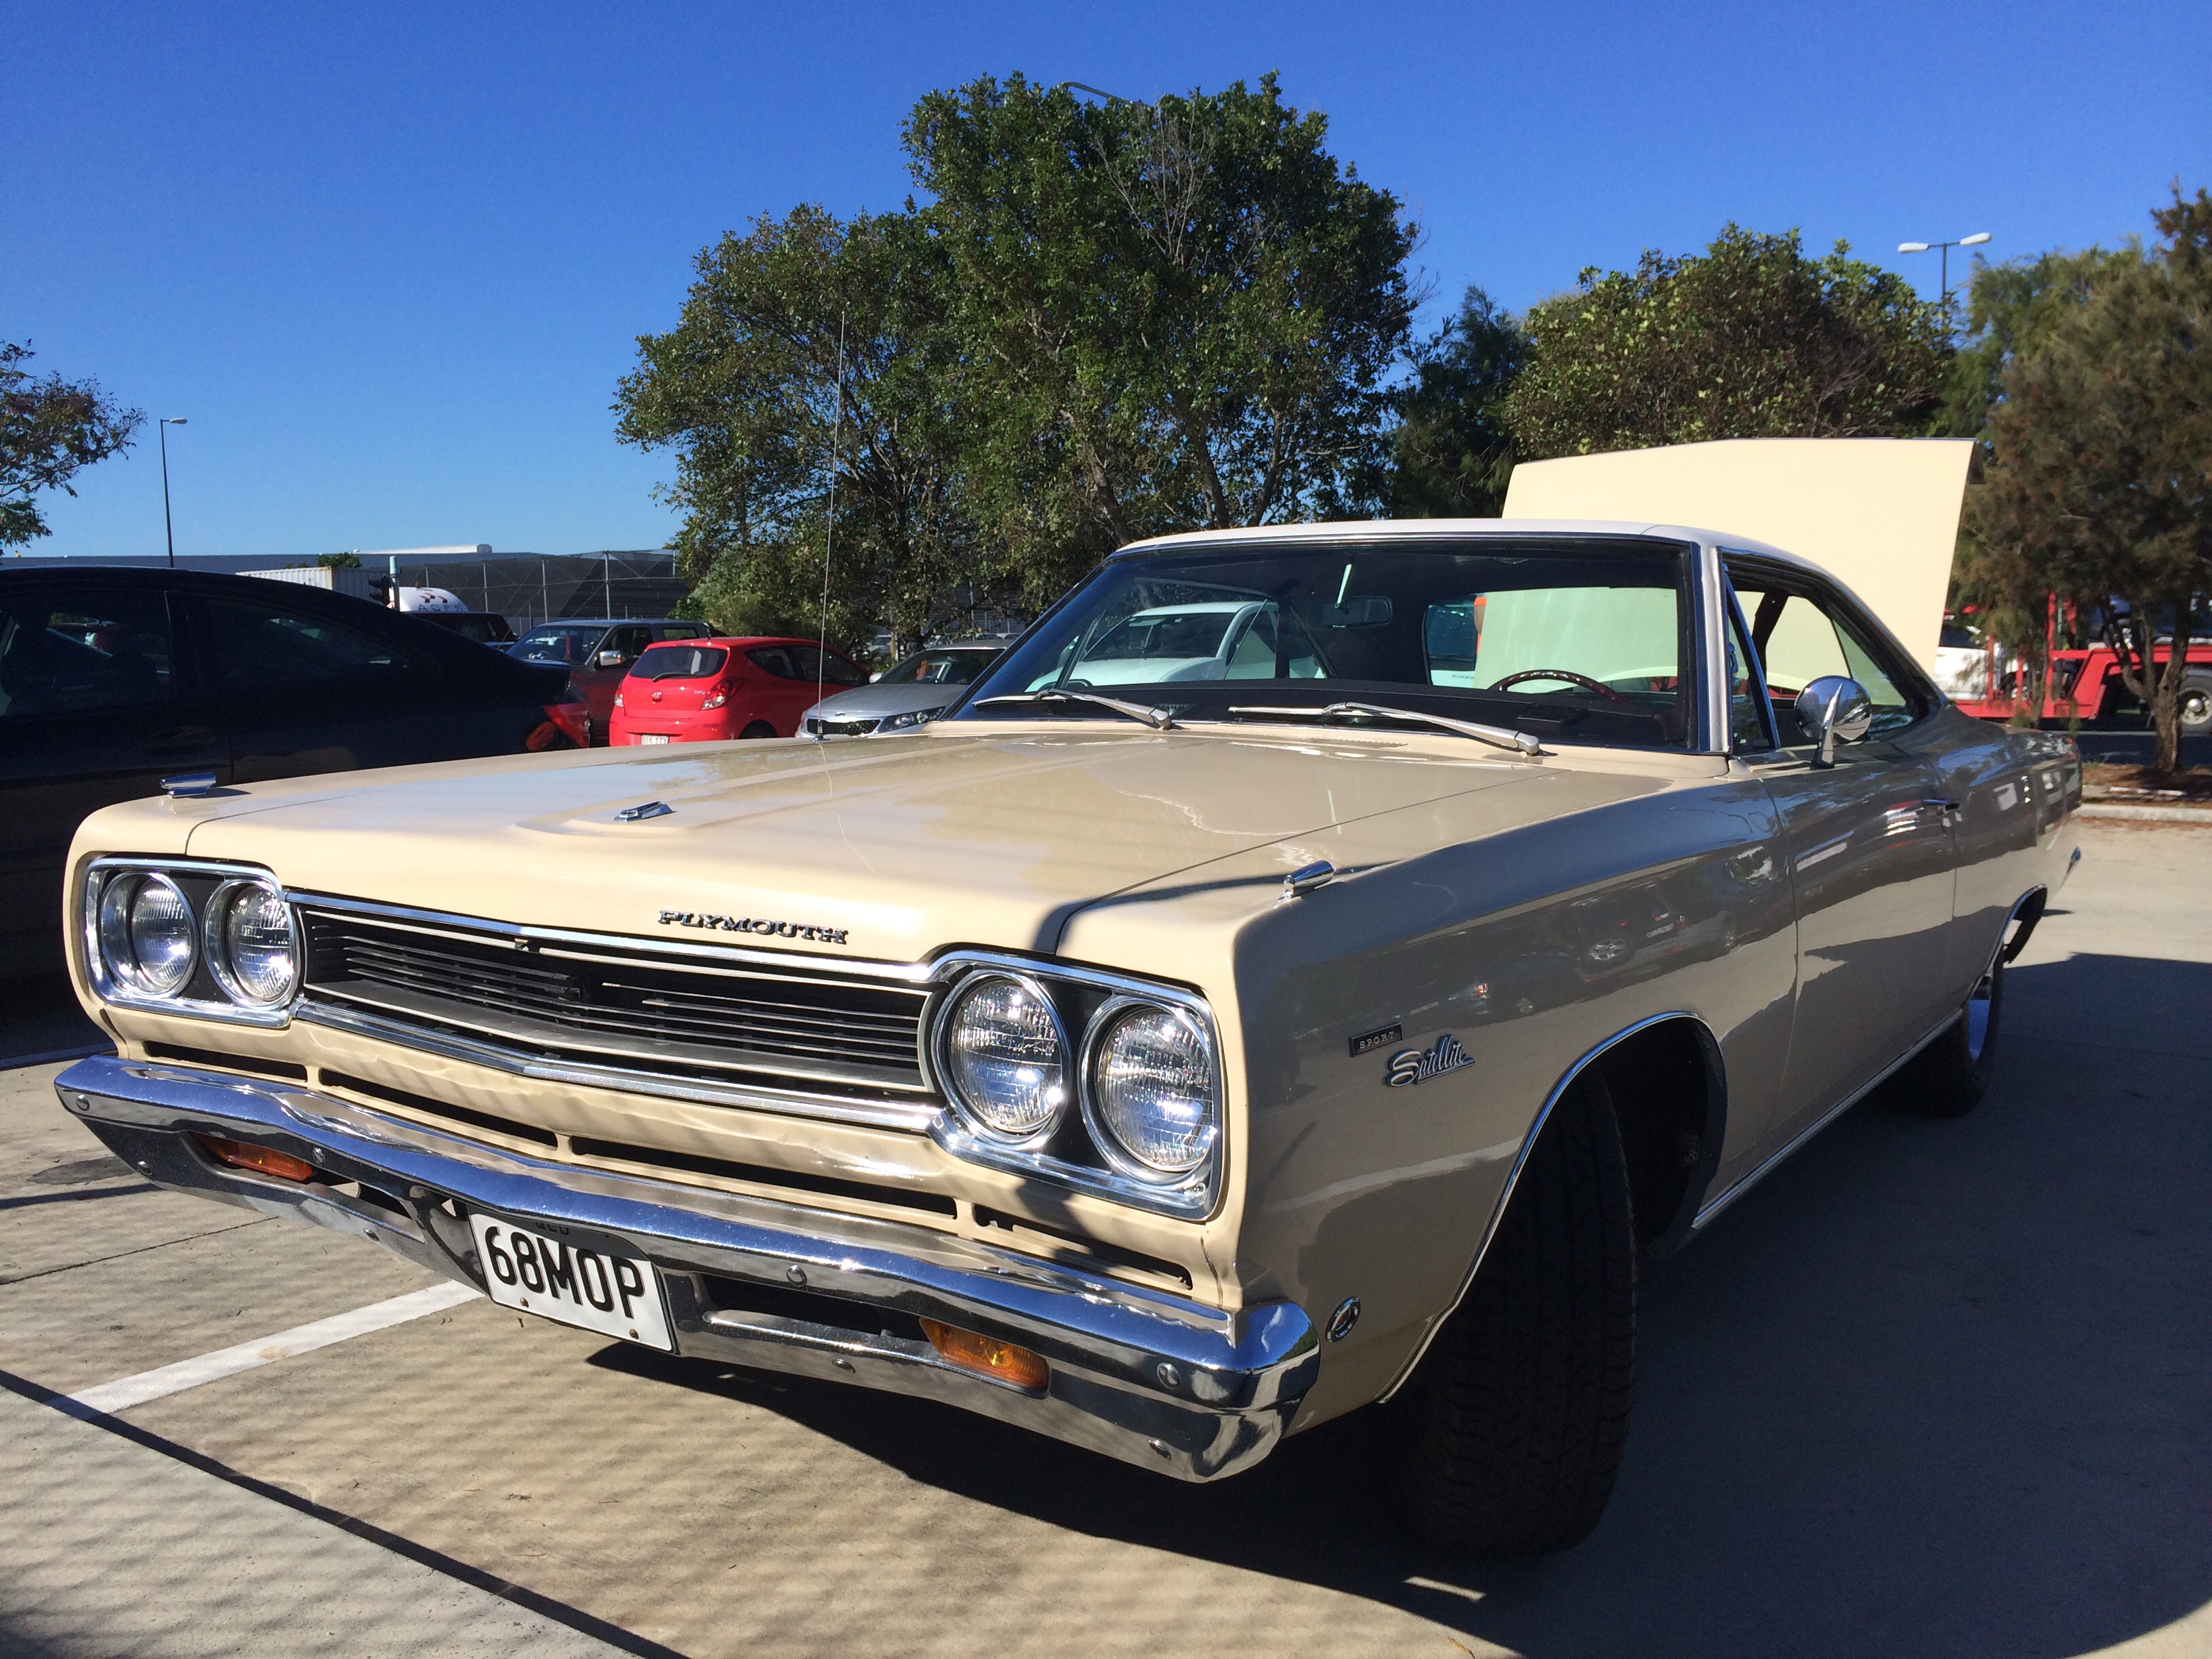
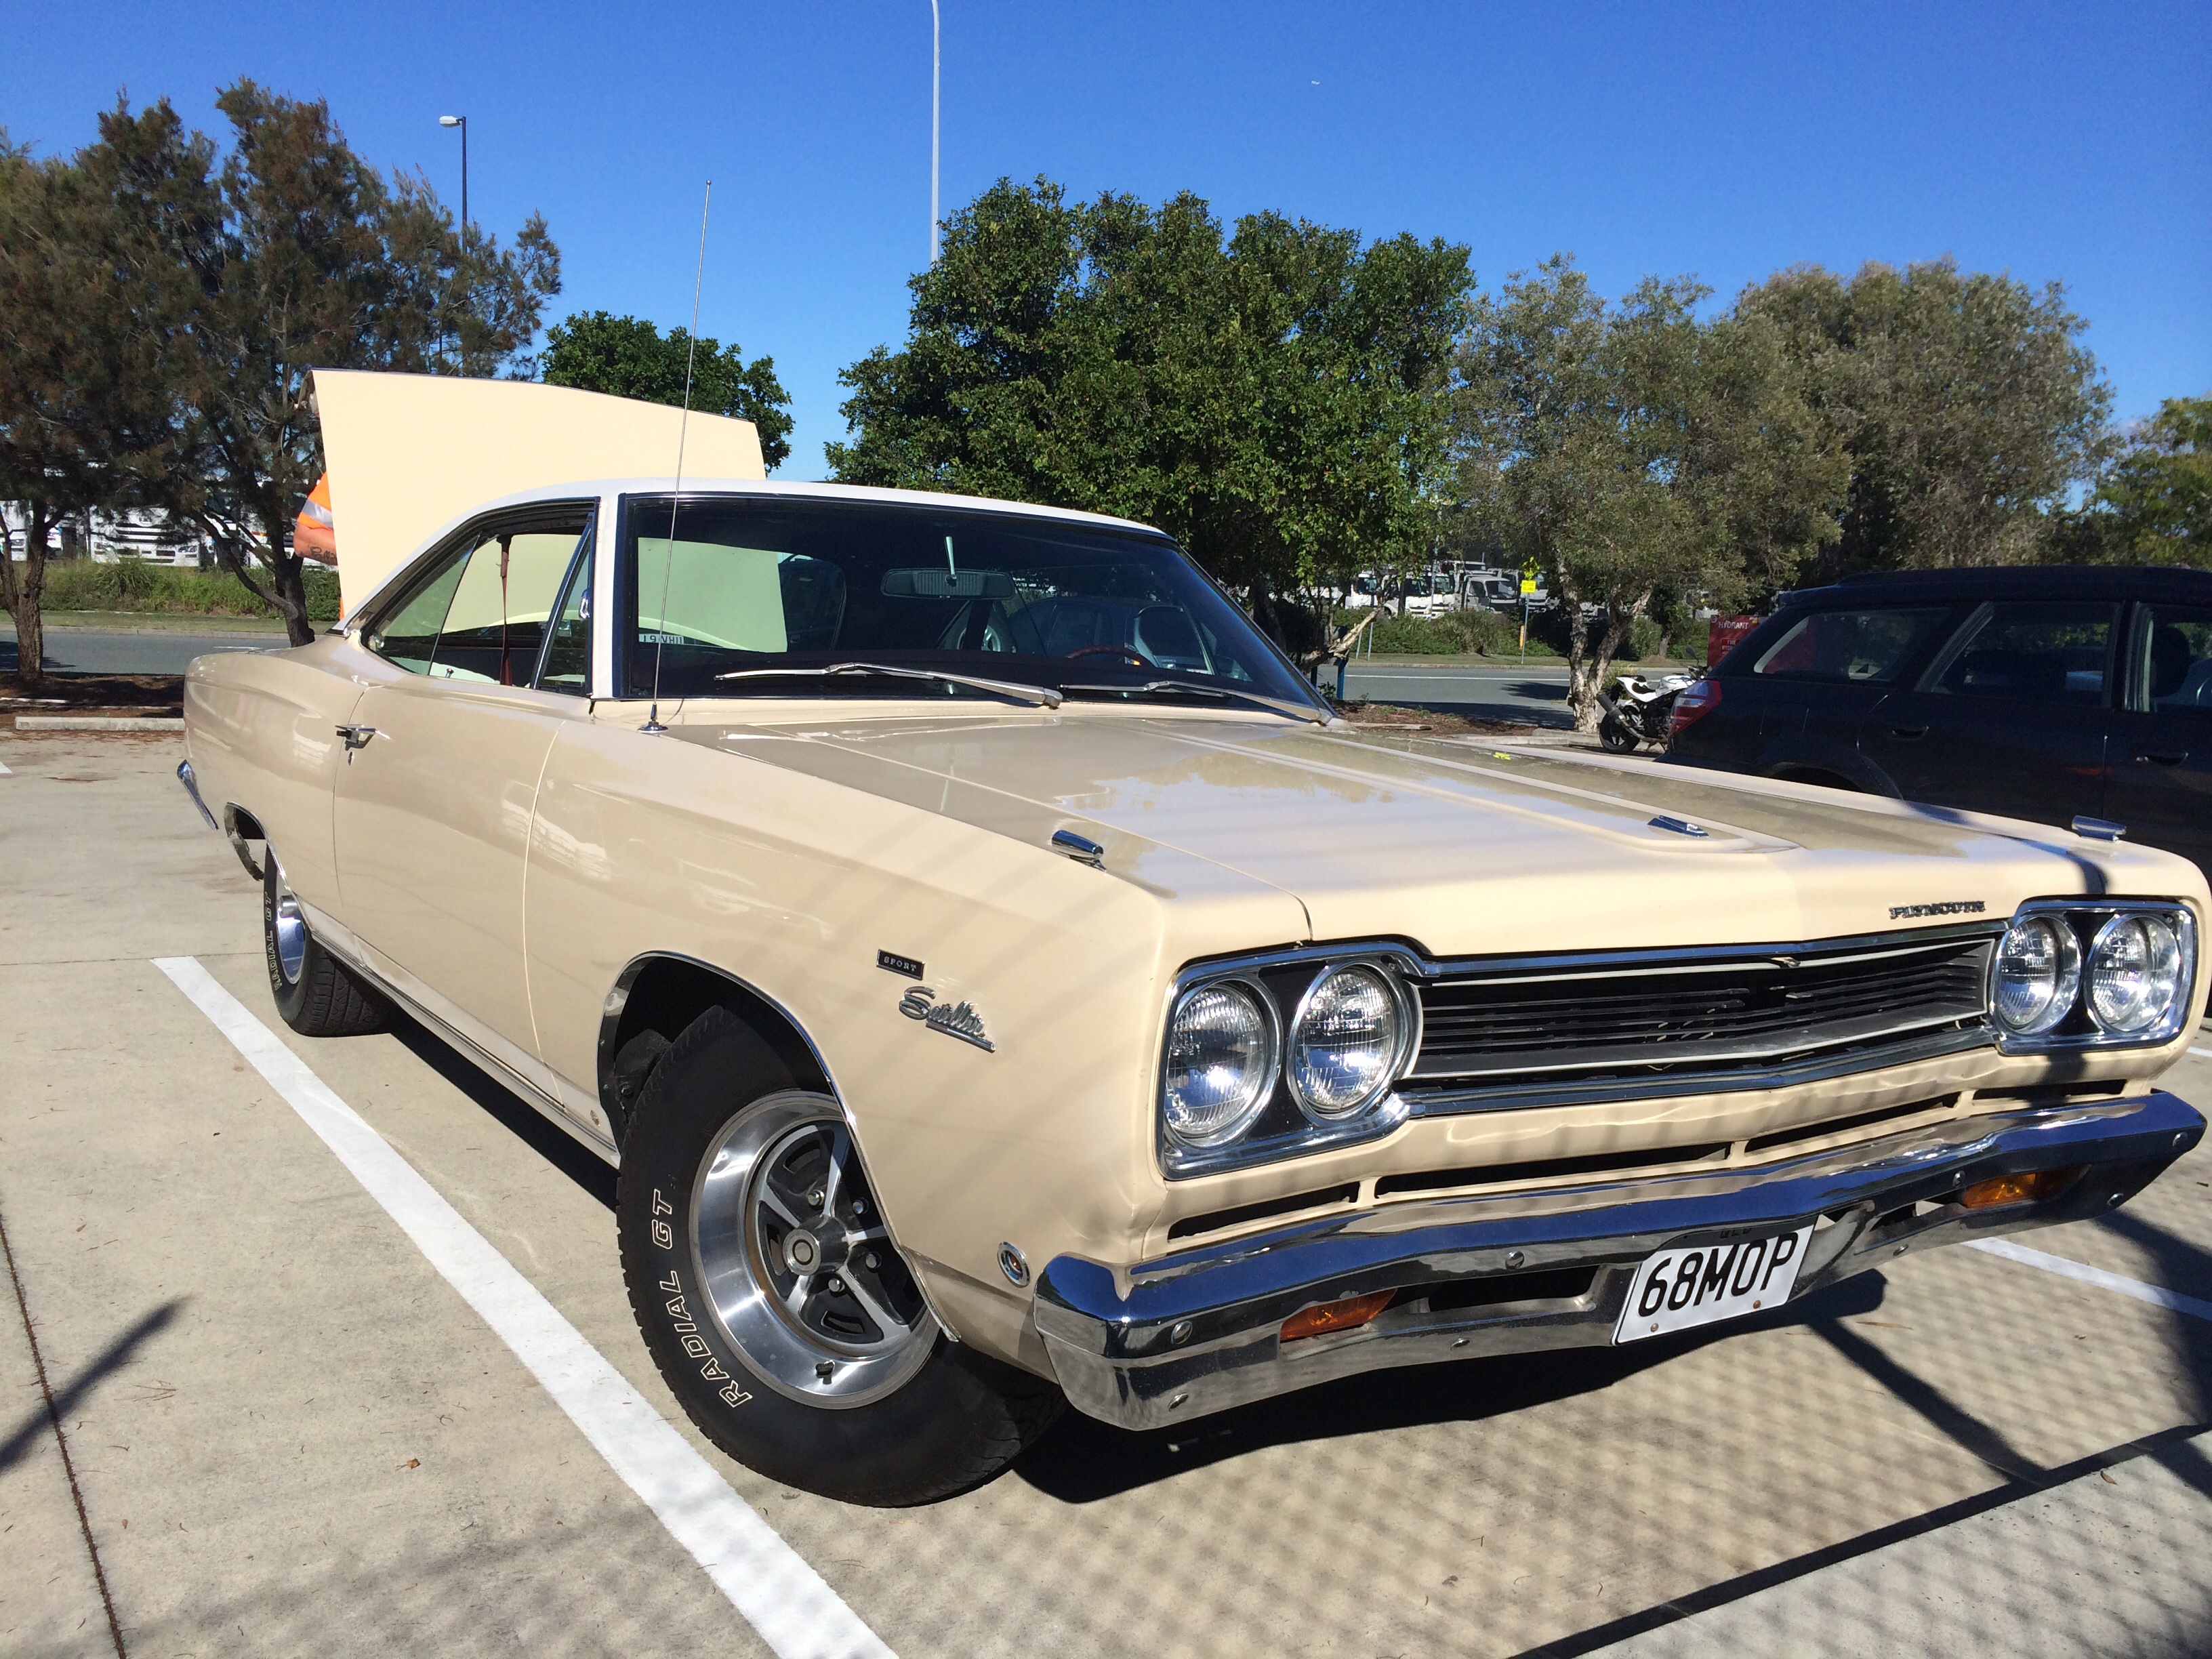
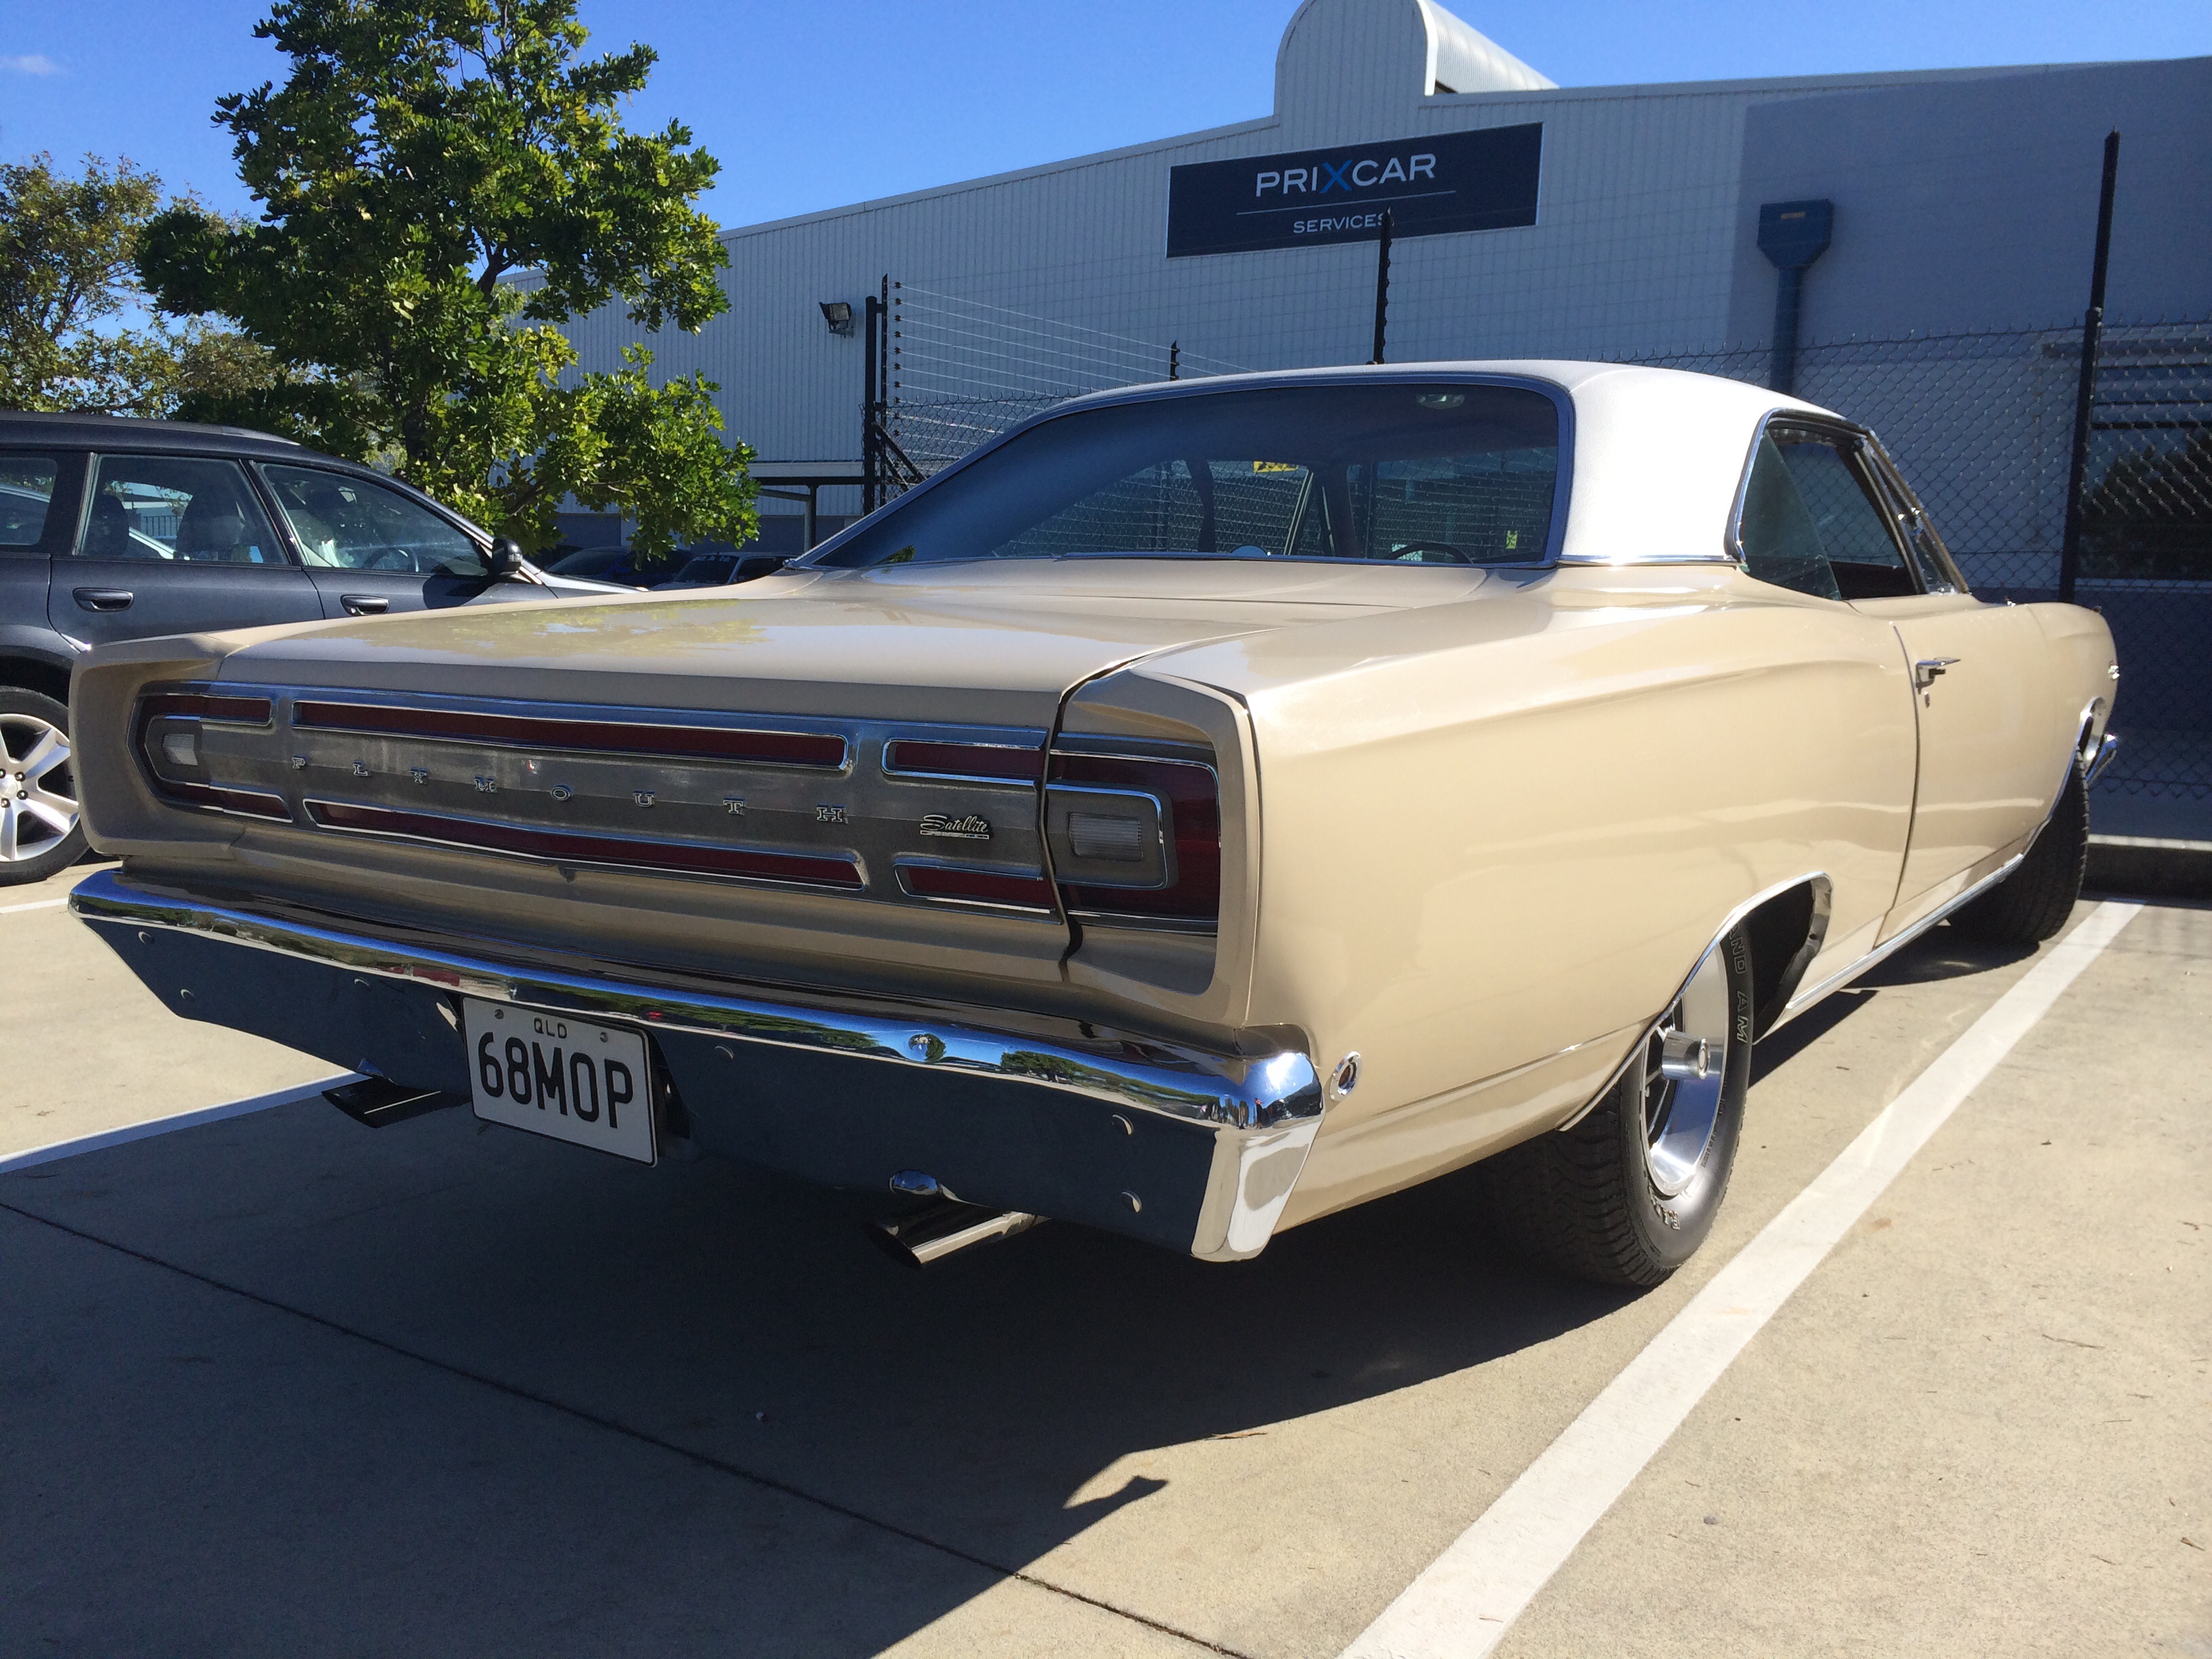
Been a bit slow lately on the 59 due to work commitments however managed to just add another Plymouth to the collection-1968 Sport Satellite
Cheers
Vic
Thats a nice car!!!
Can’t wait for some updates on the 59
some more updated photos
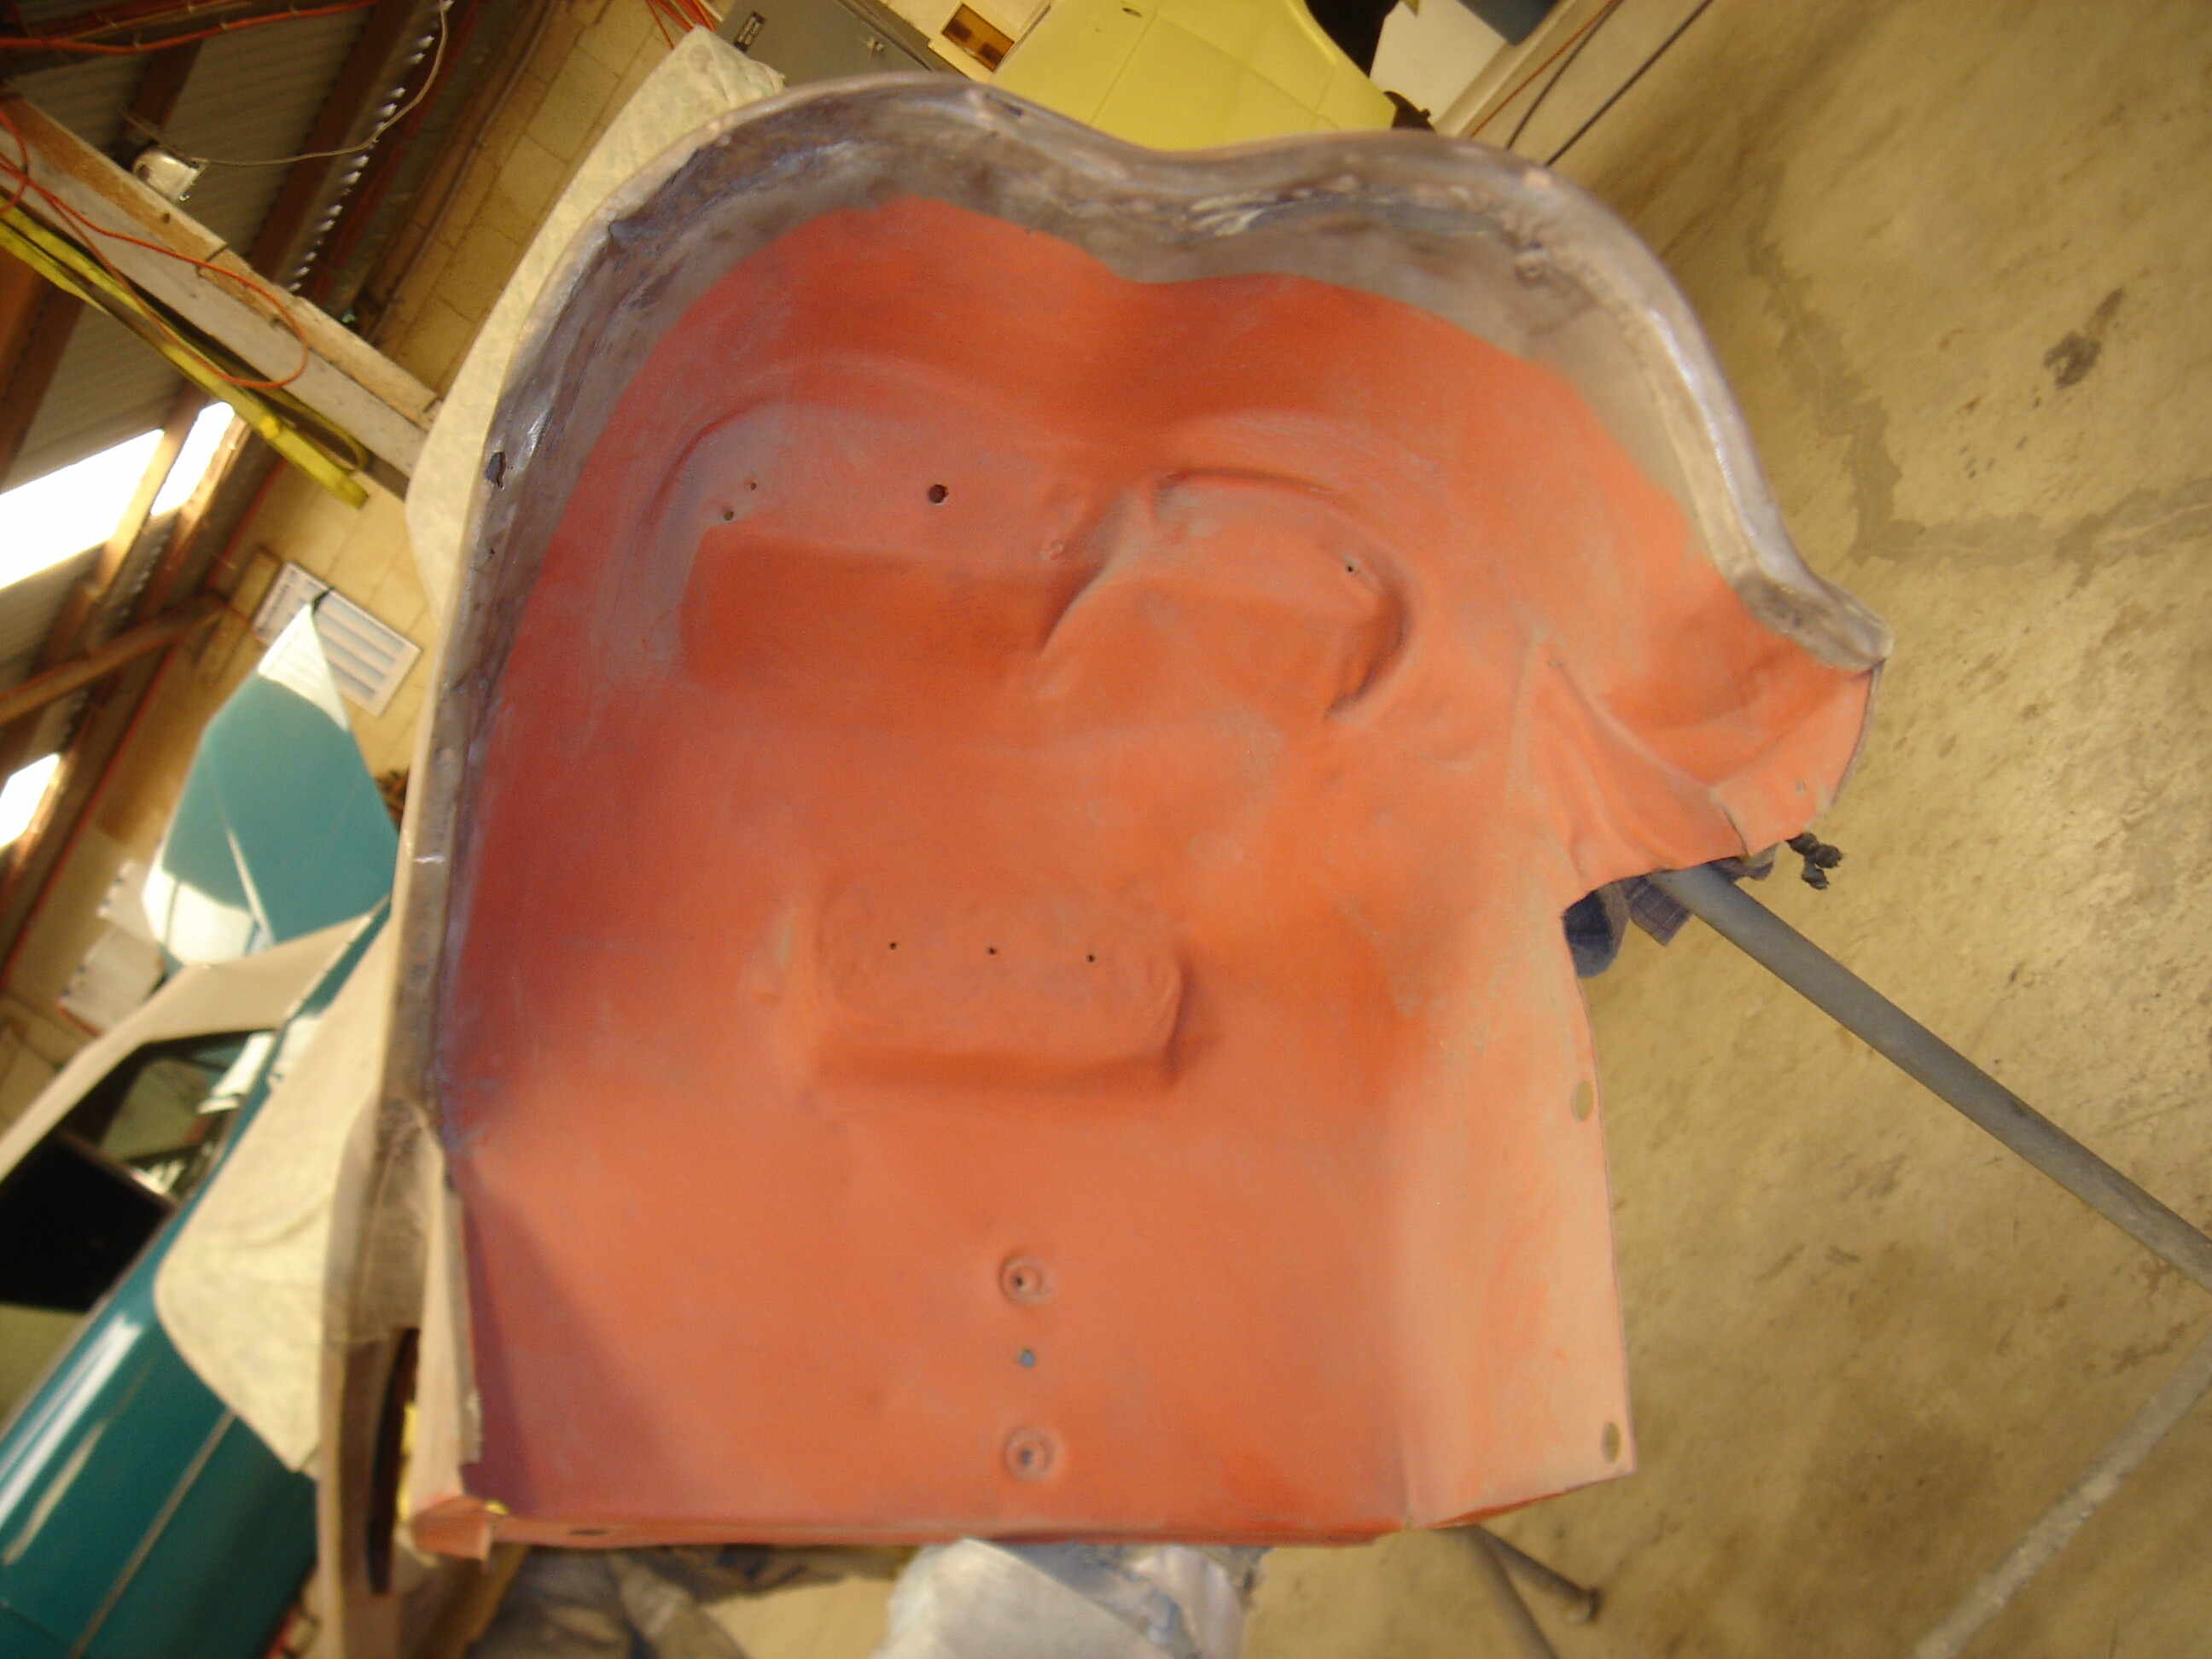
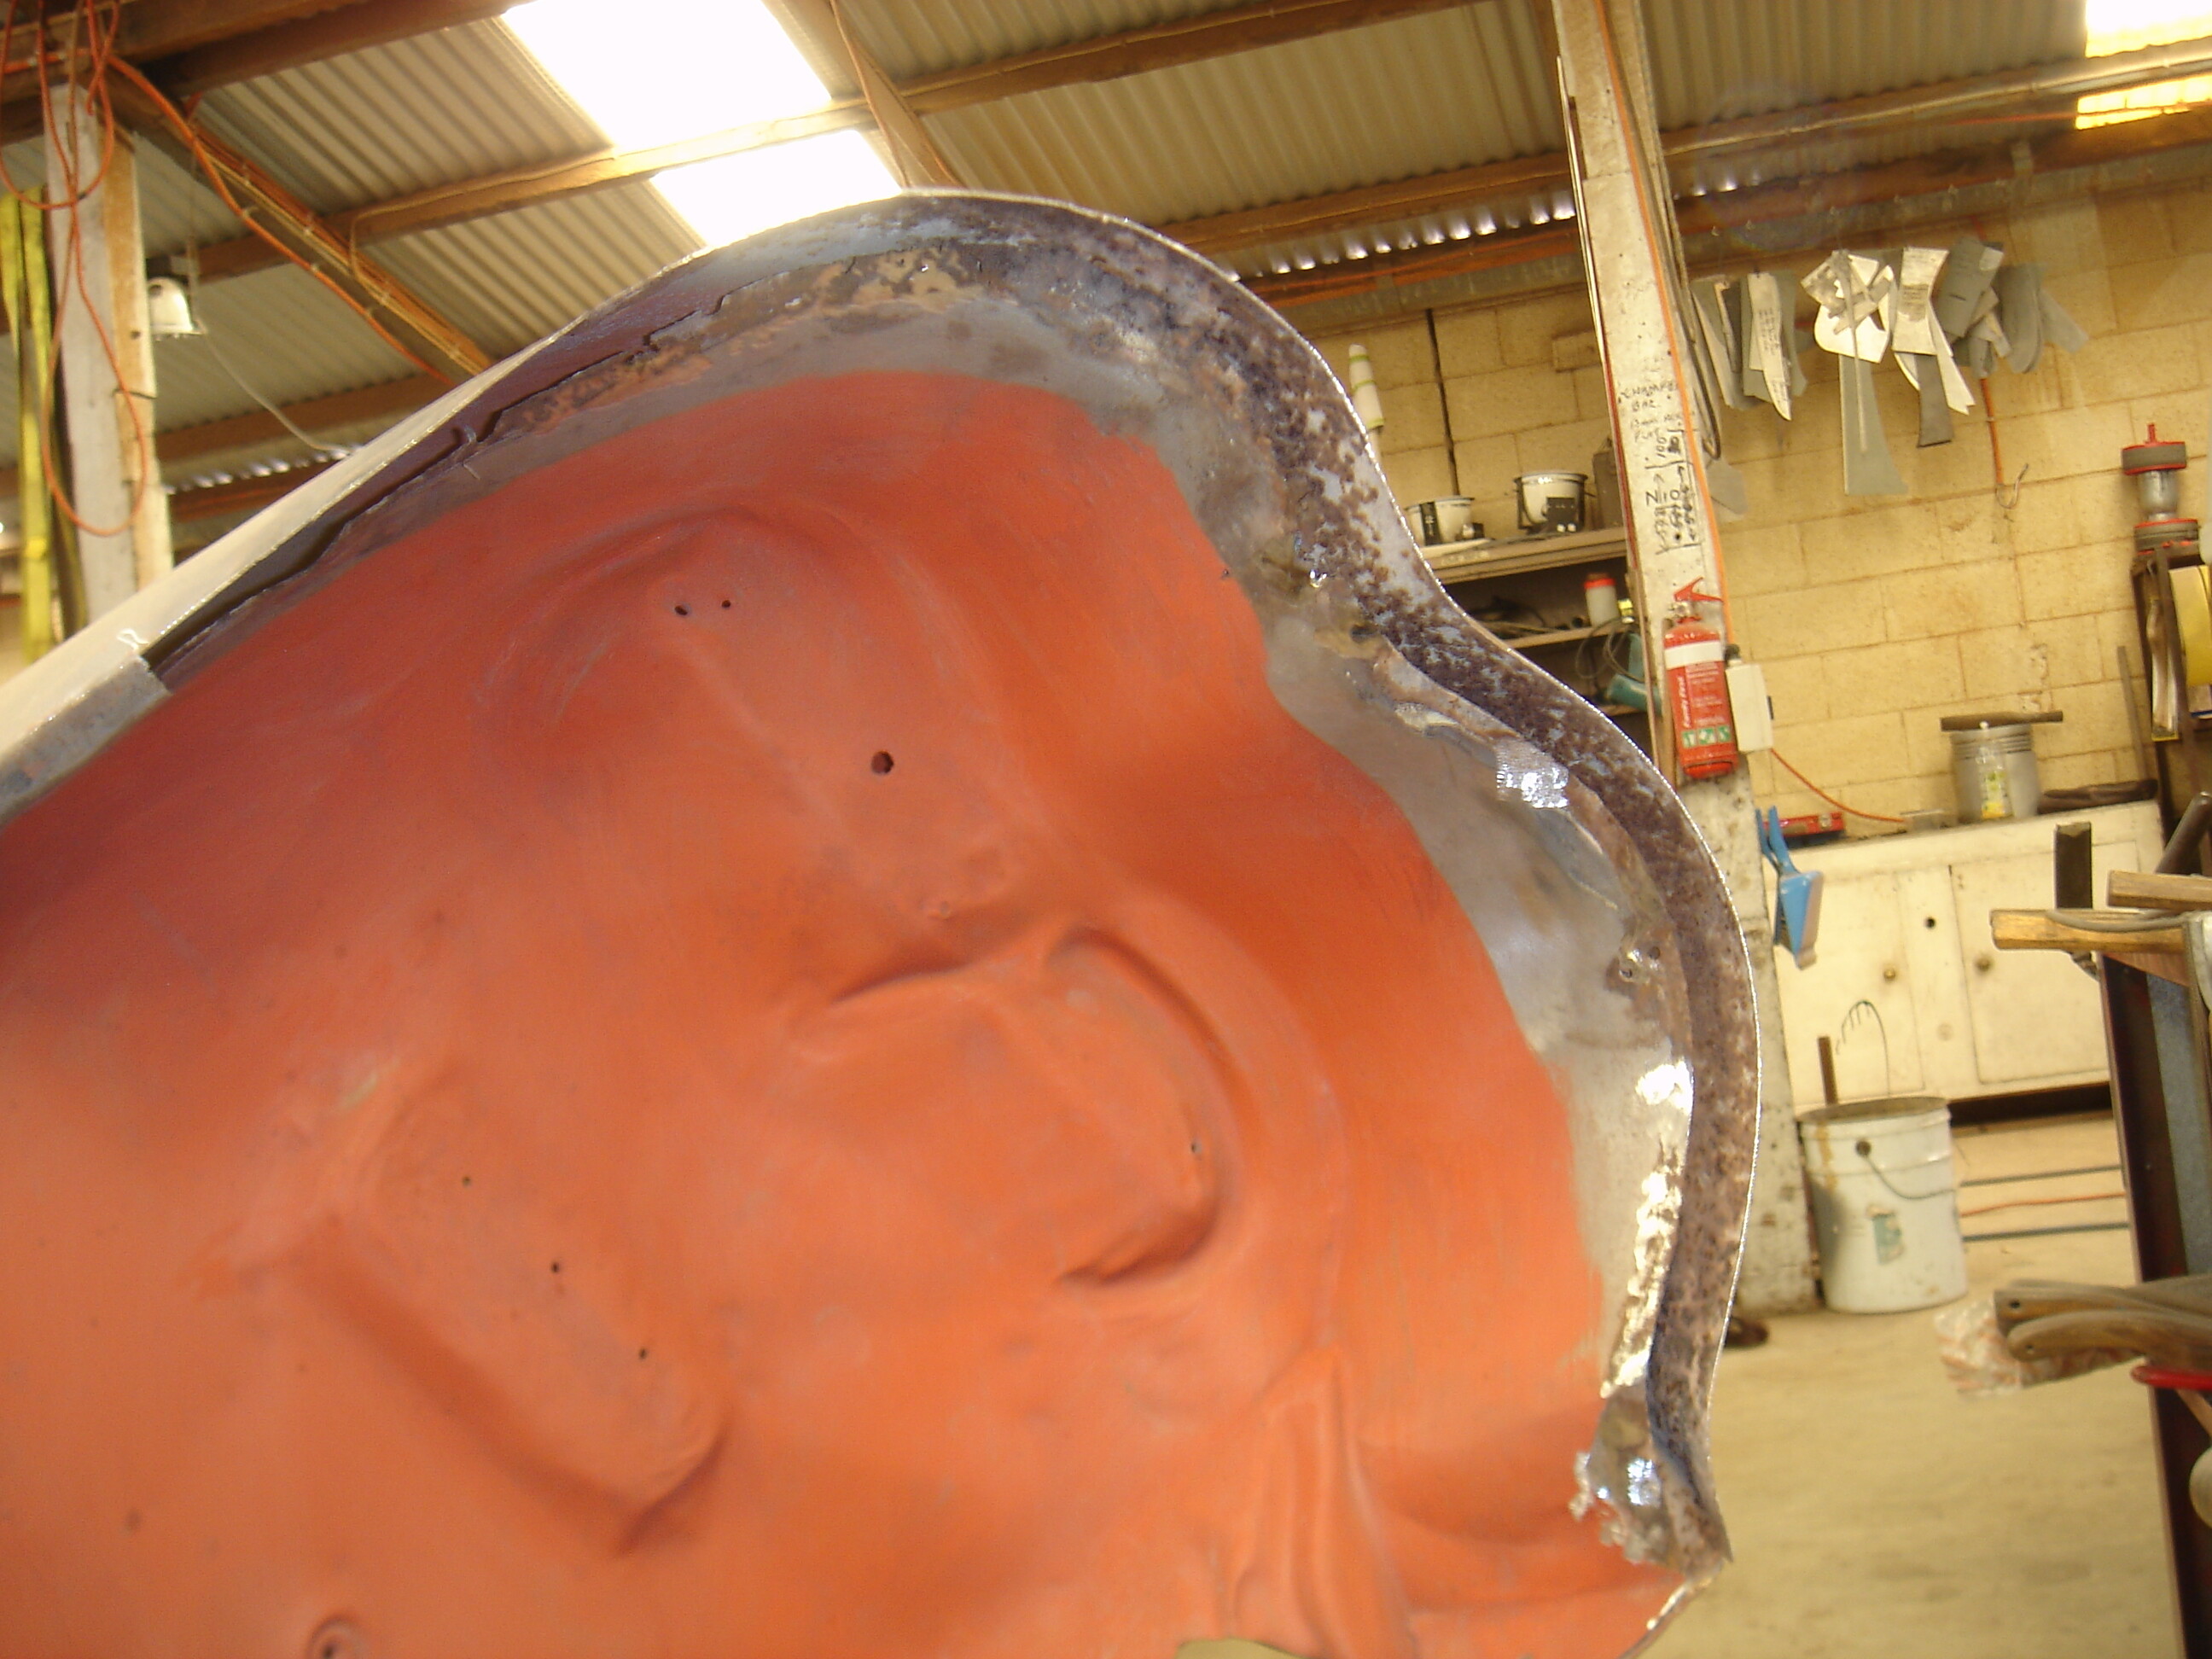
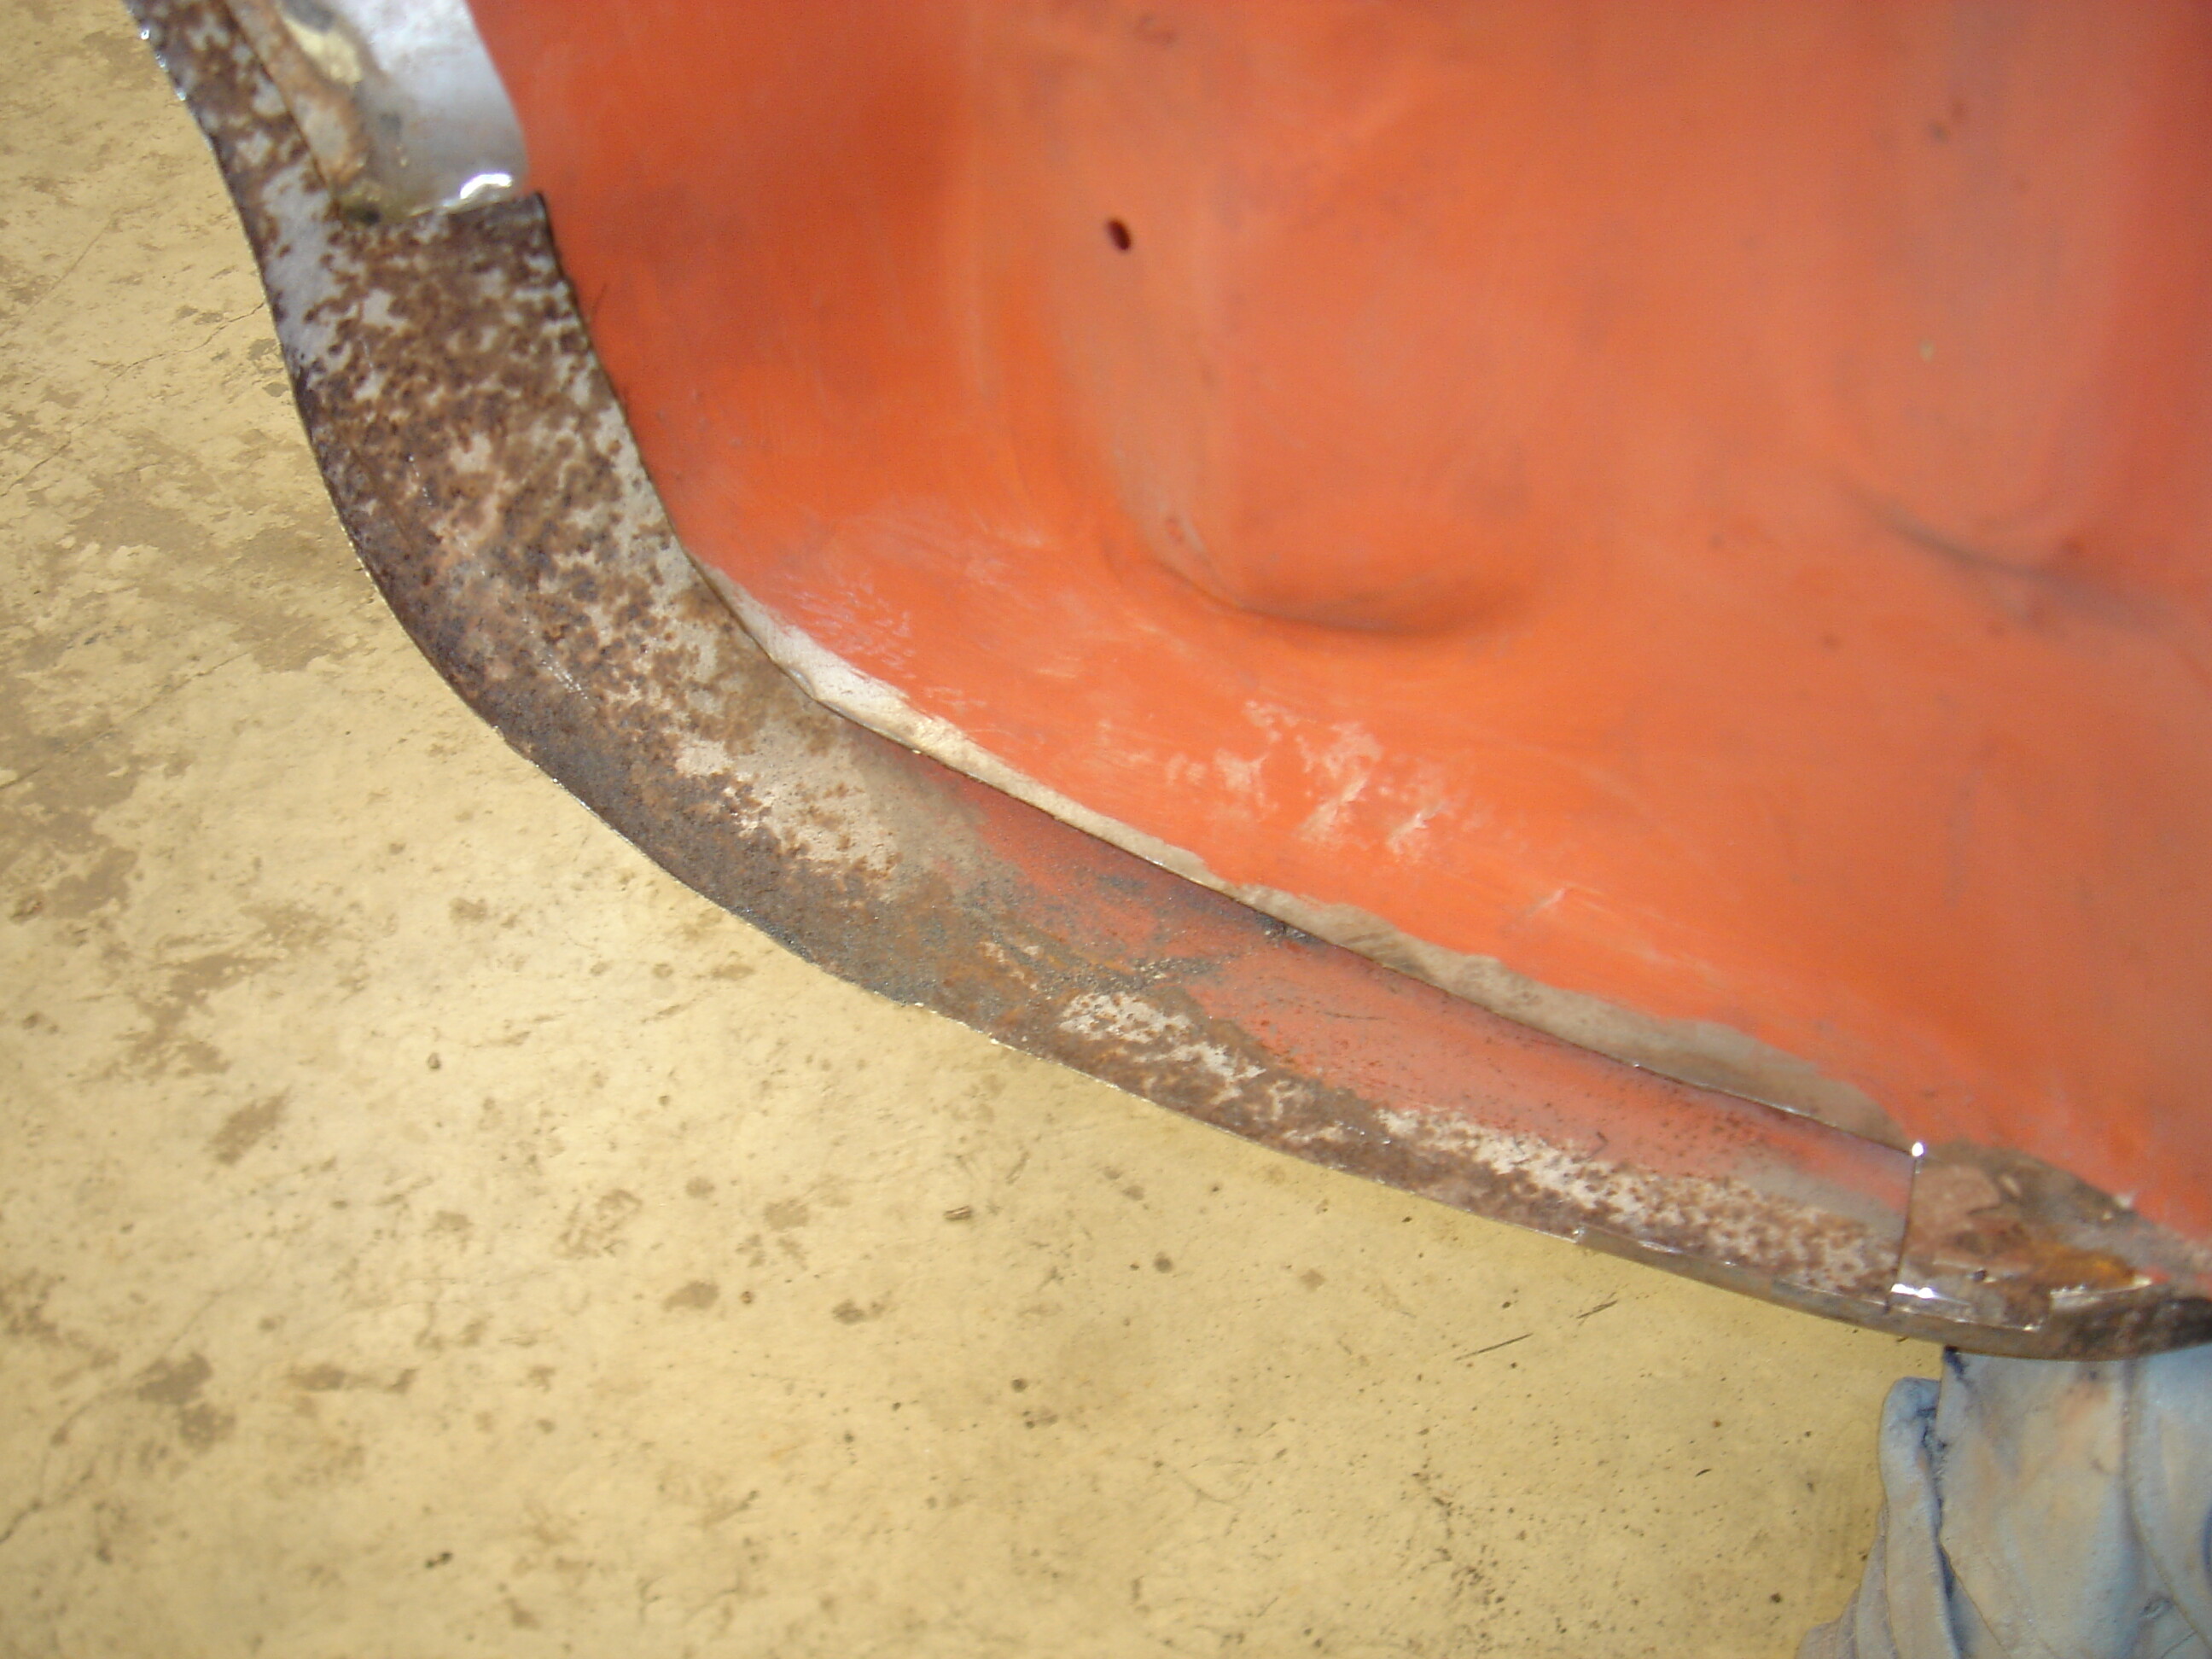
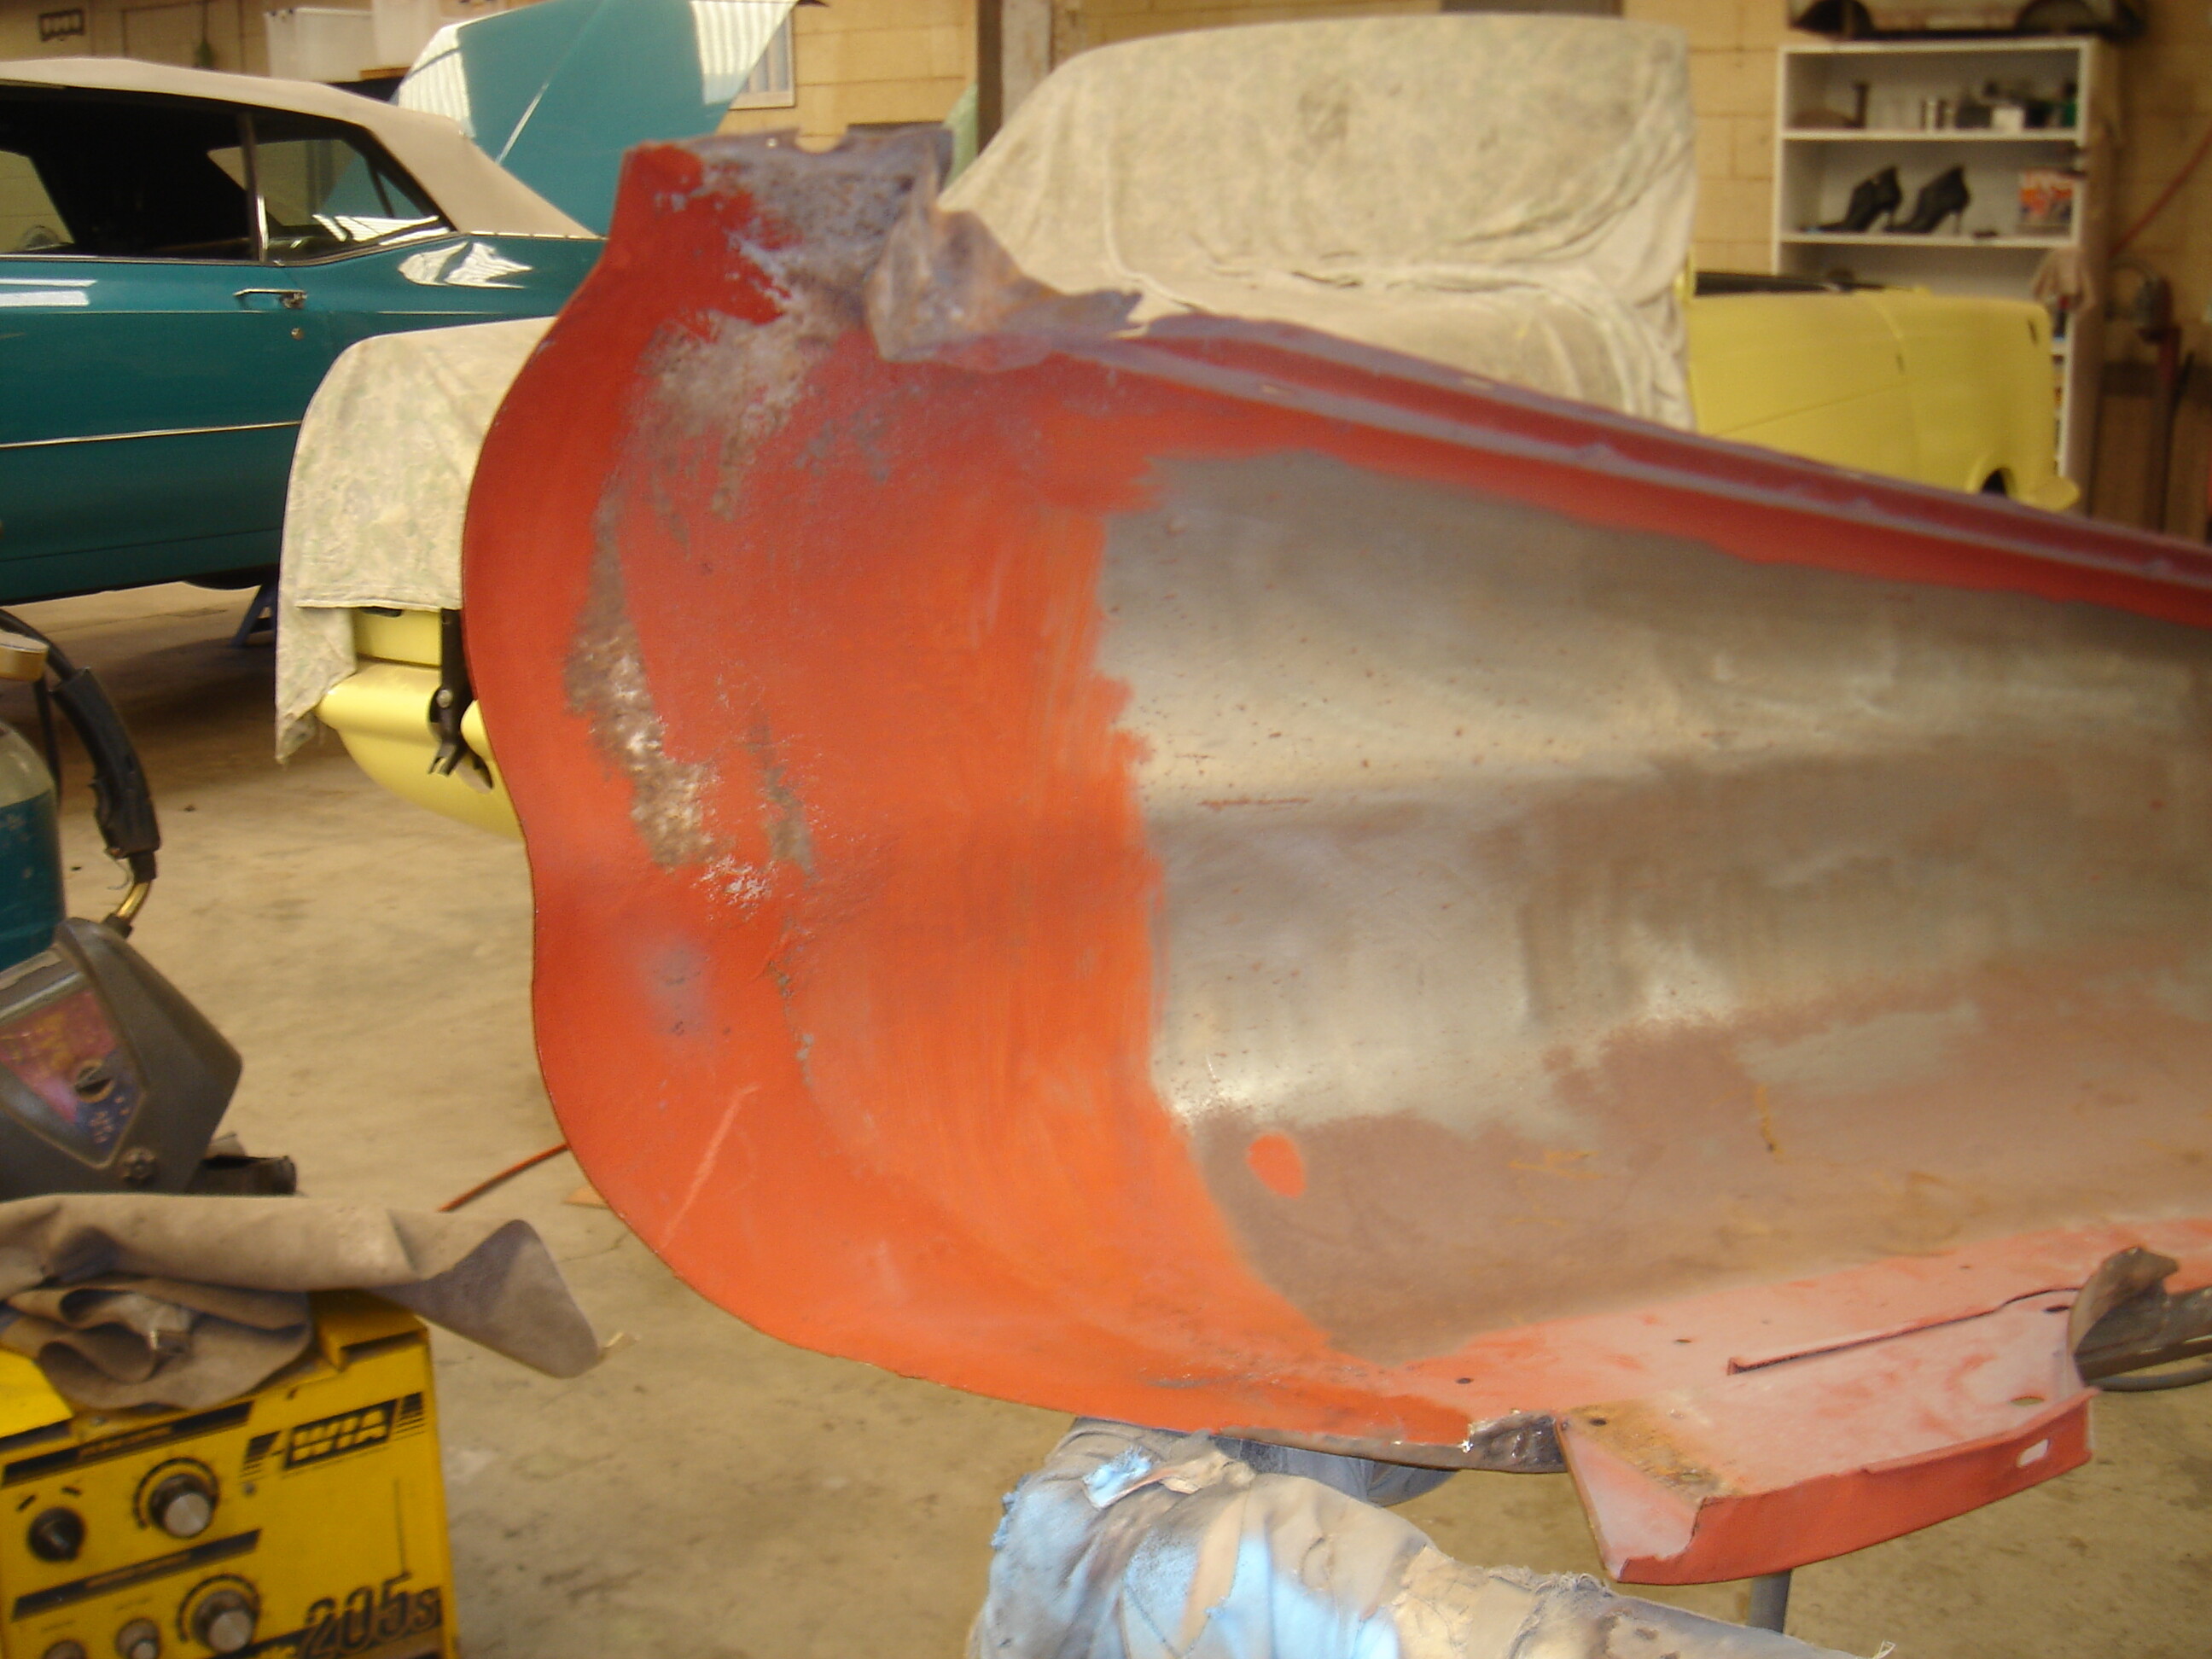
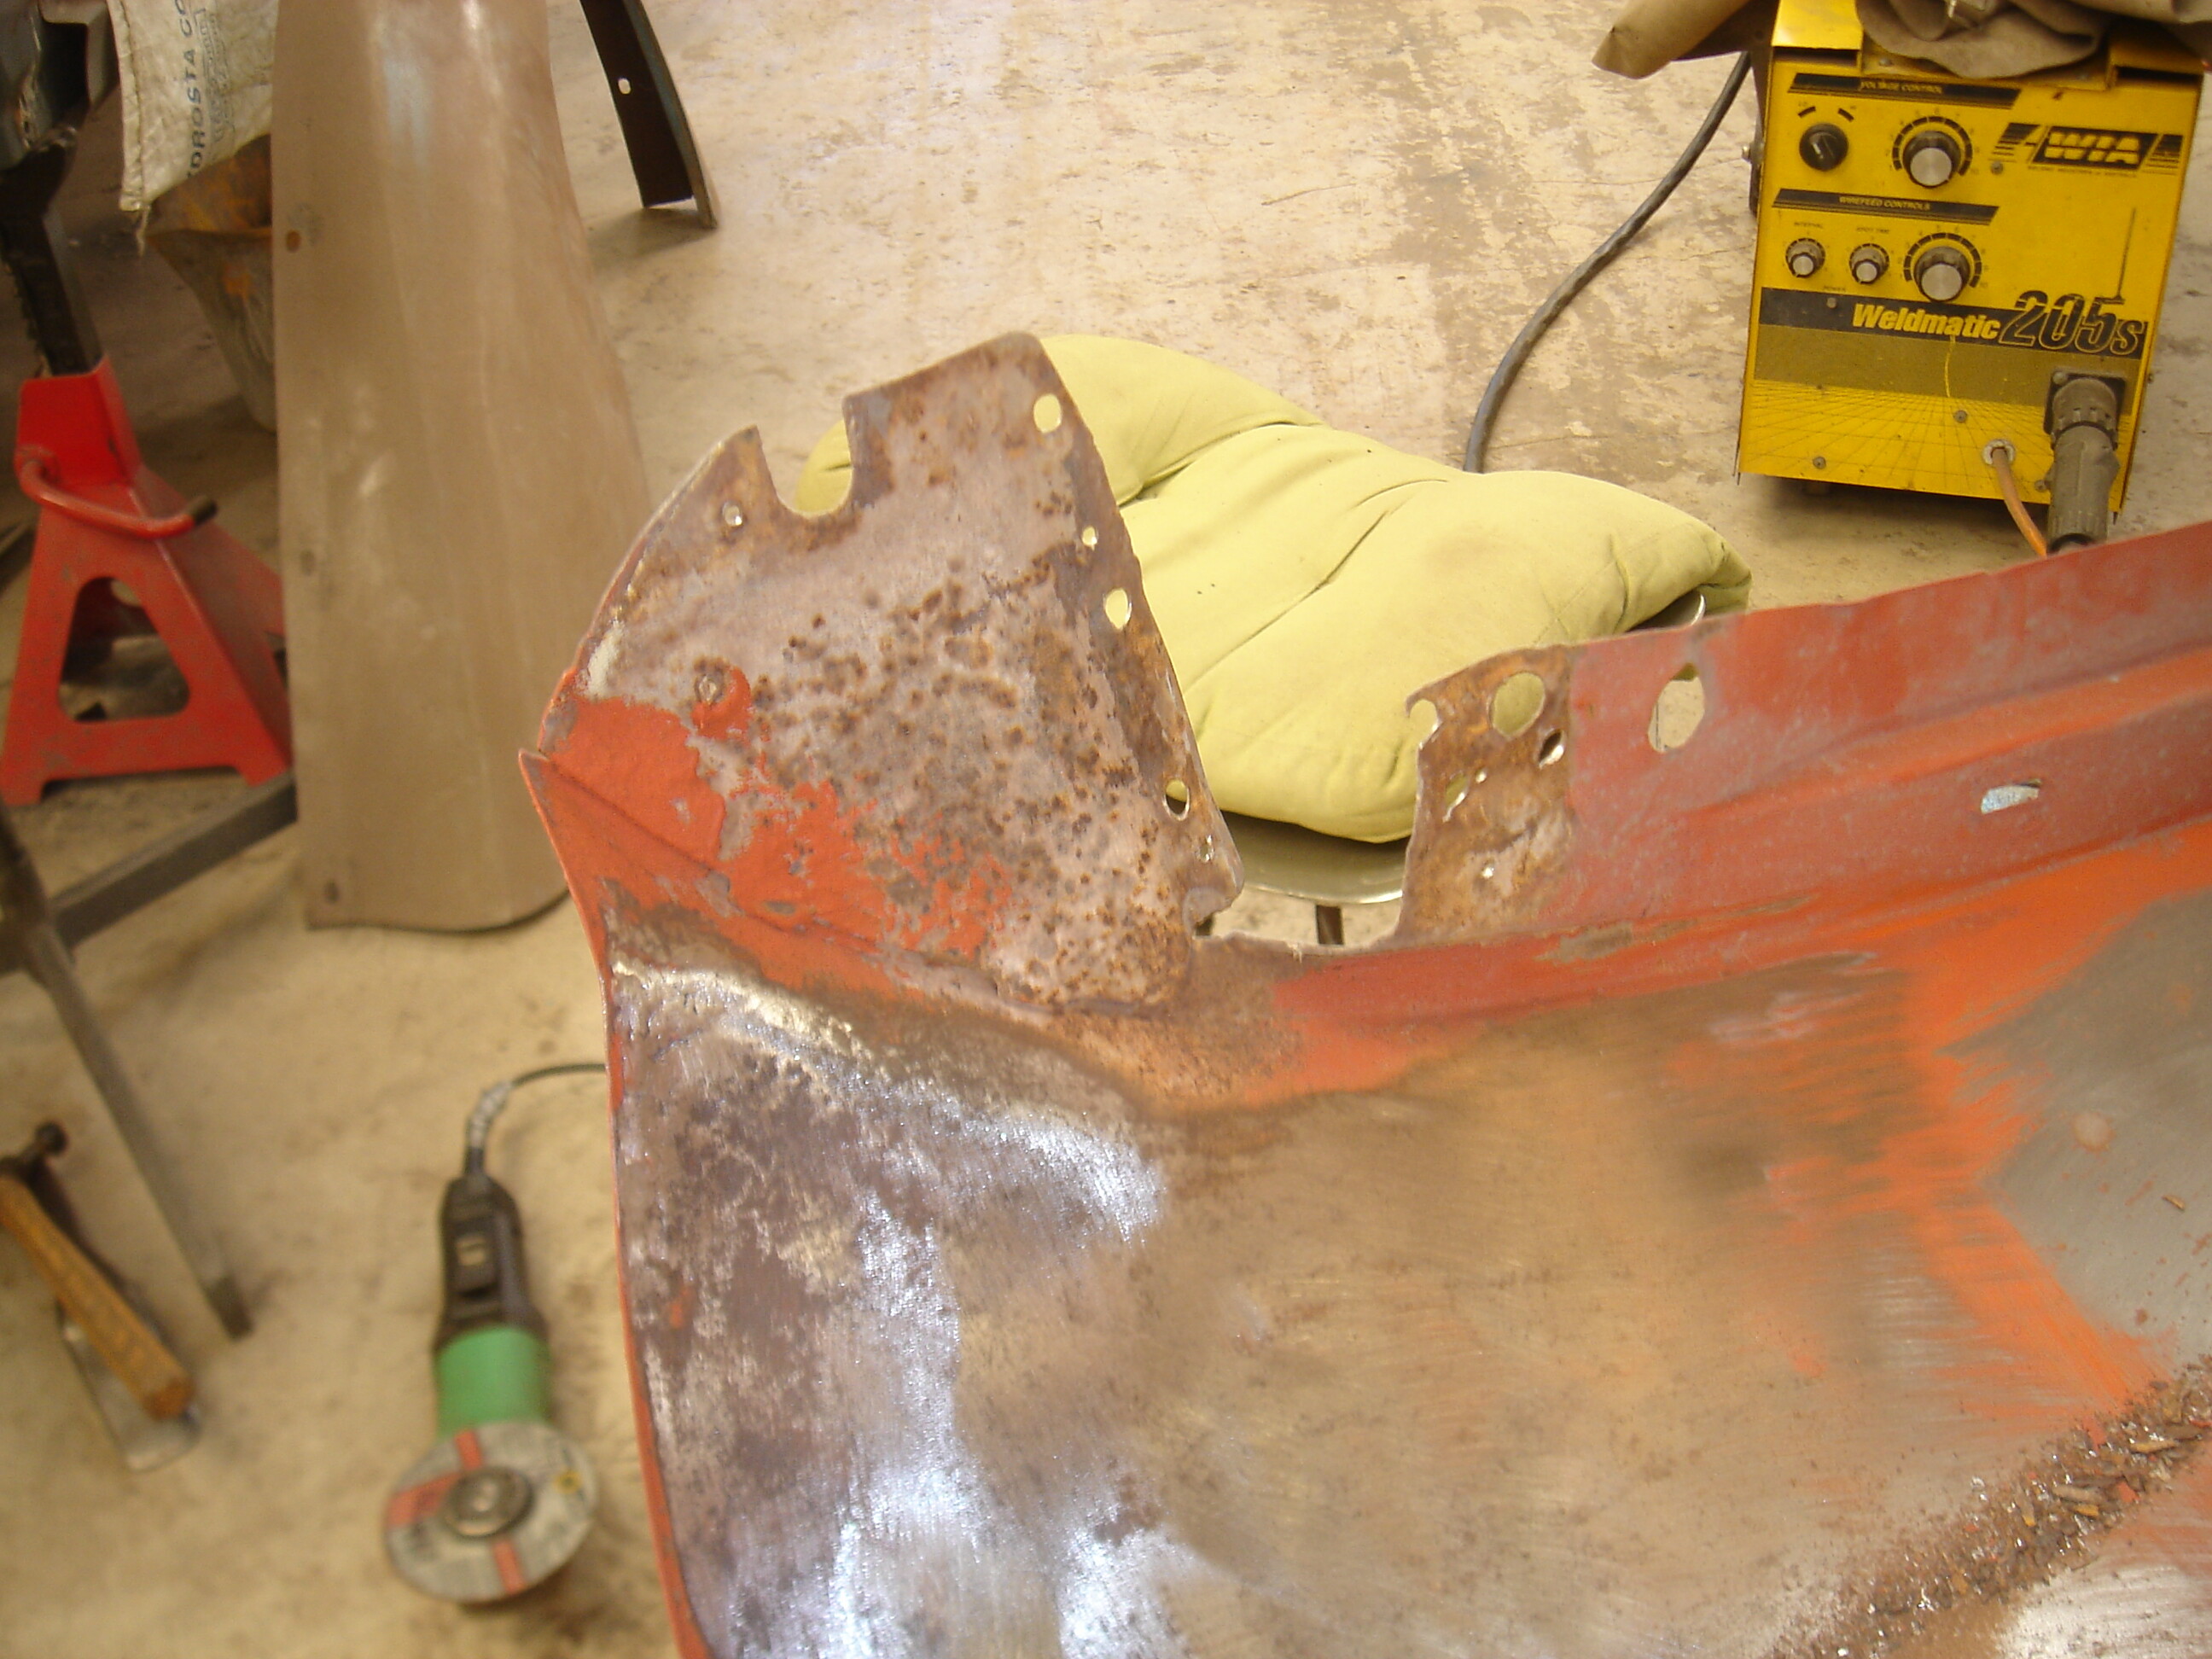
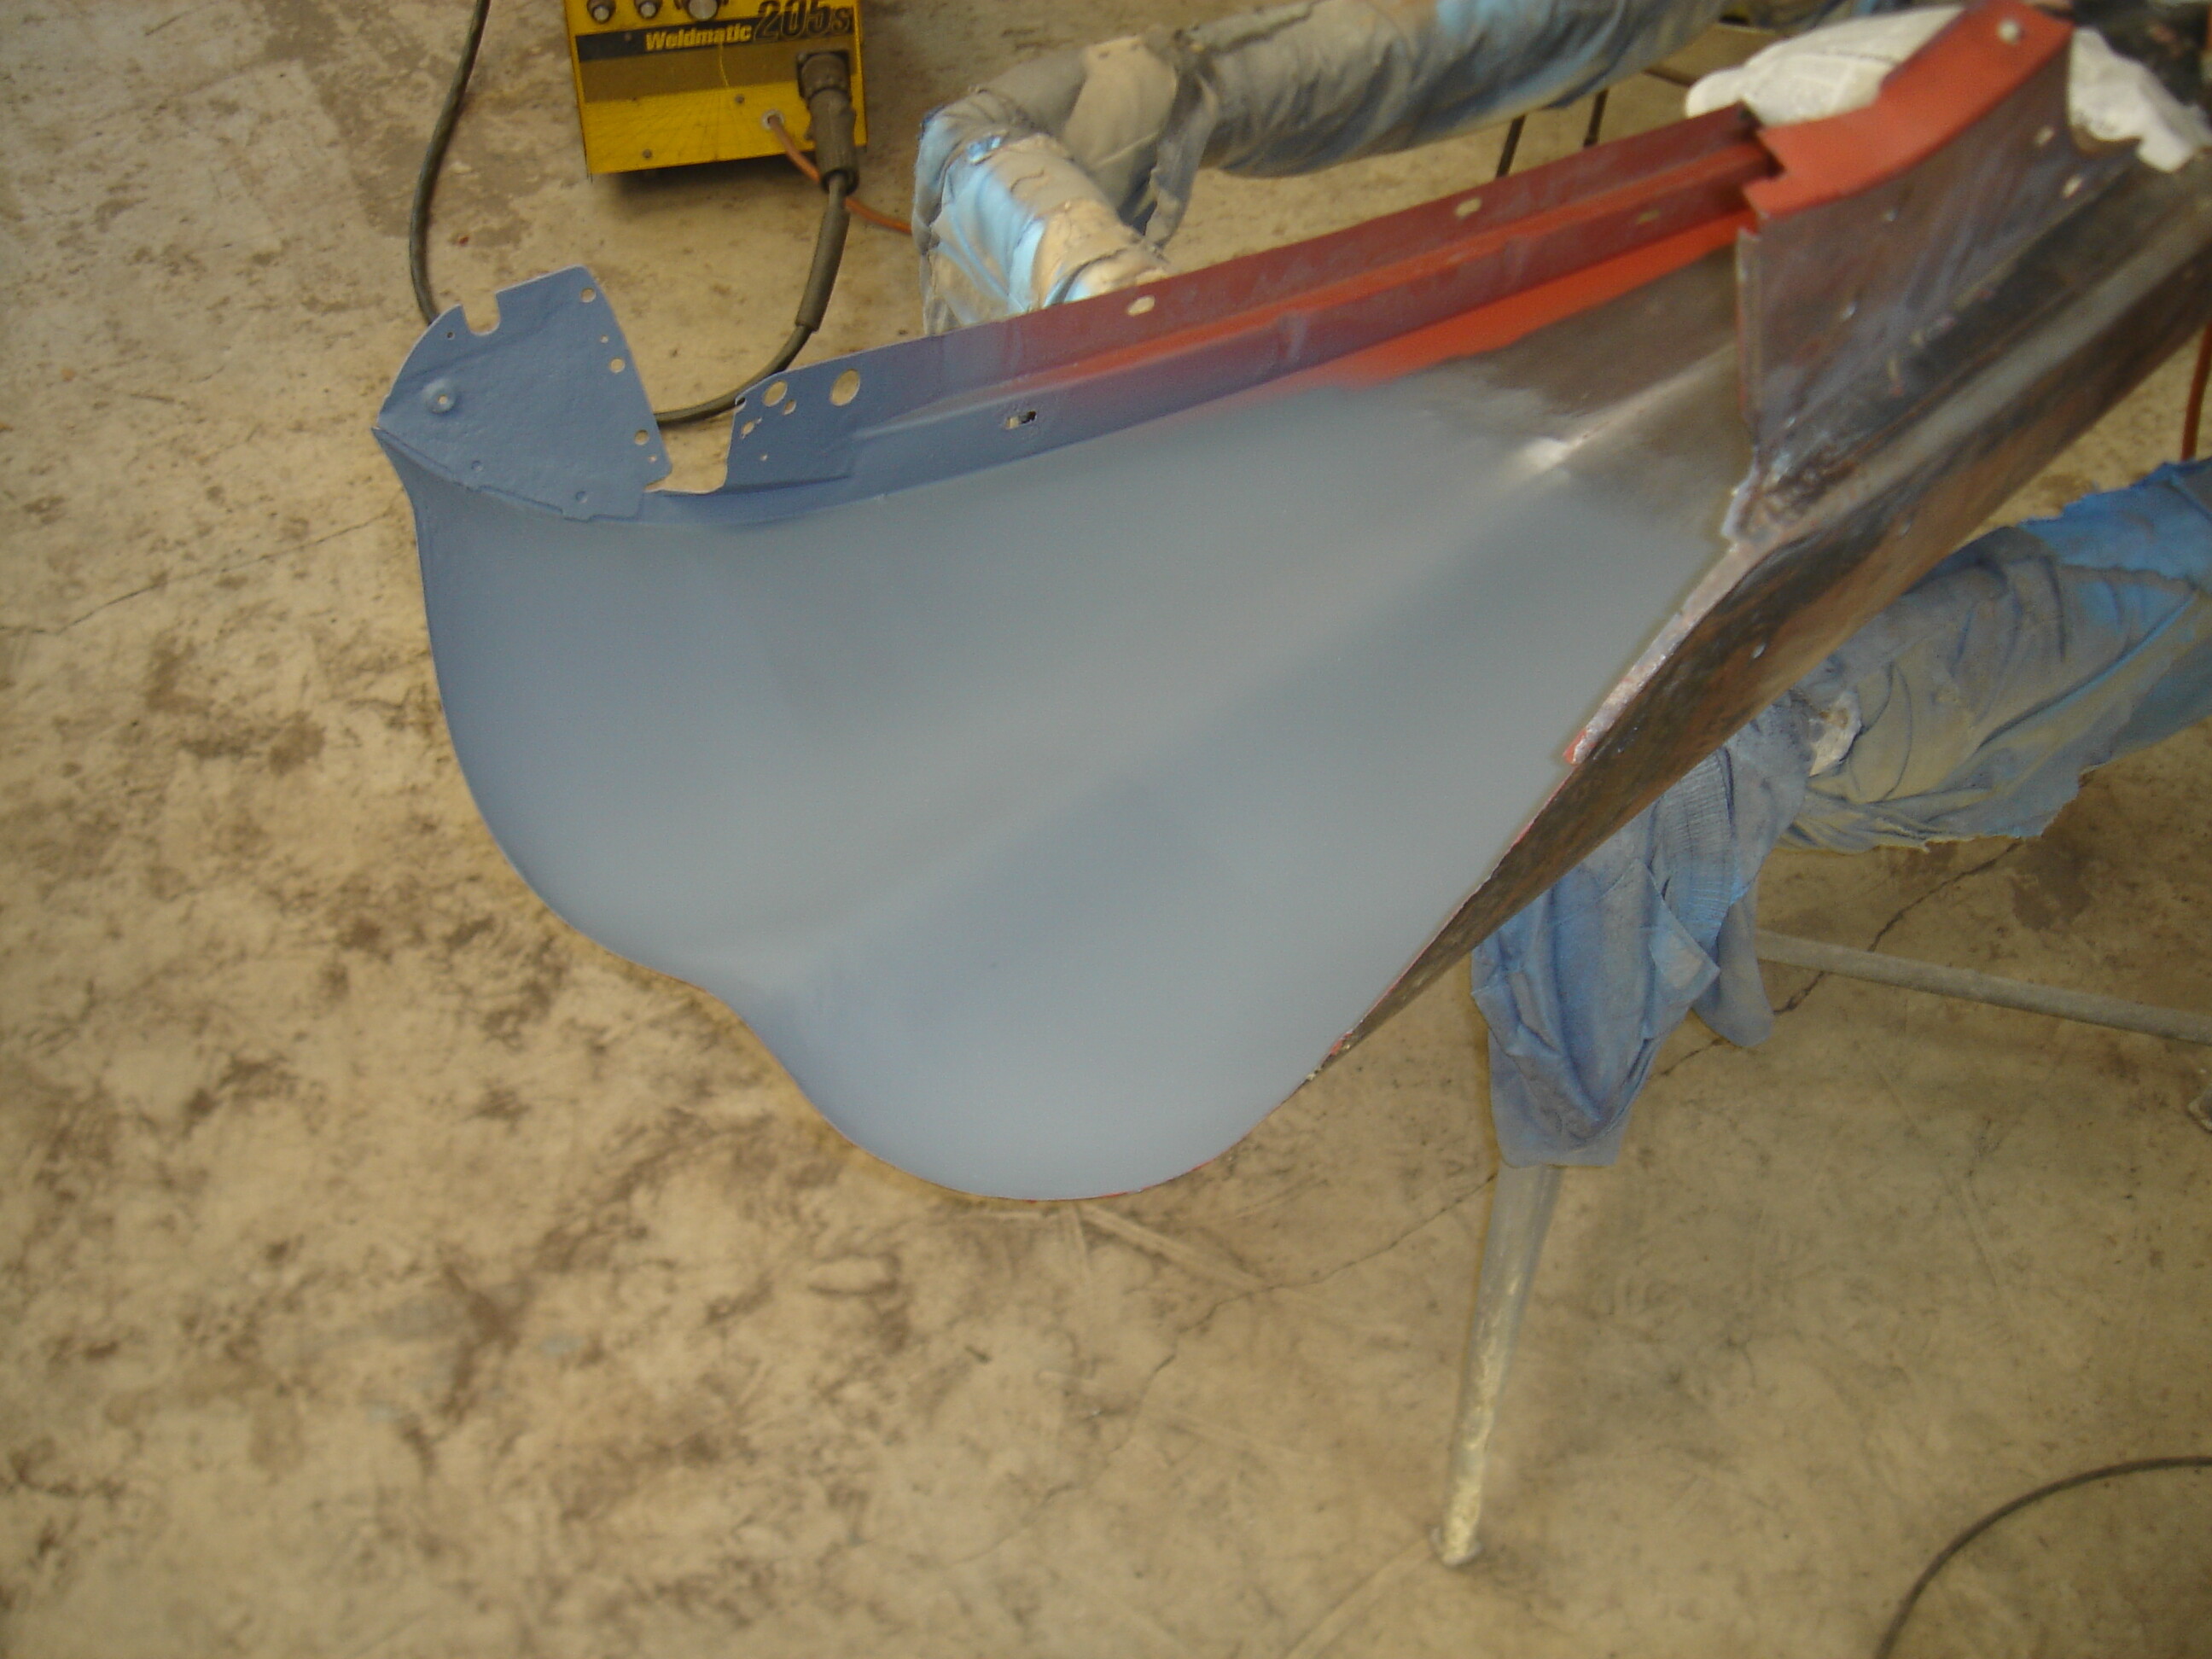
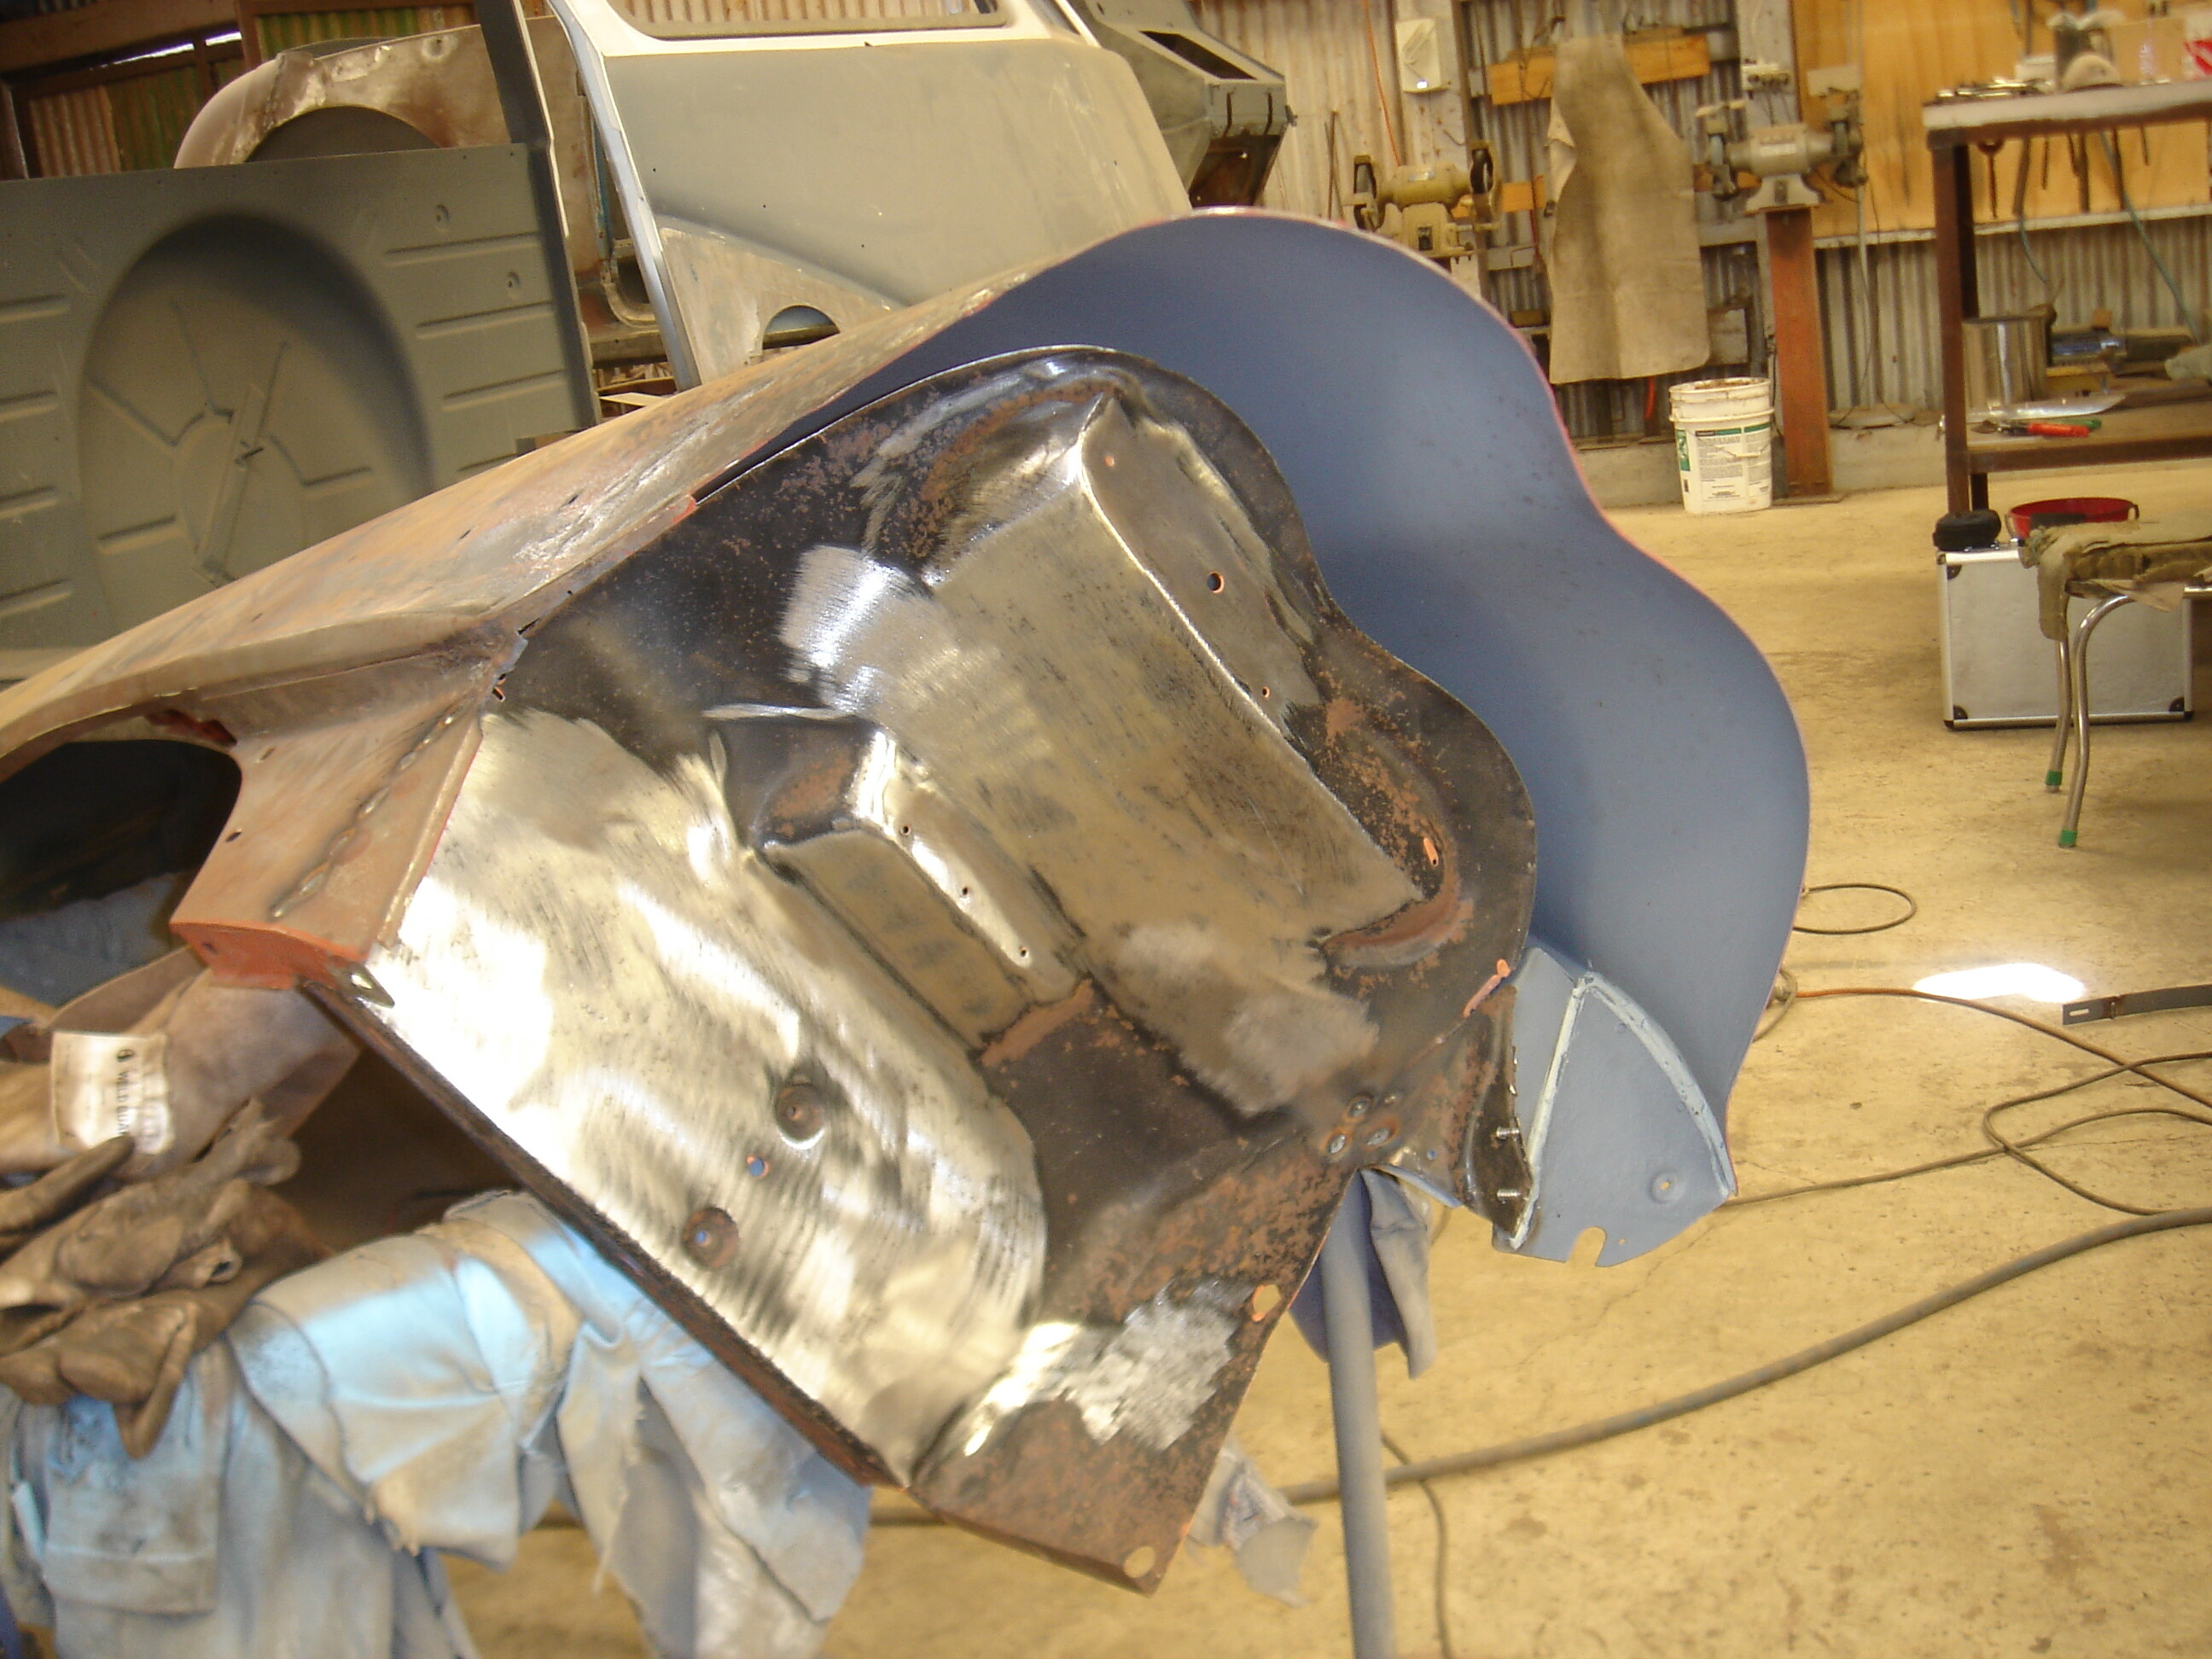
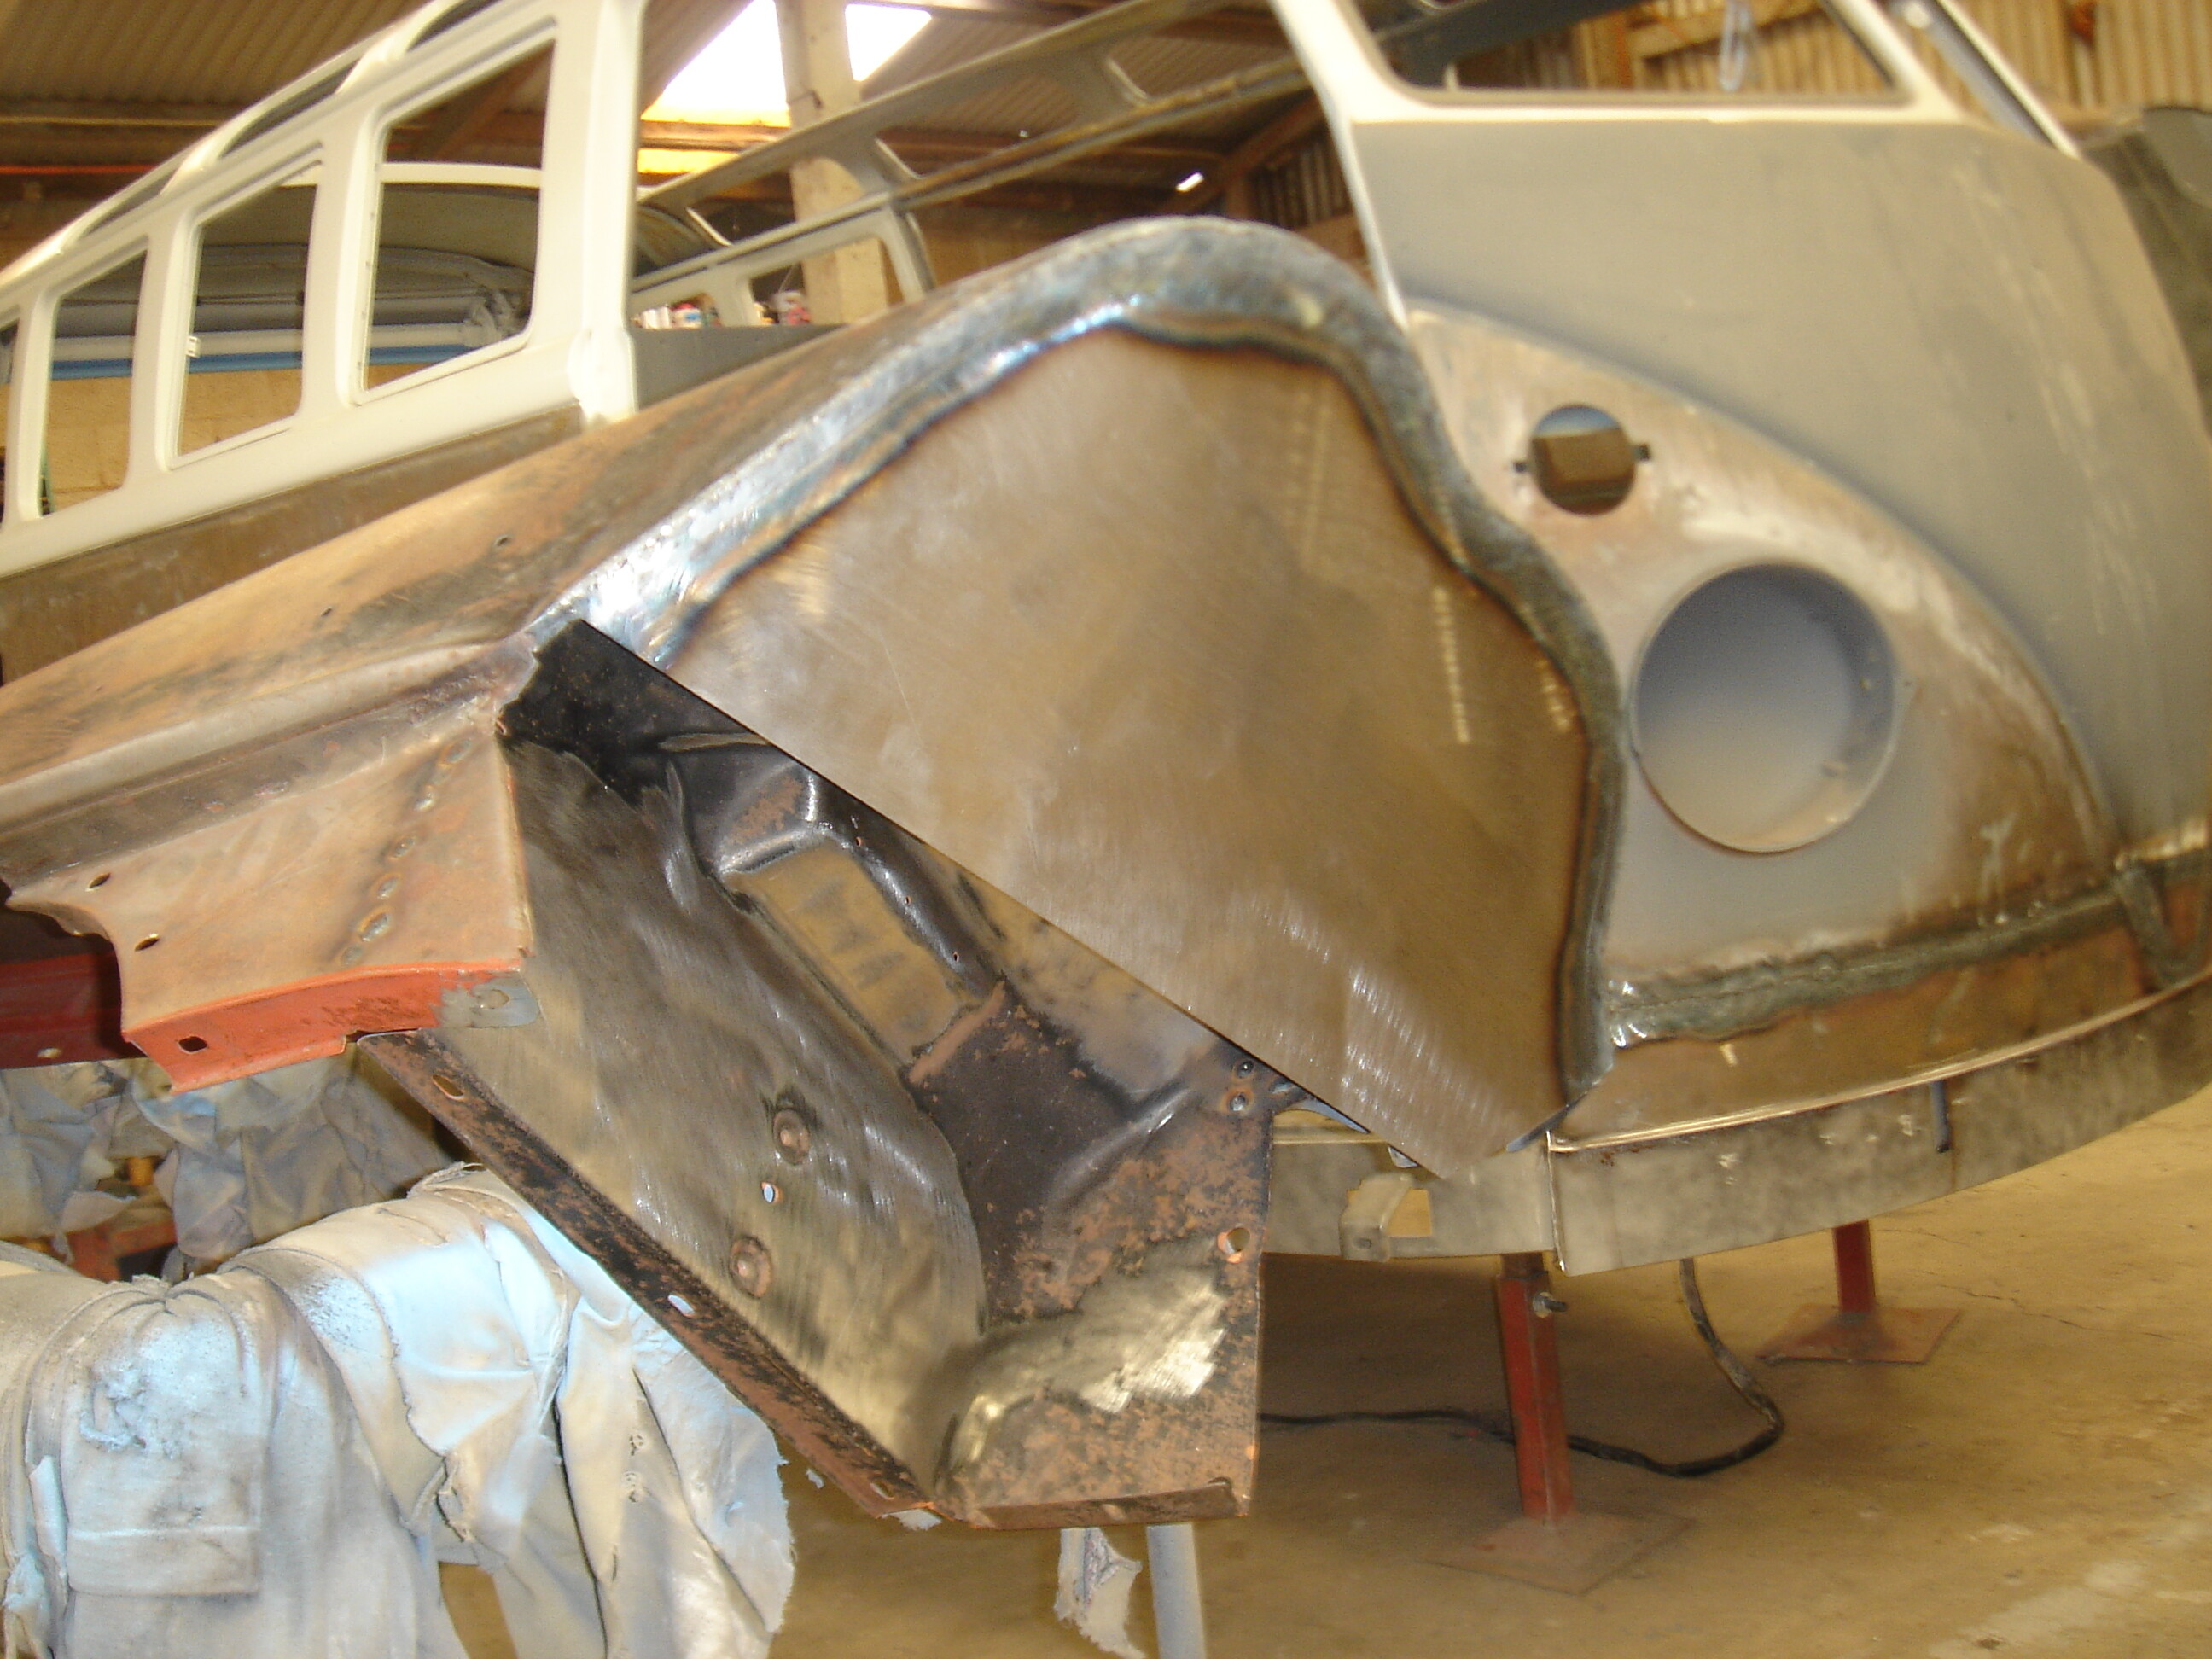
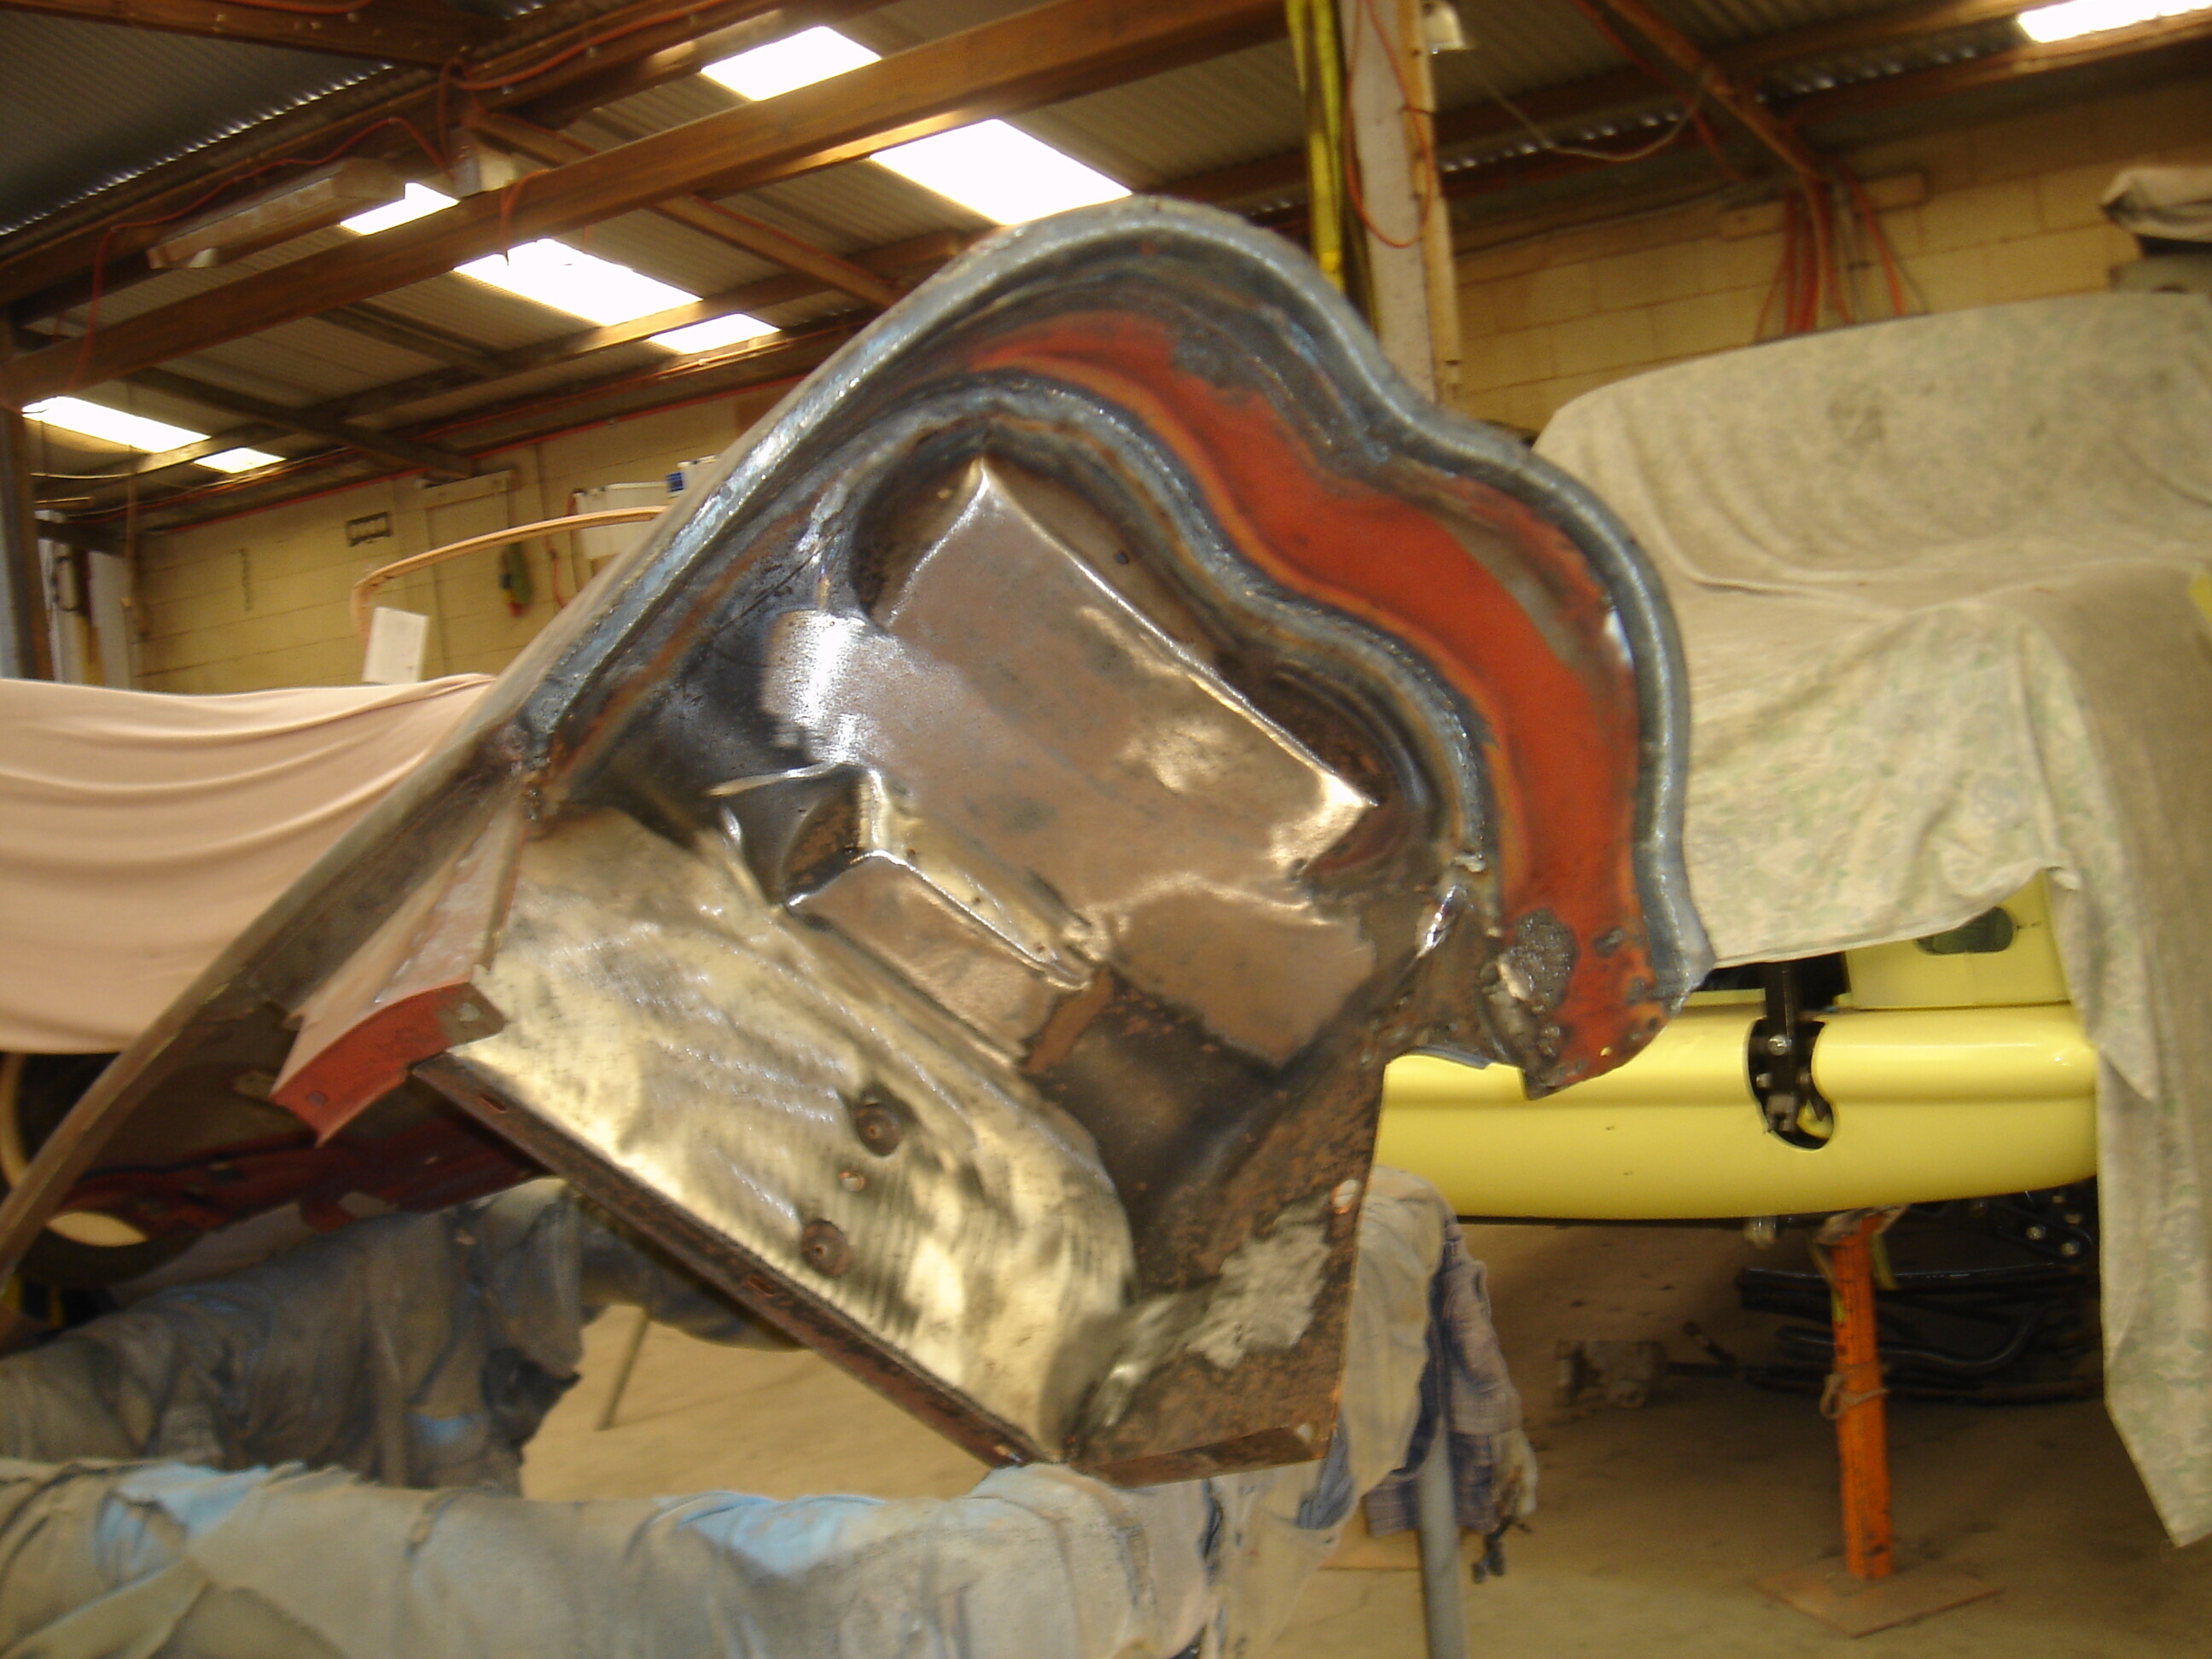
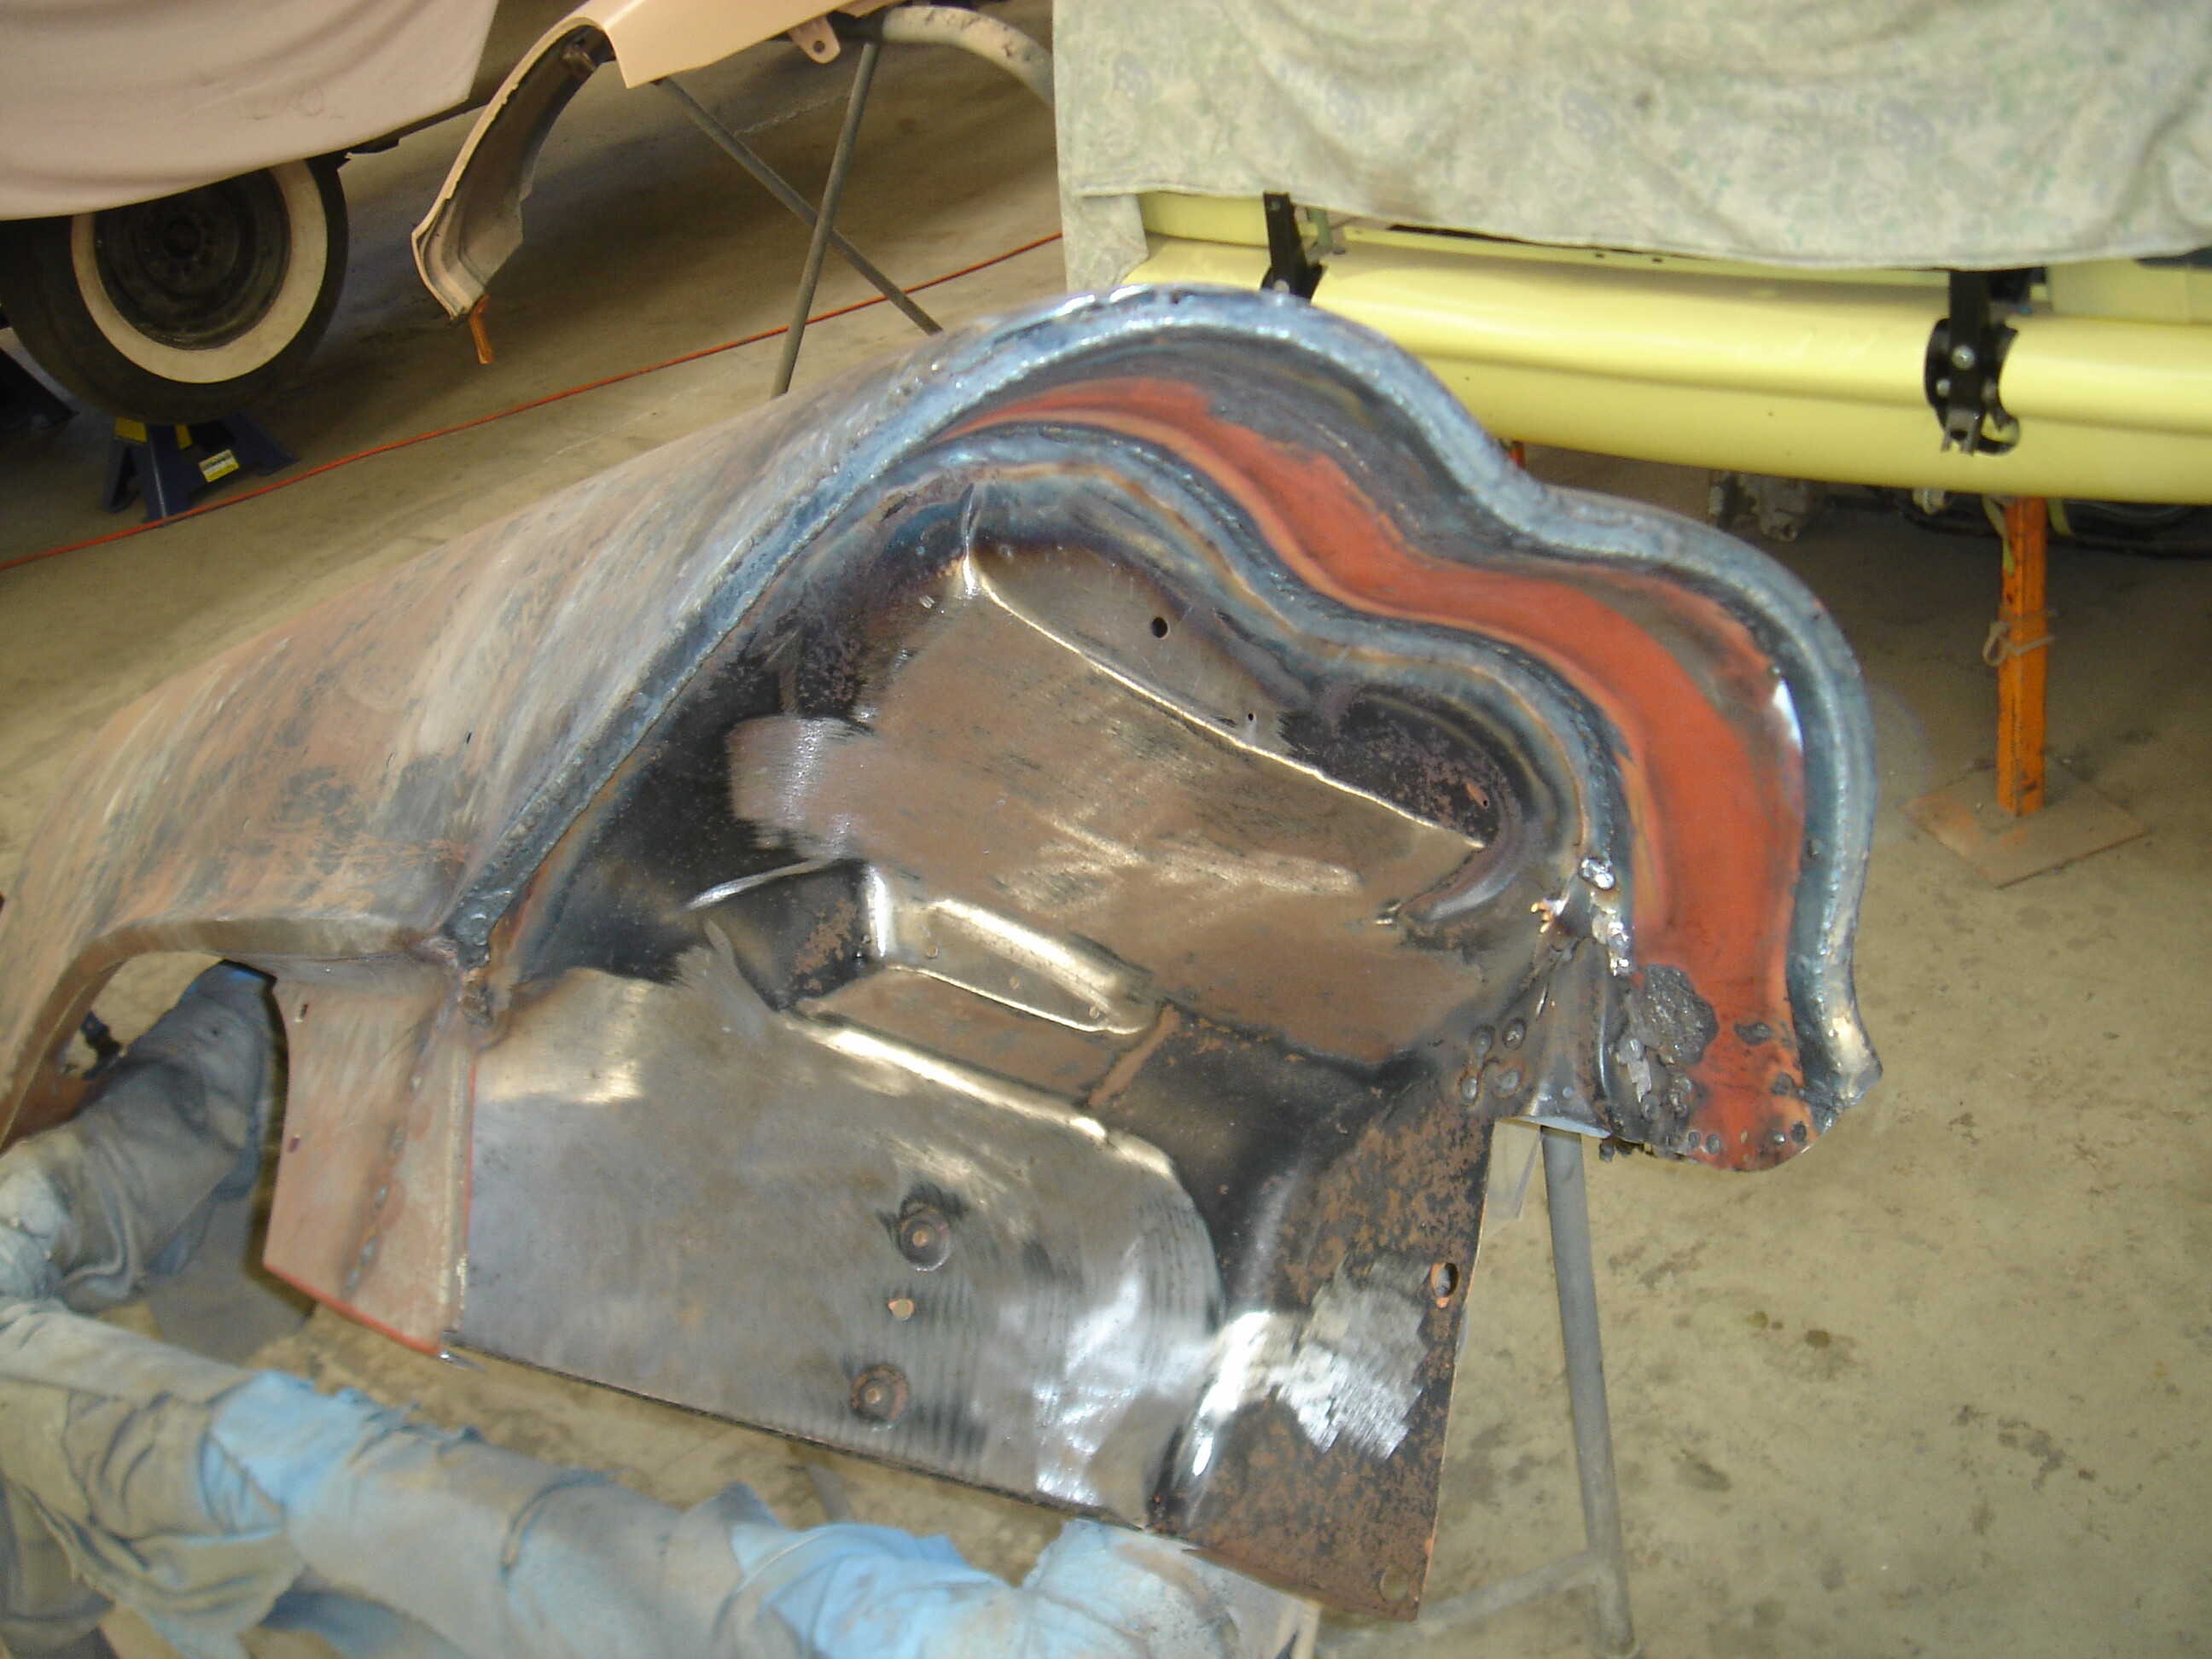
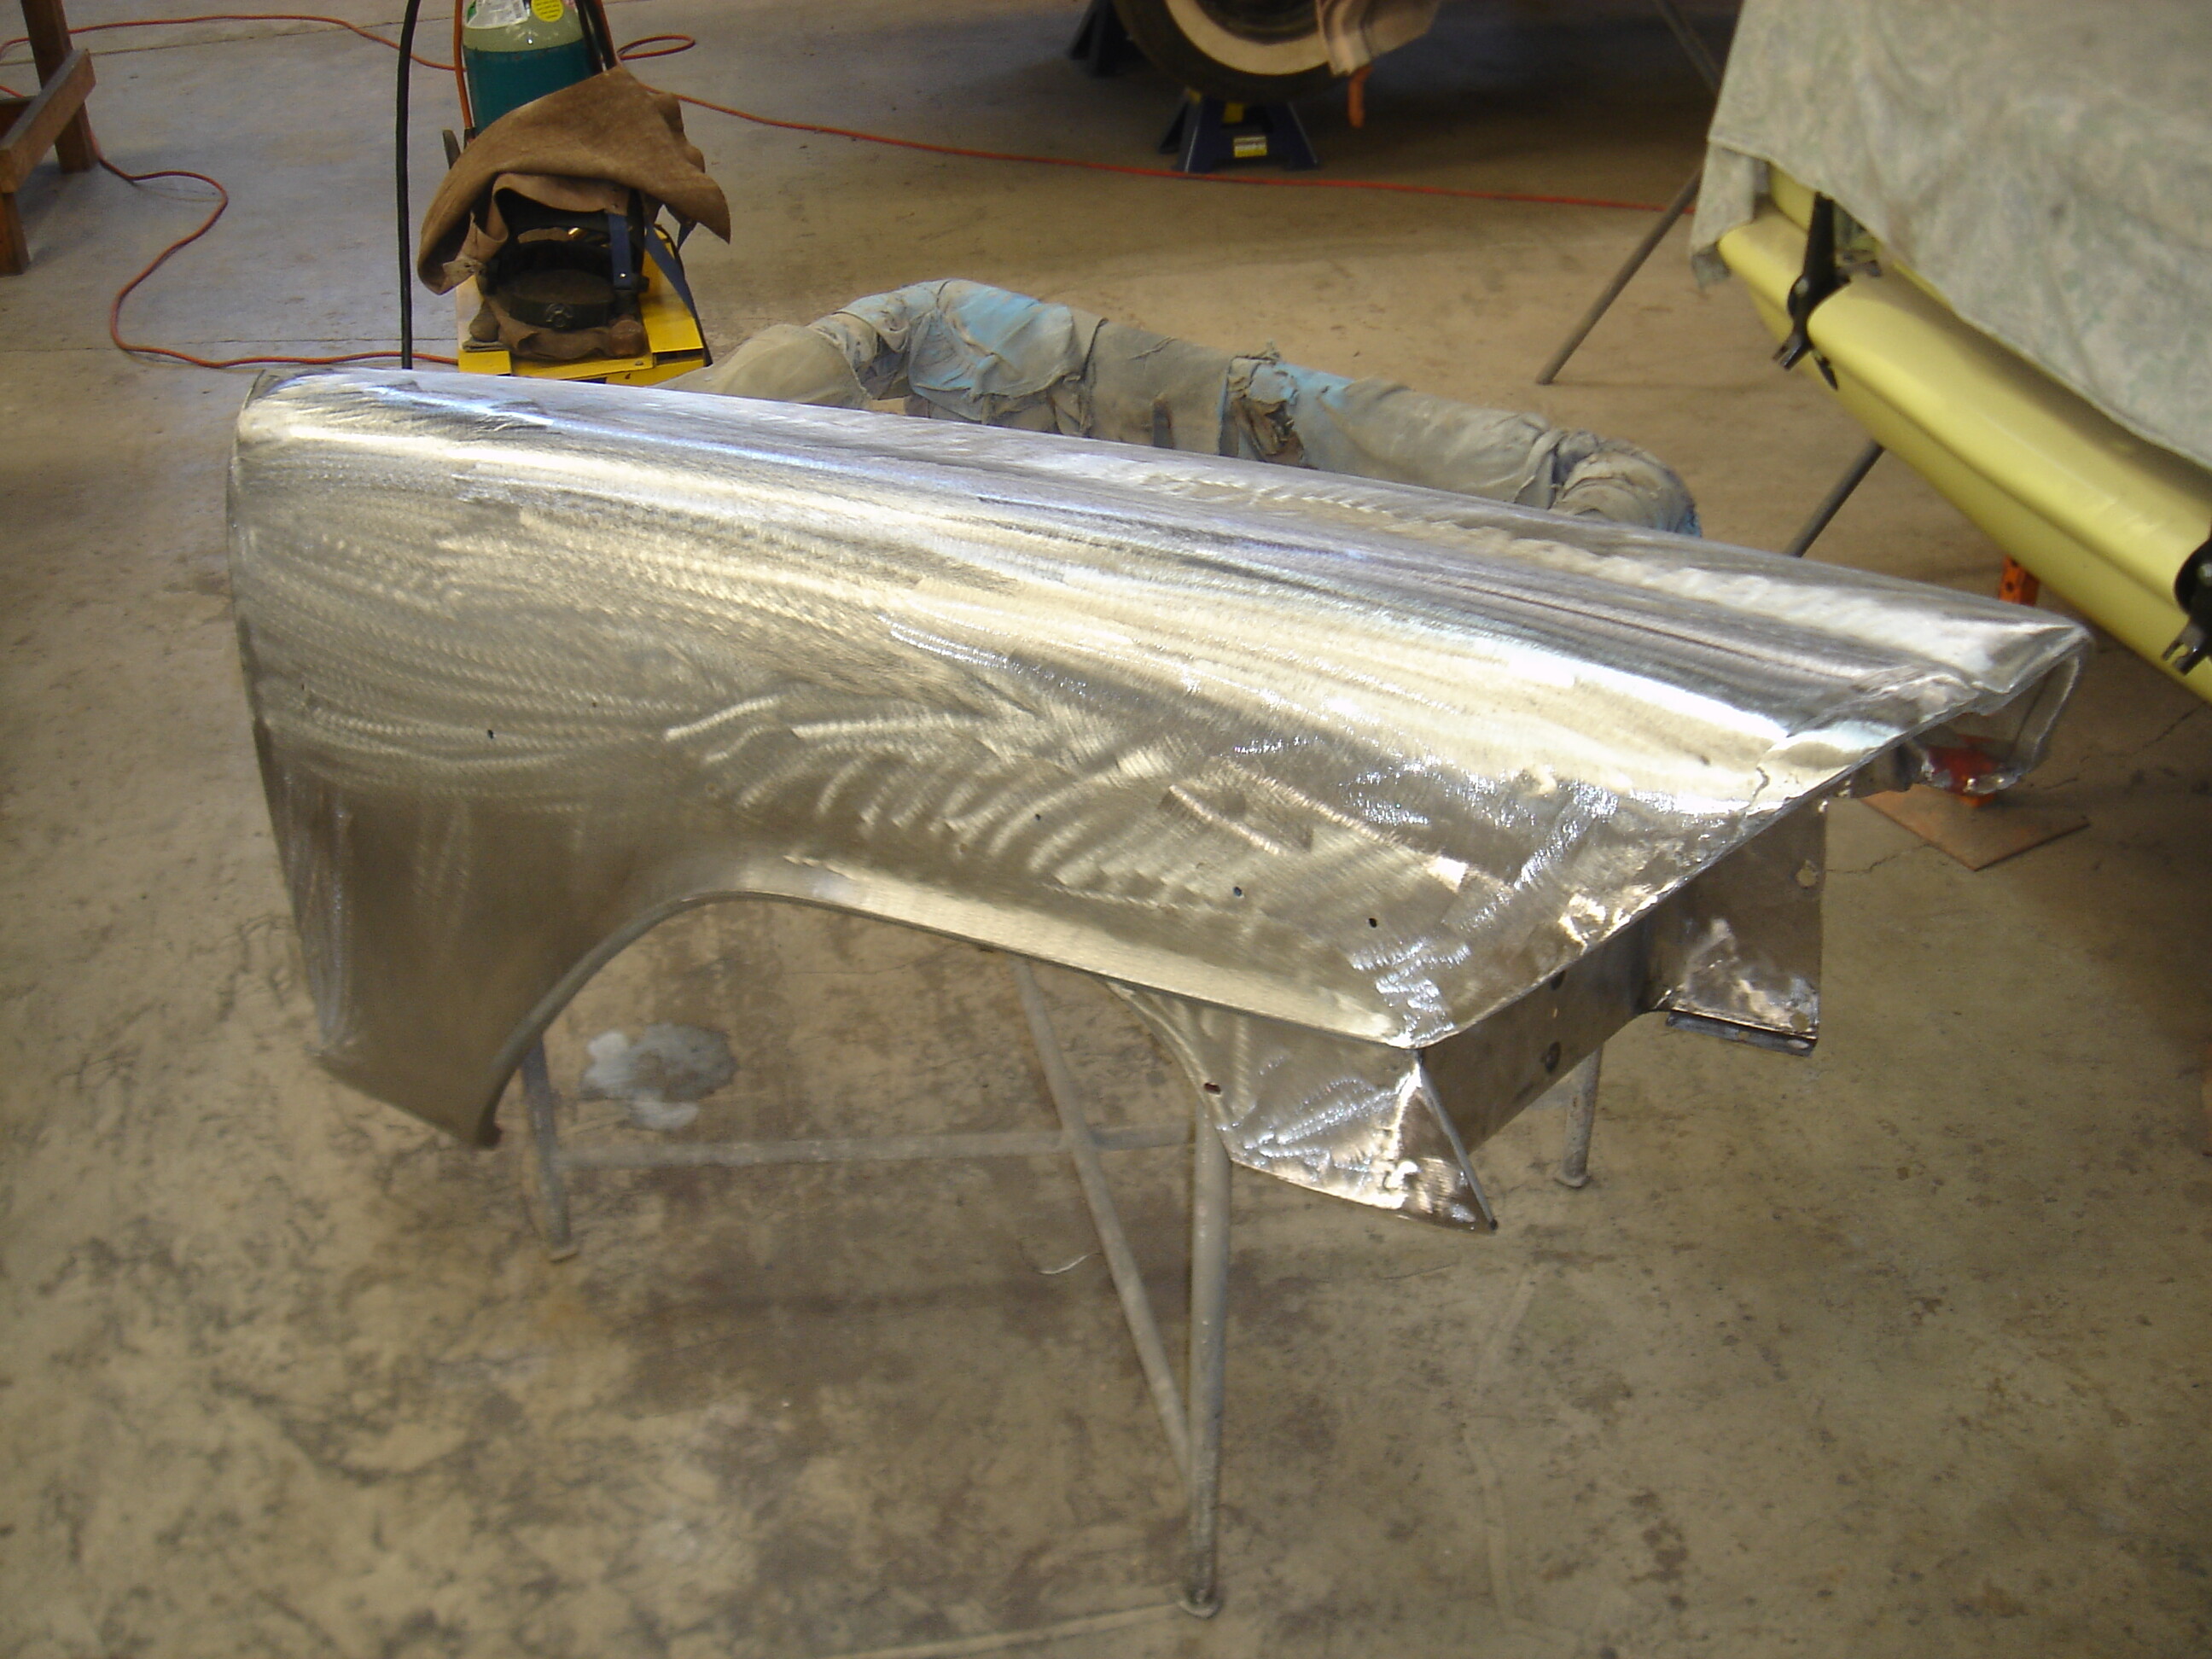
Had to rebuild the front nose of the RHS fender - its was a bit dinged up as well as having some rust
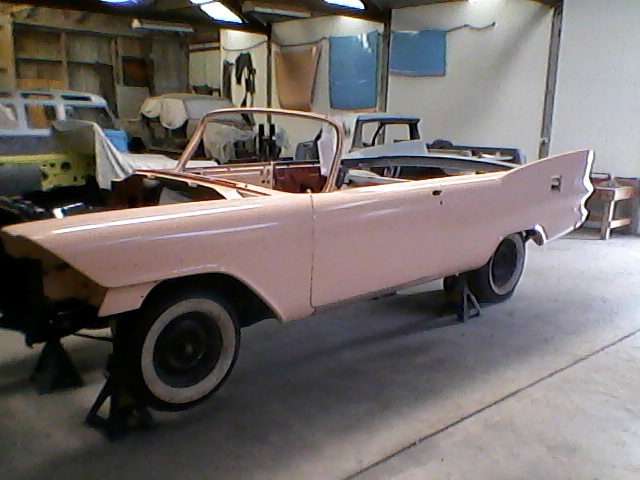
RHS rear quarter metal work finally finished. Because we rebuilt the rear end had to do some minor adjustments to get the tail lights lining up - but came out ok
Some more sanding to do but hopefully she will be in base coat soon
i will then bring her home to drop the engine and trans in and sort out a few things like exhaust / radiator etc
Looking at having the interior also done at this stage so i can take it out when it goes back to the paint shop
Want to do as much on it as i can before it gets painted so as to reduce the possibility of dings and scratches as it makes its way around to trim shop/mechanics etc
Hope all are well and hope to touch base soon
Cheers
Vic
Looks great, Vic!!
Keep the photos coming!
—John
Hi all
Some further progress has occurred
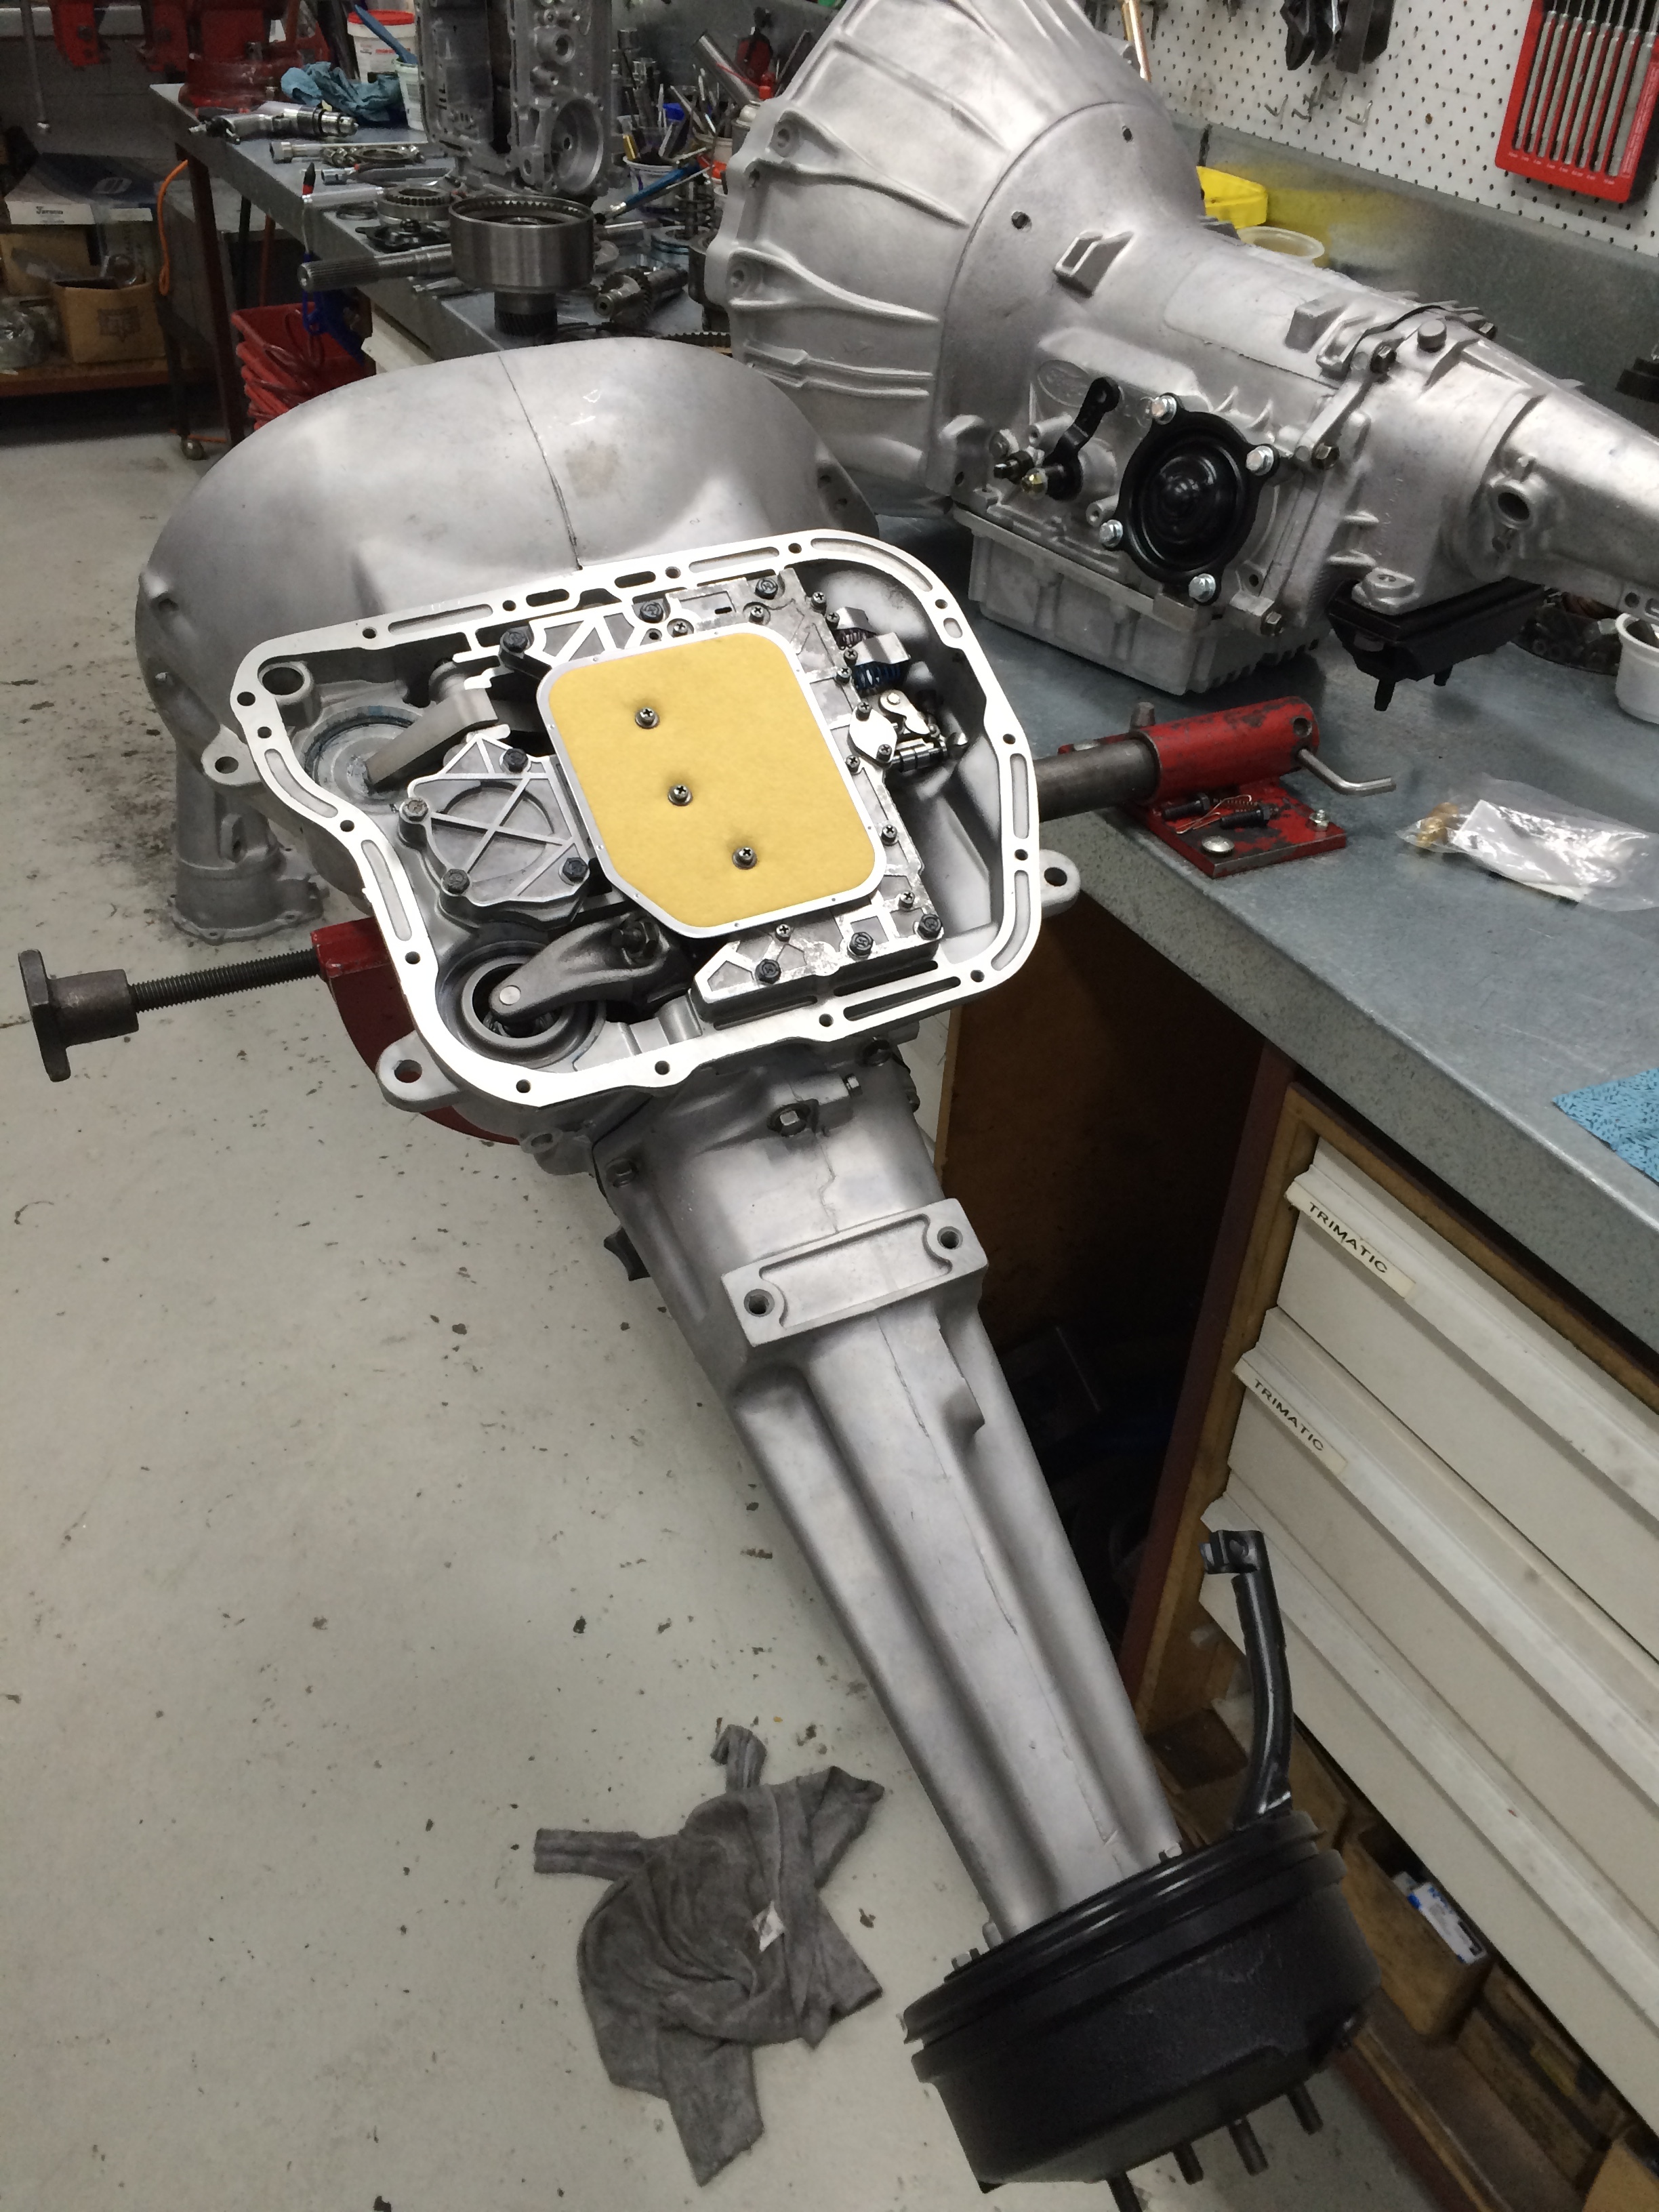
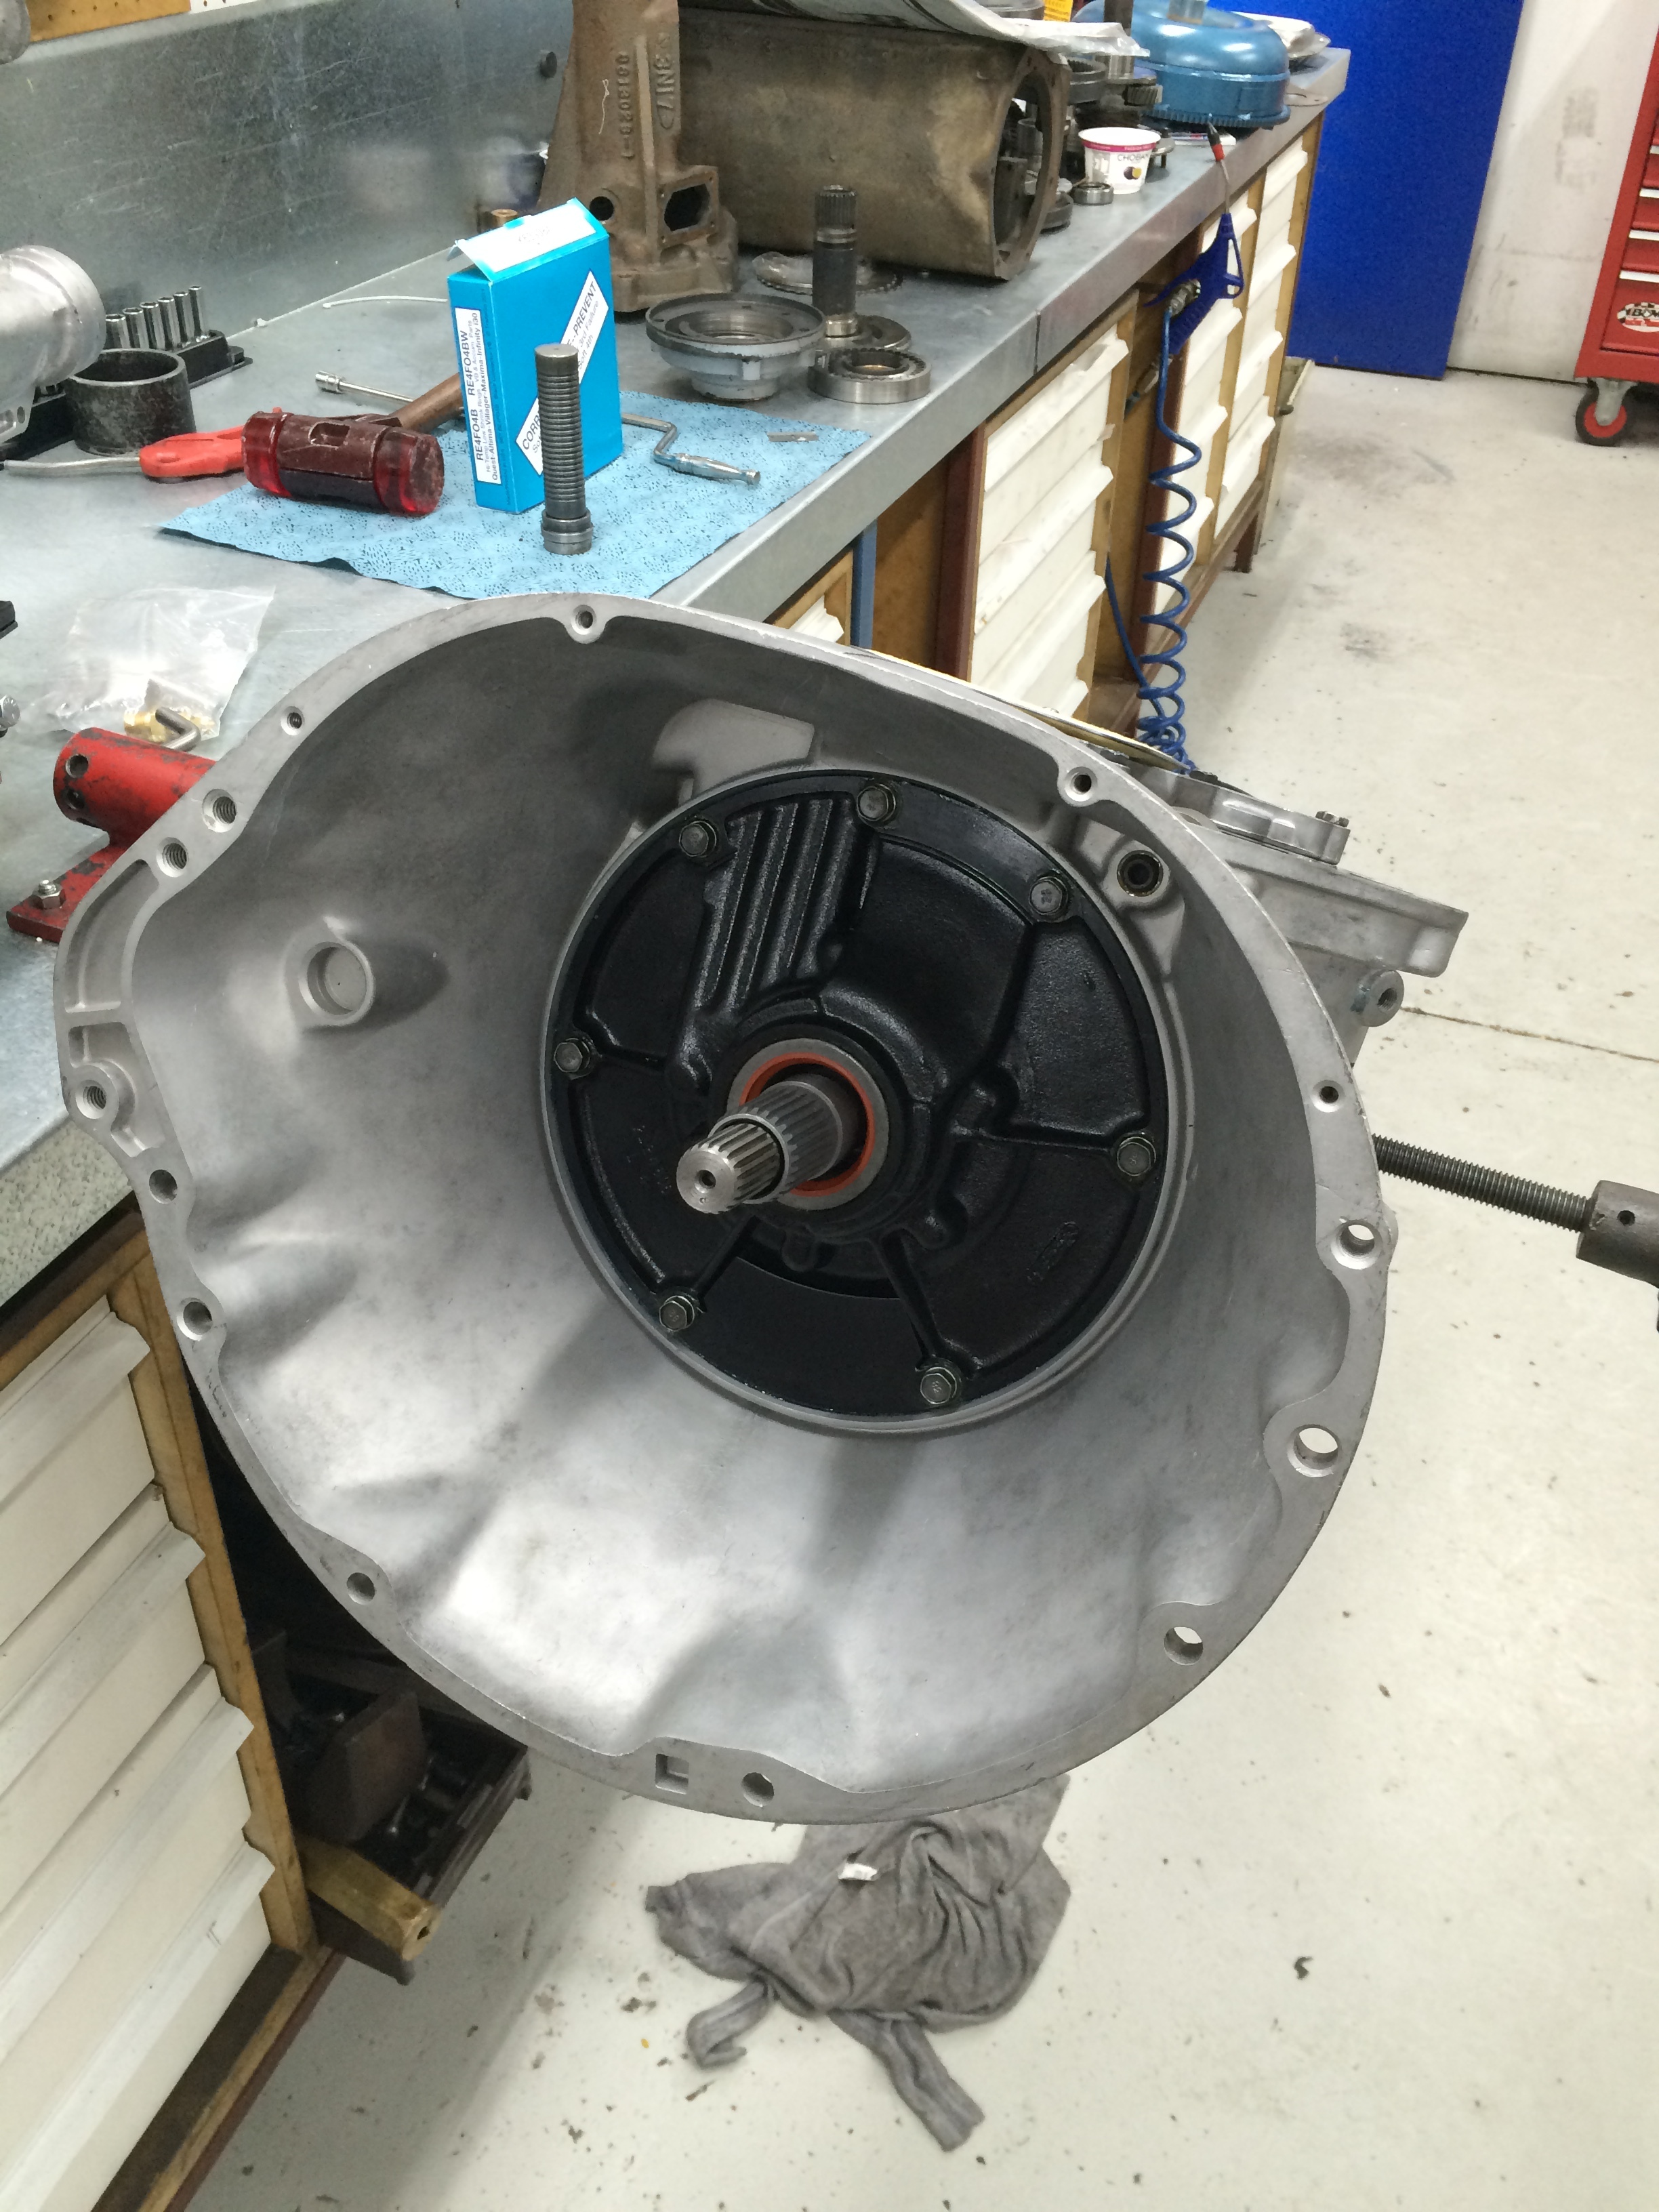
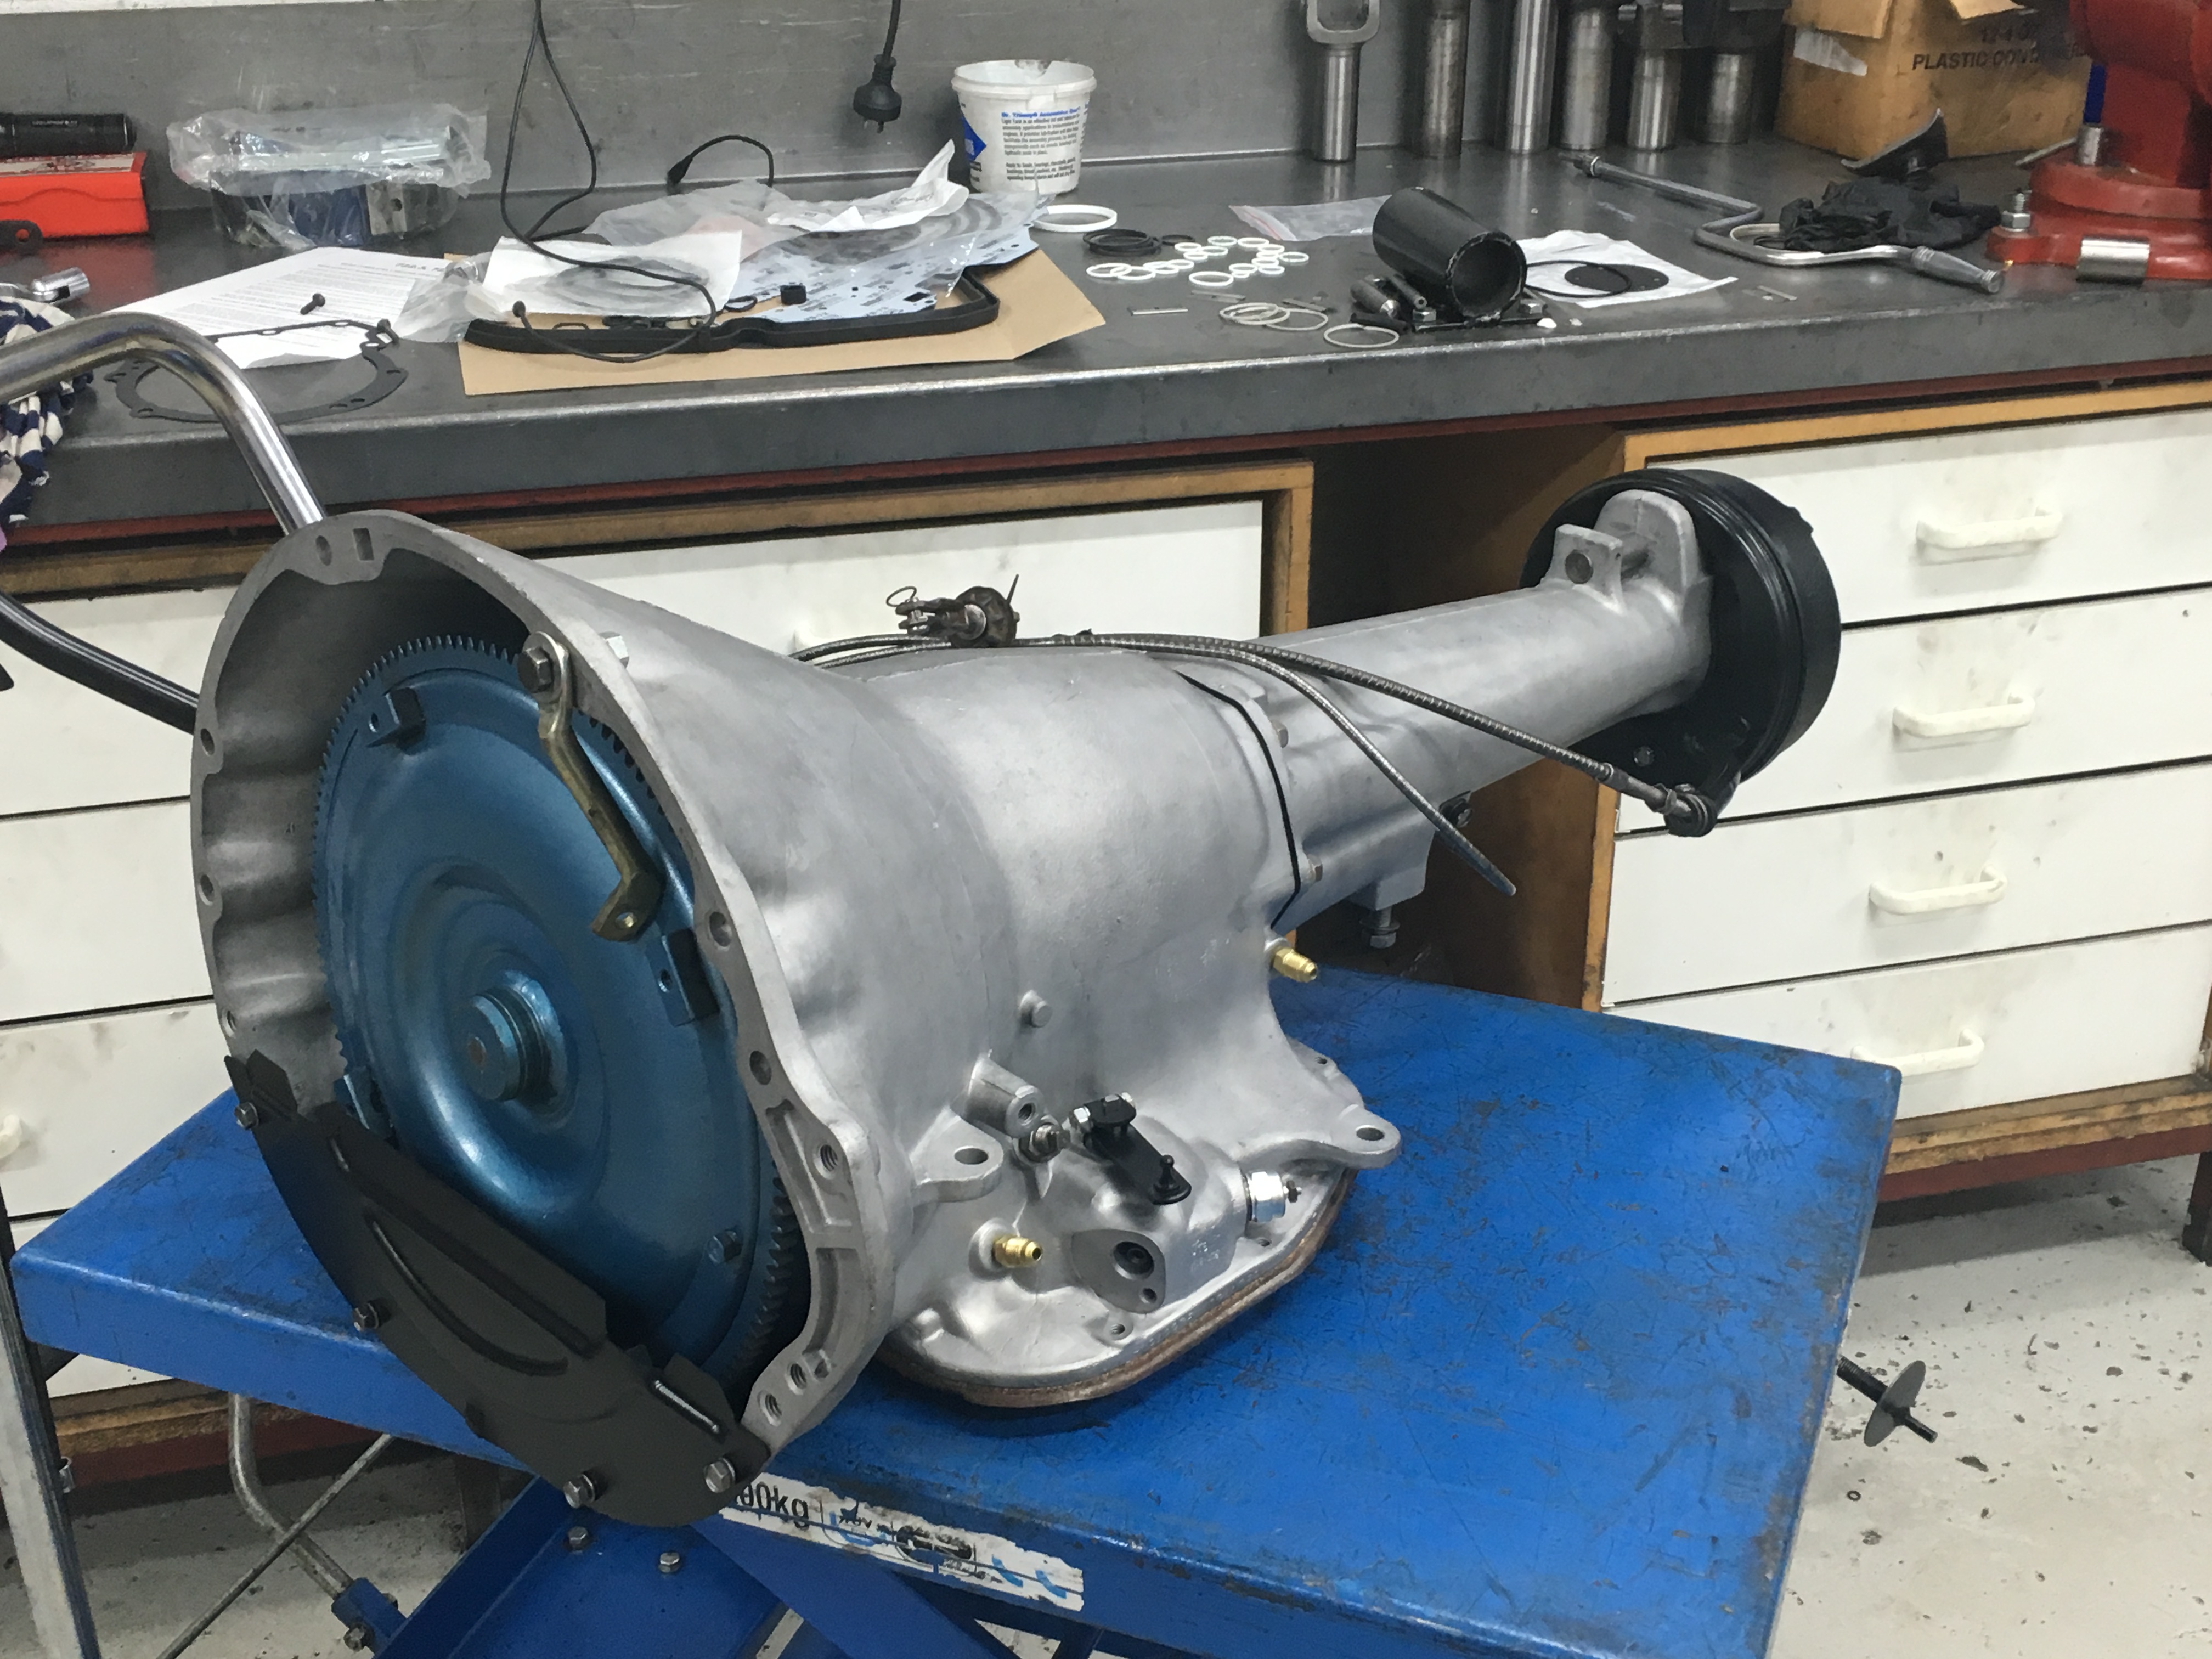
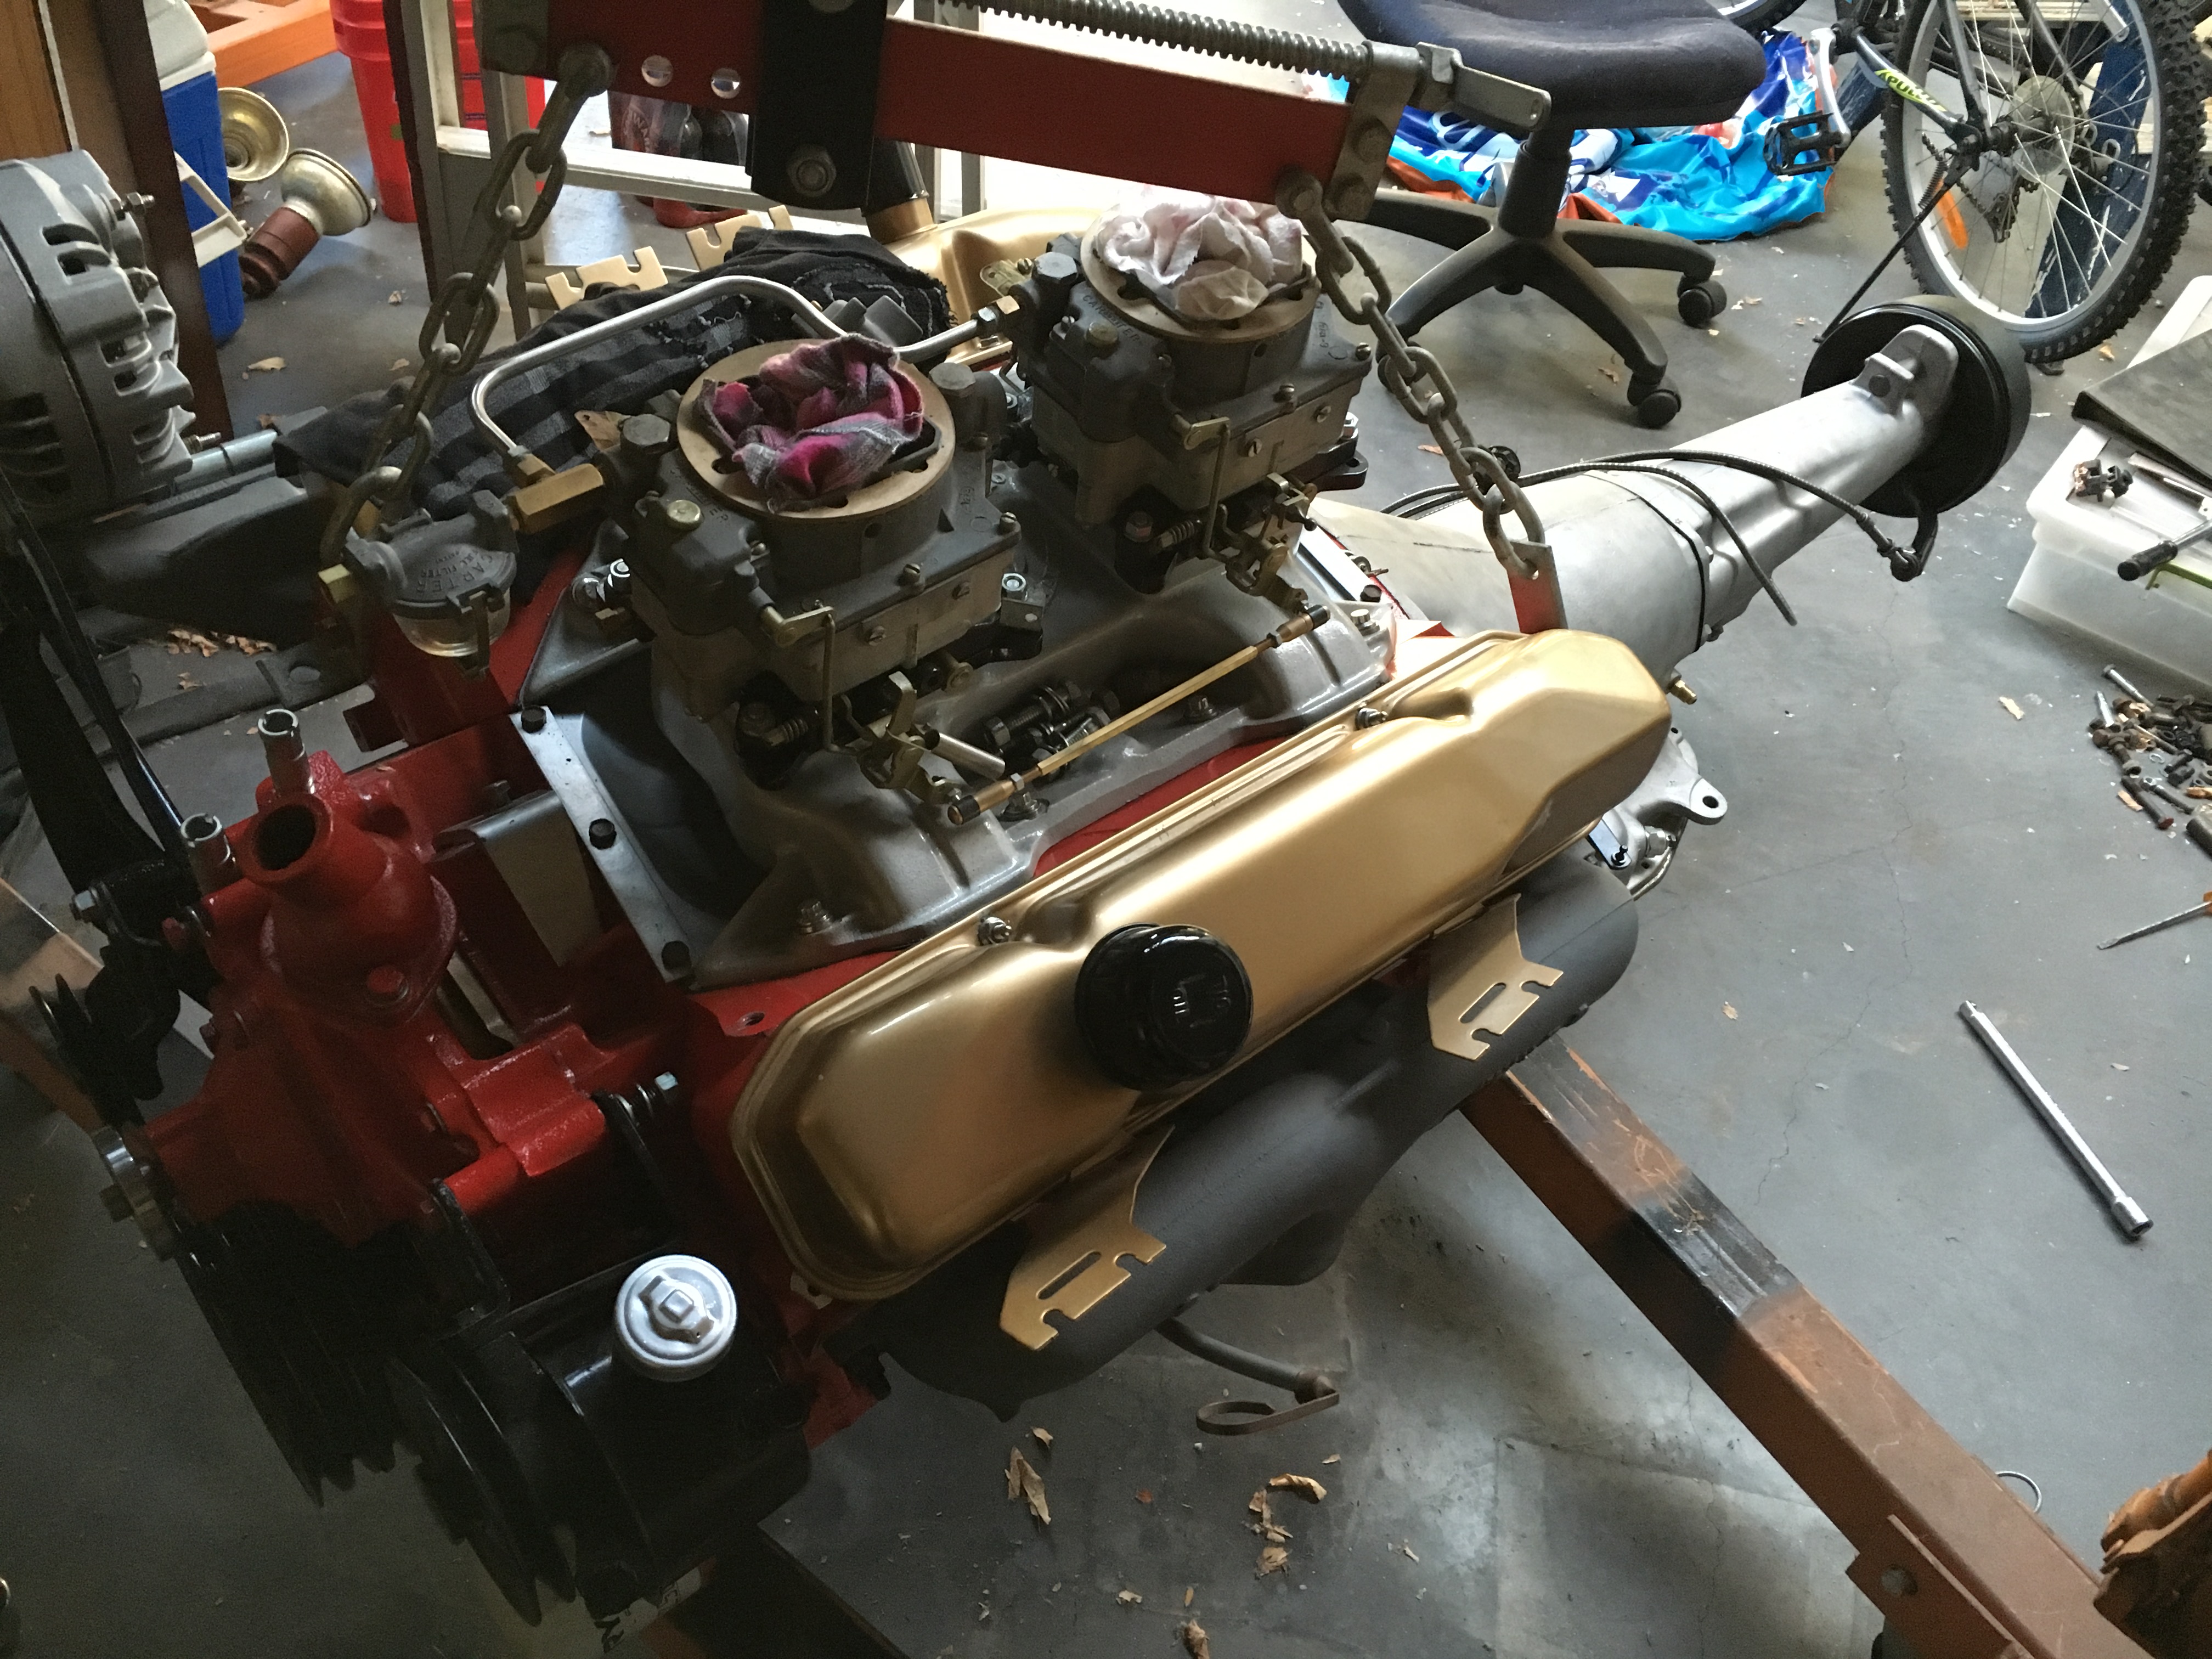
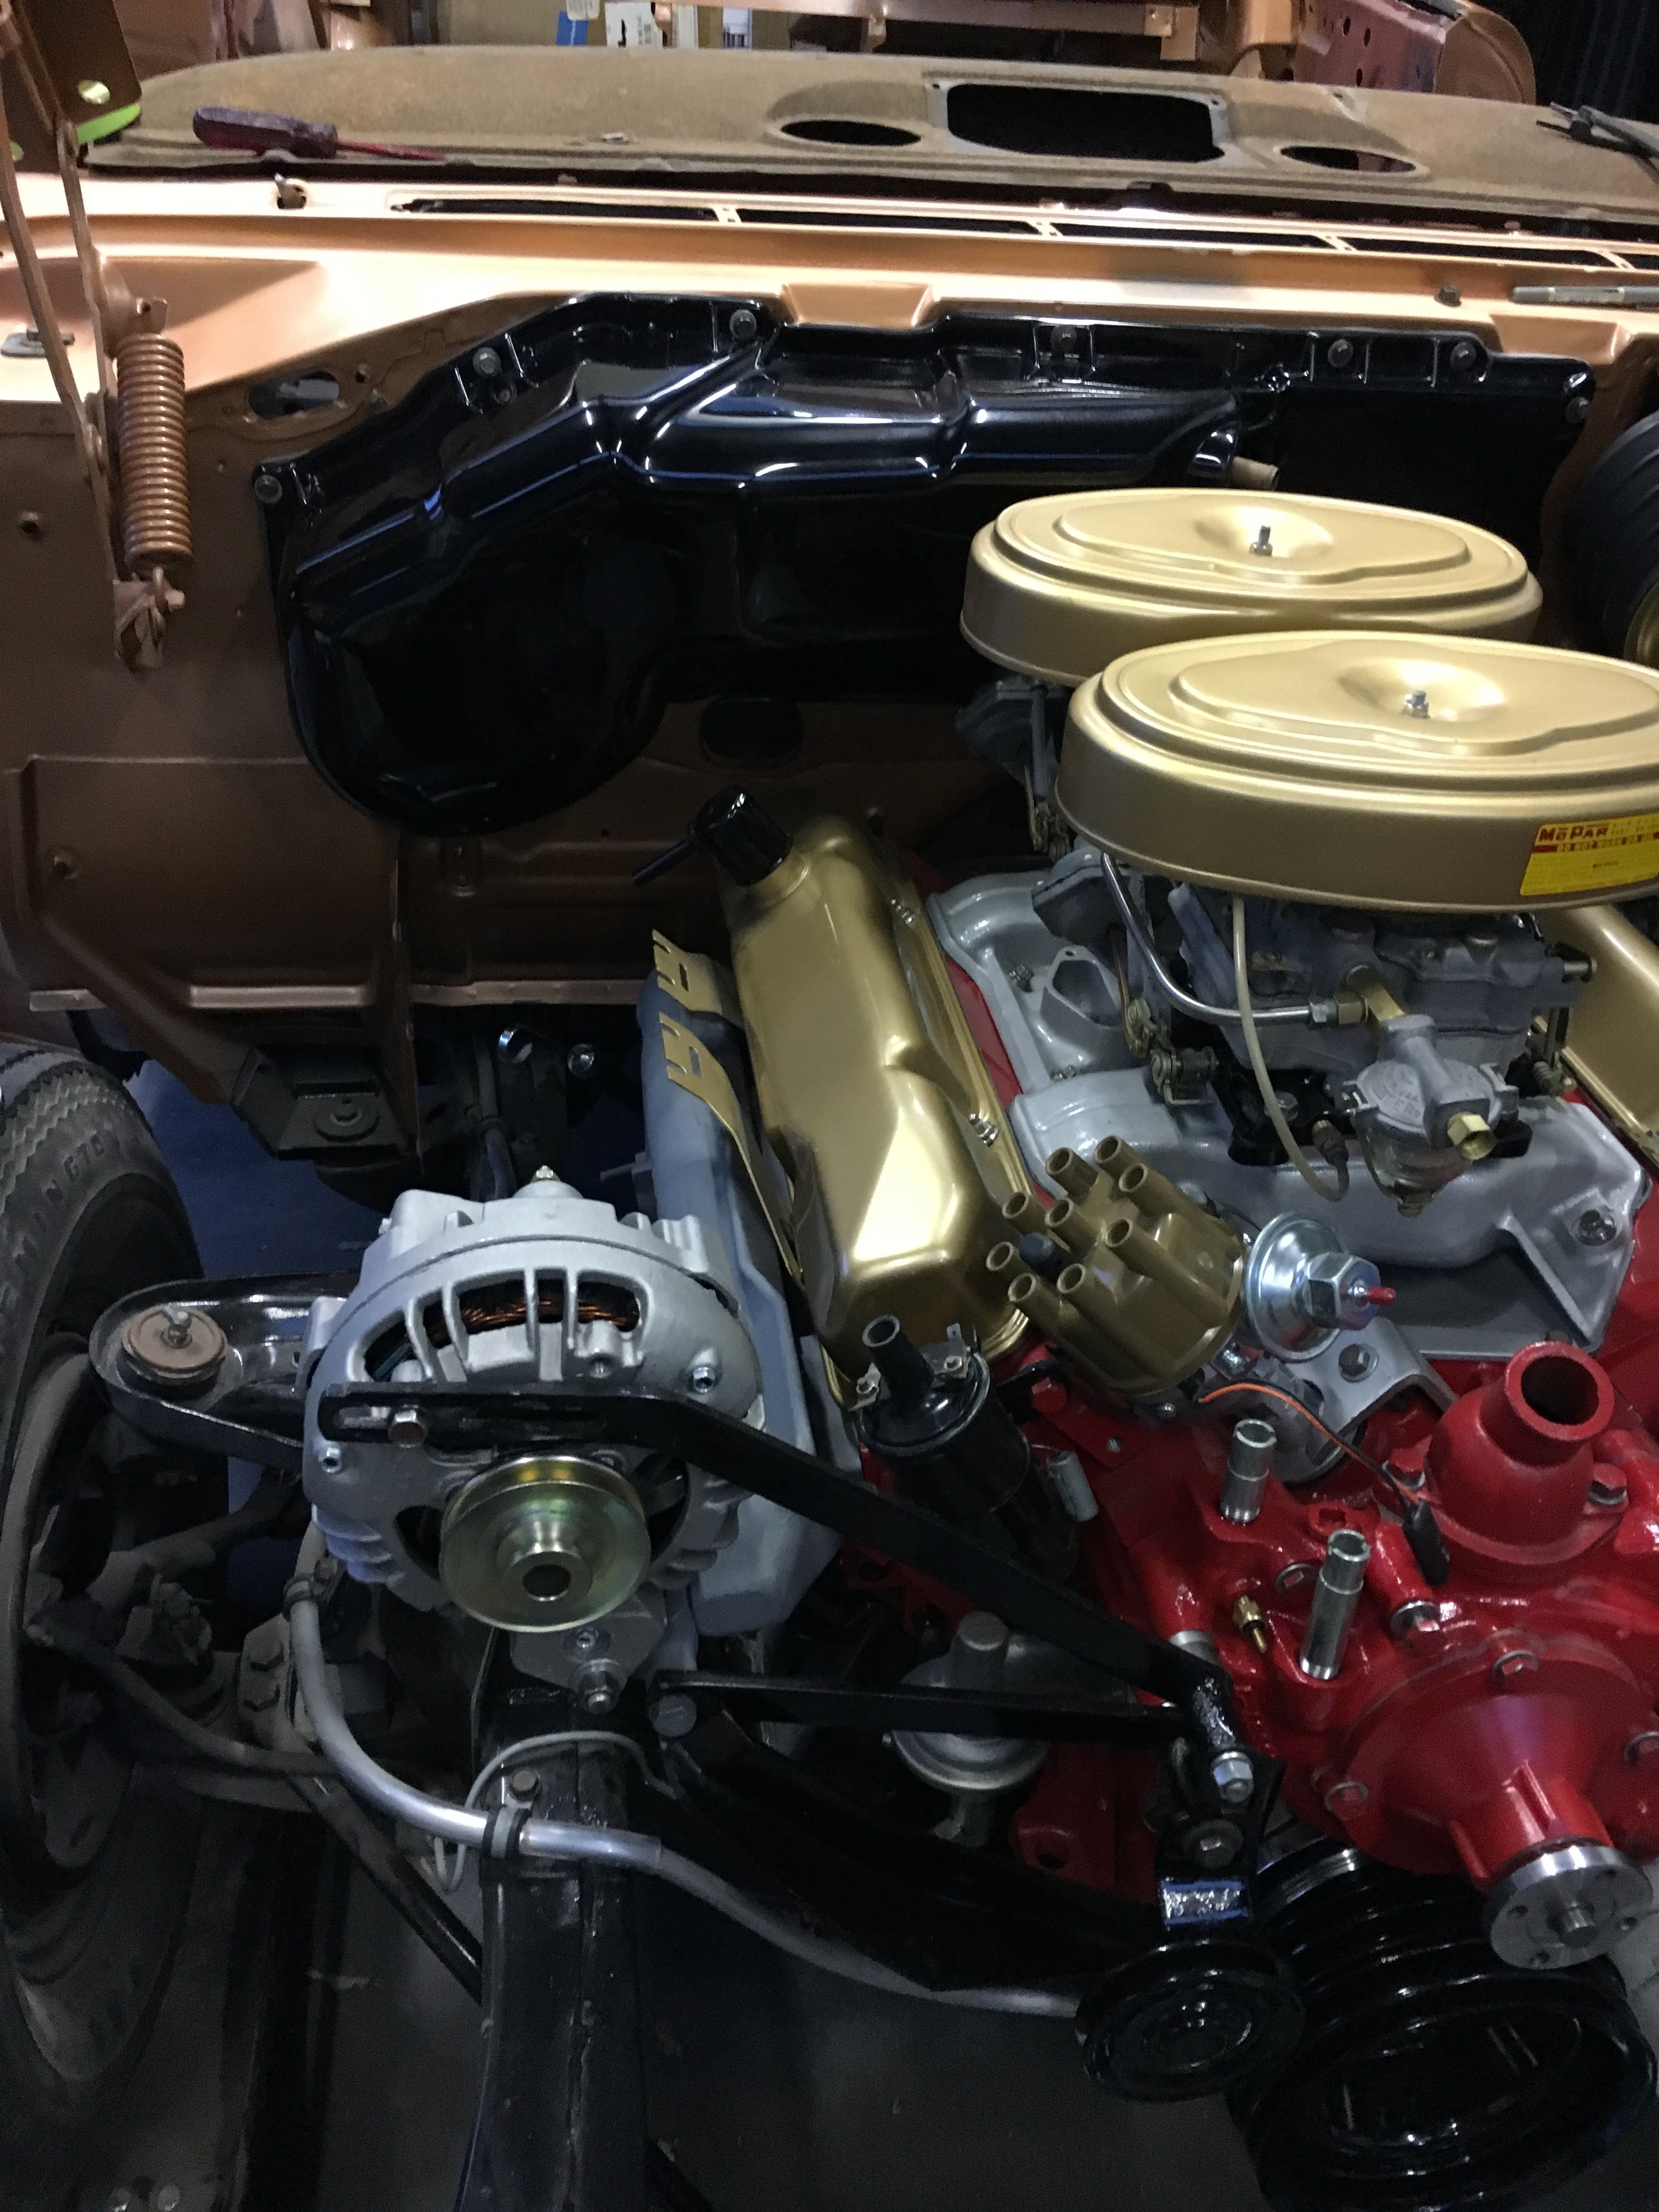
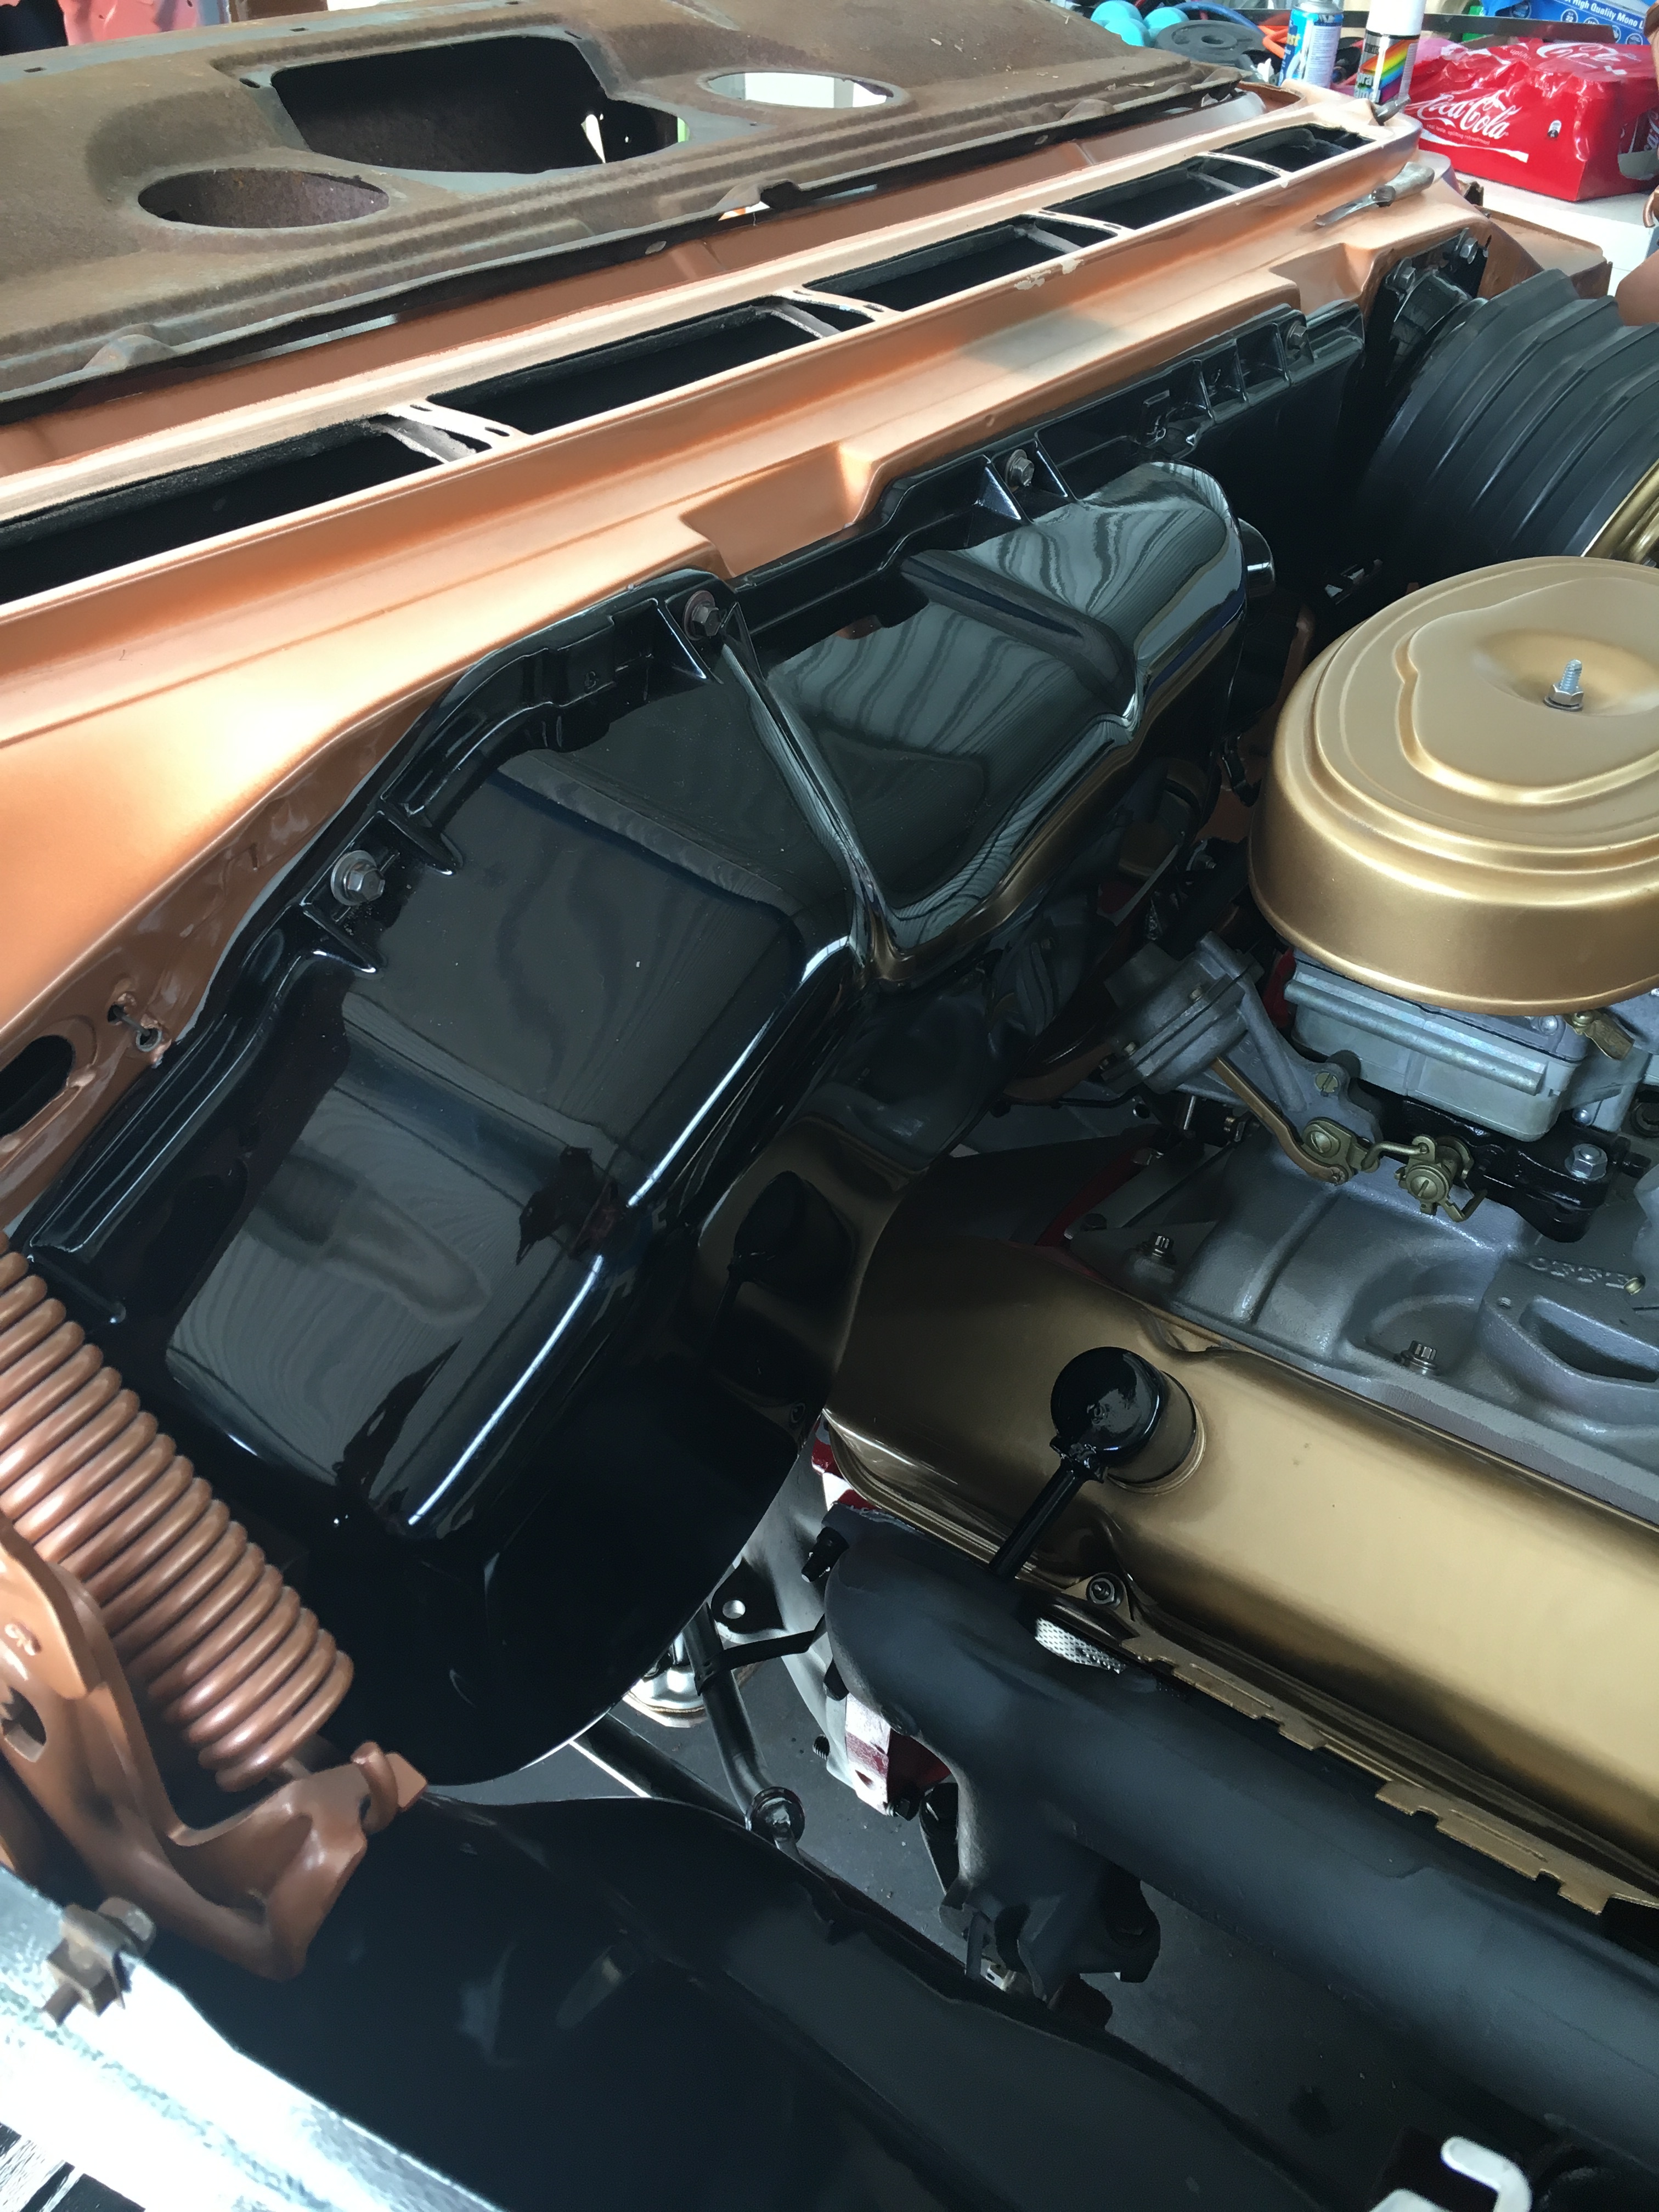
Had the trans I bought off Big M rebuilt and fitted it to the engine
Finally got the car home
I’ve decided to get it running before I paint it
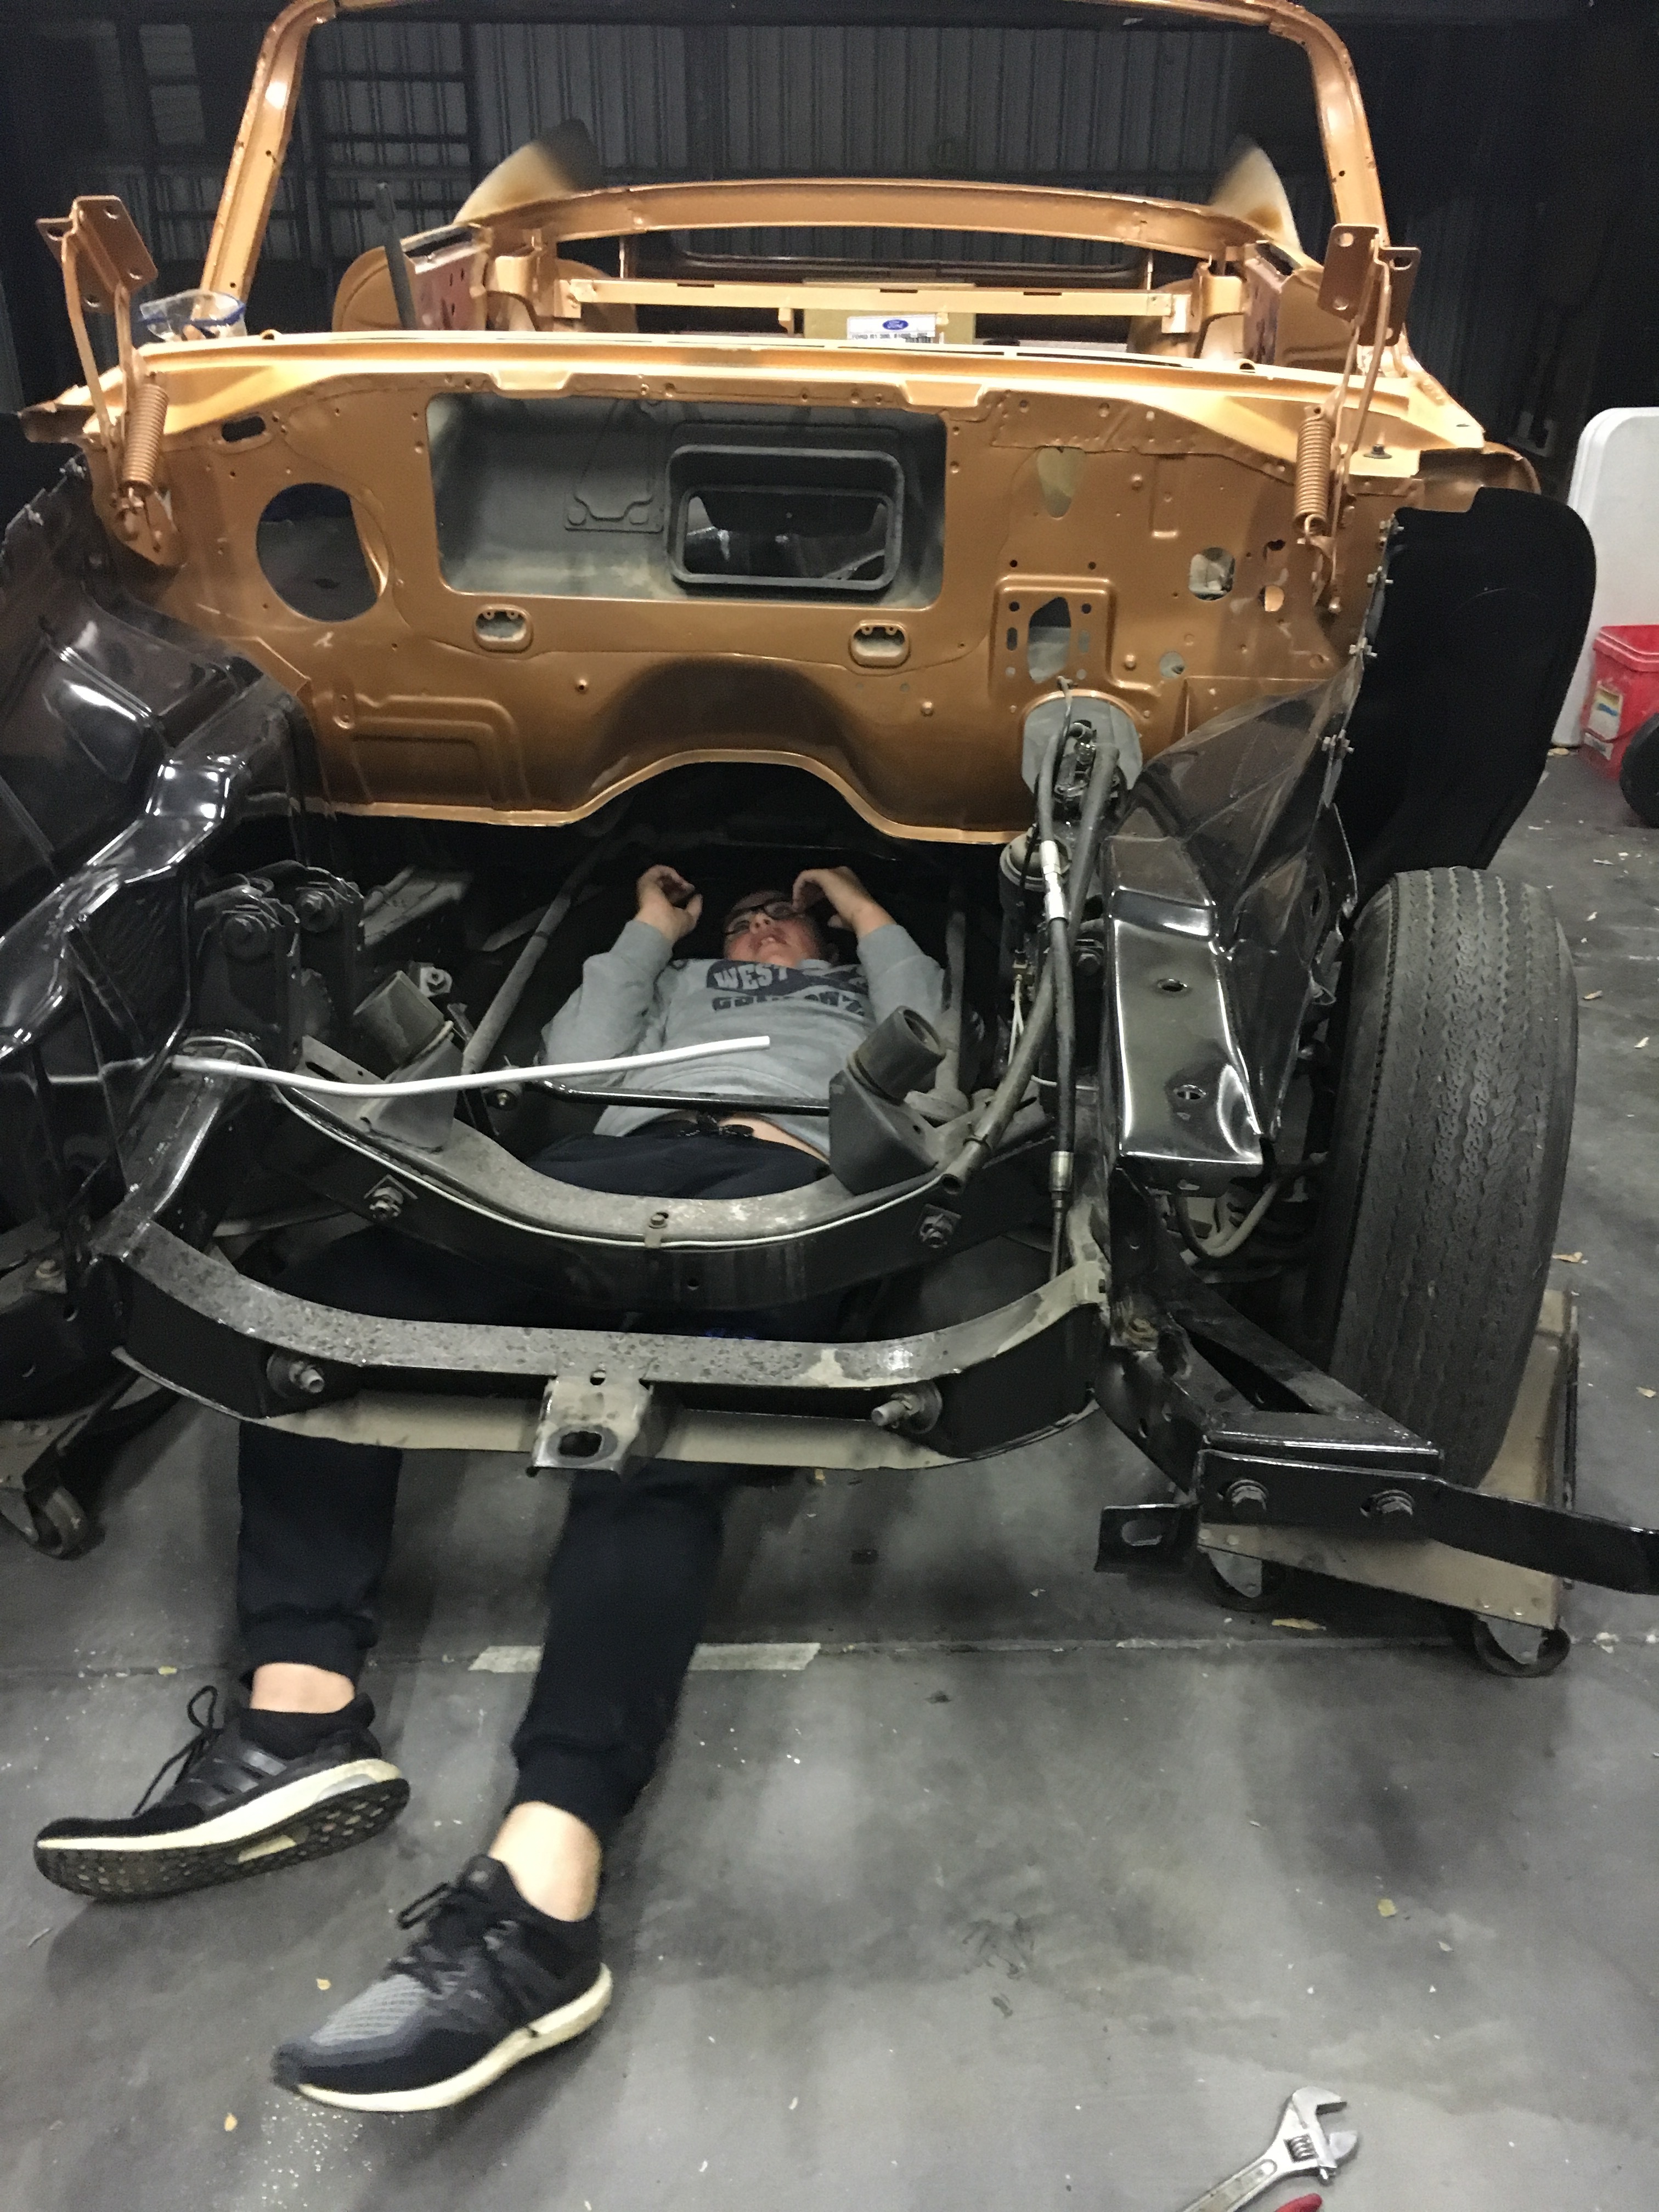
Because I’ve put in a 62 Plymouth trans I need to make up a bracket to pick up the trans mount position. The later model trans mound sits abou 170cm forward compared to the 904trans
So far things seem to be lining up
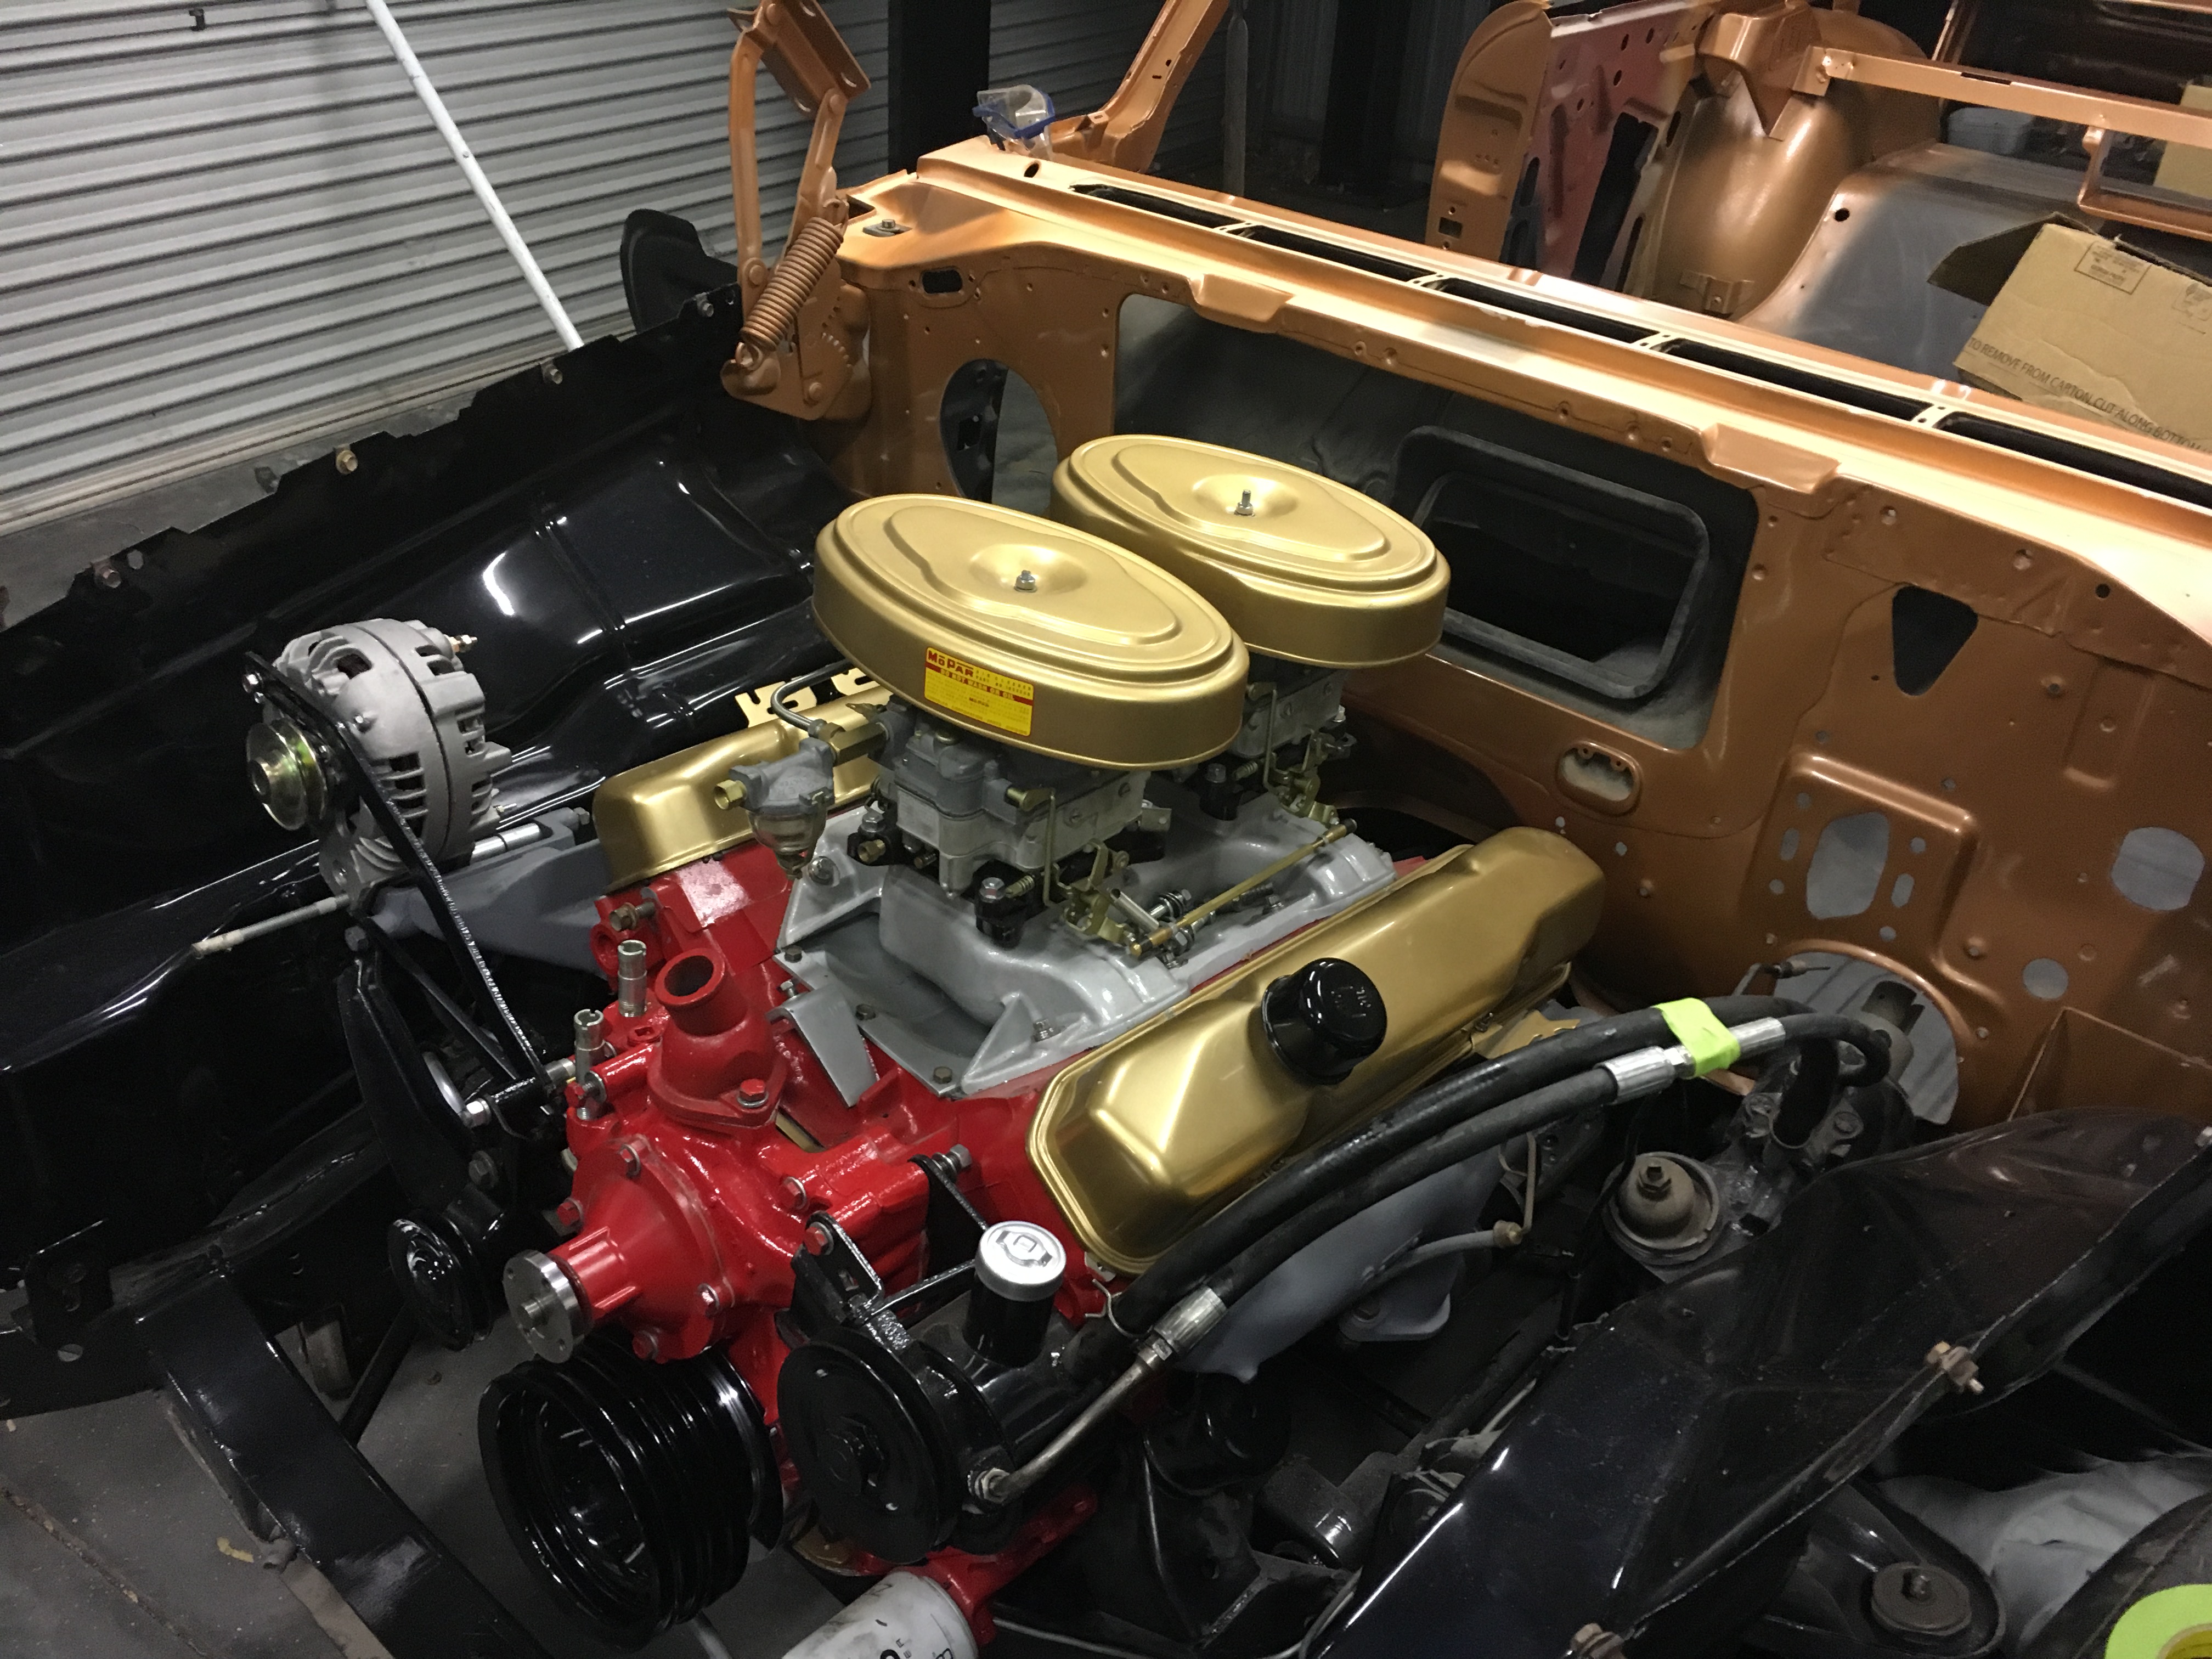
Got my son to give me hand putting engine and trans in
Didn’t want to damage the painted fire wall
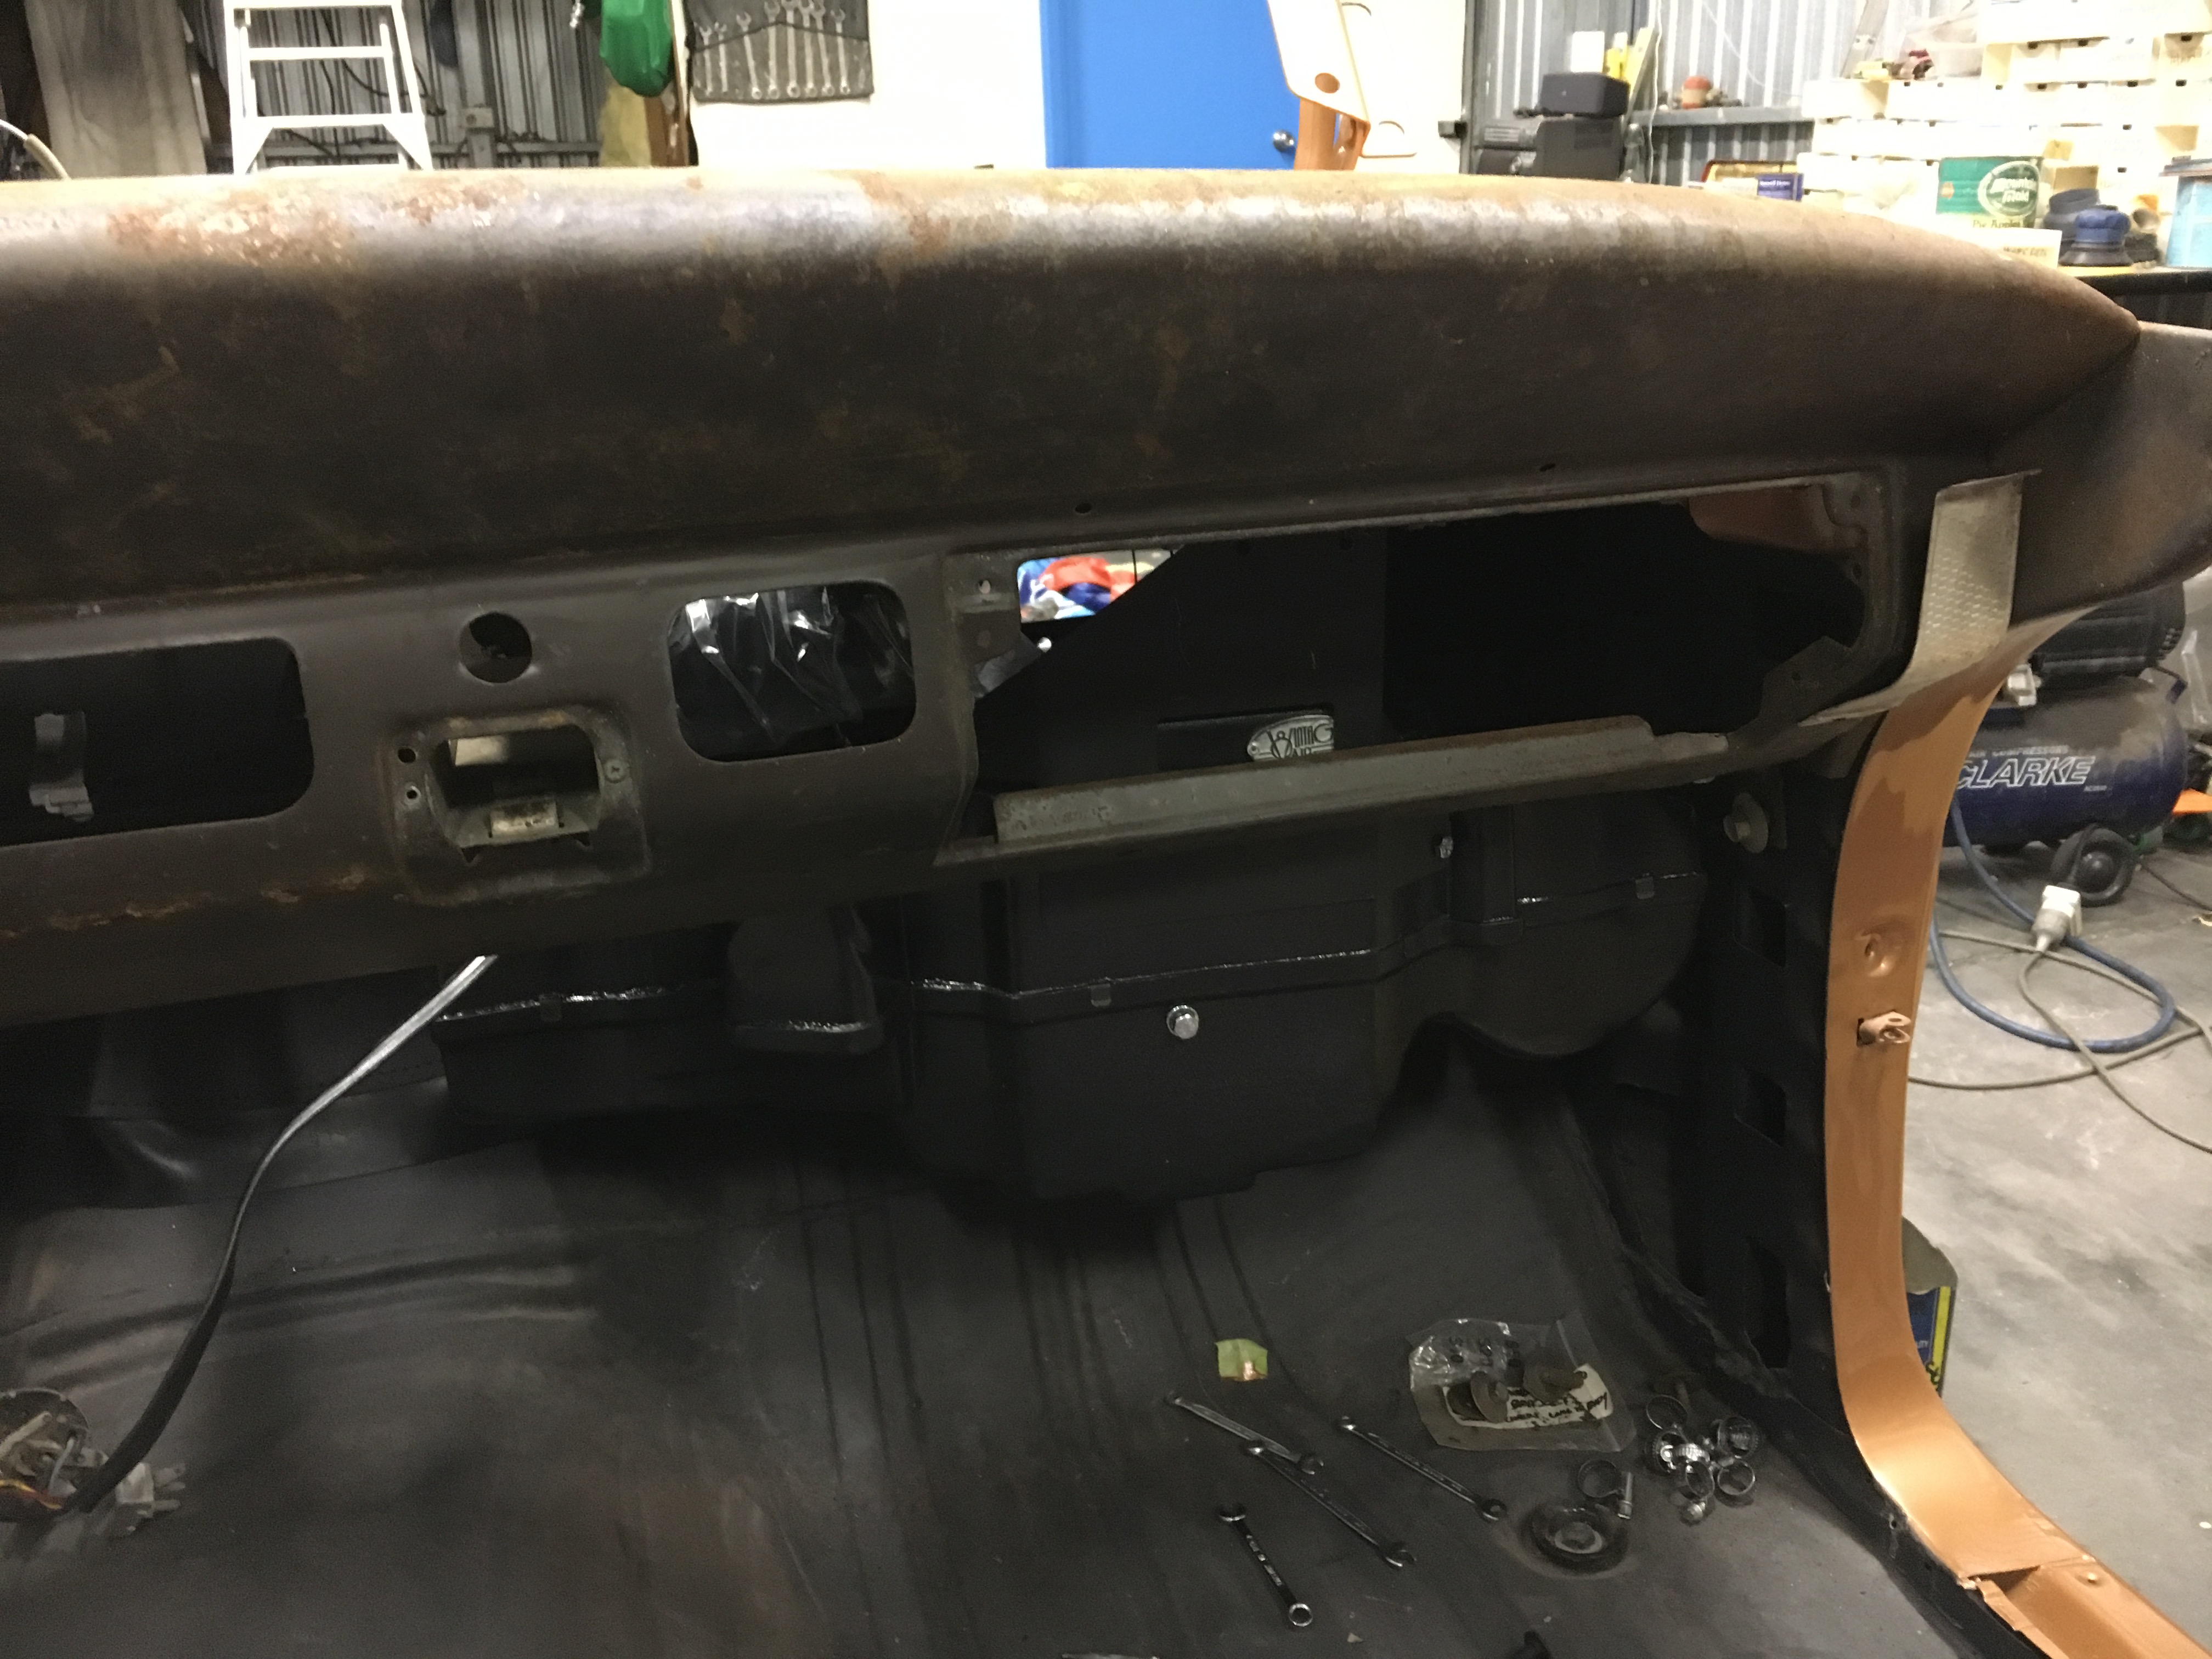
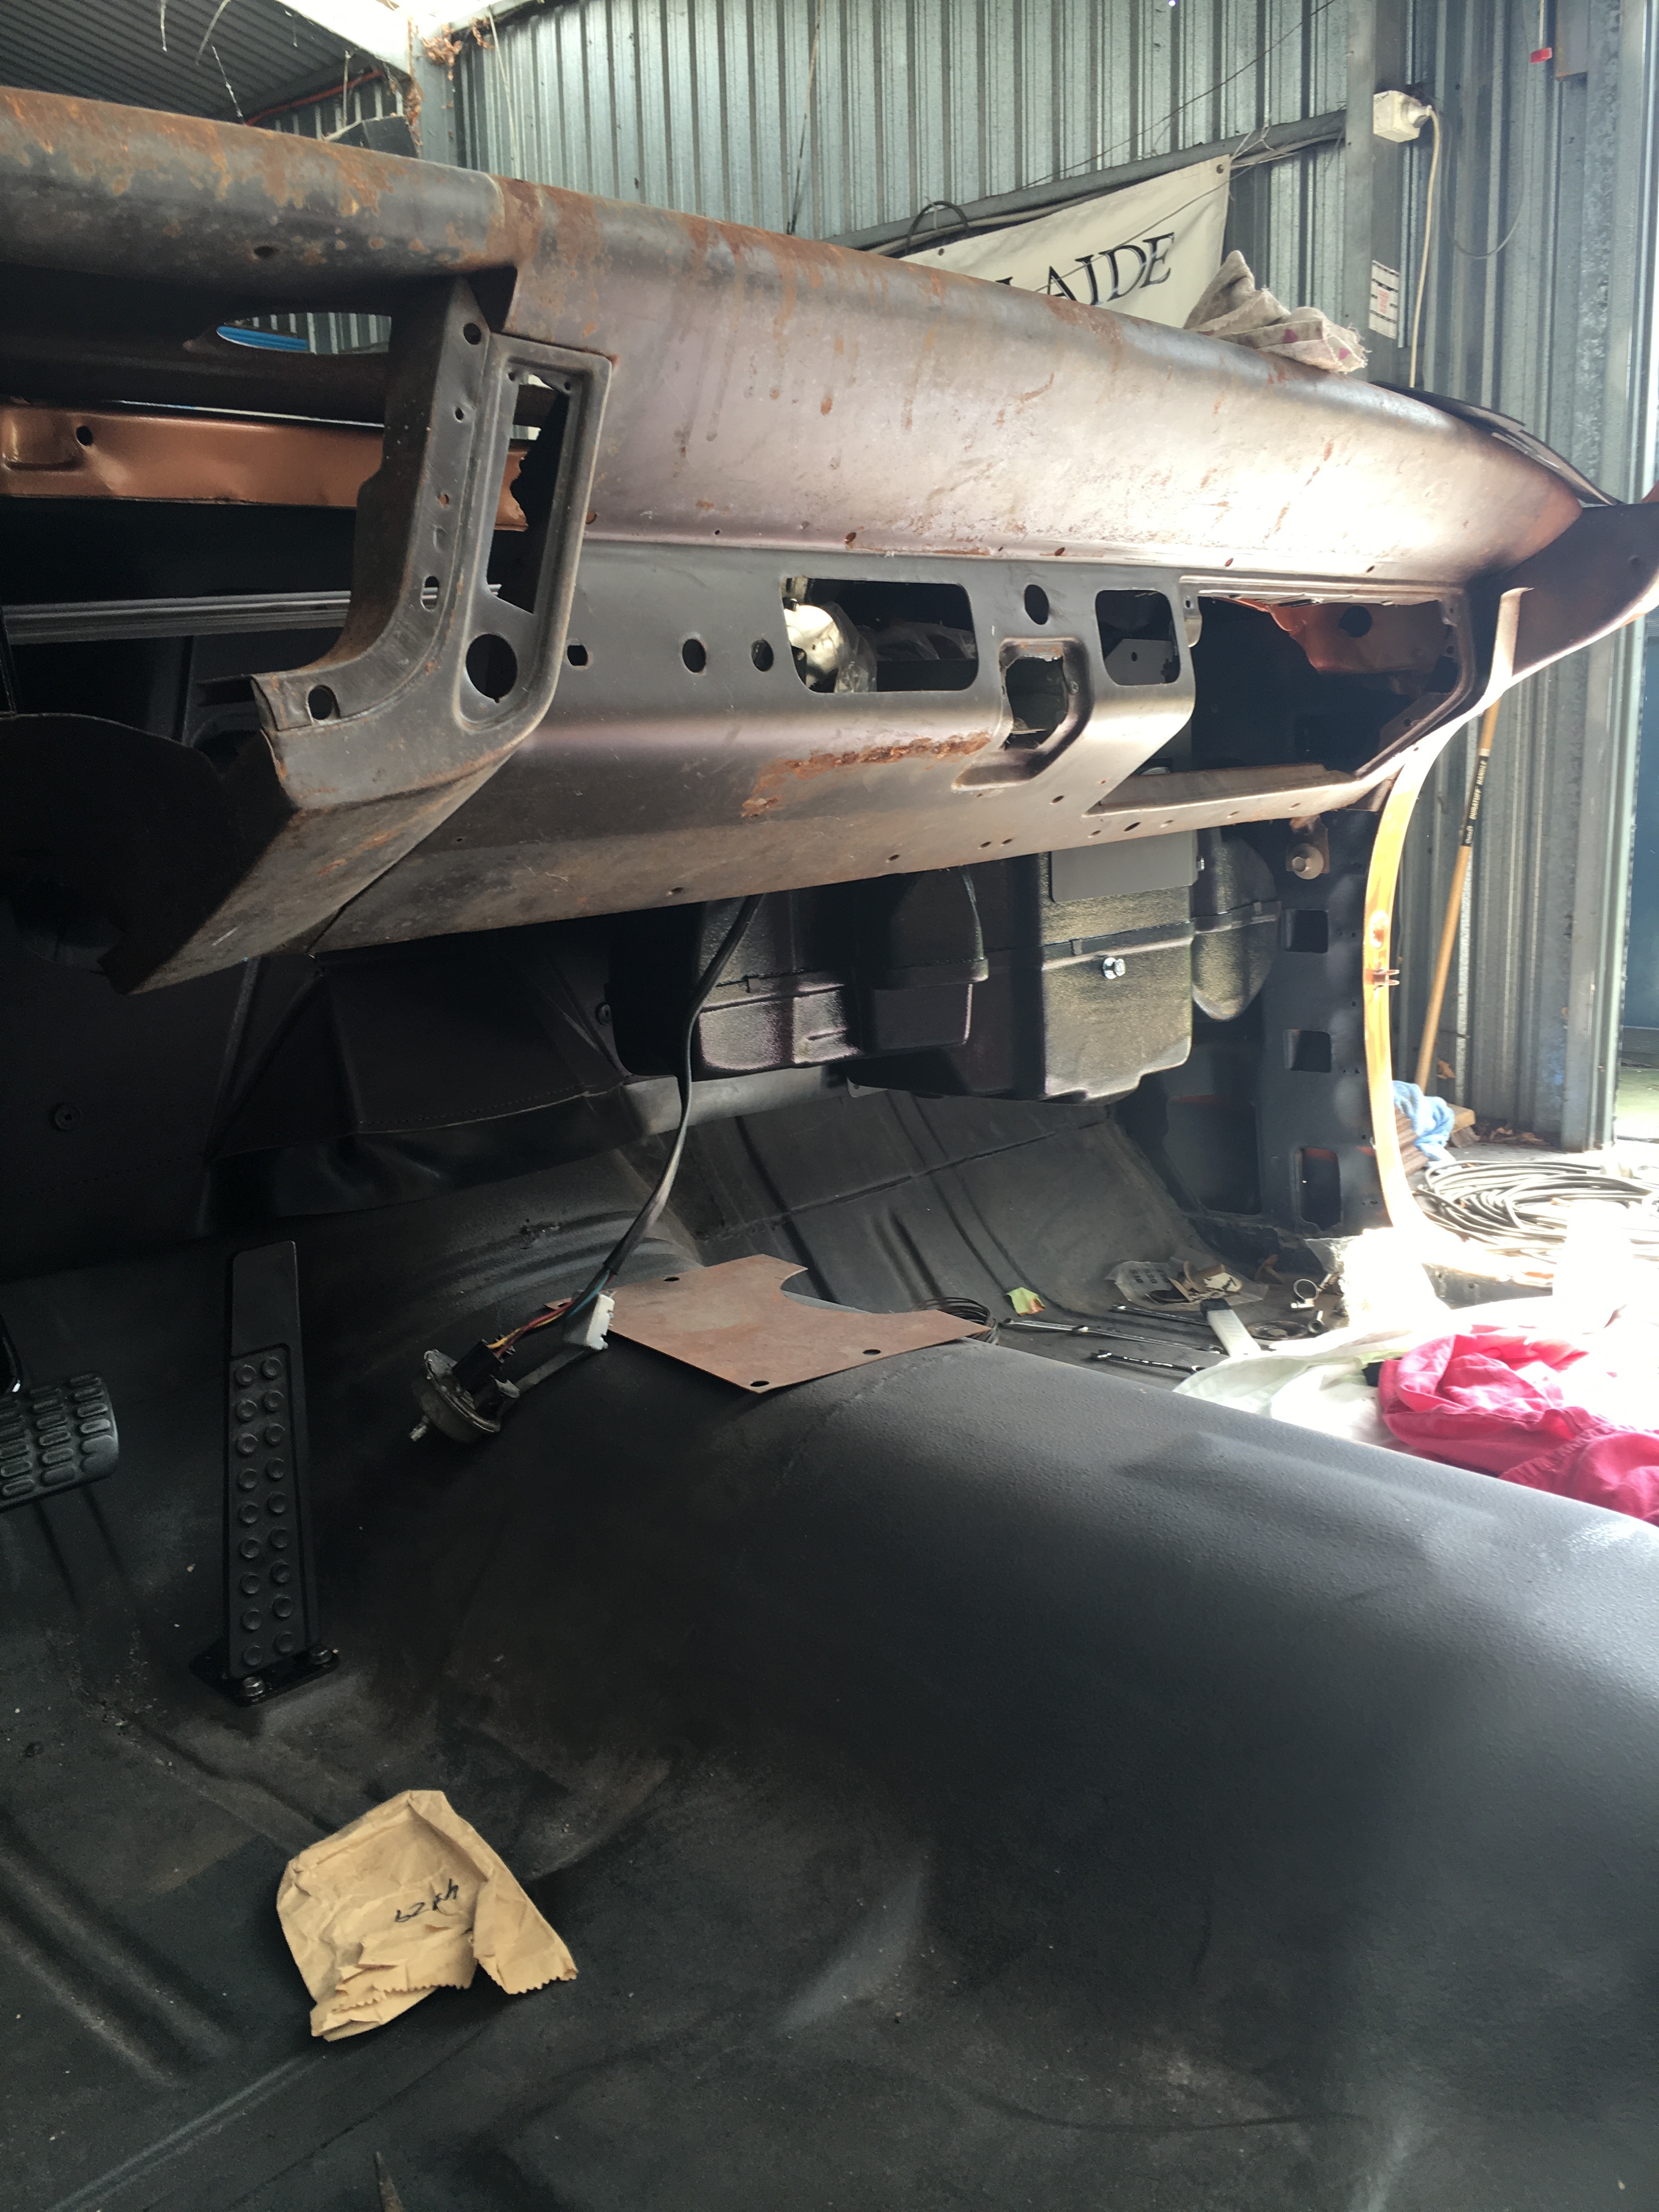
Looking at putting I an after market a/c
Looked at many options
I’ve dummy assembled a Vintage Air Magnum 4 unit it
Means I have to loose the original heater box though and glove box
Have used a spare dash to help mock up an assembly point
For some reason I don’t want an under dash unit
After 2 1/2 years the order a friend and I placed with Gary Goers finally came through
Must say timing worked out well
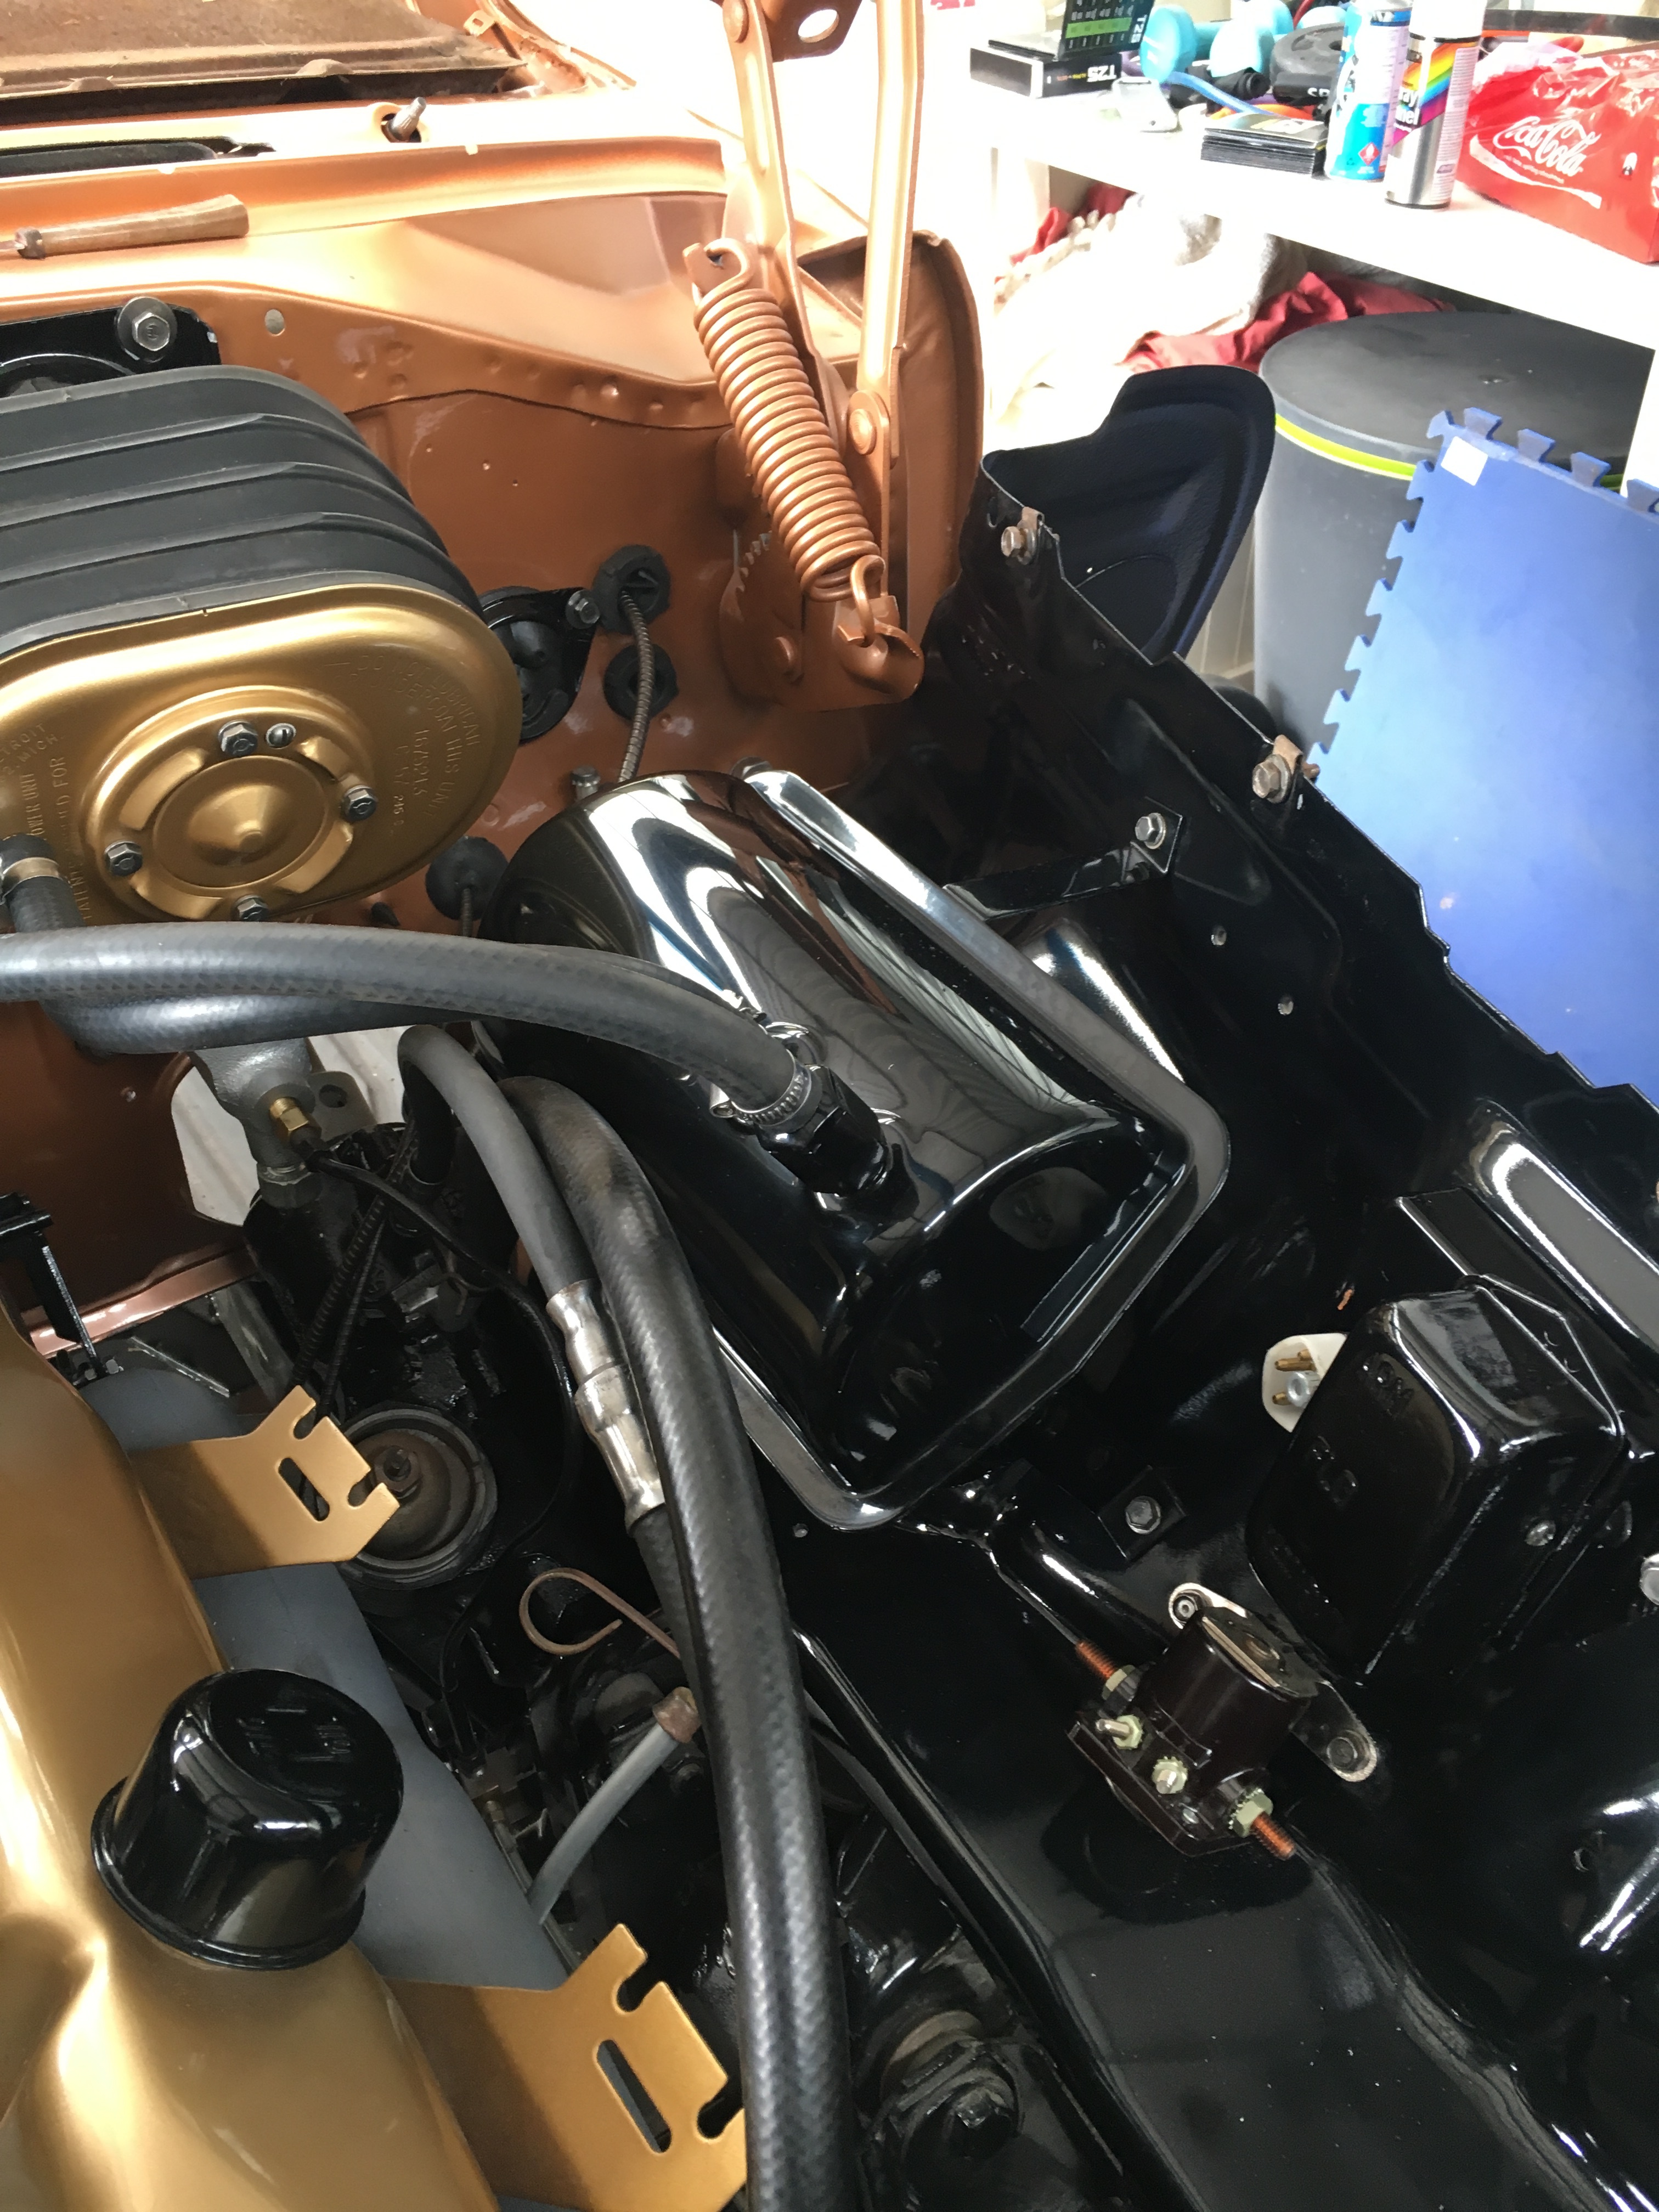
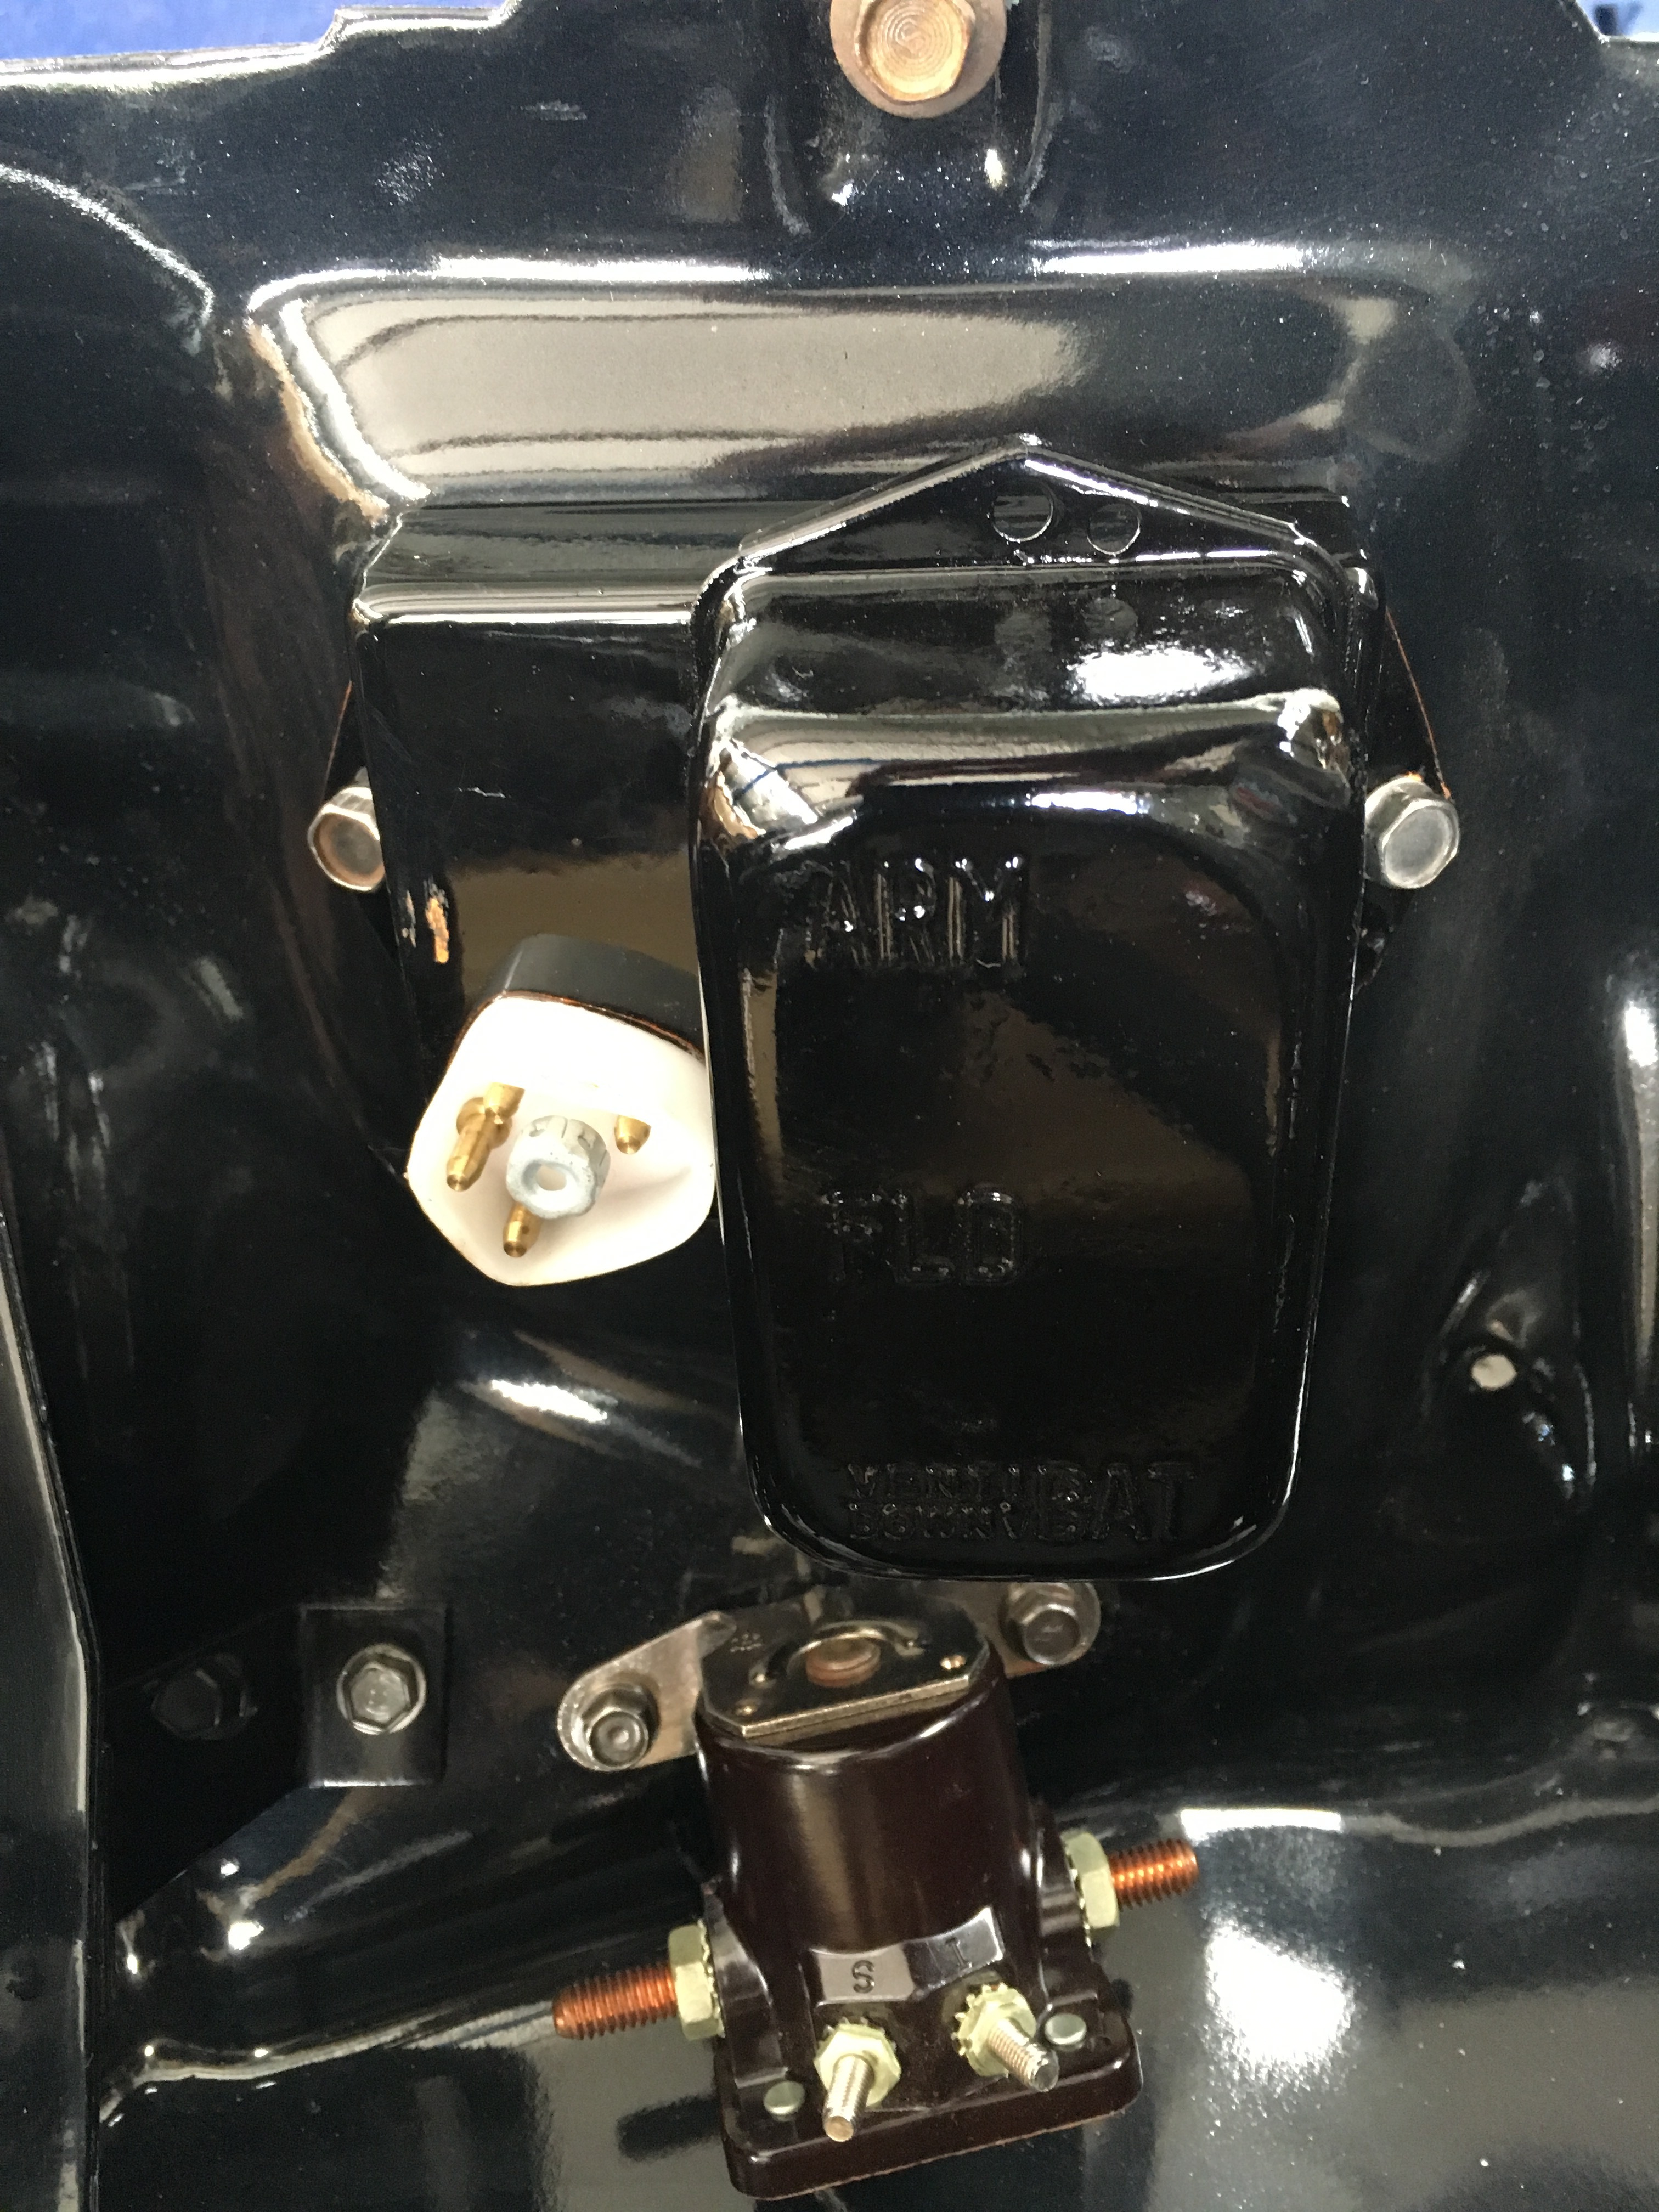
Putting in an alternator and electronic ignition
I’ve used the original cover on the resistor box to try and keep some originality
Thanks to all who have posted their resto as its making my process much easier as I just flick thru the forum pics and problem solved
Cheers
Vic
Spectacular photos, Vic! Your craftsmanship puts me to shame…
Dan
Vic - l totally agree with Dan, after seeing your work, Mark Merritt, and John Fowlie work l fell like my cars are in need of a restoration. Beautiful job.
Dick
Vic - l was looking thru your thread and saw the discussion about shoulder bolts for the top mechanism. Did I have a set made for you and if so did you get them. I can’t remember, uh oh, that’s not a good sign.
Dick
Fantastic!!! Although I spot a couple things 
How is the choke working on your carbs? Don’t see a choke housing, just curious
Thanks for the comments guys
It’s been slow progress but worth it
Dick the bolts did arrive so thanks again
With regards to the choke I think I’ll be doing a manual one, haven’t got to that just yet
Chat soon