John - You are kinda like me. No bondo in my car, like you I use body filler. Have you checked out USC ALL METAL.
Dick.
Thanks, Jason,
If you were here, I’d love to have your help! Someday we’ll get to meet, I’m sure.
—John
I haven’t used the All Metal, but a friend of mine who has a restoration business in Cocoa, Florida, has highly recommended it as well. I still have a good quantity of 30/70 solder [probably left over from the '50’s] so hopefully it will be enough to complete all my projects.
Taking a break from the '59 currently, as i am fabricating lower quarter panel sections for a '58 Sweptside a friend owns, and welding them in for him. Rather time consuming.
—John
Wow lookin good!
Thanks, Rick!
I saved the old quarter panel skins for a reason-Being the quarters on the car carried entry Fury trim, every trim hole had to be re drilled for Sport Fury trim. I was hoping the bottom line of trim holes would be the same, but no such luck.
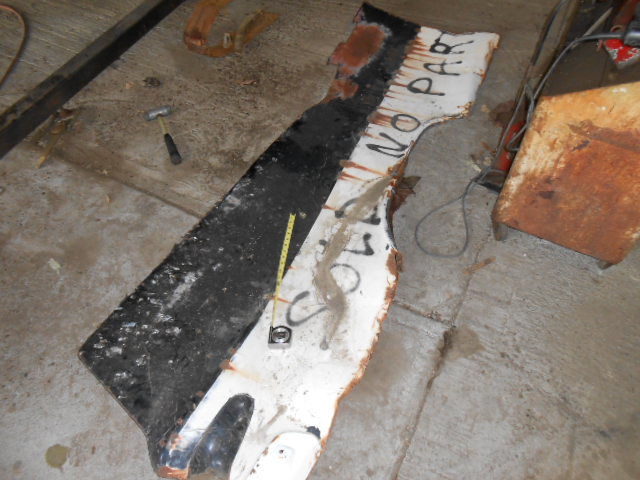
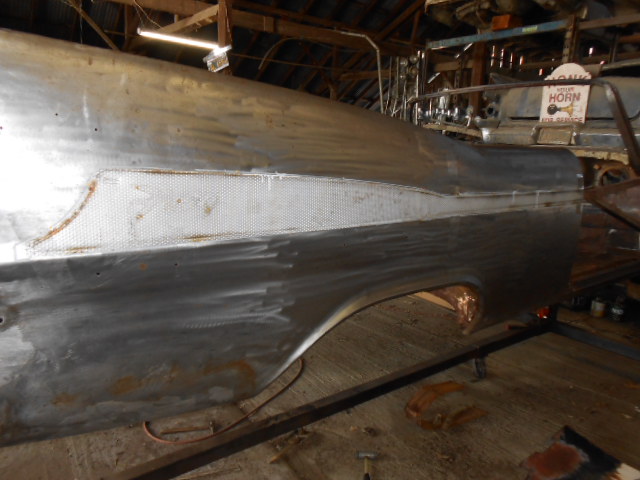
I measured the old trim holes to figure out what height the SF trim would be, and placed one of the sportone inserts against the panel. I then secured it with tape, and drew a light outline. Next, the hole spacing on the old panel was measured out, and re marked on the body.
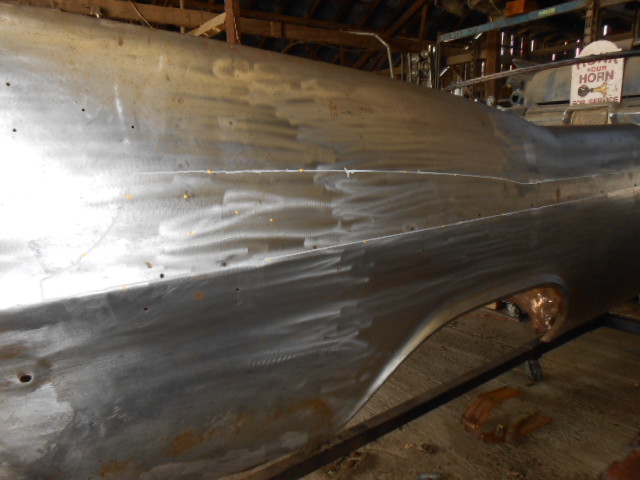
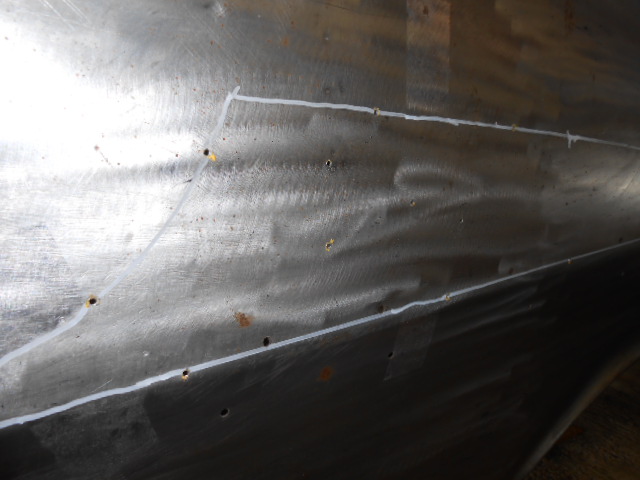
1/8" holes were then drilled at each mark, then drilled the final size to match the factory holes.
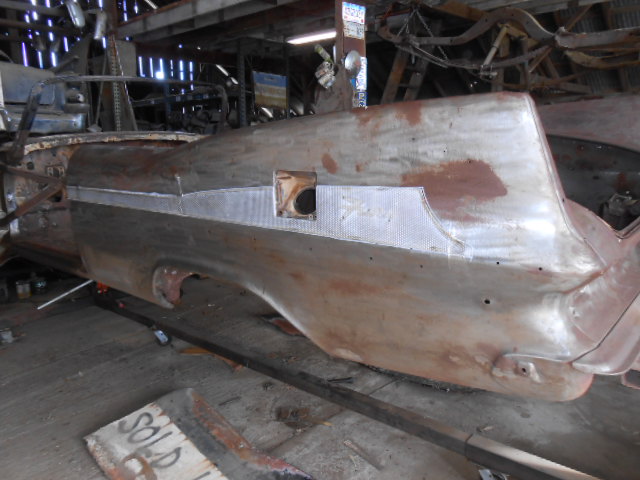
The process was repeated for the driver’s side of the car-
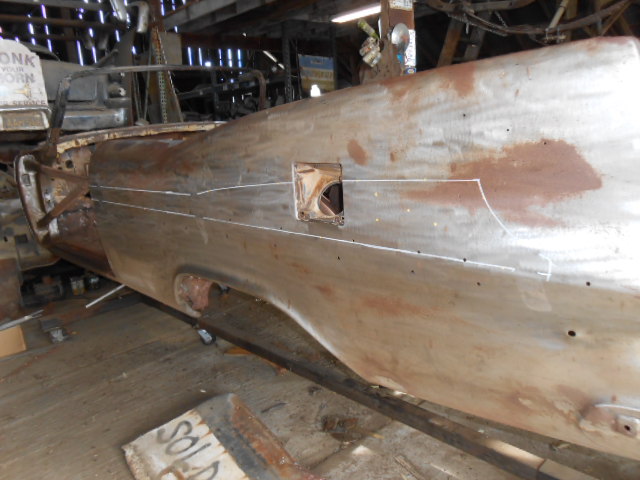
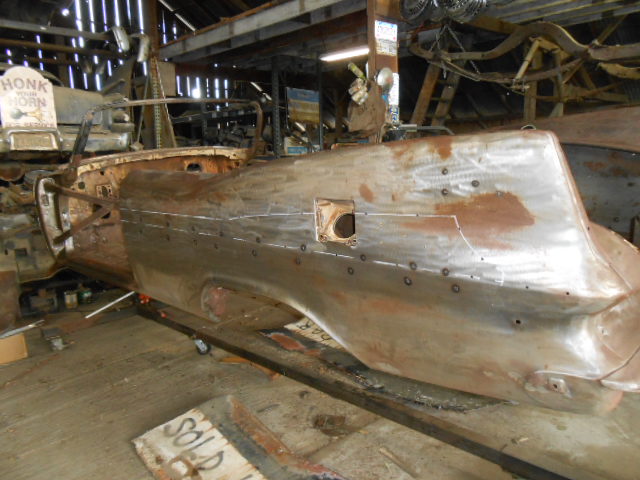
Next was to fill all the unneeded trim holes, I mig welded them carefully to keep distortion to a minimum.
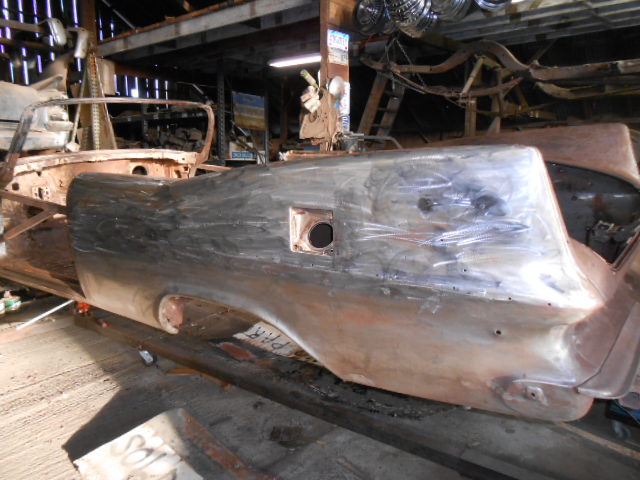
Welds were then ground off and smoothed, both on the inside and outside of the panel. The same was done to the right side.
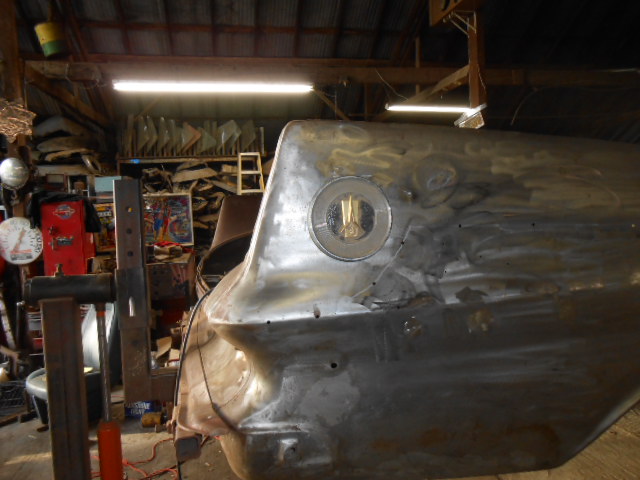
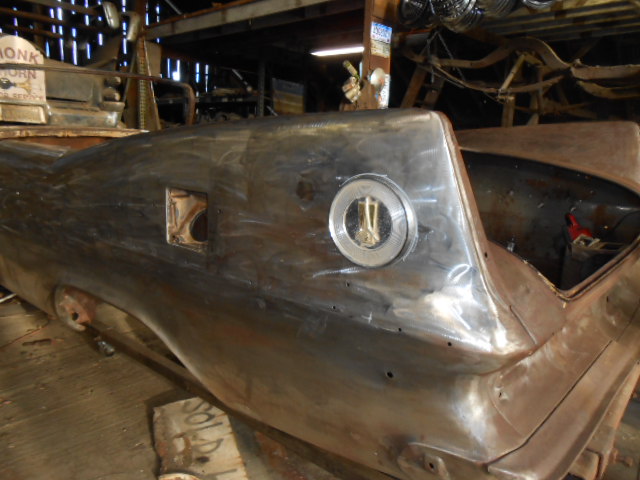
The medallions took time to get right for drilling the holes, as the mounting pins are not equal, as each side of the car had it’s own specific medallion to fit the contours of the panel. Here is how they mount up now.
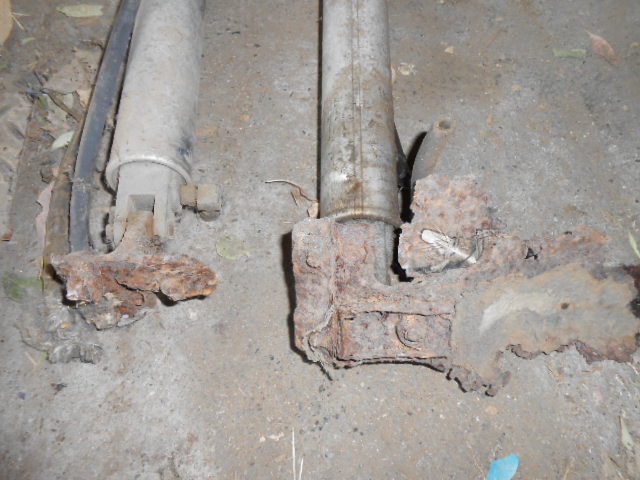
I dug out the convertible top lift cylinders from my parts pile, this shows how rusty things were. I needed the mount pieces from the base of each, as they mounted to the floor of the body.
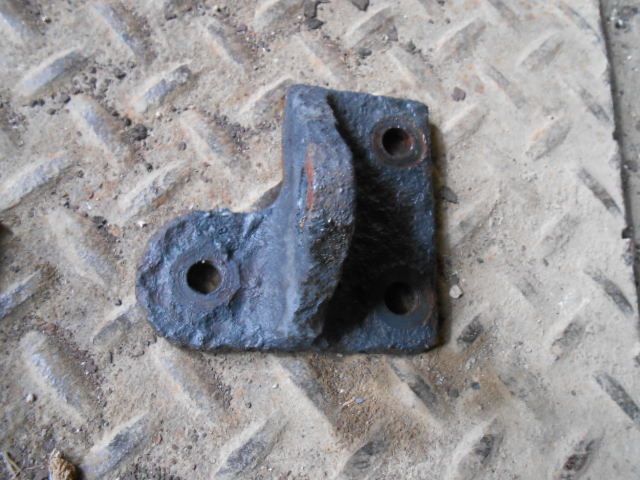
These are the two pieces I need to save-Pretty bad shape!
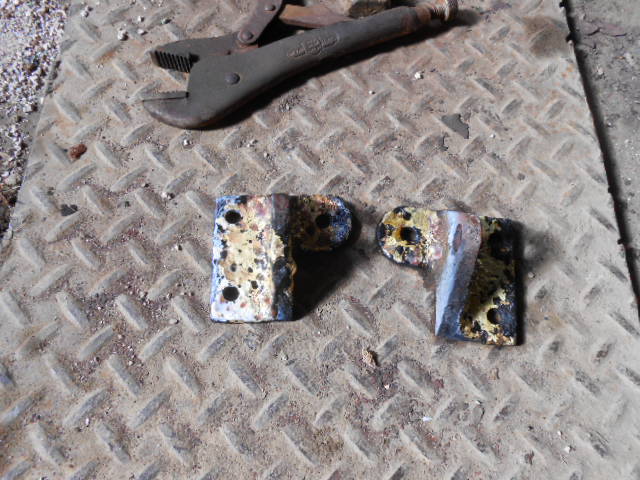
I heated each one cherry red, and then filled the pitted areas with brass-
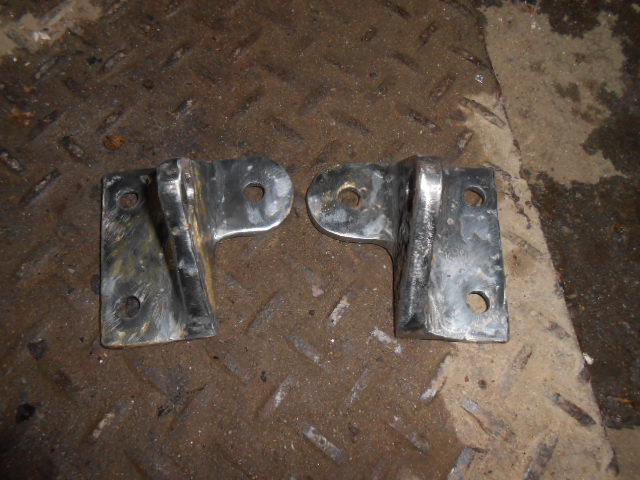
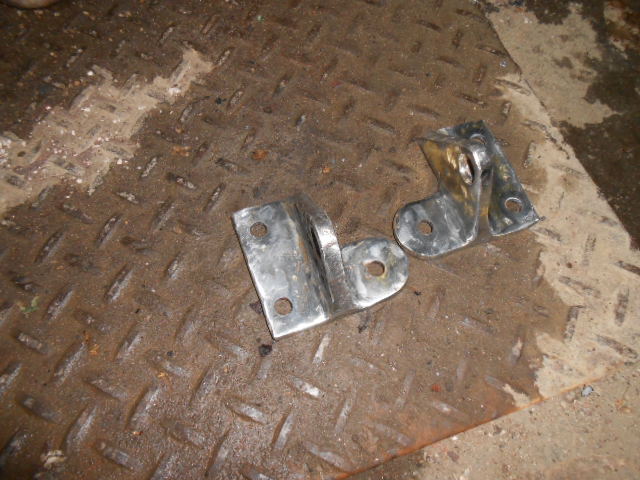
After grinding and smoothing, they look pretty good now.
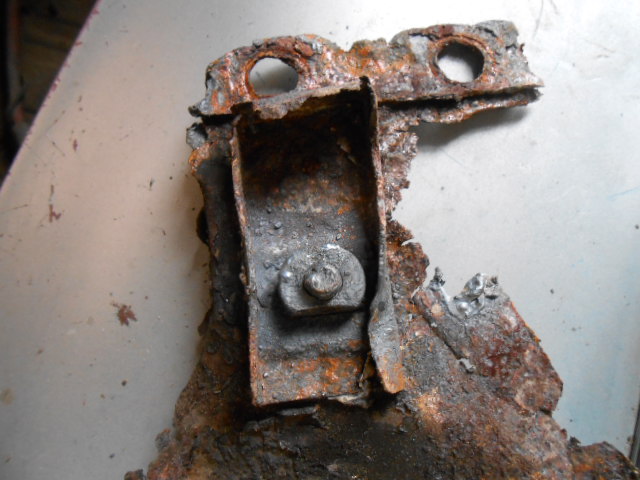
There was enough left of the original underbody brace that I had a good idea what to look for.
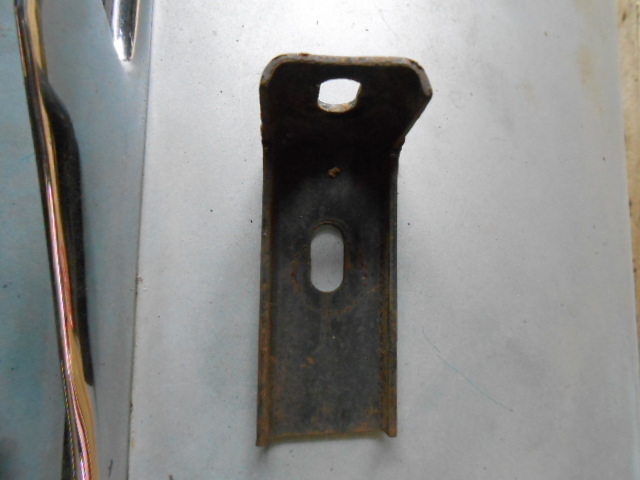
I found a similar bracket that held the corners of the dash in on a '60 T-Bird, it just needed to be shortened-
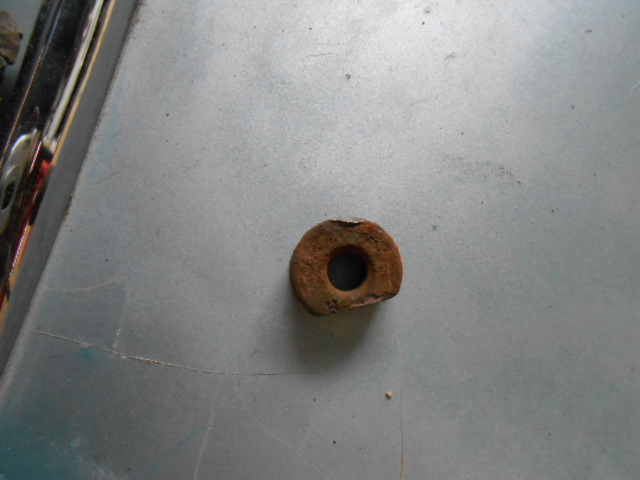
I found similar ‘half moon’ captive nuts, and welded them to the brackets in the right place-
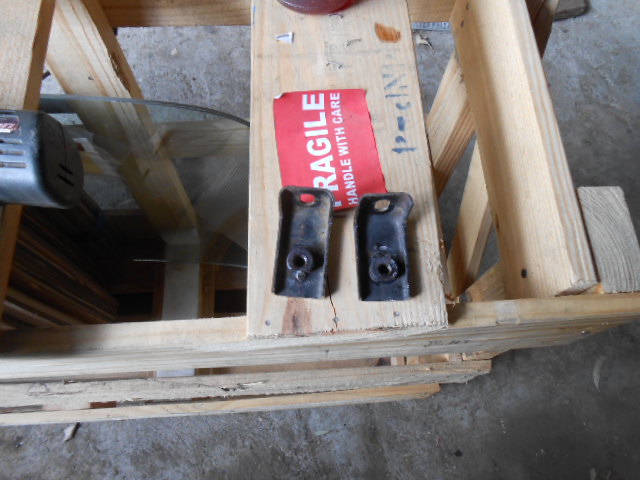
These are the completed brackets-
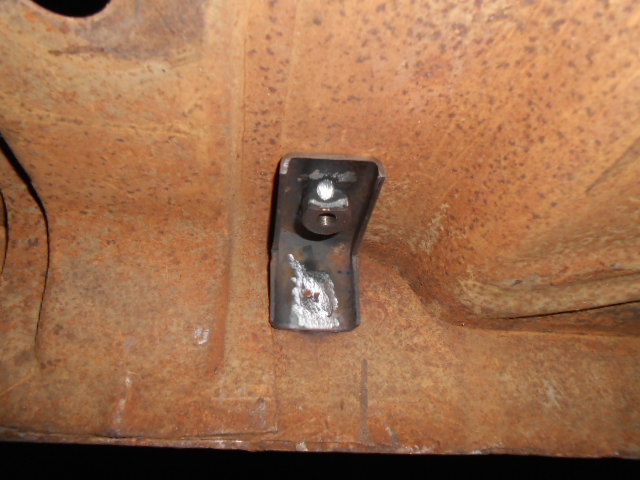
Positioned and welded to the floorboards, these provide extra strength beneath the top cylinders. Thanks to Dick Koch for providing location measurements, it was a big help!
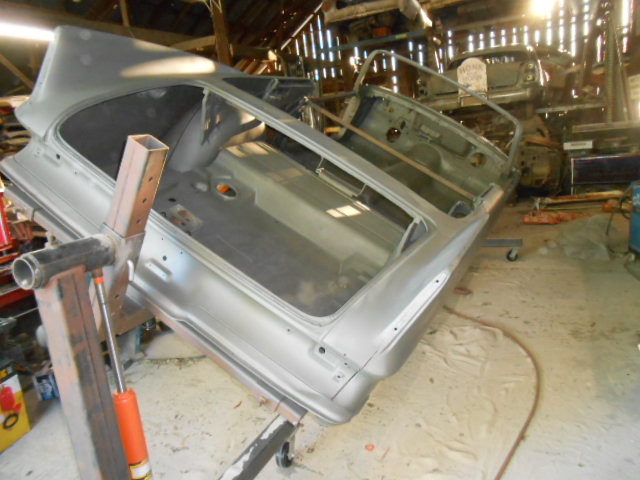
After all the work I have done, I didn’t want to risk screw-ups or damage by hauling the body to a blaster, so I bought a sandblast pot and wheeled the body outside. I blasted inside, outside, and anywhere I could see any rust, but carefully so as not to warp the metal. I did find a few pinhole areas, but none bad enough to make the metal weak. These will be leaded in when I resume with the body. I spent two full days doing this, not a pleasant job, but it’s done.
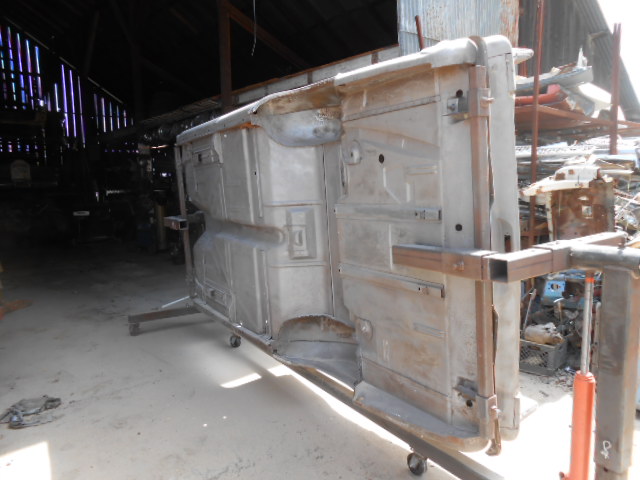
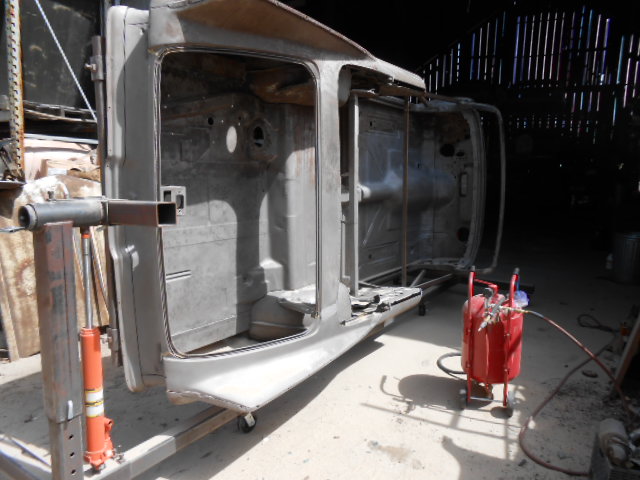
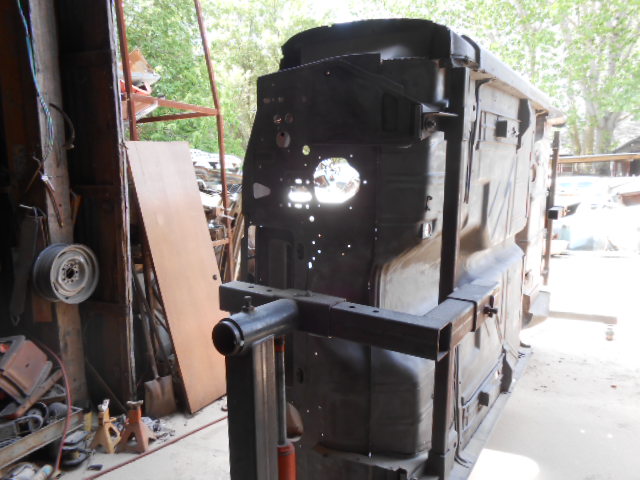
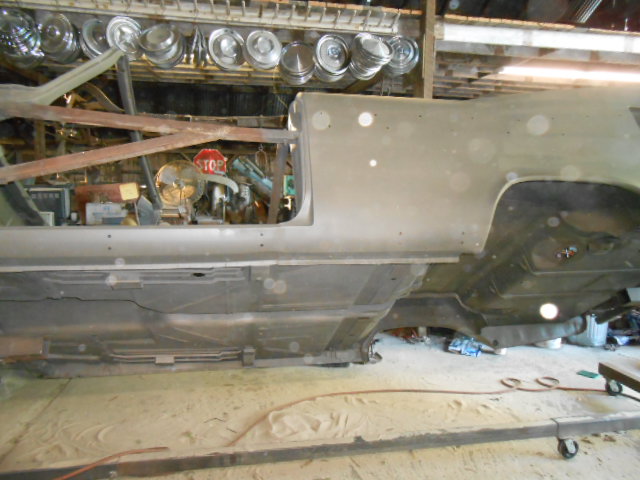
After blasting, it took nearly two hours rotating and blowing sand out of the body, and then I shot it with a good coat of etching primer to protect it. Once it had dried, I wrapped the car in plastic to guard it from bat guano, humidity, etc.
Wow John - Looks great, considering what you started with my hat’s off to you. Looks like at the pace you are going you’ll be finished before me.
Fantastic Job,
Dick.
Thanks, Dick!
I feel as though at this point I am over the ‘hump’ and things will be easier from here on out. Next will be making up the convertible chassis.
—John
Stellar work John! You saved another convert form rusting away!
John Q.
Now moving on to the chassis. The original convertible frame was rusted through in places, not worth trying to save, although there were some convertible specific pieces that needed to be saved.
I had another chassis from a coupe that had been blasted and painted gloss black years ago, perfect choice for this. I set the two side by side, noting any differences, and measuring any found.
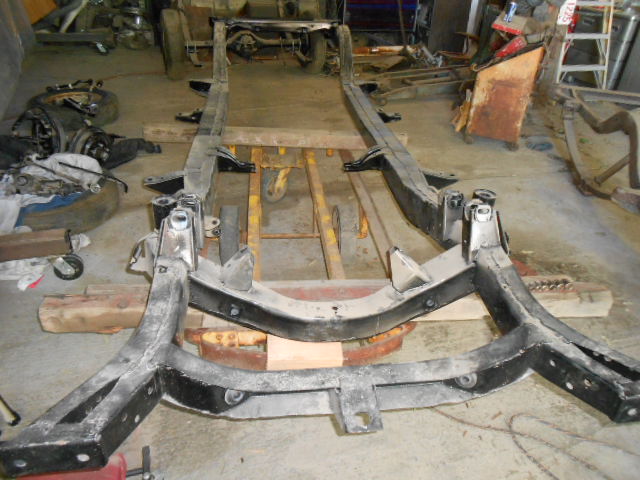
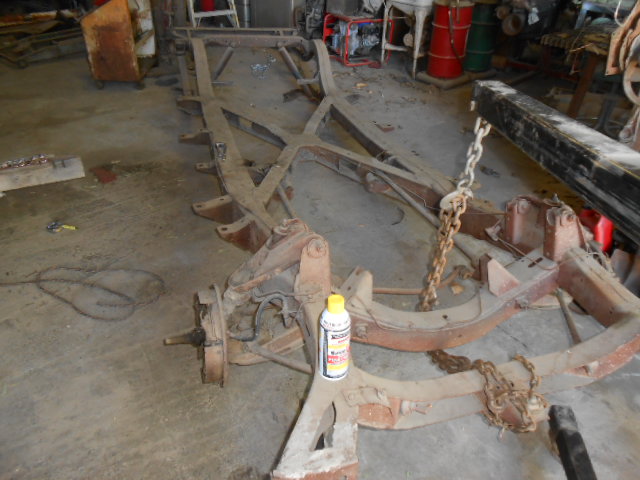
I used a die grinder to remove the special convertible body mounts on each side, and sandblasted them clean. The donor frame was measured and marked for placement of these mount ears after cleaning the black paint off. Then, they were welded on.
Convertibles also used their own specific torsion bars, longer to clear the X-frame, so I went ahead and snipped the torsion bar mounts from the frame.
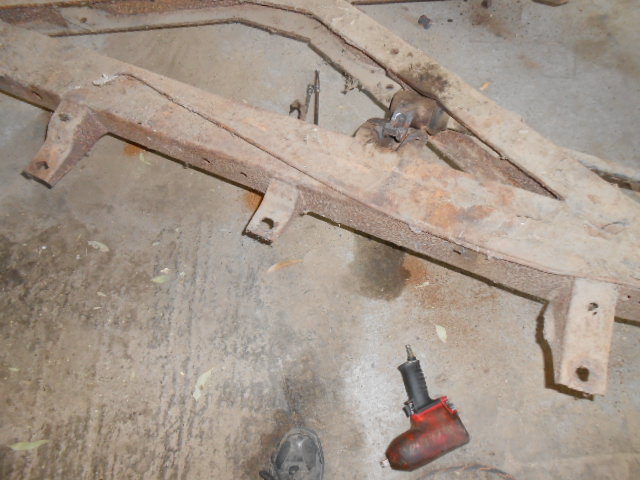
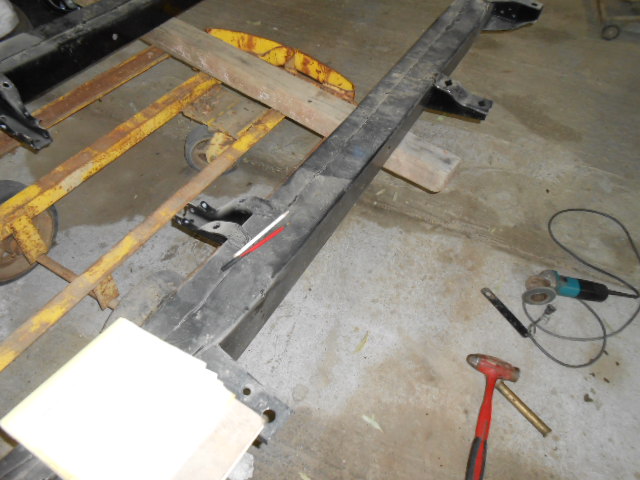
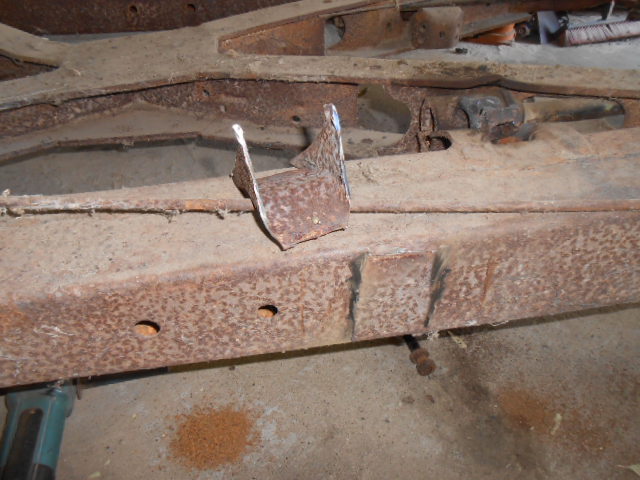
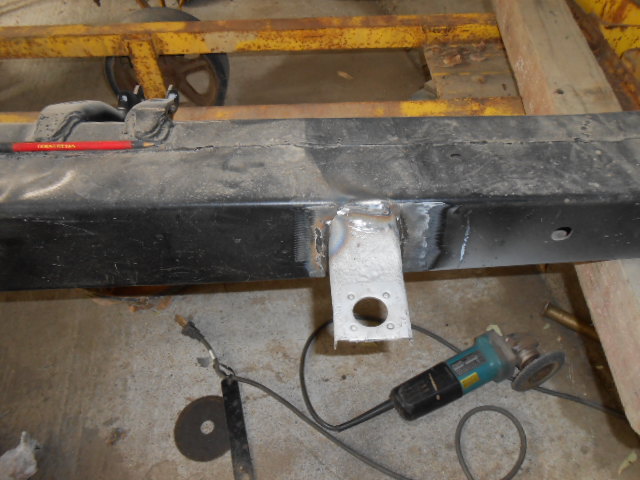
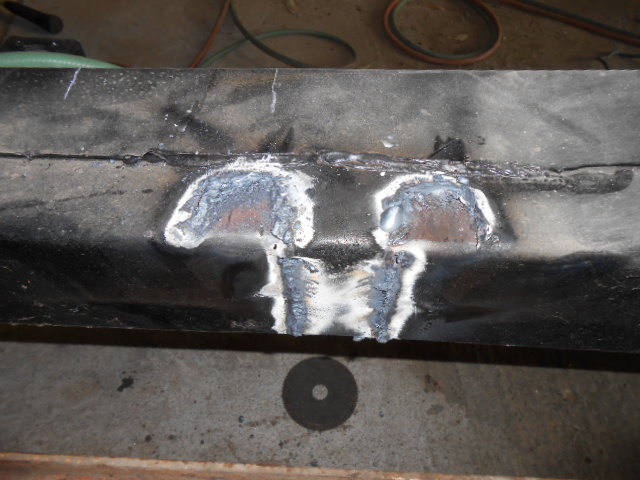
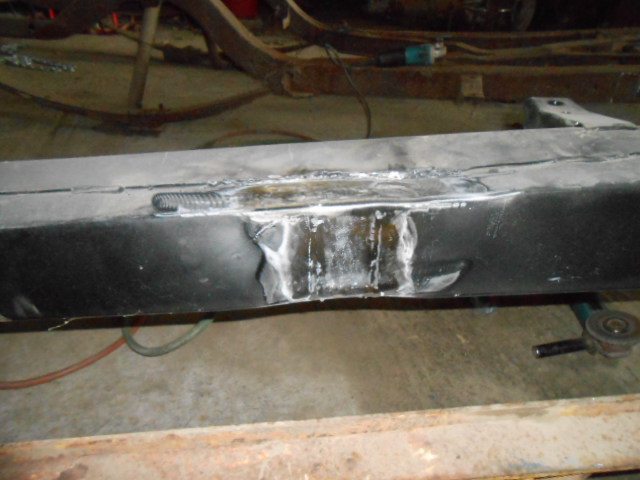
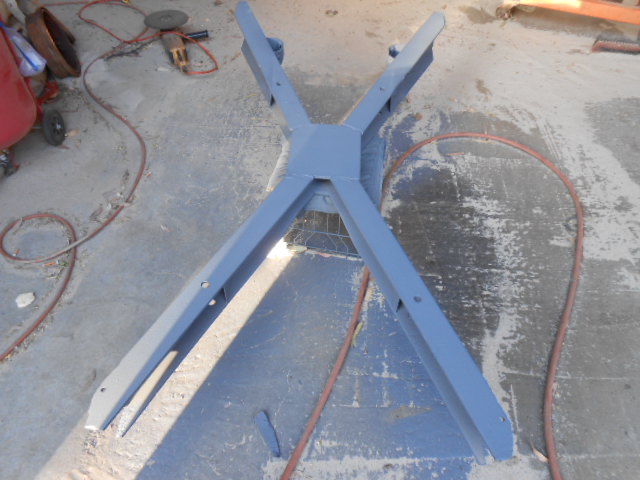
I used a cutting torch to remove the X from the rusty frame, as well as the torsion bar mounts, as they nestle in the end of the X. I measured the torsion bar mounts I had cut out against the cleaner ones from the coupe frame, and found they were the same, so I welded these in place at the proper spots.
Then I completely sandblasted the X member to remove the rust from the deep pits. One end of the X on the top side was badly pitted, so I decided to fill these with brass to make it look a bit better. I also removed the remainder of the attaching pieces for the top, these were too far gone to reuse.
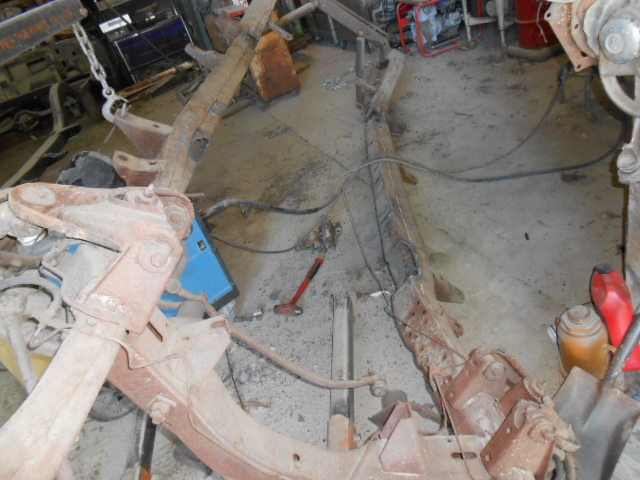
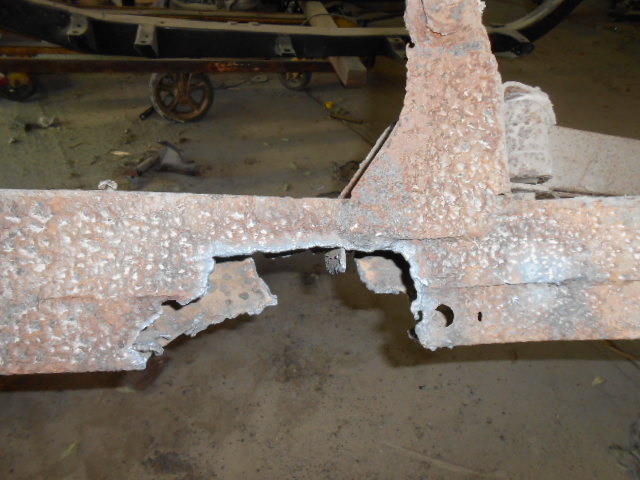
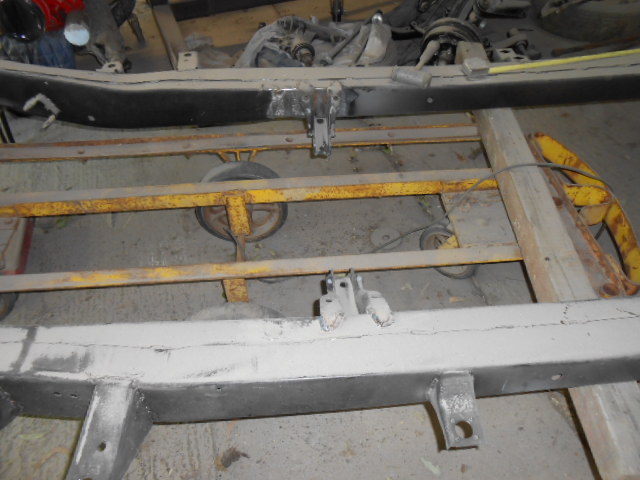
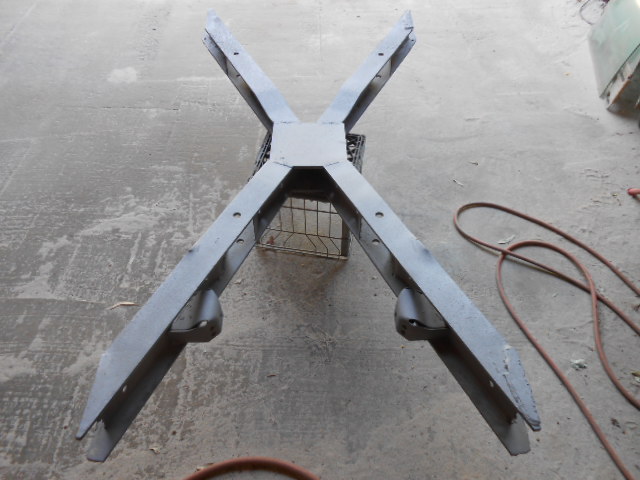
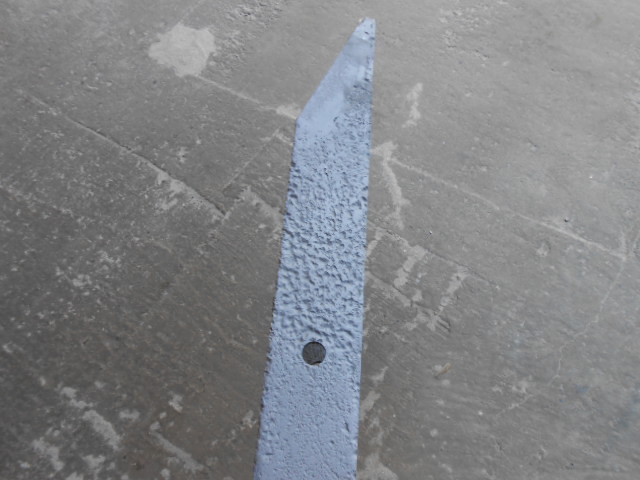
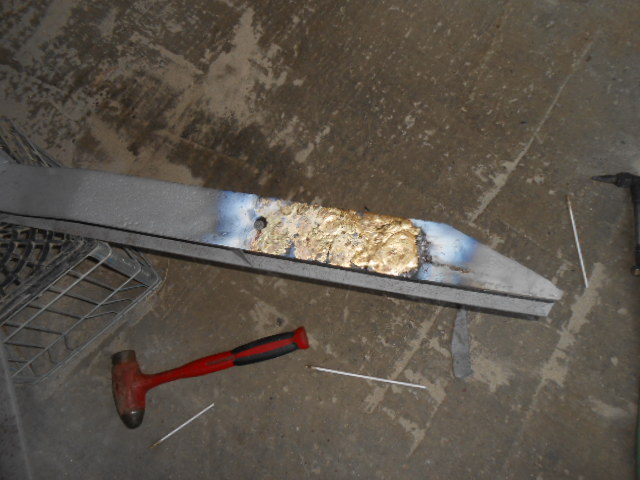
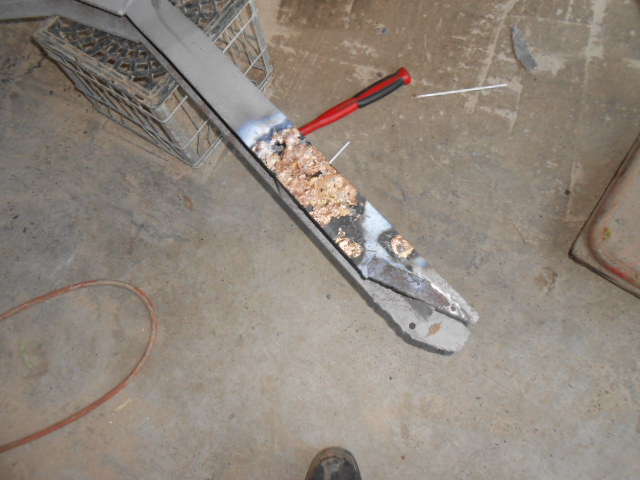
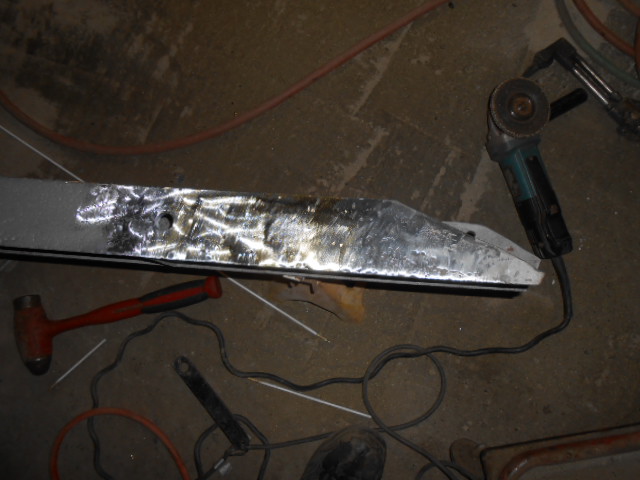
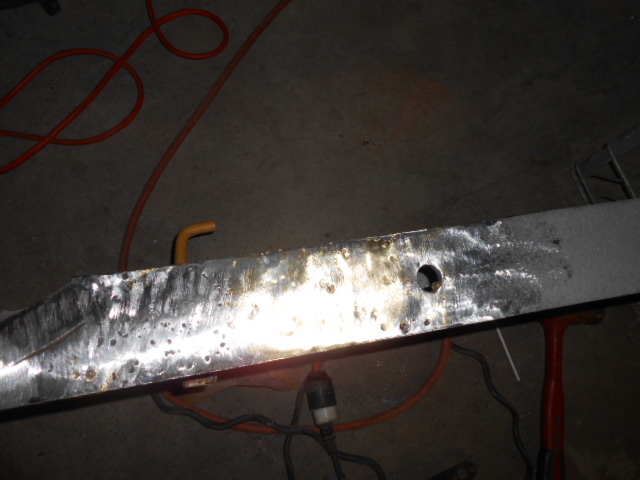
The X is then primered to prevent flash rusting.
Mating the convertible X to the frame-These are installed from the bottom of the frame at the factory, as the ends of the bars overlap the frame rails. After setting this in place, I mounted a lower A-arm to each side, and test fit each torsion bar. Looks good, so each weld was completed.
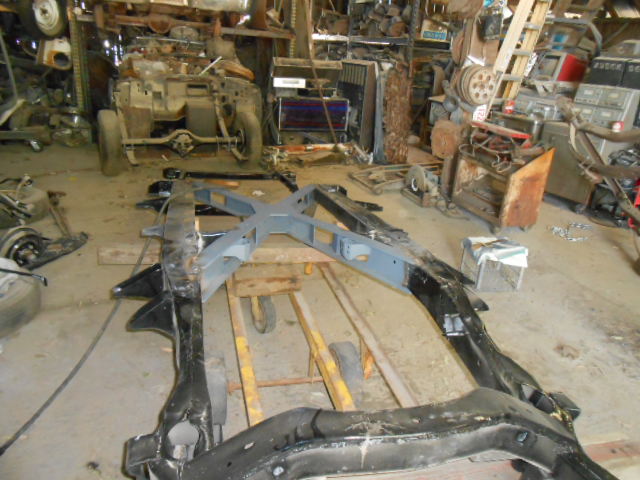
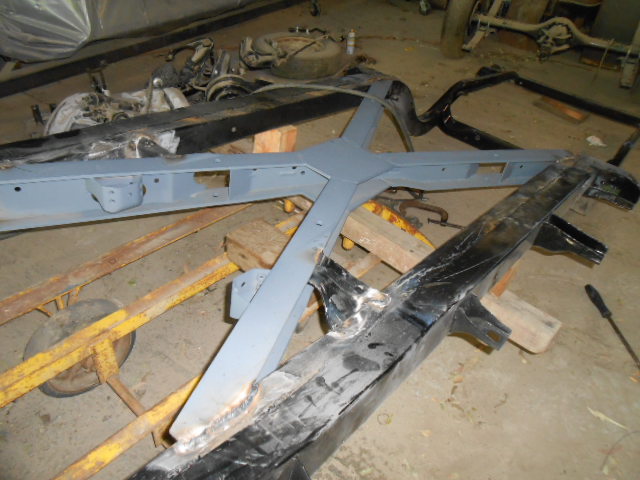
I had a couple friends help flip the frame over, as now it’s getting heavy! It has been in the 90’s here for daily high temps, and welding in the heat is not the most fun you can have, but I wanted to press on.
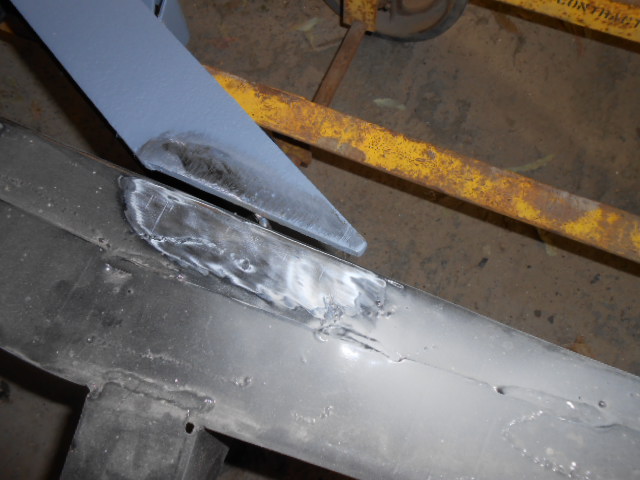
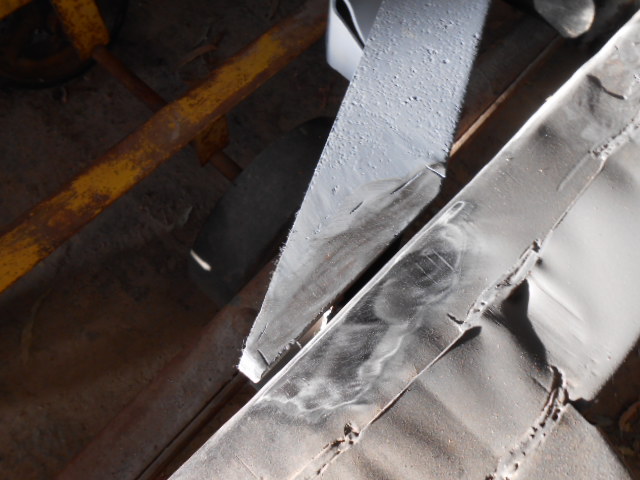
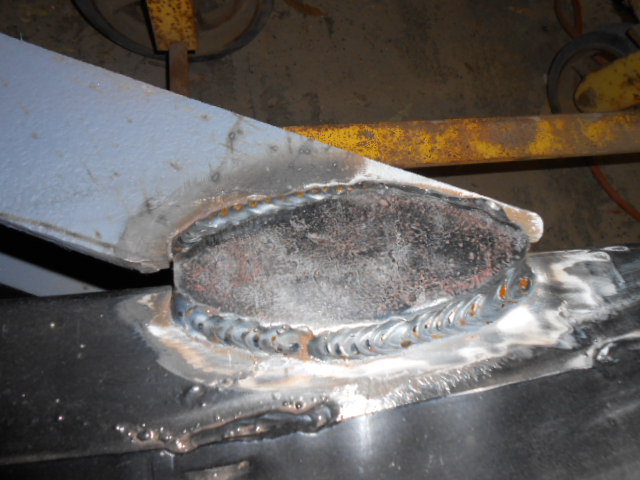
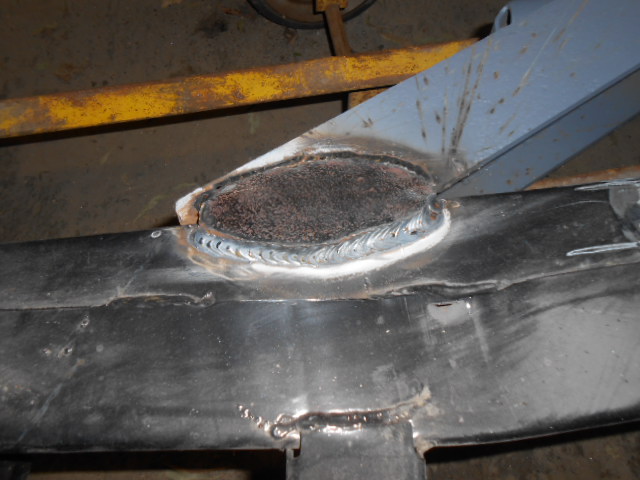
As I stated earlier, the bottom of the X overlaps the frame, and the top has gaps on each corner for installation at the factory. Apparently, the factory just used nondescript pieces of scrap to join the X to the frame, there was no real common size or shape. I cut four eliptical pieces from a piece of steel the same thickness, and used them to join the frame to the X support. After tacking all four corners in place and making sure the fit was good, the pieces were welded completely. Voila! A convertible frame!
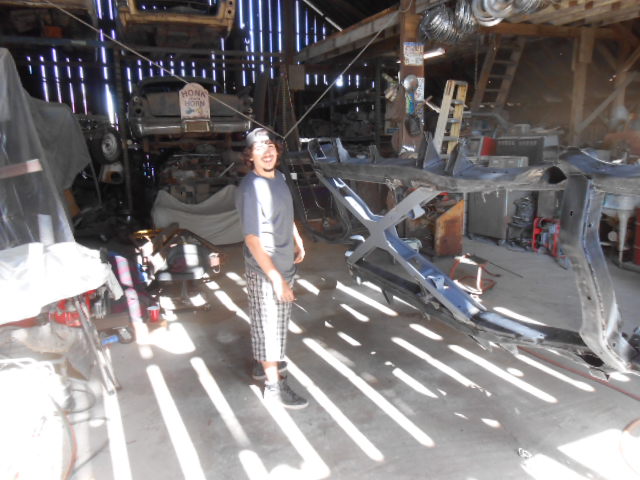
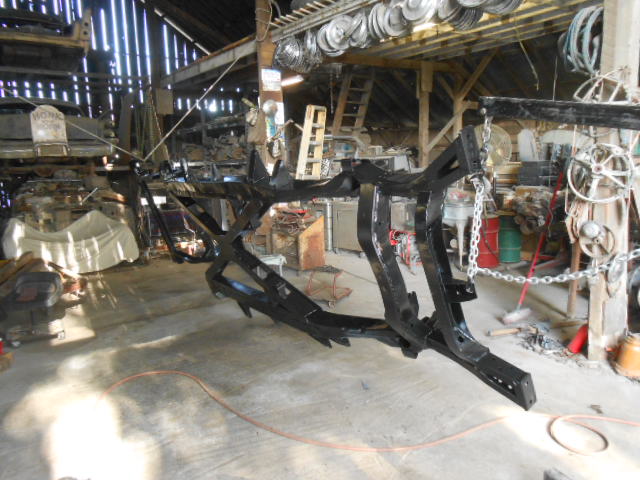
A friend’s son, Damian, wanted to help, so he cleaned and scuffed the entire frame so it could be painted, then I shot the frame with semi-gloss chassis paint.
John - Absolutely amazing and beautiful work. You have the talent and experience to handle such a monumental task. Most people including myself wouldn’t have even tried to restore what you started with. Owning your own junk yard (no offence) help also. It looks like the pace you are keeping will have you completed in no time.
Dick.
John; I have A saying,“you can’t make chicken salad out of chicken sh*t”, but you have proved it wrong!!! It’s like making A car out of an oil stain on the garage floor.I can’t believe what your doing,I have shown guy’s at work your pics,they thought I was full of it,the work you doing looks fantastic!!! Mark M