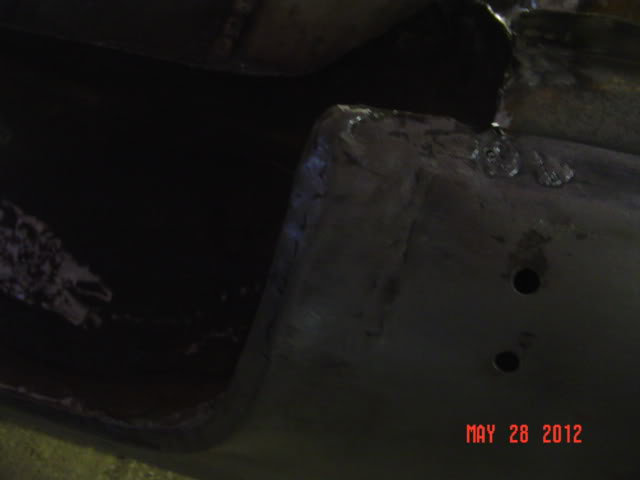
Been hard at work massaging out ripples and high spots in the metal, most I removed with shrinking and dollying, but the dogleg area had a low spot that wouldn’t budge. This was the piece I made and fitted in, so apparently the contour was off enough to create this slight depression-
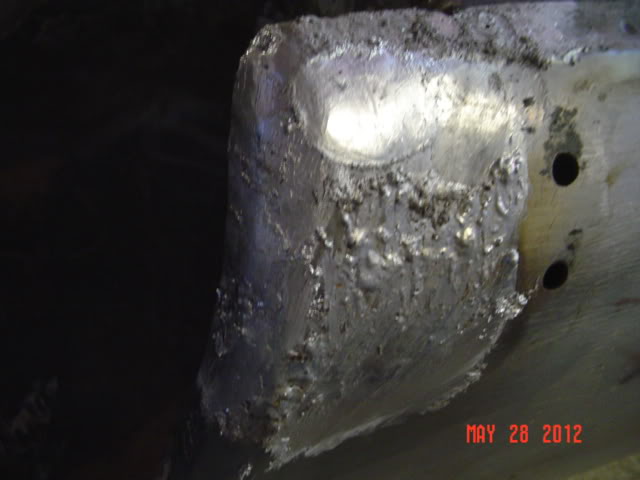
I cleaned the metal thoroughly, and tinned the surface to add a layer of solder.
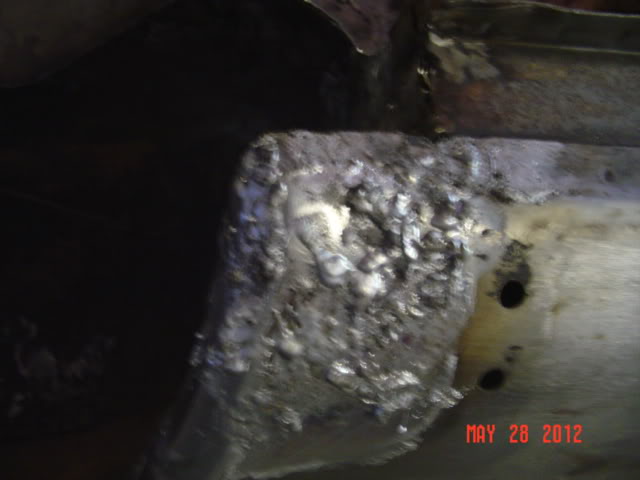
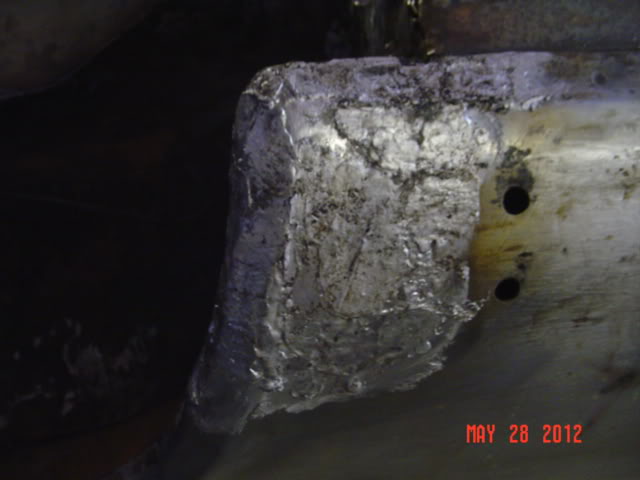
Lead is pushed into place with a paddle, and fitted to the surface-
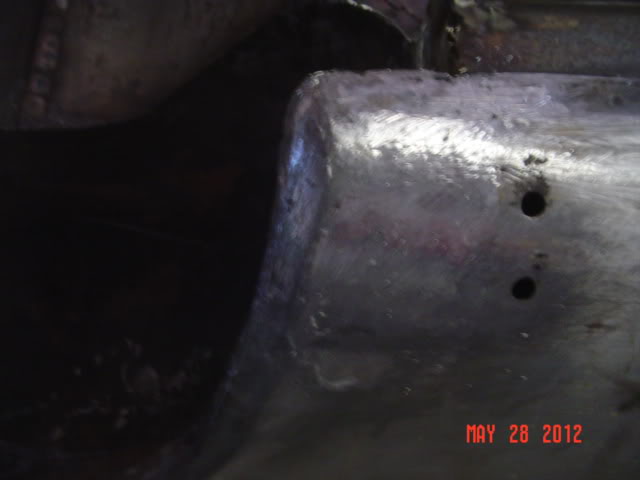
Vixen files are used to remove excess lead, repair is completed. Any pinholes or tiny deviations in the surface will be filled with a spot putty known as ‘Red Lead’.
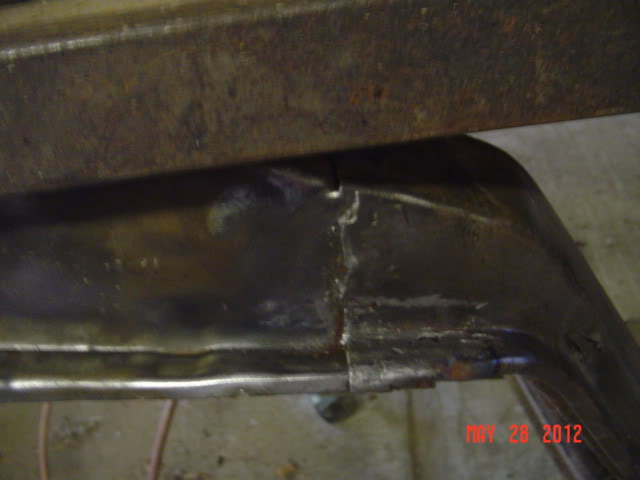
I decided since I had the supplies out, to solder the seams for the windshield frame, as the factory had-
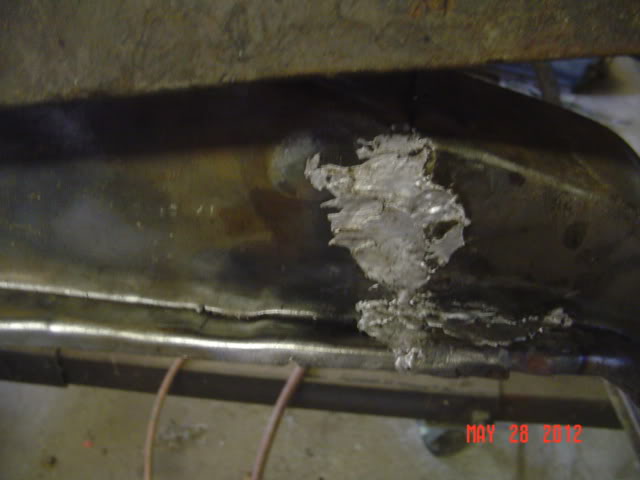
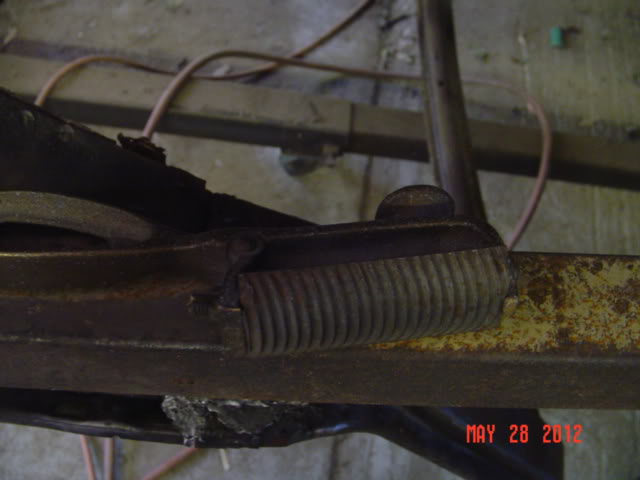
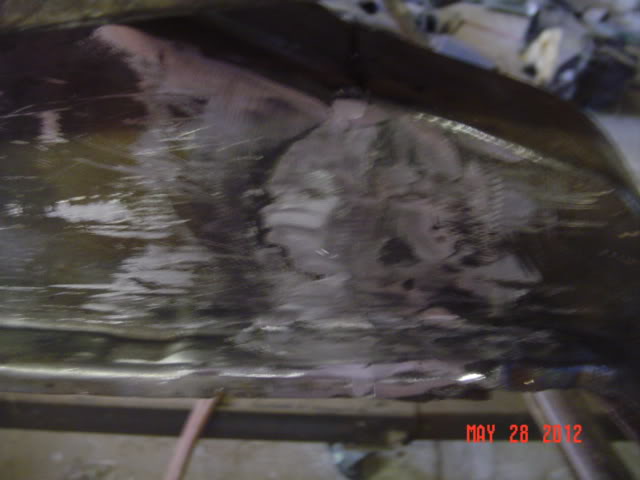
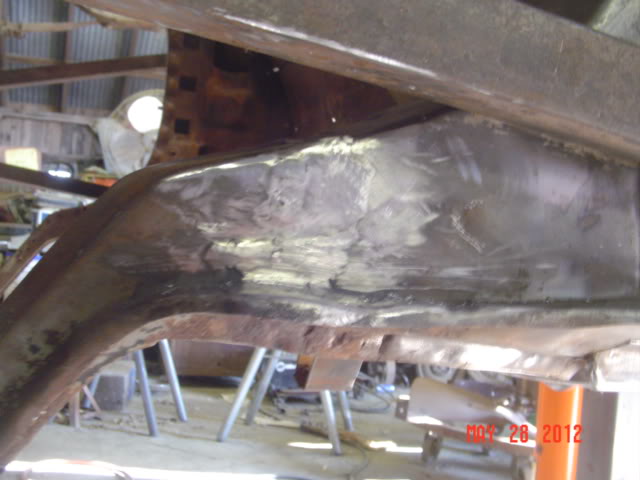
More grinding and cleaning of welds continued on the bottom of the car, just about done with that part now. I probably have about 120 hours in that work alone in this project.
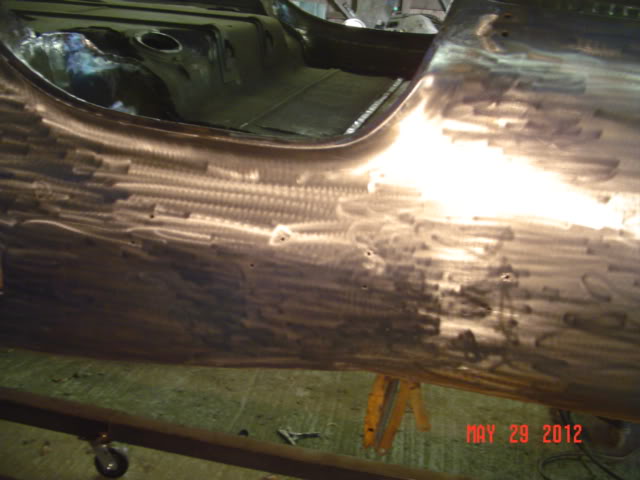
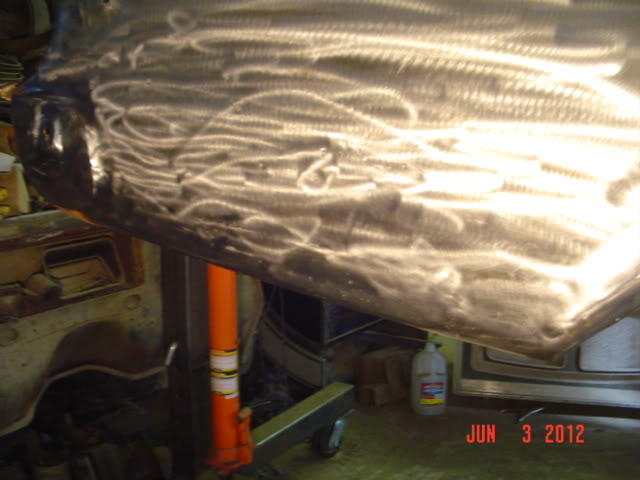
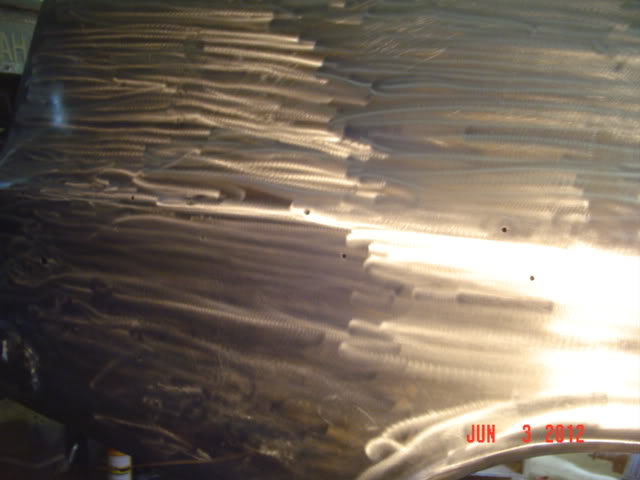
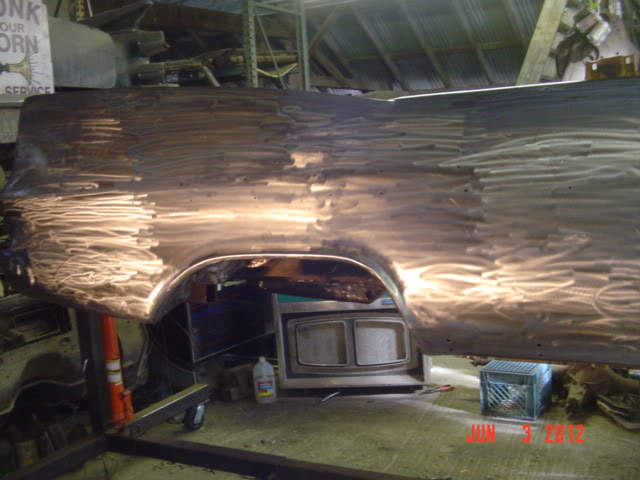
Quarter panels are now quite straight, as the bare metal shows. I still have a lot to do on the top side of the car yet, I will sandblast the body when the metalwork is complete, and then get it in primer to work on the chassis-
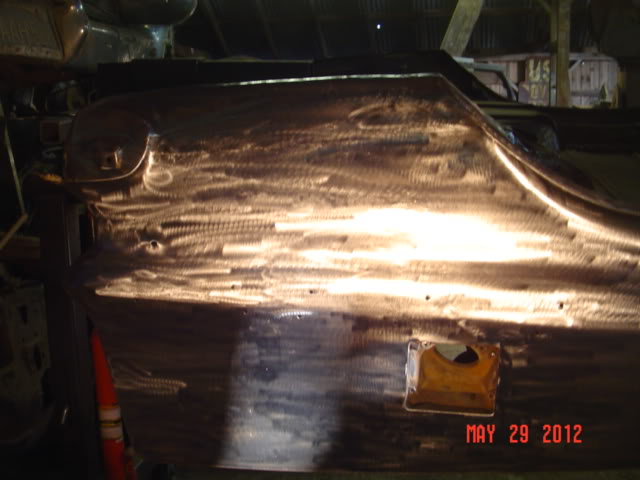
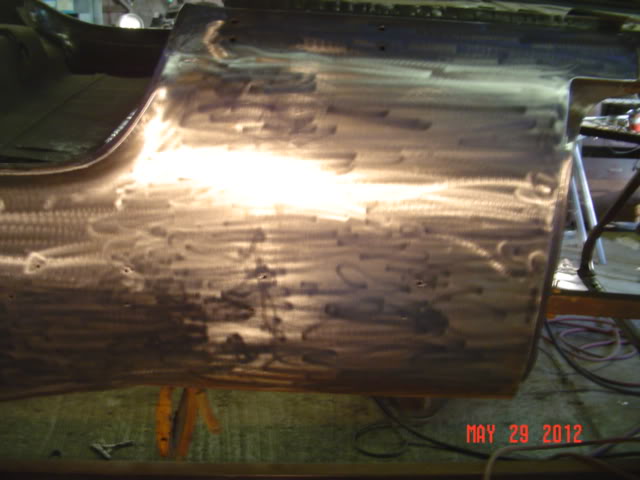
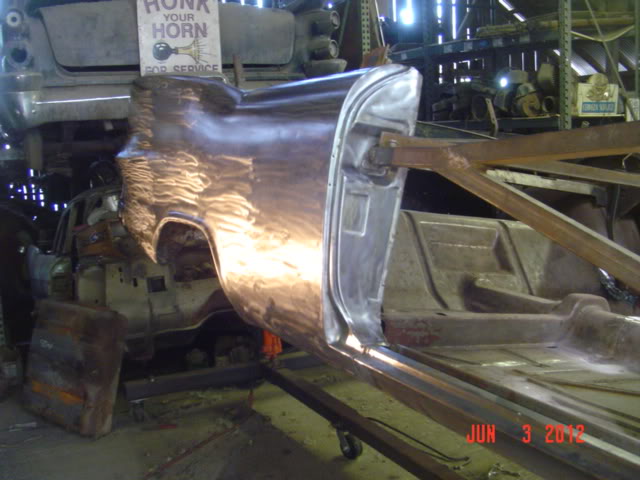
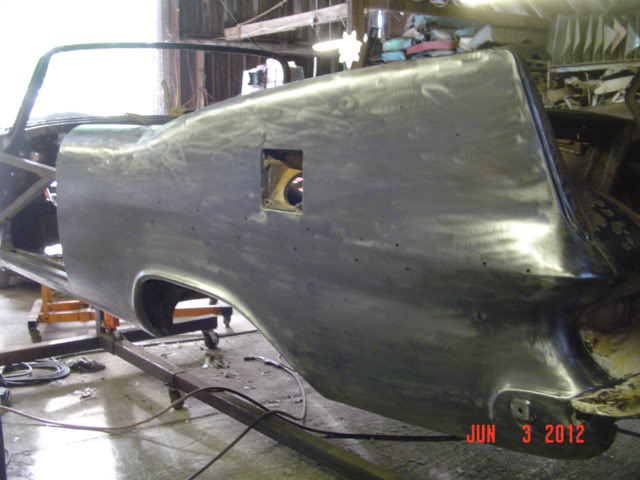
Solid quality work John! Now is the time to throw caution to the wind and drill holes for the coveted Belevedere side trim! No? Oh all right keep it a SF! 
John Q.
LOL!
Thanks, John, maybe someday if I ever finish this we’ll join up at a show with both convertibles.
—John
I will bring it out to Van Nuys for sure for Spring Fling and maybe even the show at the college in Fremont we met at!
John Q.
Next step was to find or fabricate the convertible top motor mount. After searching for several years, I found any convertible in any salvage yard would only be sold complete, no parts. I even checked with some of my Swedish friends, and none had anything like it to spare.
Oh well, I guess this isn’t the first time I hit a roadblock. The piece I needed was rather an intricate stamped part, so I set about making a decent replacement. I thought about what I may need, and it turned out I had the supplies right here.
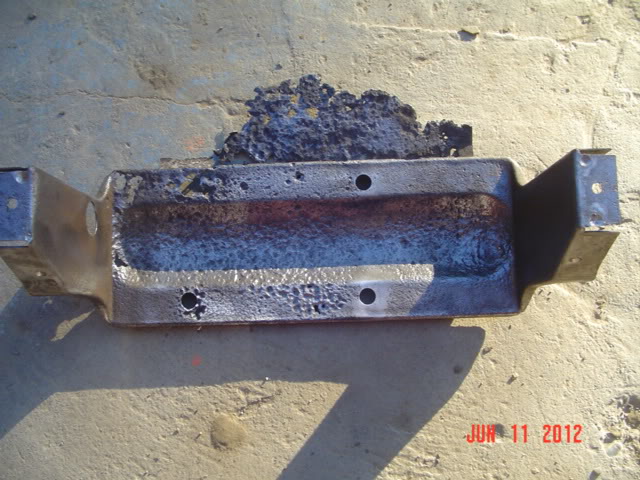
This is the original Mopar part once separated from the car-
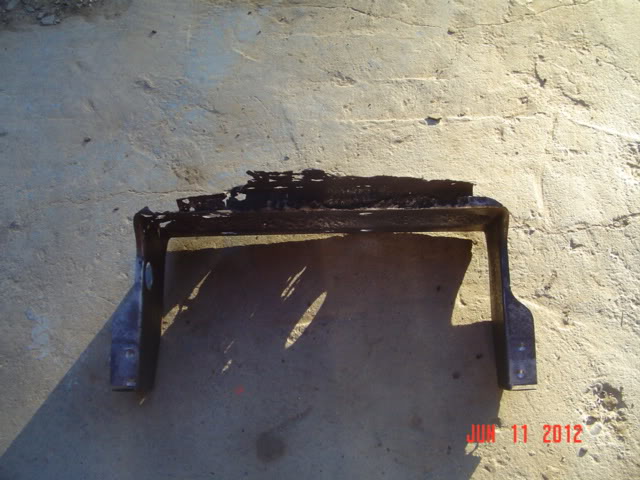
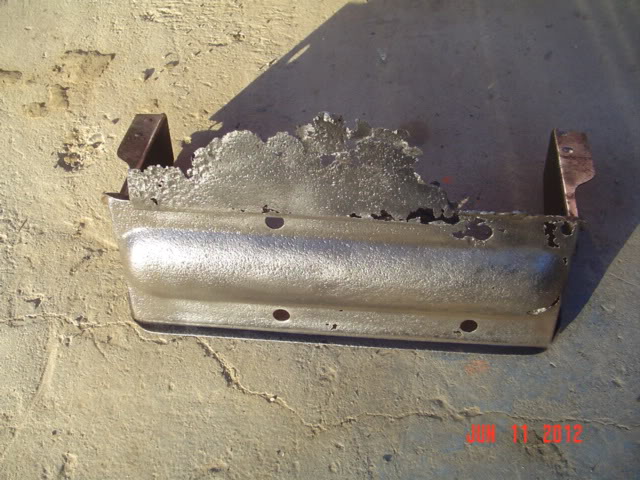
It was the shiniest piece of rust around!
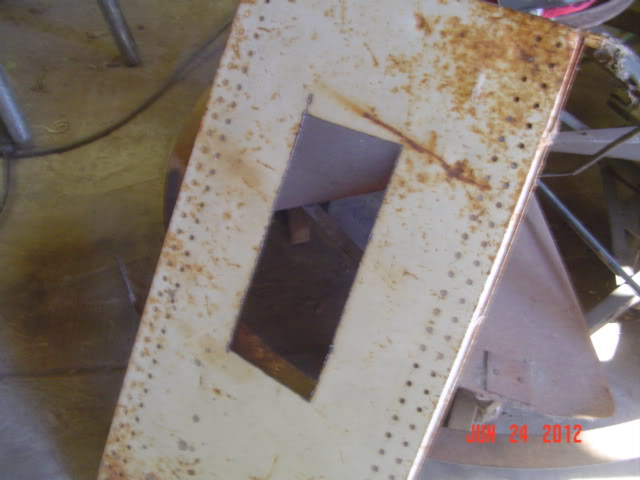
I found an old store shelf in the junk bin that was the same gauge steel as the old base was. I made a few measurements, and cut a section out-
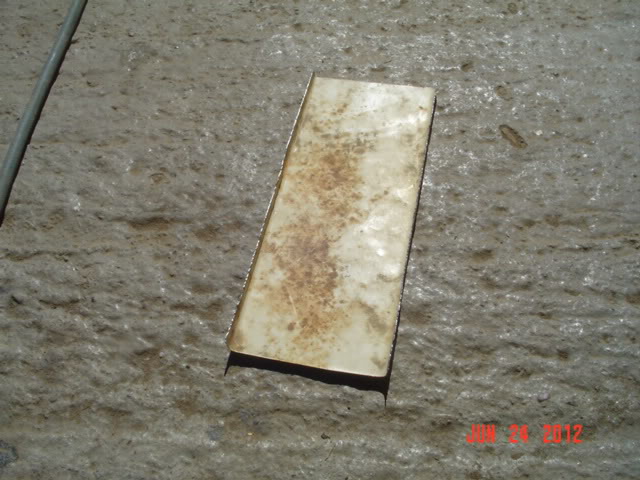
Next, I used a hand brake to make 90 degree bends for the sides-
Next, I used the old piece for a template, and cut the center of the new base. I then welded the sides from the original piece onto the new base.
A trip to the junk bin was in order- I scavenged a partial steering column mast jacket from a scrap car, it was the perfect diameter that I needed. I cut a section out, just a bit longer, as I needed to heat and beat the ends in order to make the semi-oval curved ends. This took a bit of doing, but it worked well. I welded it into the main piece, and ground off the excess weld.
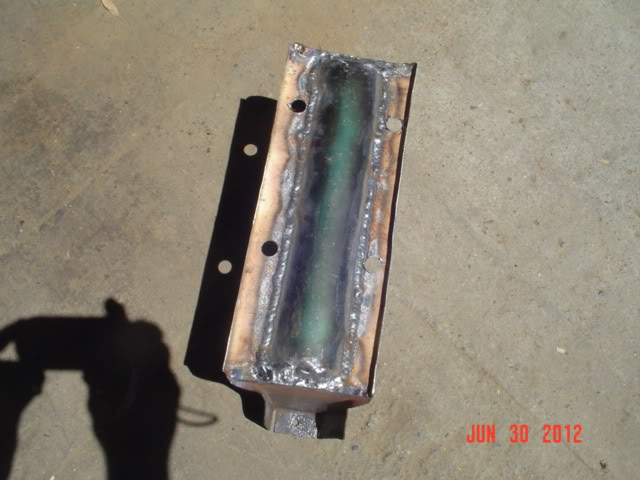
Here is a photo before any grinding-
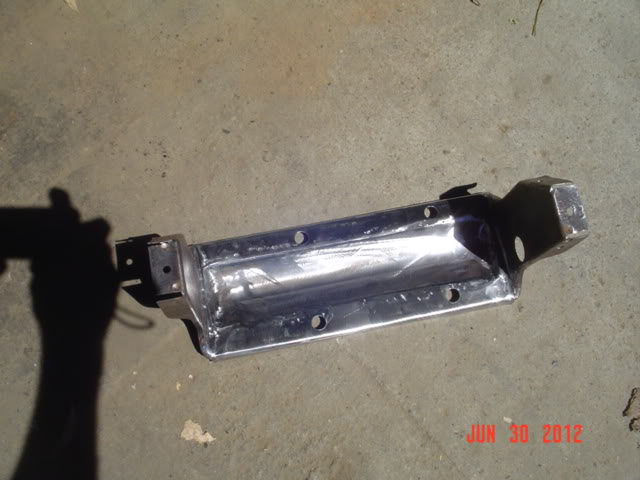
I measured the holes in the original piece, and duplicated them for the new one. A bit of finish sanding, and ready for the next step-
There was not much left to go by as to the piece that physically supported the assembly to the raised area beneath the package tray [on closed cars] but I used my '59 DeSoto convertible as a template to get it close. Just a simple 90 degree piece, but it had to connect the assembly to the car body firmly, so time for more measuring.
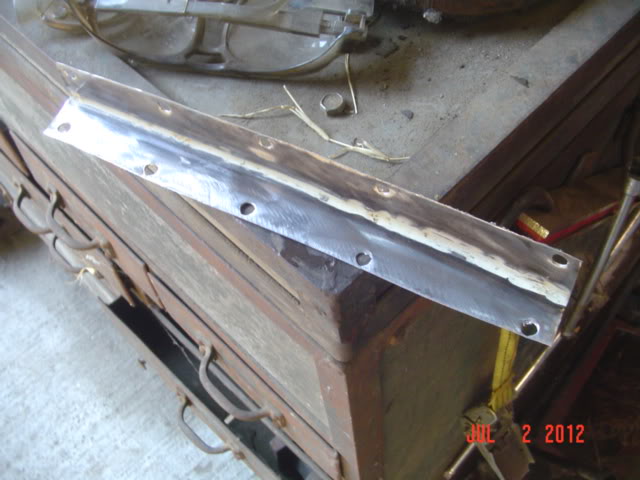
Holes were then drilled so as to weld both edges up-
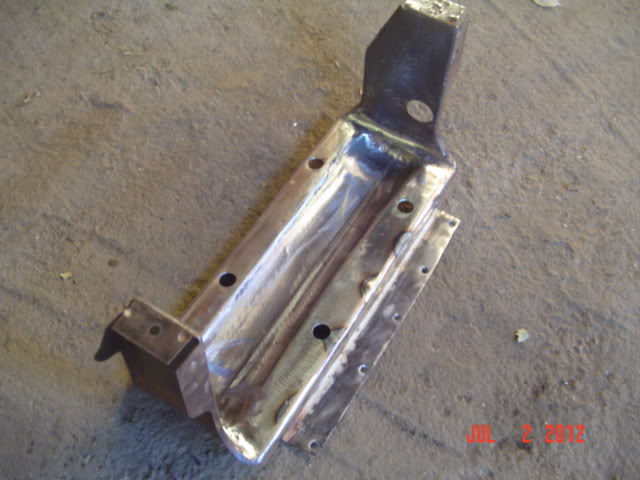
Here is the completed pump support assembly-
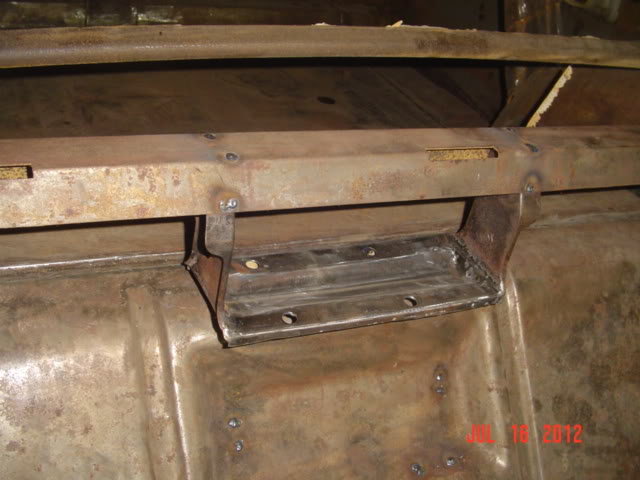
Now permanently installed back into the car.
John, Looks like a factory stamped piece to me! Super reverse engineering on this piece. Looks spot on to factory piece. To bad when all assembled no one will see it, but we will know what it took to make it! 
John Q.
Thanks, John!!
Cleaning out the barn to get ready for the party the end of the month, not one of my favorite tasks, but I took a break and worked on the '59 this weekend.
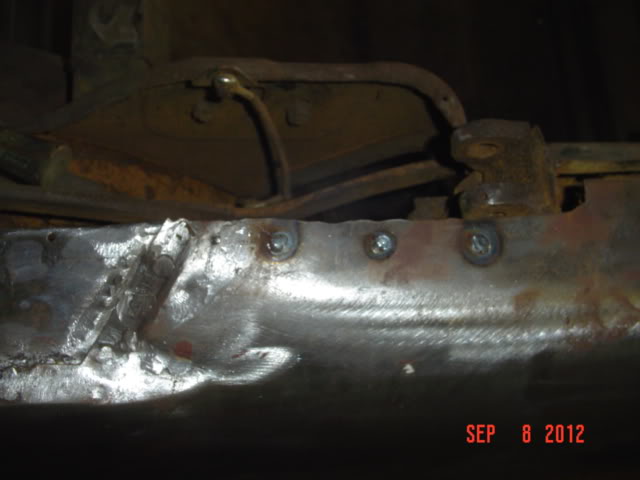
Up to the convertible top well, there is a bit of cleanup required from a rough cut, as well as having to replicate the ends that cover the pivot point.
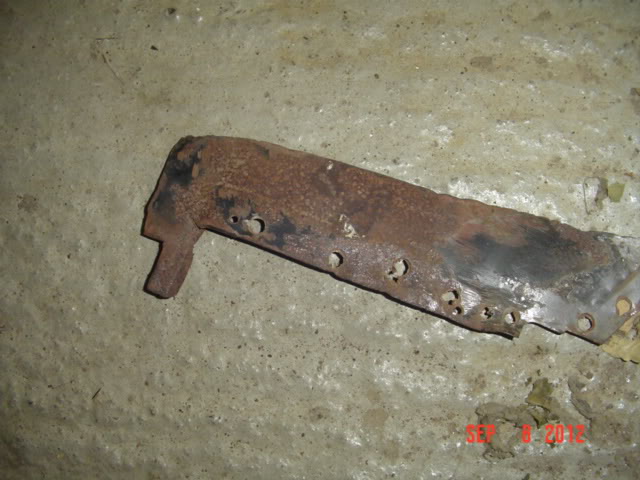
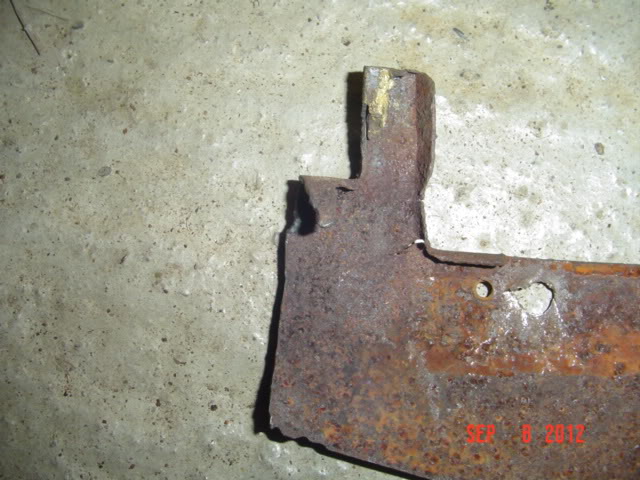
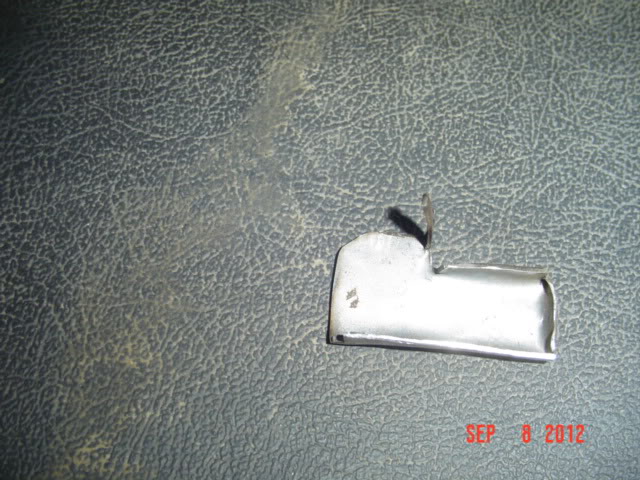
This is the original piece I salvaged for a pattern, I only needed the small end piece, but this one had pinholes in it and was weak. I decided to make a new one.
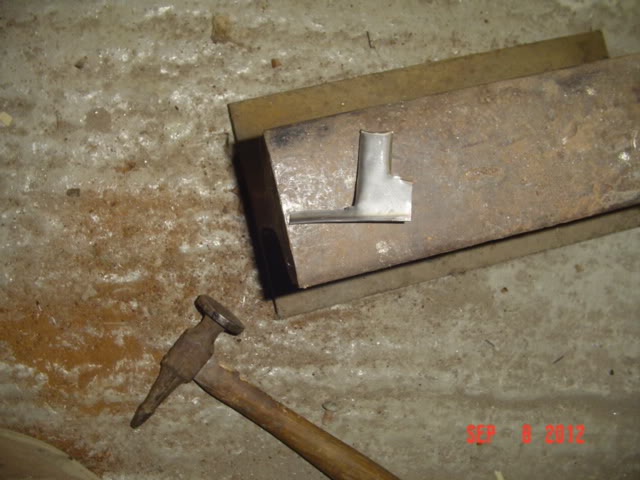
I had some small pieces of 18 gauge steel leftover from doing quarter panel repairs on a friend’s Mustang convertible, so I used them to make my repair piece.
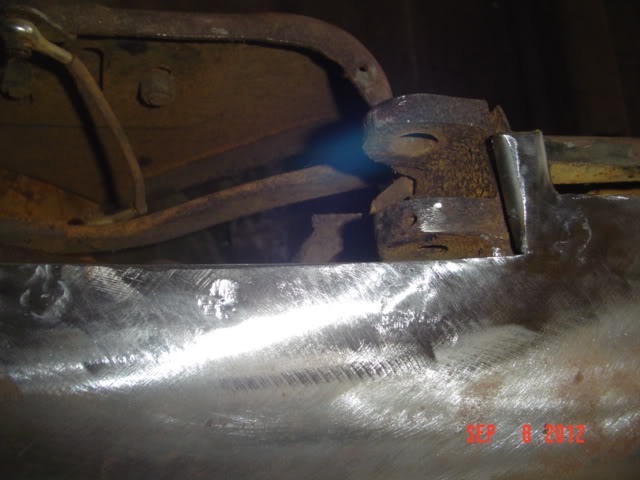
Next, the surrounding edges were cleaned up, the piece was fitted and butt welded in, and welds ground level.
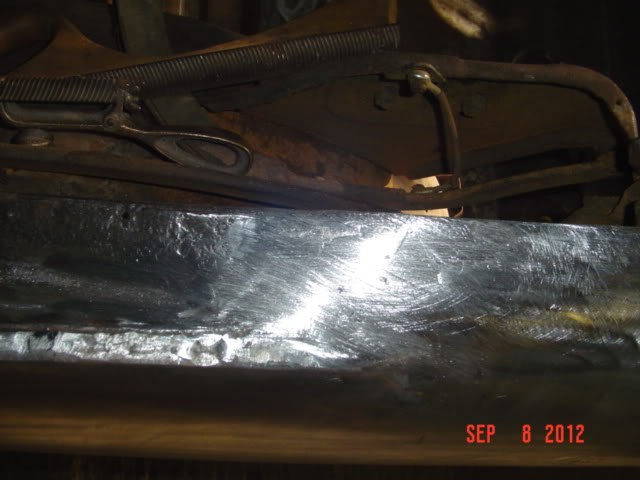
Lead was used to fill the factory seam back in and to smooth over any minor imperfections.
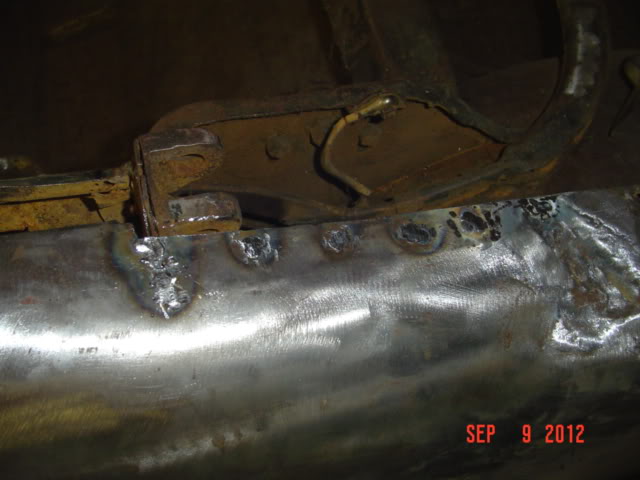
On to the driver side-
The seam on the factory side was worse fitting, and the metal around it had to be worked to gain a better fit.
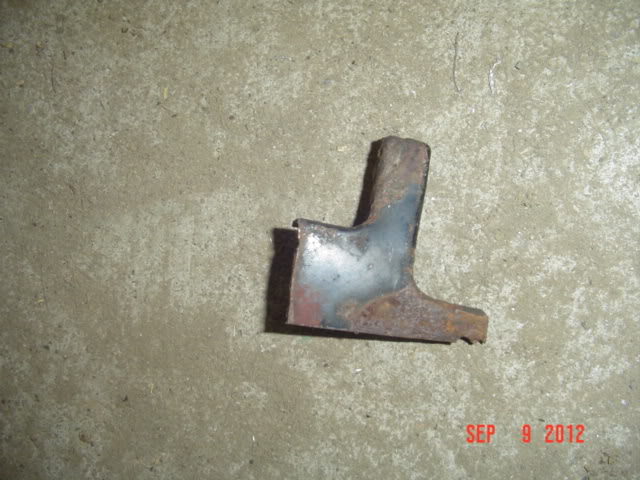
I was able to save the end cap, as the rust was not bad on it. After cleaning and fitting it, I butt welded it in place-
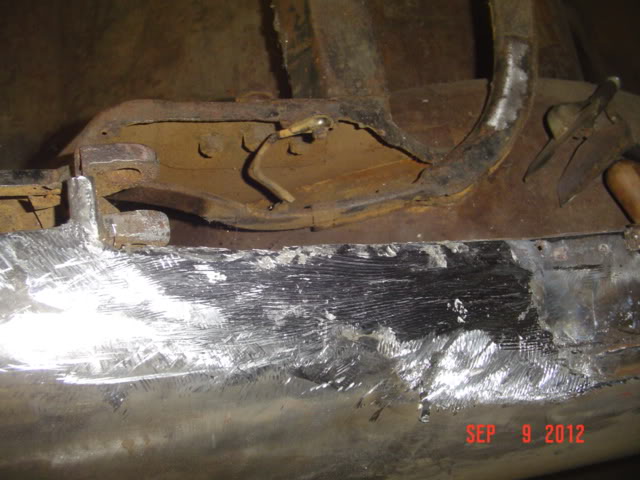
Lead was applied to the seam, and rough filed to be sure it was flush.
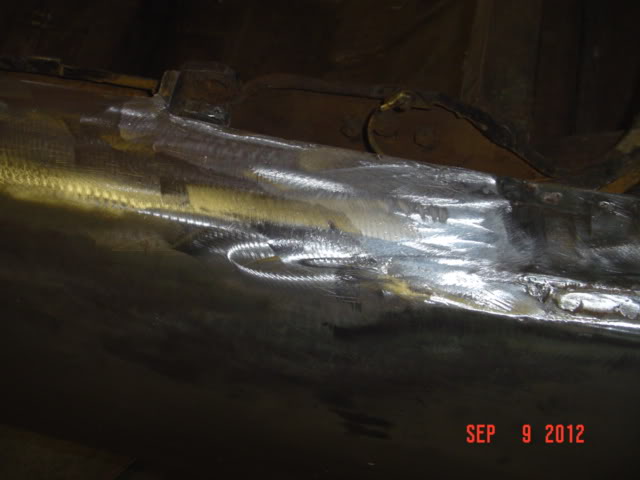
Metal finished and smoothed-
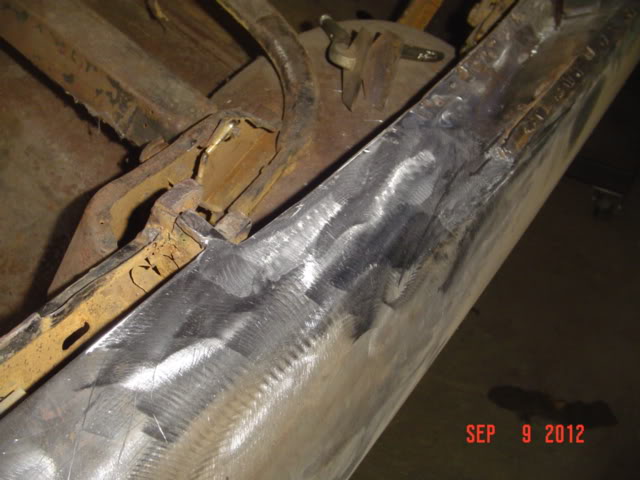
John, I am running out of words to compliment you on what you are doing to that Plymouth. Keep the pictures coming! Proves that any car can be repaired if you are willing to put the time and dollars into it.
Good that you have your 59 De Soto convert there to compare the bad versus the good sheet metal.
John Q.
I was really hoping to get the body blasted and in epoxy primer before the rainy season gets here, but it is looking doubtful, finding more things that need attention that I refuse to just patch quickly and have the problem reappear down the road.
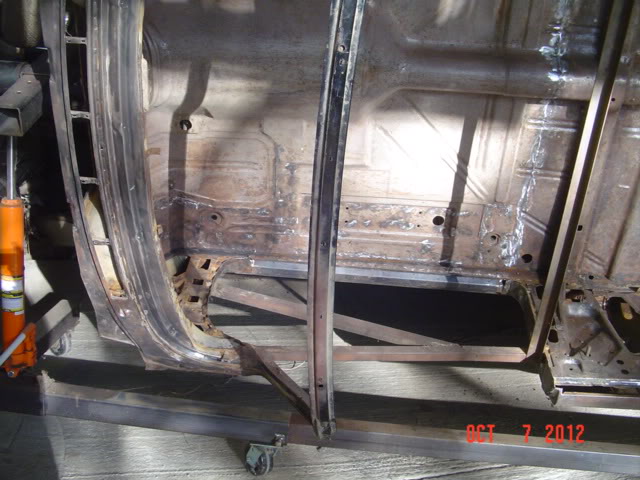
I did get lots done this weekend, however. I did more finish work to some of the welds usind an 80 grit wheel that knocked off the high spots remaining from the carbide burr.
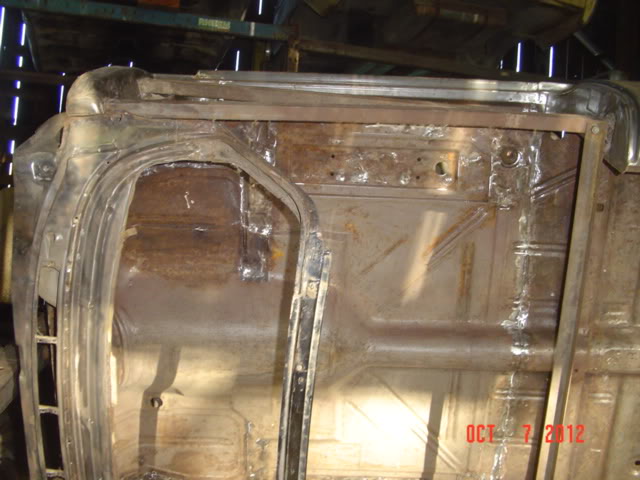
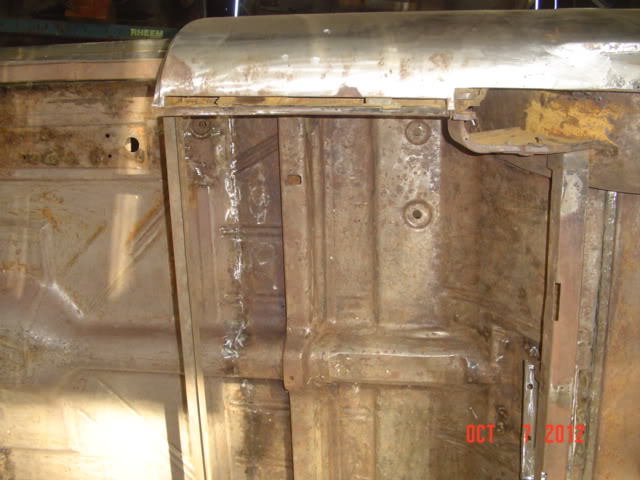
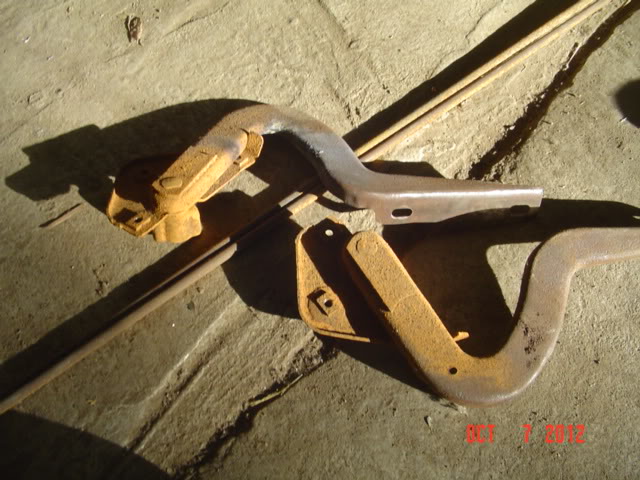
I had to remove the deck lid hinges and torsion bars, as they would be in the way. Another testament to the reverse electrolysis, I unscrewed all six bollts from the rusted hinges, with no effort, or broken bolts-
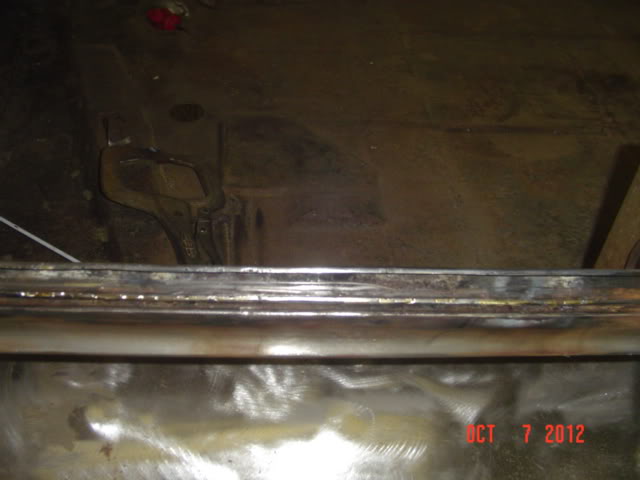
I decided that the weatherstrip gutters were repairable, just the seams were rusted, and a short section was dog-eared from the rust. I carefully built these areas up using brass rod, and then cleaned them up with a carbide burr. After blasting, I will still need to replace the seam sealer that is gone from the gutters.
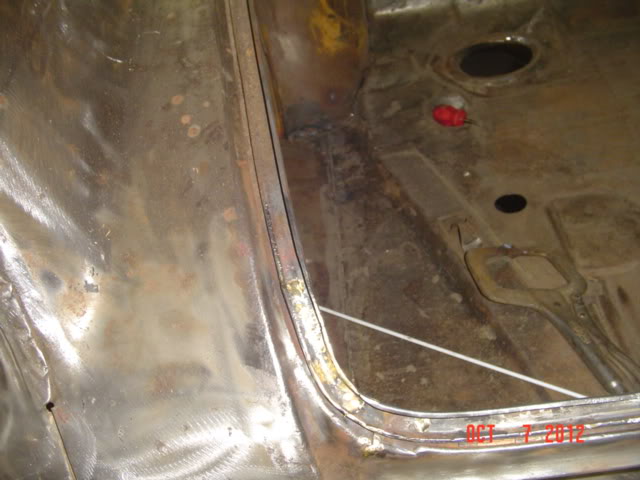
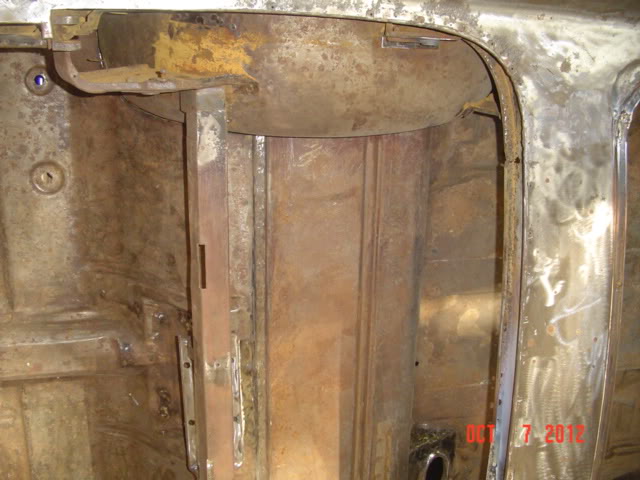
Looking down into the gutter at the rear where the convertible top drains water into, I found rust holes and badly pitted metal. After doing all the work on the floors, the last thing I would need is water pouring inside the car from this area.
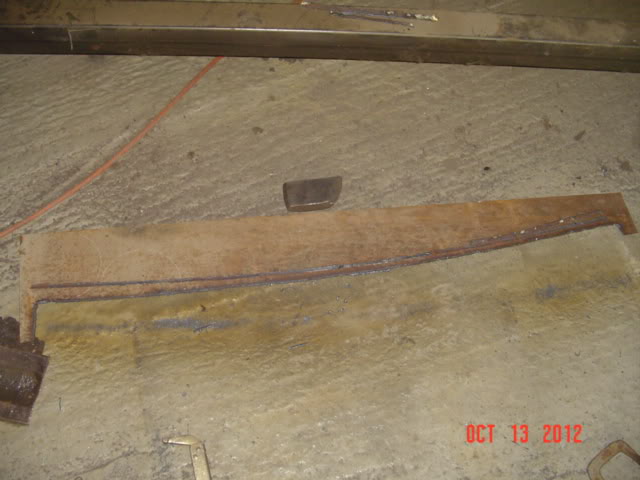
I thought I could cut a section of this gutter from a '63 Chryslewr I brought in, but the curvature was all wrong, and too short to boot. I decided to make my own.
Using a plasma cutter, I cut the arced lower piece from a sheet of 14 gauge steel I found in the bin. This took a bit of doing, as what I had on the car was not usable for a pattern.
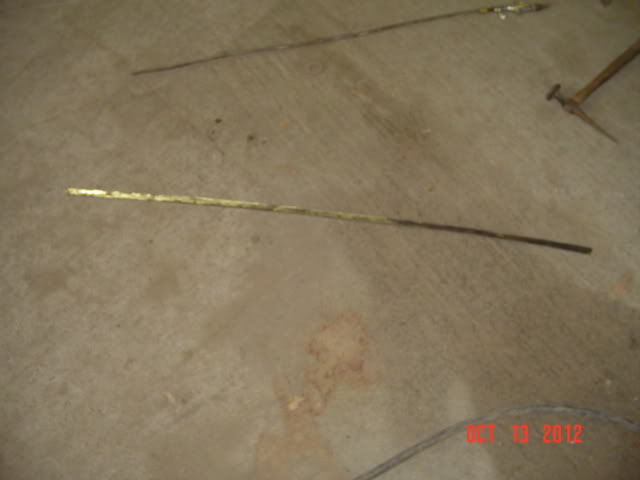
After cleaning up the edges and removing the surface piece, here is what I had-
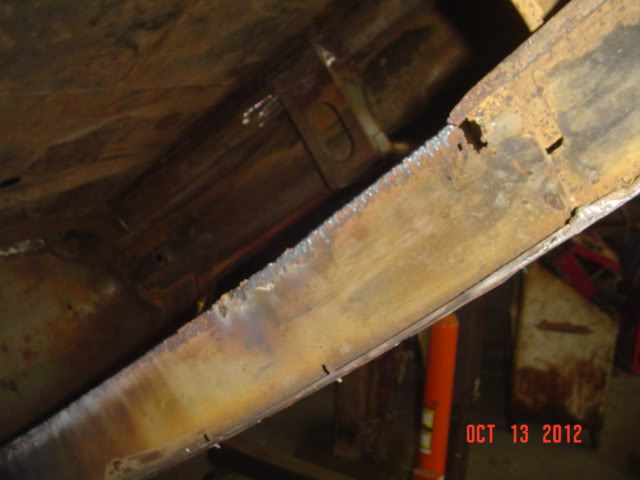
I had to cut the entire rear channel out, it had been repaired once with brazing, but was too far gone to rebuild. I used the plasma cutter to cut the channel out.
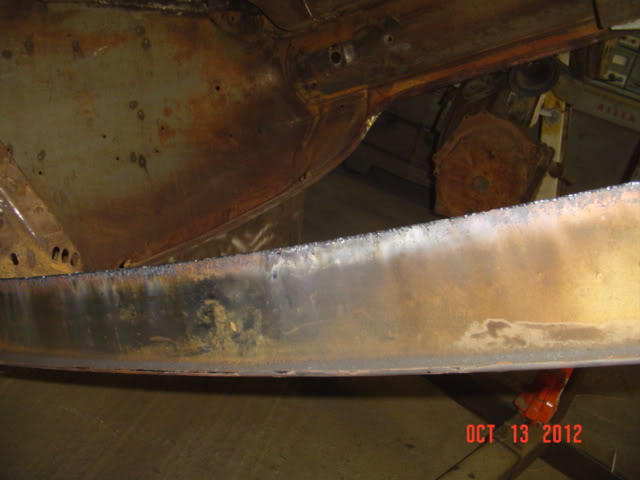
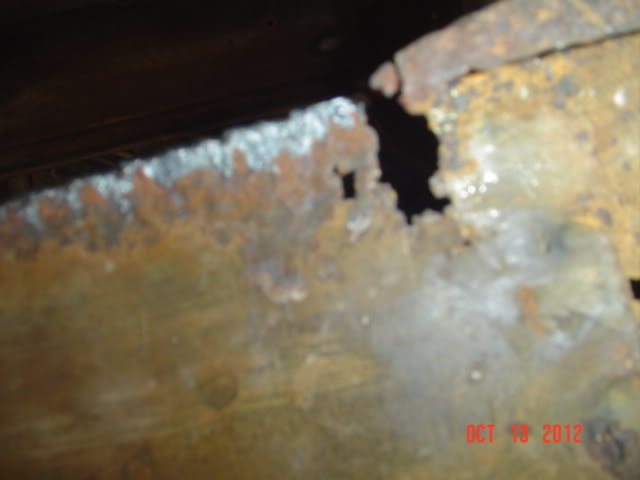
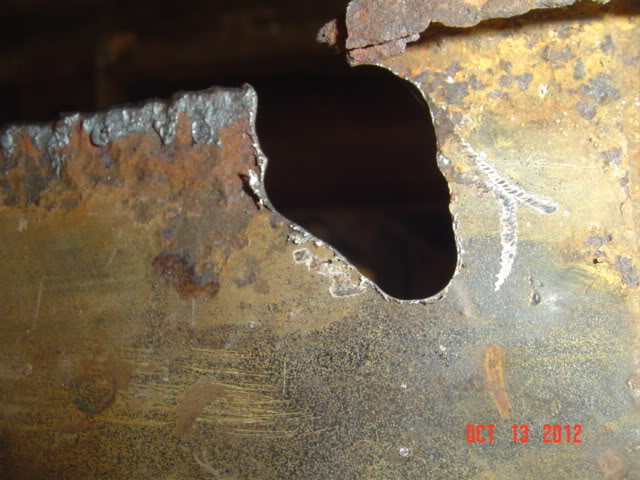
I had to repair this rust hole before attempting to repair the gutter- I used a burr to remove any weakened metal, and the hole grew.
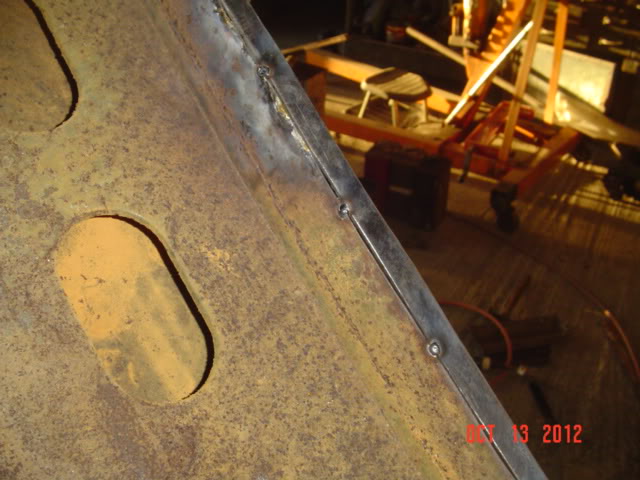
I made the side for the gutter from another piece of steel, forming the slight lip on the edge with a hammer on an anvil. I was also able to put the needed curve into the piece by hammering against the form part of the anvil. I then welded the two formed strips of steel together as sort of a v, and ground the excess off as it would not be accessible later. Then, I fitted it to the car body, and tack welded it in.
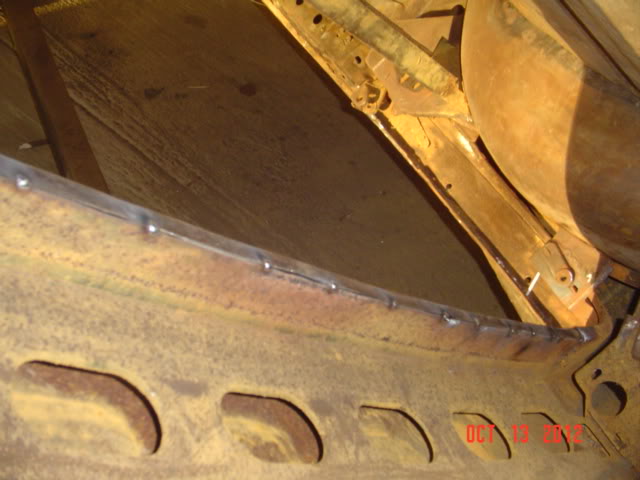
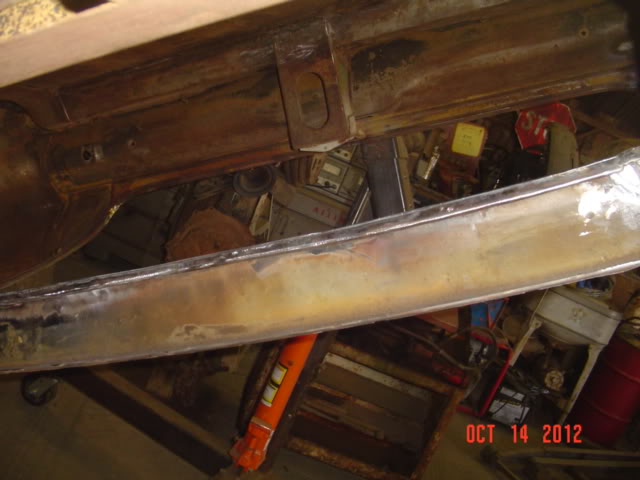
I made a piece to butt weld into the large hole, and welded it in. Also welding the rest of the gutter completely. a bit or grinding, and the repair was completed.
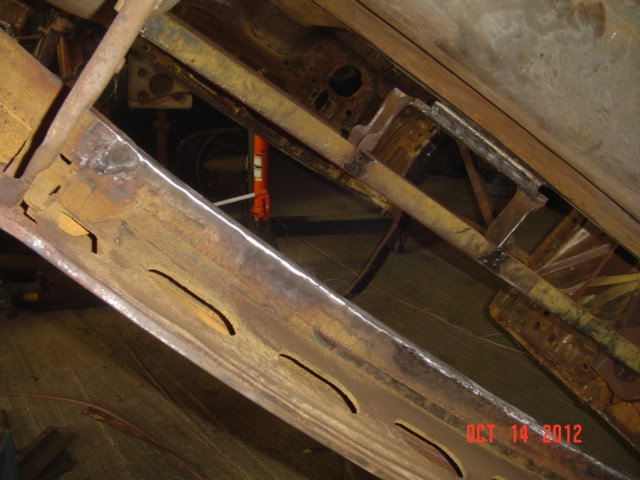
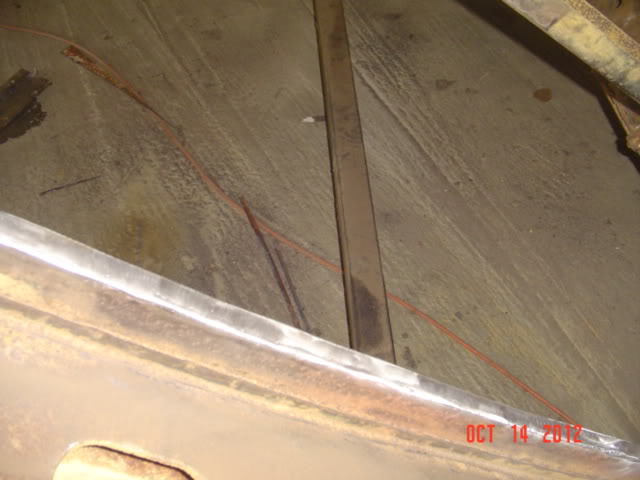
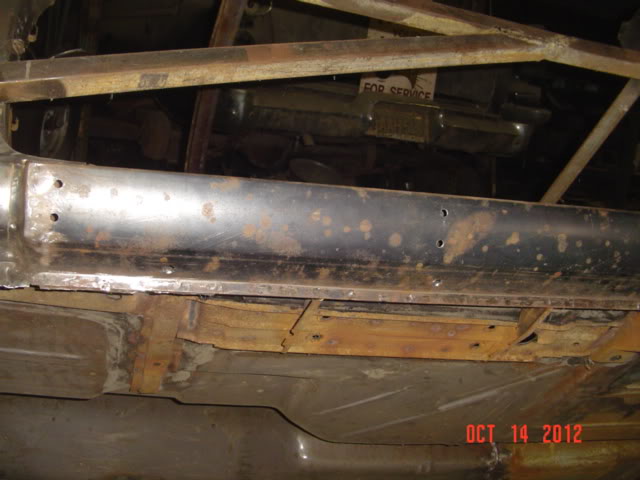
I measured the rocker molding clip holes on another car, and drilled the holes. These clips take two holes apiece.
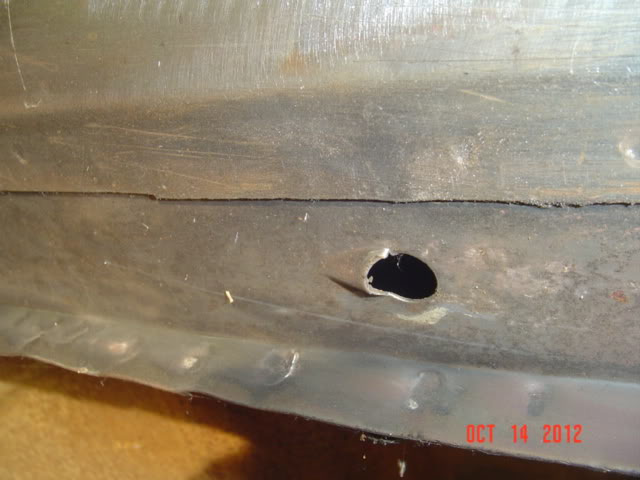
Next was to drill the larger drain holes on the bottom of the rockers. I made a special tool to try to replicate the way the metal is stretched at the front of each hole so as not to invite dirt in while going down the road. It did not work quite as well on the heavy gauge rockers, but will suffice.
John - Wish I had your talent at sheet metal work and welding, your work is outstanding. And, doing it yourself you save a ton of money. But looking at your thread is like Daja Vu all over again!
Dick.
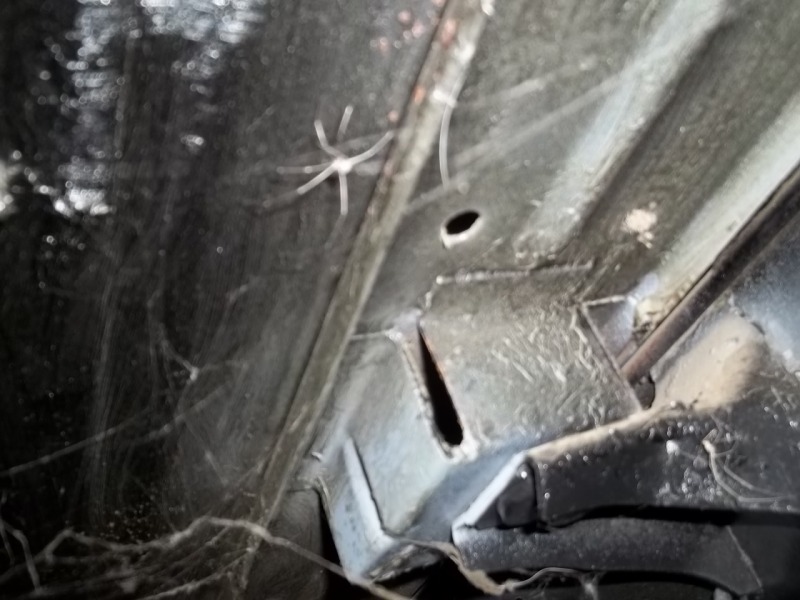
I made some measurements from the convertible only mounts in my '59 Desoto, which still has its original floors-
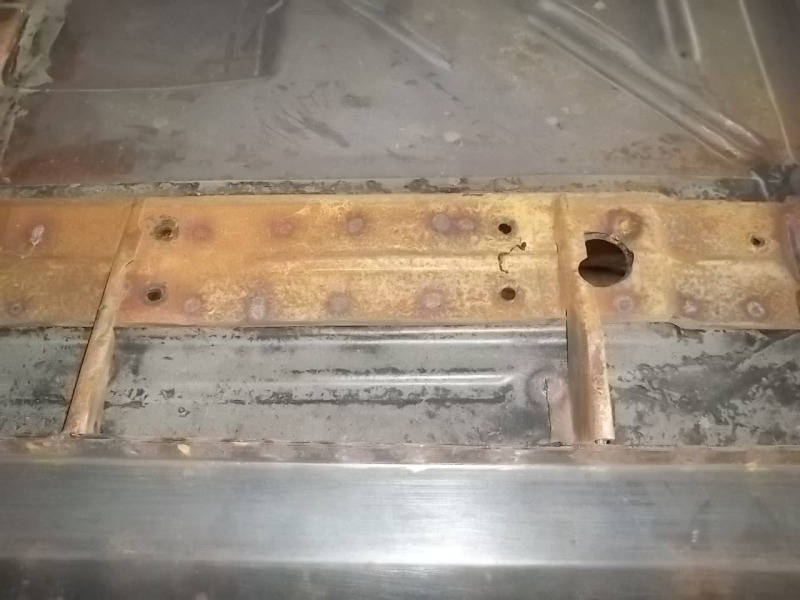
I had to remove the seat support outriggers, as the convertibles do not use them, and my floor was from a closed car-
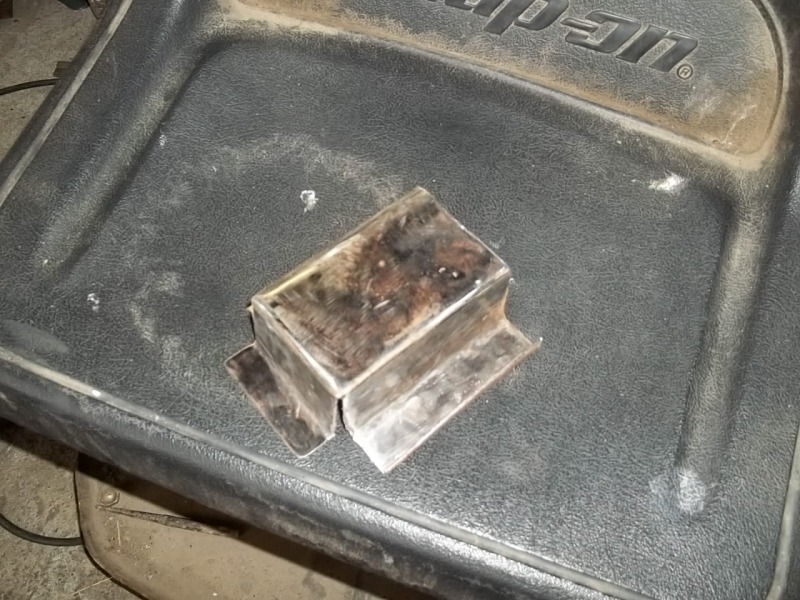
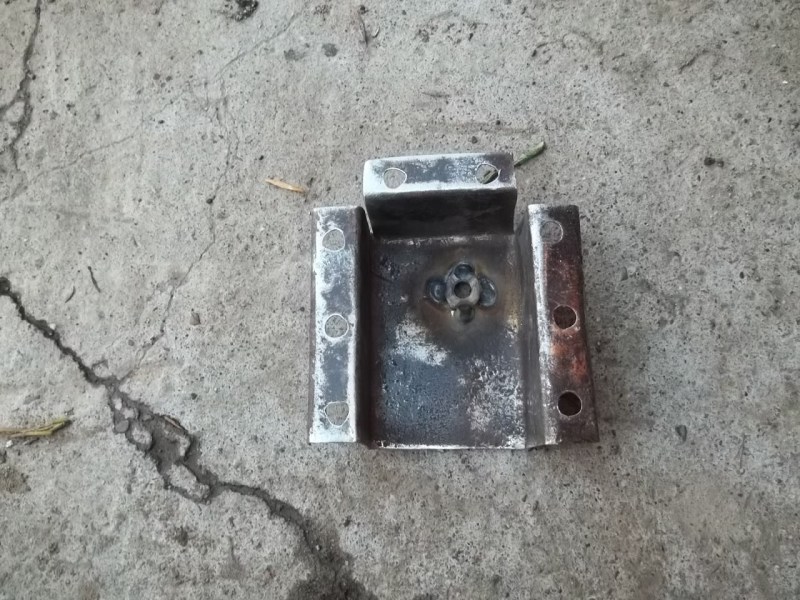
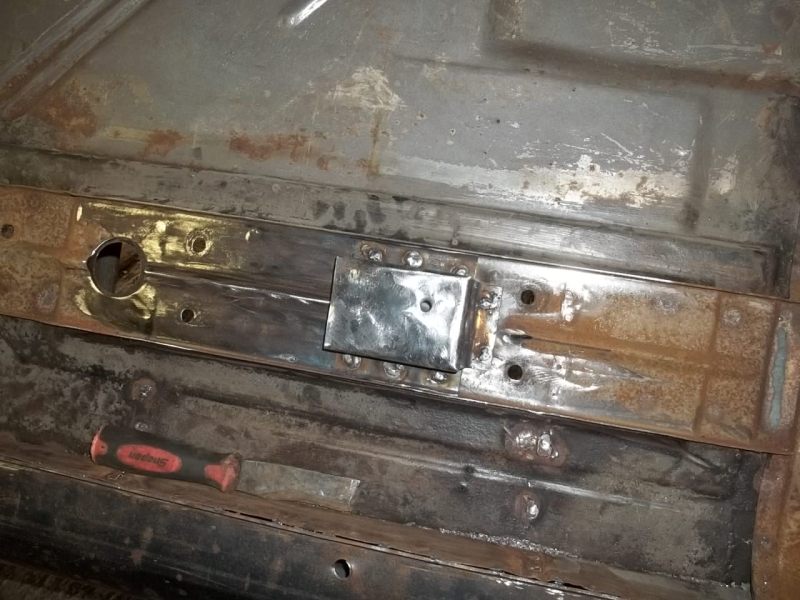
I found some steel the same gauge as the DeSoto’s mounts, and fabricated one mount-
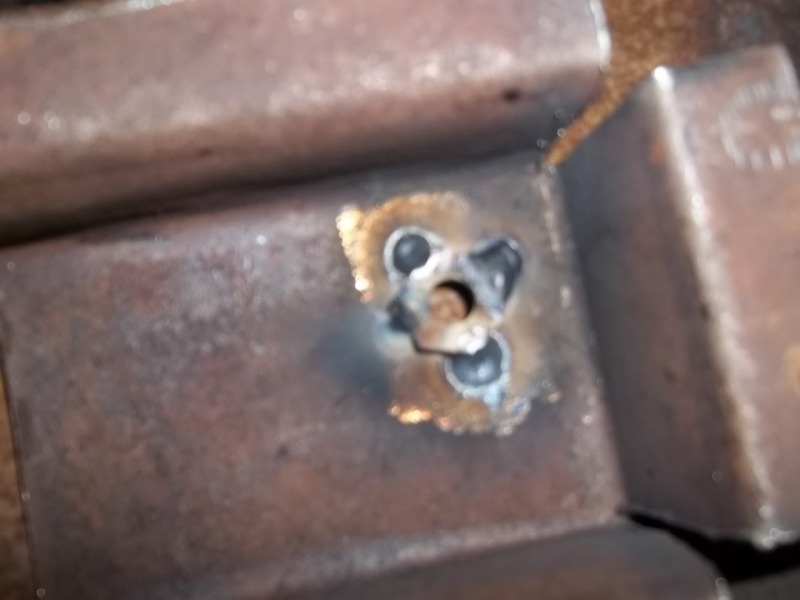
Next was to drill a 3/8" hole, and weld a nut to the reverse side-
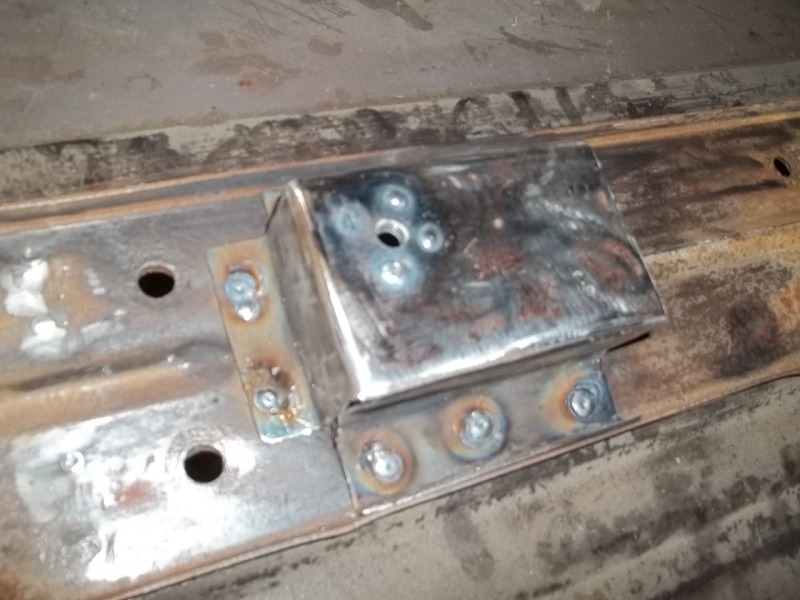
The surface of the seat brace was cleaned, and the new mount welded in place-
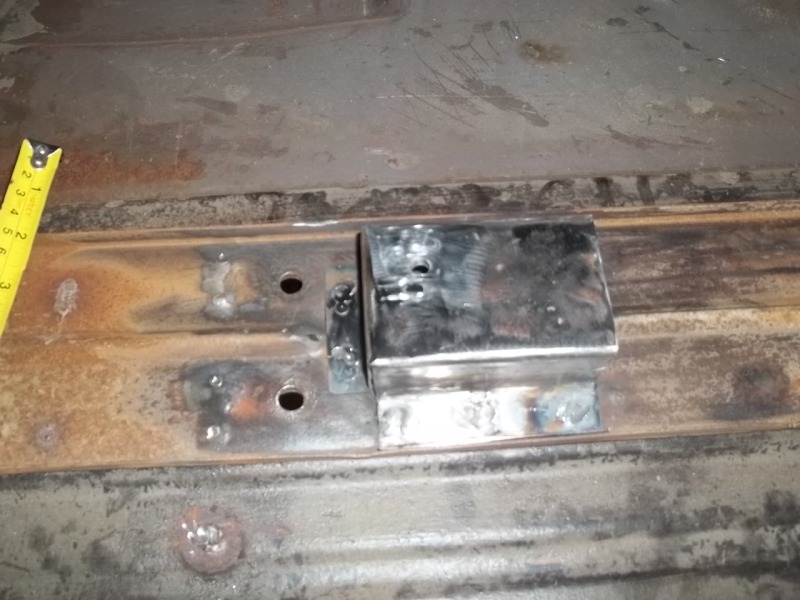
The completed mount-
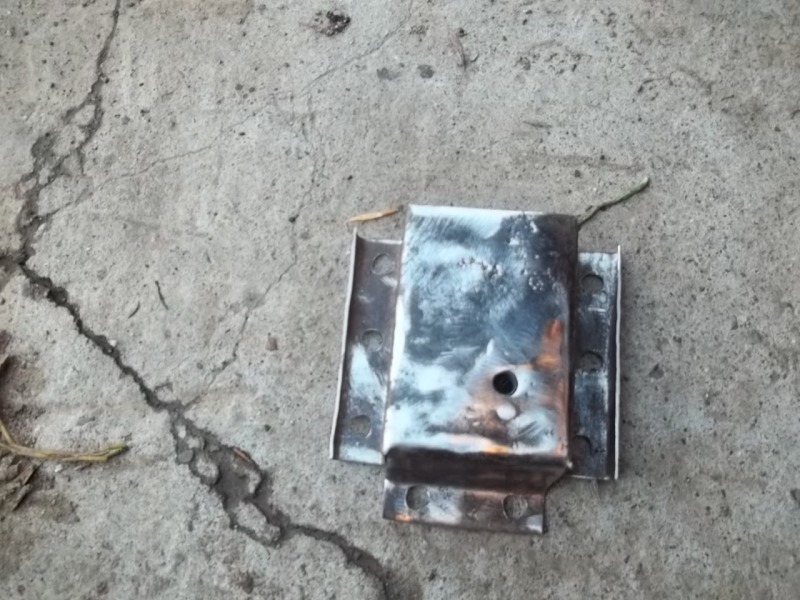
I made a reverse piece for the other side of the car, removed the outriggers, and welded it in place-
John - Great job, won’t be long now, I hope it’s ready when John Q. and I show up in our Convertibles.
Dick.
I am heading out now with mine!..Maybe this spring to Van Nuys for the Mopar Spring Fling and then Carlisle, So catch me at one of those places in 2013!
Good work John!
John Q.
A bit more lead work, I had to redo the lead seam, as when the car was hit, it had buckled this upwards.
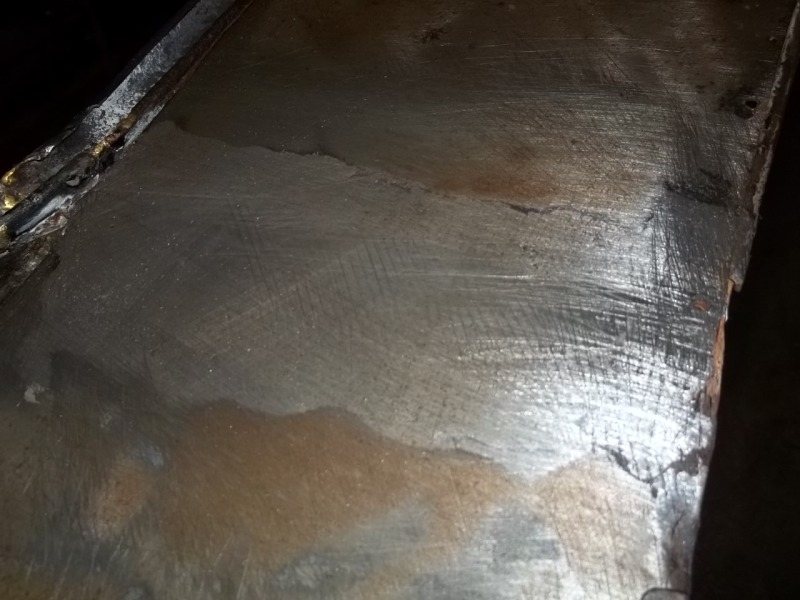
I melted the old solder out, had to re-weld the seam where rust had entered beneath the broken solder, and slapped the solder in-
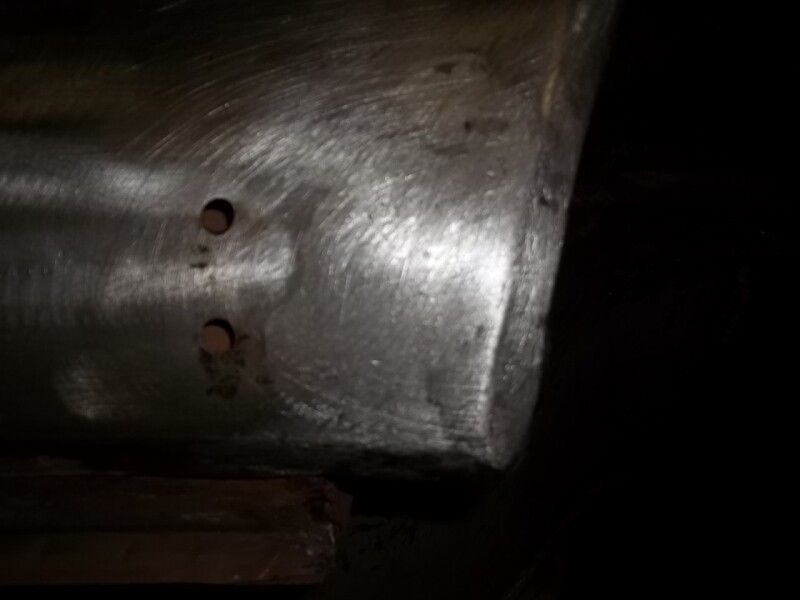
Finished the dogleg where I had patched it-
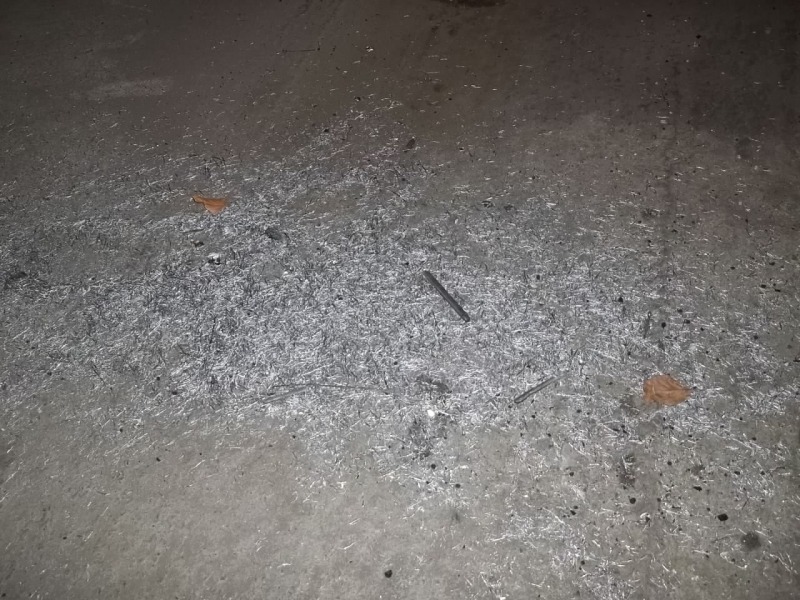
Plenty of lead filings end up on the ground, I sweep these up and melt them down to pour new solder sticks-
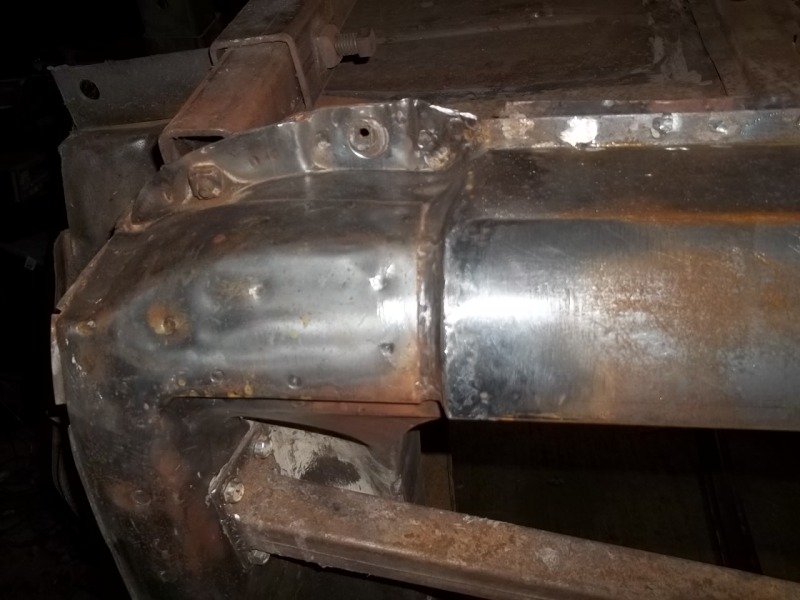
Front of rocker where it joins the body, smoothed out-
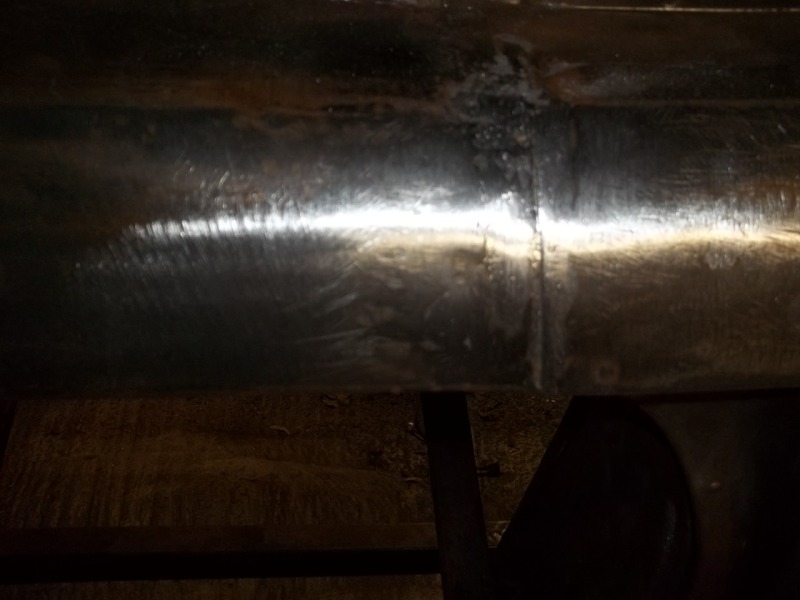
Rear seam overlap, to duplicate the factory assembly-
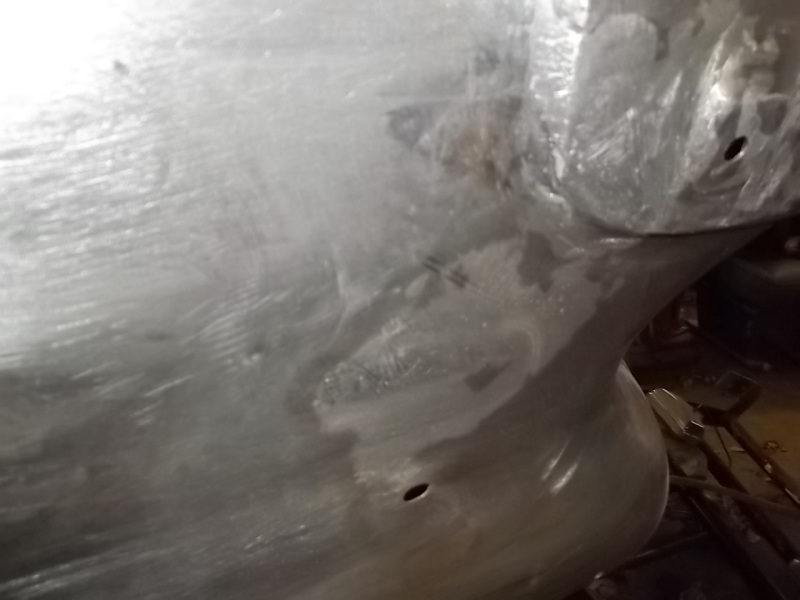
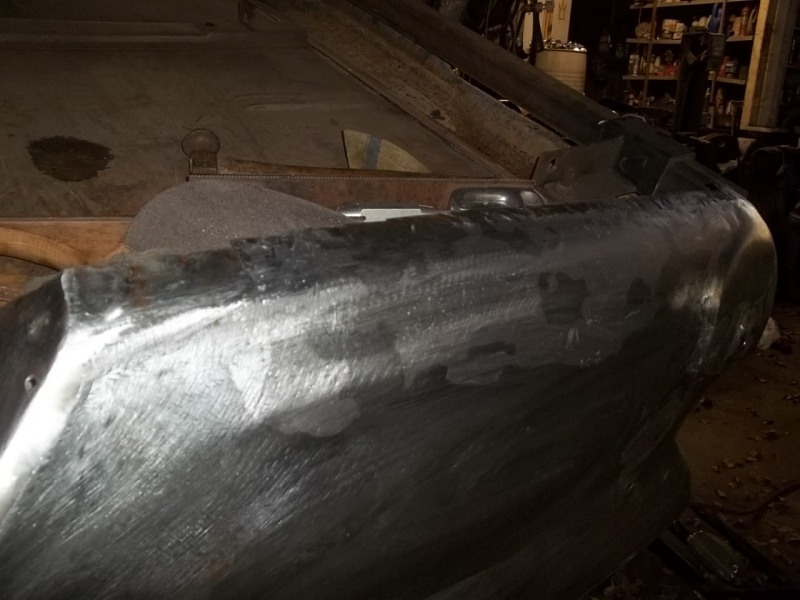
This was the quarter panel that was hit and badly repaired, just a small amount of lead necessary to finish it now-
You do excellent work John…Wish i lived close so I could come and help ya!!