Use your Dremel to make a slot in it for a screwdriver. That’s how I always do it
My stuff from Muscle Maniacs came today!
Mine didn’t have that extra section, Mark - and, it had the cutout for the trunk latch base and an oval cutout for the filler tube:
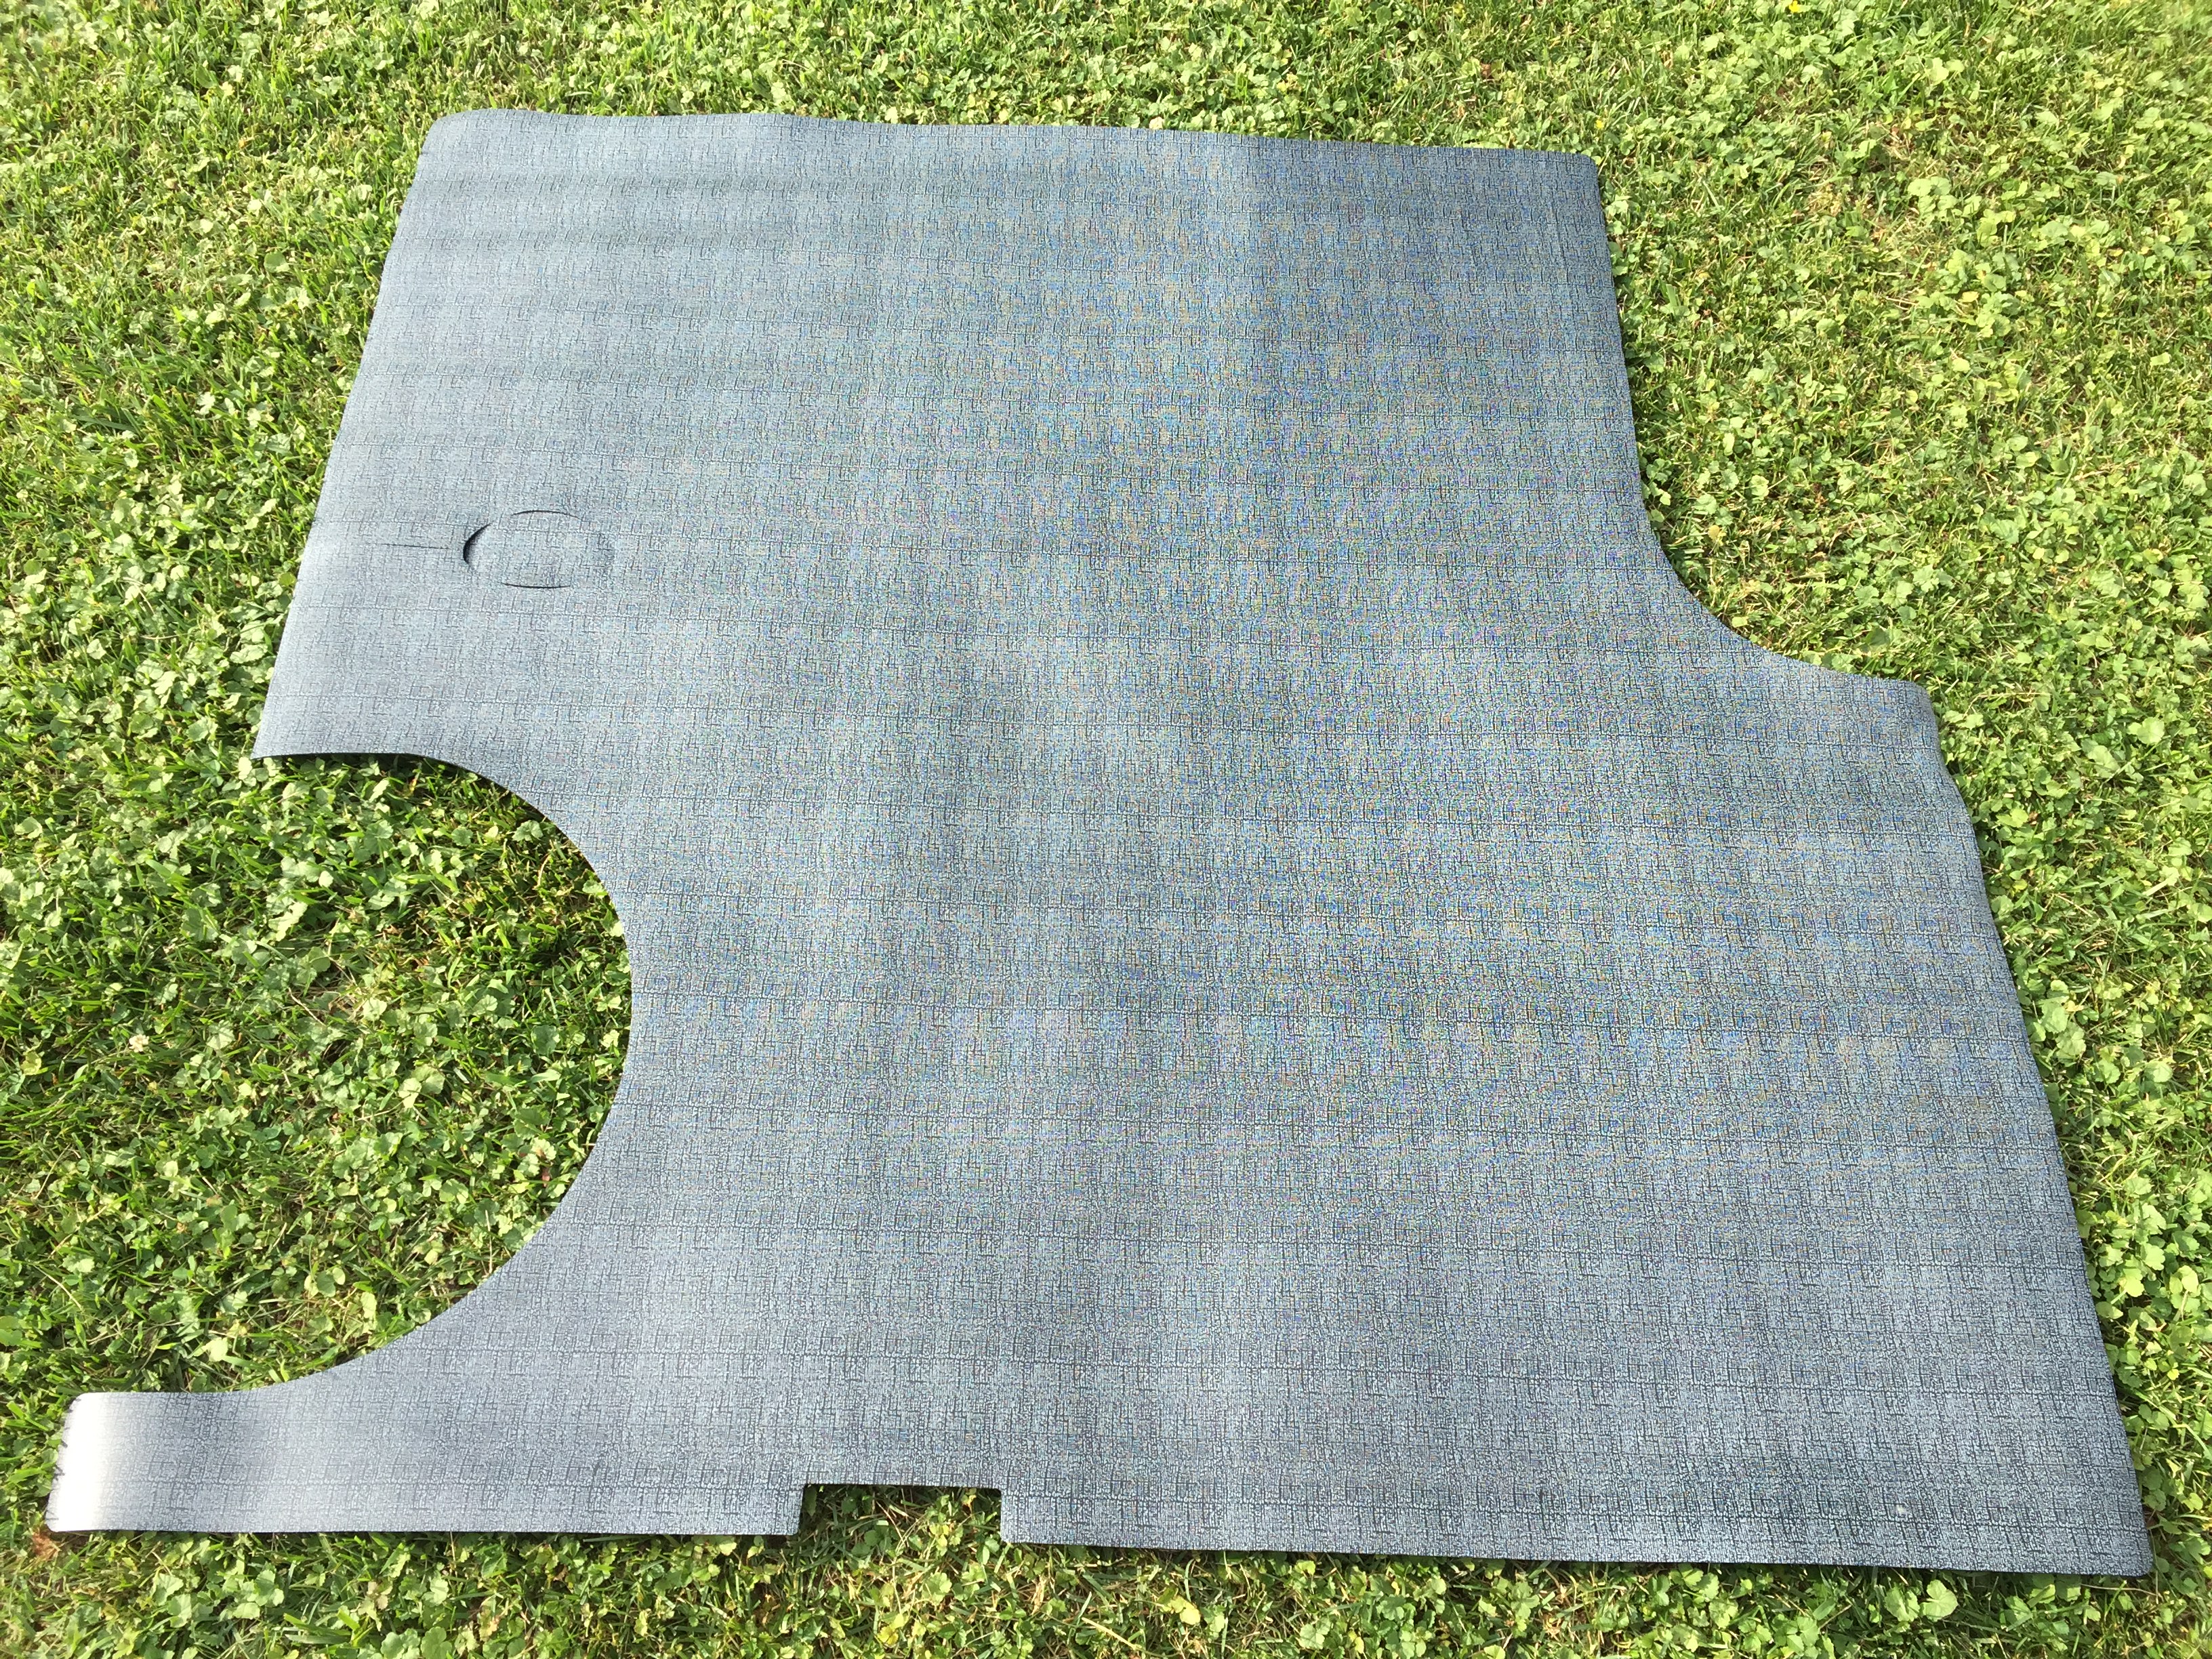
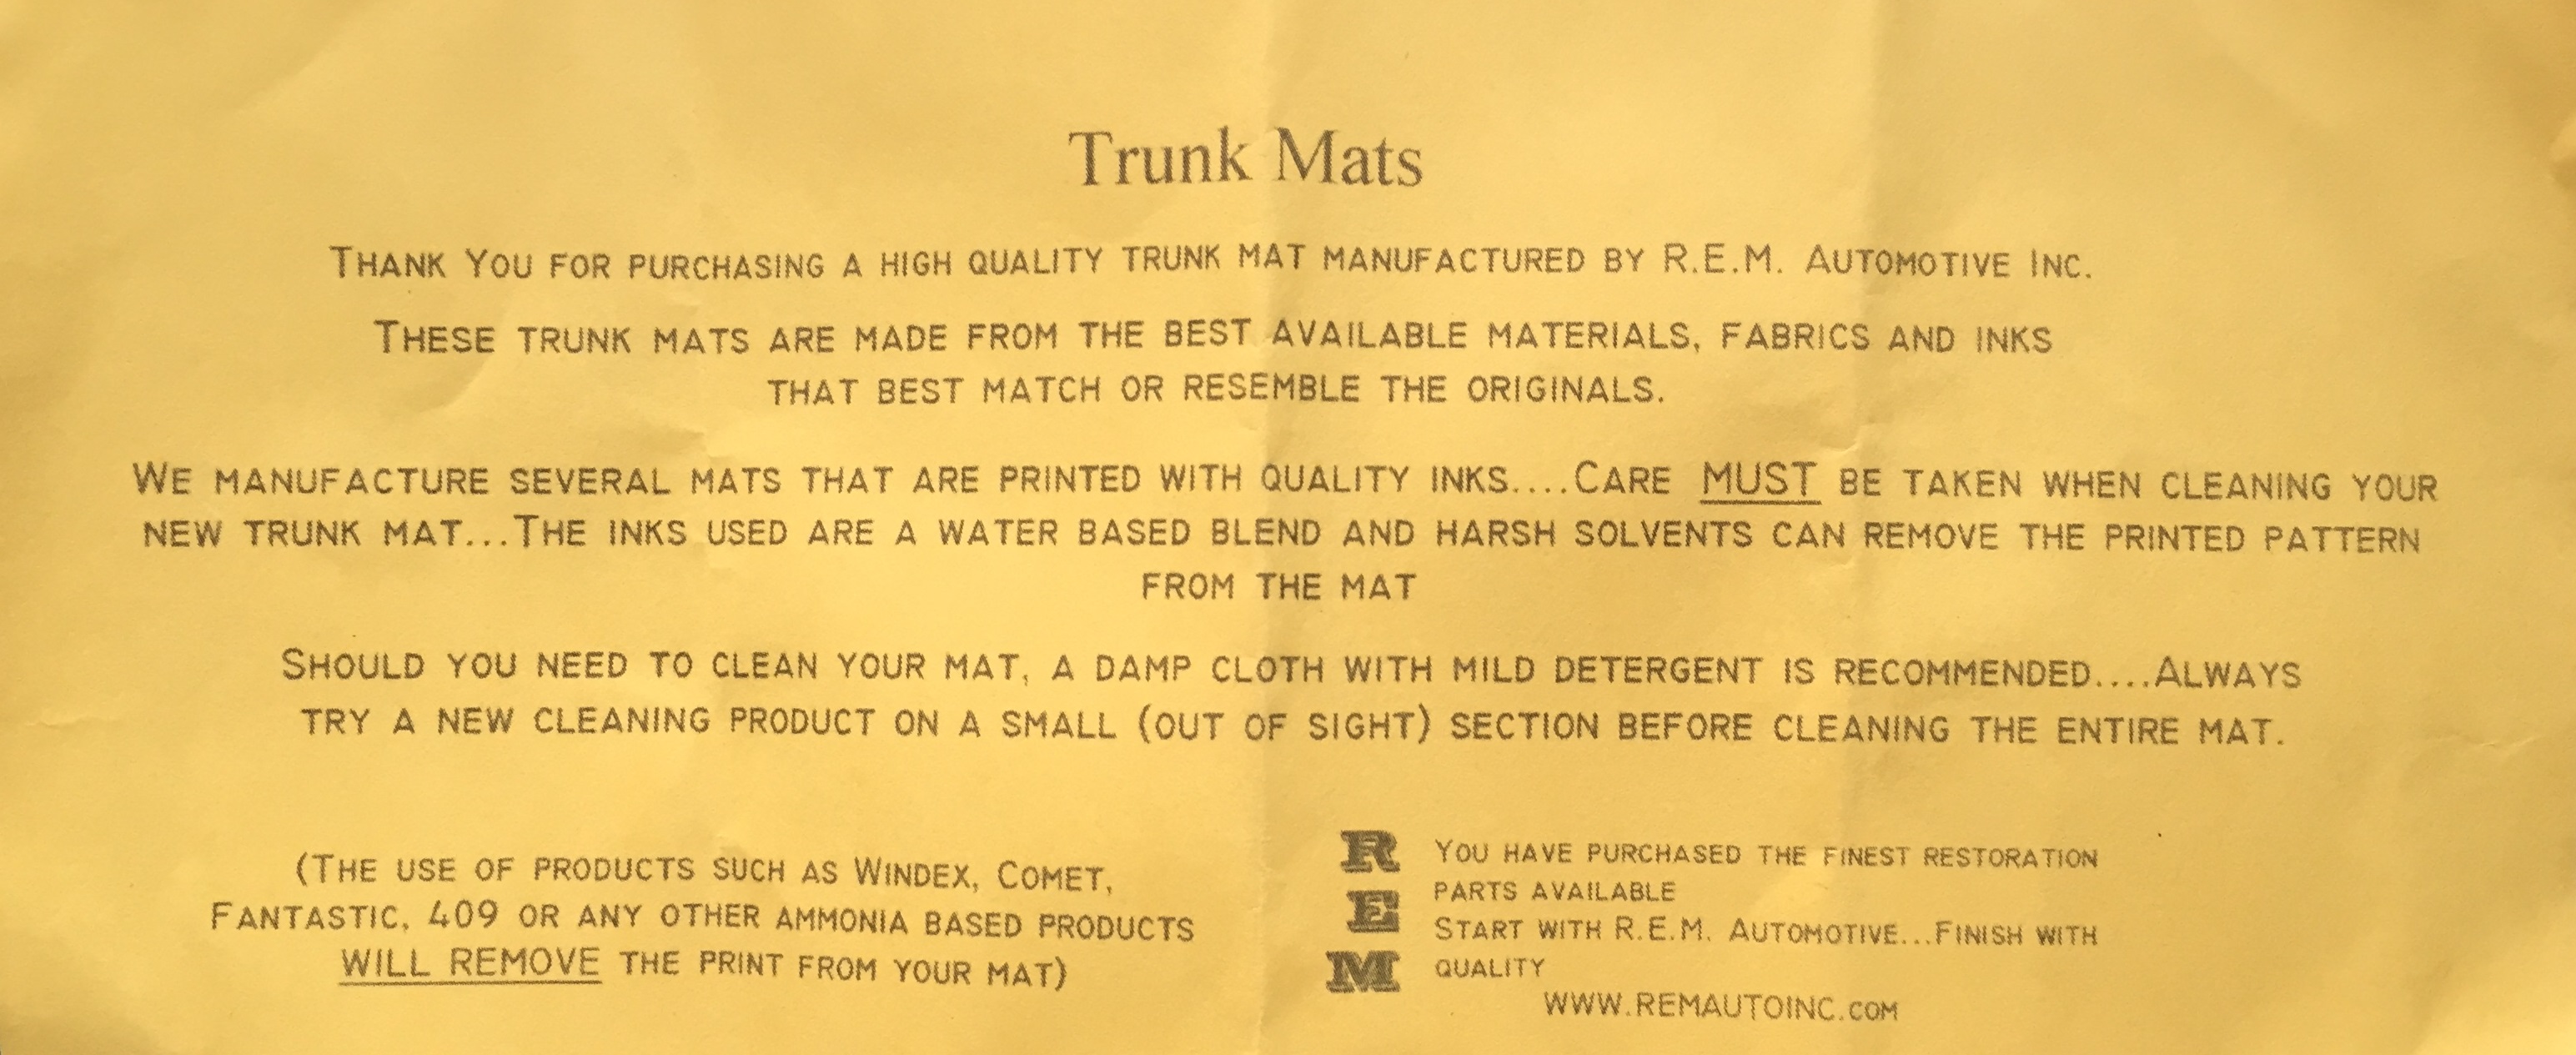
It really is good quality! Have to be careful with what you use to clean it, though…
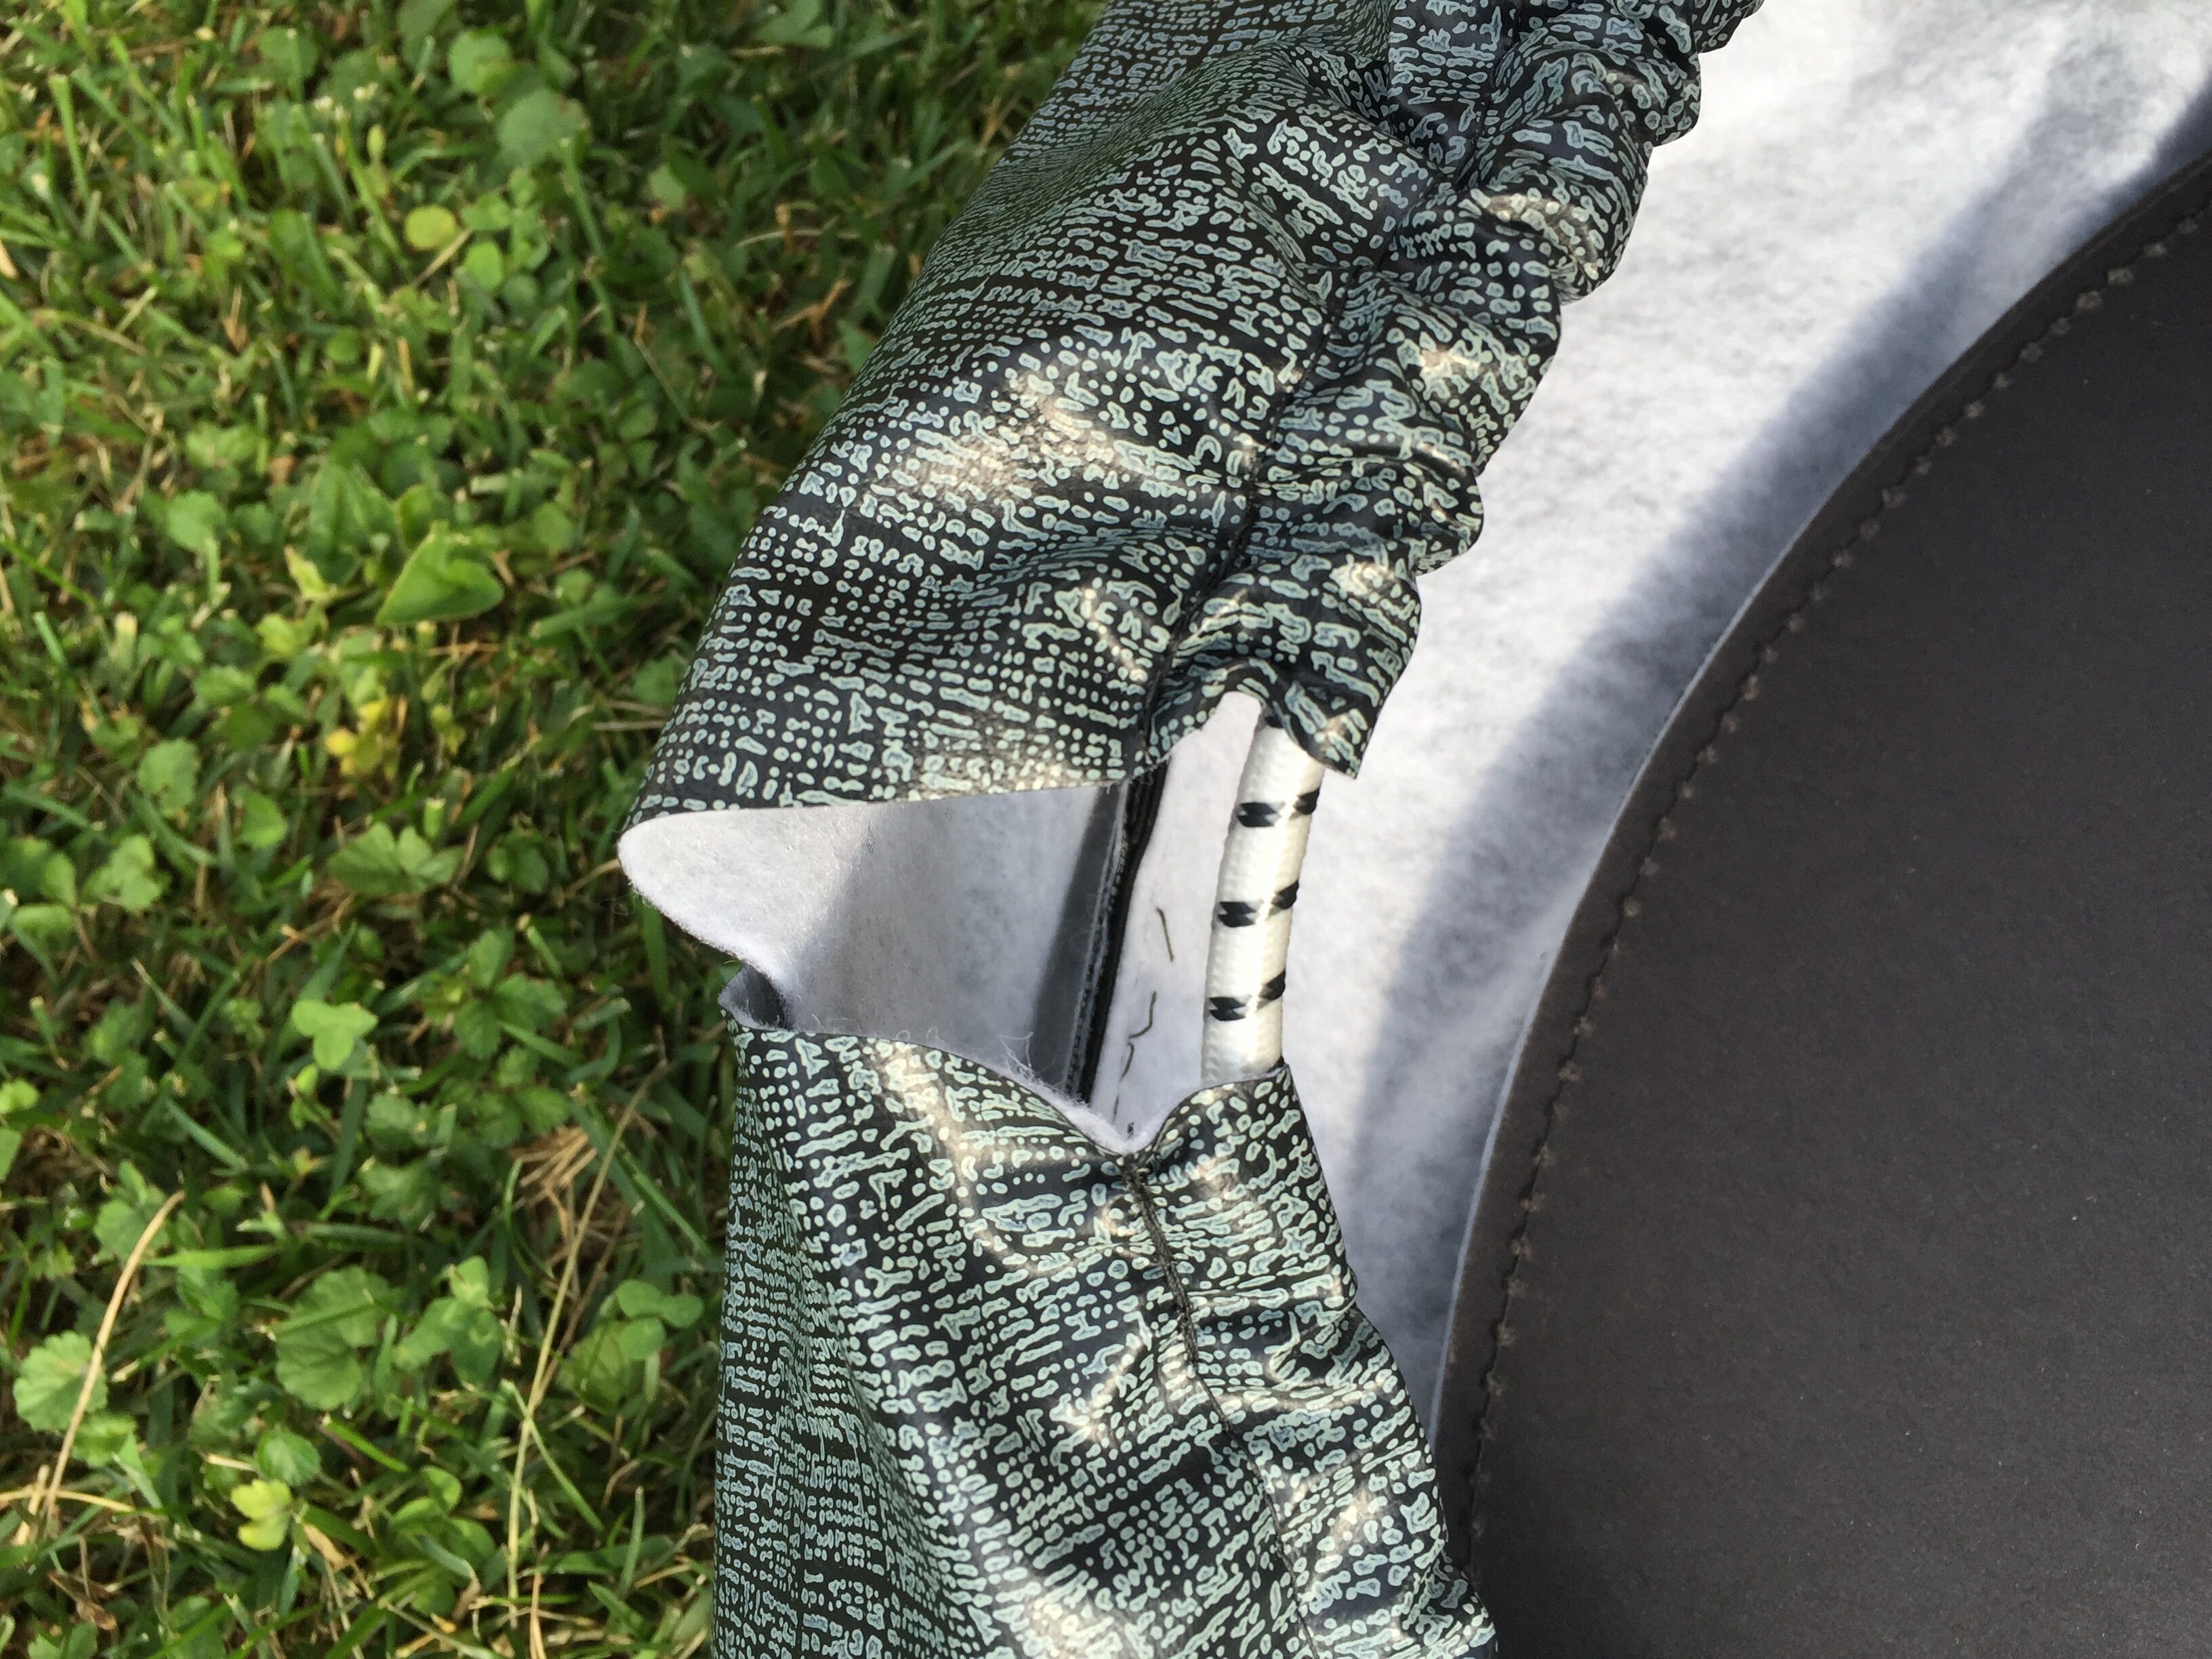
I also got the spare tire cover. Nice! It has a stiff backing for the top, and an elastic band around the bottom to keep it snug.

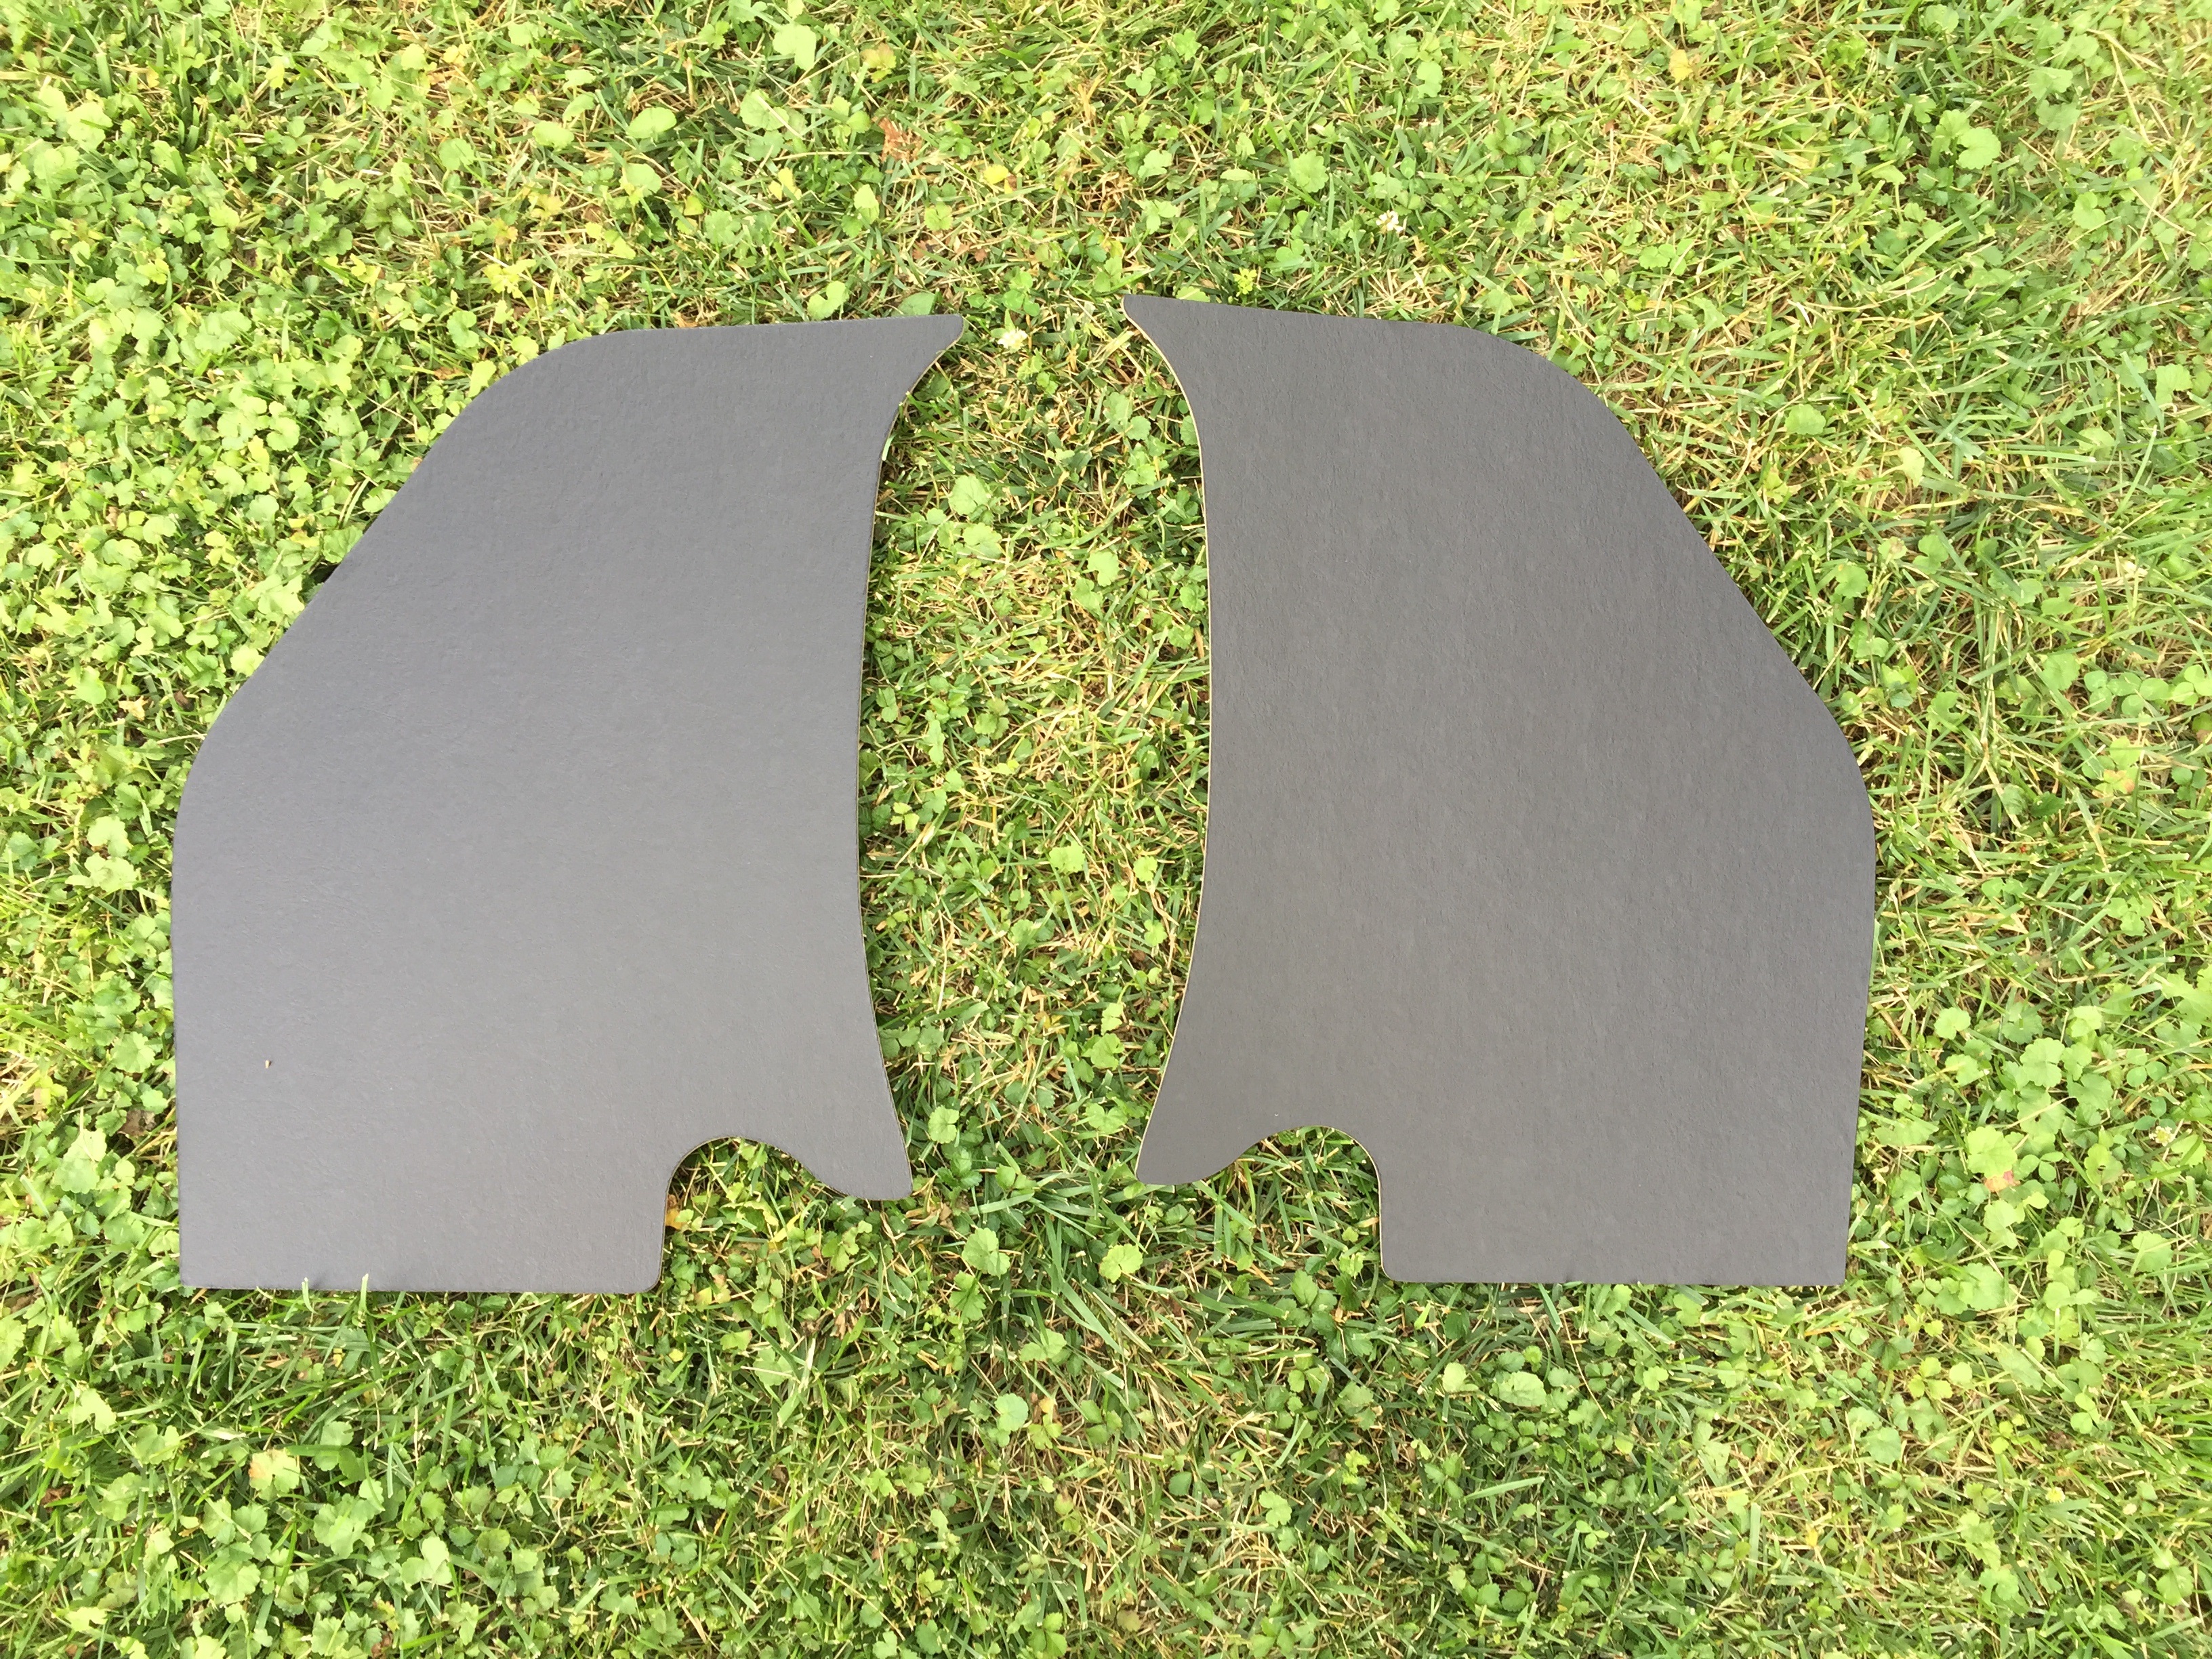
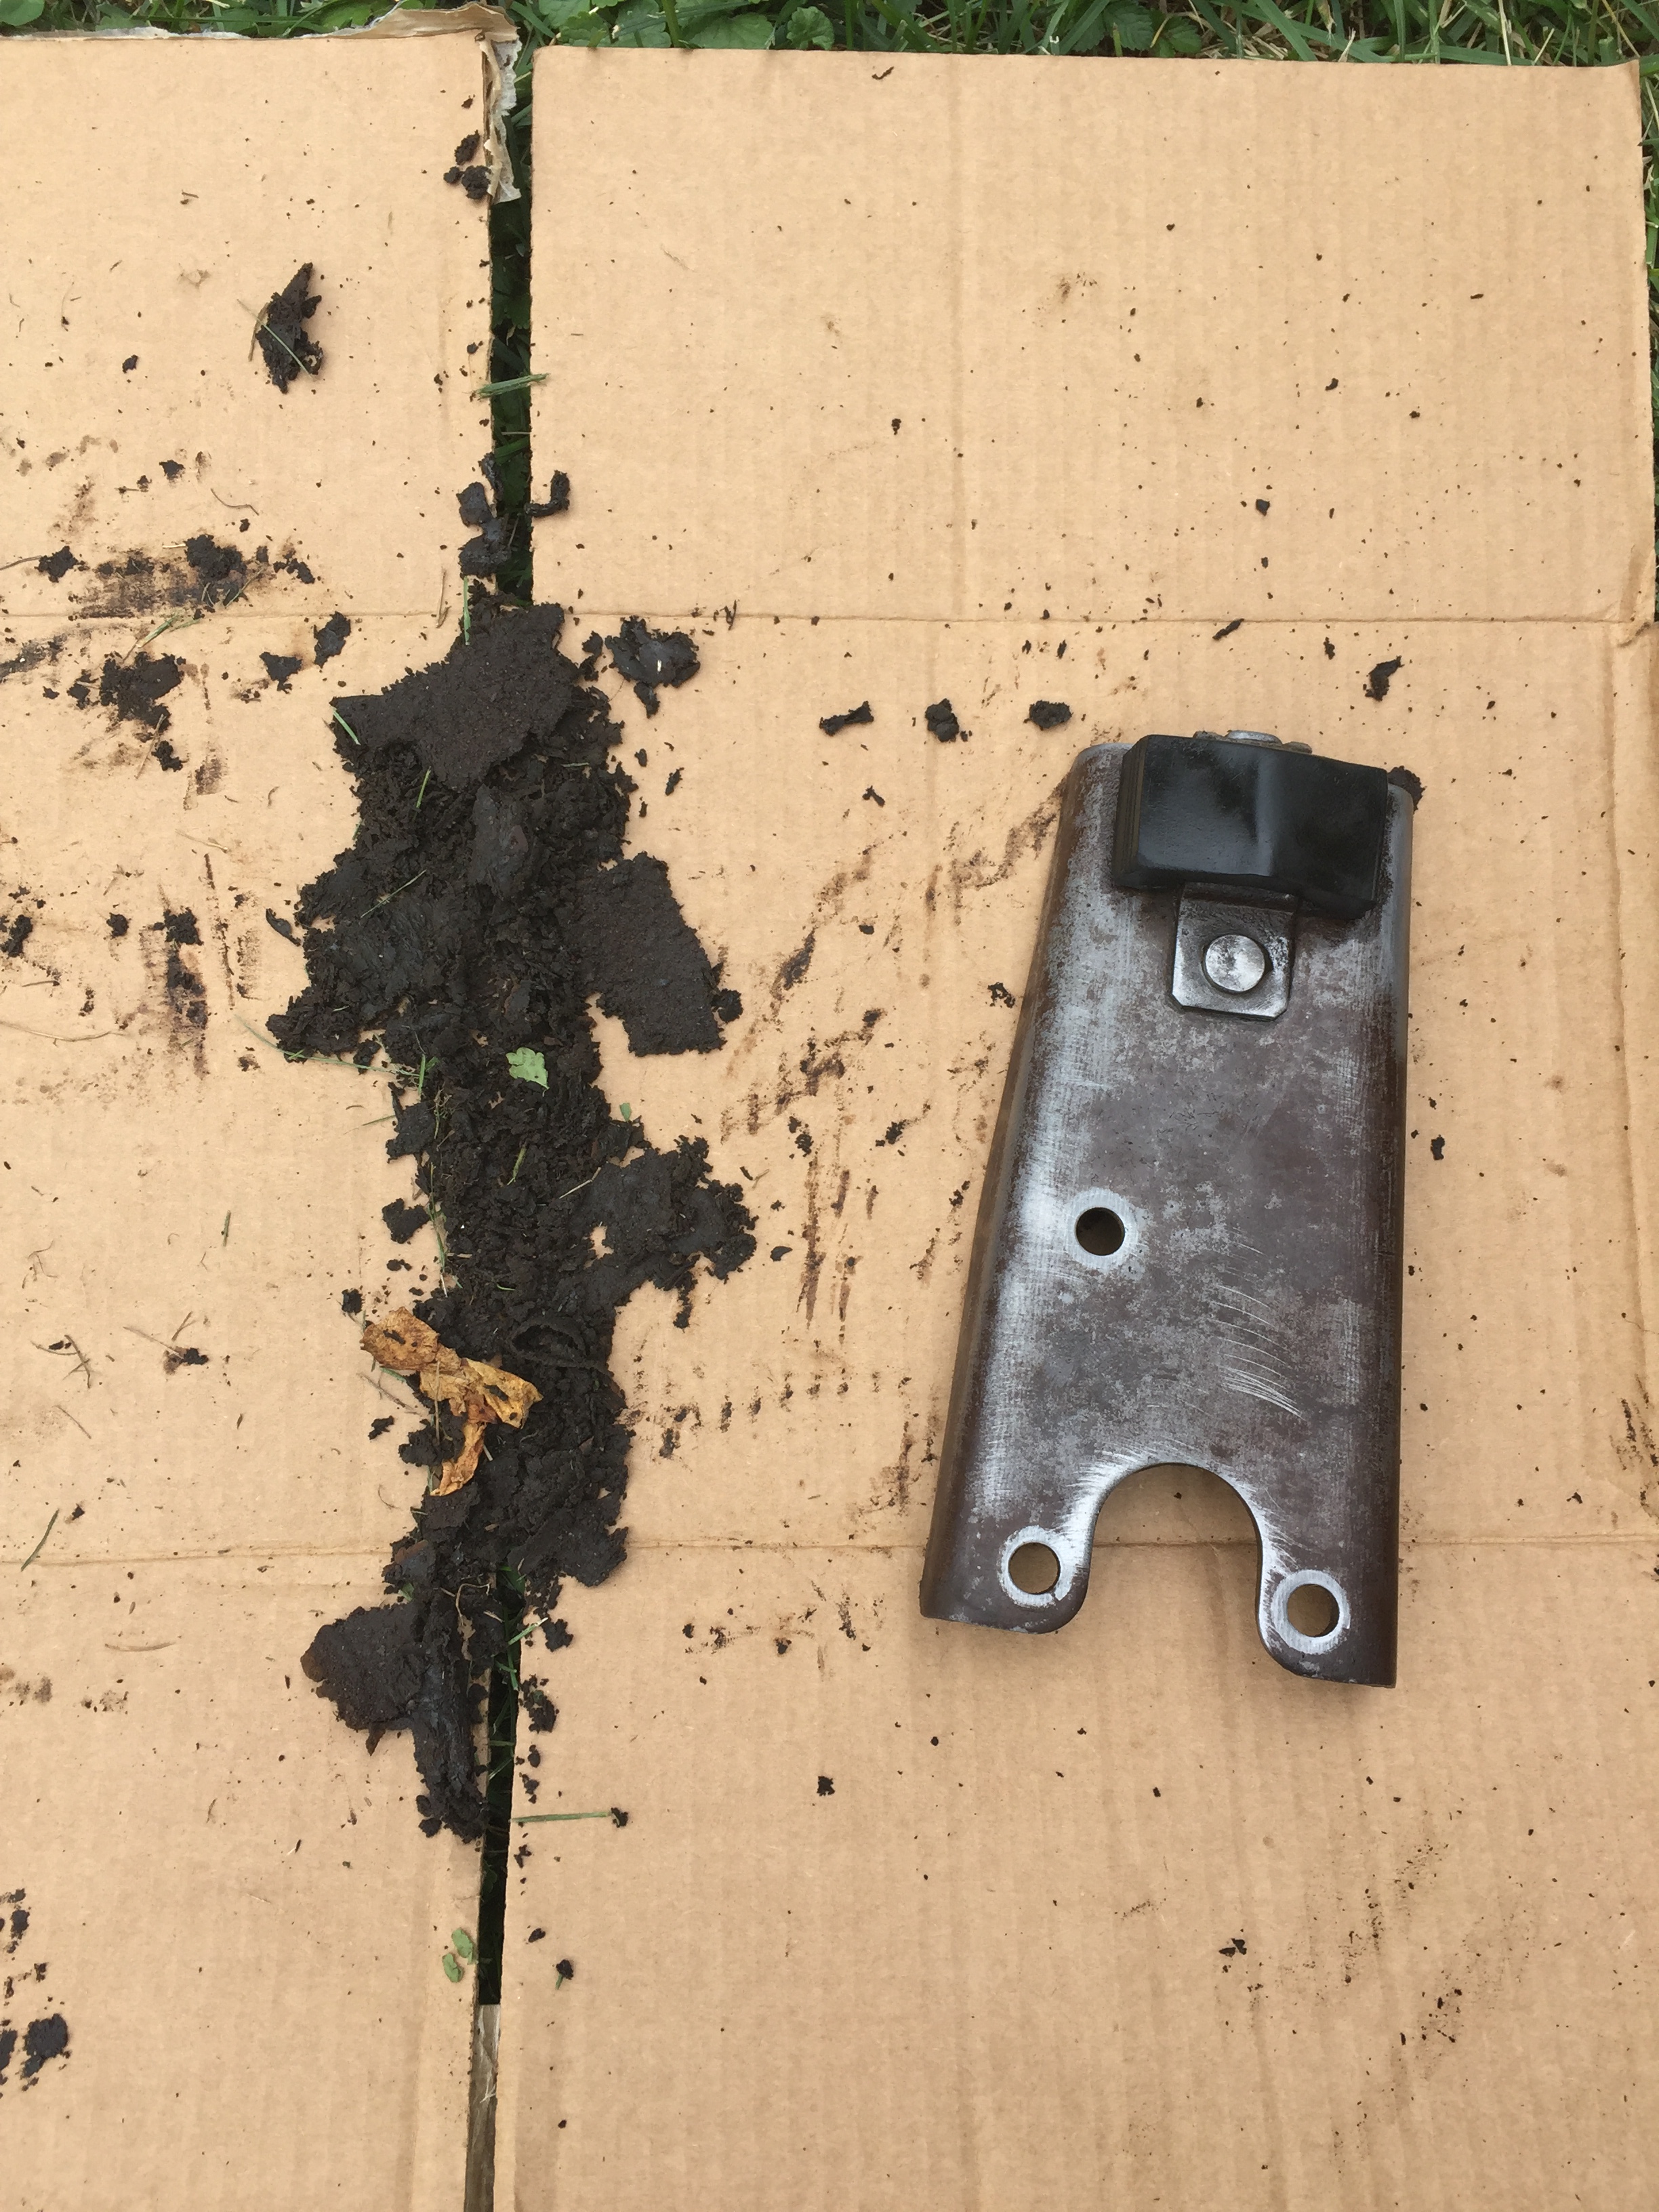
I also got kick panels from them. They seem to be the right size, but I don’t know what that scallop is all about:
I can’t wait to start putting things back together!
Oh yeah. I have to wait until after I stop taking things apart ![]()
Dan; looks good, mine must have been at the early side of production. I will call about the tire cover. I think I got my glove box from him as well. Mark
The scallops are to fit around a brace under the dash, you will see when you install, you may have to trim a little.
Dick.
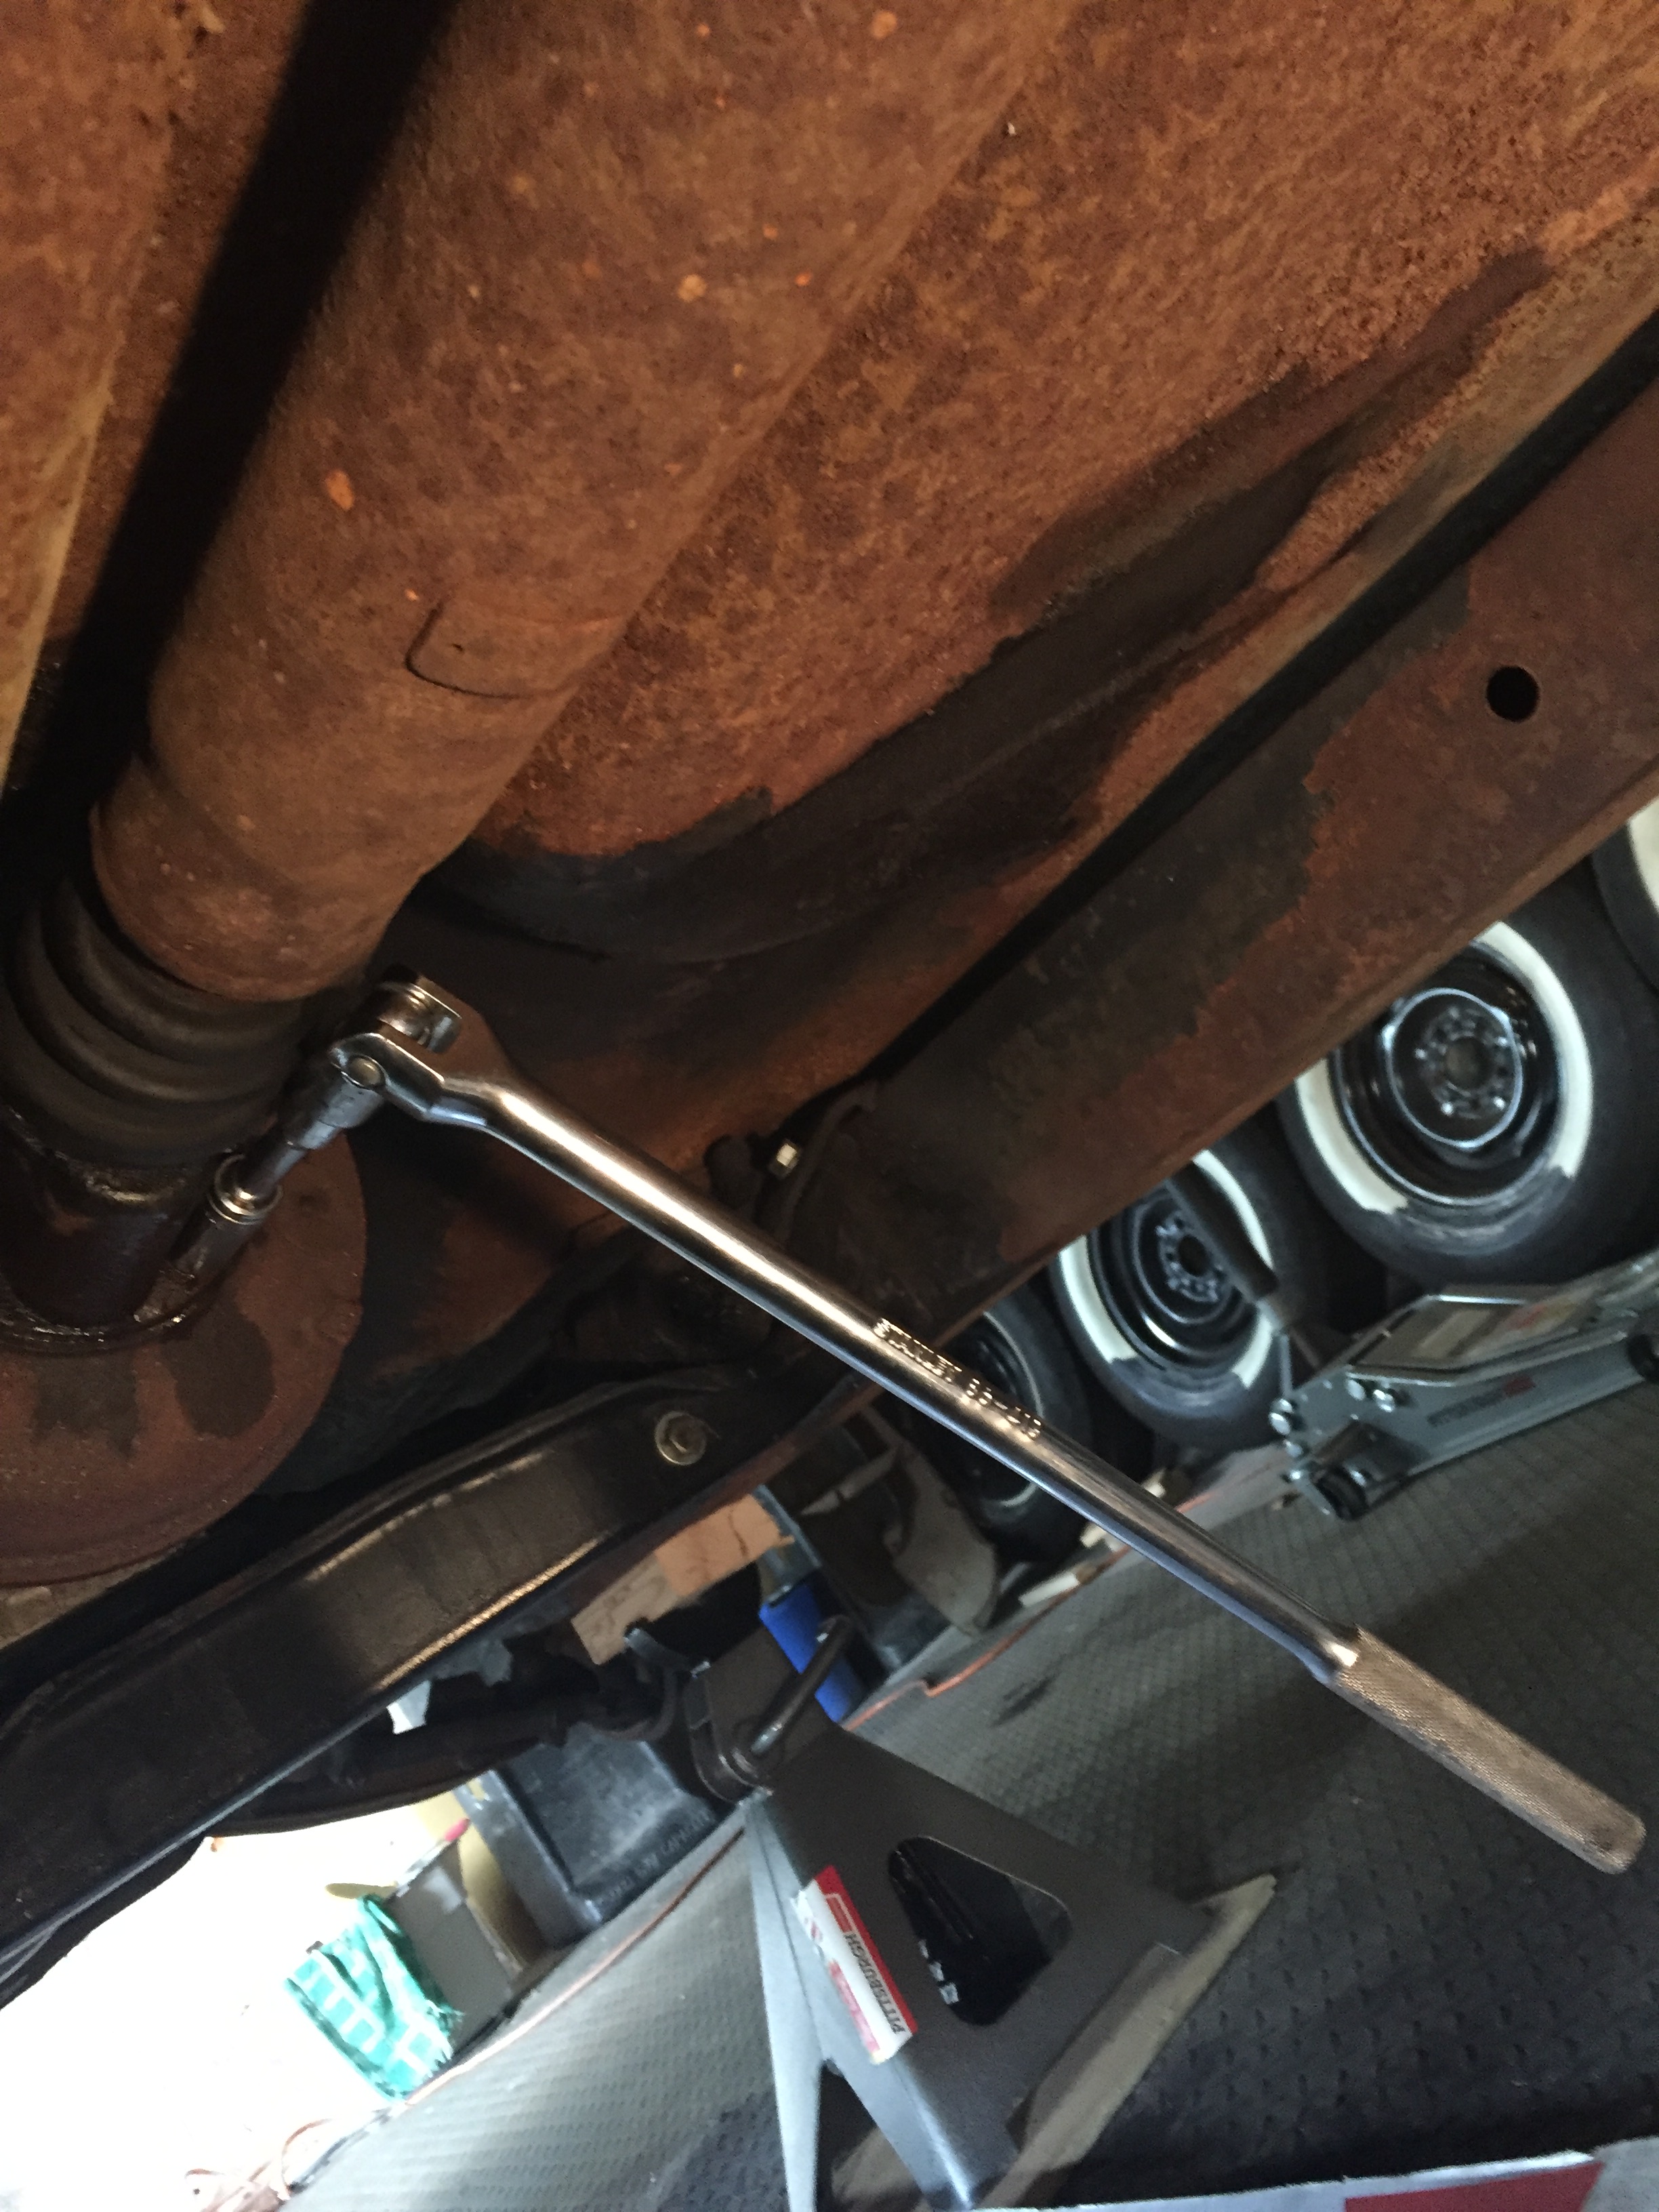
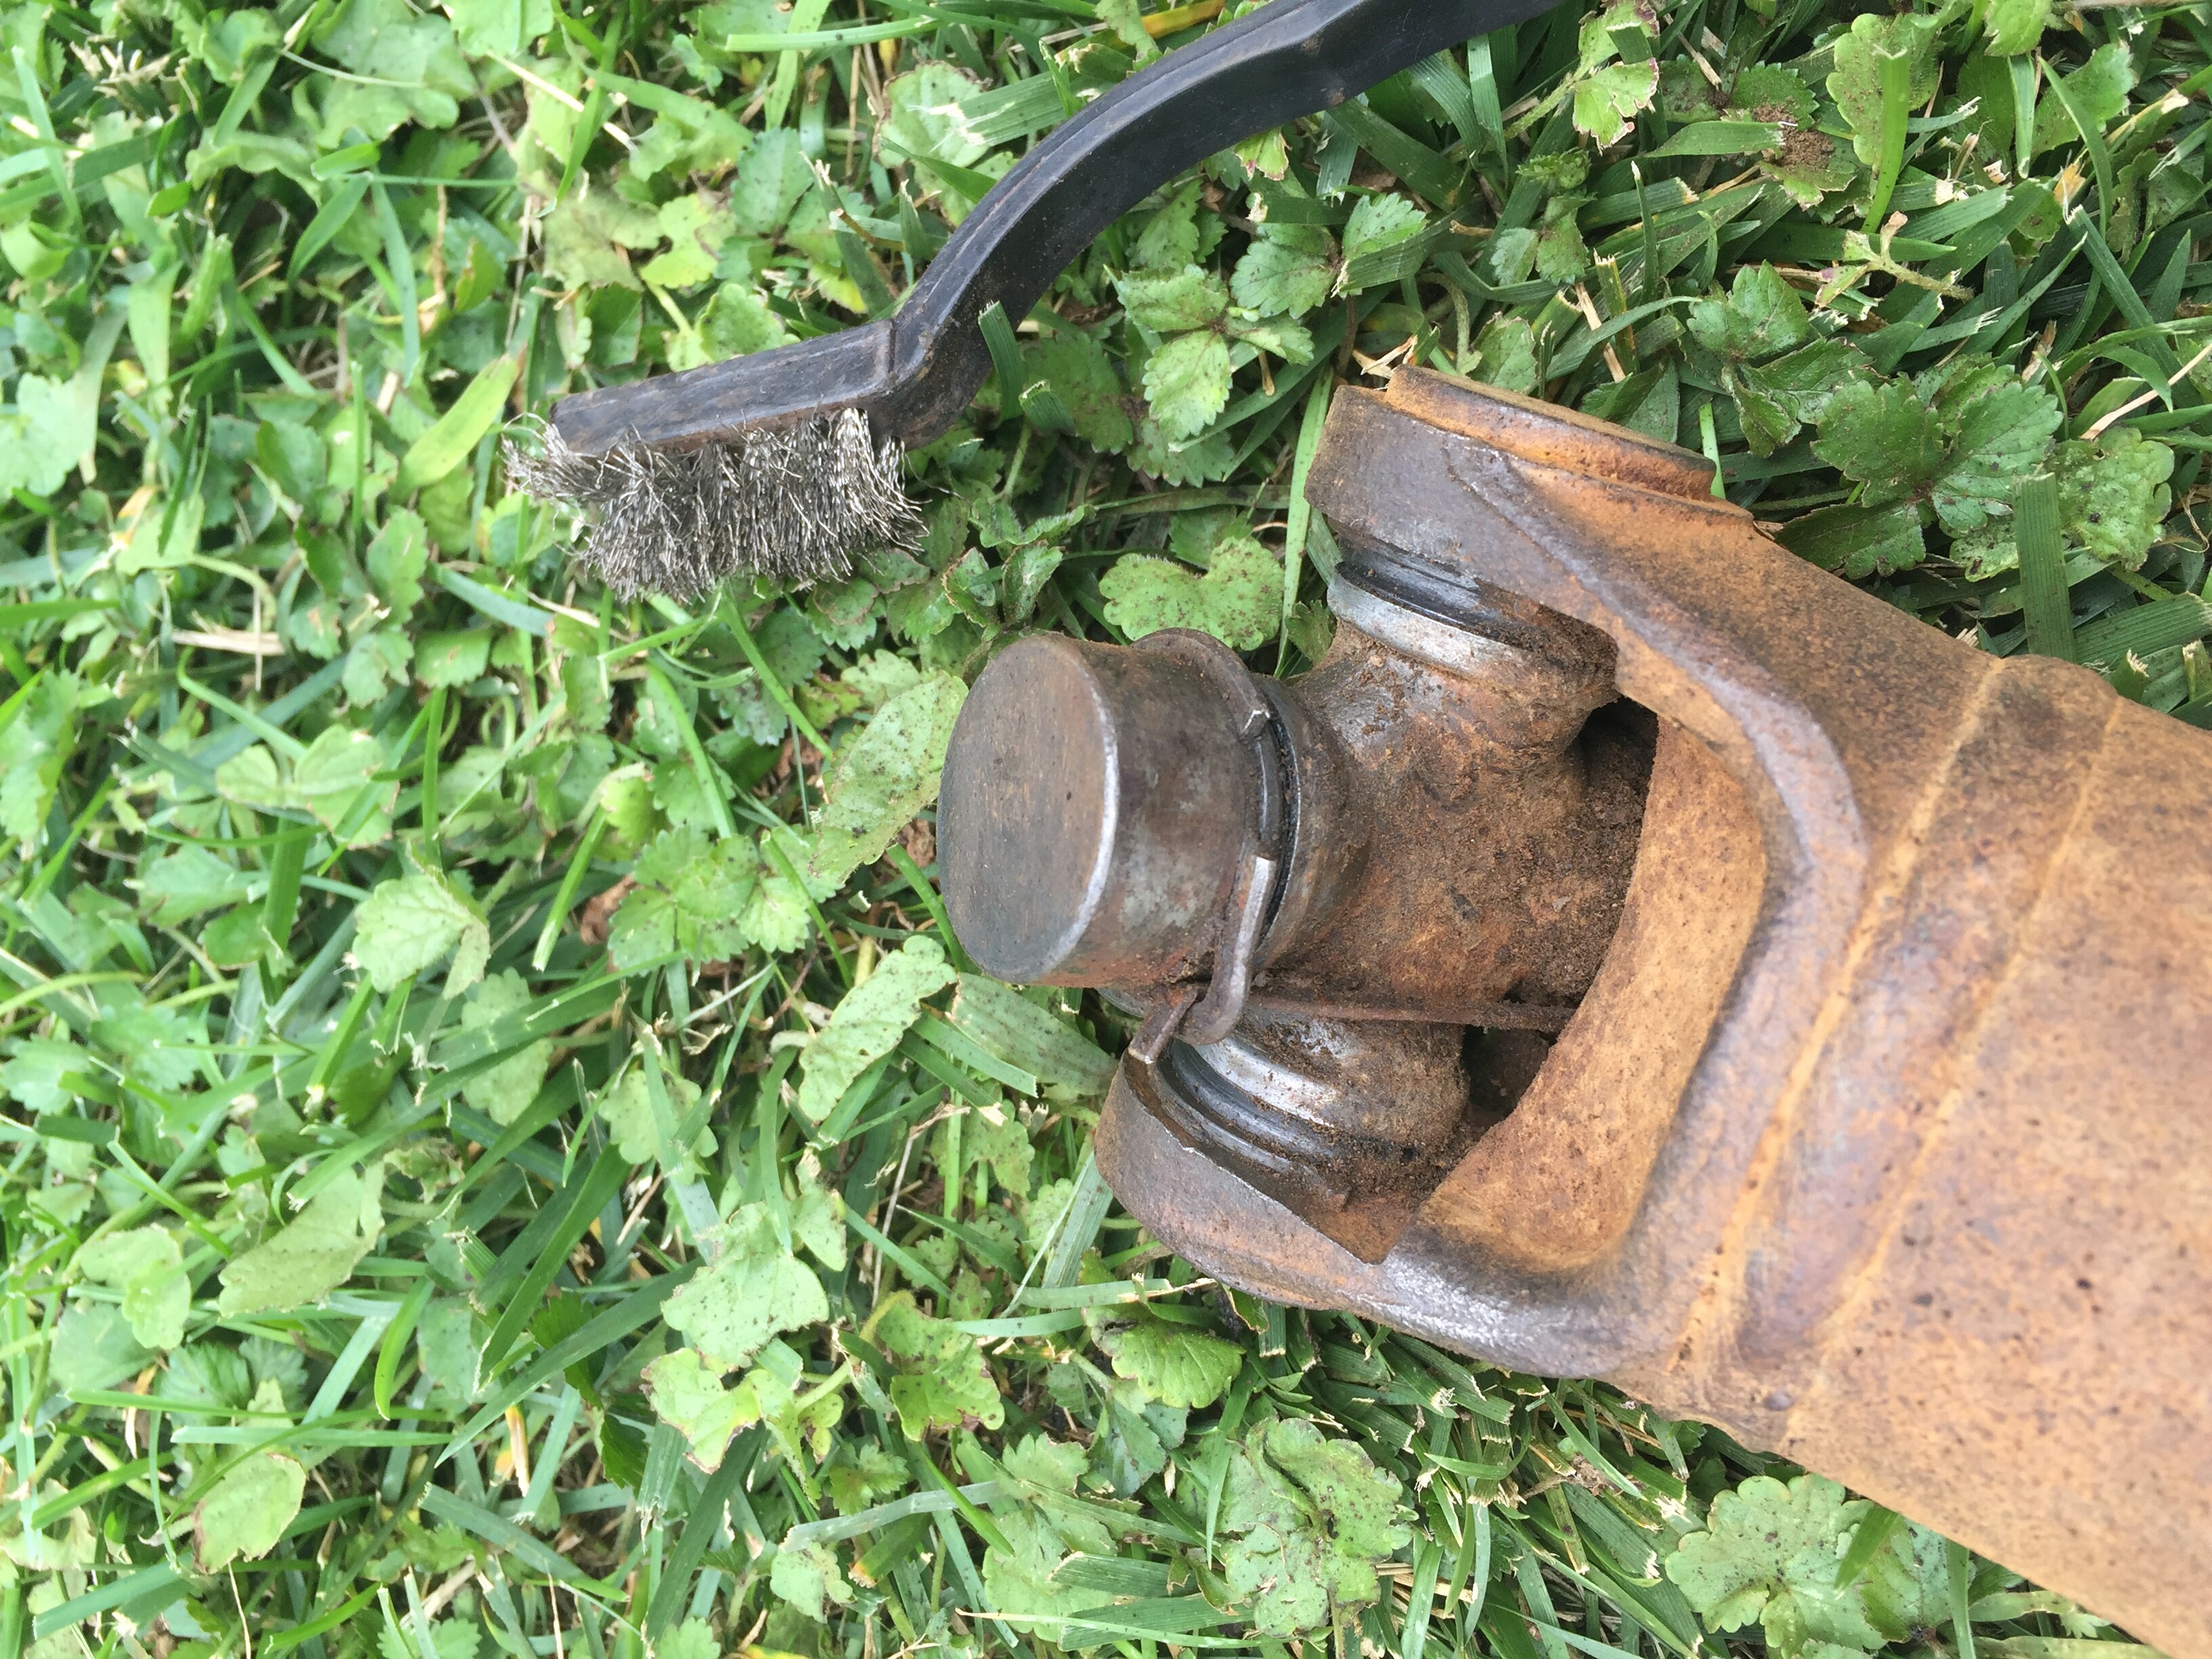
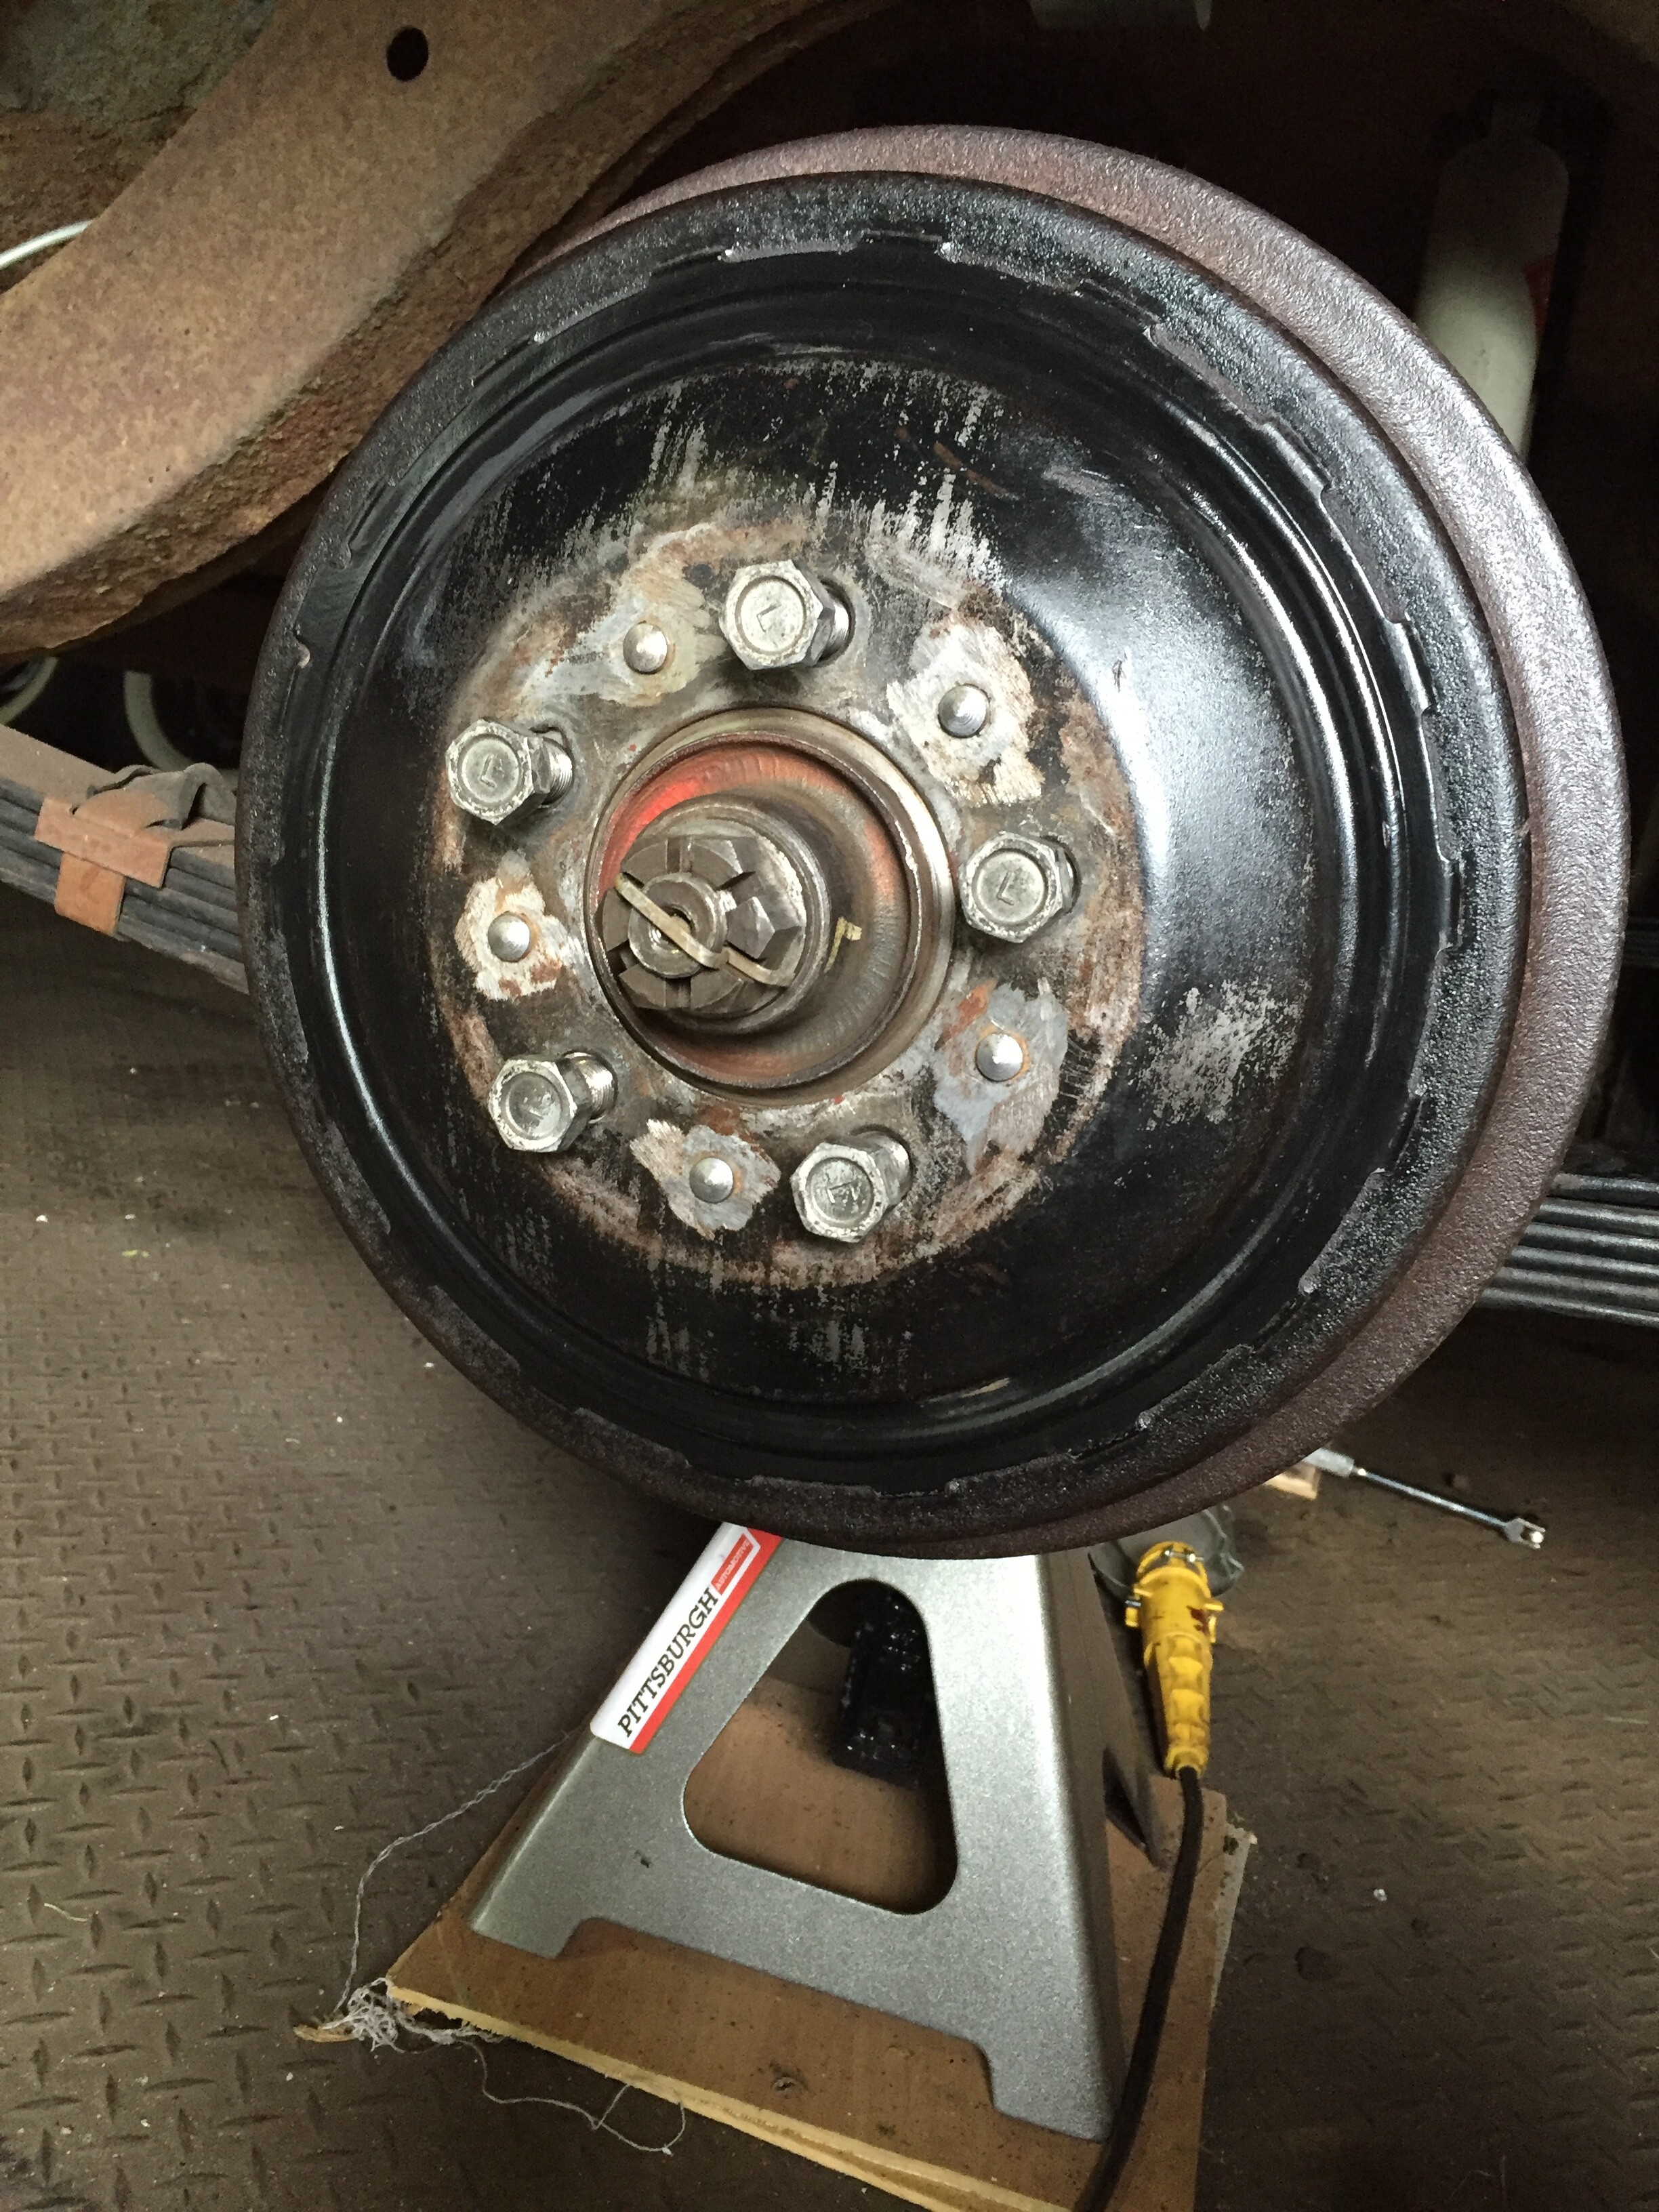
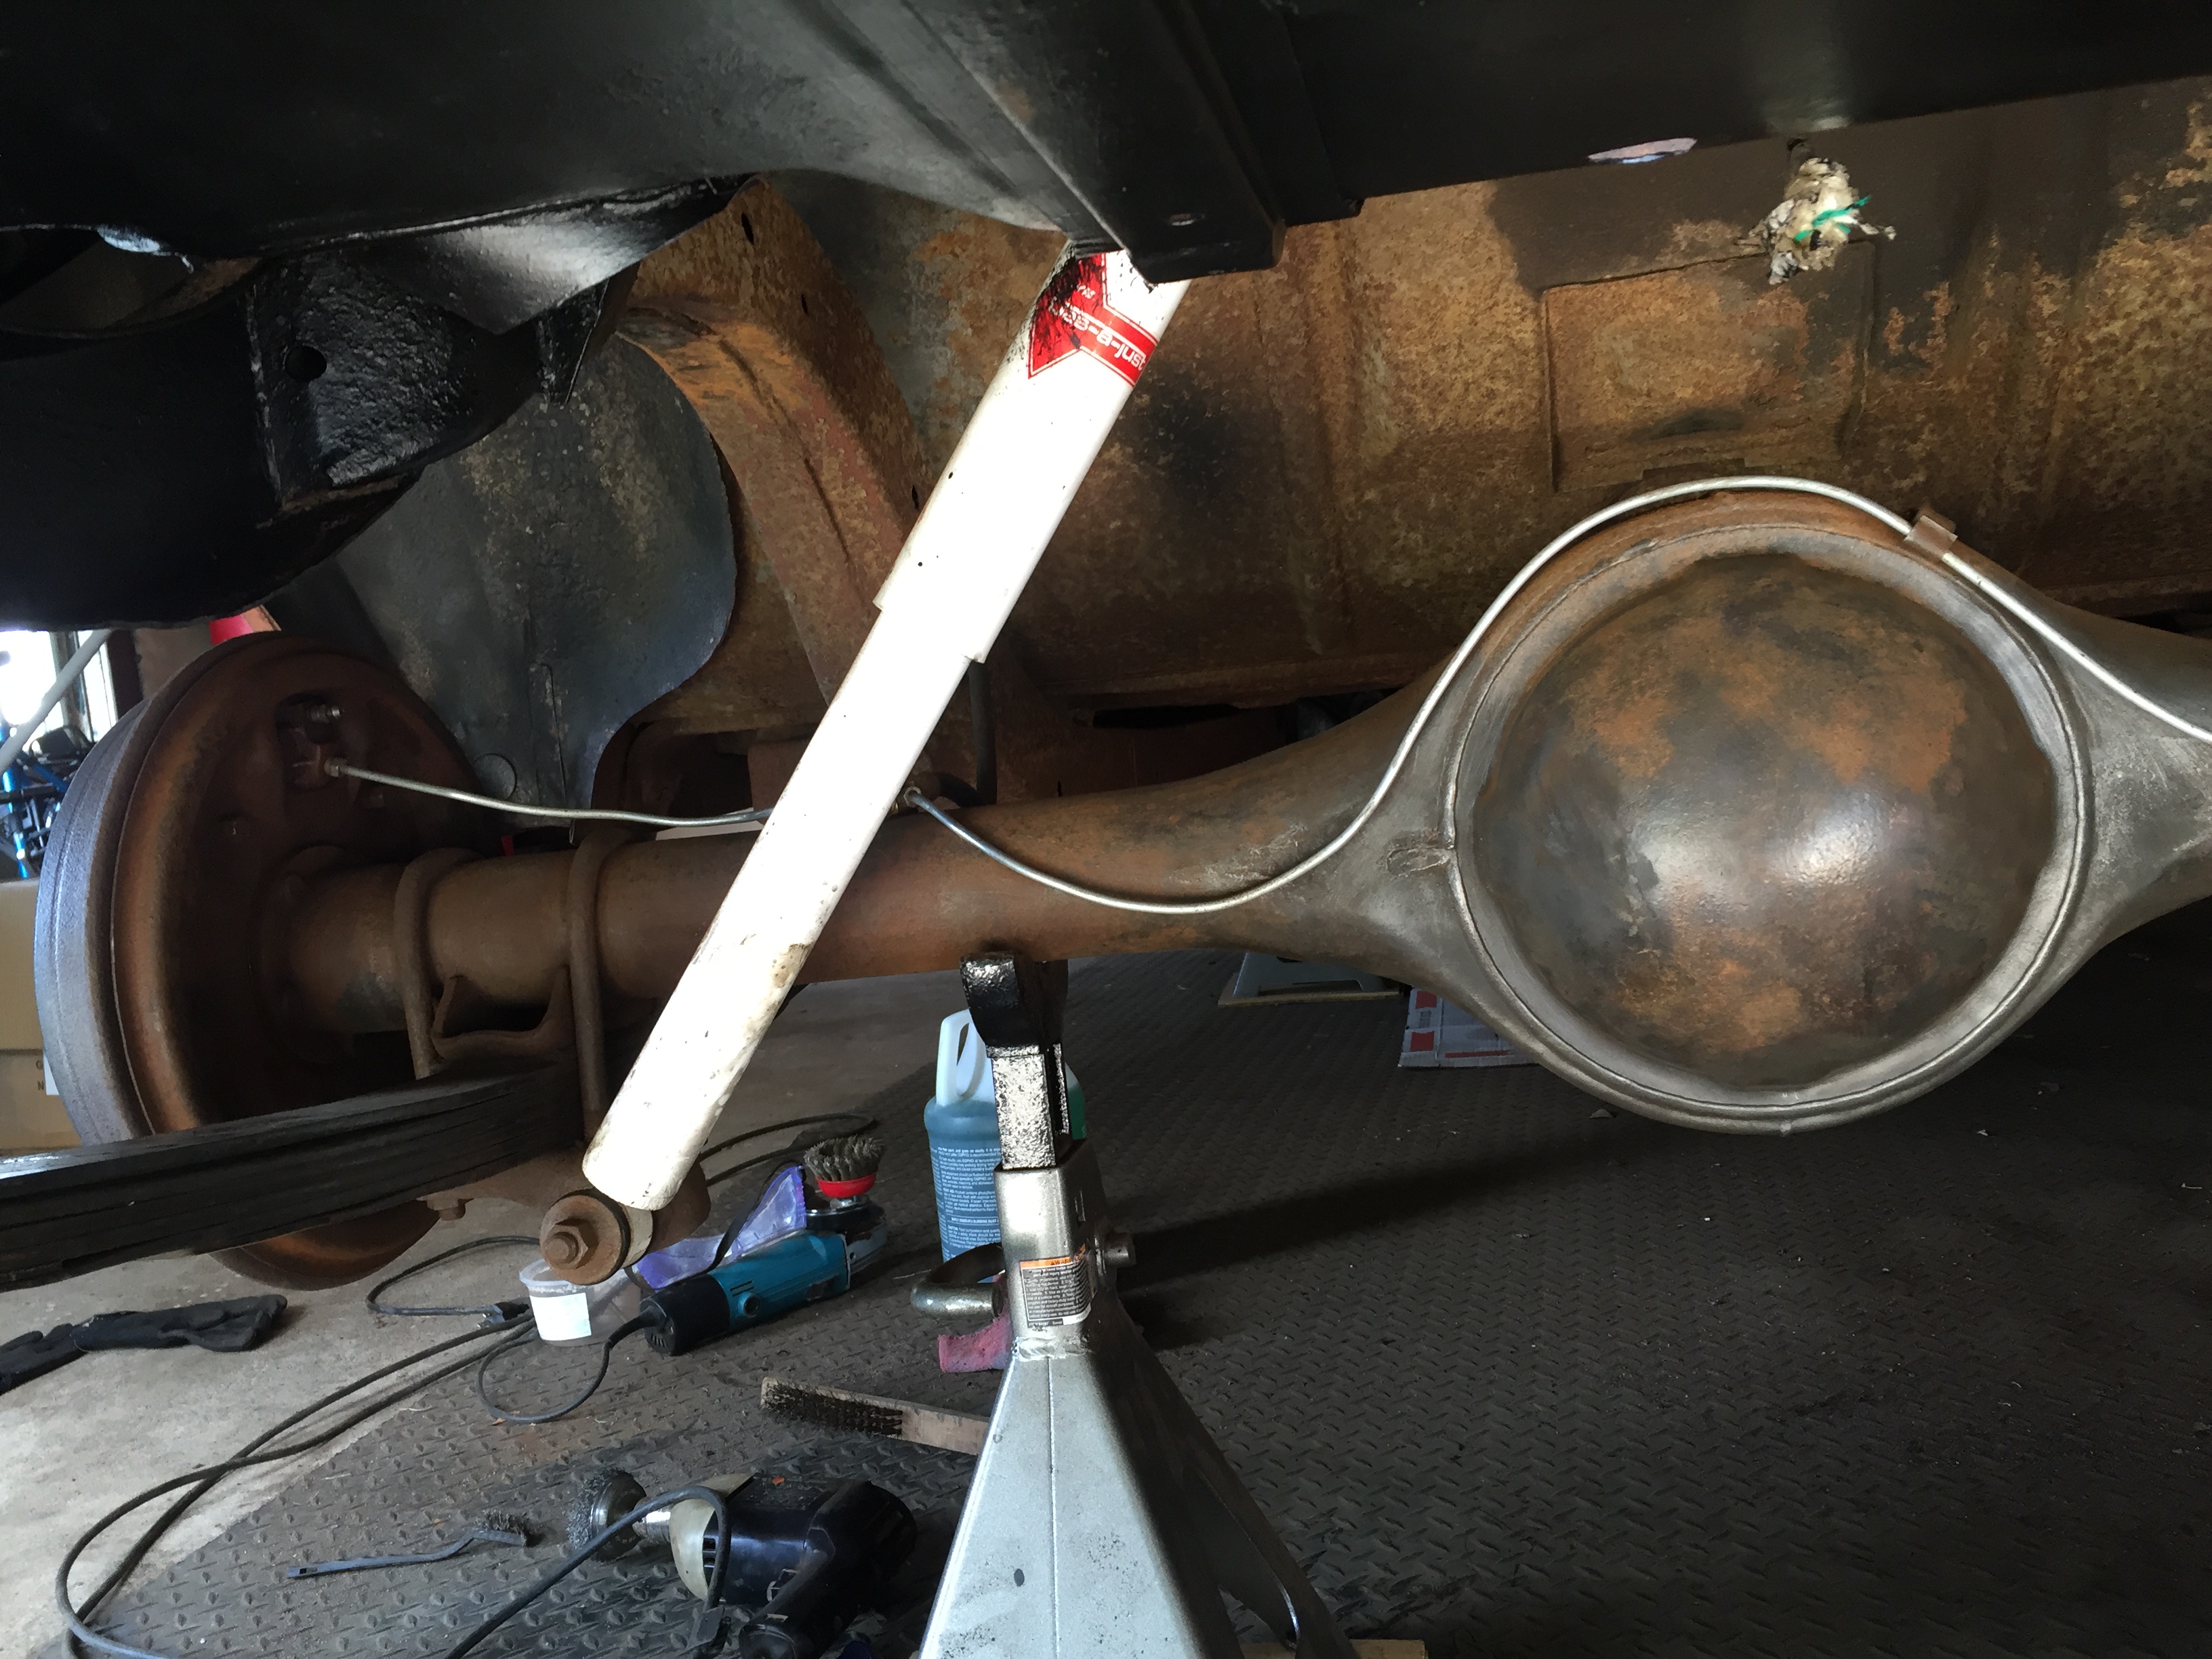
T.W. Sam finally got his butt out to the garage today and attempted to remove the driveshaft. The rear was easy enough, the retainers for the universal joint came right off.
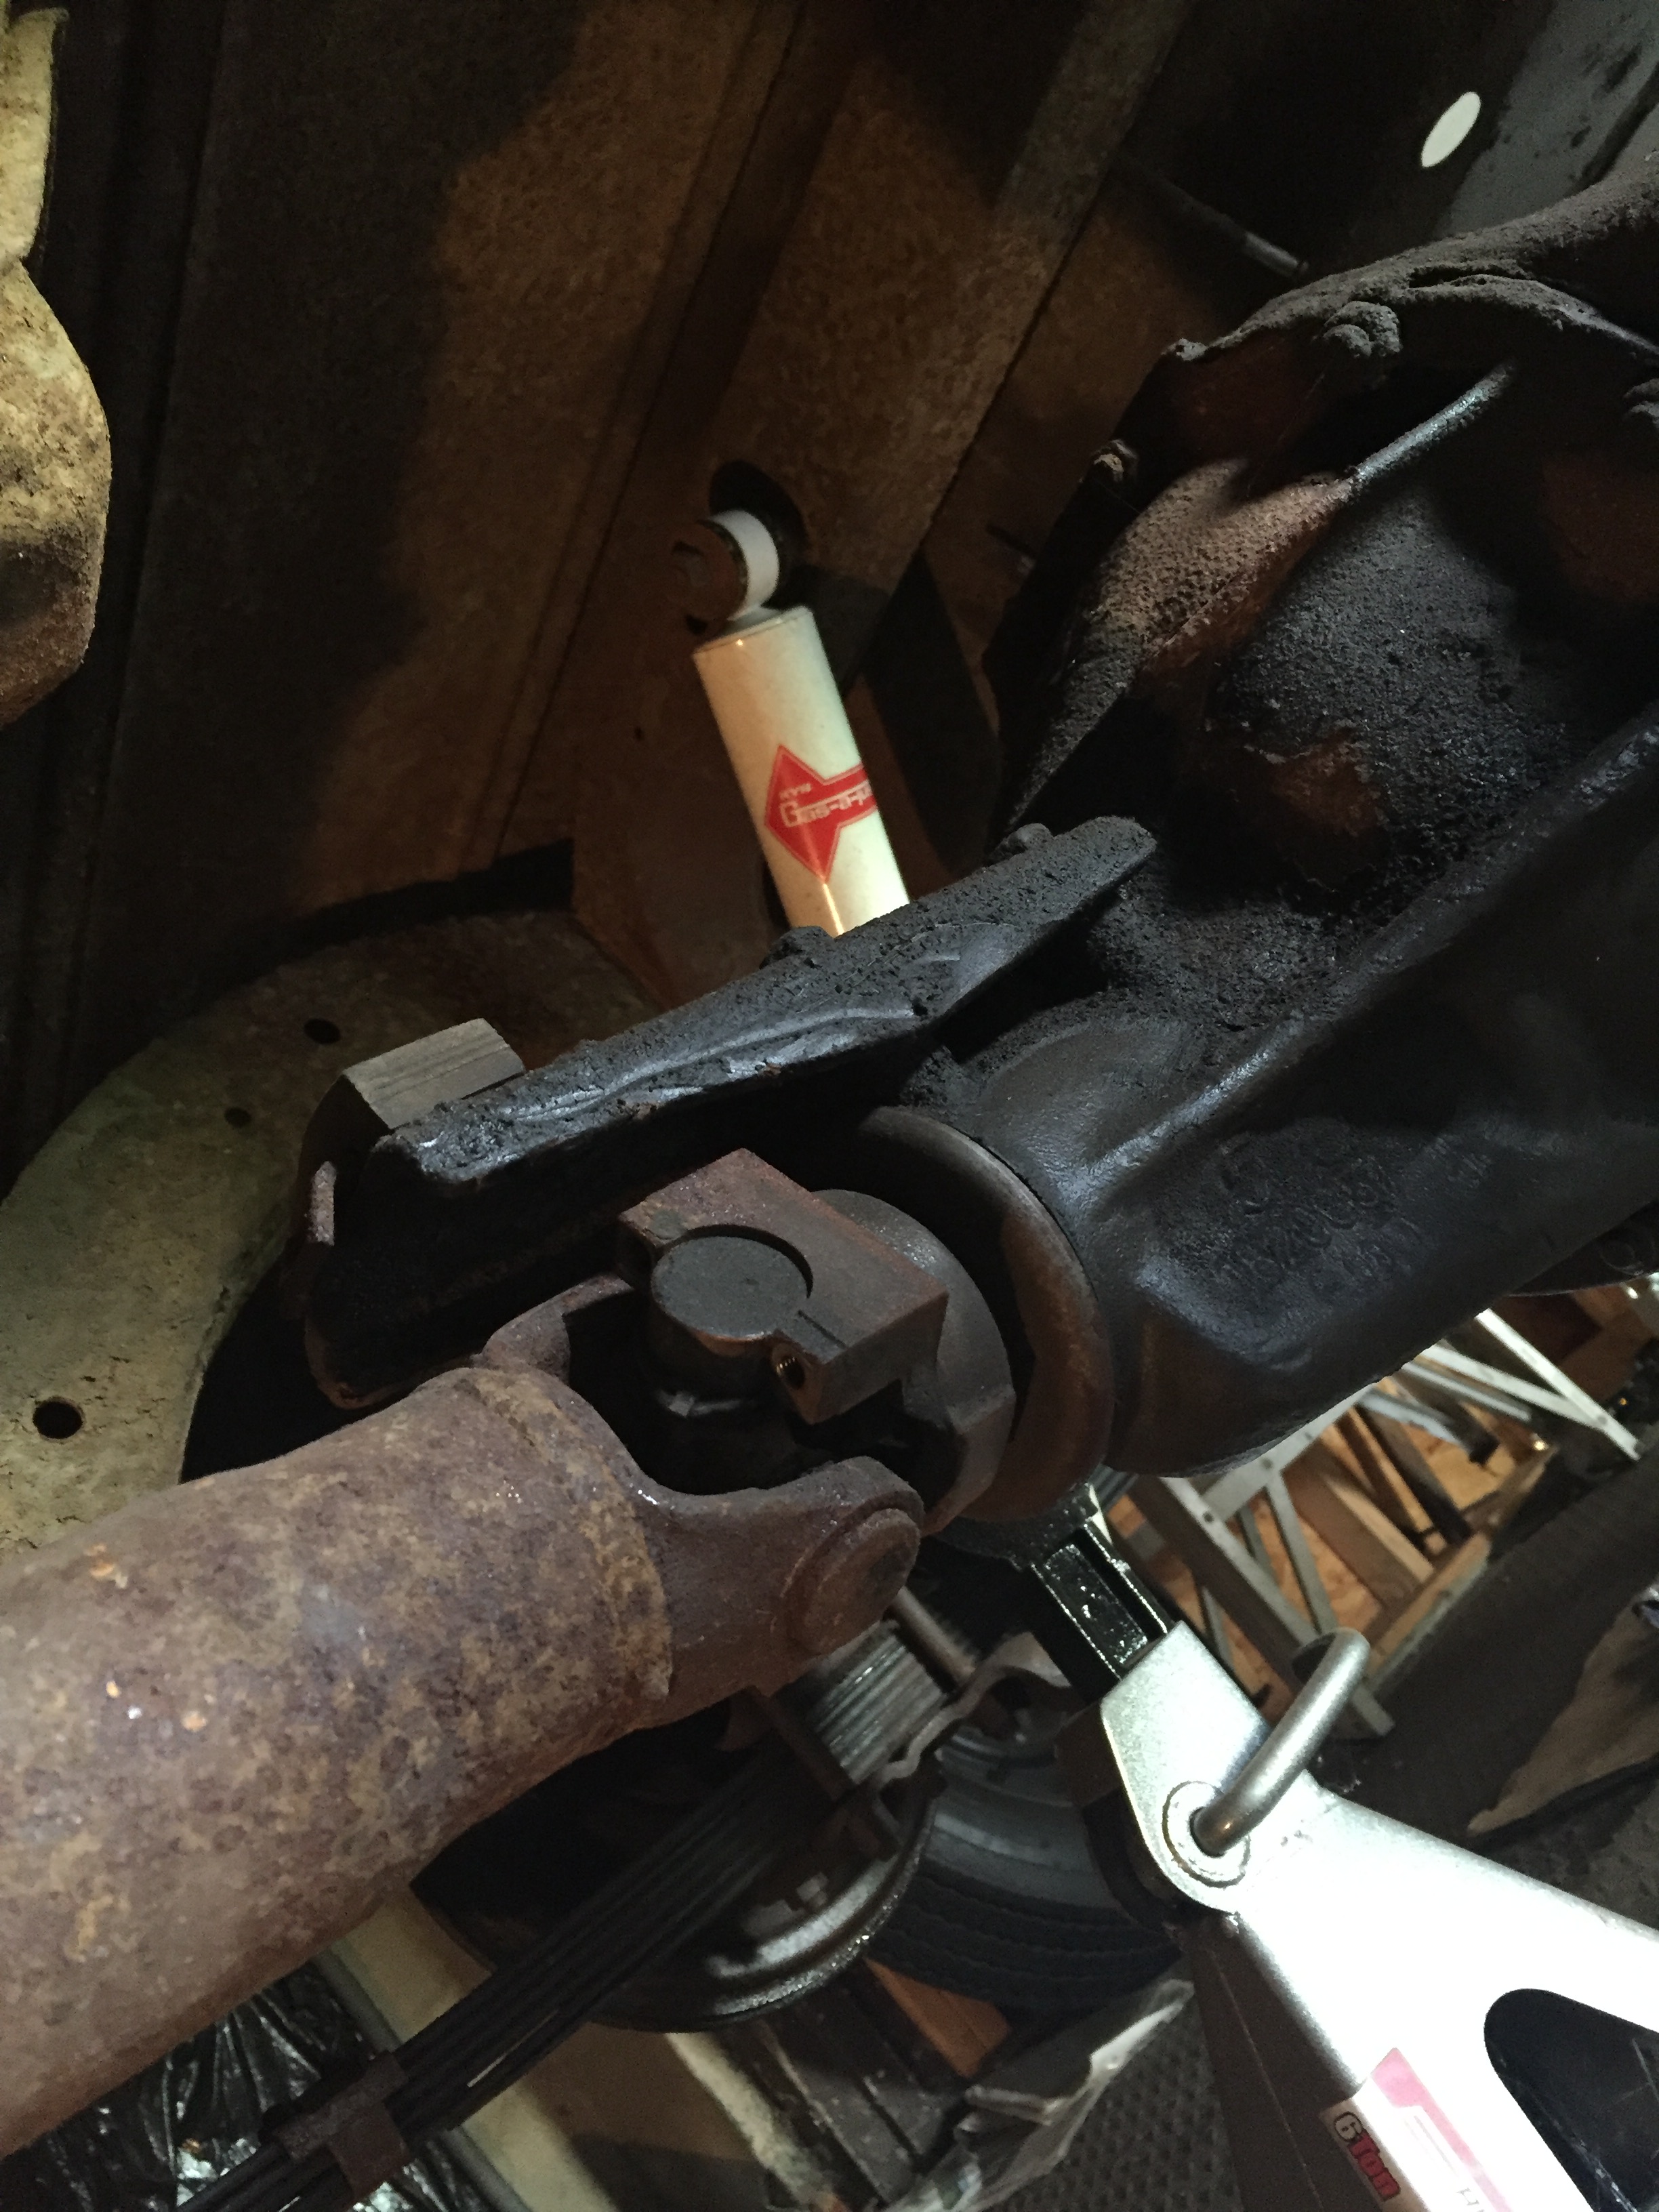
But man oh man, the nuts on the emergency brake drum were tightened up way more than they needed to be. I took a hammer to a small breaker bar, to no avail. So I did it the right way: I wirebrushed the threads, soaked in WD-40, gave the nuts a tap-tap-tap, and let it sit.
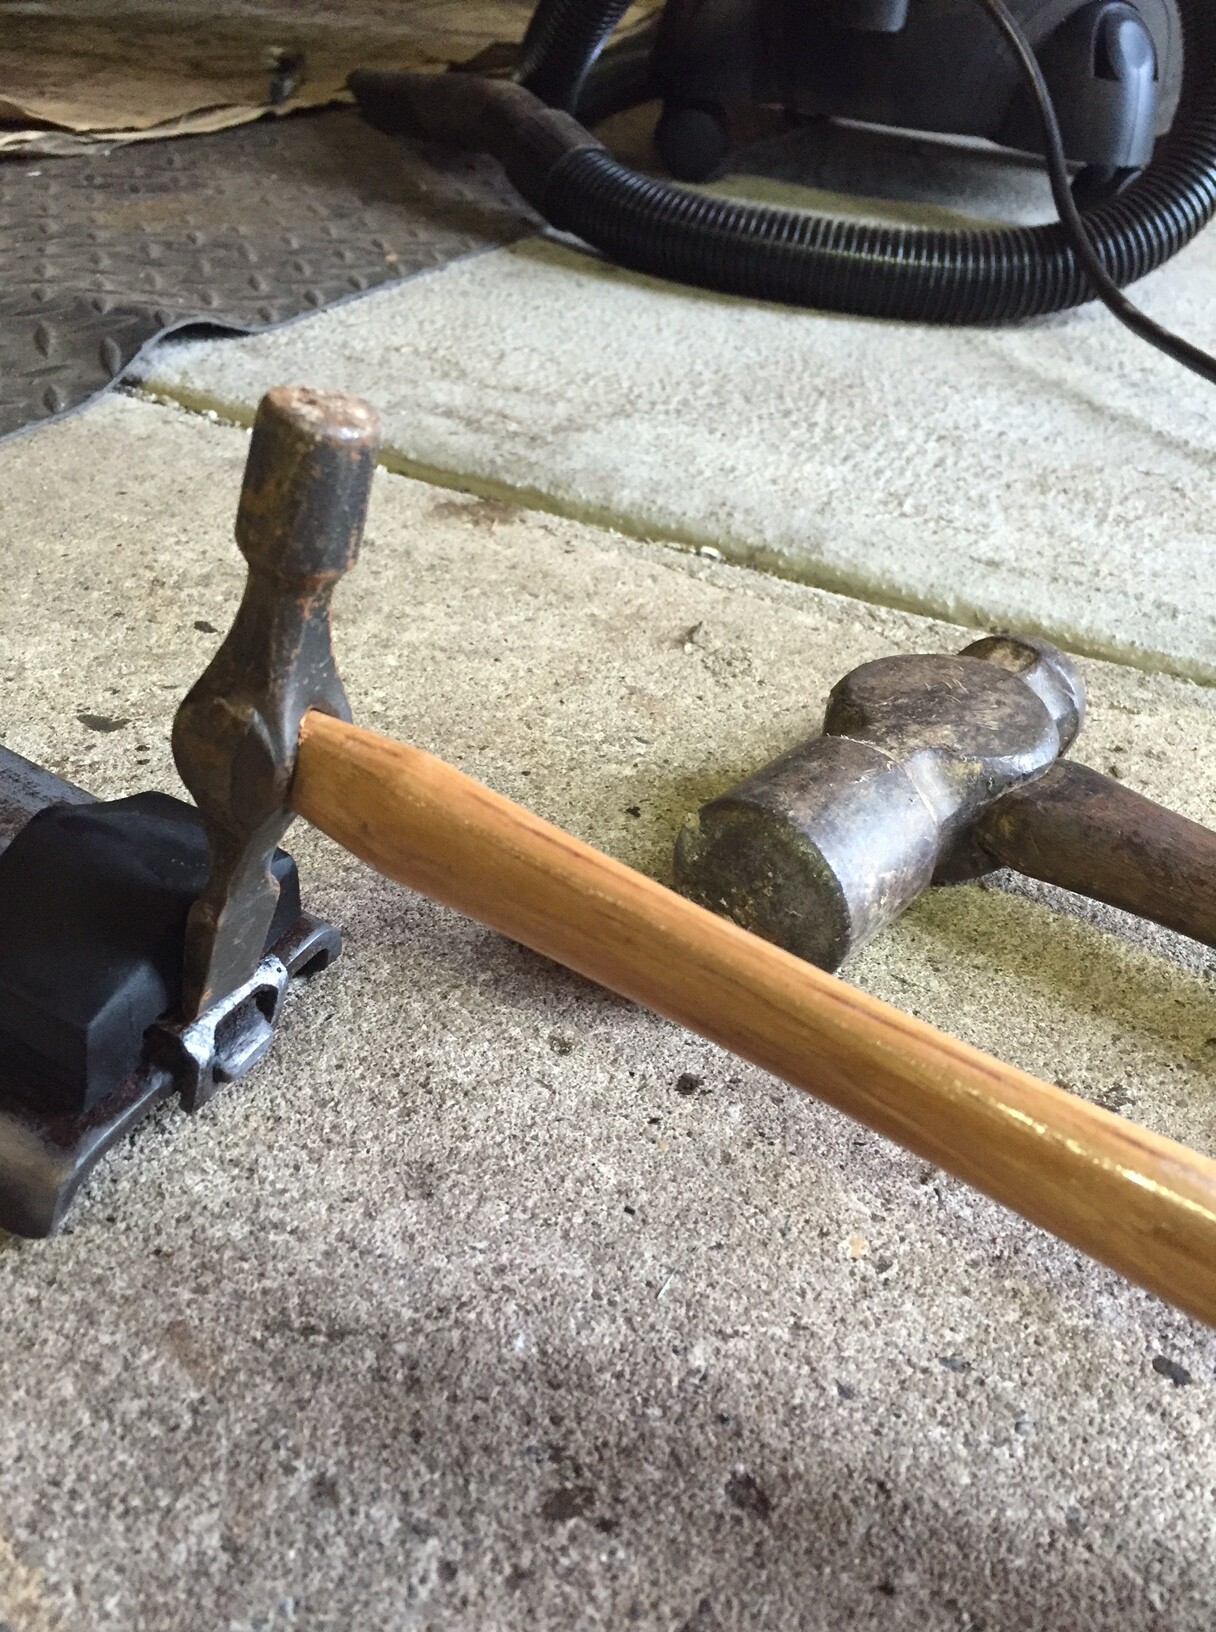
I decided to attack this casualty of driving by the Braille method:

Close enough for government work.
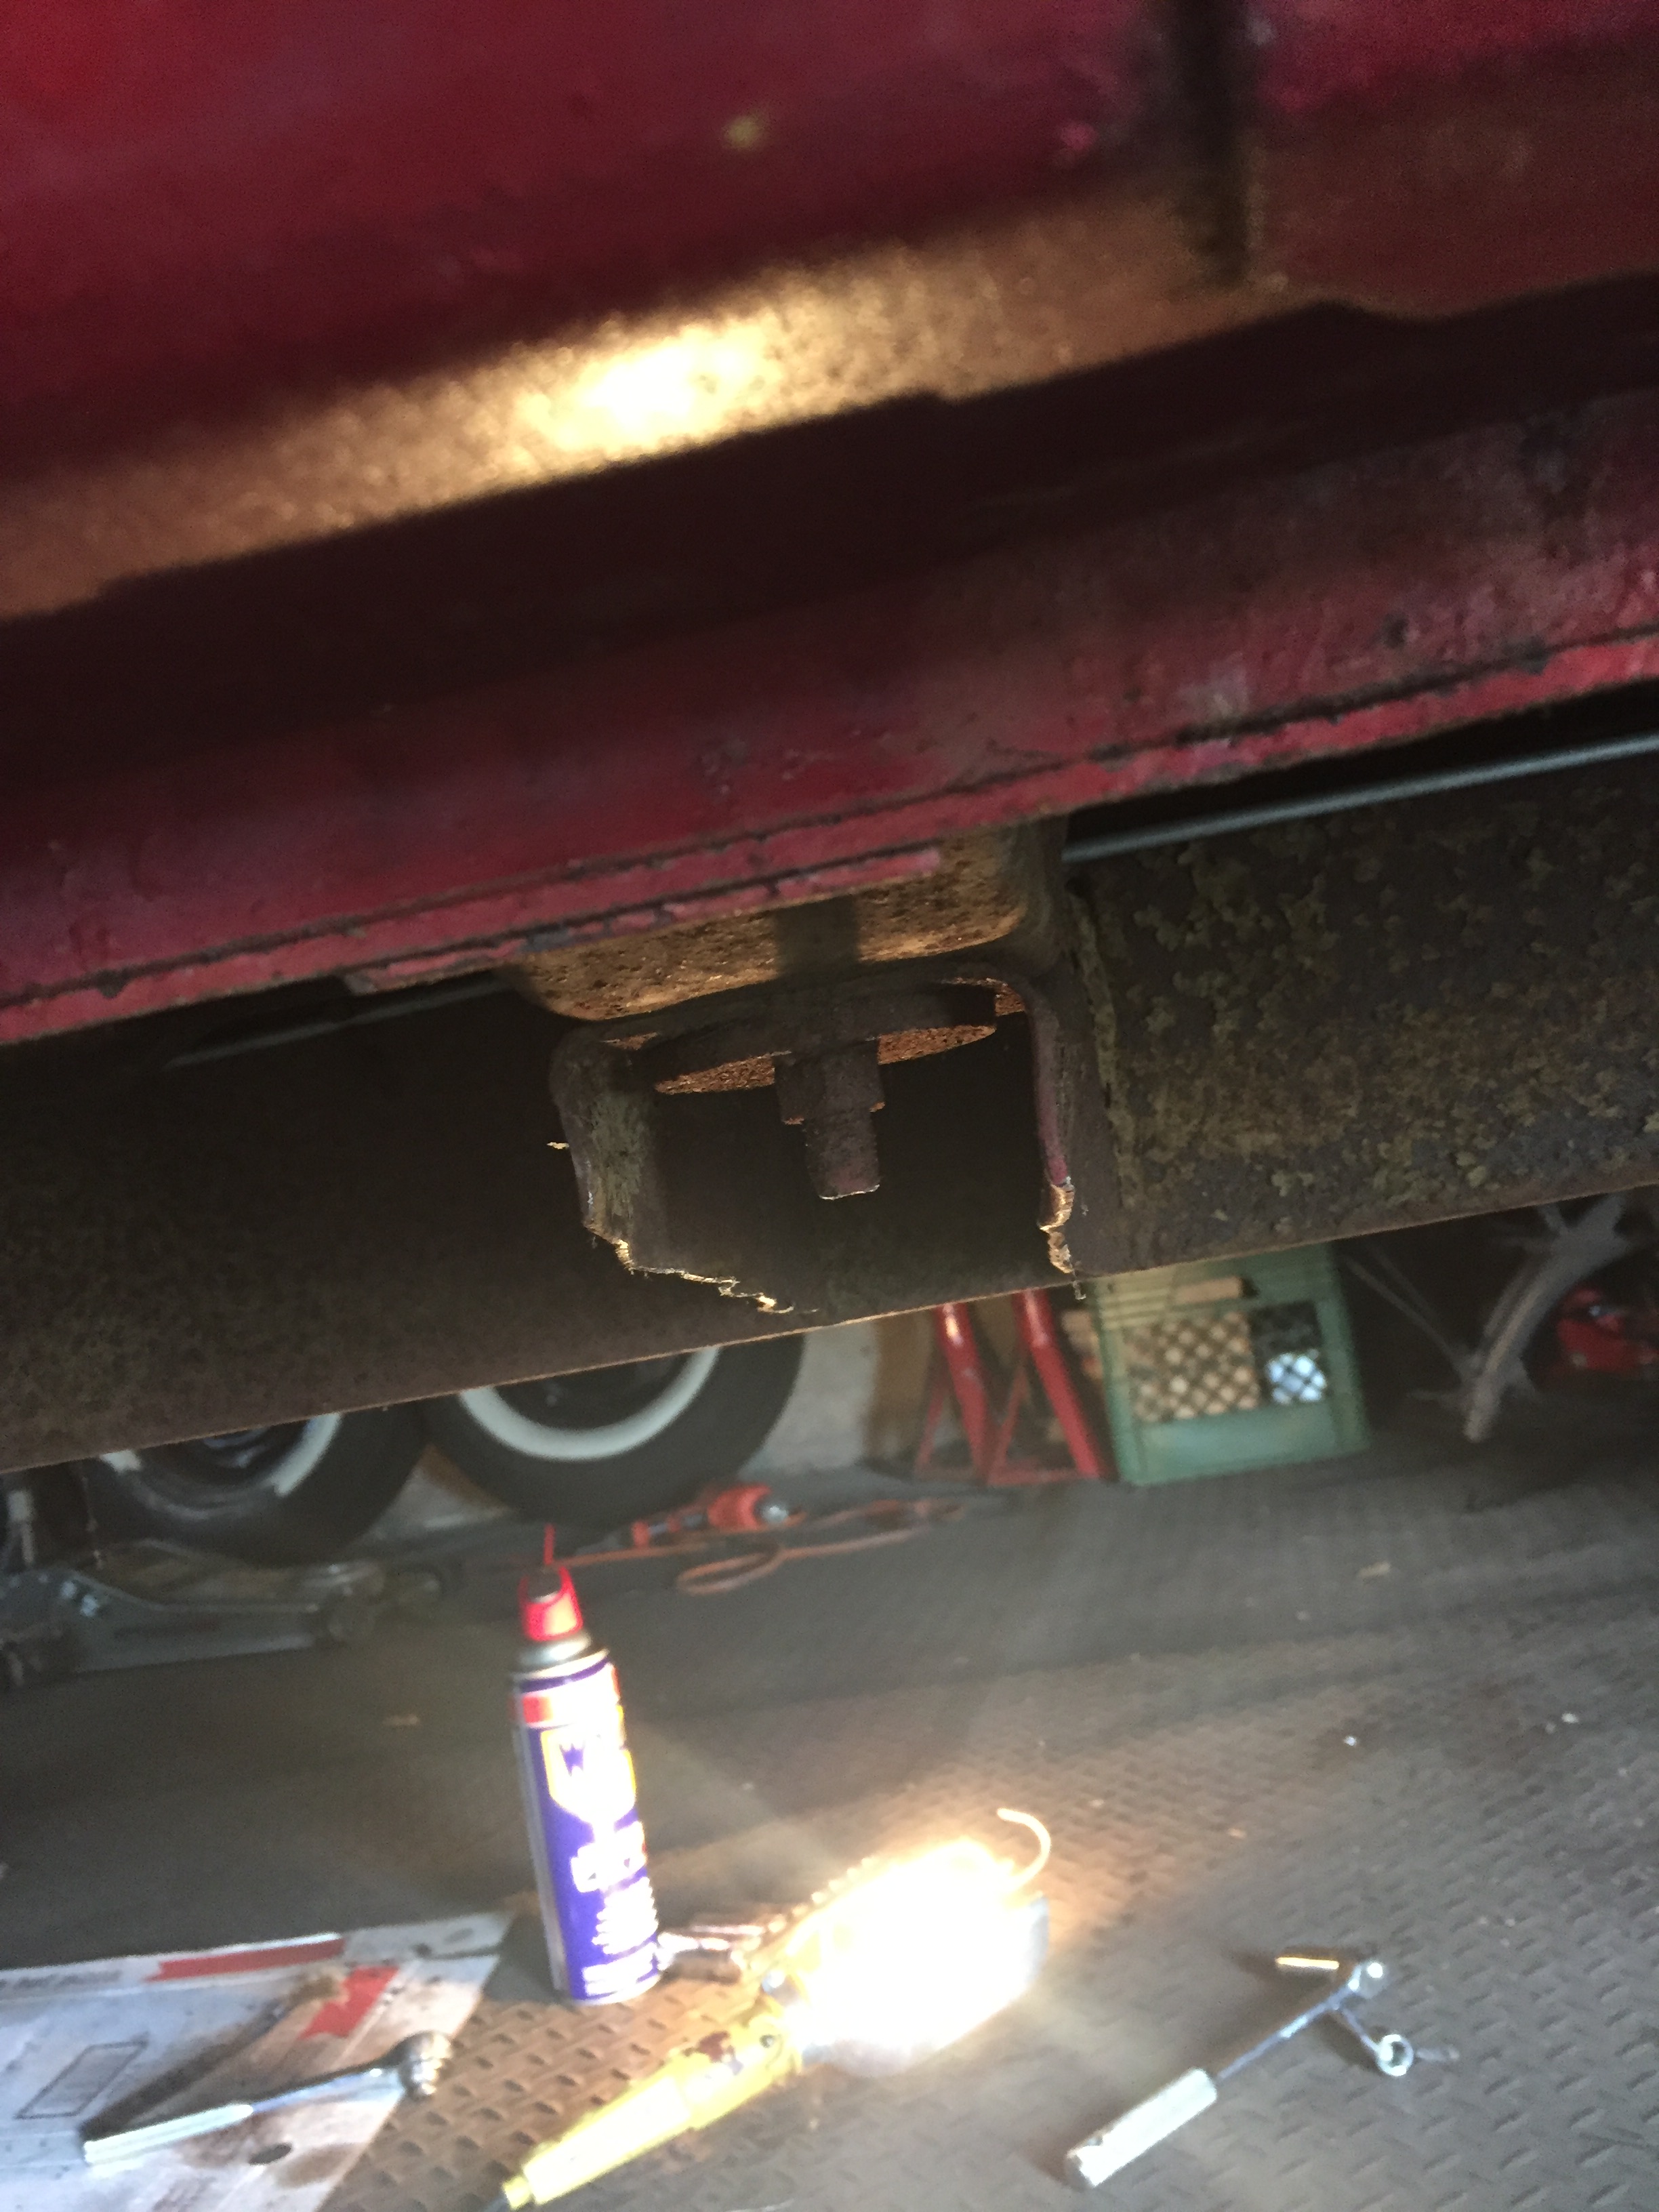
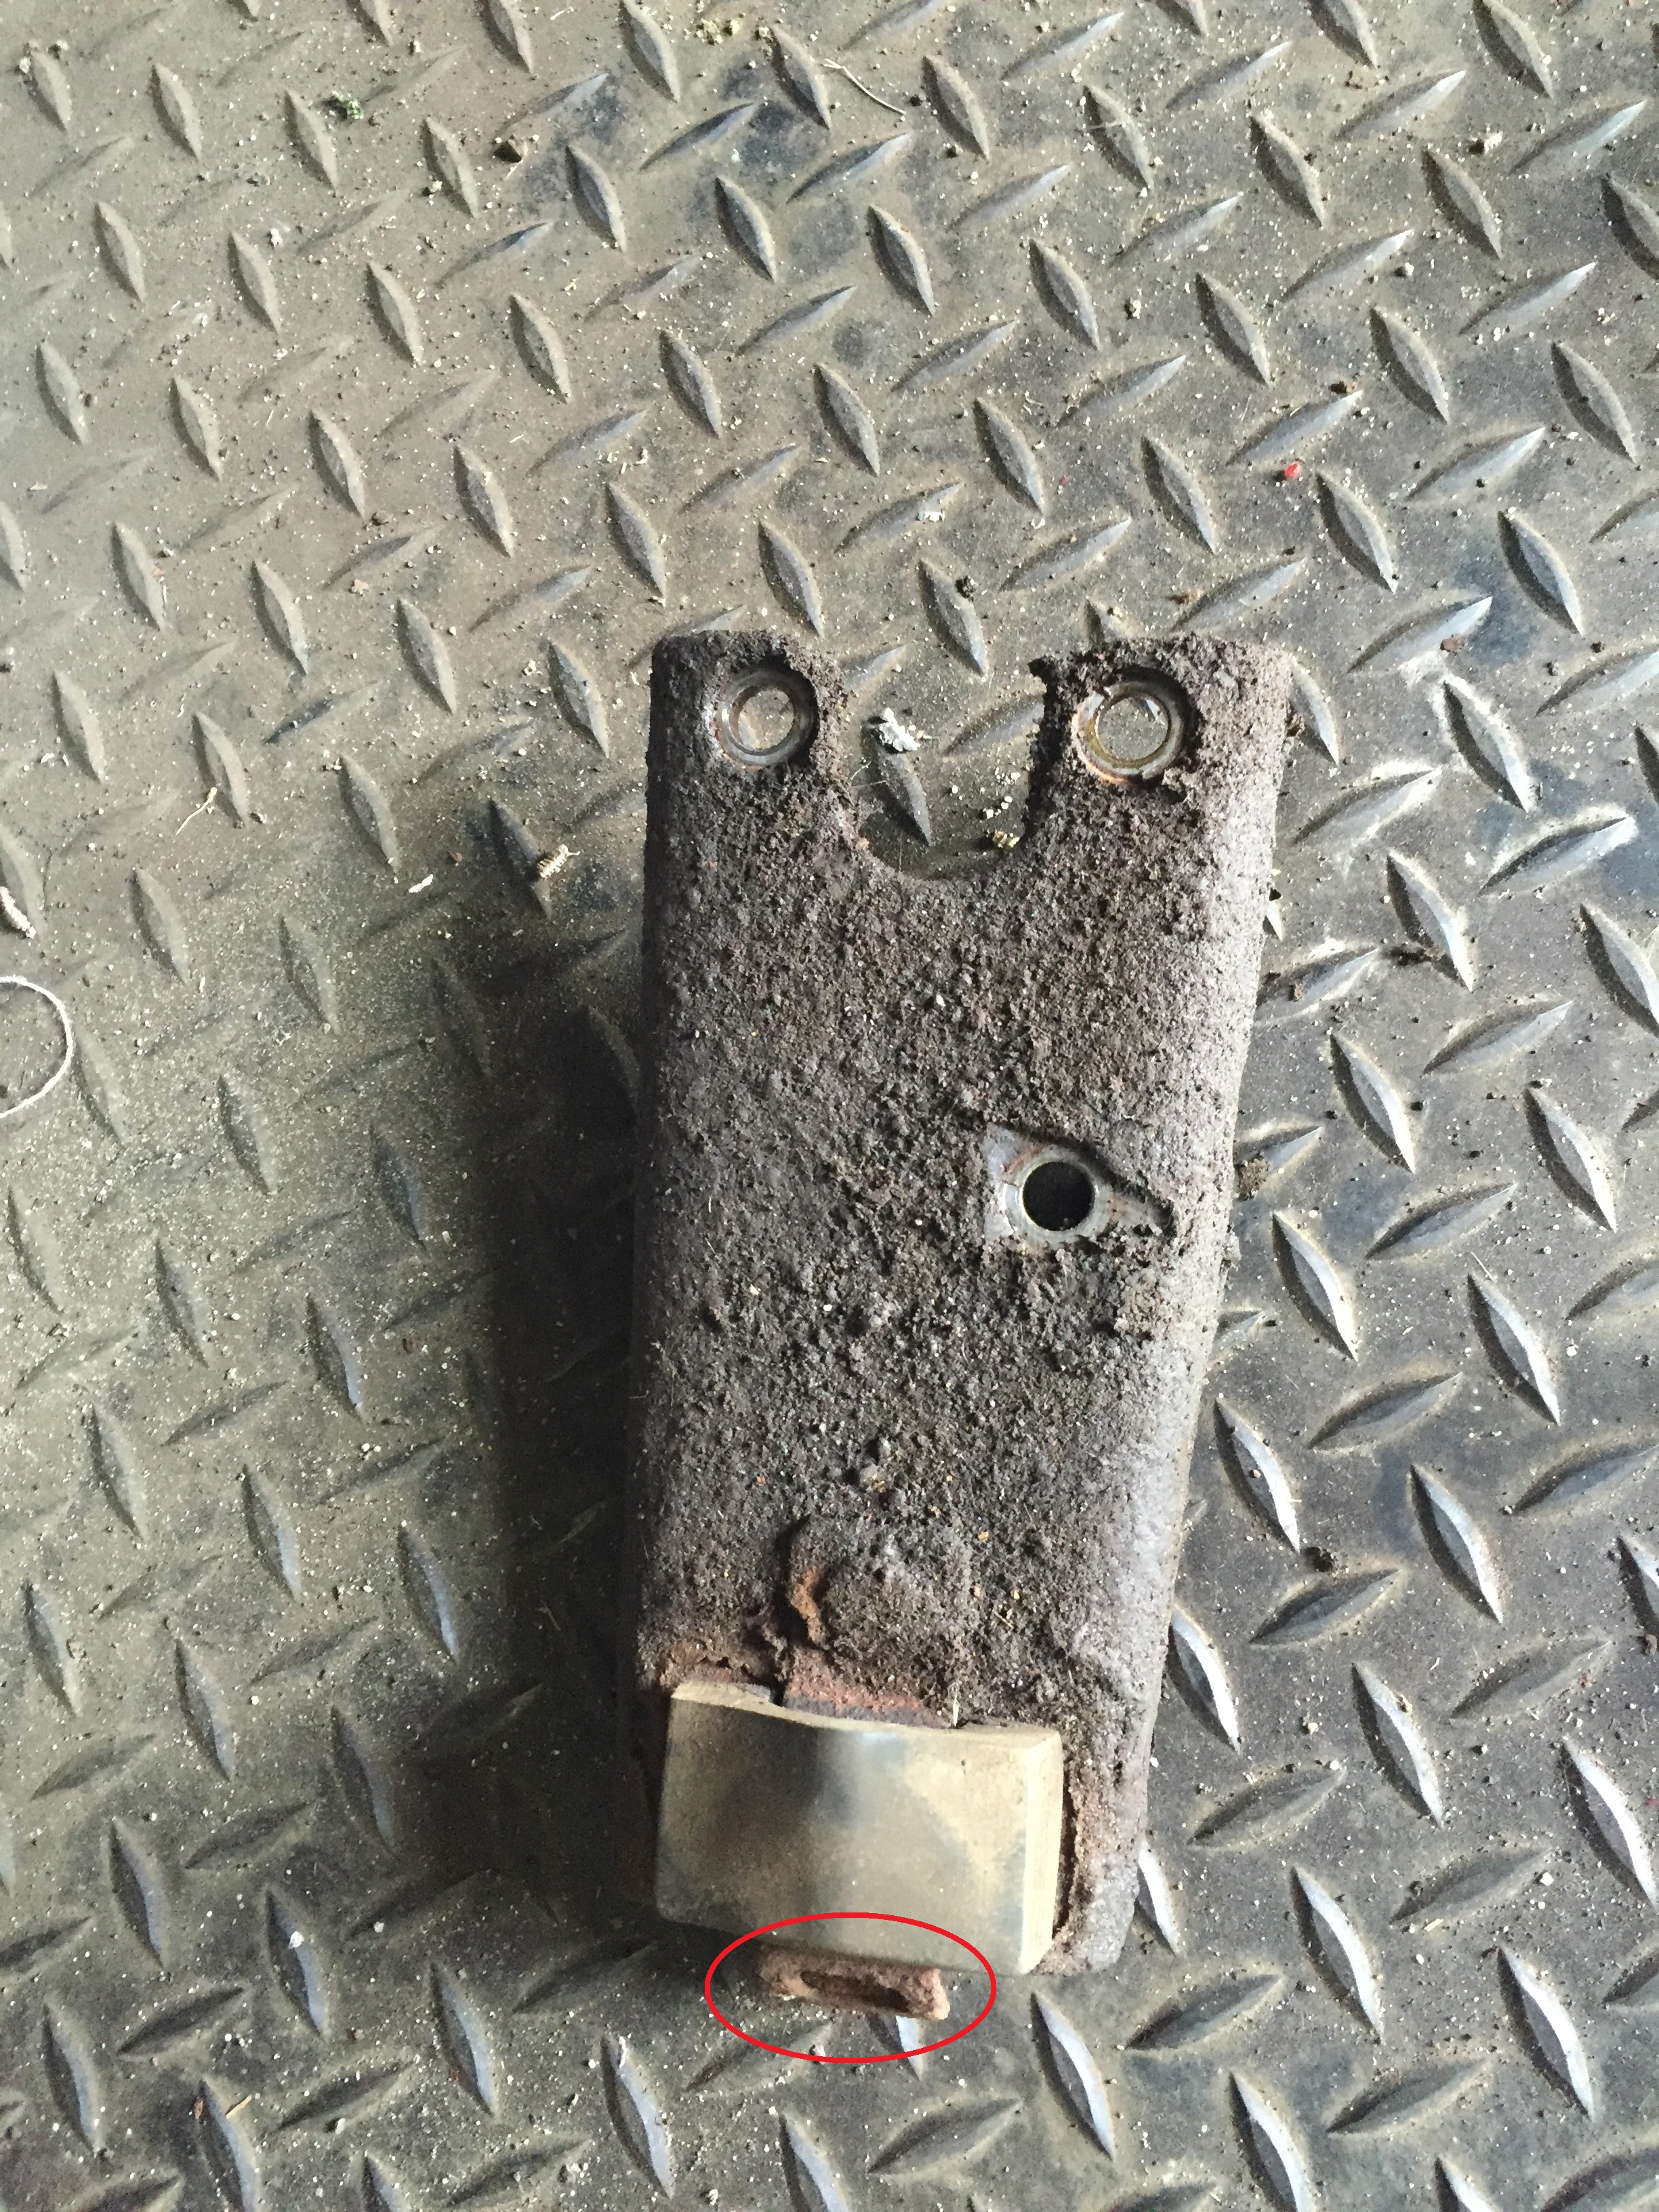
I then removed the plate bolted to the differential, that protects the rear universal joint (e.g., when the Sterling daughters were speeding over speed bumps). Man, was this caked with grease. Scraped it all off, wiped it real good with mineral spirits like Dr. '59 told me, and osphoed it. Came up real nice. Notice the the bumper retainer clip had come off the nub, a couple well placed taps with a flatblade hammer popped it back on.
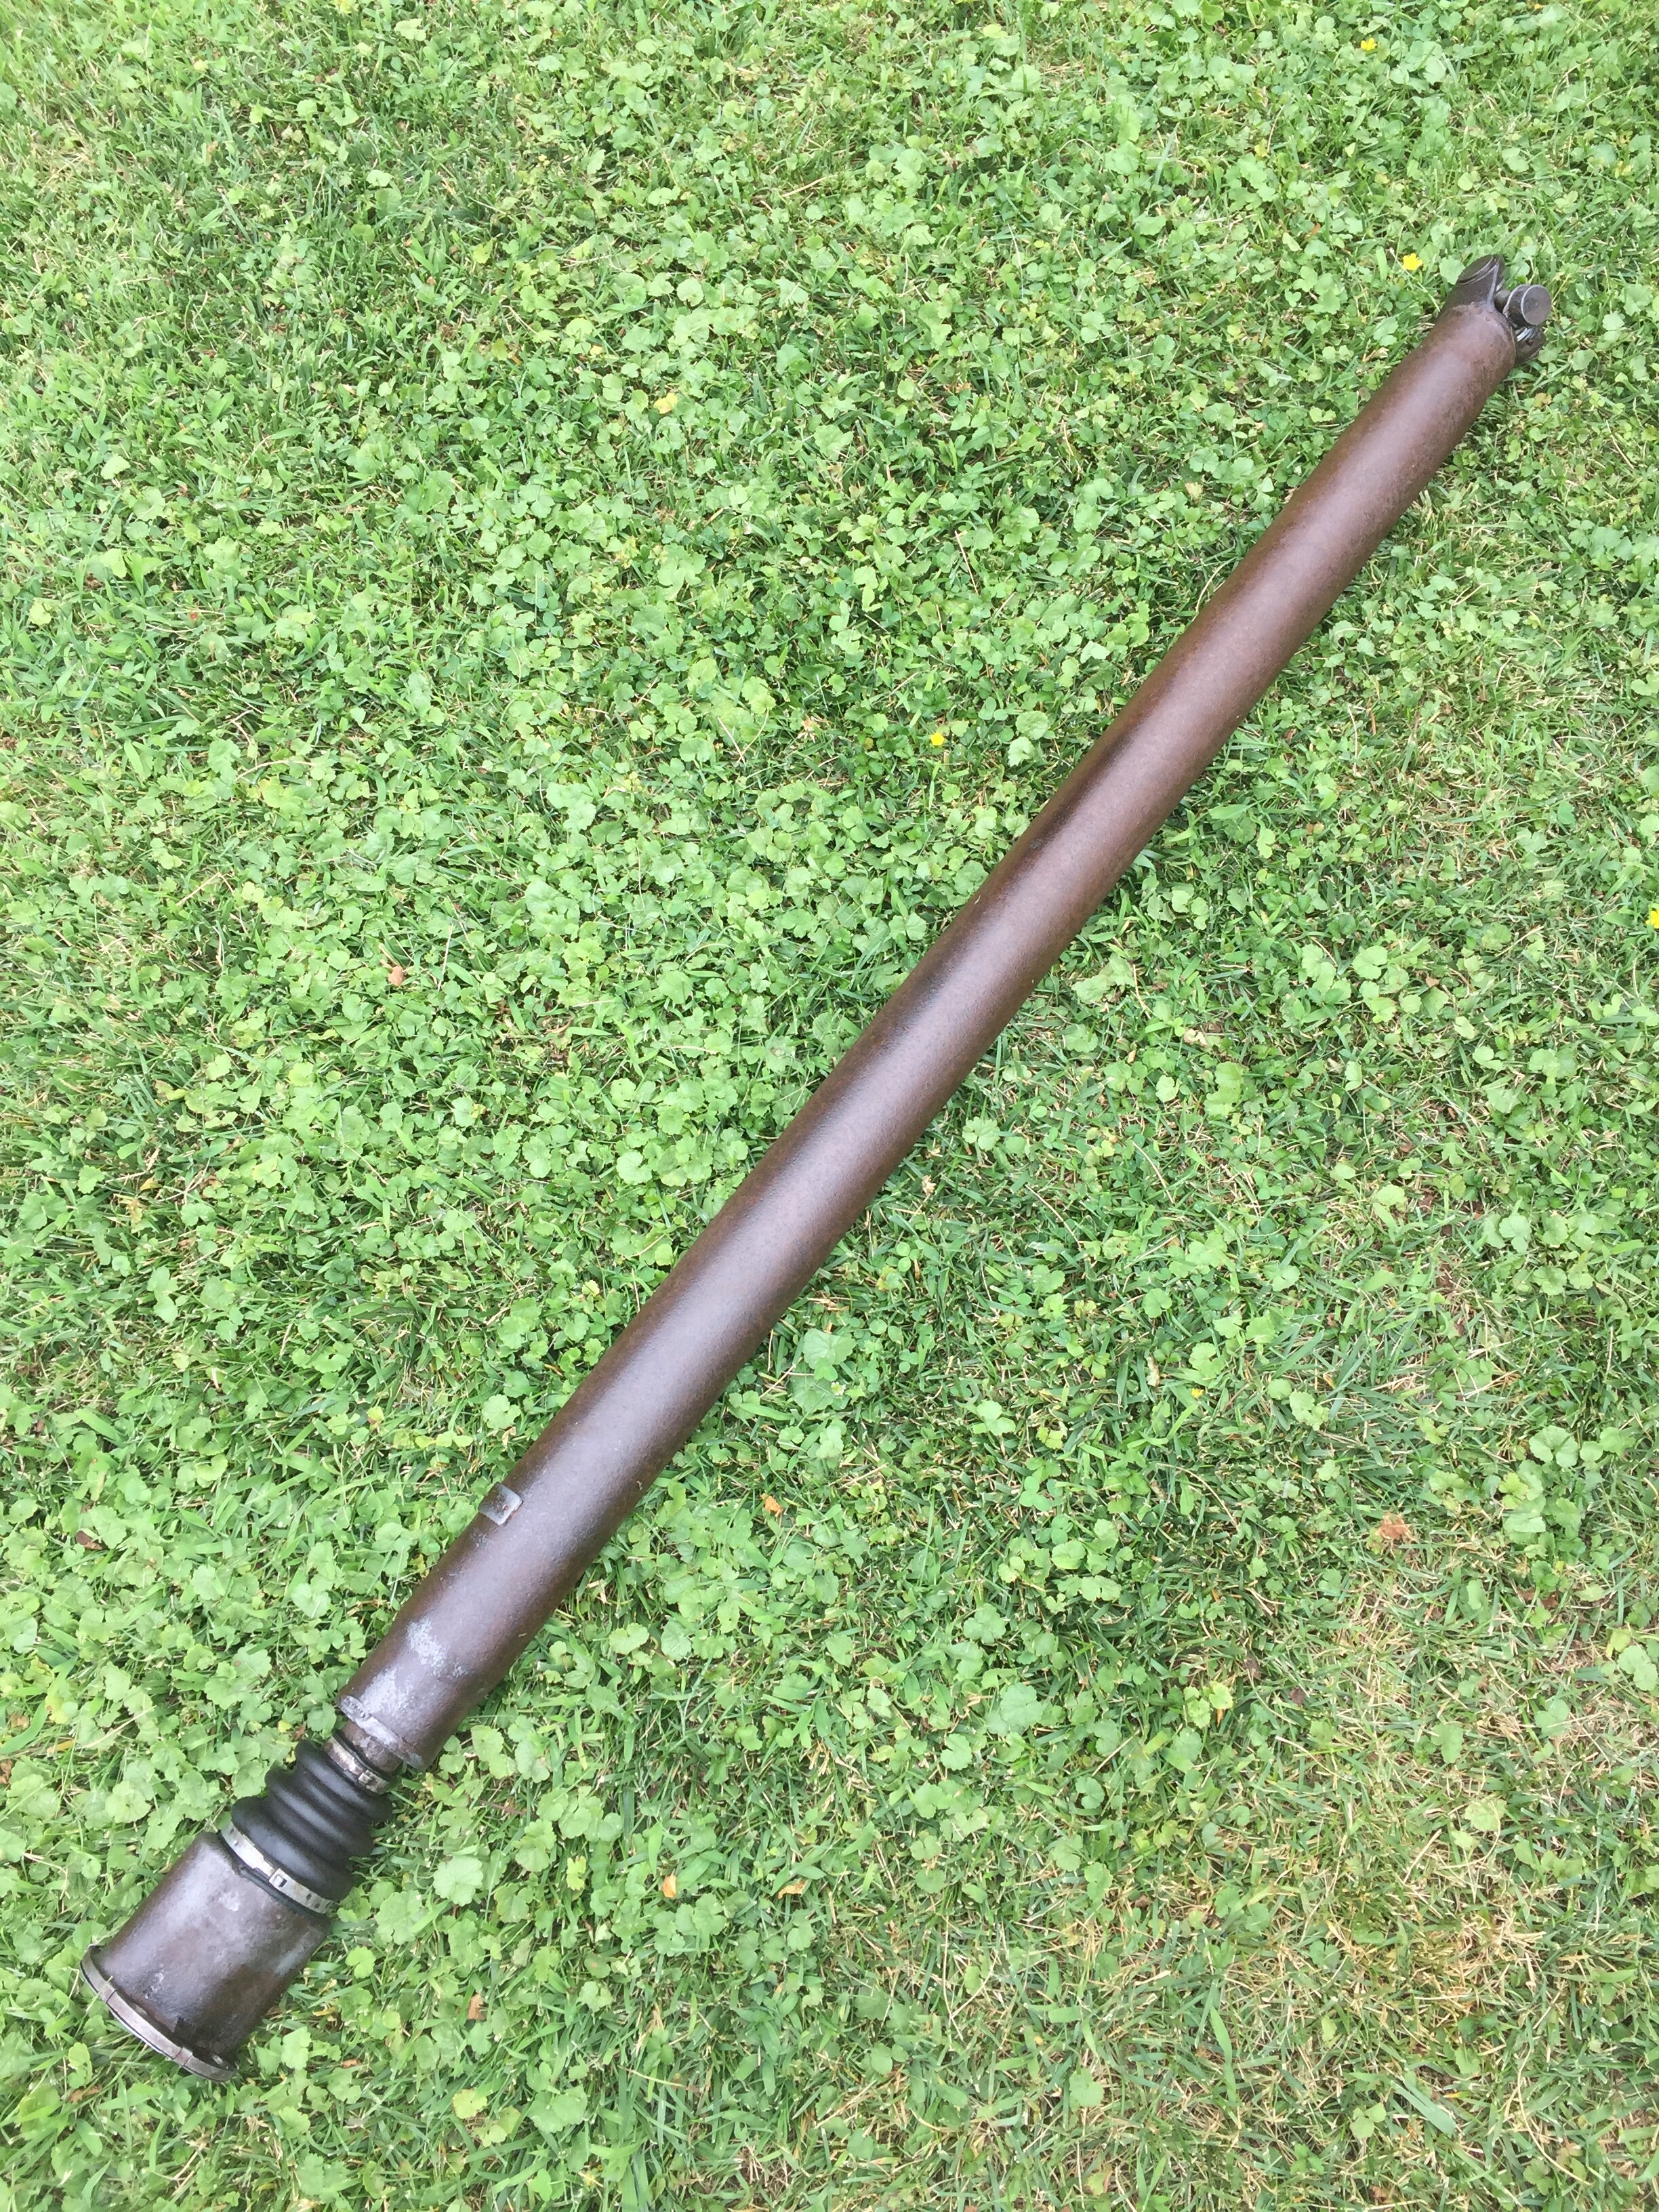
Then I returned to the driveshaft. Preparation pays! And so does a big-ass breaker bar. Doncha know there was a “crack” with each one, but they came right off.
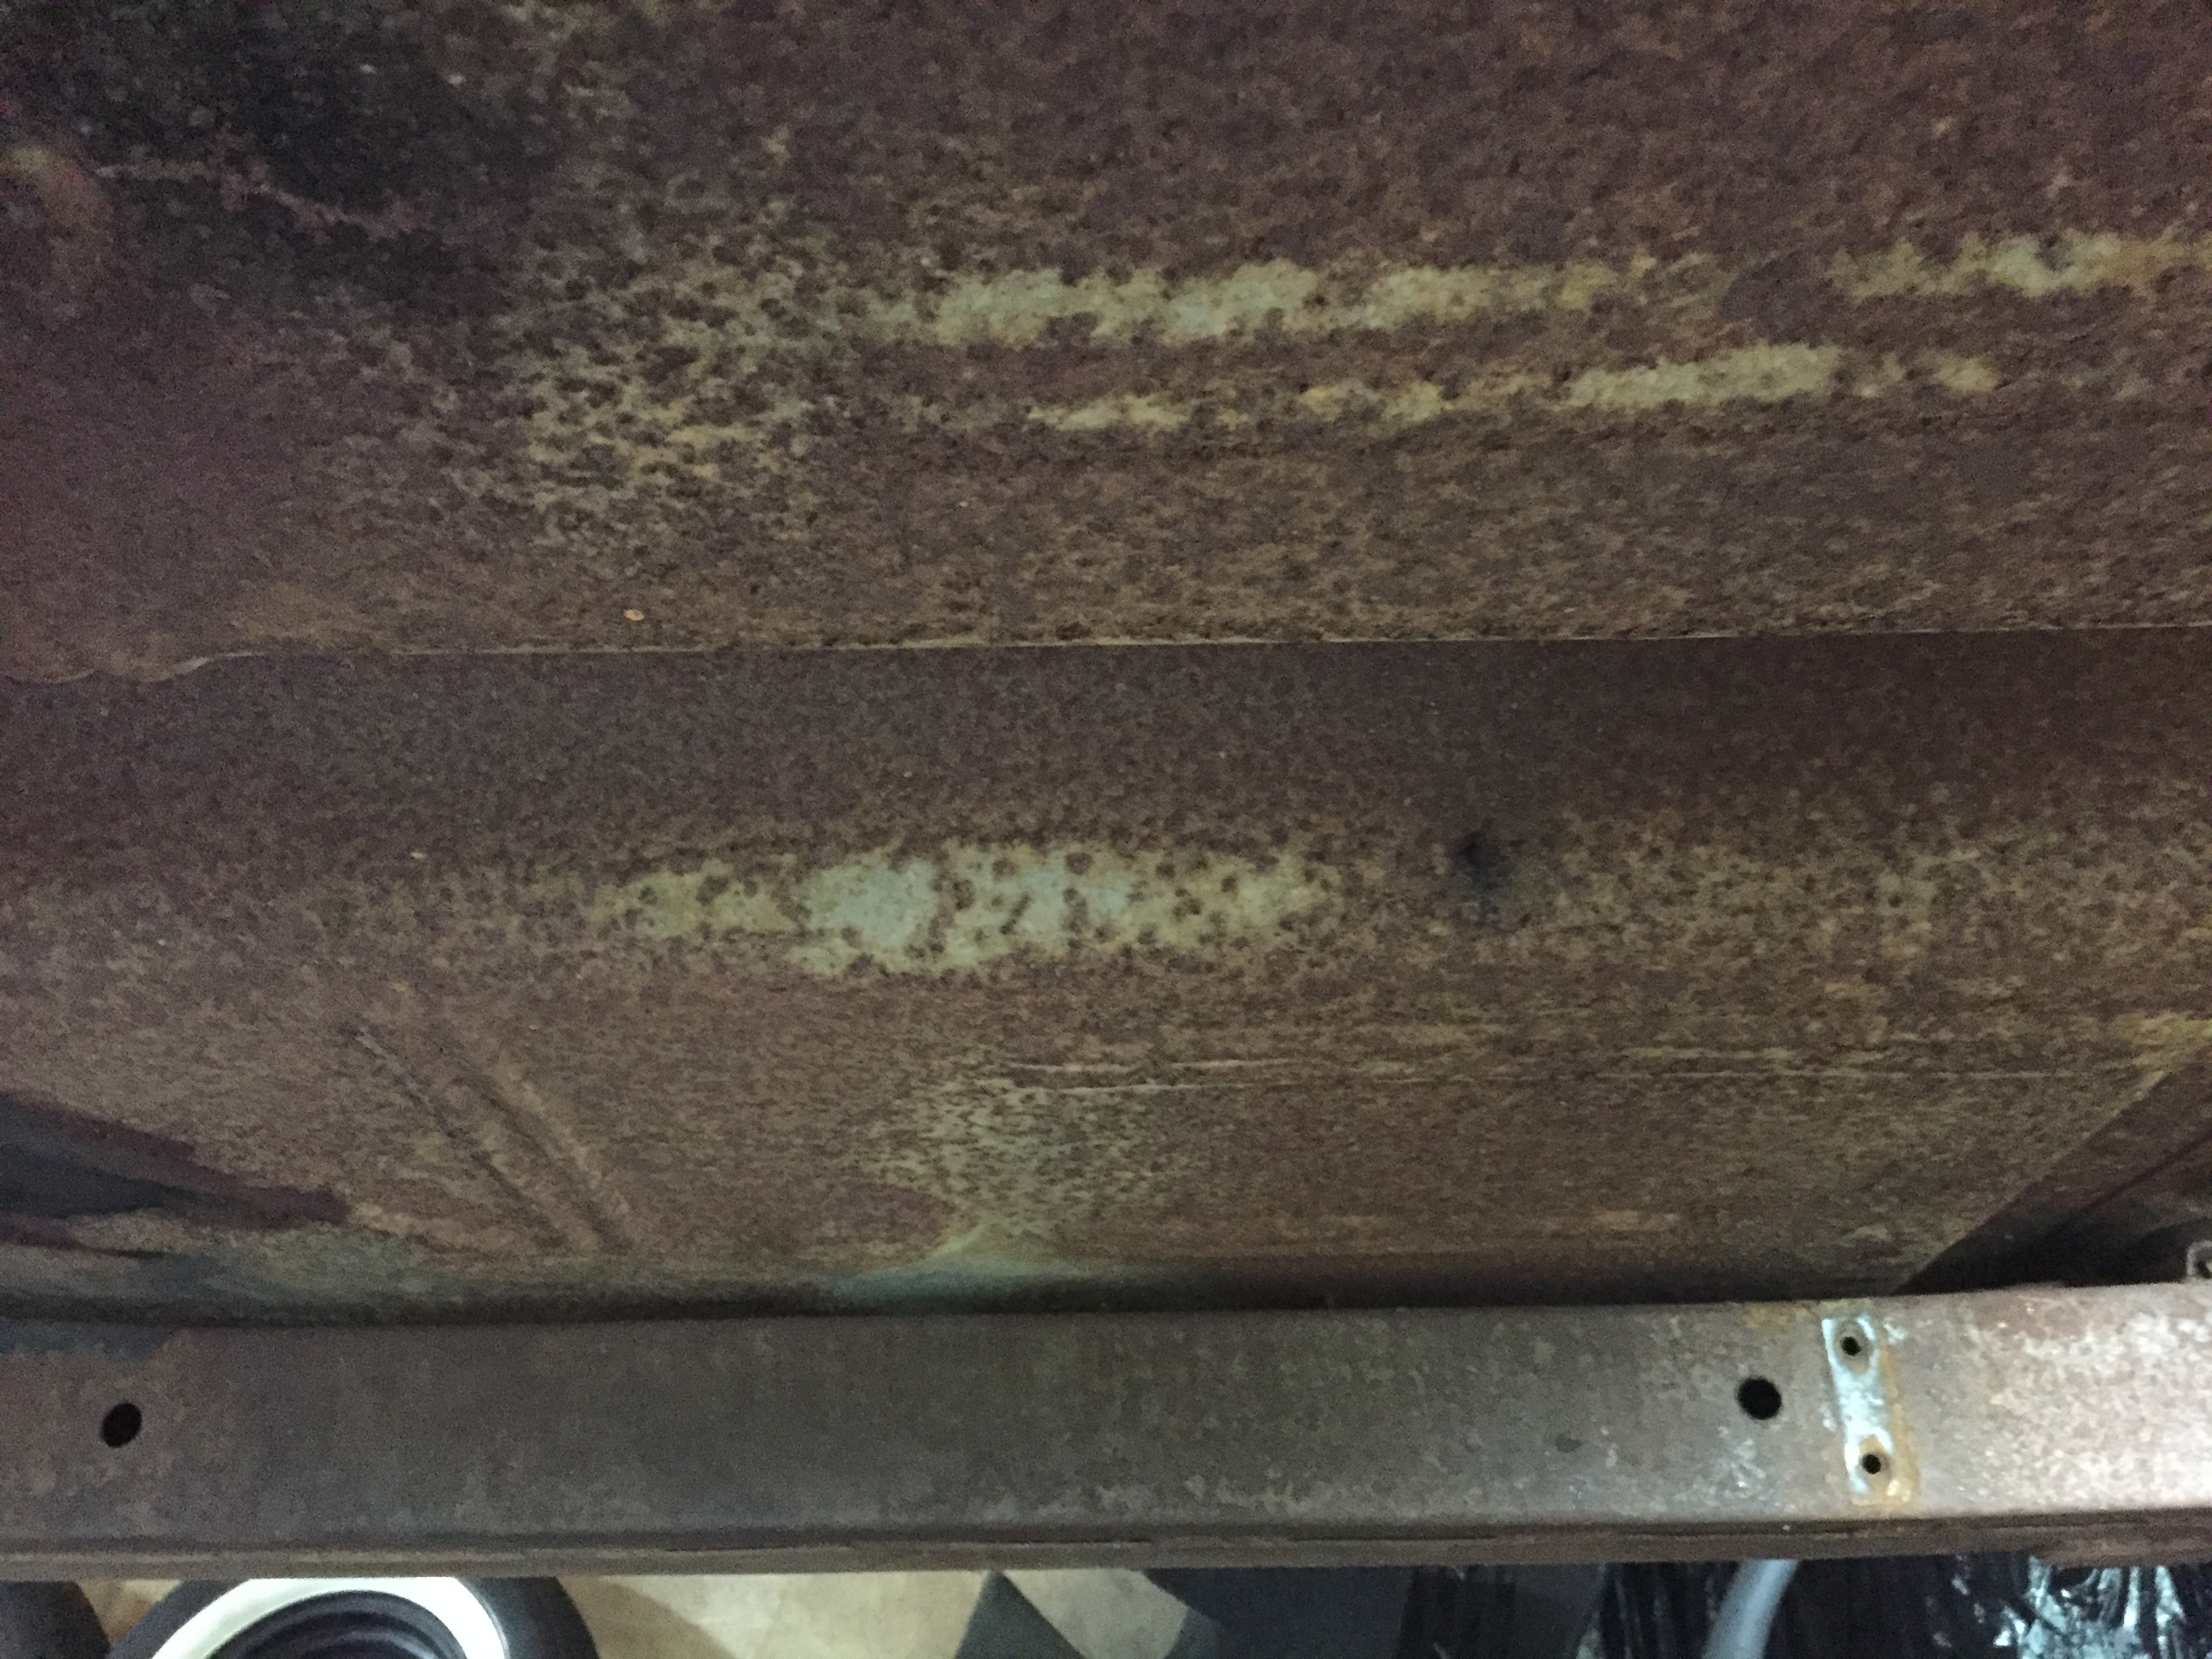
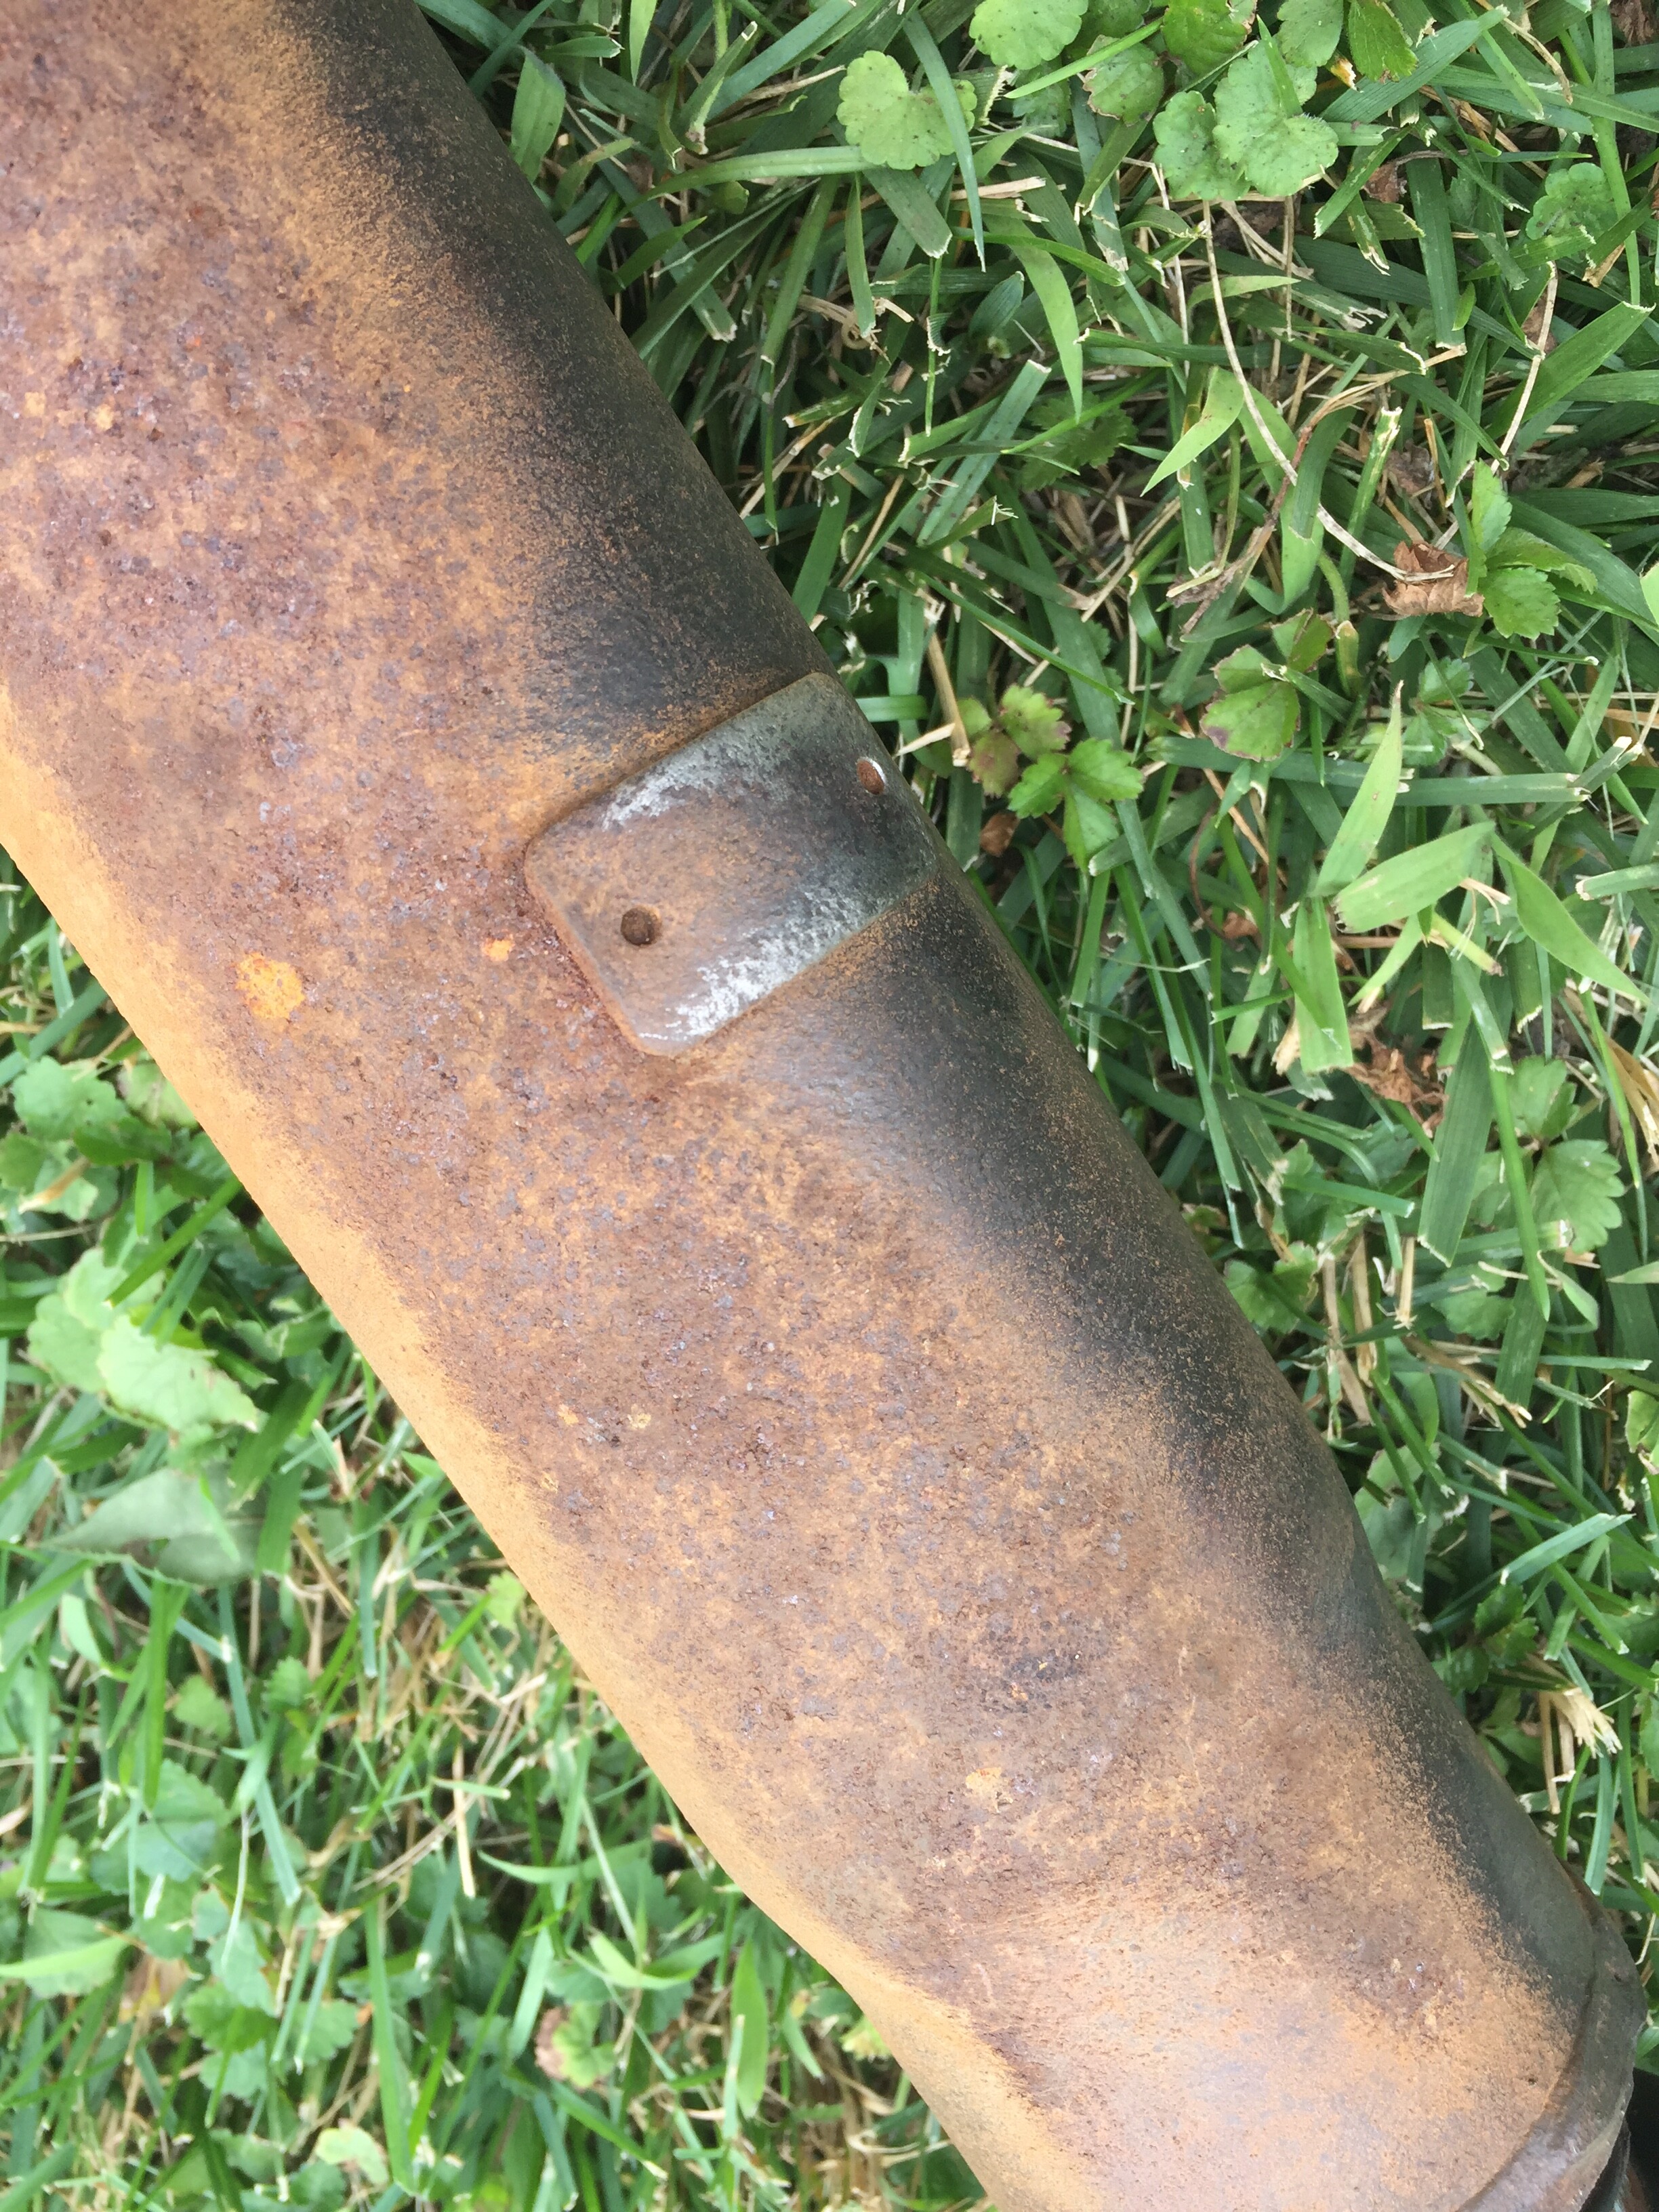
With the exhaust and driveshaft out of the way, I’ve got plenty of room to work. And there is plenty of work to do… In rust we trust! Those dry desert conditions were good to Faulkner (if the Sterling girls were not) - no rust through, all just surface stuff.
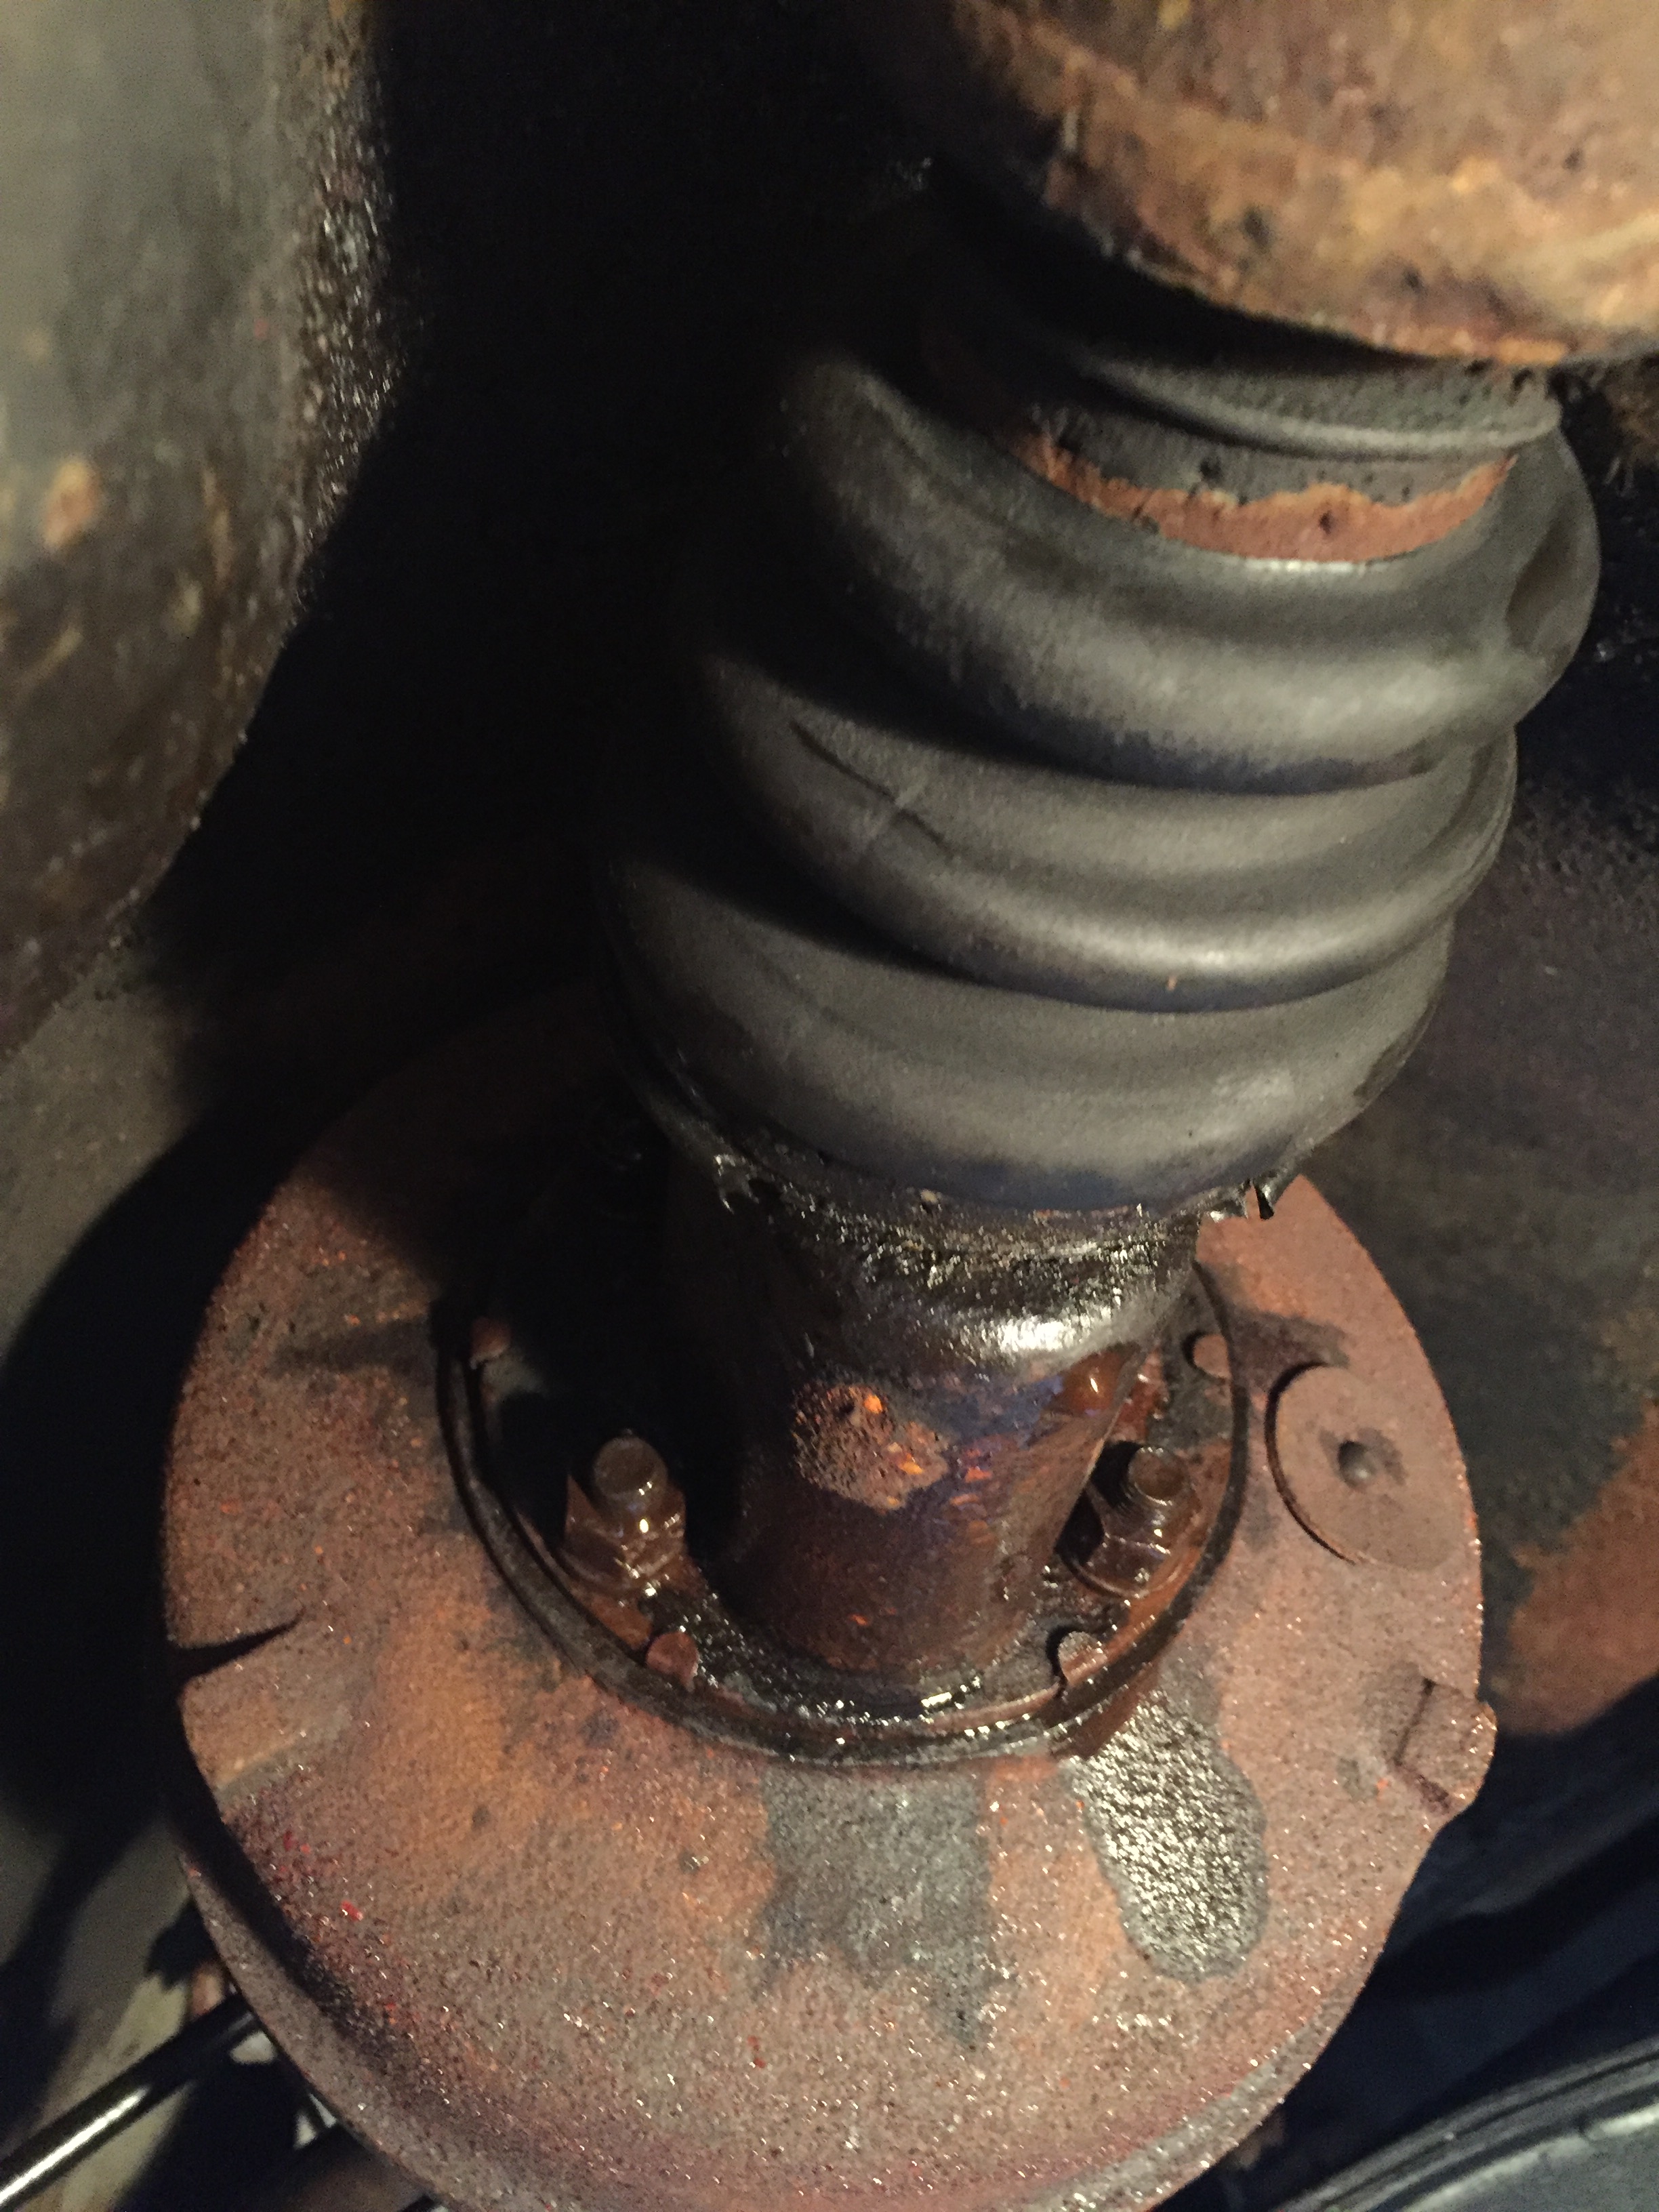
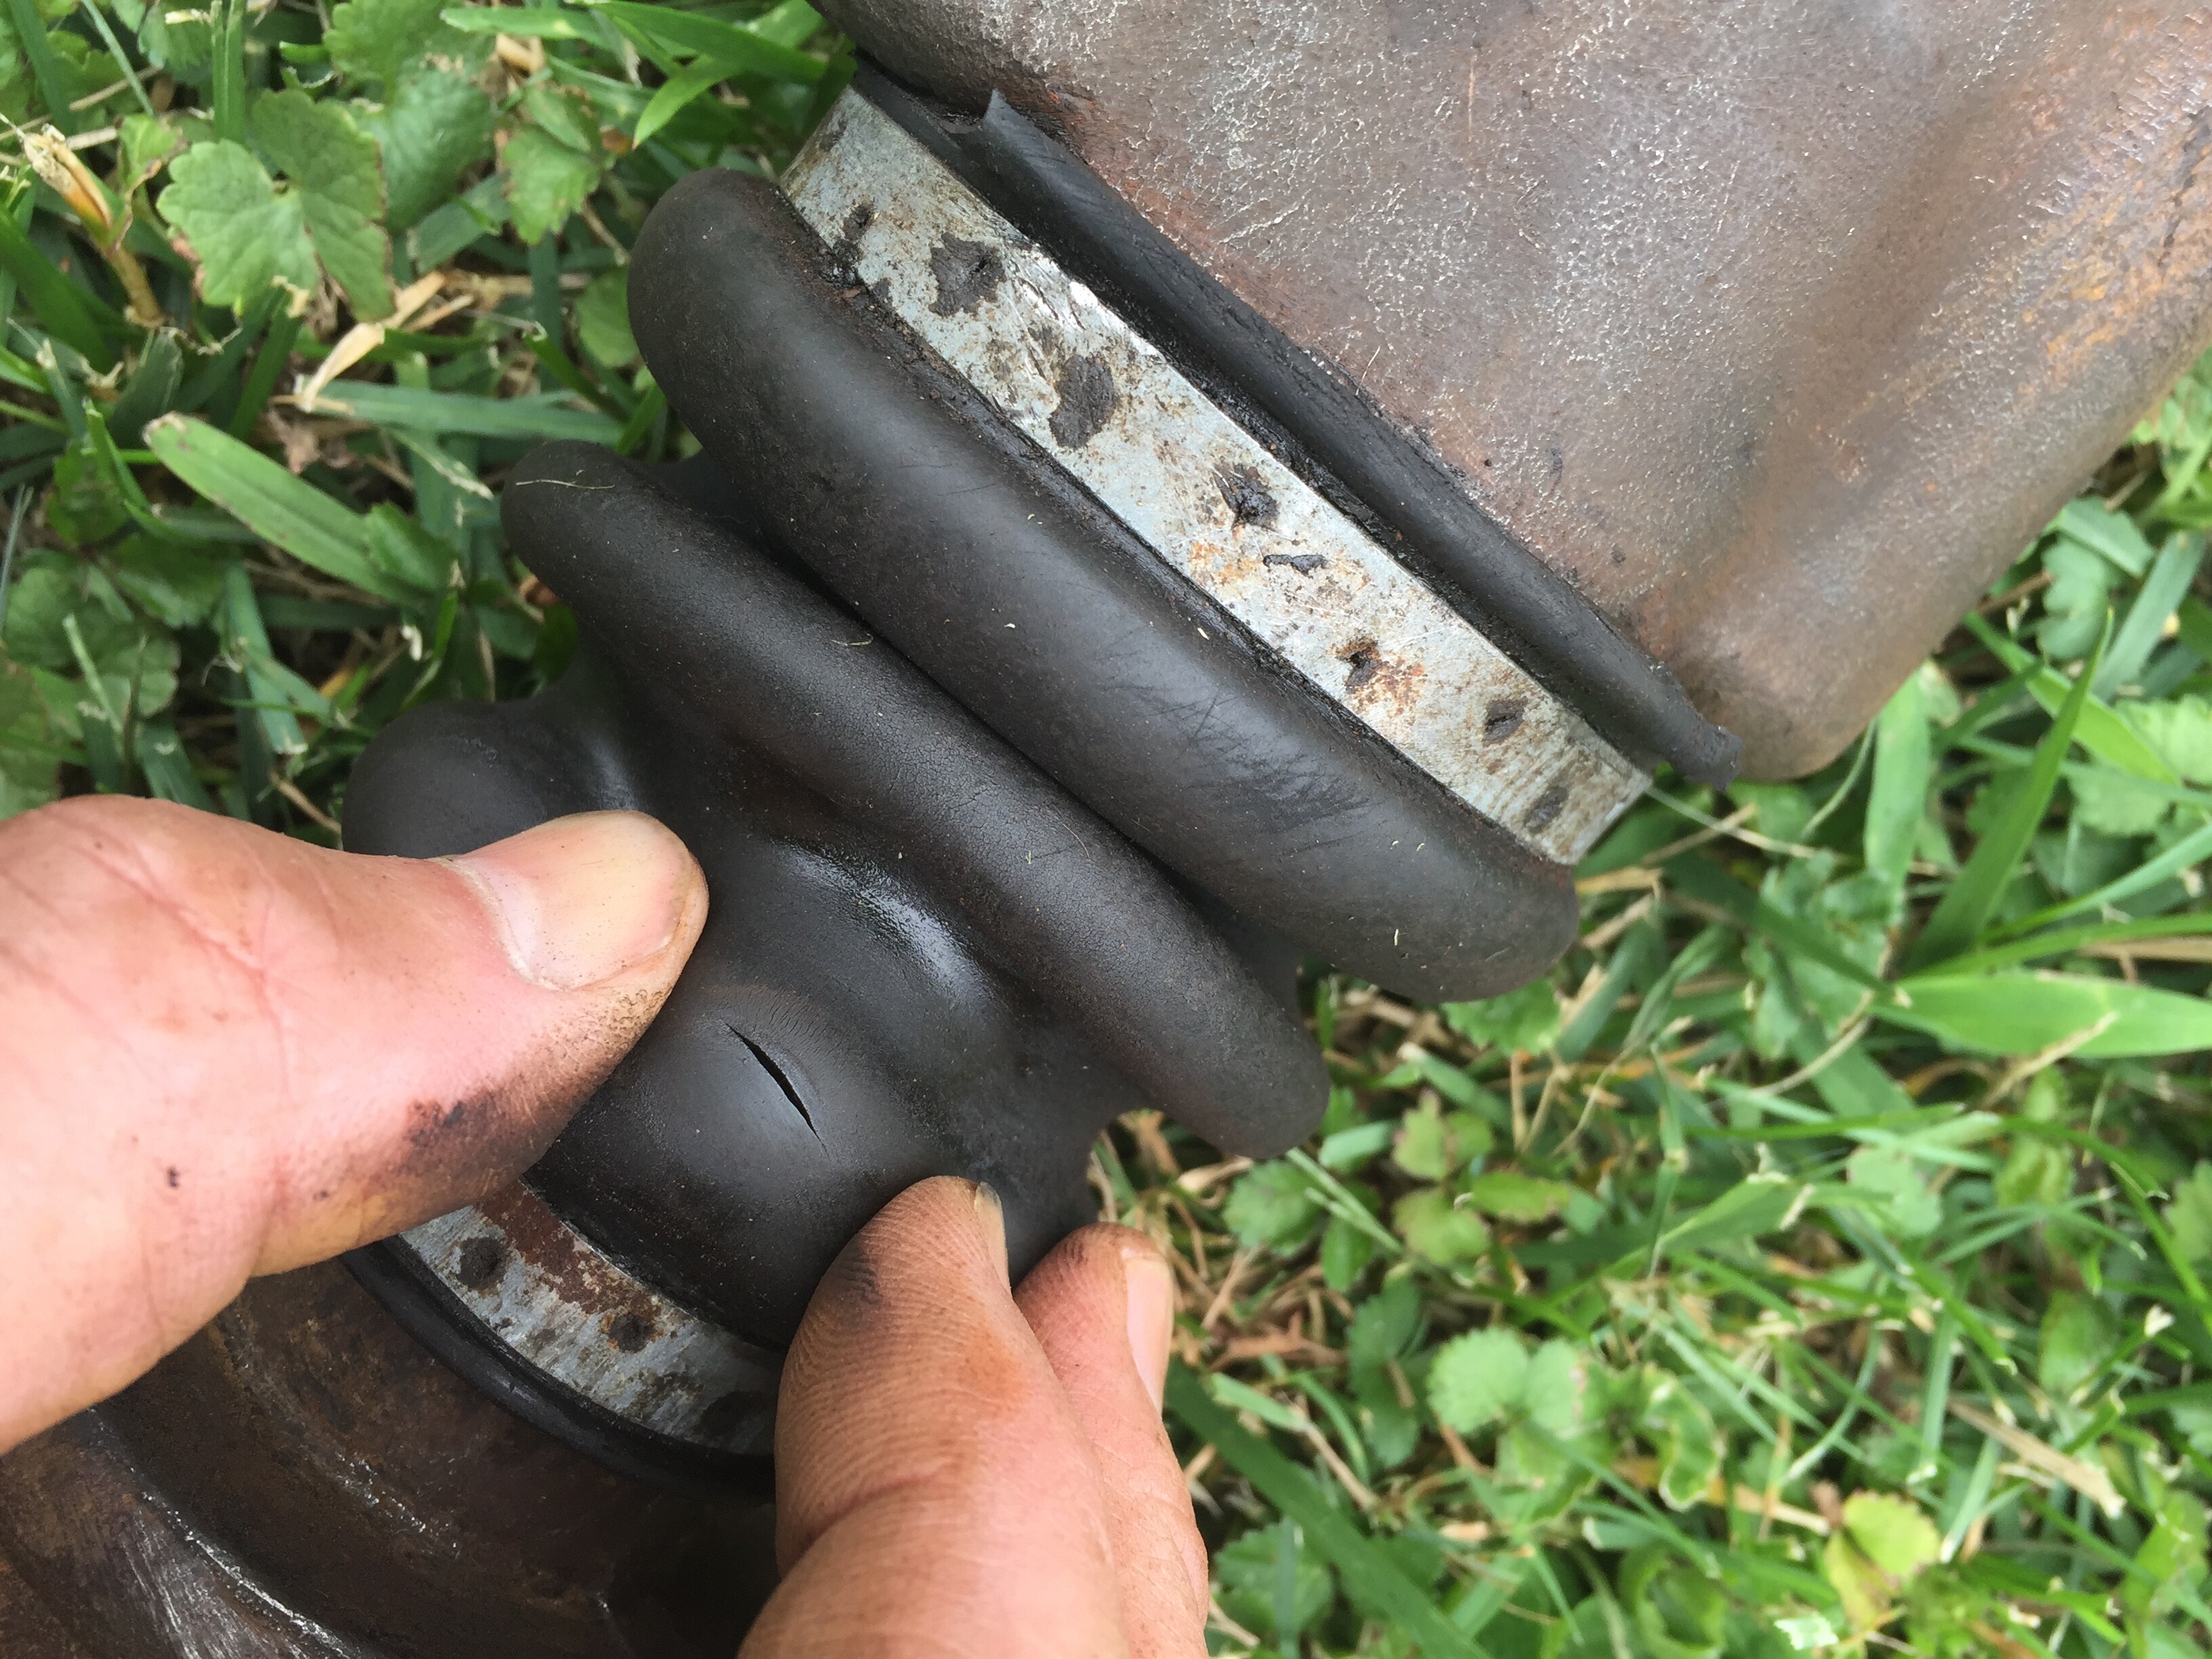
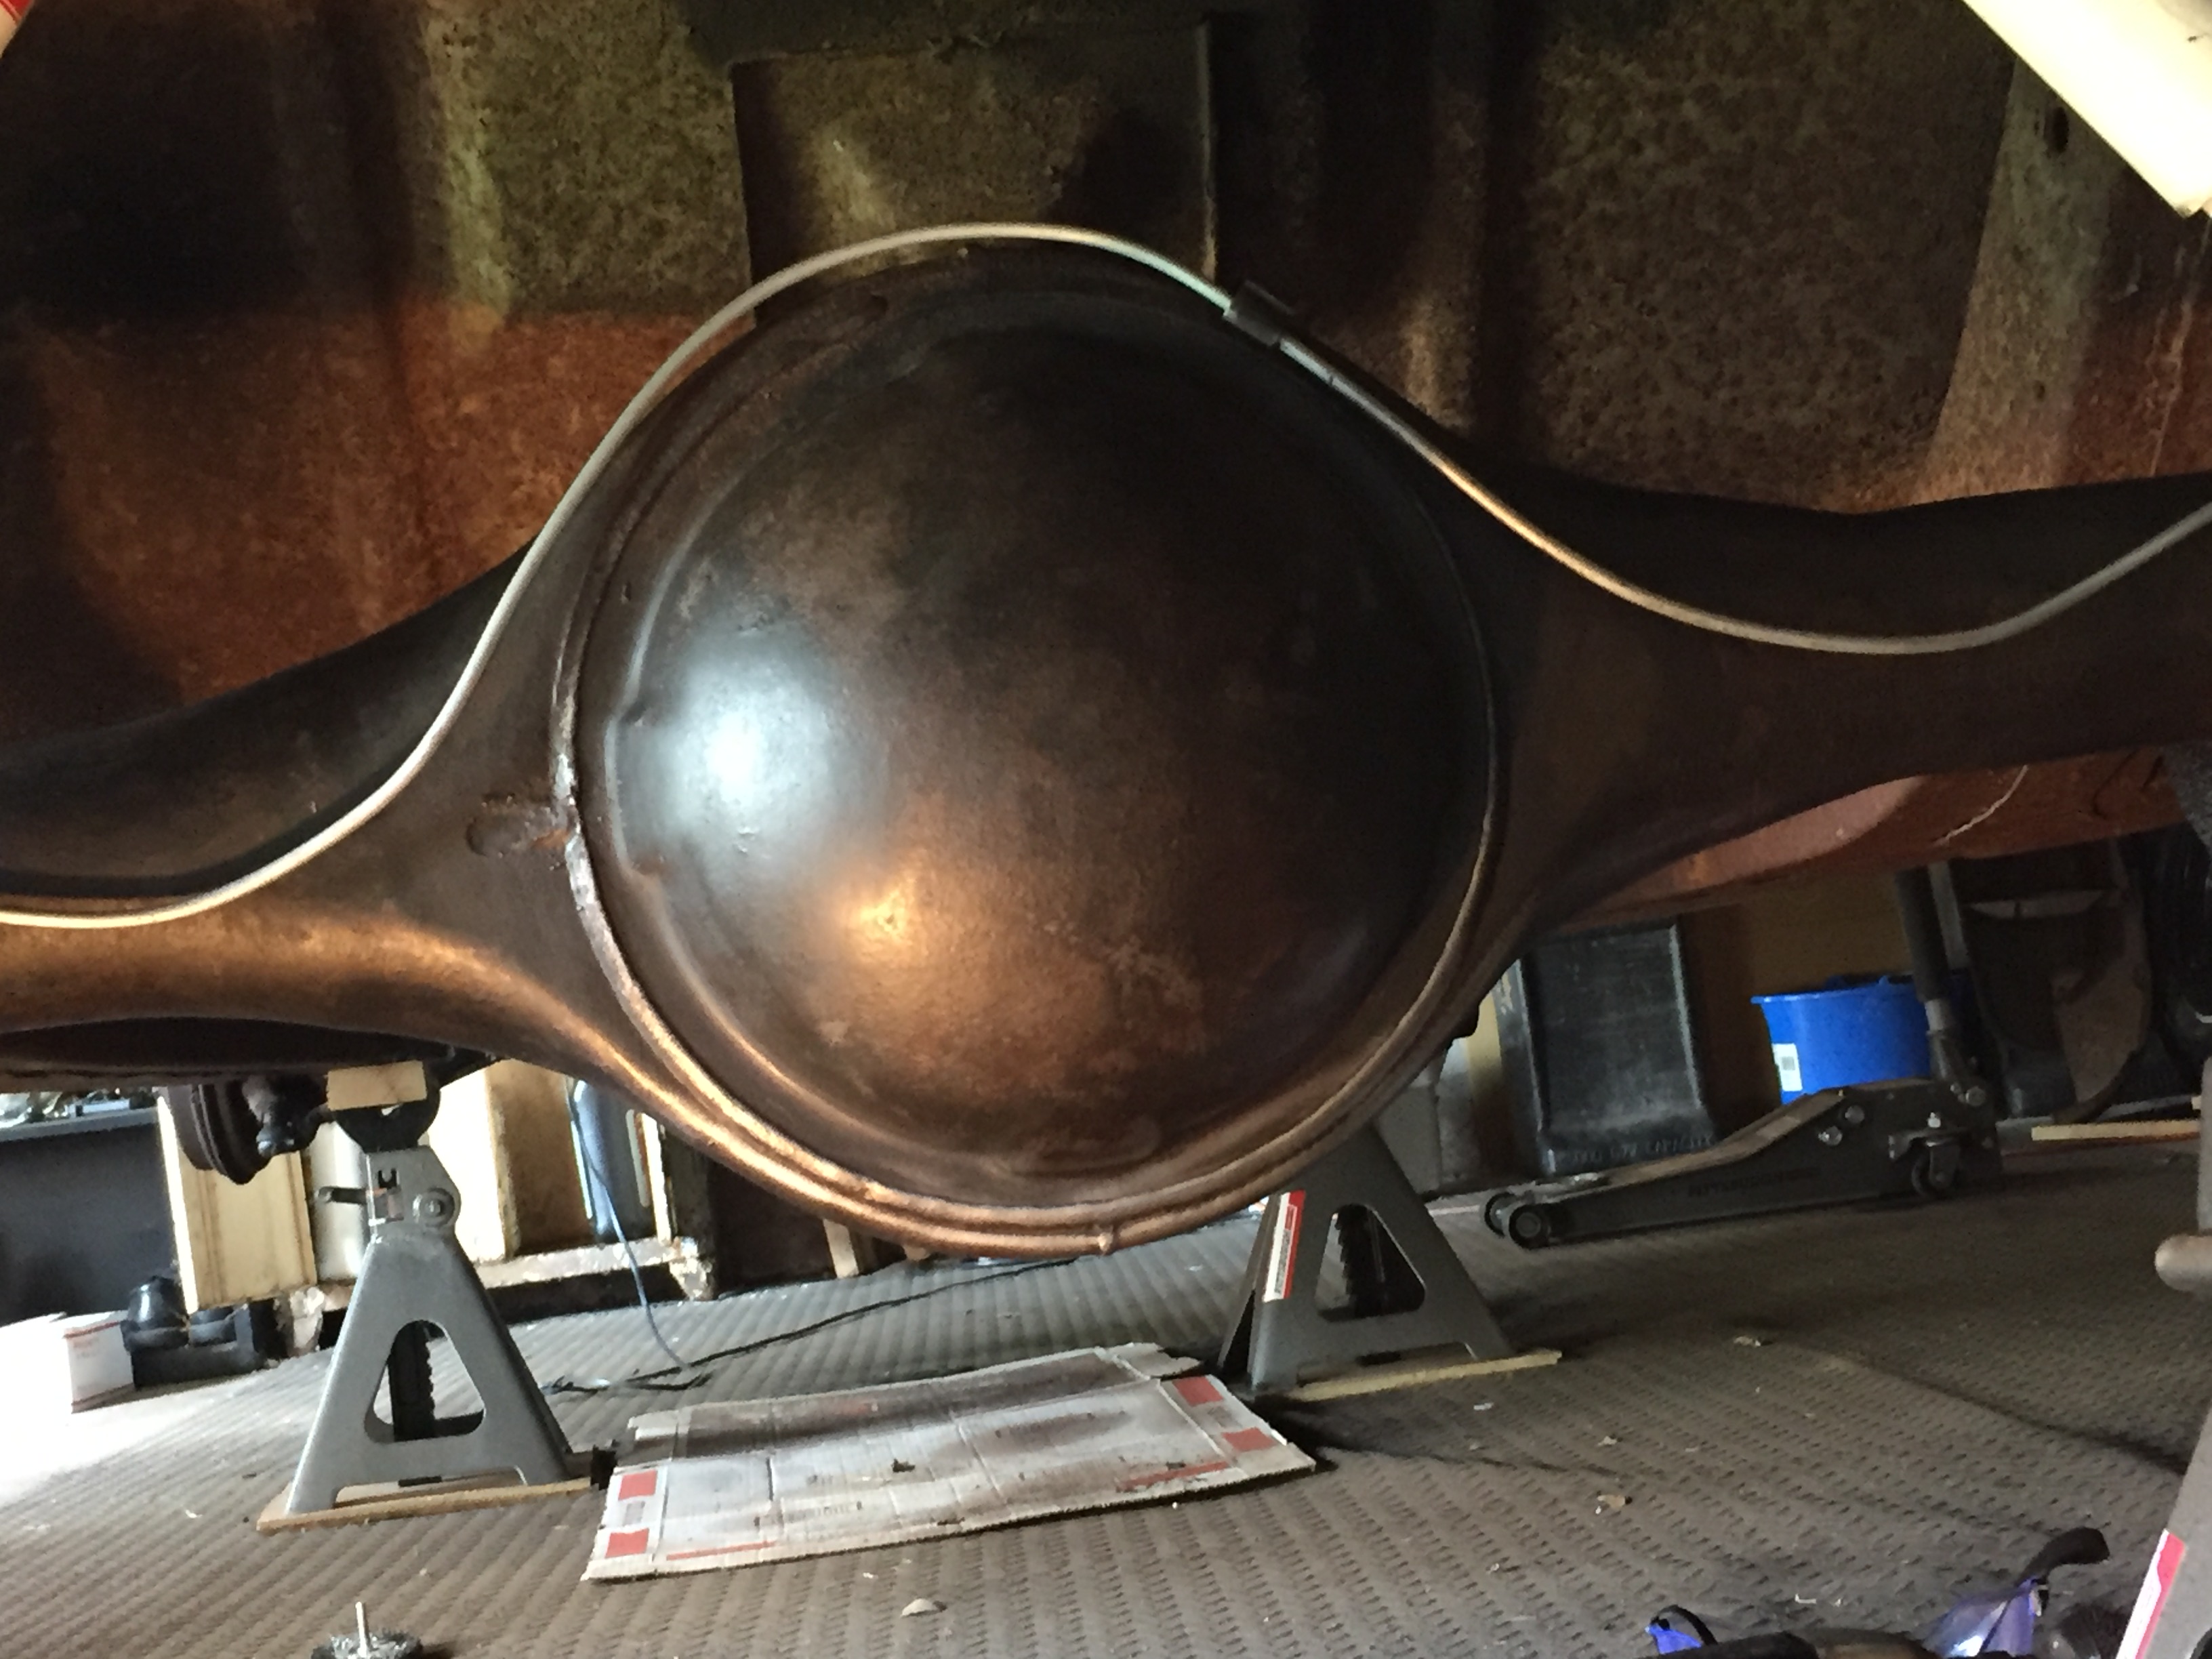
The driveshaft is in very good condition - tight joints, and even the boot is good and very pliable…
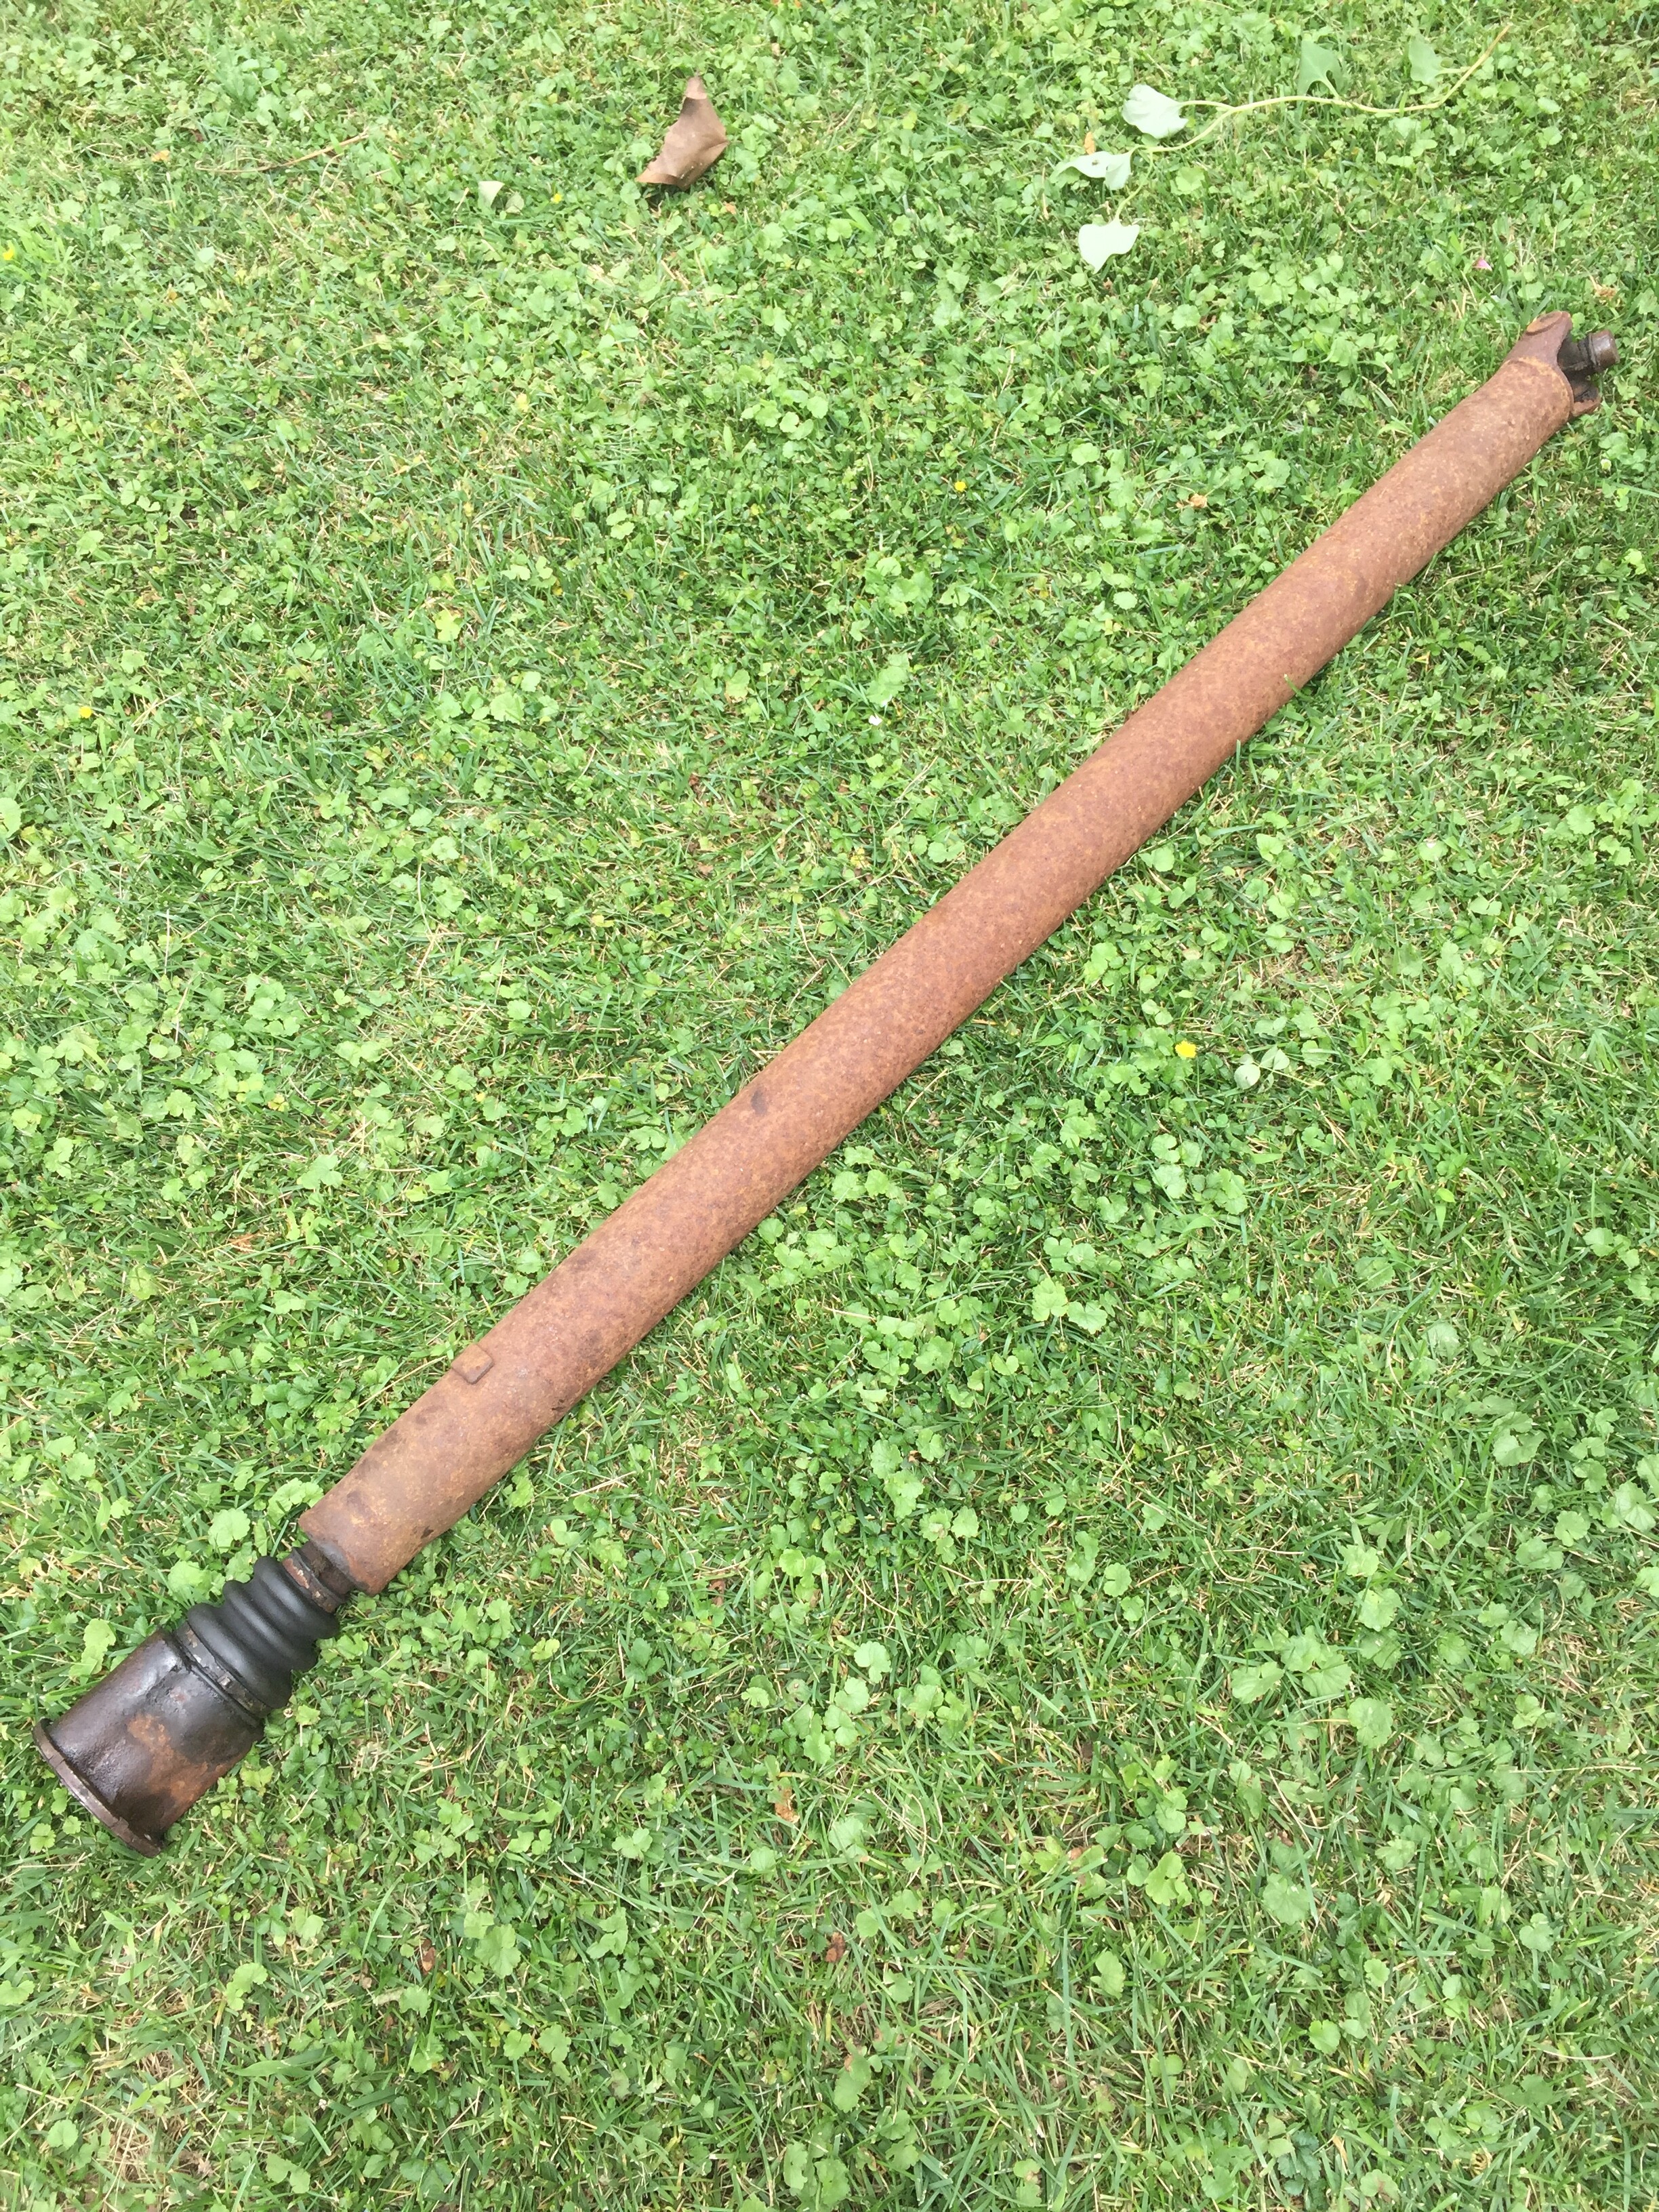
…except for one spot. I’m thinking I’ll degrease the area, put a spot of silicone on it, and leave it be. Easy enough to fix if conditions worsen.
Since the rust I’m removing is fairly uniform, I assume I won’t need to have the driveshaft rebalanced.
(! ![]()
![]() )
)
I used a hand held brush to get to those tough areas… I wiped greasy areas with mineral spirits, osphoed and then used my Yuengling Timer before I wiped it down.
Time for my Power Nap. But I’m off tomorrow, and will be back at it - now, attacking some of those big rusty areas.
Ya doing good, goop for the boot, l keep a small tube of goop in every car right next to the small roll of duct tape. I suggest you go on a rampage and spray every nut, bolt and screw
in sight either wd40 or blaster penetrant. I gotta ask, splain me a.“flatblade hammer”.
Dick
Dan; I use A Yuengling timer too!!! Mark
They are accurate to the minute, aren’t they?
I knew you wuz gonna ask.
Not sure what it’s called, 'xactly - but I know the other instrument in this photo is a persuader.
I got two of em. Usem on stainless steel trim a lot. Question, is a yuengling the same as a flat blade?.
Dick
Sometimes I set the timer 2 or 3 times on bigger jobs. Mark
Ah, I see the source of confusion.
No, a yuengling is a timer, used to precisely determine the length of time for an activity, say, the application of ospho and wiping it off. As Mark points out, sometimes more timers are required for jobs of longer duration.

However, too many timers can result in imprecision - particularly, when reaching for the timer, and wondering which one to pick - the one on the left, or the one on the right:

For example, under such circumstances it might be possible to confuse striking one’s thumb instead of the flat blade hammer.
Does that elucidate?
Dan
The last time l used one/several/cases of those timers was in 1978. We called them Regal, Fallstaff, Jax and Dixie 45. When l moved to Miami in 1961 one of them, Regal followed me. Jax and Fallstaff went out of business and Dixie 45 is the only one left. I like to think l was the cause but who knows.
Dick
Yuengling timers!!!
You guys crack me up!!!
—John
John, precision instruments, for precision workmanship! And don’t forget: Anything worth doing, is worth doing twice.
OK, whose idea was this? Did Dr. Fifty-Nine put me up to this? I want to know.

This is the dirtiest, grimiest job in the world. But oddly, so satisfying too! I don’t have a lot of great pix to show, but I’ve removed all of the surface rust from under the trunk, back to the pumpkin, and osphoed. Now to seam-seal some spots, and encapsulate.
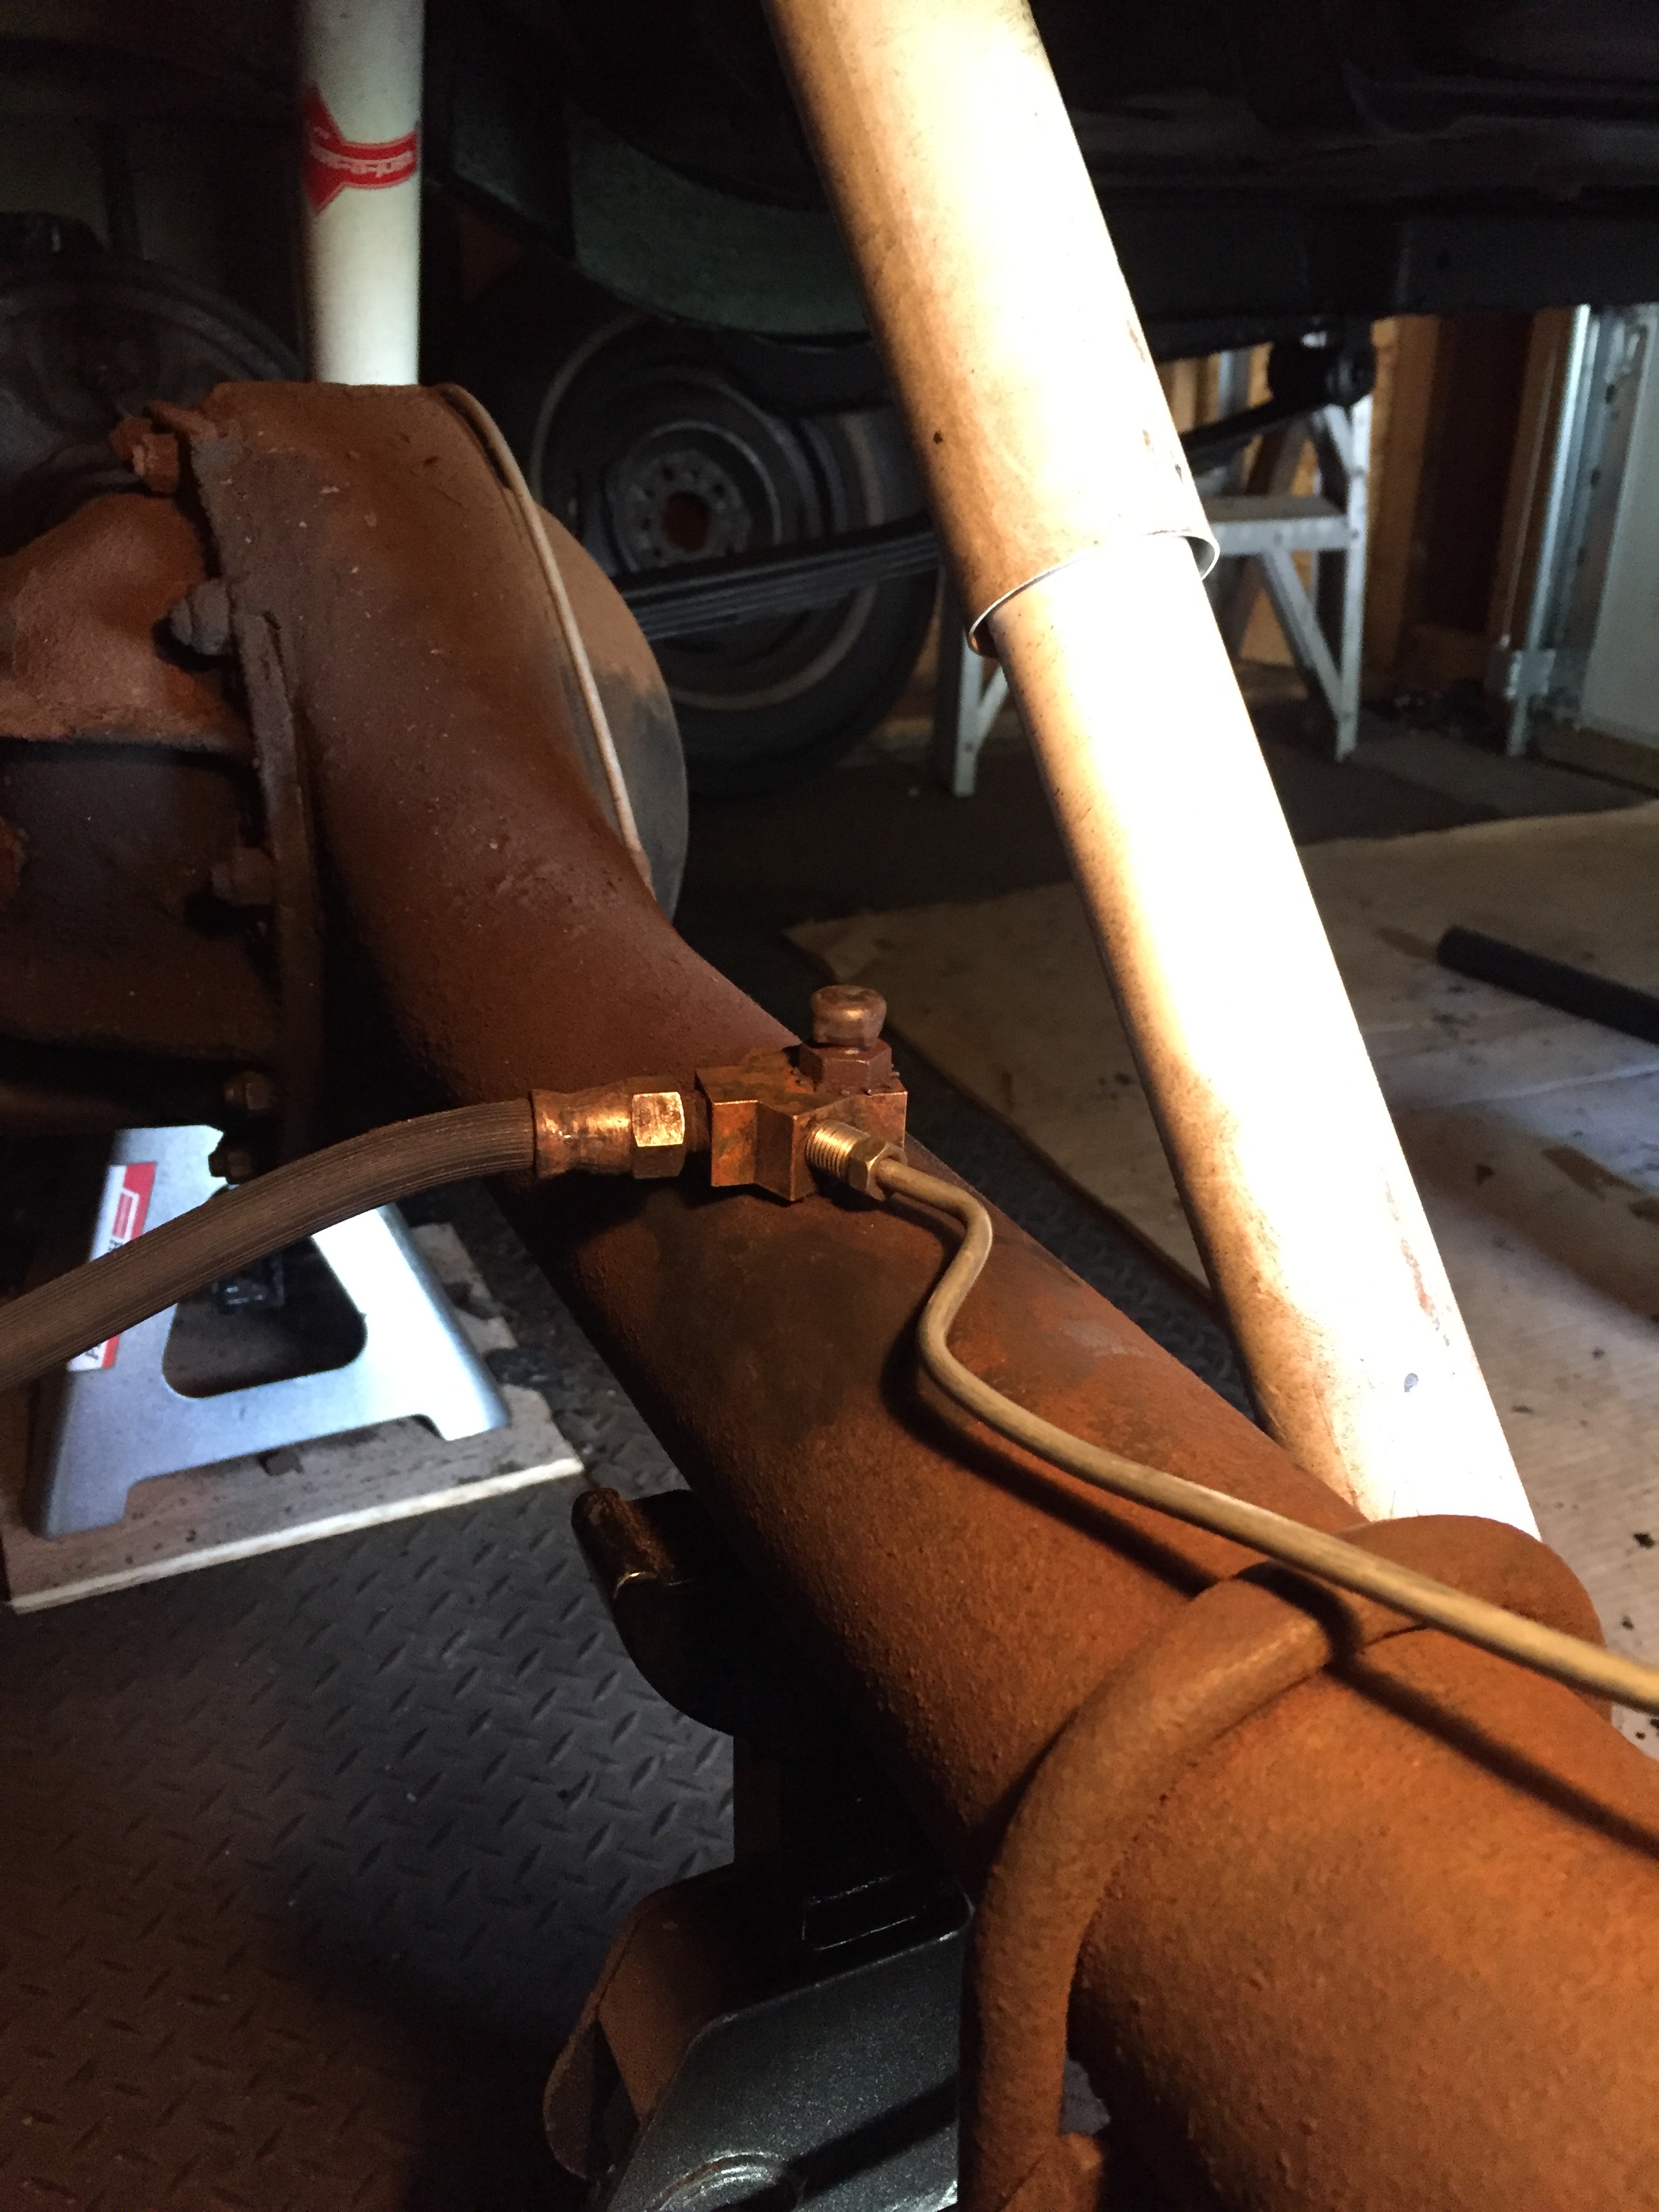
Speaking of the pumpkin: It’s still weeping 90 weight from the plug. I imagine when the viscosity lessens due to motion and heat, it weeps a lot more. I had ordered an adapter on Amazon, two day delivery - cancelled it when I was informed it would be the end of July. Ran around to Lowes, NAPA, AutoZone - nobody had a 5/16" adapter. I resorted to trimming a washer, to try and wedge in with my 1/4" adapter:
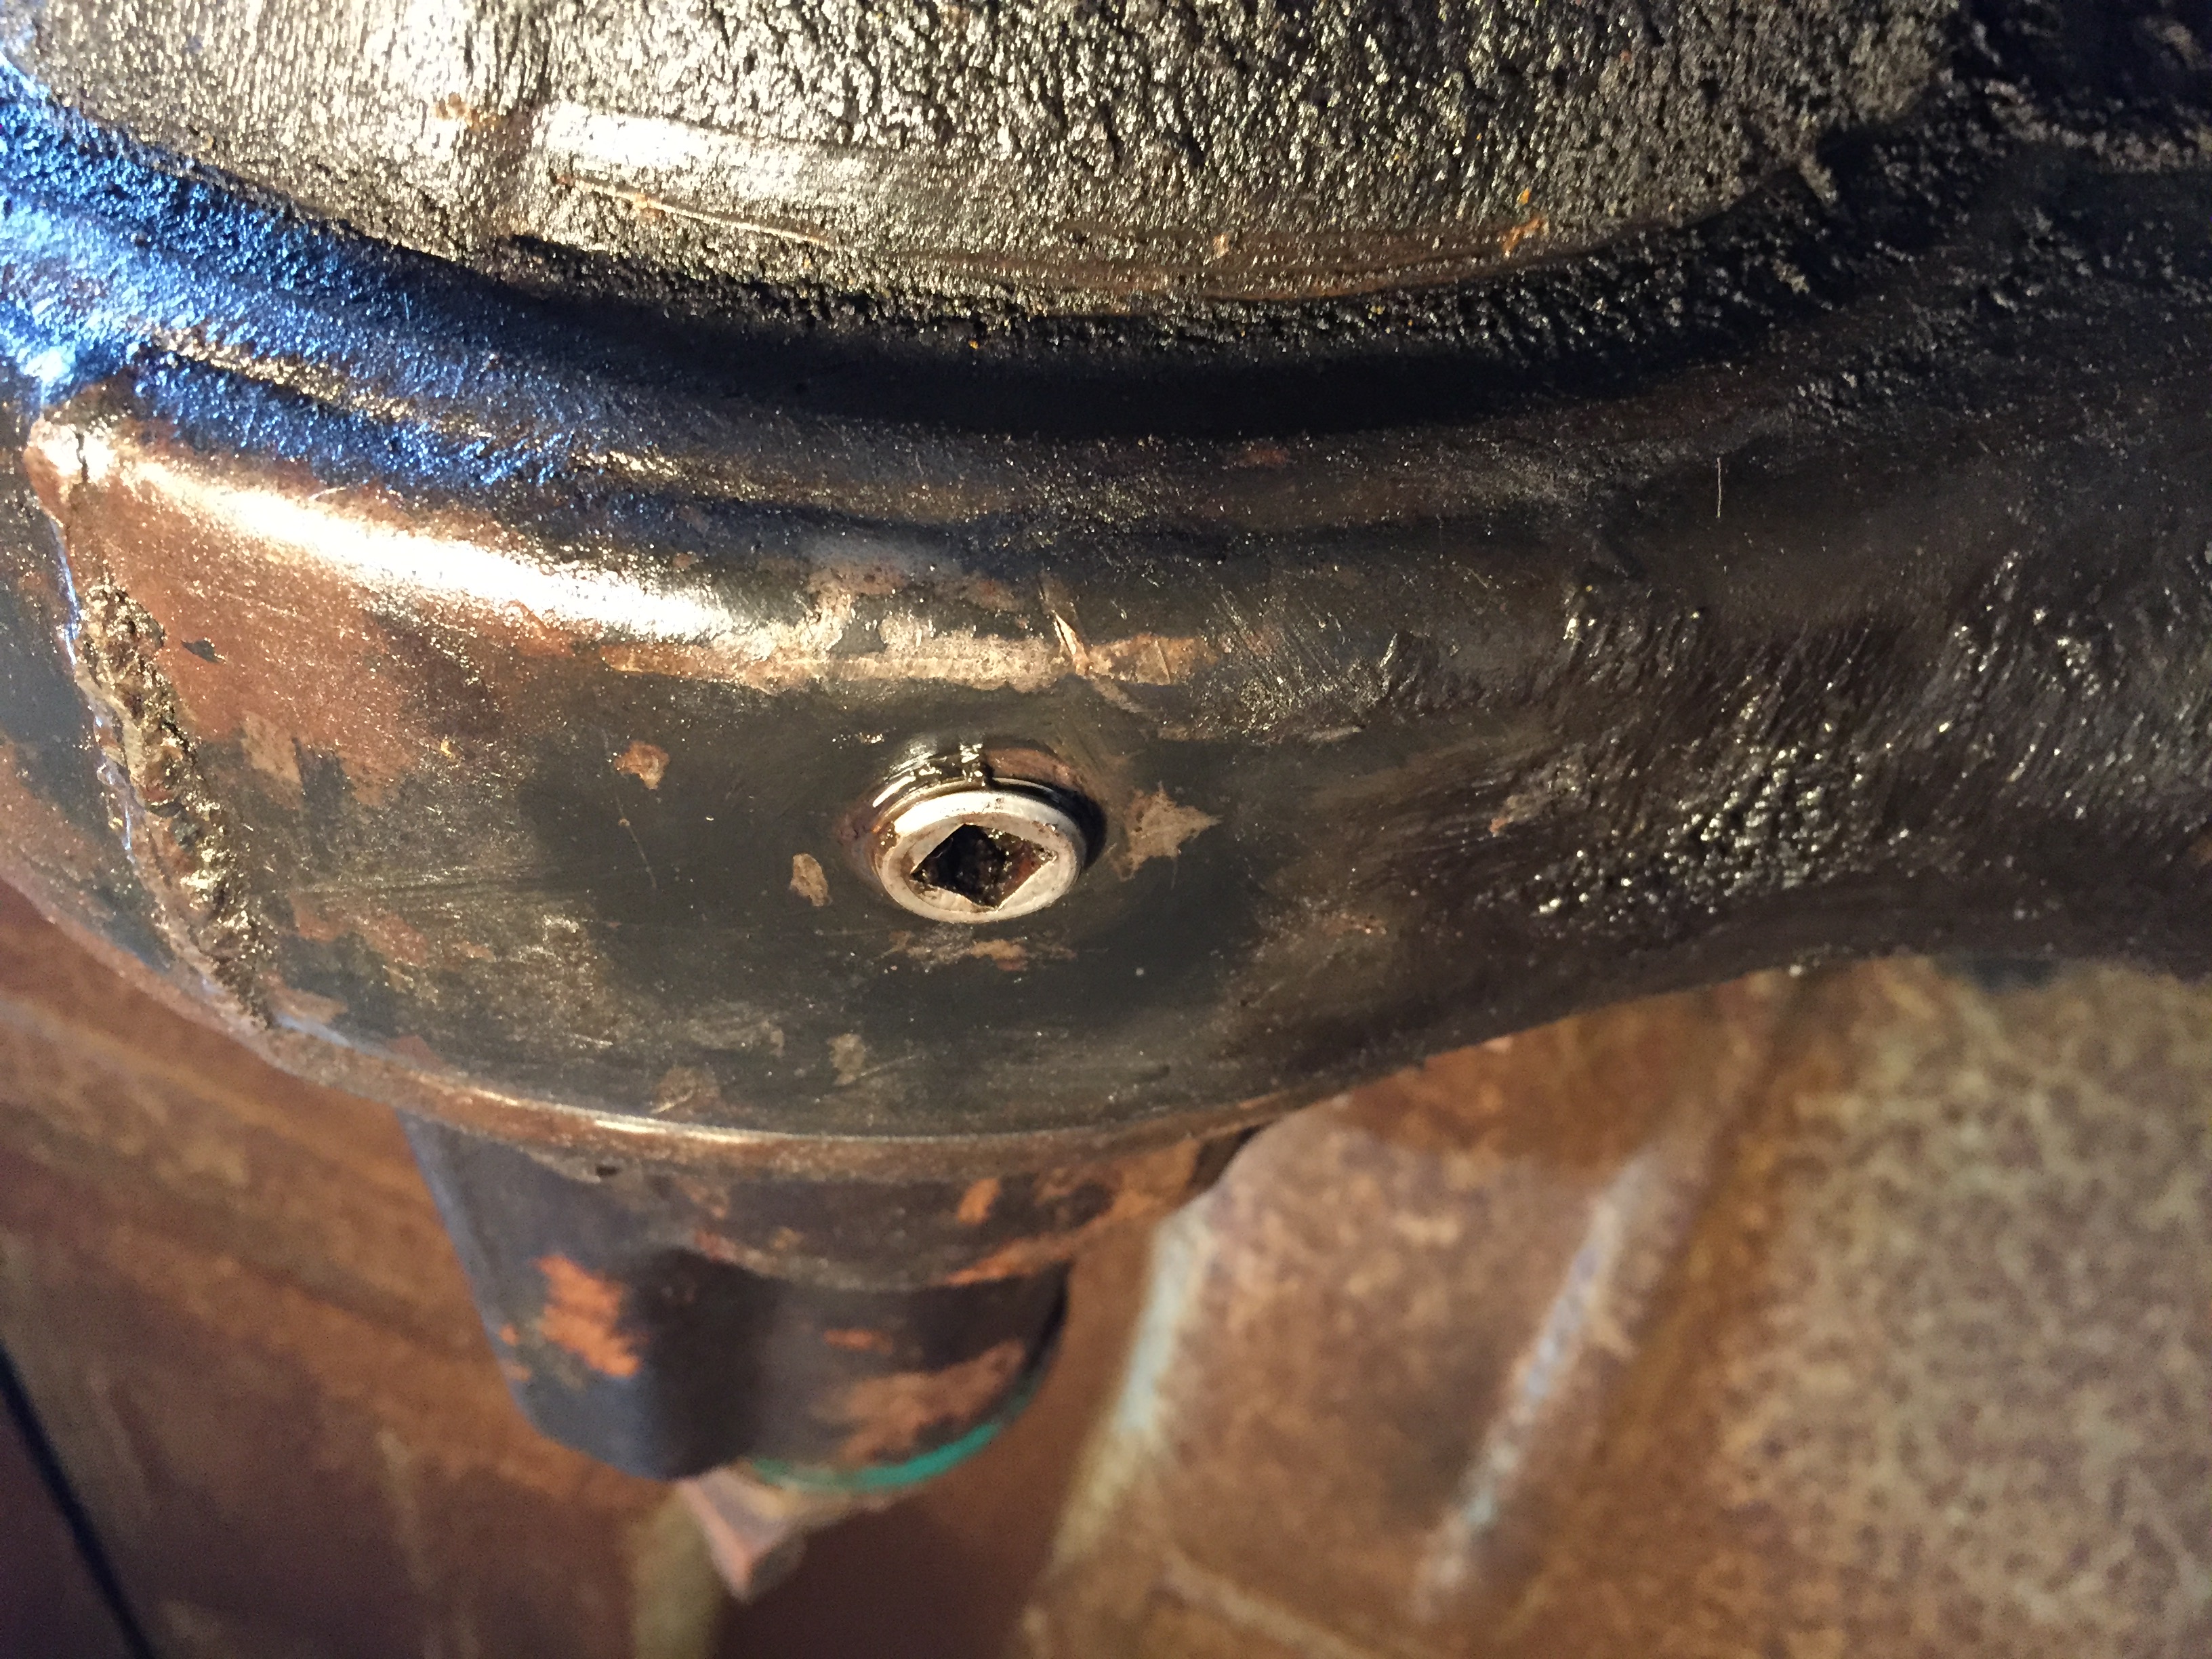
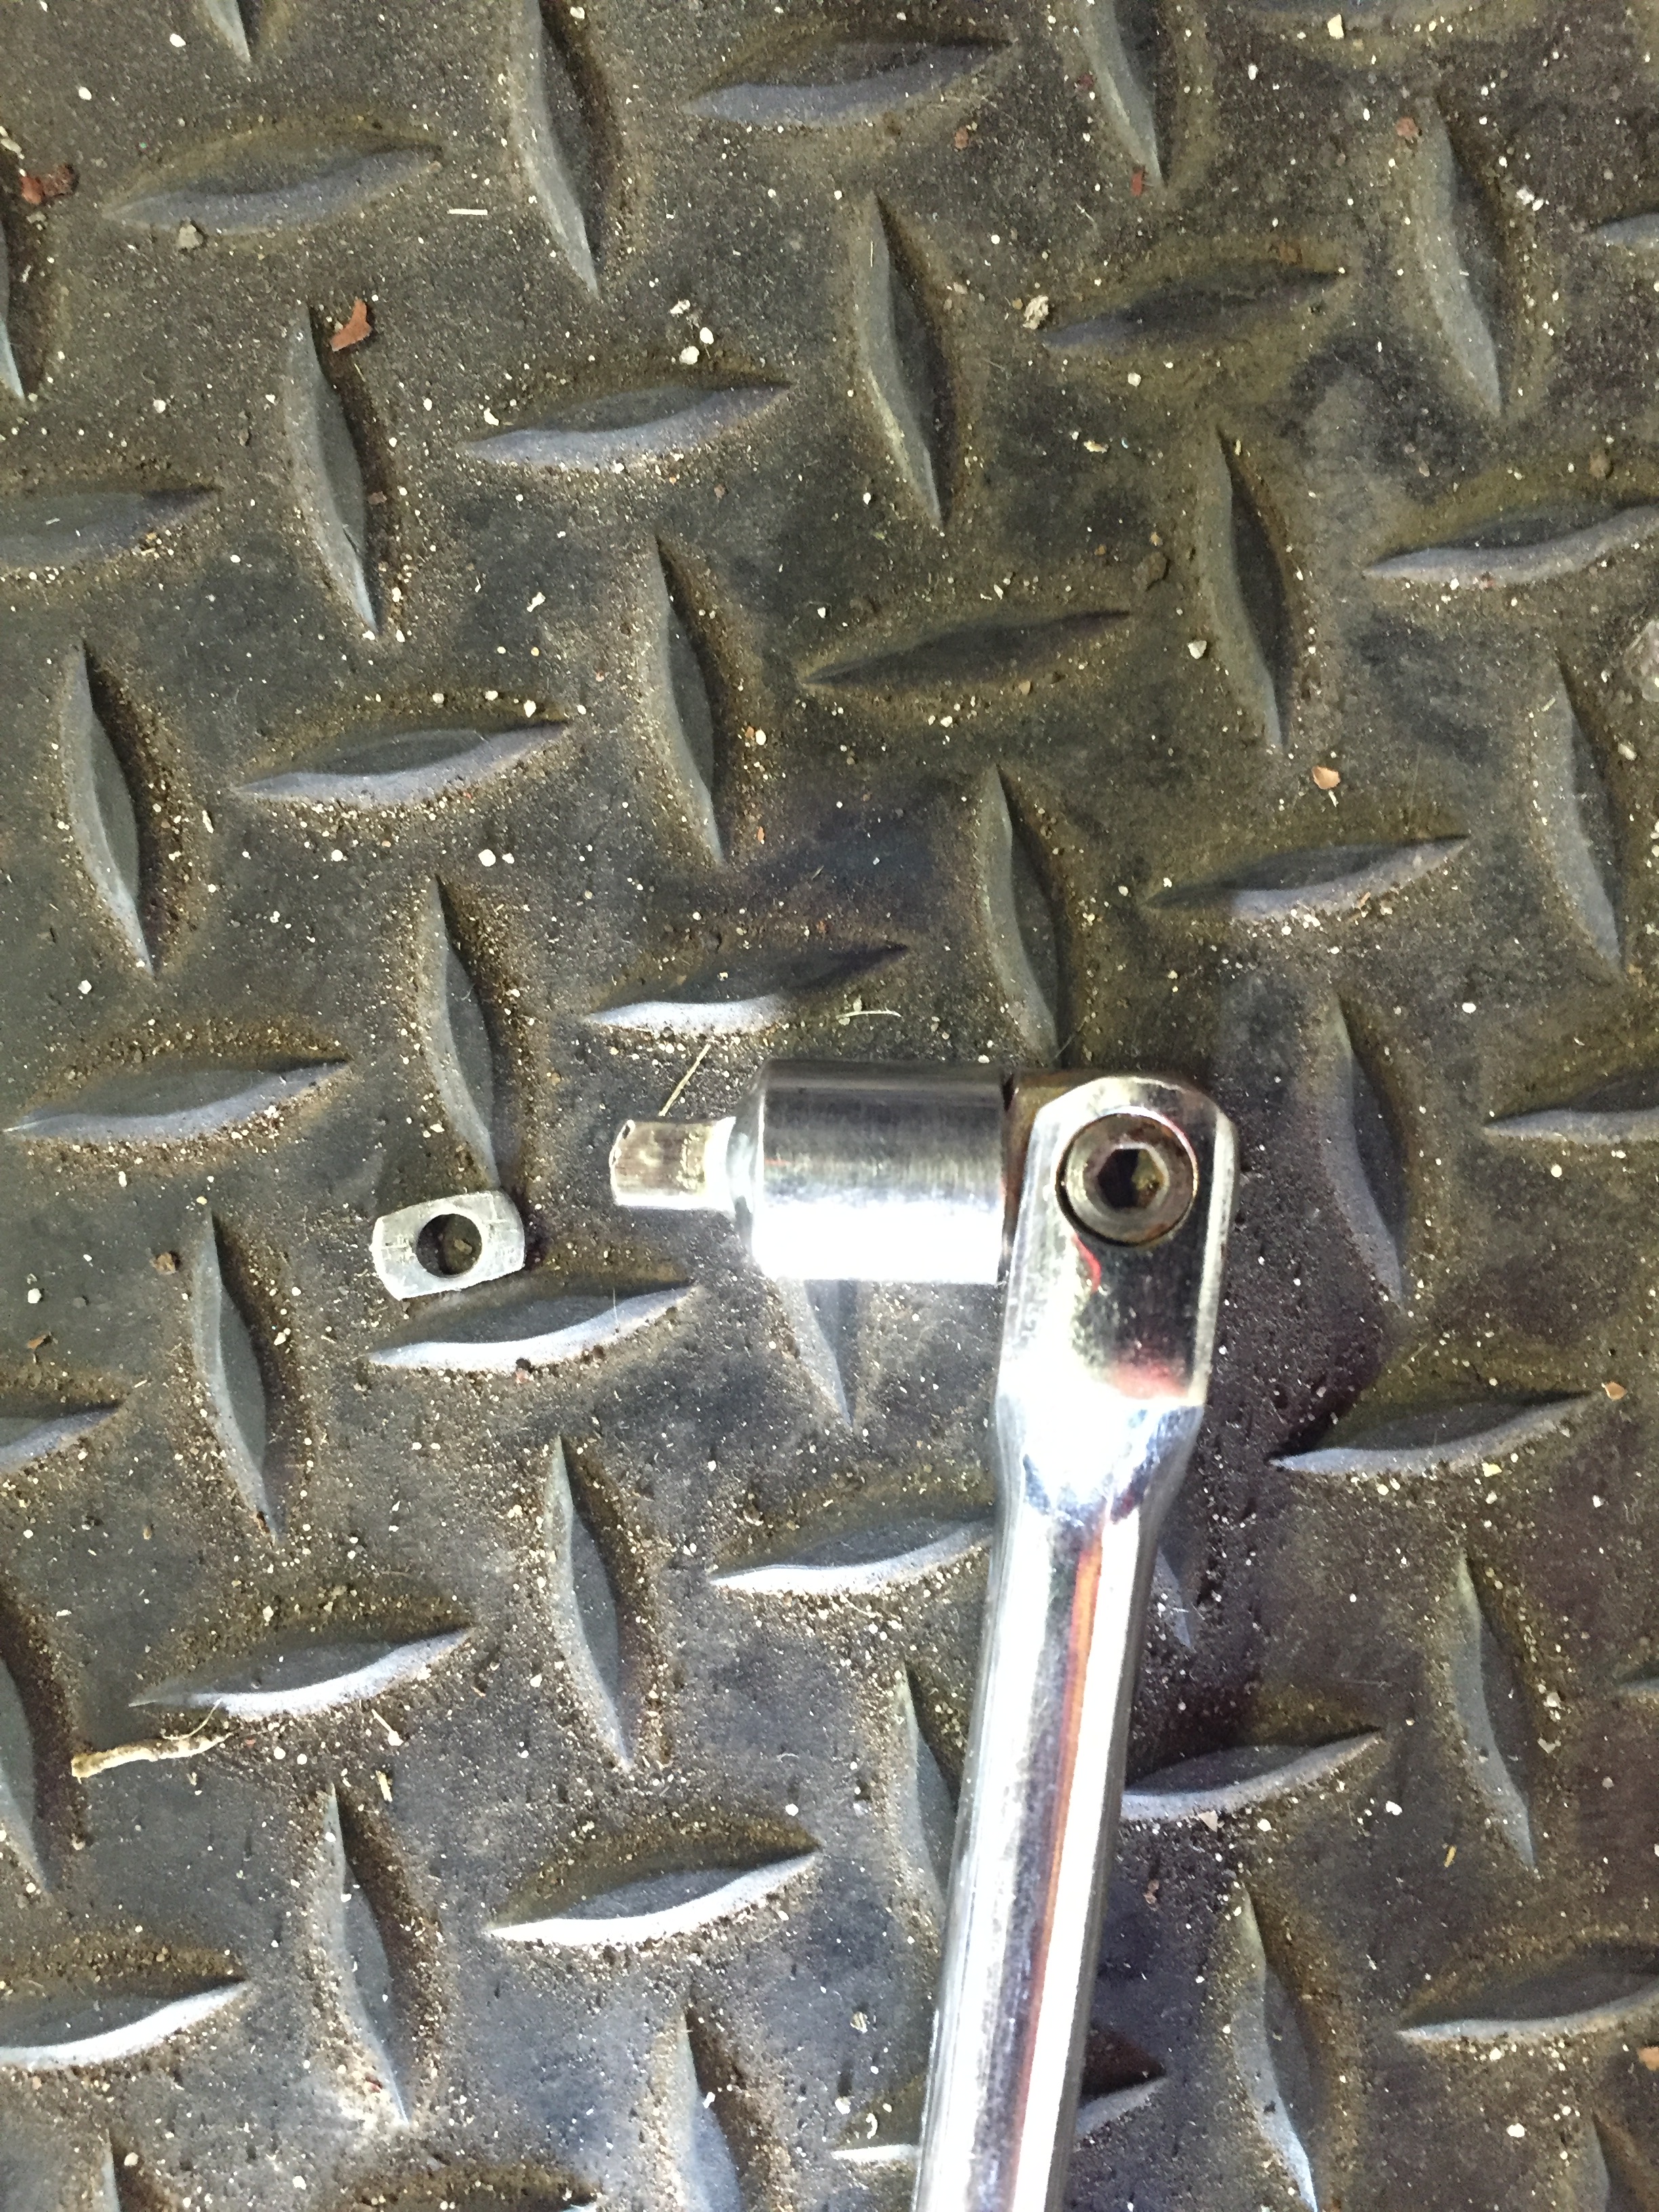
That sucka twisted around in the hole, no luck. Back to Amazon, purportedly the adapter (from a different company) will arrive Friday. But for the heck of it, started cleaning up the pumpkin. Will hand brush the area around the brake line, of course.

Brake drums clean up real nice with wire brushing and ospho! Dr. Fifty-Nine, encapsulator for these, or Eastwood hi-temp paint?
Back to work tomorrow (sigh) for two days - then, off until after Carlisle!
Dan
I would use Ospho only on the drums.
Your picture is not dirty, mine is dirty after a few hours of polishing stainless steel trim for you know who.

OK! When I said:
…I left out the face paint. So, sue me! ![]()
The 5/16" adapter arrived yesterday, today I snugged up the drain plug in the pumpkin - it was a perfect fit. Doncha know I cranked it at least 3/4 of a turn? I don’t know who last serviced it, but they hardly made an effort to tighten it - have to make sure to top off the differential before I go anywhere.

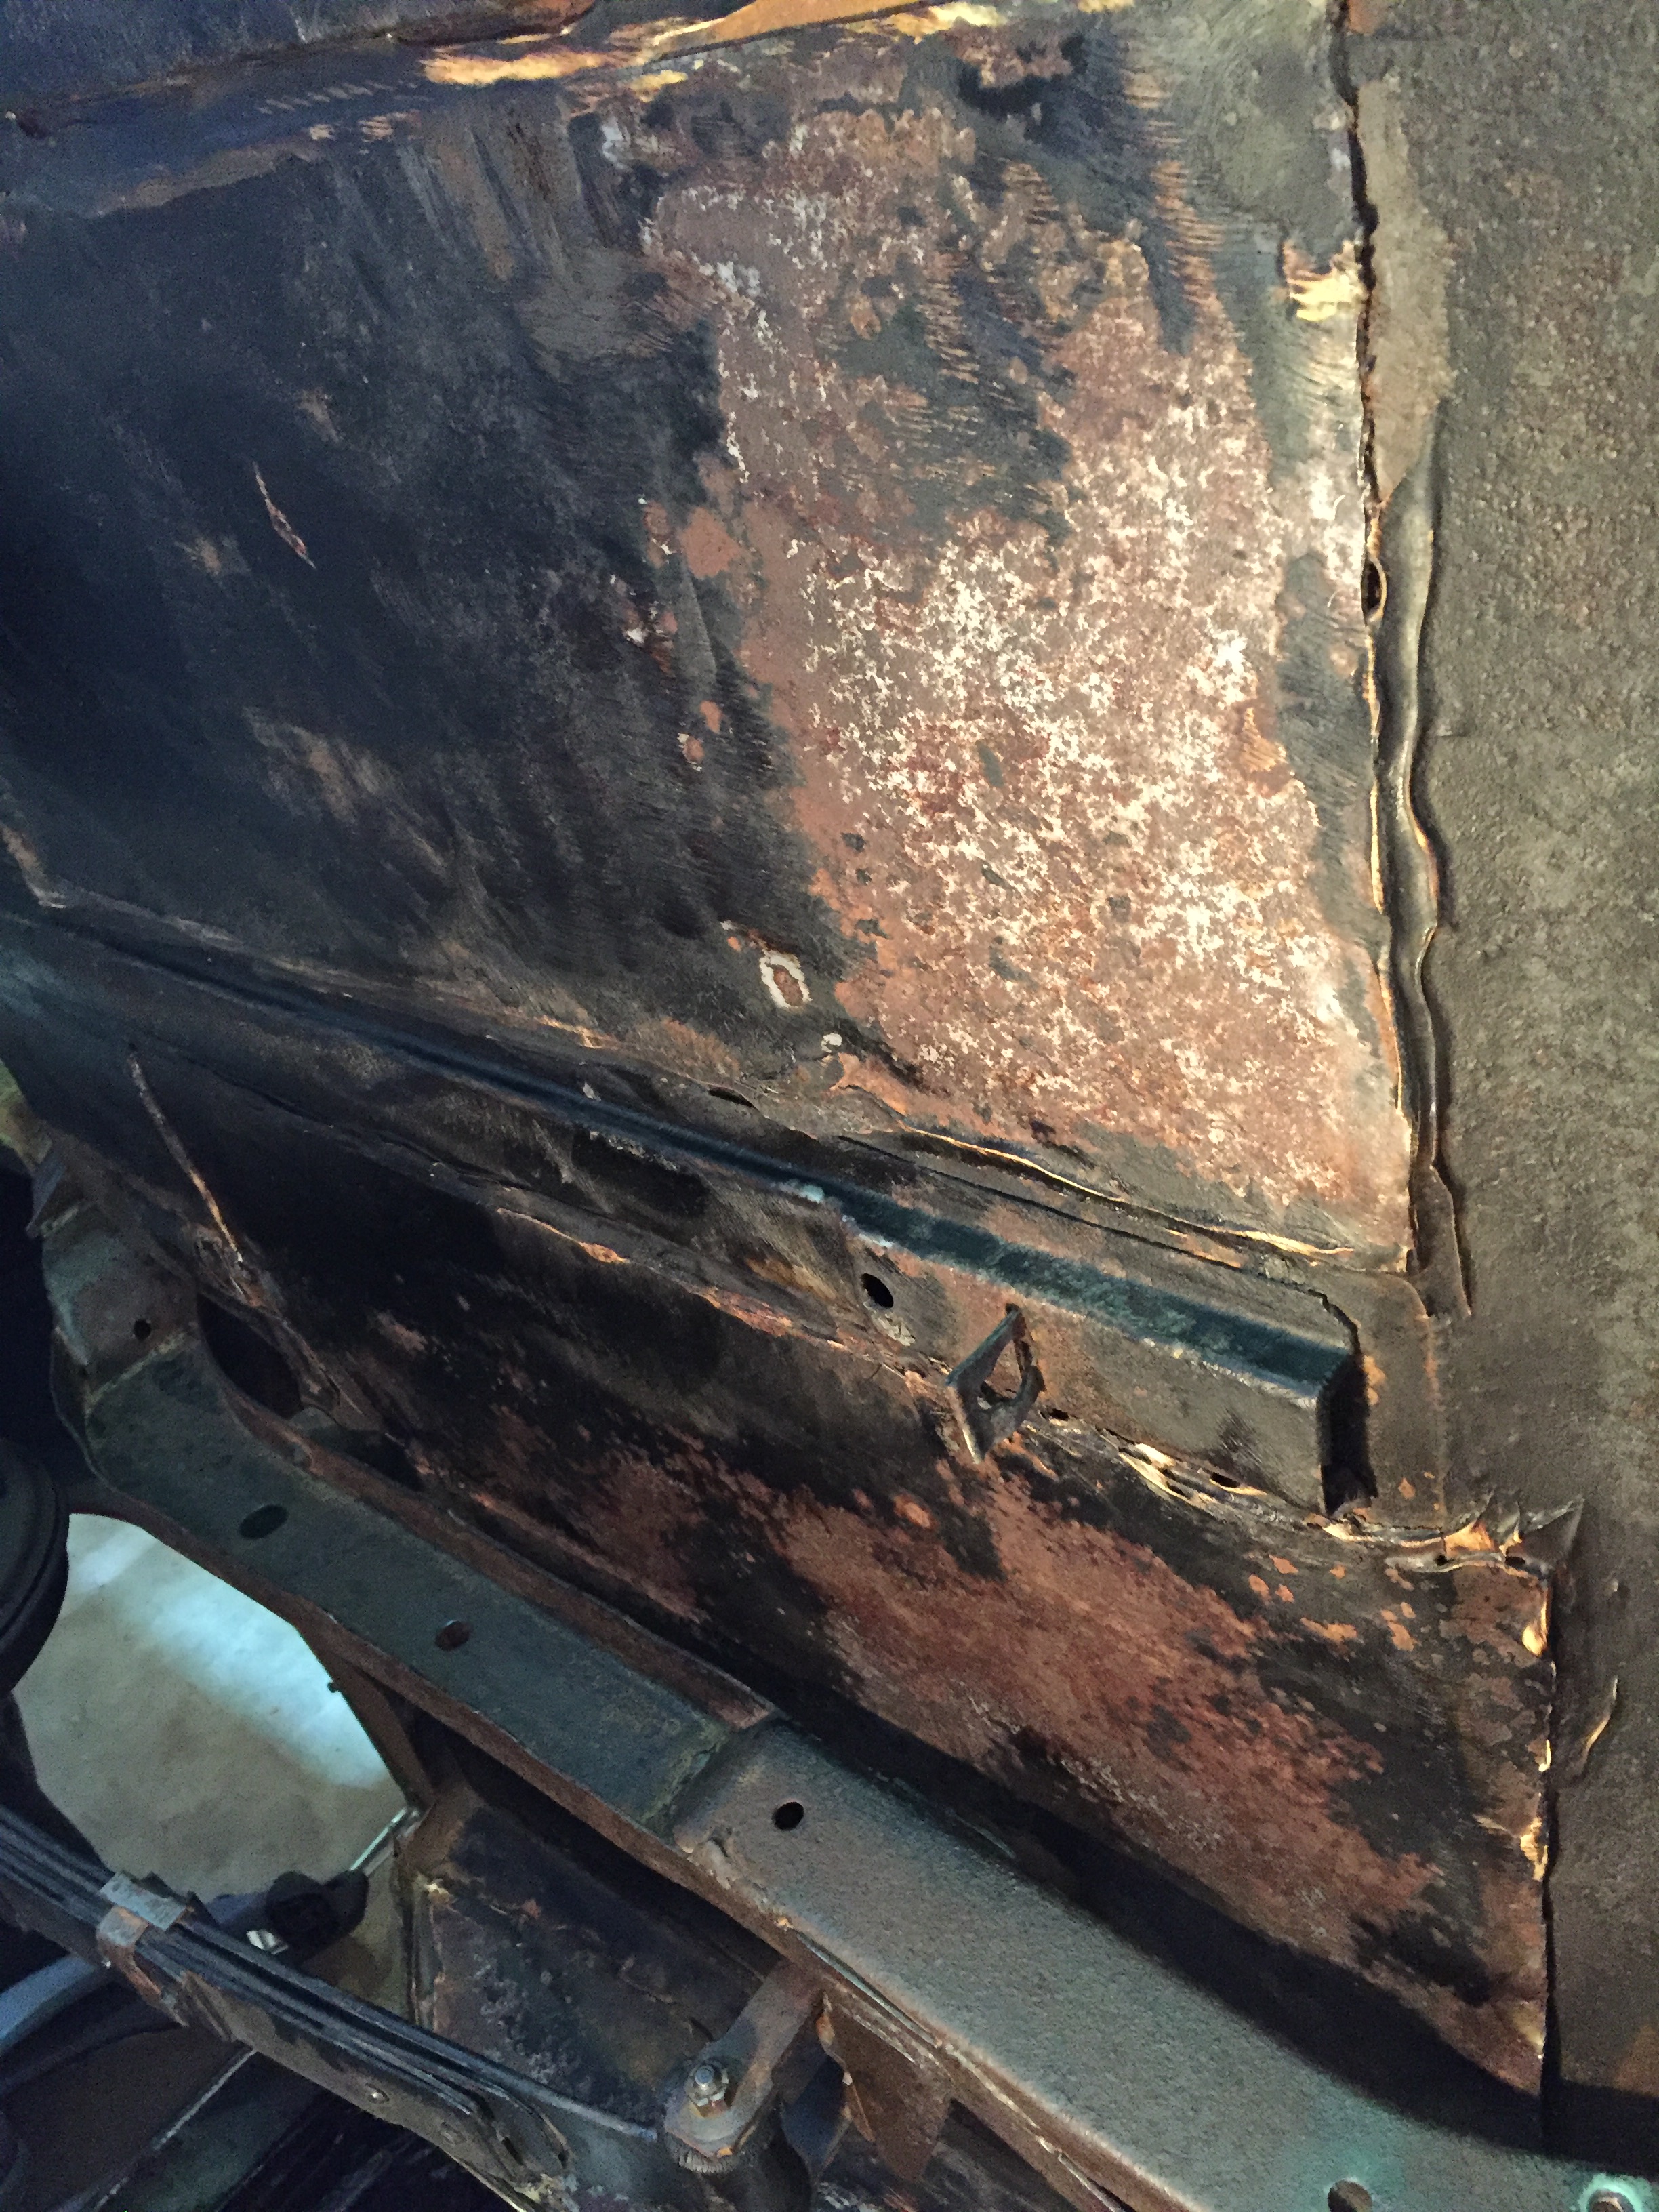
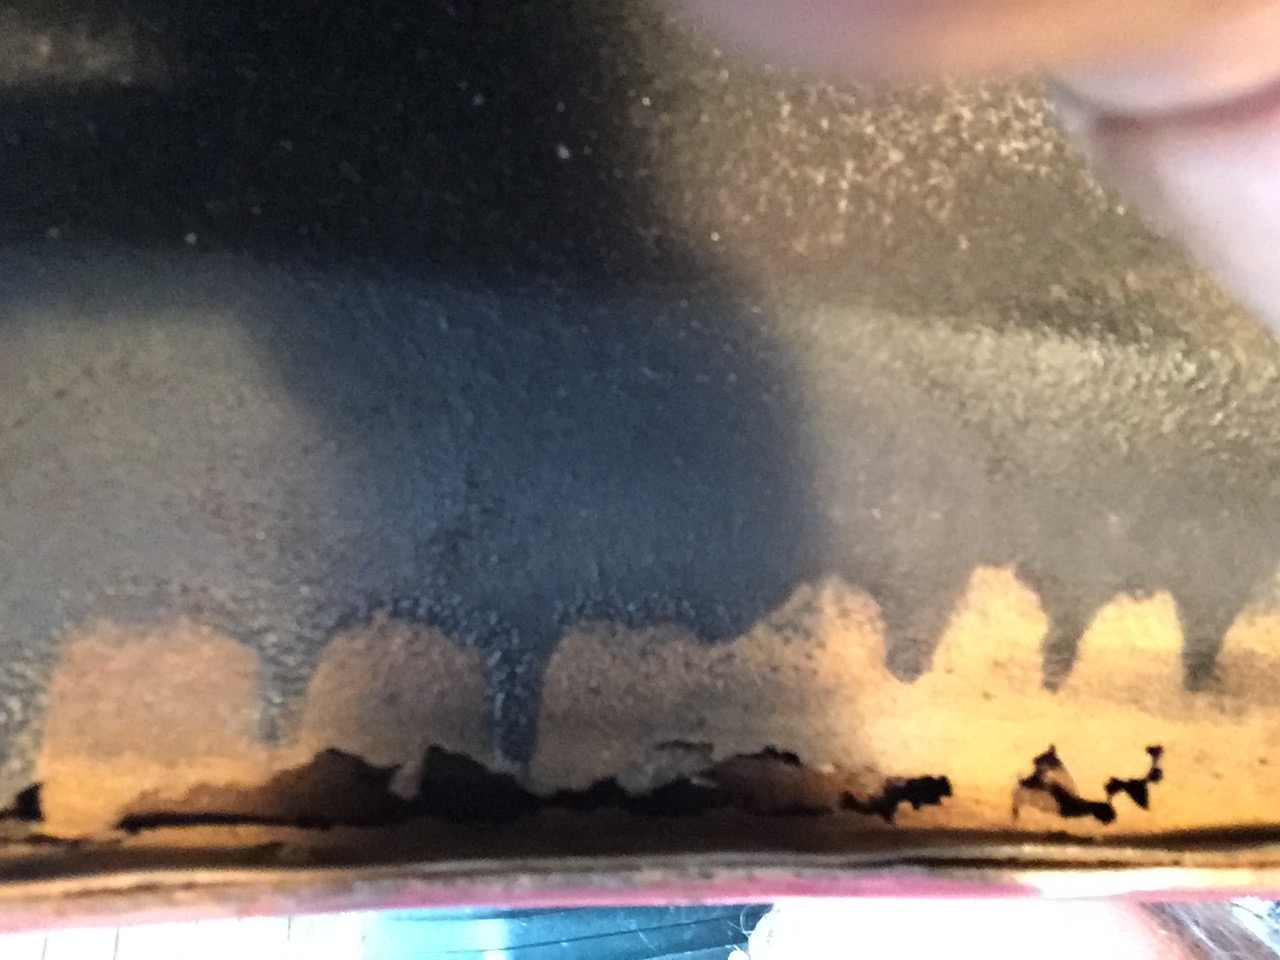
I cleaned up inside the rear wheel wells. The passenger side was solid, but oh no! The driver’s side has some rust-through.
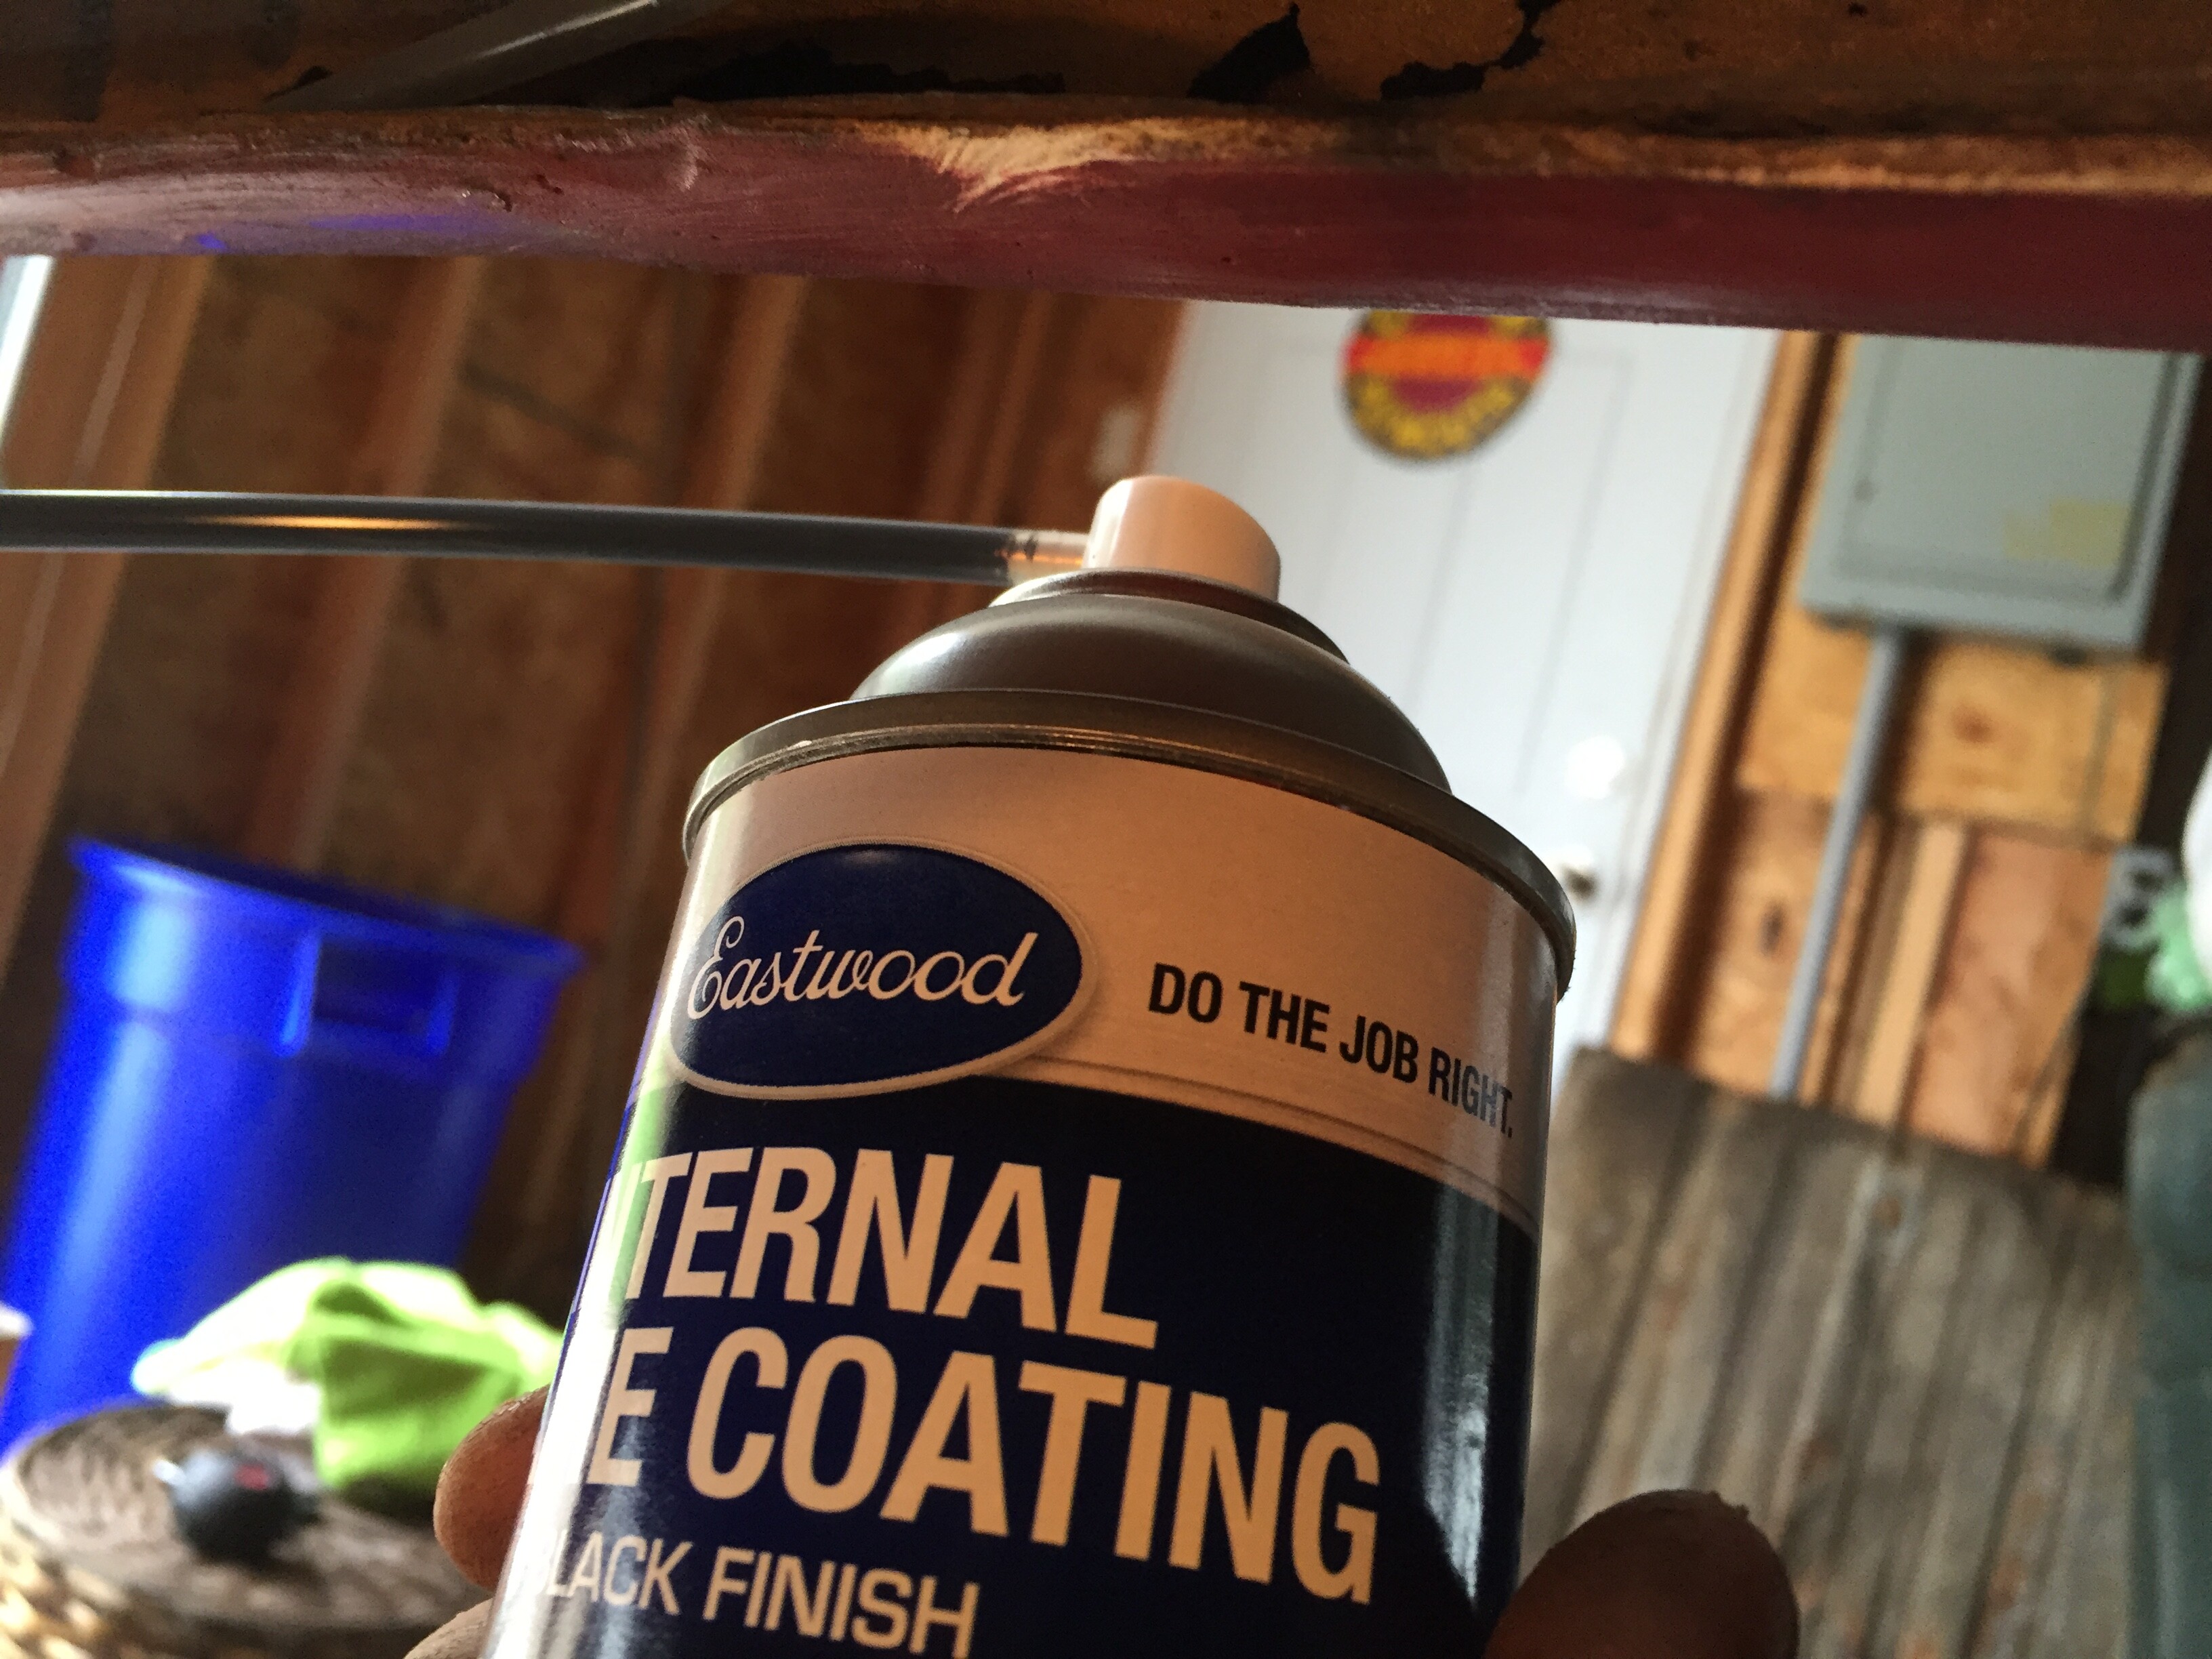
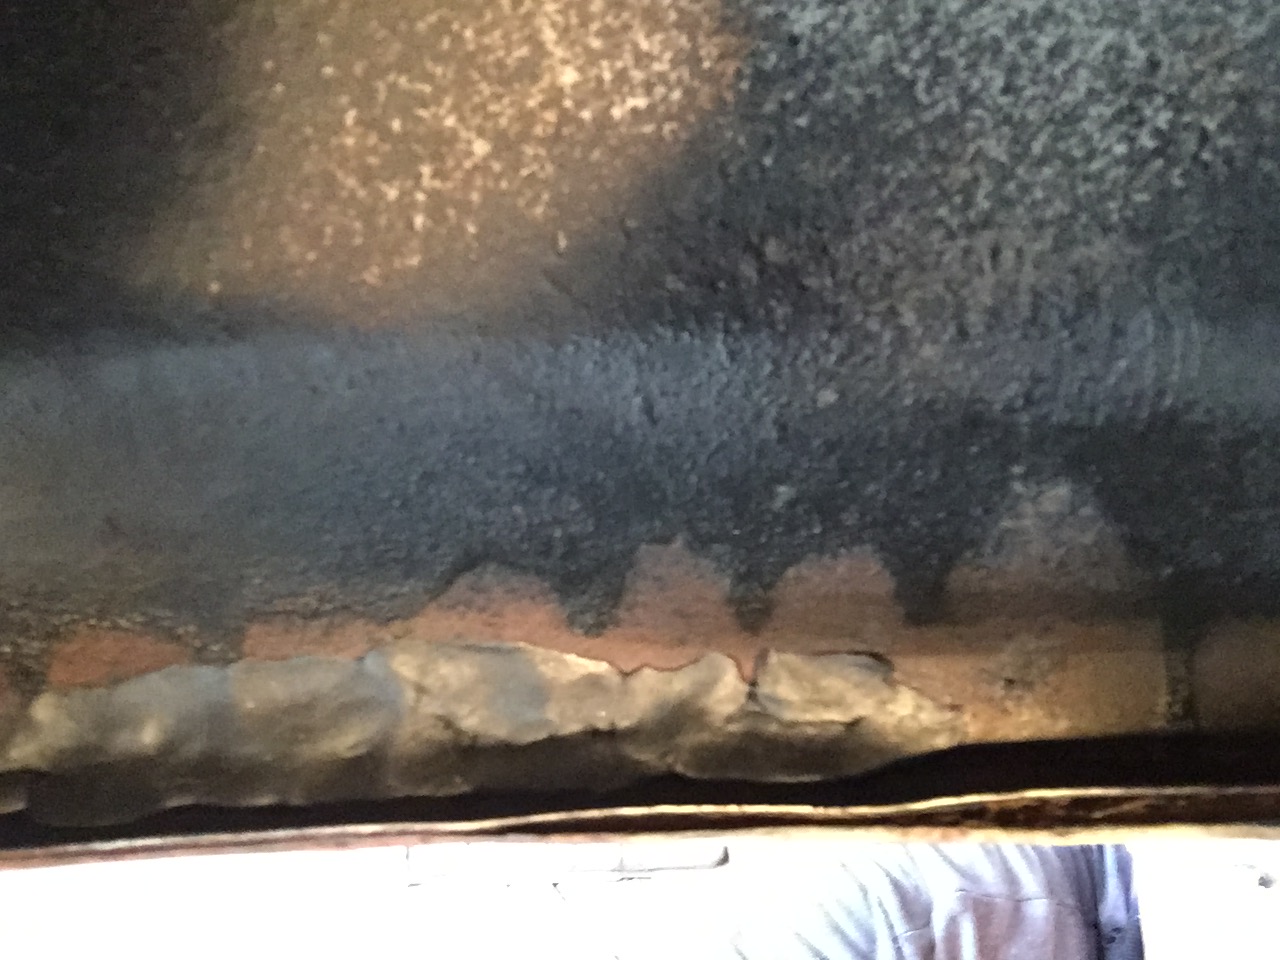
I brushed it up, stuck a spray tube of Eastwood internal frame coating in there, and sprayed the hell out of it. I then osphoed the exposed area, and seam-sealed it:
I’ll come back to paint these.
And paint I did today! I used Eastwood encapsulator on everything I had power brushed, up to the pumpkin, after I had seam-sealed areas around the trunk patch panels. I have to go back for the second coat, but I was really pleased with the result. This work is hard as hell, but I am beginning to see the payoff.
Dan - That looks great, don’t buy any more seam sealer, I’m sending you some via matthew. All you need to get past the hard work is a vision of driving to Carlisle, Matt at your side in your new 59 SF and listening to all the accolades from all your gear head friends, There’s nothing better.
Dick
Wait, forget that “Matt at your side”!!
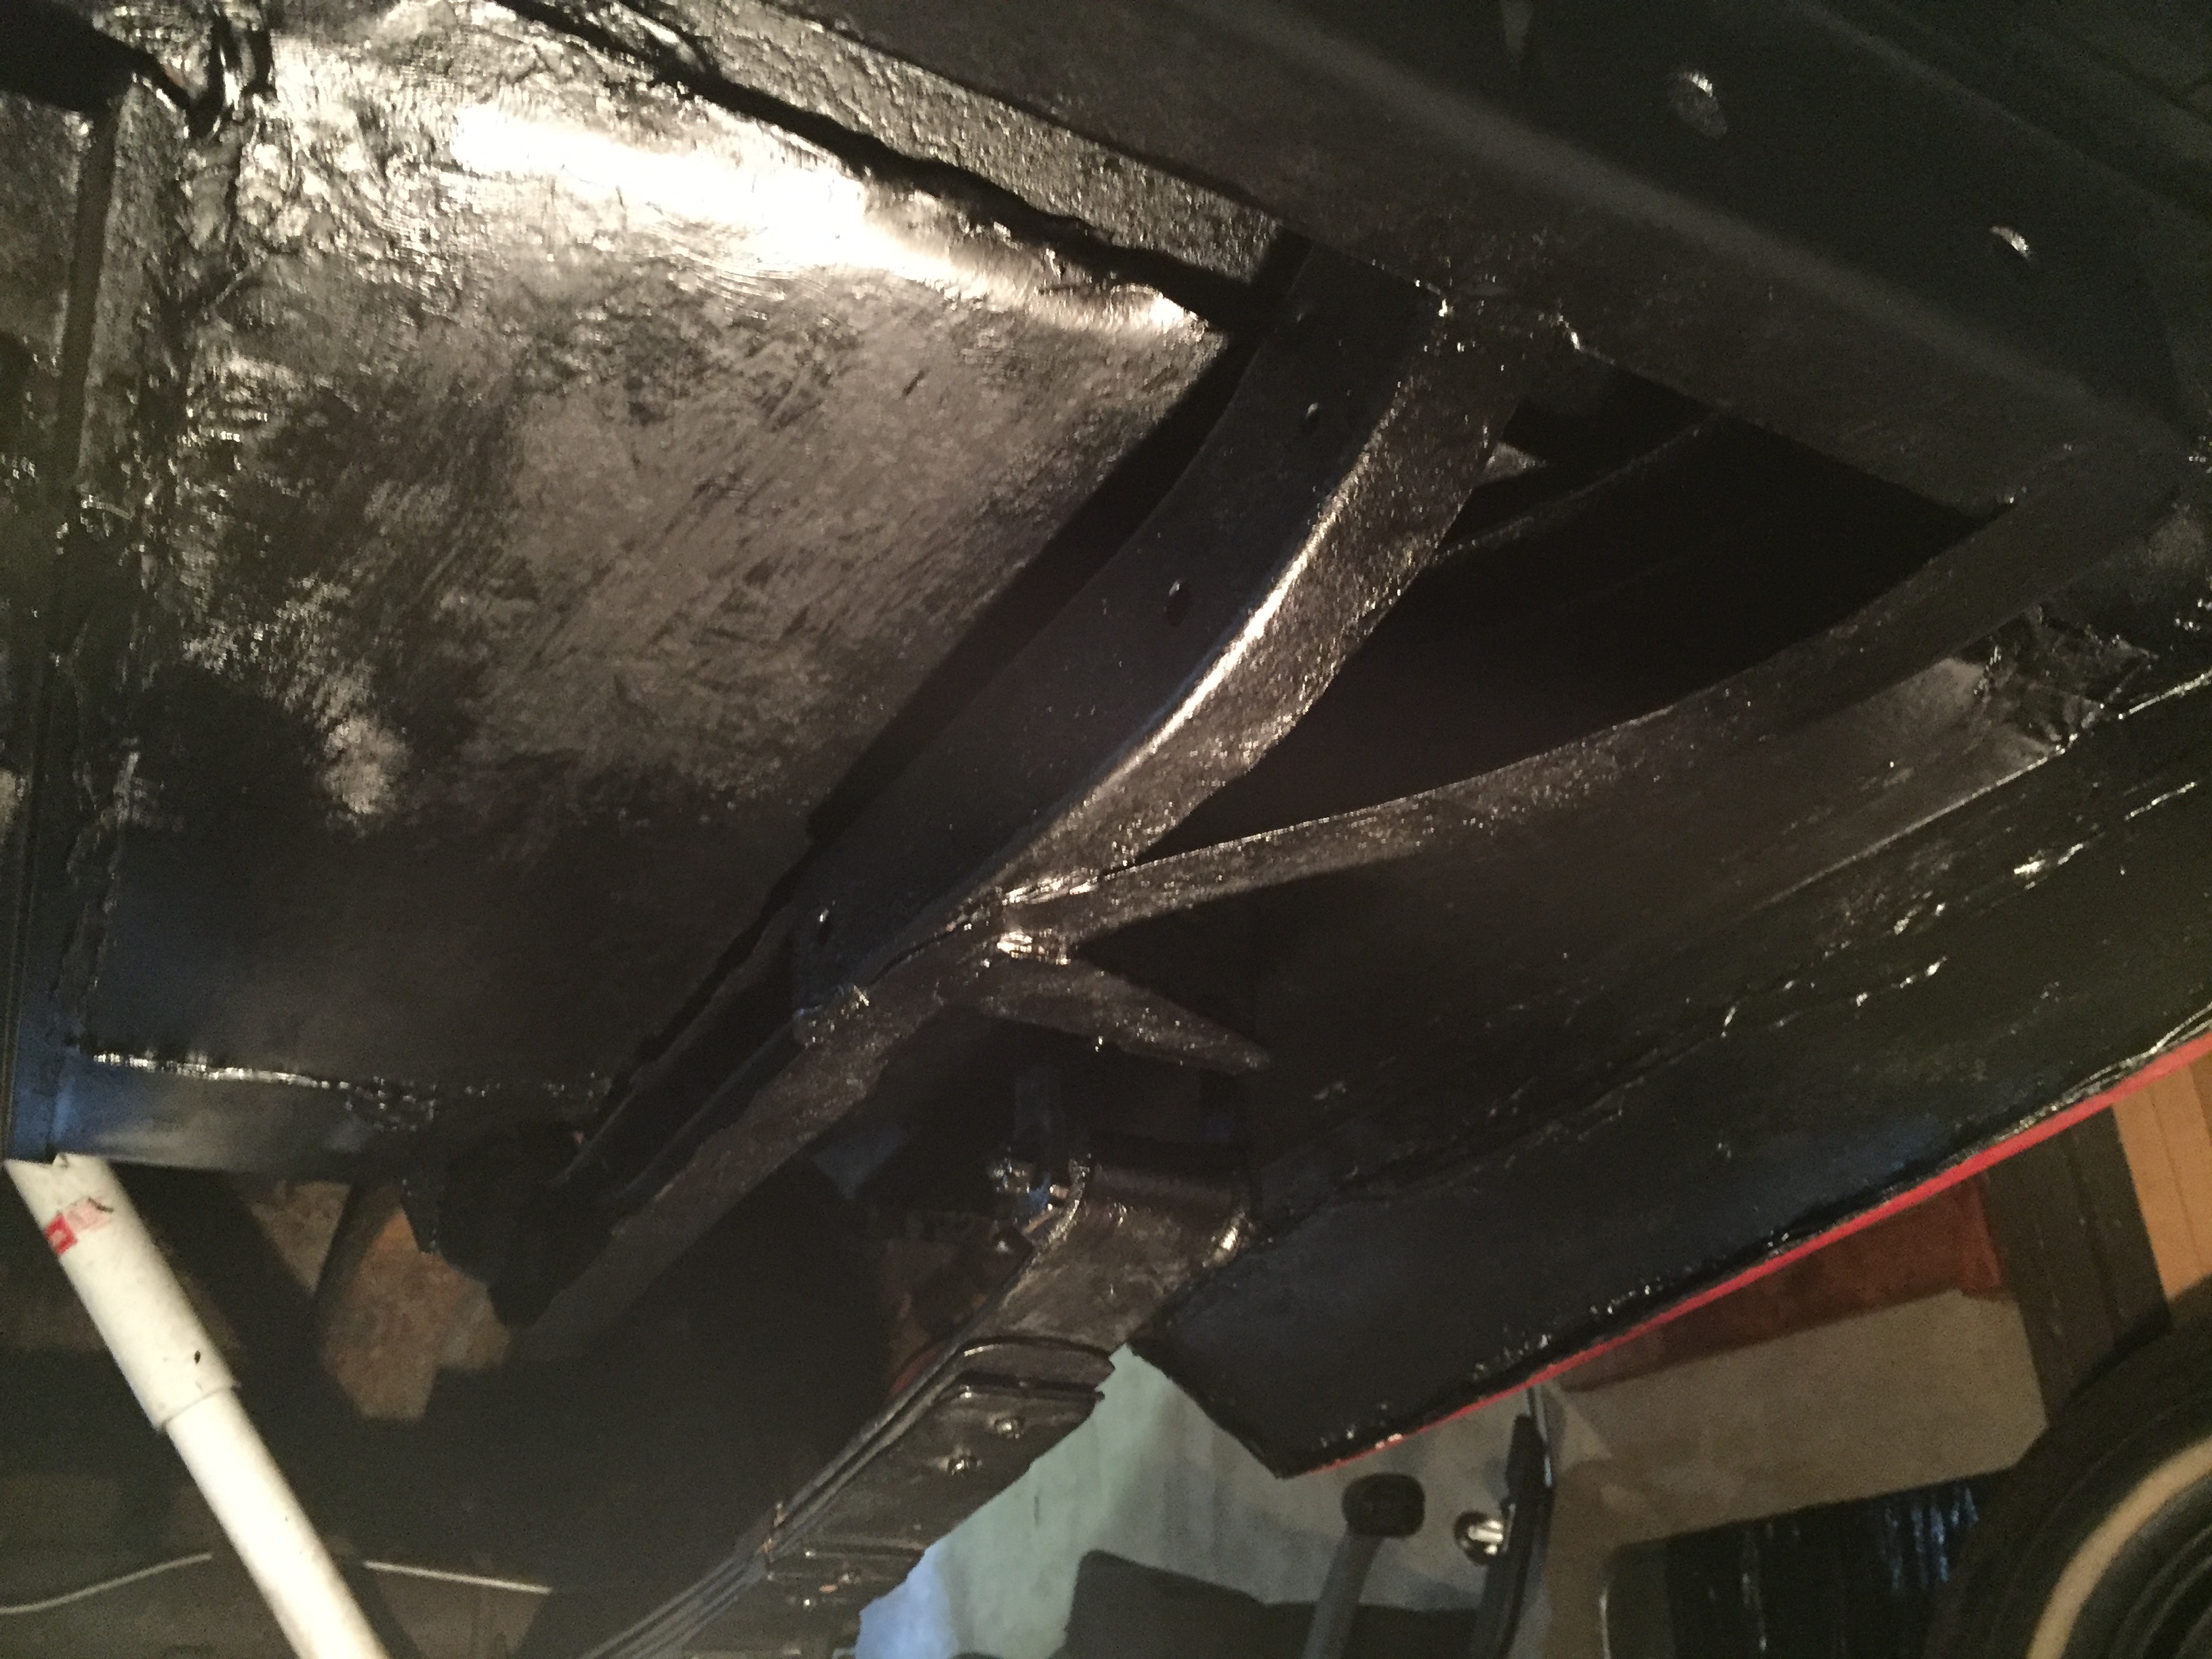
Today was a training session for cleaning the front suspension (at this rate, it’s going to be a while before I get there) - cleaning up the rear suspension and differential. Caked with grease. Here’s some before shots (although the rear shot of the pumpkin shows some wire brushing):
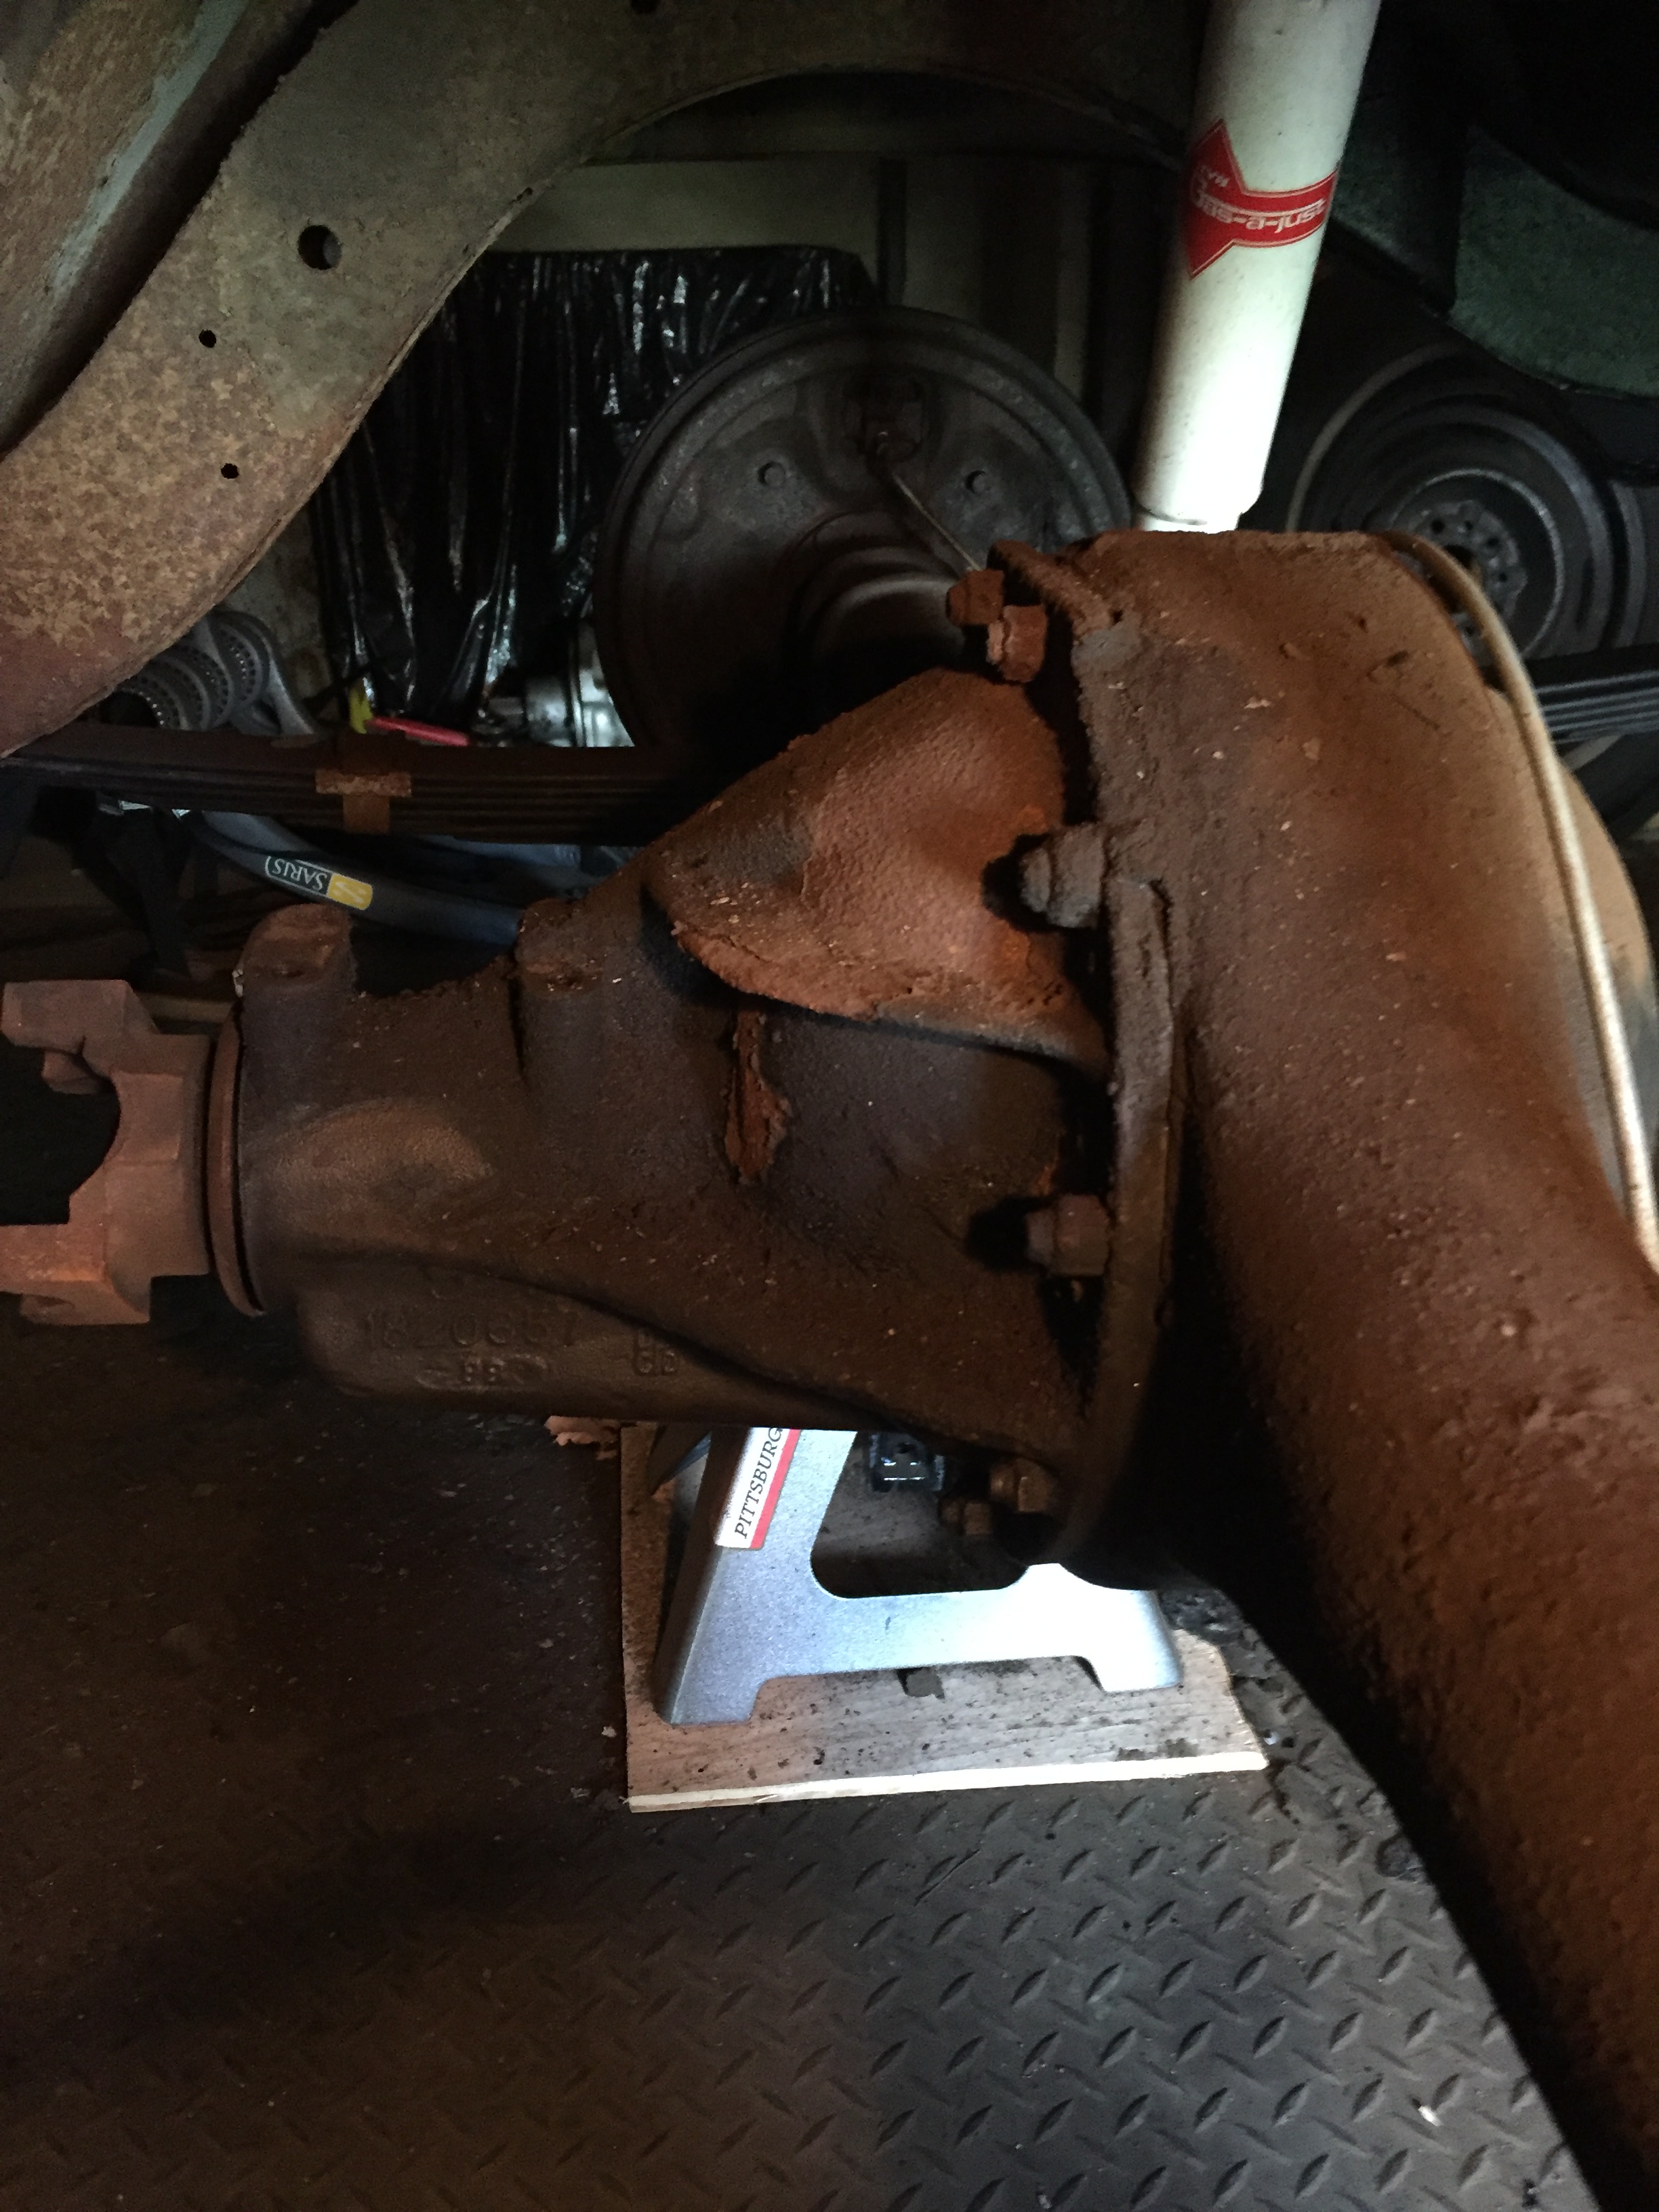
…and after scraping, brushing, mineral spirits and ospho. Hey! There’s a part number in the casting!

Oh yeah - not a hint of weeping from the plug on the pumpkin. Snugging it down was all it took.
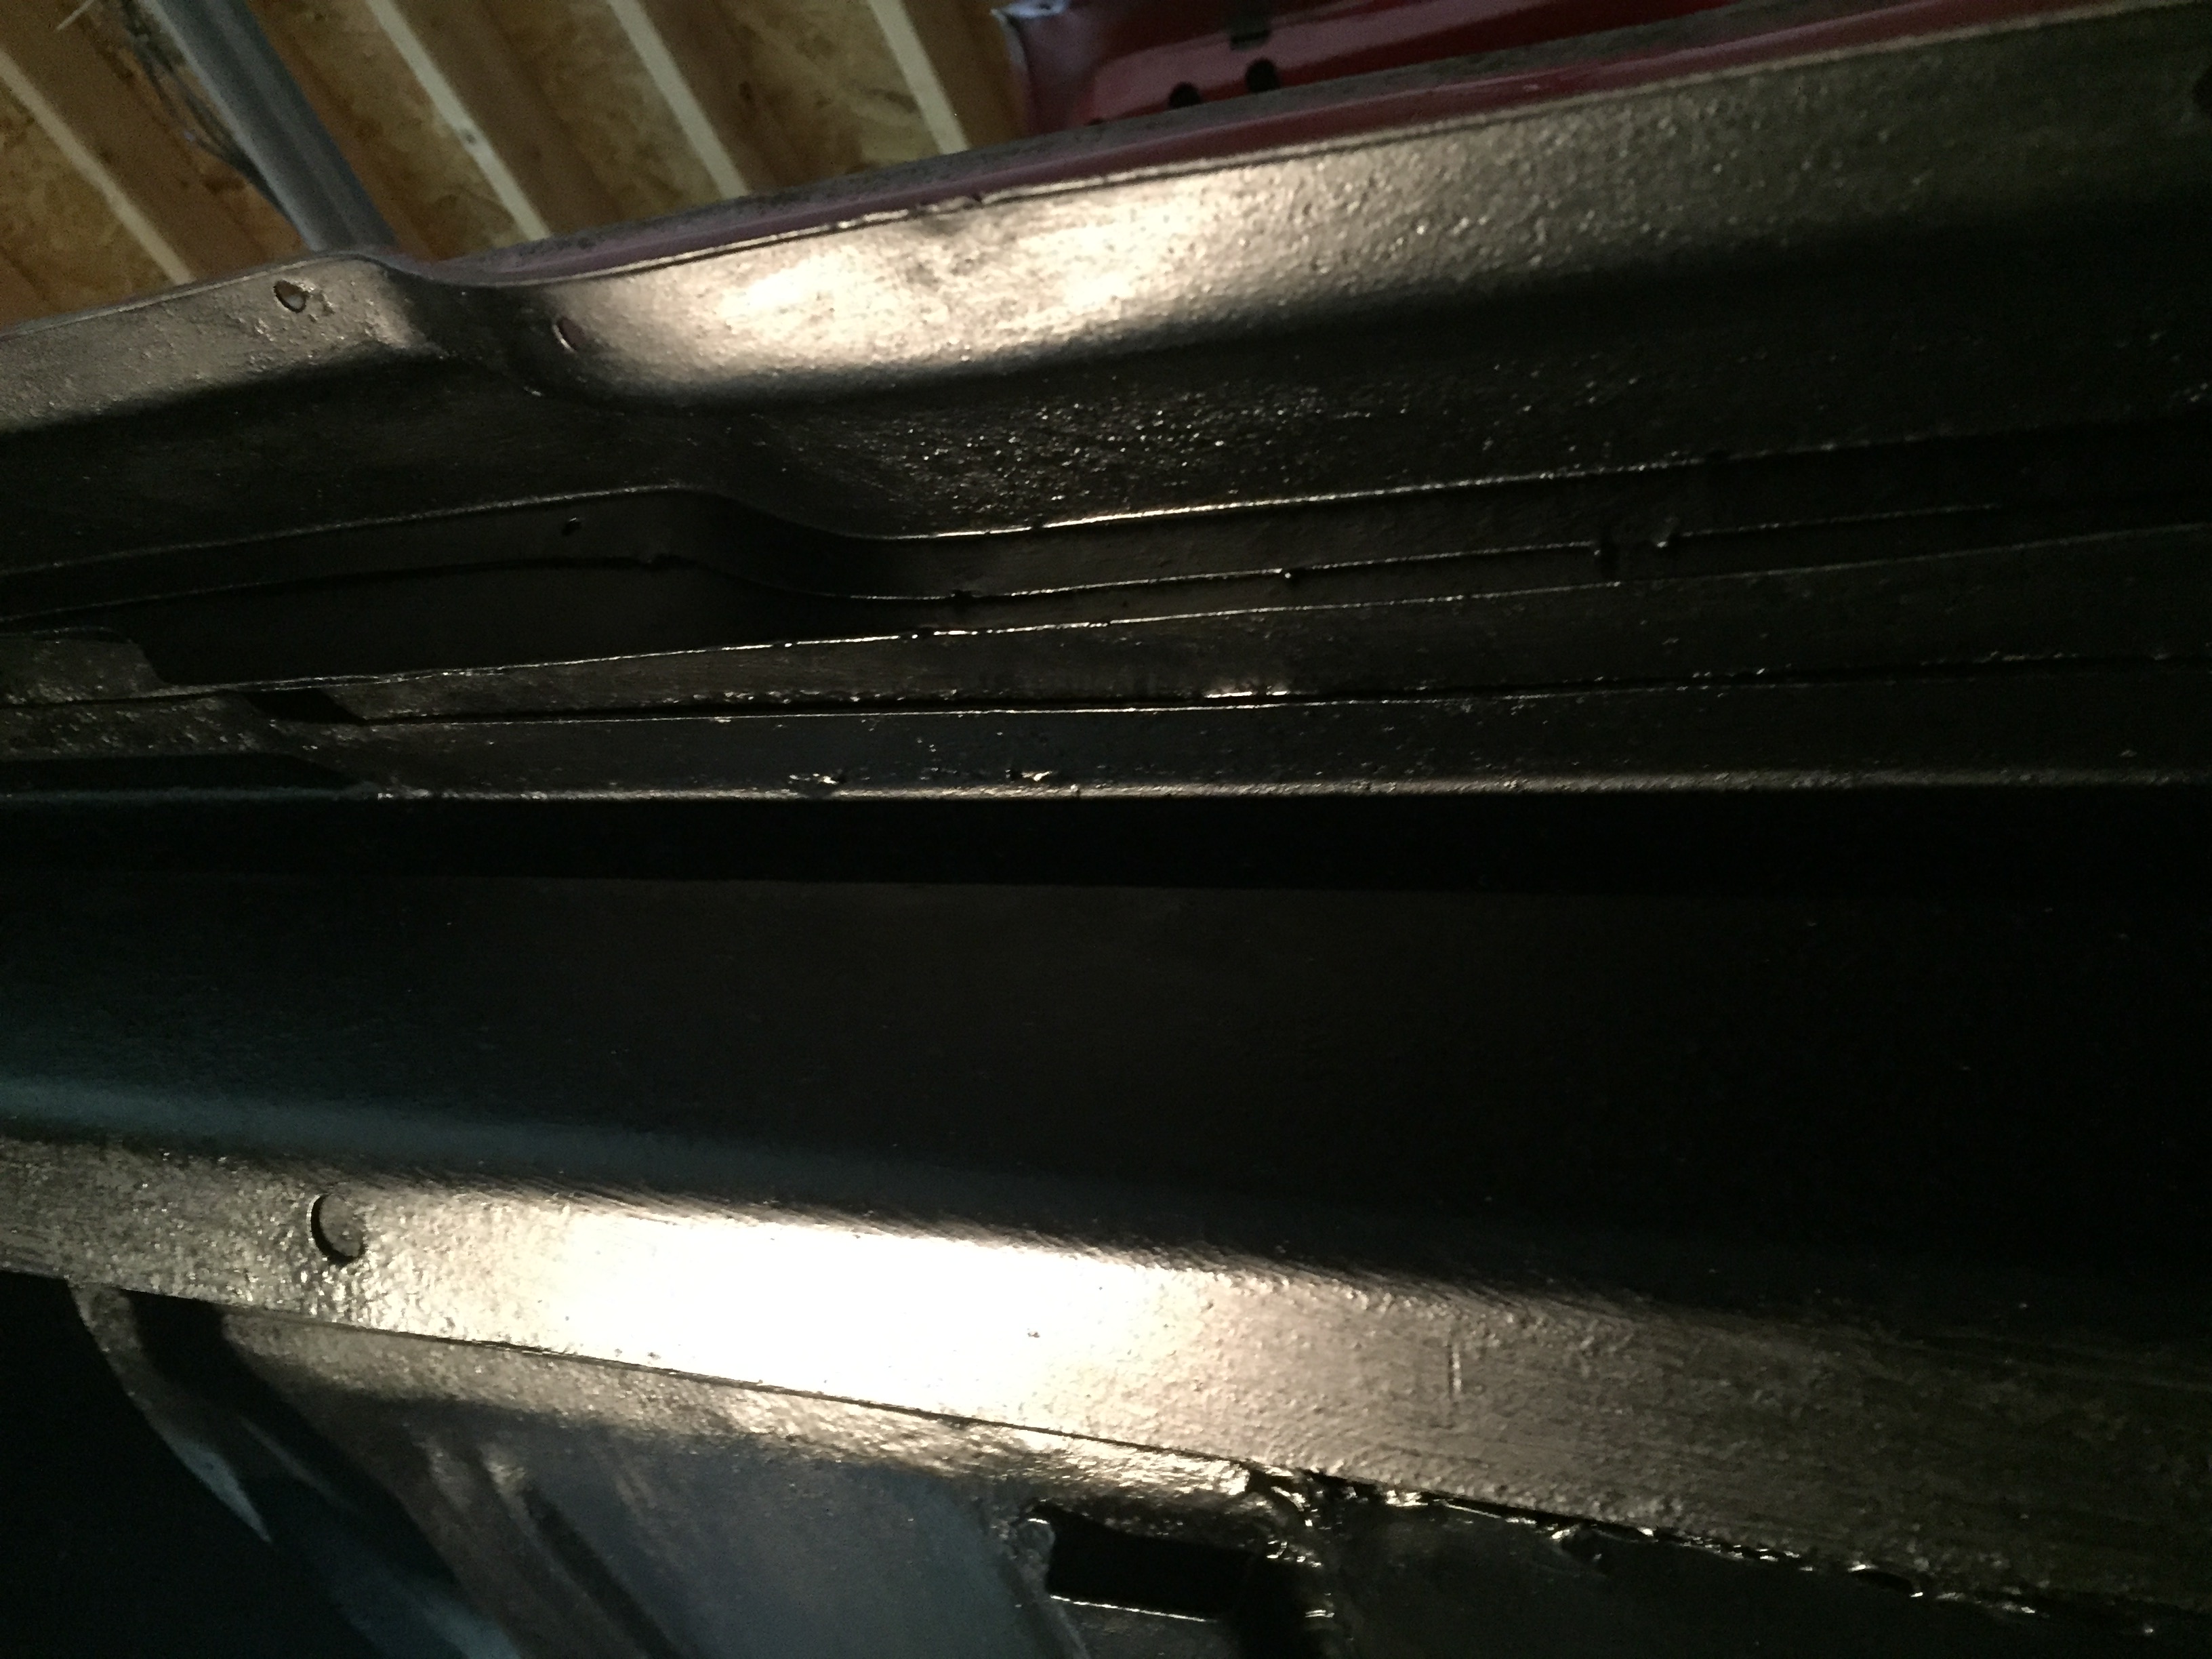
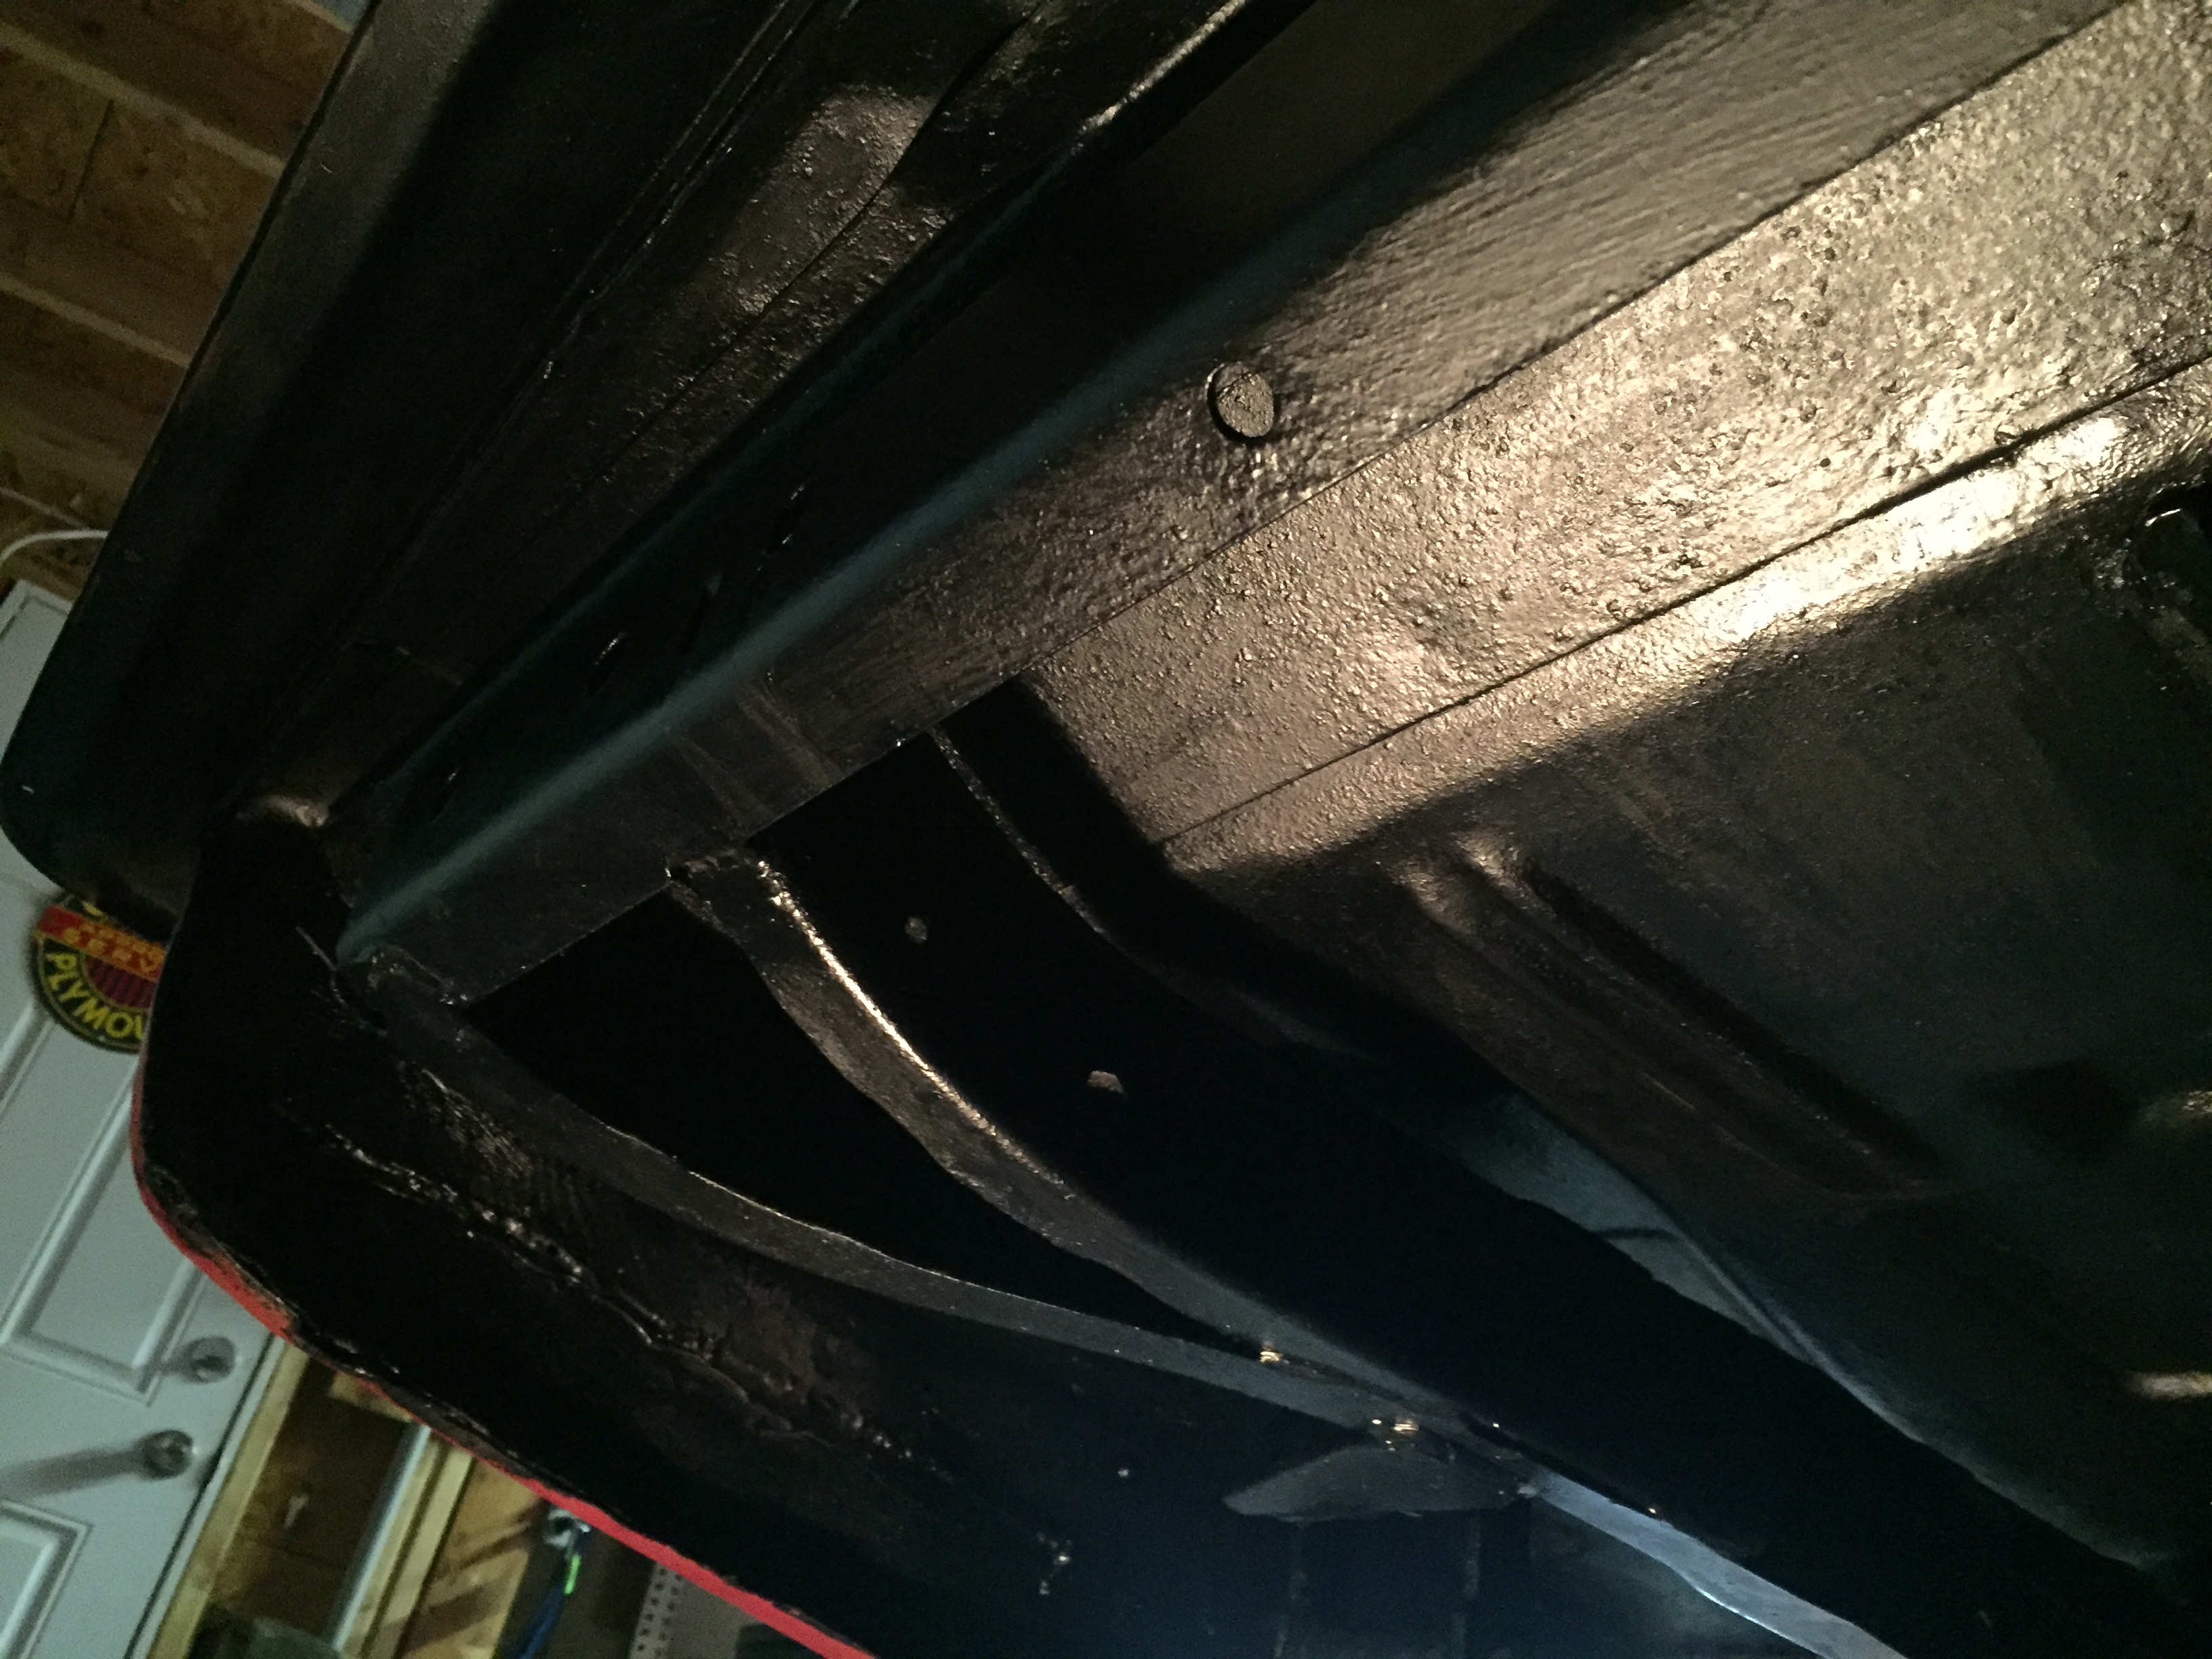
And now, for something completely different: I’ll be doing some work in and around the trunk soon. I’m going to wire brush the channel for the weather stripping, ospho and encapsulate it - along with the trunk - but between the channel and the body, there’s some cracked putty. Is this original? Instead of breaking it all out - most of it is very tight - it might be worth caulking. What should I do here?

Dan - Looking good so far. That looks to be some kind of factory installed sealer, my concern would be water seepage especially from the back side if possible. I would dig out as much as possible, sand to bare metal, ospho it, and apply JB Weld befoe priming so it has a good grip on the metal then prime.for a good seal. Make sure the channel has at least 2 coats of encapsulator, believe me, you dont want to have to replace that channel. I had to replace a corner section on Charleen. Thank goodness John Fowlie provided a replacement section.
Dick