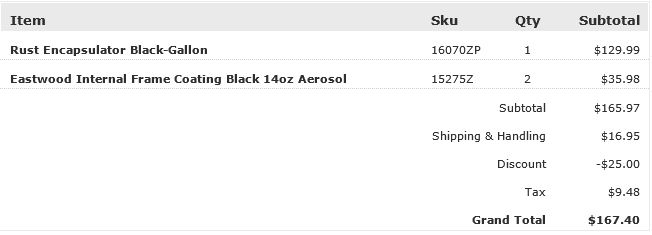
At a minimum i’d get a gallon. By the way I did the frame and the underside of the floors, two coats. You will need some for all the bits and pieces.
Dick
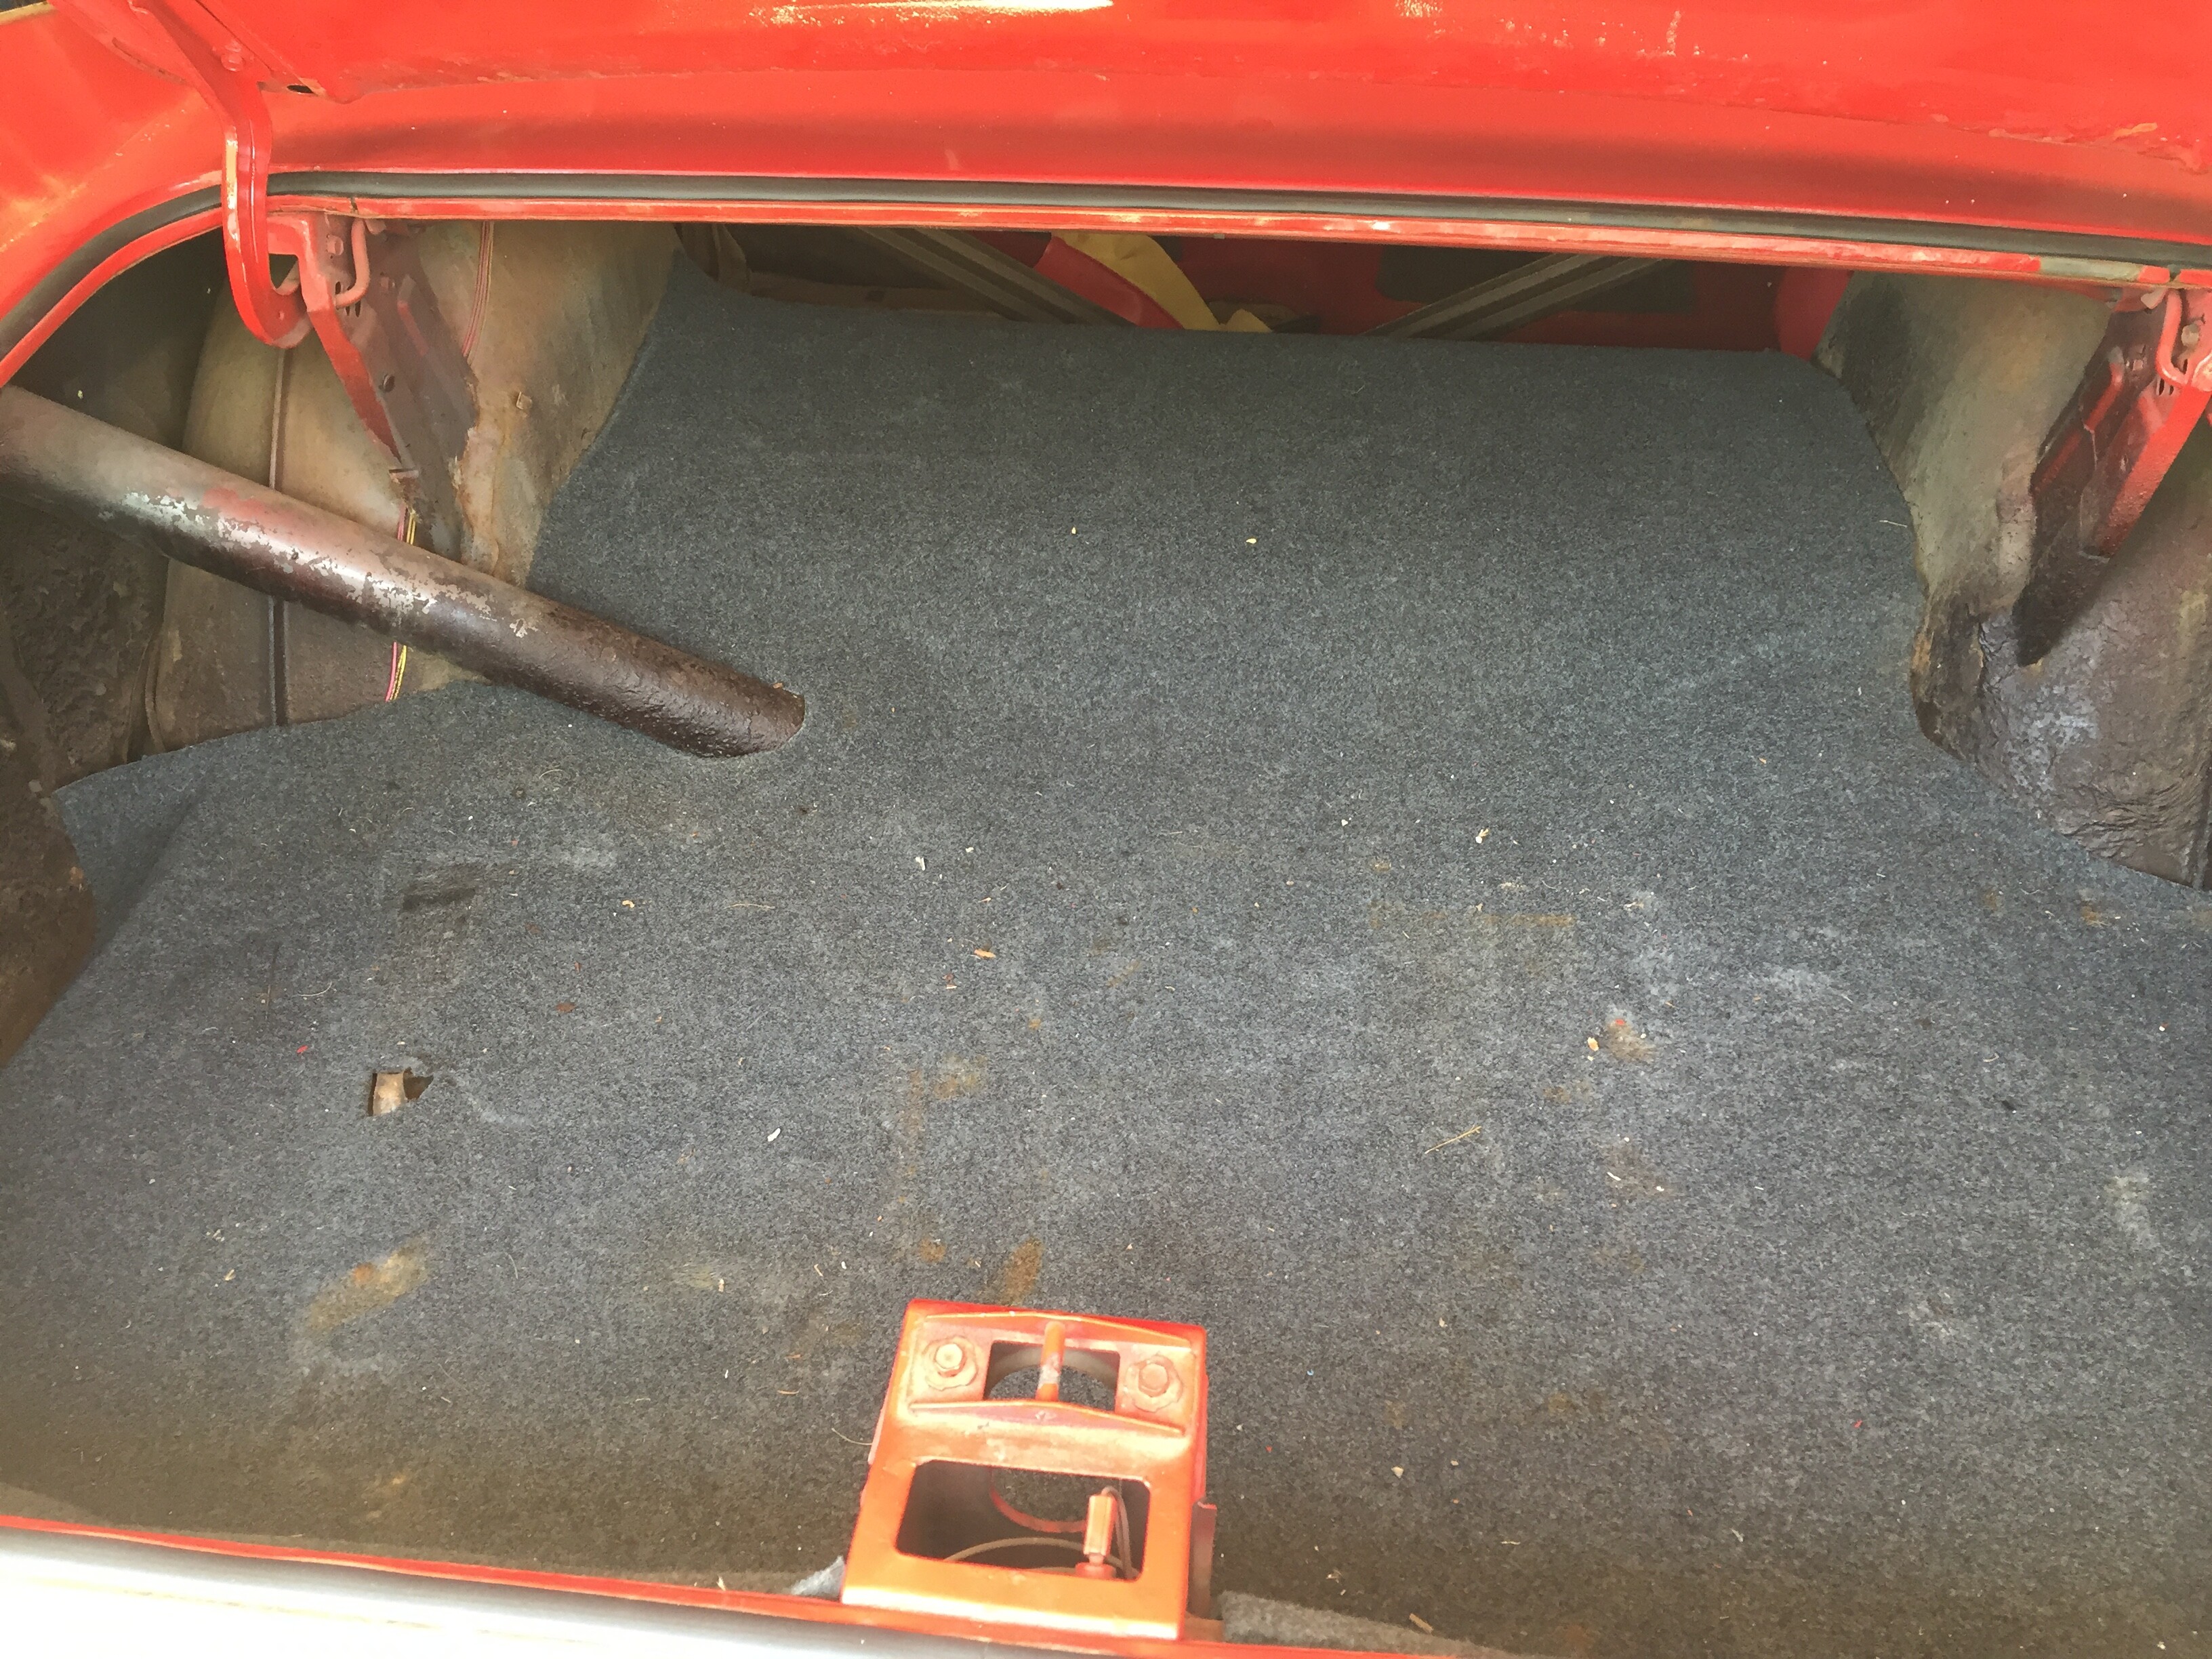
Just a little tinkering today… Removed the spare tire for the first time ever, cleared the trunk and pulled up the cheap carpet. It’s clear that (from here, and the underside) patch panels were once welded in. Not too shabby a job, I’ll clean this up, rustproof and paint.


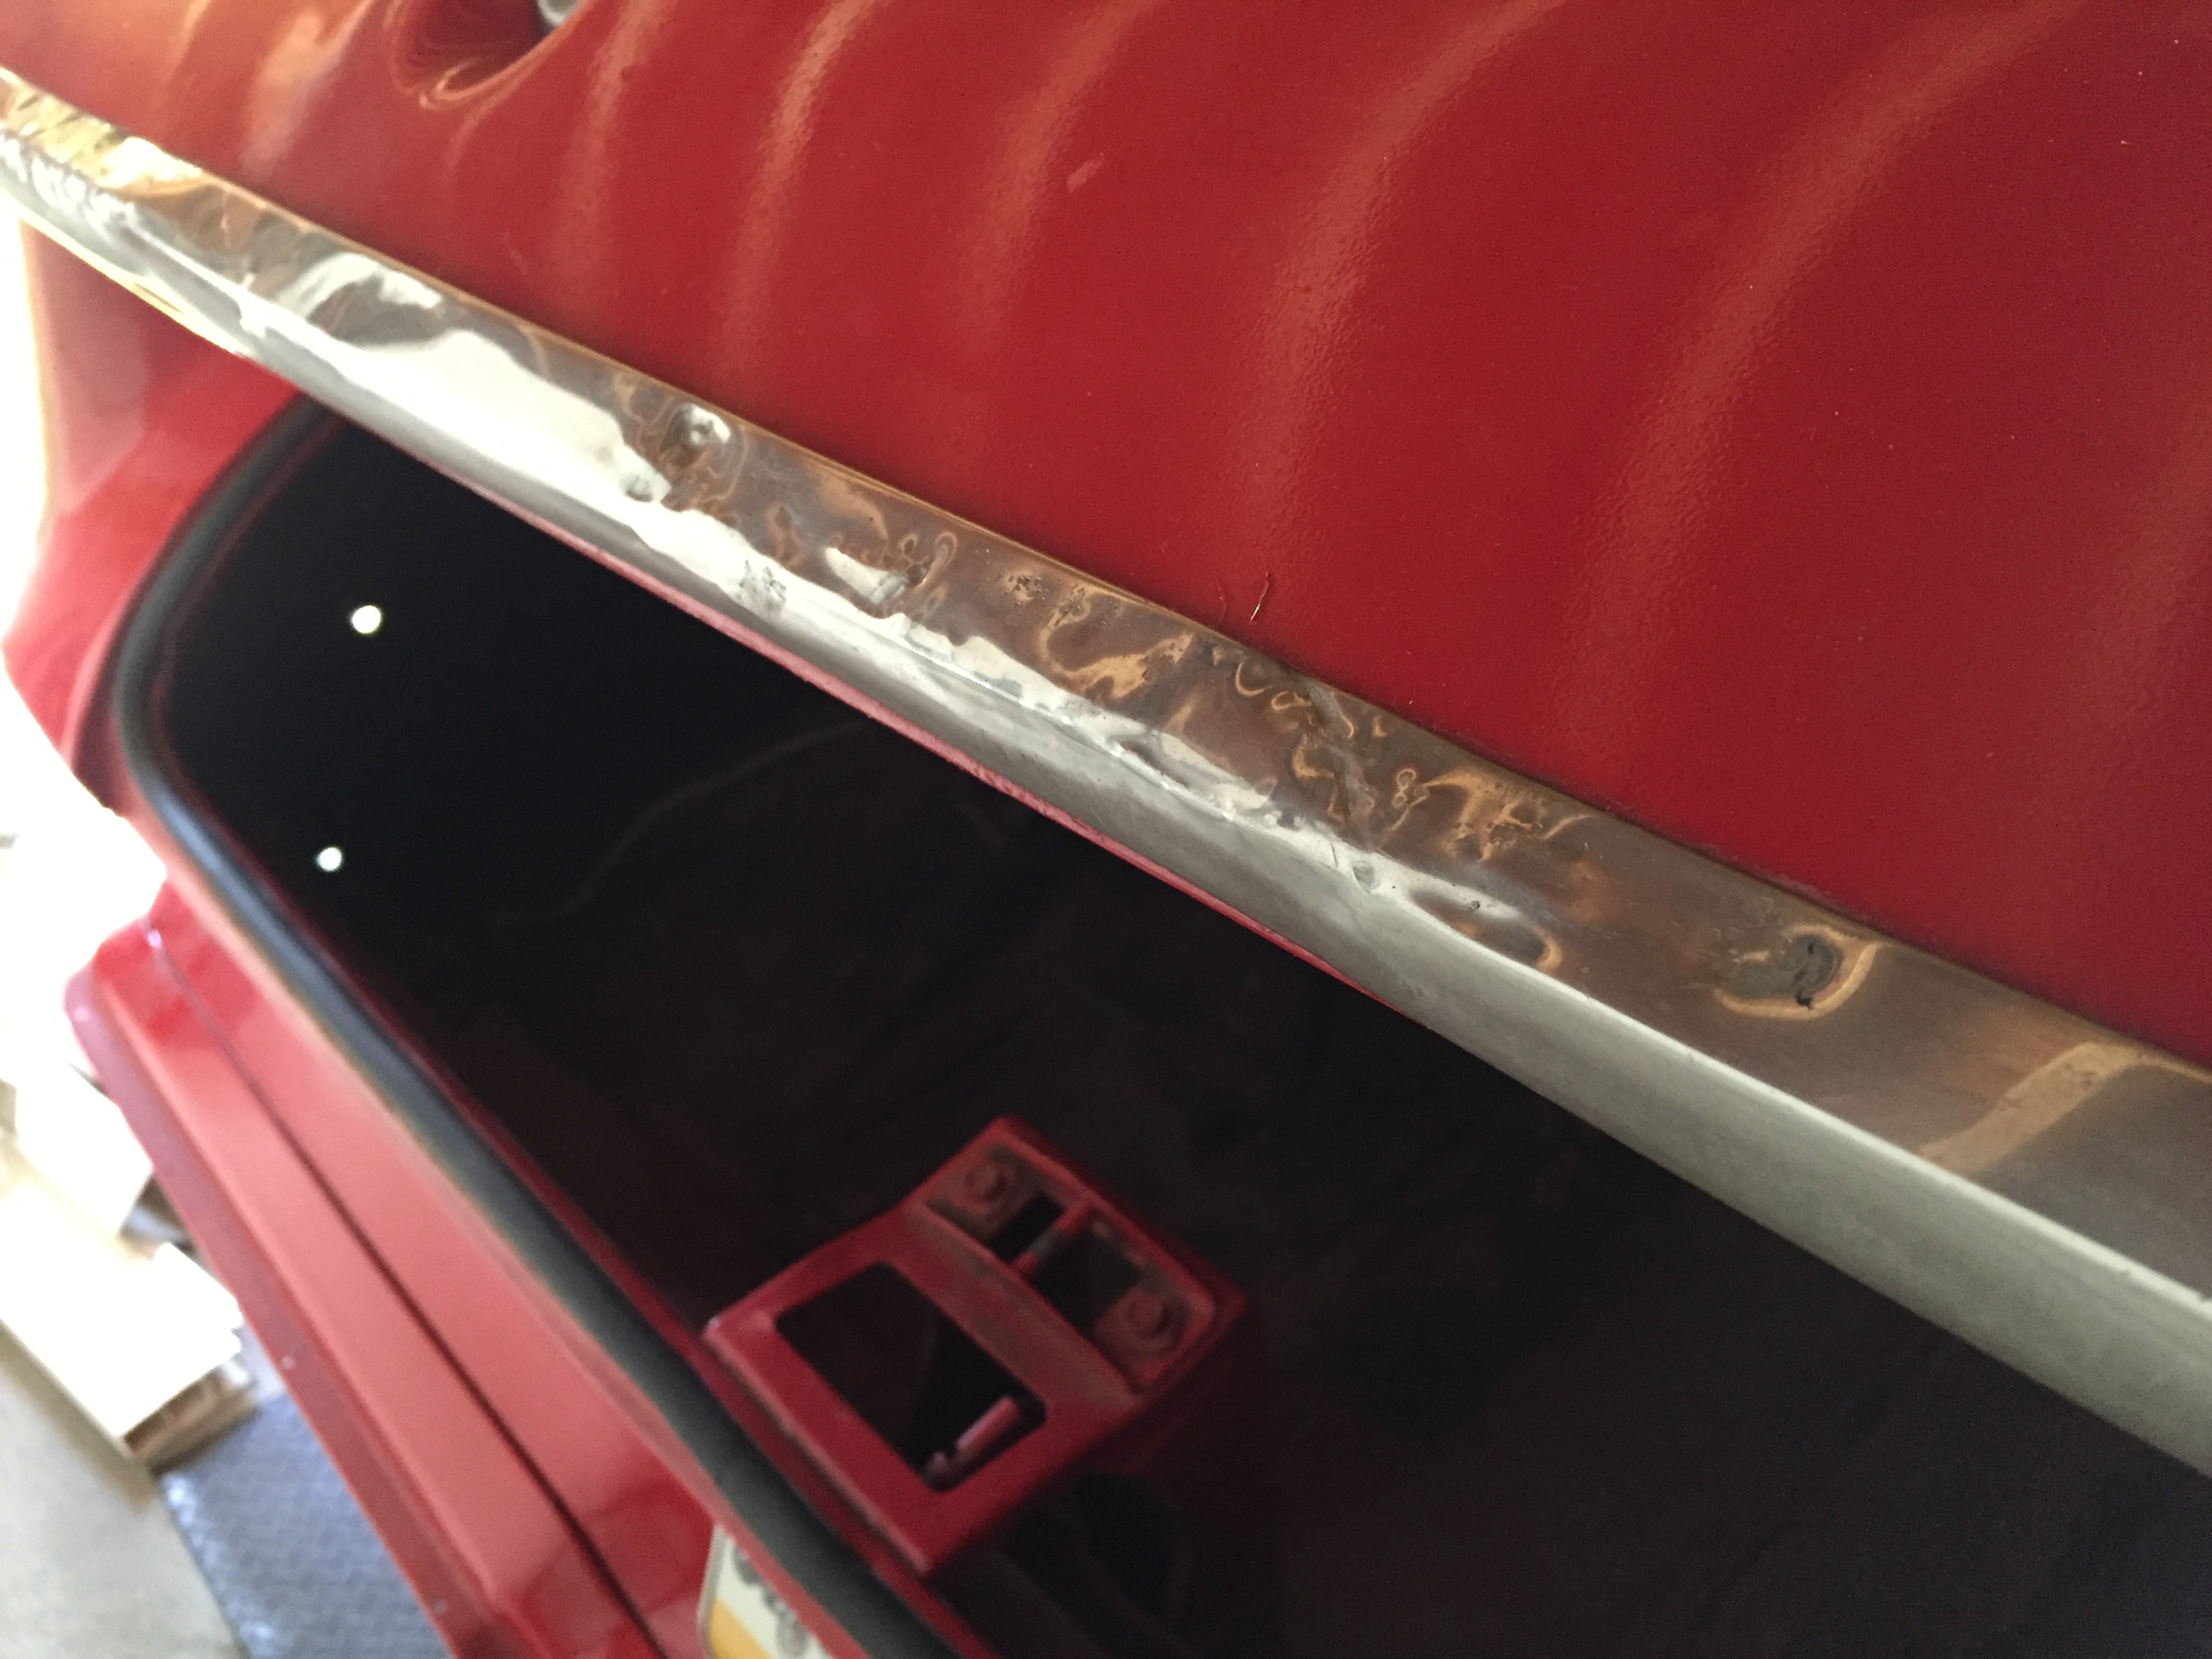
Dick, the piece of trunk trim I sent you, I bought from Jim Rawa - mine is still on the car. It’s a real mess - looks like an amateur tried to bang out some dents - think you could do anything with it? It might be useful to someone, even if it’s not in perfect condition.

And damn! Whoever worked on it, put the nuts back on without any washers. In many cases, the nuts pulled into the bolt holes

I can’t get enough grip on the nuts to keep a socket from spinning on it. Anyone got any ideas about getting these off, short of drilling them out?

I’m also interested to know, what folks do with these bulb sockets. I want to take the housings to the plater, but they don’t look like they pop out to me. What to do here?
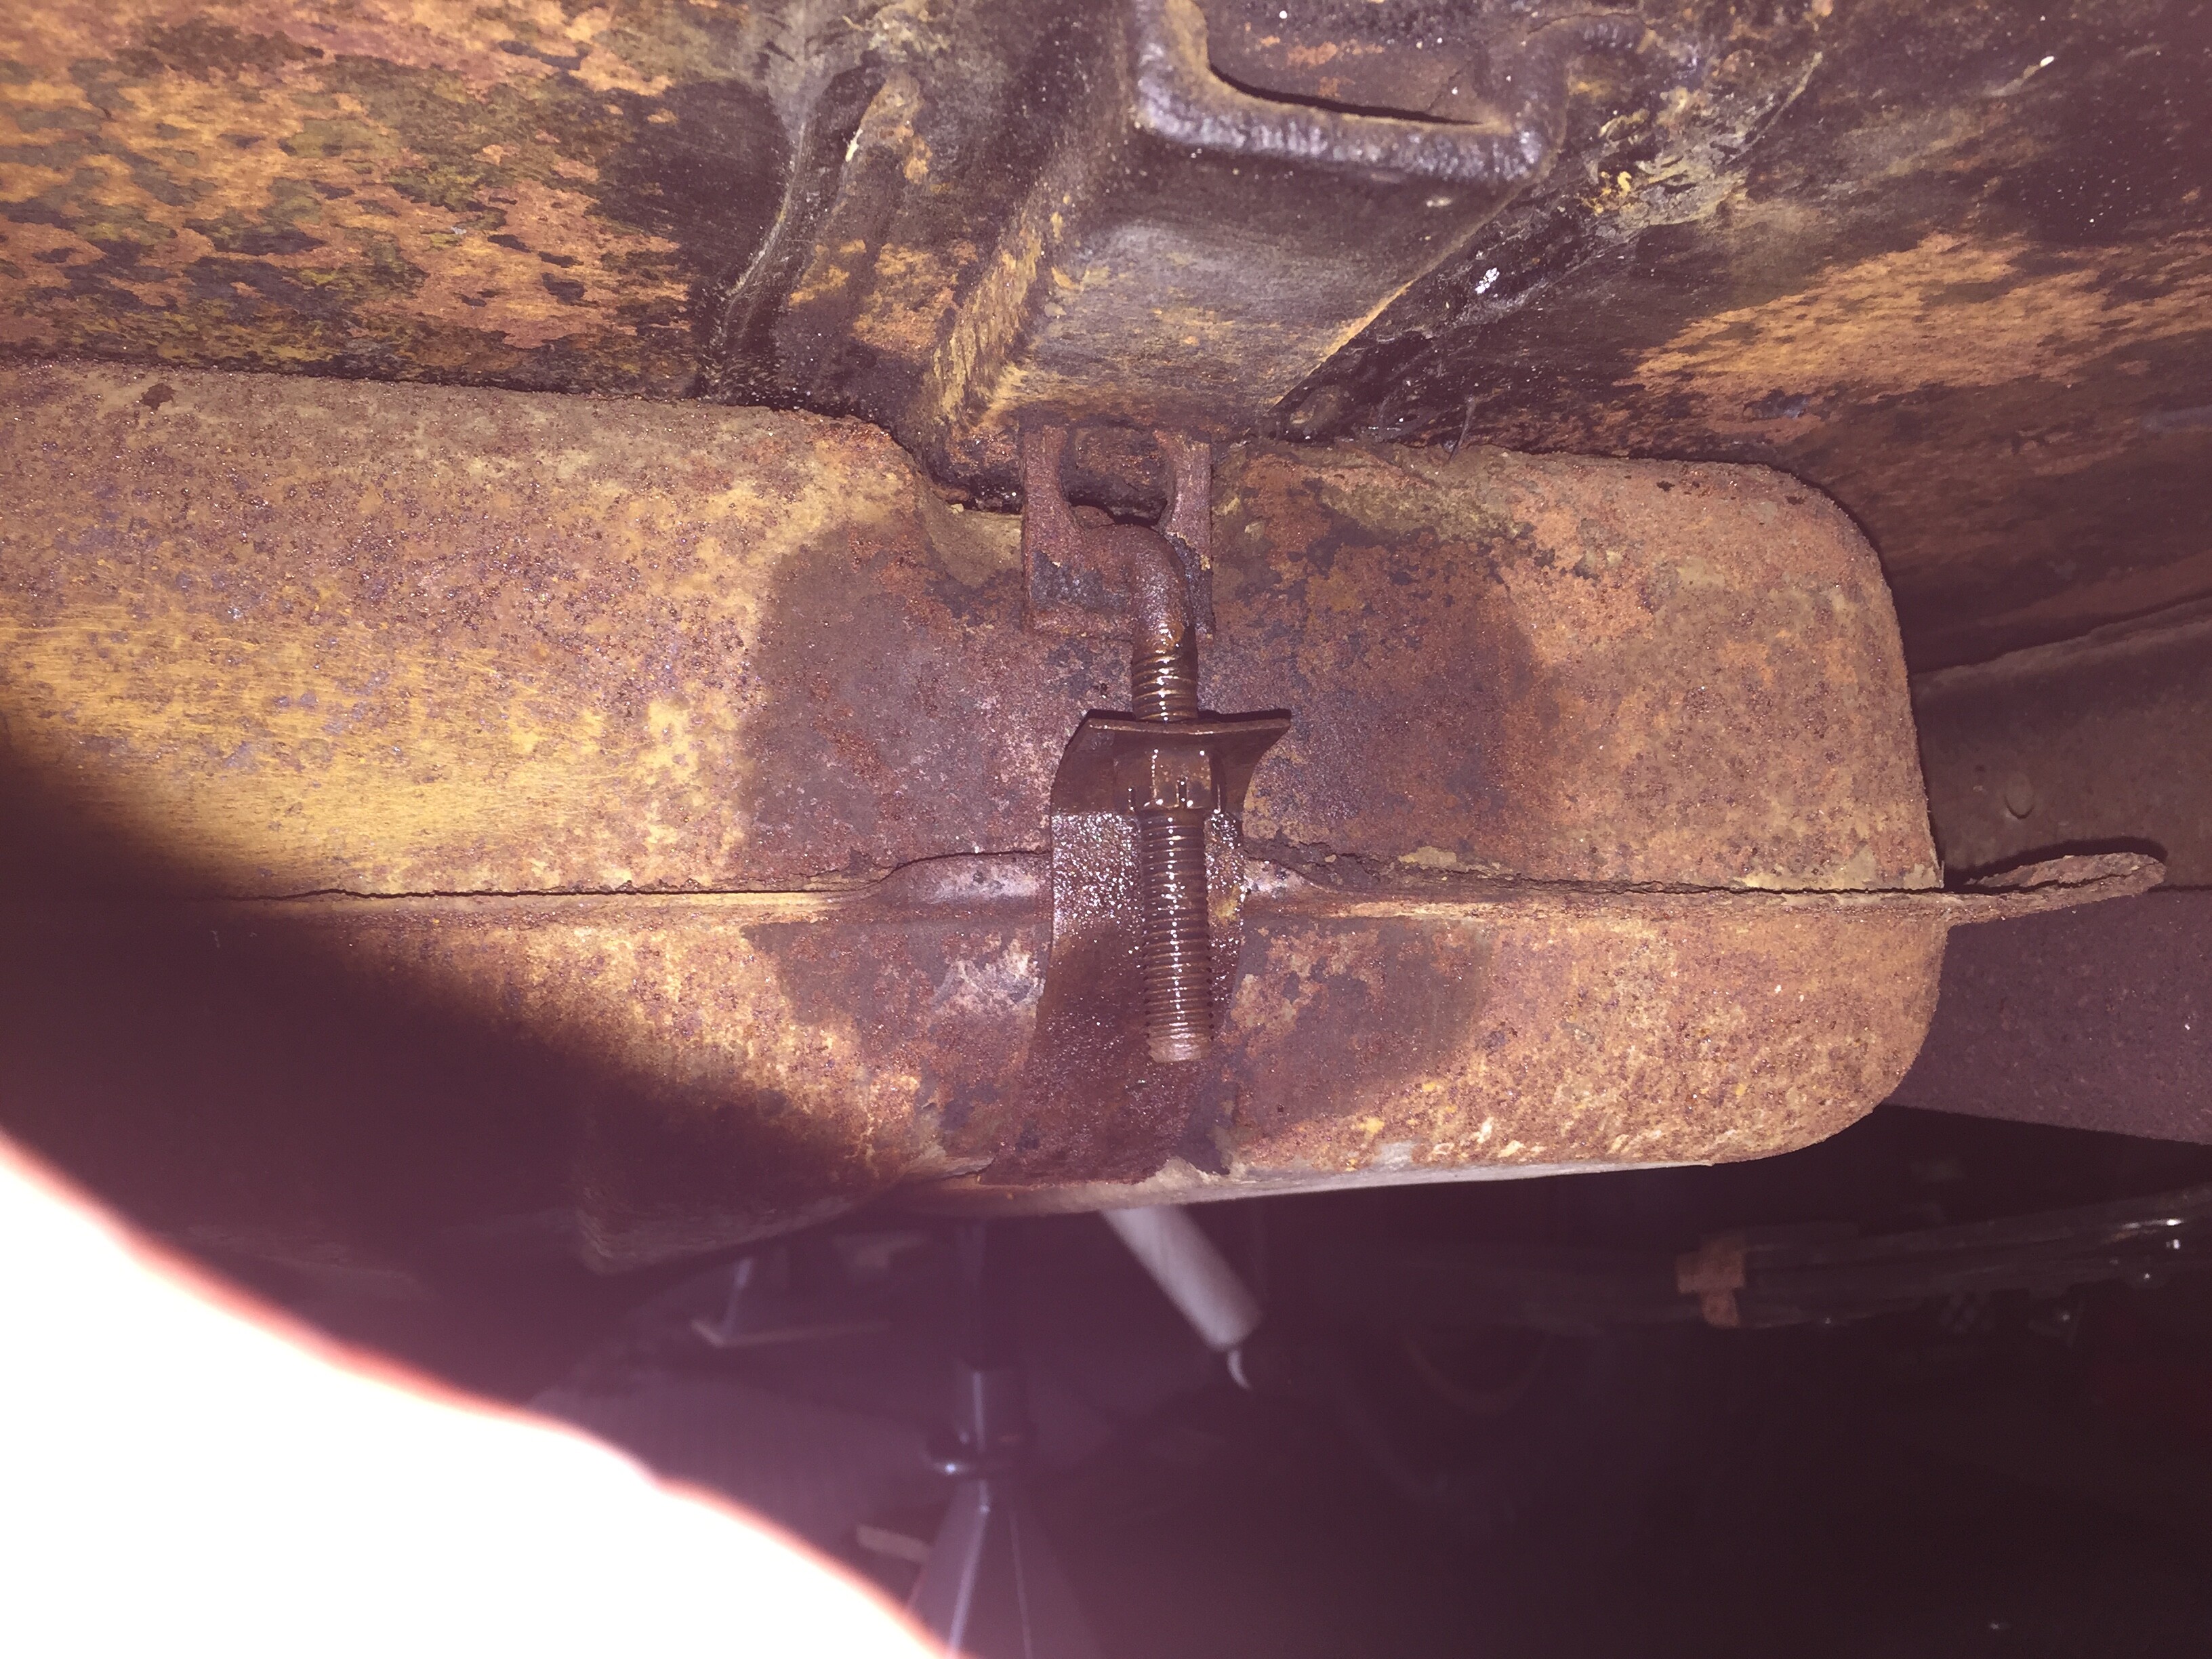
I’m preparing to drop the gas tank and the exhaust so I can start power brushing the rust off the undercarriage. The tank bolts cleaned up nicely, soaking now in some Liquid Wrench. I think the bolts and the straps are salvagable.
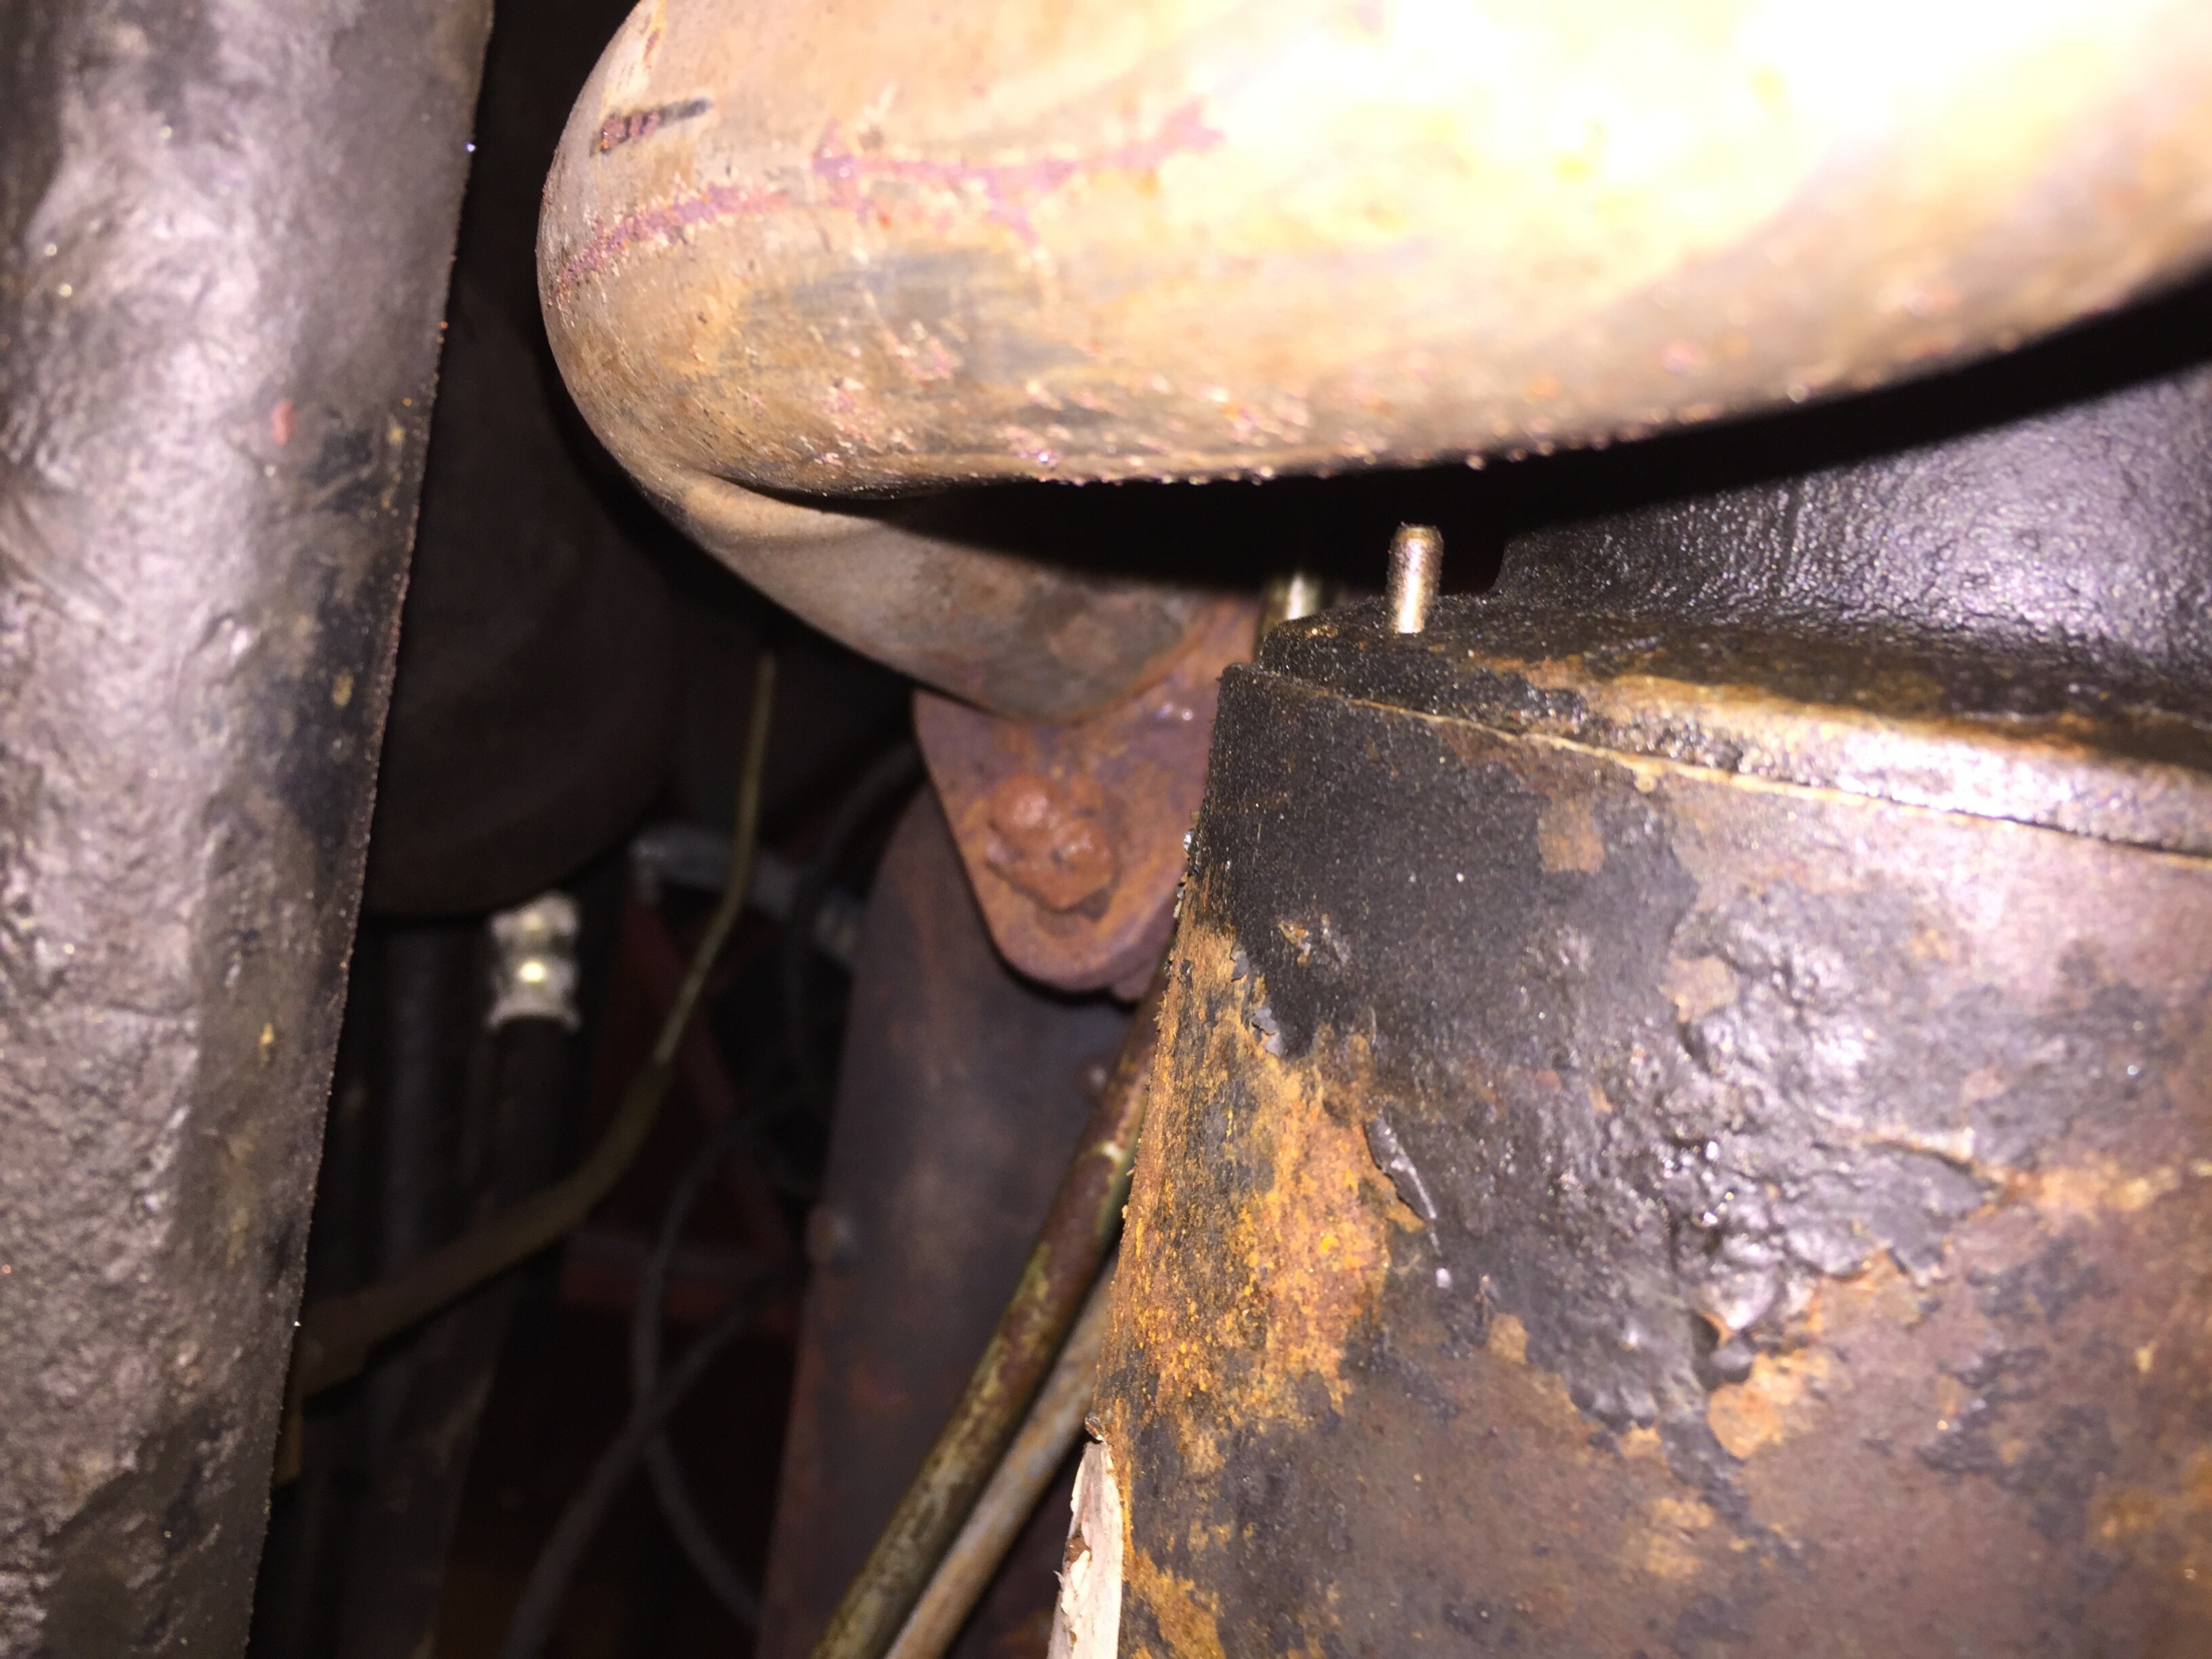
But the exhaust manifold bolts look ugly!
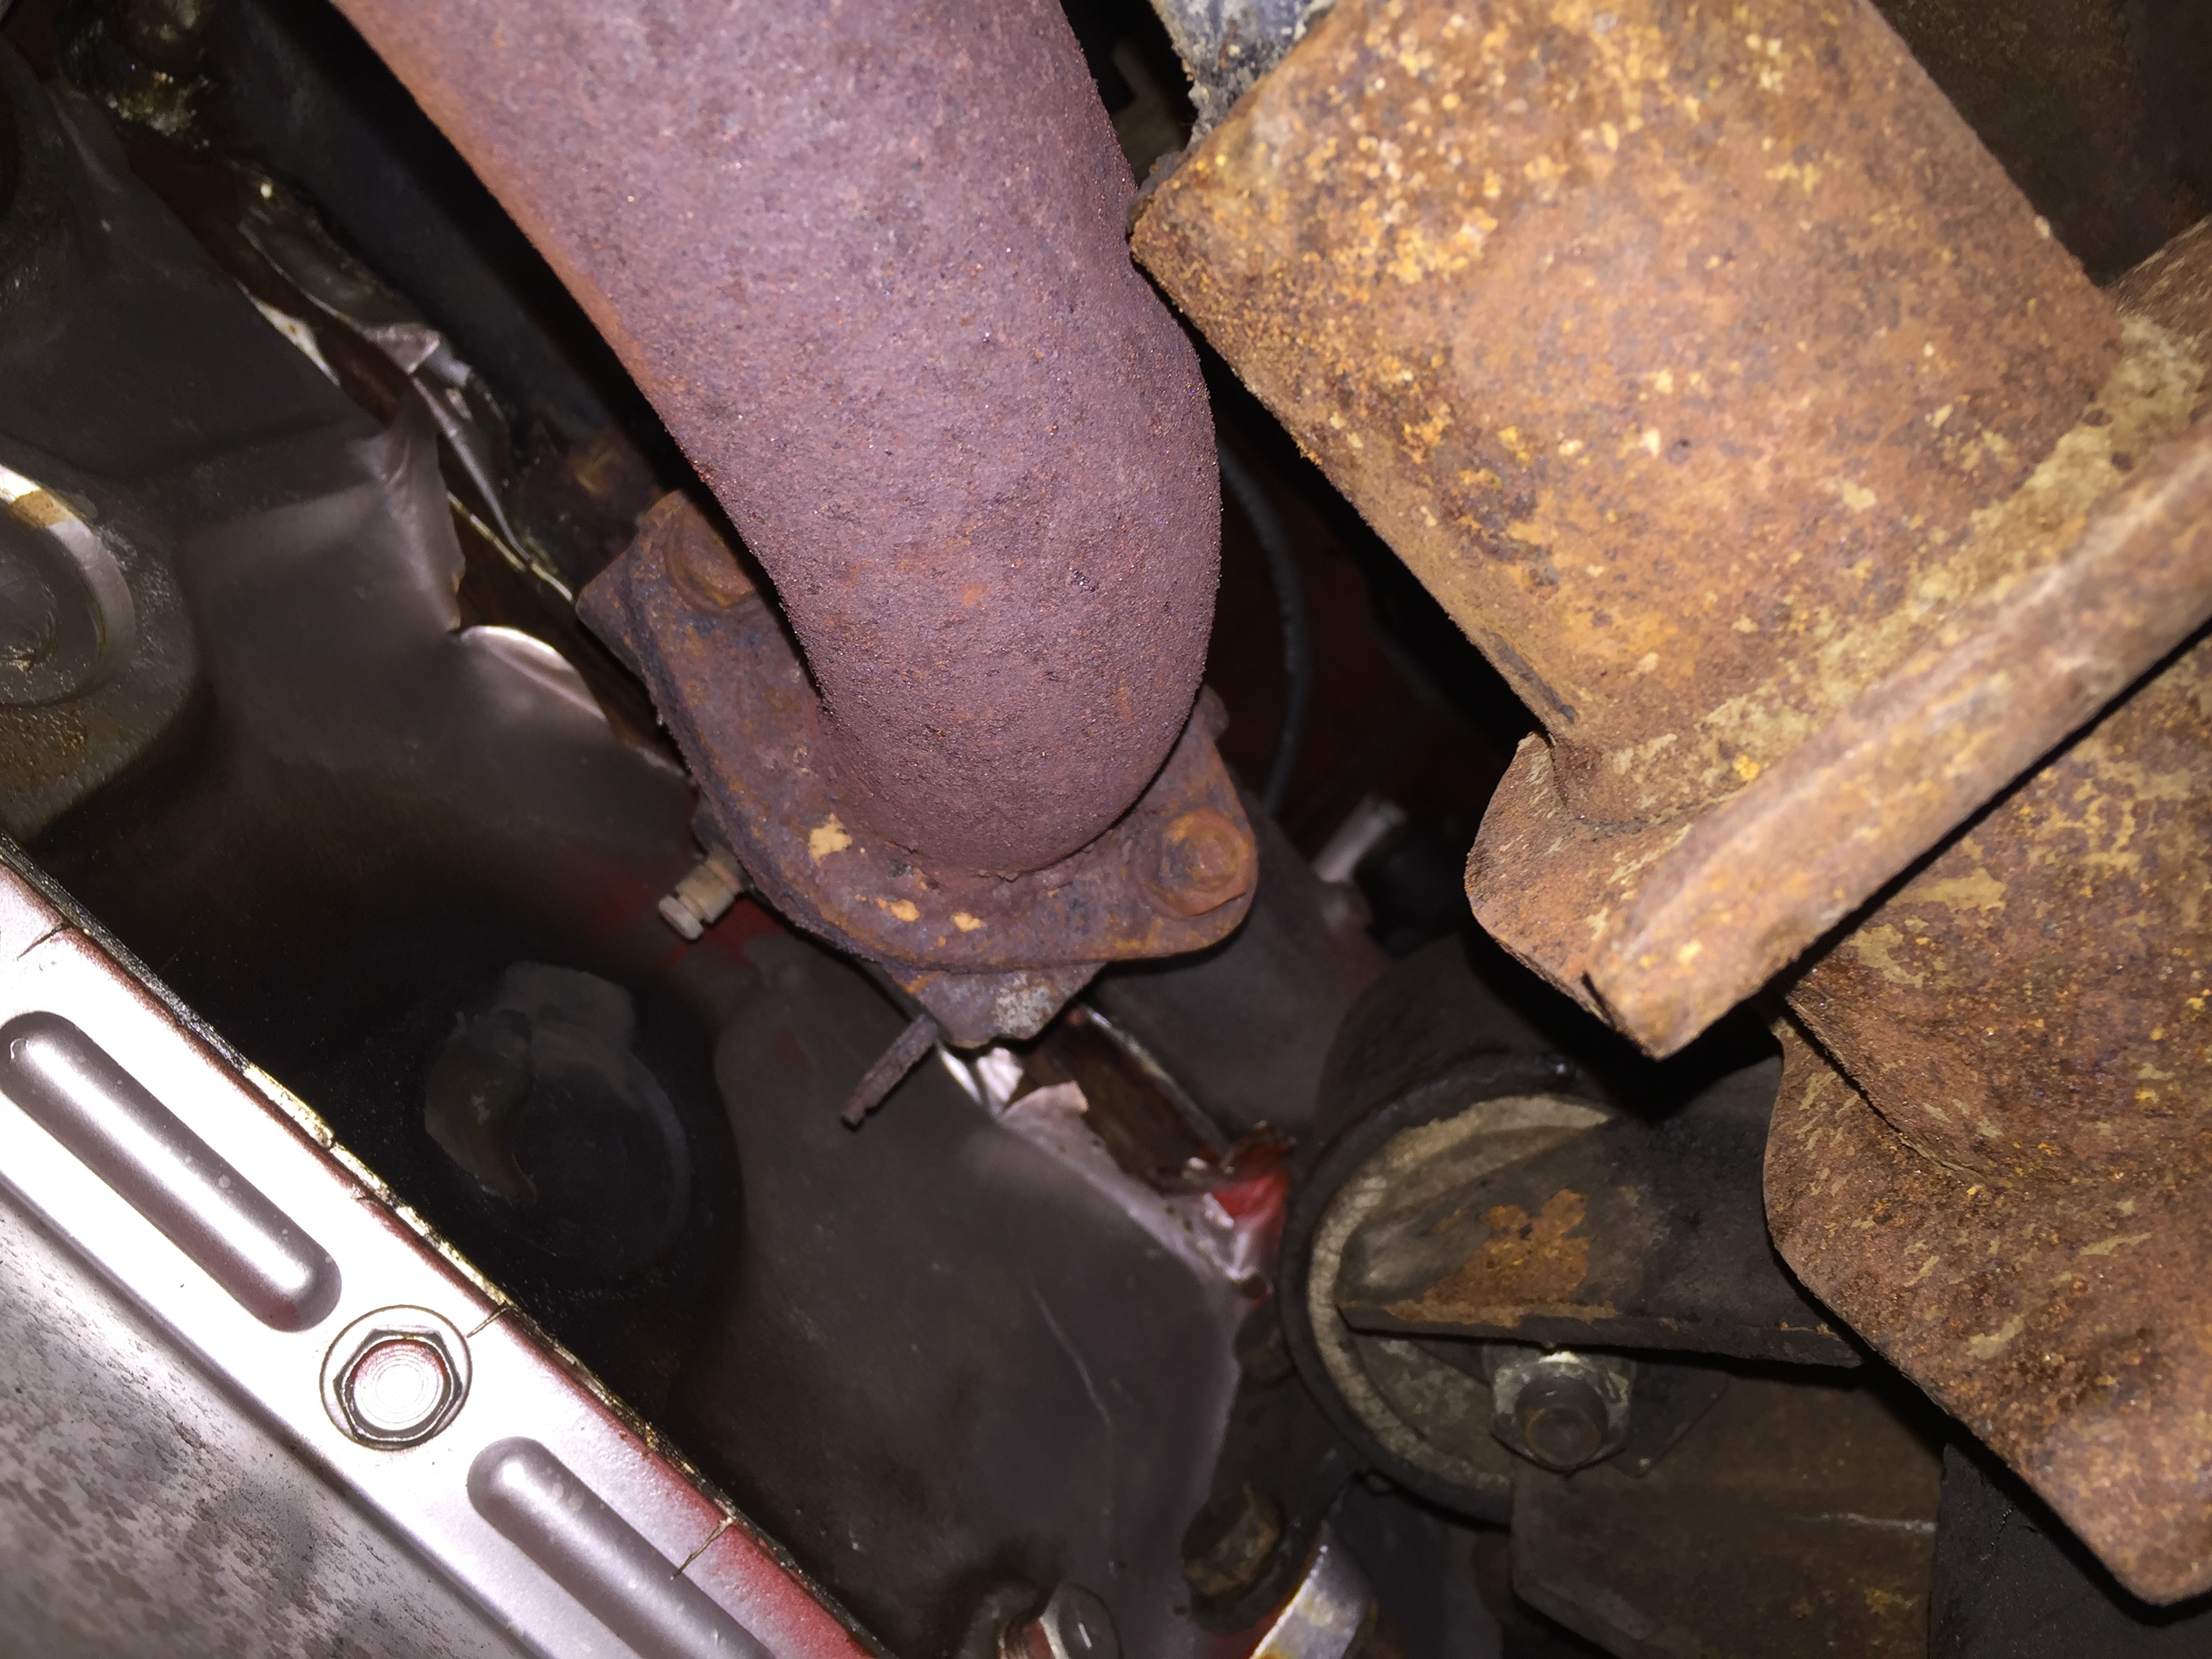
I’m not going to chance it. I’m going to cut the exhaust out just below the headers, and drive it (loudly!) to a shop where they can remove them professionally.
Trunk floor looks good. OSPHO and encapsulator would be good. That piece of trim is beyond repair, l just made one from a piece of trim l had for a gentleman in arkansas. As far as the nut a 3 inch metal cutoff wheel on a drill motor or air cutoff tool from Harbour Freight should do it BUT you need the surgical skills of a dentist OR a Dremel tool with a small cutoff wheel. As far as the light sockets go find a sacrificial knife in the house, you need to pry up the lip of the socket (no easy task). Replacement bulb sockets can be had at NAPA. Save the old sockets and mark where they were, if I’m not mistaken some are double contact and some are single contact. Pieces like the tank bolts and straps is where the blast media cabinet comes in handy. For the larger pieces they can be sandblasted with a tool from Harbour Freight that you stick right in the bag of 30/60 sand. Always use sandblasting sand, play sand or any other sand is nothing but grief. All of this provided you have a air compressor of ample capacity. Harbour Freight has good prices on air compressors. Cut the exhaust out but save it so they can match it up. I personally would wait until the car is completely finished before you take it to the muffler shop to have the new exhaust installed. Don’t forget never seize on all bolts.
Dick
I ordered a gas filler tube grommet today on ebay, tomorrow I plan to drop the tank. I crawled under to inspect. Looks pretty yucky under there!
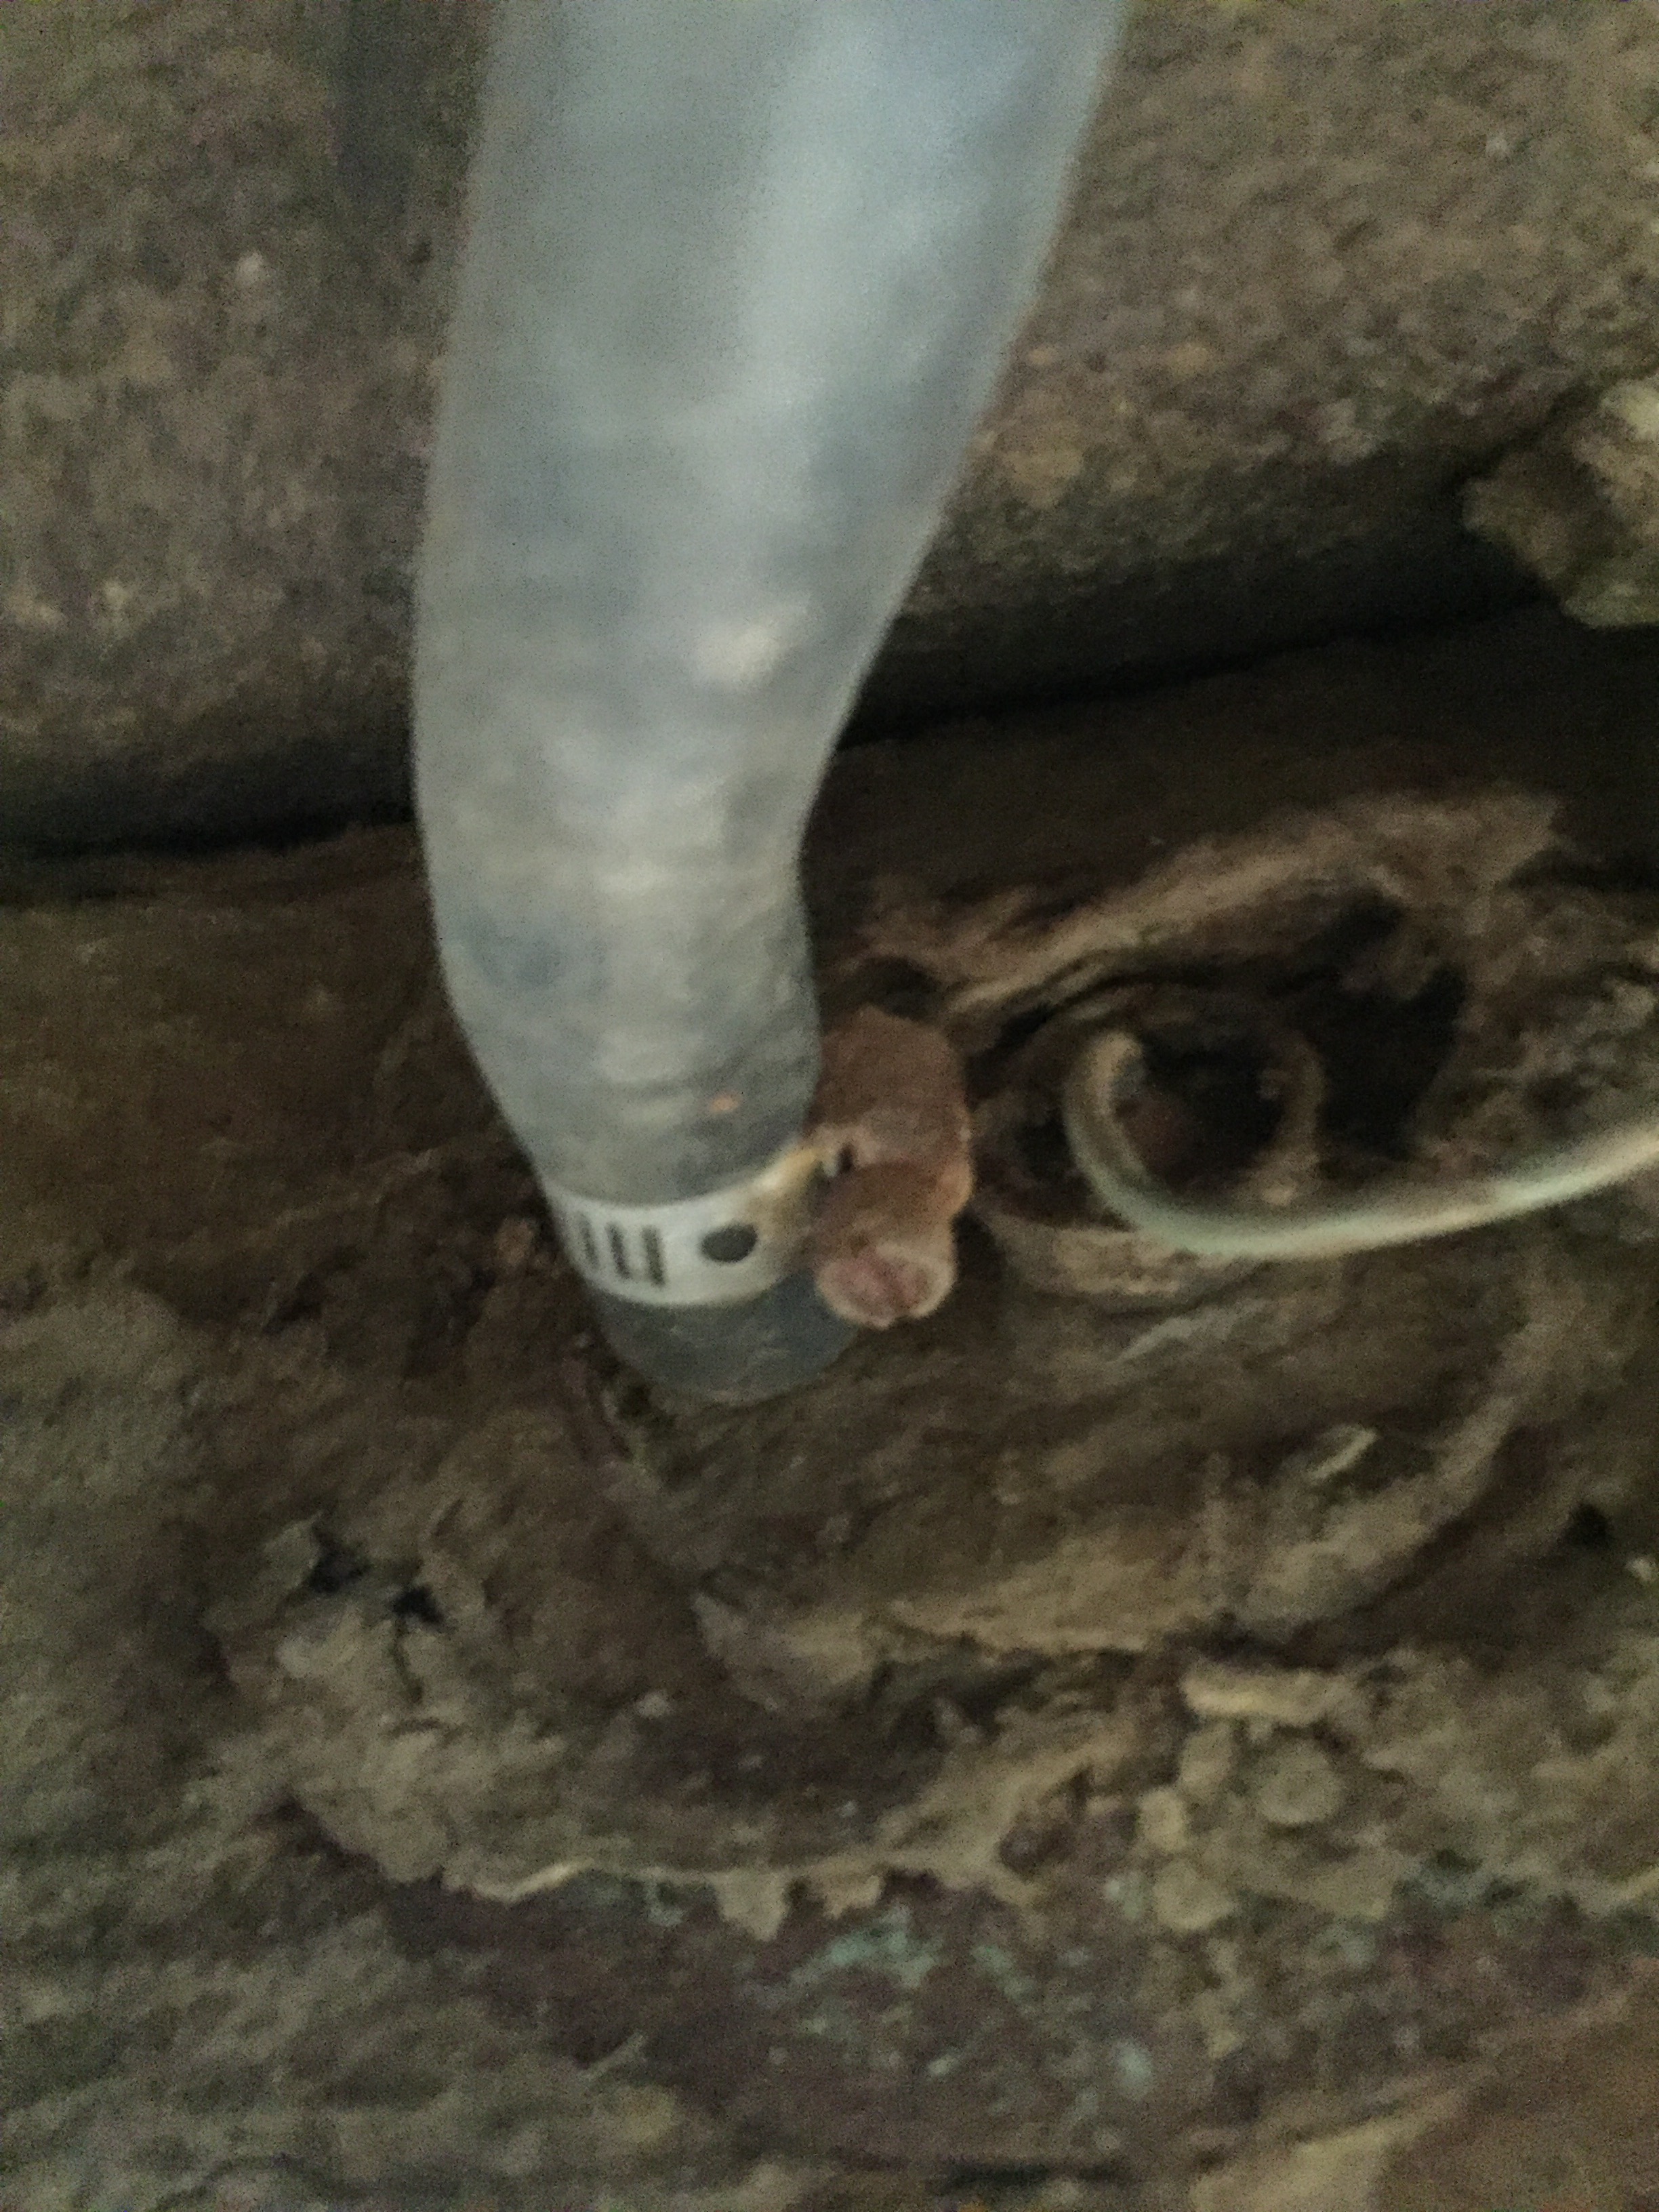
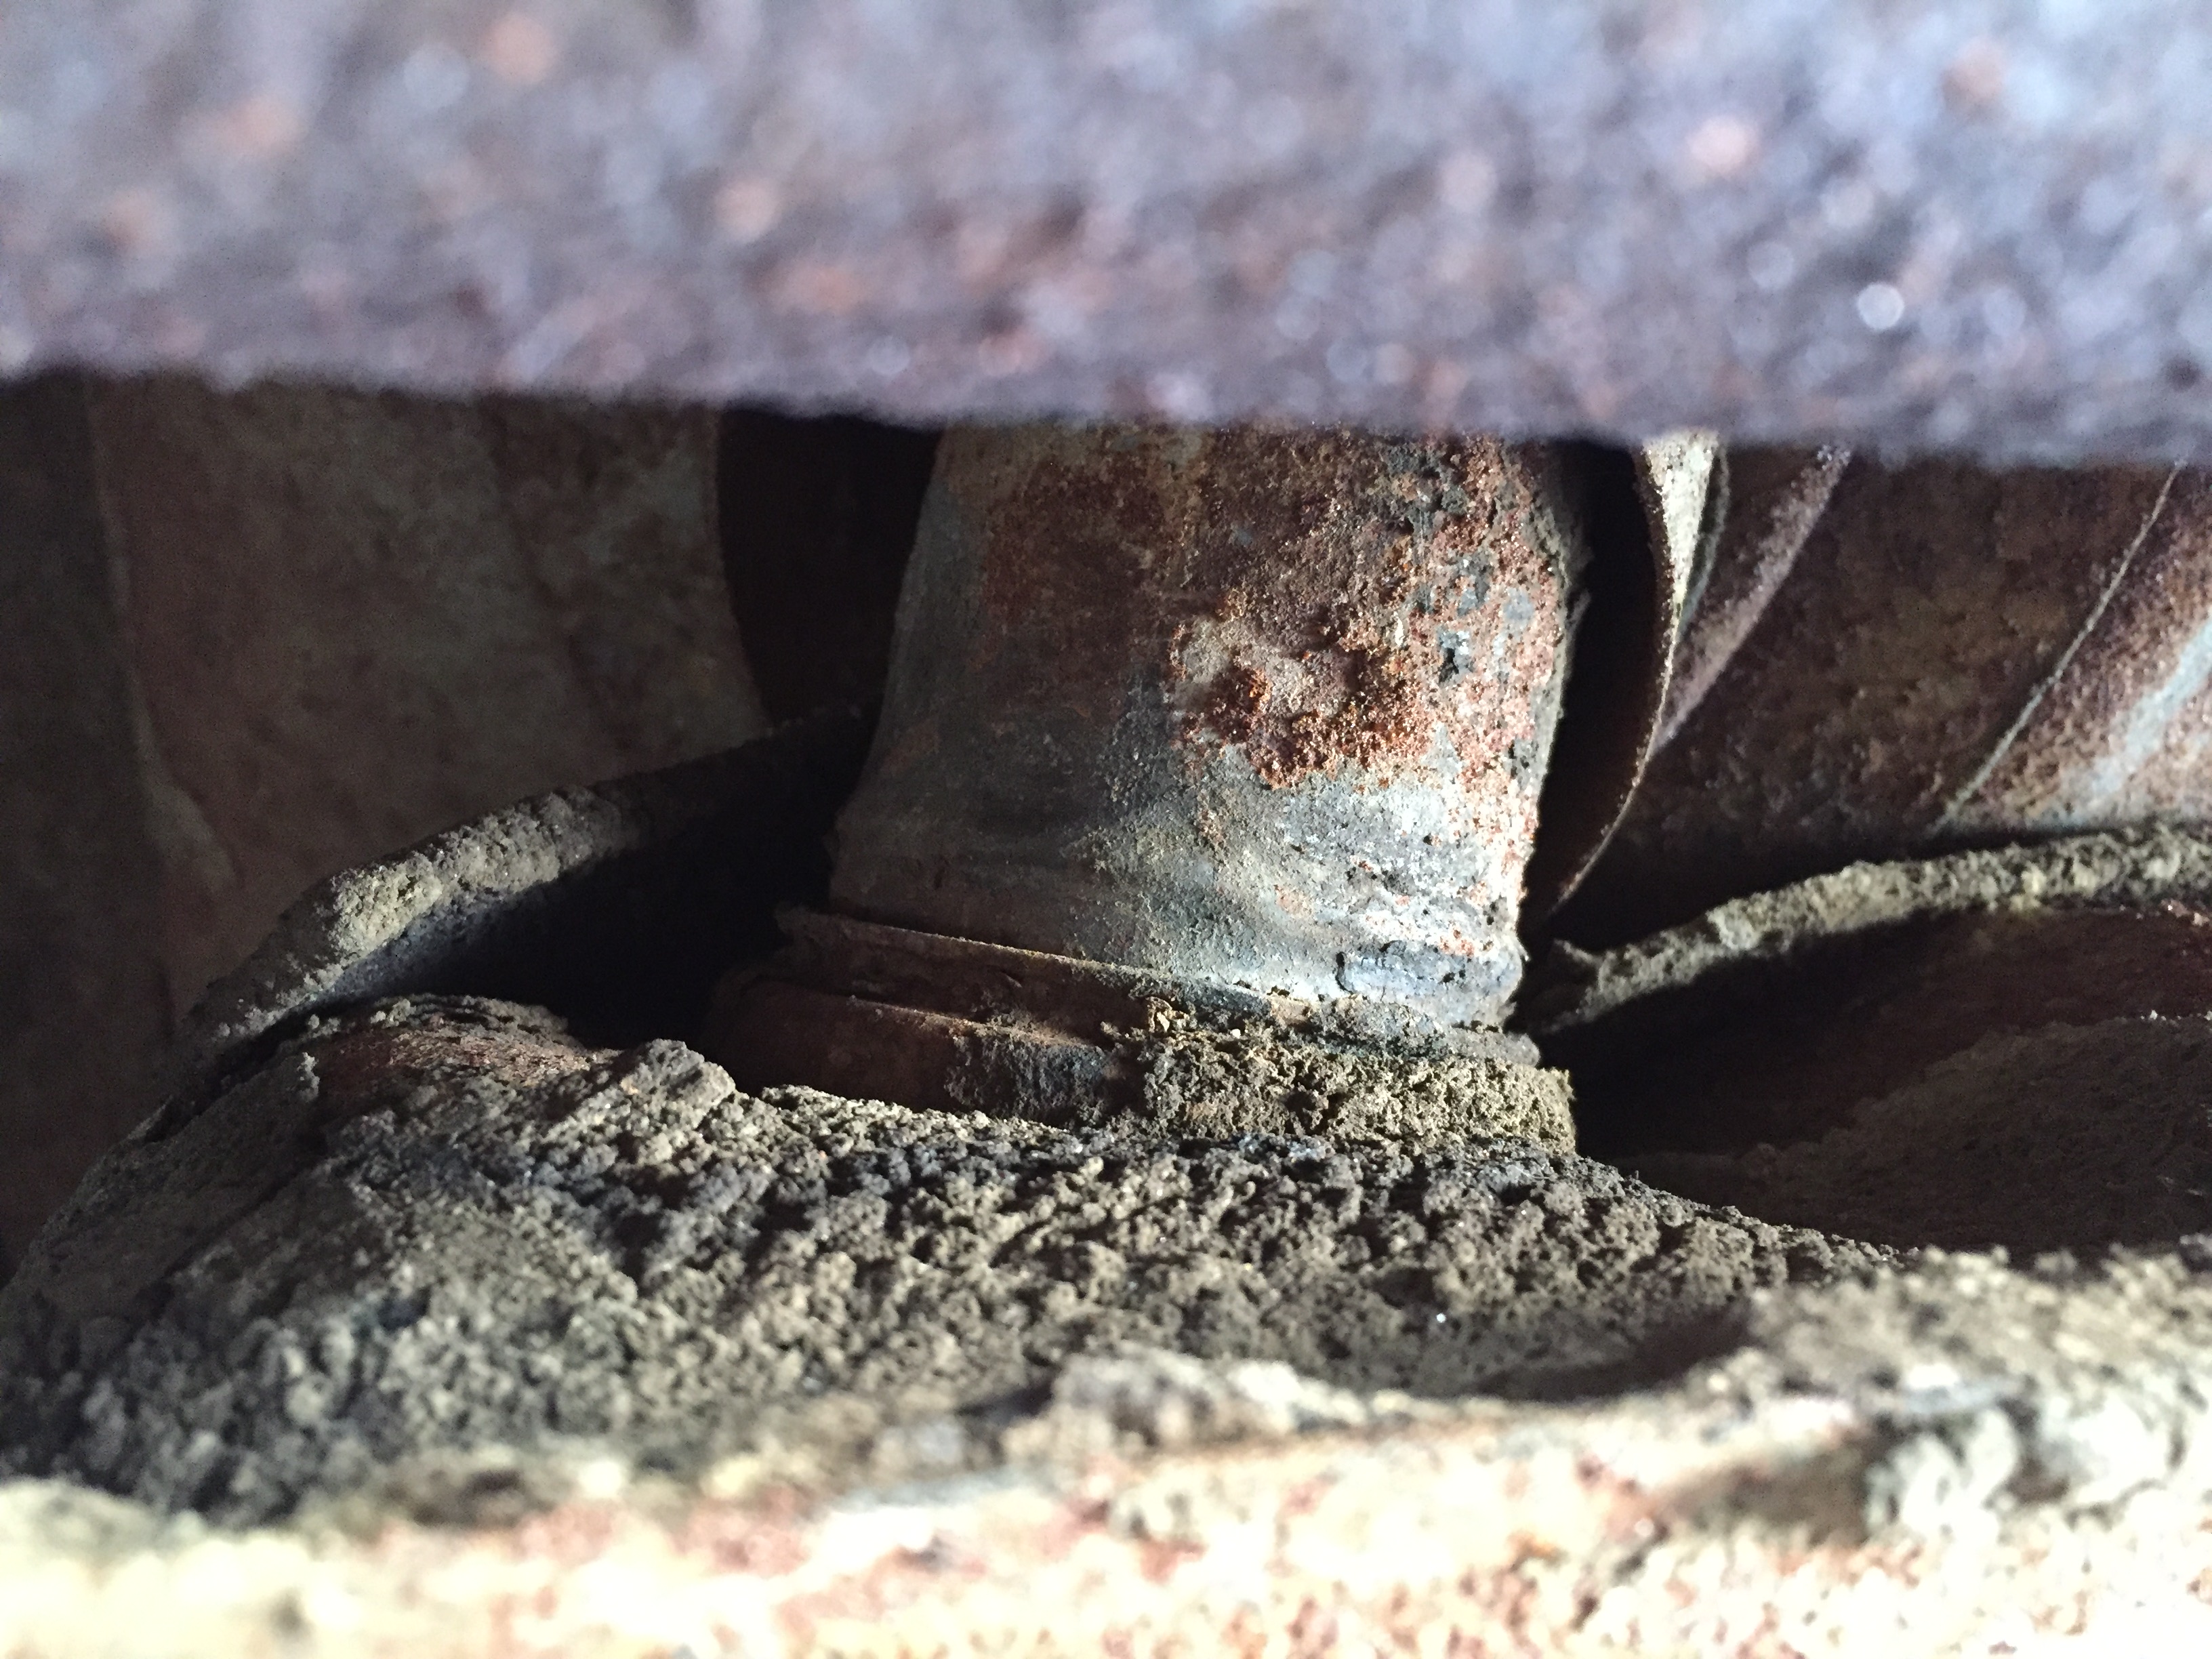
Dick, I saw where you advised Rob from Michigan:
I was thinking that with the gas tank drained, connections removed and straps removed - it might be possible to break the filler tube connection by twisting the tank. What are your thoughts about that? I think it’s going to be tight to get a strap around that tube.
While I was under there, I tore off a piece of the material between the tank and the trunk floor:
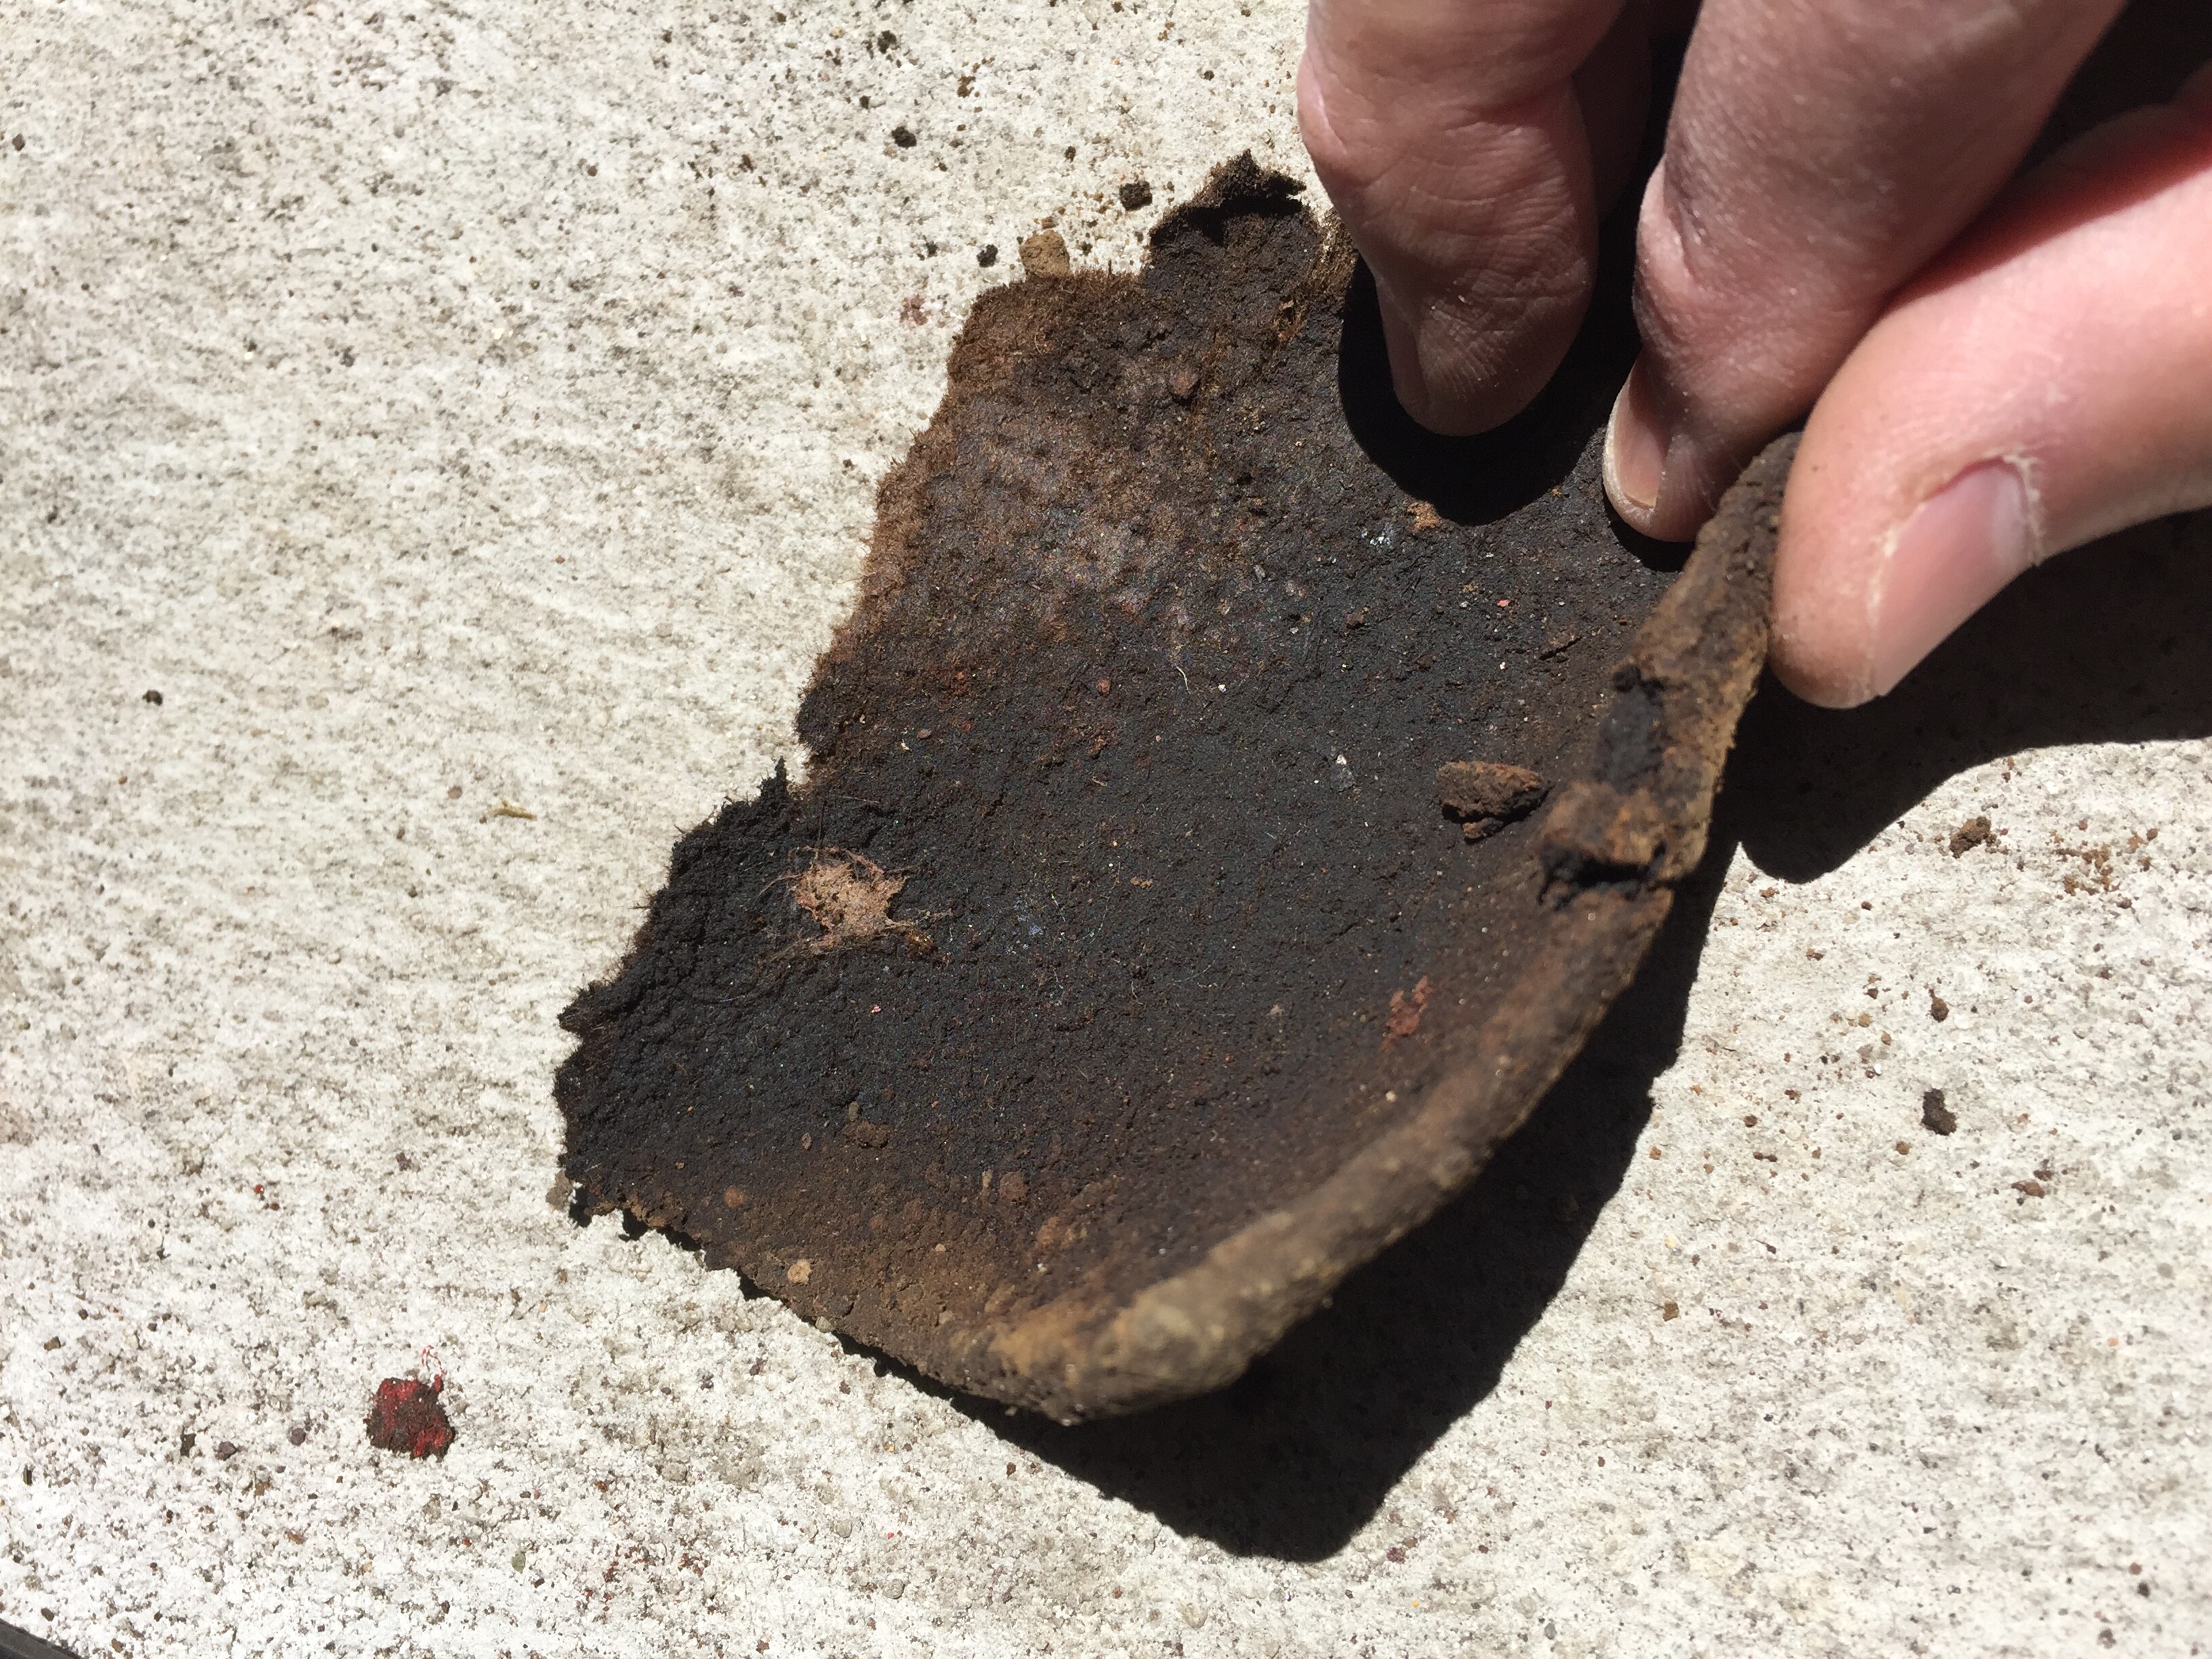
I like Dick’s idea of doubling up on roofing material for this - I think that should do nicely.
I first tried a small diamond blade cutoff wheel:
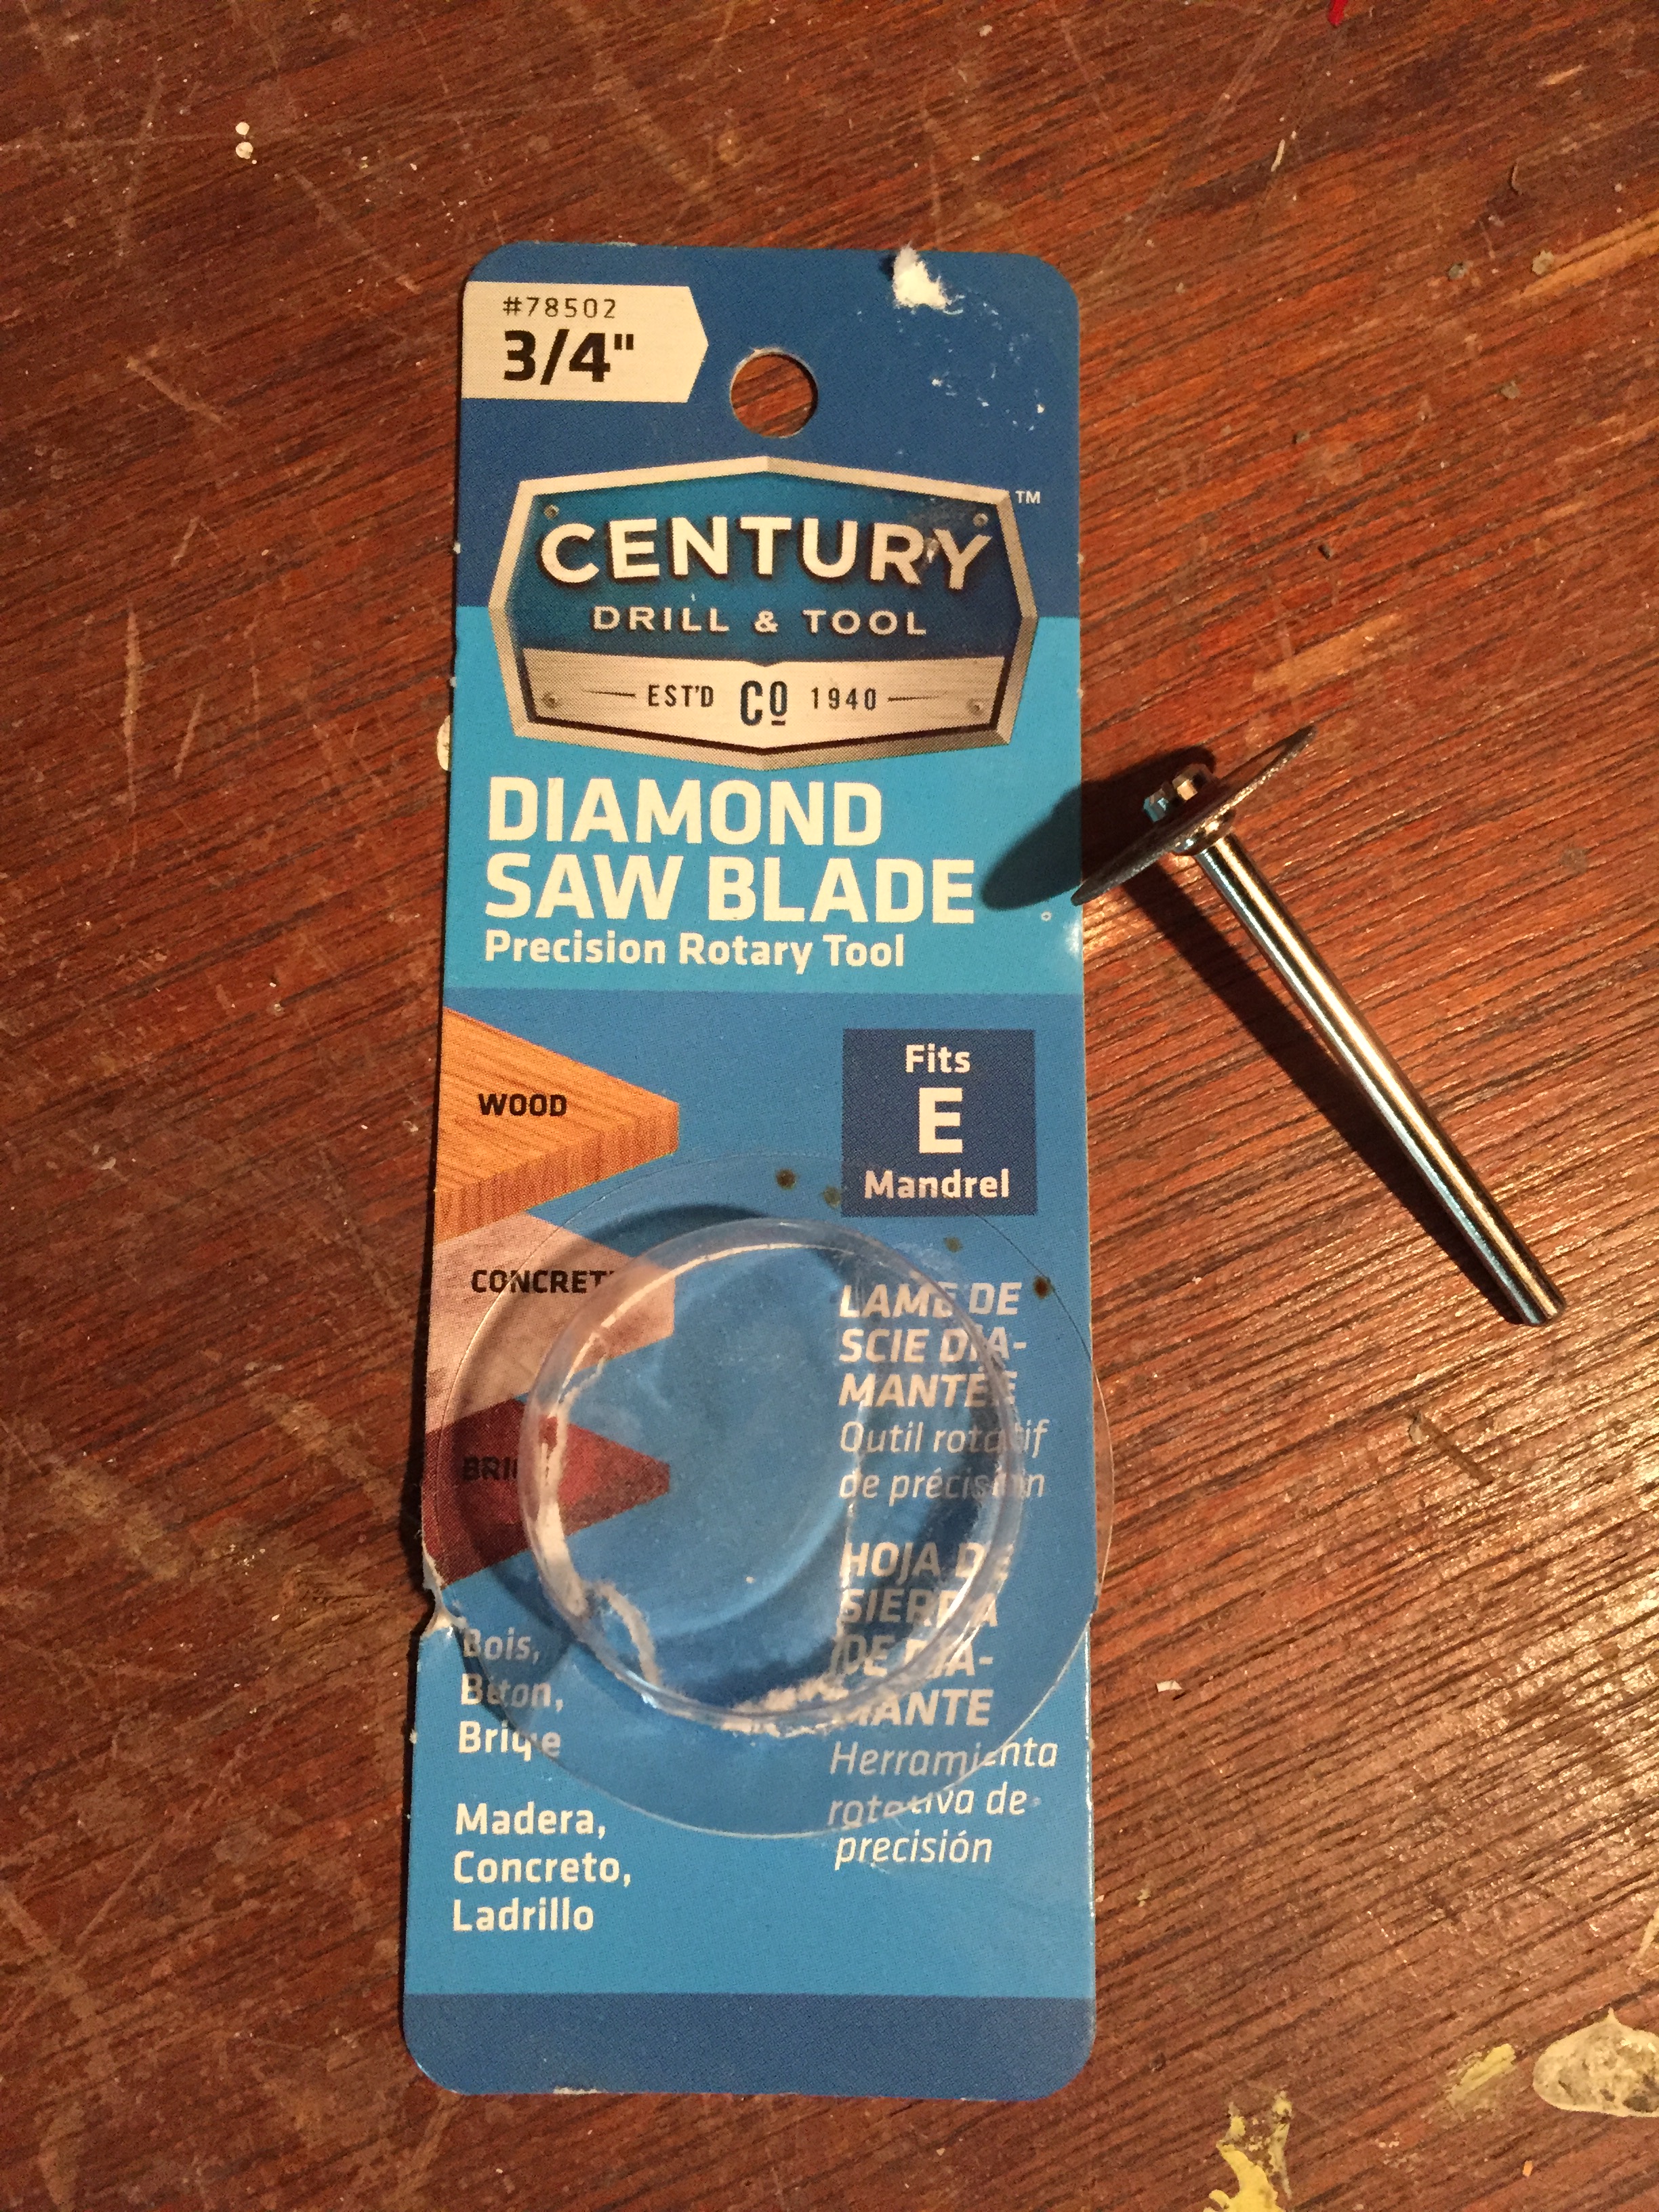

But, after I snapped that, I called out the big guns

That was the ticket. All it took was a steady hand and light pressure, and the nuts evaporated - to the level where I could work the thin remnant out with a screwdriver, and peel it off with vise grip pliers.


More caked Idaho desert dust, and some surface rust - and we know what I need to do for that.
Now I remember why I started this website - so I could get help with my own car!  Many thanks for the suggestion, Dick. I am so happy to have this piece of trim finally off the car, it’s been a struggle for many years.
Are you sure this trim piece can’t be saved? Perhaps I’ll send it to you via “Keij Express” so you can look it over. Judging from the miracles you worked with my other trim, I’m betting you can make something show worthy of this.

Dan the man, there is a 1 inch wide strap wrench that will fit. While you work the wrench get your vice president in charge of finance some nice leather gloves to work the other end. Twisting the tank may work you will need the VP to operate the strap wrench on the top end. It really is not as hard as you might think. The bottom lip of the trunk lid is notorious for rusting out and it looks like yours has a good head start. I would soak the area as good as you can with OSPHO let dry overnight.and then if possible use Eastwood encapsulator with the long 360 degree tube. Make sure the trim clip holes are sealed as good as you can with goop. Send the trim piece and l will give it a try.
Dick
Dan; I lifted the rear end up and dropped the tank out with the filler tube intact. Once on the ground just gave it A little wiggle and came right out. Mark
Dick - if Matthew finds a ticket for a reasonable price, it will be coming your way with the valance and splash shield, via Keij Express. Thanks!
Dan

Of course! Since my plan is to drop the tank, and not simply replace the grommet - if I drop the tank sideways (along the direction of the filler tube), the whole durn thing will come out, and I can work it out on the ground.
Thanks Mark!
Dan
I also prefer to drop the tanks with the rear of the car jacked up, then remove the filler tube. Some also have a clamp that must be removed, others the tube is held in by the o-ring alone. Best if the tank is emptied or nearly empty, as the o-ring neck is soldered into the tank body, and excessive sideways force will break the solder joint.
—John
Well, it turns out I didn’t need a strap around the tube - nor, did I drop the tank before I removed the tube! Here’s the sordid tale.
I pried out the upper seal under the gas door. 57 years of caked Idaho desert dirt! Cleaned up nicely, though…

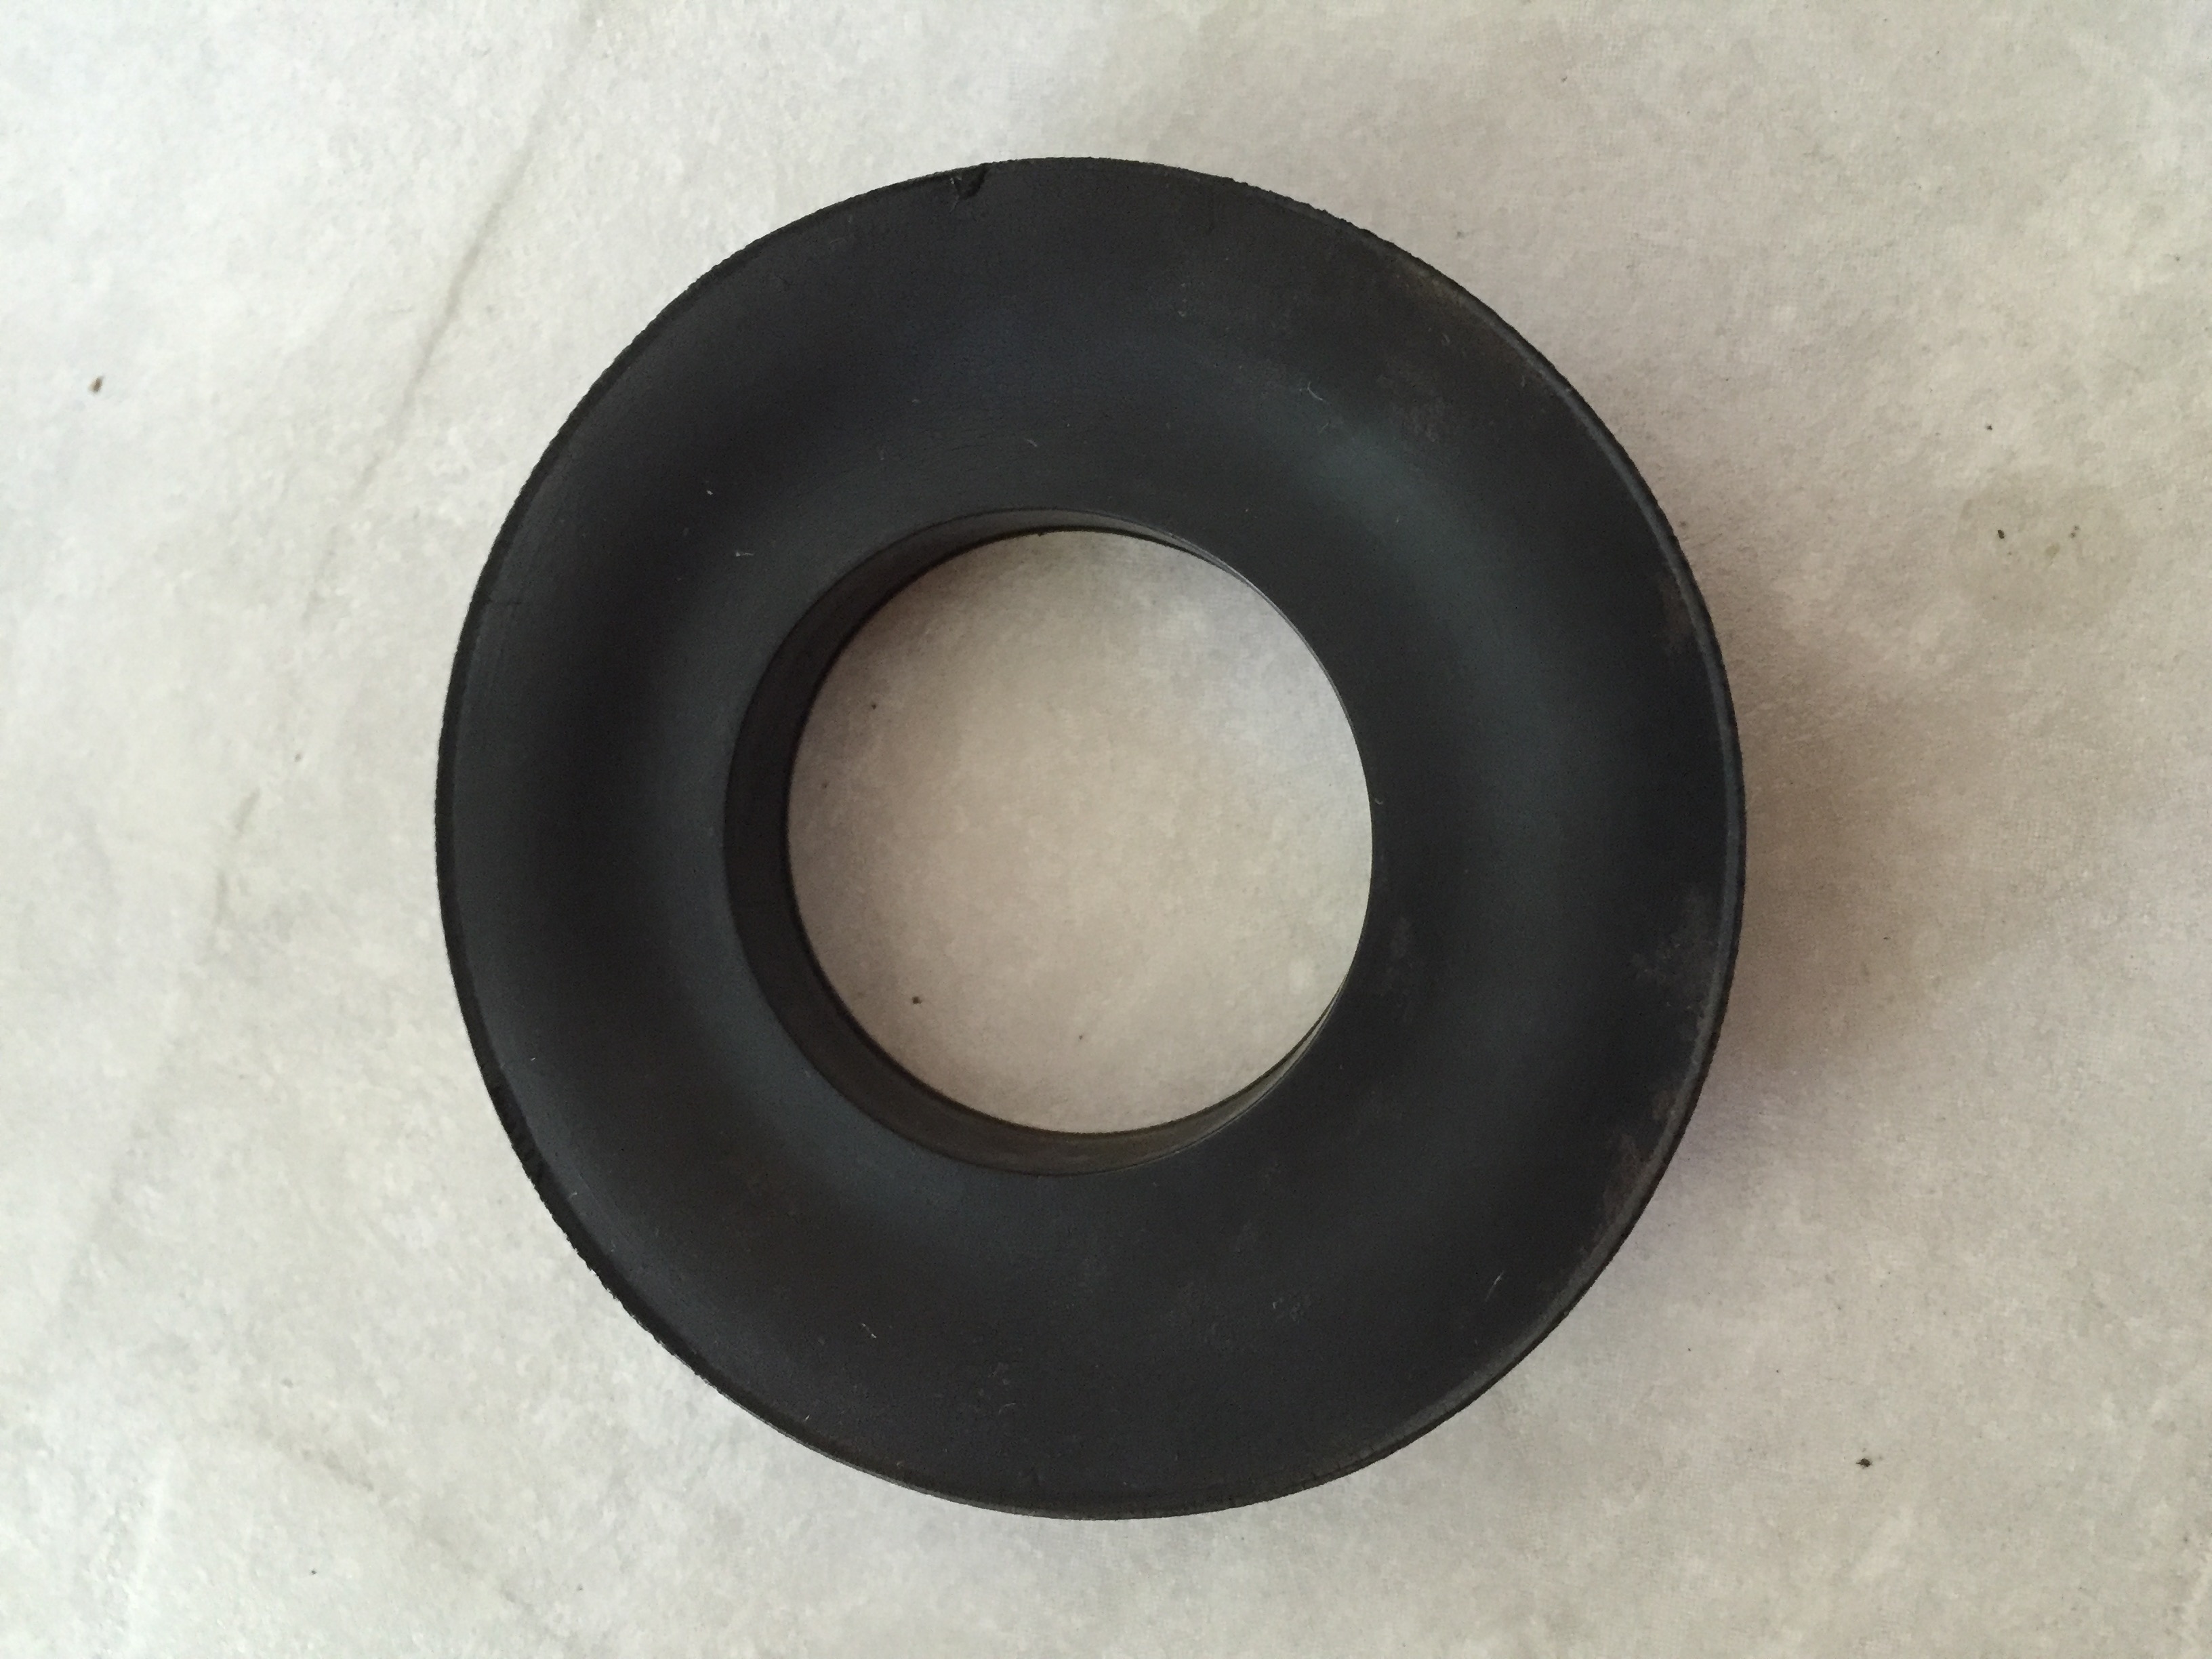
Next, to empty as much gas as I can. Hey, I haven’t done this since high school!
…er, that is, I remember a buddy of mine doing it in high school 

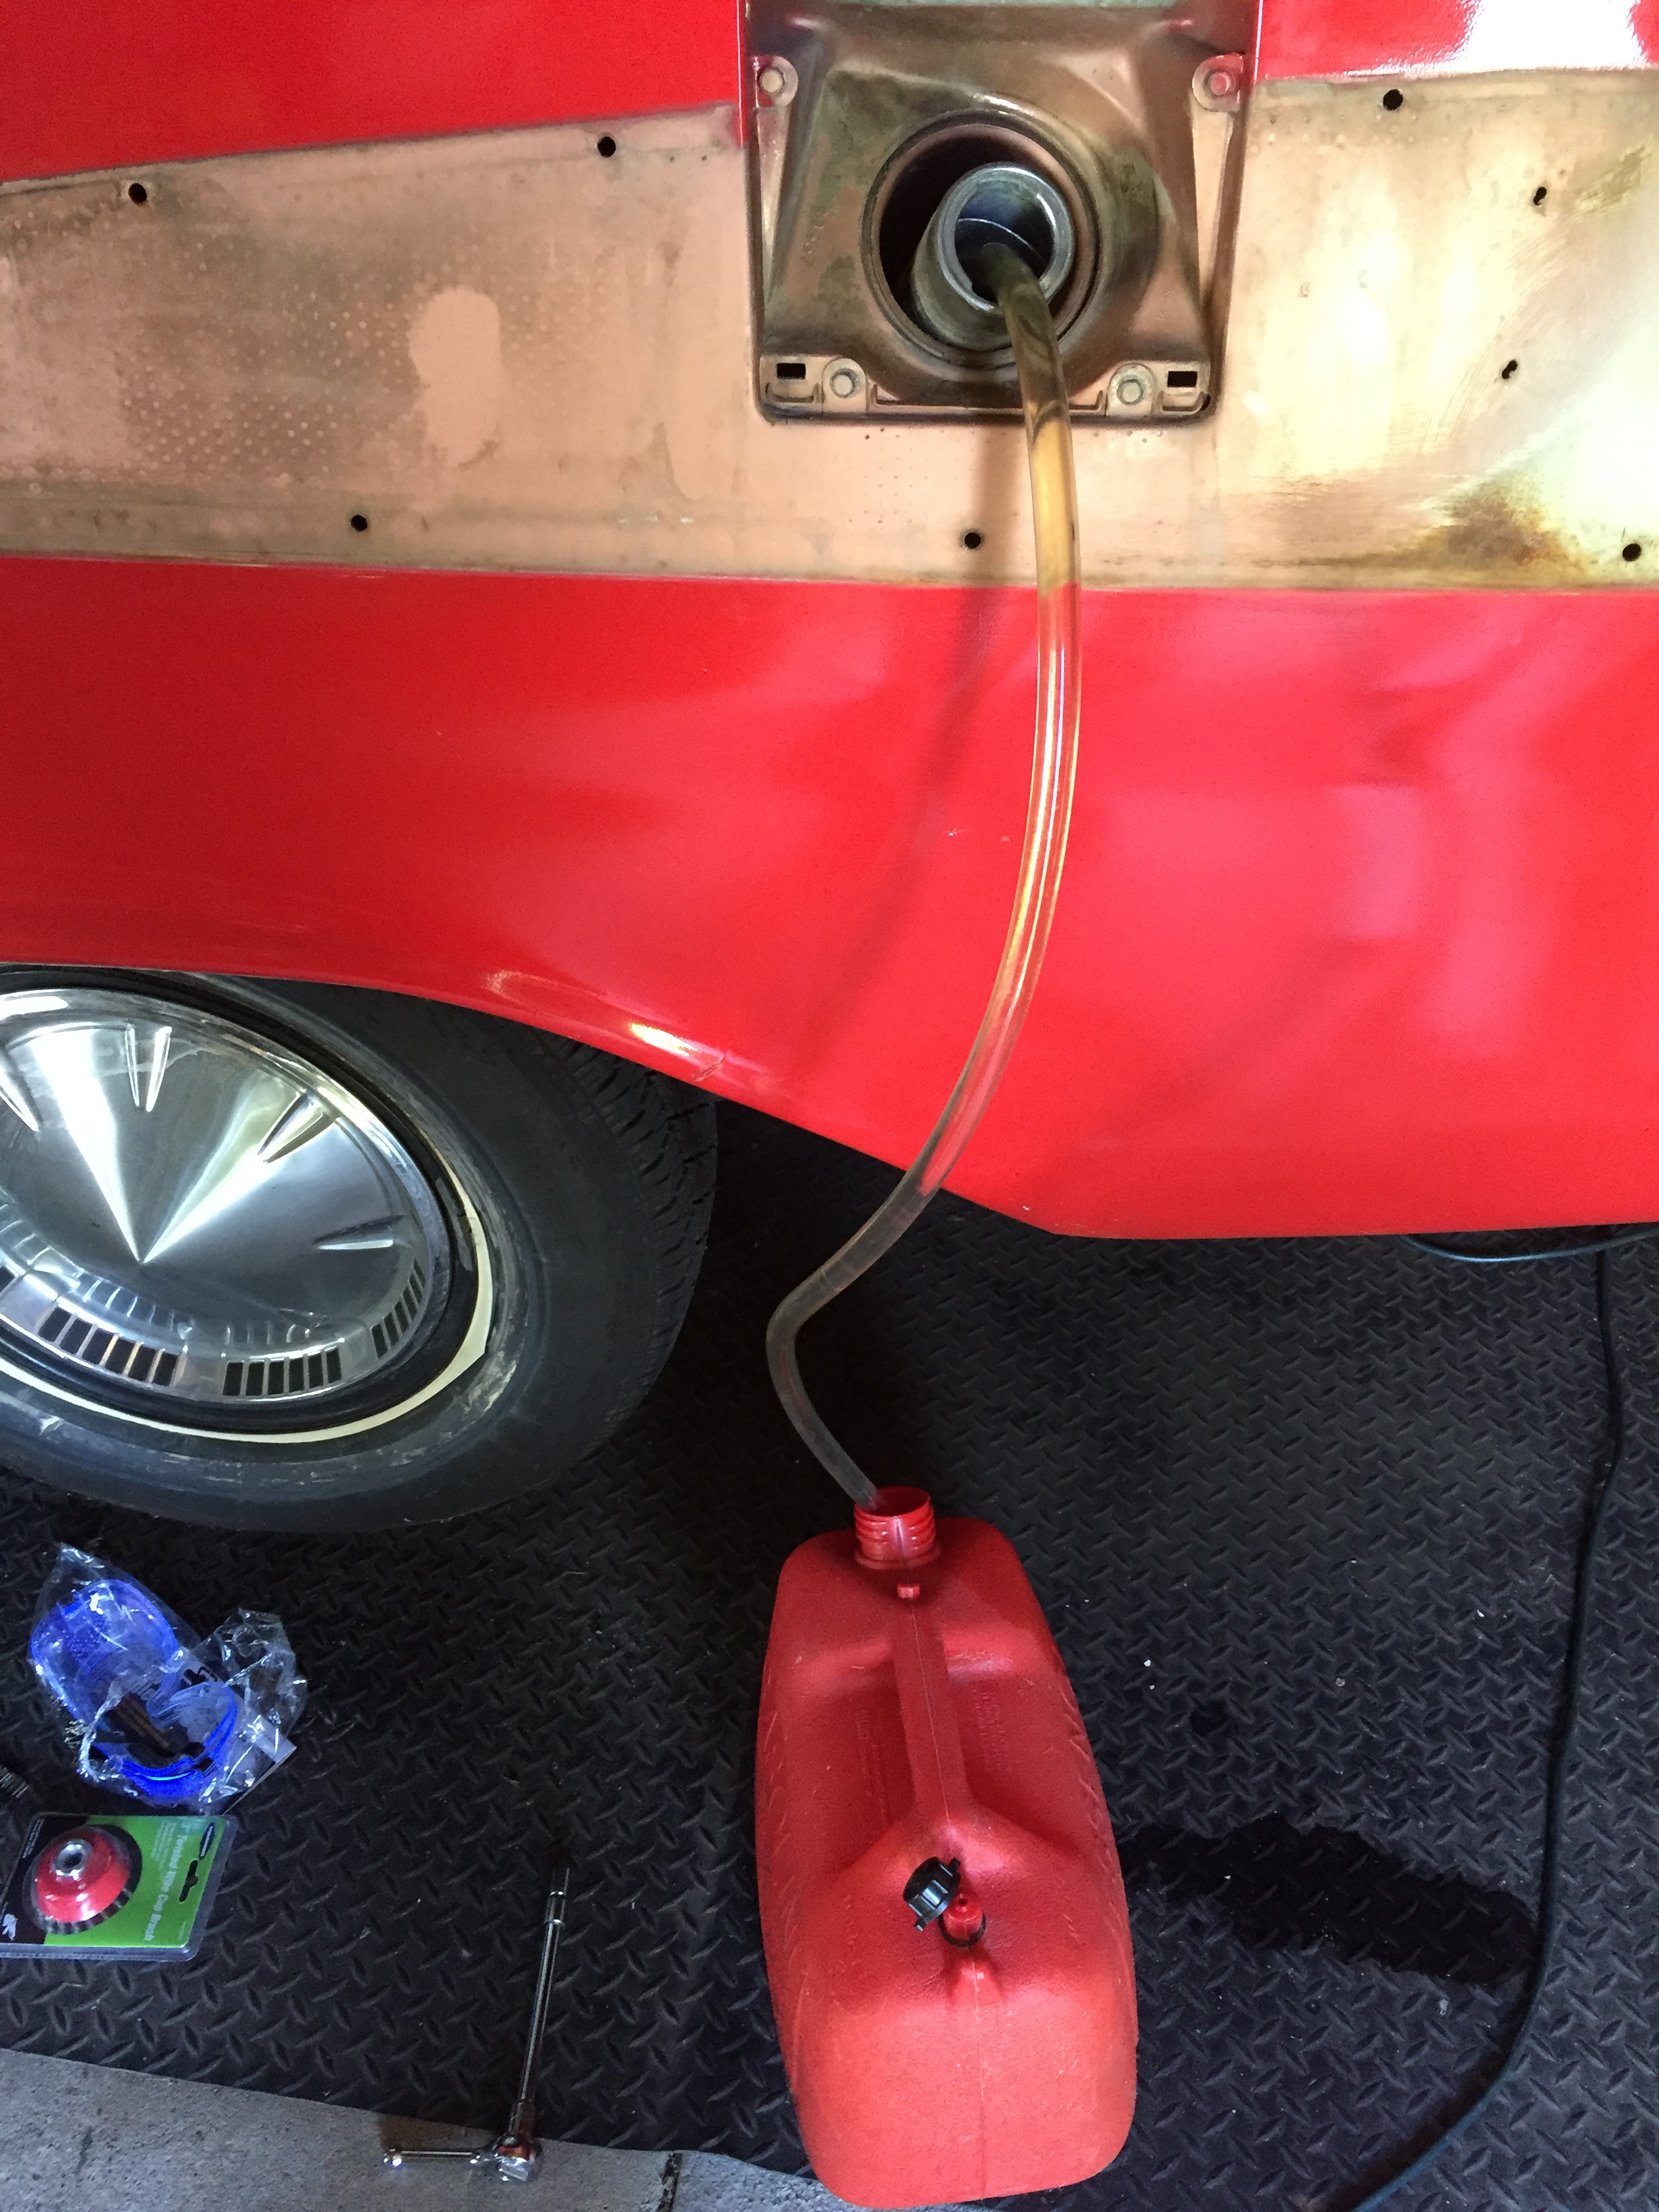
When I got air in the line, I assumed it was mostly drained. I then backed off the nuts on the straps - with the straps still in position, I lifted the tank to judge its weight. Oh no  There’s still too much gas in there. Danke Gott for my Harbor Freight floor jack! I wedged a board up against the tank with the jack as centered as I could judge, and removed the straps. Doncha know, the filler tube popped out enough for me to get a handle on it, and easily twist it right out:


Then, with one hand on the tank for balance, I sloooooowly lowered the floor jack down until the tank was on the ground.

I was able to get the tank to high ground where I could tilt the gas to the corner, and siphon most of it out. The rest went to weed treatment along the side of the garage.
Wow! Talk about grungy and beat up on the outside. The inside is clean as a whistle though (although this picture doesn’t show it well), and the sending unit looks great. Even the tank grommet was in great shape and very pliable! It must have been replaced somewhere along the line here, perhaps when they patched the trunk.


What’s left of the pad between the tank and the trunk
I cleaned the caked mud off of the sending unit area, and hand wire-brushed it - It looks clean, but perhaps not clean enough. I gave a couple taps to the tabs using a rubber mallet with a screwdriver, but it doesn’t seem to want to budge. If I don’t care about salvaging this tank (and I do intend to replace it, it would only be for someone else) I could bend up the keepers. Anyone have any thoughts here?

Man, take good care of that sending unit, the price on them has sky rocketed. The mallet as in rubber is the problem, use a claw or ball pin hammer and give it several good whacks. The ring is easily replaceable but bending the keepers is a no no. If I’m not mistaken the ring and gasket for the sending unit can be had at NAPA.
Dick

Where did you get that sissy looking hammer. Jeeez!!!
Dick
Harbor Freight, where else?! I’m addicted now, just like you.
Dan; just be careful cleaning/wire brushing,will produce sparks. tank is empty but fumes are still present.wash it out with soapy water,tipped it on end ,stuffed large rags in it,there is room when you get the sender out,let it set and air dry for A couple of days. It is good the inside is clean,sounds like it just needs A clean up. Mark
Dan also when you get the new sender match it up with the old one to compare the float level/arm bends etc. so it will read correct on the gage and will be the same as the old one when you install the sender,and also use A little lube on the o ring/band slips easier when you install it.Sometimes the arm is bent A little different. Also you may need A mounting strap bare spot or A separate ground wire as the original grounds with tank to body just saying cause it’s getting painted.It will need to have A good ground. Mark
Thanks, Mark - the sending unit is actually fine, it’s the tank that - while spic and span on the inside - is beat to hell on the outside:
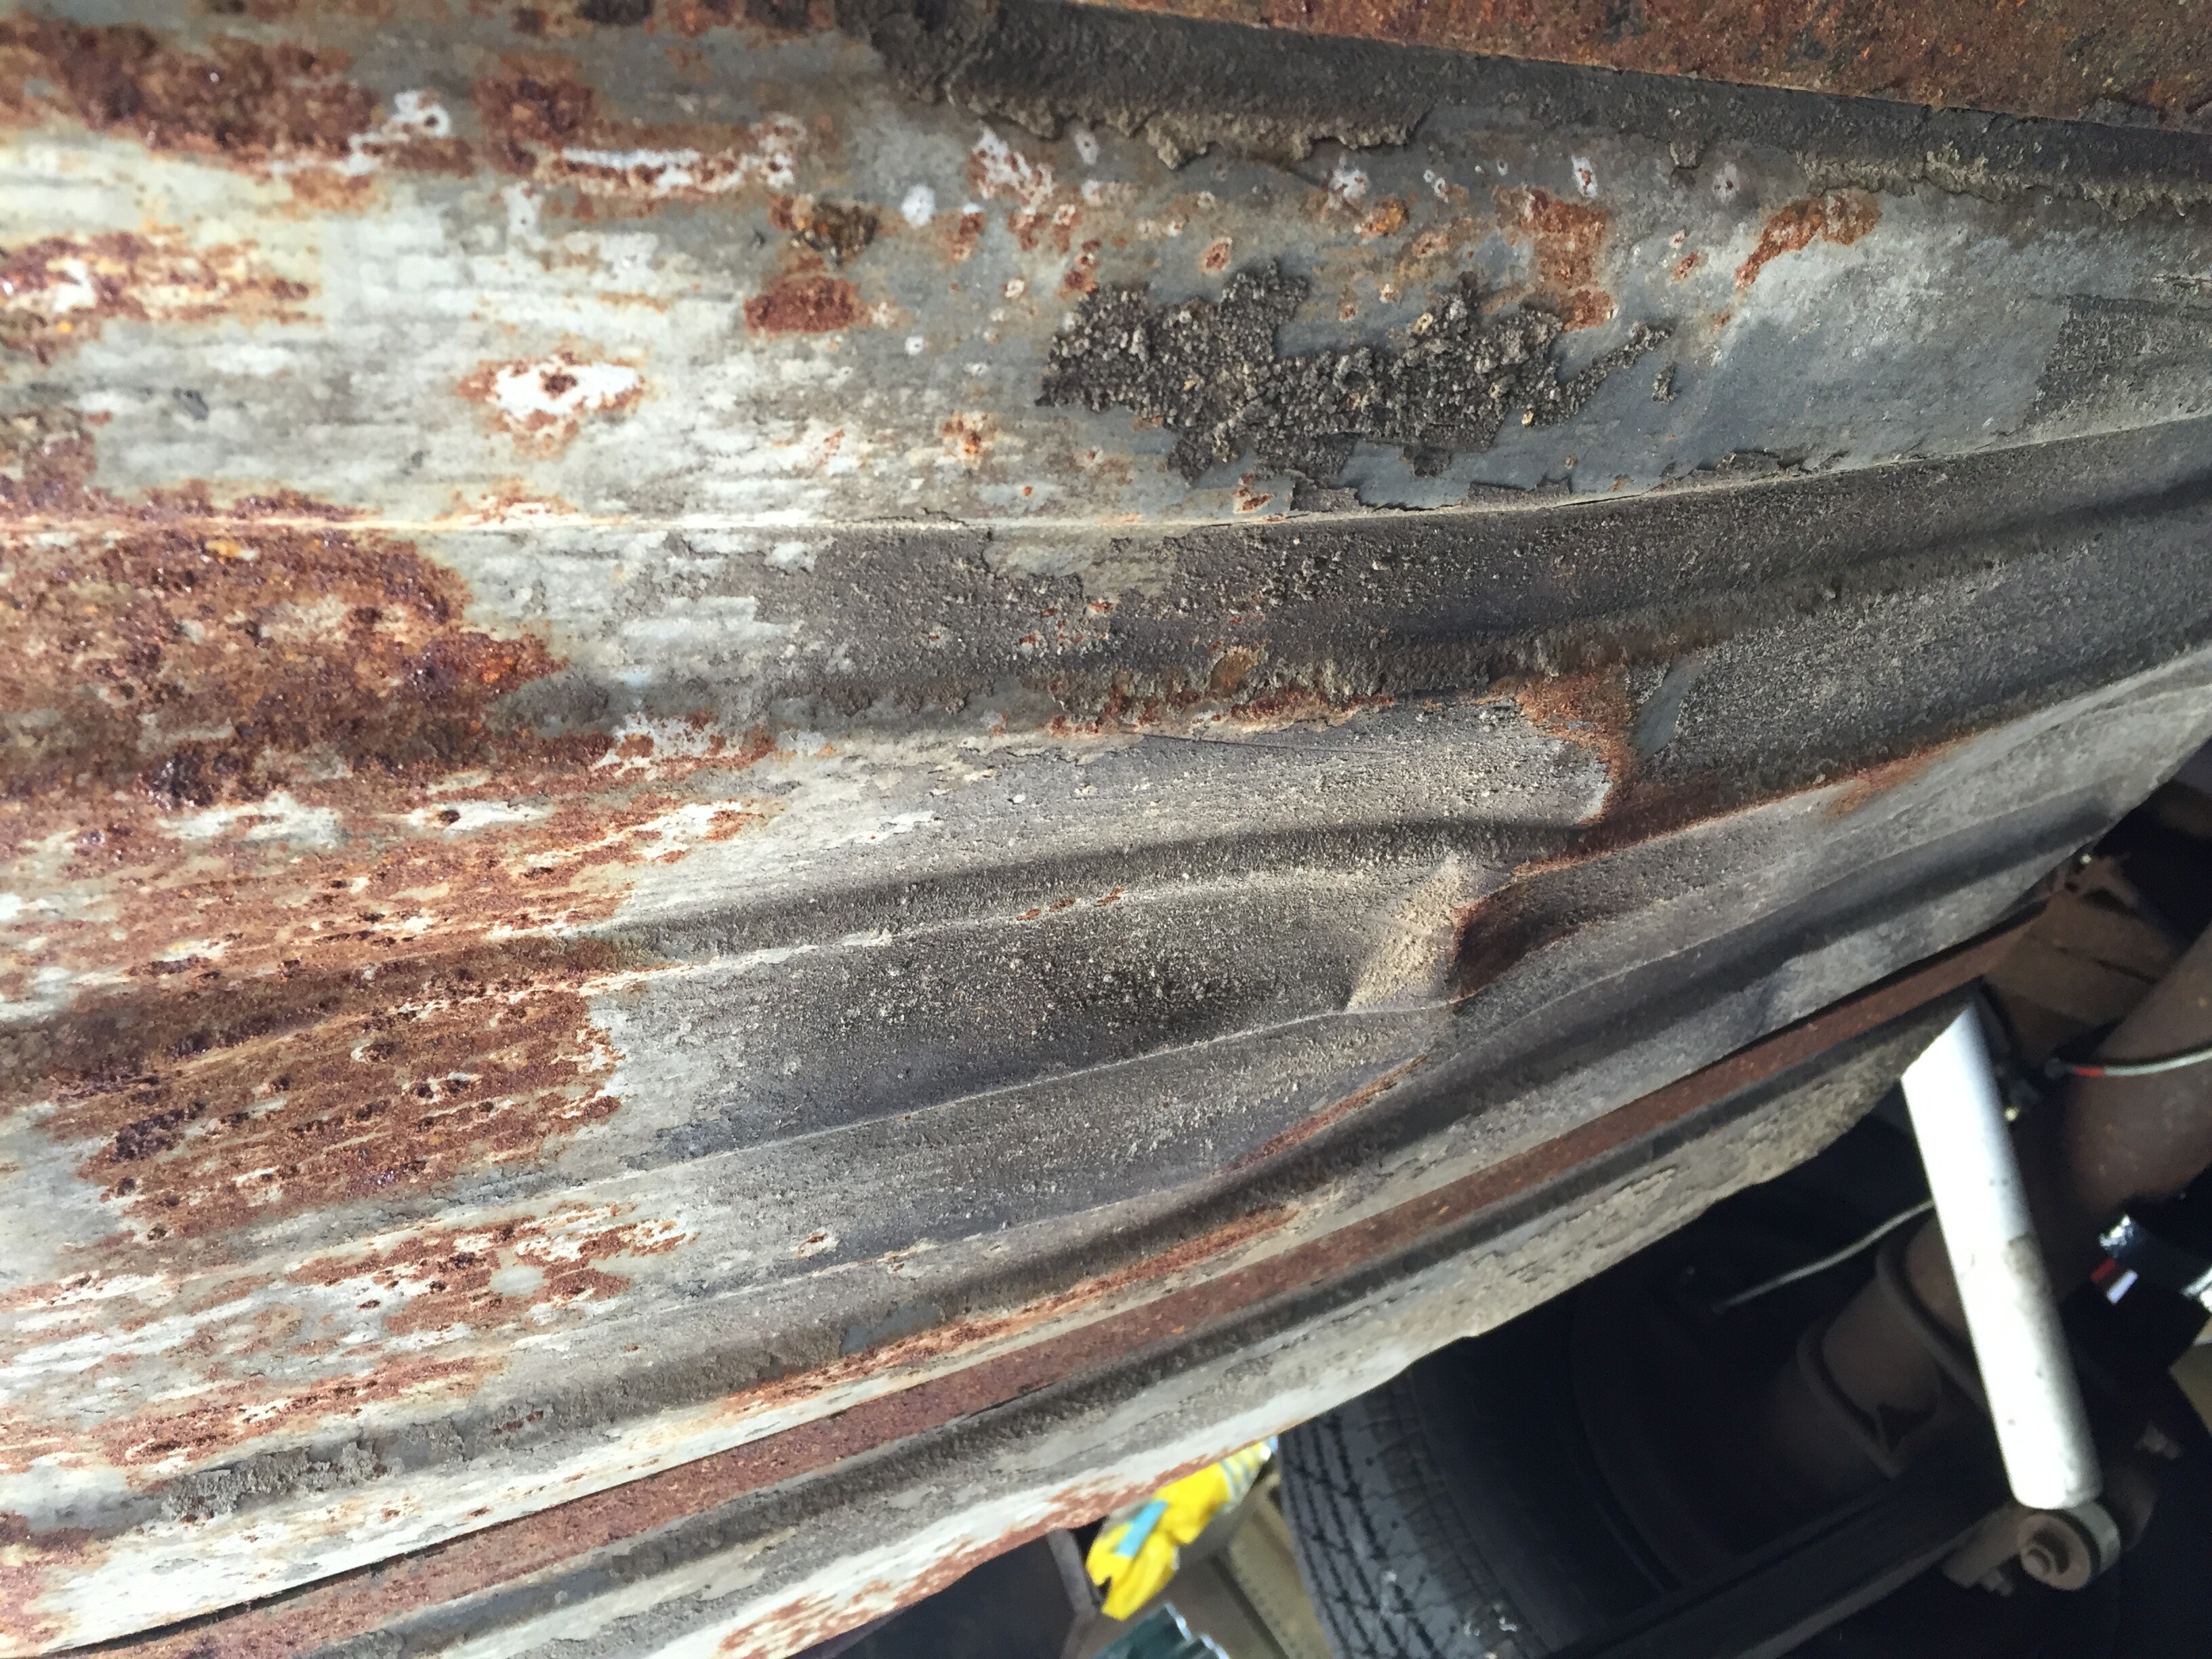
It’s got a couple of nice creases in it. And while I didn’t take a picture, one upper corner is whacked in. I can’t see trying to save this, when for $275 I can get a repro from Van’s Auto, and that’s before the discount they offer if you pick it up at Carlisle.
Dan; That’s A good deal. My tank was good but my sender was gone. Straps and bolts were good as well. Mark