Yeeeeaaaa!!!
D*mn! Am I slow on the uptake. Fershur, if Matthew drives down with the valance and splash pan, that cuts the shipping charges in half. "Cept, we have to factor in cheesesteaks 

Works for me, if it works for you Dick!
Dan
Dan - What l meant was would what l said get him to post the pictures. Yes shipping with Matthew works for me.
Dick
T.W. Sam found his way out to the garage today, and took off the valance and splash pan. Now Faulkner looks completely toothless:
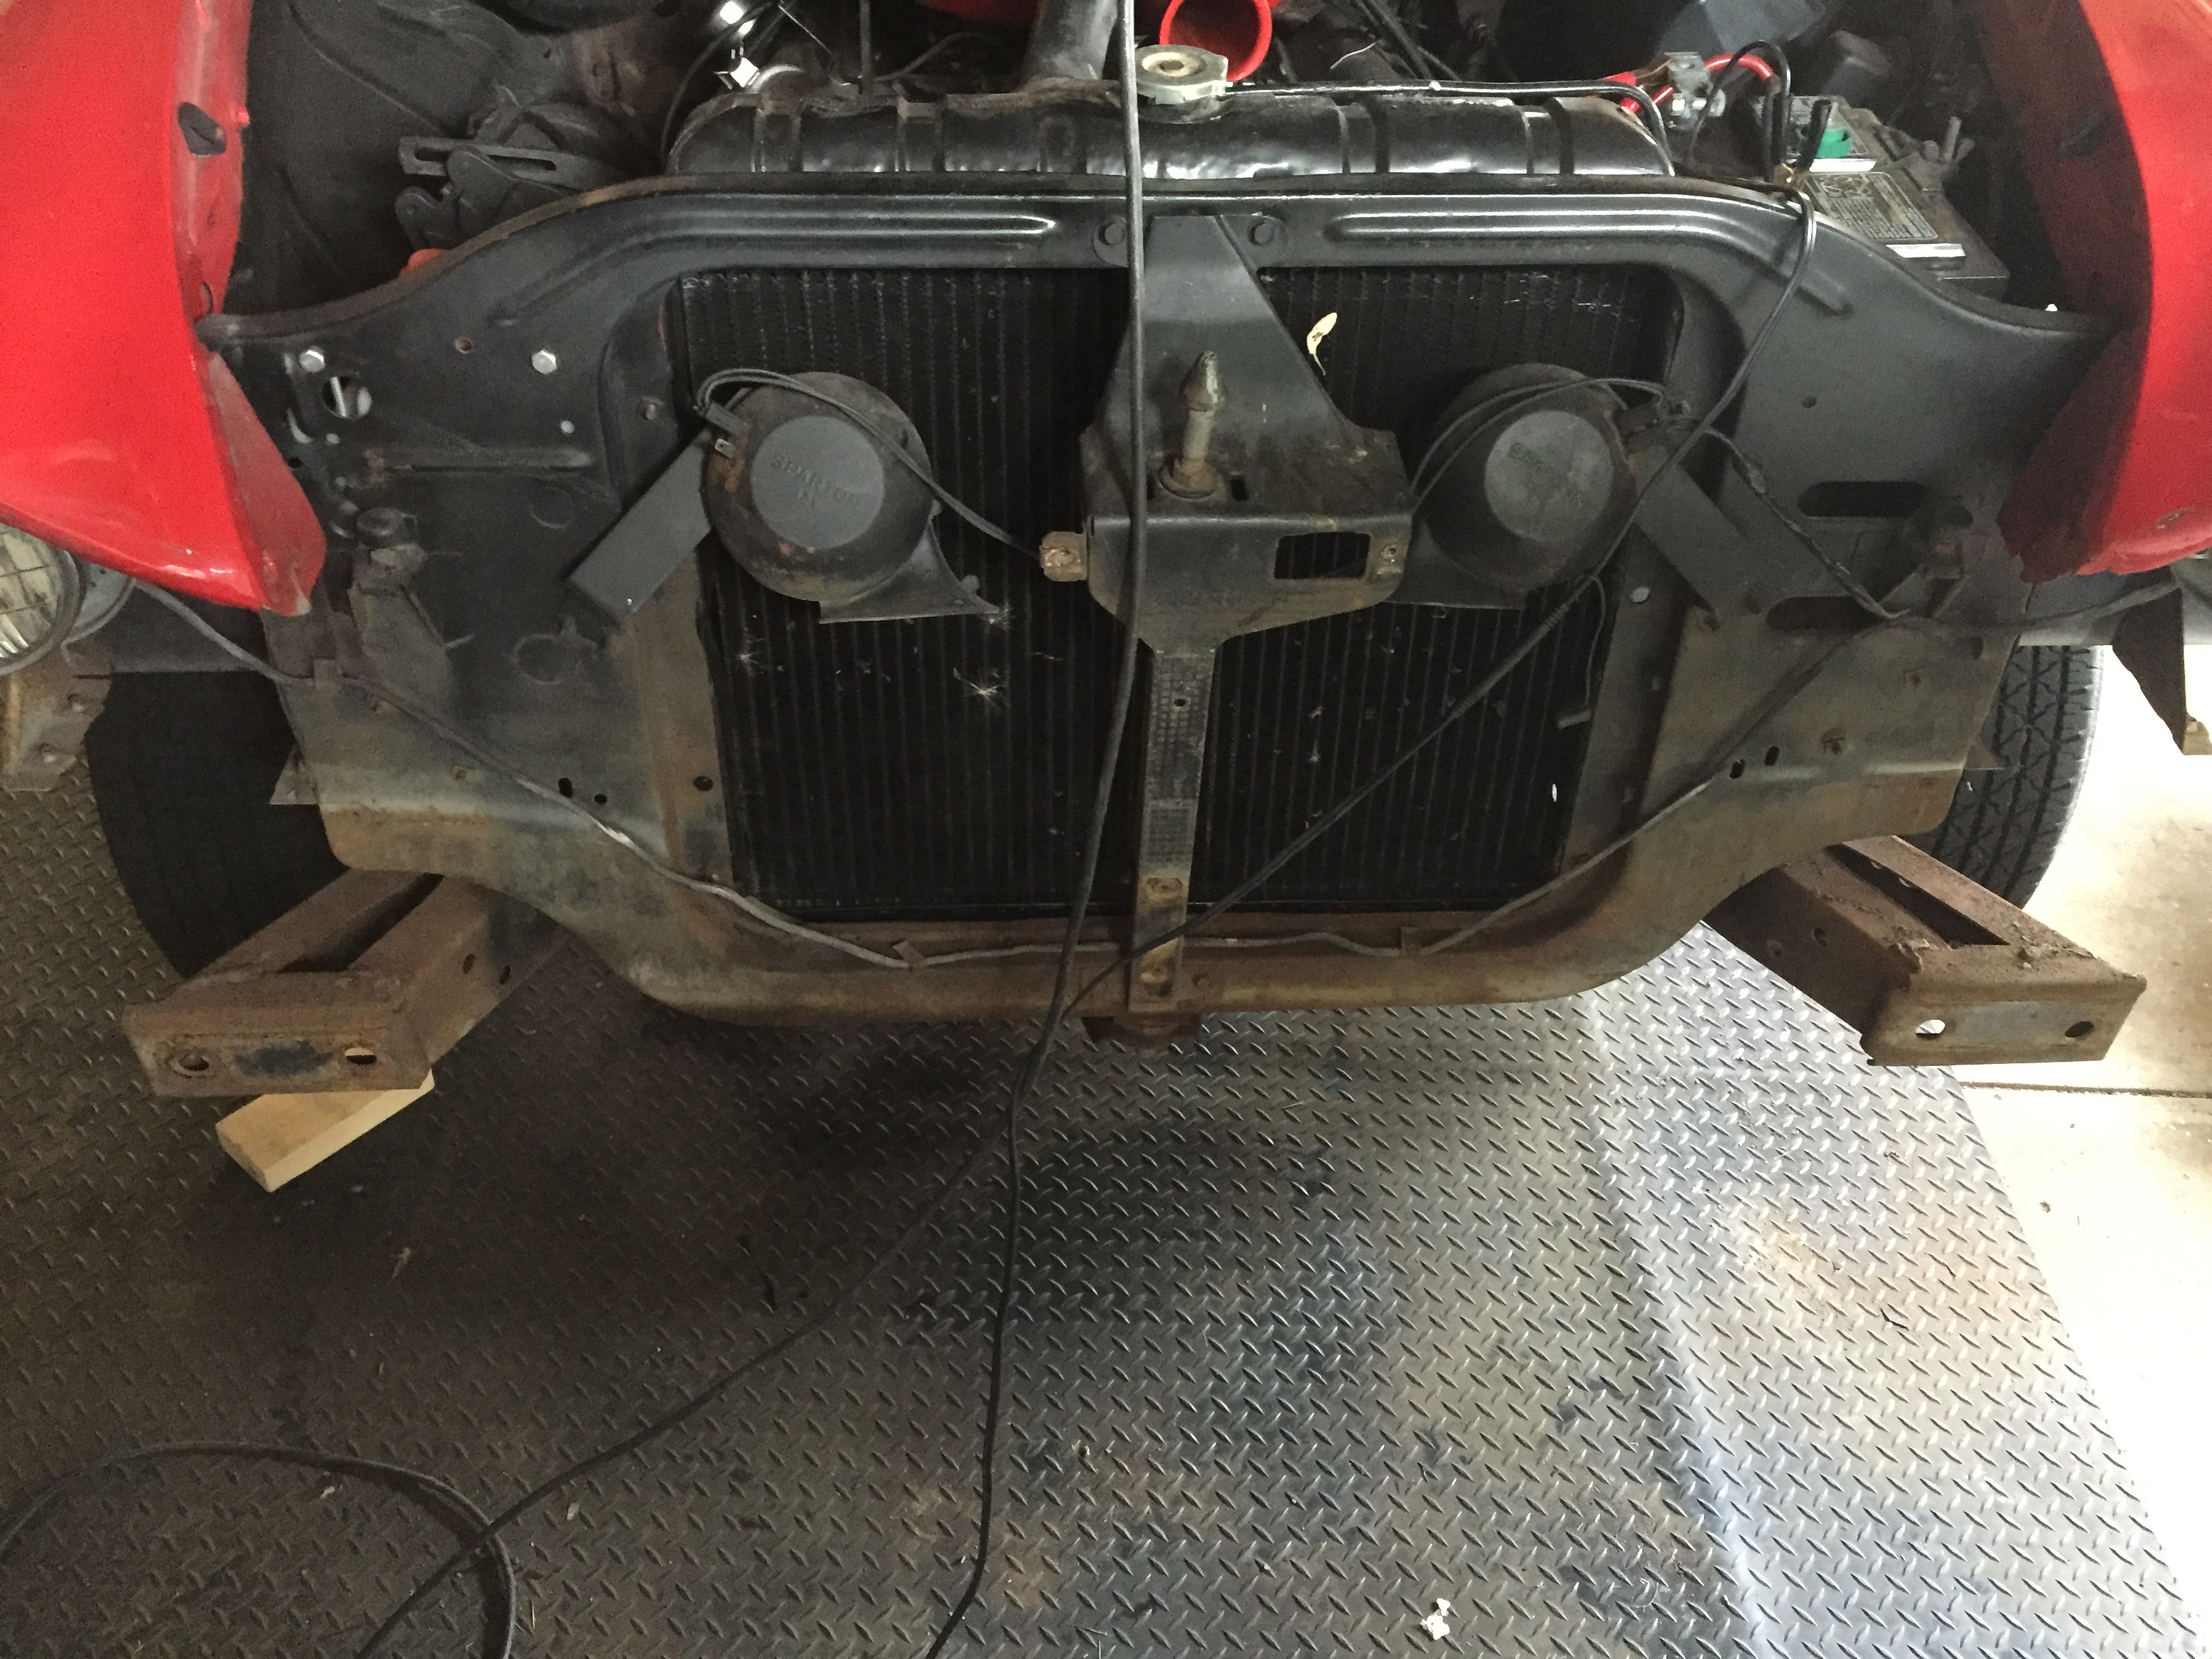
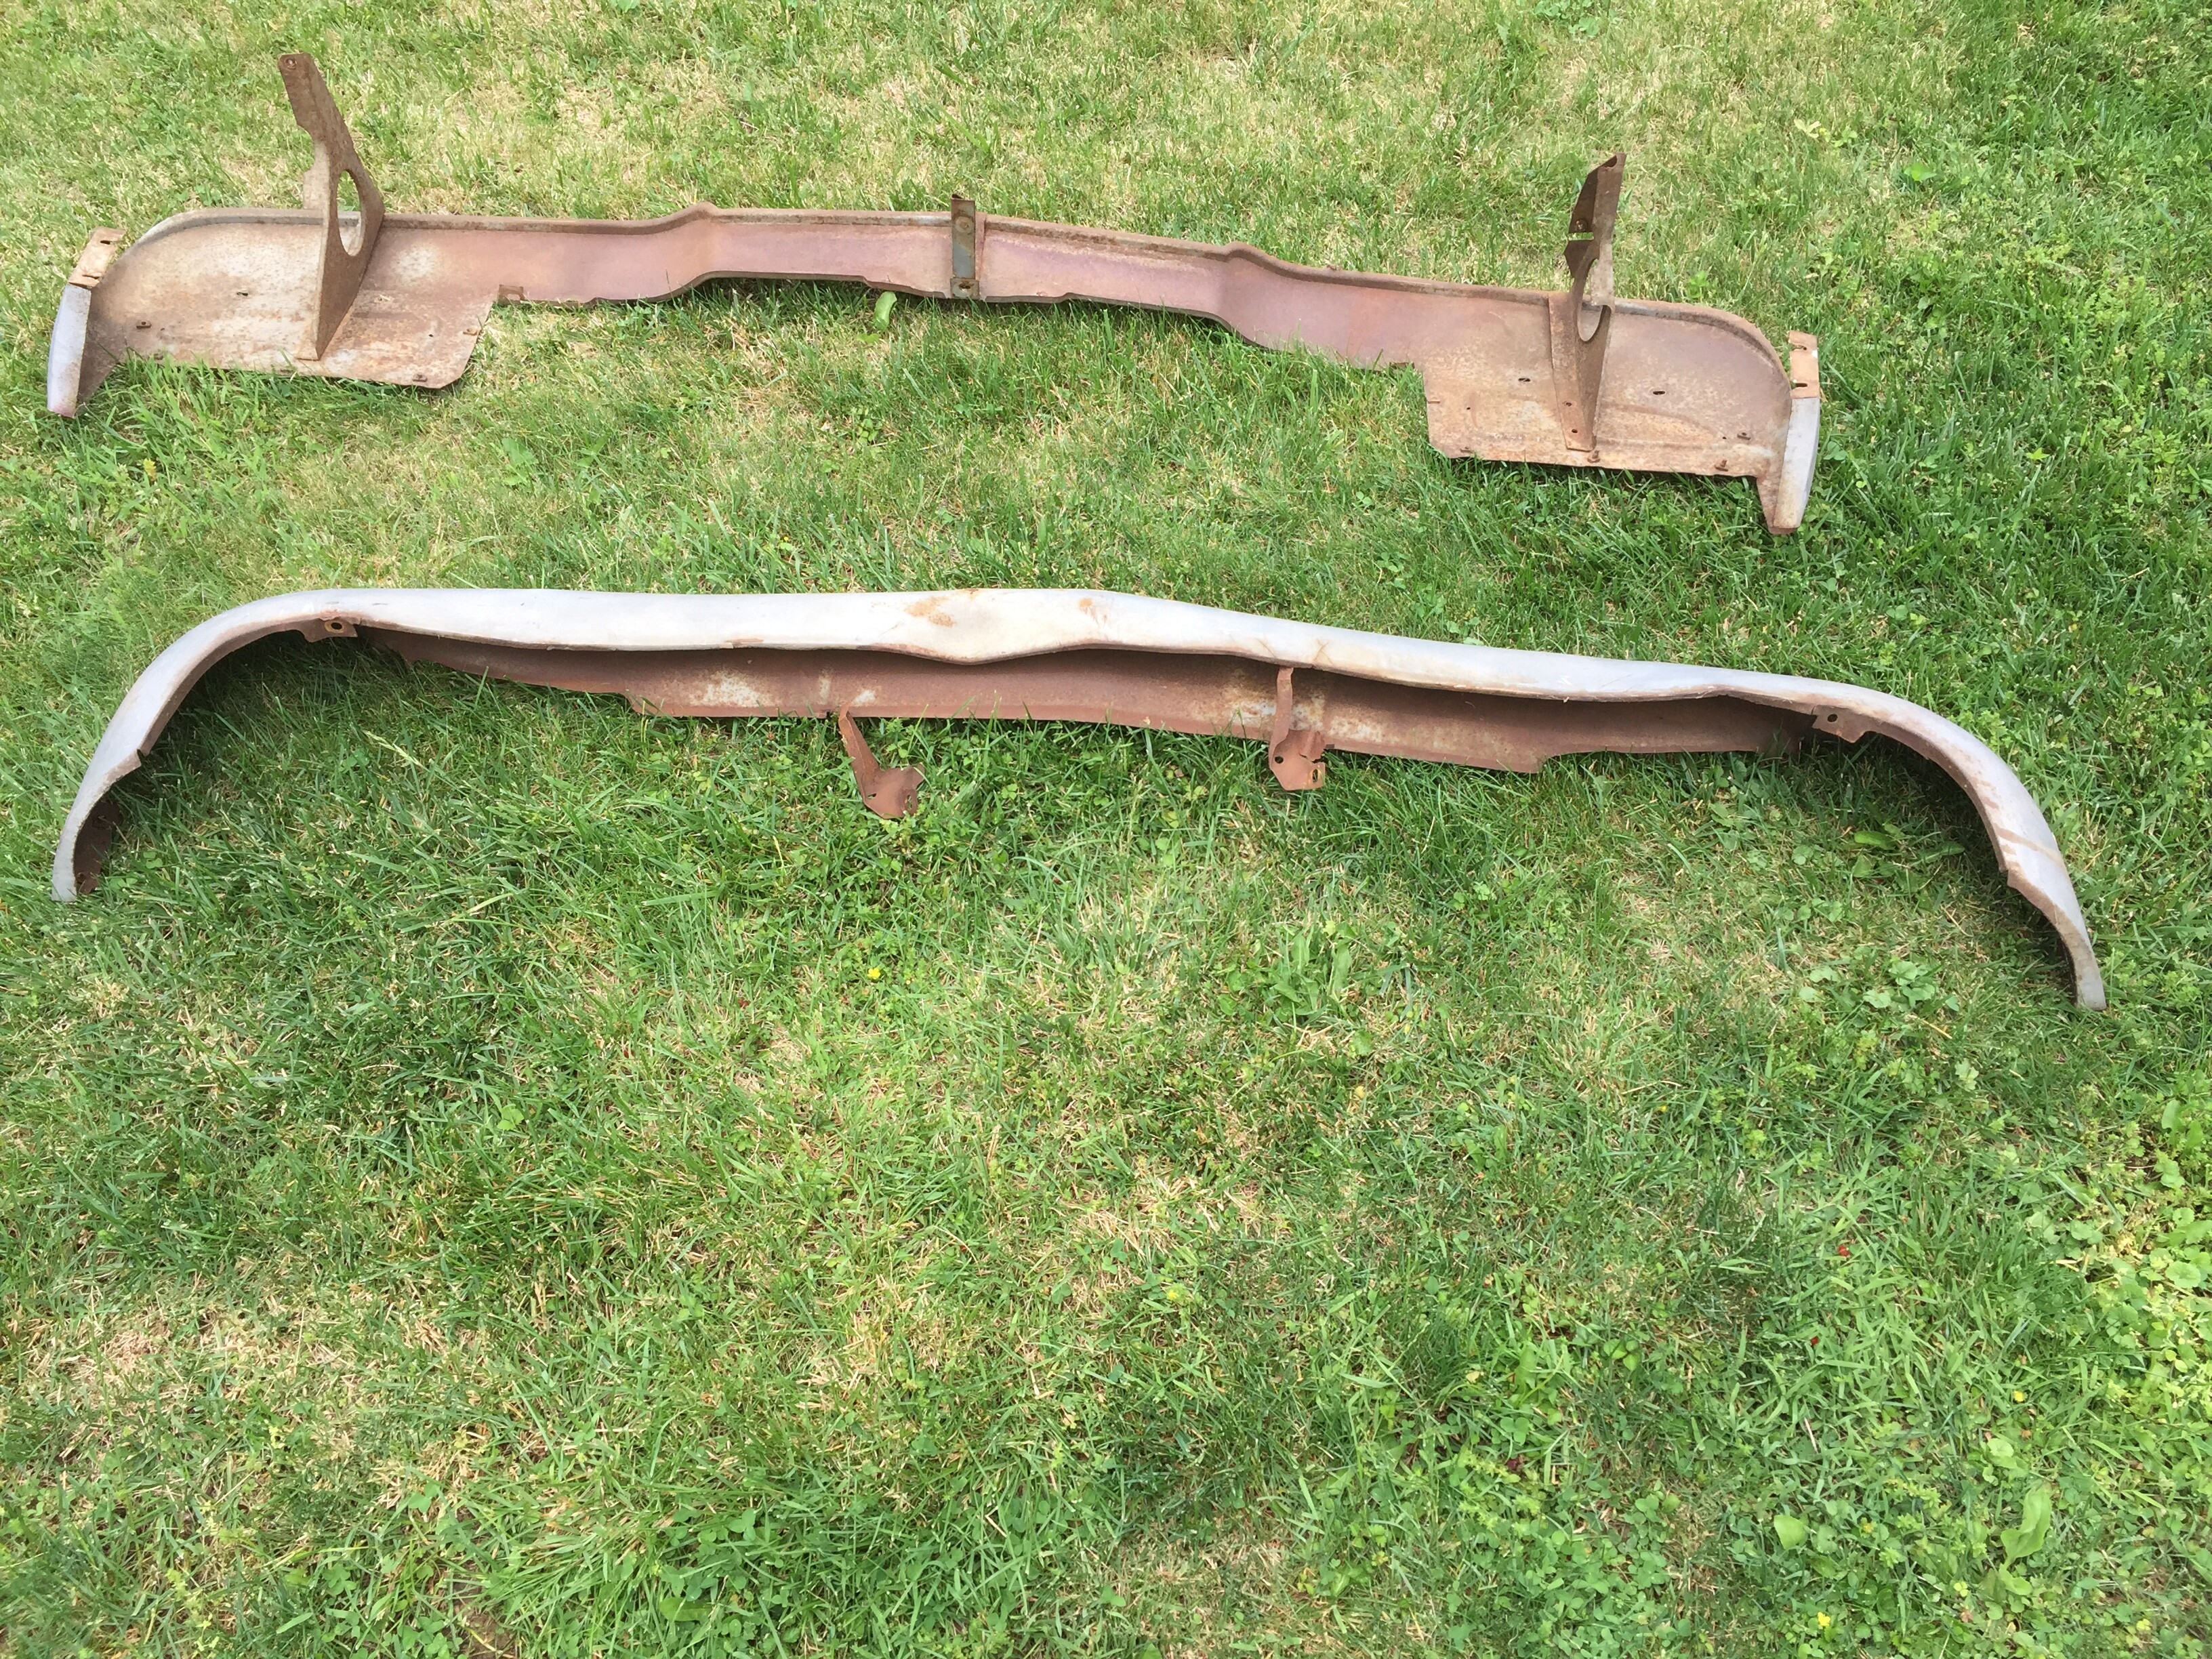
I snapped five or six bolts getting these off, despite liquid wrench - not sure that it’s worth drilling them out and retapping, I may just remove the (speed?) nut and replace with stainless hardware.
Here’s the bad boys. Rusty, but not beyond redemption.
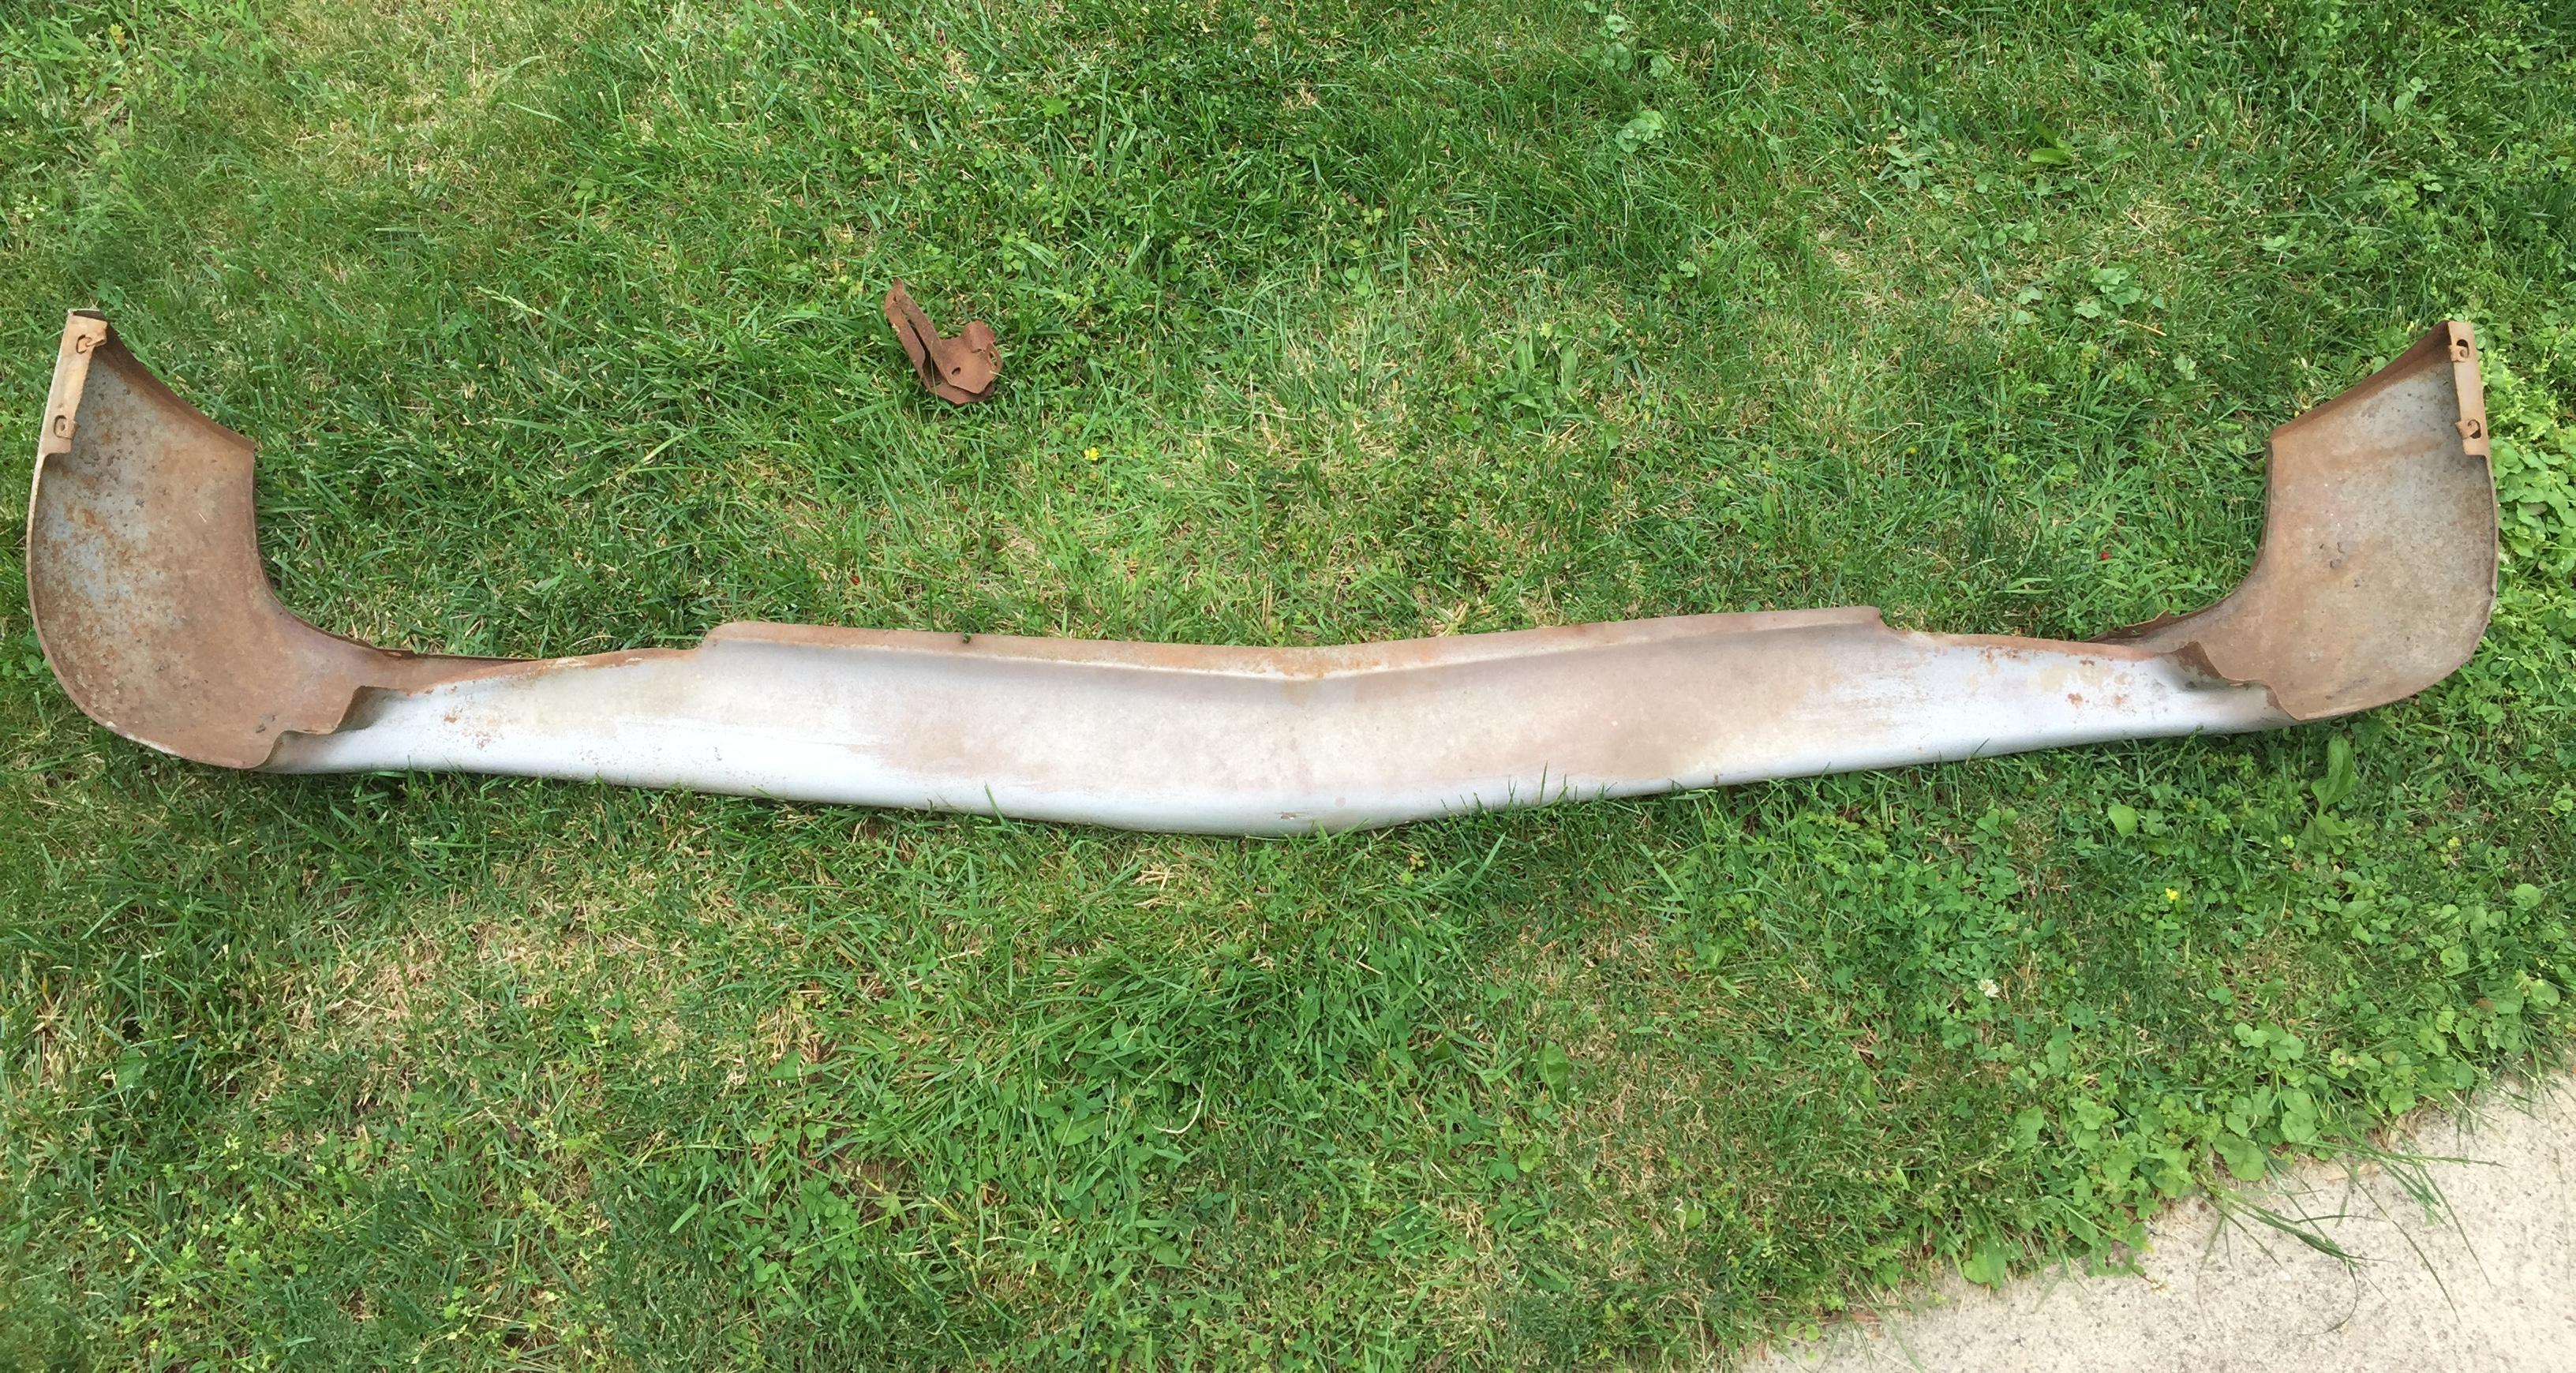
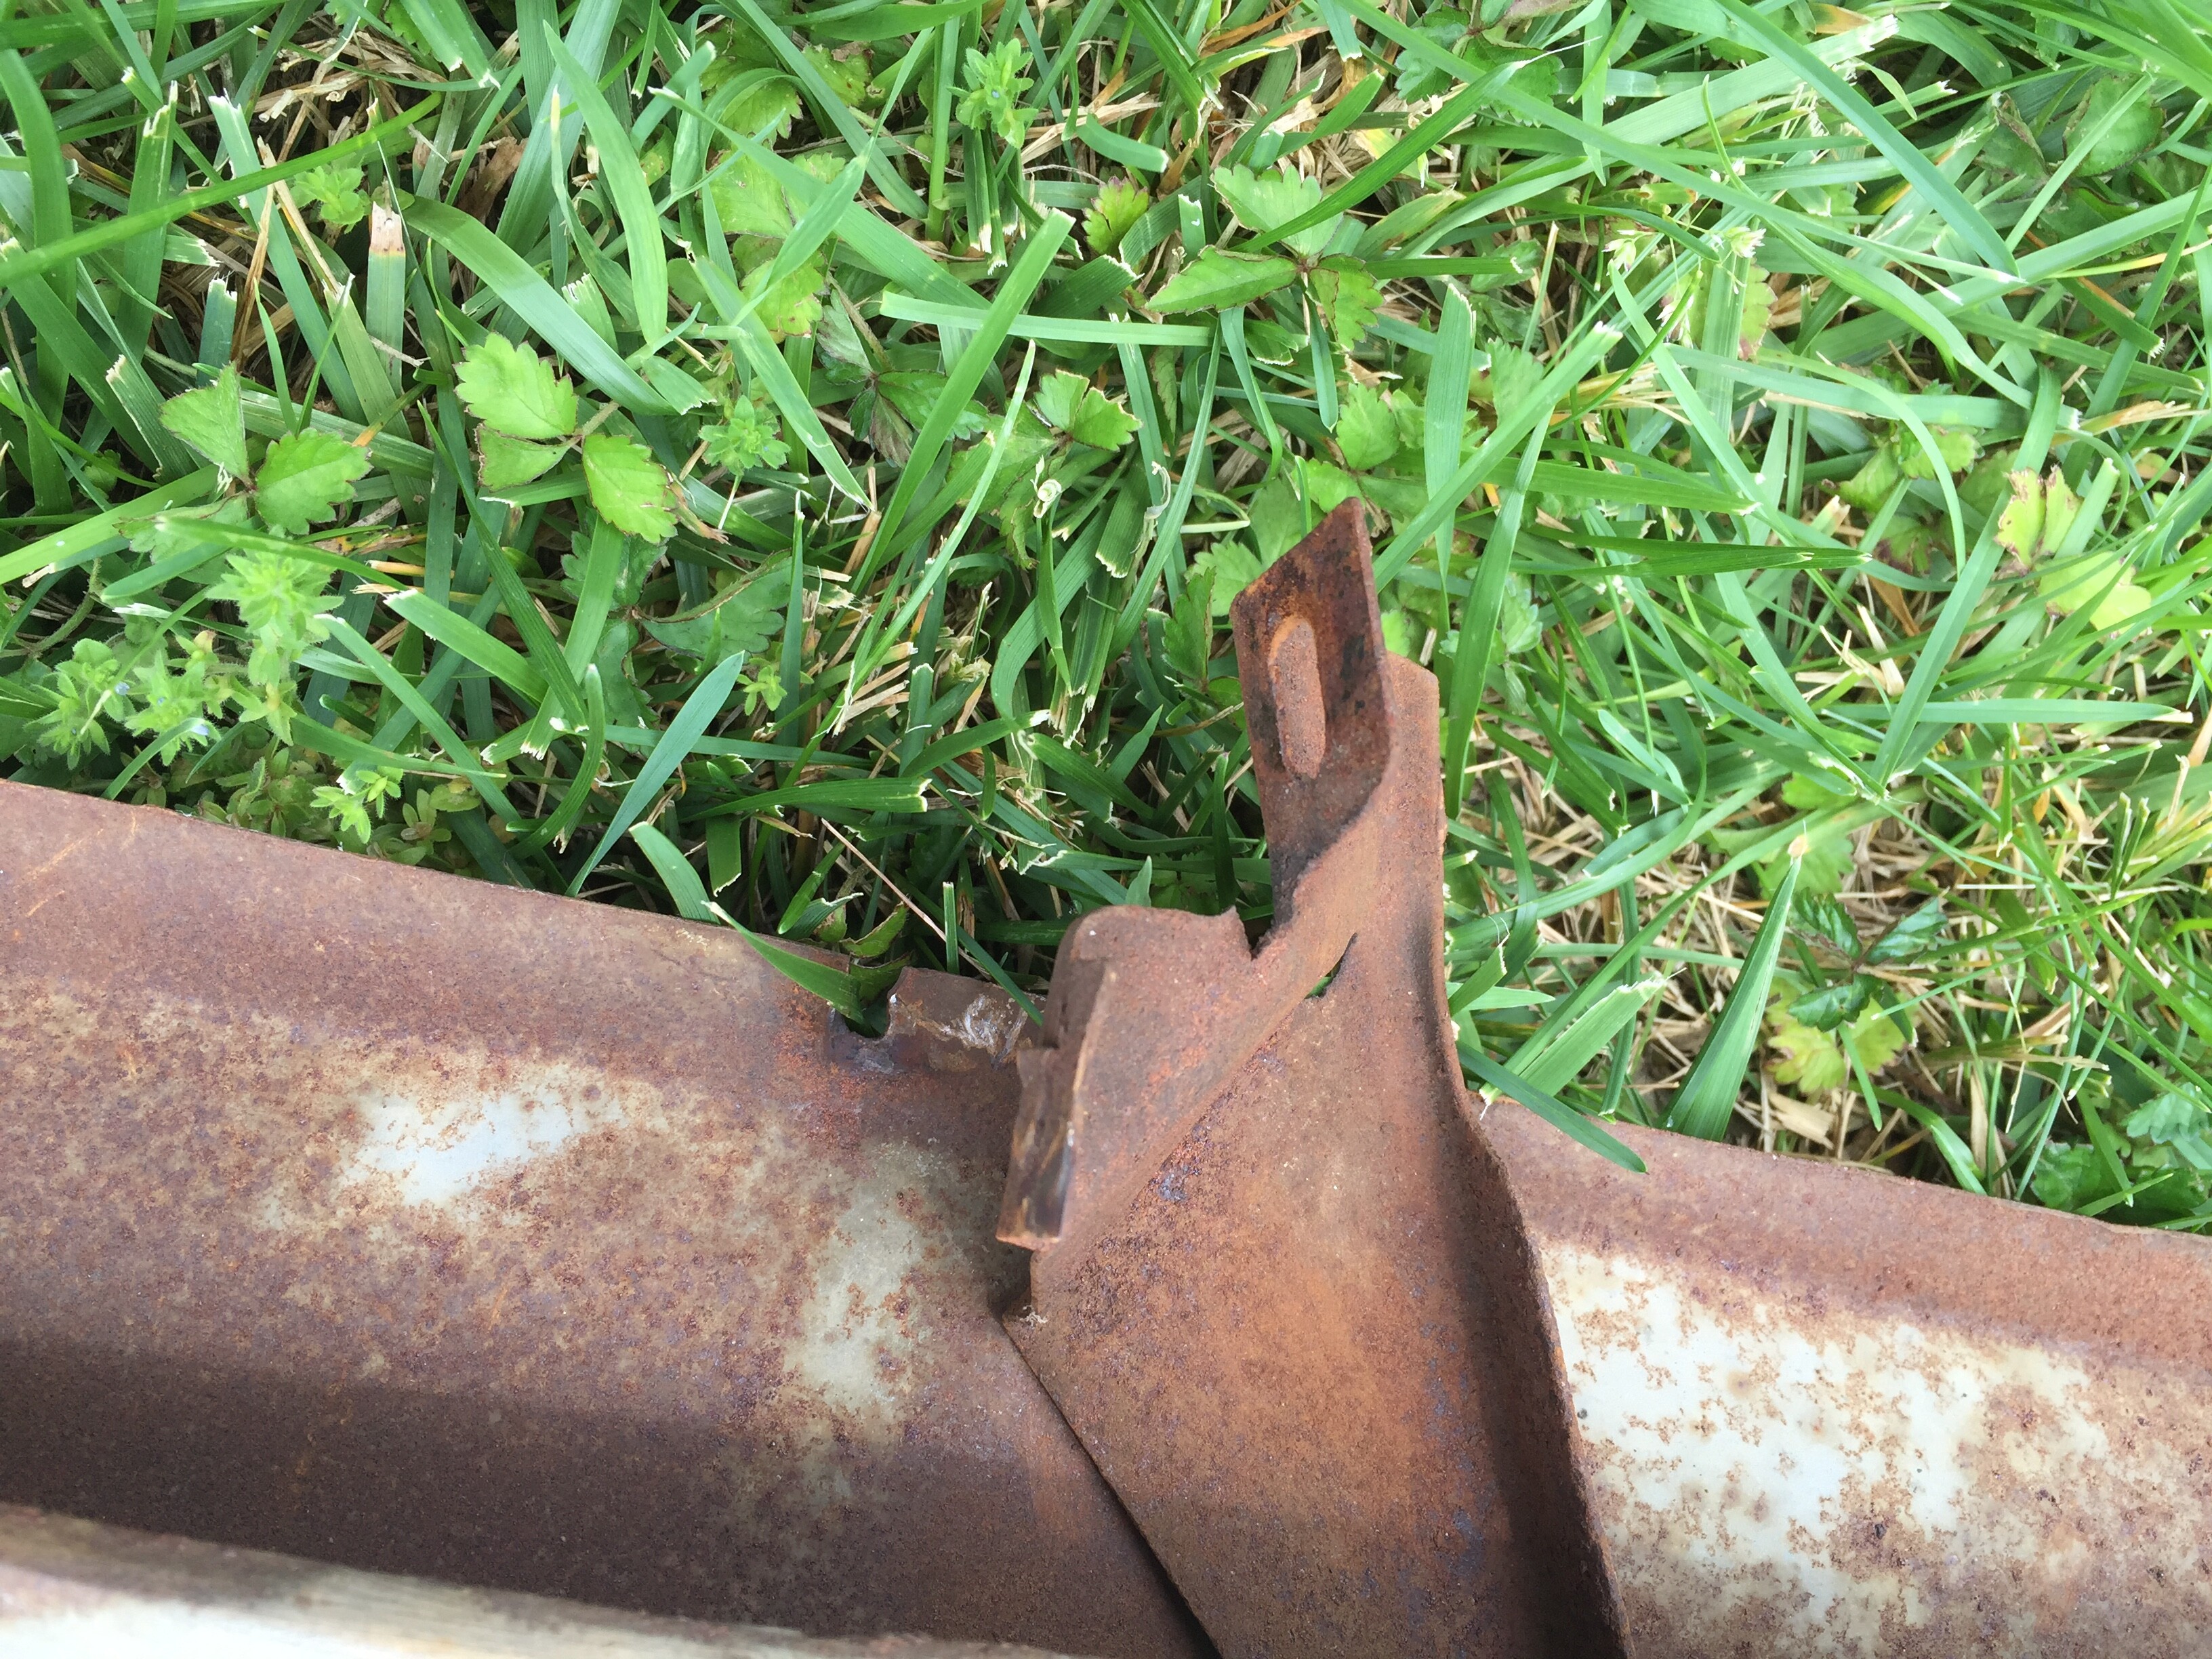
Some shots of the valance - banged up pretty good, but again, redeemable.
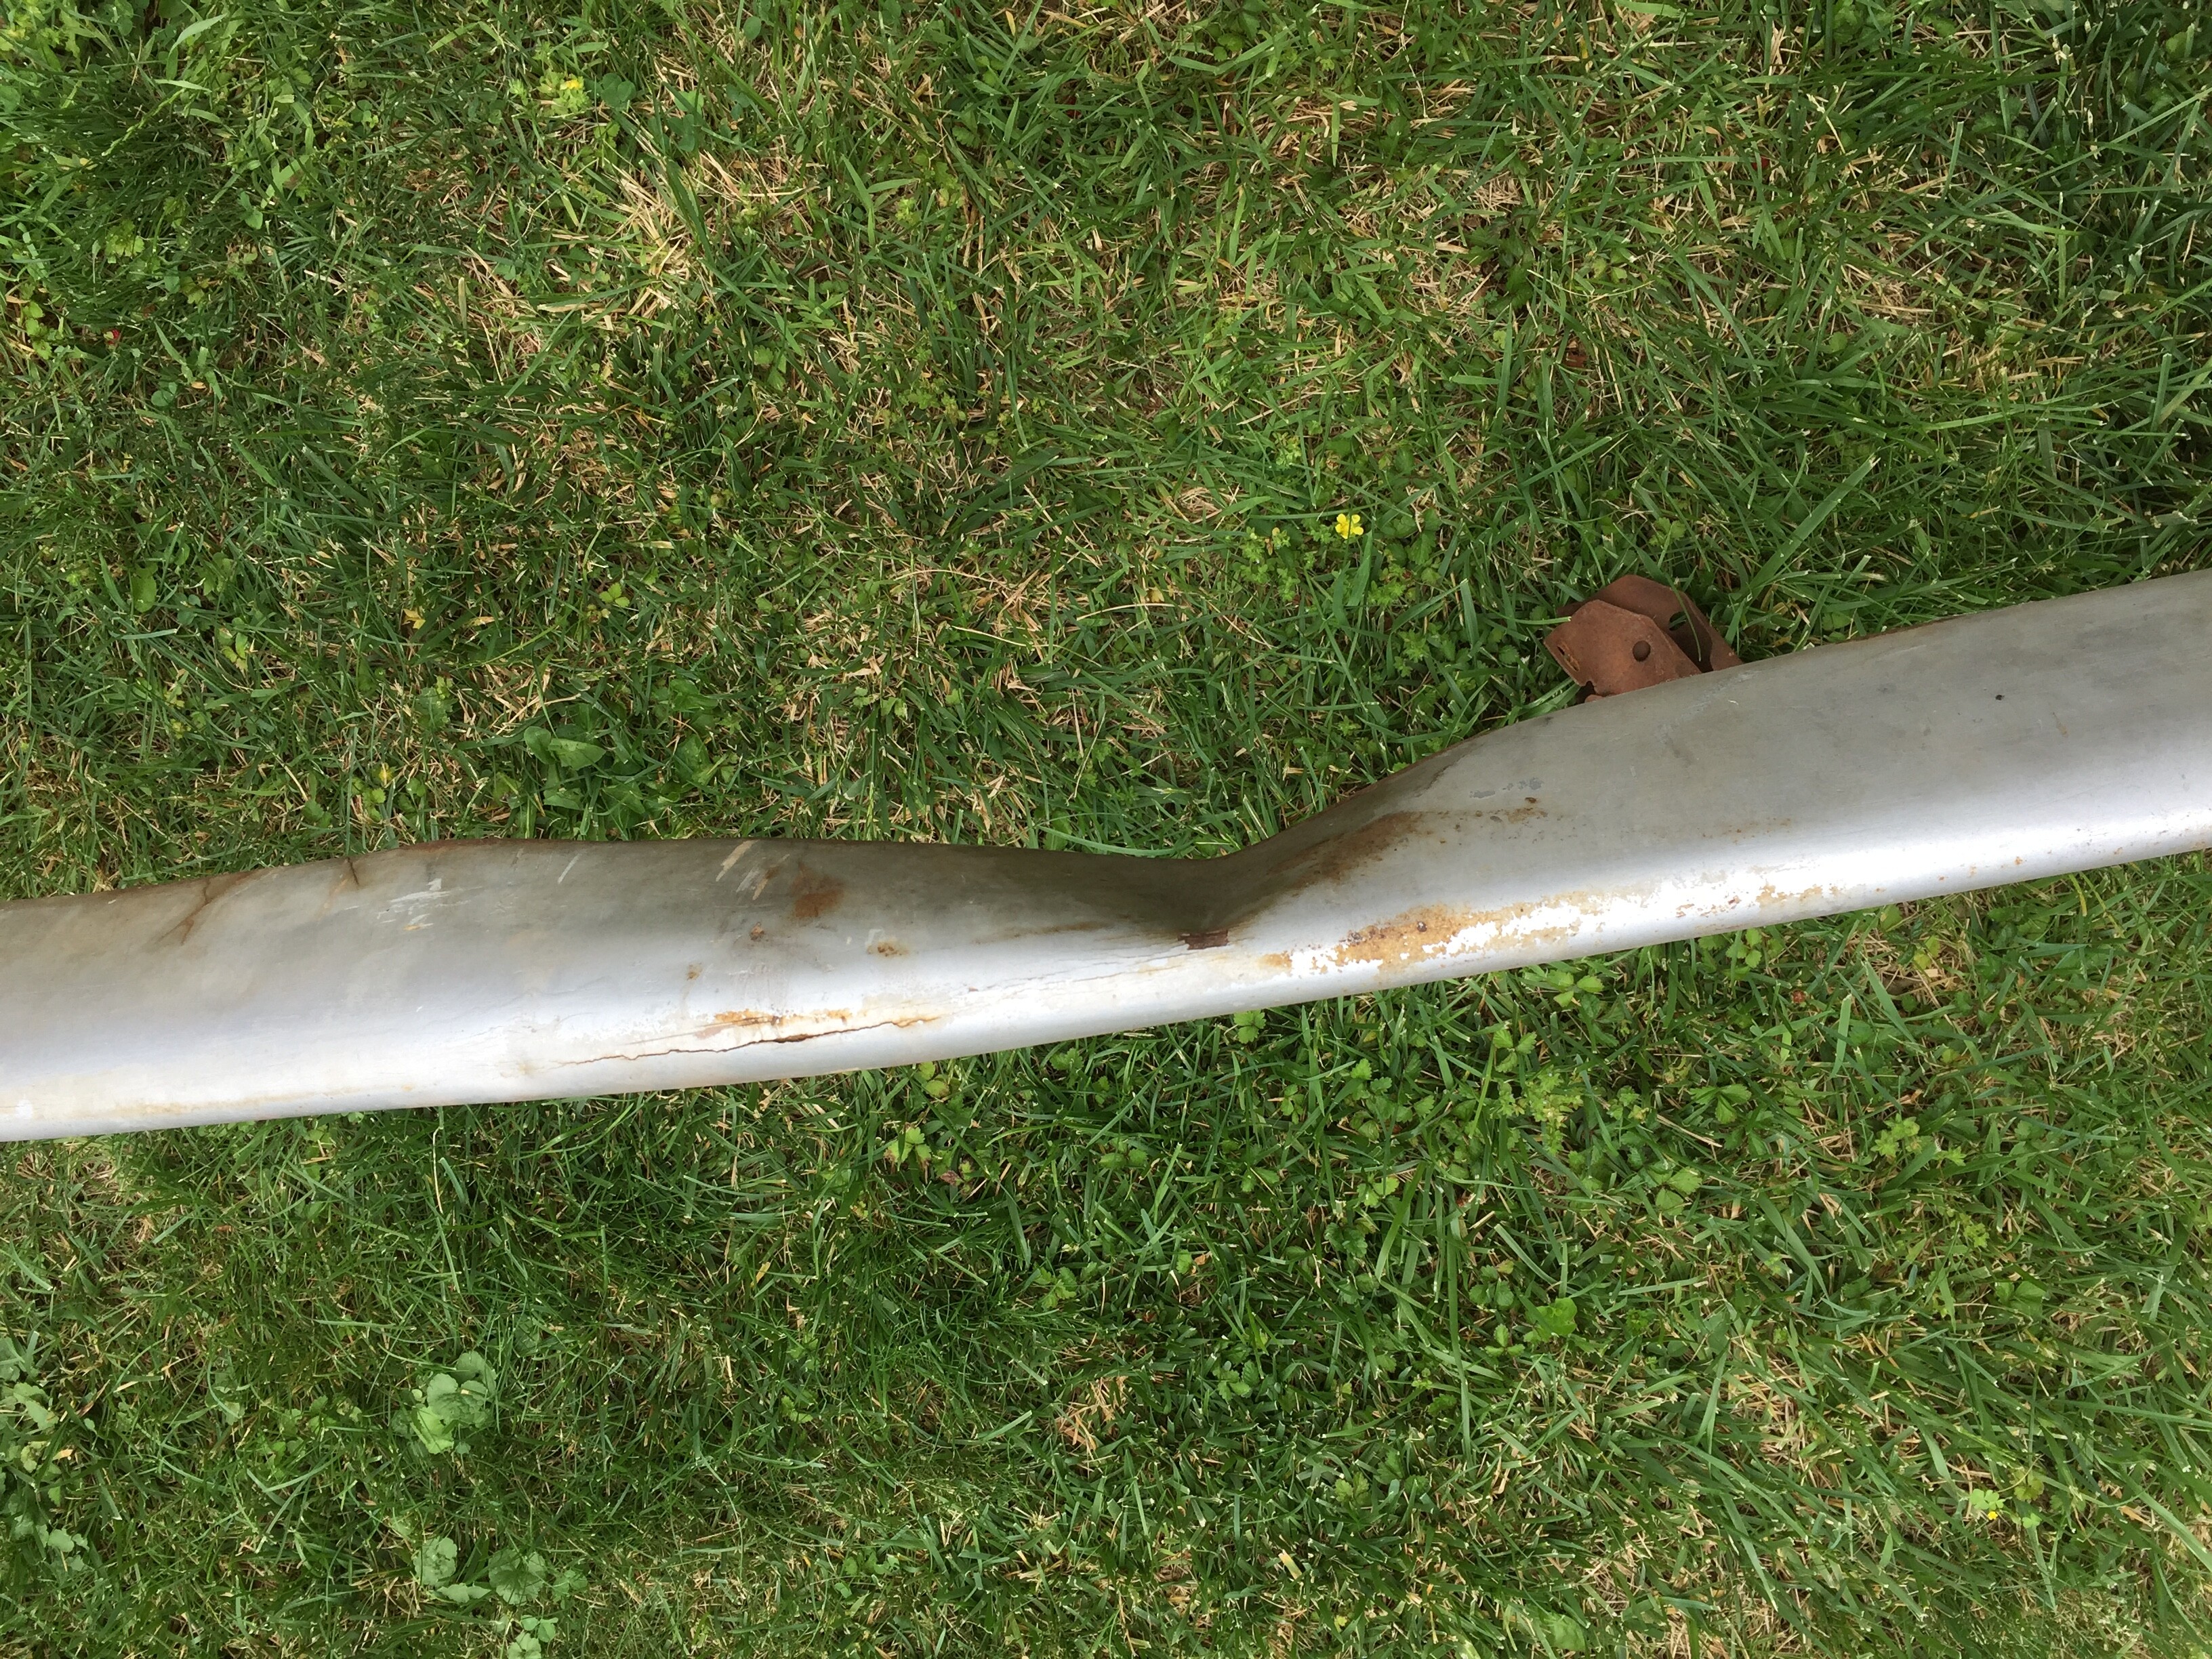
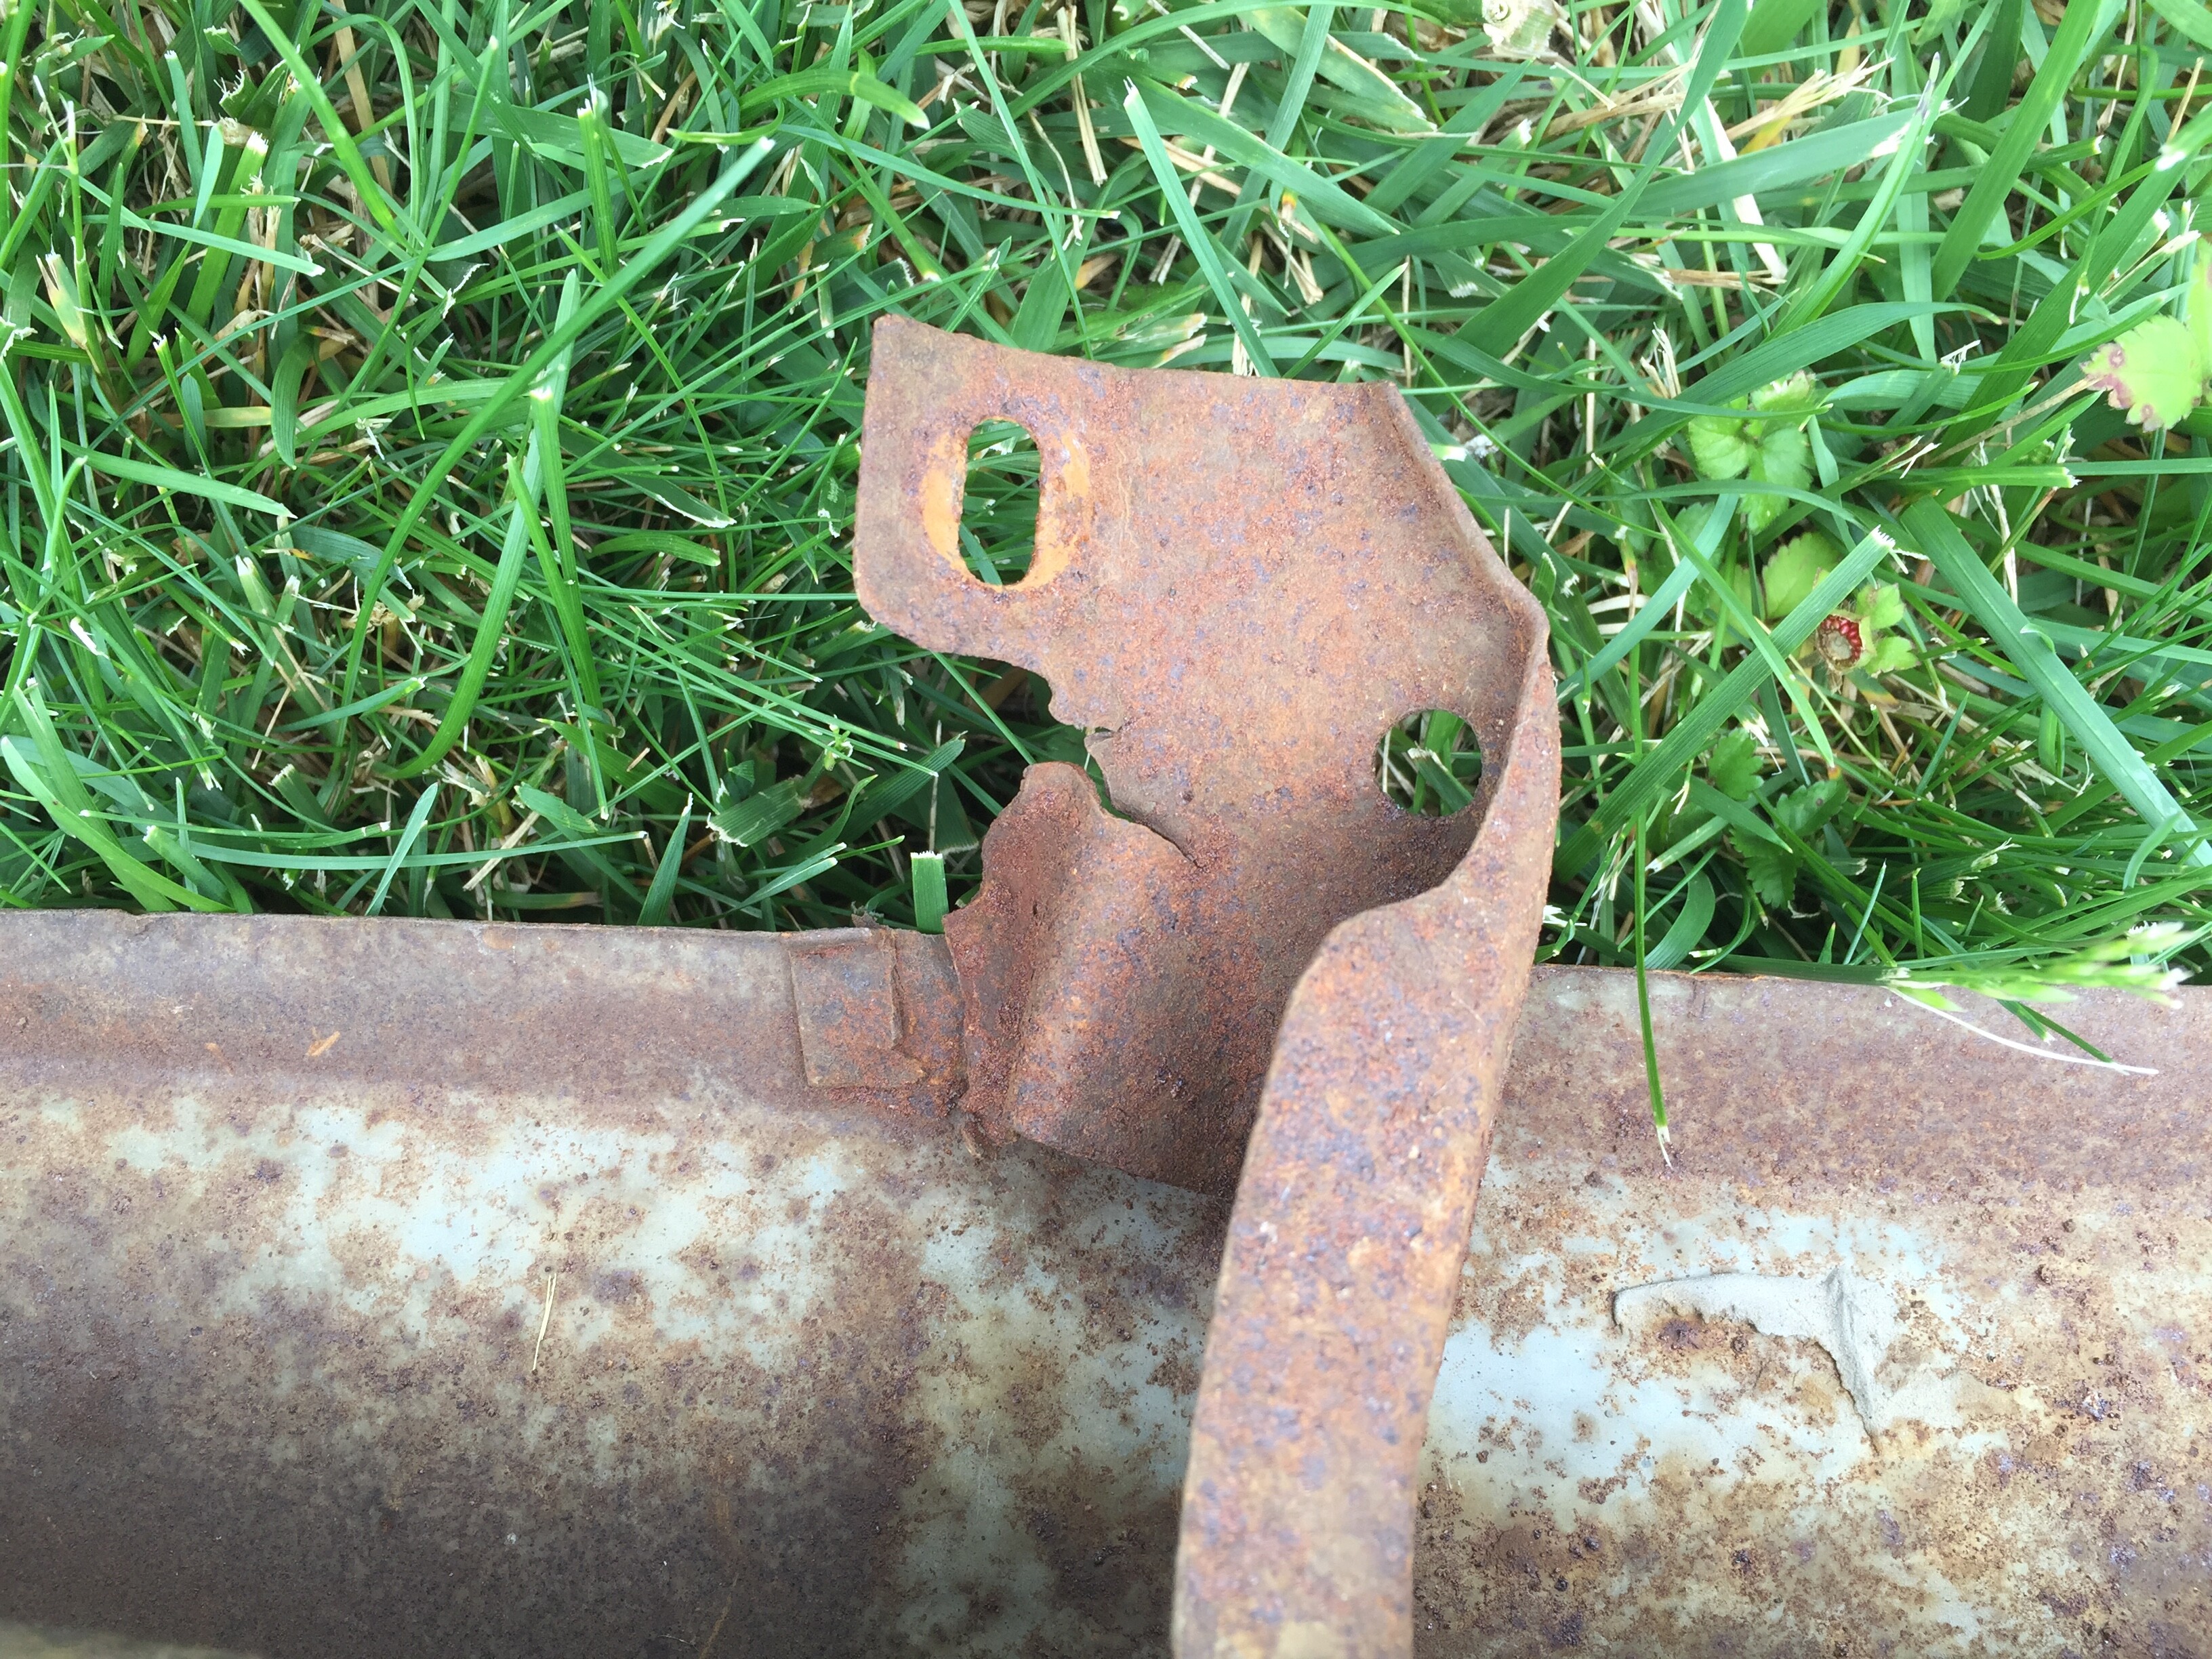
There are brackets that were spot welded to the valance - one was broken near the spot weld, in the other case the spot weld snapped. These will need to be straightened and rewelded.
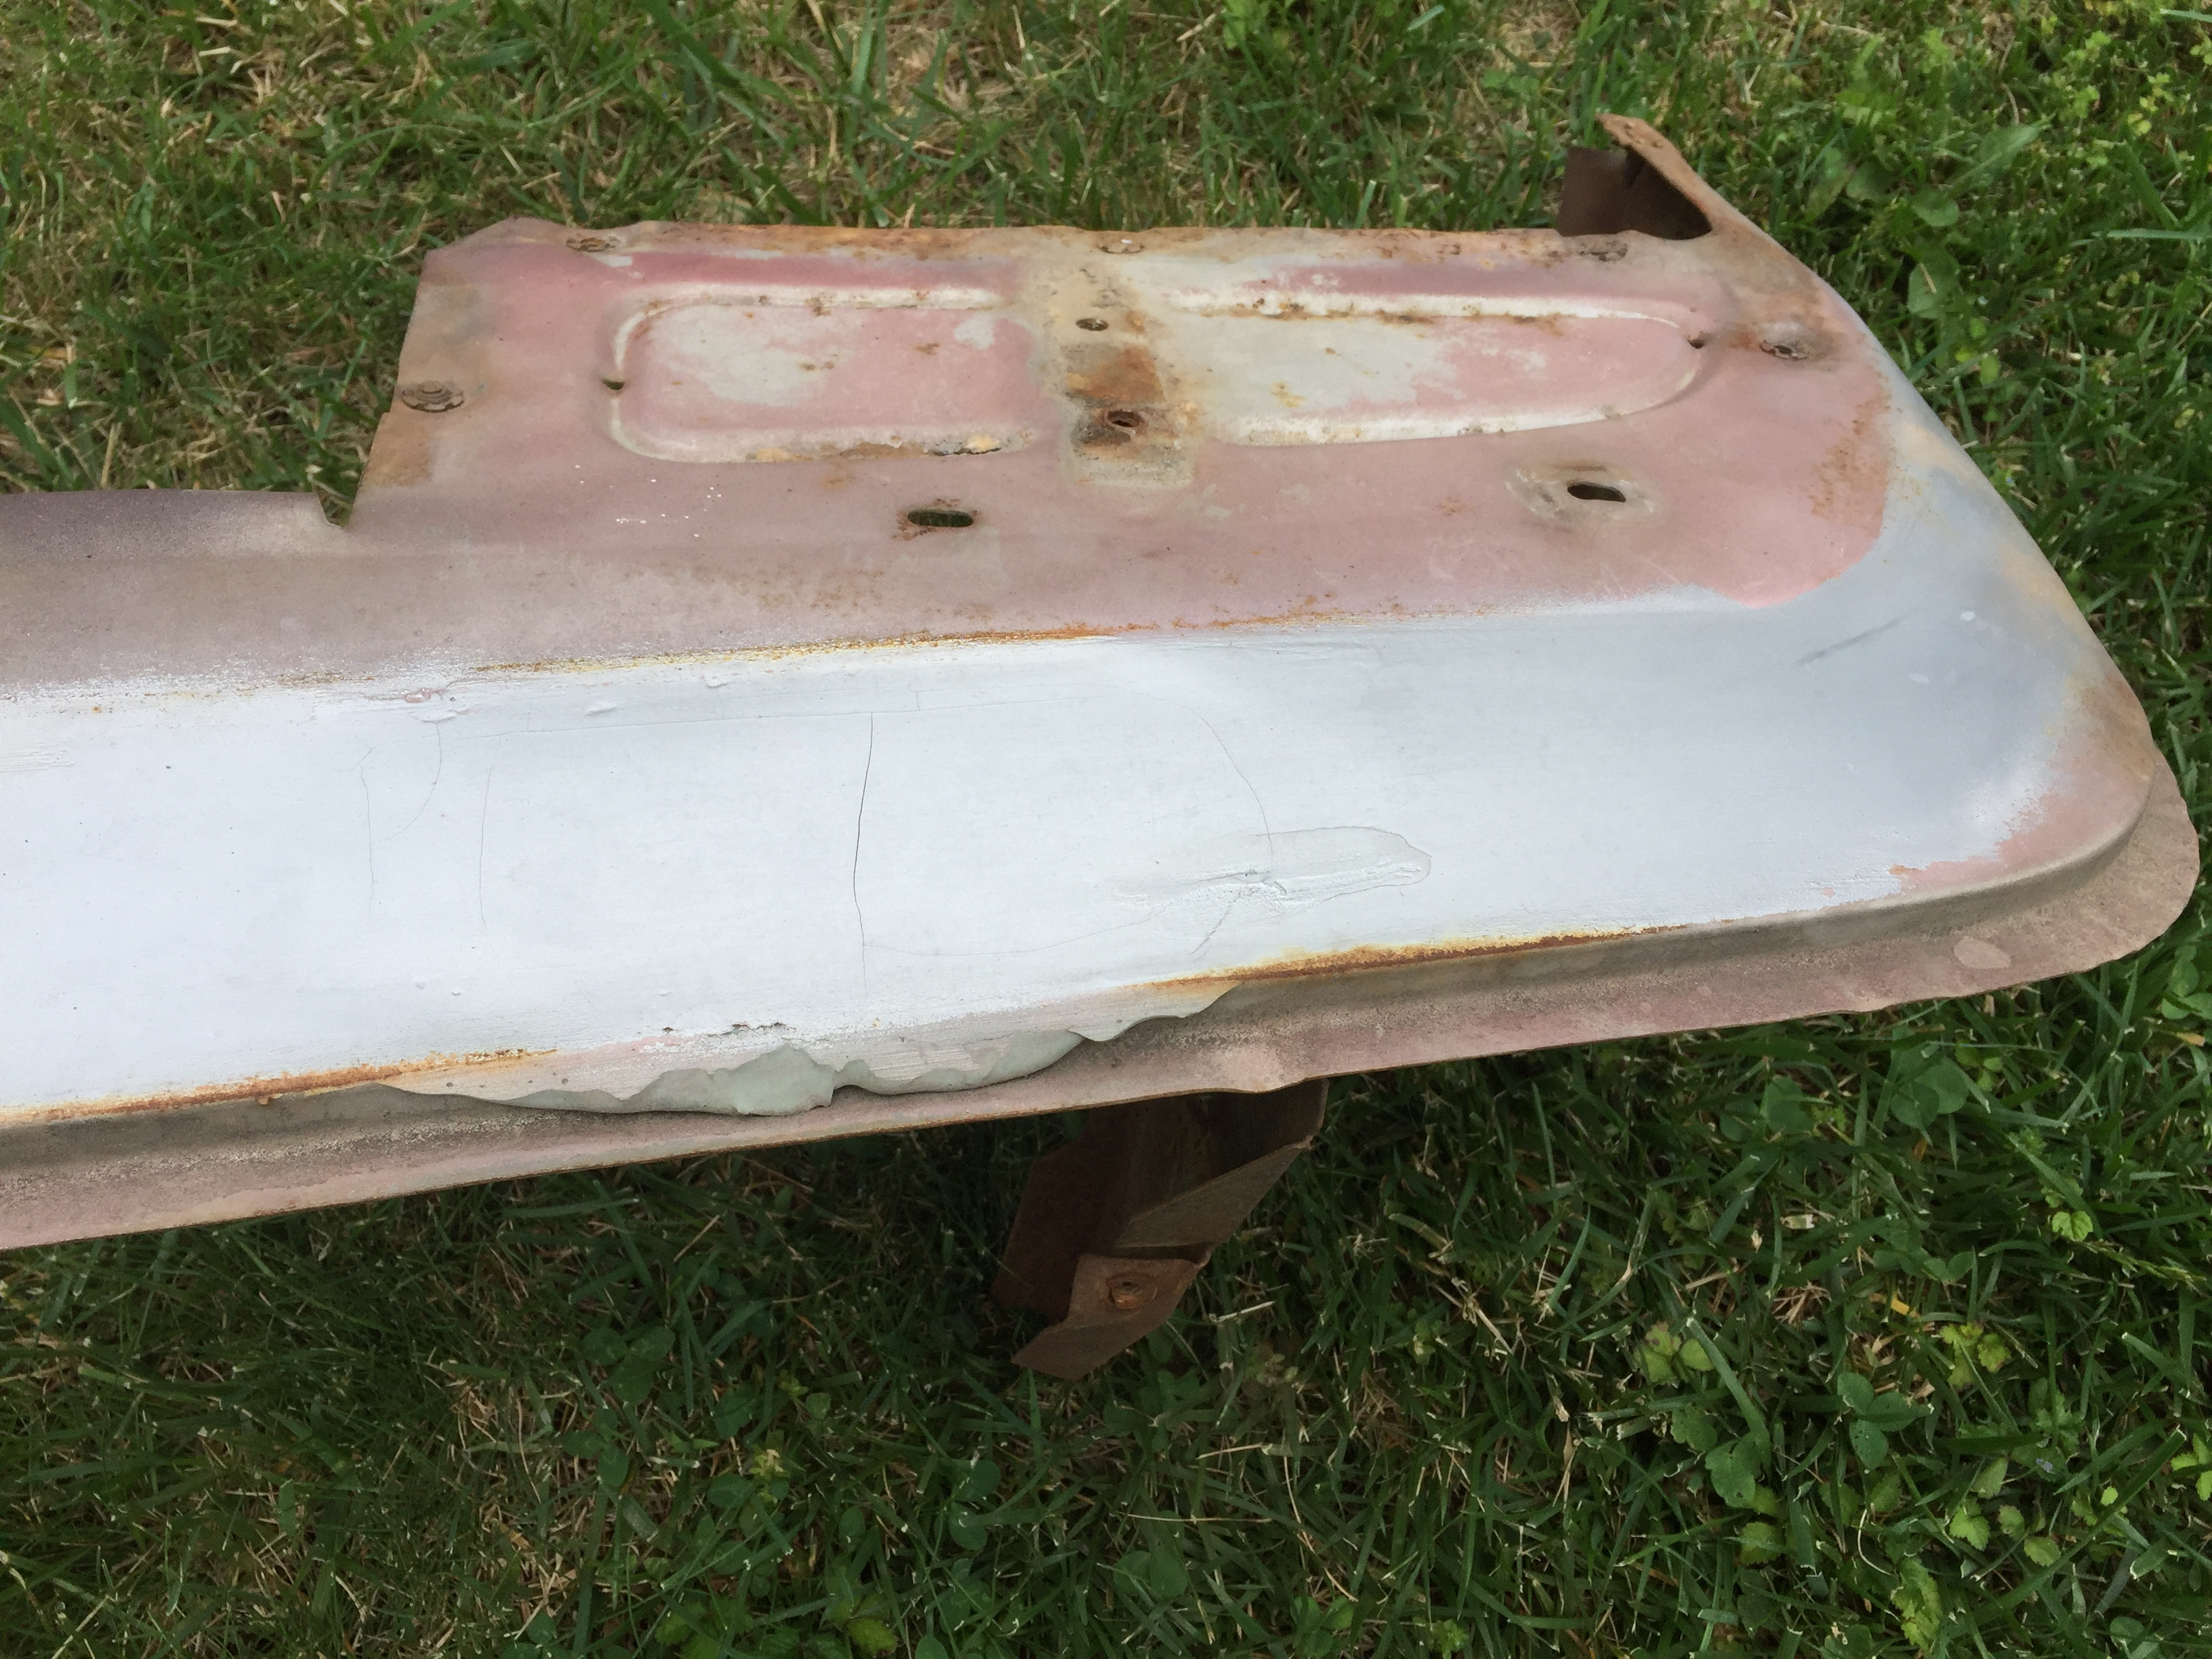
The splash pan apparently took a hit while Braille driving - there’s no rust through, but instead of straighening it, someone just glommed filler onto it… (sigh.) This will have to be busted out and the pan straightened.
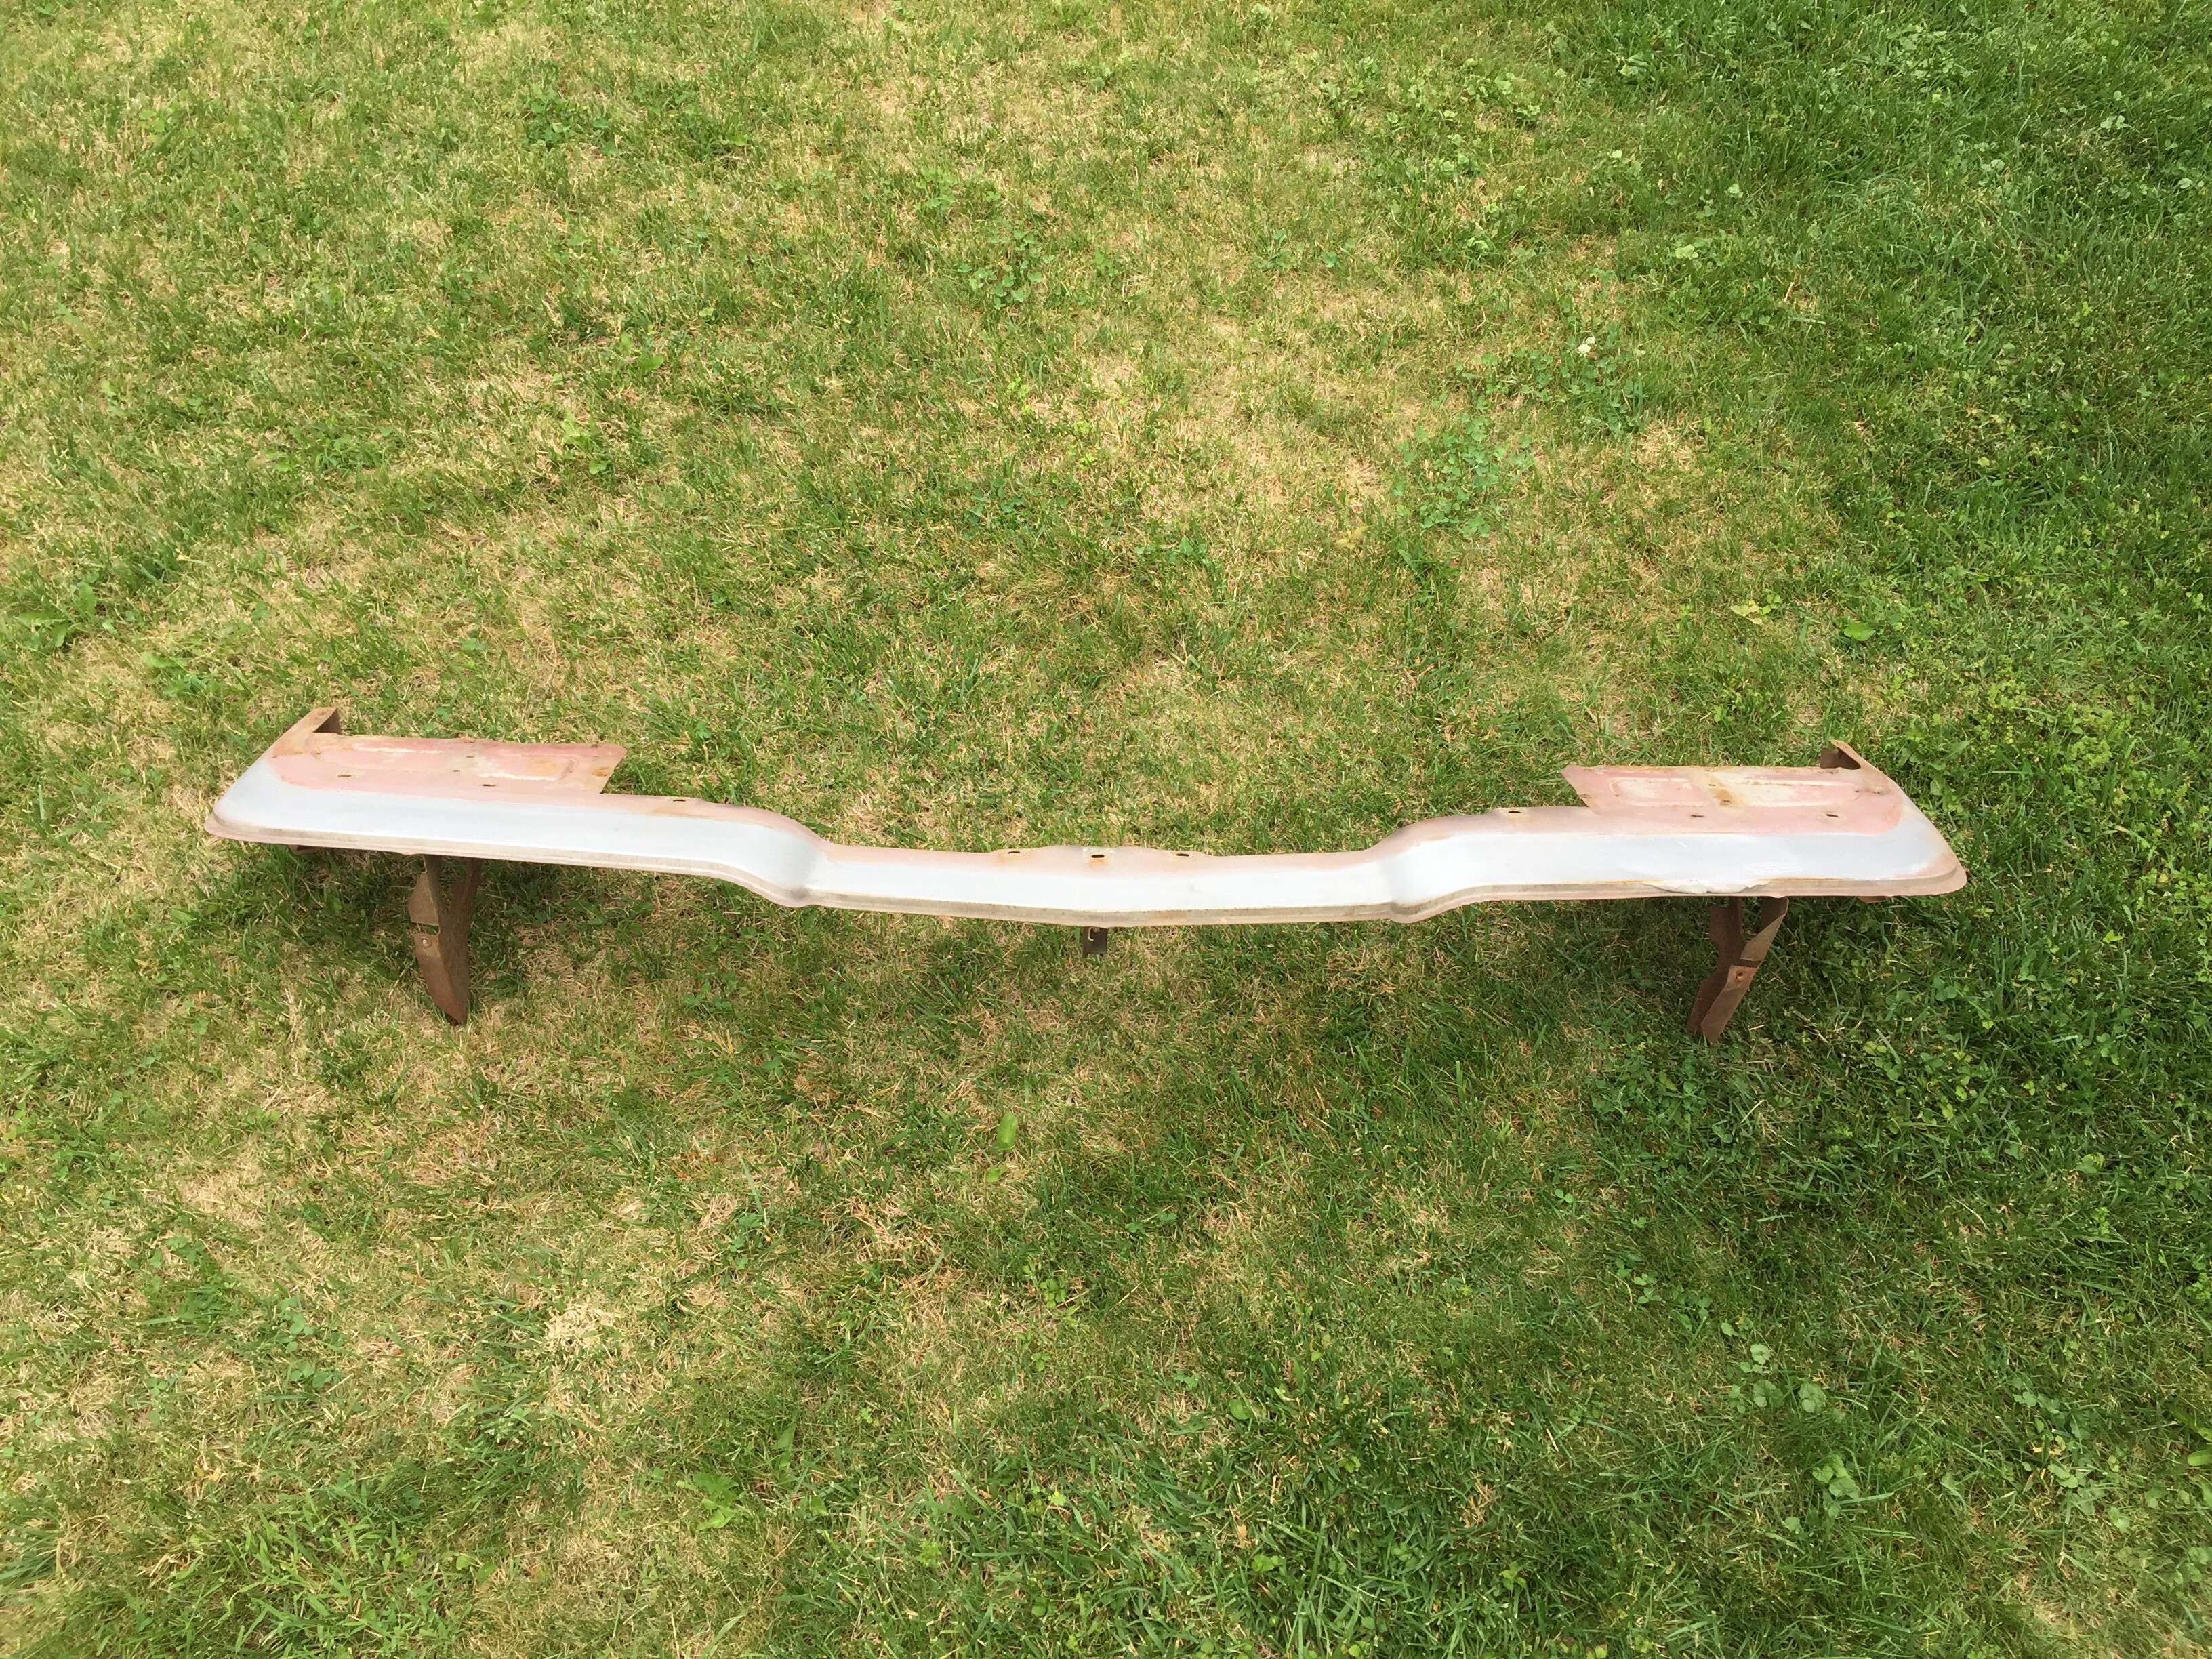
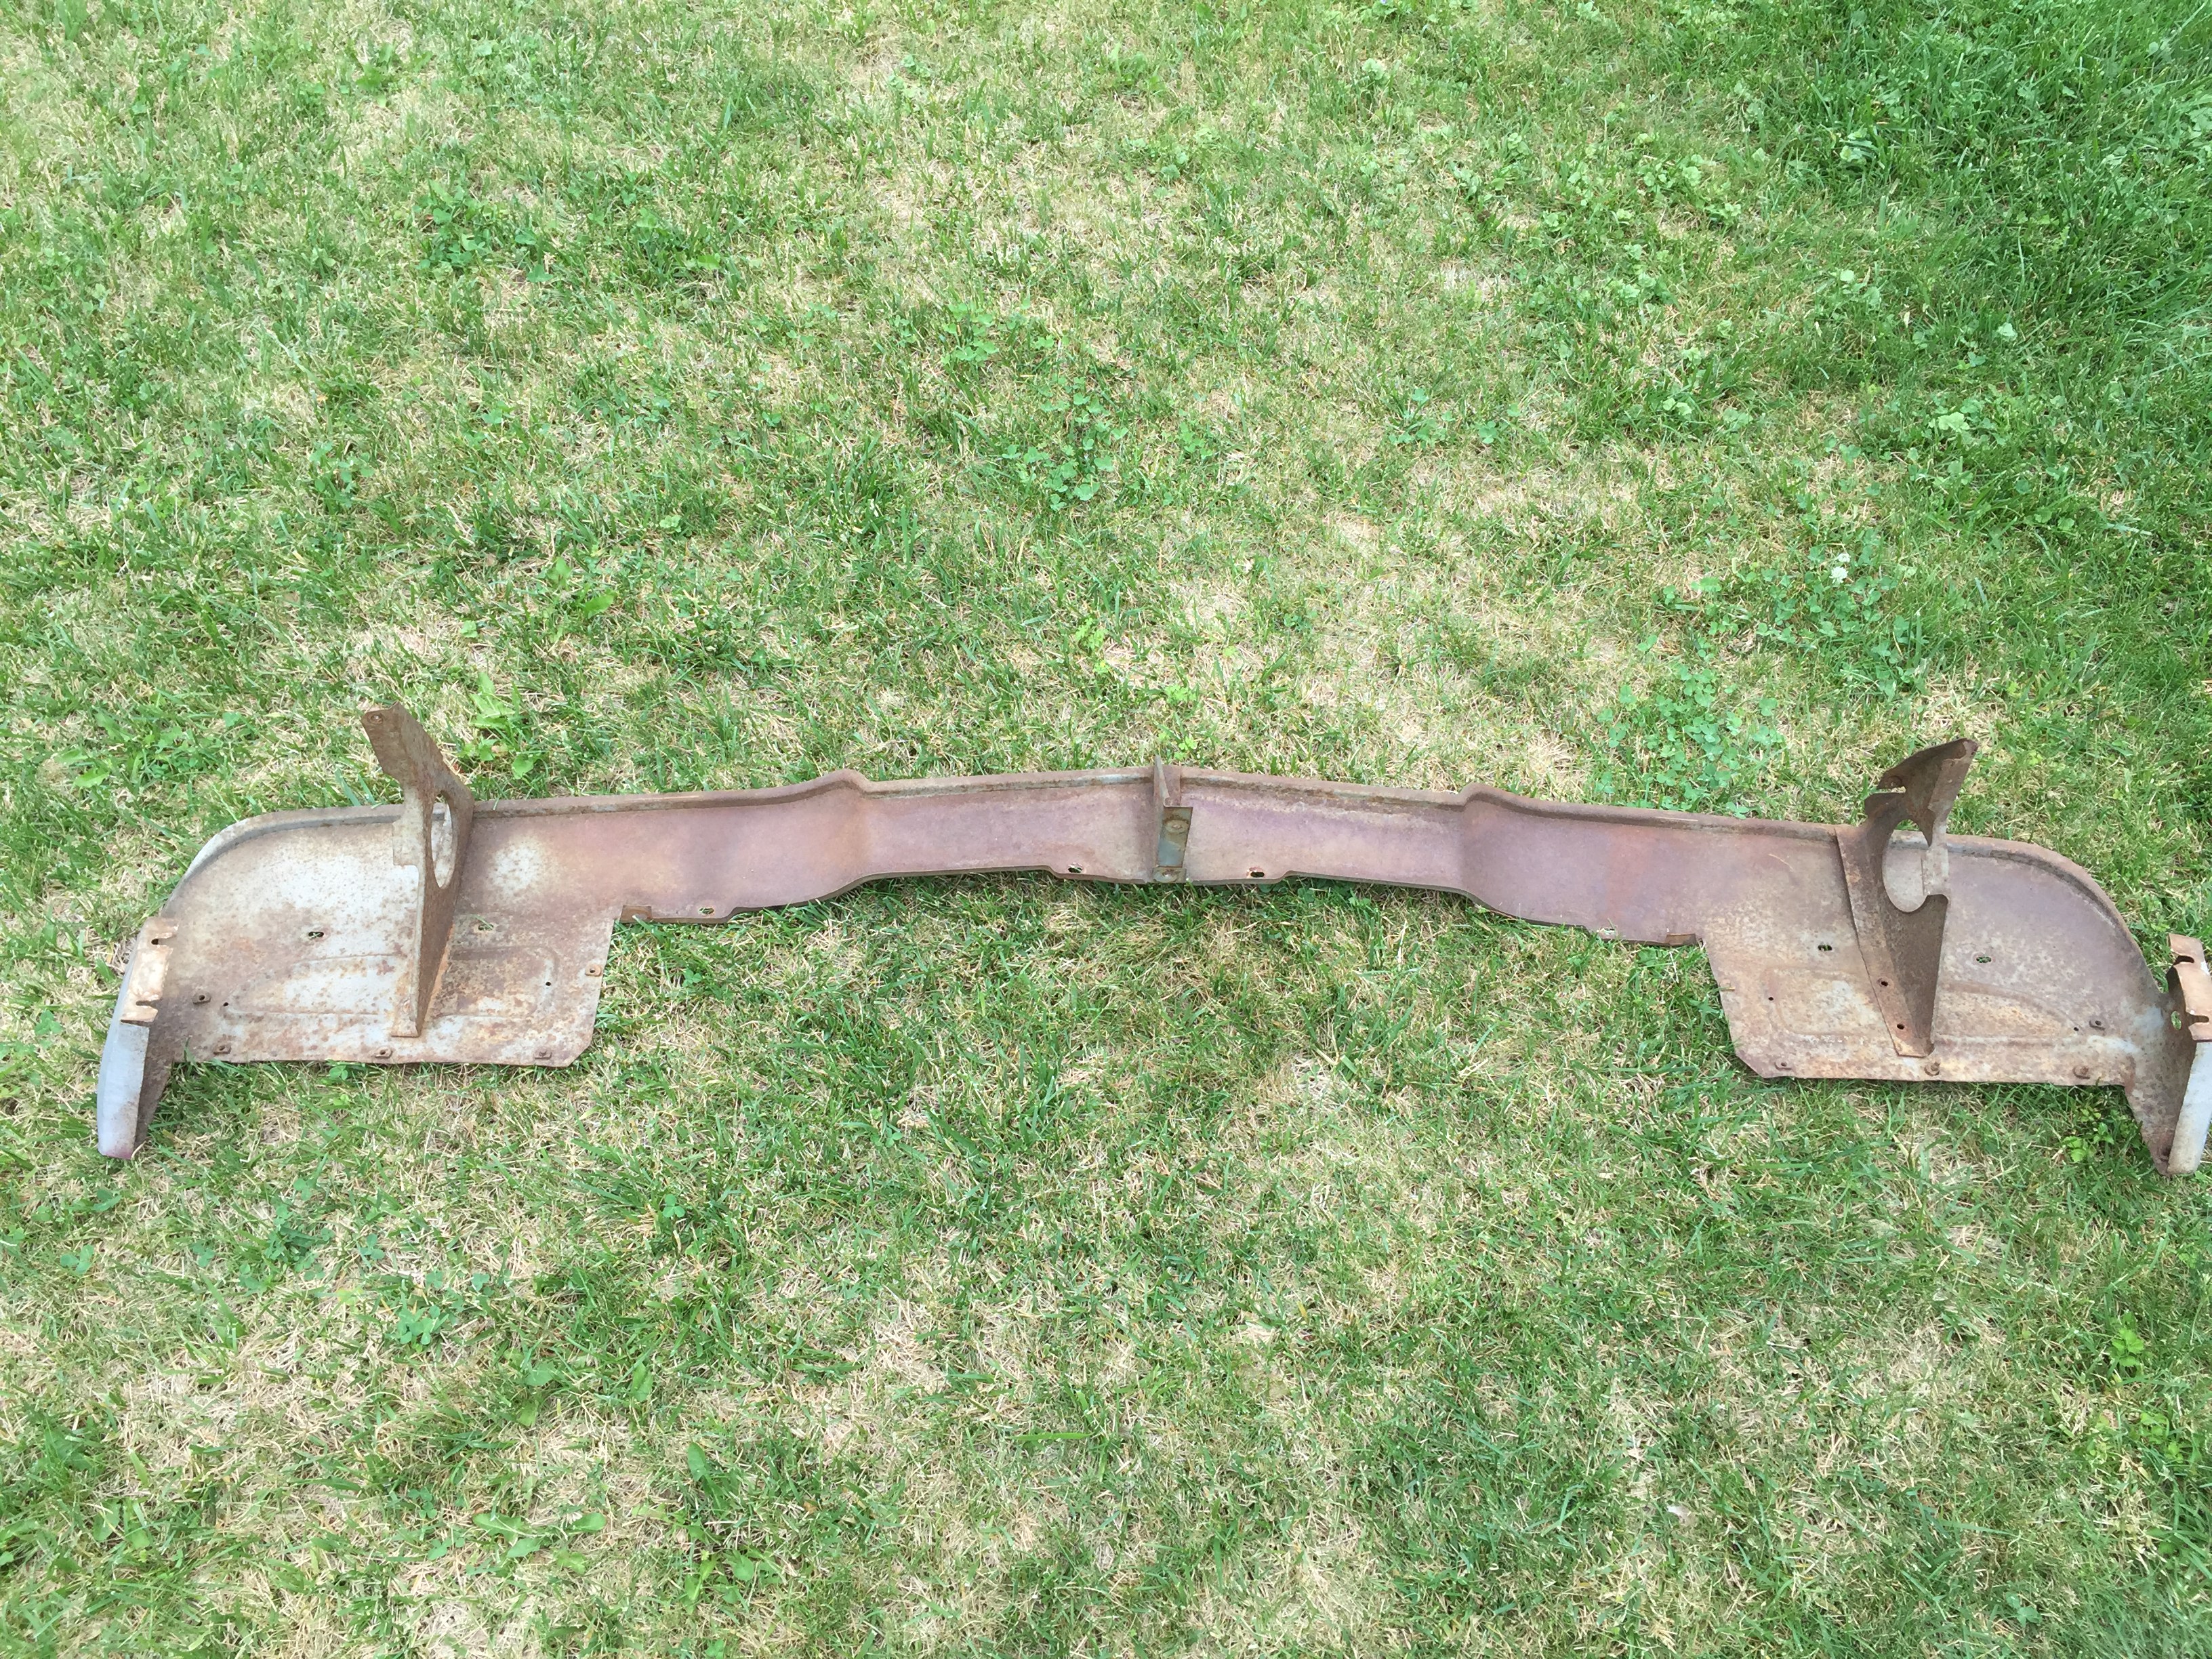
Better get these off the lawn before the rain comes. I wouldn’t… er, want for them to get rusty.
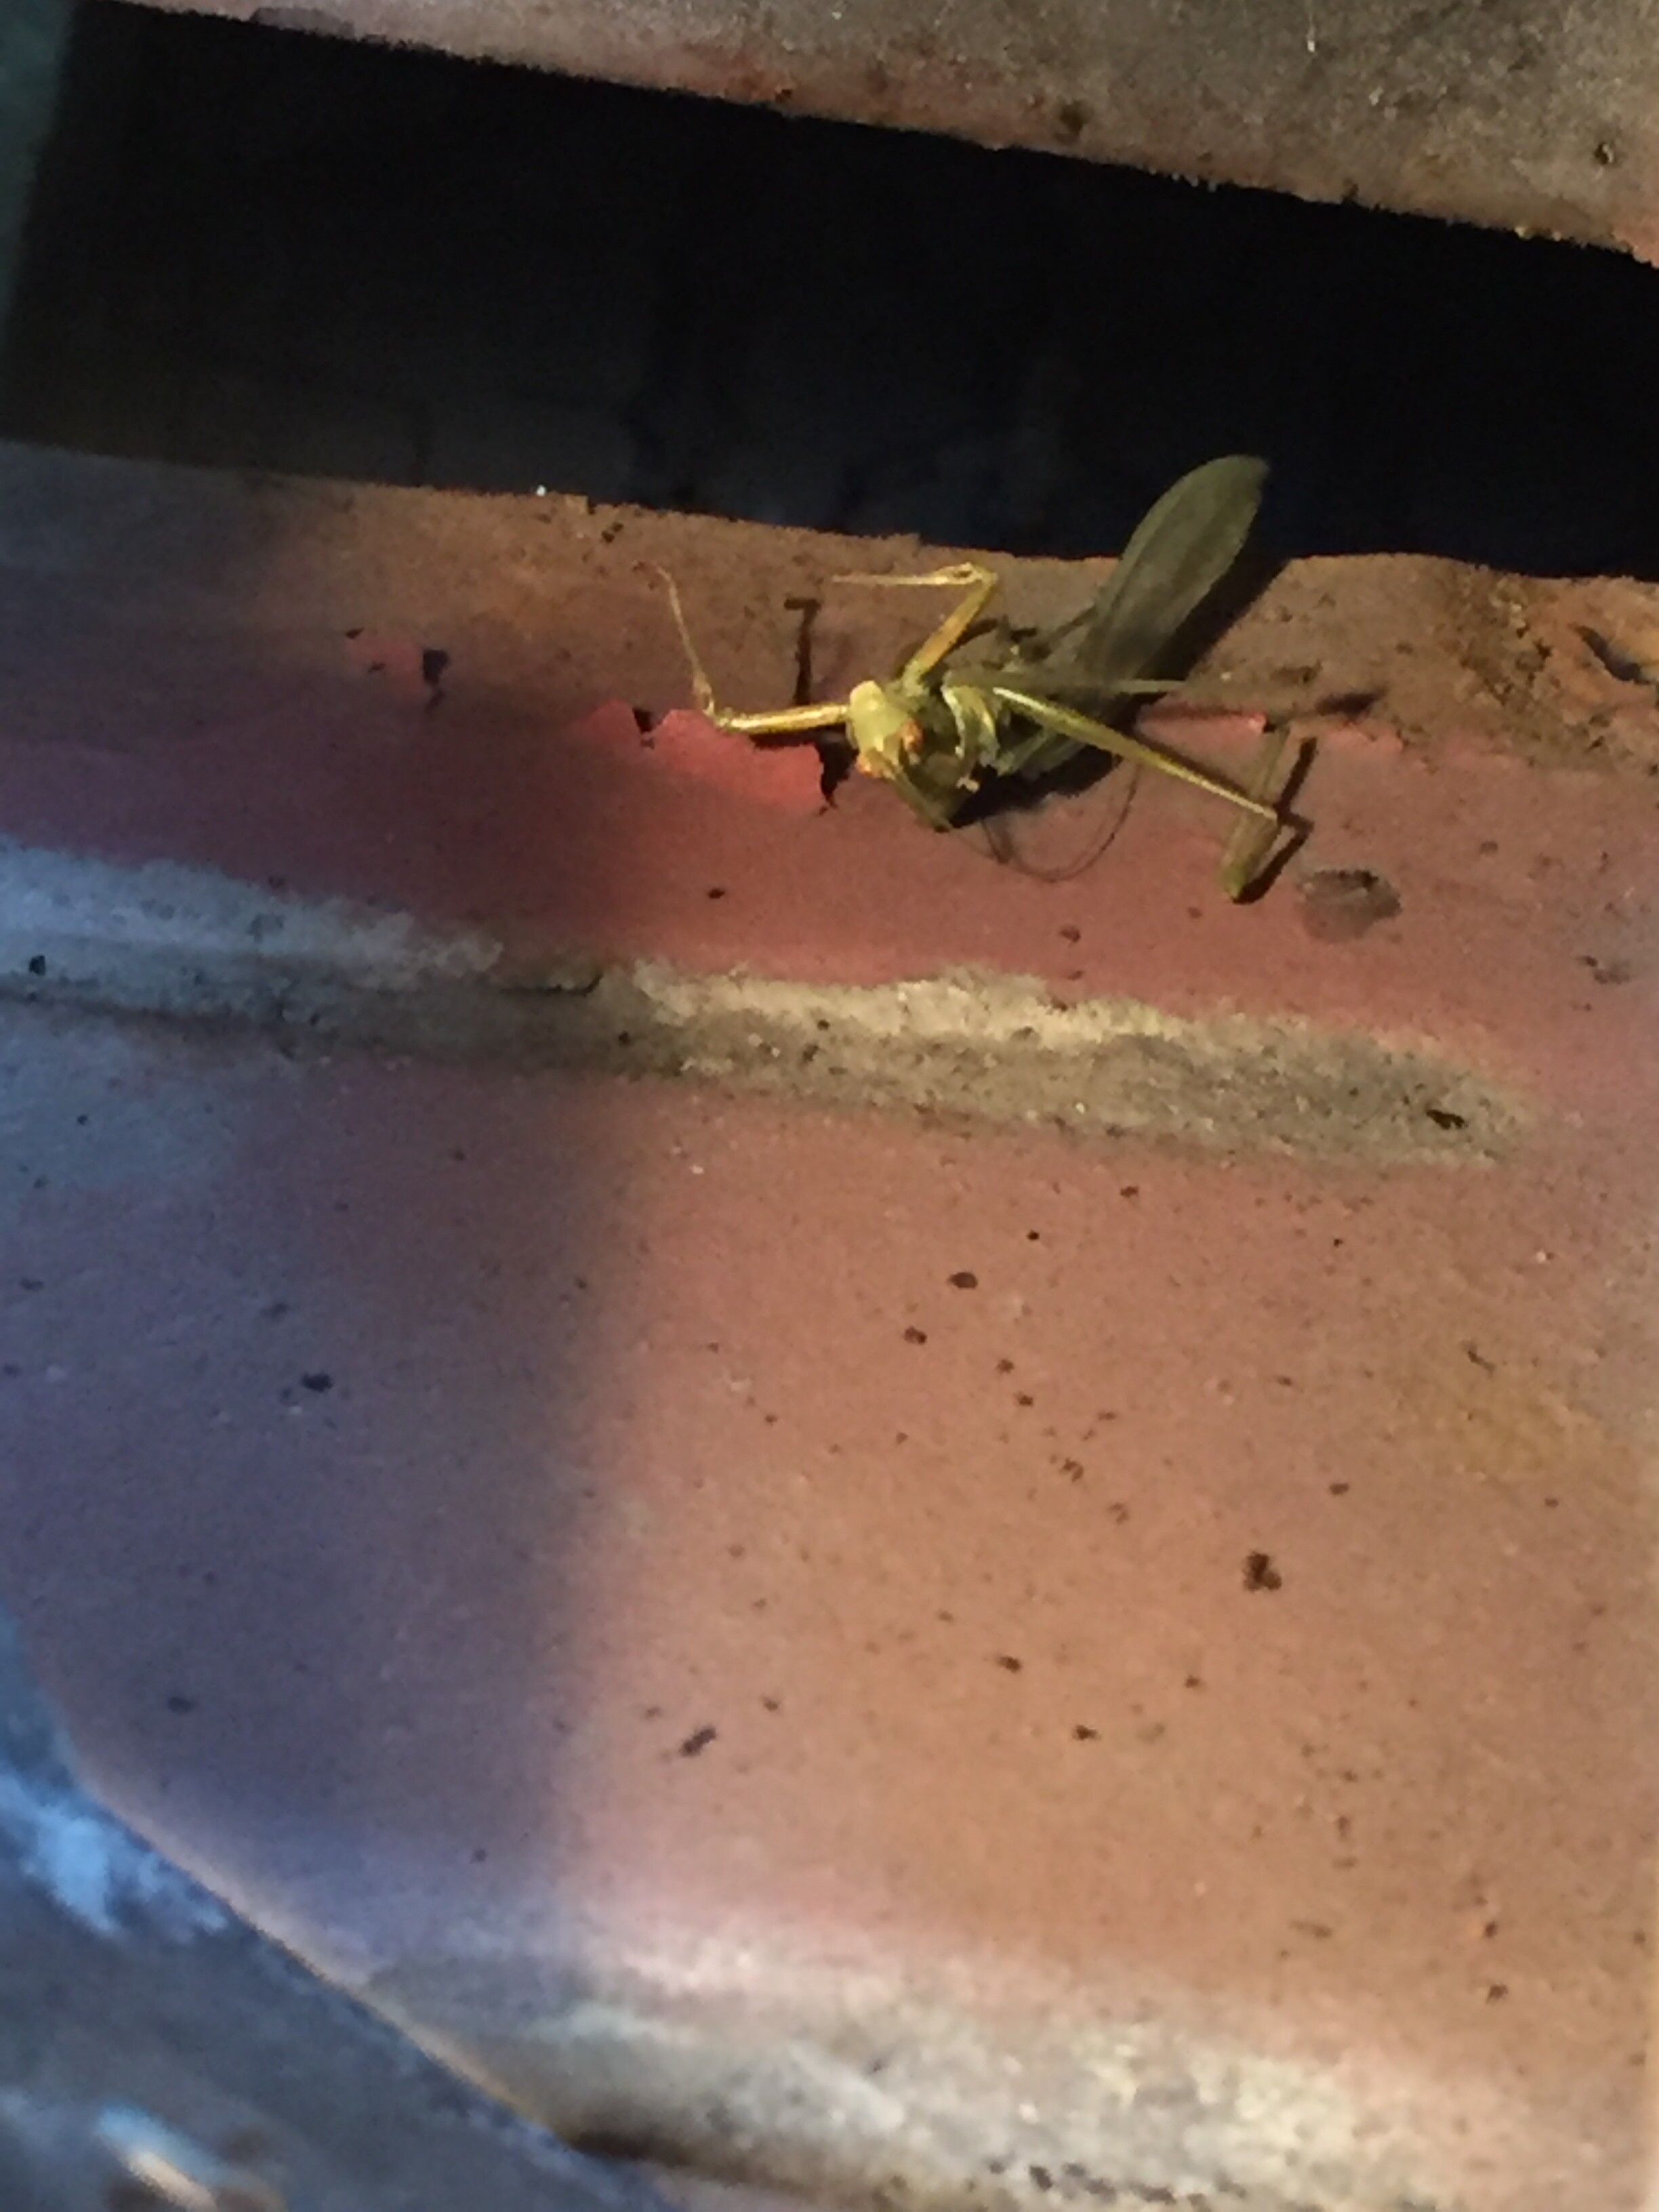
As I was removing the splash pan, I came across this guy. I took it as an omen: Get your butt in gear on this project, who knows how long it will be, before you are belly up.
Oh yeah, I did get the taillight housings off while I was at it today. Here’s a closeup of the spot that’s going to need some attention:
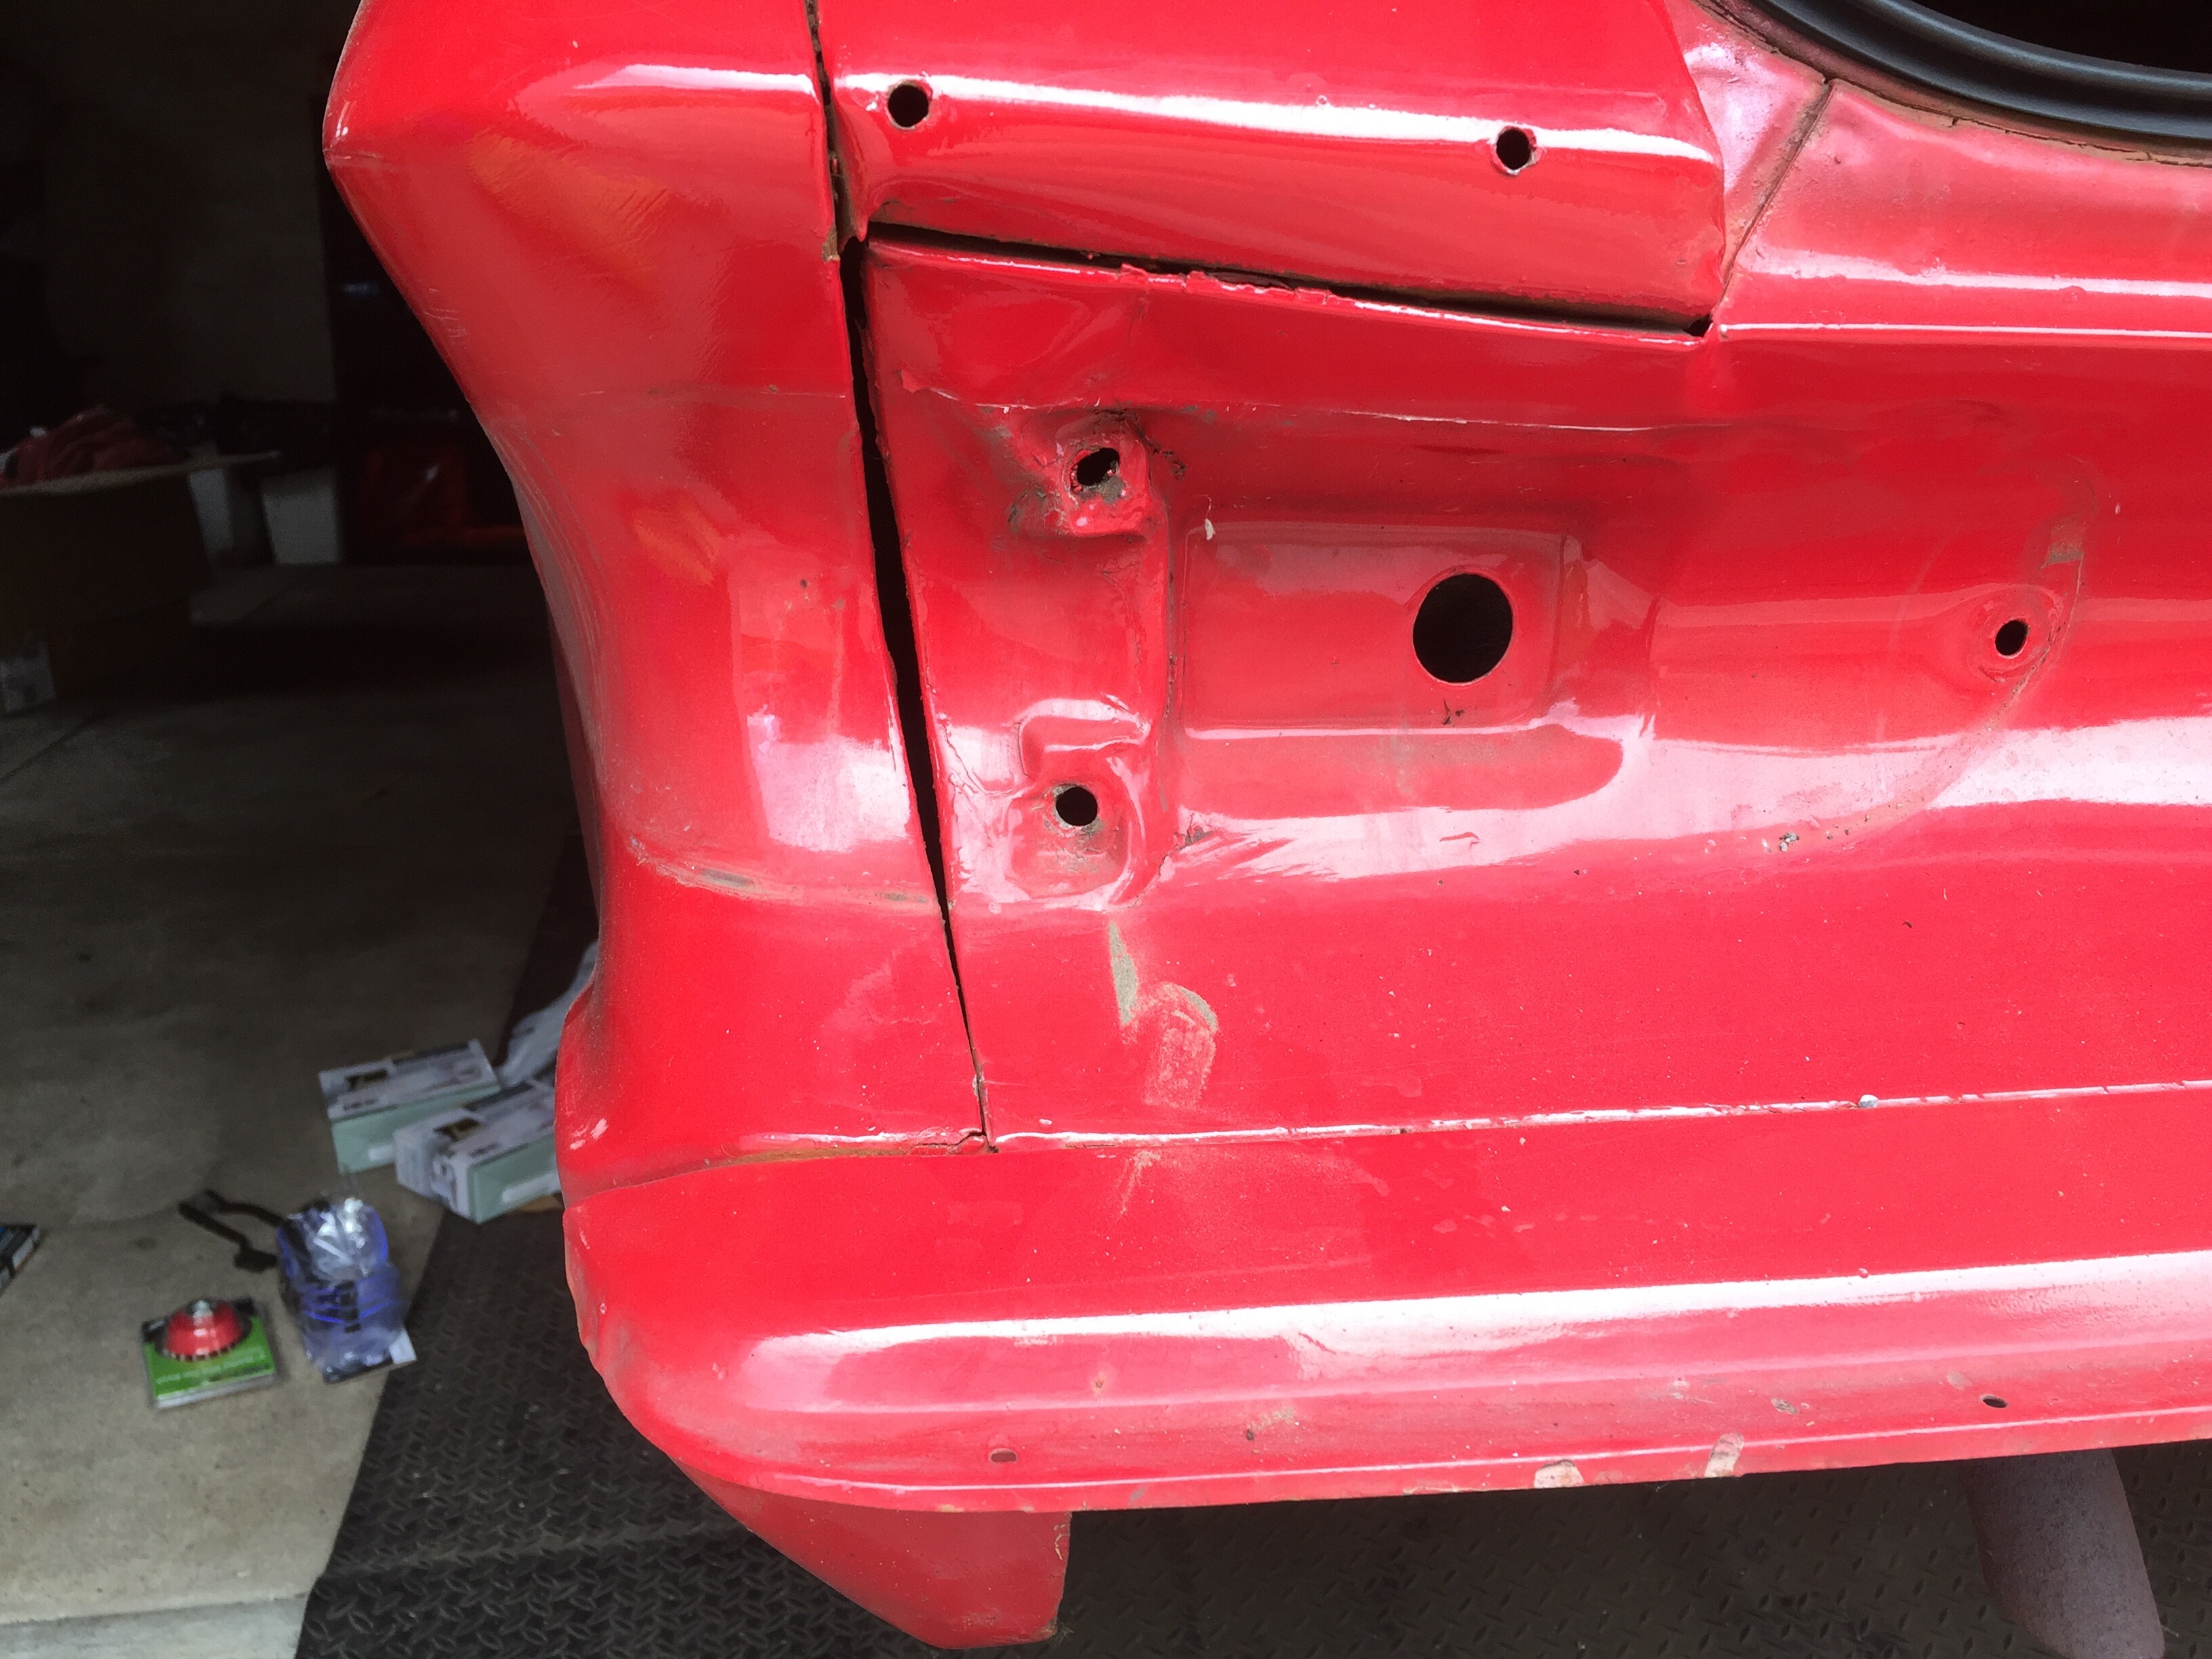
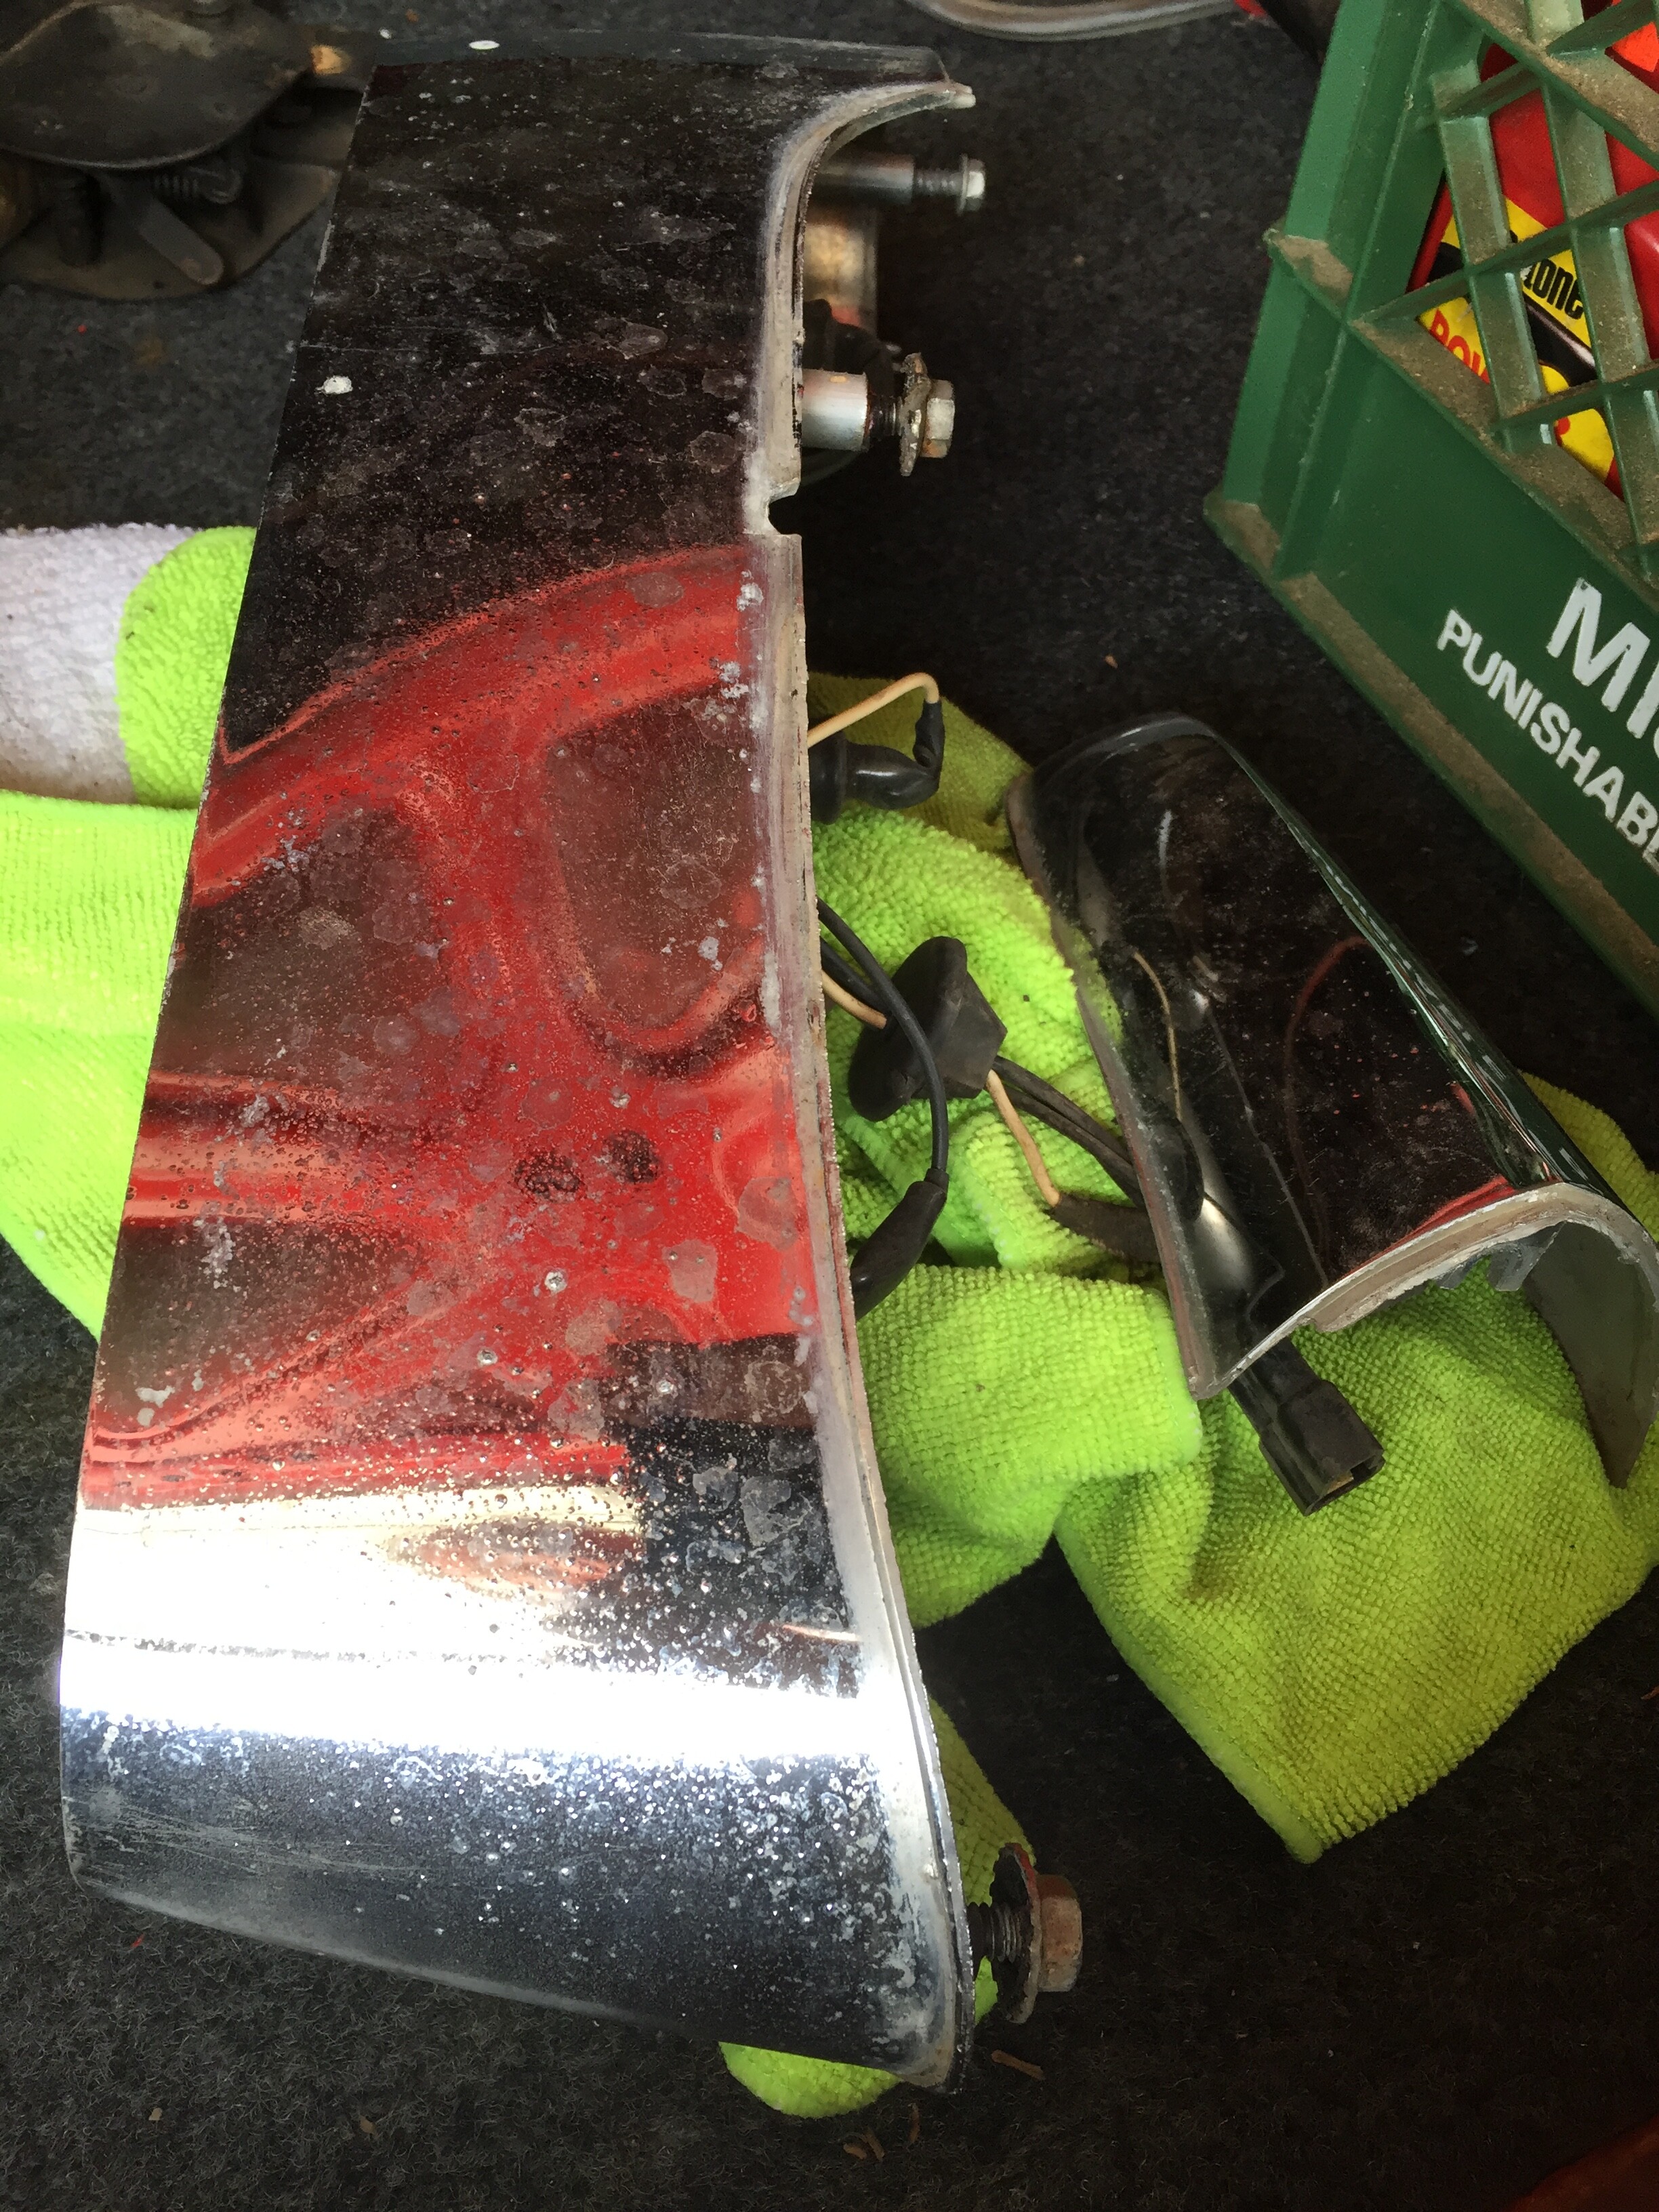
The housings themselves are in great shape, but will be going off to Frankford Plating for replating.
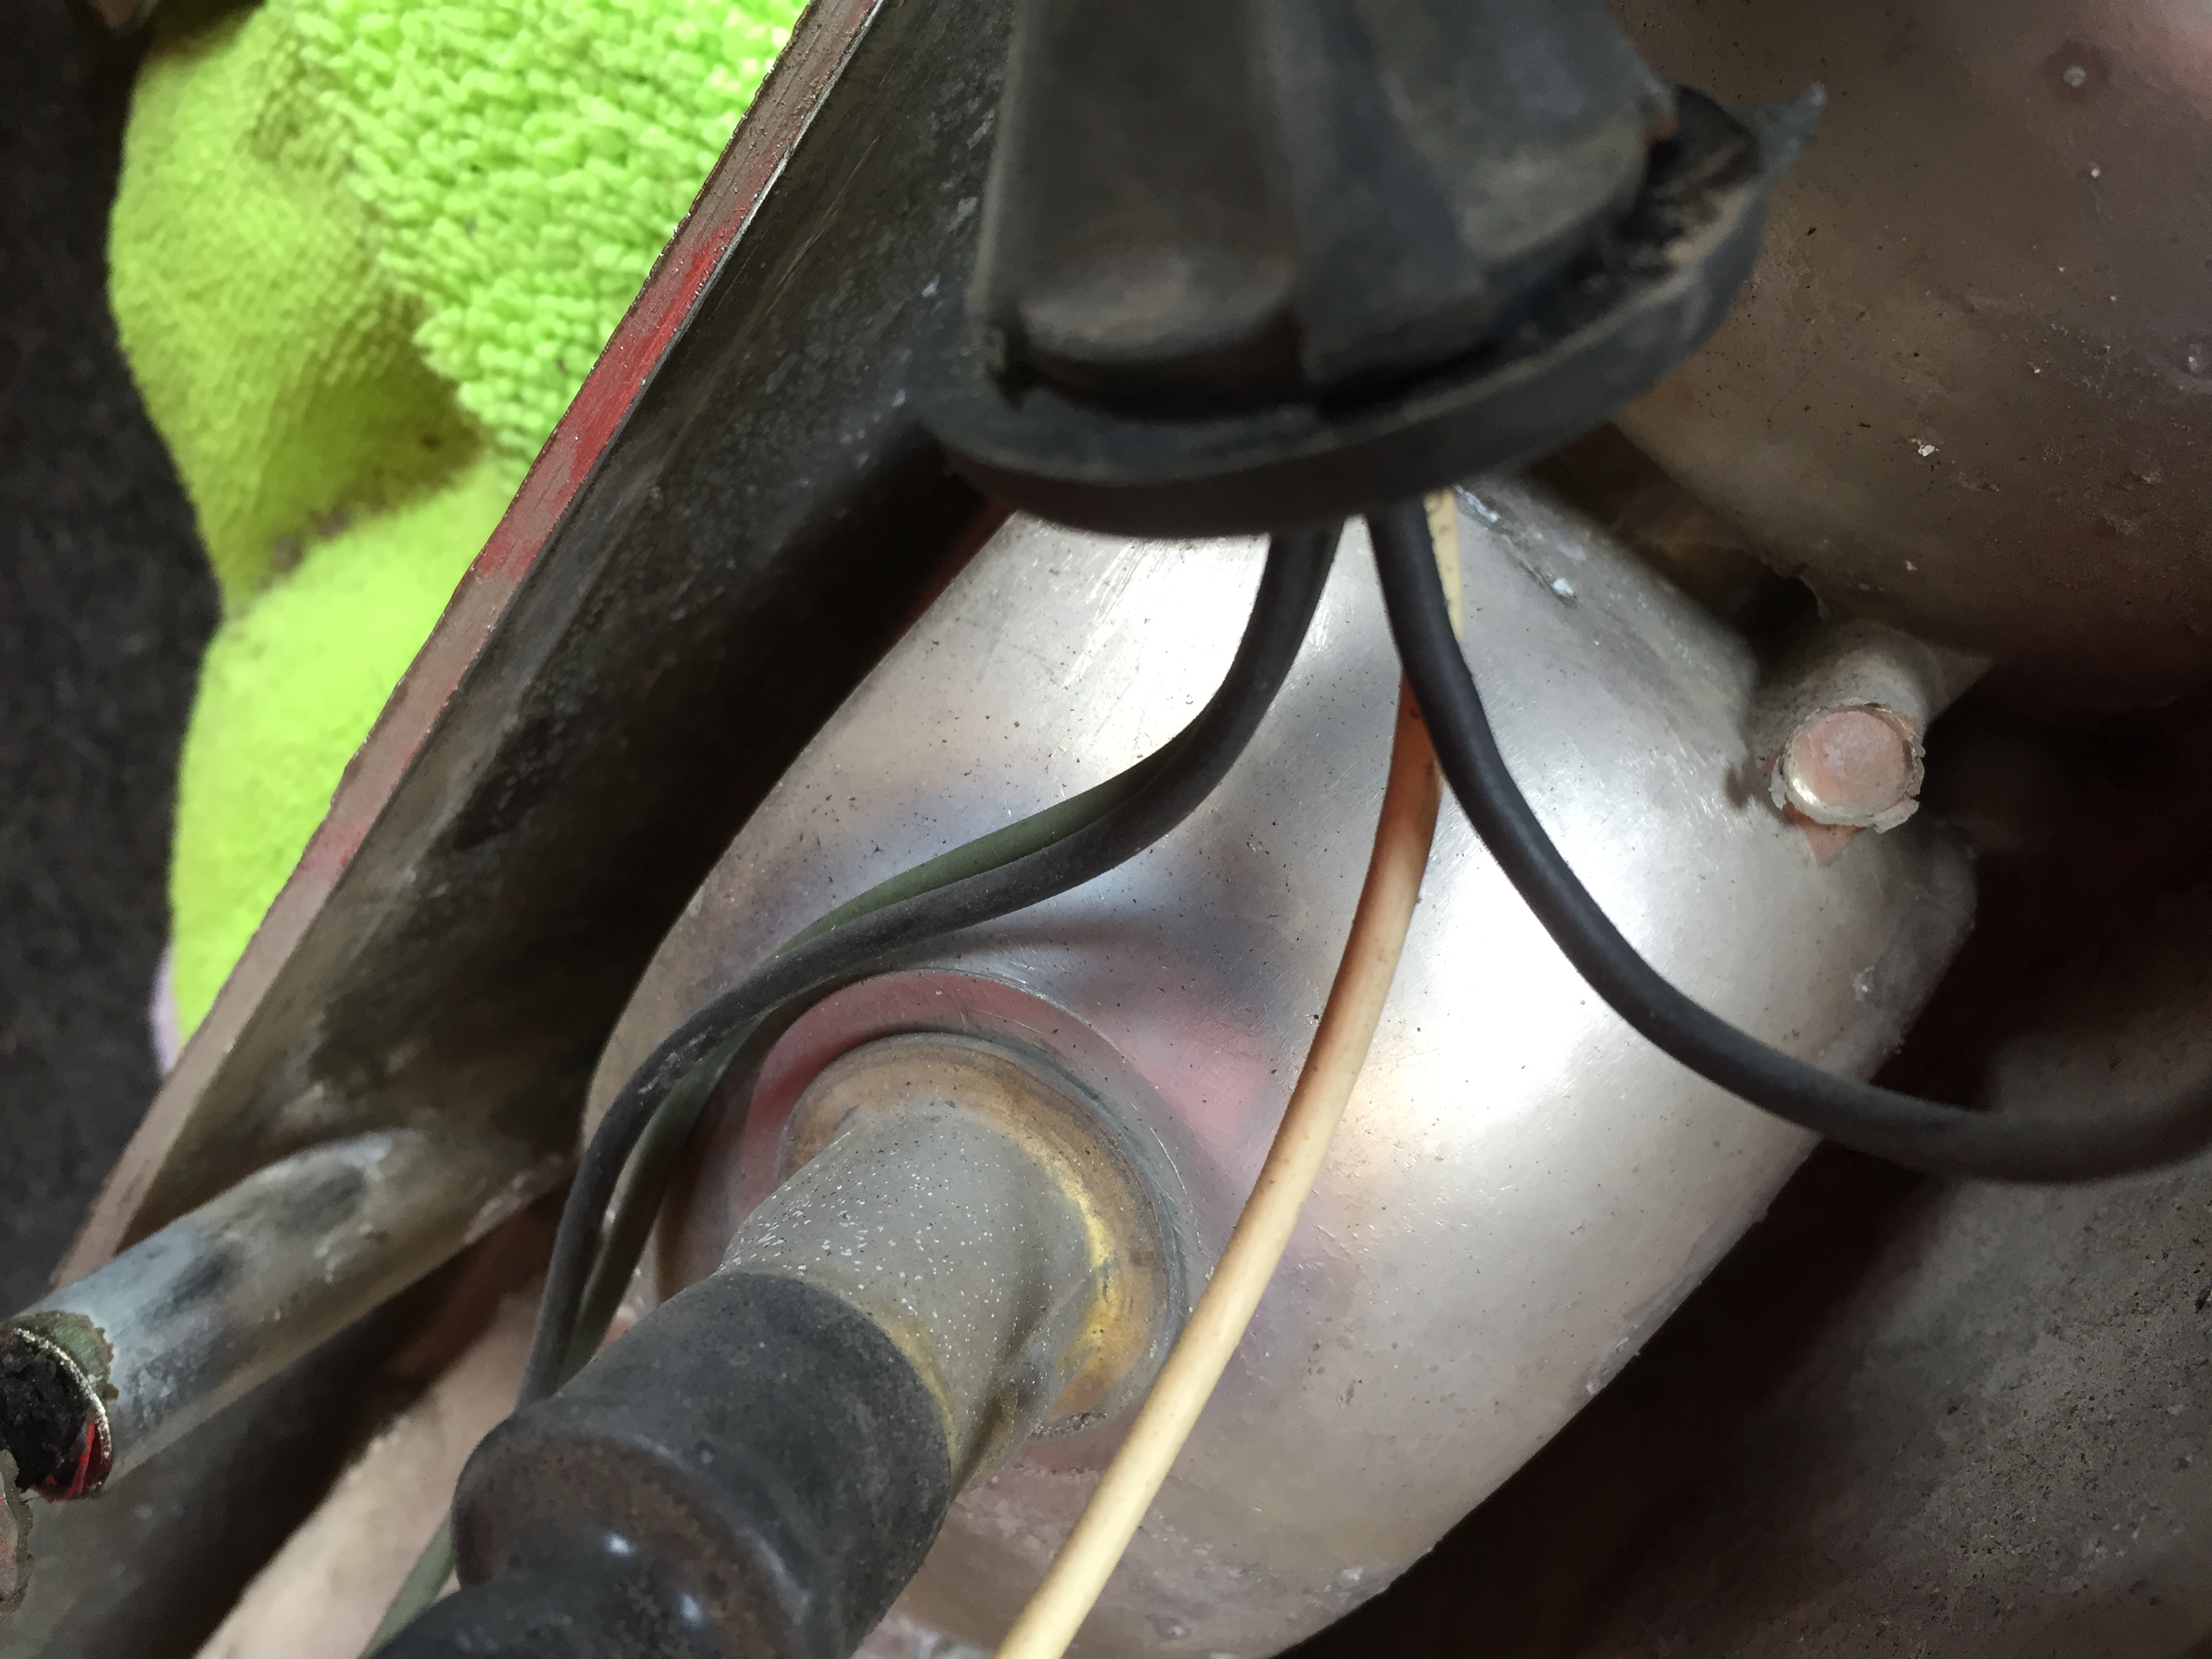
What’s the secret to removing the bulb sockets? Seems to me Matthew recently did this…
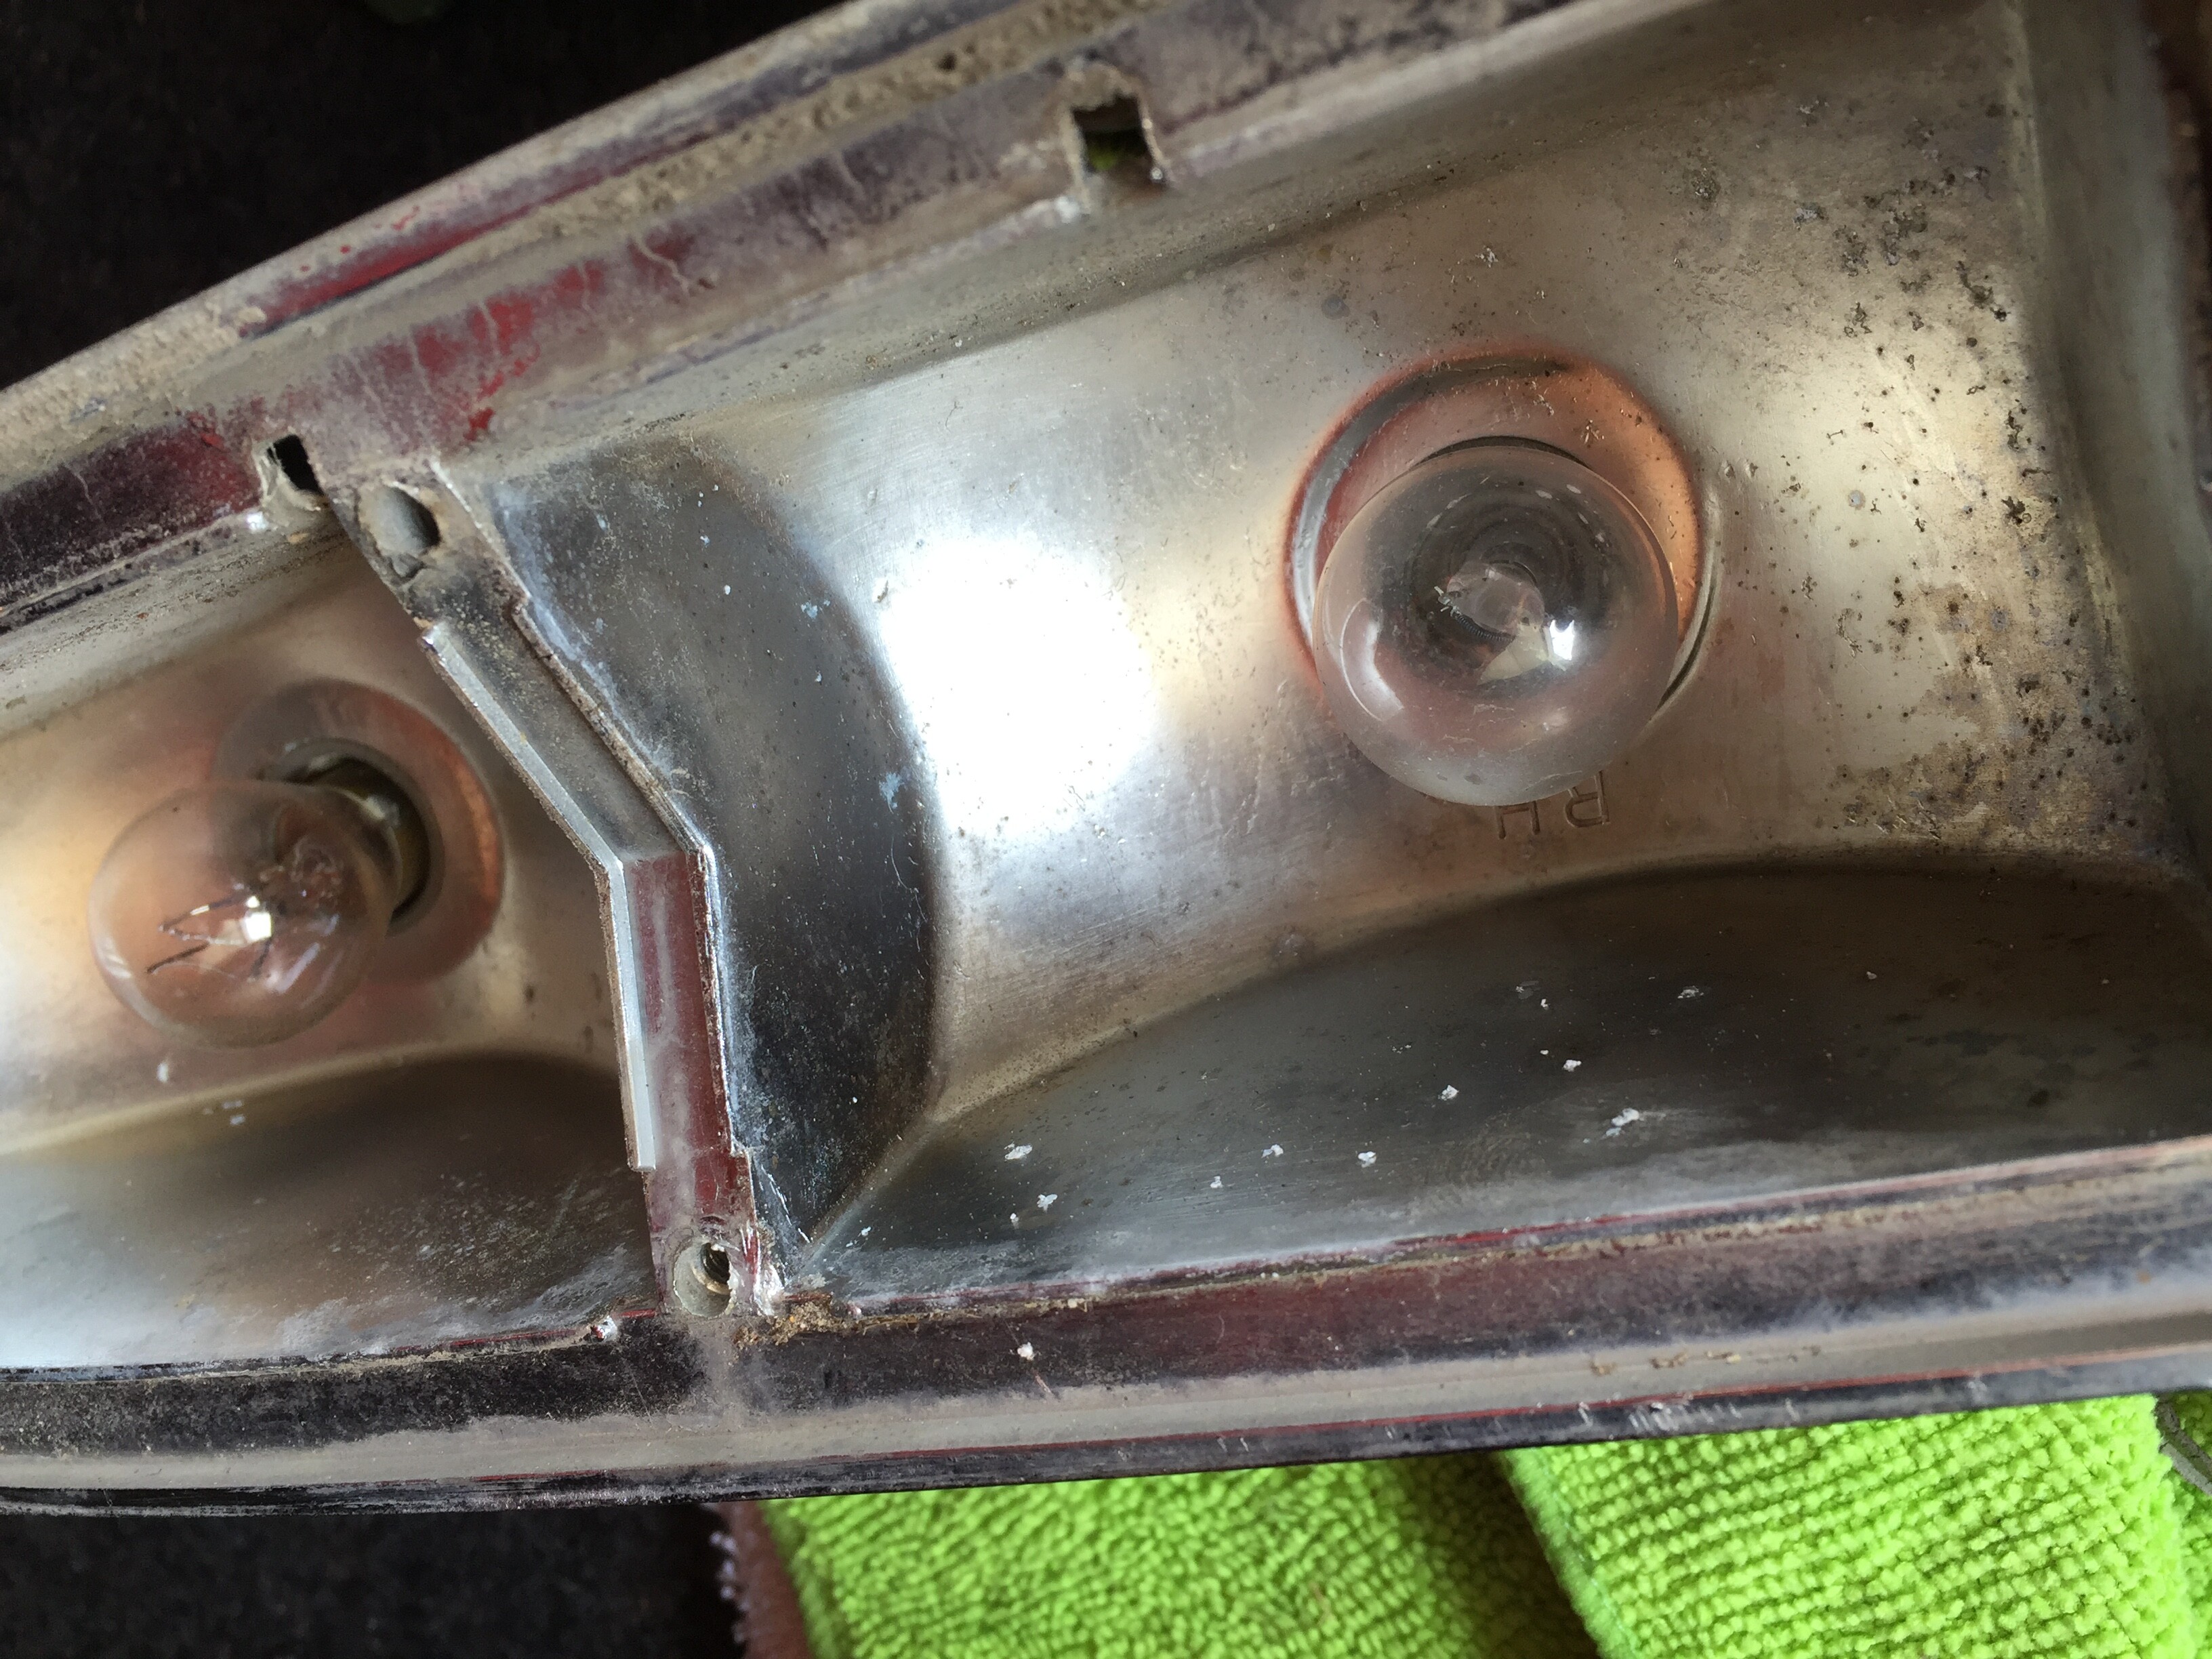
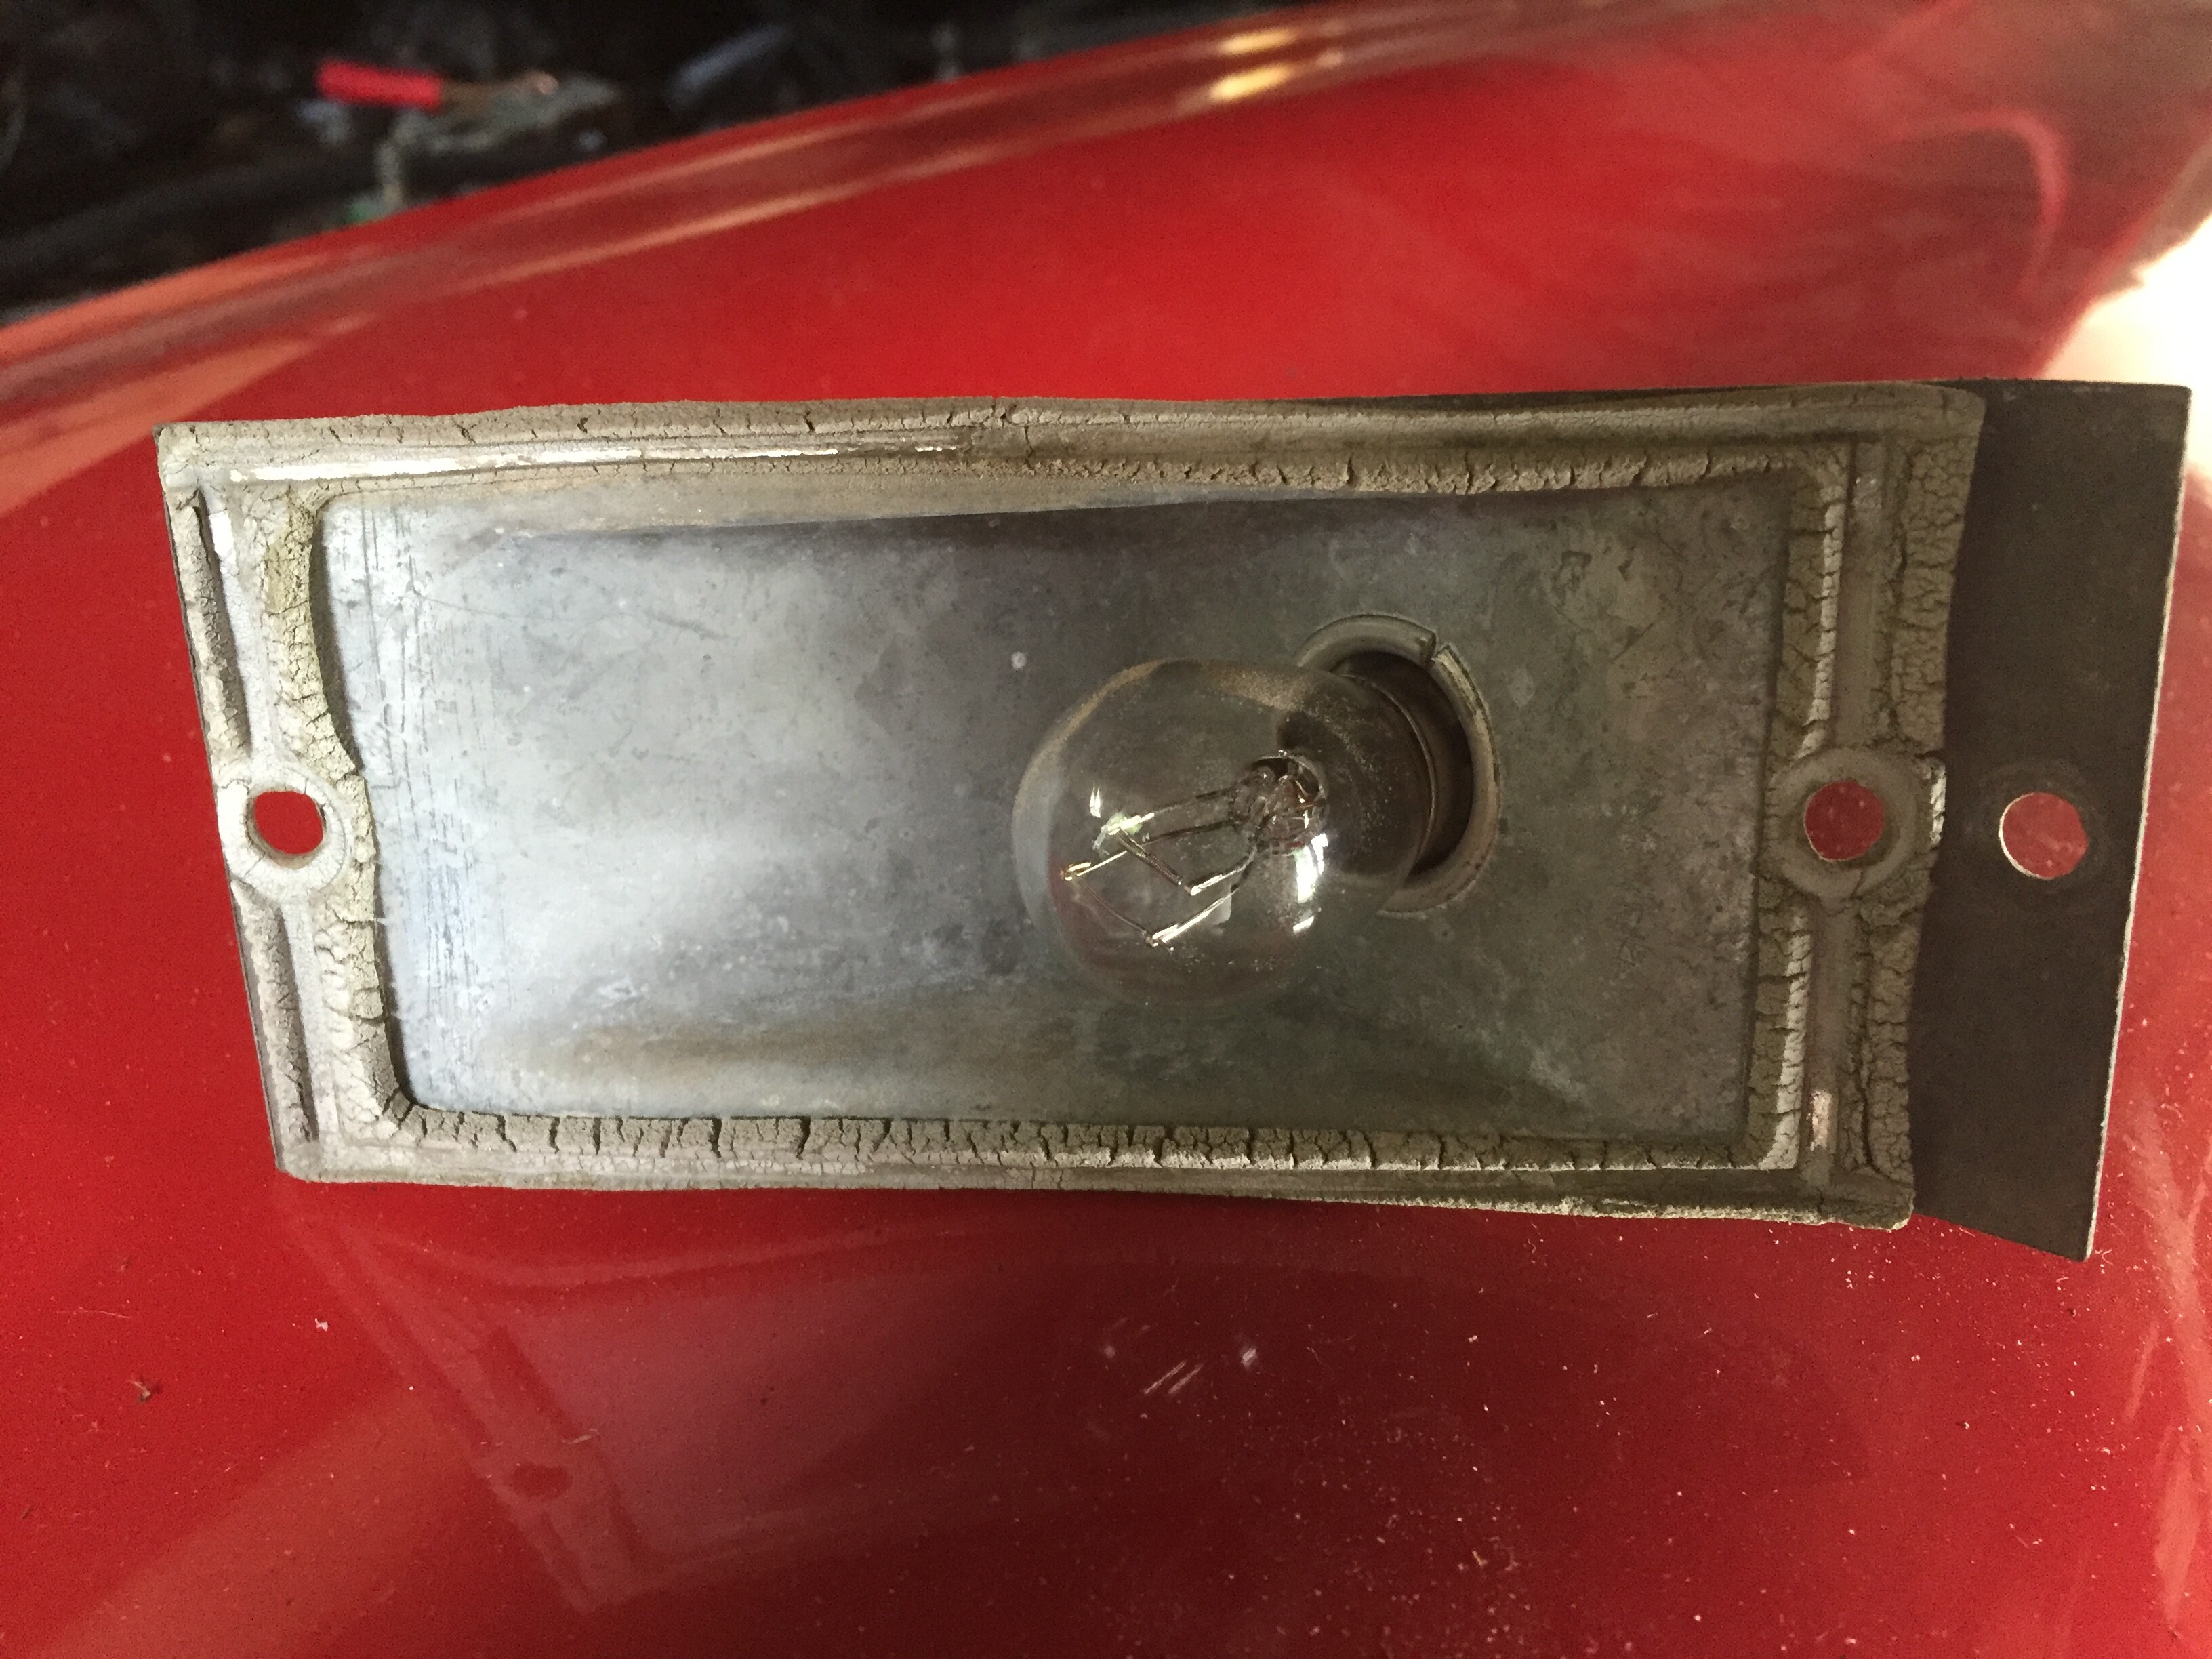
The rear housing gaskets turned to Idaho dust, but I have Goers replacement for these. But not for the front turn signals! Does Goers have these? Matthew, chapter and verse!
By now, I’ve collected a significant amount of hardware, all bagged and labeled, but all… nice and rusty.
My old man had a motor hooked up to his workbench that I inherited - I had great aspirations one time of redoing my own stainless, but I quickly proved incompetent, and surrendered to those more skilled (read: Dick Koch). But I’ve attached a brass brush, and it cleans up various parts nicely.
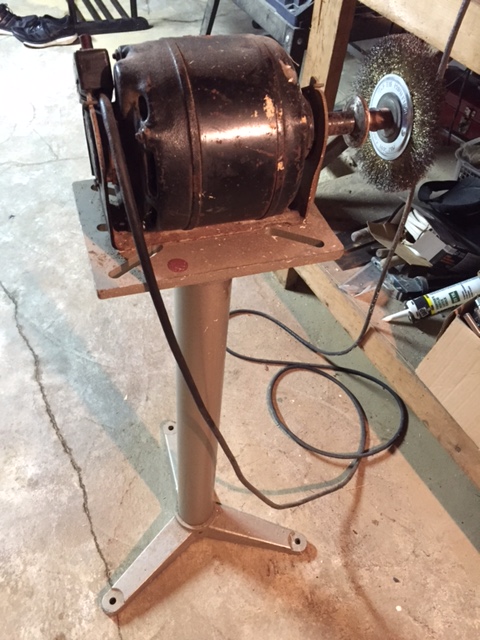
Is this what I should be using - with a litle Ospho after brushing? Is there something else that gets the job done quicker? Do you paint your bolts and nuts, and with what?
Dick - I’ve read elsewhere on the Forum that you’ve had great luck with Rustoleum black appliance paint. I’ll be using encapsulator for sure, on the underbody - but where might you use it, in place of encapsulator?
I also recall (but can’t find) a discussion about what kind of pad to put between the body and the gas tank. It seems that there might originally have been an asphalt-impregnated material. I plan to drop my tank and replace - any thoughts about this?
Finally - I’ll be replacing the exhaust, but I dread backing off the nuts on the manifold studs (for fear the studs will snap). For sure, I’ll wire brush the studs, and be soaking with liquid wrench and tapping before I attempt. And the good news is the motor was replaced ten years ago, so it’s not like the exhaust system has been untouched for fifty years. But other than the above - any advice for me?
Dan
Dan I did the tank on my post.The original tank pad is about 1/8" -1/4" thick,it was A cardboard type felt. I used A rubber floor mat that was getting tossed out. It had A diamond pattern to it and was the right thickness.I painted mine with por15 they also come in rattle can version. Rustshield works also but have only seen it in quart cans(brush). Goers has the light gaskets. The valance,mine was worse,A good body guy will do that one like new,mine turned out great!! My tank pad looks like what your car is parked on. Mark
Well, here’s my two cents. Your valance and splash pan look new to me, compared with what I’ve worked with before. With your permission I will have the welding done here. The interior of your rear tail light housings should have a bright finish after plating where the bulbs reside and will not need painting but on the front turn signal housings I used white gloss enamel instead of aluminum paint and they are much brighter. Your can buy adhesive backed foam used to seal doors and windows at the hardware store for your front turn signal housings, if two wide, cut to width with a razor blade. Ace also has 1/8" thick rubber or black gasket sheets you could also use to make gaskets.
One of the best investments I ever made is a blasting cabinet from Harbor Freight, I got the one for under $200 that sits on a bench. (no legs). Use glass bead media that you can also get at Harbor Freight. I’ve done three restorations with mine. Only thing is you will need is an Air Compressor, good buys at Harbor Freight. A retiree should have these items anyway. I painted all fasteners and small parts with encapsulator, you won’t need to ospho after blasting.
The Gloss black Appliance Epoxy I used primarily in the engine bay. Horns, Inner fenders, brake booster, PS pump, Brackets, Fan, pulleys, Generator, etc.
A piece of heavy weight tar paper the size of the gas tank, find a roofer, he may just give you a piece. If its light weight, double it. As far as the exhaust flange bolts and nuts, good luck.
Have fun,
Dick.
Dick! I’m begging your permission to have them sent to you via Keij Express! I don’t have anyone north of the Mason Dixon Line that I trust to get this right.
Dan
Except for the threads, right? No ospho here, just Never-Seize?
I’m thumbing through the Goers catalog tonight, looking for those rear splash pan shield clips, and came across the splash shield page (page 28). And I’m realizing, that there should be splash shields over the front suspension A-frames:
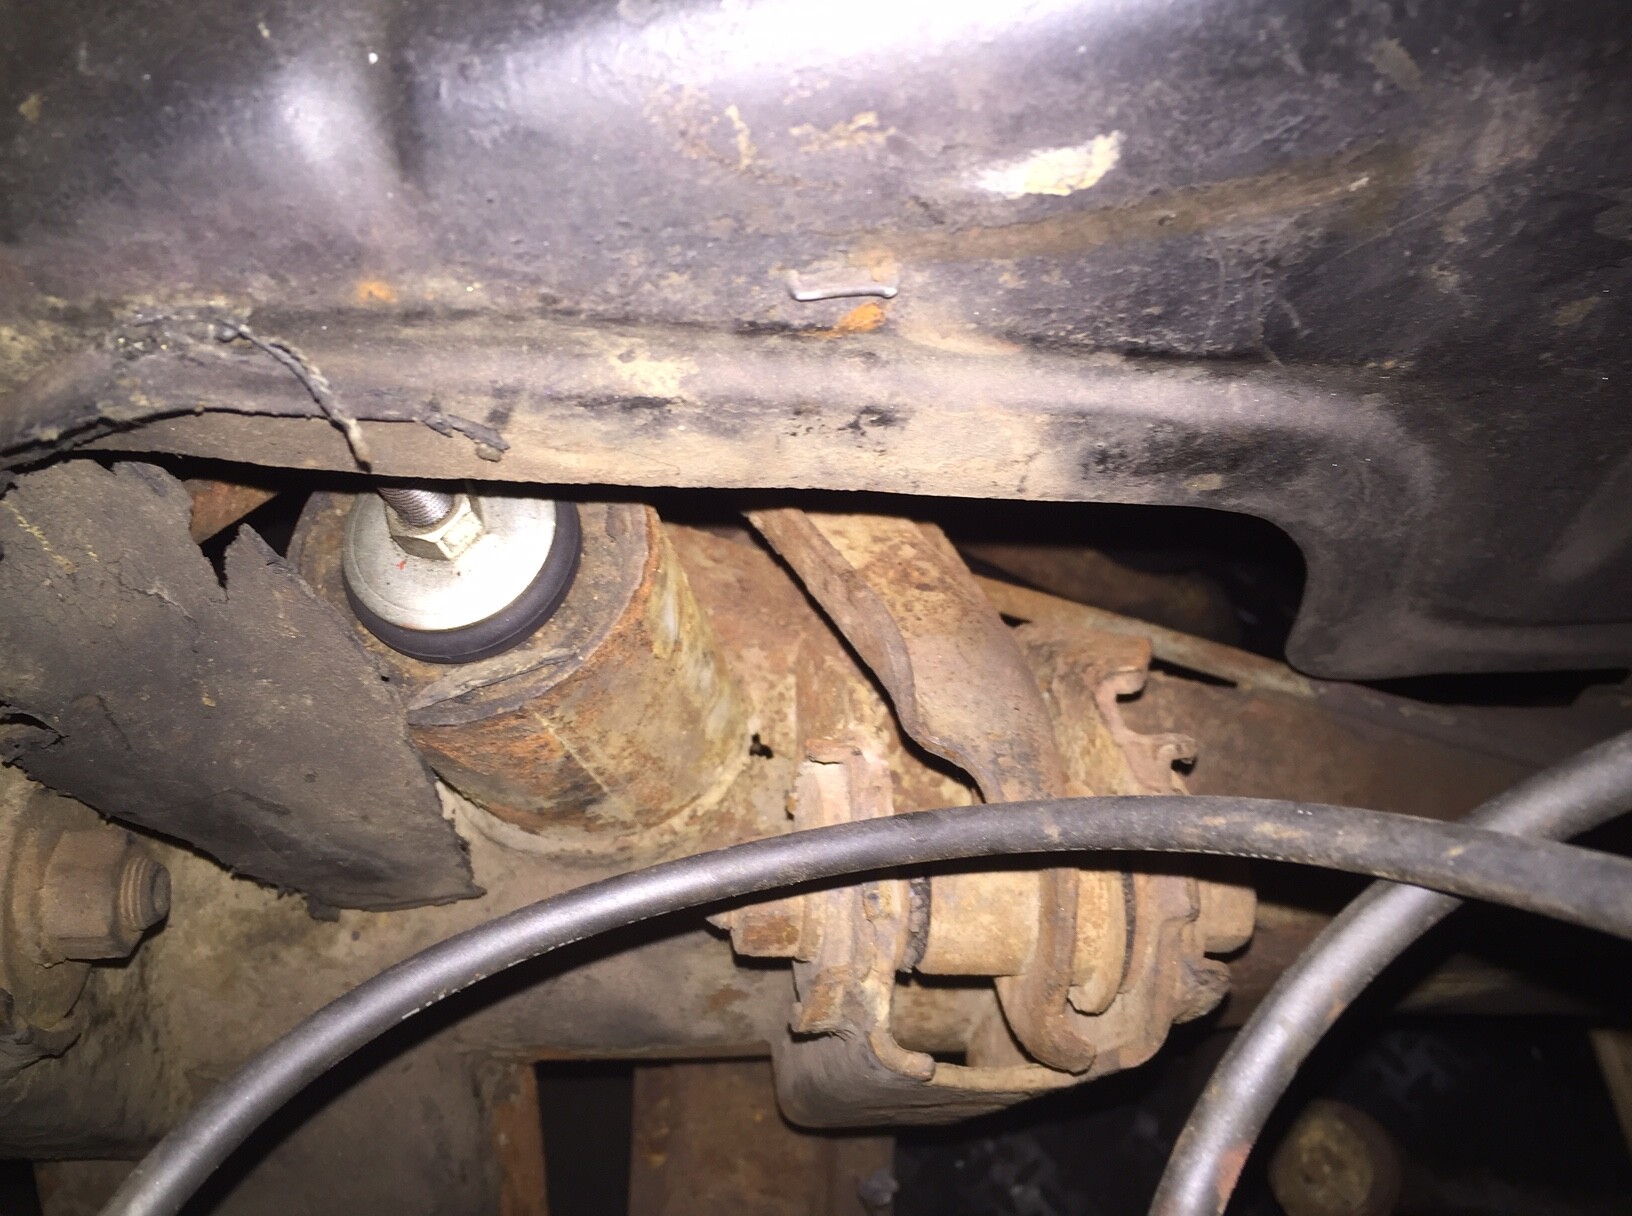
Some of the staples are still in place, with shards of the shields. I don’t see, though, that Goers has these in his catalog for '59 Plymouths. Or, am I missing something? If you’ve gotten from Goers - what is the part number? Or, if he doesn’t have them - what have you done to replace them?
Dan
Dan - Check “Dick convertible project” page 17. It was easy to install mine because the inner fenders were not installed yet. It should not be to hard if you take the wheels off the car. I made the staples out of some galvanized mechanics wire l had for many years. I measured the distance between the holes, l happend to have a chisel the right width and bent the wire around it and made my own staples. Send Gary a note, if he has them he will probably send you some. Save the staples you have and check with an upholstery shop. Auto or furniture.
Dick
Thanks Dick! You’re referring to this pic, correct?
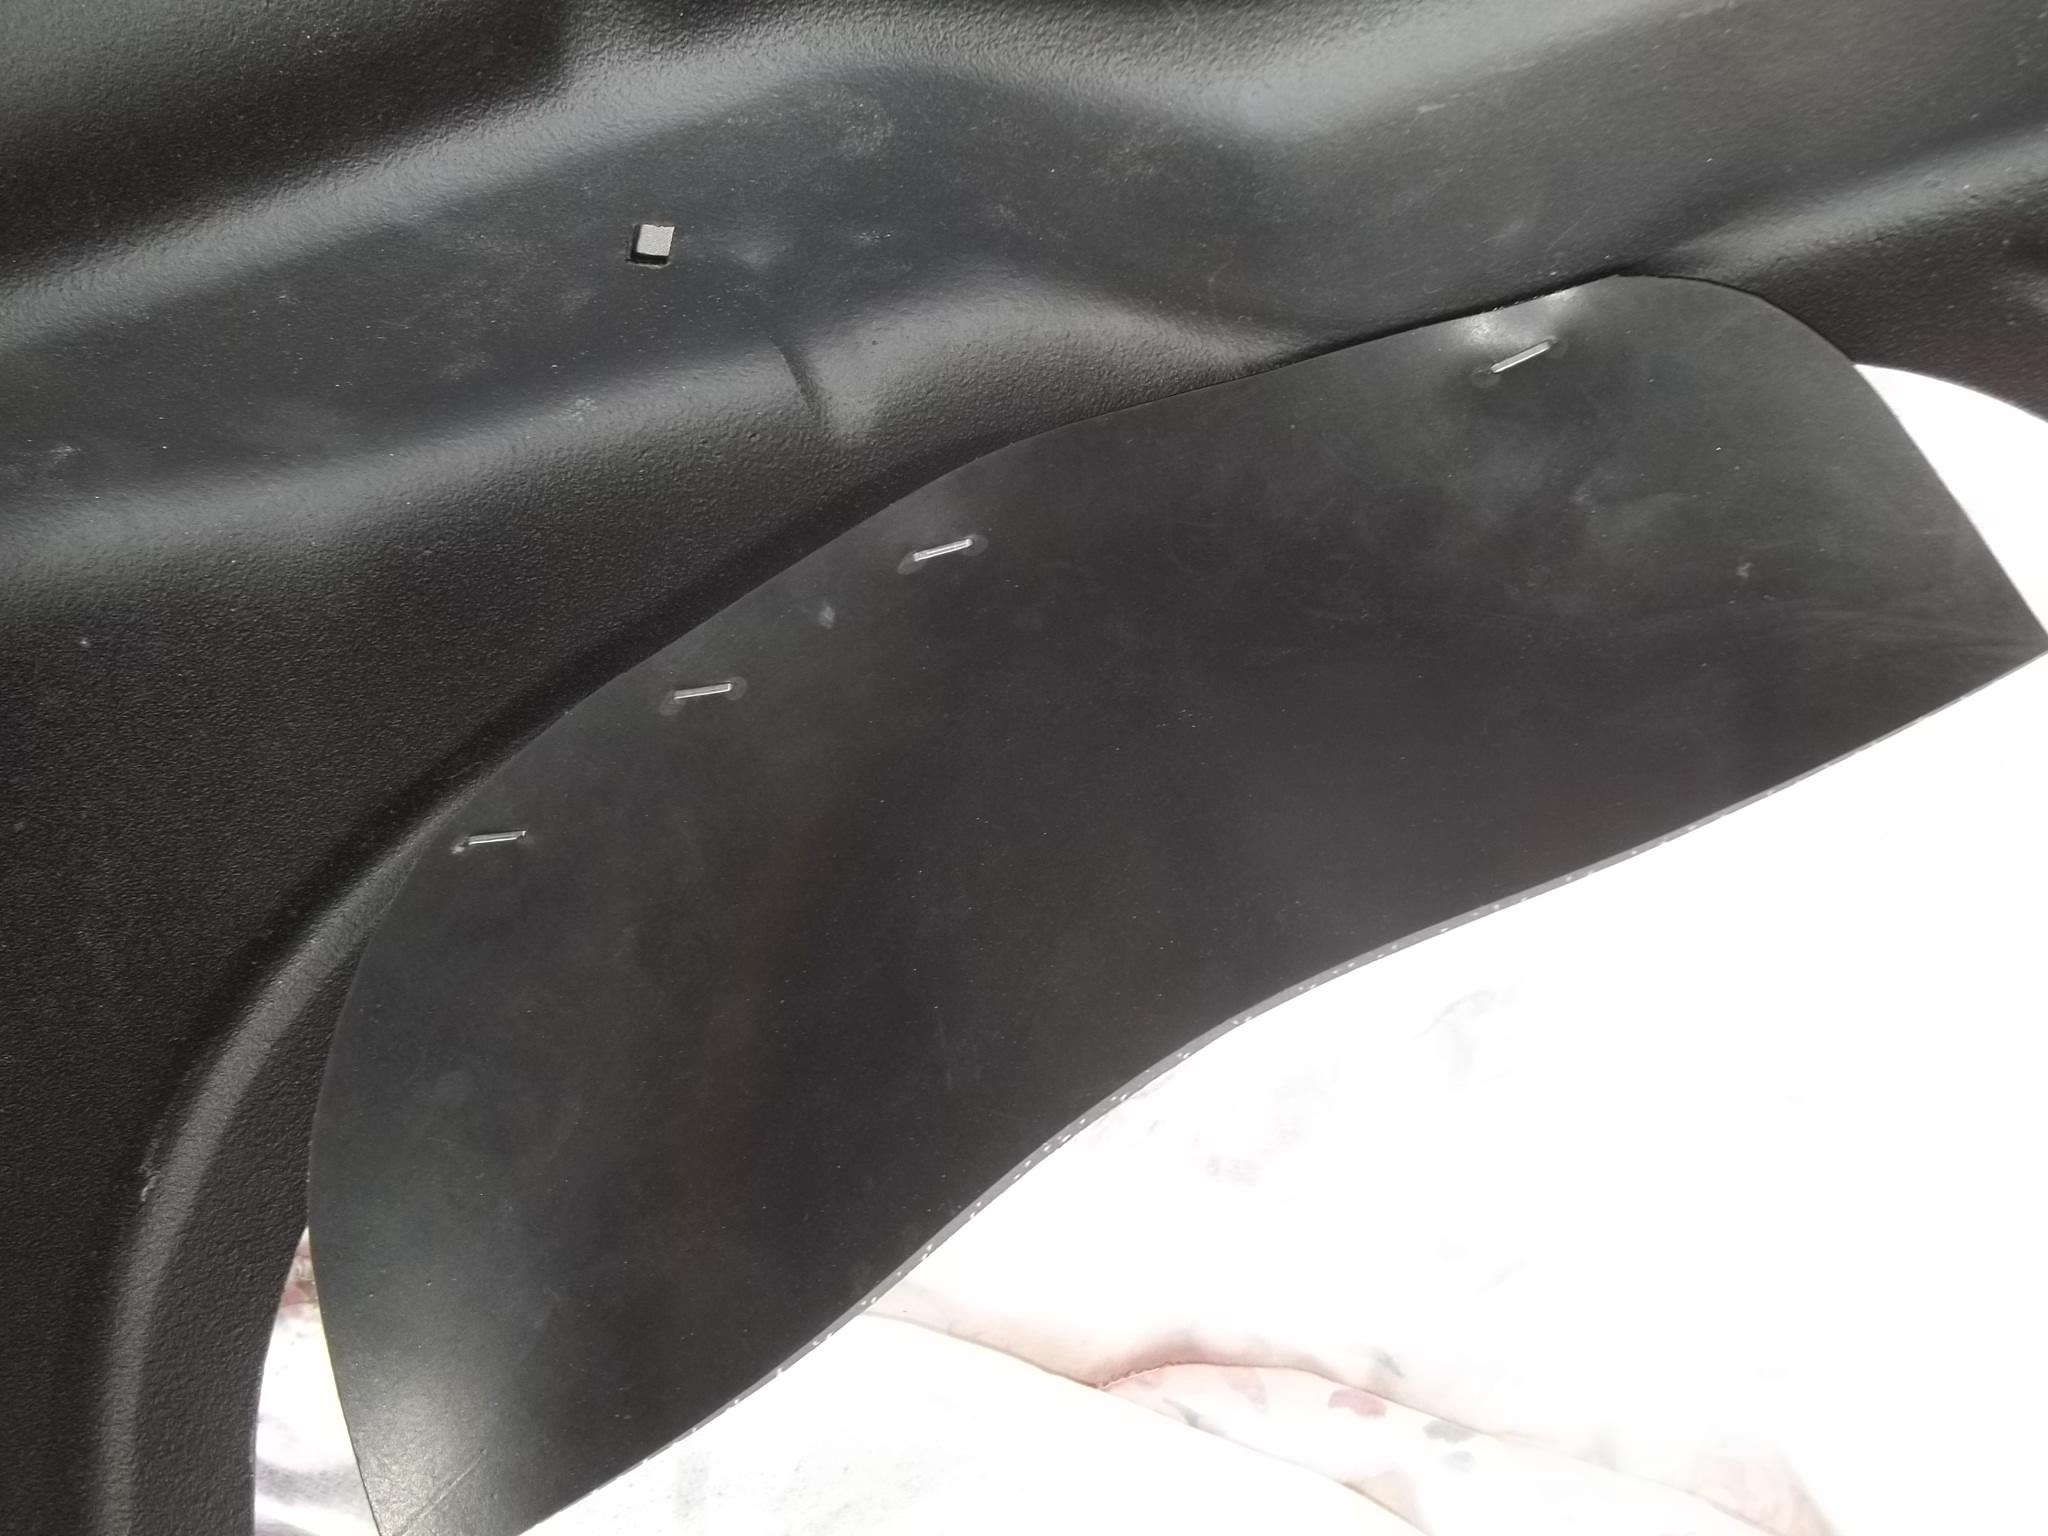
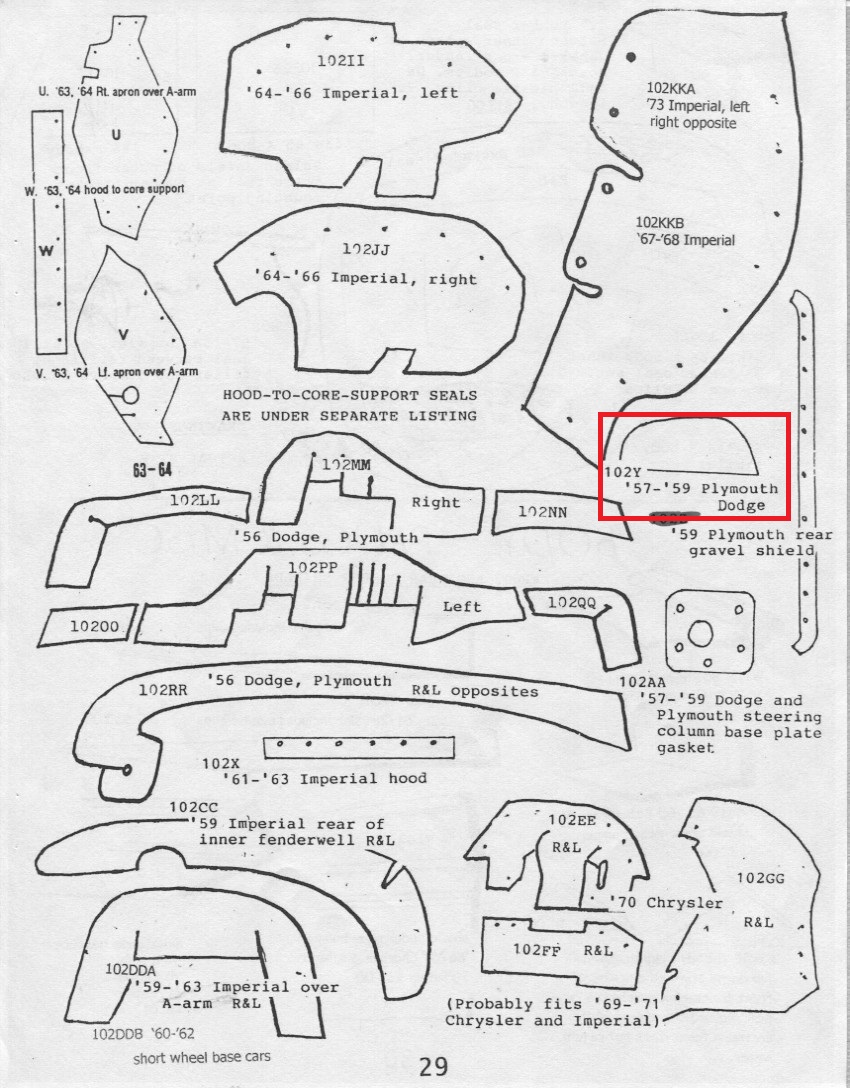
I see that Gary does indeed have it in his catalog
Yes, that picture and the one you marked in red.
Dick
From the looks of things, all the staples are there, Dick (although Gary does say “heavy duty staples are included…”). And now, I’m contemplating the mushroom factor…
Well, what if mine weren’t installed either?! I need to jockey the alignment of the fenders with the hood - and if I had the front clip off, I could:
-
remove the hood and get the little hood corner bend fixed (because the hood is too @%#!&!! close to the cowl), replace the snapped bolts on the hinge-to-hood surface (Matthew, I think my hinges are fine - not sure I’m going to replace with the ones I bought), and get the front lip of the hood underside reinforced at a weak spot, which also shows as a little crimp on the hood surface;
-
clean up the underside fenders real well, and make sure I’ve protected them well;
-
get access to all the grimy upper parts of the suspension;
-
detail the engine compartment more easily, including the firewall; and
-
address the alignment issues with the hood and fenders.
I dunno, I think I am talking myself into it. Hey, has anyone done a frame off without a rotisserie?
Kidding!  There are limits. I just don’t know mine! Lessee, how many years until the 60th Anniversary at Carlisle…
Well, not this weekend. It’s a “honey do” weekend, there’s posts to set and a fence to put up. Just payin’ my dues, folks. But… Am I crazy?
Dan
Do it, crazy man.
Dick
No work on Faulkner this weekend… I put this up instead. (sigh.) Well, scratch one from the “Honey Do” list.
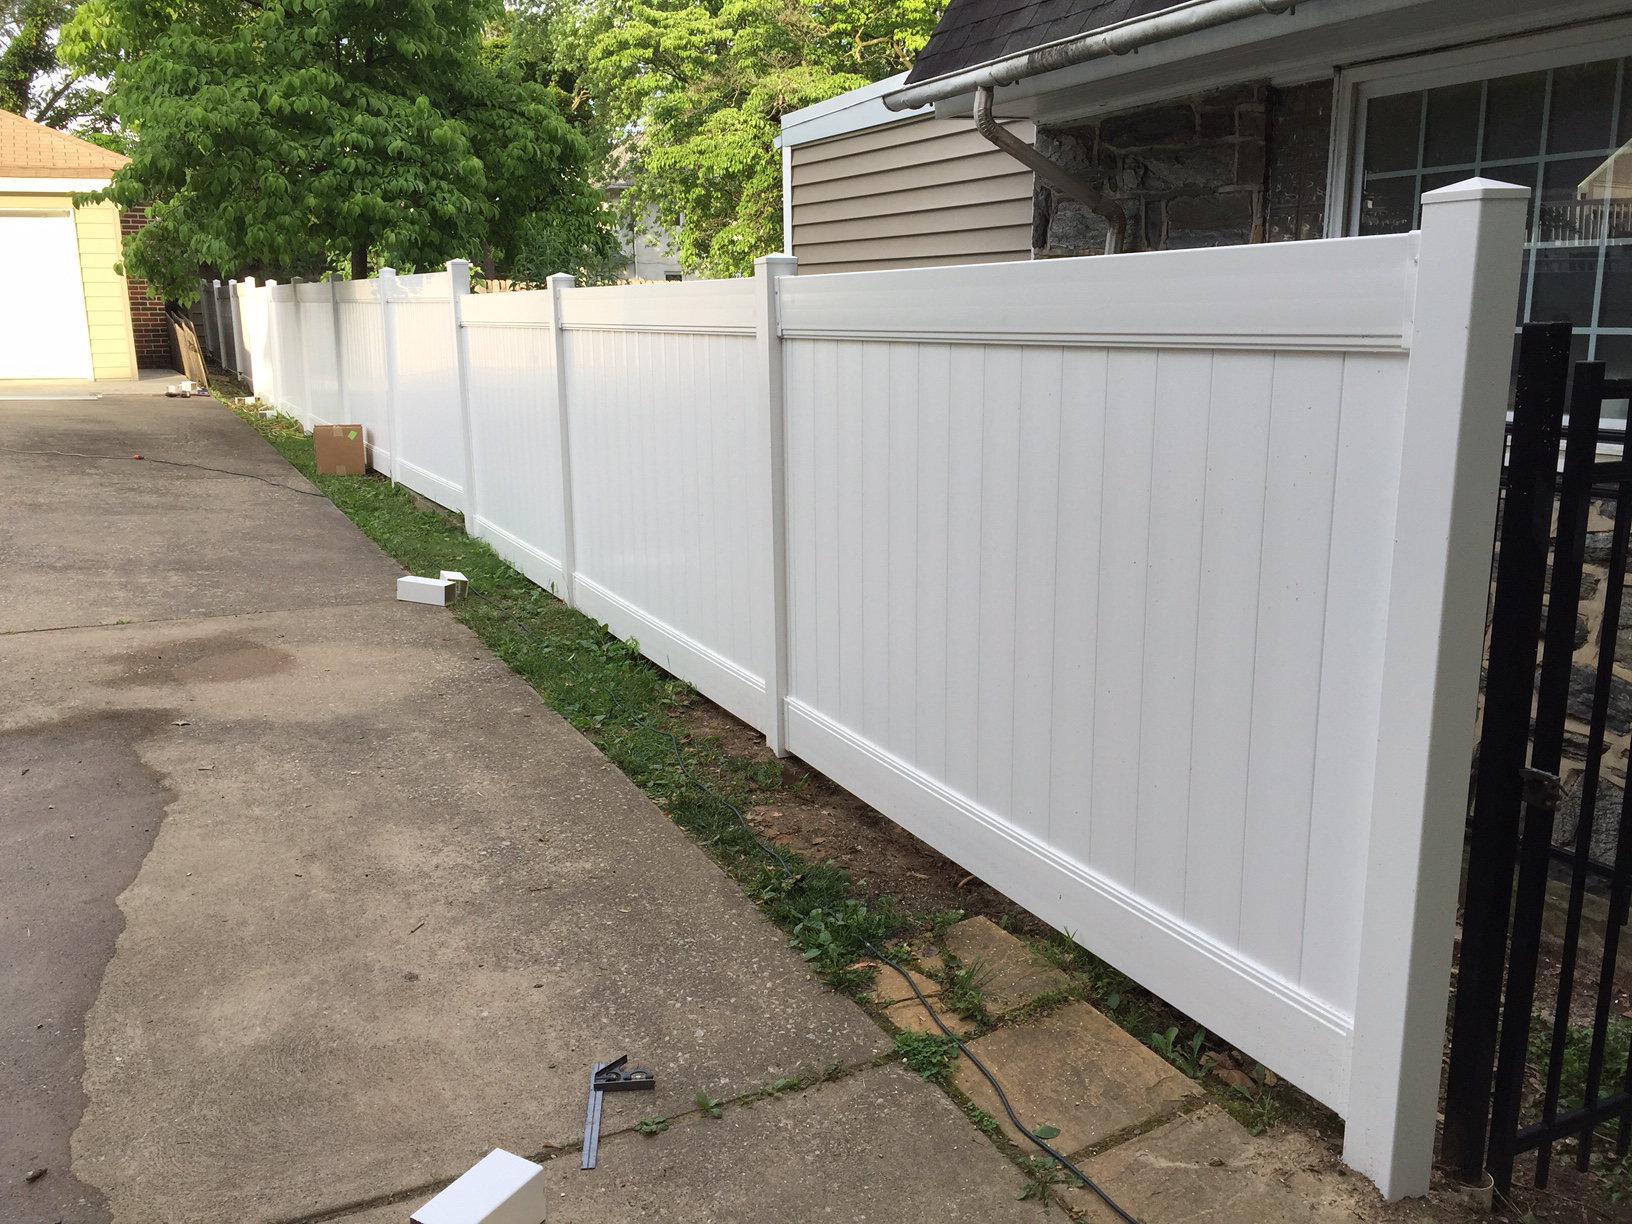
Nice.
Dick
Oooh! Eastwood has a 10% off sale on coatings today. I’m guessing you’d recommend brush-on encapsulator for the the undercarriage, Dick? Being under the car, I can see all that overspray coming down on me… Wouldn’t be so bad, if I could target my bald spot.
Dan
…and, any advice about quantities?