I made two videos this evening, one down and one up. For whatever reason, going down seems to be working better tonight. But, going up is definitely a struggle. Watch the trailing edge of the window…
Going down, the trailing edge drops before the entire wind drops. Going up, the trailing edge rises before the entire window rises. Here’s my theory: With no flocked channel at all in the rear track, the leading edge did not go deep in the leading channel (which I had replaced fourteen years ago) - it had plenty of wiggle room. Now it is forced to go deep in the leading channel, because I put the trailing channel in where there was none - and, doesn’t move until it’s forced to, when it has to follow the trailing edge. It’s being dragged in the channel.
Maybe I should pop the vent again, and spread the leading channel like I did the trailing channel. But first, maybe try some lithium grease? Doc '59, can you weigh in here?
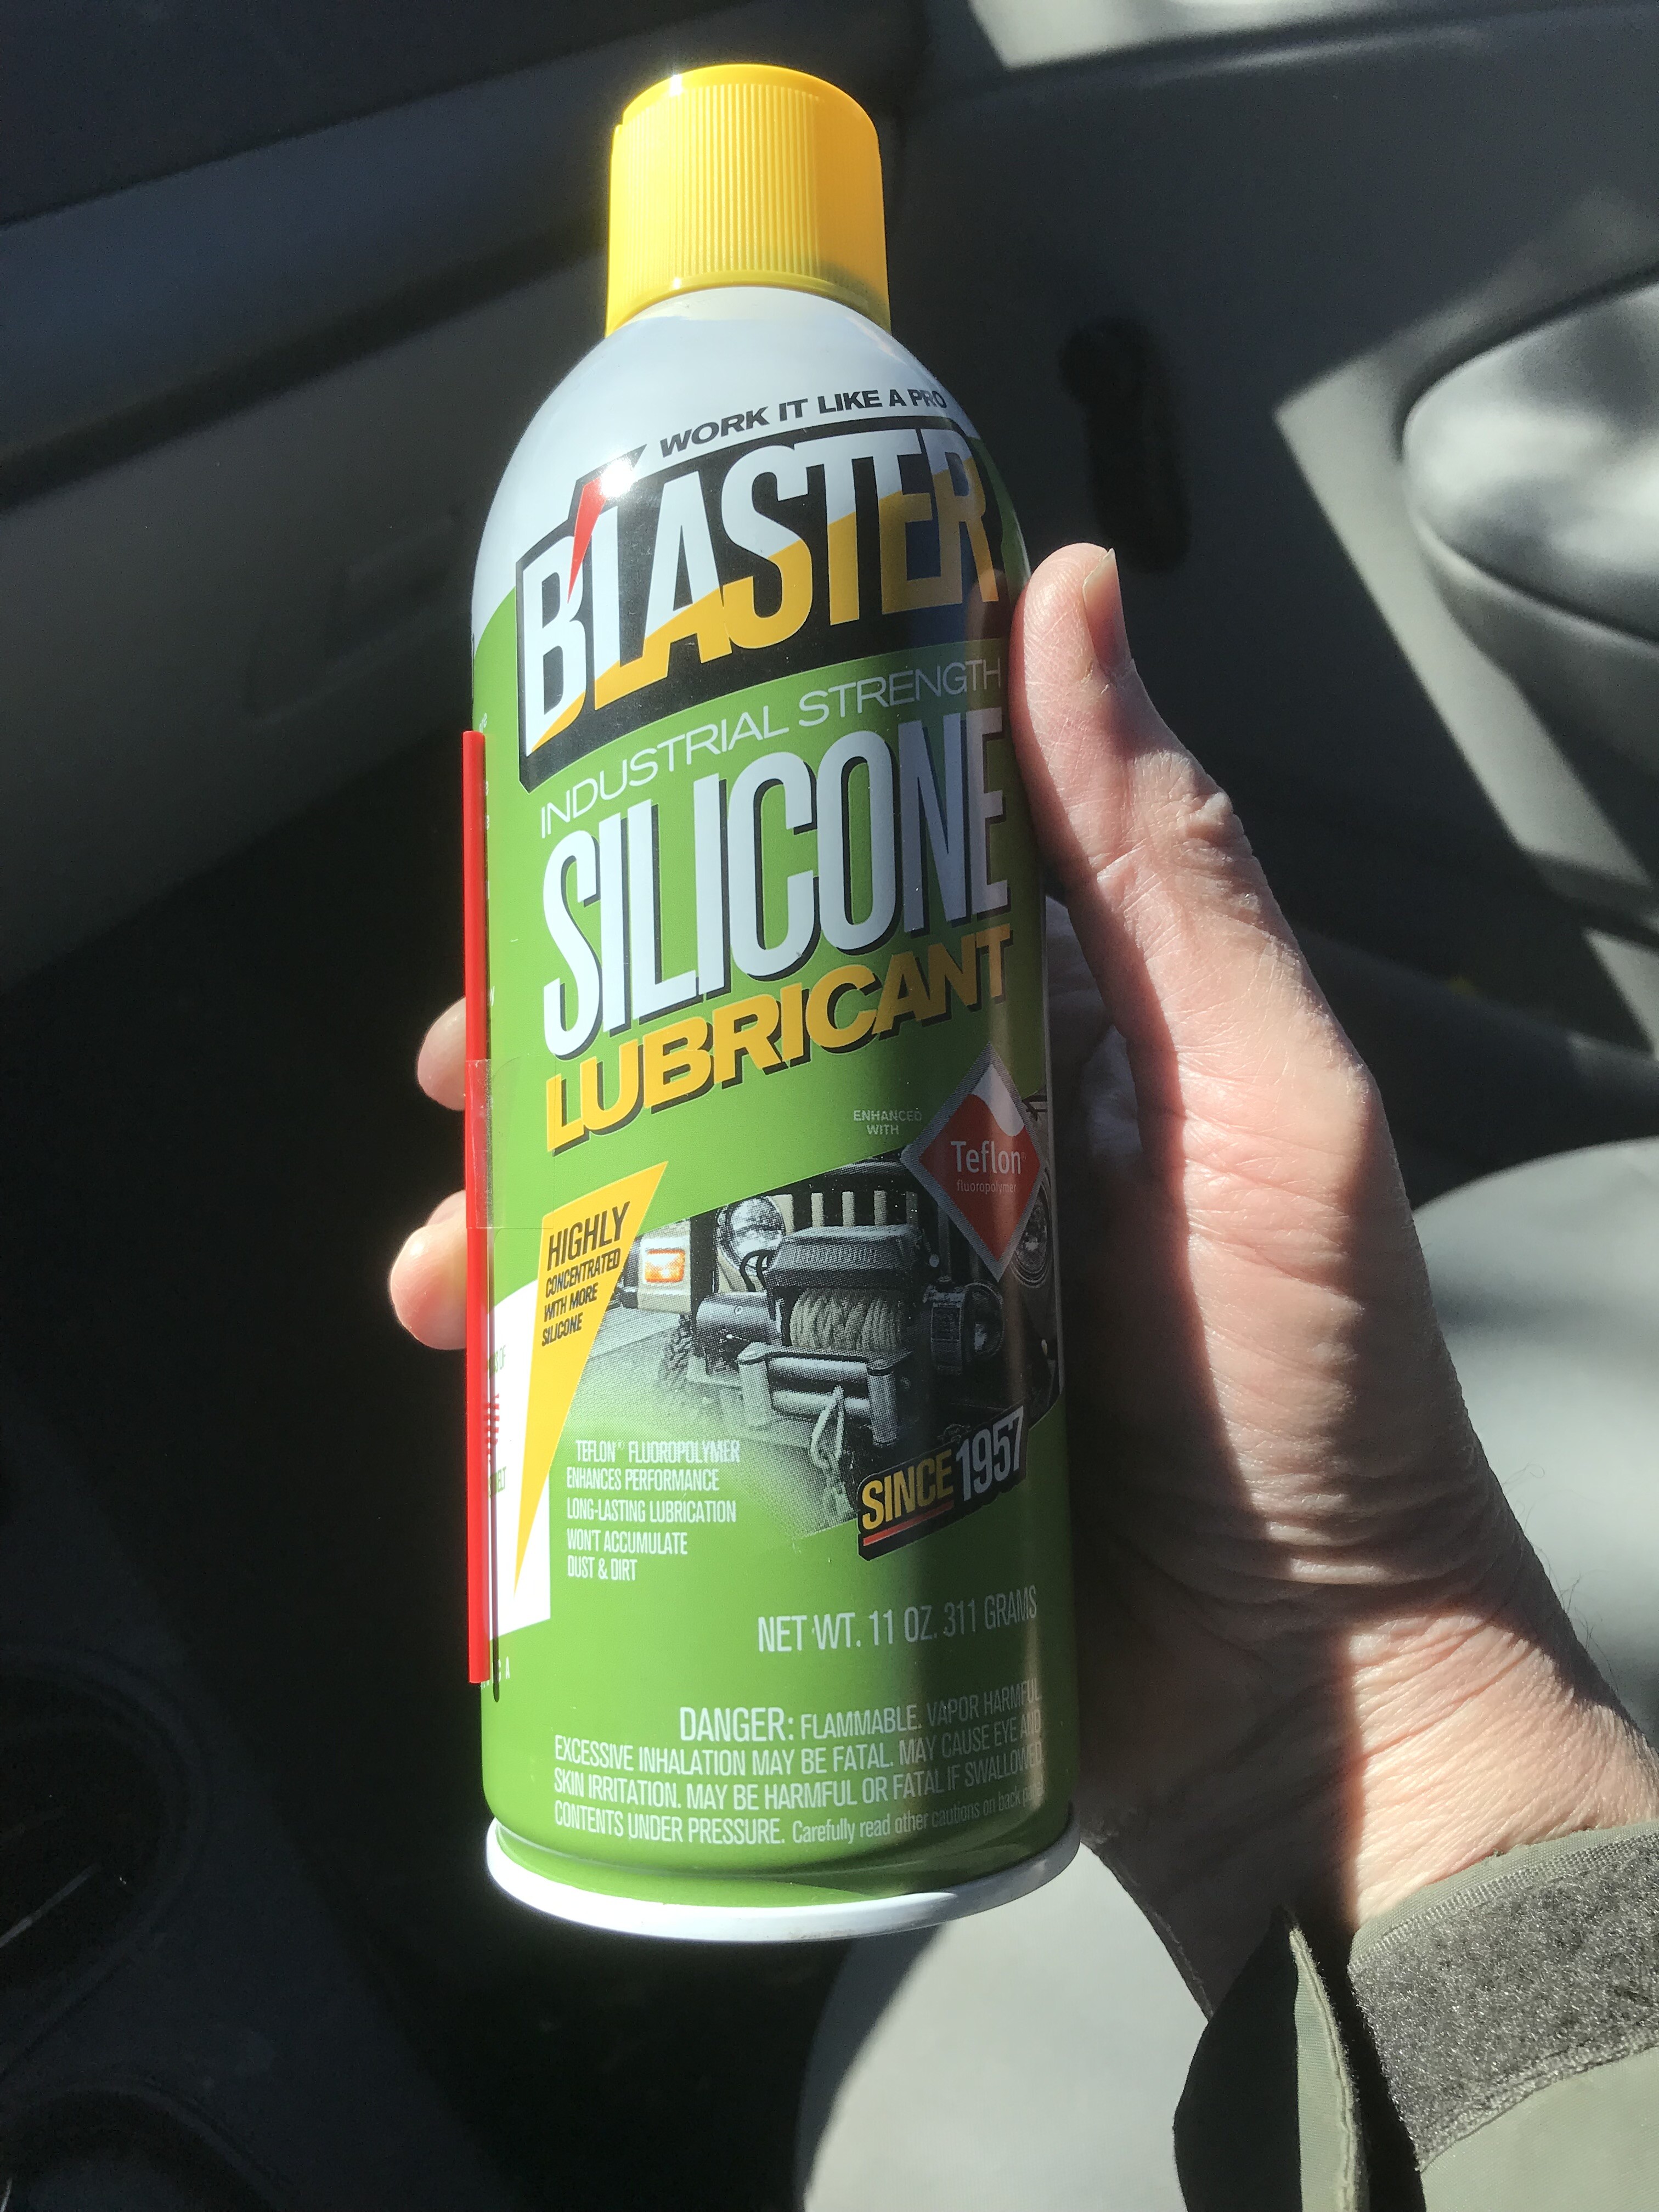
Dan - l had severe drag when l did Charlene and Bertha Irene’s windows. I sprayed the channels with silicon spray and now they work with ease.
See, this is why I do everything Dick tells me to do. I used this stuff - it foams up so it doesn’t spray everywhere, then quickly de-foamed and soaked in. Now the window goes up and down like a charm! (I fumbled the video, I’ll take another one and post here.)
On to the other side - where, I have to replace both the front and rear channel.
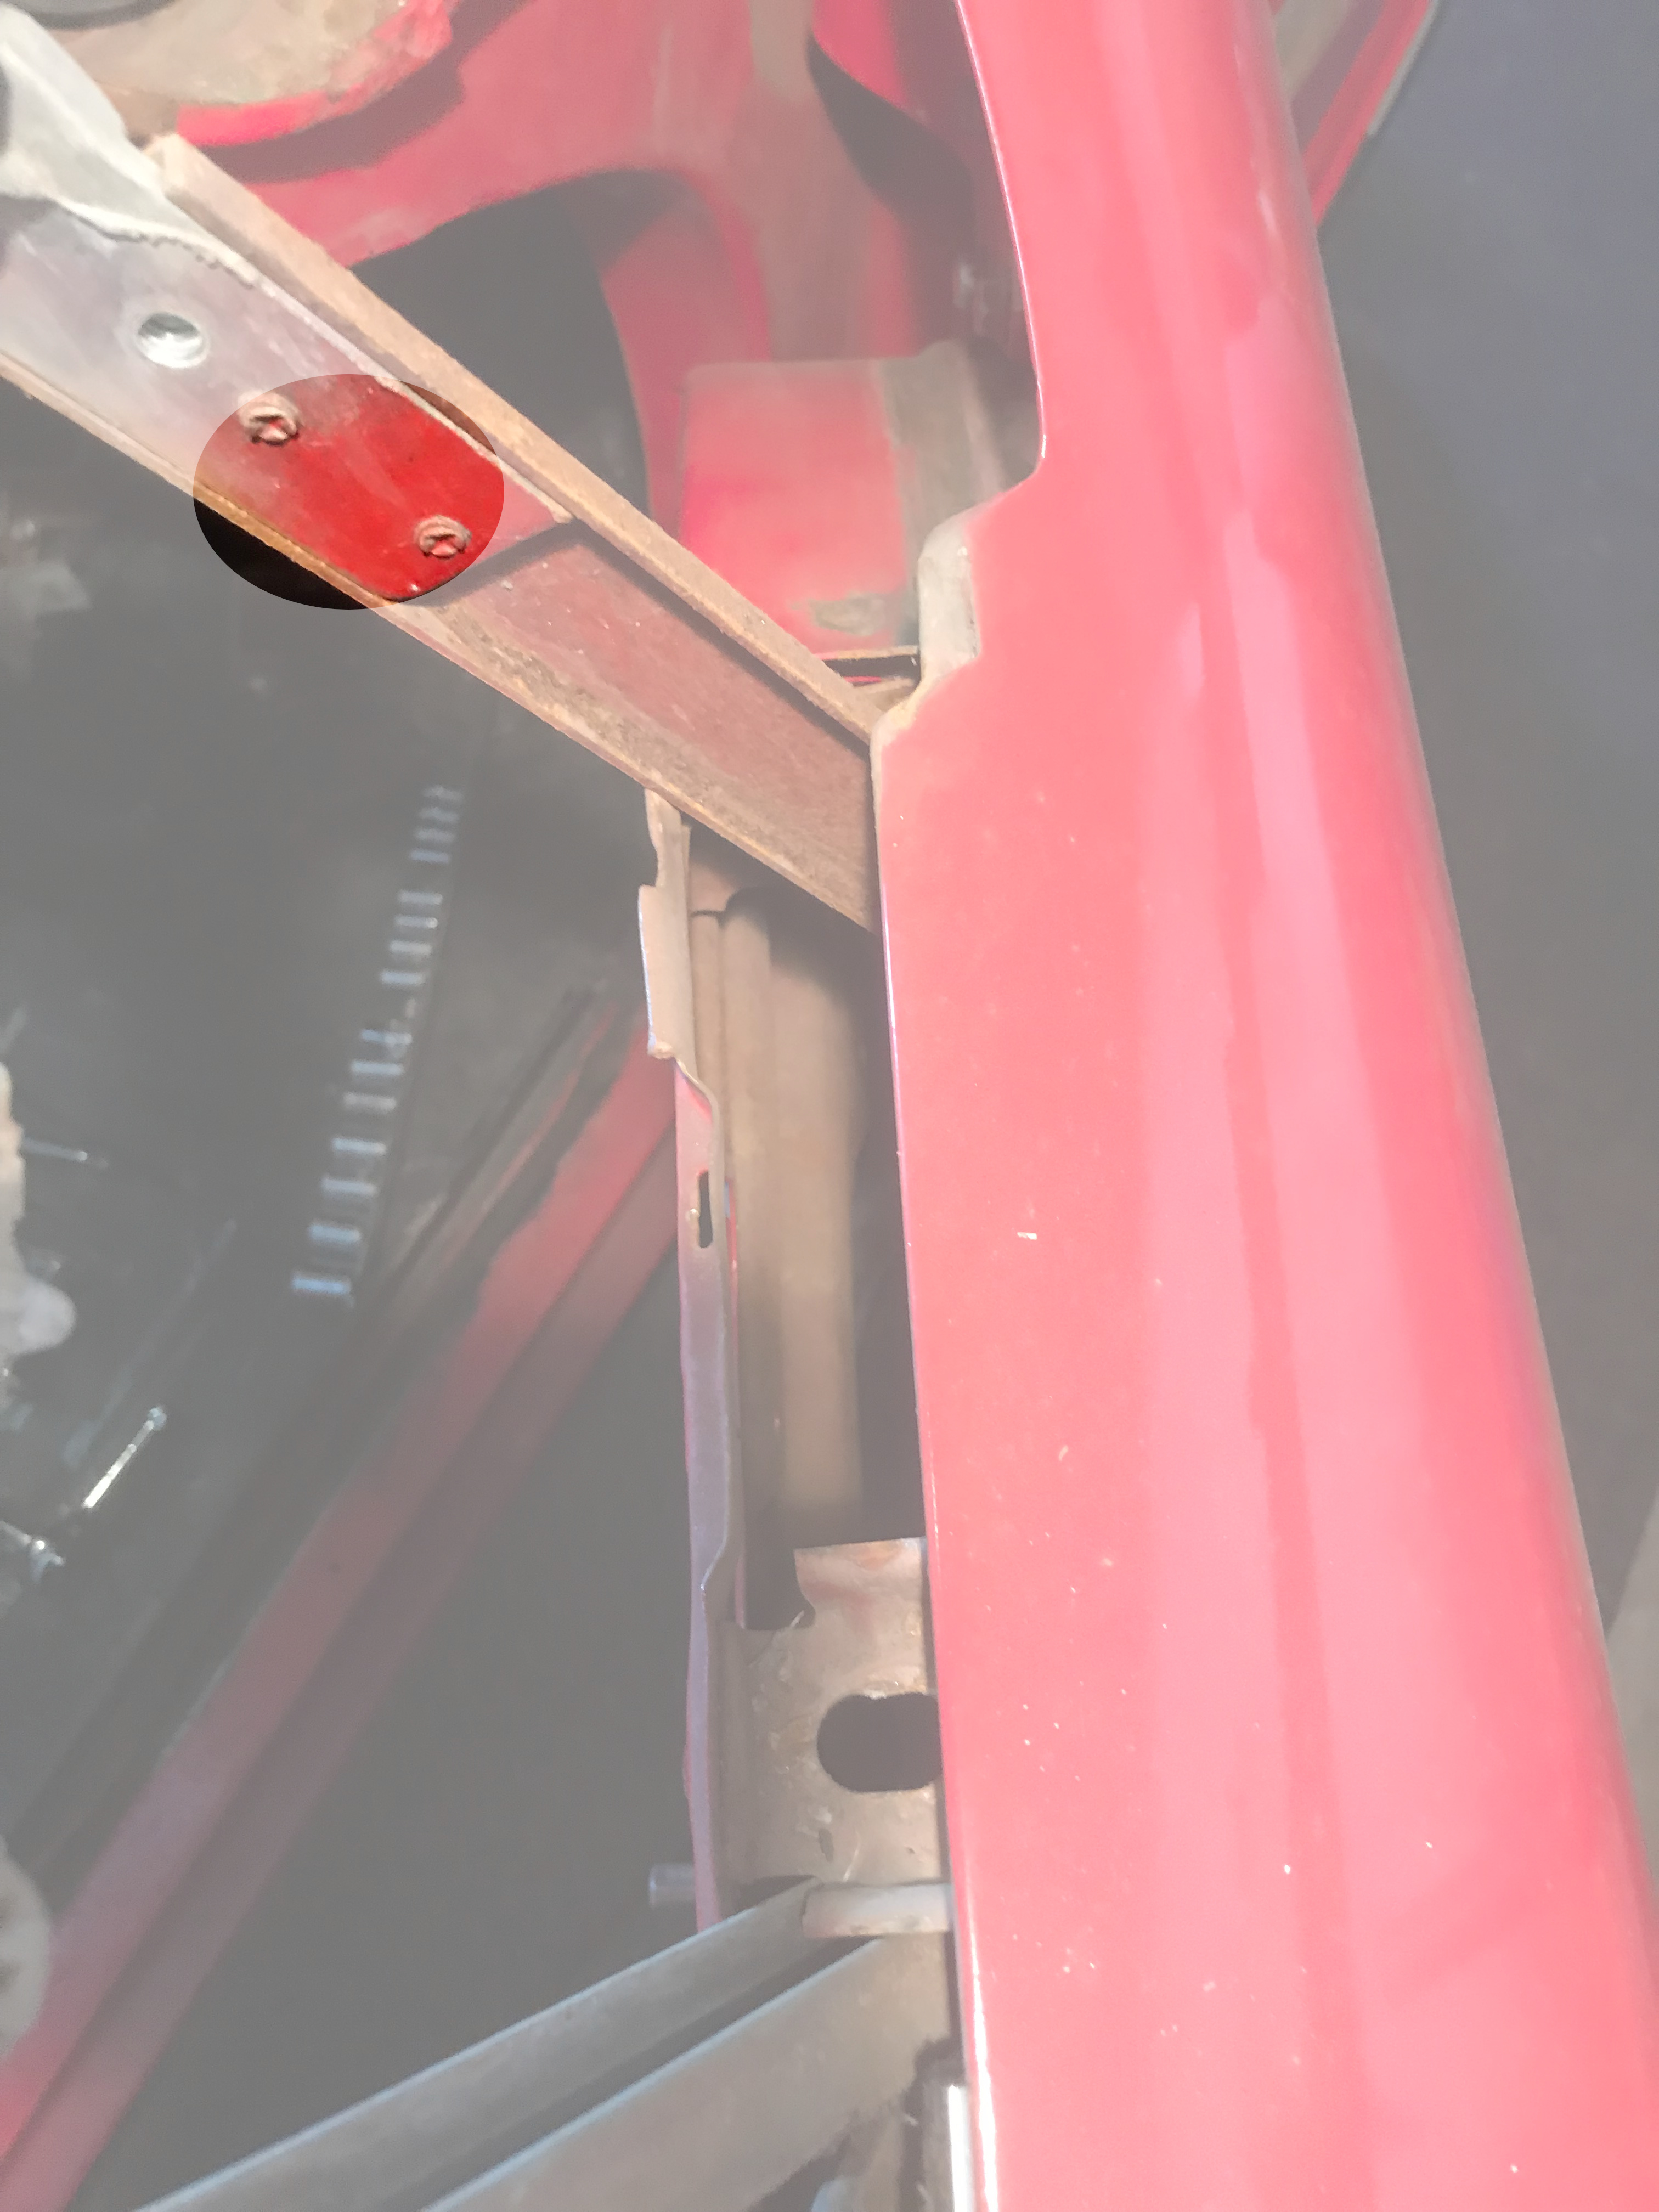
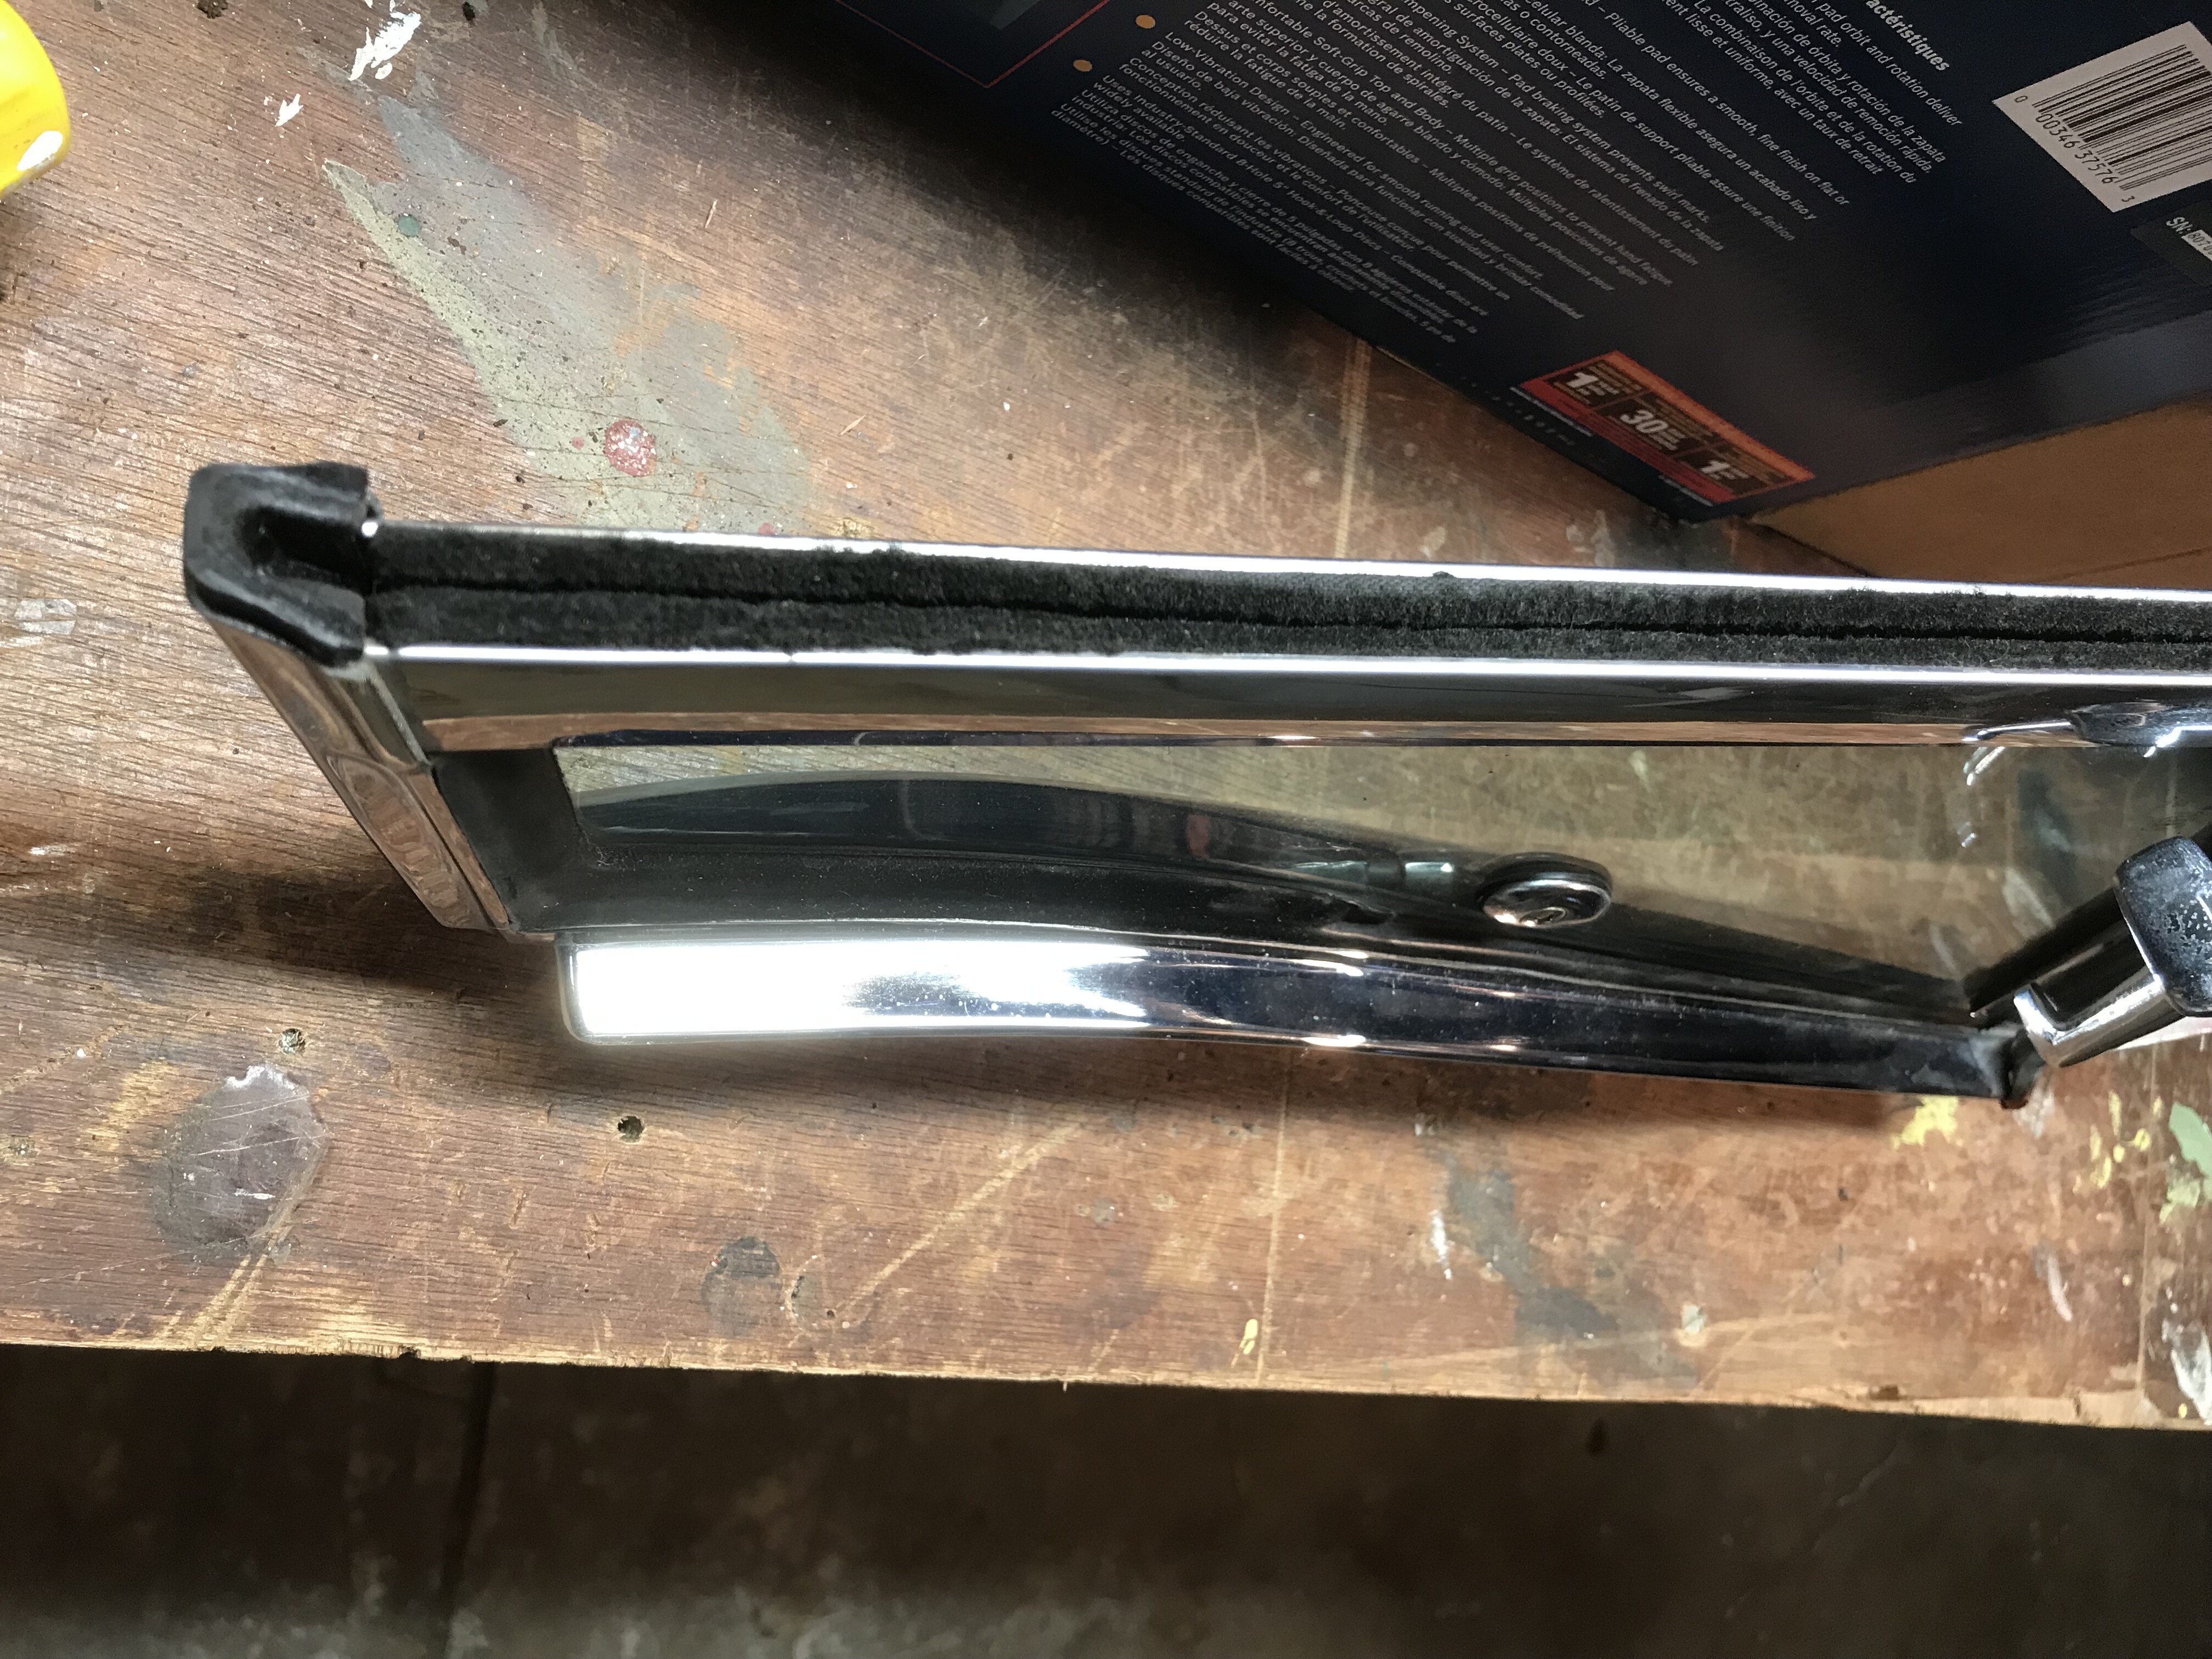
Years ago, when I replaced the cracked driver’s side vent window frame, I must have drilled out these pop rivets on the leading side of the vent frame before I could remove it - you can’t just pull the vent frame up and out, the front and leading edges aren’t parallel, and the front edge binds in the door. Unless I’m missing something! Matthew, did we reattach that front bracket when we went to reassemble? The driver’s side has bolts in it now:
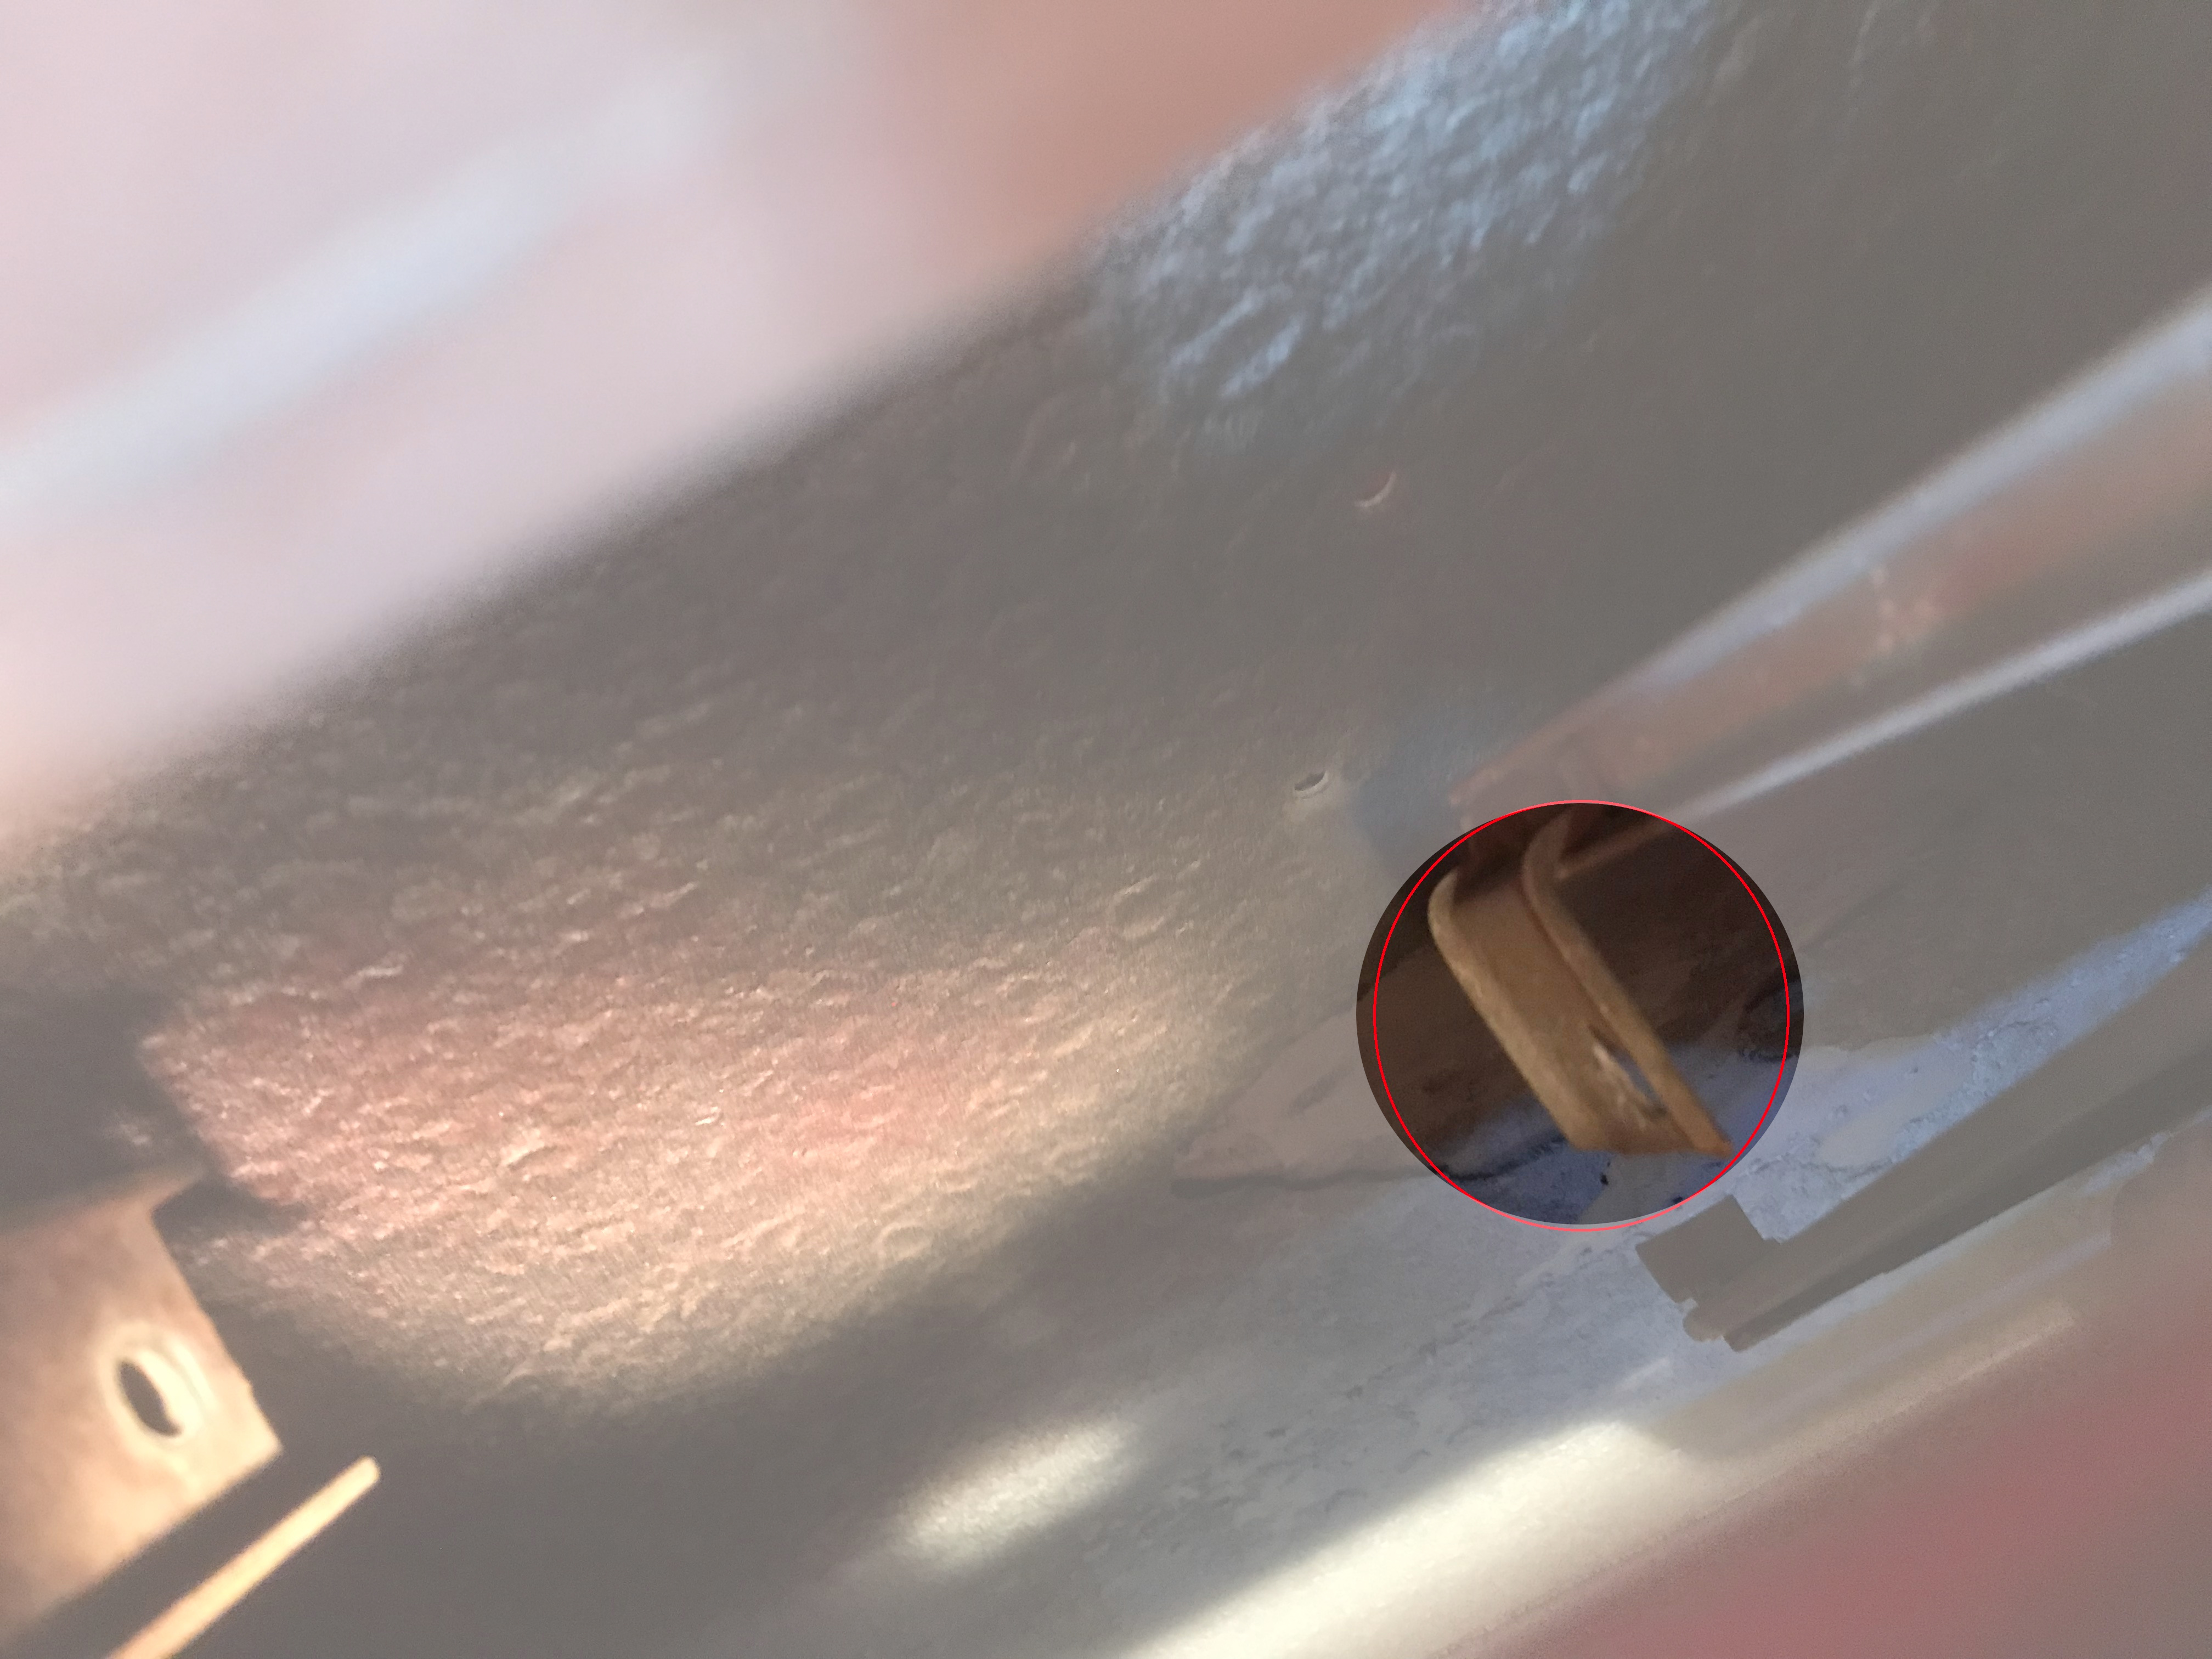
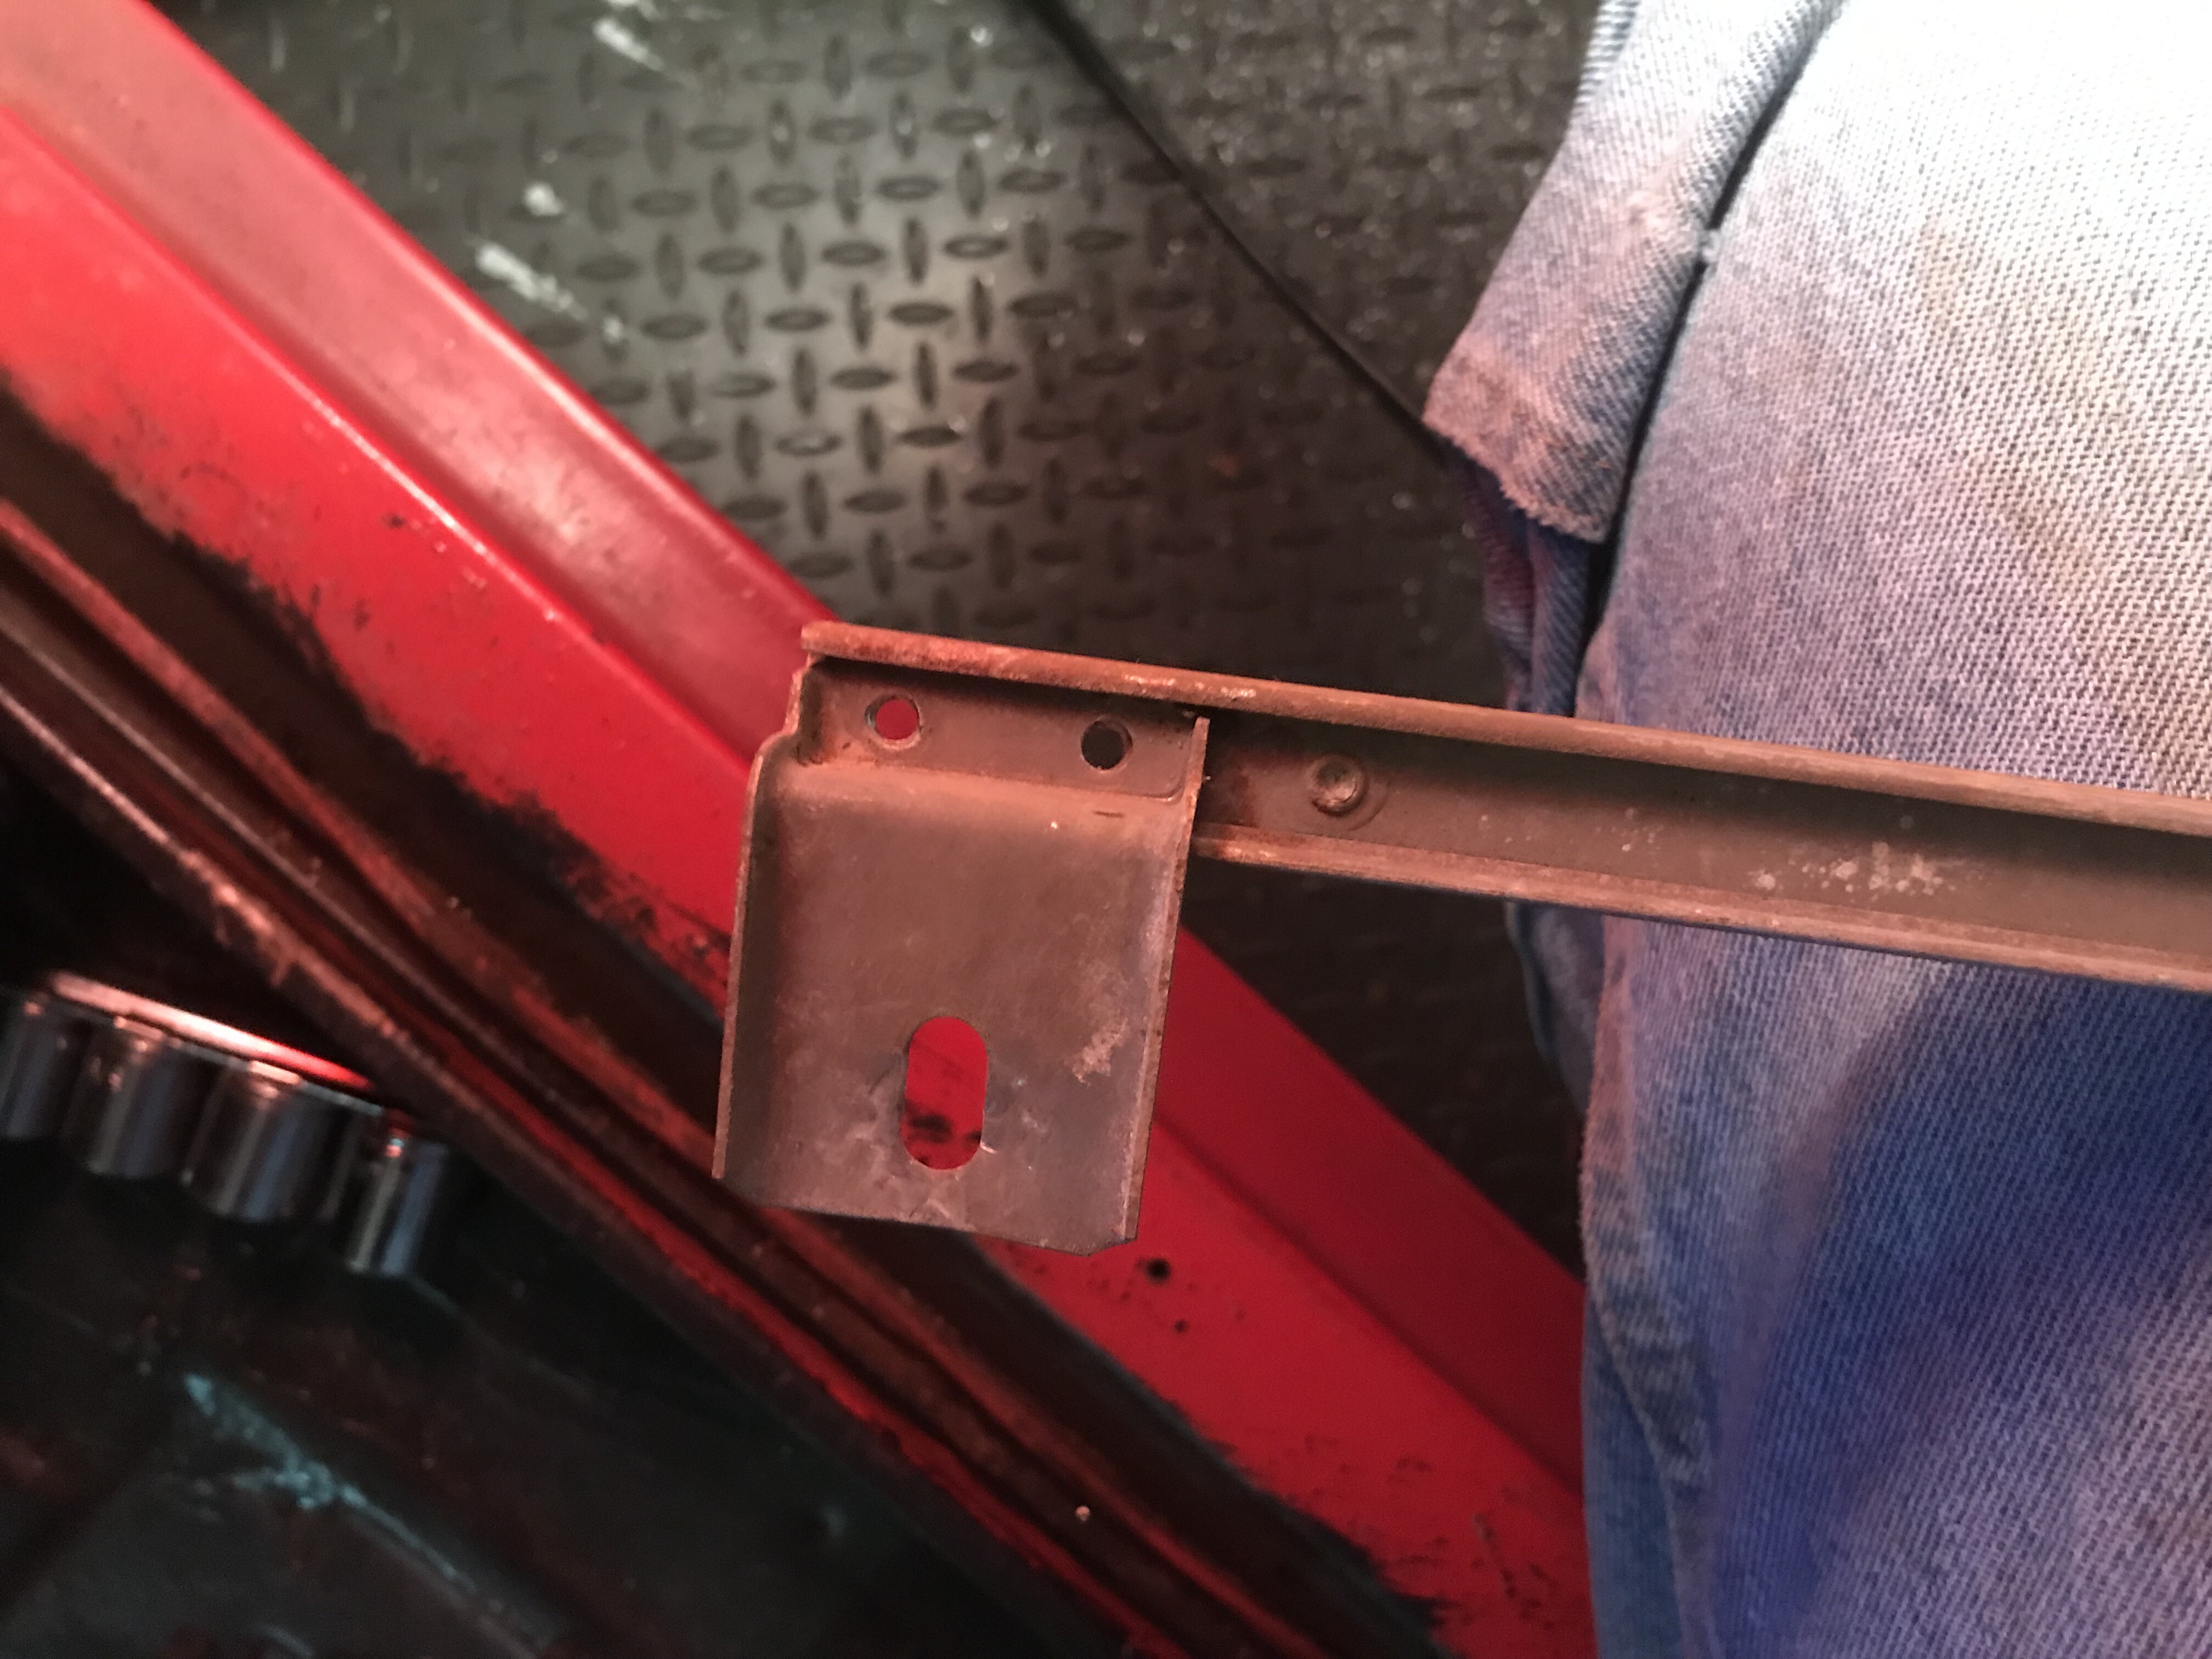
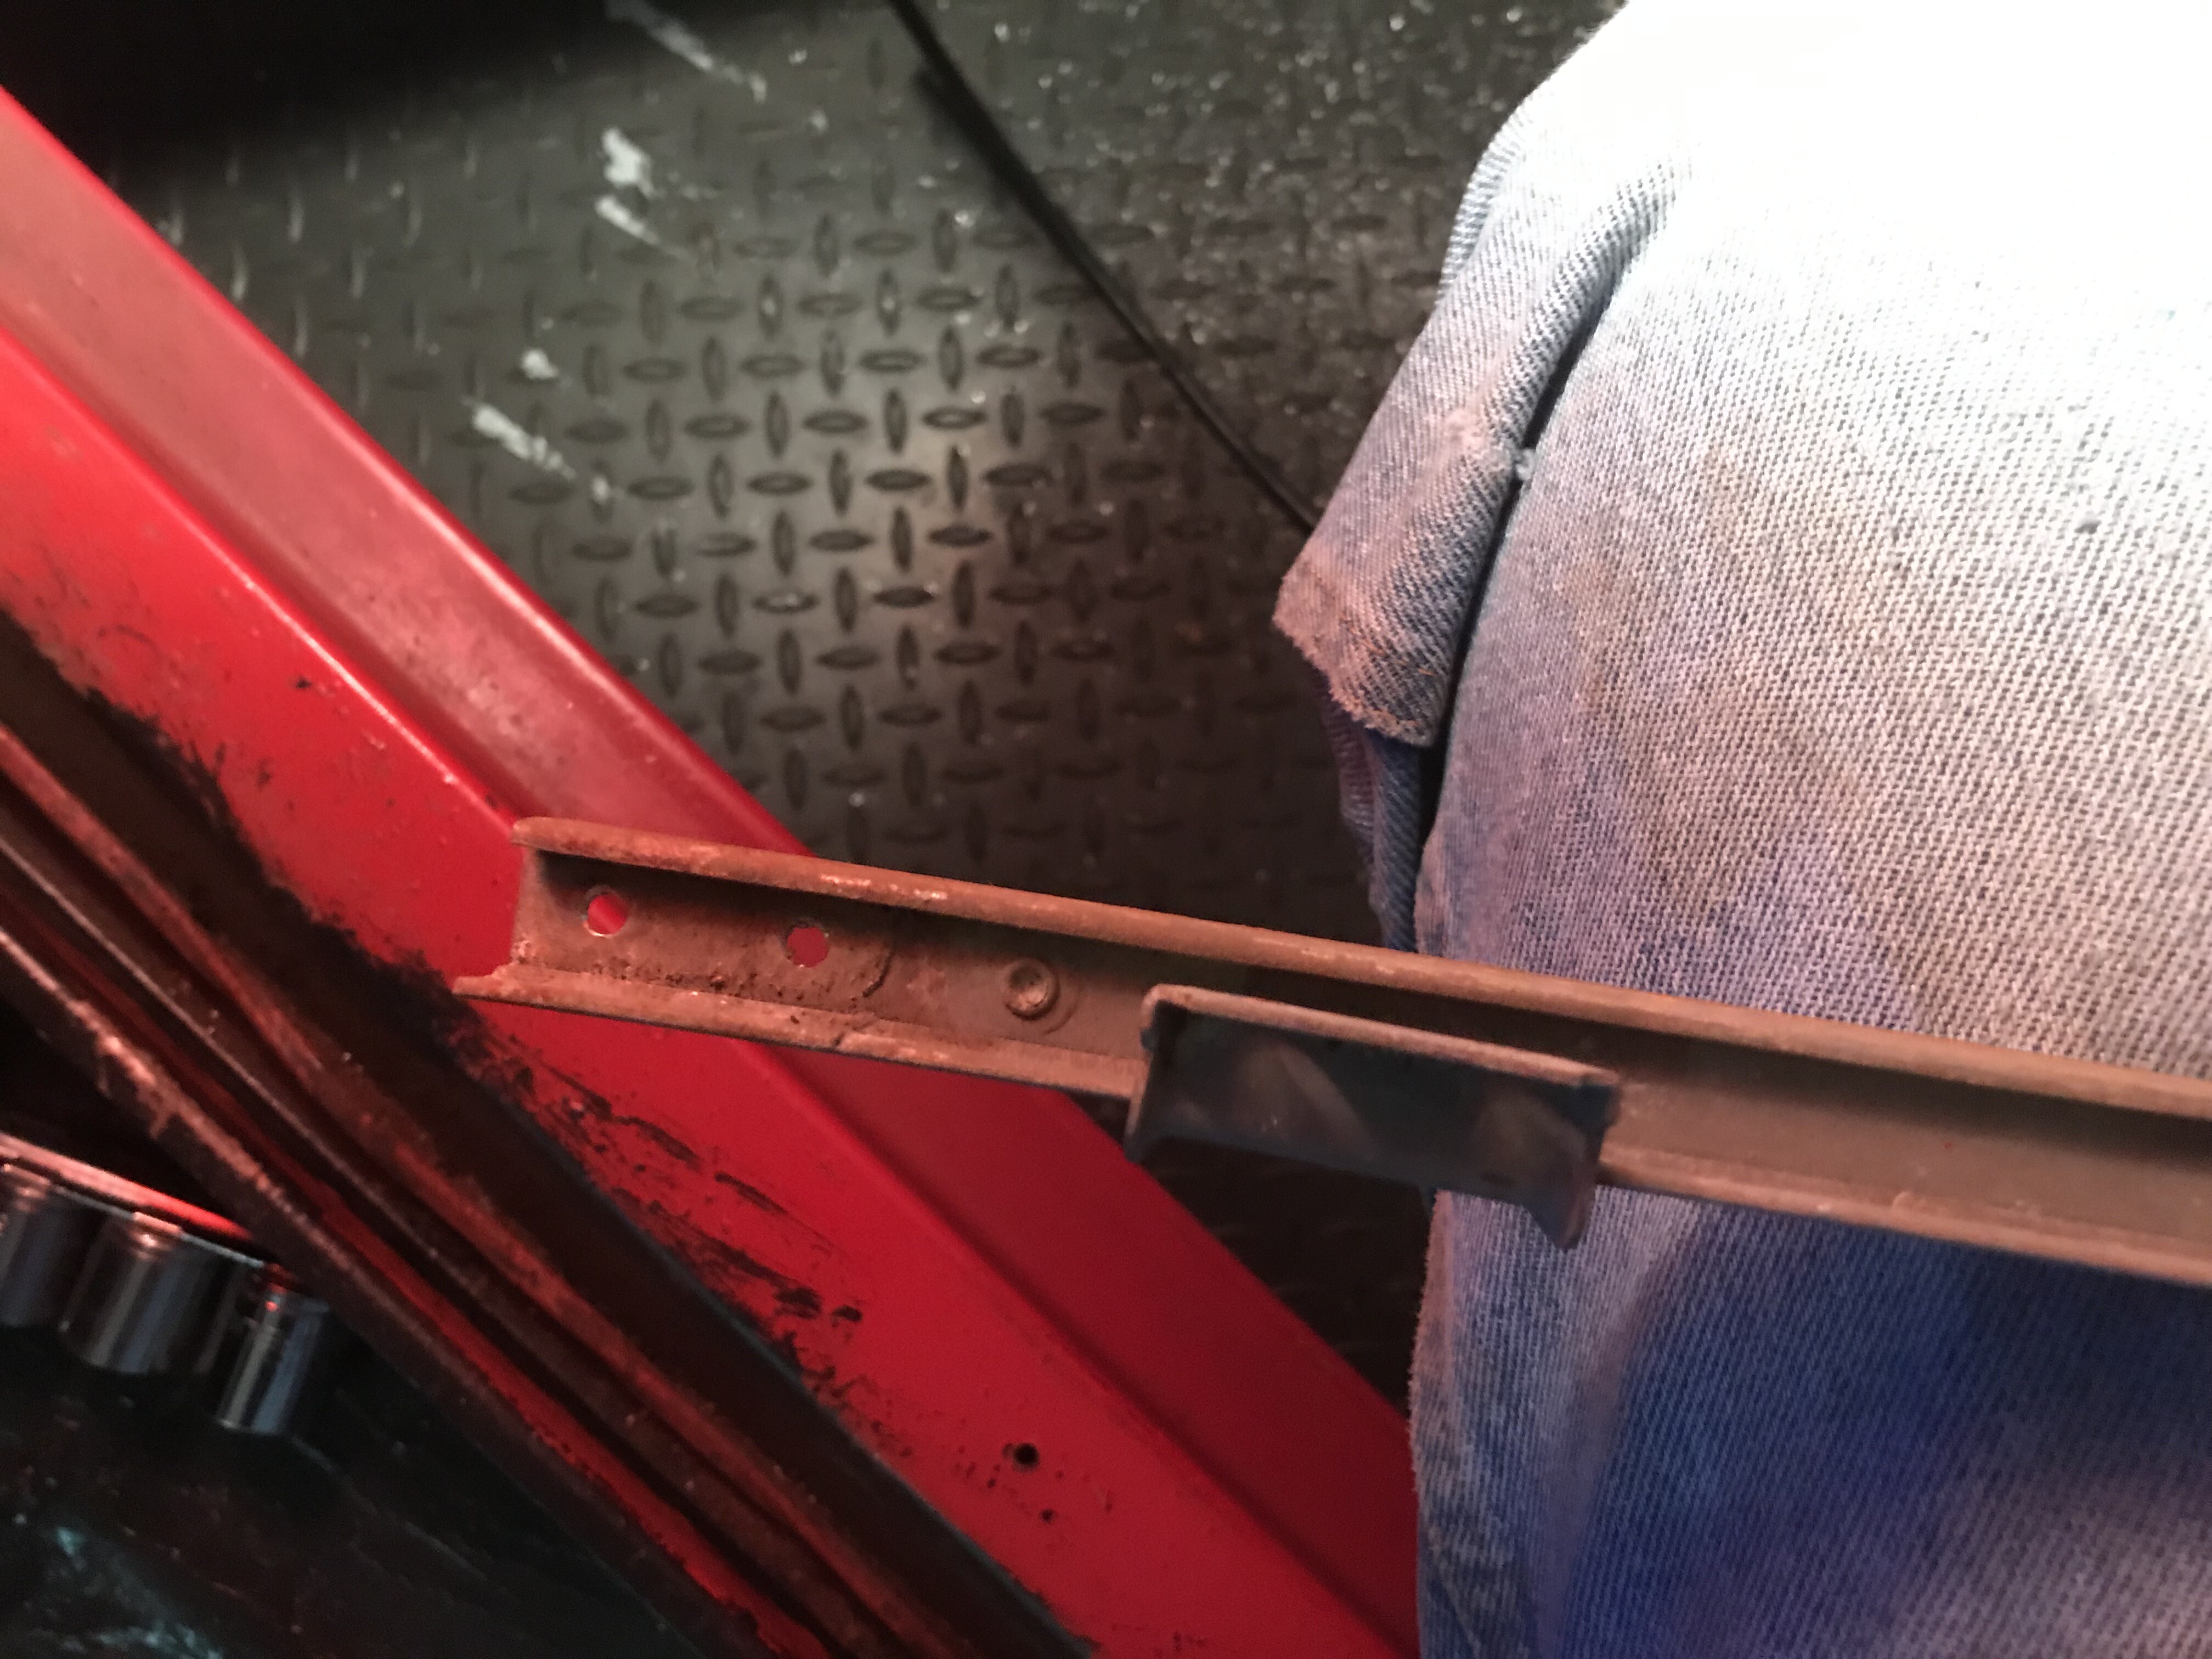
And how the heck did I remove the vent frame with the front bracket off - there’s this bracket at the base of it, that’s perpendicular to the rear edge that holds the channel:
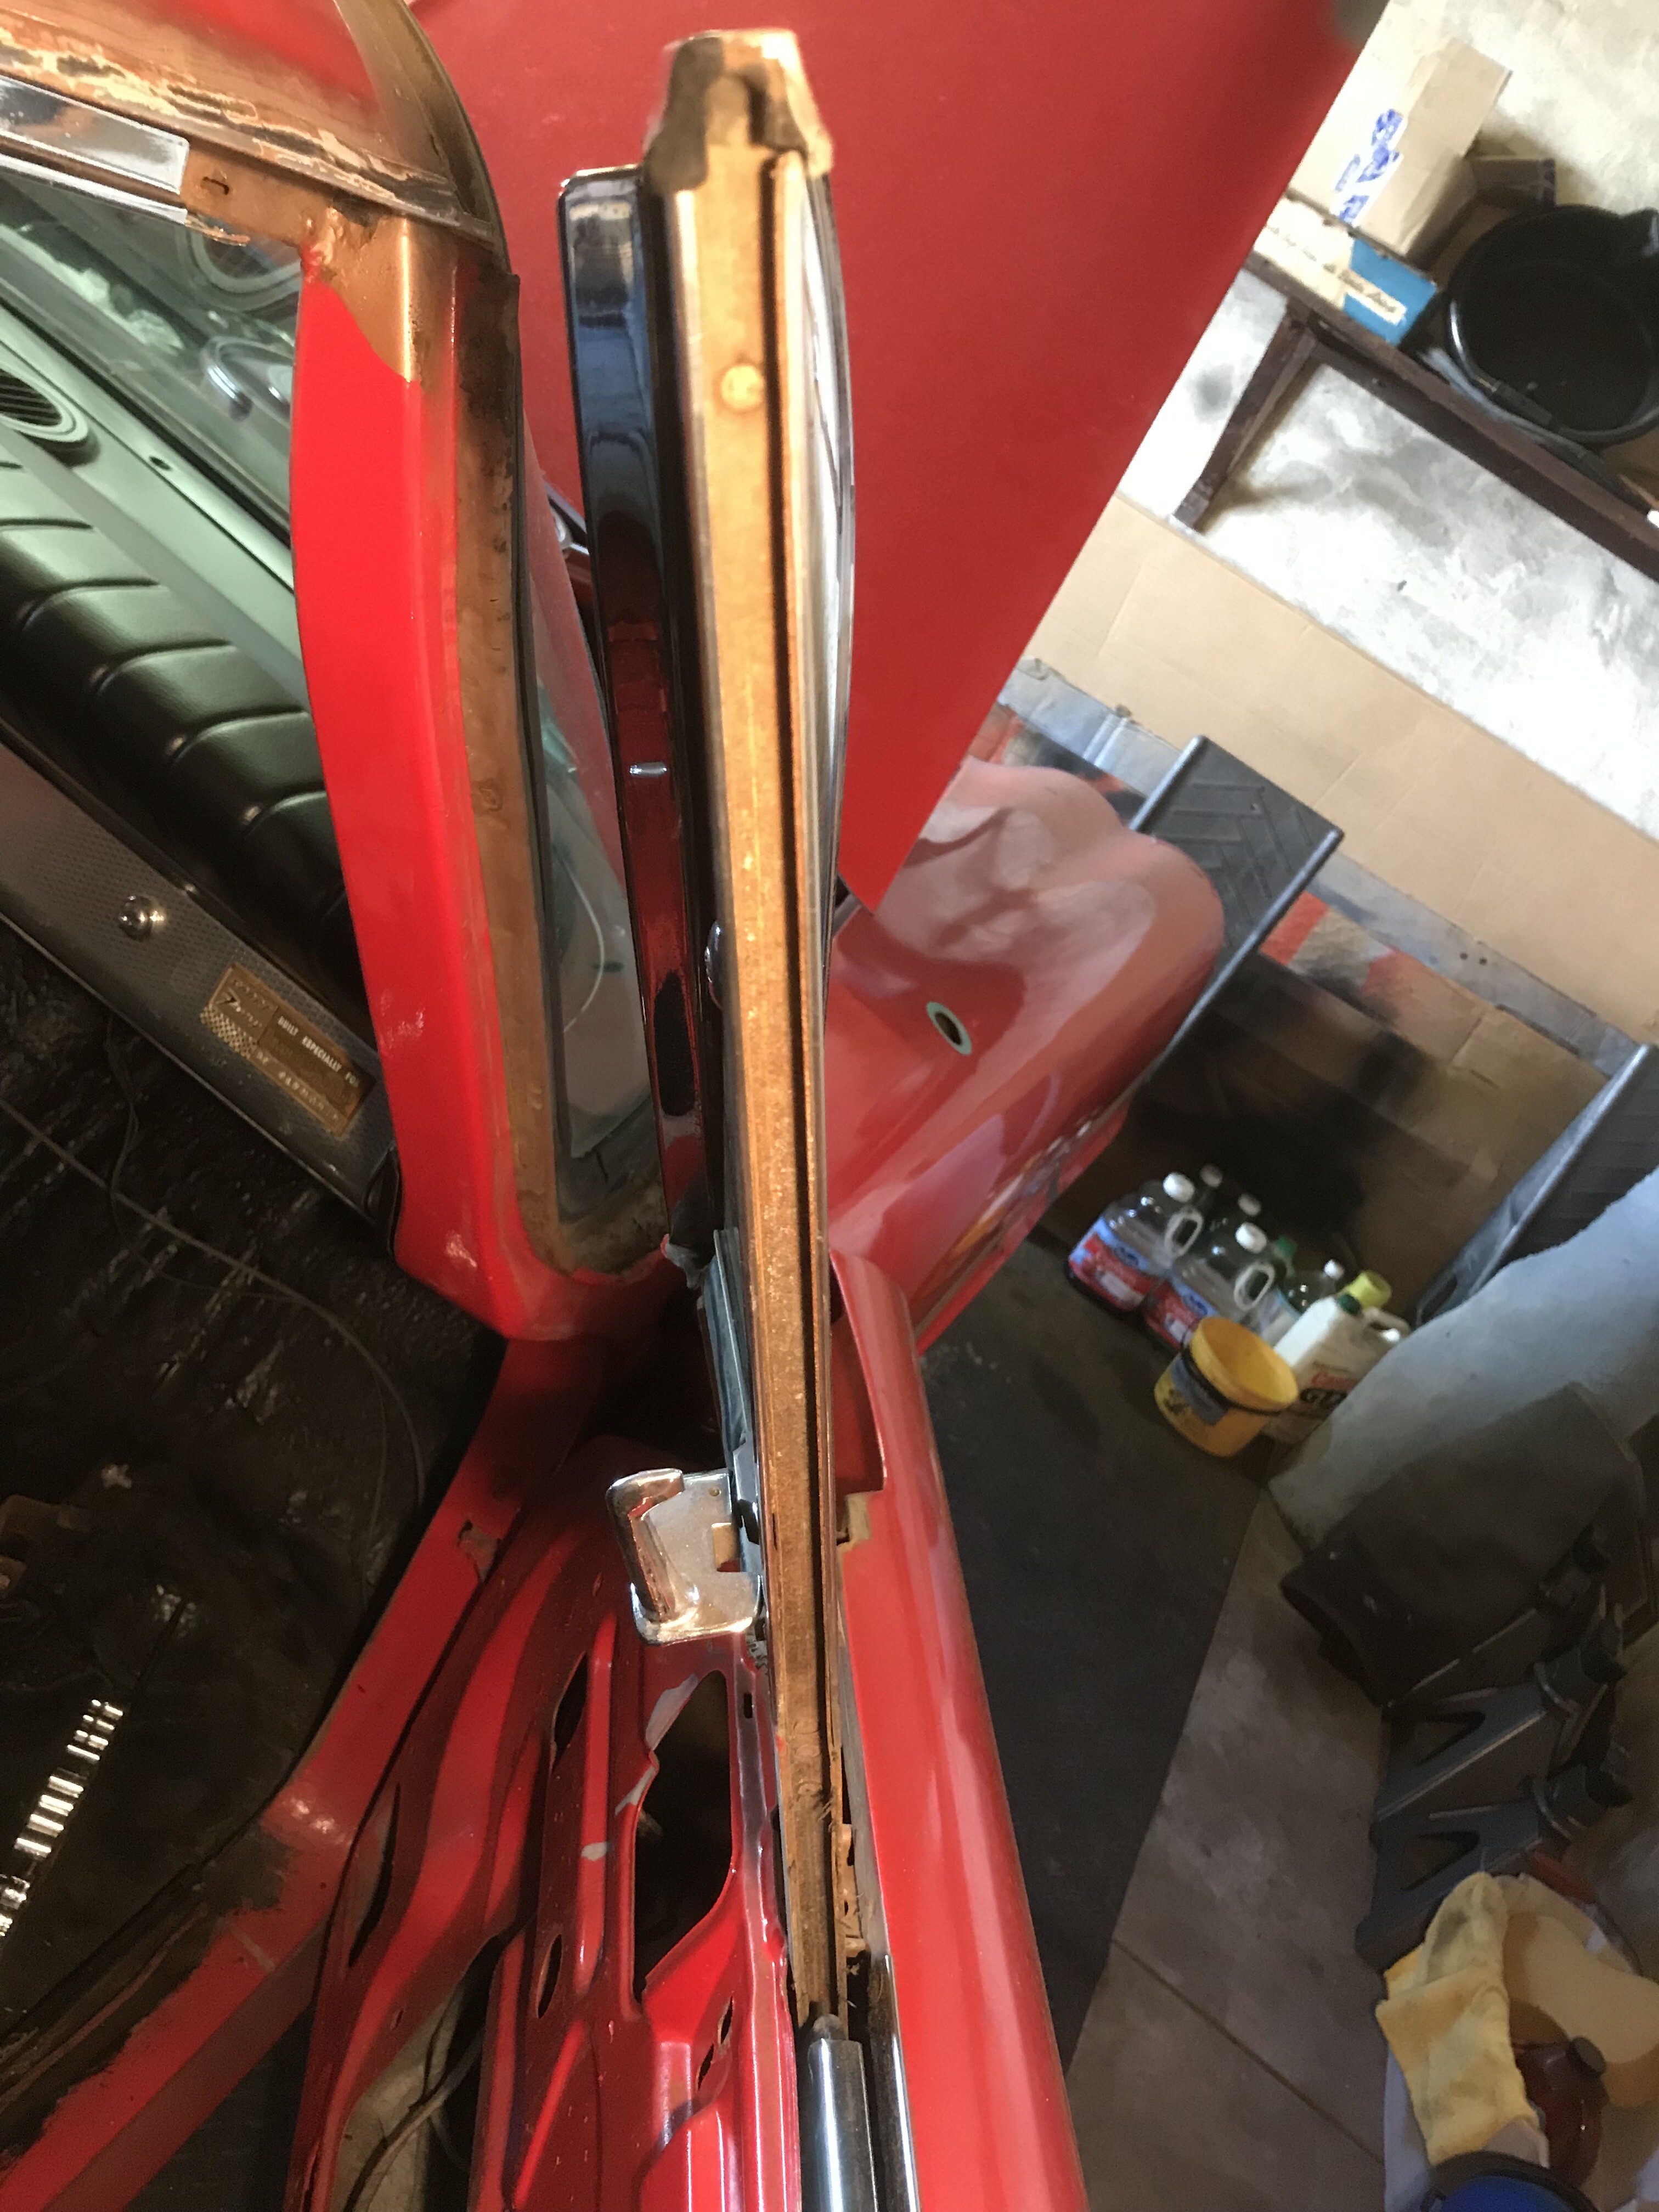
Or is there a way to twist the frame to get it out? Obviously, I did this for the driver’s side! It just looks impossible now. We’ll, after lunch I’ll drill out the rivets and remove the front bracket, and see how it goes from there. Push comes to shove, I could replace as much of the channel as I can from here:
I can’t remember exactly what we did. I remember it was 2006 and it was my first day in the states ever 
I know you can twist the window out but it’s been a while since I did that
I drilled out the rivets for the bracket on the leading edge, and now I can maneuver the frame all around. I still don’t see how I can get it out, though, without removing the glass. Which, I know I didn’t do last time! But, I didn’t do this either: removing a vent window
I admit, I don’t know how I got it out when I did the driver’s side - unless, it was in pieces because of the broken frame. But that wouldn’t help me when I go to put it back in again.
I’m gonna bite the bullet, and do like Mike said - drill out the pop rivets for the lower bracket. They’re easy enough to replace.
That’s the ticket. I was able to fenagle the strut to an opening in the door where I could drill the pop rivets out - the bracket actually slides into the strut. Vent window out, channel in, and that doo-hickie for the very top of the channel that I bought 15 years ago from Gary Goers is now in place.
And for those who were on the edge of their seat - pop your popcorn! Here’s the window vids, after the patented Dick Koch ™ method of putting silicone in the channel. Thanks again Dick! 
What goes down…
…must go up
But, tomorrow’s another day. With any luck, I’ll get the passenger door all squared away tomorrow.
…and I did! The World’s Slowest Auto Mechanic got the channels installed in the passenger side. Up and down the window goes, although it’s going to need some breaking in. But it works!
Last Saturday I went to the body shop where Faulkner will get some cosmetic body work done, and be repainted in the original Bronze color - with a lot of pix loaded up on my iPad. The good news: The estimate is less than I expected I would have to spend (although, we know how that goes  ). The bad news: Faulkner will be in their shop for two months. And we know how that goes!
This Saturday, I’ll have Faulkner towed to the shop. I’ll stress the importance of getting him back in early June, so I’ll have a spitting chance of putting him back together before Carlisle. If push comes to shove, I’ll resort to driving there using the Dick Koch Patented Milk Crate Seat ™, but hopefully it won’t come to that.
And now, some pitchus…
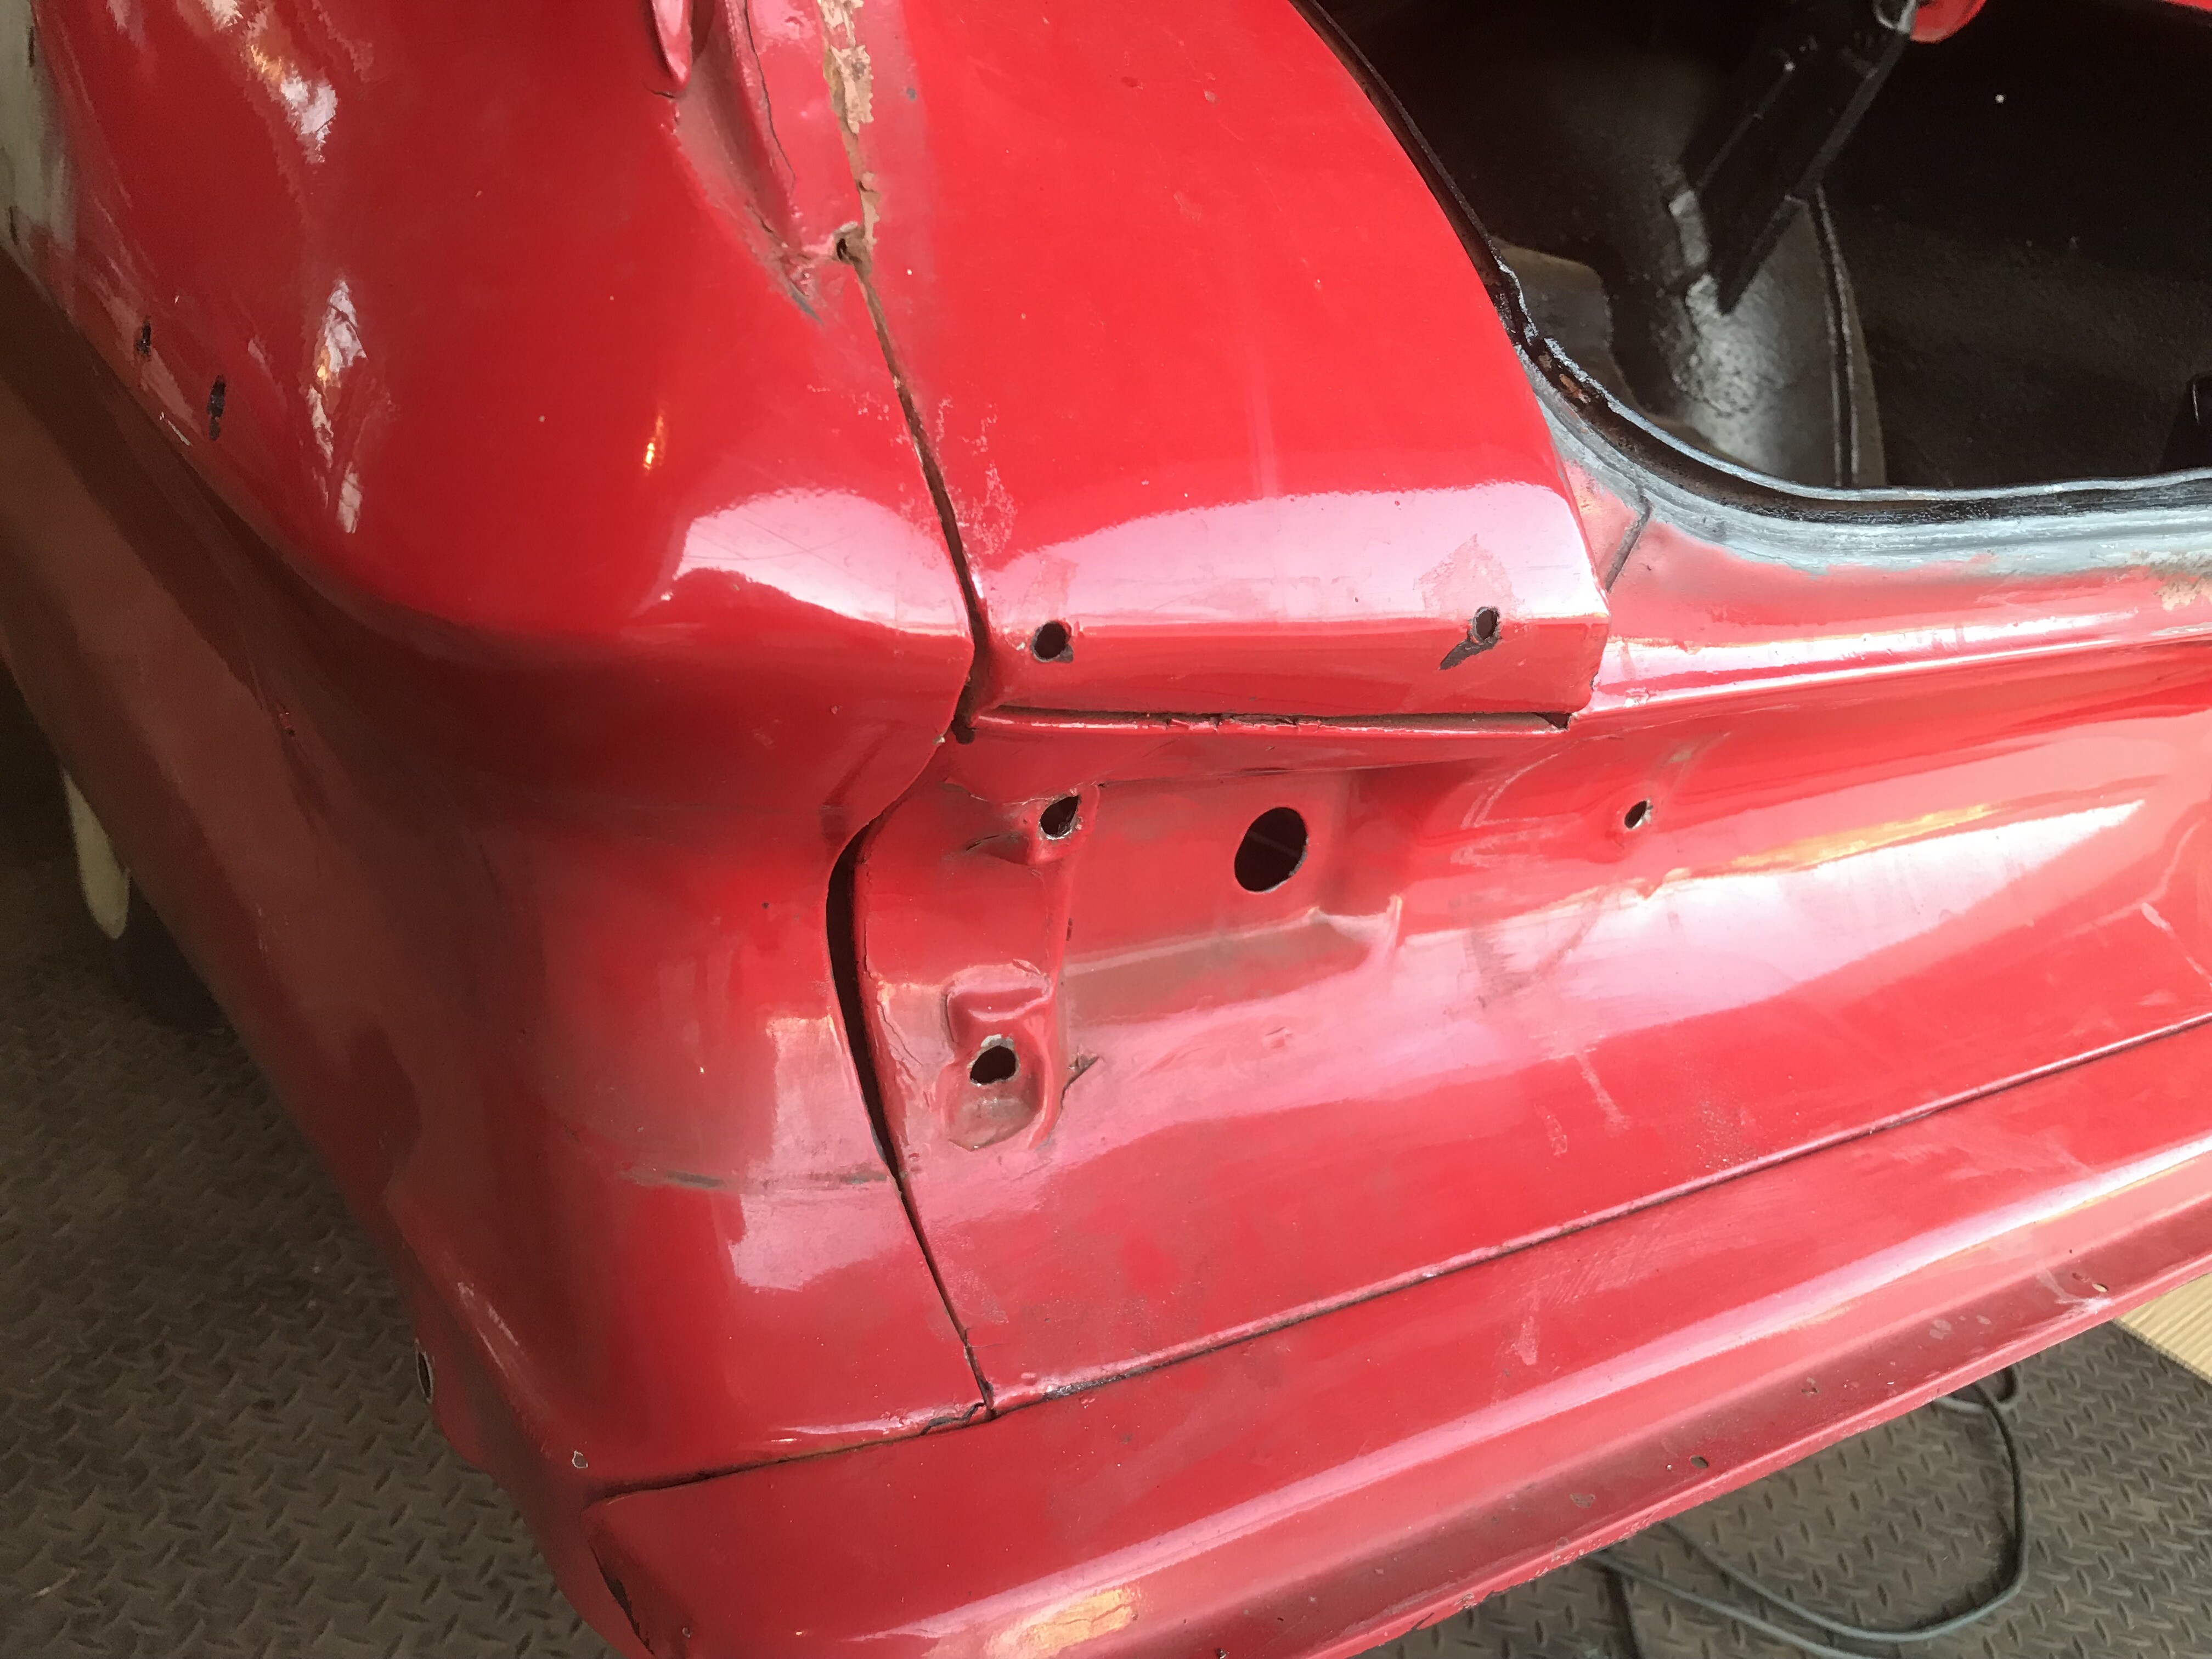
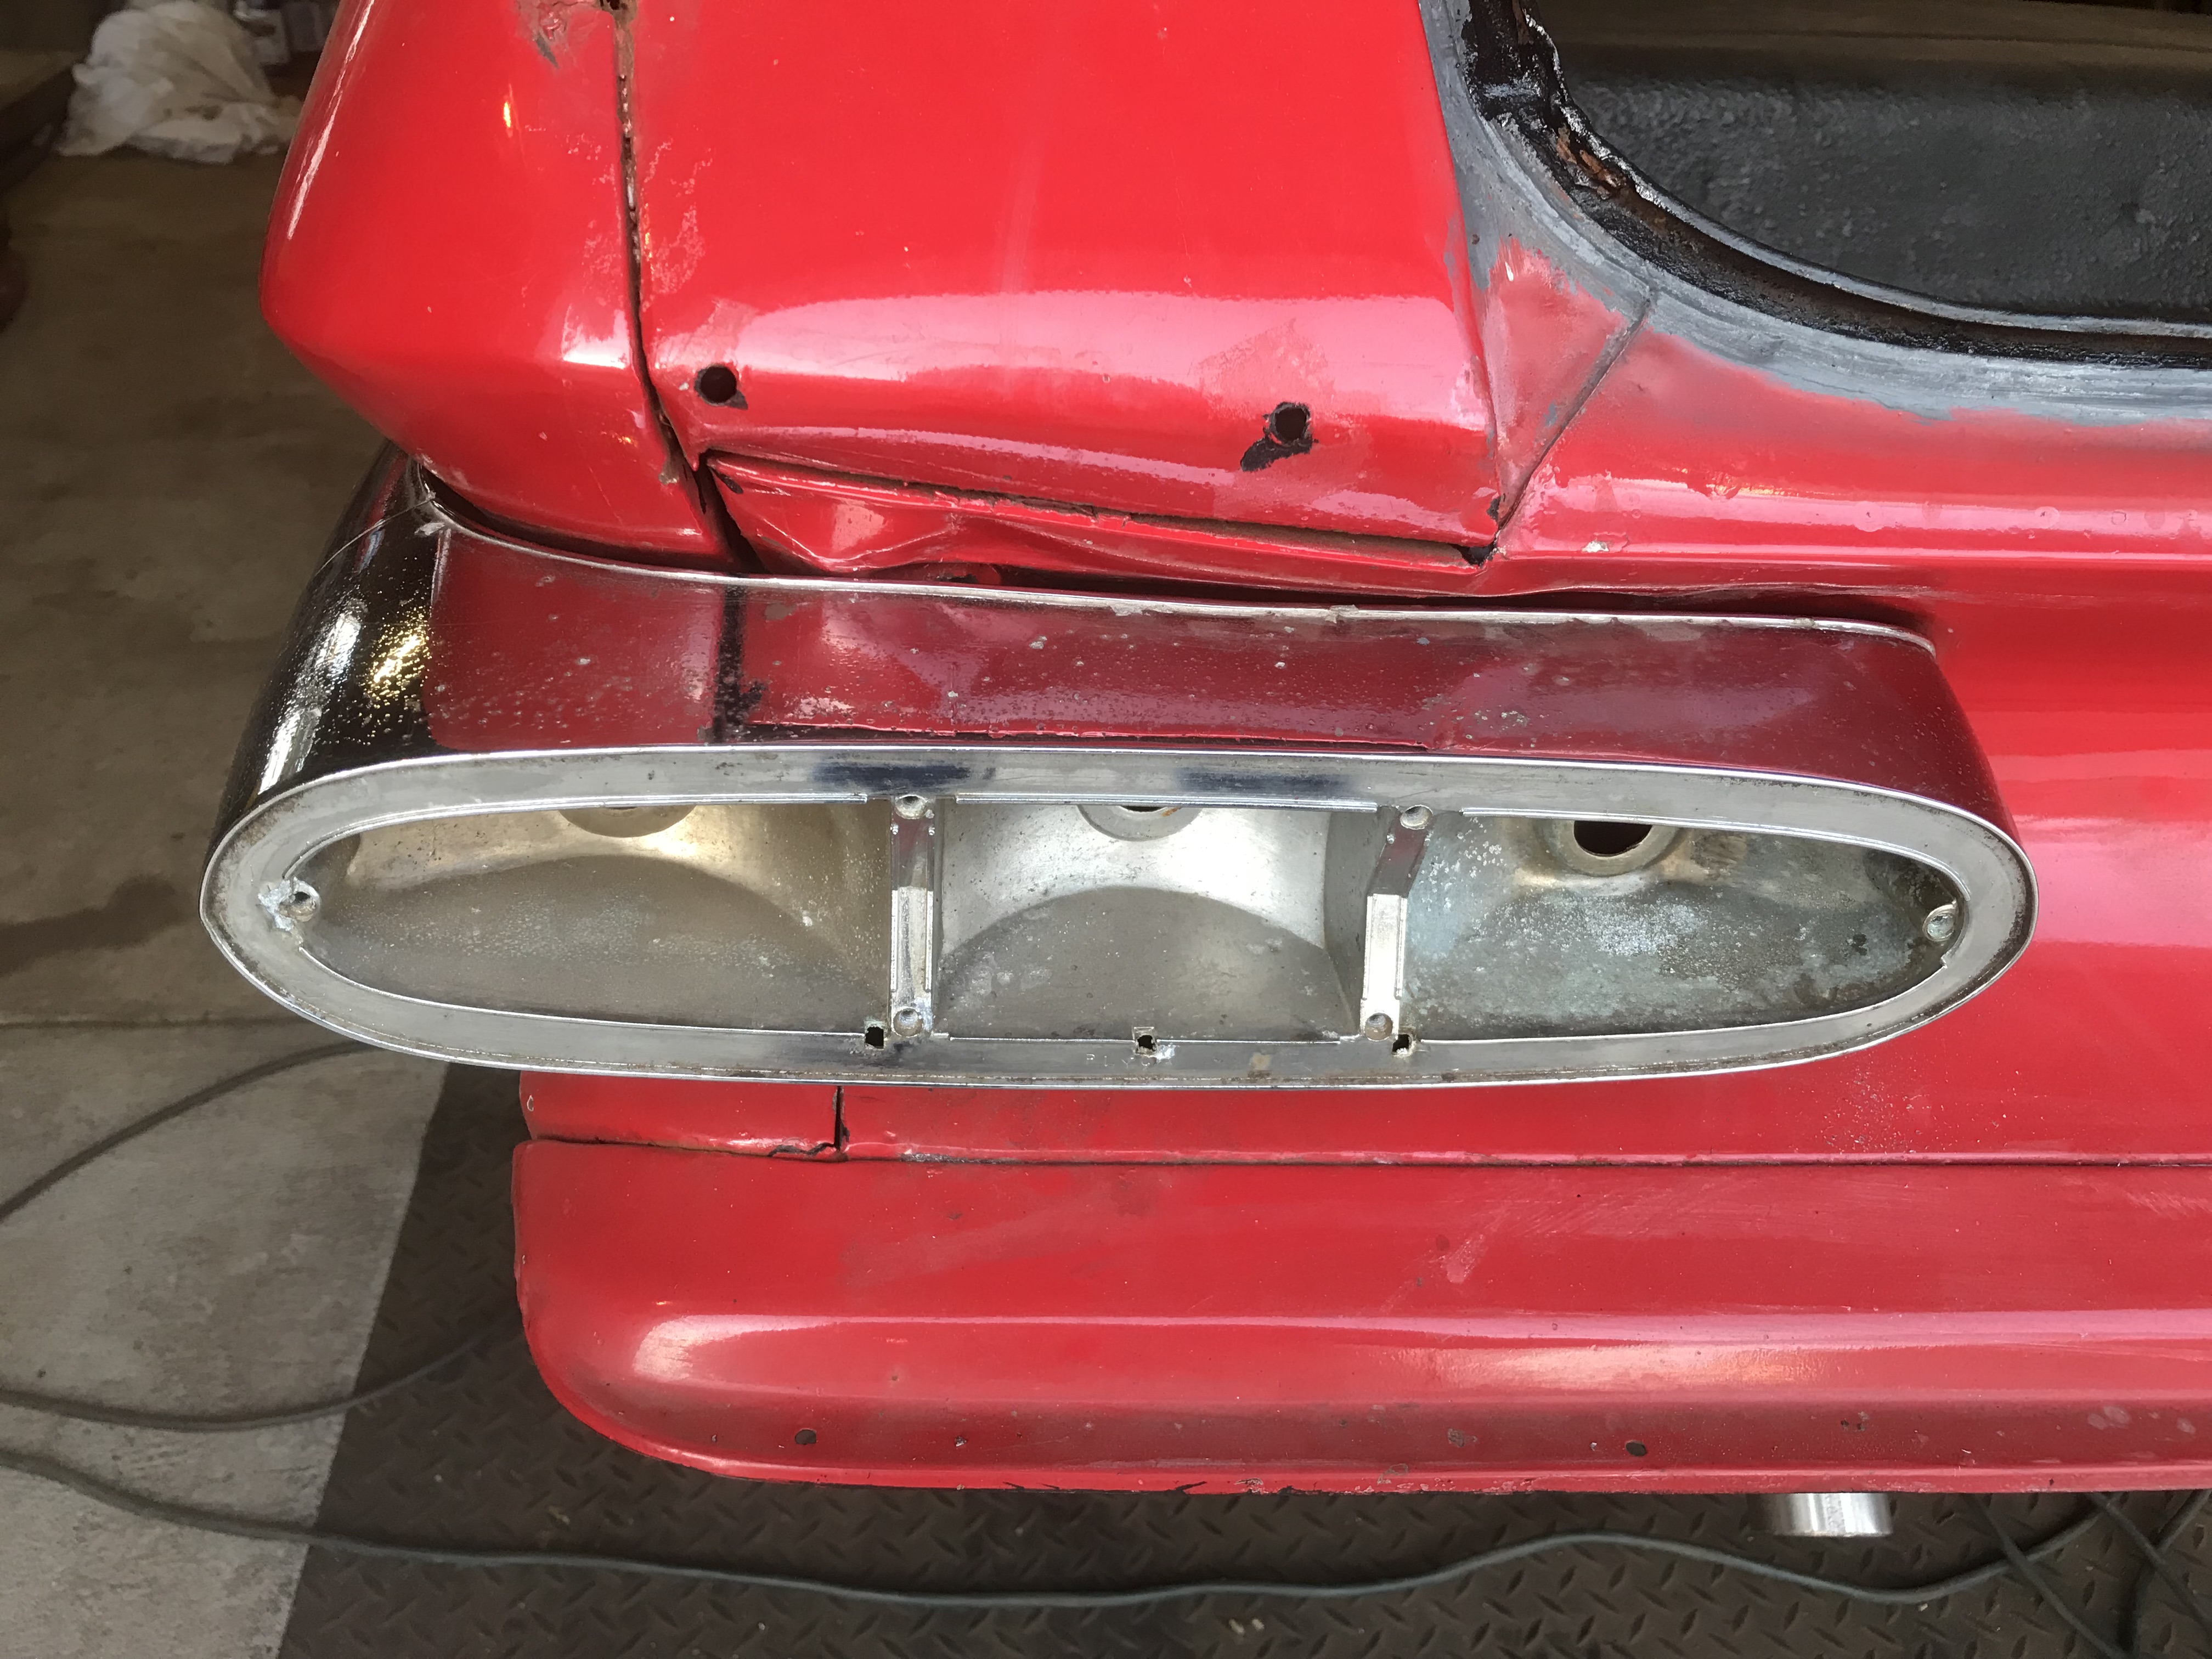
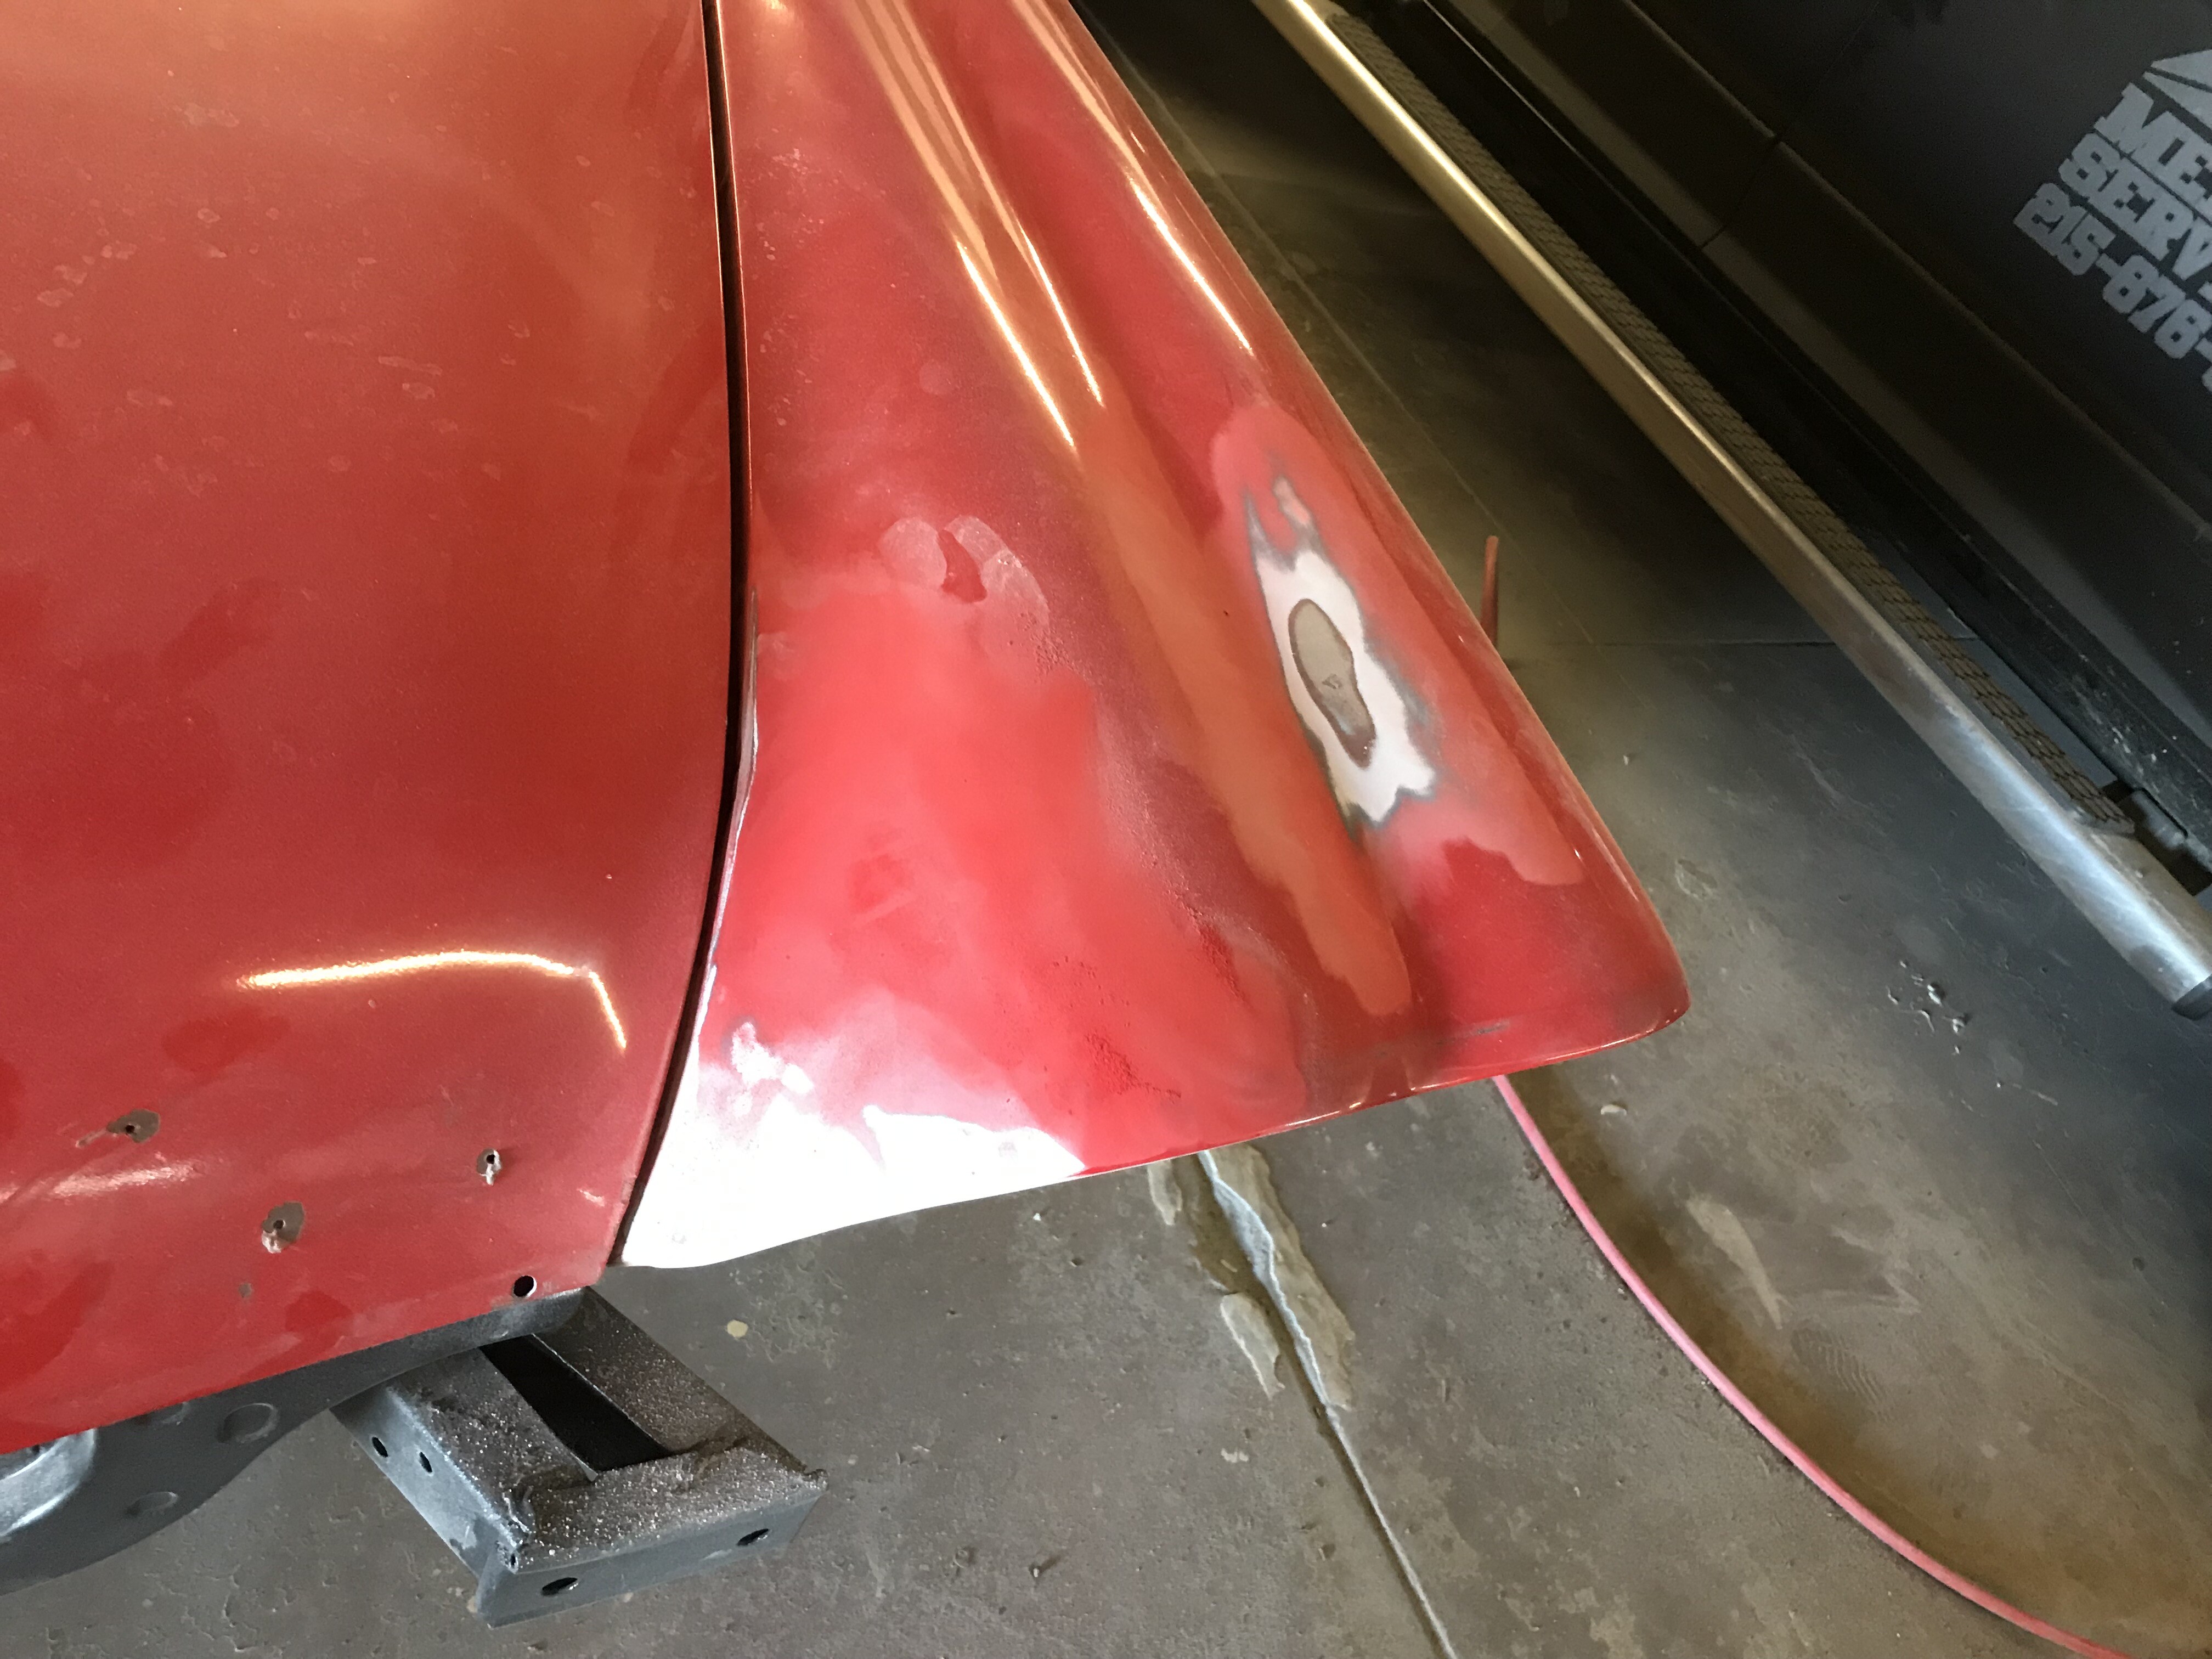
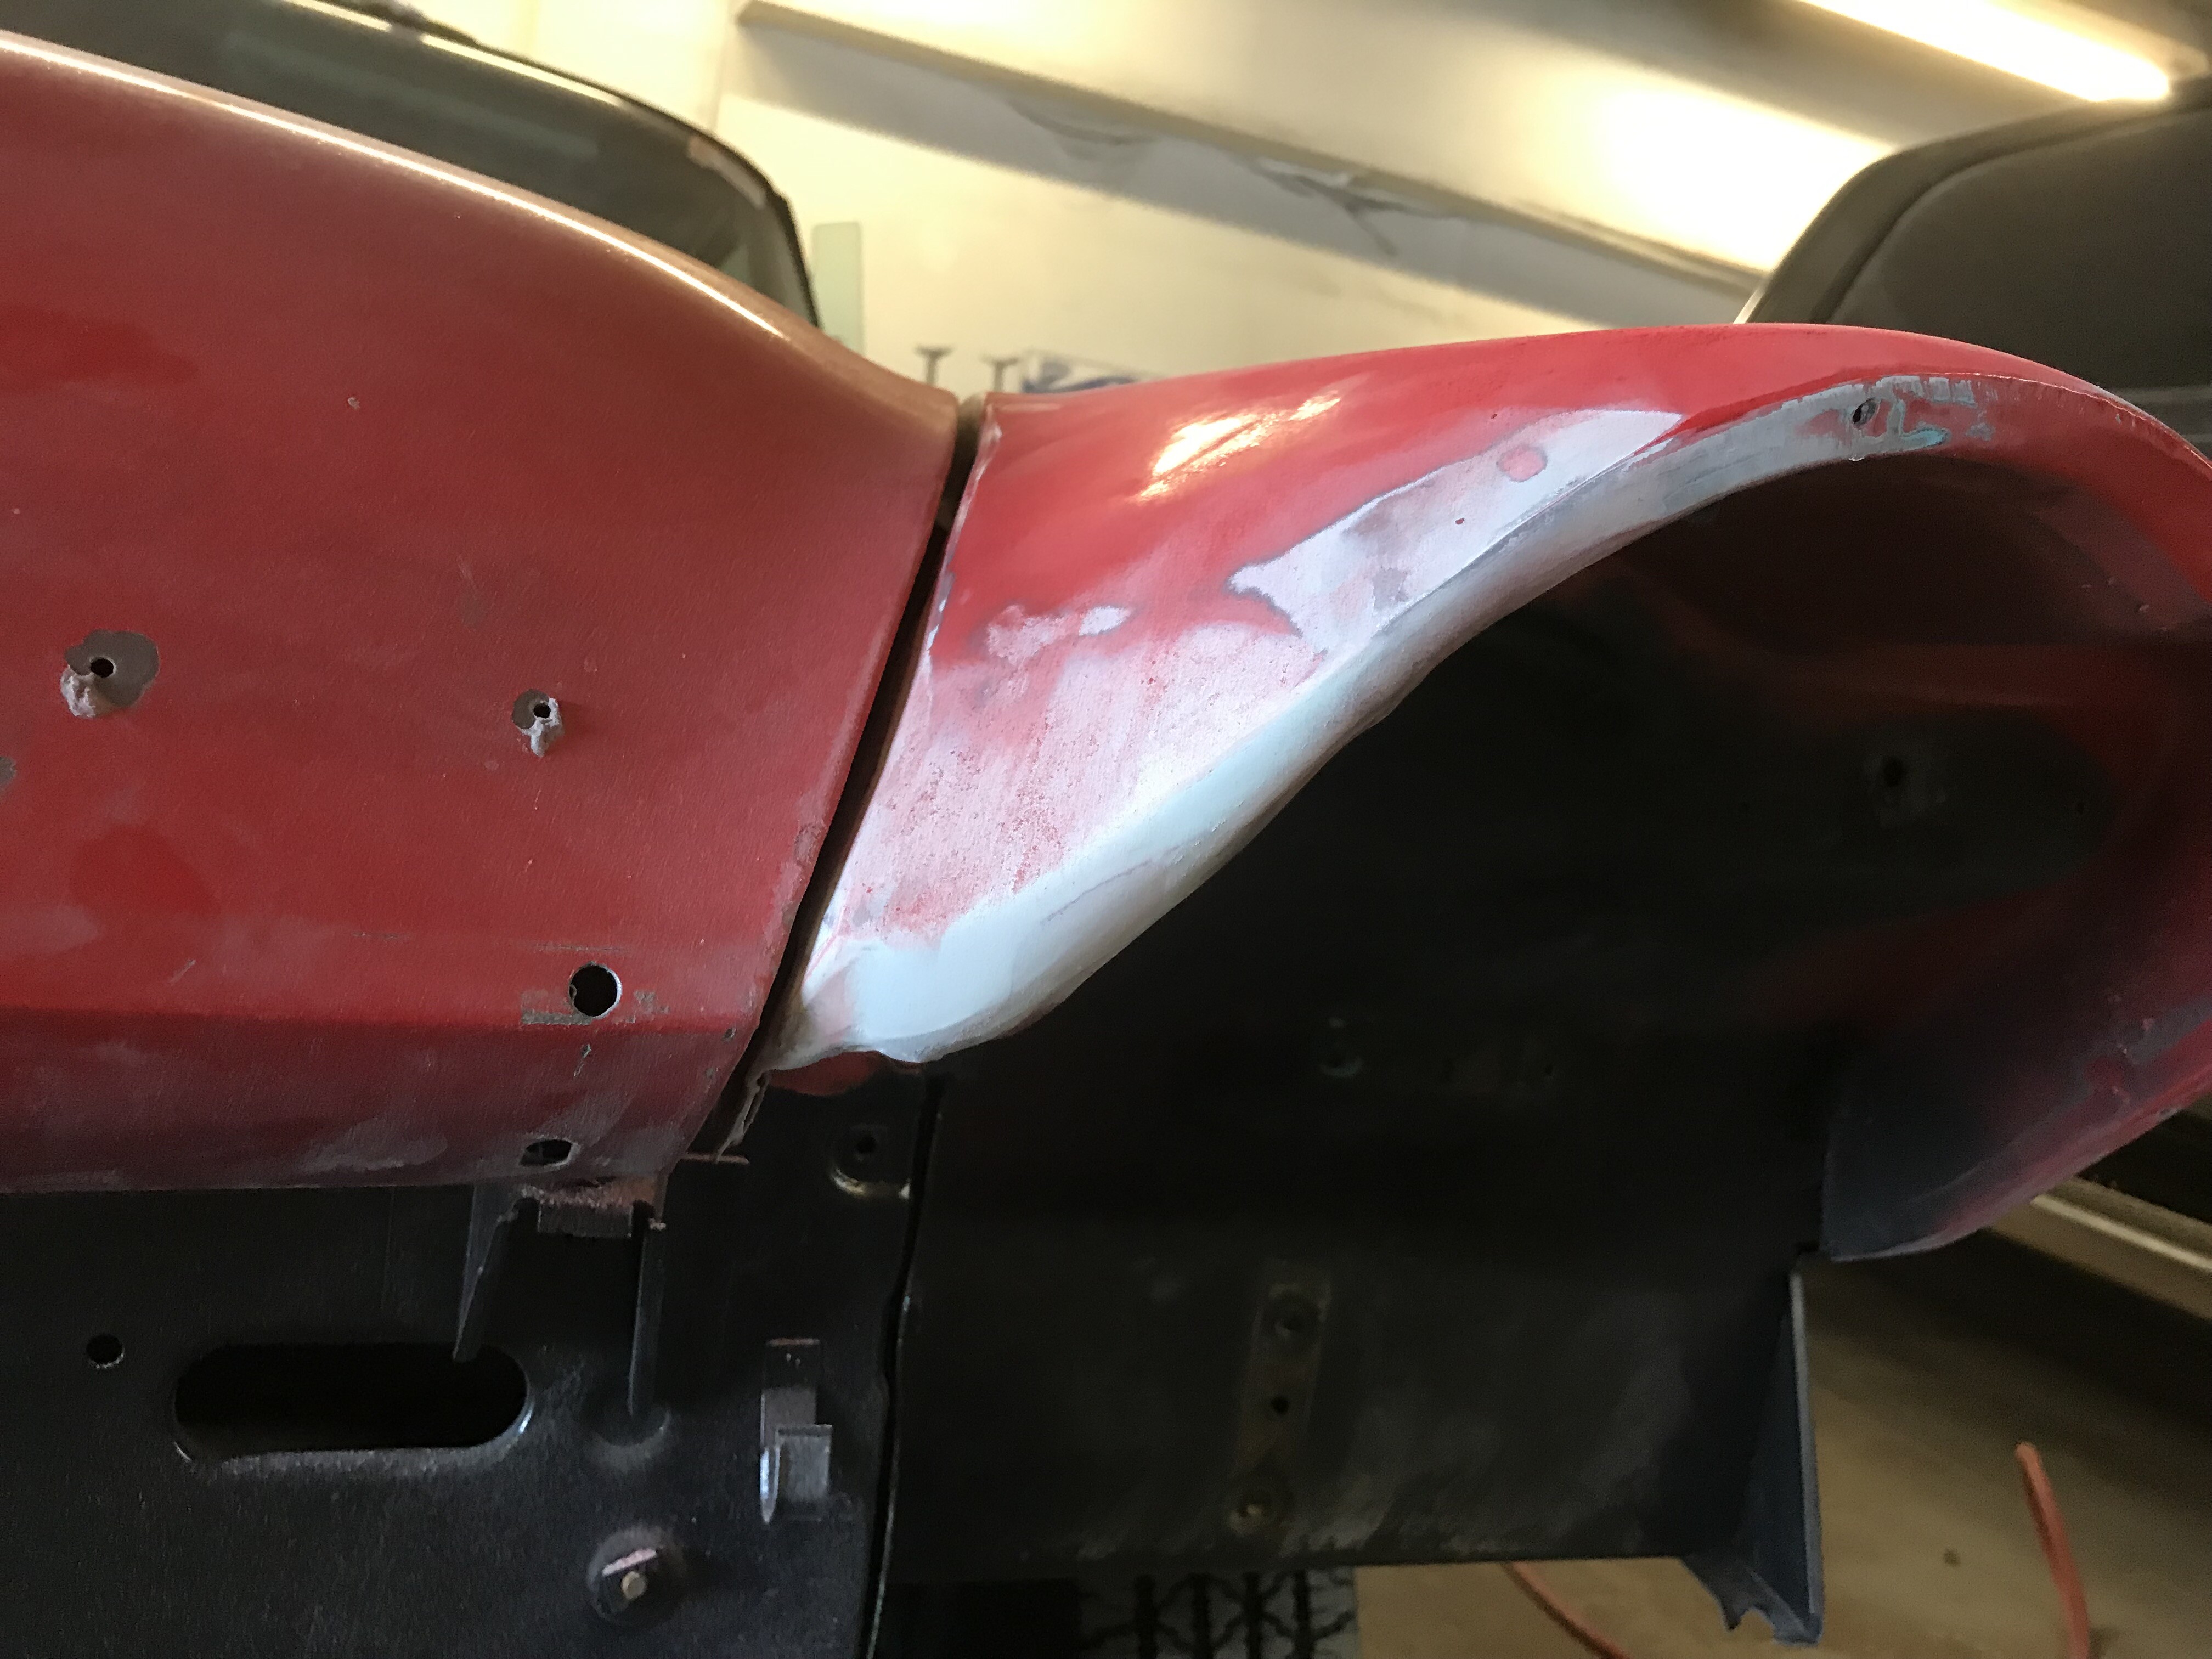
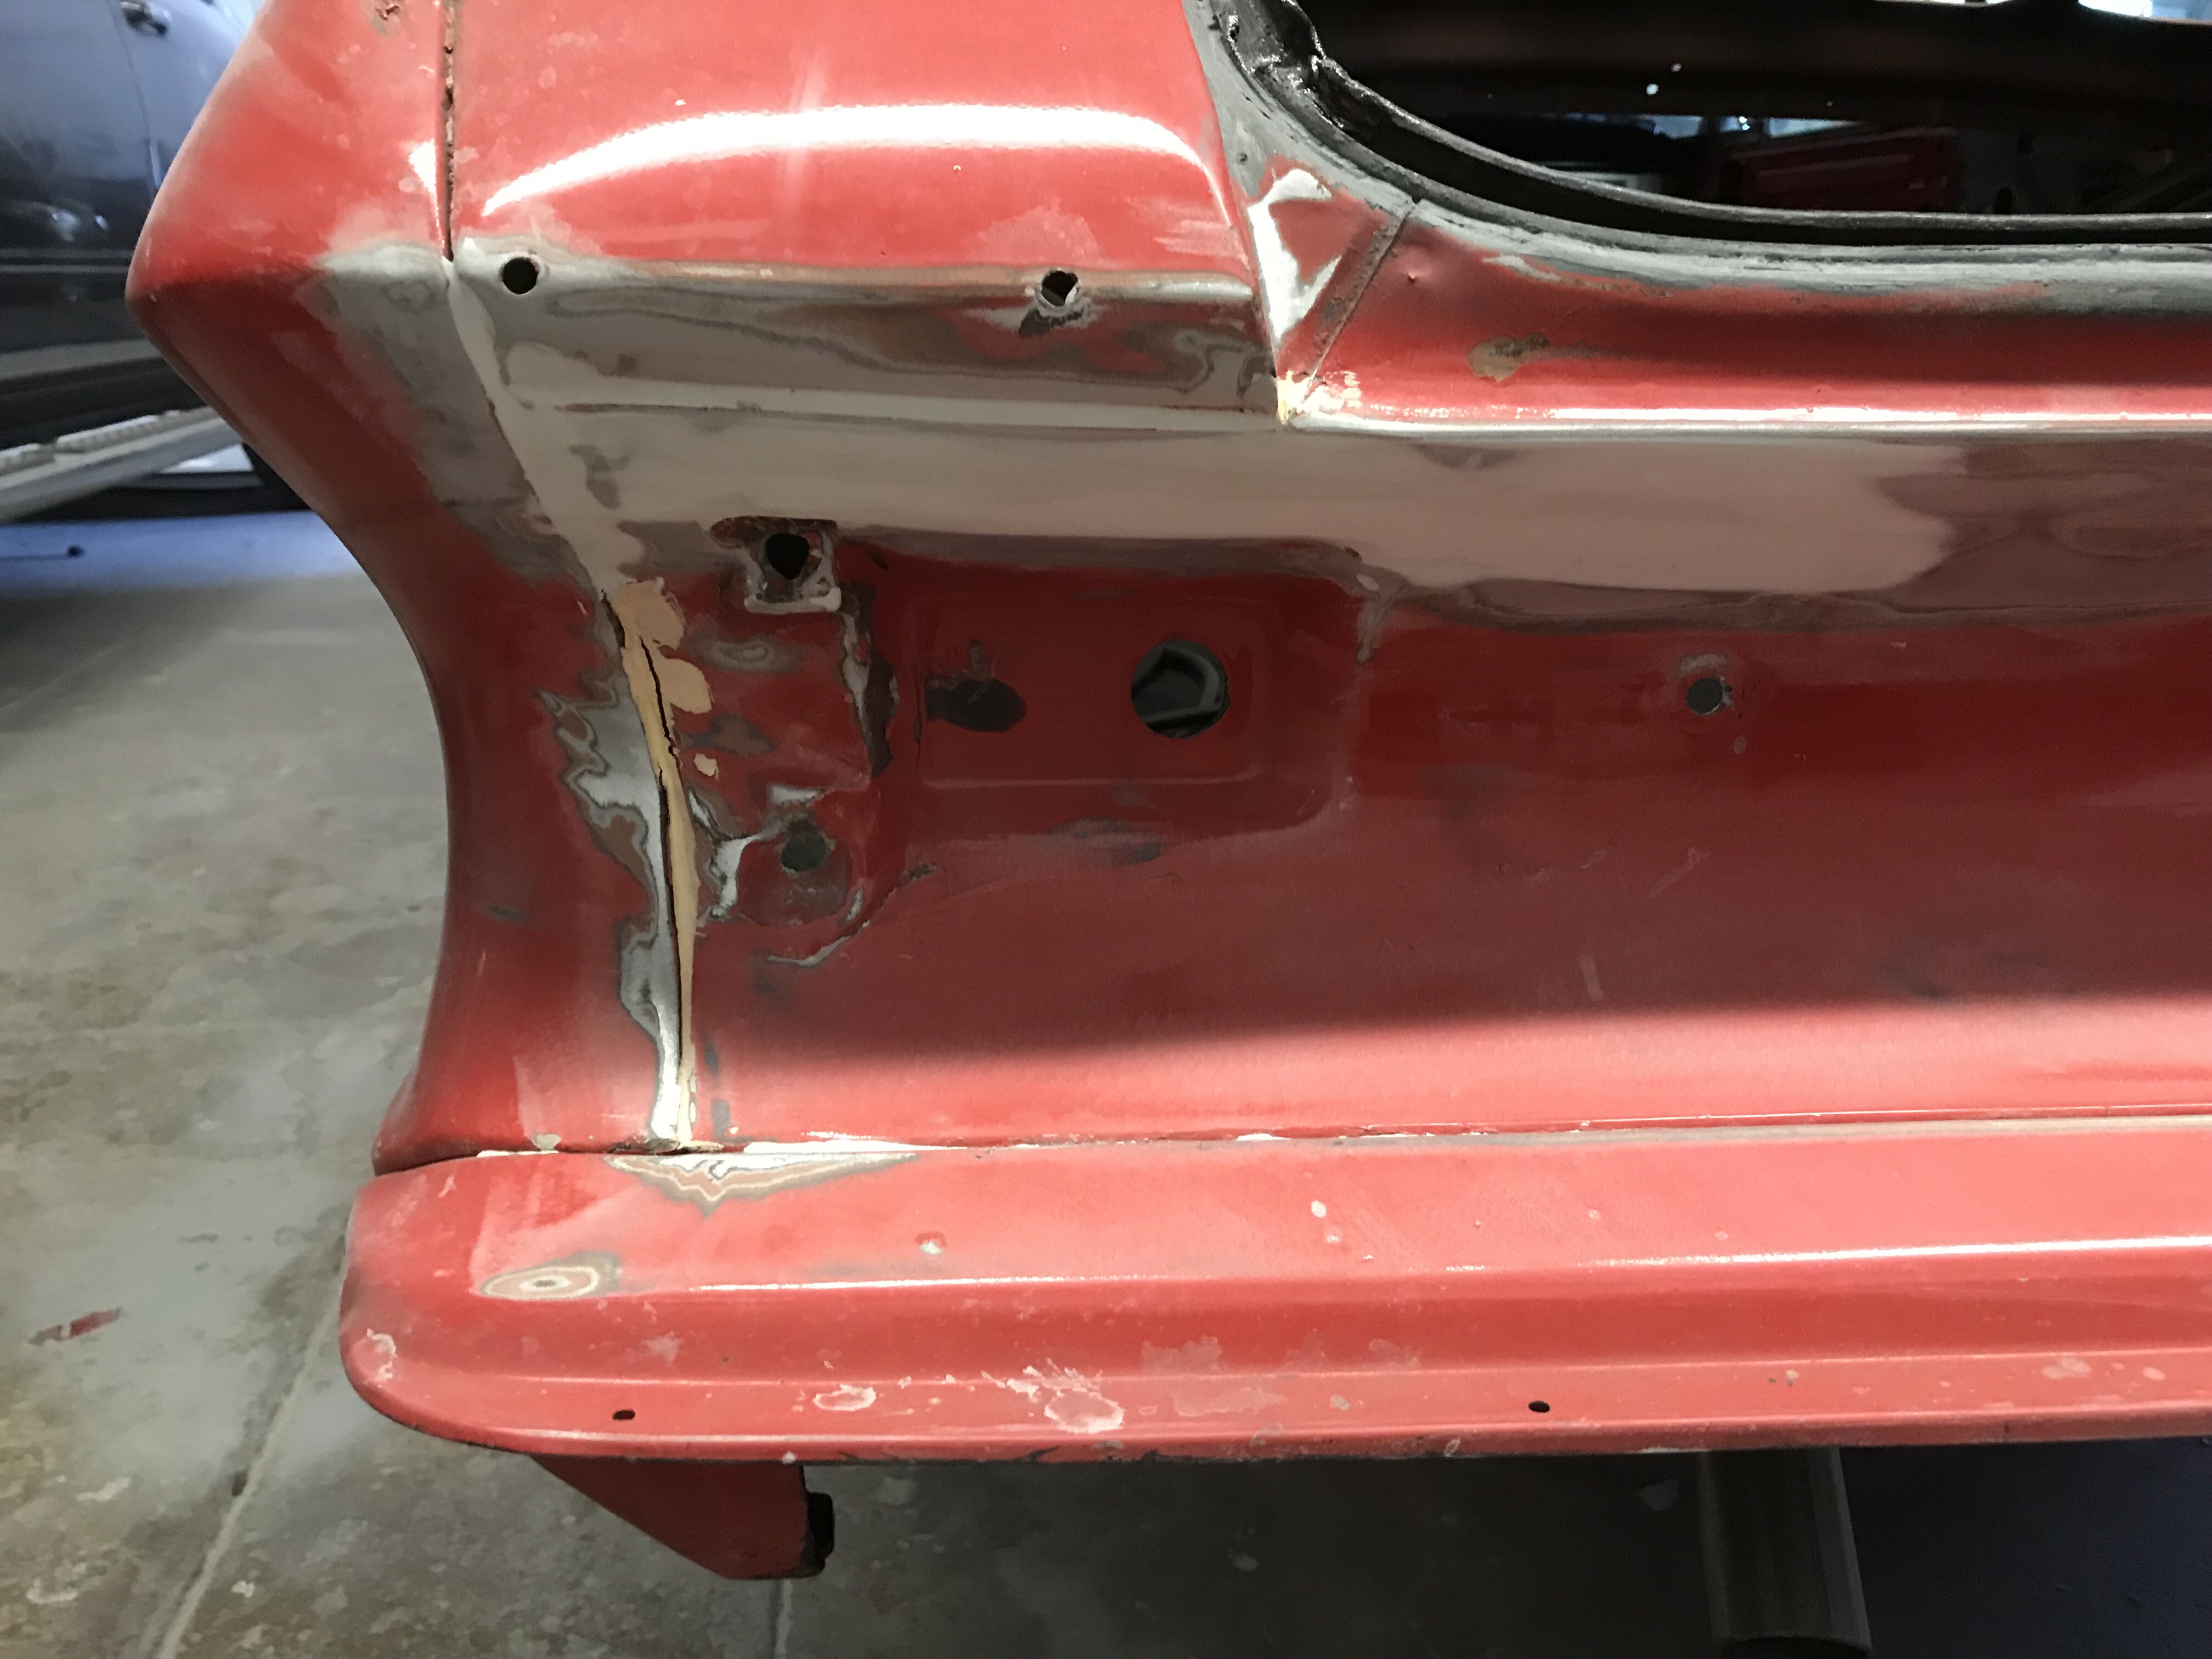
Damage never repaired when Faulkner arrived in 2003…
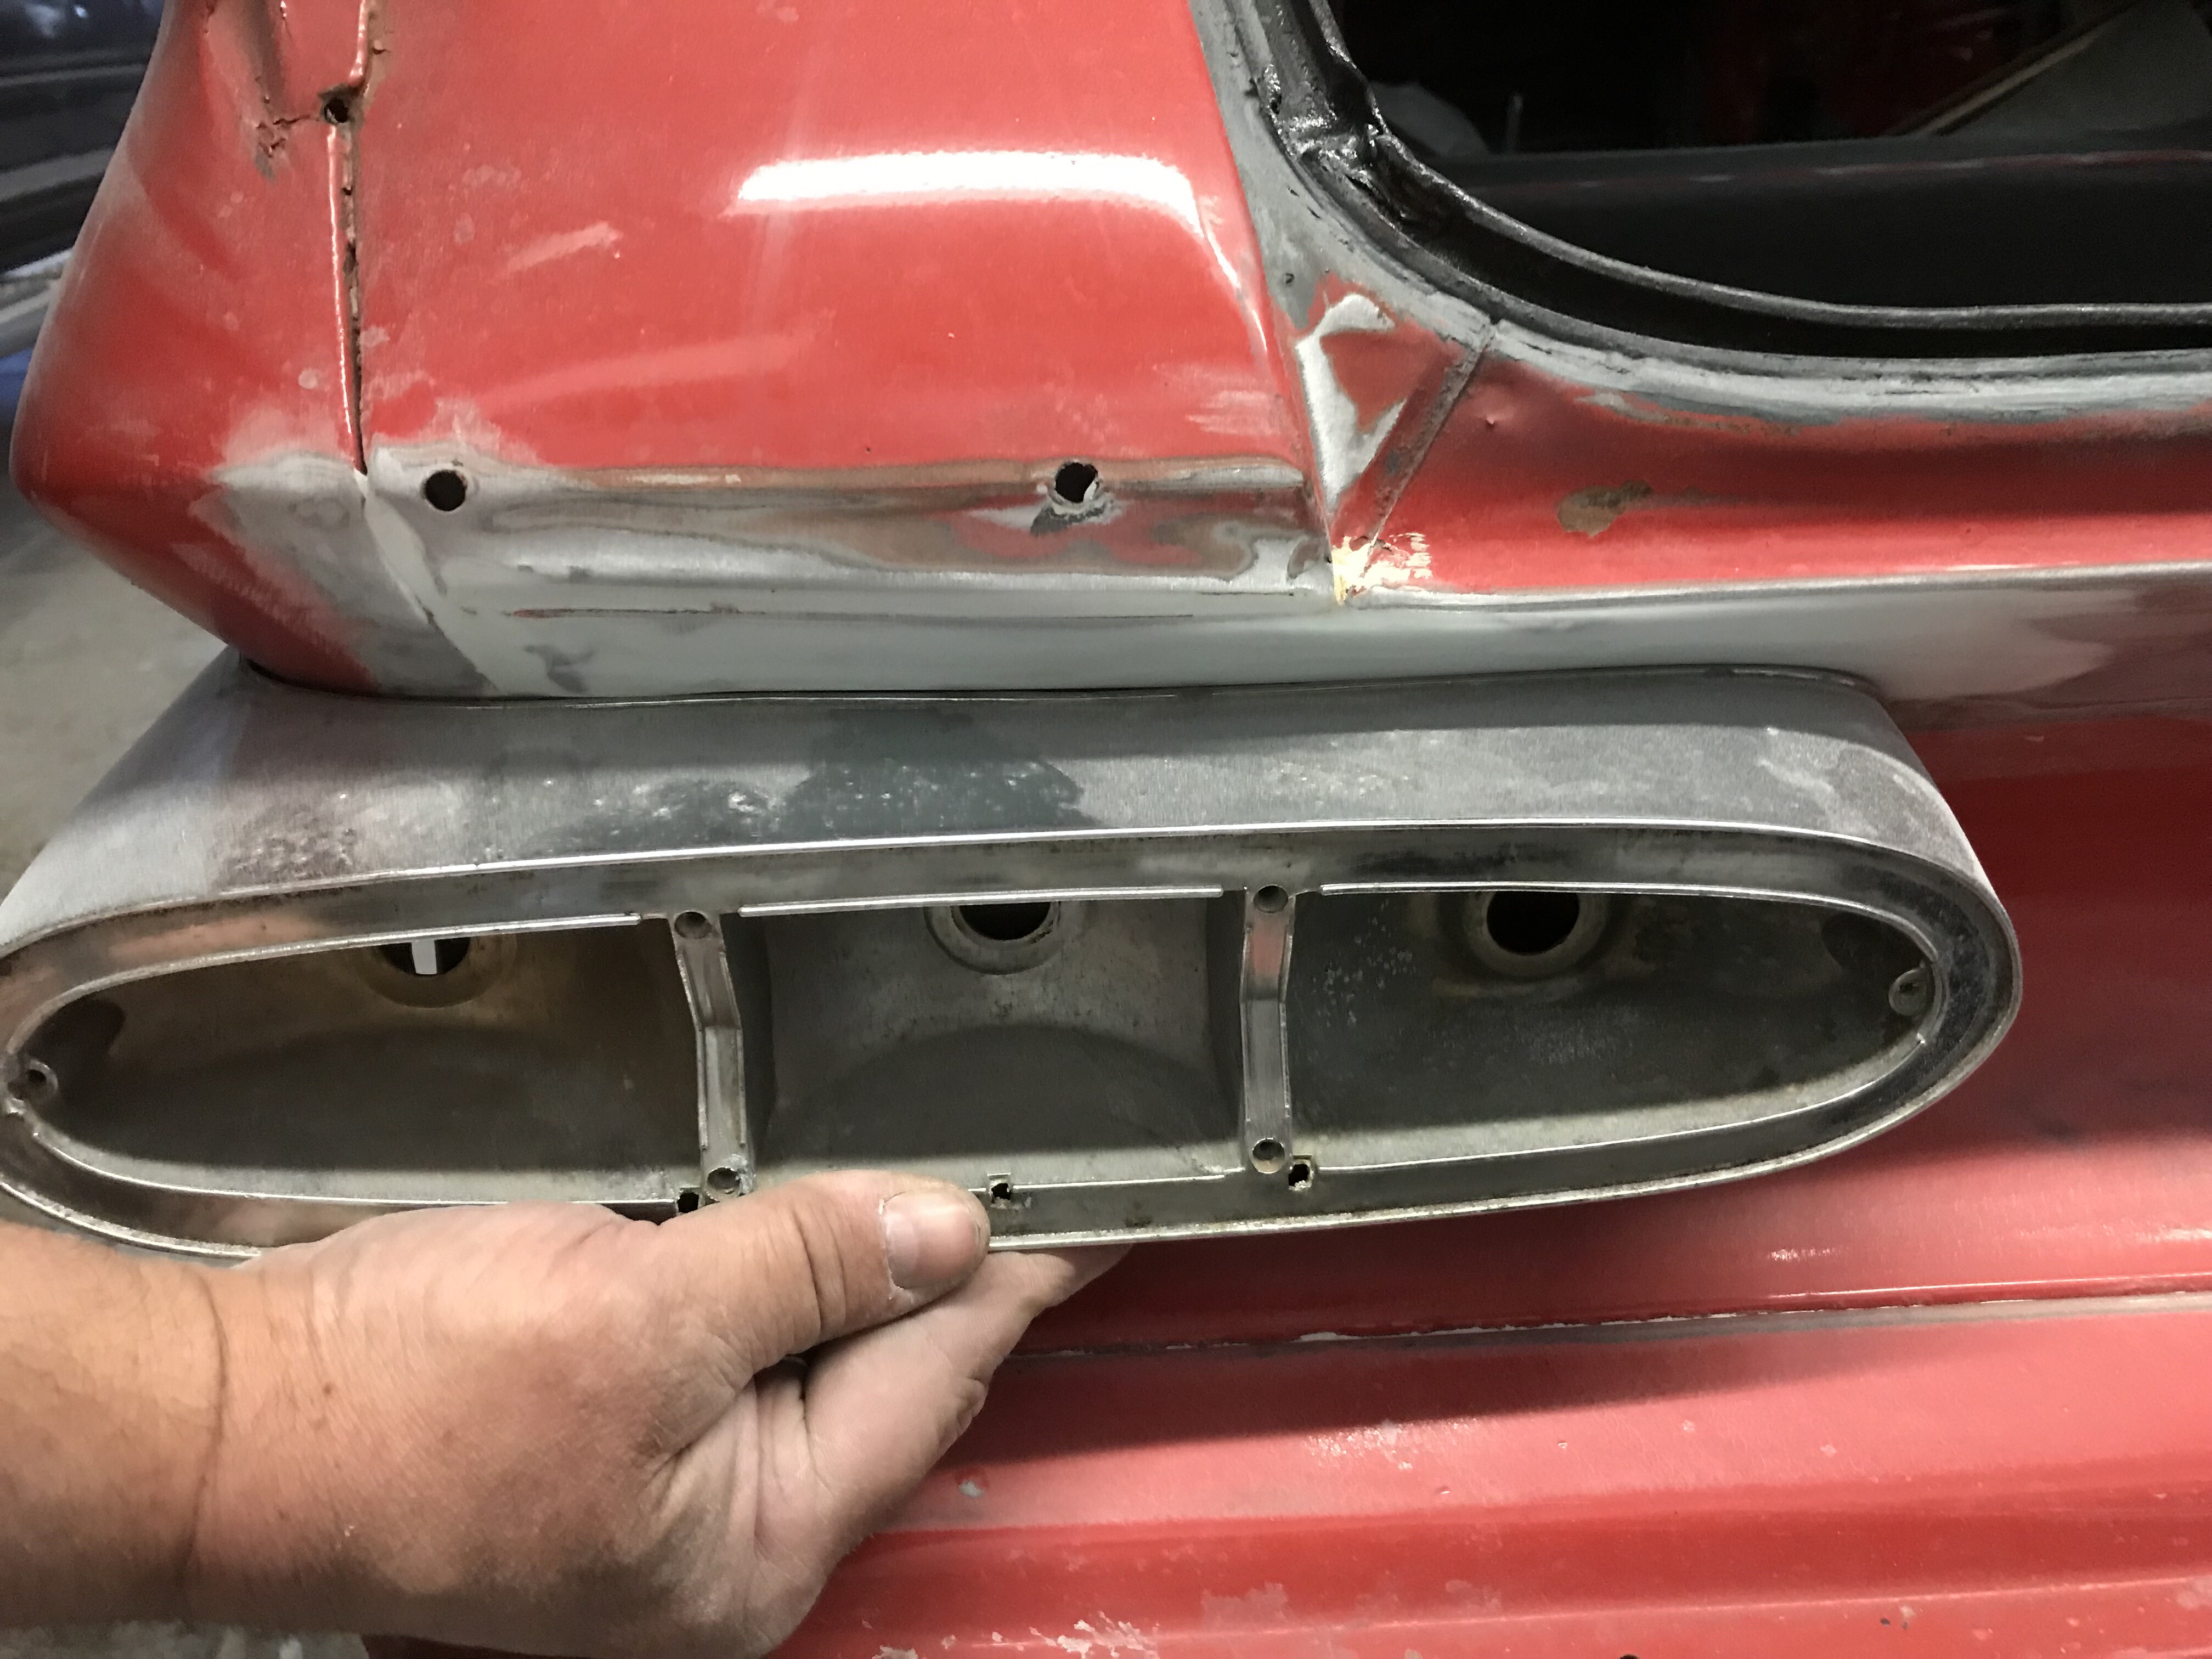
…not too awful, using Dick’s loaner taillight housing for "dry fit"
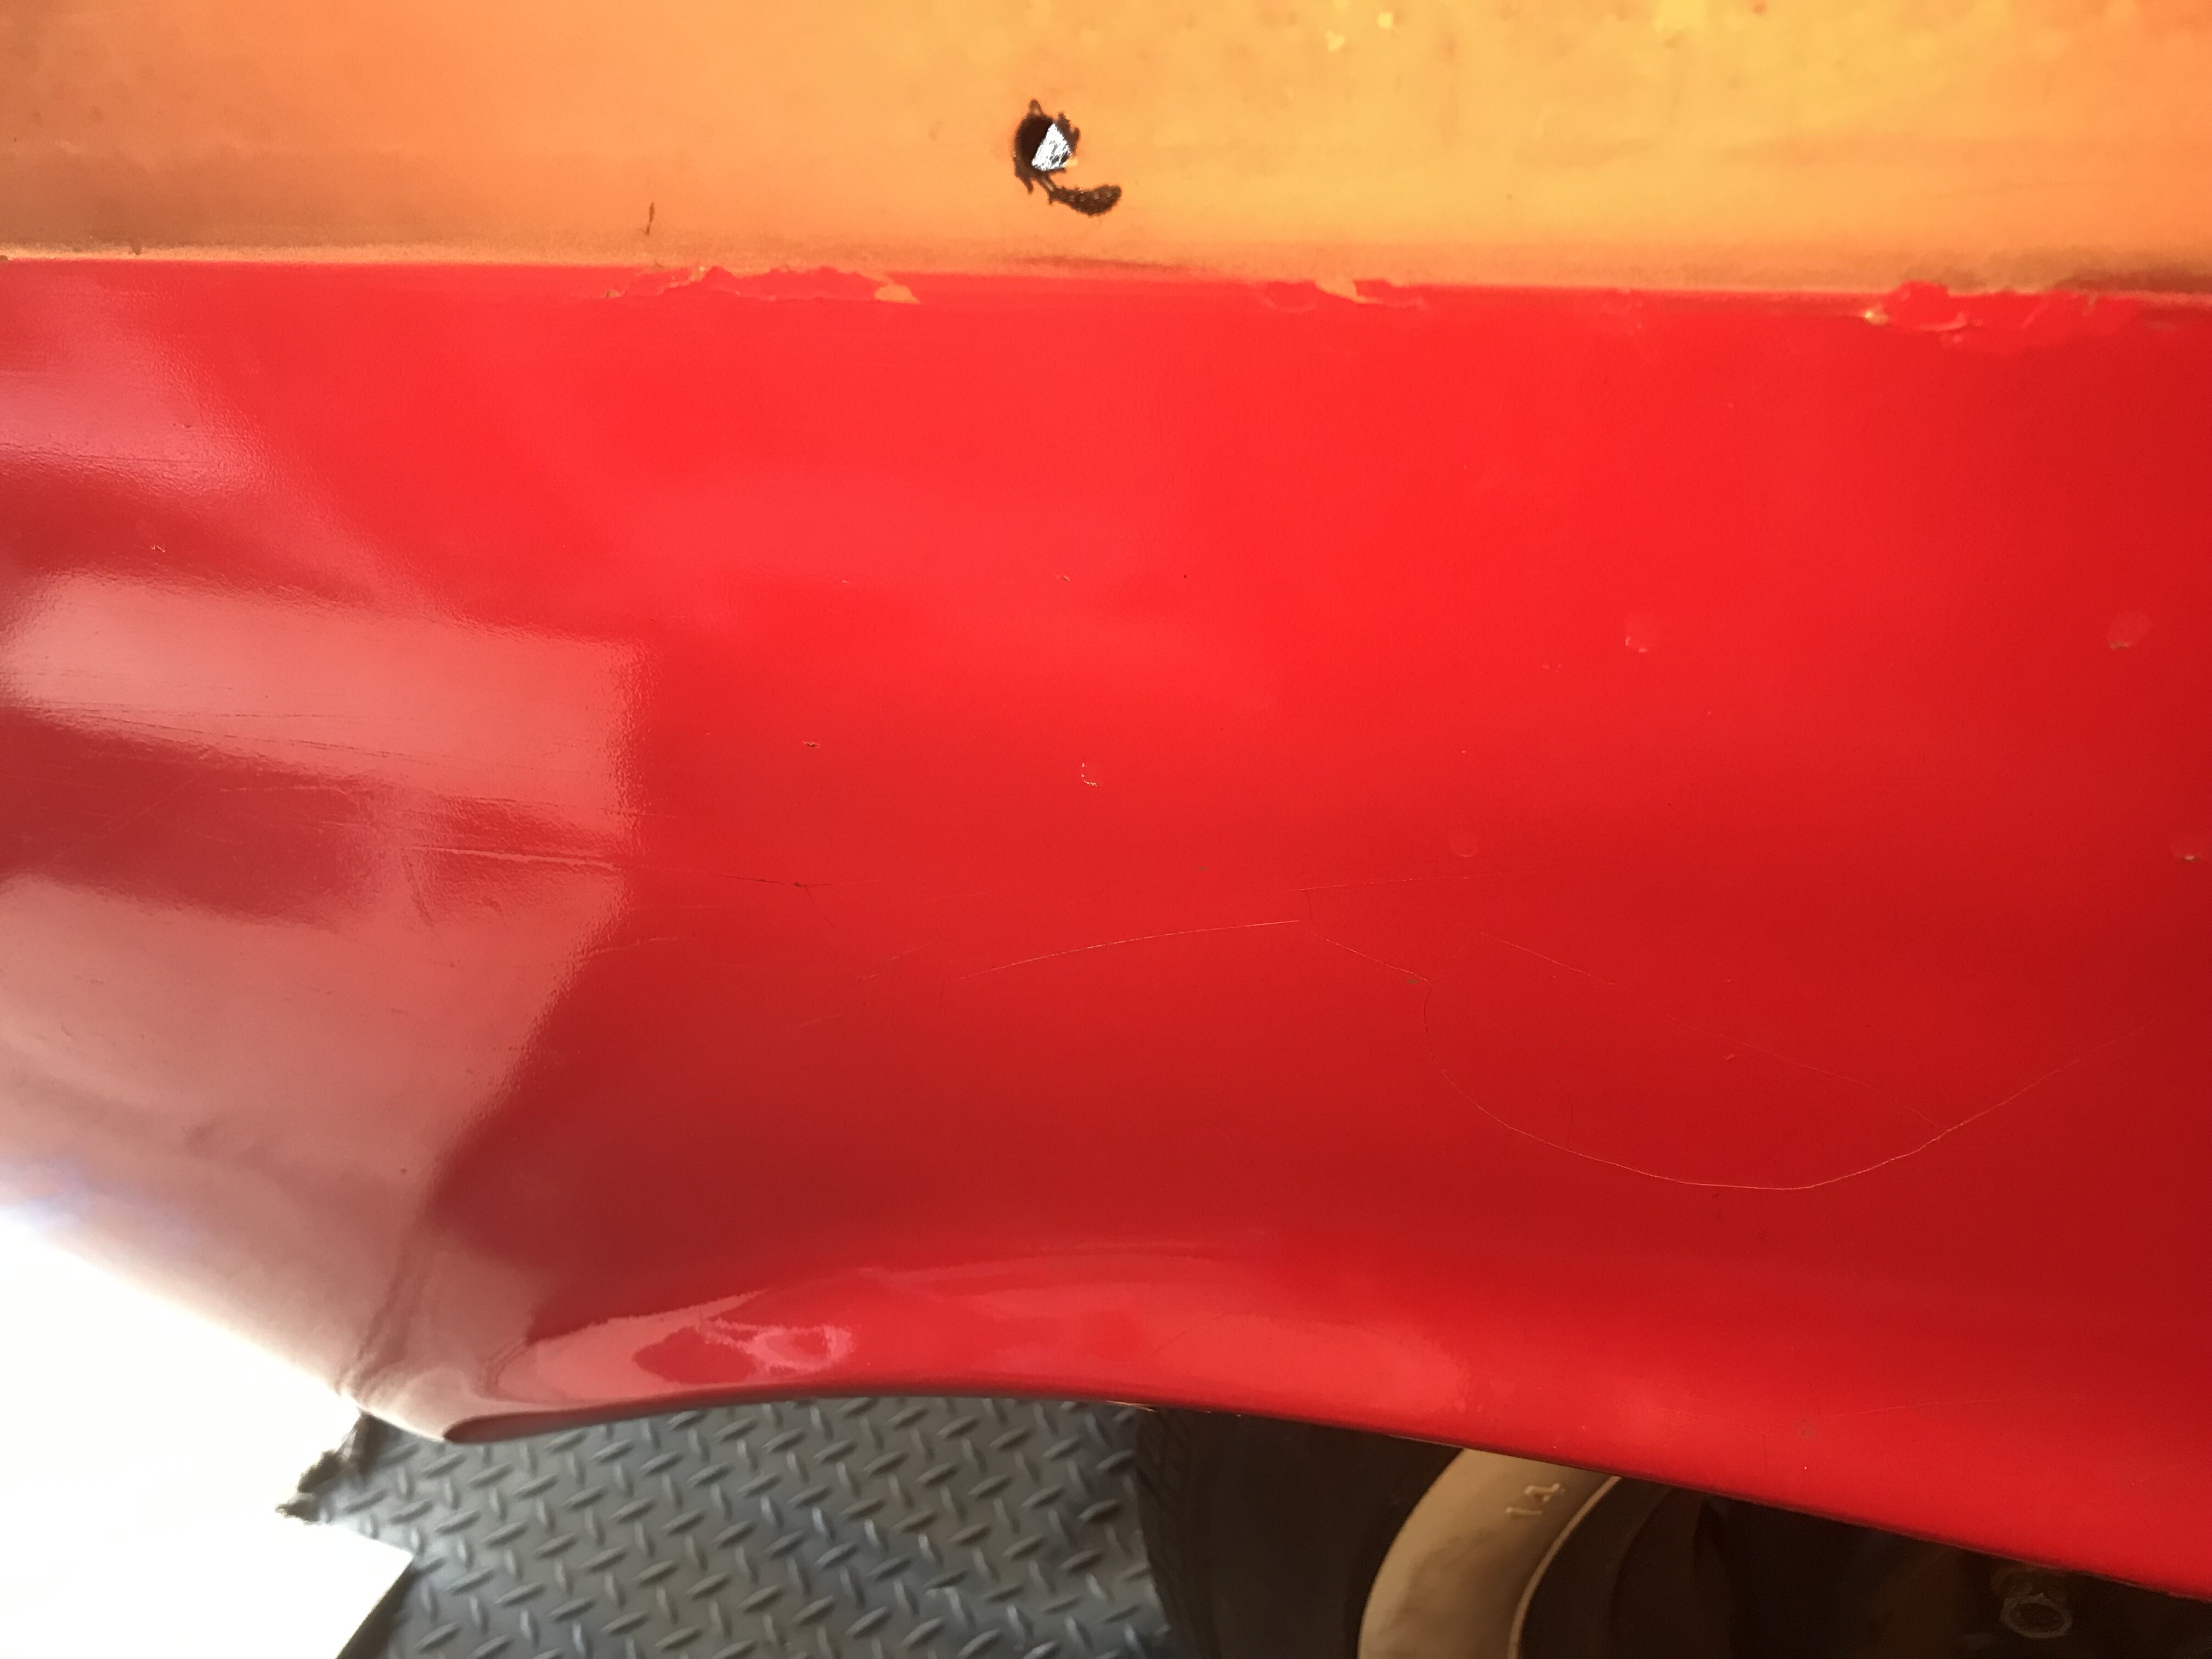
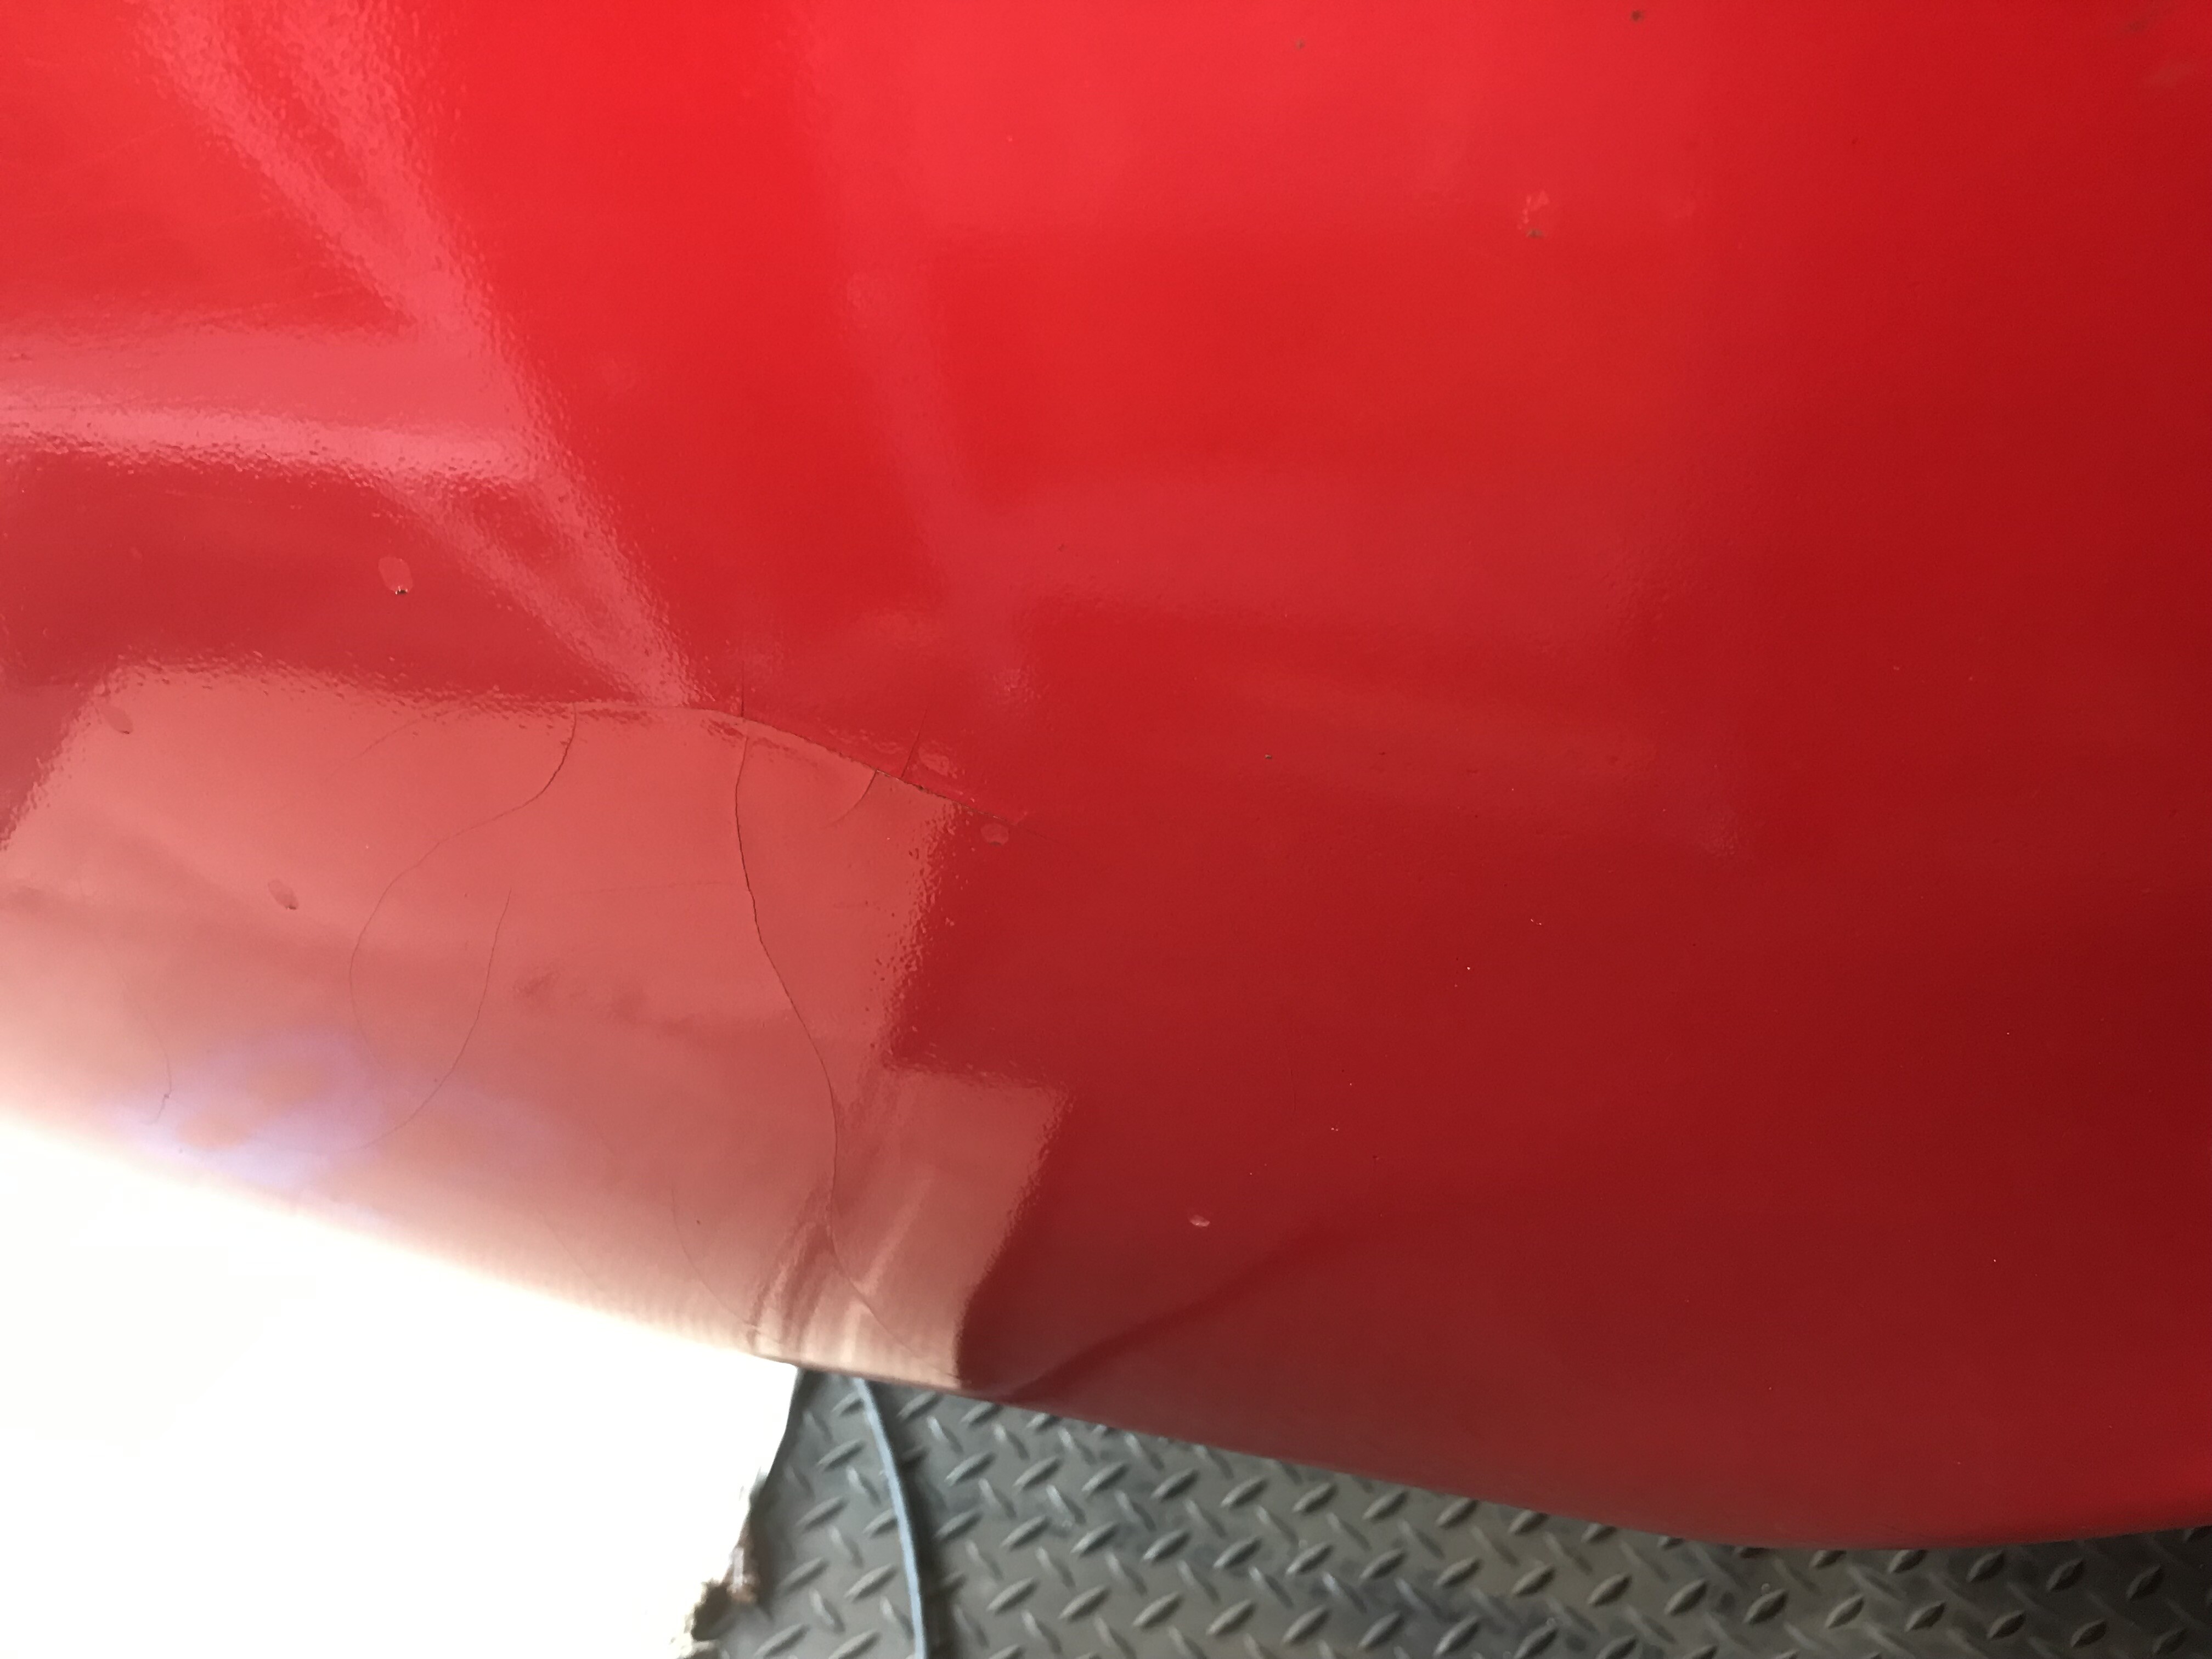
Look closely, and you can see crazing in the shim coat of filler
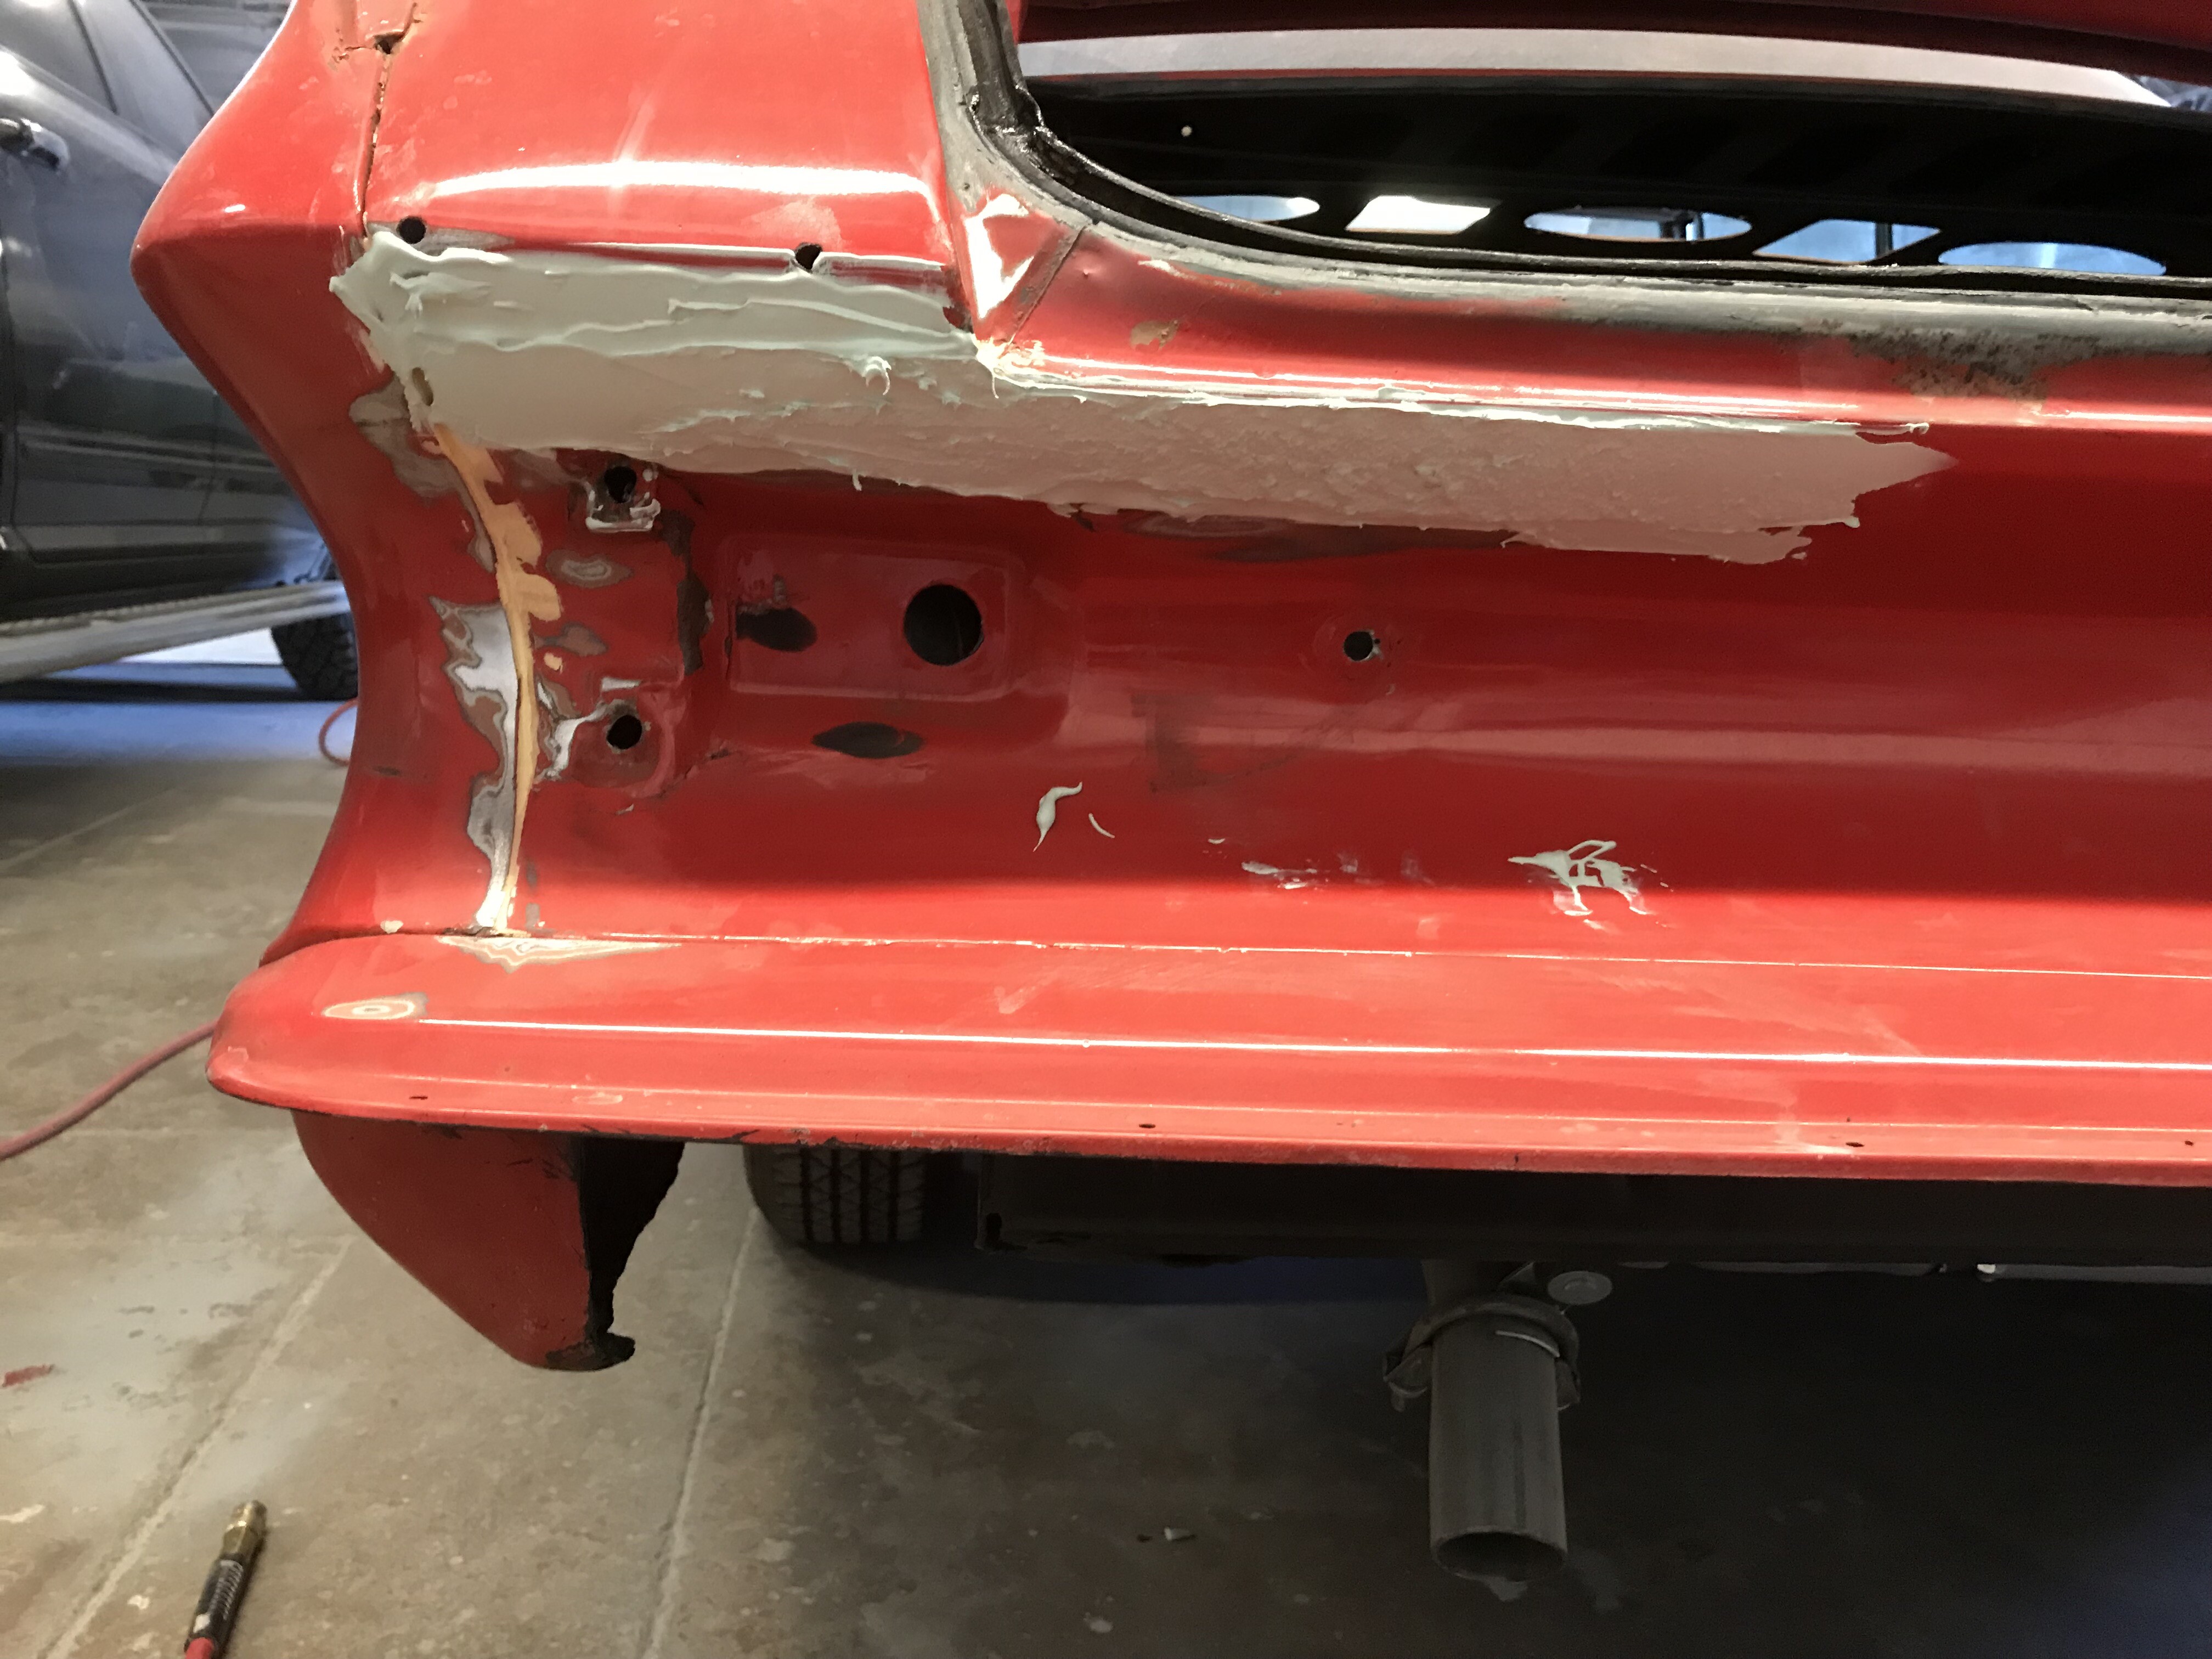
This will all have to come out and be reworked
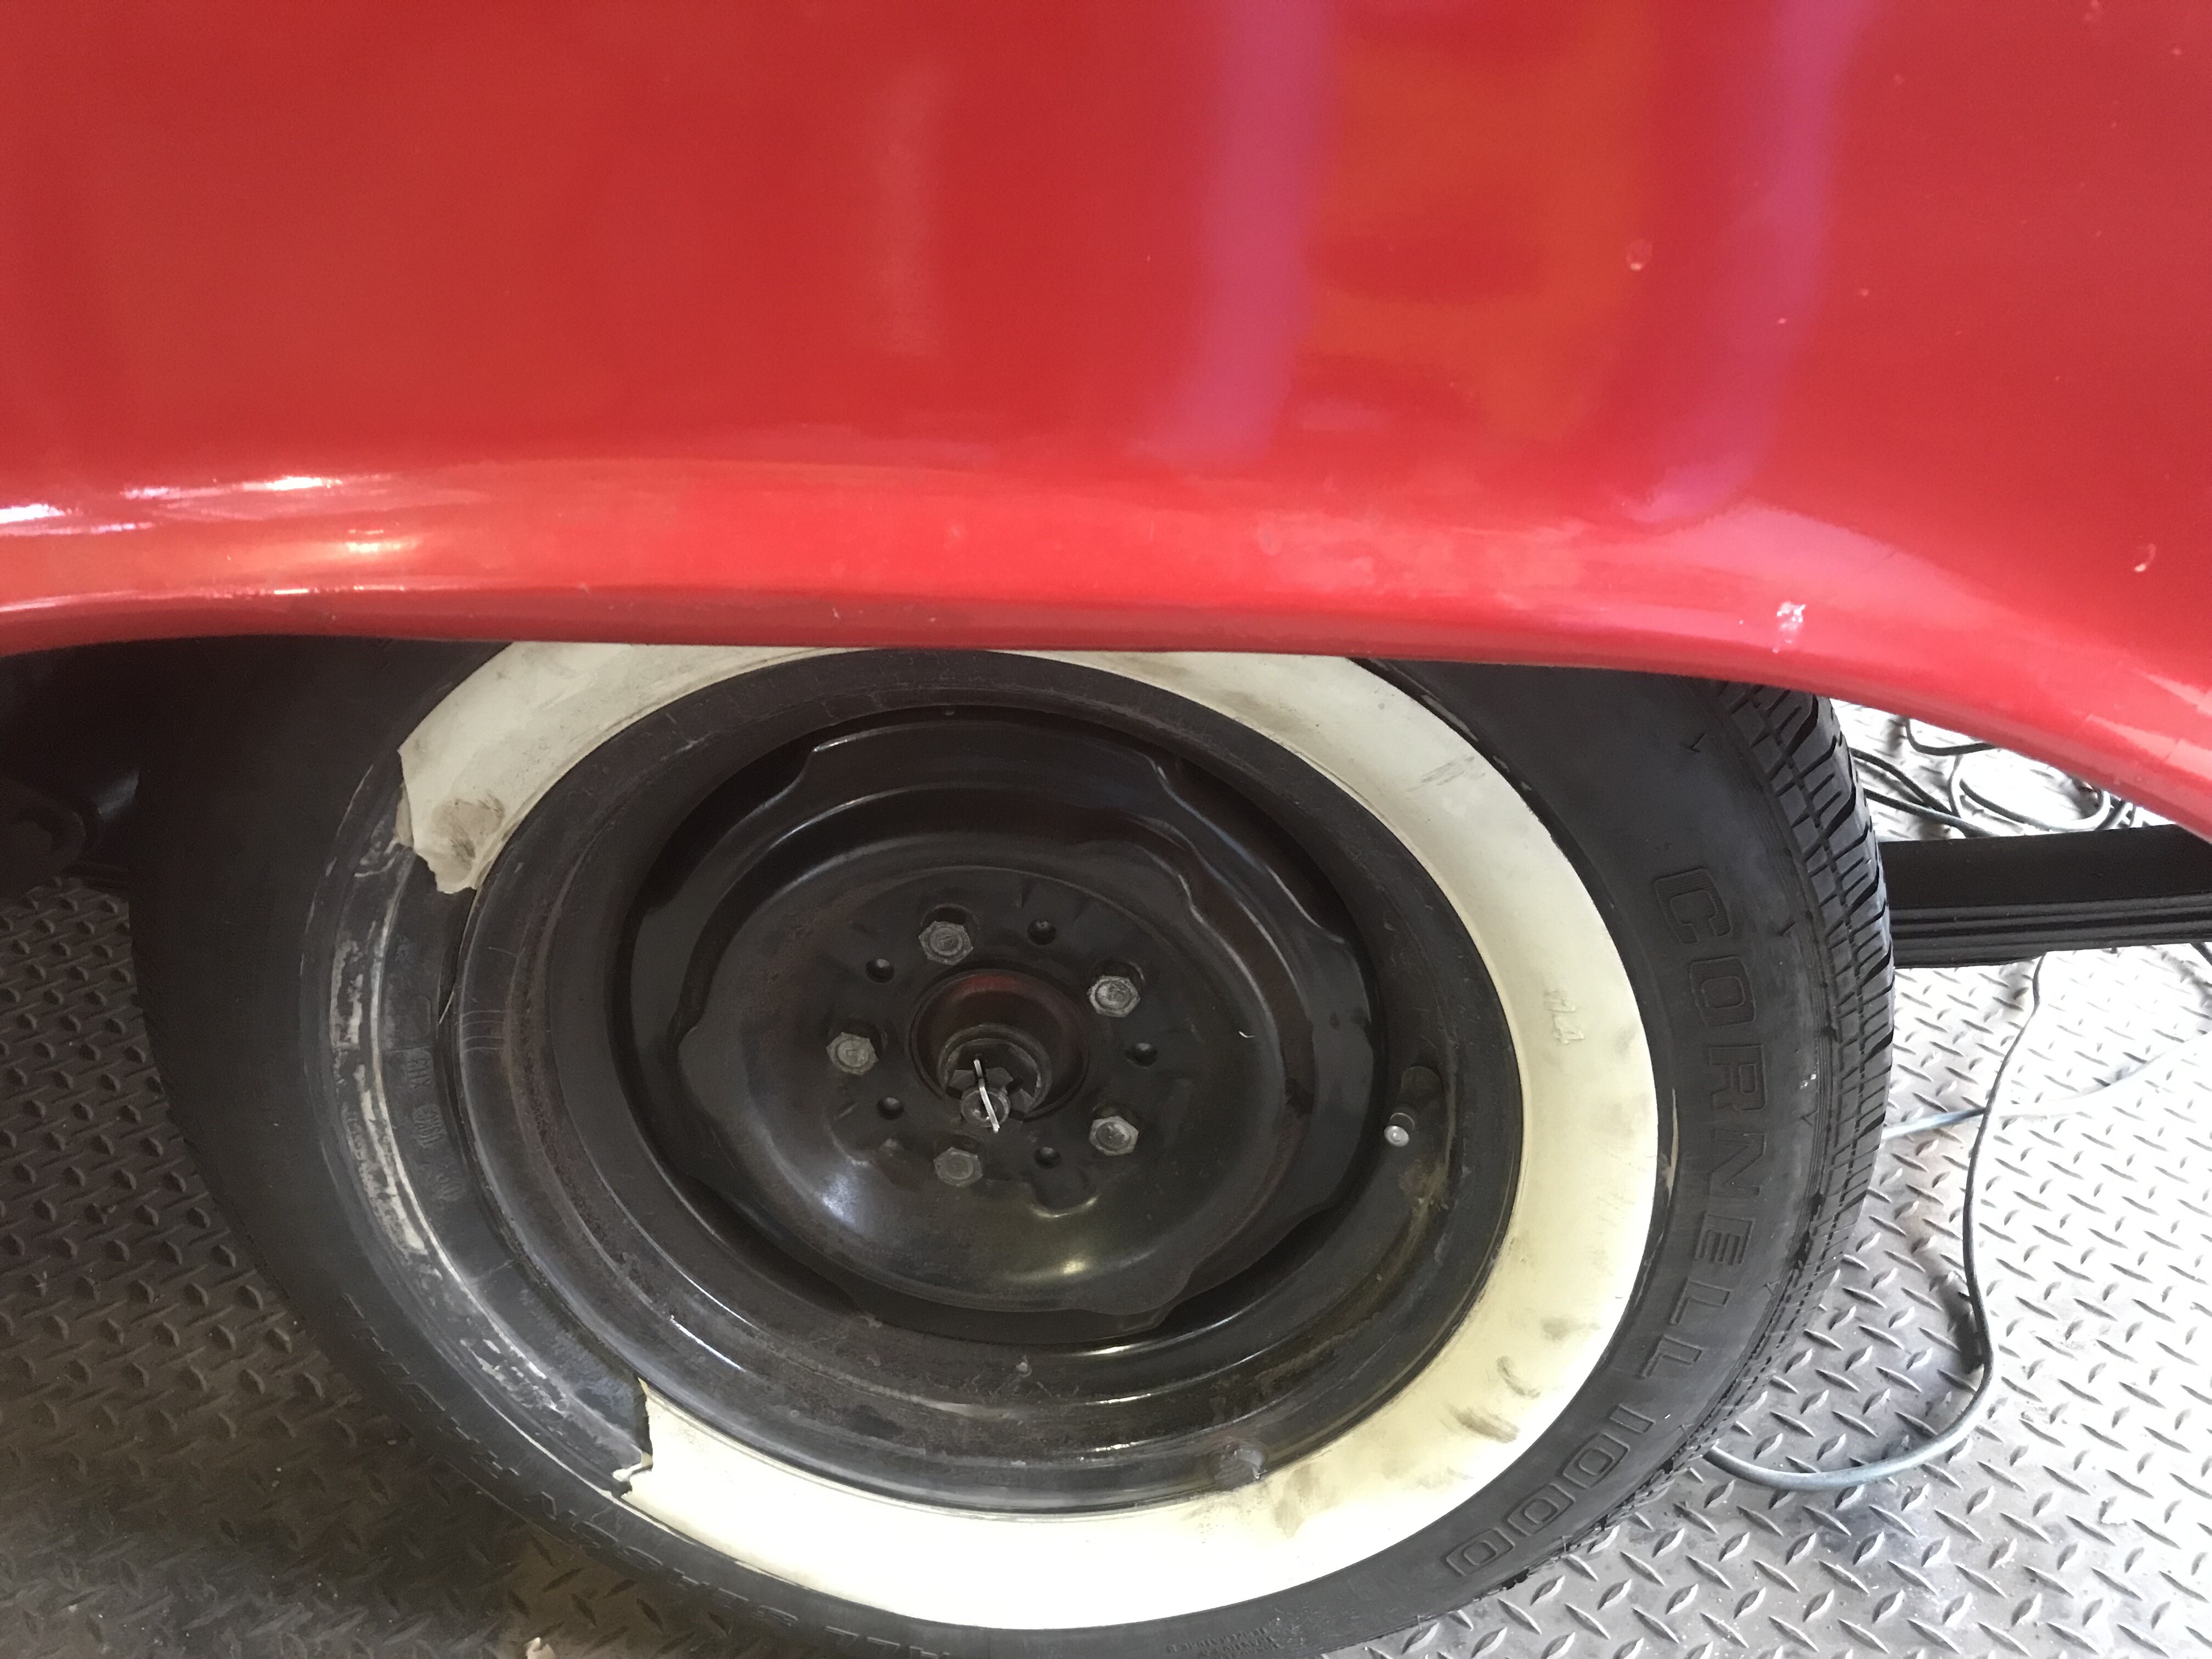
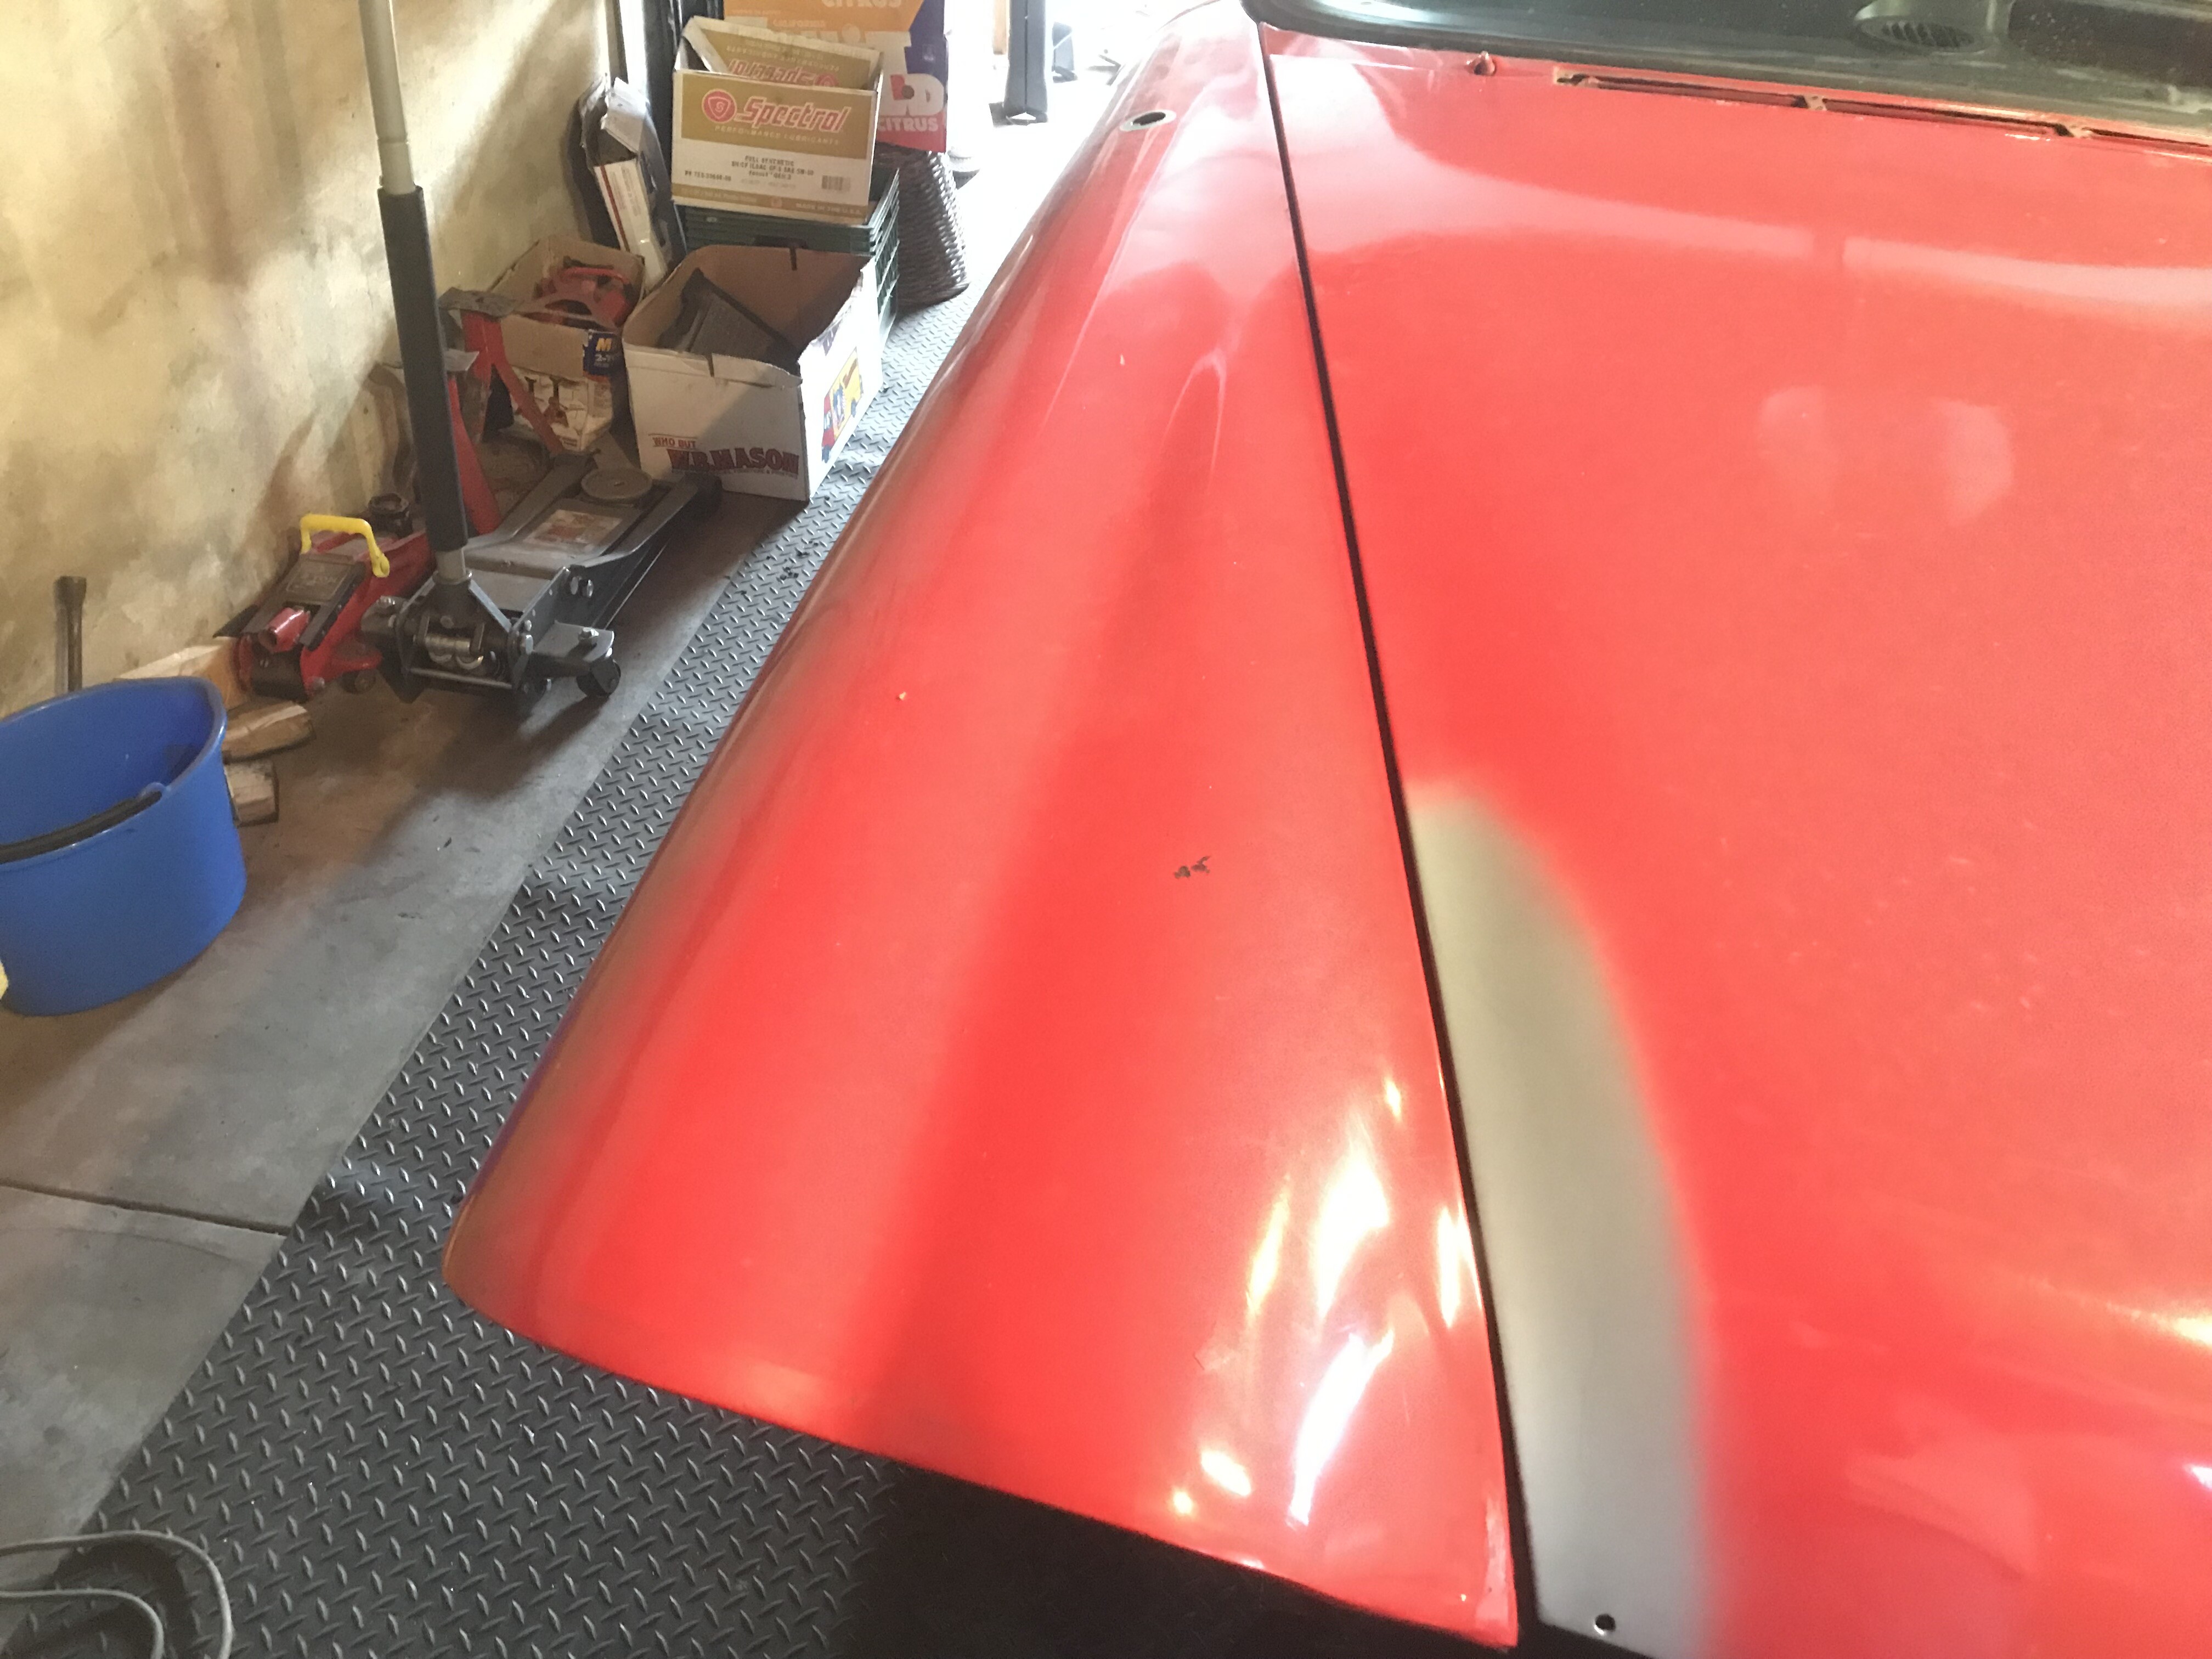
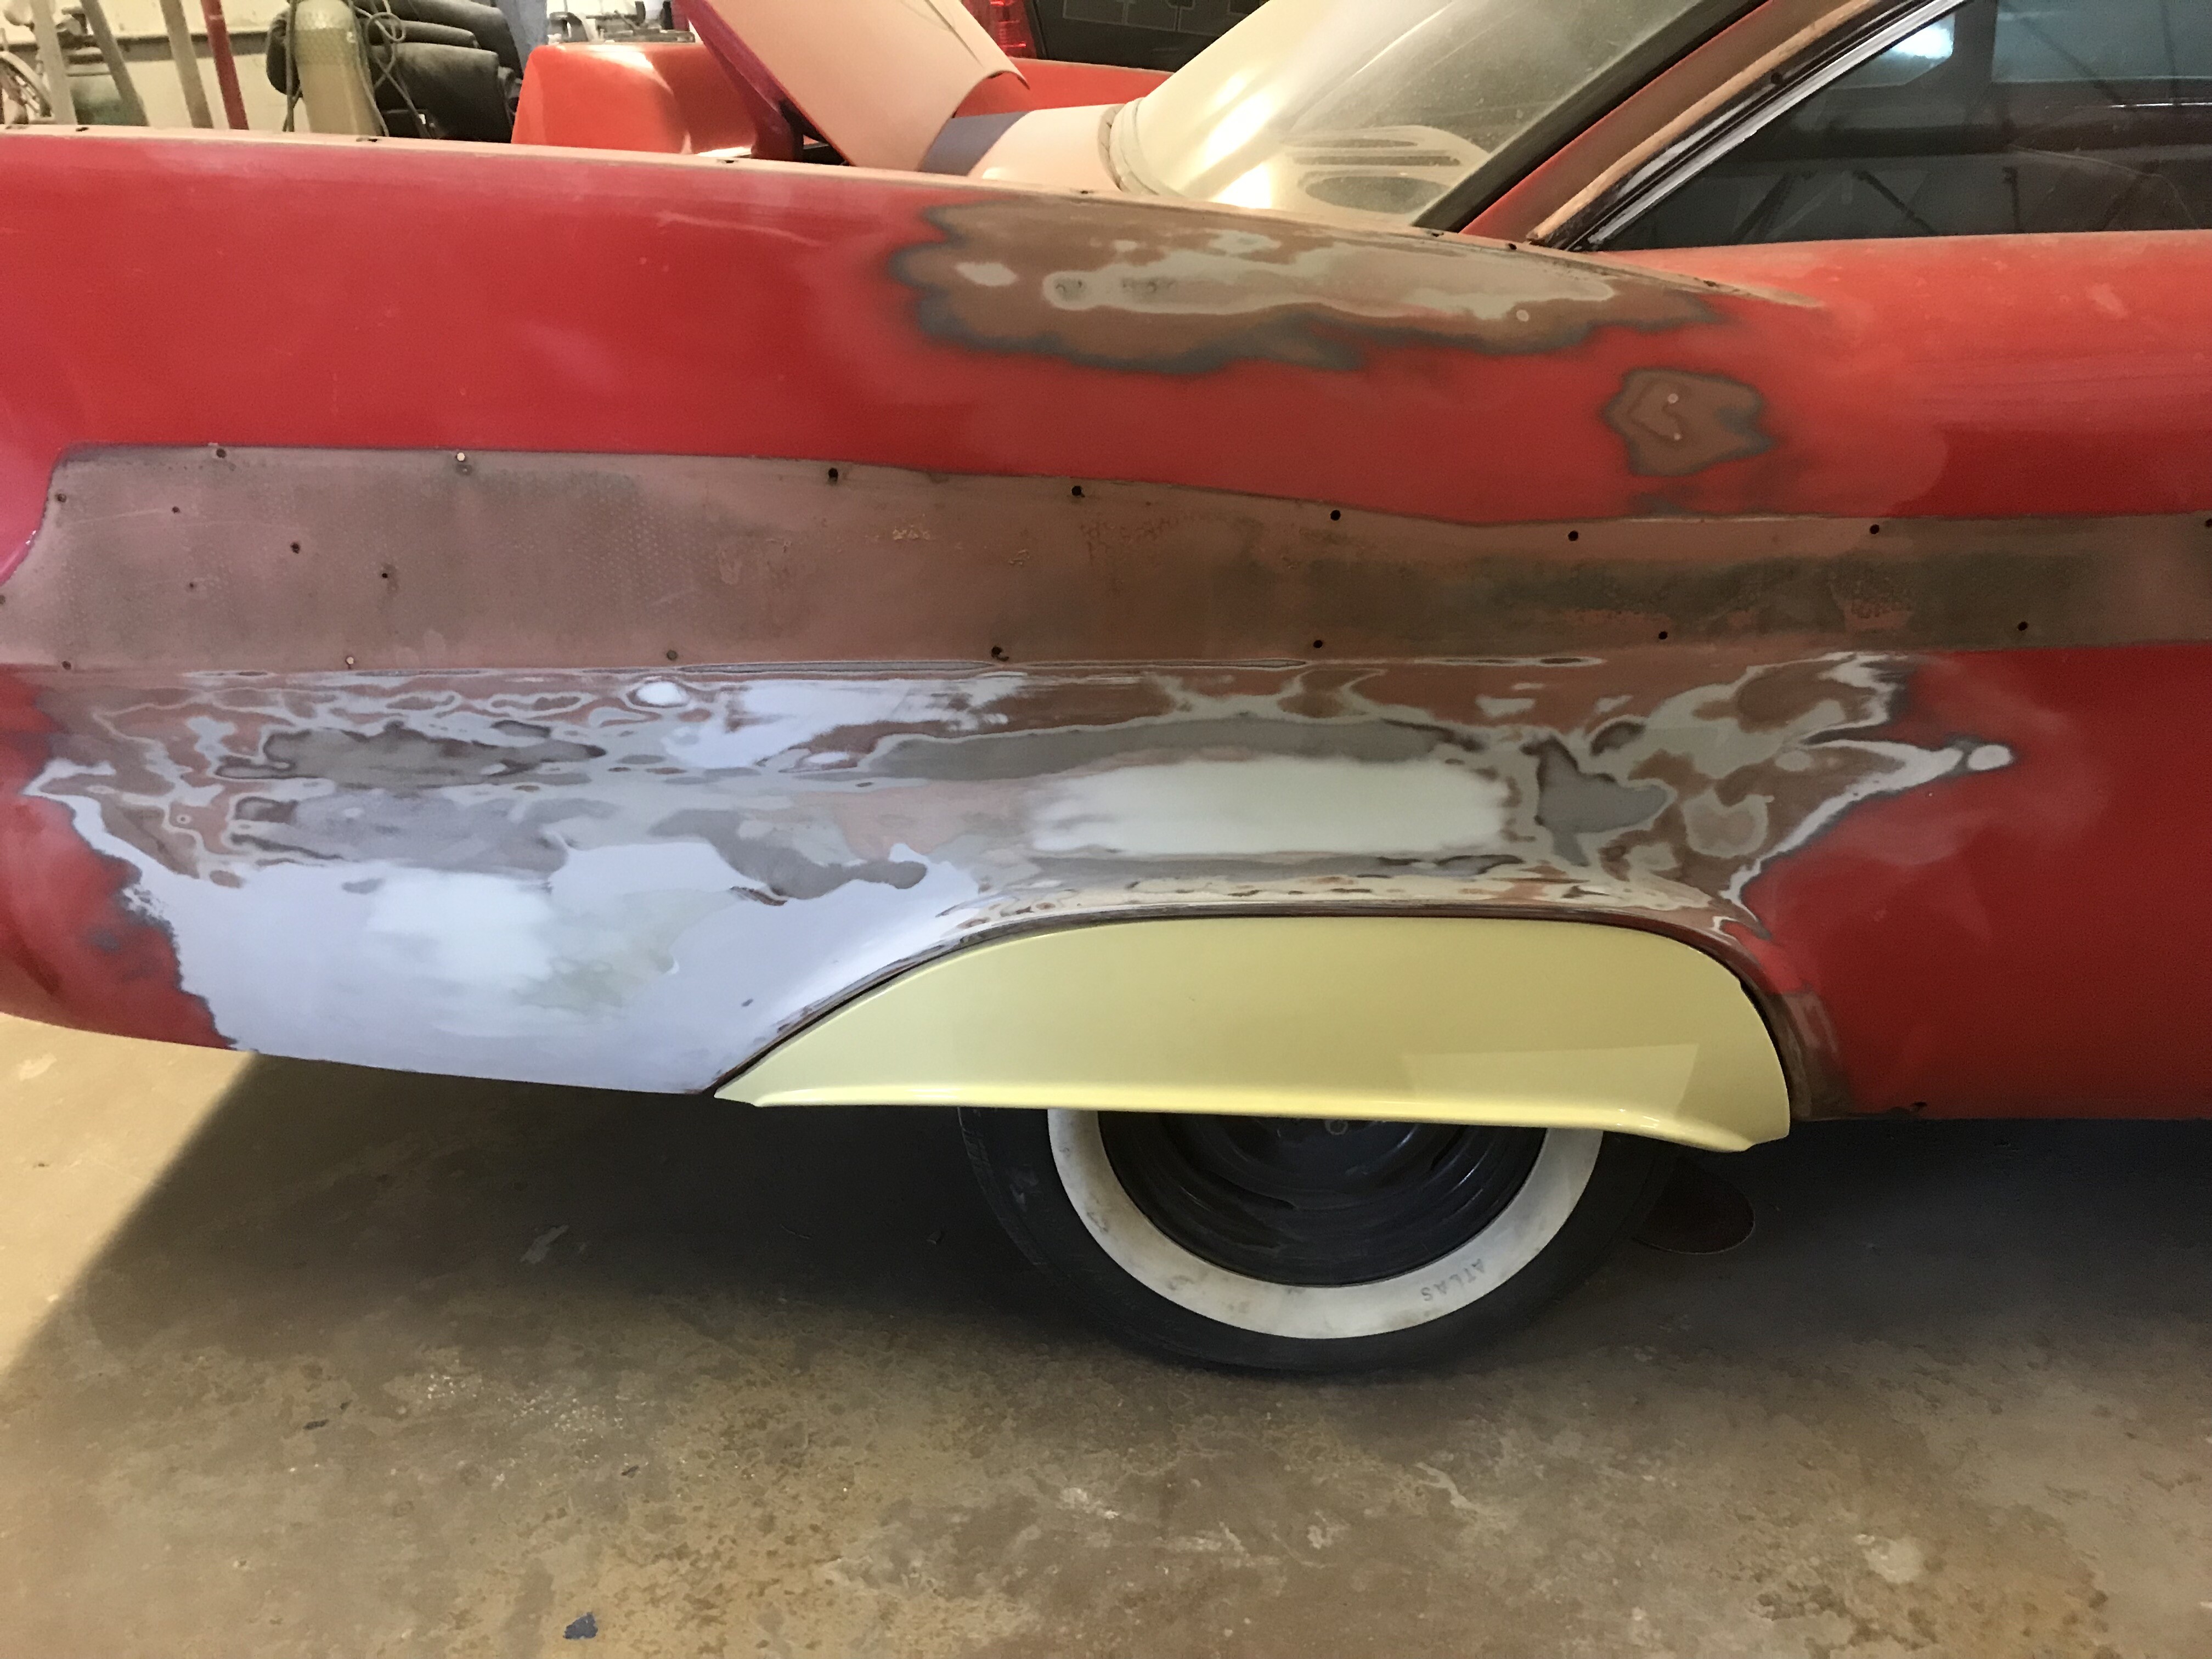
This wheel well lip will need attention, if Faulkner is to wear fender skirts!
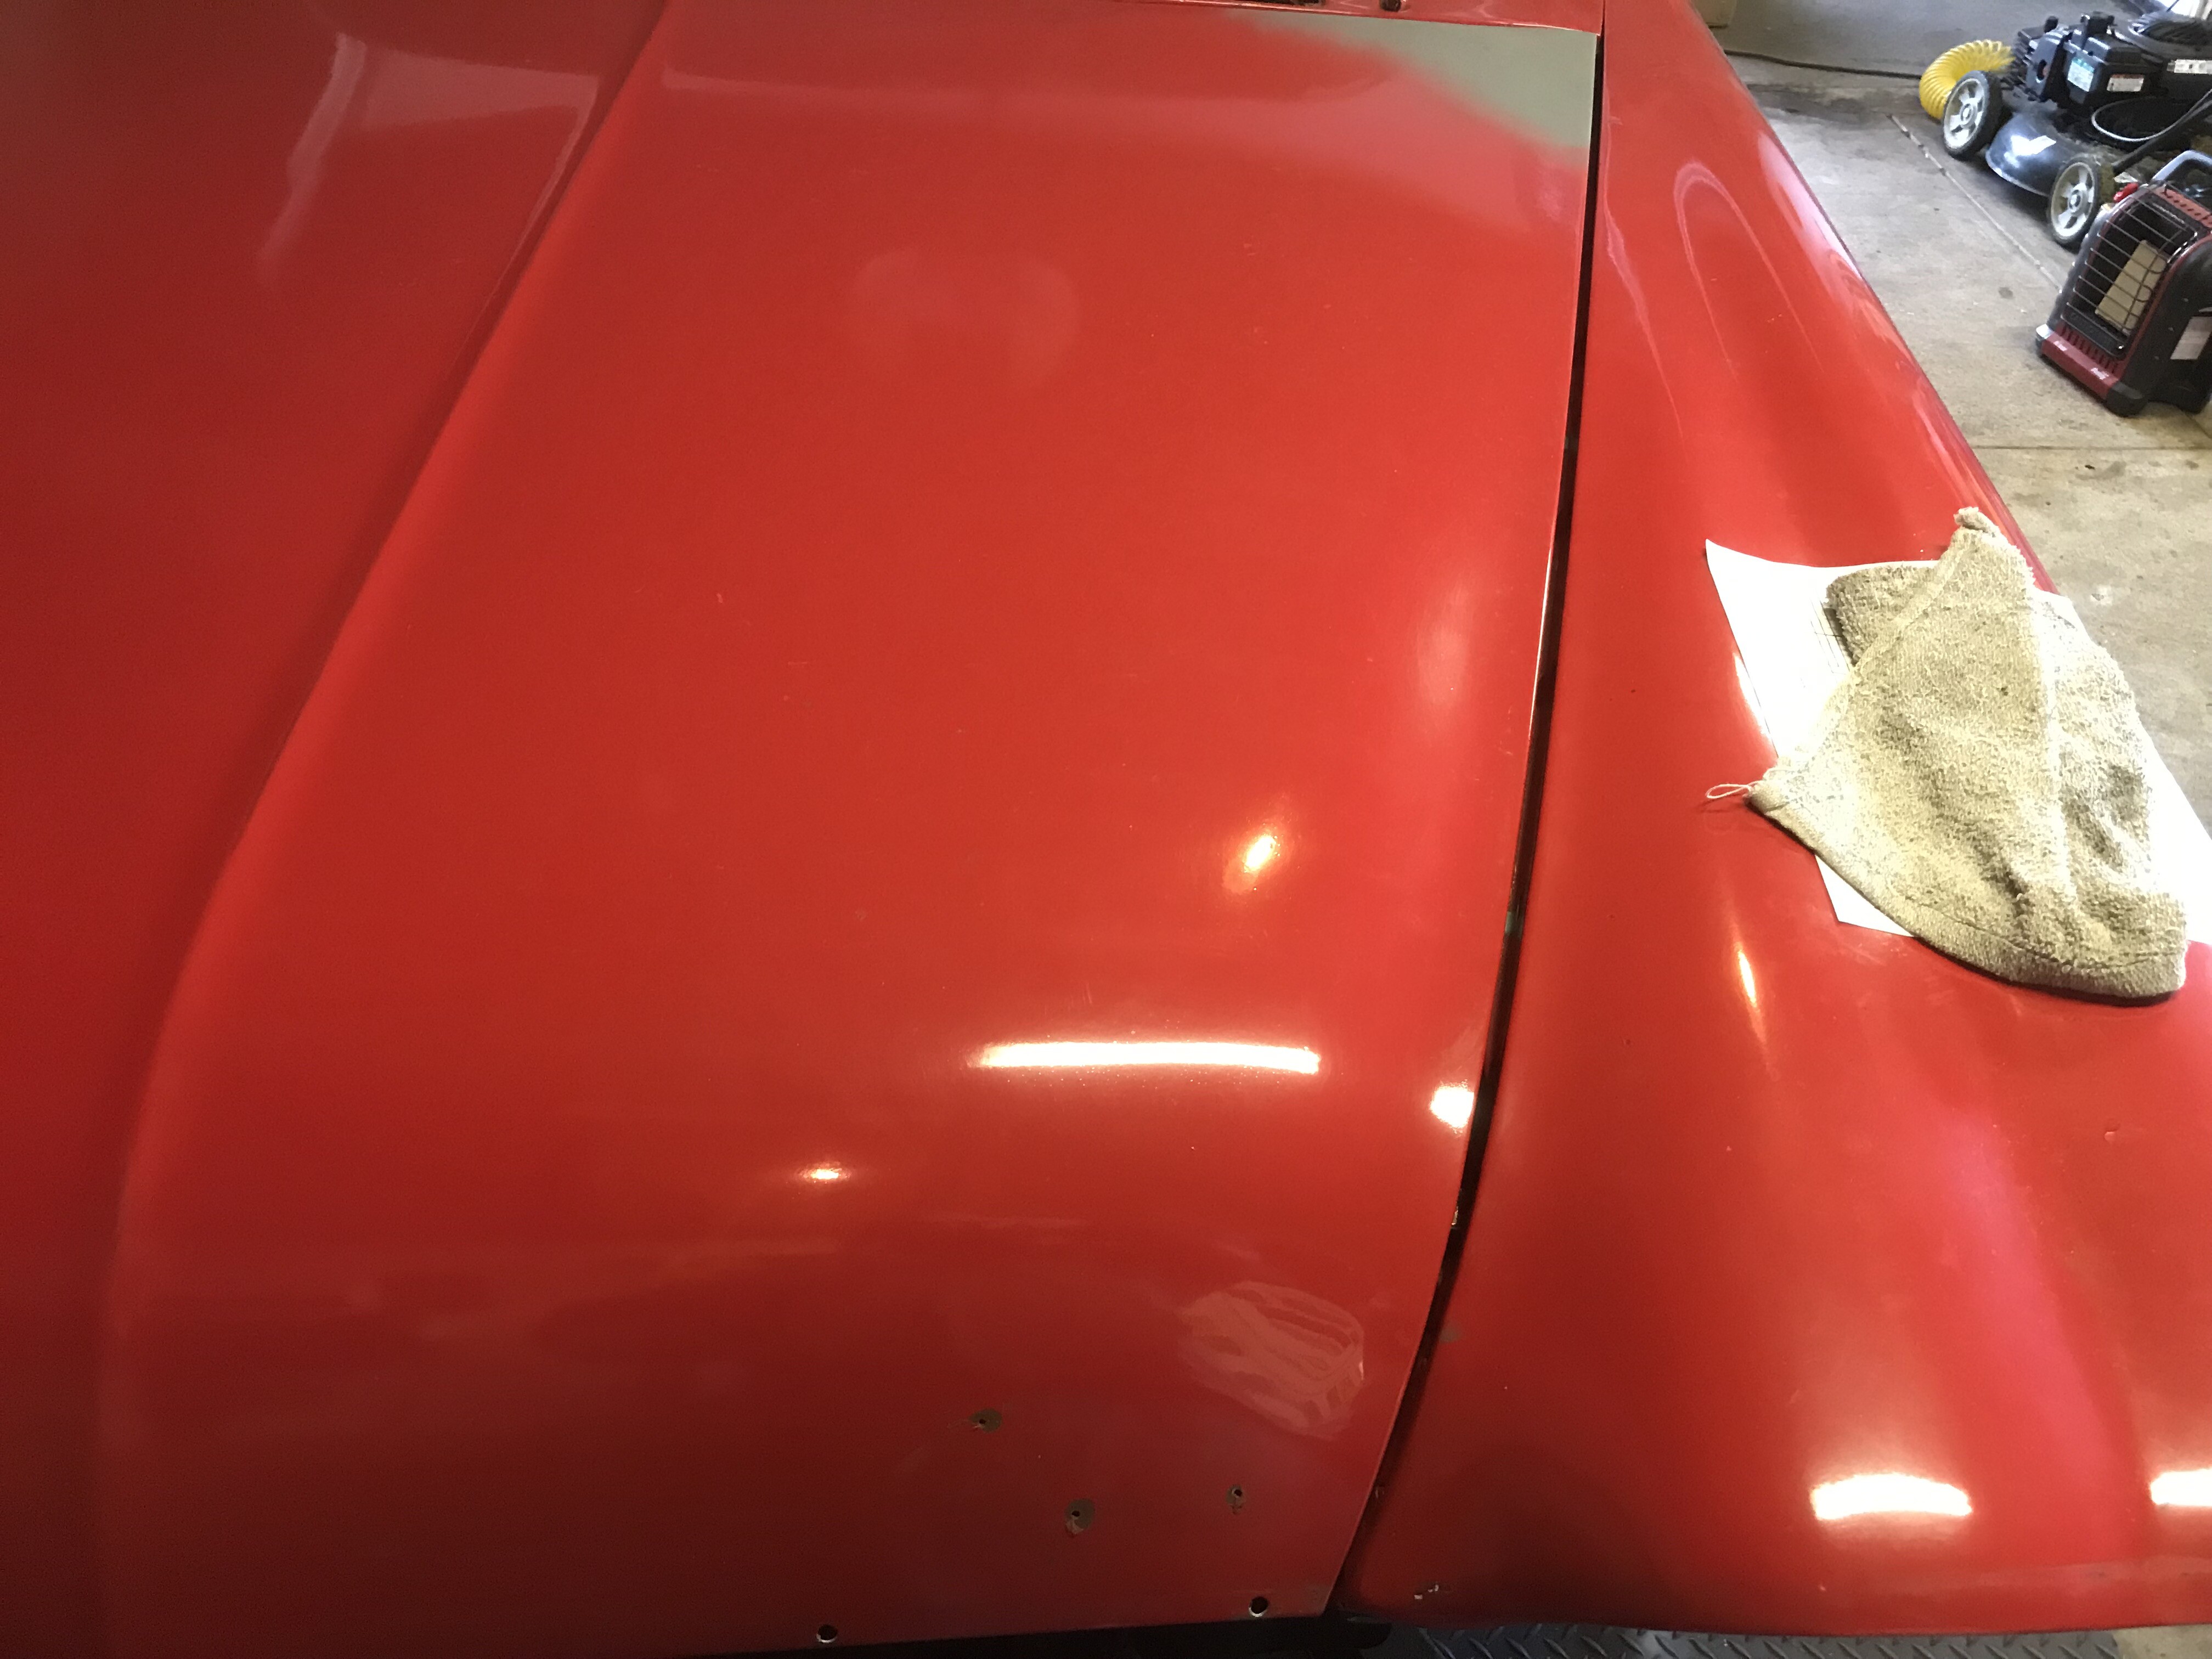
Despite my best efforts to shim the hood away from the cowl (and there has been some improvement)…
…adjustments are going to be needed here…
…I’m going to leave it to the body shop.
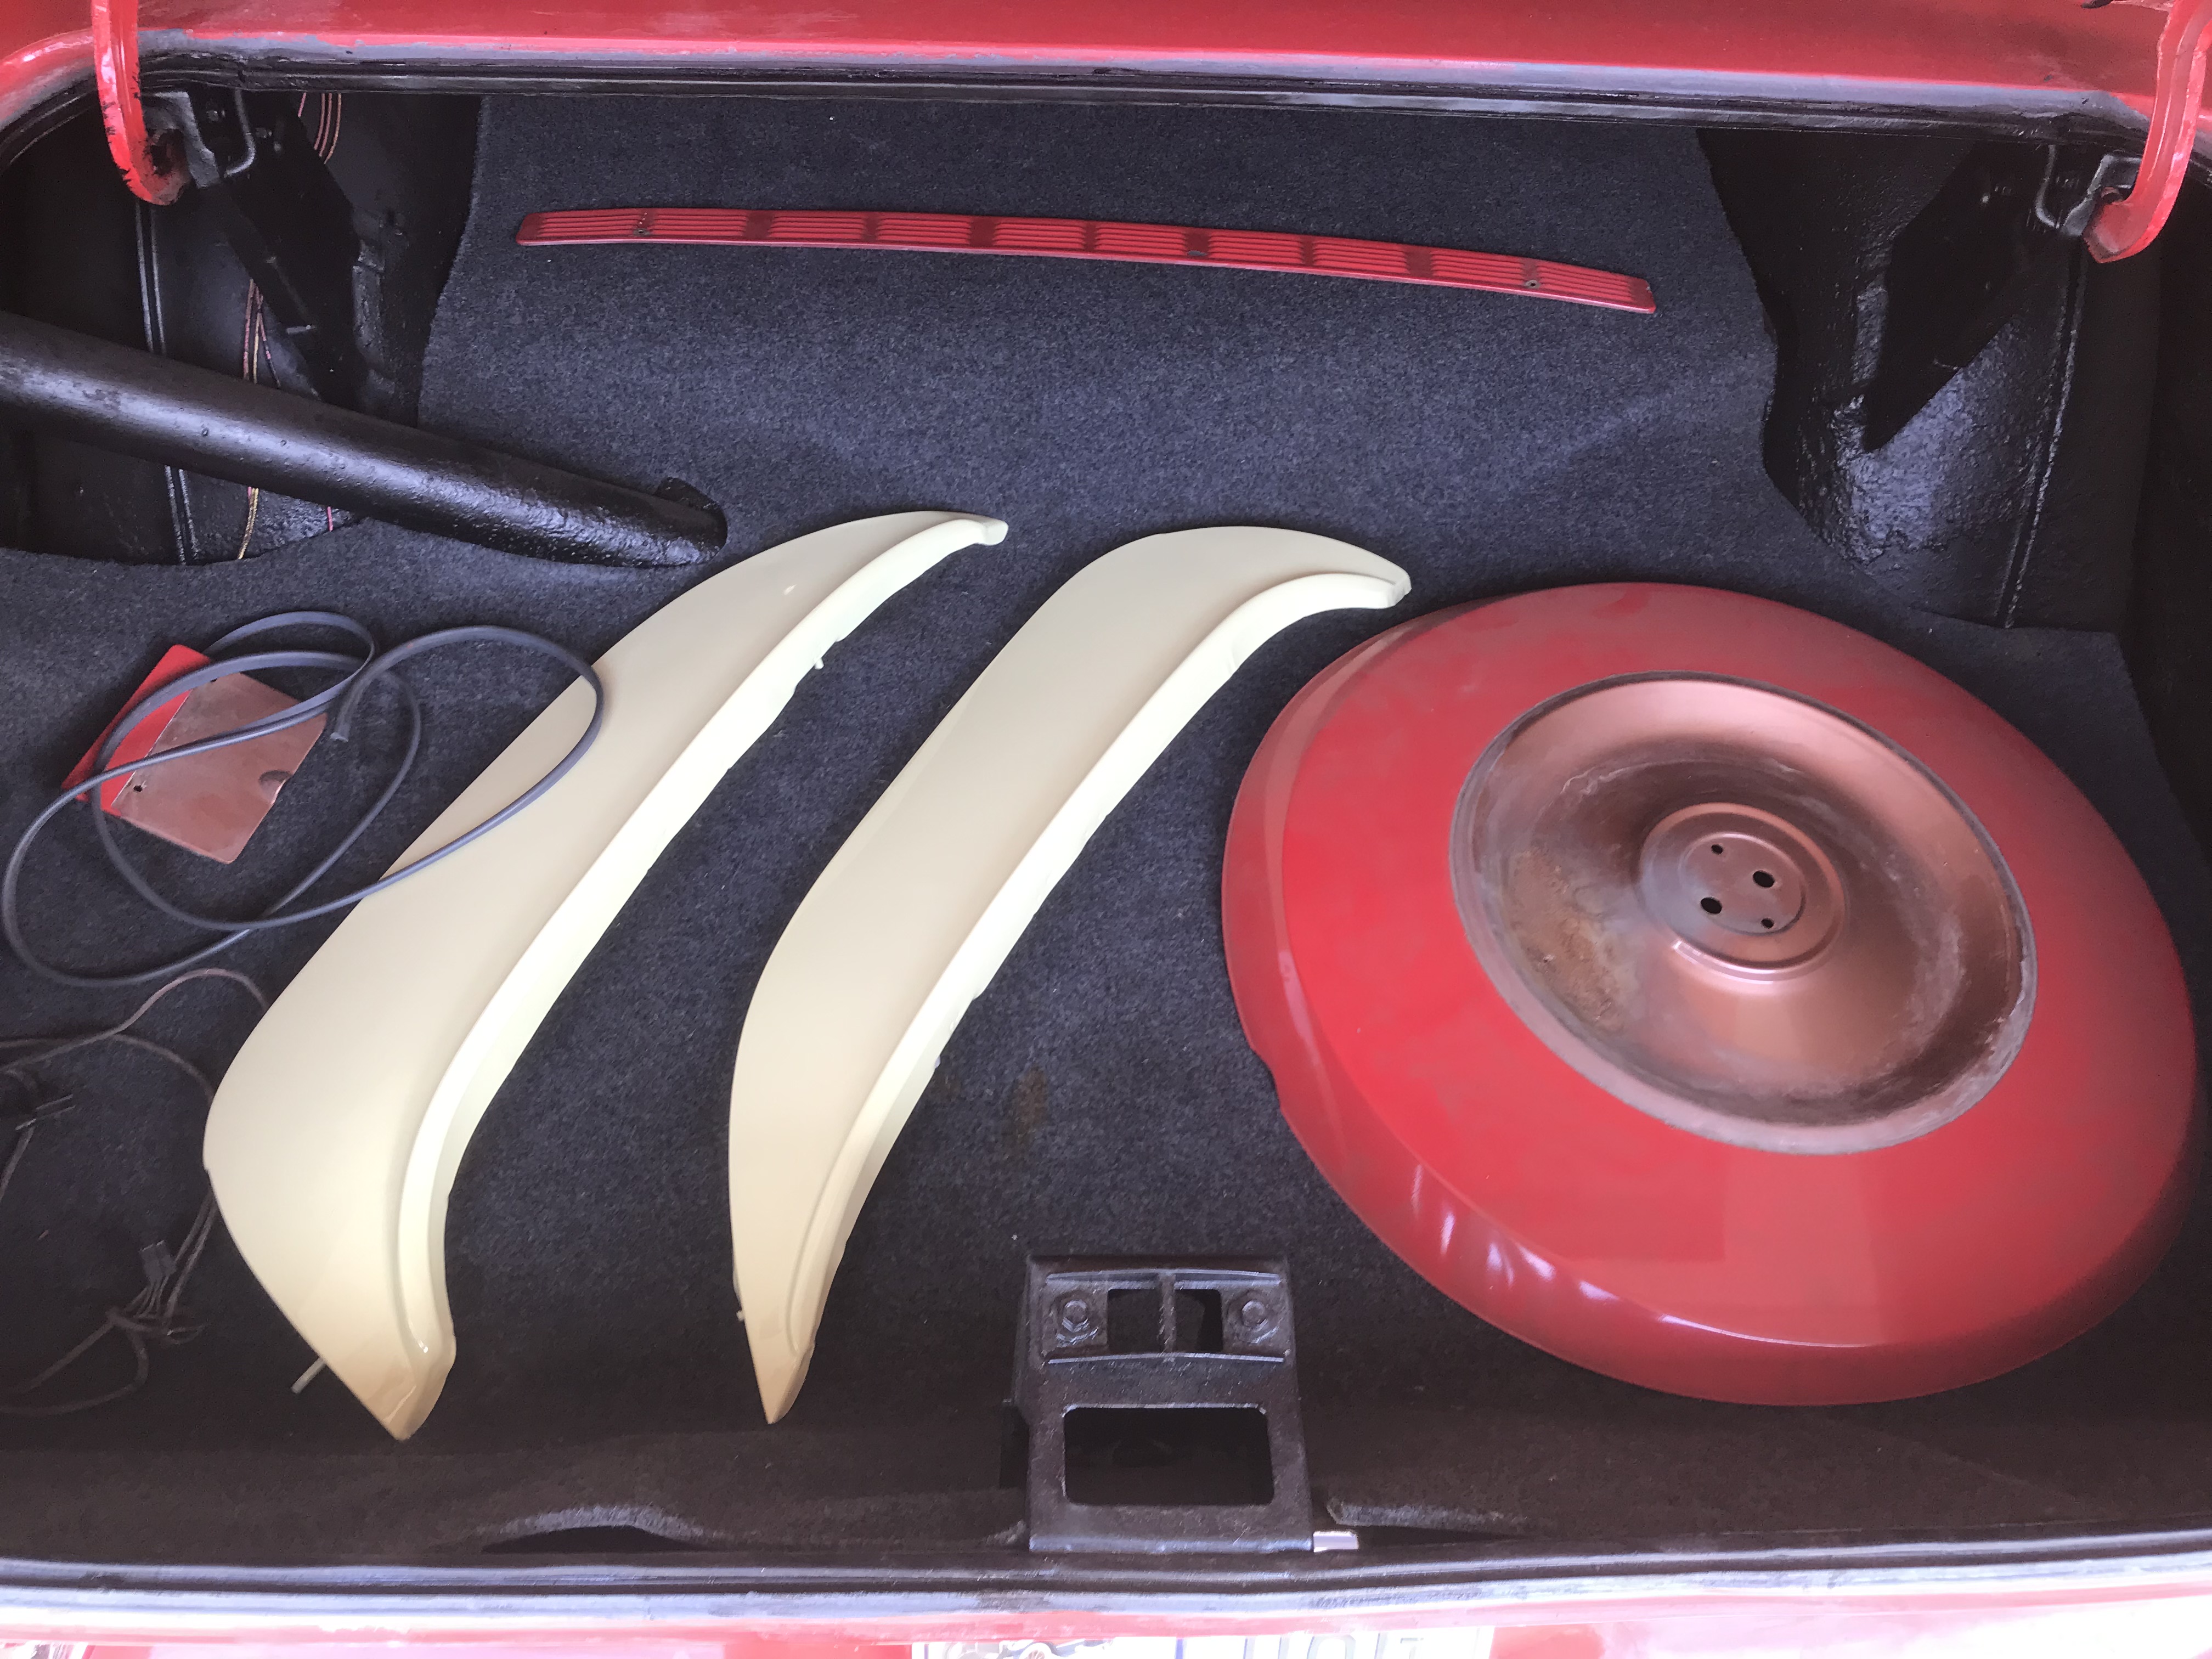
Parts to be painted off the car. I osphoed the underside of the "sport deck", and put Eastwood rustproofing on it
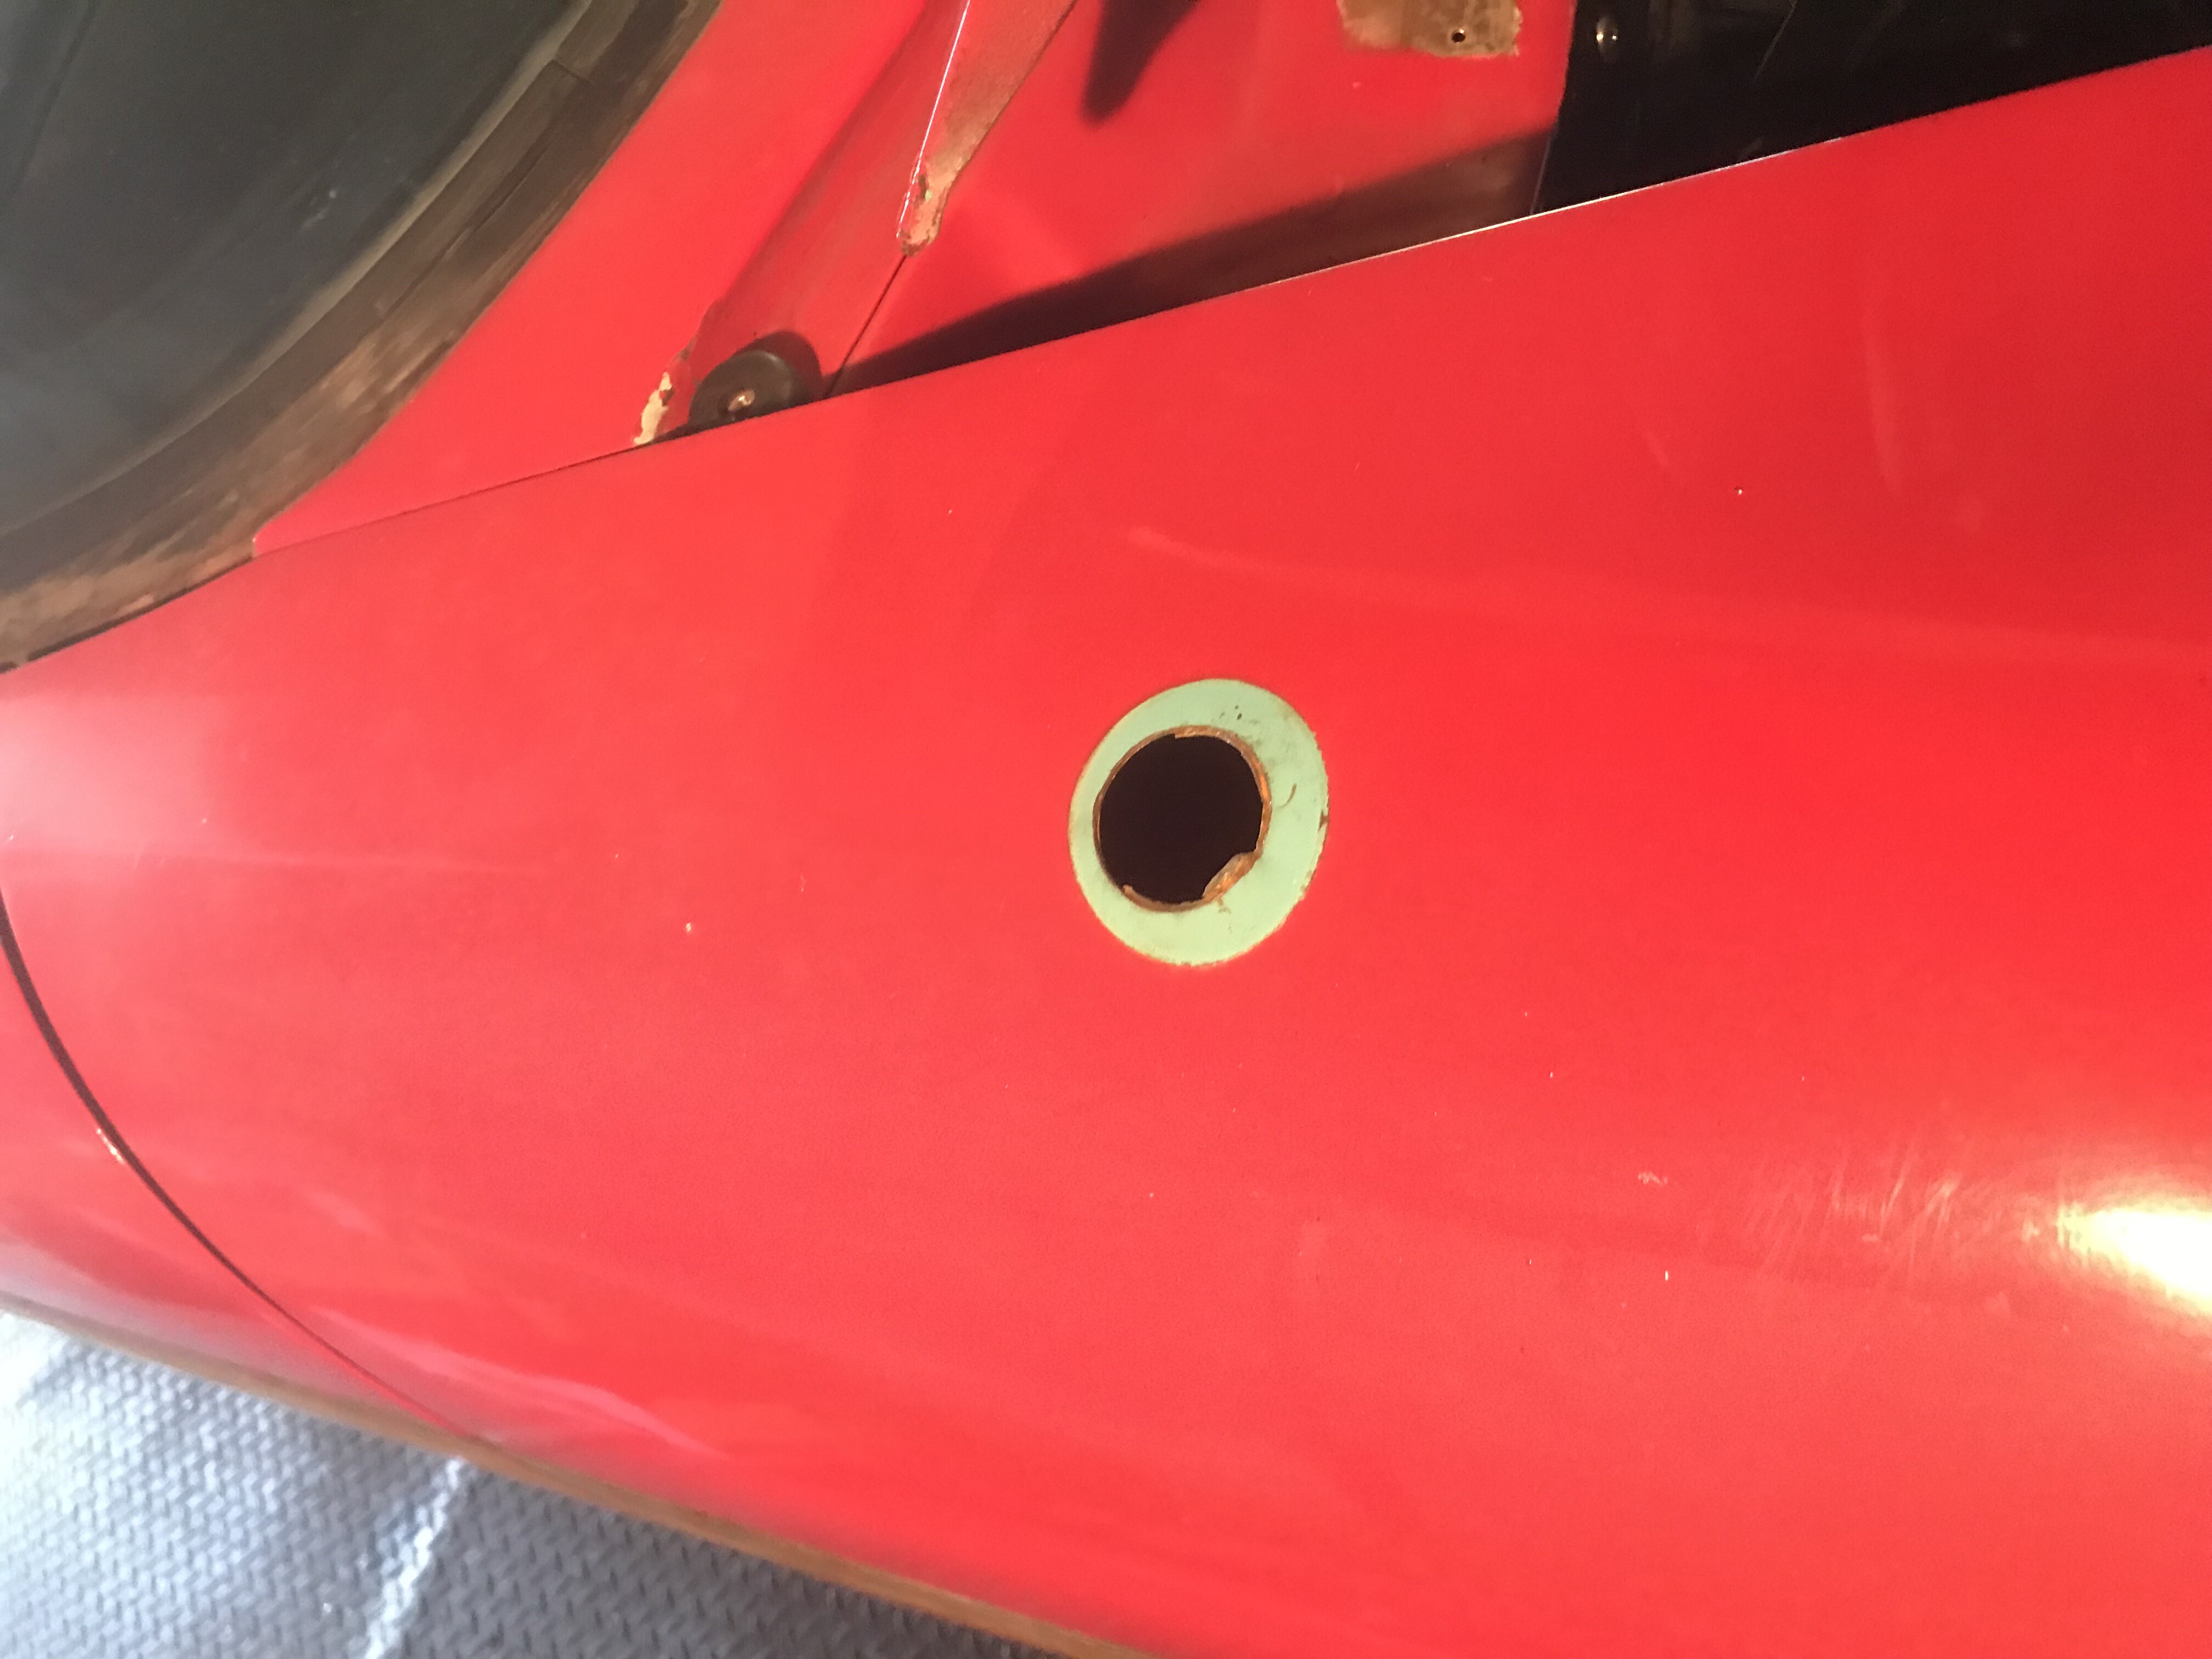
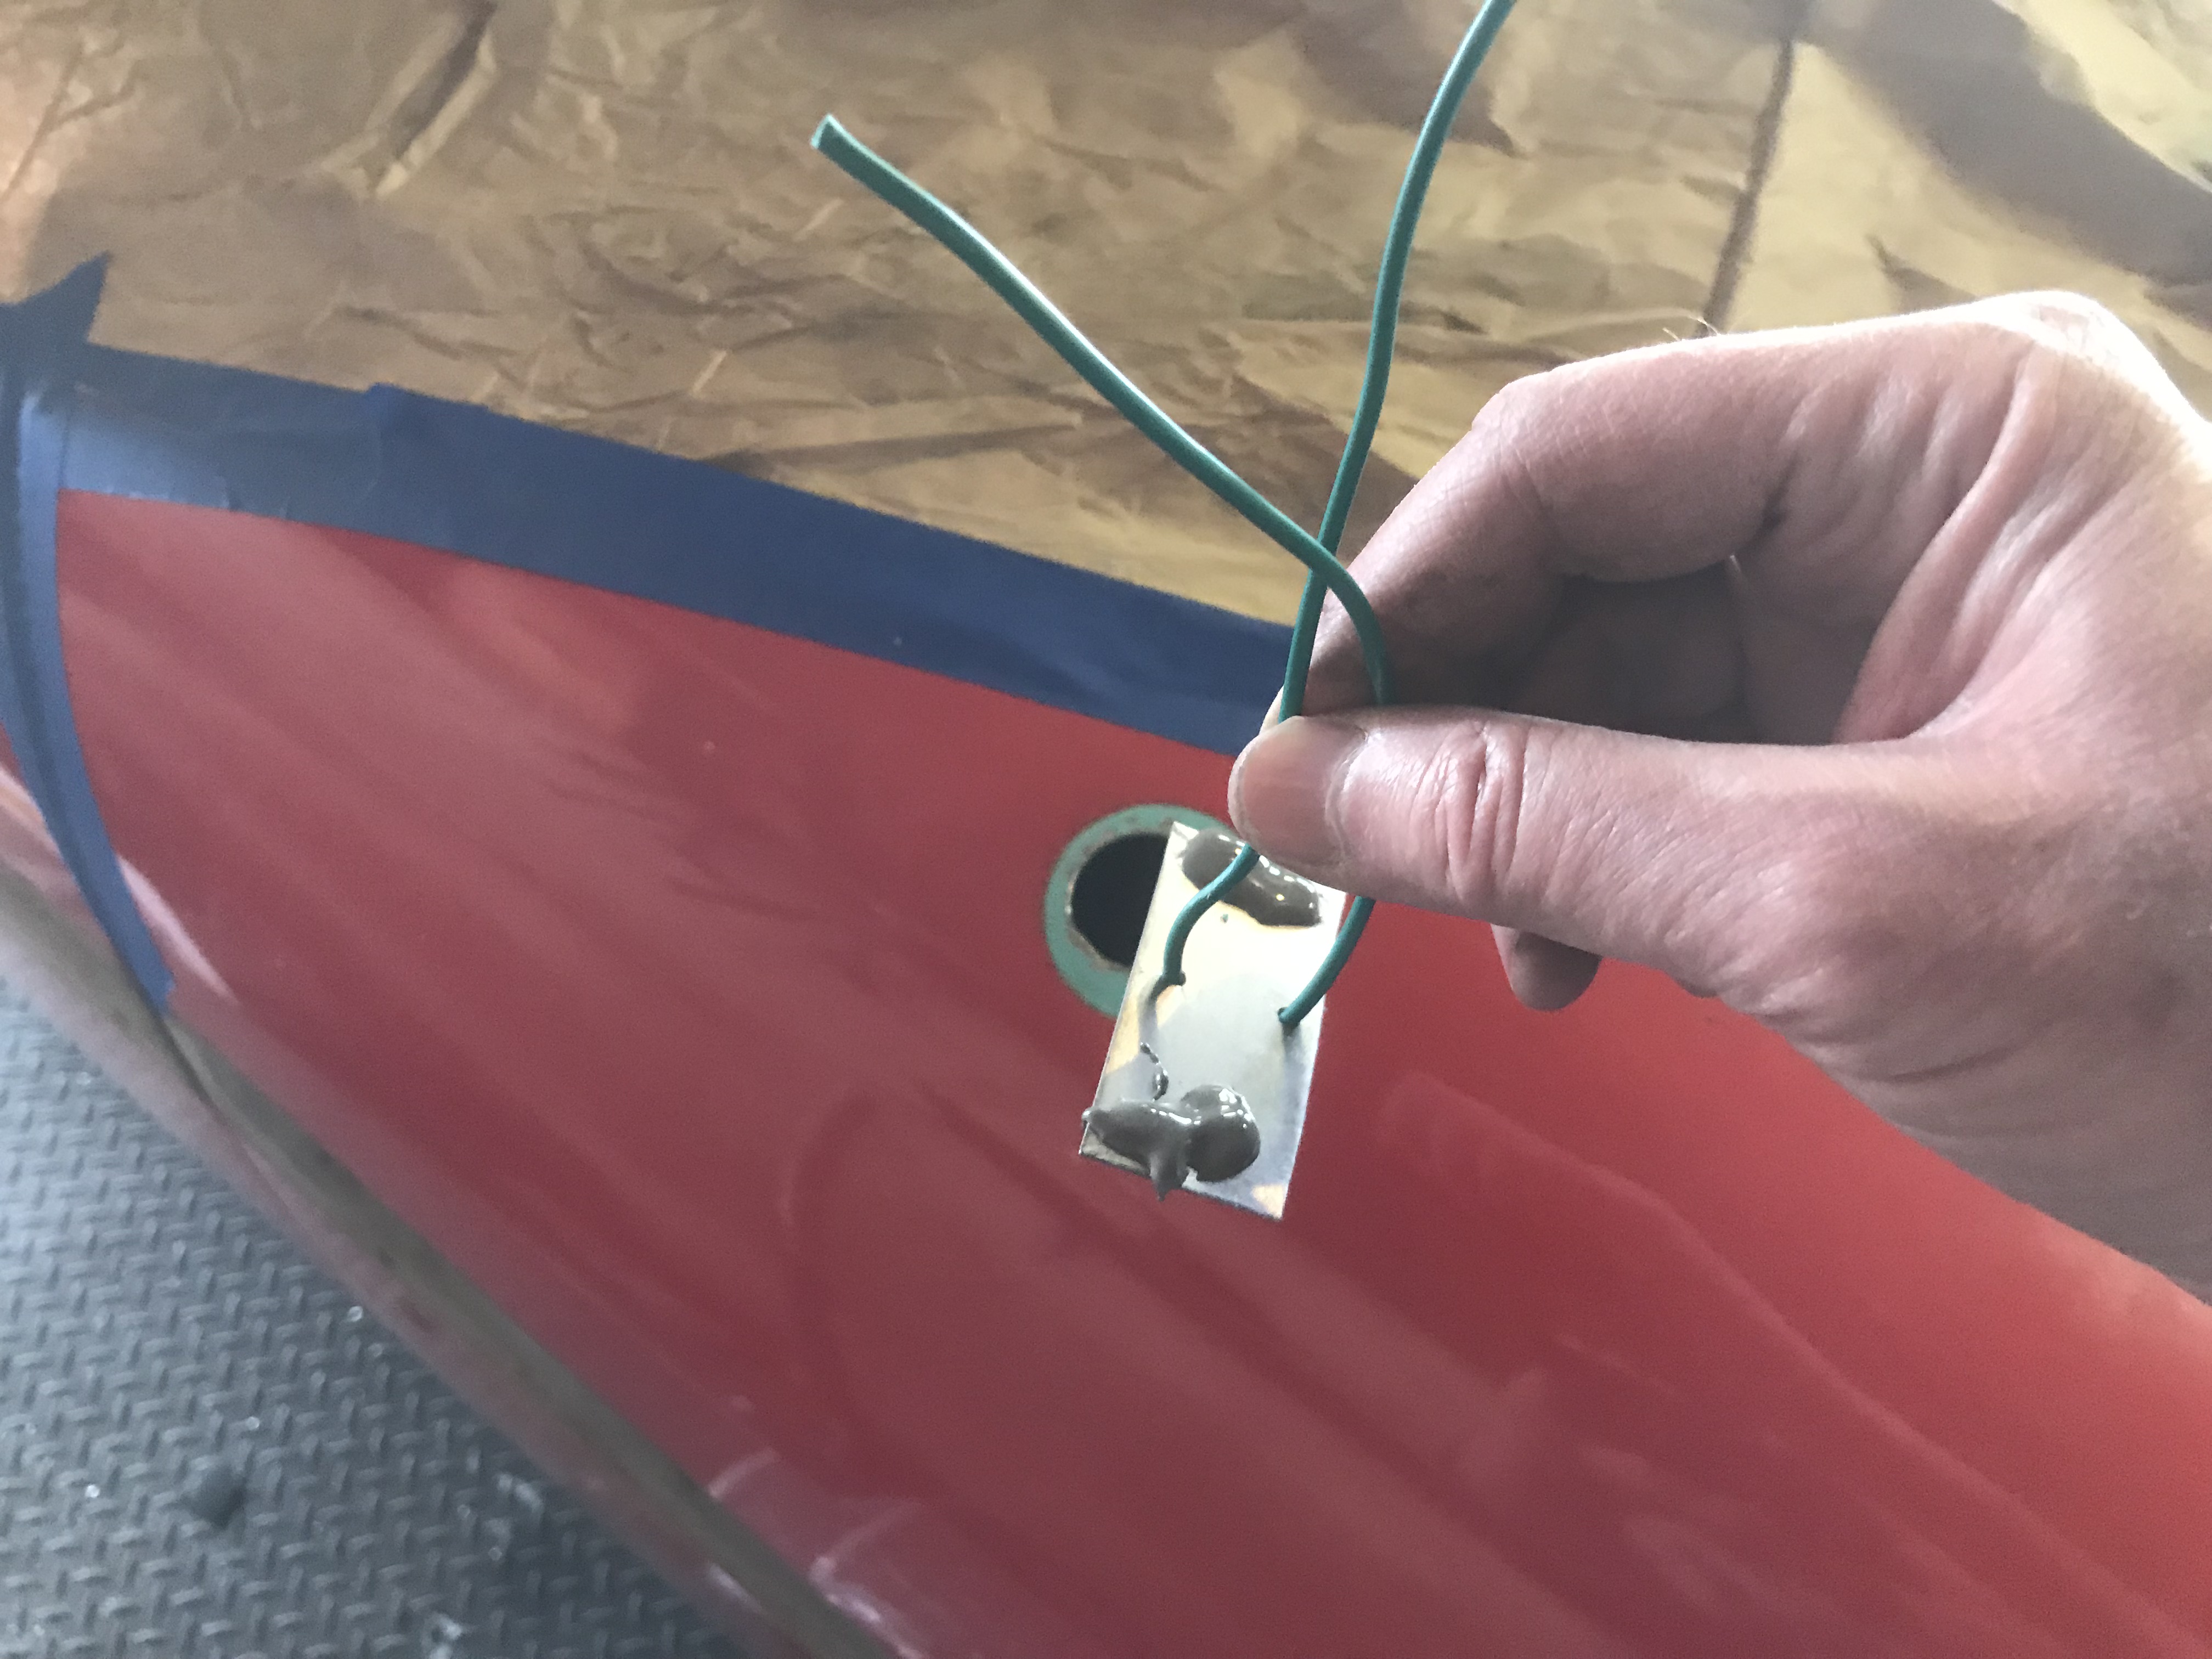
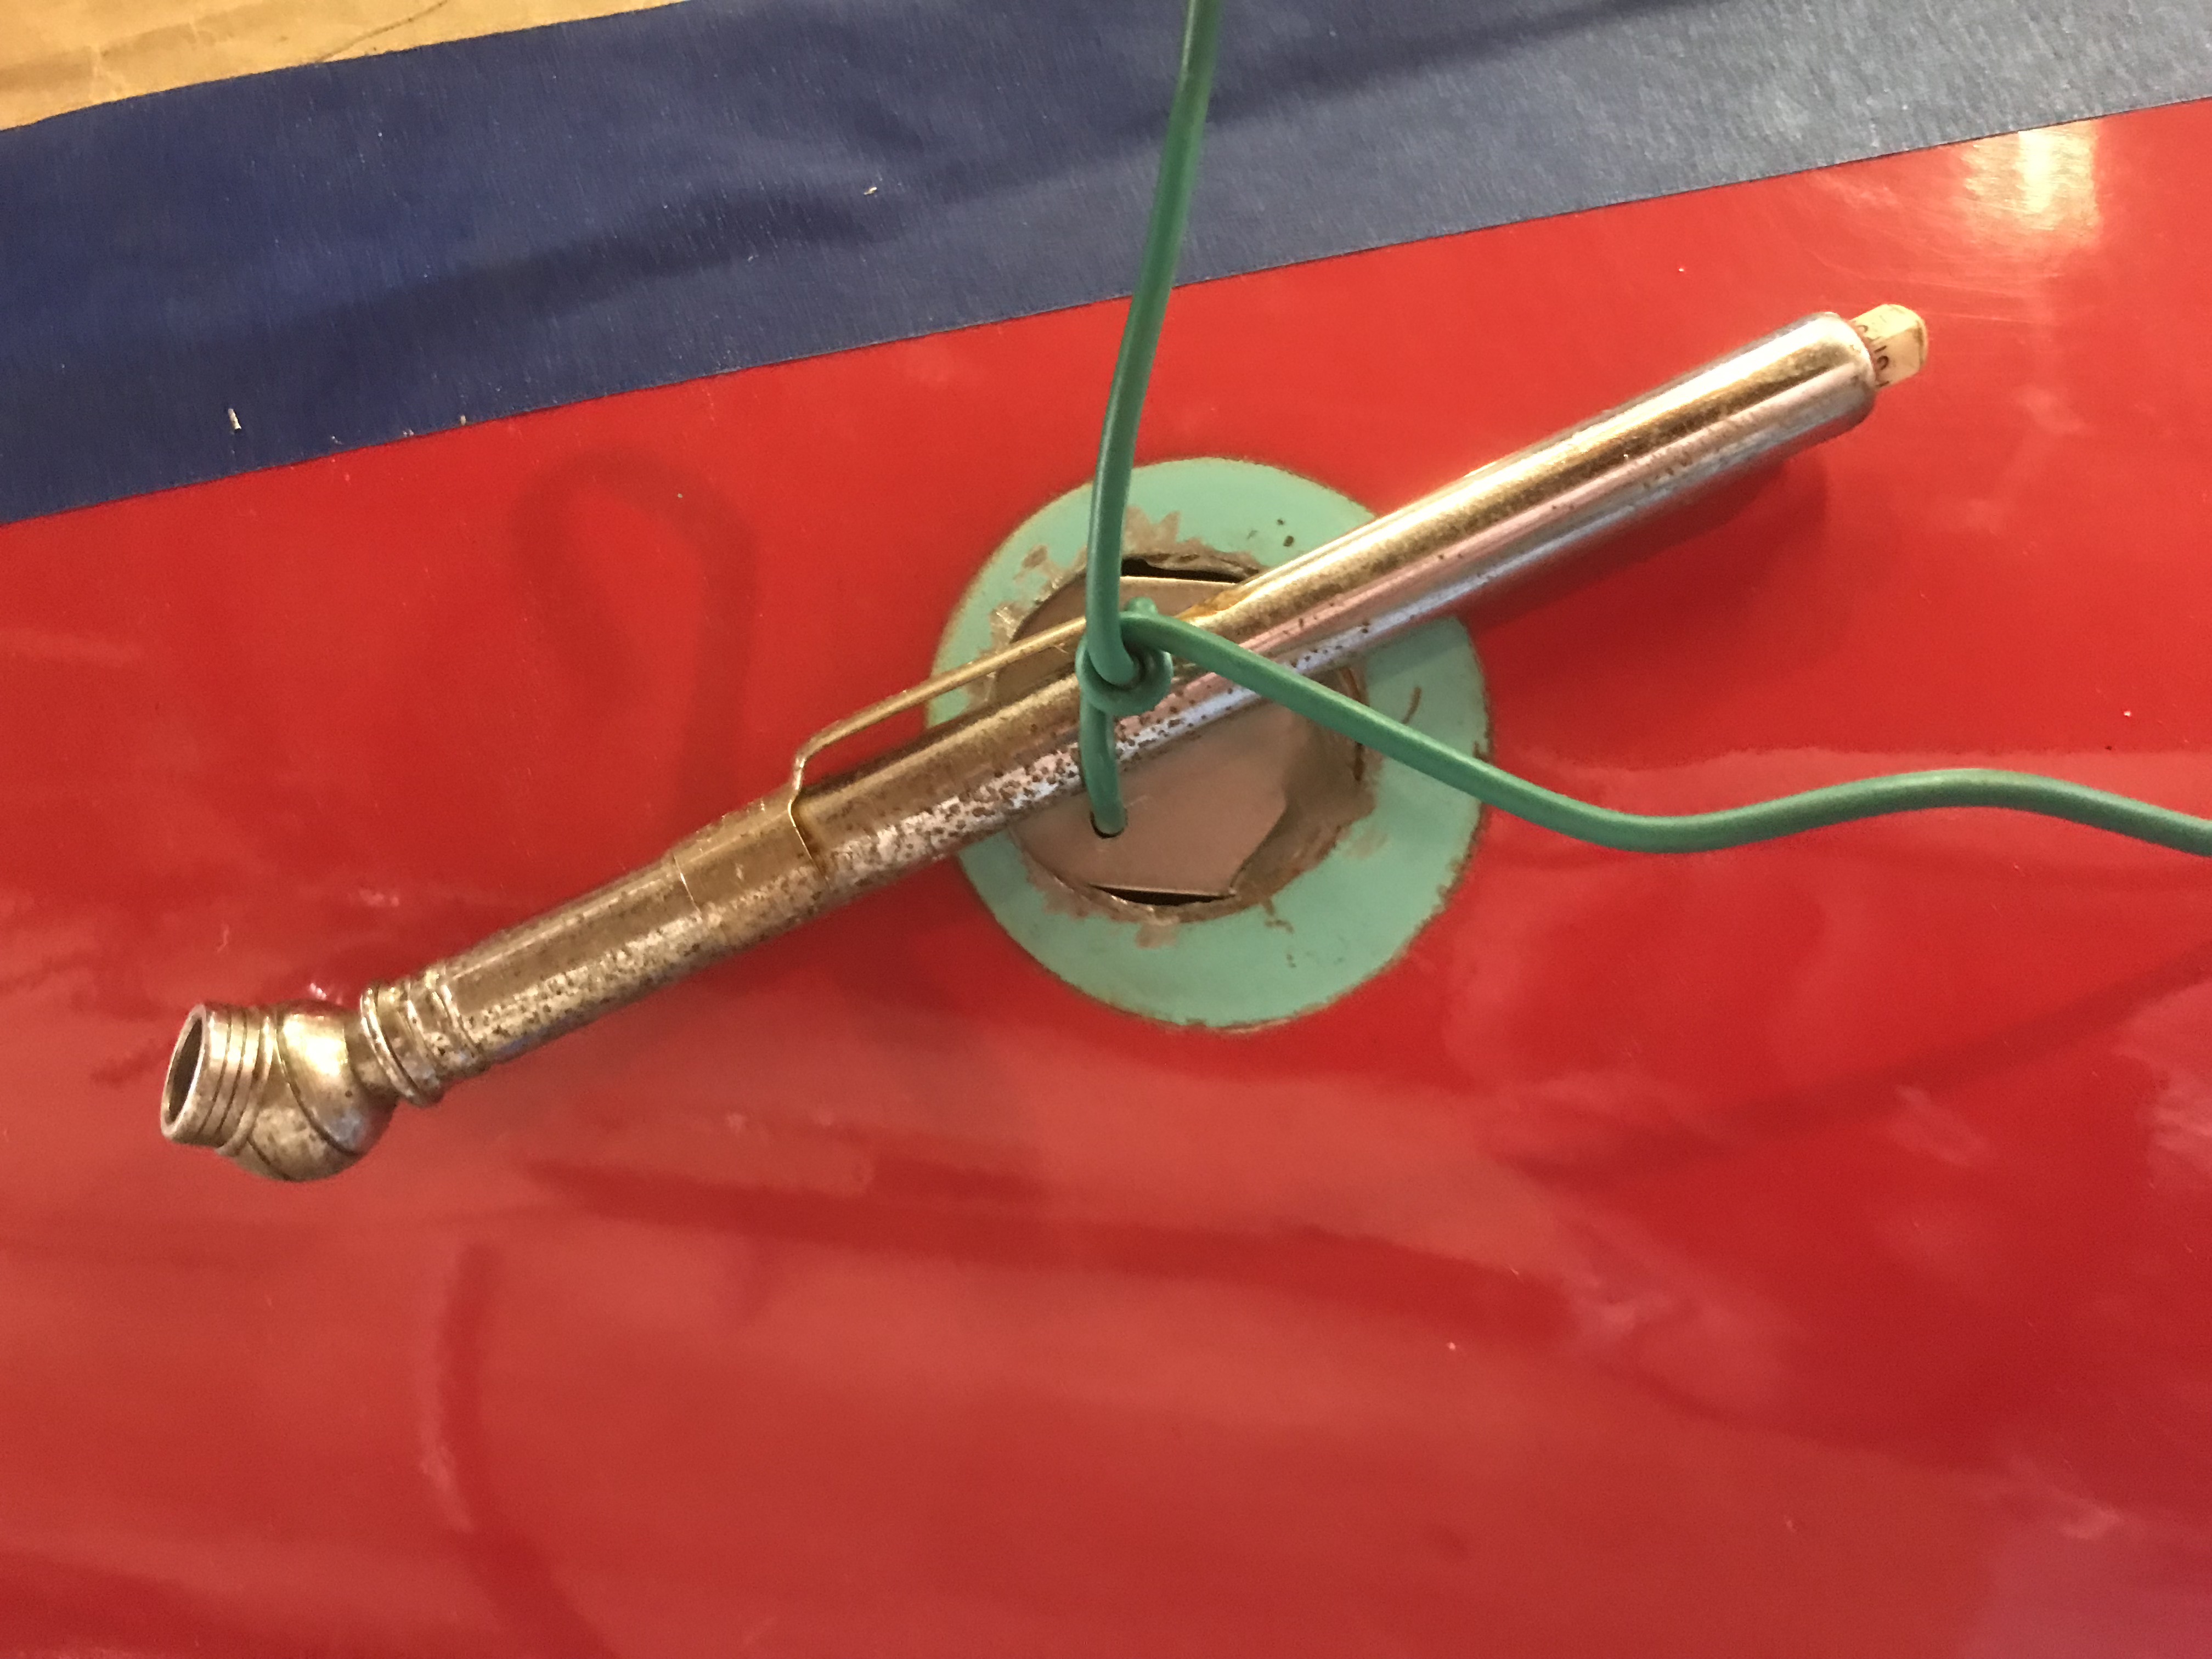
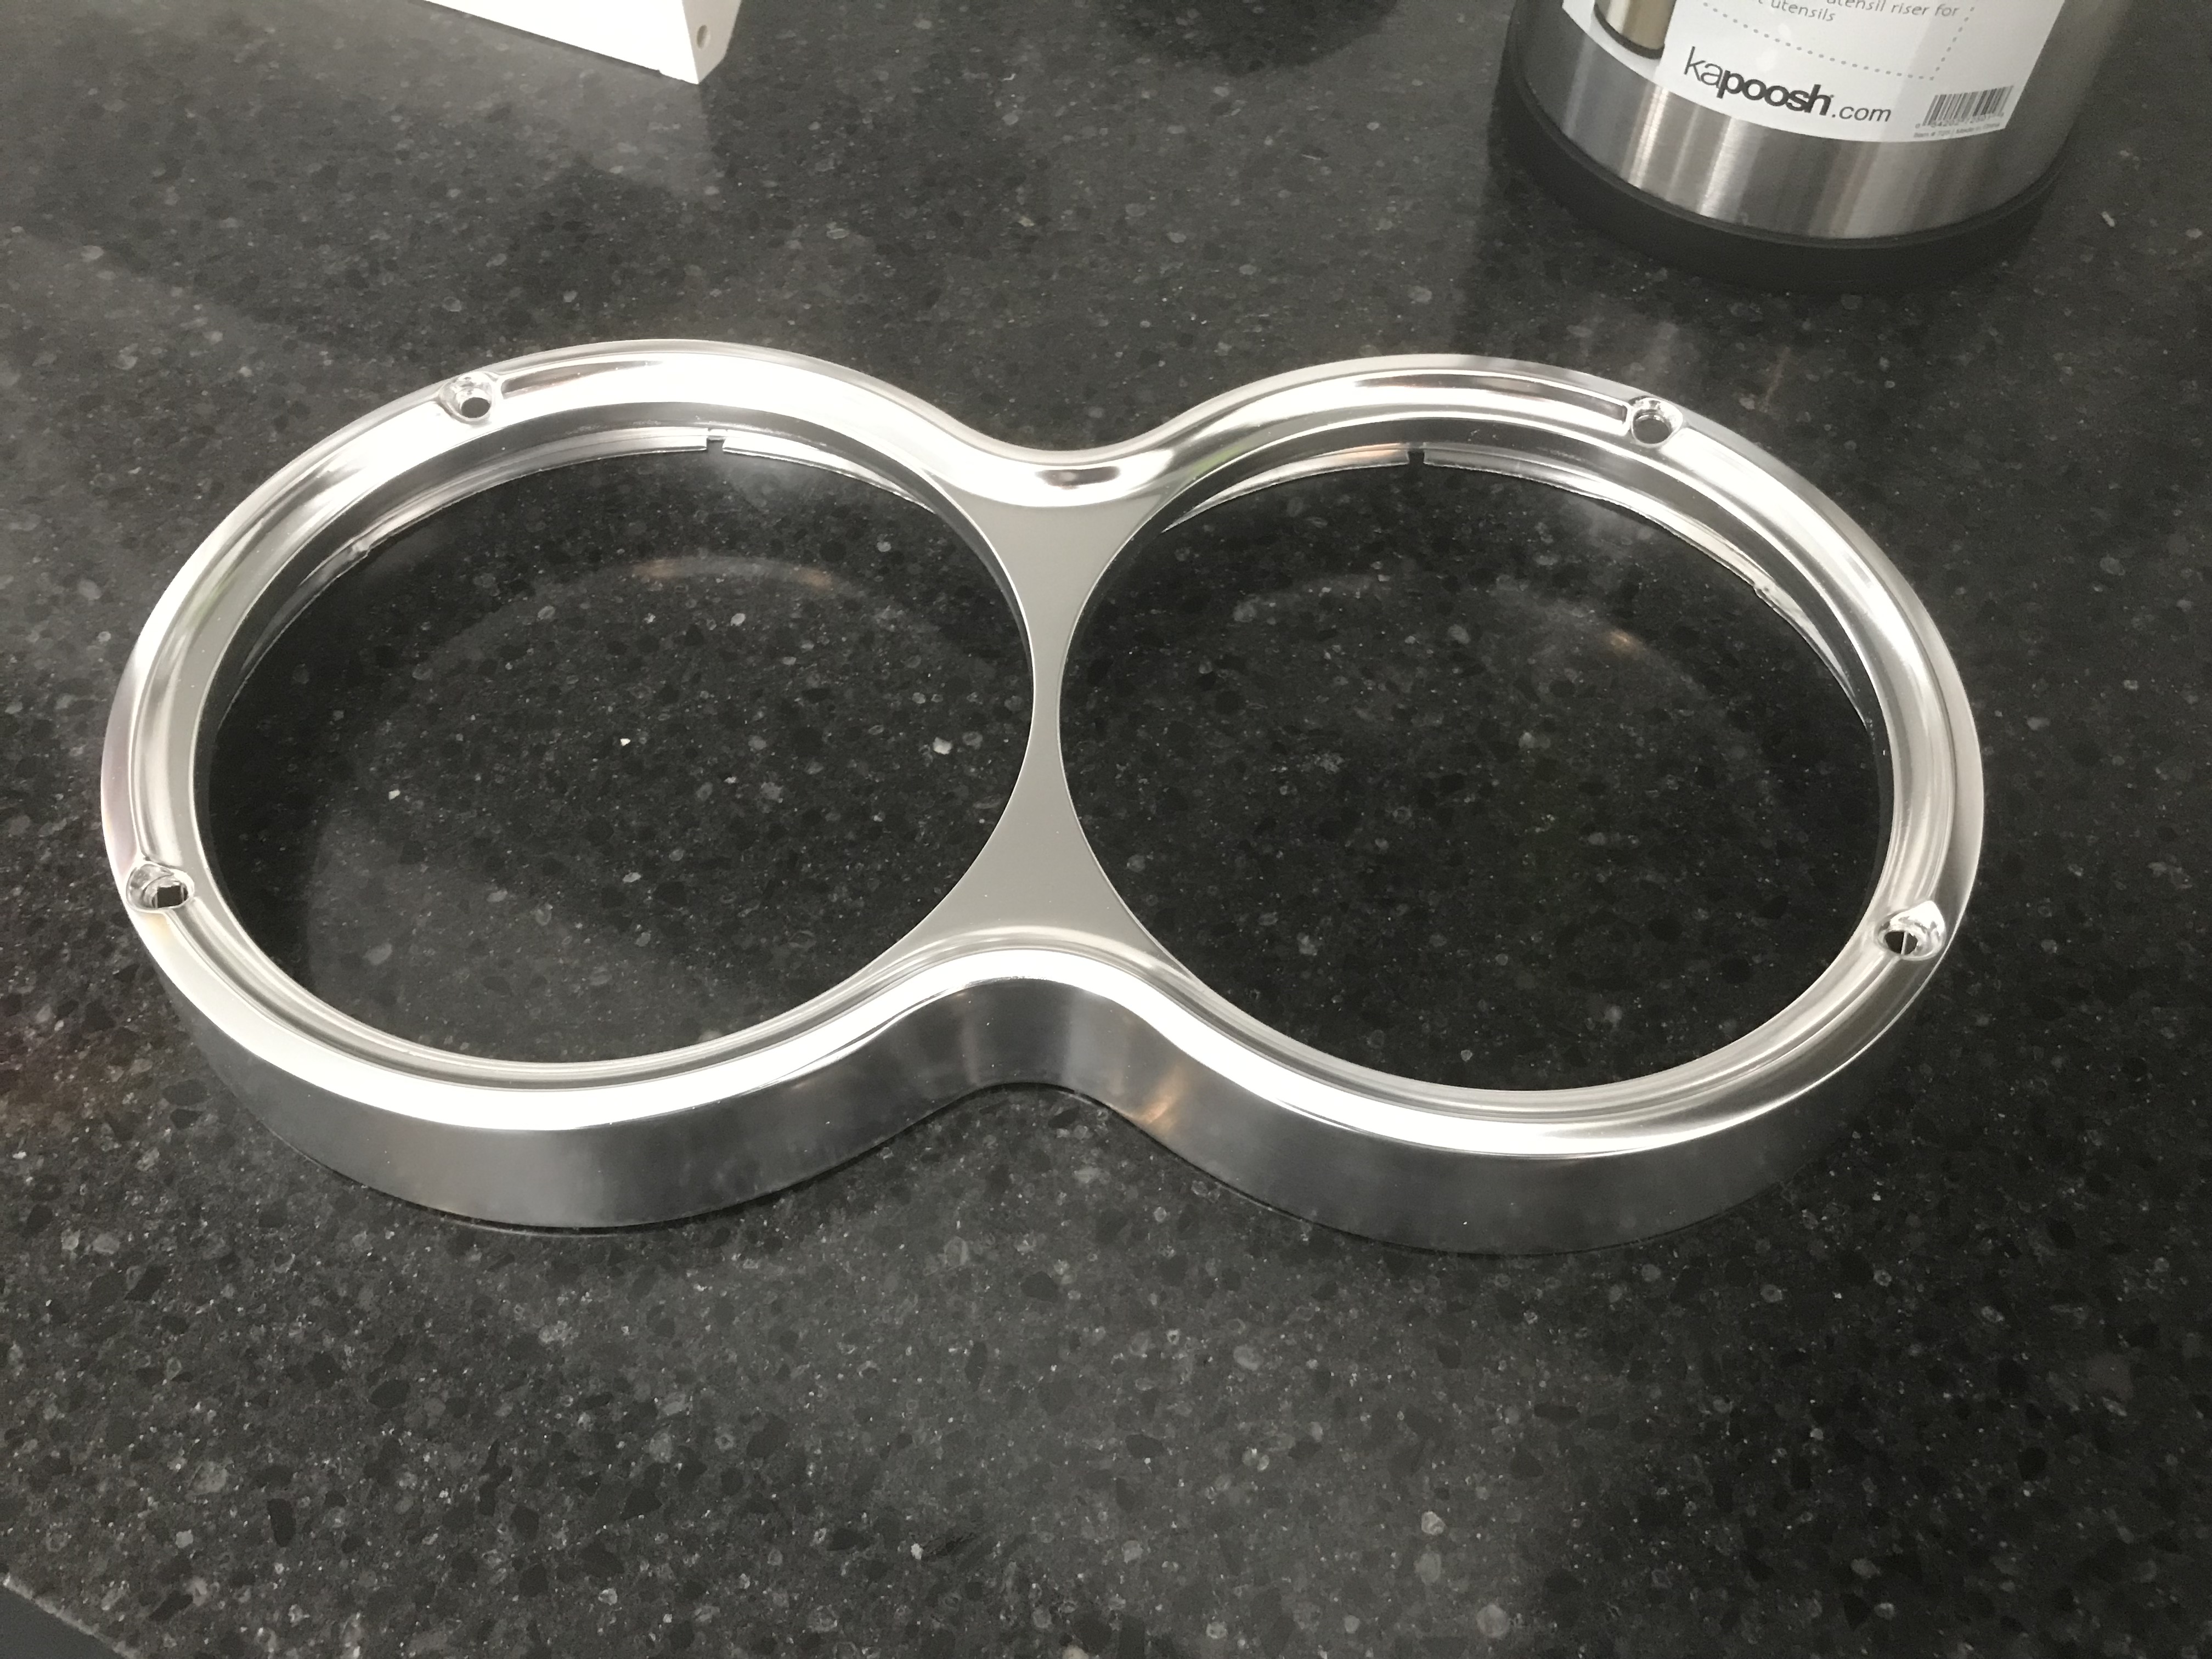
I decided to plug the antenna hole…
…using JB Weld on 18 gauge sheet metal.
If the body shop doesn’t like it as a base…
…they can punch it out and do it their way.
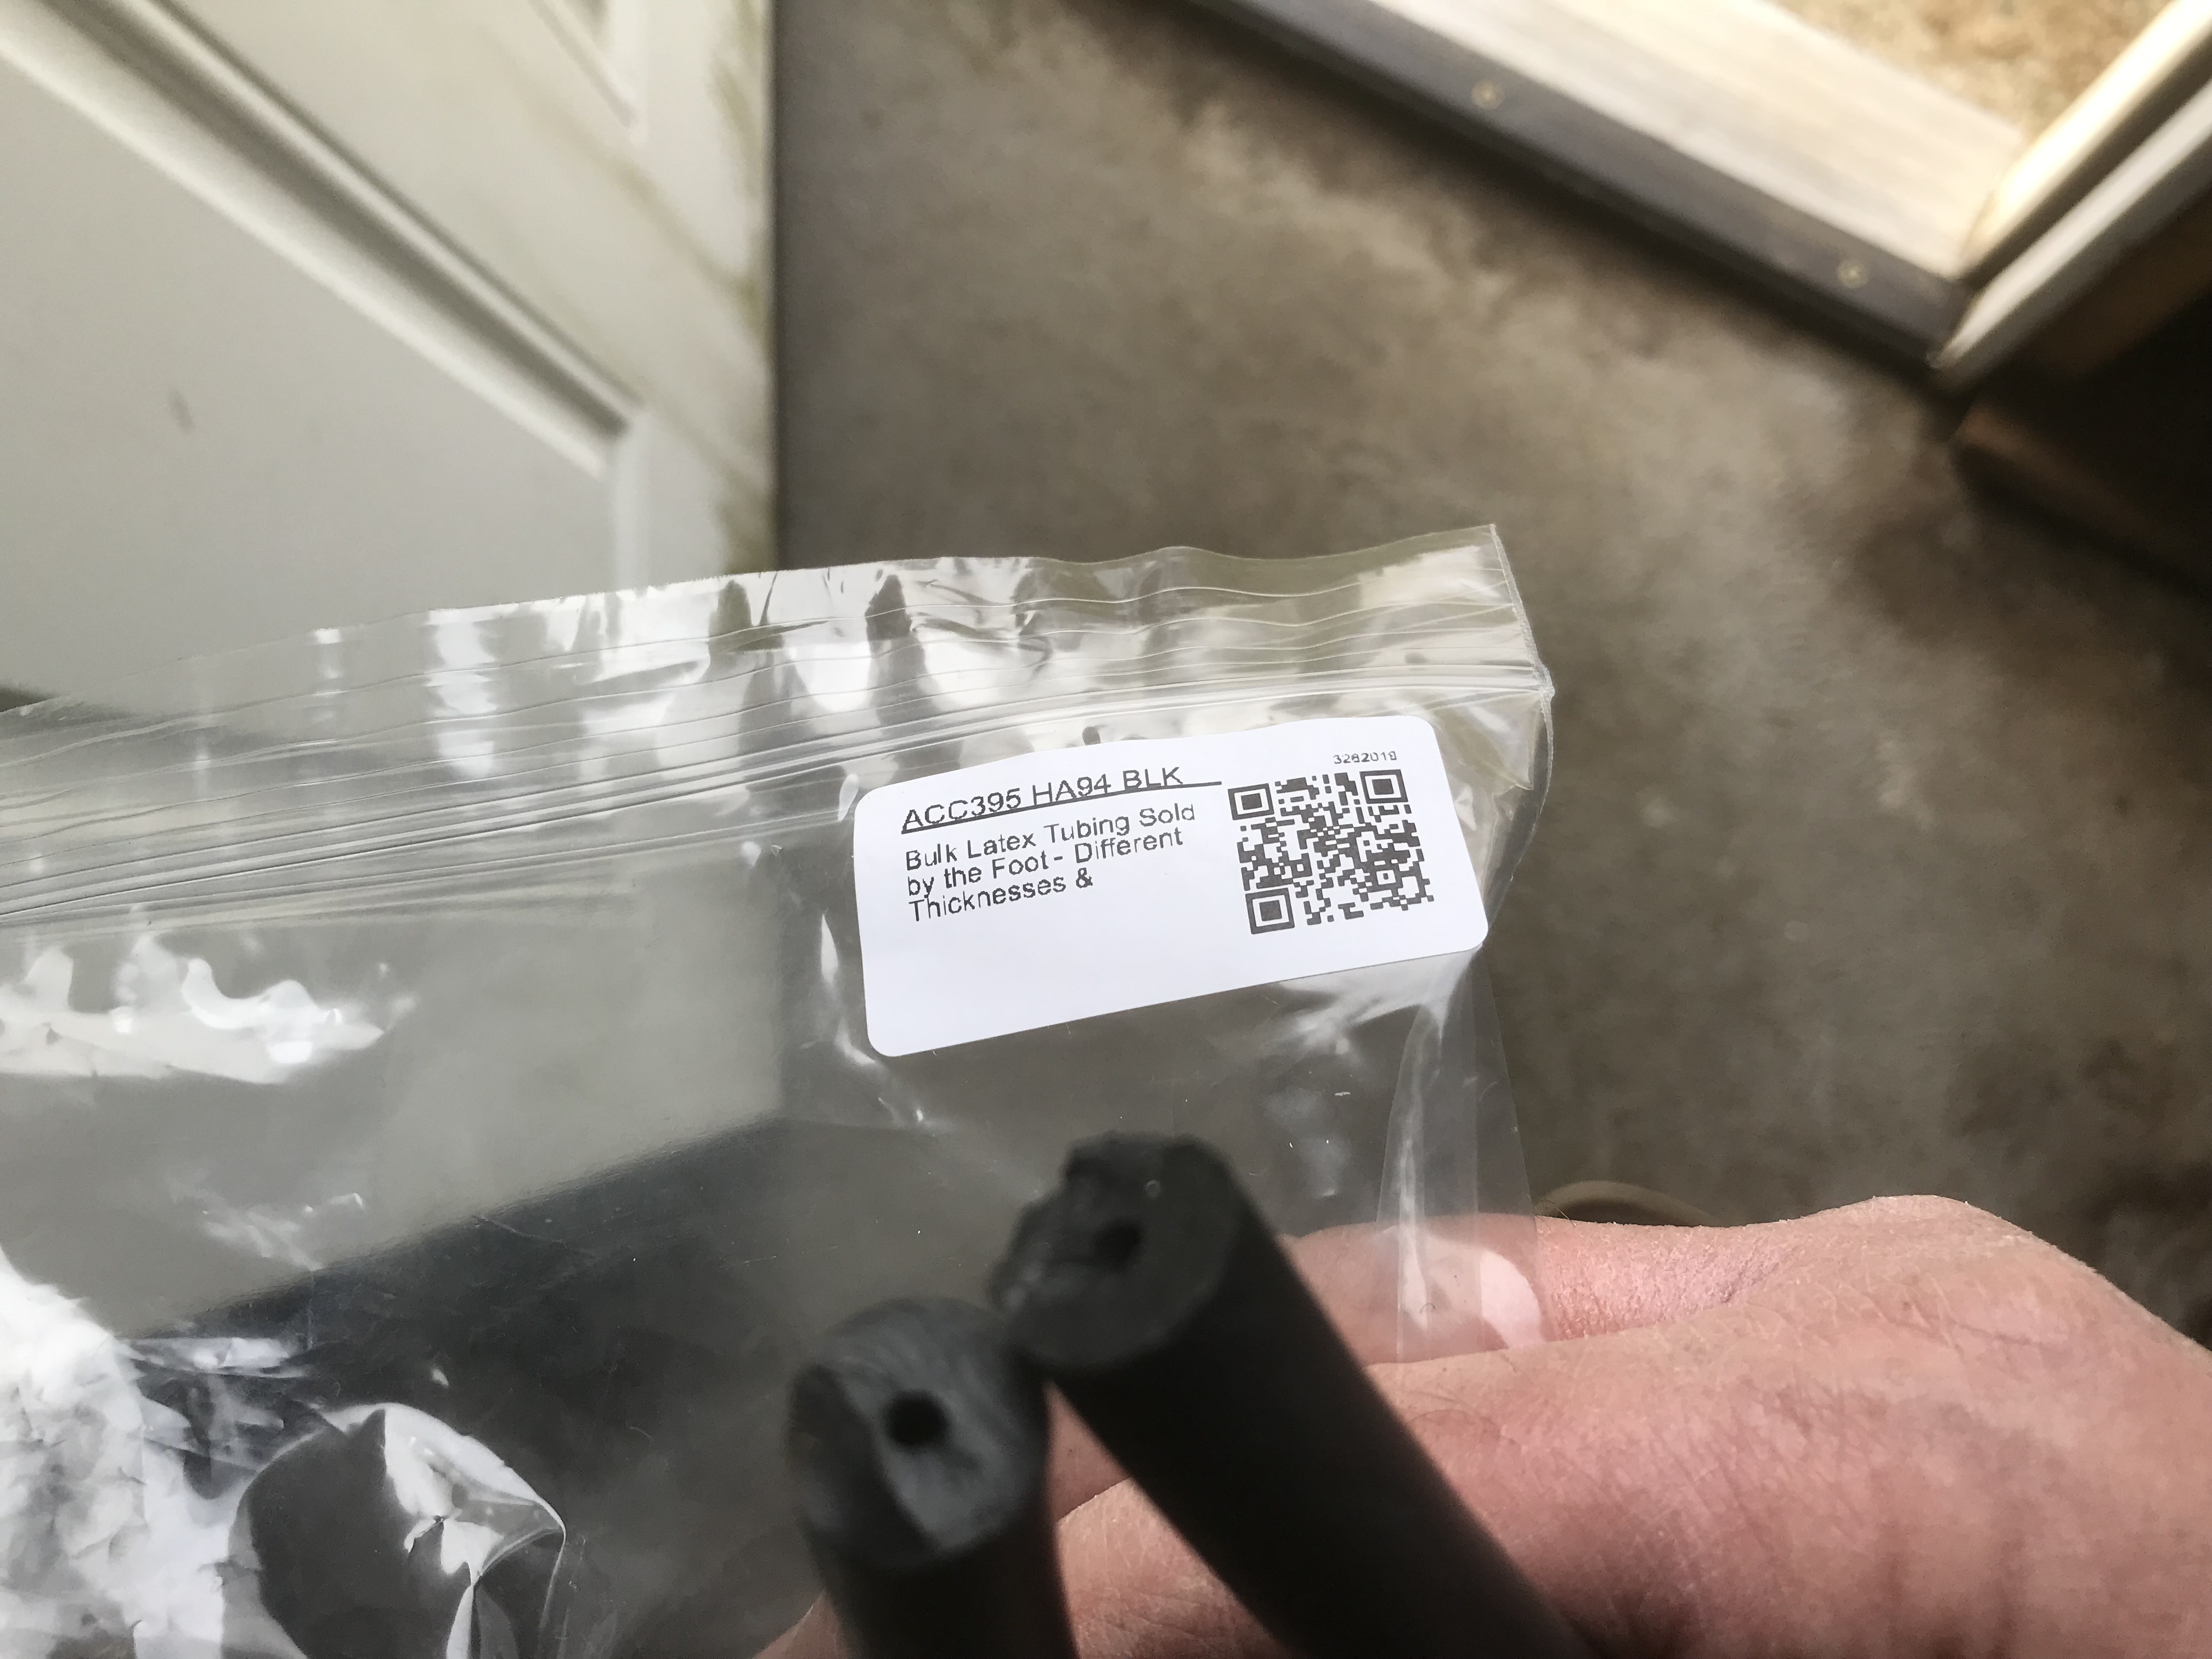
The snorkel tubing arrived that Mark Merritt recommended for cladding trim screws
Glad you are putting back to the bronze color, that’s my favorite along with the emerald green. Are you putting dual rear antennas on it if your plugging the fender hole?
Steve, yup! I have a pair of dual rear antennas. They won’t be operable - Dick cut off the piece that protrudes for me - so all I’ll have to do is drill holes for the mounting screws.
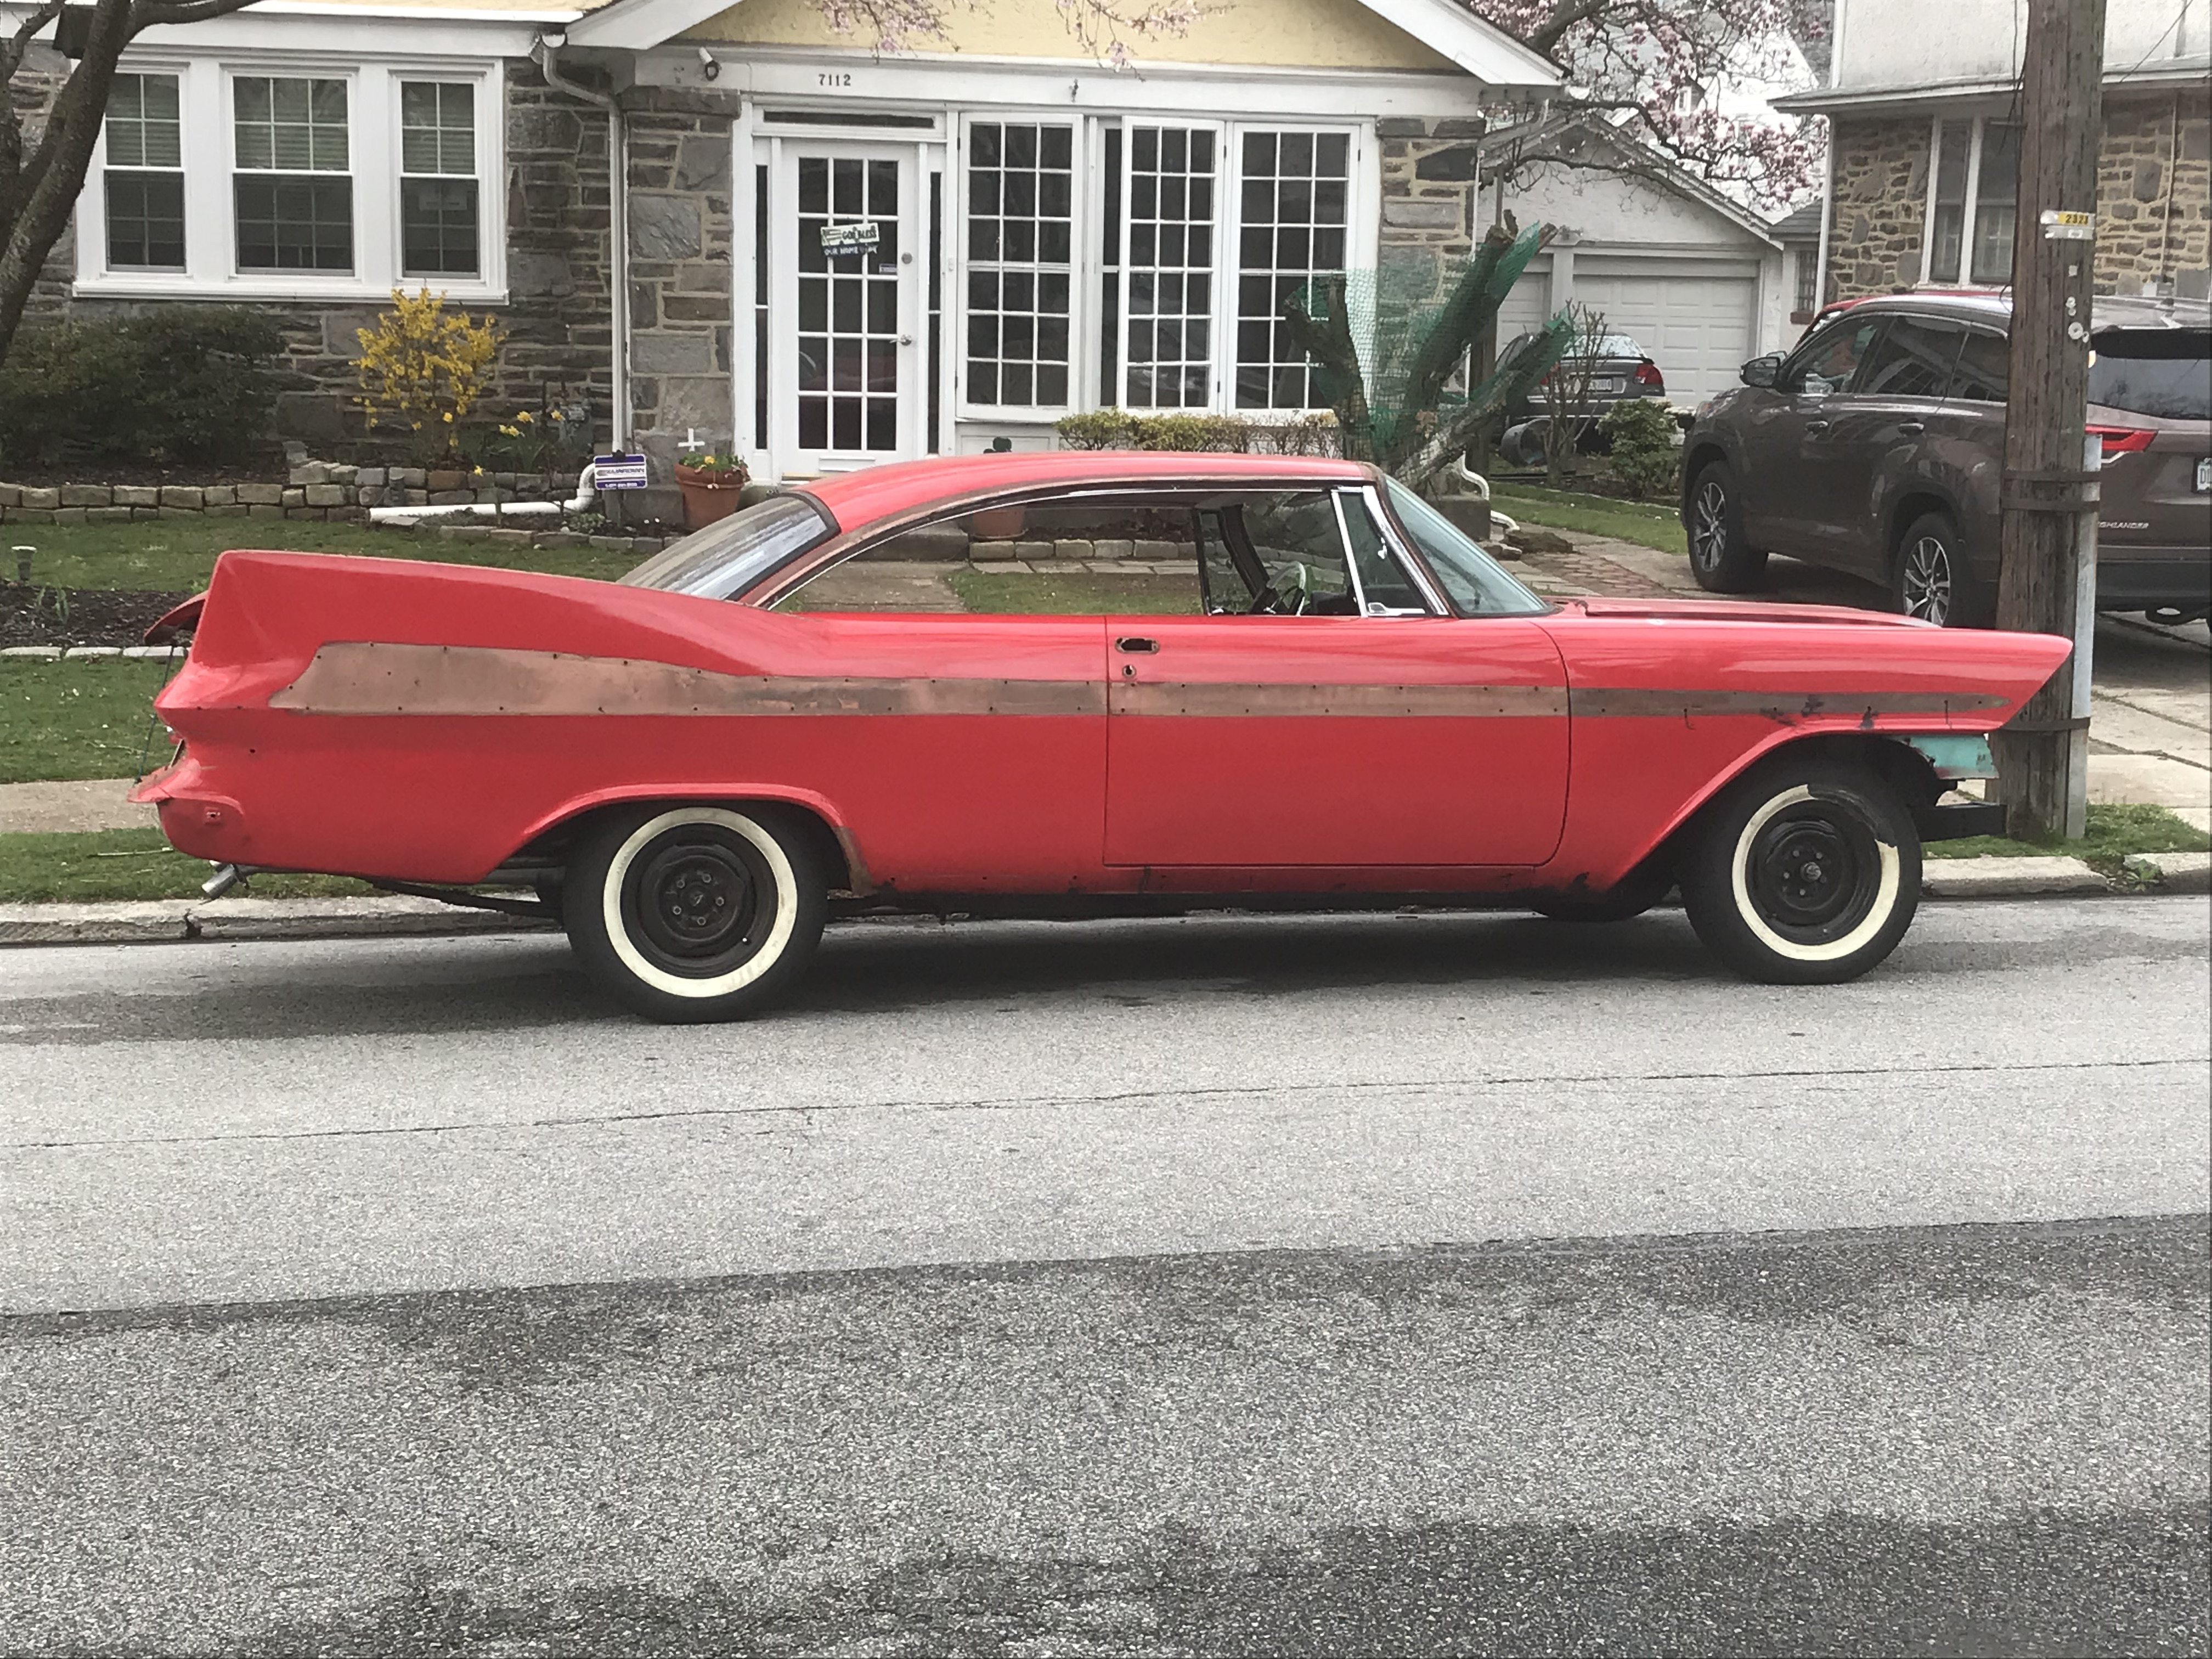
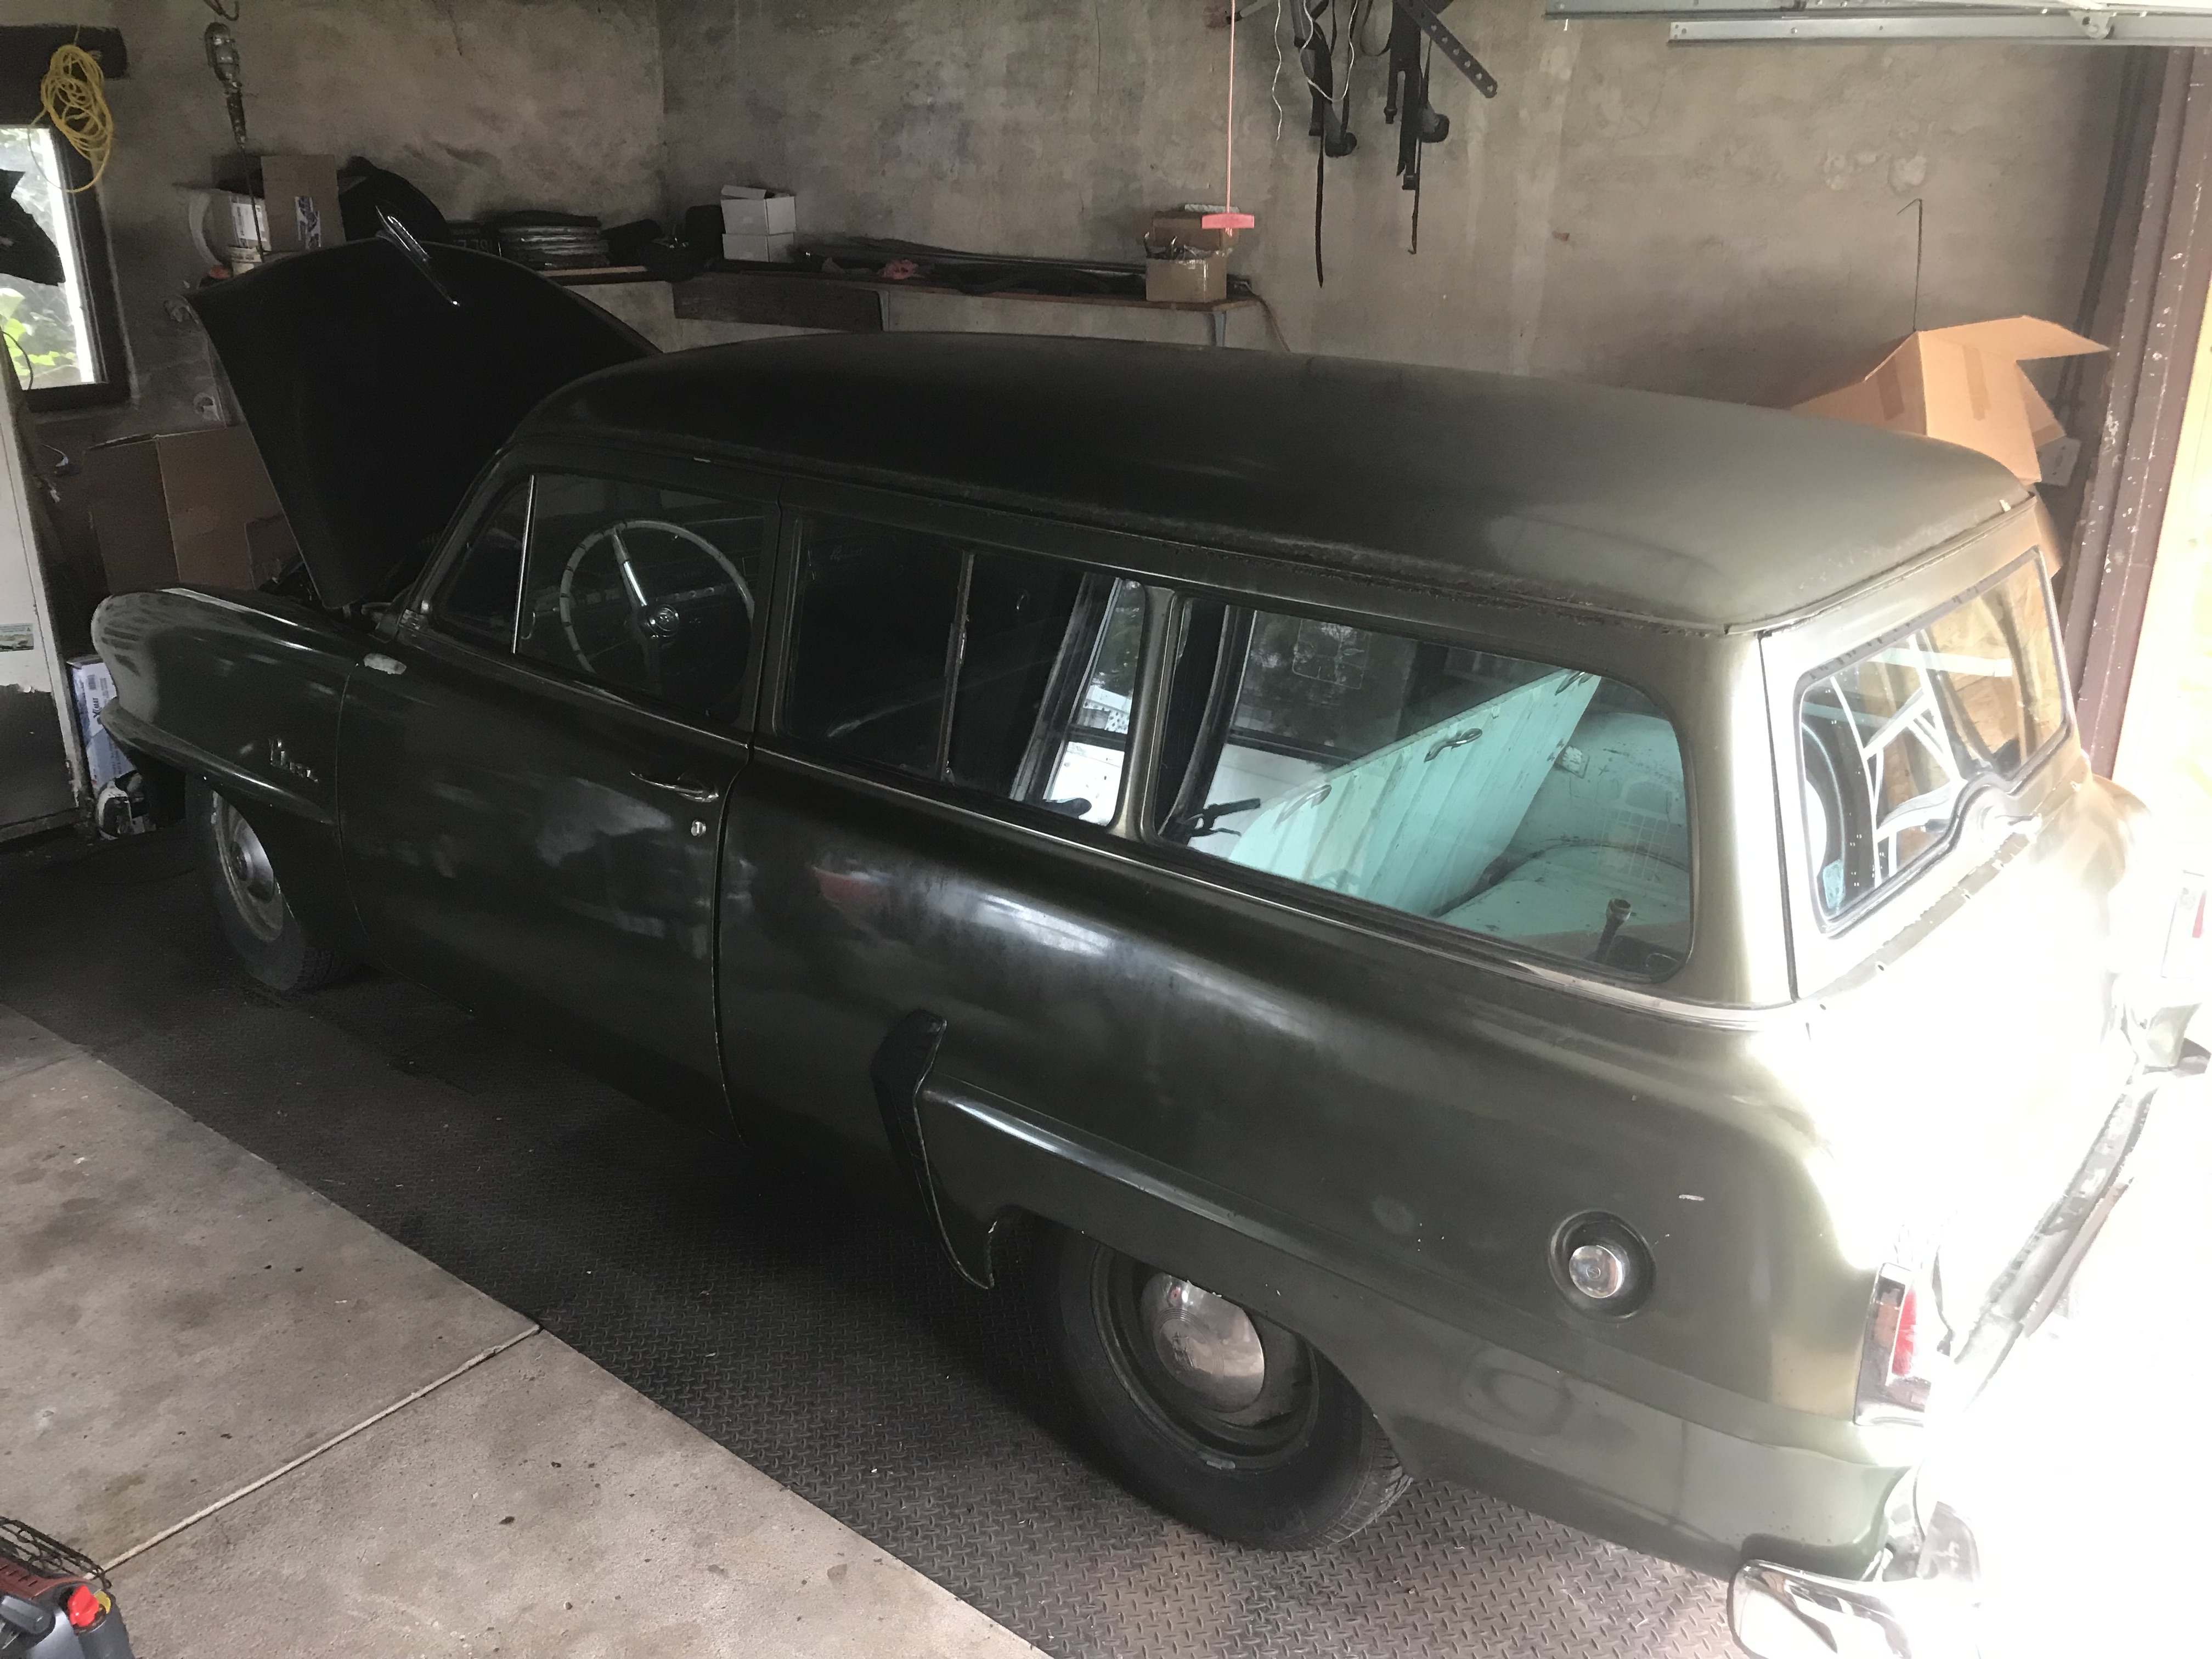
Faulkner’s on the street, waiting for the tow truck to begin his two month vacation in the body shop! Martha, jealously eyeing Faulkner’s spot for months now, slides into his place…
A harrowing tale today! Faulkner’s emergency brake doesn’t work very well, and I held the car in place on the flatbed with the brake pedal, ramp tilted up, while the driver locked the wheels down. Somehow, he forgot this between my house and the shop. He pulled in, elevated the ramp, and undid the chain - assuming the emergency would hold it. The straps snapped, and Faulker went racing down the ramp!
Fortunately, the wheels spun to the right, and I grabbed a fin while Faulkner was in flight - the shop owner, who just so happened to be nearby, grabbed another, and we slowed Faulker to a stop before he hit the fence. Whew! The driver was very apologetic, and I was amused - it would have been a different story if Faulkner hit something, especially someone else’s car. Sort that insurance story out!
But all’s well that end’s well. Last week, I was told I would get a call after the body man came in on Monday to look the car over. It turns out he was on the premises today for a different reason, and I got my quote on the spot - for exactly what was estimated last week. It turns out the body man frequents Carlisle, so I hope he catches up with us at the Nationals! I explained that the two month estimate to do the work I was given last week would be tight for me to get Faulkner ready - but today, I was told 3-4 weeks! So there’s hope after all.
Sorry, no video of Faulkner tearing down the ramp - I just wasn’t ready for that turn of events 
Sometimes, you just gotta find a guy who knows what he’s doing. Here’s the same piece of headlight trim - after the company in Pottstown PA treated it, and McNichols in Michigan treated it. It’s a miracle! I’ll be sending the piece I got from Ed Ober next.
Looks like they did a fantastic job on the headlight trim! I’m excited to see how they do with the rest of the pieces you send them and boy dose Faulkner look good sitting out on the street! Looks like its ready to run right now, and Martha looks content and cozy in the garage ha! Cant wait to see what all the body shop gets done
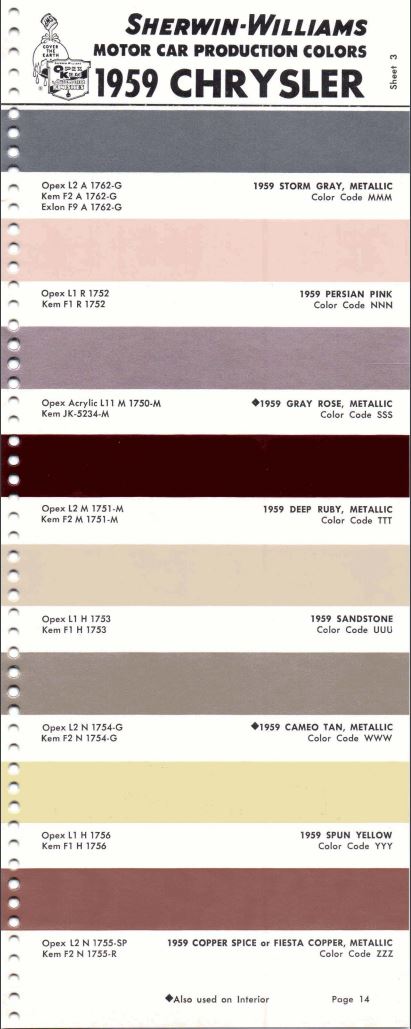
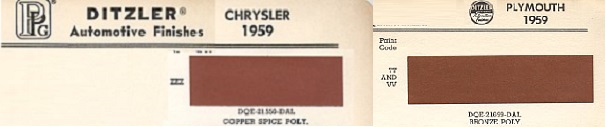
Thanks Will! They are having a heckuva time matching the color, though. The shop shoots Sherwin Williams, and back in 1959 S-W made “copper spice” which was a Chrysler color, not a Plymouth color. But as you can see from the chips, they are virtually indistinguishable:
Interestingly, Faulkner’s (AKA “The P” 's) Bill of Sale references Copper Spice!
S-W has come out and is going to try to match up the color. I’ve got to get to the shop to take some pix of the progress. Soon I hope! 
Dan, super exciting! I love flipping through the paint sample books I have collected. I wonder how difficult it will be for them mix. Hope they give you some spray out samples to compare to. Cant wait to see it all painted up!
I often wonder how many of these colors crossed makes, I know in the later 60s the same color was called by two different names between dodge/Plymouth. Looking at the color chip books a lot of the colors seem very close between the Mopar makes. I am sure no one would be able to tell if you painted it Chrysler bronze or Plymouth bronze. either way its gonna look awesome!
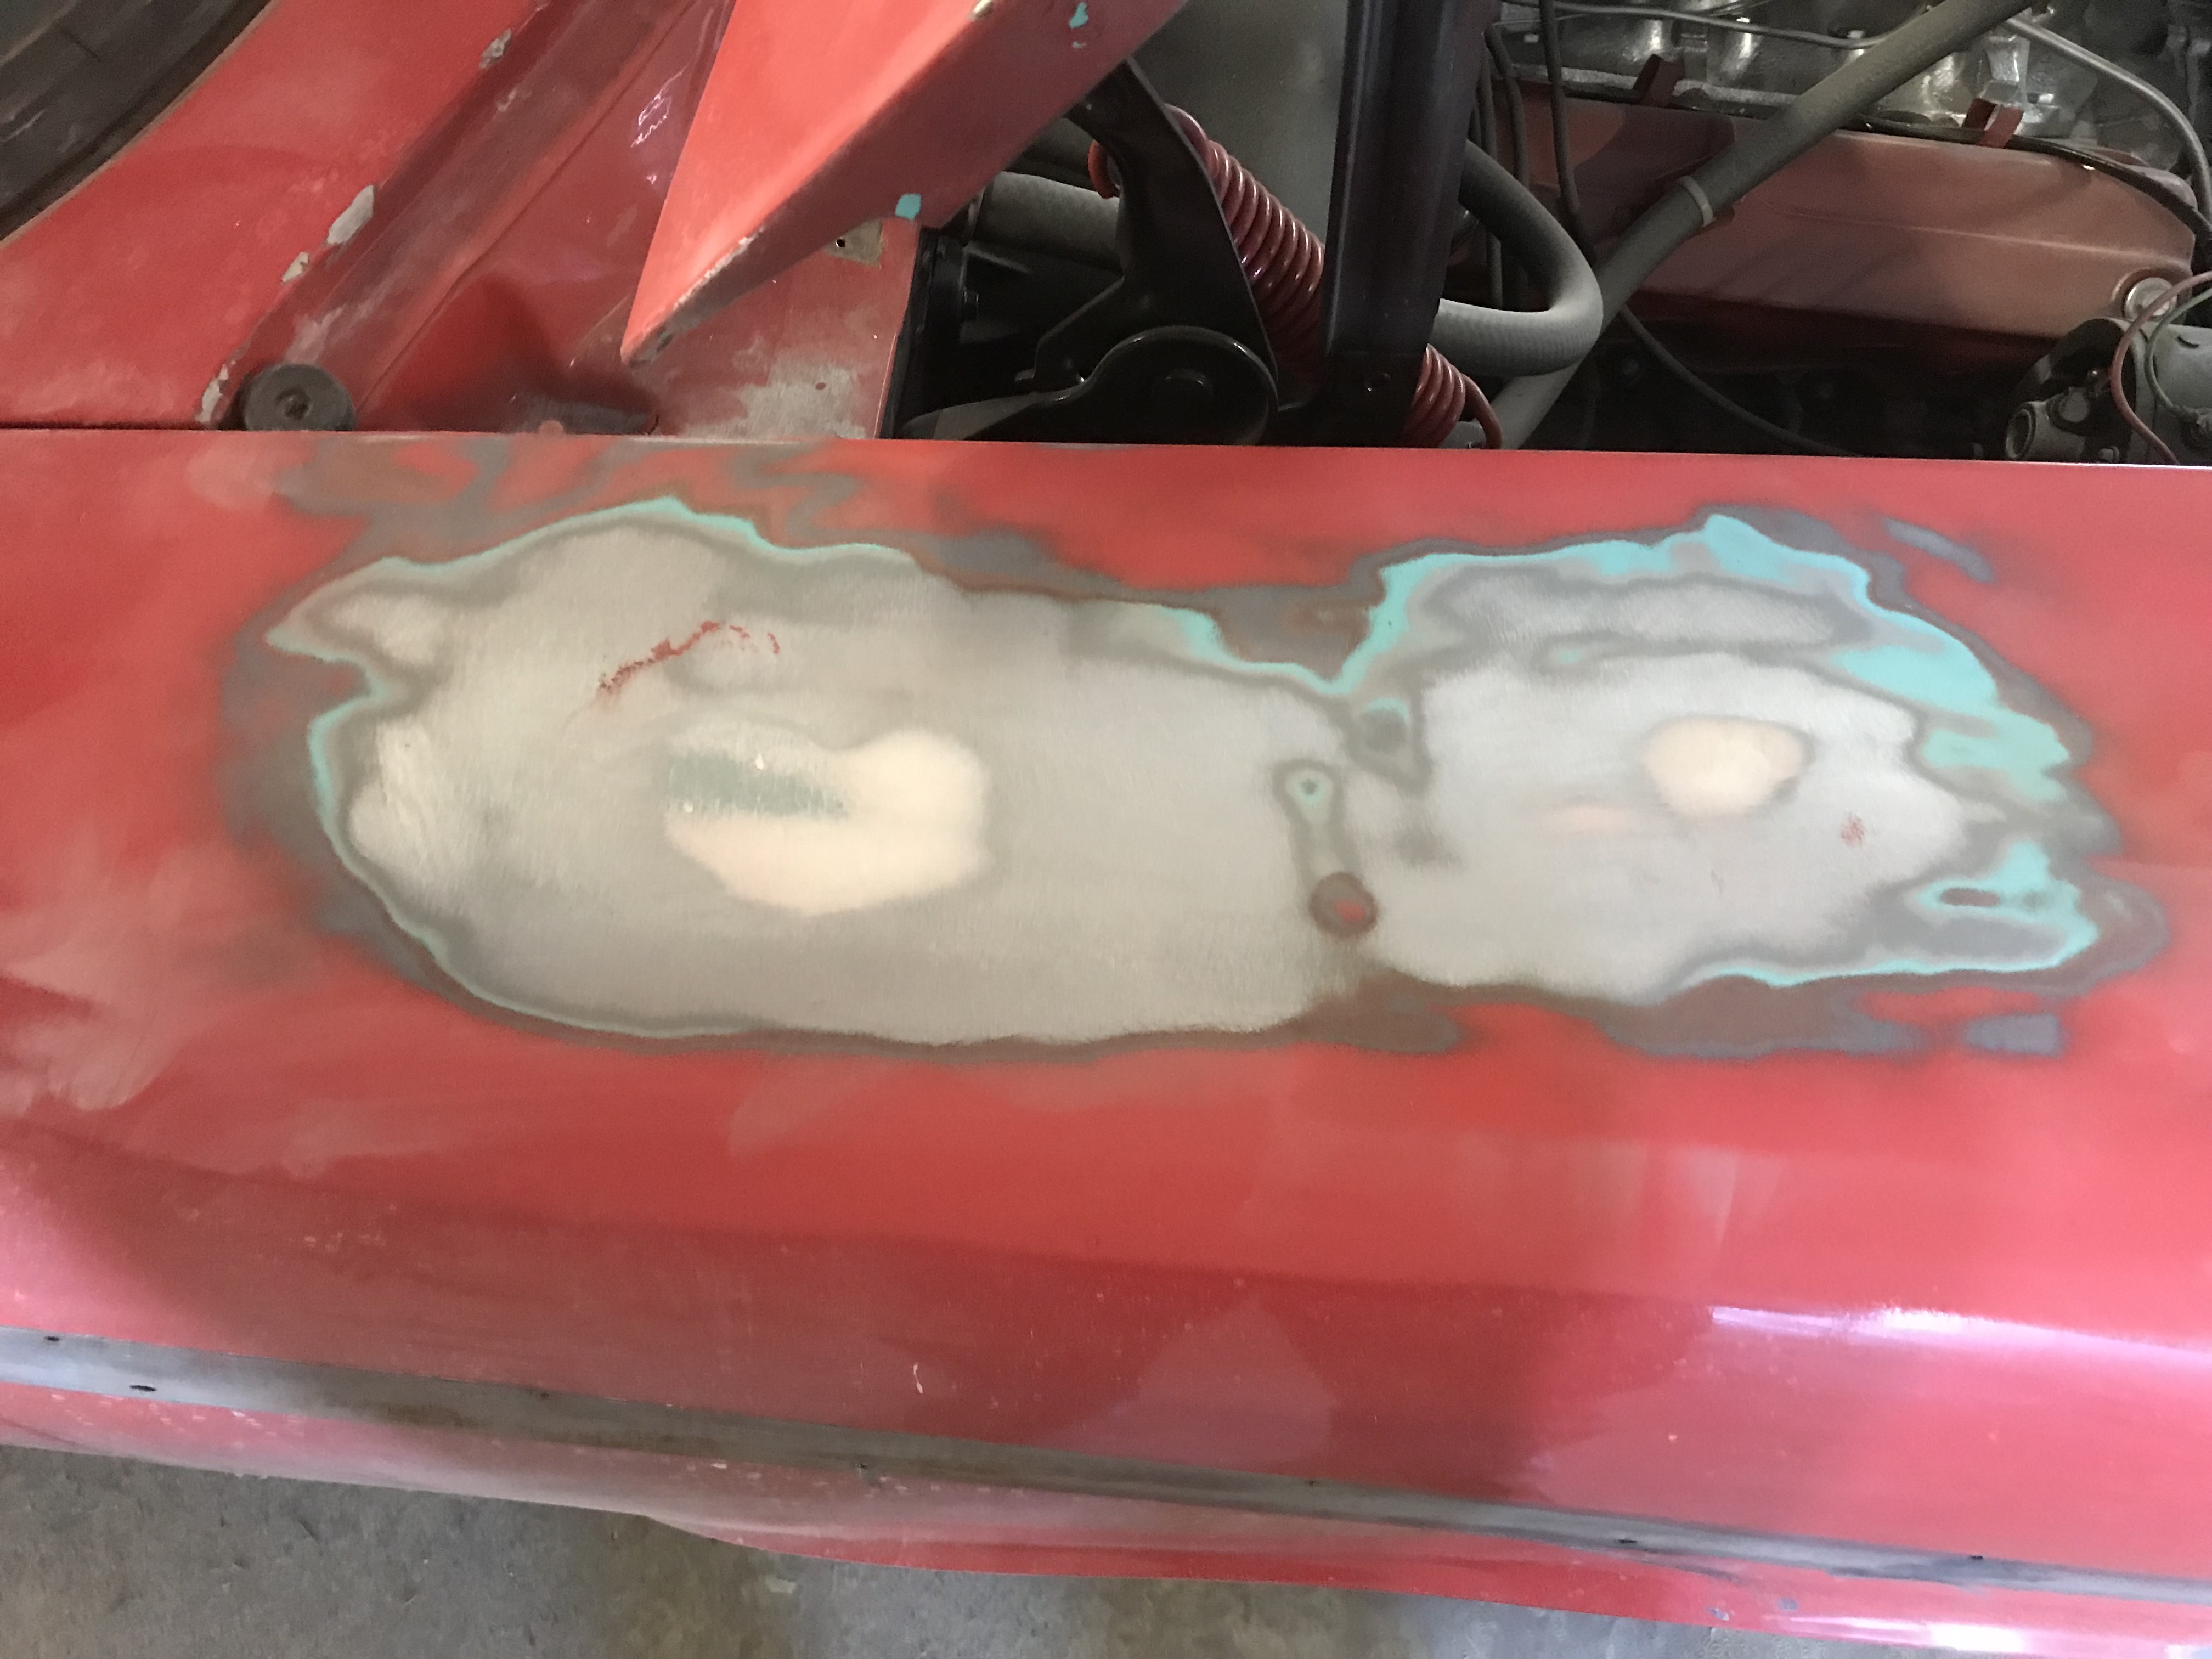
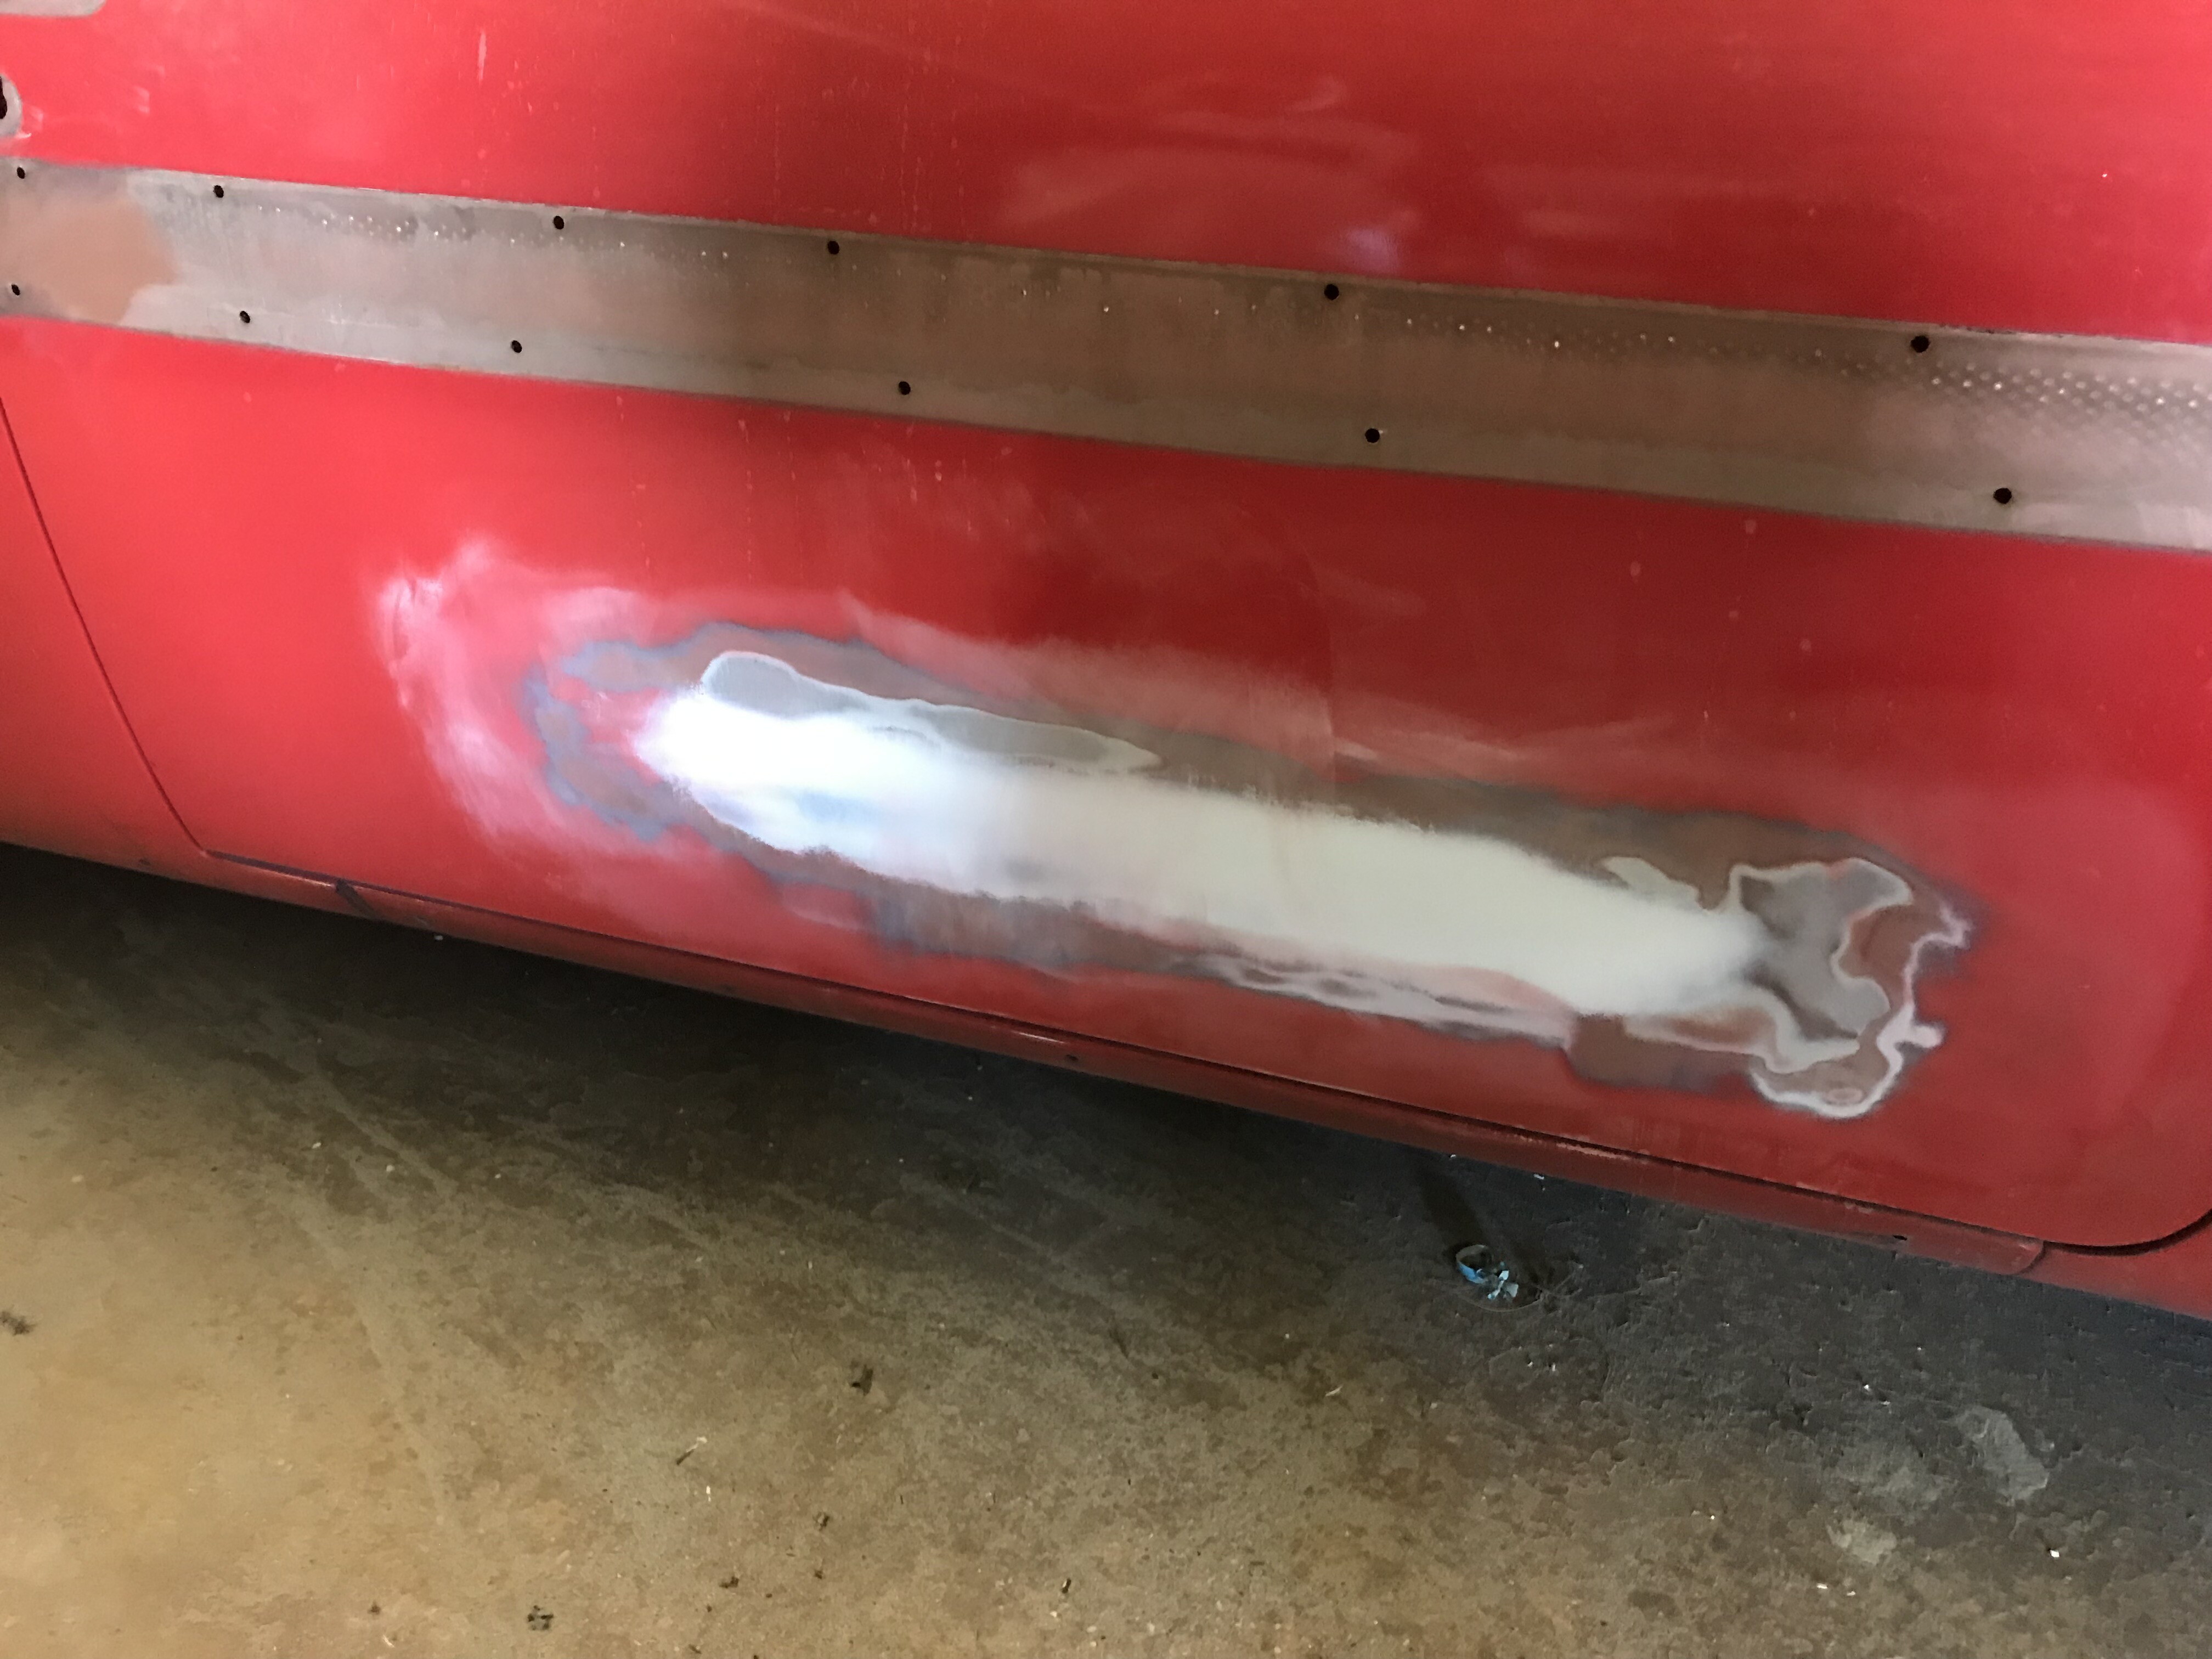
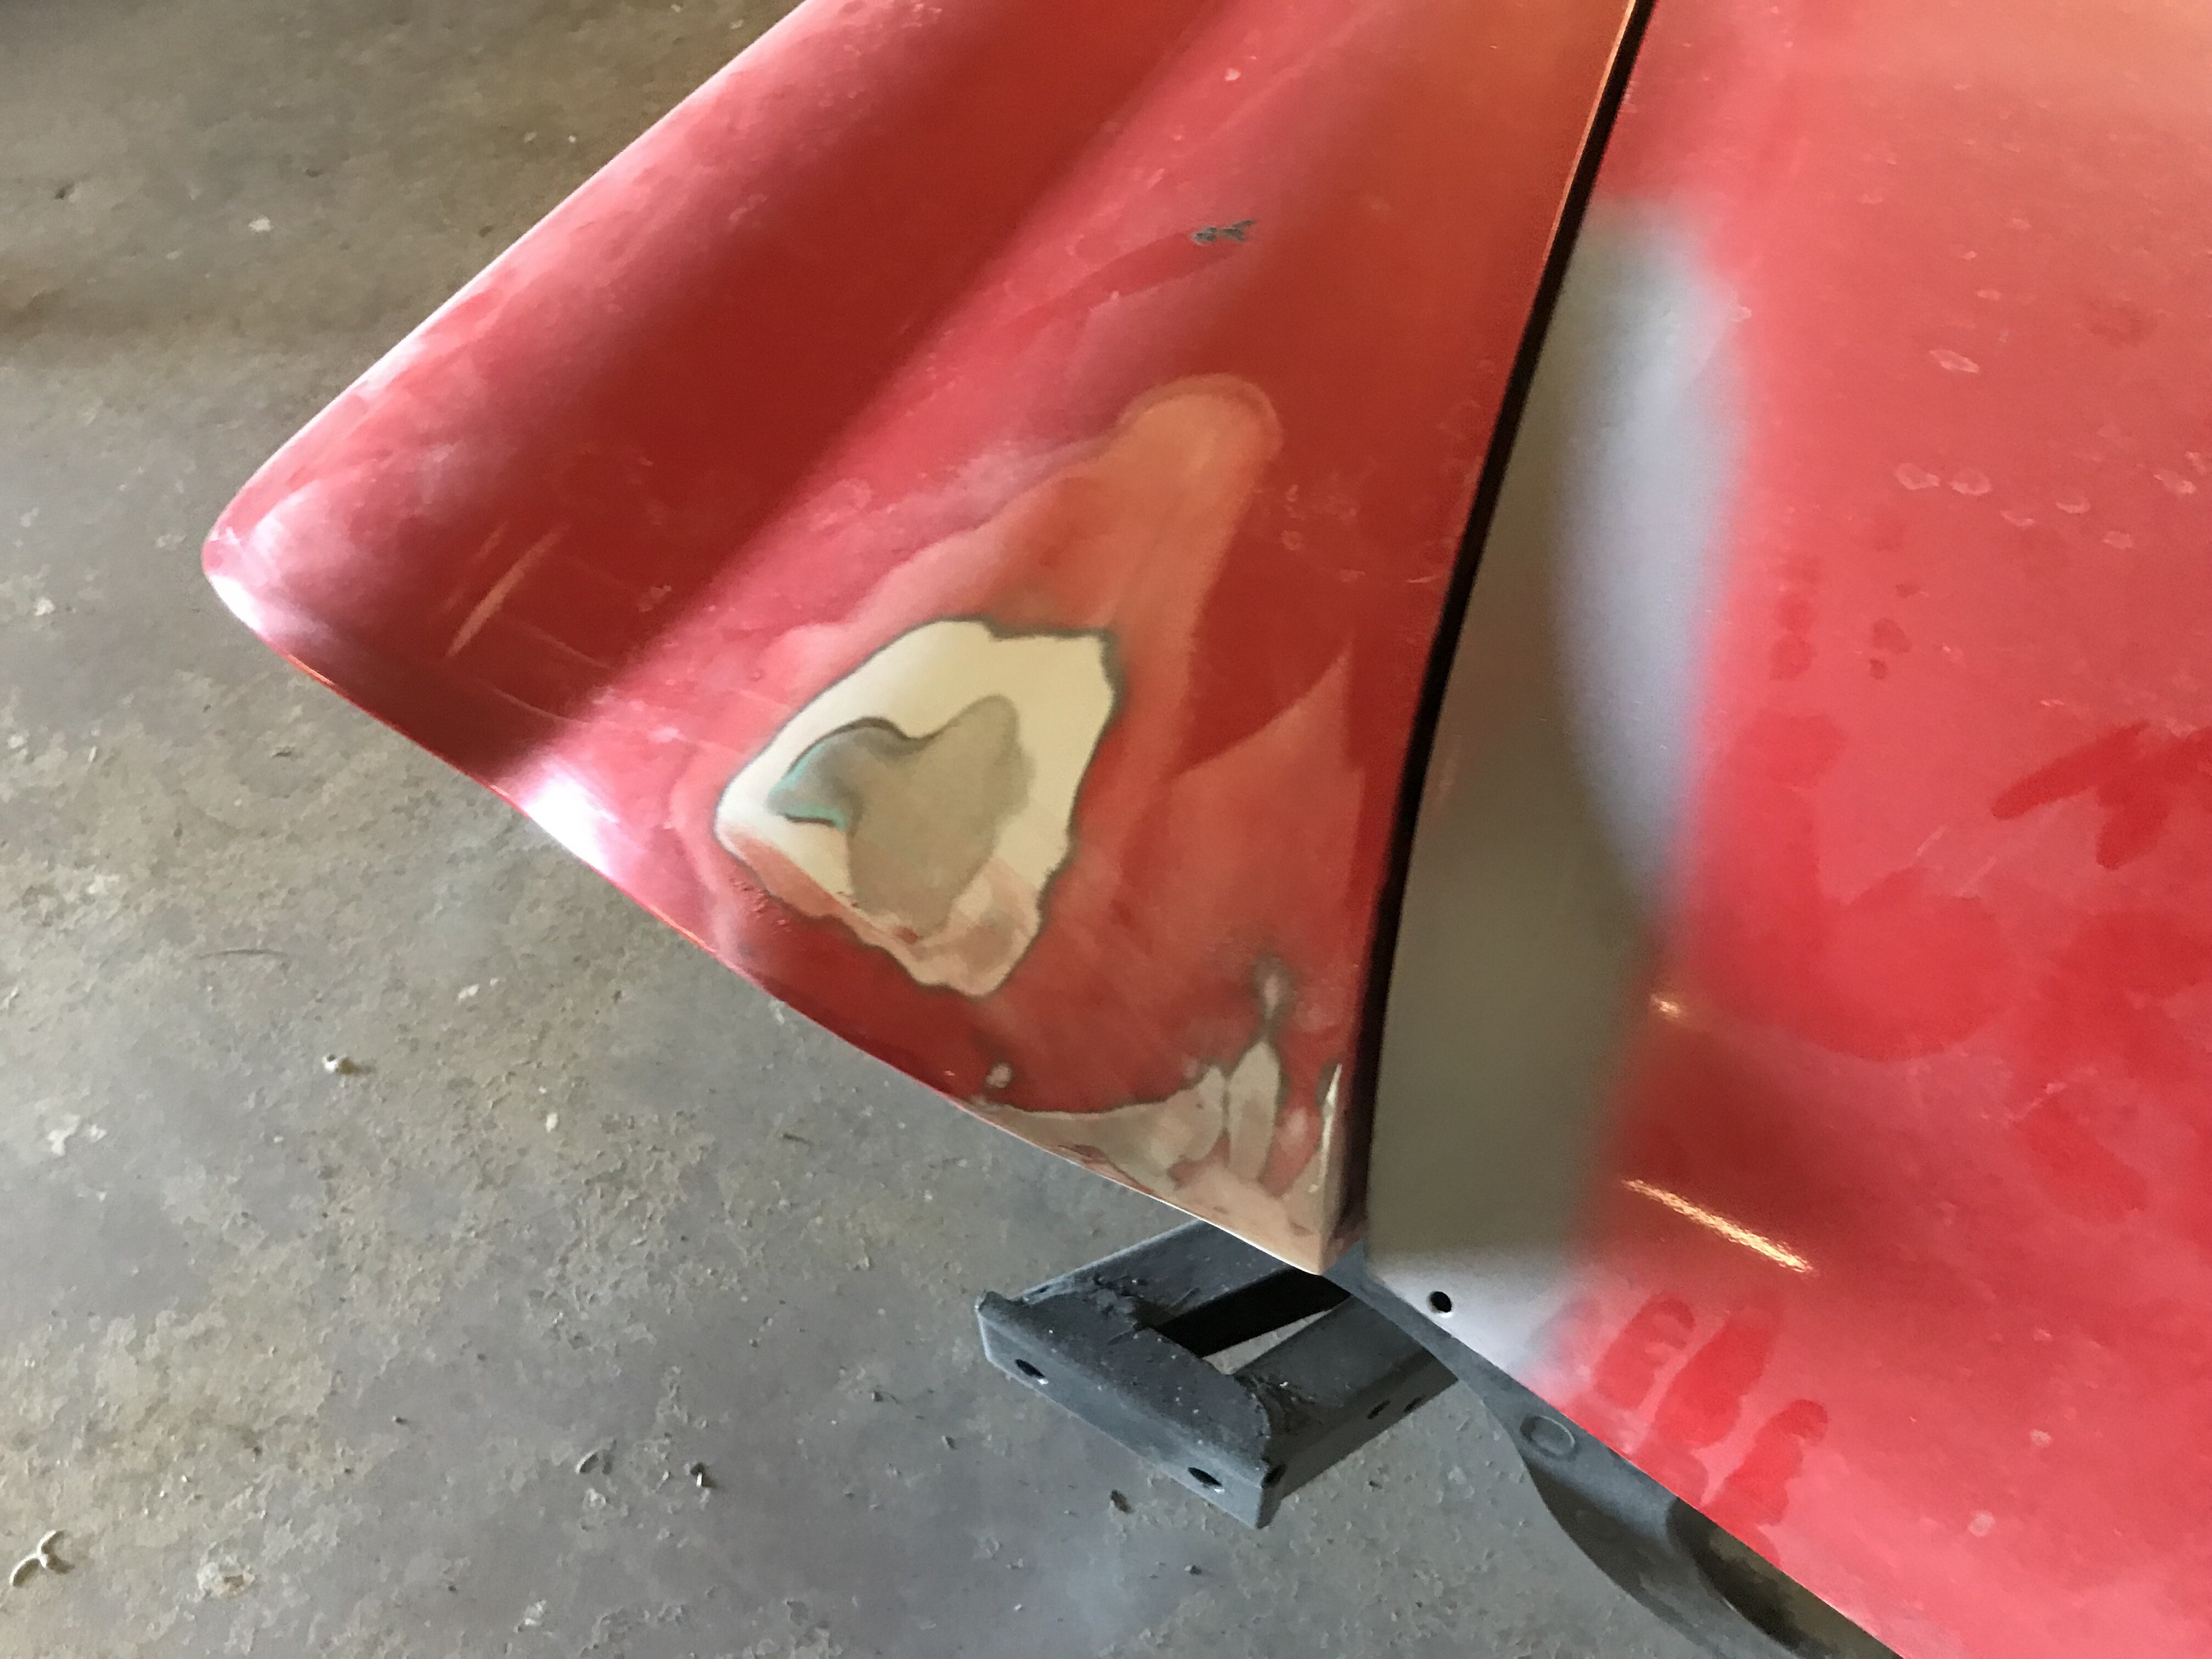
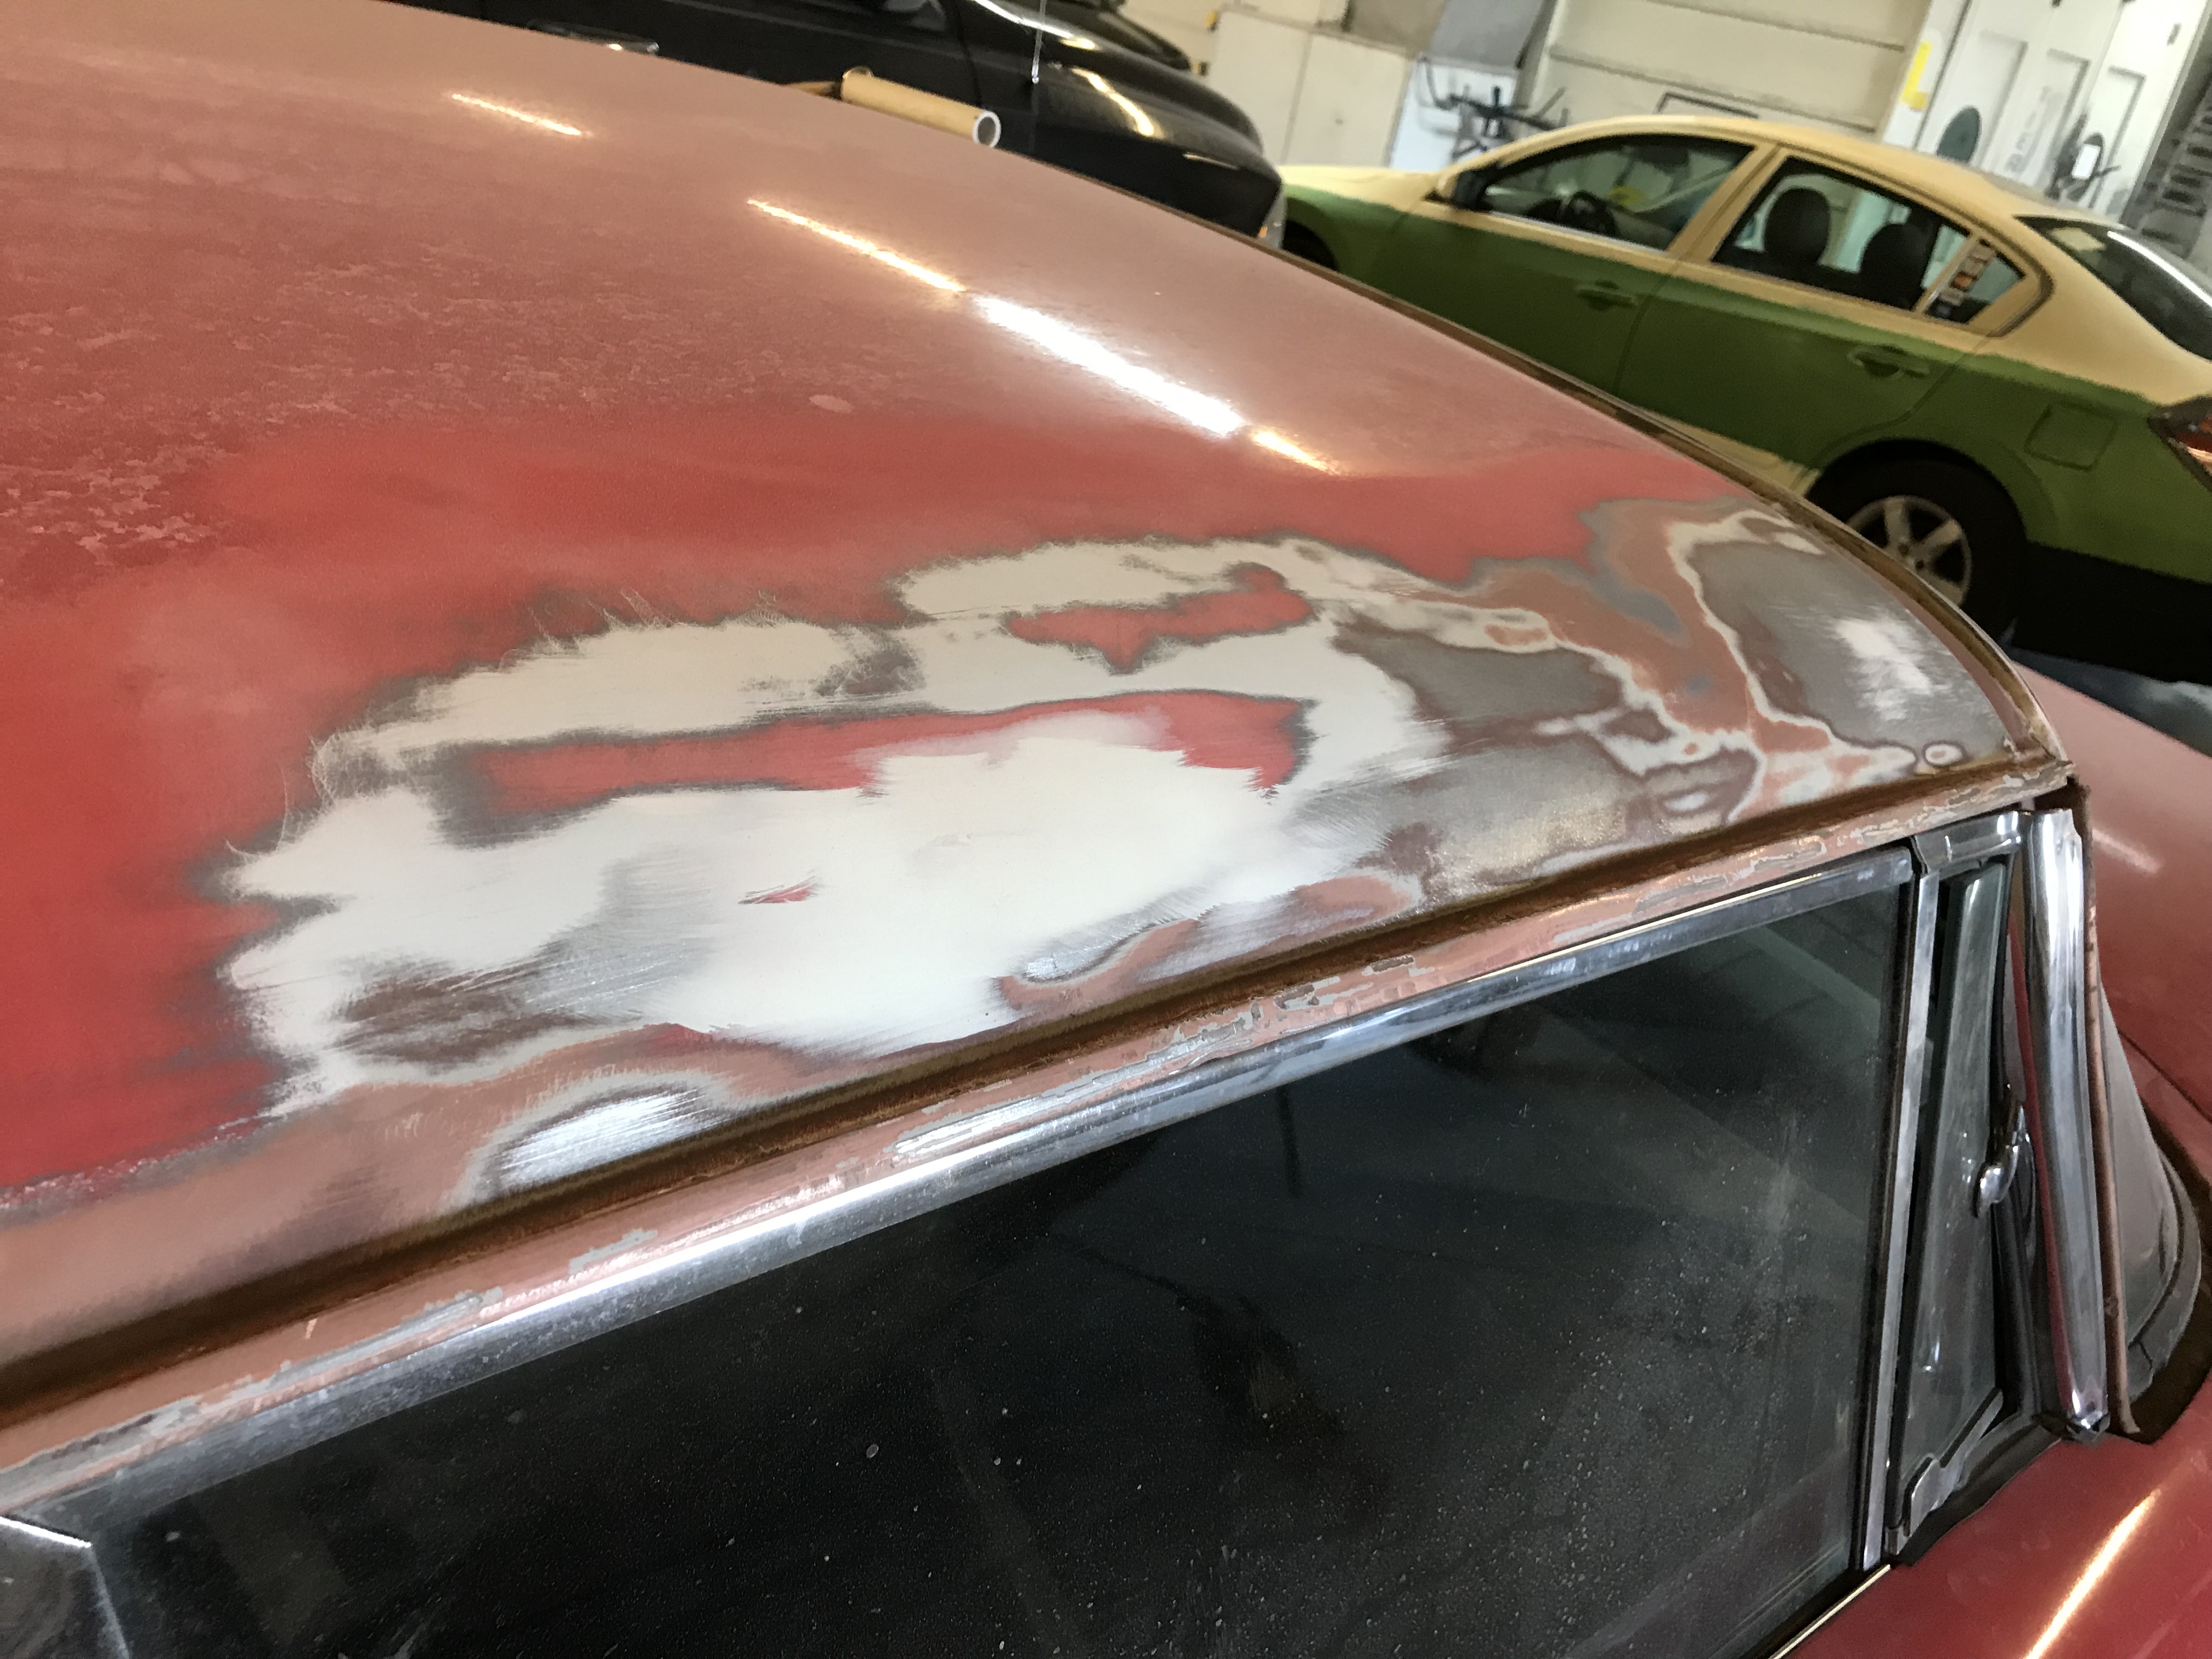
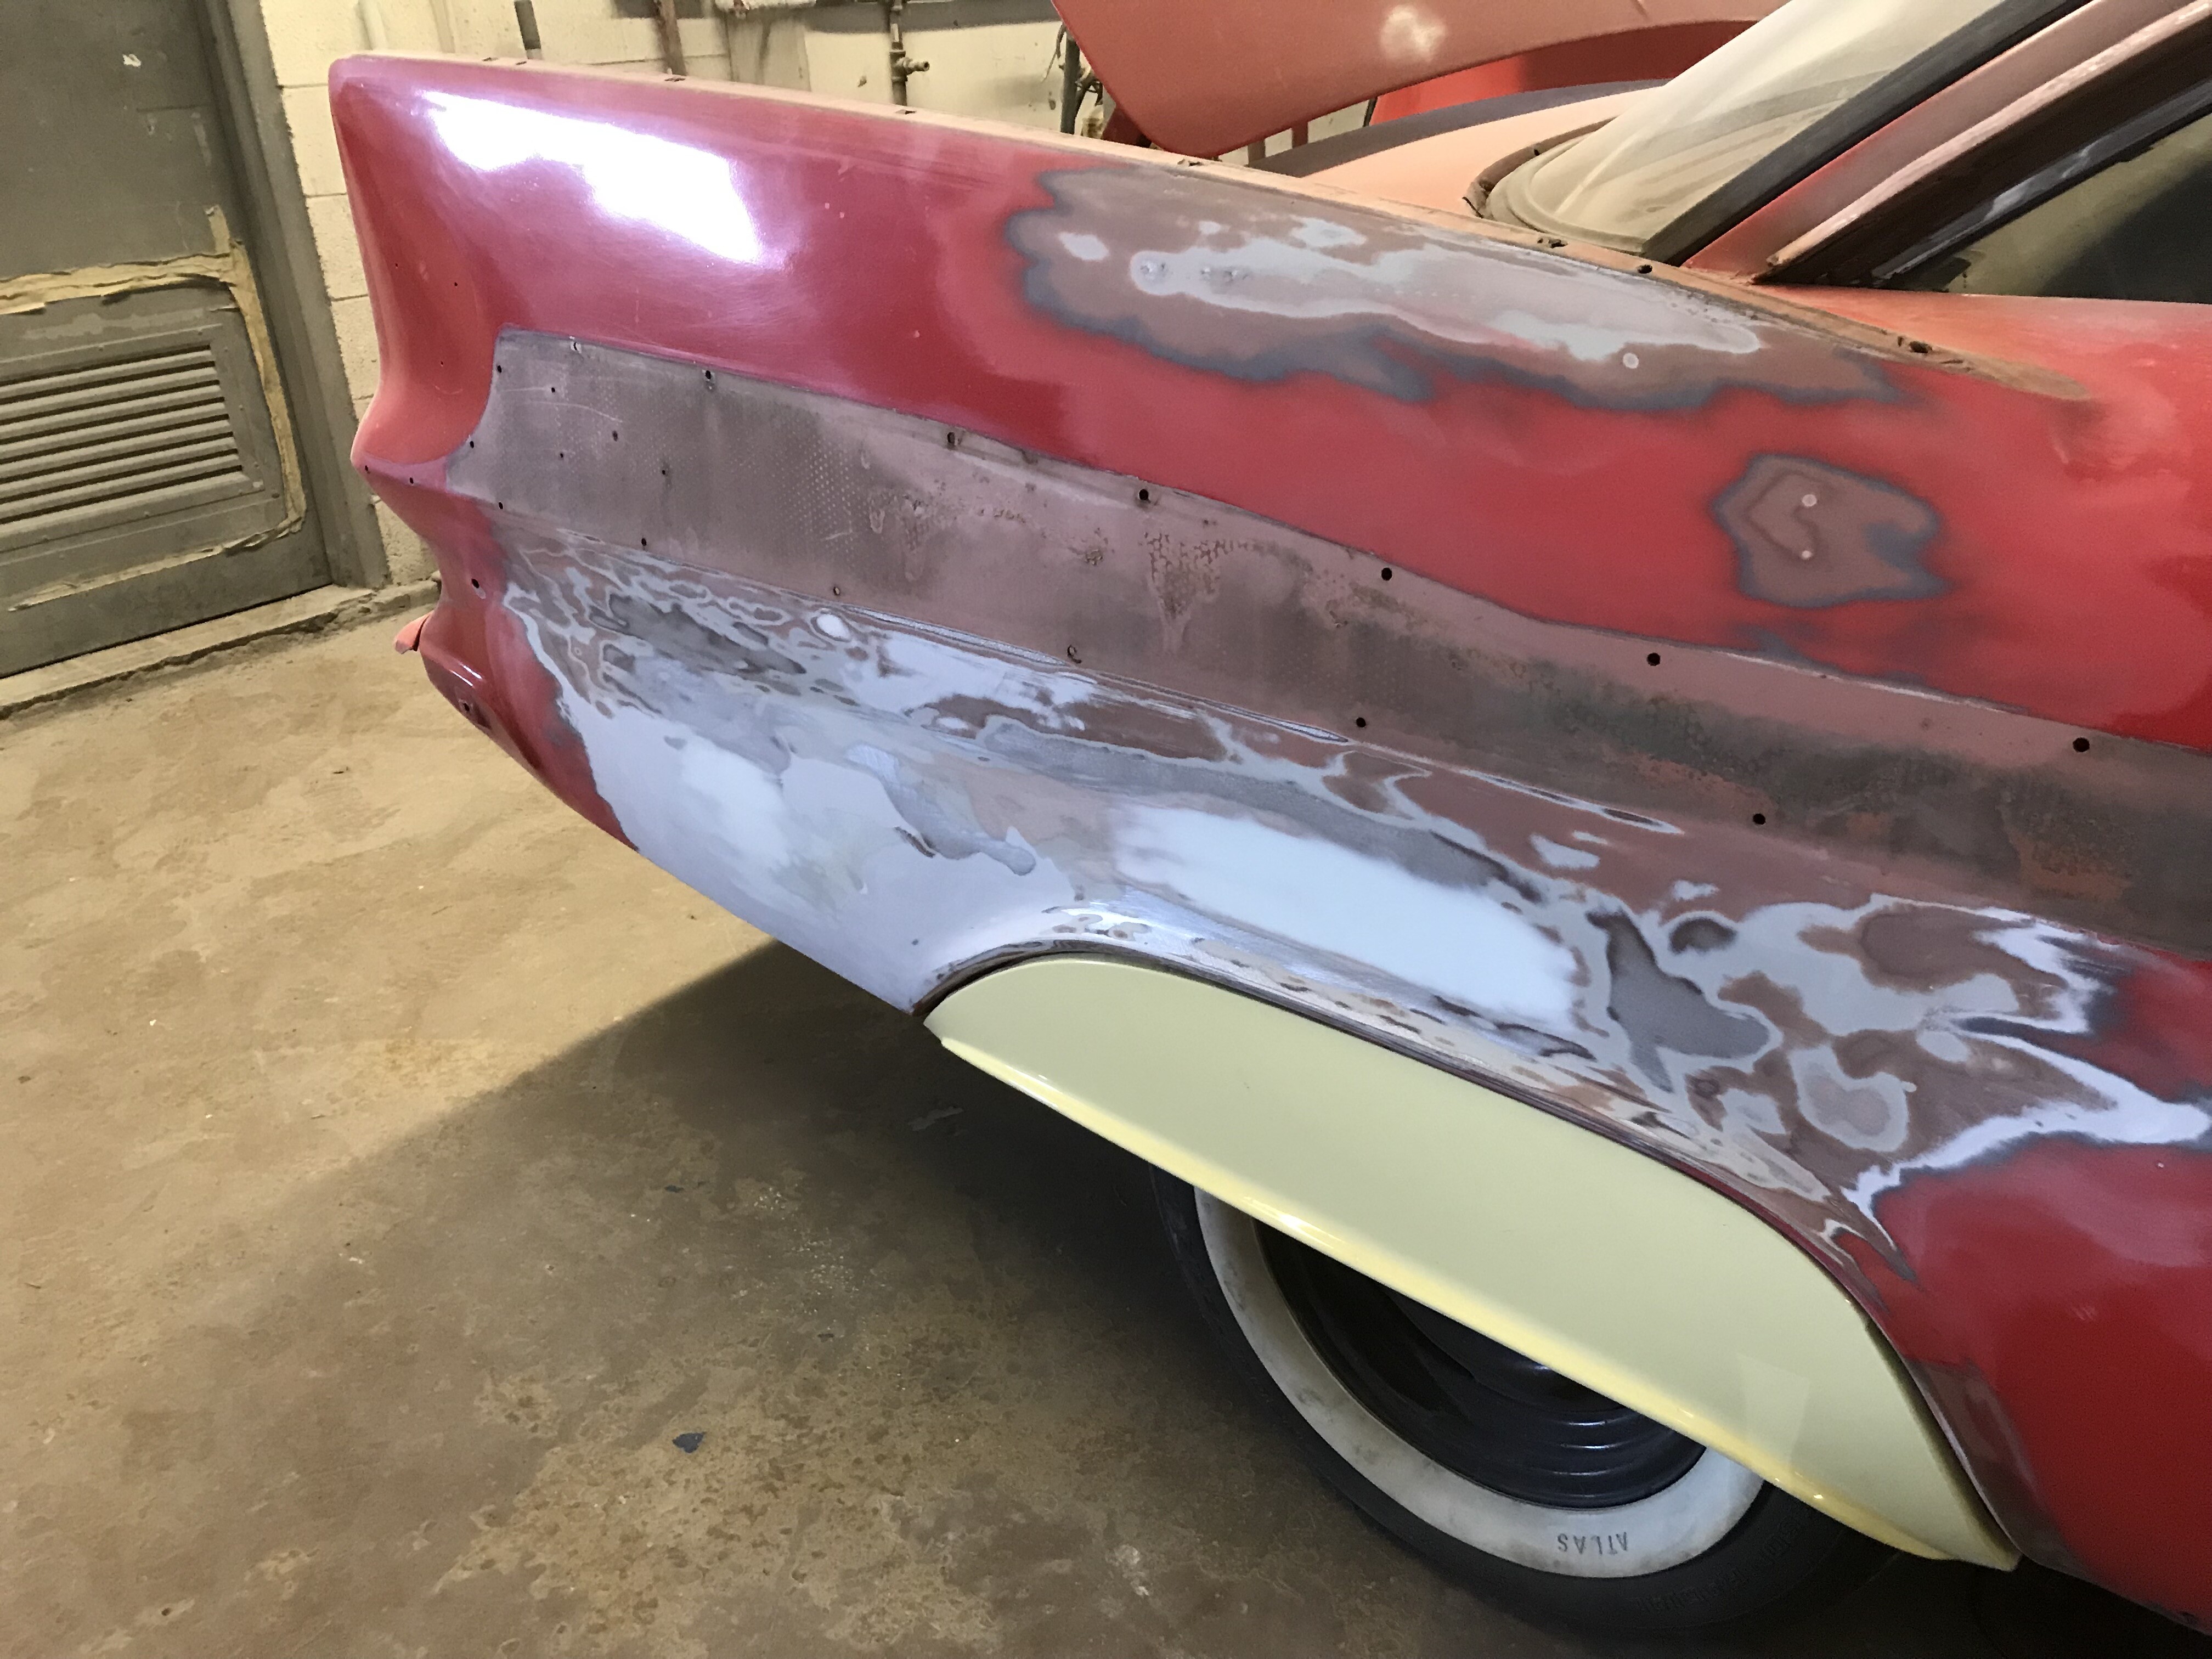
Some pix from the body shop. Anthony does awesome body work! He fixed the hood alignment at the cowl perfectly (dang, forgot to get a shot of that). Still to start on is the passenger rear quarter and the driver’s rear wheel well, but things are coming along. Anthony had found a dent in the roof that I never noticed (prolly, from kids lobbing rocks at “The P” when it sat out back of the Sterling’s business property), he fixed that in short order. In a little over a week they’ll shoot primer and look for warts, and then paint! I should have Faulkner back in three weeks.
The antenna plug is smooth as a baby’s butt
before straightening…
…and after
Lookin great Dan! all things considered pretty straight overall to begin with. I am interested to hear how they got the hood gaps fixed. I know both my cars have pretty bad panel fitment all the way around. Wow 3 weeks! That’s one quick turn around time, will make a world of difference motivation wise to get it on the road once its all shiny and new looking 
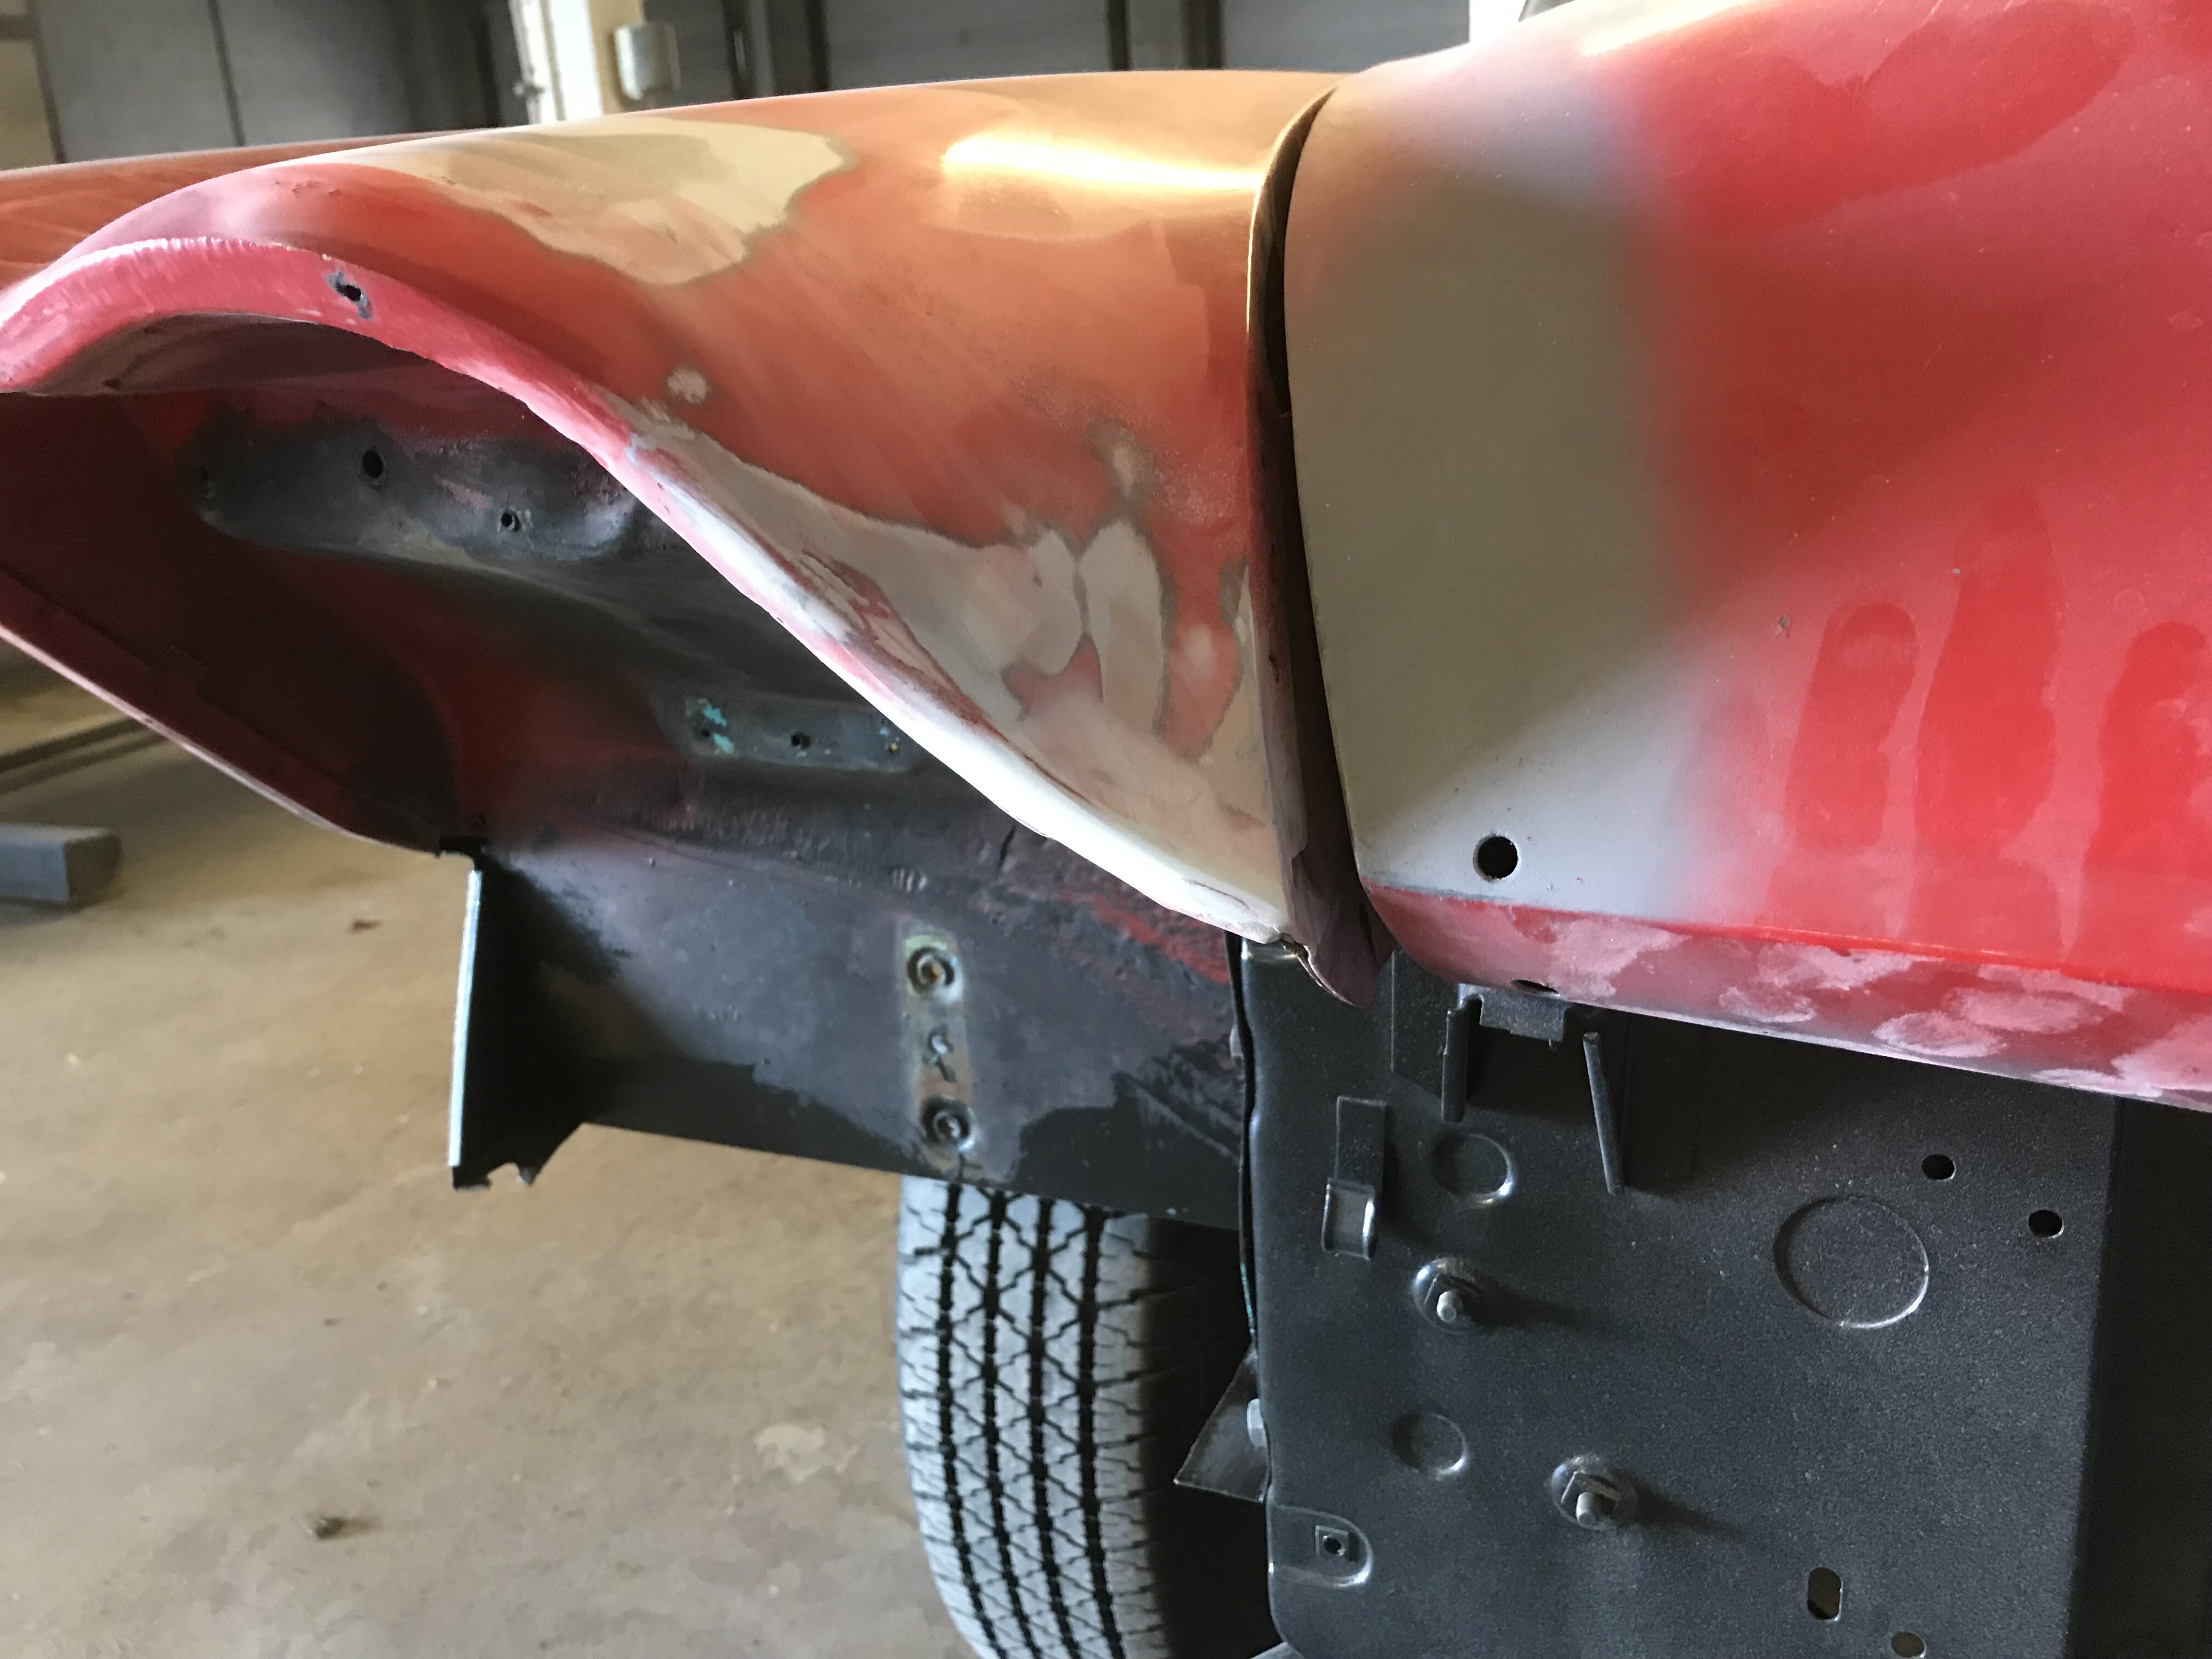
Some more pix from the body shop today…
Nice repair! Thanks for the loaner to check fit, Dick - this will be coming home to you soon
Ooooh, Matthew - fender skirts!
Apparently there’s a clip for the rear of the Foxcraft fender skirt to keep it in place? Or so the body guy thinks there should be - else, it flaps in the breeze. I bought mine in a box back in 2003, and it had the rubber strips in it, but no clips. Dick, have any pix?