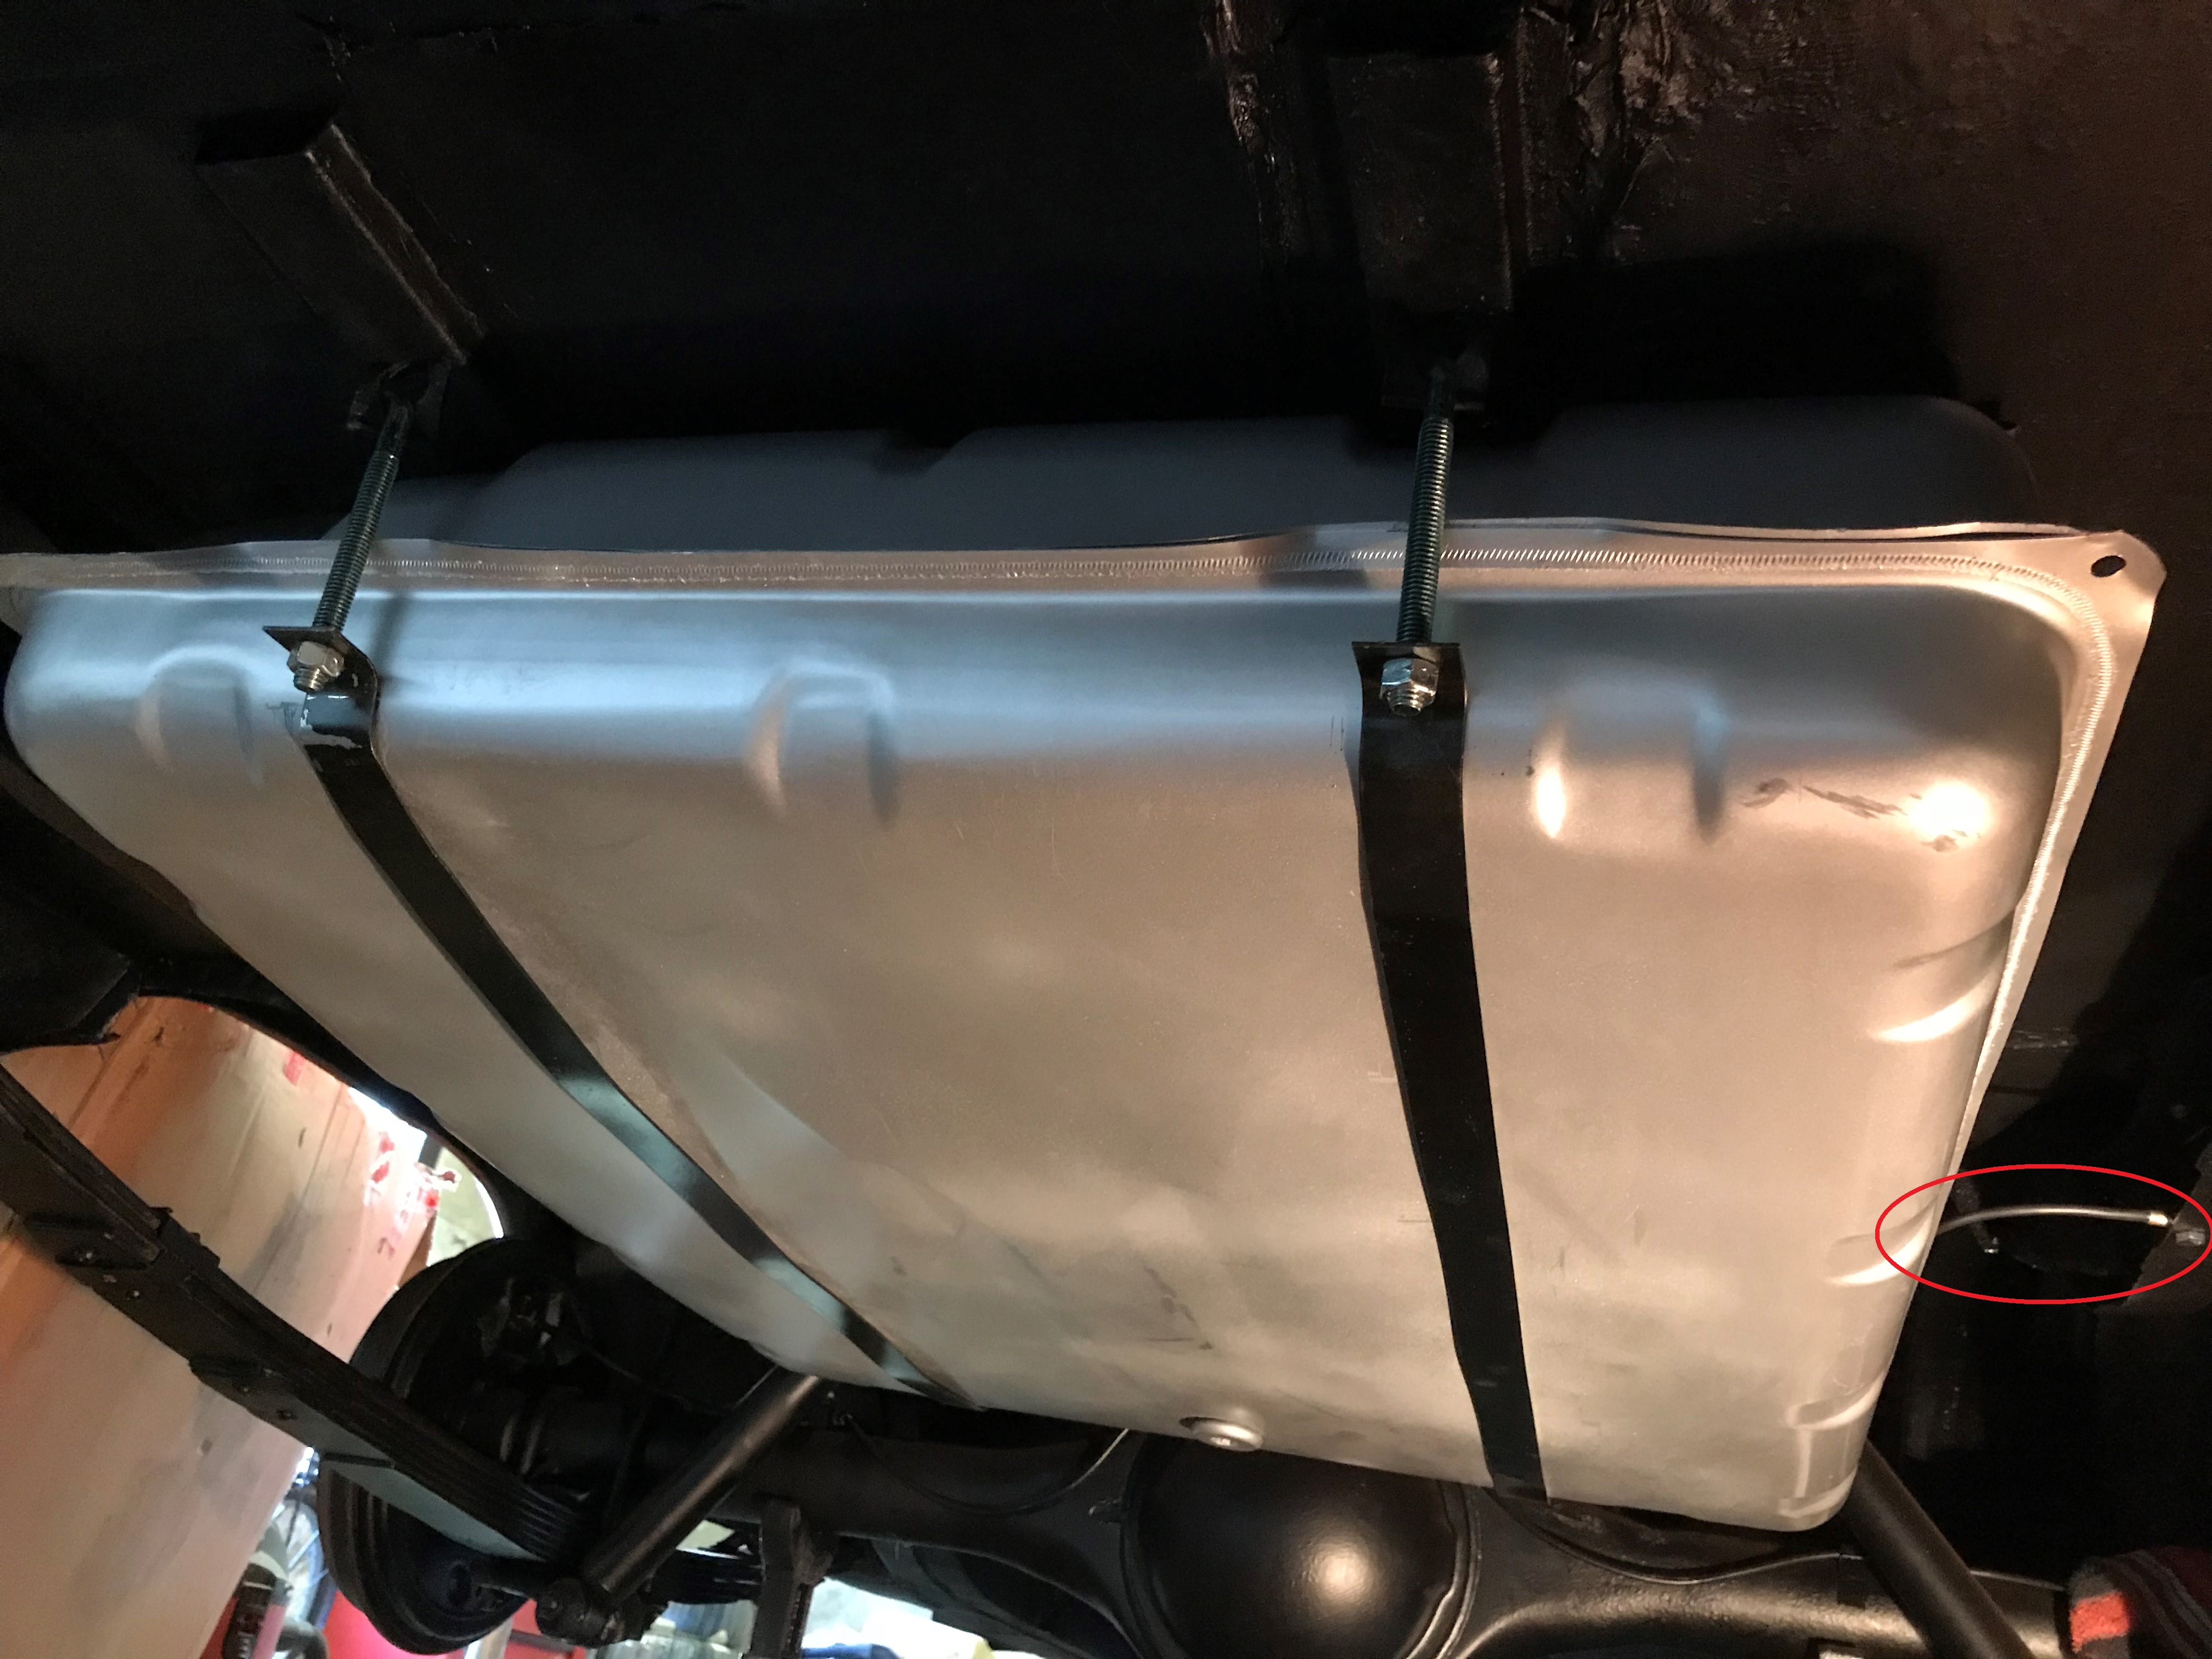
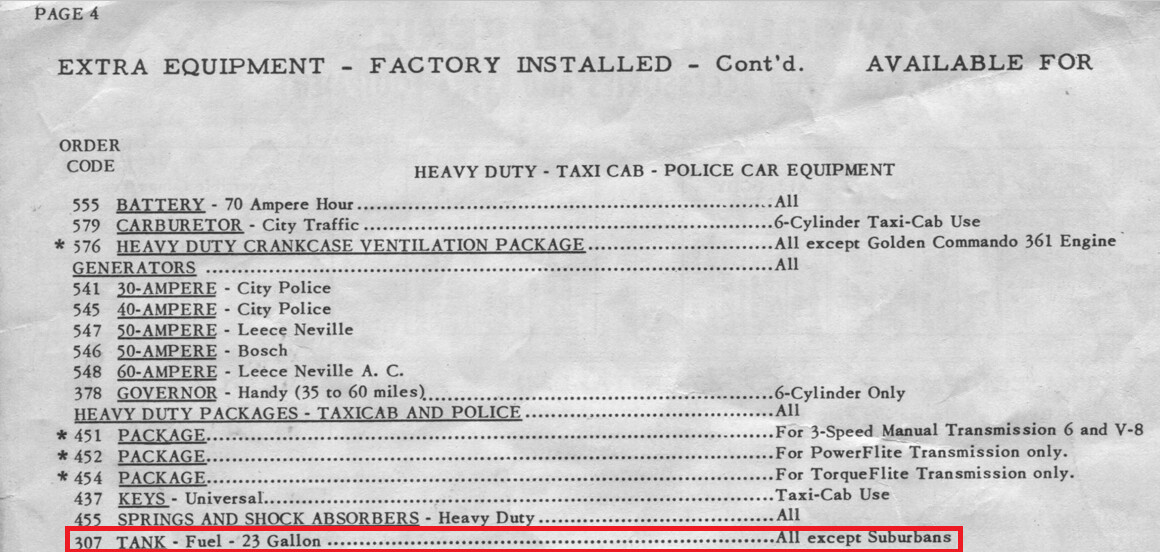
Thanks Dick! Is there a chance they came from a 23 gallon tank? According to the “Accessories and Extra Equipment” pamphlet I copied from the Keijs, a 23 gallon tank was an option on police cars and taxis:
One thing for sure - the Vans J-bolts are longer, if the TPI is the same, and it looks to be. I count 34 threads on my originals, 2.125" long (at 16 TPI). From the Vans picture - which has a nut on the end - they are at least 56 threads, easily over an inch longer. I guess I was supposed to buy J-bolts when I bought the straps.
But, I’ll wait to see what you measure, and work on other things today. The Vans straps match my original in length - I’ll measure from the top of the slot, to the base of the platform where the bolt goes through.
A bit of a frustrating day in the hot garage today…
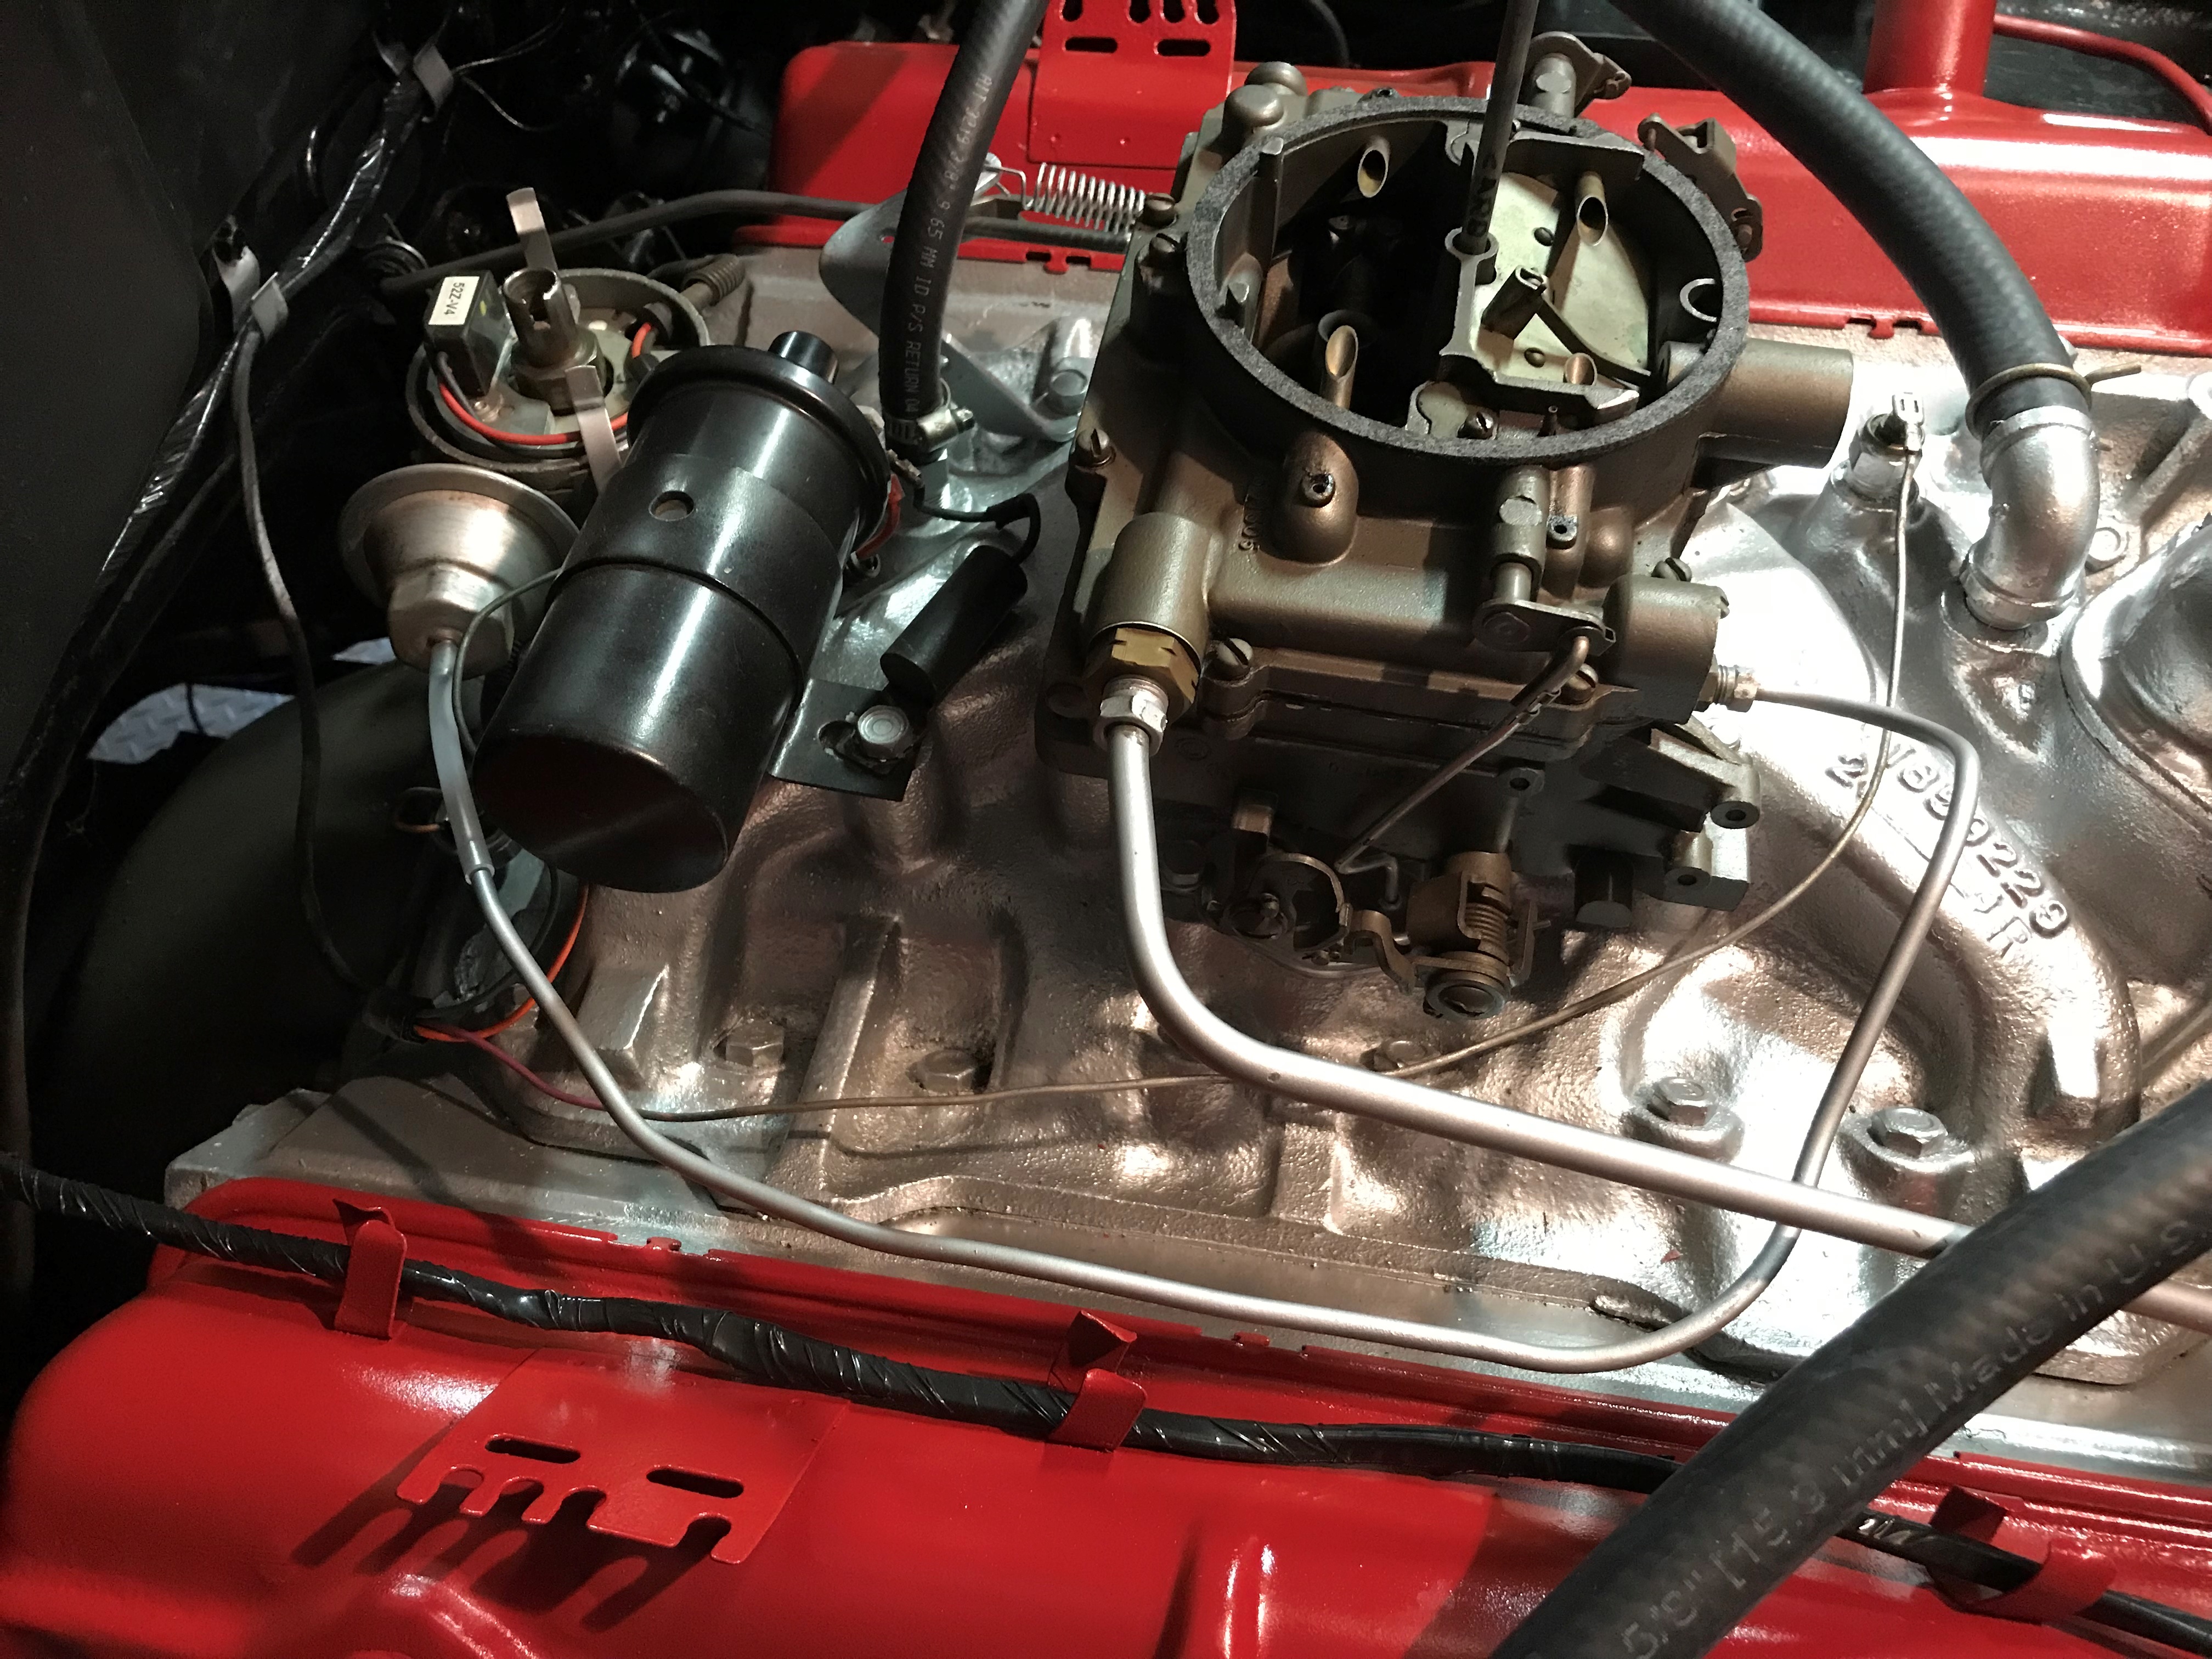
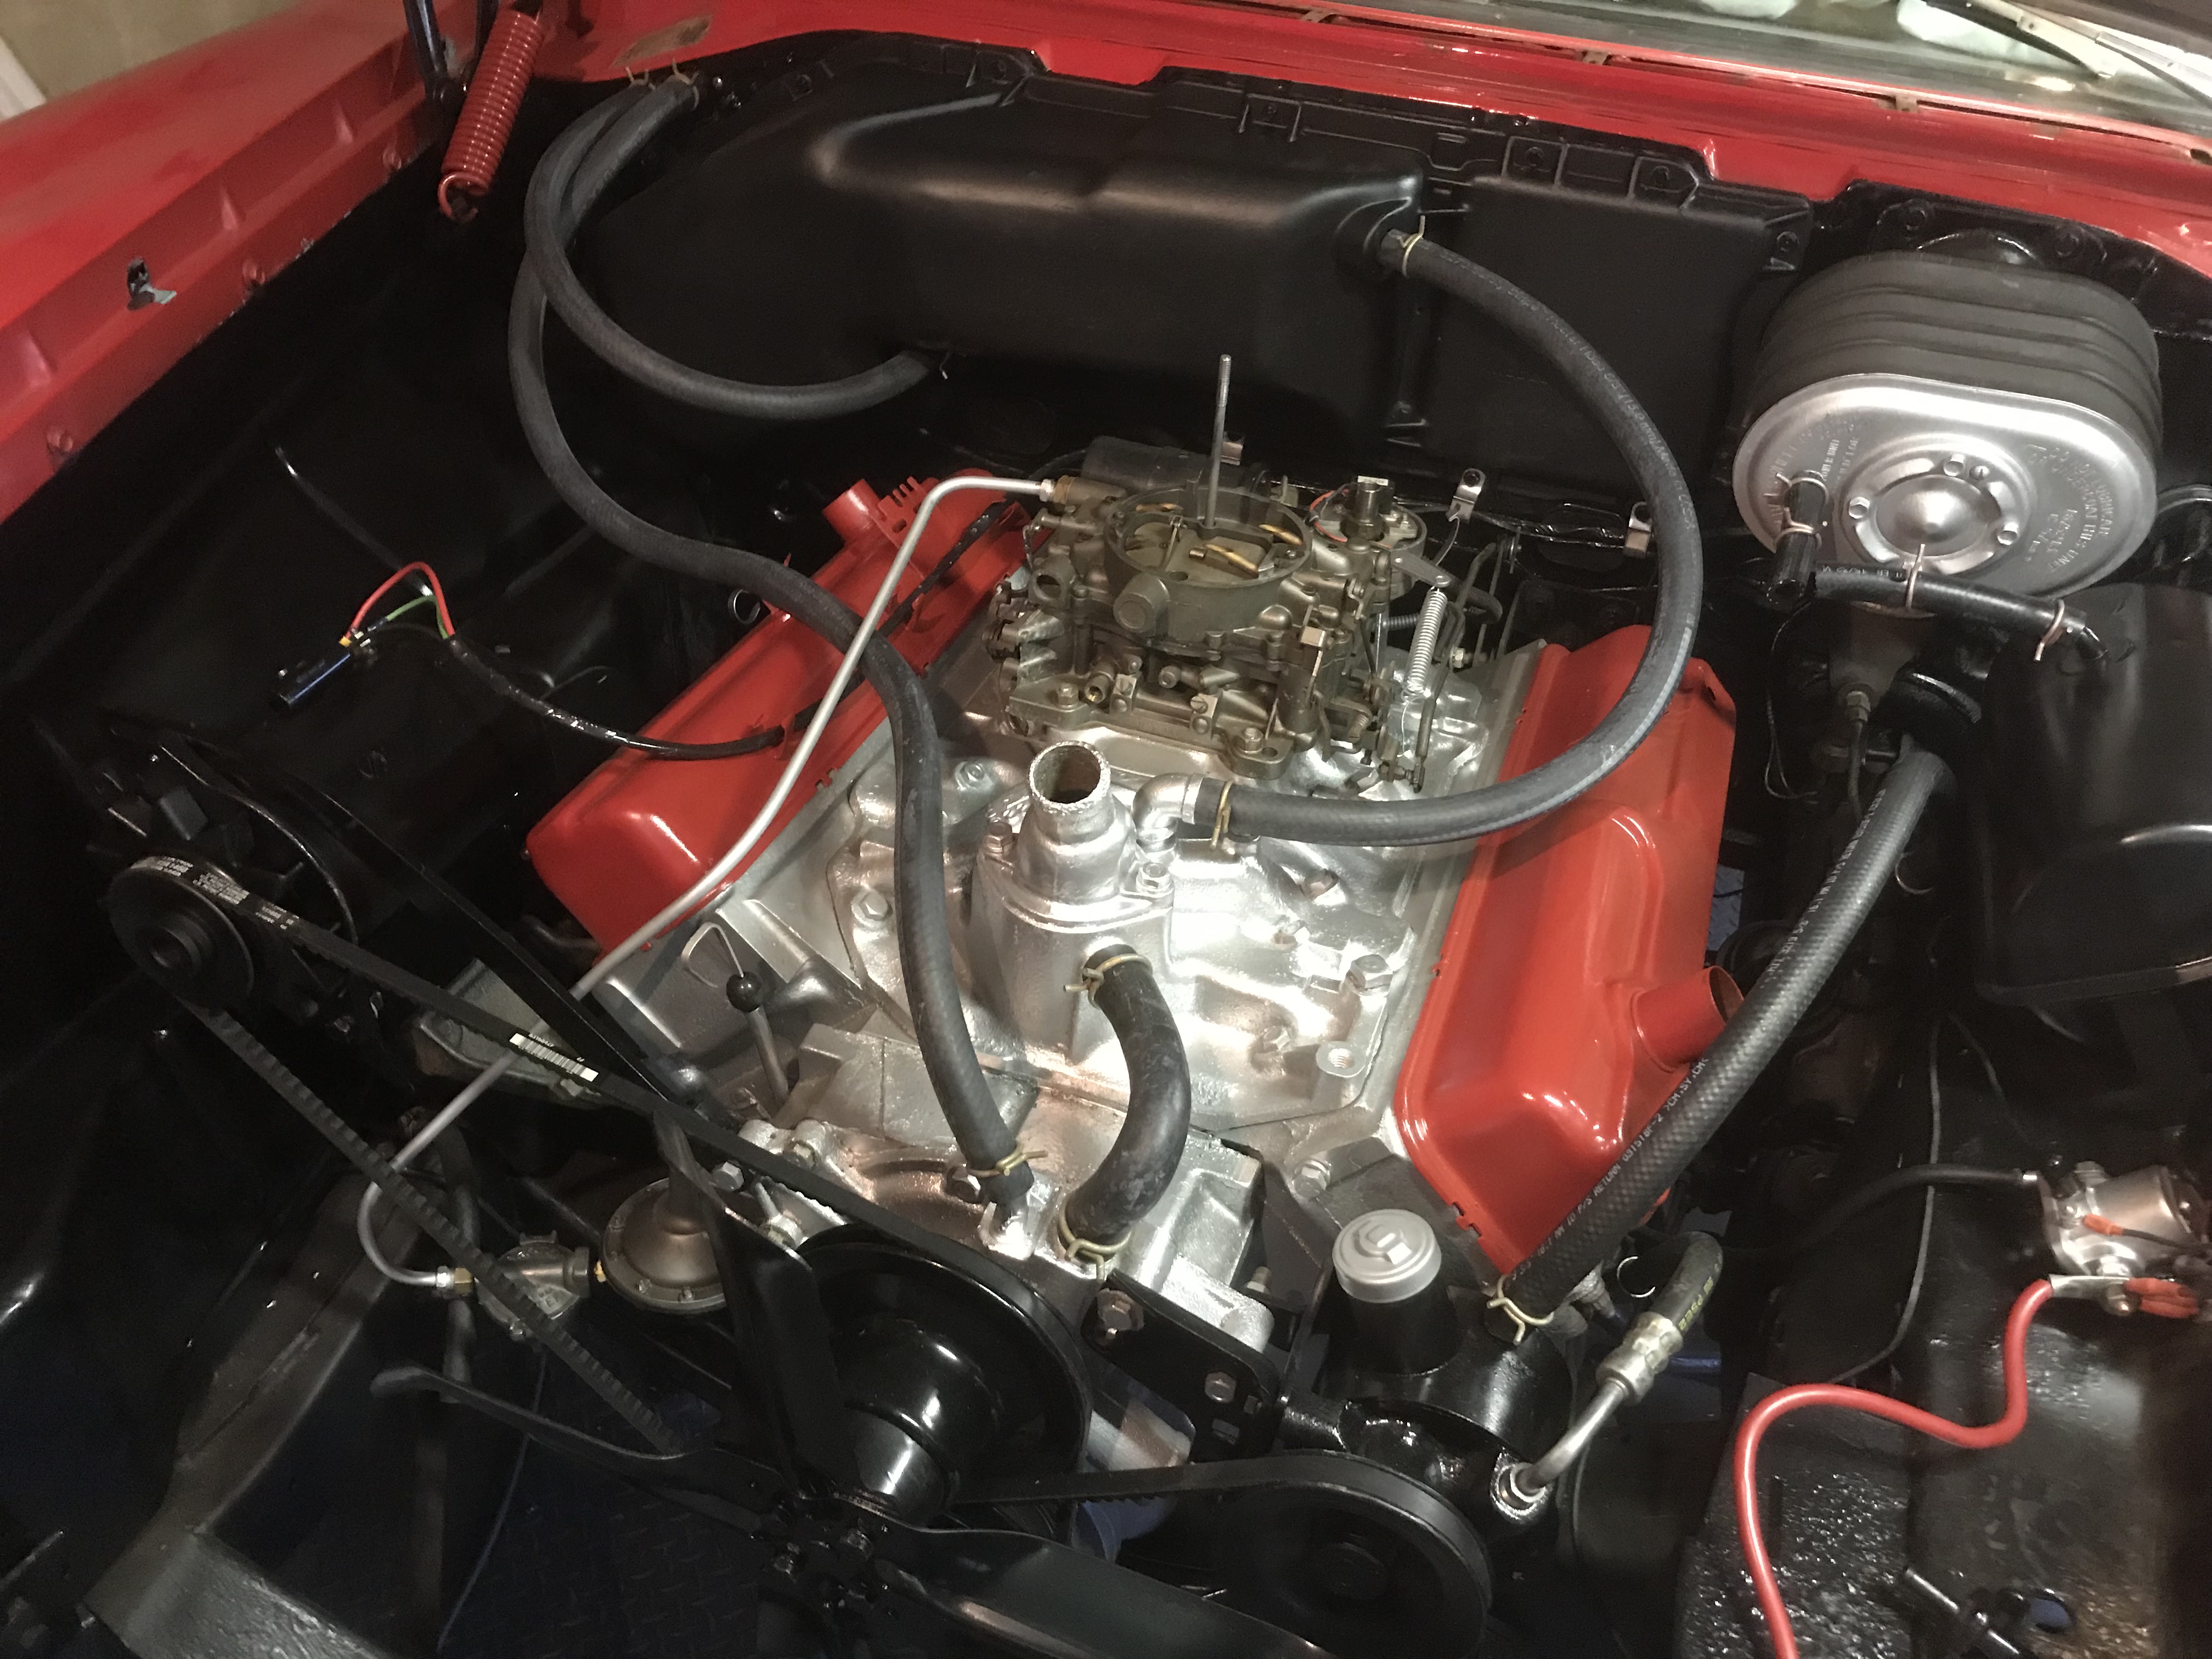
I put back the metal fuel line between the filter and the carb. Then, I went to replace the fuel line to the fuel pump, using wire type hose clamps I got from Gary Goers. But they just weren’t tight enough; I could slide the hose on the tube. (sigh…) So, I resorted to using the worm gear hose clamps I had on there before. I did use the Goers wire type for the bypass hose, we’ll see if it leaks (I did a few wraps of teflon on the corroded - but, wire-brushed and painted - tubing). Then I went to put the P/S return hose on, and realized I ordered the wrong size, so I ordered the right size tonight. I’m thinking, I’ll use a worm gear clamp on the steering column where it can hardly be seen, 'cause I don’t want that guy popping off way down there - I’ll use a wire clamp on the pump end and see if it holds.
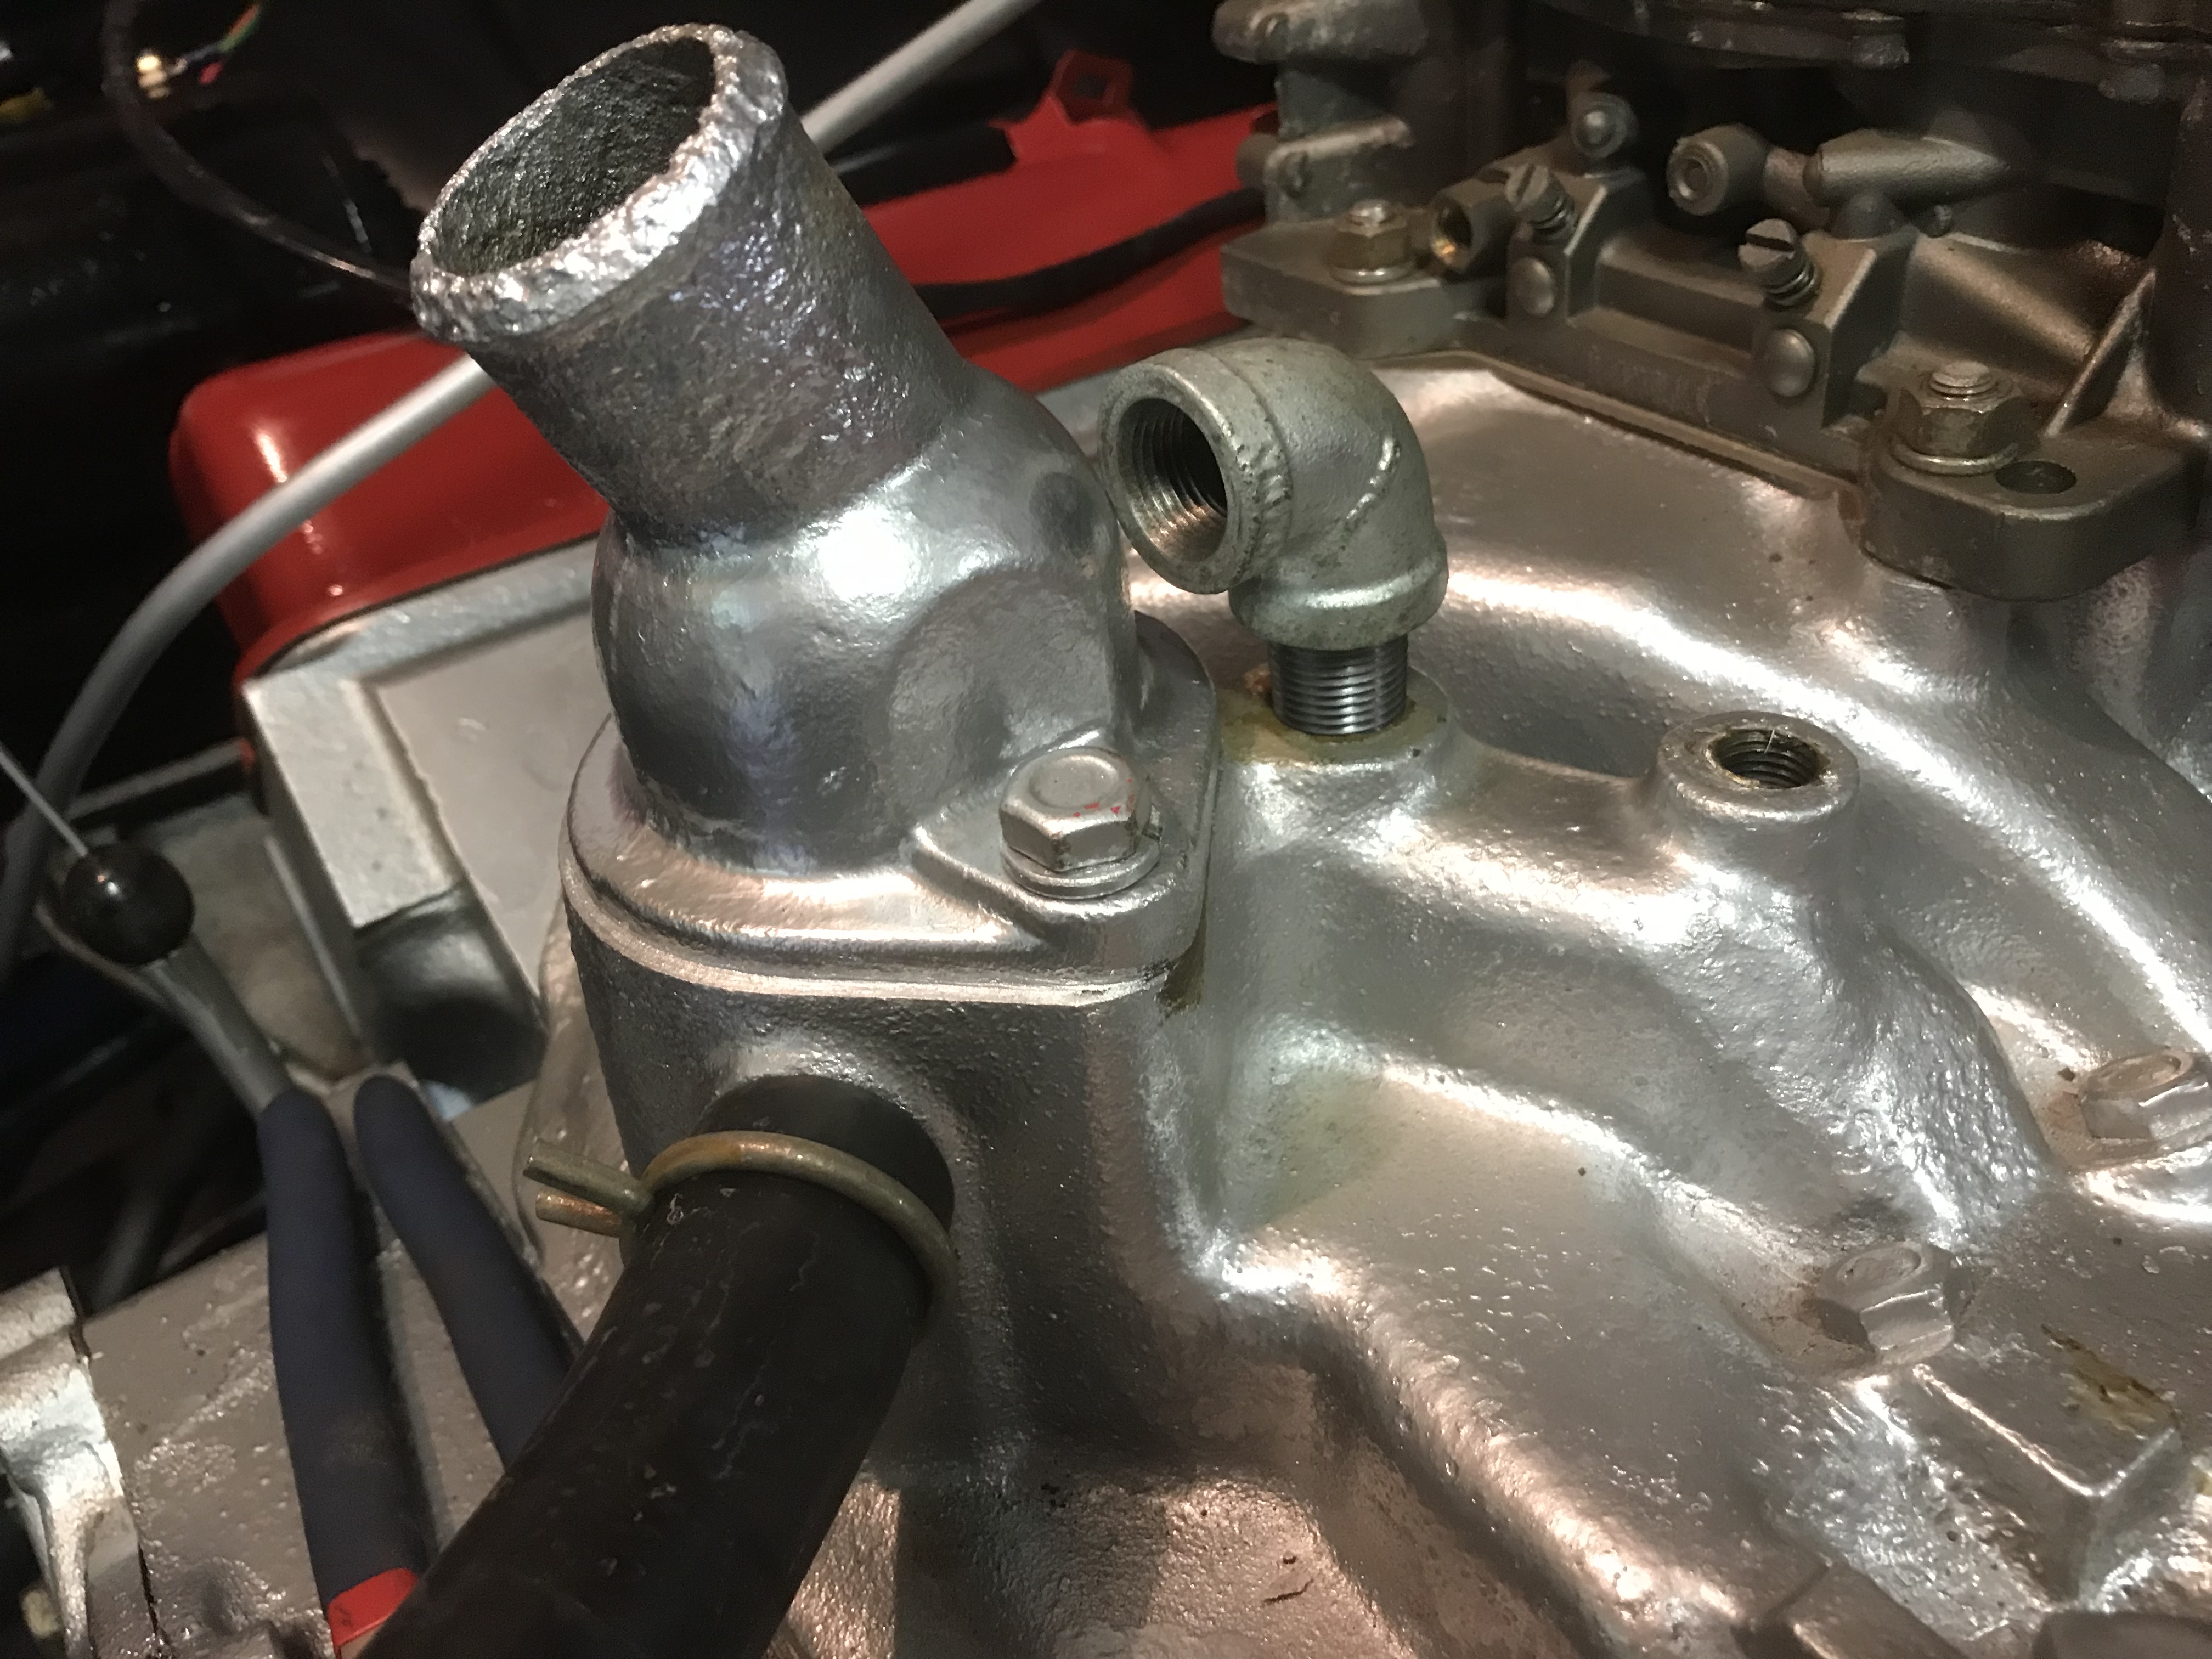
And I realize the heater return pipe in the manifold really needs a molded 90 in it, for air cleaner clearance. Had I thought before I put the thermostat housing on, I would have turned tubing with a 90 in it into the manifold, because the one that’s in there is straight up. Unless I piece hoses together, I need a piece of 5/8" heater hose that’s at least 26" long, with a molded 90 in it - but dang, if I can find it. Any leads?
And finally, because I’m not sure I’ll have all my heater actuators and heater control in place before Carlisle, I’d like to put in an inline shutoff valve that’s inconspicuous - lest the heat be on when we’re barreling down the Pennsy Turnpike in the dead of summer. Any ideas here?
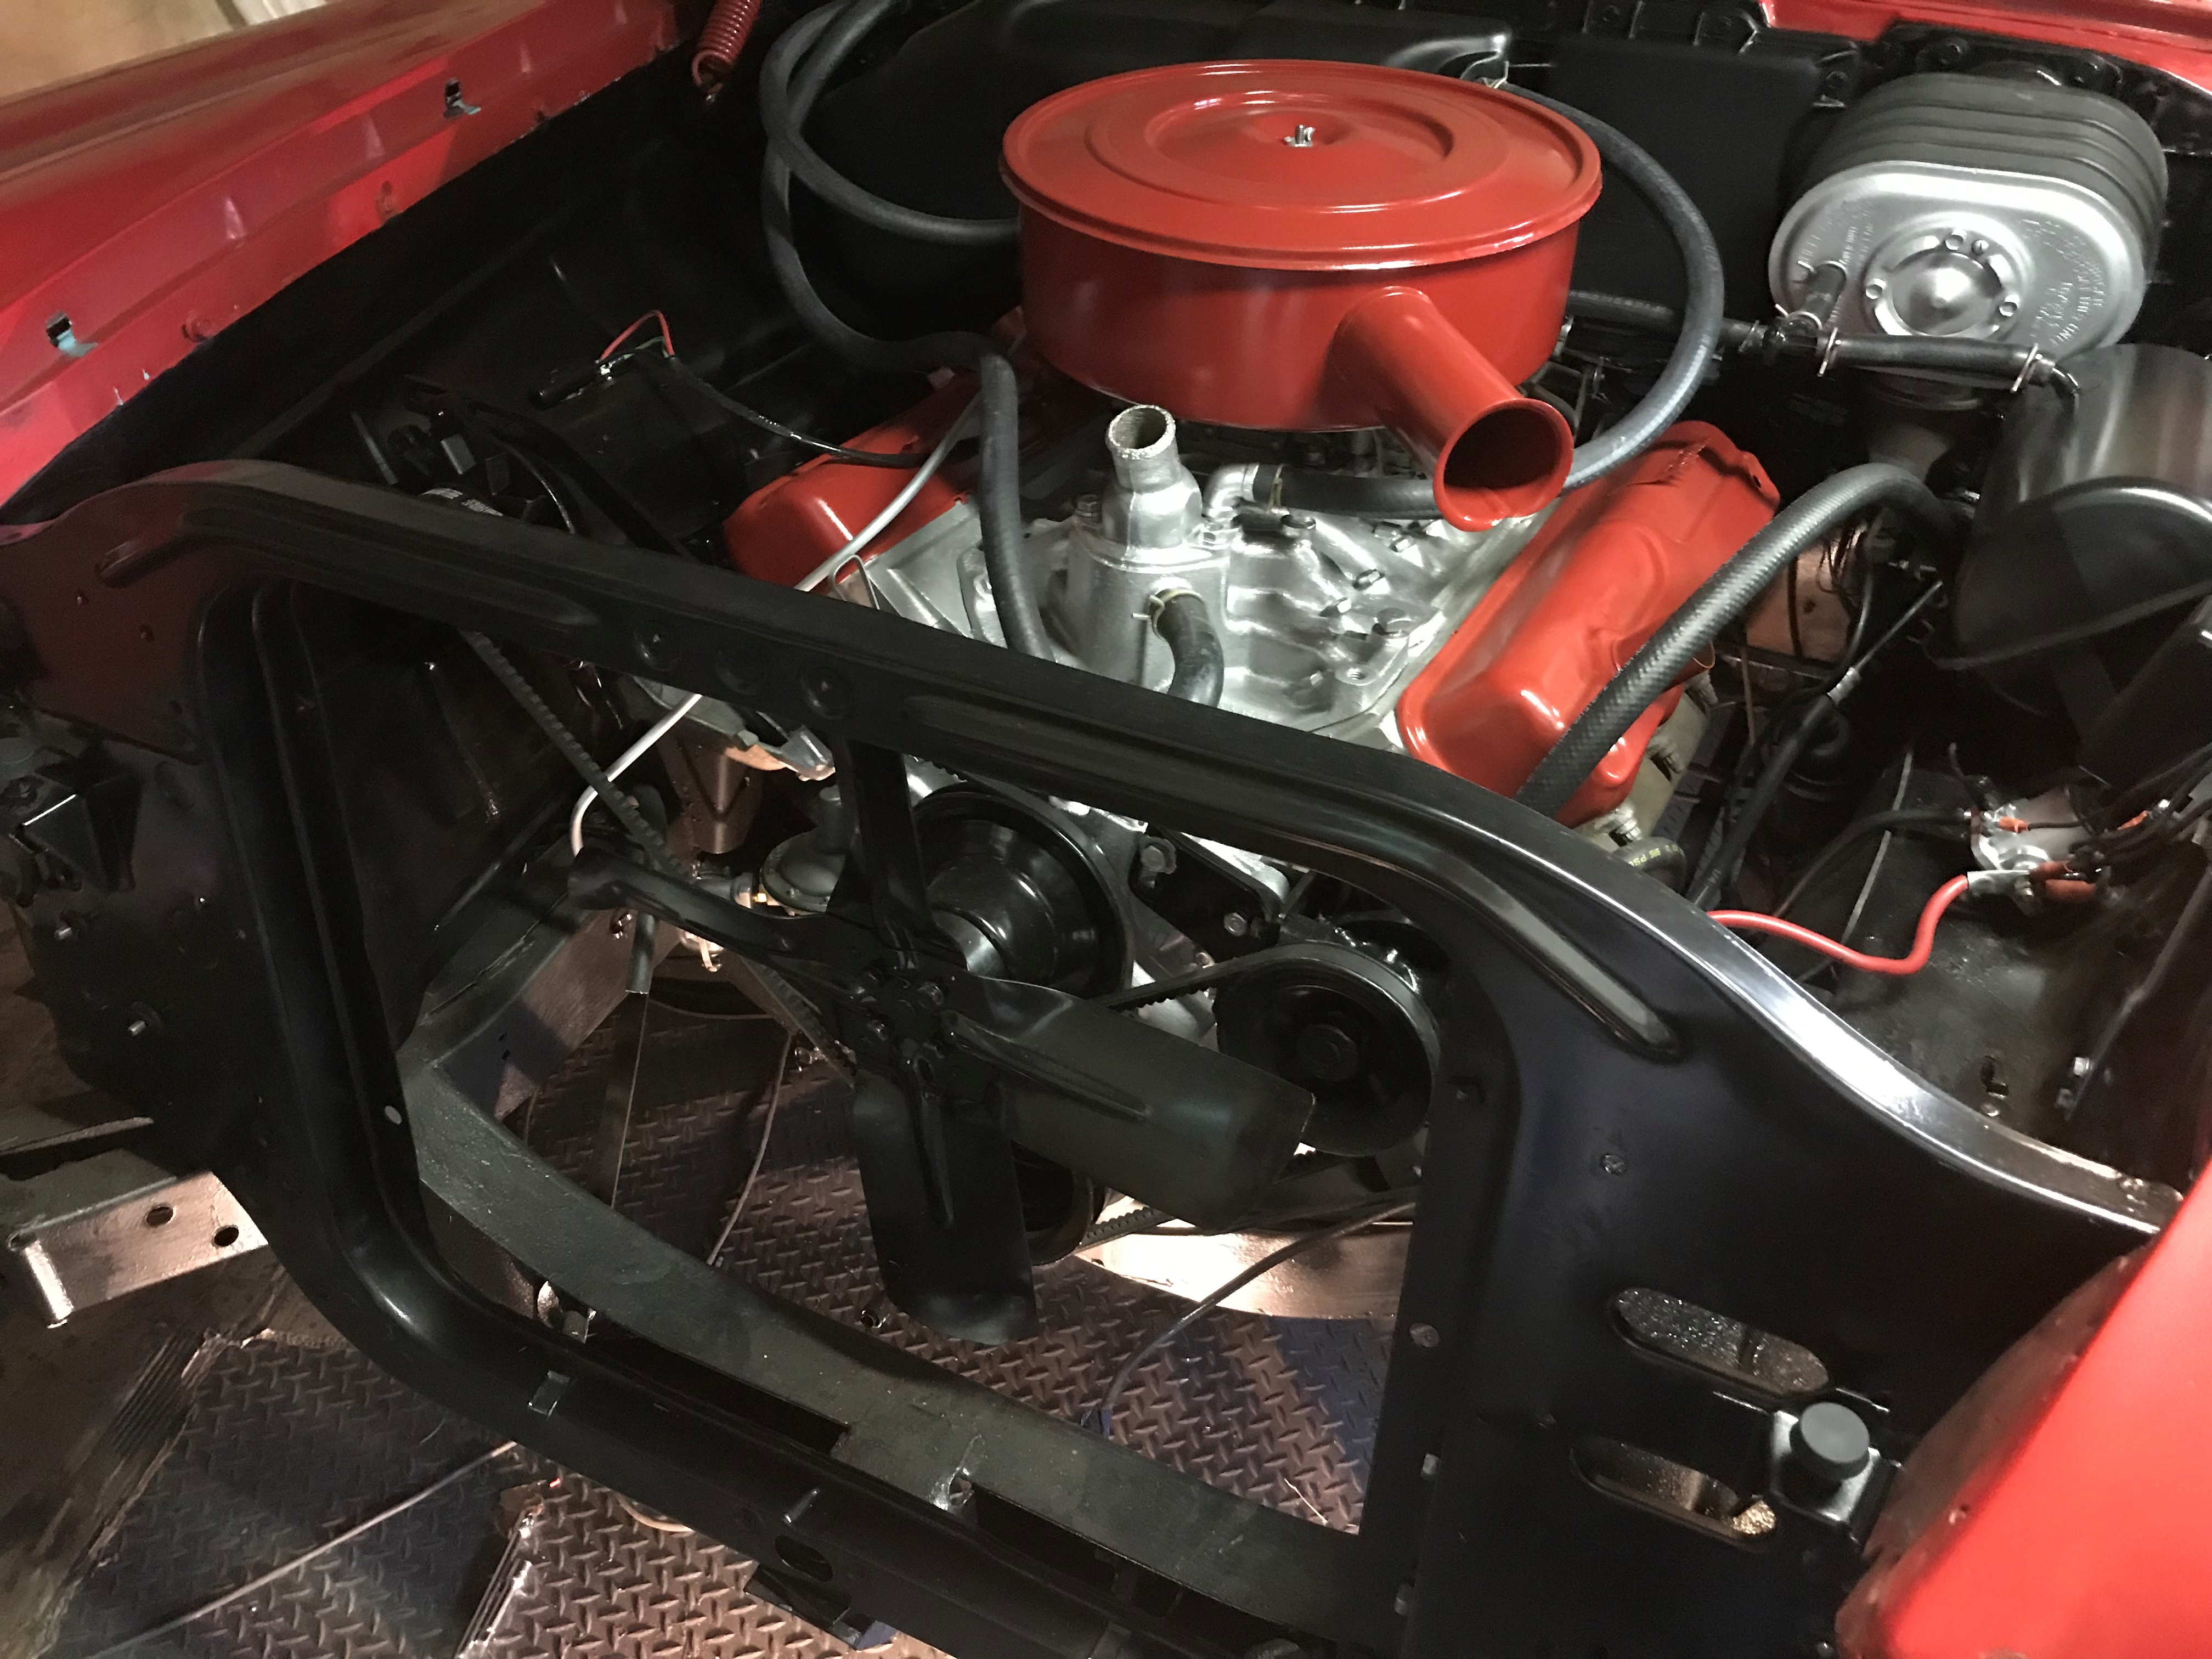
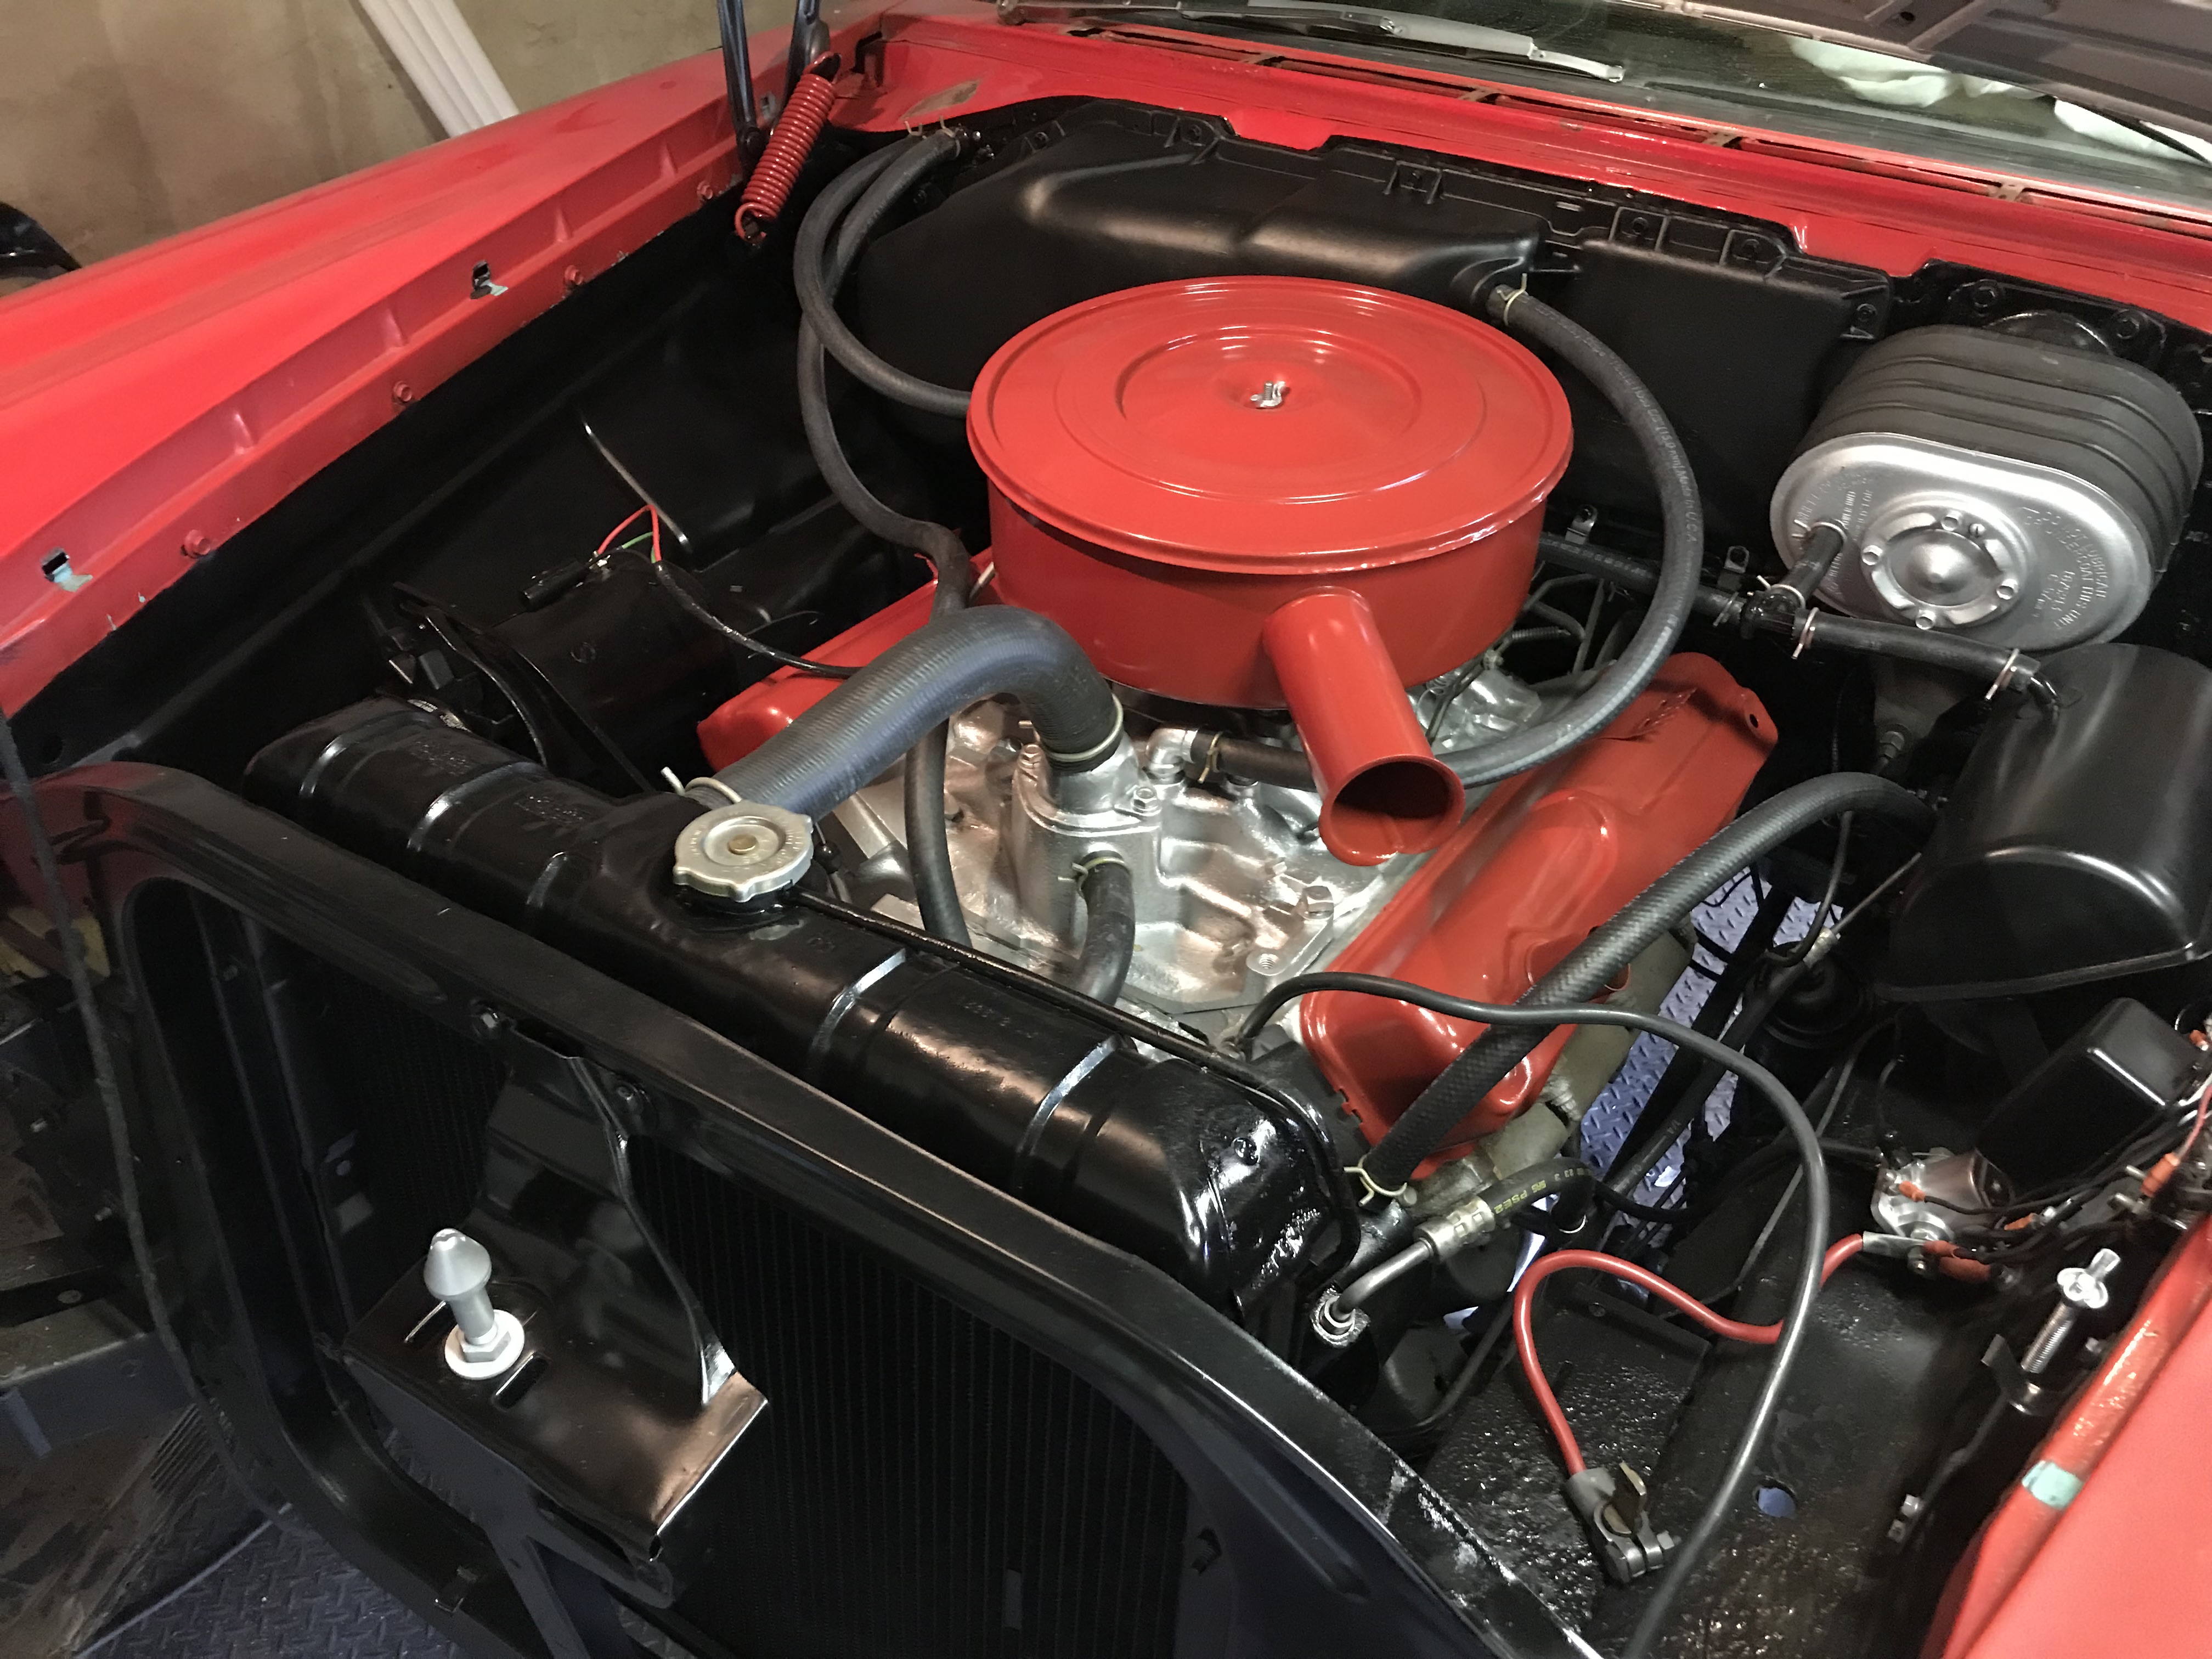
Not a great day. To support the illusion of progress, however, I did stand the radiator core in place before I wiped my brow and headed to the house for a cold one.
Michael’s headed straight for the panhandle - I hope that by now, Dick, you are headed south to Palm Beach Gardens, and not still driving US 10. Send up a flare, will ya?!?
I think I’m going to go ahead and order those long J-bolts from Vans, on the likely prospect that your straps are not for a (rare) 23 gallon tank.
Nope - Mine measure the same as yours. All you need is a coupling nut and a short piece of threaded rod. At my ACE we have coupling nuts up to 3/4" and threaded rod 3" and 6" long or longer.
Dick
Thanks Dick! I think if I were going to use a coupling nut, I would just use a bolt at the right length rather than all thread and a nut. But I ordered the longer J-bolts before I saw your reply, so let’s see how I make out with those.
Glad to hear you are home safe and sound from "Cruisin’ the Coast. Post some pix in “It’s Show Time”!
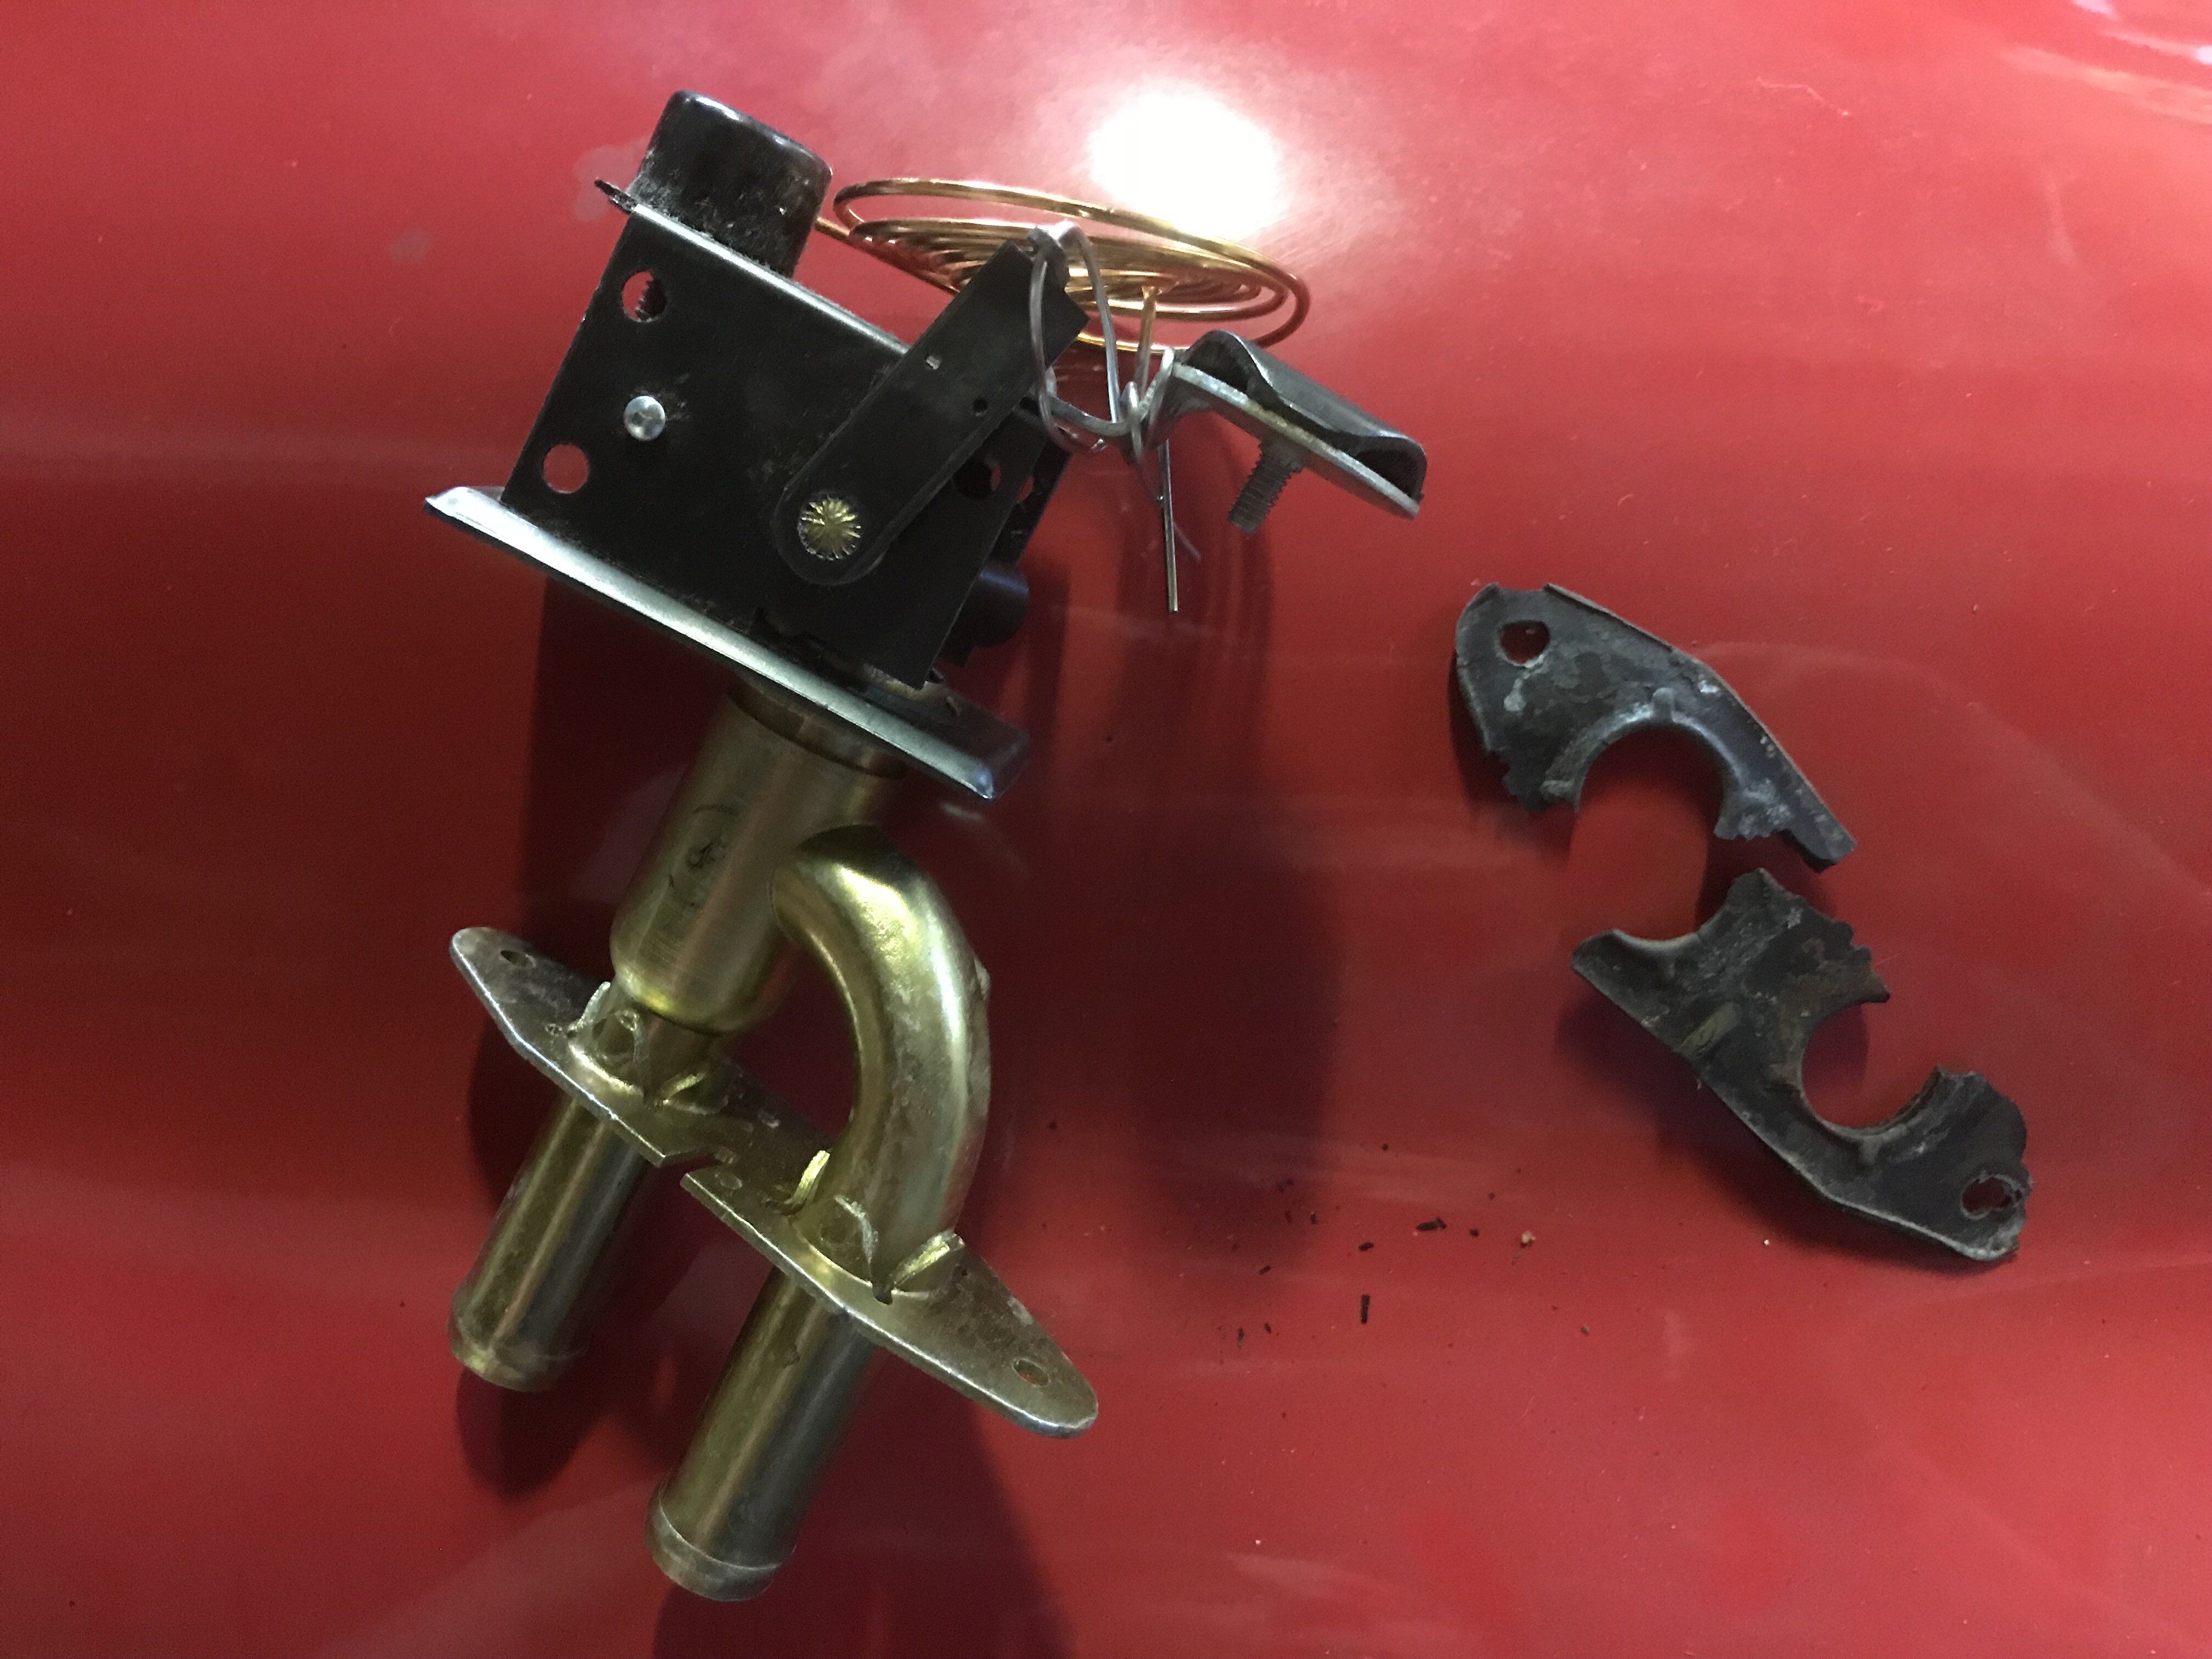
Before I installed the recently rebuilt heater valve, I wired it closed - I need to rebuild the heater assembly under the dash, but I don’t want to commit to that before Carlisle. There’s enough gasket fragments to make a template for a replacement I’ll make from a neoprene sheet
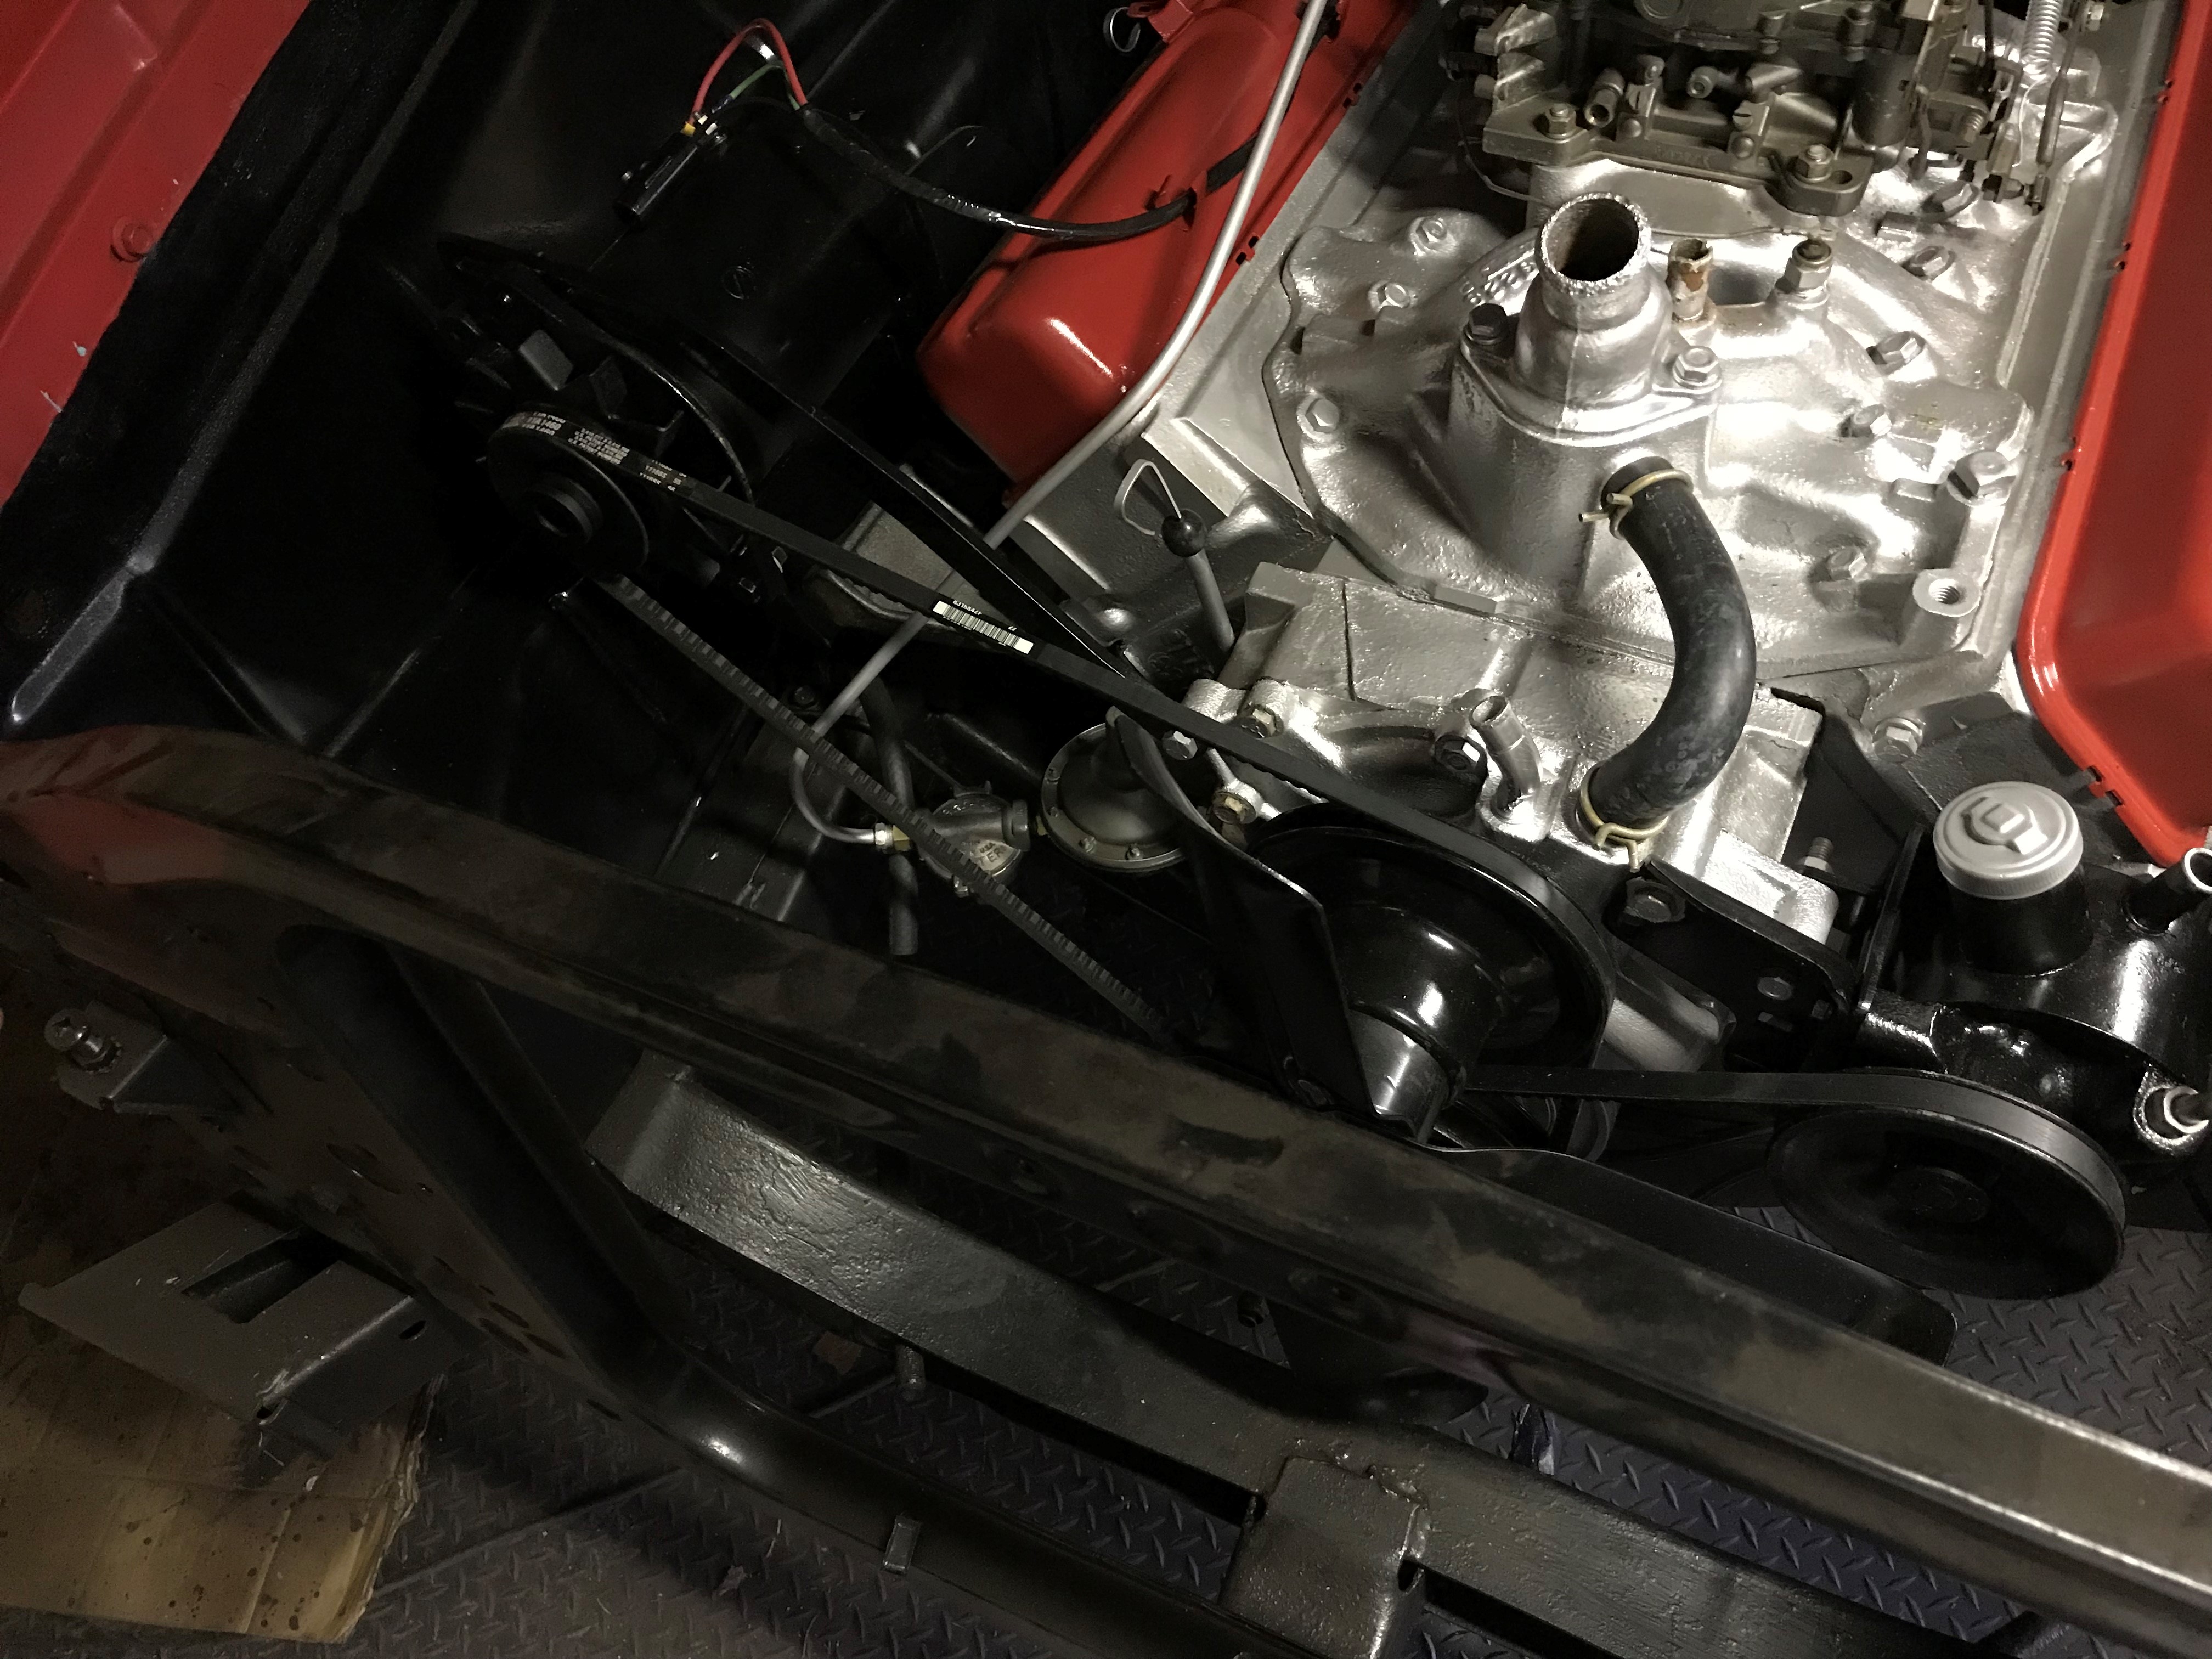
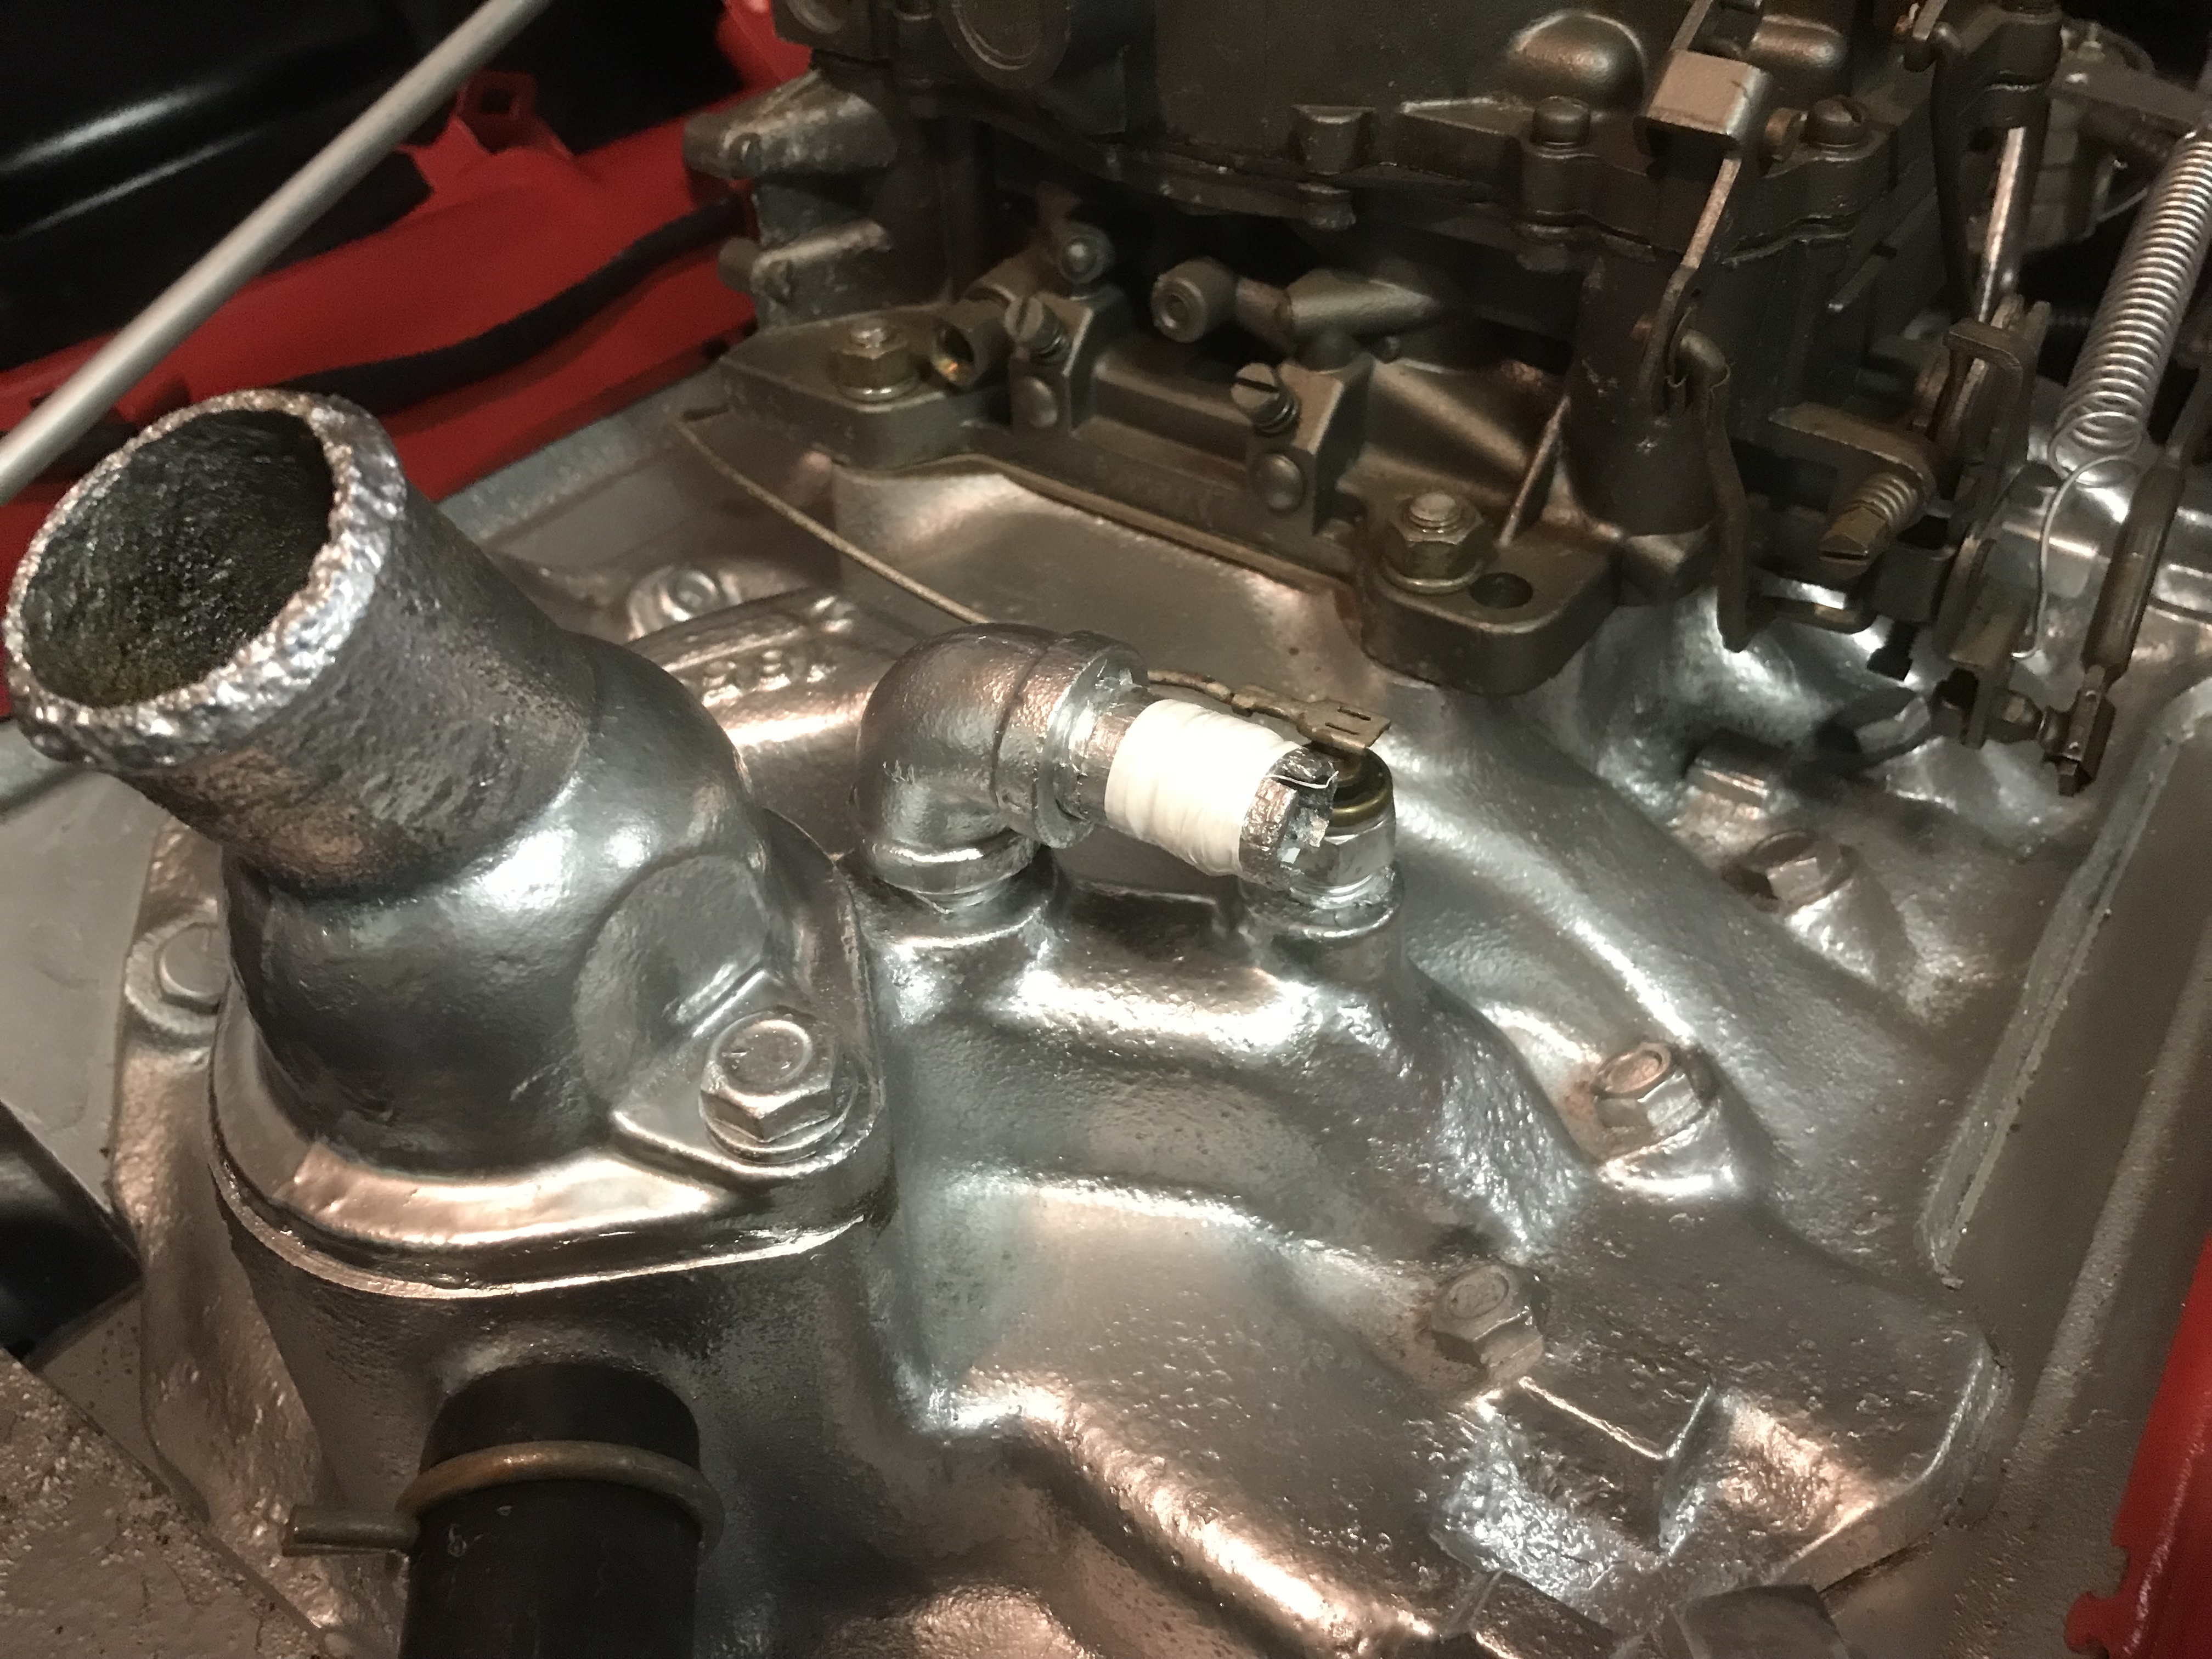
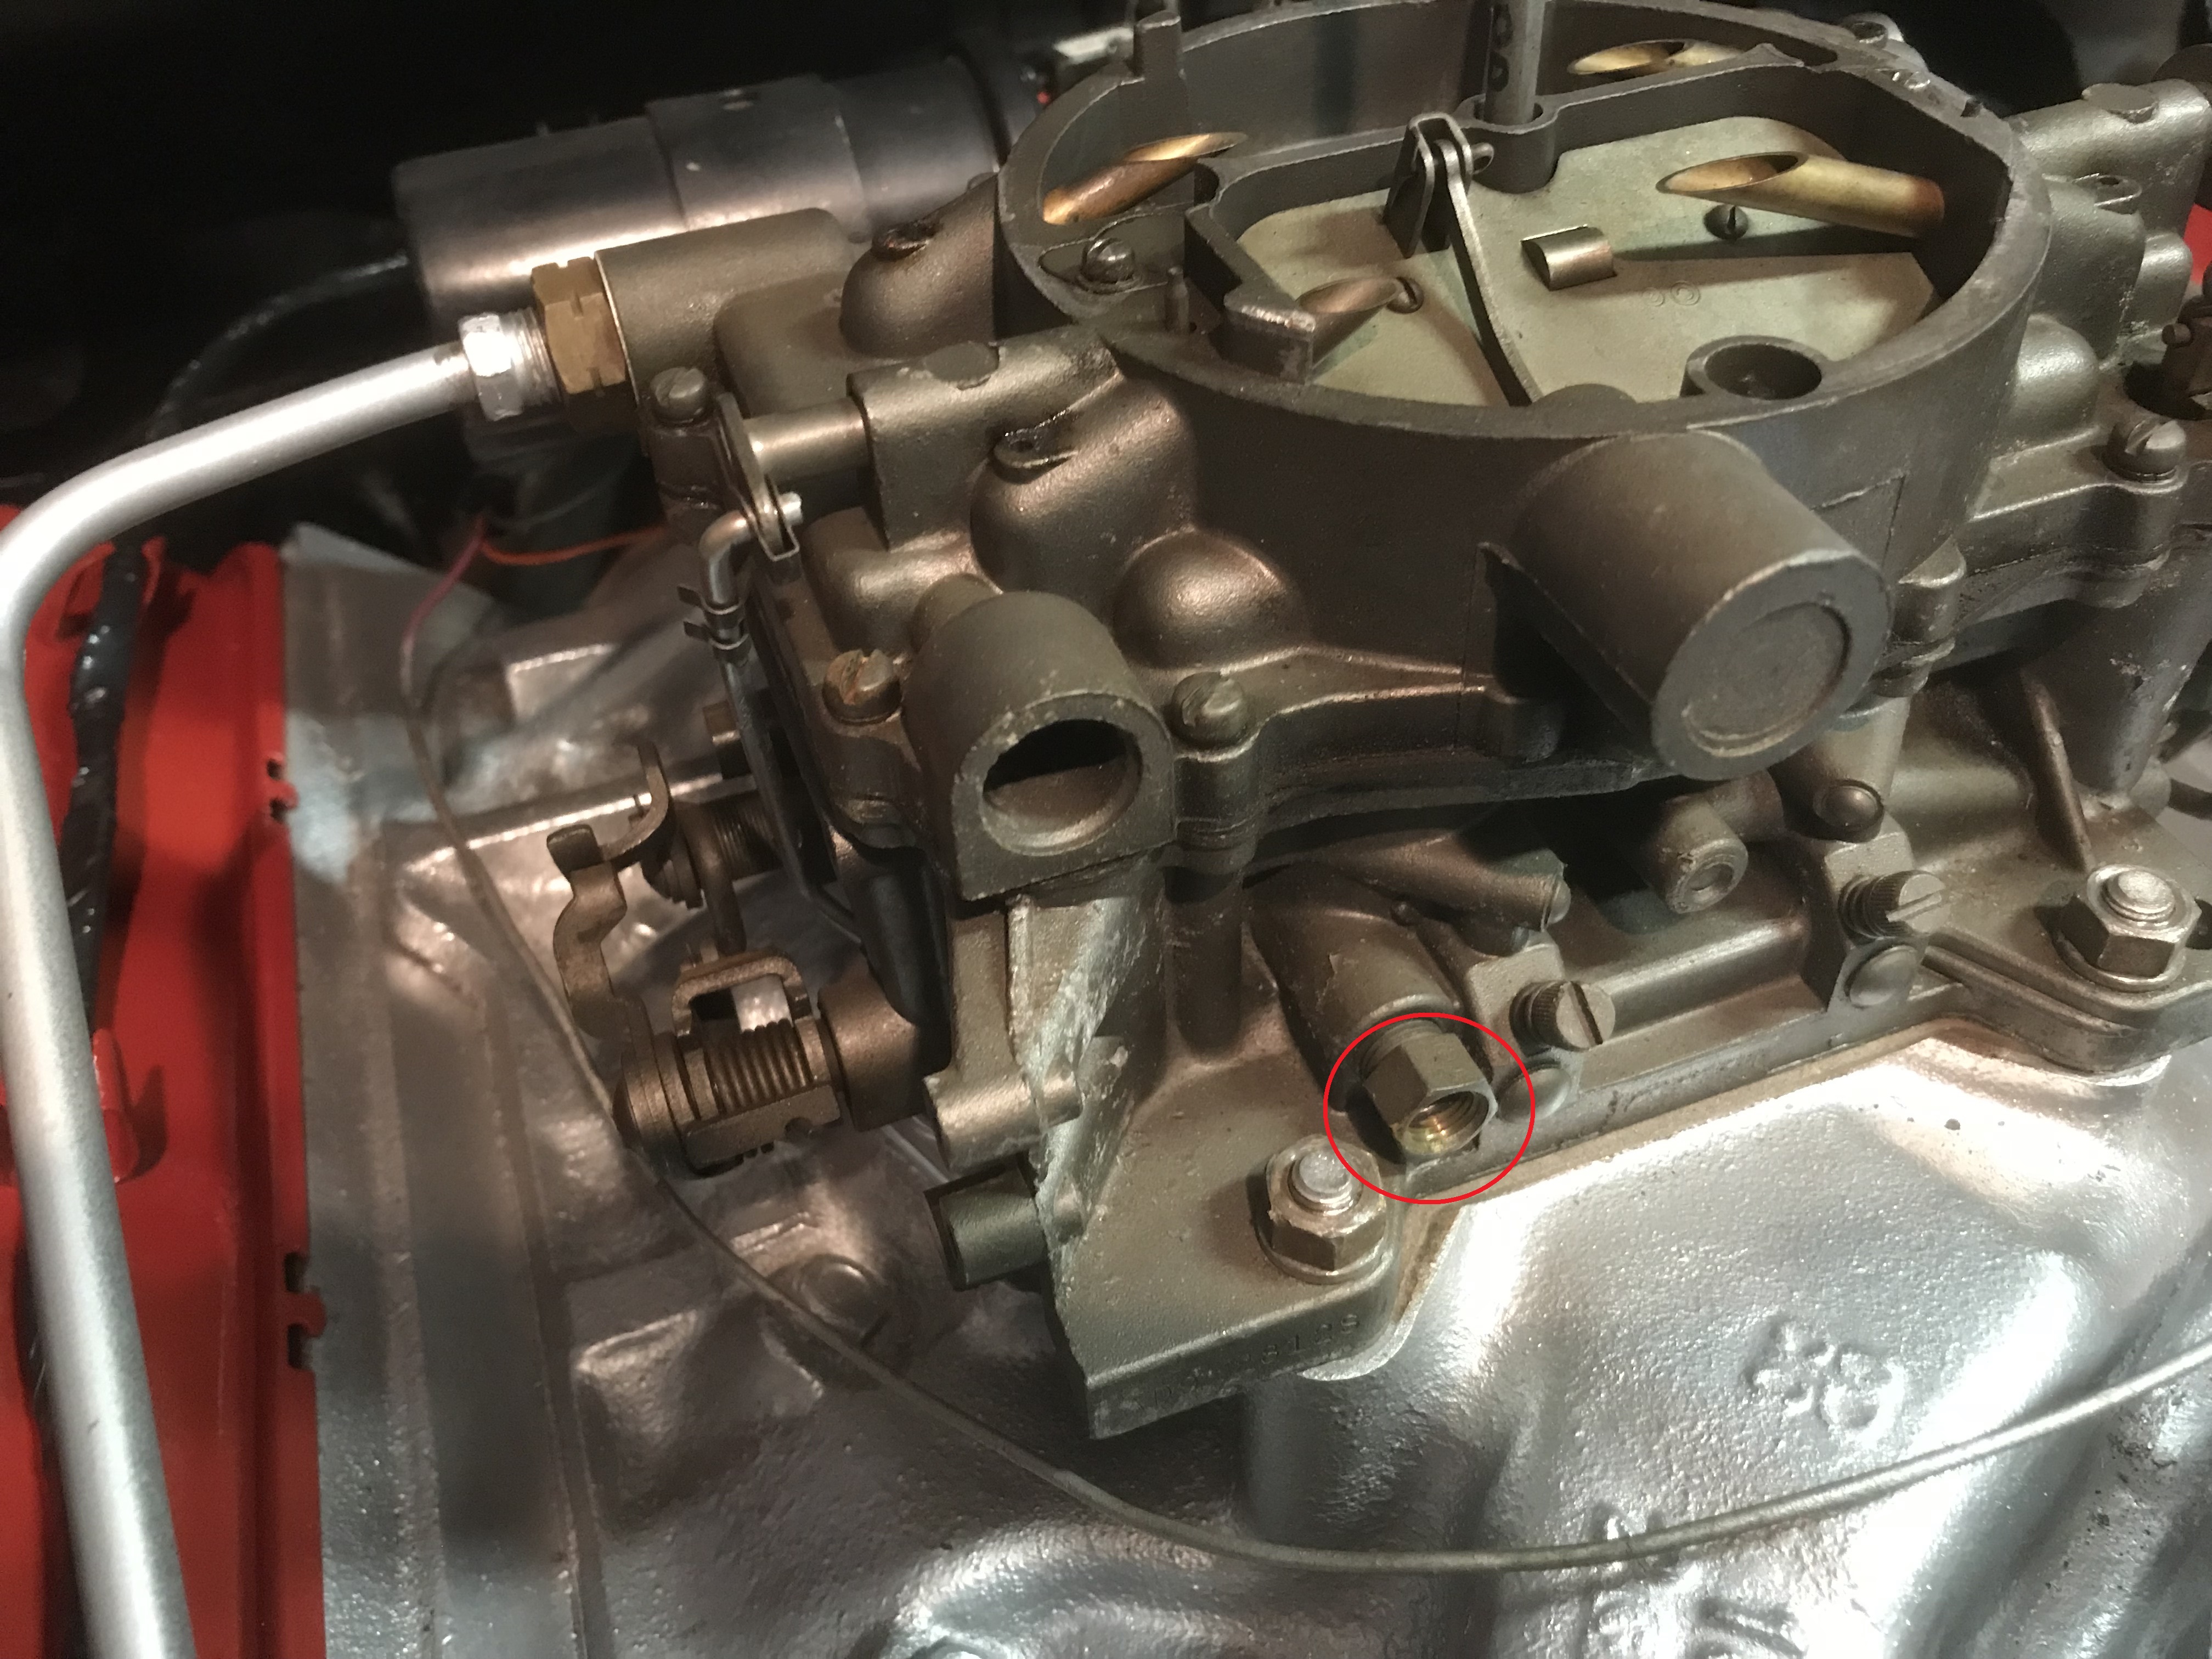
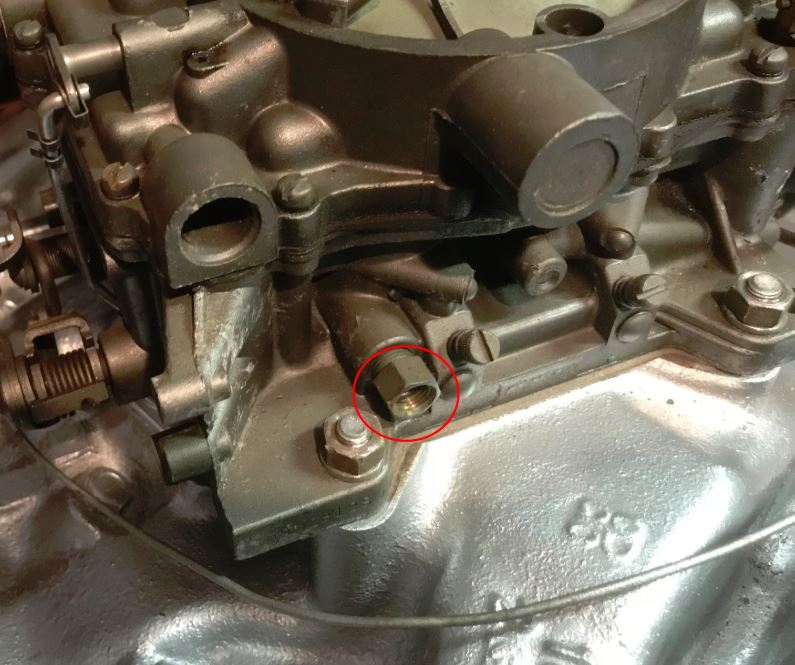
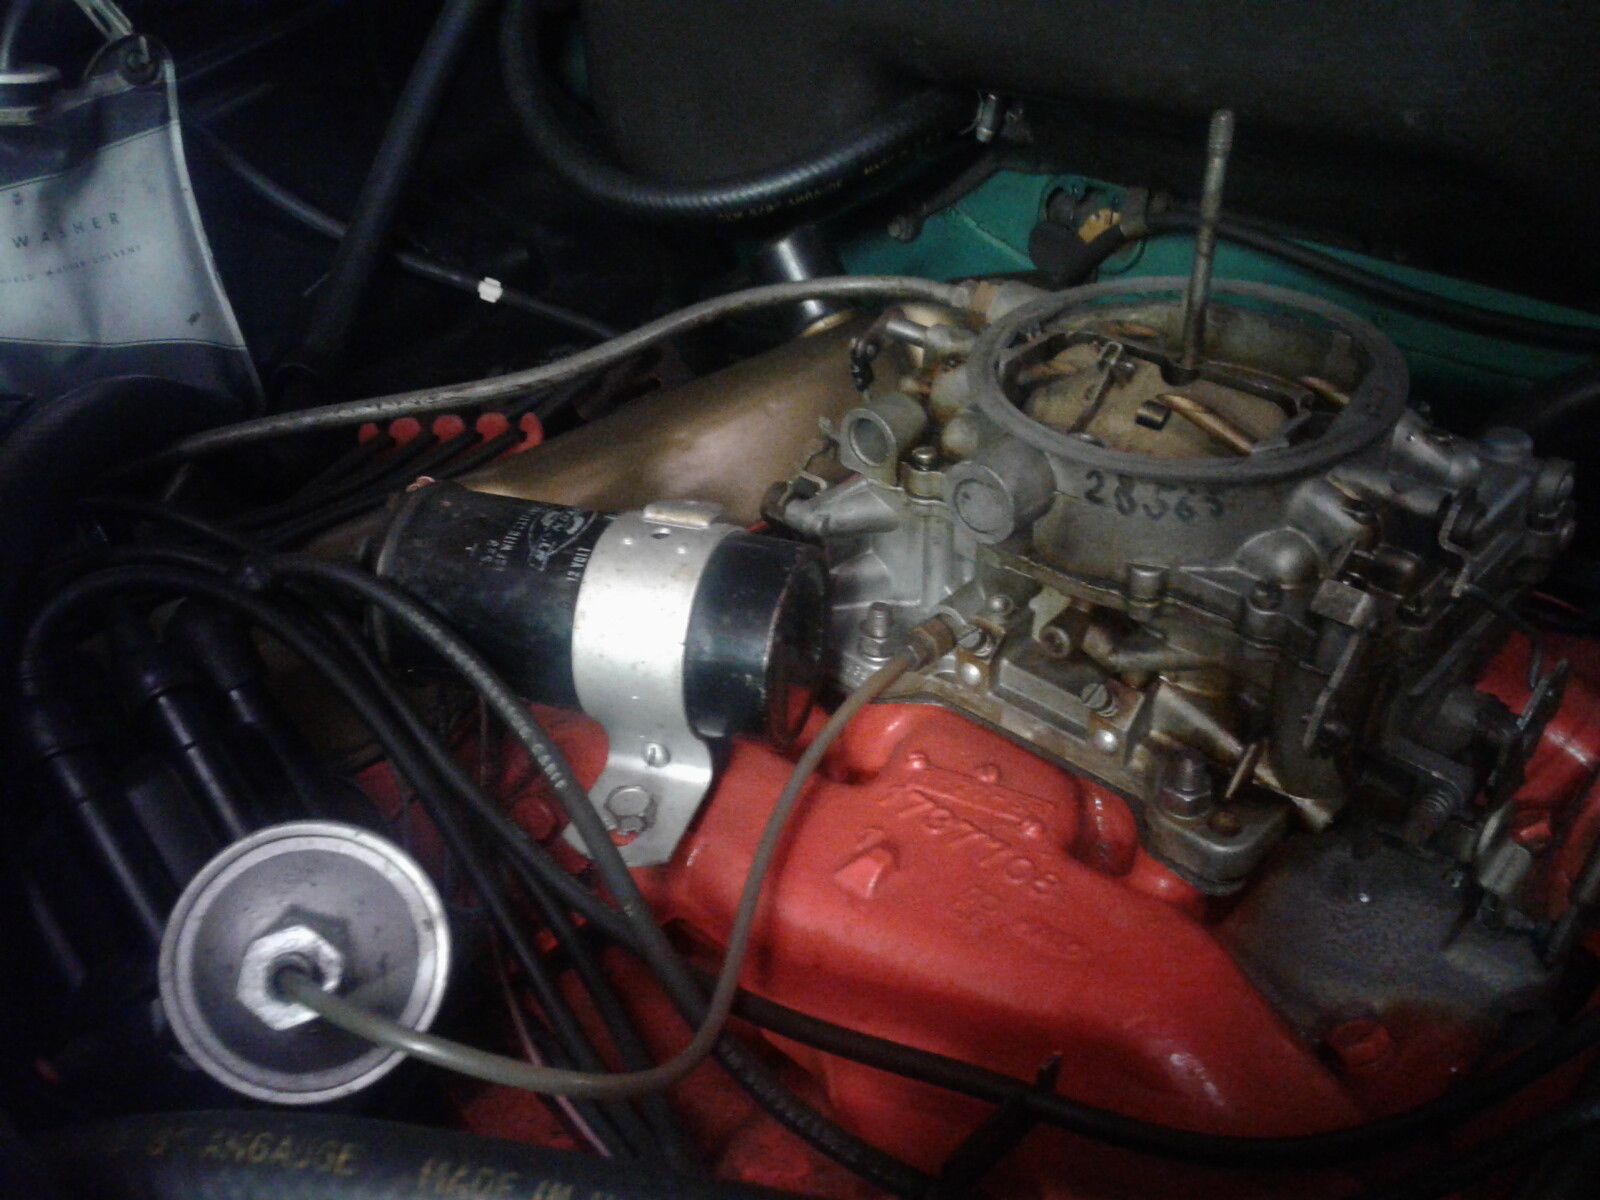
Oh yeah! What’s this fitting for in the last pic? I seem to recall it from before, and wondering what - if anything - goes there. Is it for servicing? I don’t think I had anything connected to it.
D’Oh! But of course. I have to hunt around in my stash of parts for that male fitting, and replace the rubber tubing. Here I was thinking this doodad - a thin little tube off of the rear vacuum line for the power brakes- was where the vac advance had been plugged into. But now I realize, that’s for the dashboard heater control switch. I’ll have to put a cap on that until I’m ready to redo the heater controls.
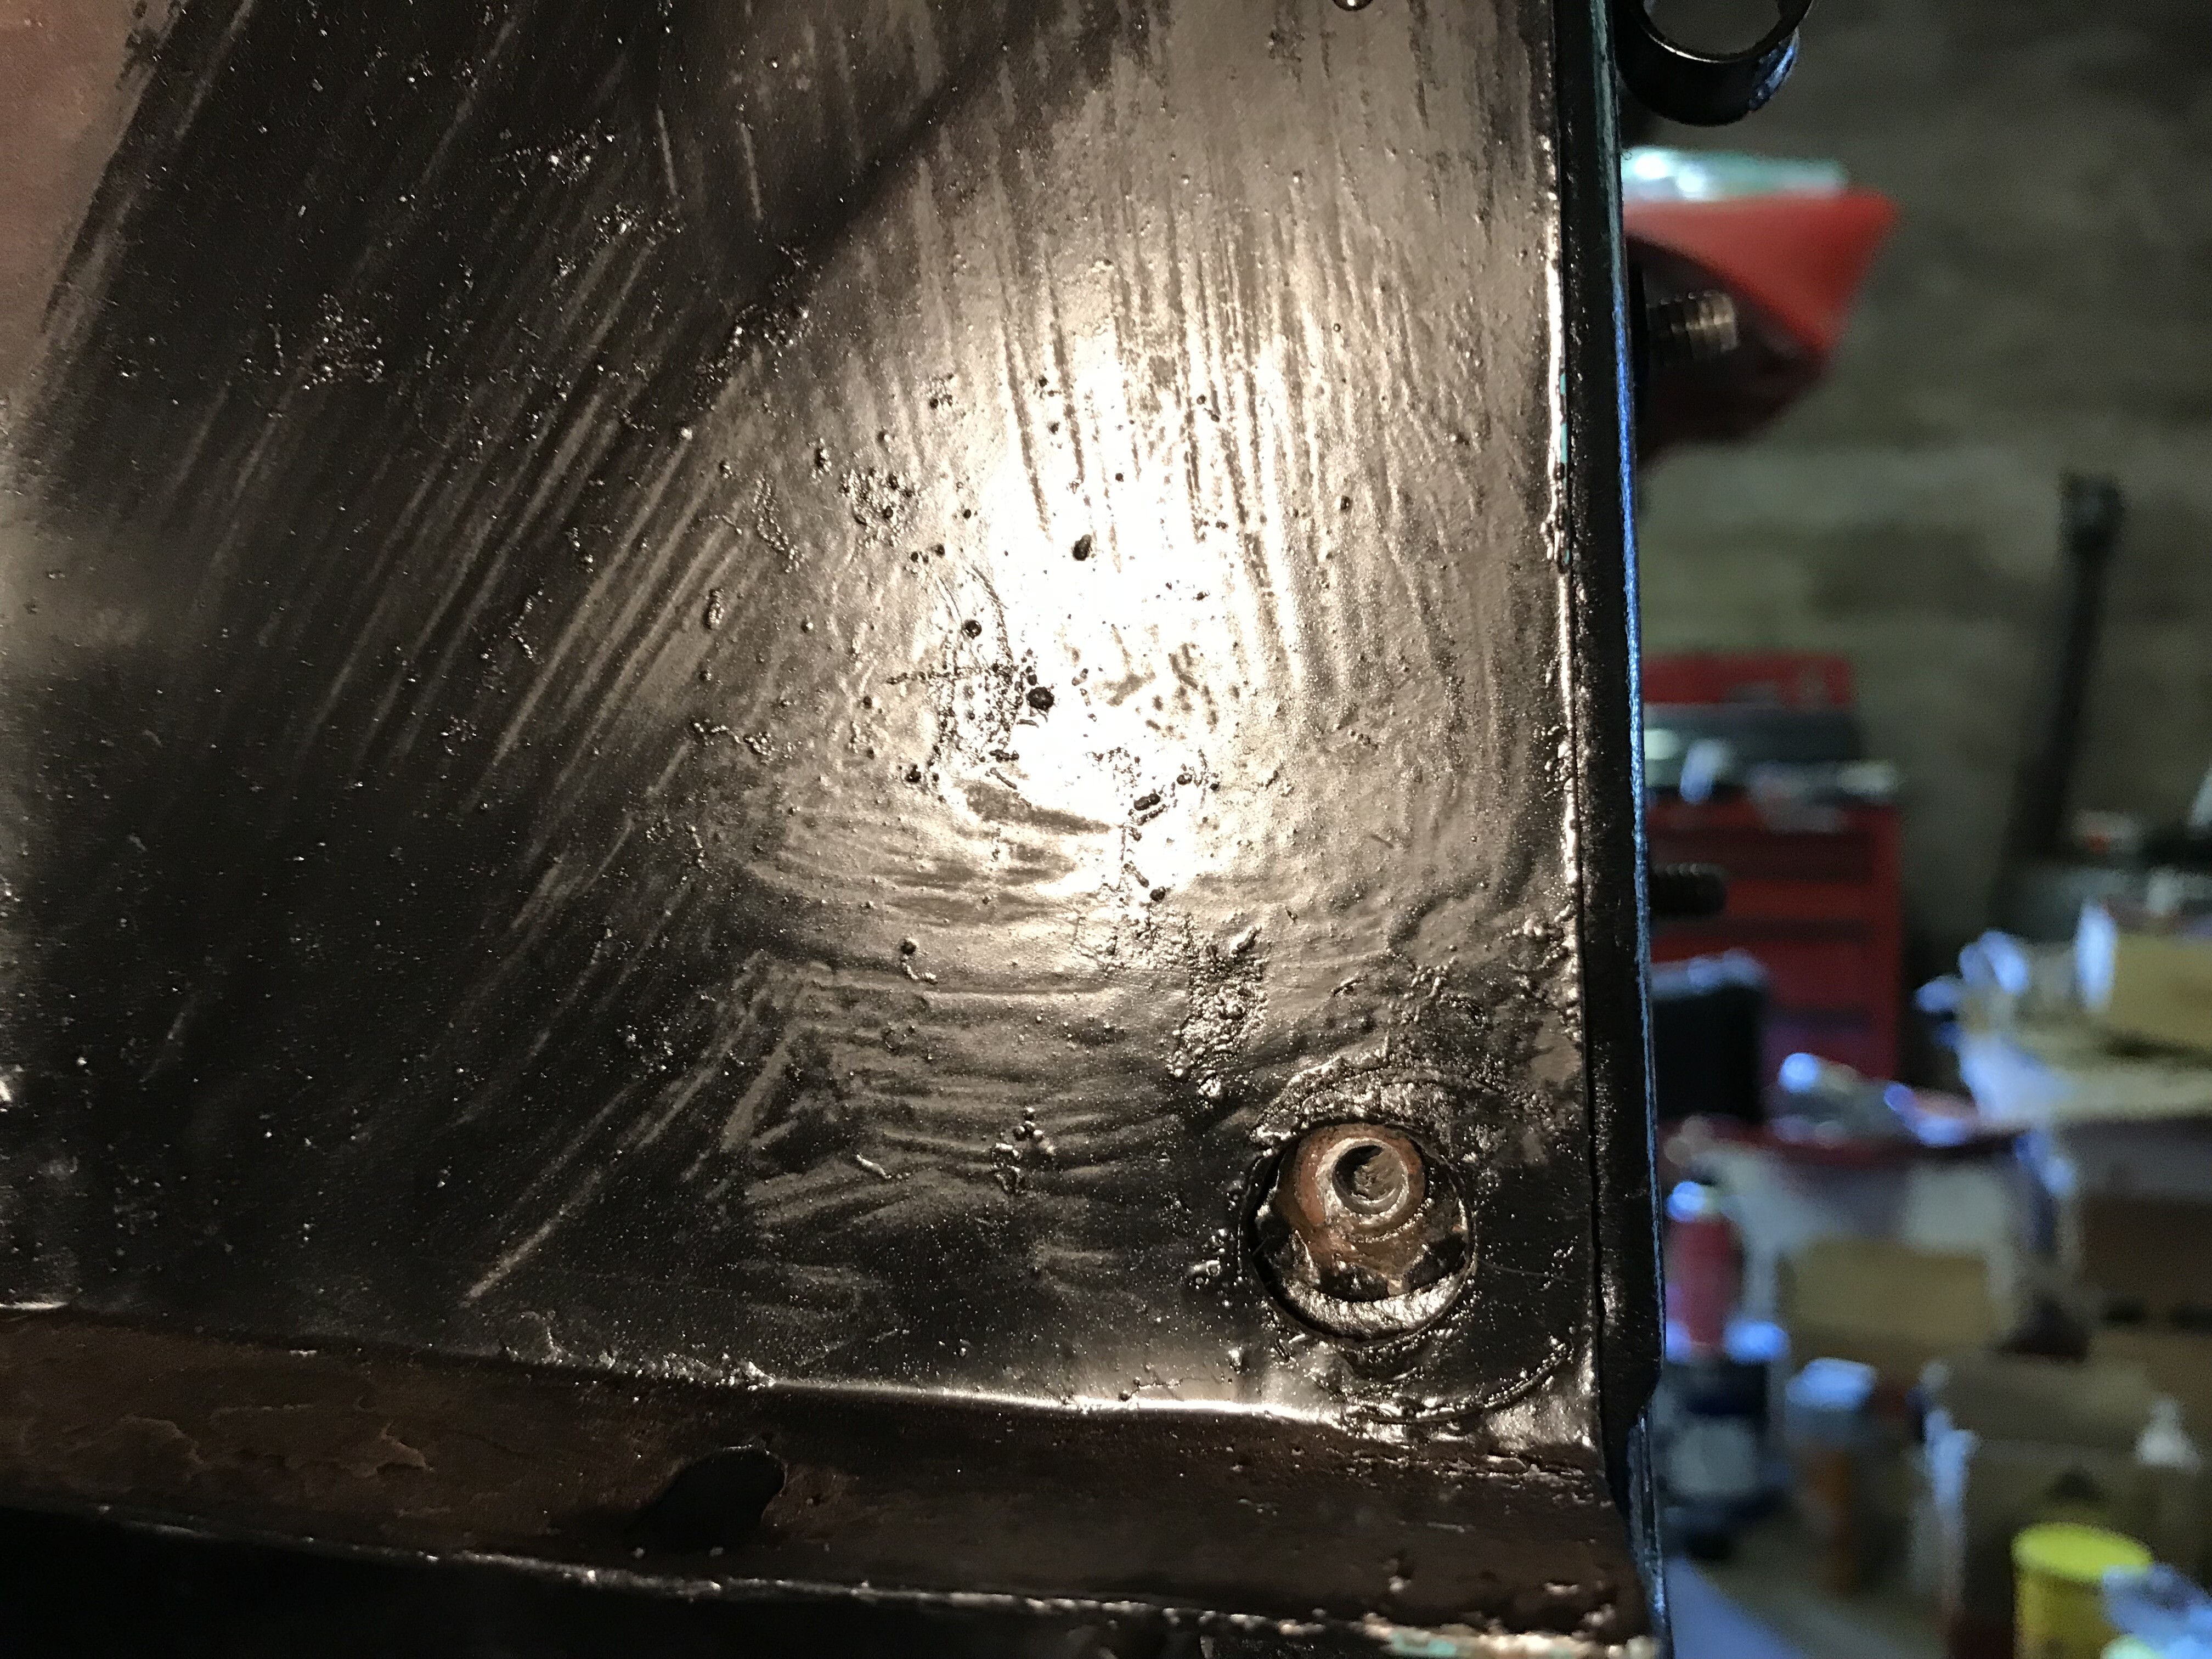
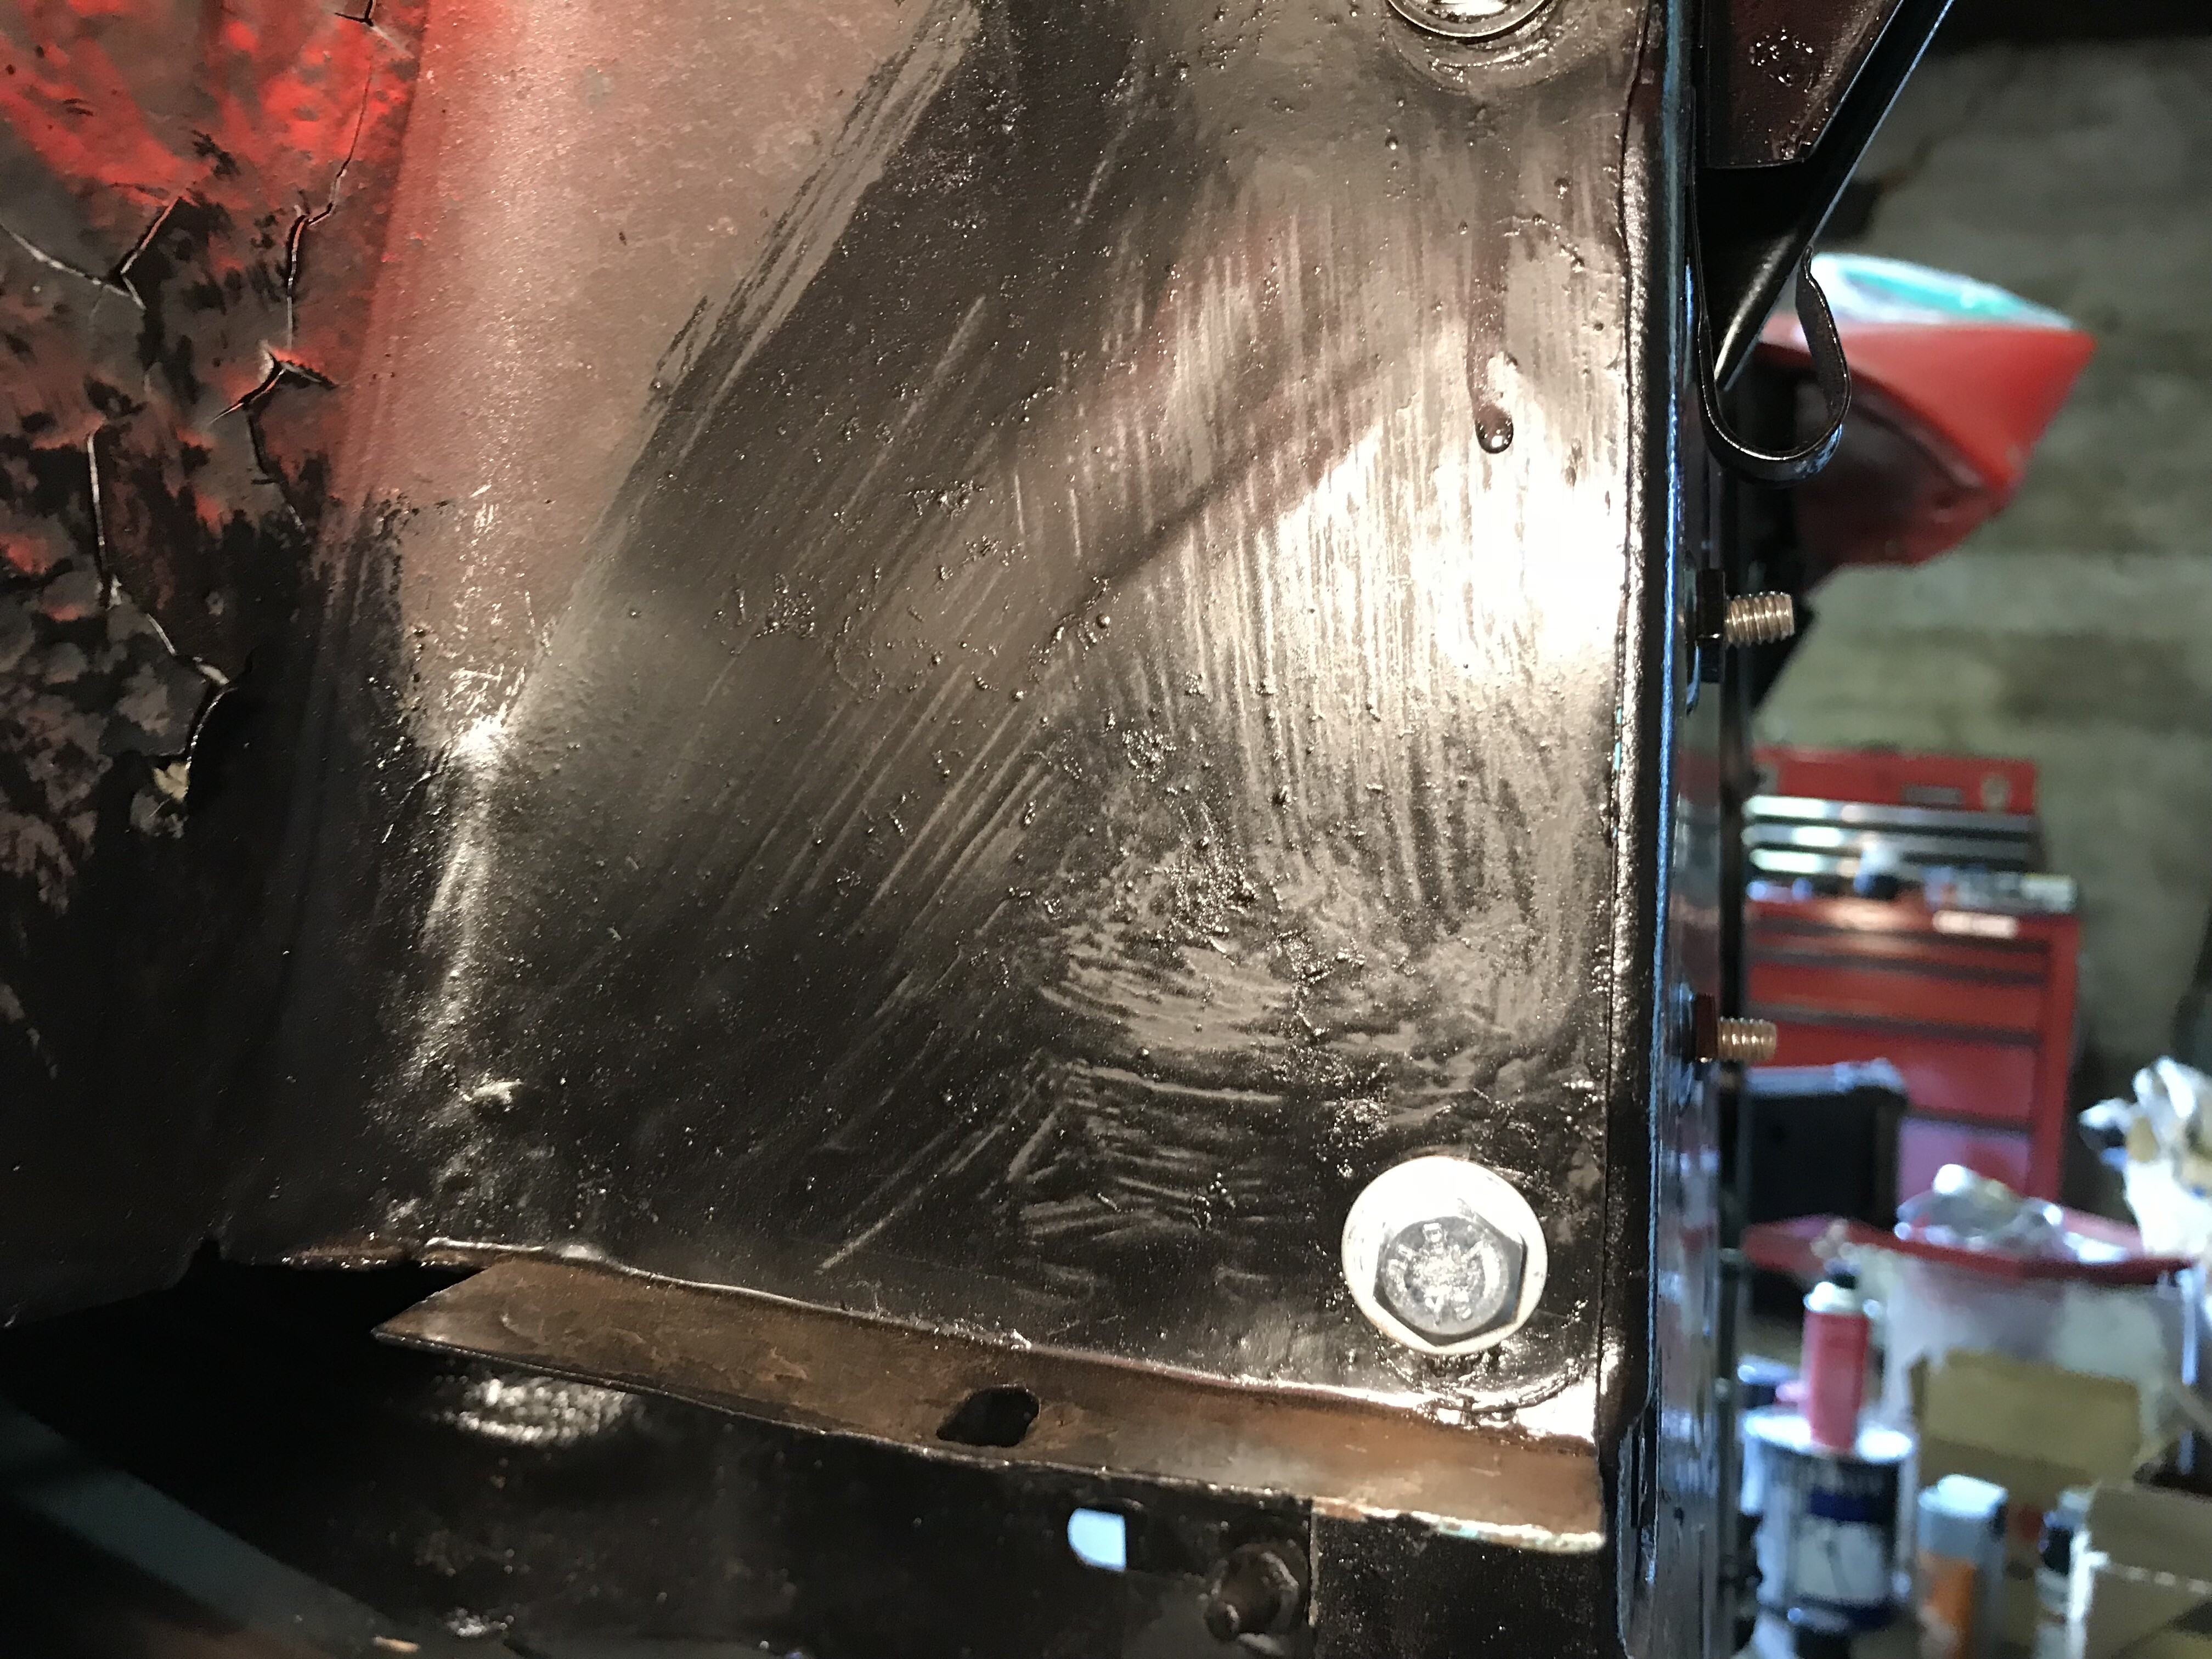
I never got to hang the radiator today, but I did finish the power brake hoses and install the radiator core. In the process, I also managed to snap a bolt It’s in an inconspicuous spot, and wouldn’t be noticed - but it’s bothering me now. I guess I’ll drill it out… (sigh.) Nibbles of the elephant.
I would suggest that instead of rubber hose you use the white poly tubing, thats what is on Greenin and zero chance of collapsing. Can be sourced at ACE.
Dick
Yeah. Well, maybe tomorrow - the best laid plans, and all that.
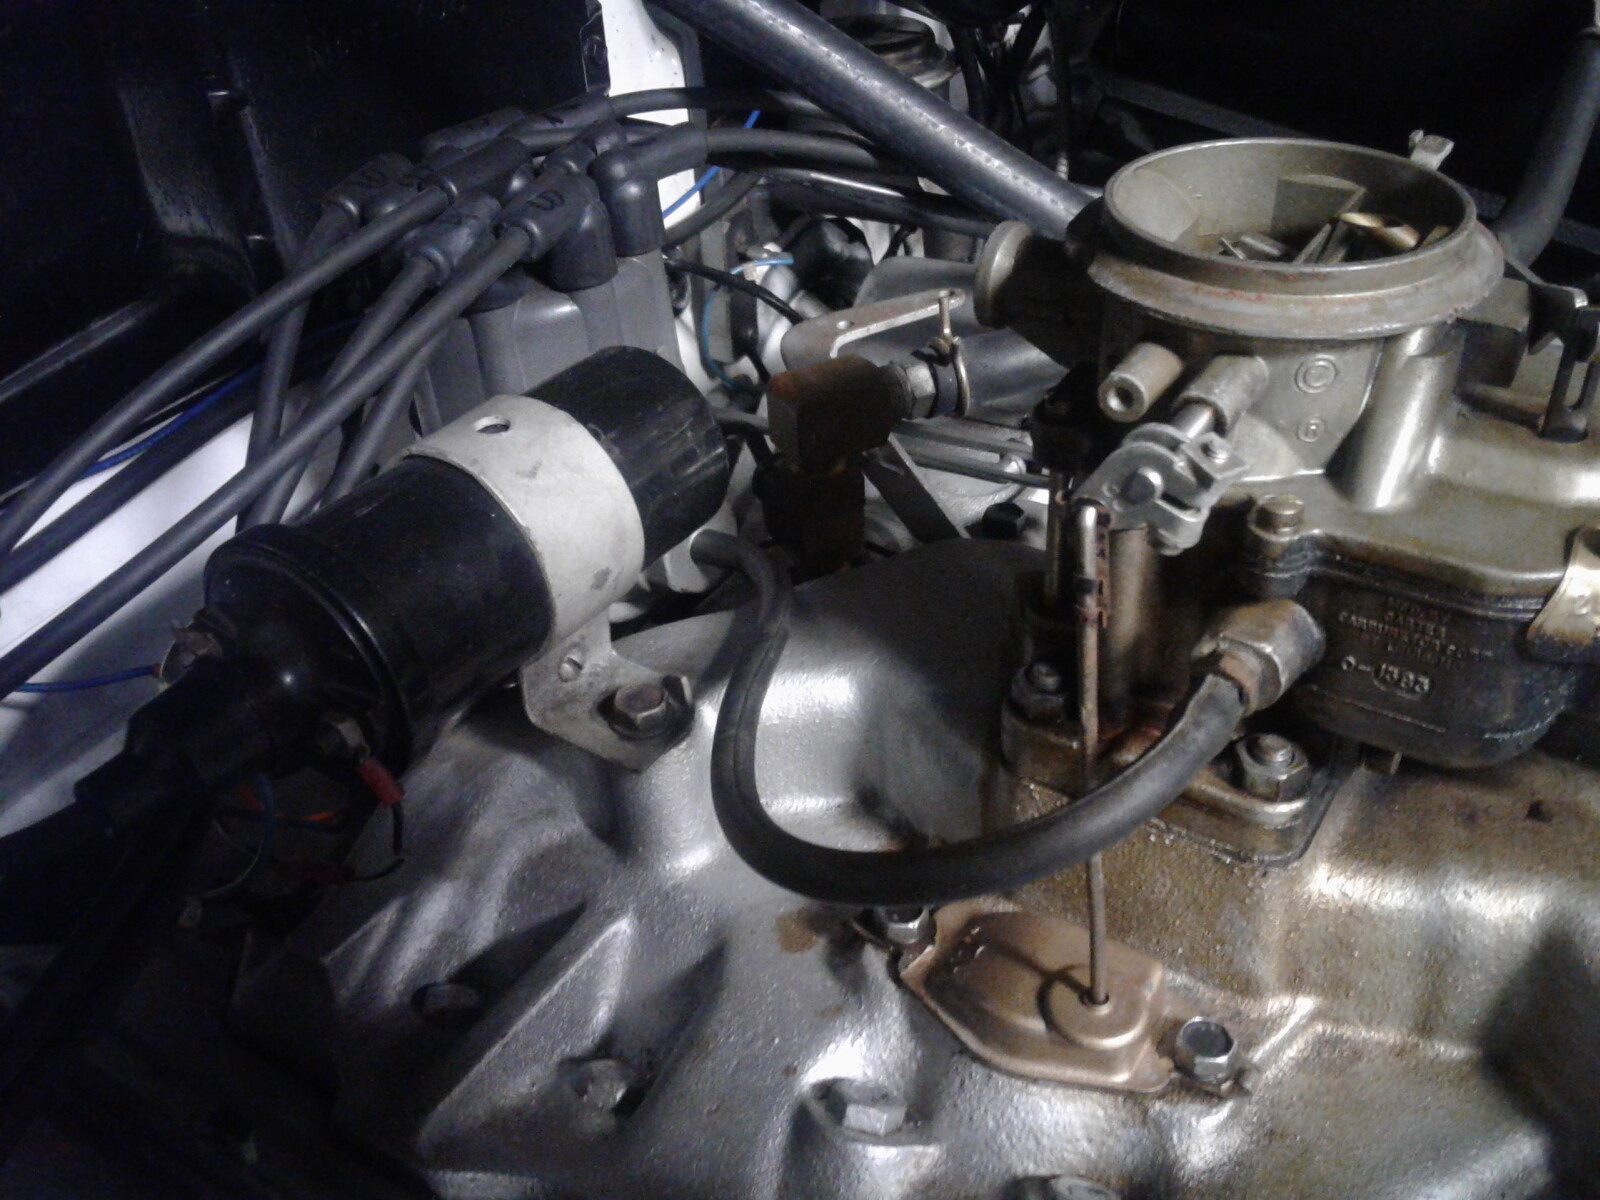
I did find the vacuum fitting for the carb - and it was attached to the metal vacuum tube! I bought some of that white poly tubing to make up the connection to the vacuum advance - I recall it being black, but I think I tossed it because it was dry-rotted.
I expect in a week or two, I’ll be firing up the 318 - after I crank it for a while with the coil wire disconnected to get the juices flowing. I plan to first strategically put drops of oil on the valve guides before lashing down the valve covers. Hey, should I also put a few drops in each cylinder? It will make for a helluva smokey mess when I fire it up - but maybe it will be so loud without exhaust, I won’t even notice
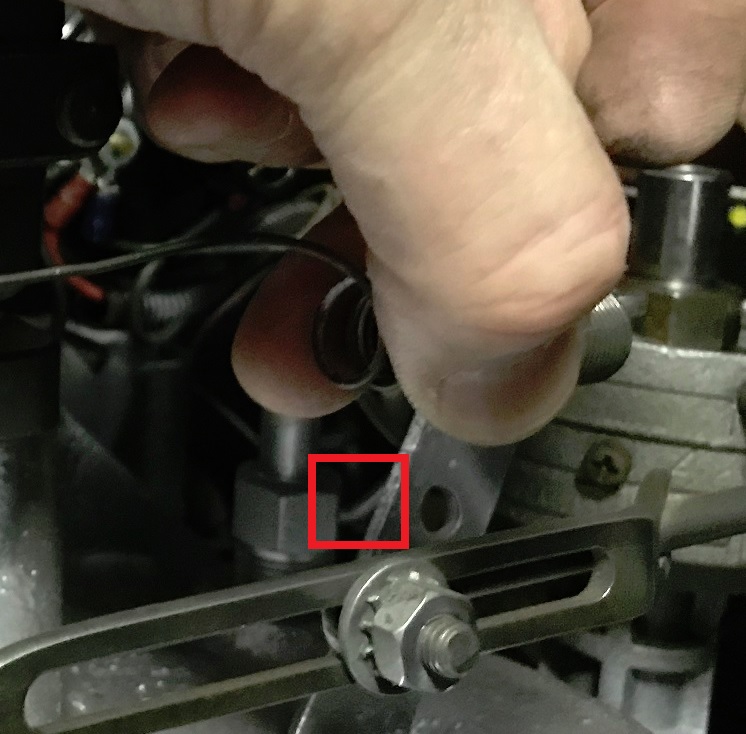

 It’s in an inconspicuous spot, and wouldn’t be noticed - but it’s bothering me now. I guess I’ll drill it out… (sigh.) Nibbles of the elephant.