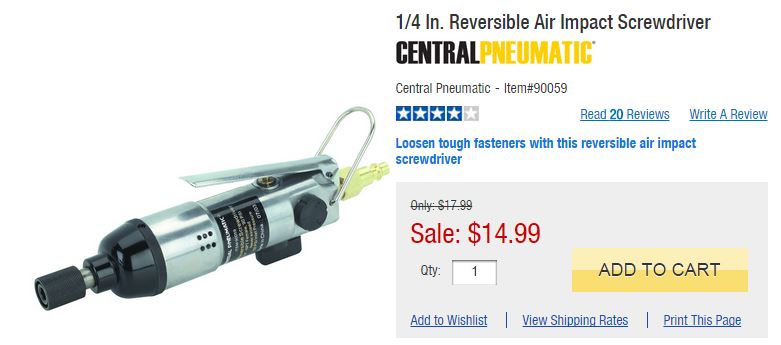
Fifteen bucks! What a deal. It’s hard to beat Harbor Freight - thanks for the tip, Dick.
It’s hard for me to believe it rusted out in just that one spot - all the metal is so solid. Nick Sterling’s two daughters drove “by the Braille method” (including a front end collision once), perhaps they ran over something. At any rate, spraying the inside of the rockers while I have the trim off is a great idea. If you have that Eastwood part number, I’ll order a couple cans.
Not much going on in the Faulkner garage - just can’t find the time. I can’t see Faulkner being ready for Carlisle 2016, unless I get fired. (!) Then I can find the time. But Carlisle 2017, for sure!
I did buy a bunch of stuff though! Sent my order to Goers on Wednesday (yup, ordered your stuff too, Matthew). I may not be ready to put them on, but at least I’ll have them!
Dan
It’s Christmas at Faulkner’s house! Gary Goers is going strong - got a boatload of parts today. Now, where’s the time to put them on?! I know I put it around here somewhere…
Those are Matthew’s air filters
Matthew, you’re going to have to help me with these trunk panels…
Well, I took your advice, Dick, and bought the air impact tool; but my compressor just doesn’t have enough oomph to drive it. So I went back to Harbor Freight, and bought an impact tool for a hammer. I took a couple of smacks with it, and the tip of the philips snapped off inside the screw. So, I decided to try and drill them out. As rusty as they are, they are hardened steel – I made hardly a scratch.
And then, it occurred to me: The screw bodies are accessible from behind the lip of the fender well. So I loaded up again with Liquid Wrench, and then…
after a whole lotta cussin’…
Damn if that didn’t do the trick. It took several attempts and some cussin’, but I was happy to see the heads turn when I leaned on the vise grip.
Moral to the story: Where there’s a will, there’s a way. This obstacle had been keeping me from getting out to the garage, but with this problem out of the way, I’m getting ready to strip the rest. Dick, I hope tomorrow to package up a couple bundles and mail to you, before Mary Kay and I head out to Iceland on Thursday.
Dan
Good job. Wow I’d better get moving, I have all pieces done in the triangle box and three pieces in the pipe. Will concentrate on your stuff. That impact wrench has an adjustment, did you try that? You and Mary Kay have a great time.
Dick
’
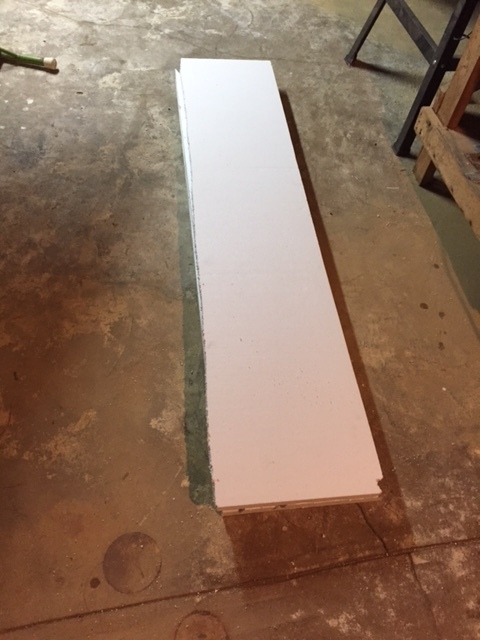
I forget what I bought that shipped in these styrofoam panels, but I’m glad I saved 'em:
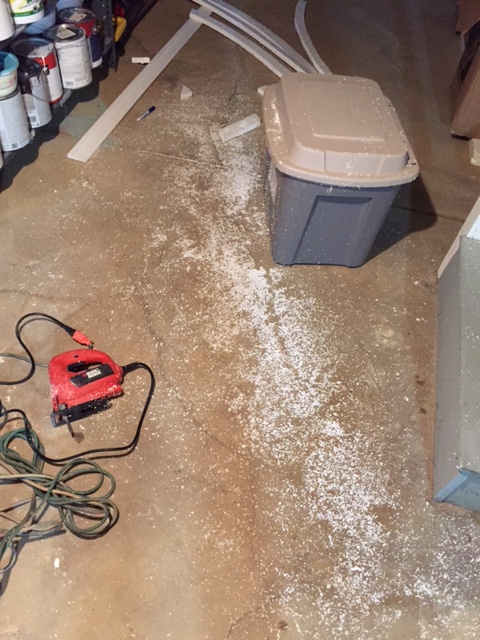
How clever of me, to use a jigsaw to cut the recesses out. Now, there are foam dots everywhere:
Mary Kay doesn’t need to know, OK? Between you and me, as to where these things came from? “I dunno, Honey, maybe it’s tree pollen now that Spring has arrived.”
I’ll tape them up in cardboard and ship them out, but first it’s time for my nap.
Dan
Dan, I assume those are the rear fender top trim. I only received one rear cap, I hope you are sending me the other one.
Dick
Dick, no - those are the roof rails. The rear fender top trim I can get into PVC, but not these - too much of an arc.
Yes, I have the other fender cap to send you.
Dan
Finally, it’s warm enough (and clear enough) to get back out to the garage. All the trim is stripped off now, with the exception of the lower windshield trim. I’m able to get the two speed nuts off each end, but the rest seem to be under some pan with weatherstripping around the seams - perhaps, for the windshield wipers?
I recall Ron saying that you have to remove the cowl vent to get to these nuts - is that what I’m missing? And if so - how do I do that?!
Yes, if I Remember correctly they are reached thru the cowl vent opening. Use a plastic pry tool or use a plastic credit card under a metal pry tool. Start on each end. There are spring loaded (crossed) clip at each end and each wider bar on the vent. Nothing is blocked under the dash.
Dick
Dan; There are 3 nuts under the vent cowl,gently pry/lift it straight up it is held with wire clips. You need to feel for the nuts near the windshield,you can get to them with A small ratchet or wrench Mark
OK - but, whoever repainted Faulkner red was “generous” with the paint - amazingly, no runs - so I may need to first run a razor blade around the perimeter.
Three, in addition to the two I can reach on the ends, Mark? For a total of five? That’s not so bad.
The World’s Slowest Auto Mechanic will try to get to it some evening this week - I’ll keep you posted…
Thanks
Dan
OK, I was able to get the cowl vent off without bending the hell out of it, but not without some drama. One of the bracket spot welds broke, as you can see in this pic:
In trying to pop the vent off, the bracket bent slightly, with the clip still in it. Once I figured out what had happened (I’d never seen the underbelly of one of these bad boys), I put the flat blade of a screwdriver between the bracket and the sheet metal the clip pushes into, and gave it a slight twist - and out popped the clip. You can see here how the bracket should look, and here how the bent one looks:
No worries - I’ll put a little epoxy on it and clamp it, no harm done. I did lose three clips to rust, though. If I don’t have these in my stash, I guess I’ll be paying Ed Ober a visit.
The windshield spray nozzles are fine, but the (disconnected) tubing is nice and brittle. Saved a piece, though, to match up with new. And there’s a lot of Idaho silt in the chamber! No real rust to speak of, however. I’ll be rustproofing this, fershur.
Mark was right - there are three speed nuts to remove, should be straightforward. However, I can tell from the spacing that in addition to the two under the dash that I removed, there are another two under the dash, for a total of seven. Damn if I was able to find them first time - I’ll take another look if I can get to it this weekend. I may have to resort to the Dick Koch patented milk crate approach to under dash shenanigans.
Dan
Dan, pop the bracket out and JB weld it back in place when you do the bent one. The rest should hold the vent in place just fine. Just make sure the vent is the last thing to go back after the moulding and wiper hose is in place. I suggest you use OSPHO on all the rusty brackets and clips and then spray the entire underside with encapsulator from Eastwood.
Dick
Dick, do you mean, break the rear spot weld, straighten the bracket and JB weld it back in place?
Can you believe, I did not know about Ospho! Just googled it, will do.
Dan
No, the one that the spot weld came loose, pop it out of the cowl. The bent one use a C clamp or vise grips to JB weld it down. OSPHO is a phosphoric acid product that penetrates rust and retards further rusting by turning it into an iron pirite. Wire brush the rust before you apply it (lightly) and after it dries. I lightly wipe down bare metal with it to prevent any flash rusting. It can usually be found at ACE Hardware or a marine store.
Dick
Ah, the spot weld is between the vent and the bracket - nothing remains in the cowl. It’s spot welded in two places, and one broke. I think if I clamp it down with a dab of JB weld I’ll be fine.
Thanks for the Ospho tip.
Dan
Well, TWSAM (The World’s Slowest Auto Mechanic) finally got the windshield trim off. There are a total of 5 clips holding it on, not 7 like I thought - the ends are held down by the end trim that slips over them. It was the sealant around the screw that made me think I had another screw to remove, but working it back and forth, it finally let go.
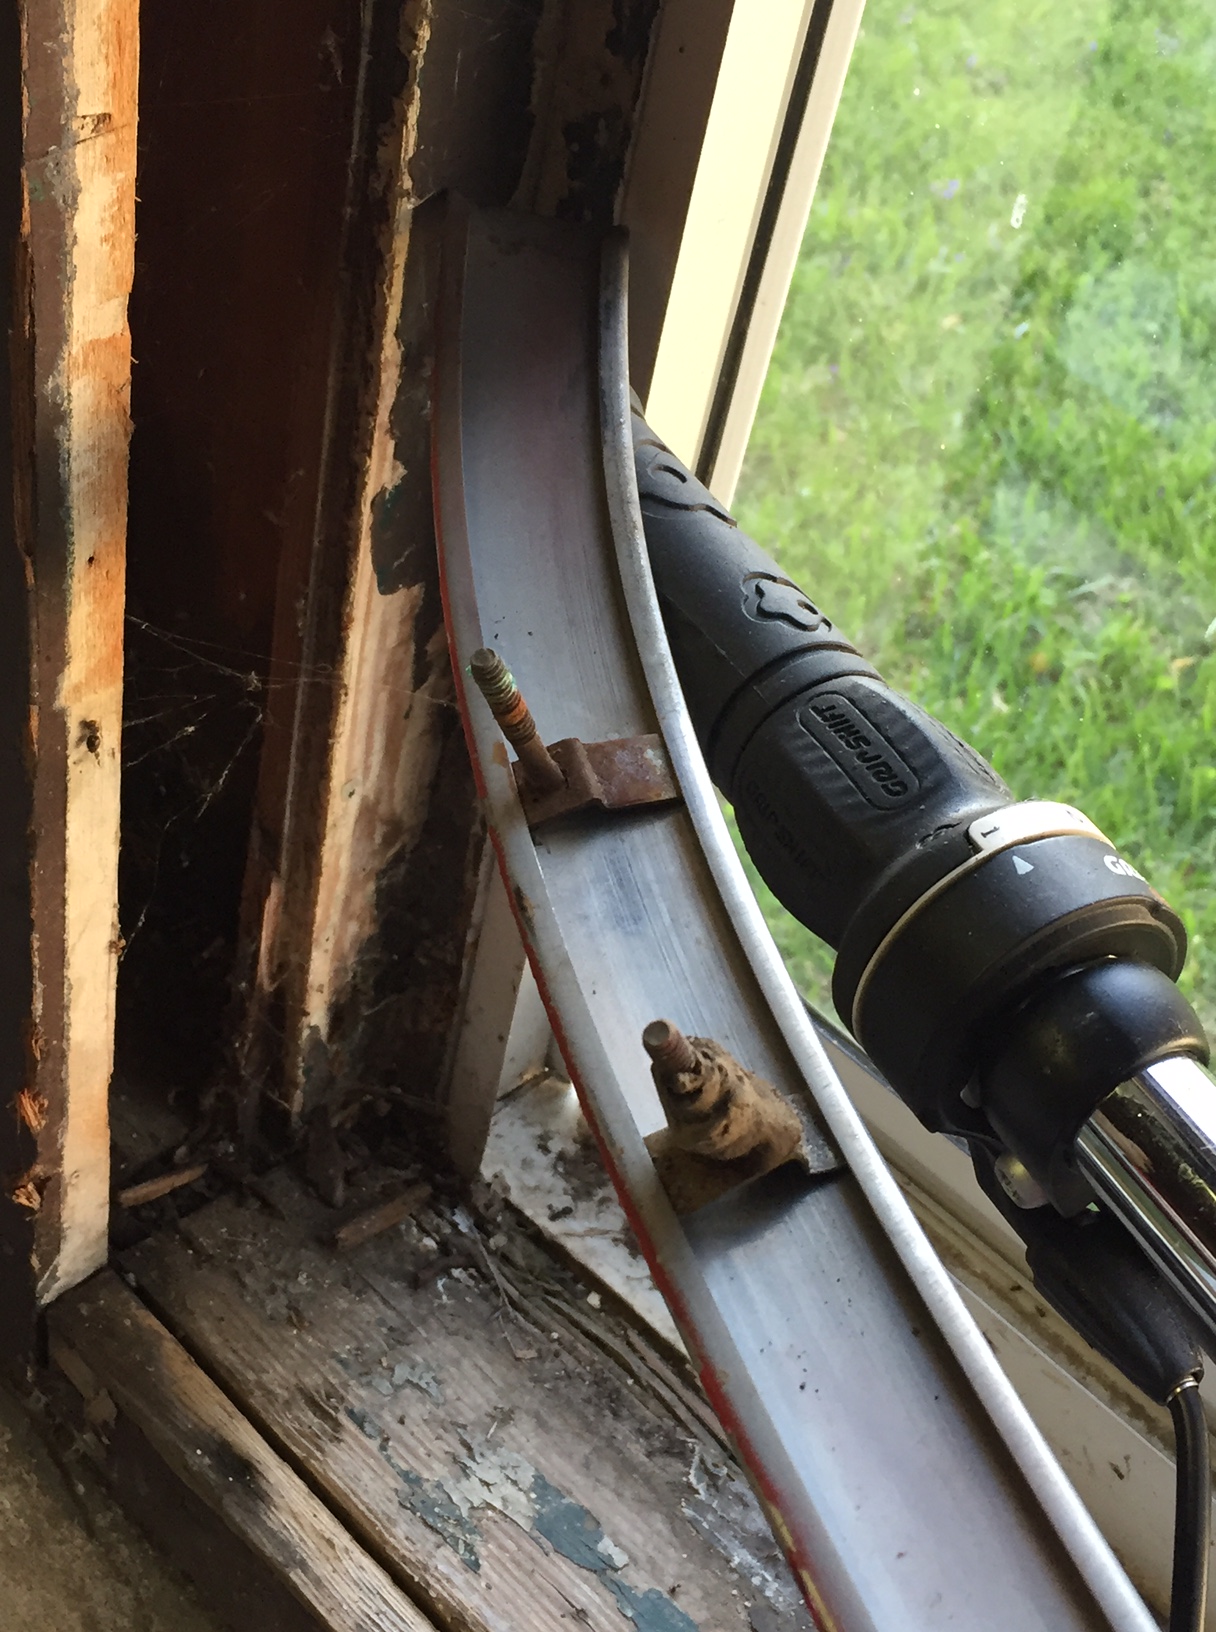
The two end clips are different than the three center ones - besides having different bend points, the latter look like they had a rubber grommet around them or something:
Almost done stripping off everything I need to send to Dick! I’m trying to get the turn signal housings off - took the two nuts off the rear of it - but it looks like there are two more screws into the grille work. I’m guessing I have to remove the grille to get these bad boys out…
Enough for TWSAM tonight, I don’t want to ruin my reputation.
Dan