![]() hmmm…steffan, u know they make piston ring pliers, spreads them quite nicely. makes me hurt just watching u. -just my $.02 – j
hmmm…steffan, u know they make piston ring pliers, spreads them quite nicely. makes me hurt just watching u. -just my $.02 – j
Dan,
ah - hmm you got me all stuttering now ….
Jeremy,
I know that, but I didn’t feel it on the first and second ring. Later it wasn’t worthy anymore! ![]()
Stefan
… and here come the next pictures…


-
… as I already mentioned: The parts that appeared to be reusable, at this point are not good enough anymore to go into a new engine.
-
Today one more parcel with new parts arrived, including a new shaft and bushing and that means…
-
…I can finally start to reassemble the new fuel pump


-
new sealings
-
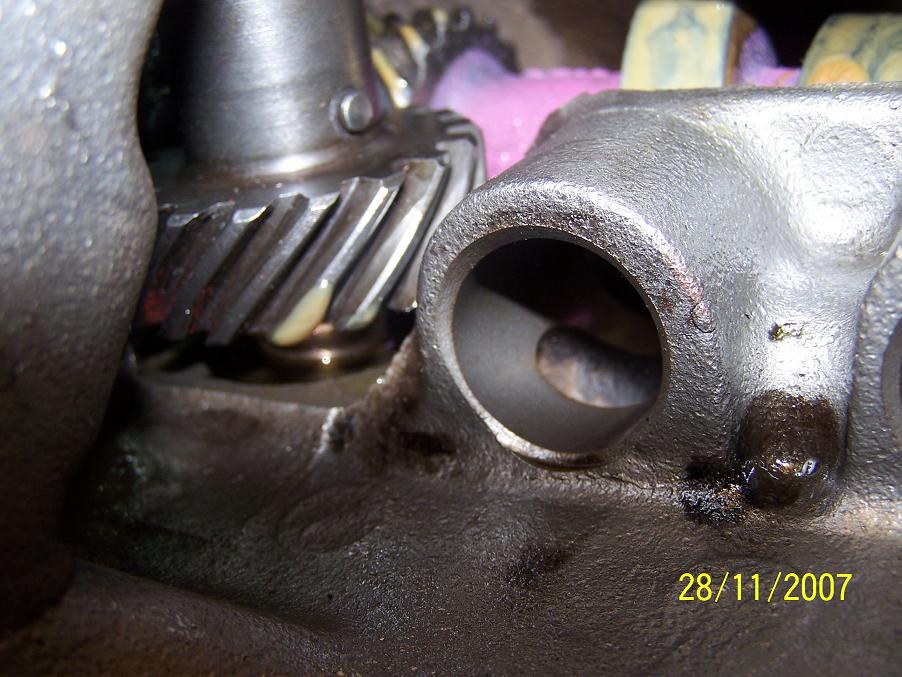
Egge had an oil pump overhaul kit that included everything except the housing, but here even the housing is new.
-
pressure valve and spring


-
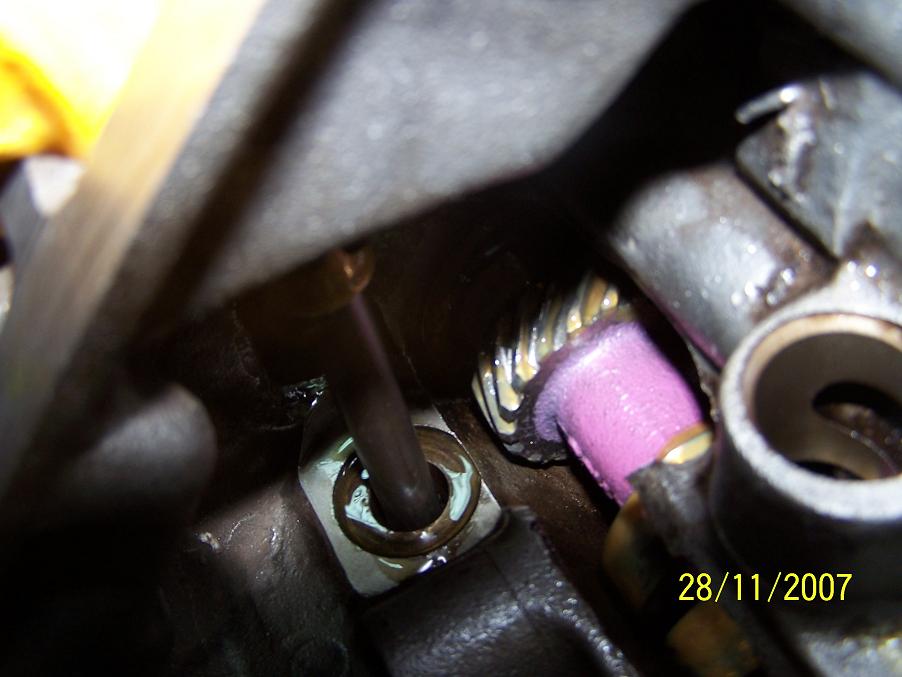
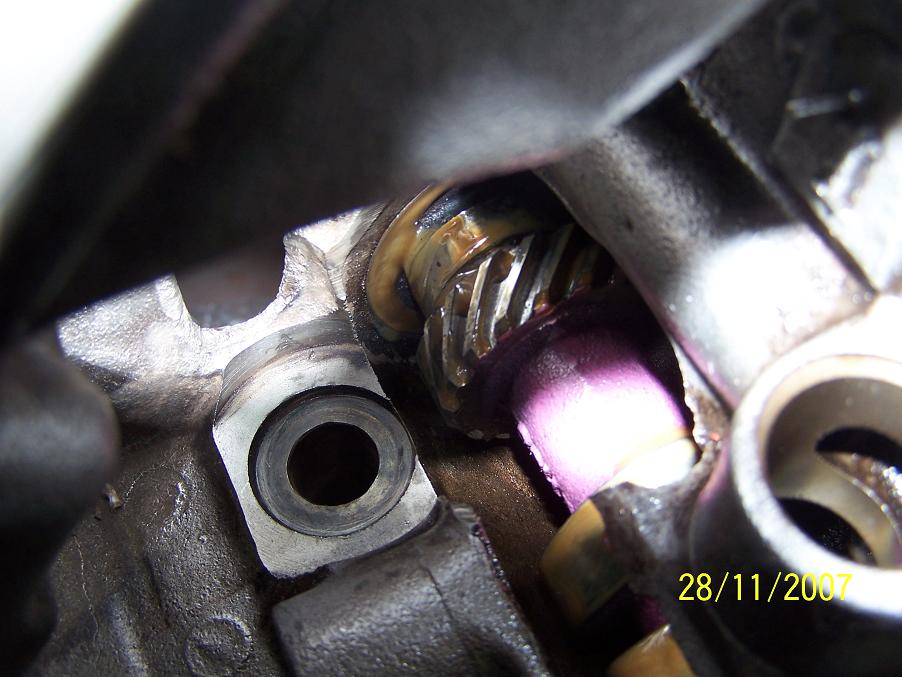
Also the port for the distributor drive shaft was covered with sludge. Now it’s clean again and…
-
ready to receive the new oil bushing. Some oil on the surface and the new bushing will go in easier.
-
The old shaft is a good tool to drive the bushing in place.

-
Using a strong screw driver the new bushing goes in place.
-
Almost done.
-
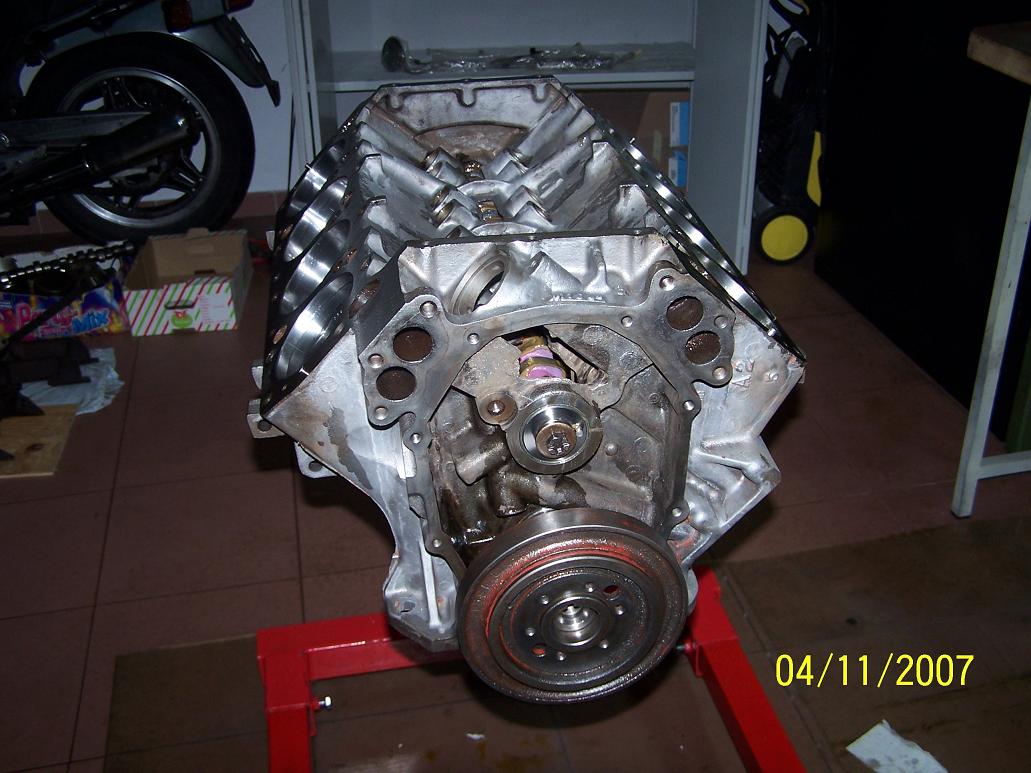
For now there’s nothing more to do on the bottom end, except waiting for the next parts to come. To protect it from dust I wrap it in plastic. I think it’s time to go for the cylinder heads now.


Hello Group,
here comes the next bunch of pictures:
As I’m waiting for the next parts to come I’ll use the time for the cylinder heads.
Do you still remember these pictures …
-
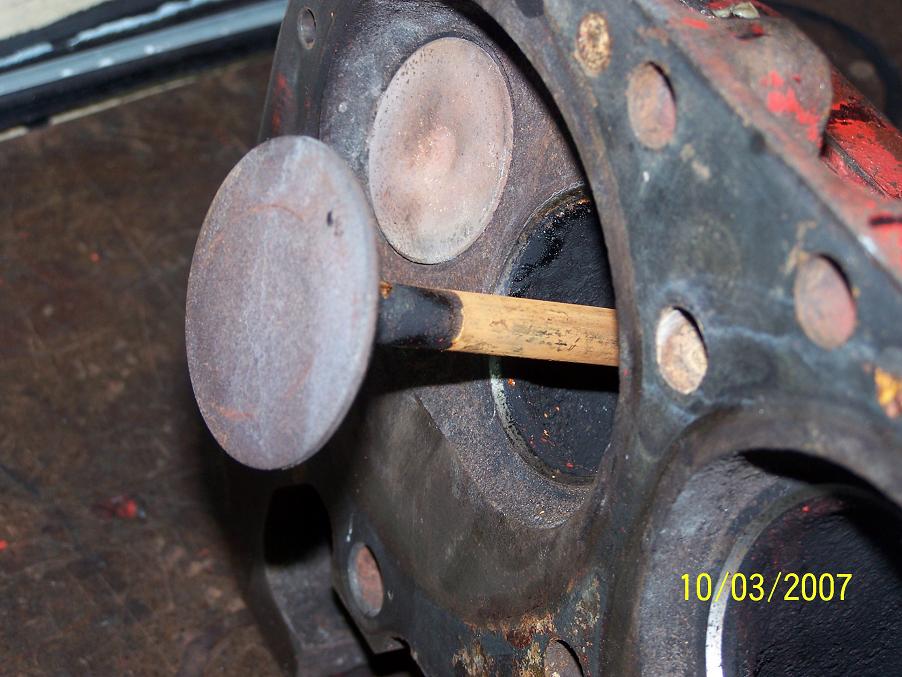
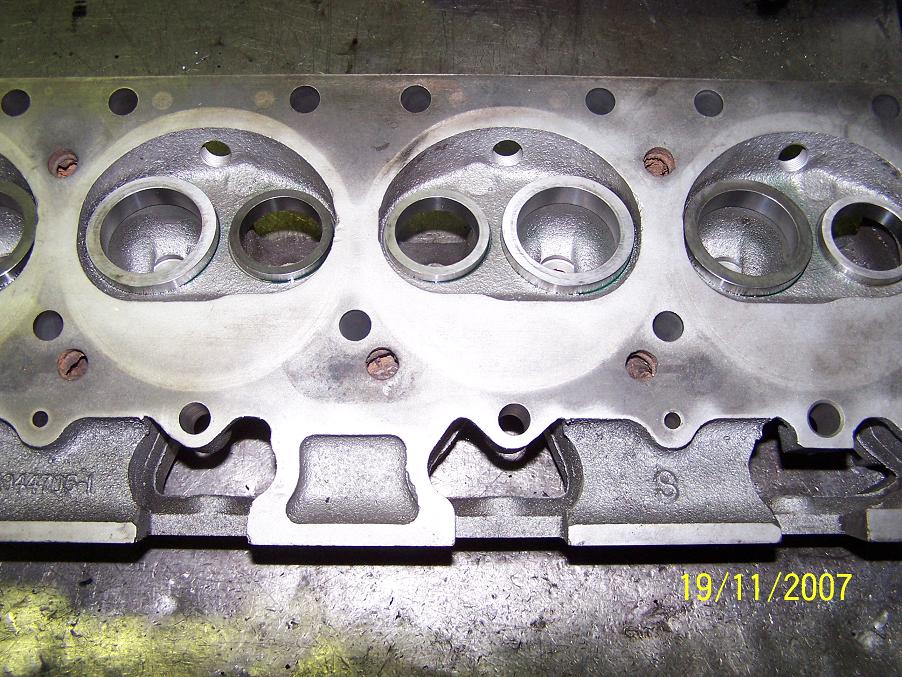
705 - cylinder head?
-
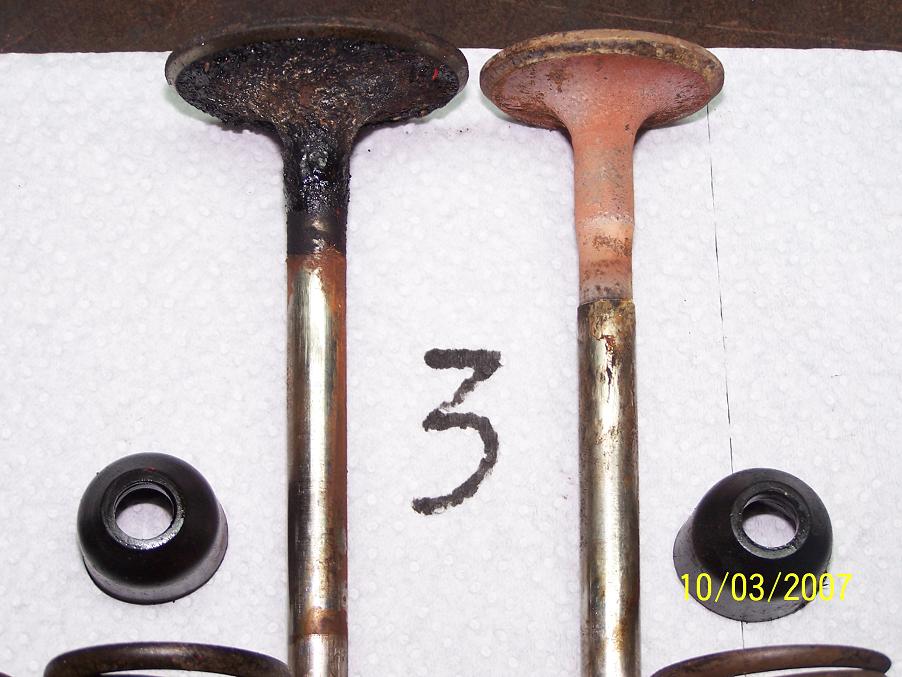
rusted and/or burned valve seats?
-
slugged valves? … and …


Well, that’s all over now and it’s a real pleasure to see how the work goes on.
-
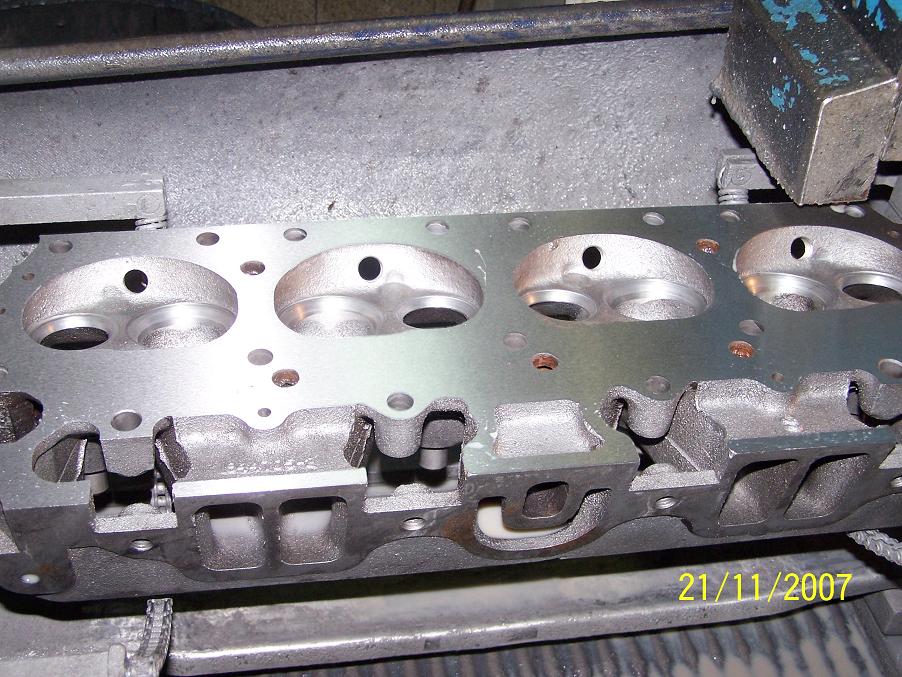
clean heads with glass blaster
-
Some valve seats have been almost “eaten up”, so I didn’t really have a choice. Hardened valve seats is not a “nice to have” feature, in fact it was the only way to go.
-
closer view


-
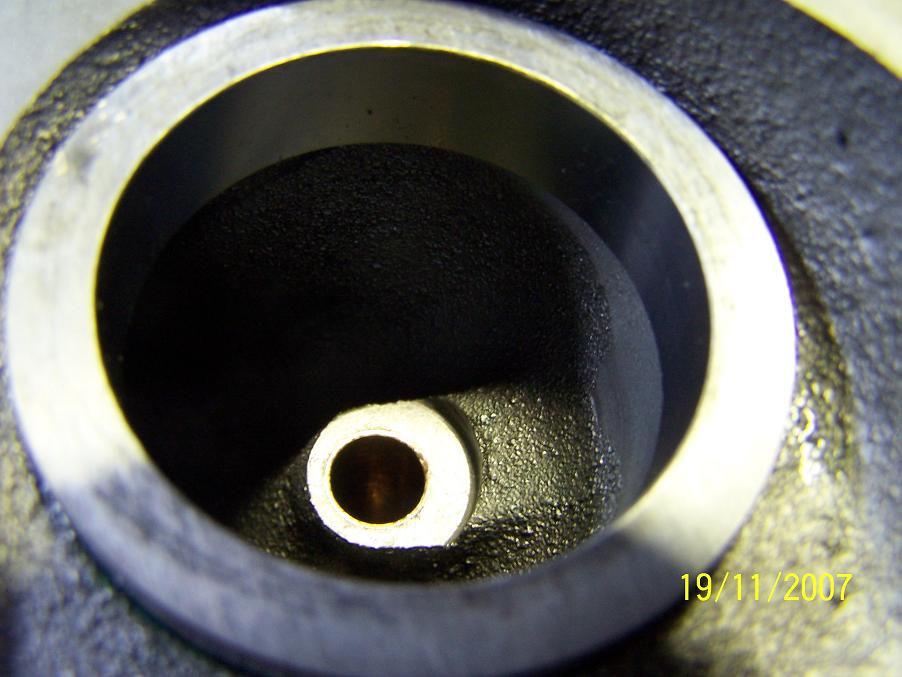
slugged valves are a sign of worn valve guides. Take a closer look and you’ll see the new bronze guide
-
… from outside
-
machining valve seats.


-
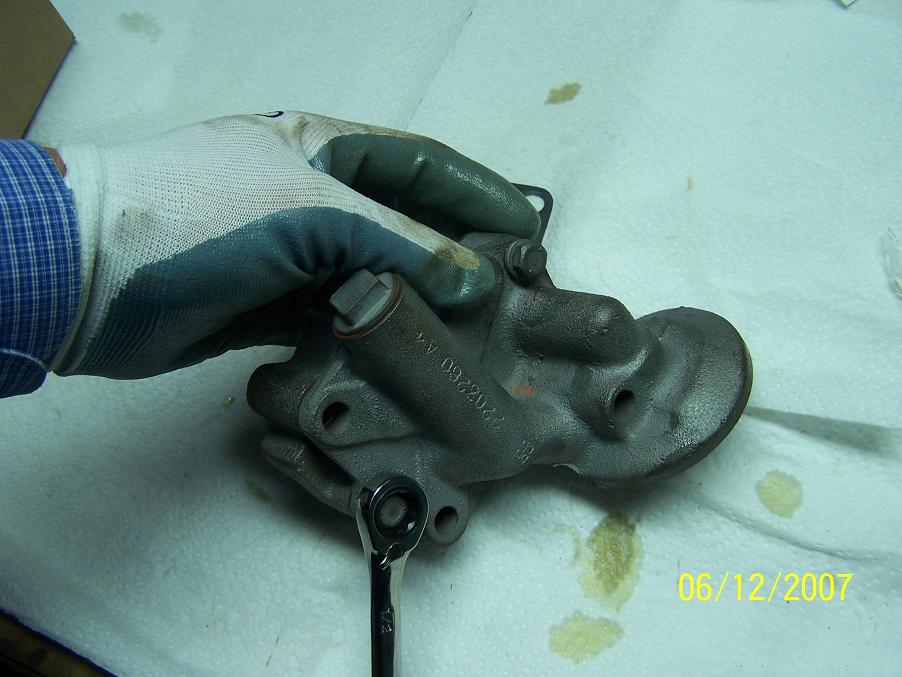
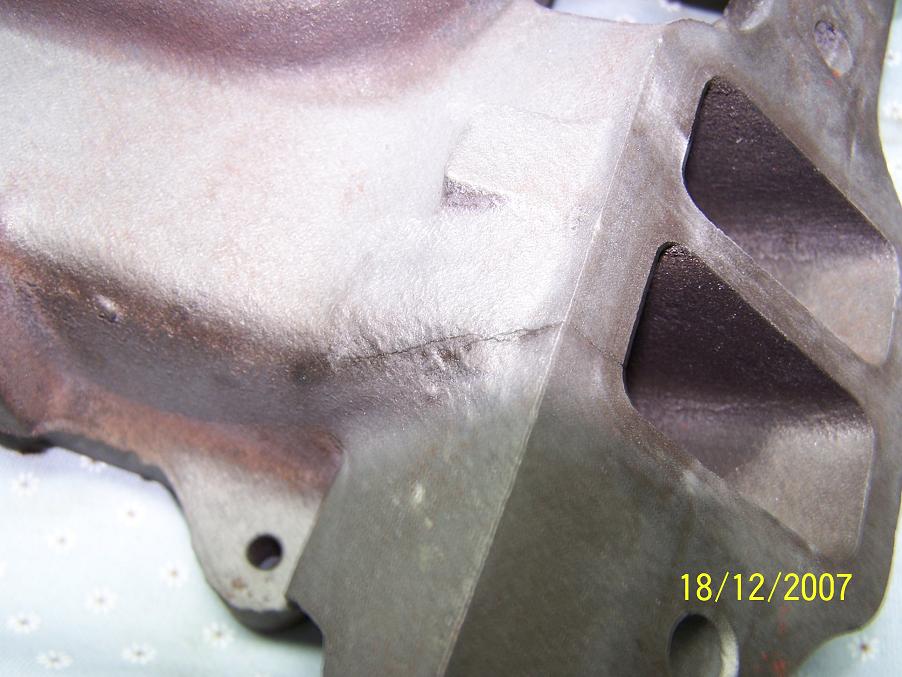
Meanwhile the intake manifold came back from sand blasting. Untill today it’s an enigma to me how the the carbon could get inside of it. It’s almost clean now, but …
-
… bad news. The intake manifold has a crack.

-
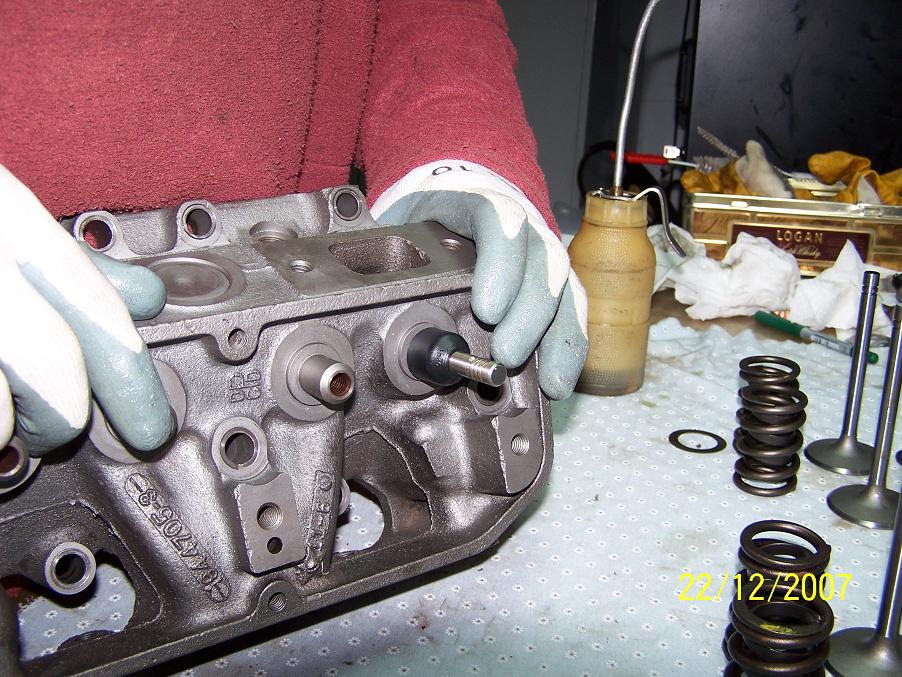
Well, it’s time to reassemble the heads. The weather here in Portugal is still good, but it can change in an instant and become wet. It’s better to hurry up now.
-
The valves came with the engine overhaul kit from Egge. If I would do it again, then I would invest a little more money in better valves. Some of the valves showed a little difference on the head. Although we are talking about very small differences it causes a different pre-load on these valves. I had to make some shims to achieve the correct and equal pre-load.
-
see the pictures.