Wow, impressive. Very nice job, Matthew!
Love the power seat - never seen that before…
Wow, impressive. Very nice job, Matthew!
Love the power seat - never seen that before…
You’re doing a great job, Matthew!!!
—John
John Q. and I have trained him well, that’s the reason he comes to the states so often, Right John?
Dick.
ahhh sure Dick…He comes to the states to visit NAPA stores and eat American Hamburgers and fries! That boy has a bottom-less pit for a stomach! ![]()
He is good with cars too!
John Q.
True, true, true, true, thanks!
More pics!
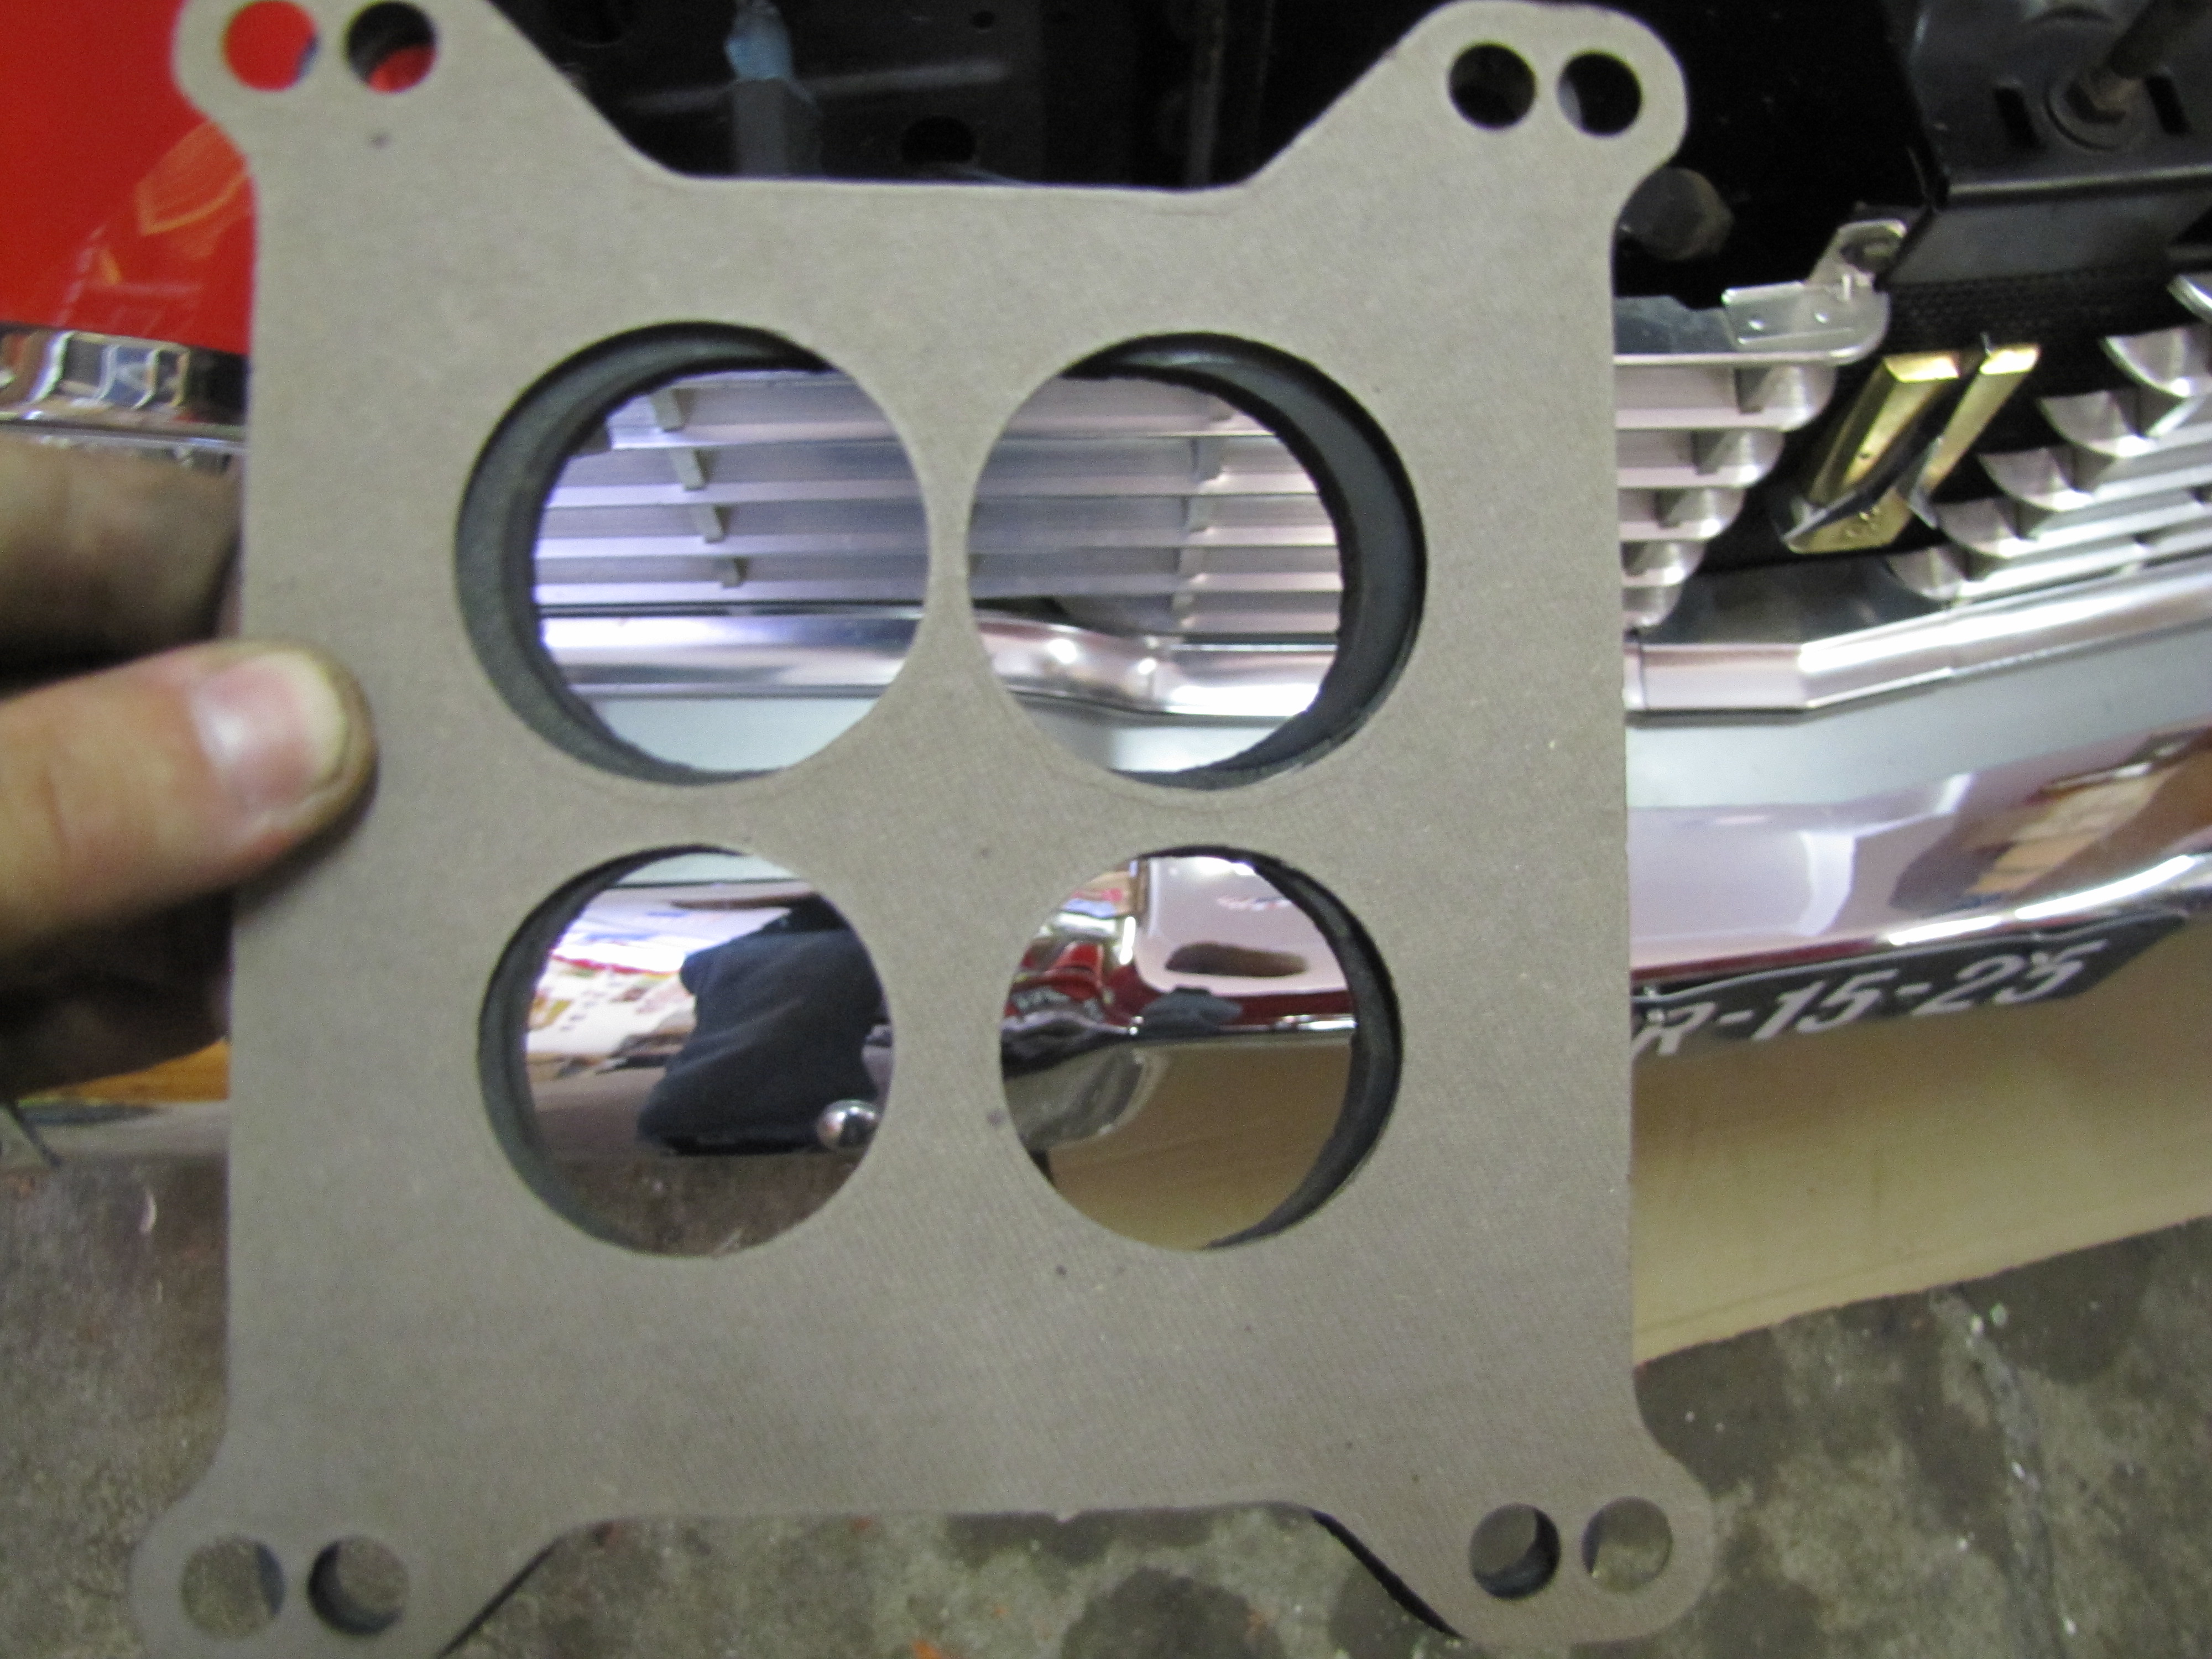
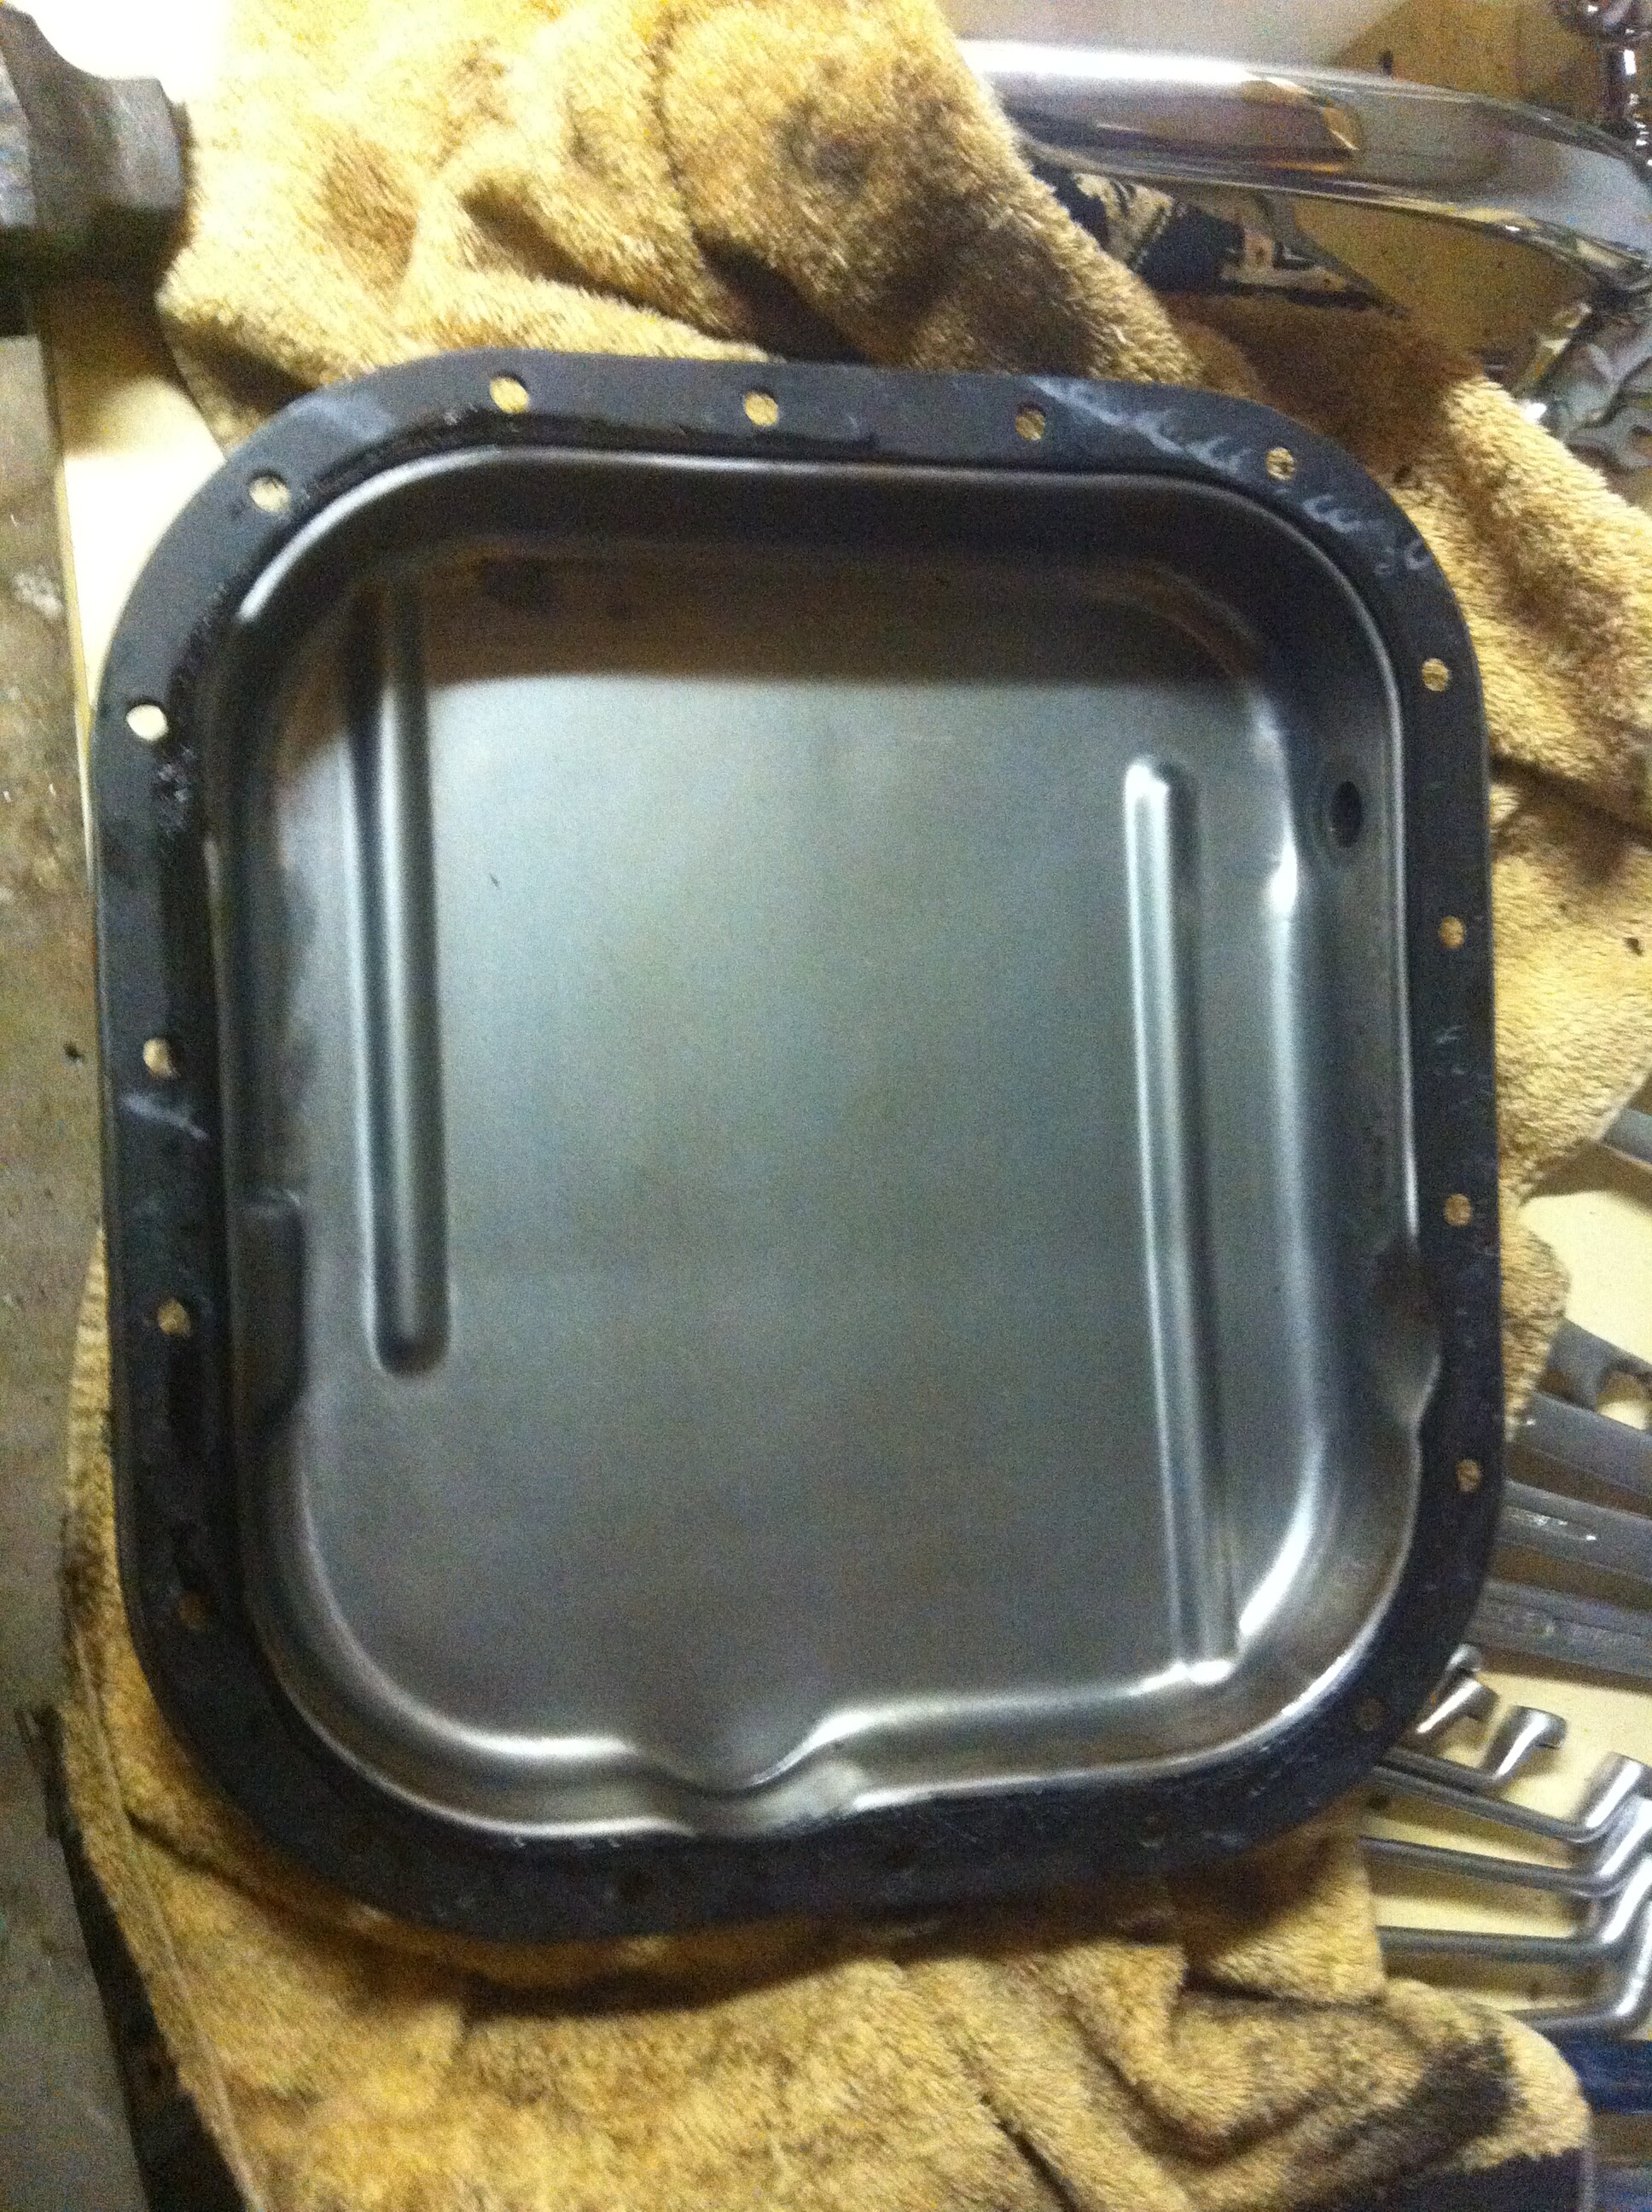
Someone with an early dual four barrel setup is looking for your old gasket. Going fishing now, checking in later.
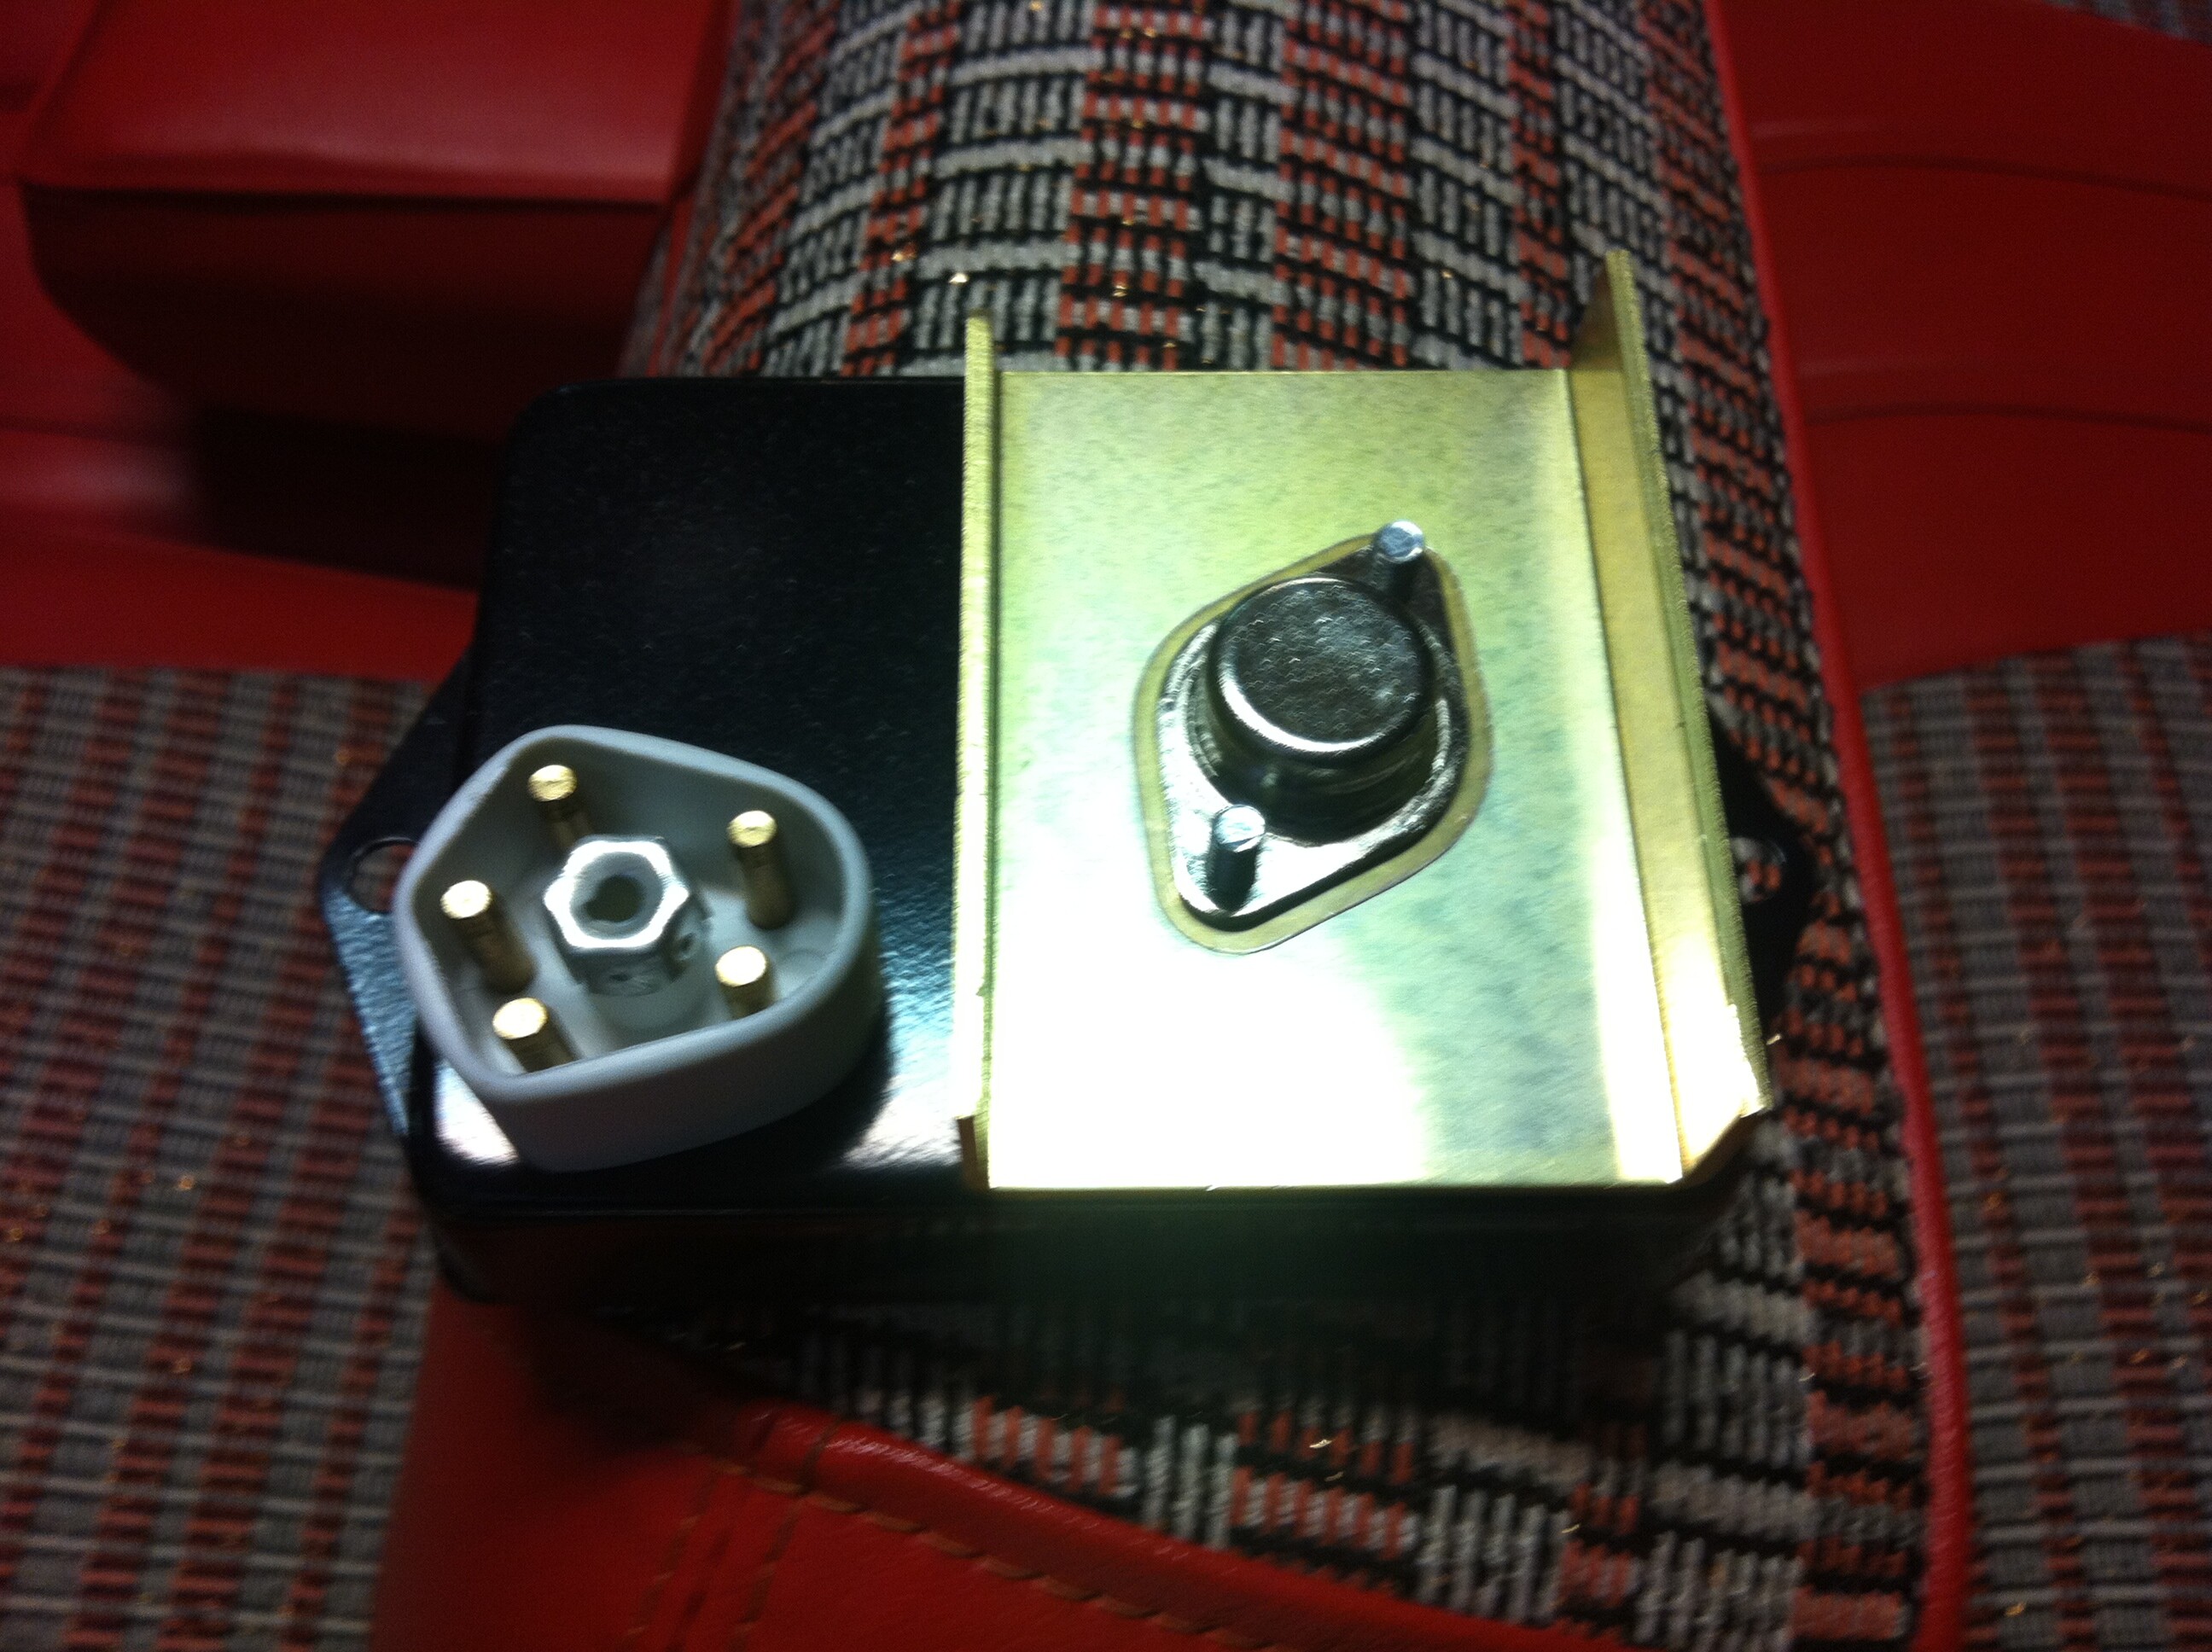
Matthew, do you have enough wire length to move the ECU forward along the frame rail away from the exhaust manifold?
ECU’s or any Electonics devices dislike greatly Heat. My Brother on his 70 Charger put his Mopar ECU mounted underneath his battery Tray to hide the fact that he upgraded from Points to Electronic Ignition. Plus it was a temperature cooler place to have it, forward of any heat source… ![]()
John Q.
I concur, the nice aluminum piece is to get rid of heat .. not collect it.
Finally can upload my own pics.
Been busy lately but i’m almost done!
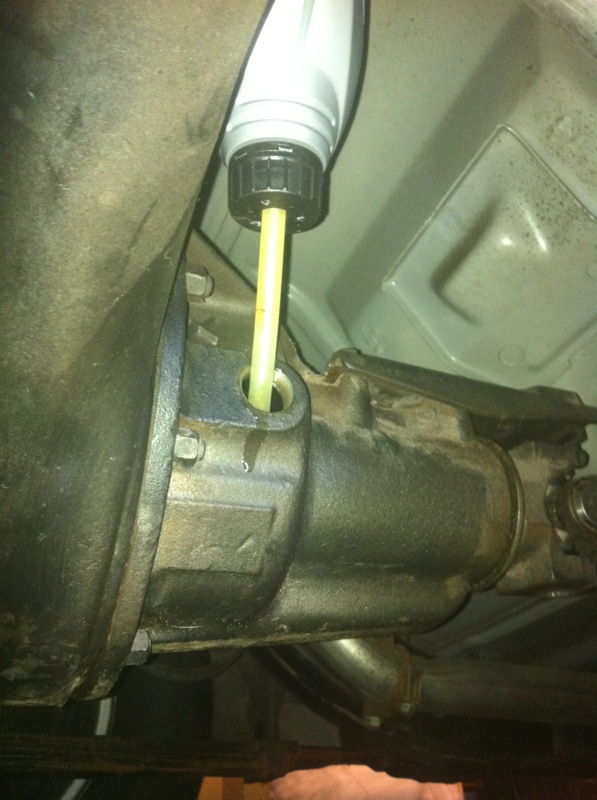
Drained the oil from the rear axle, transmission and engine.
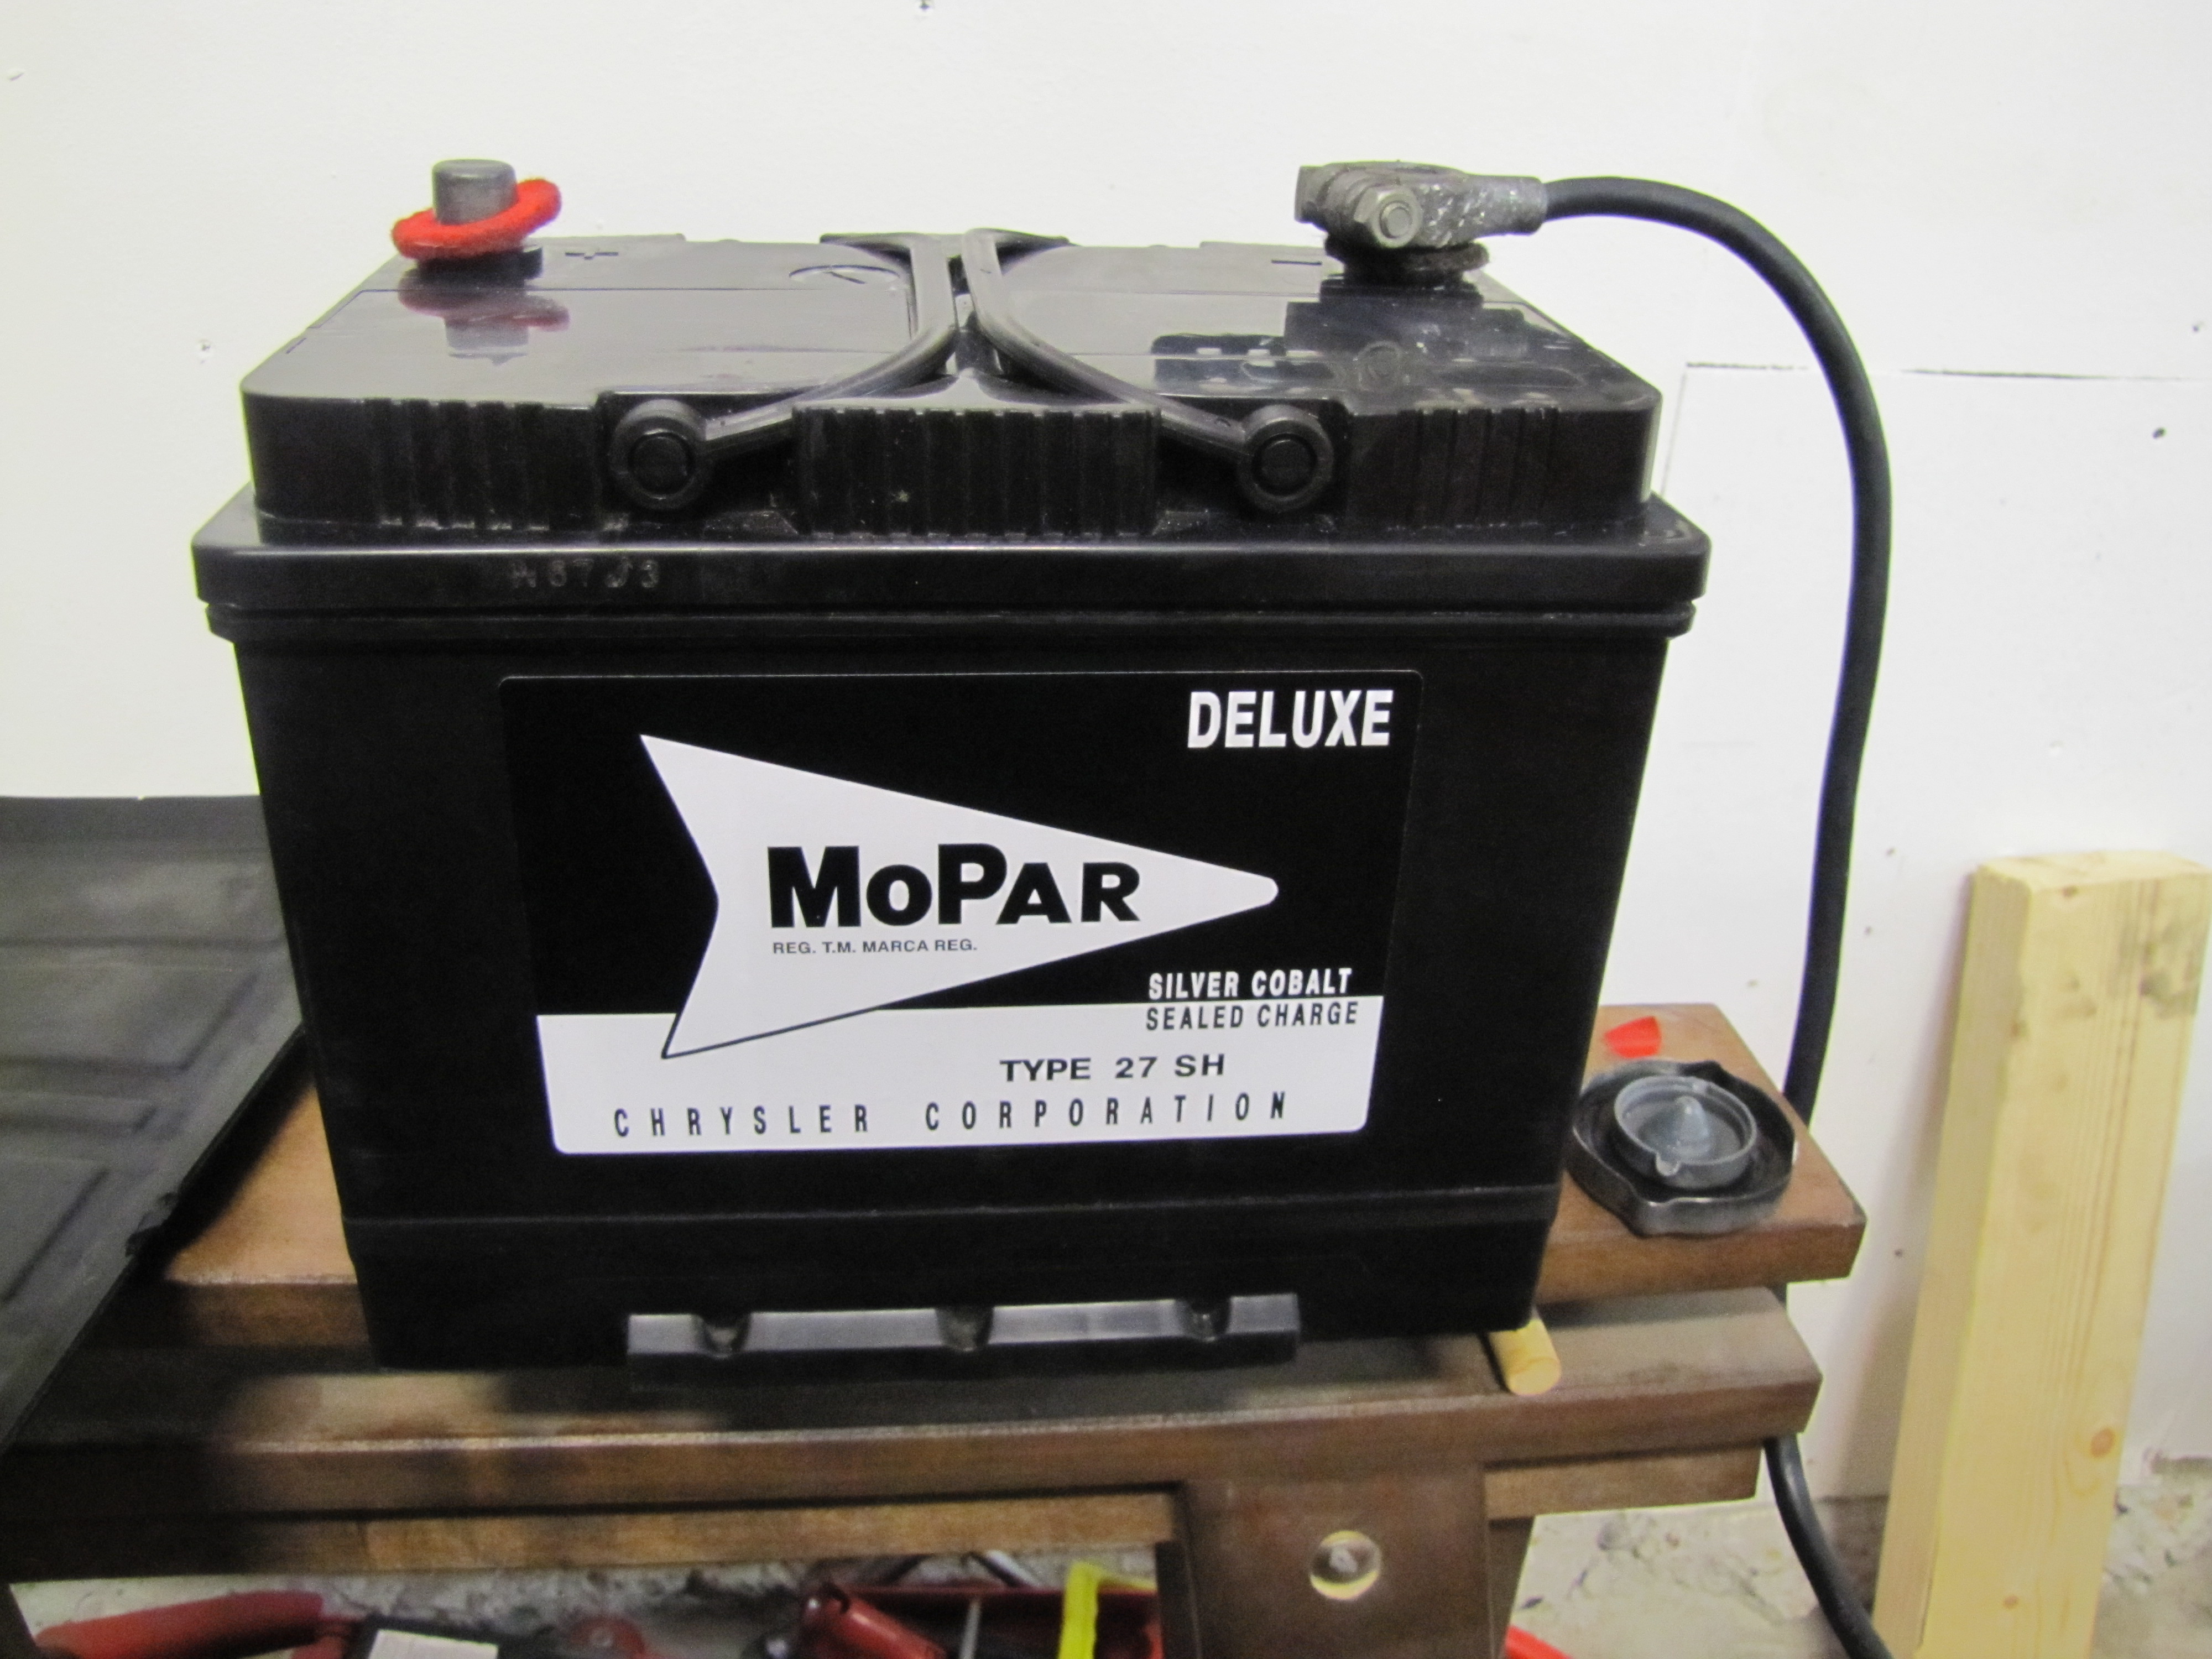
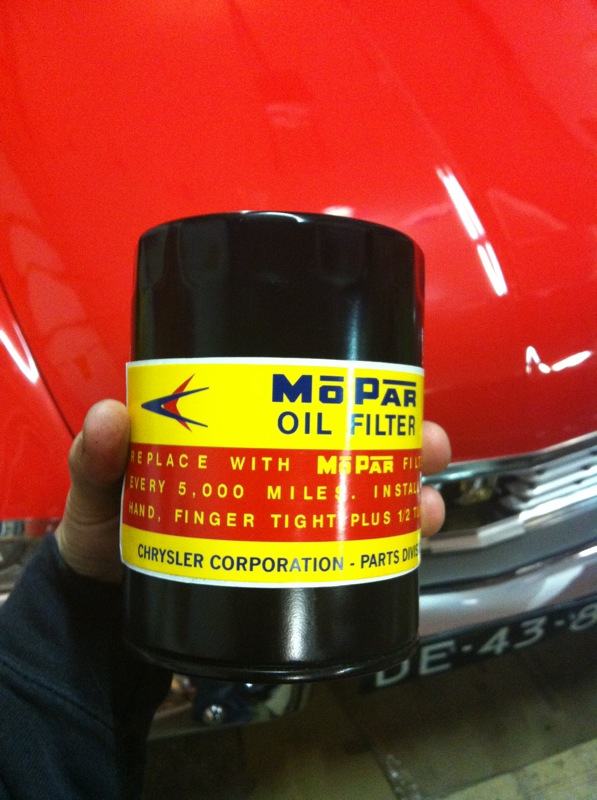
Replaced the oil filter and put a Mopar decal on it.
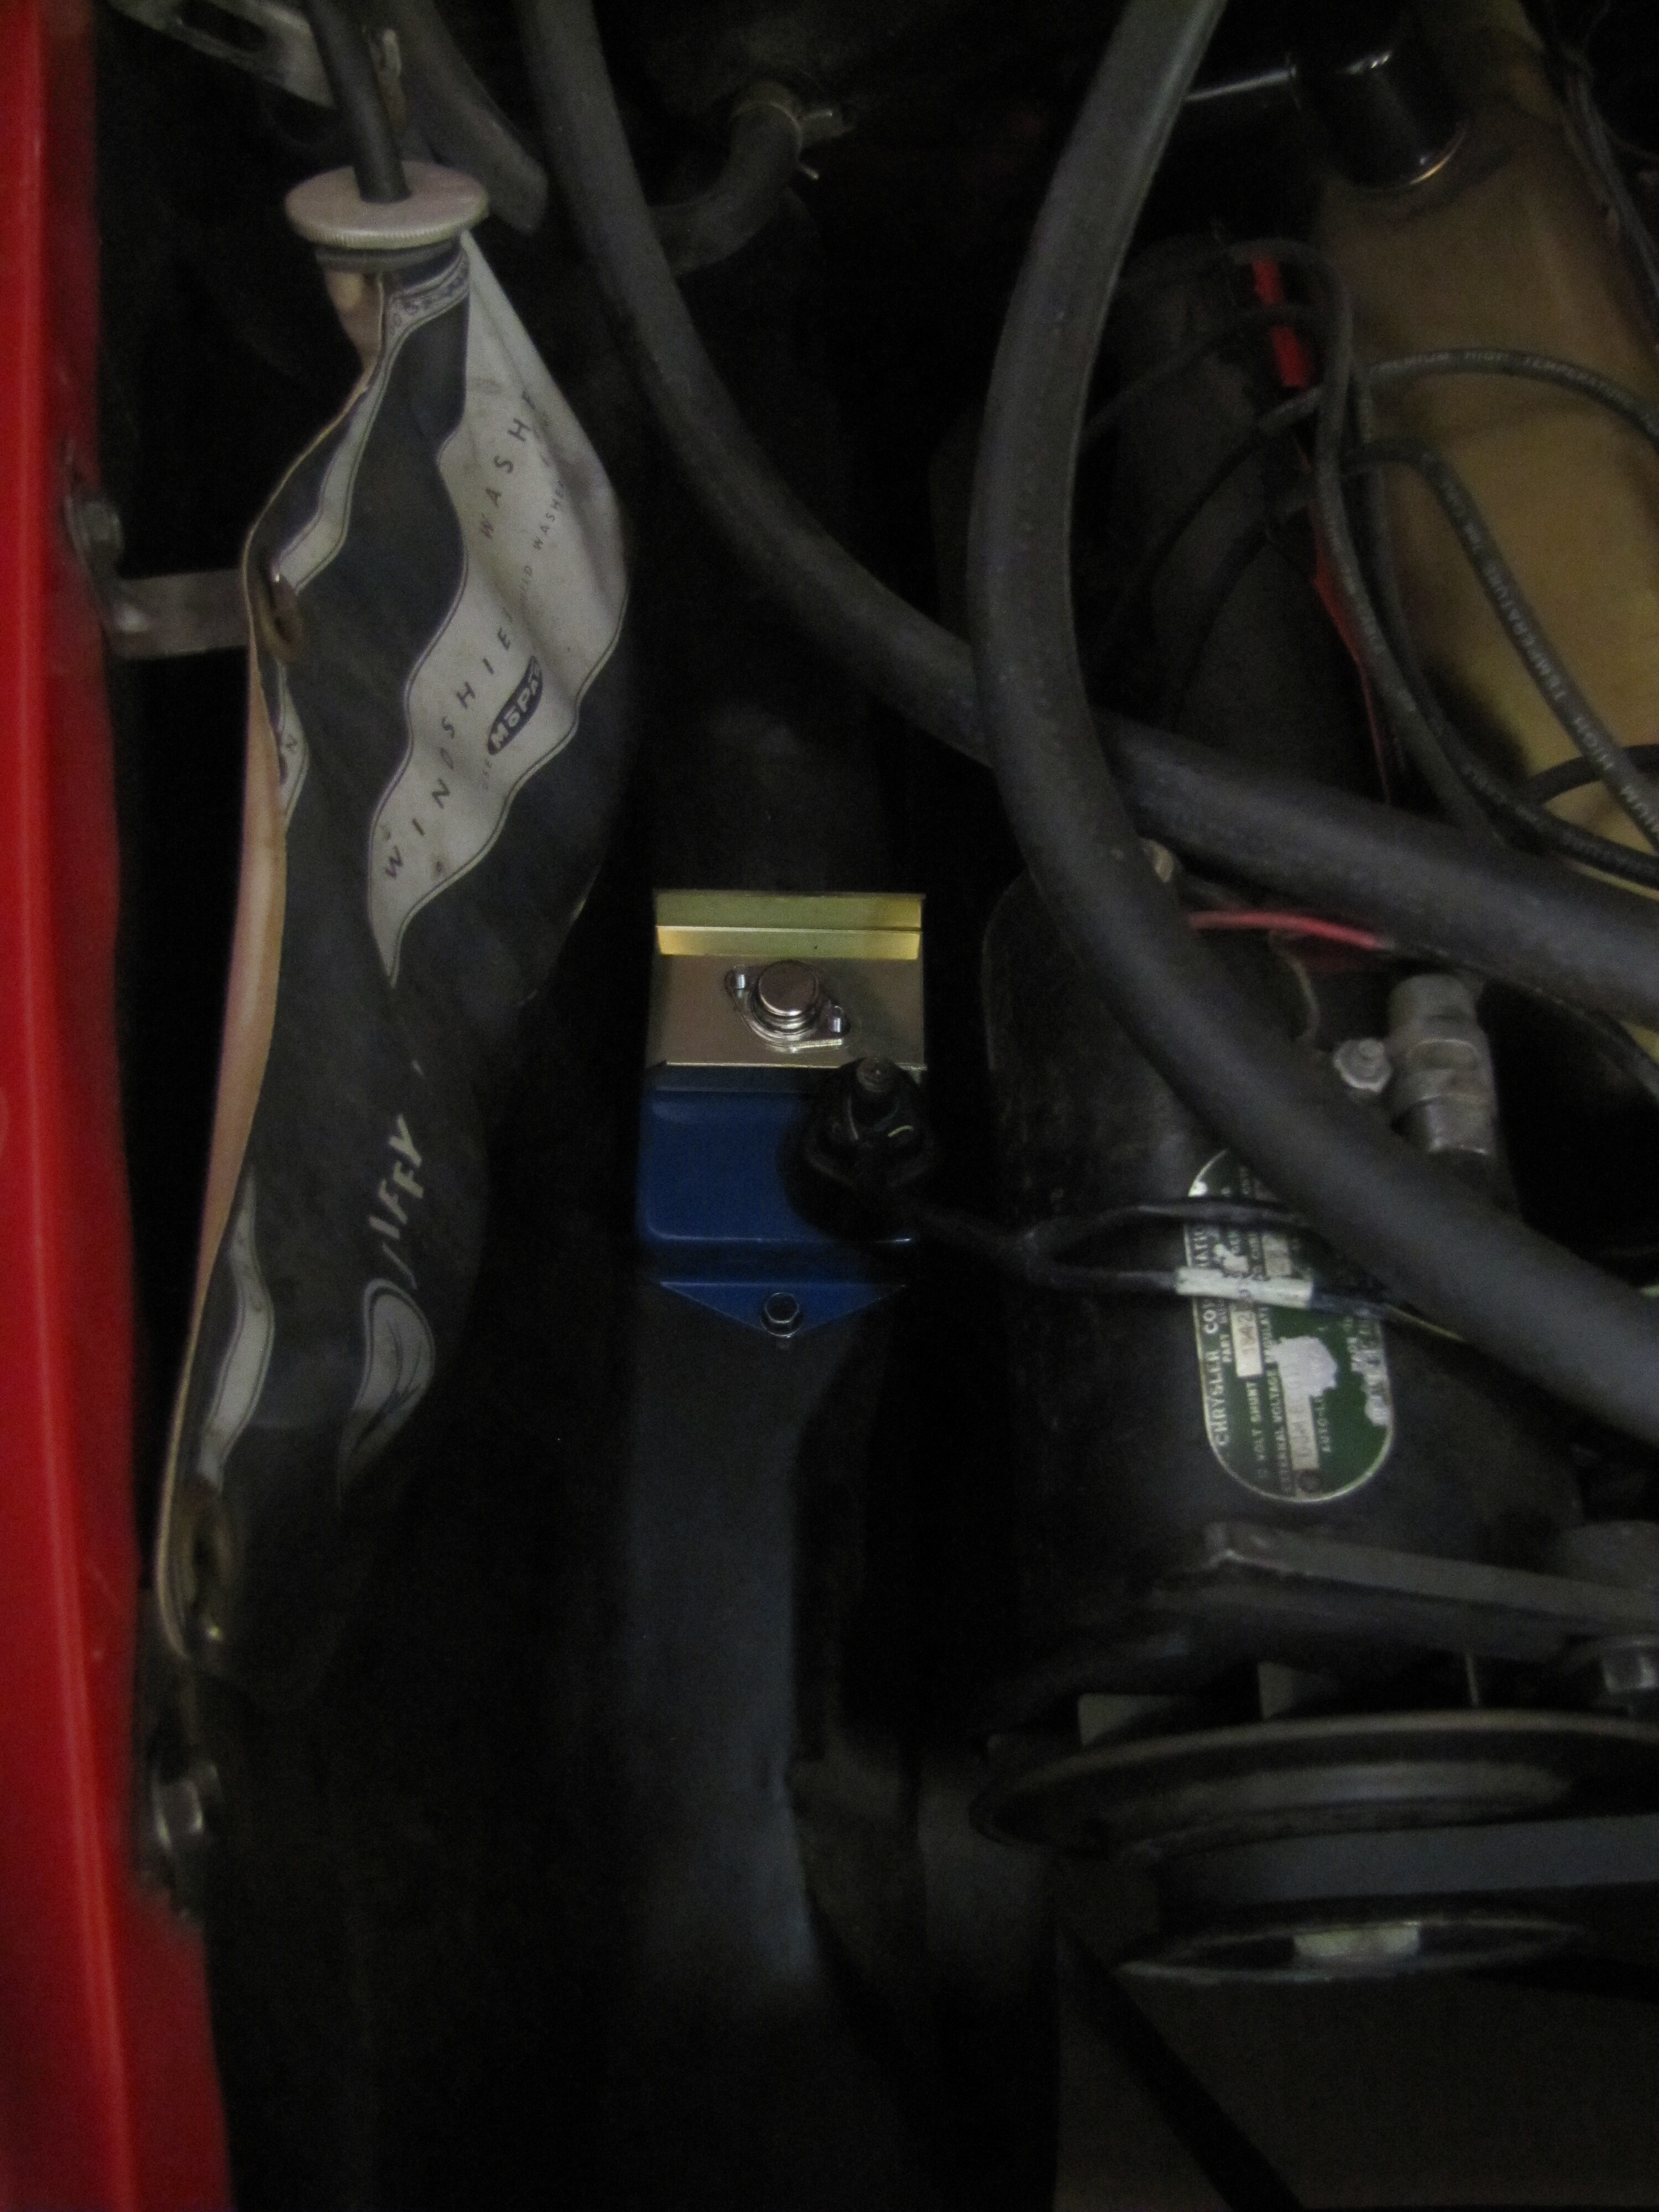
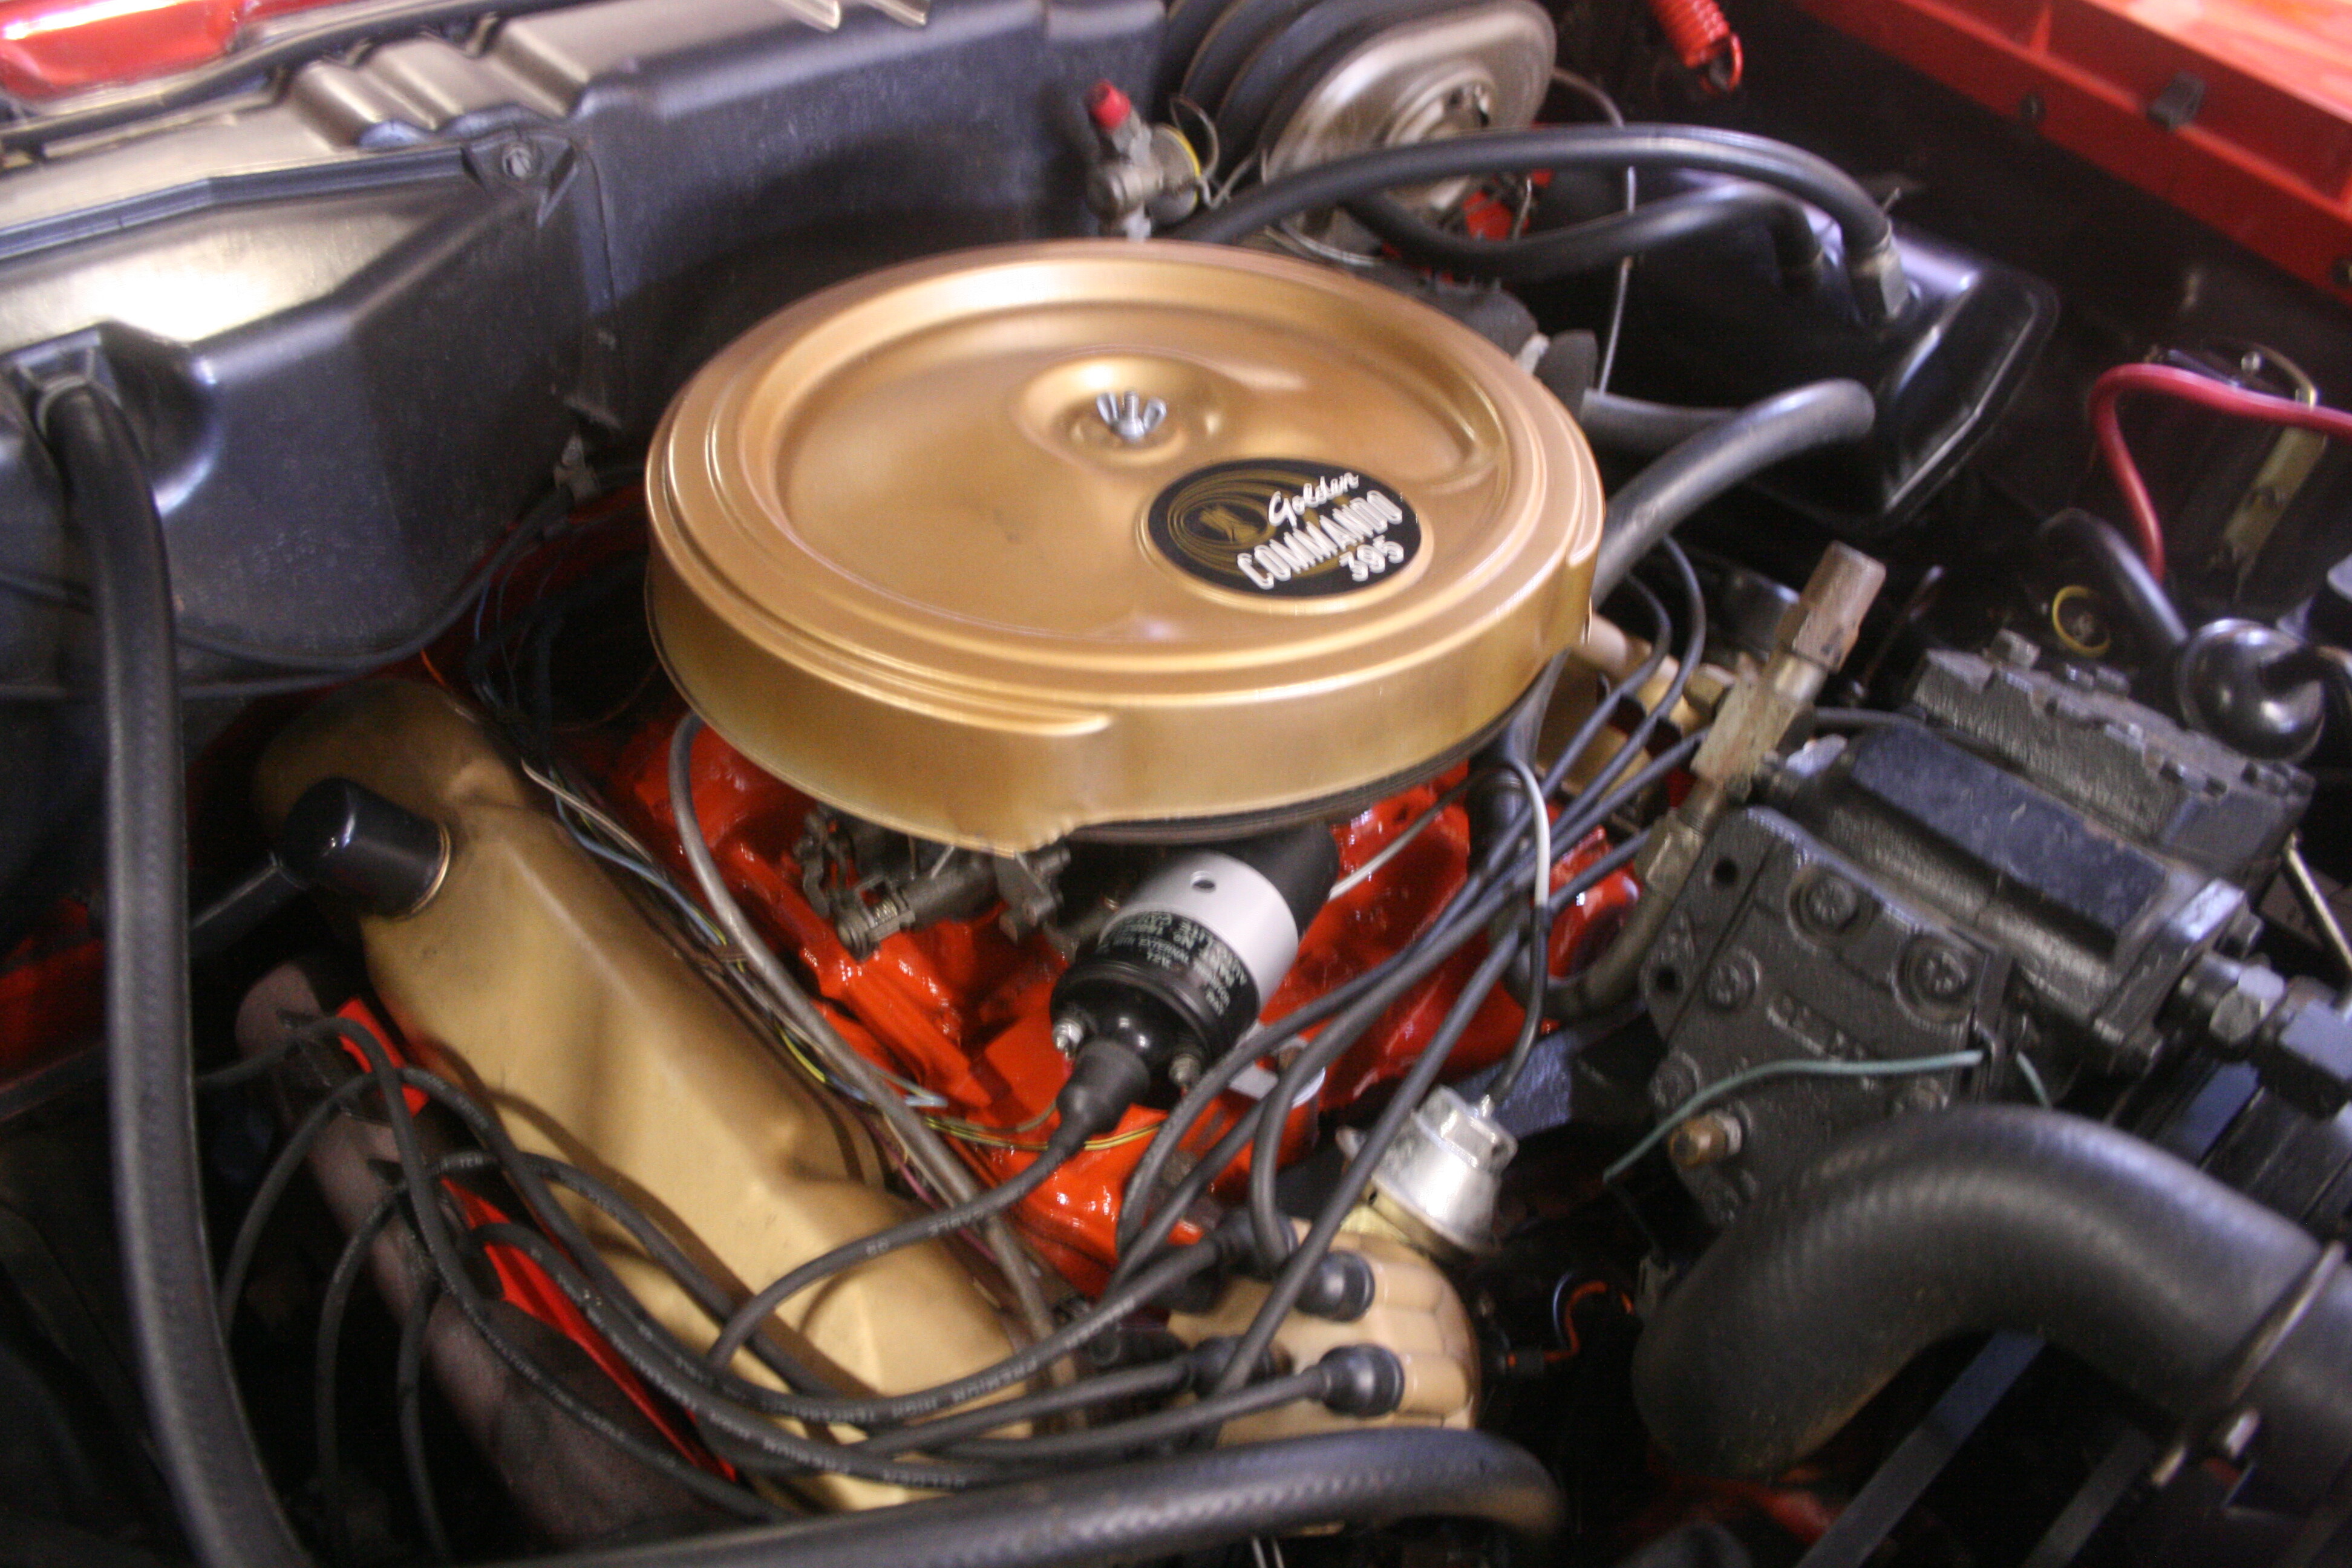
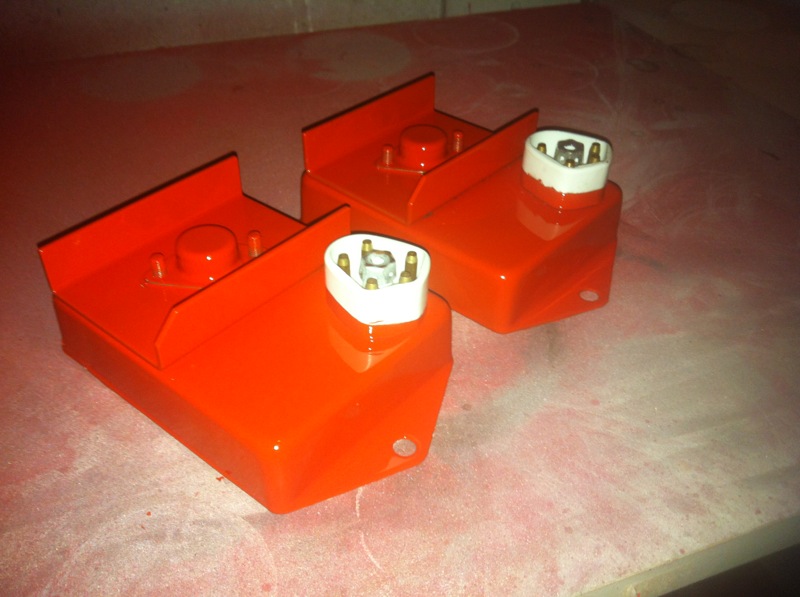
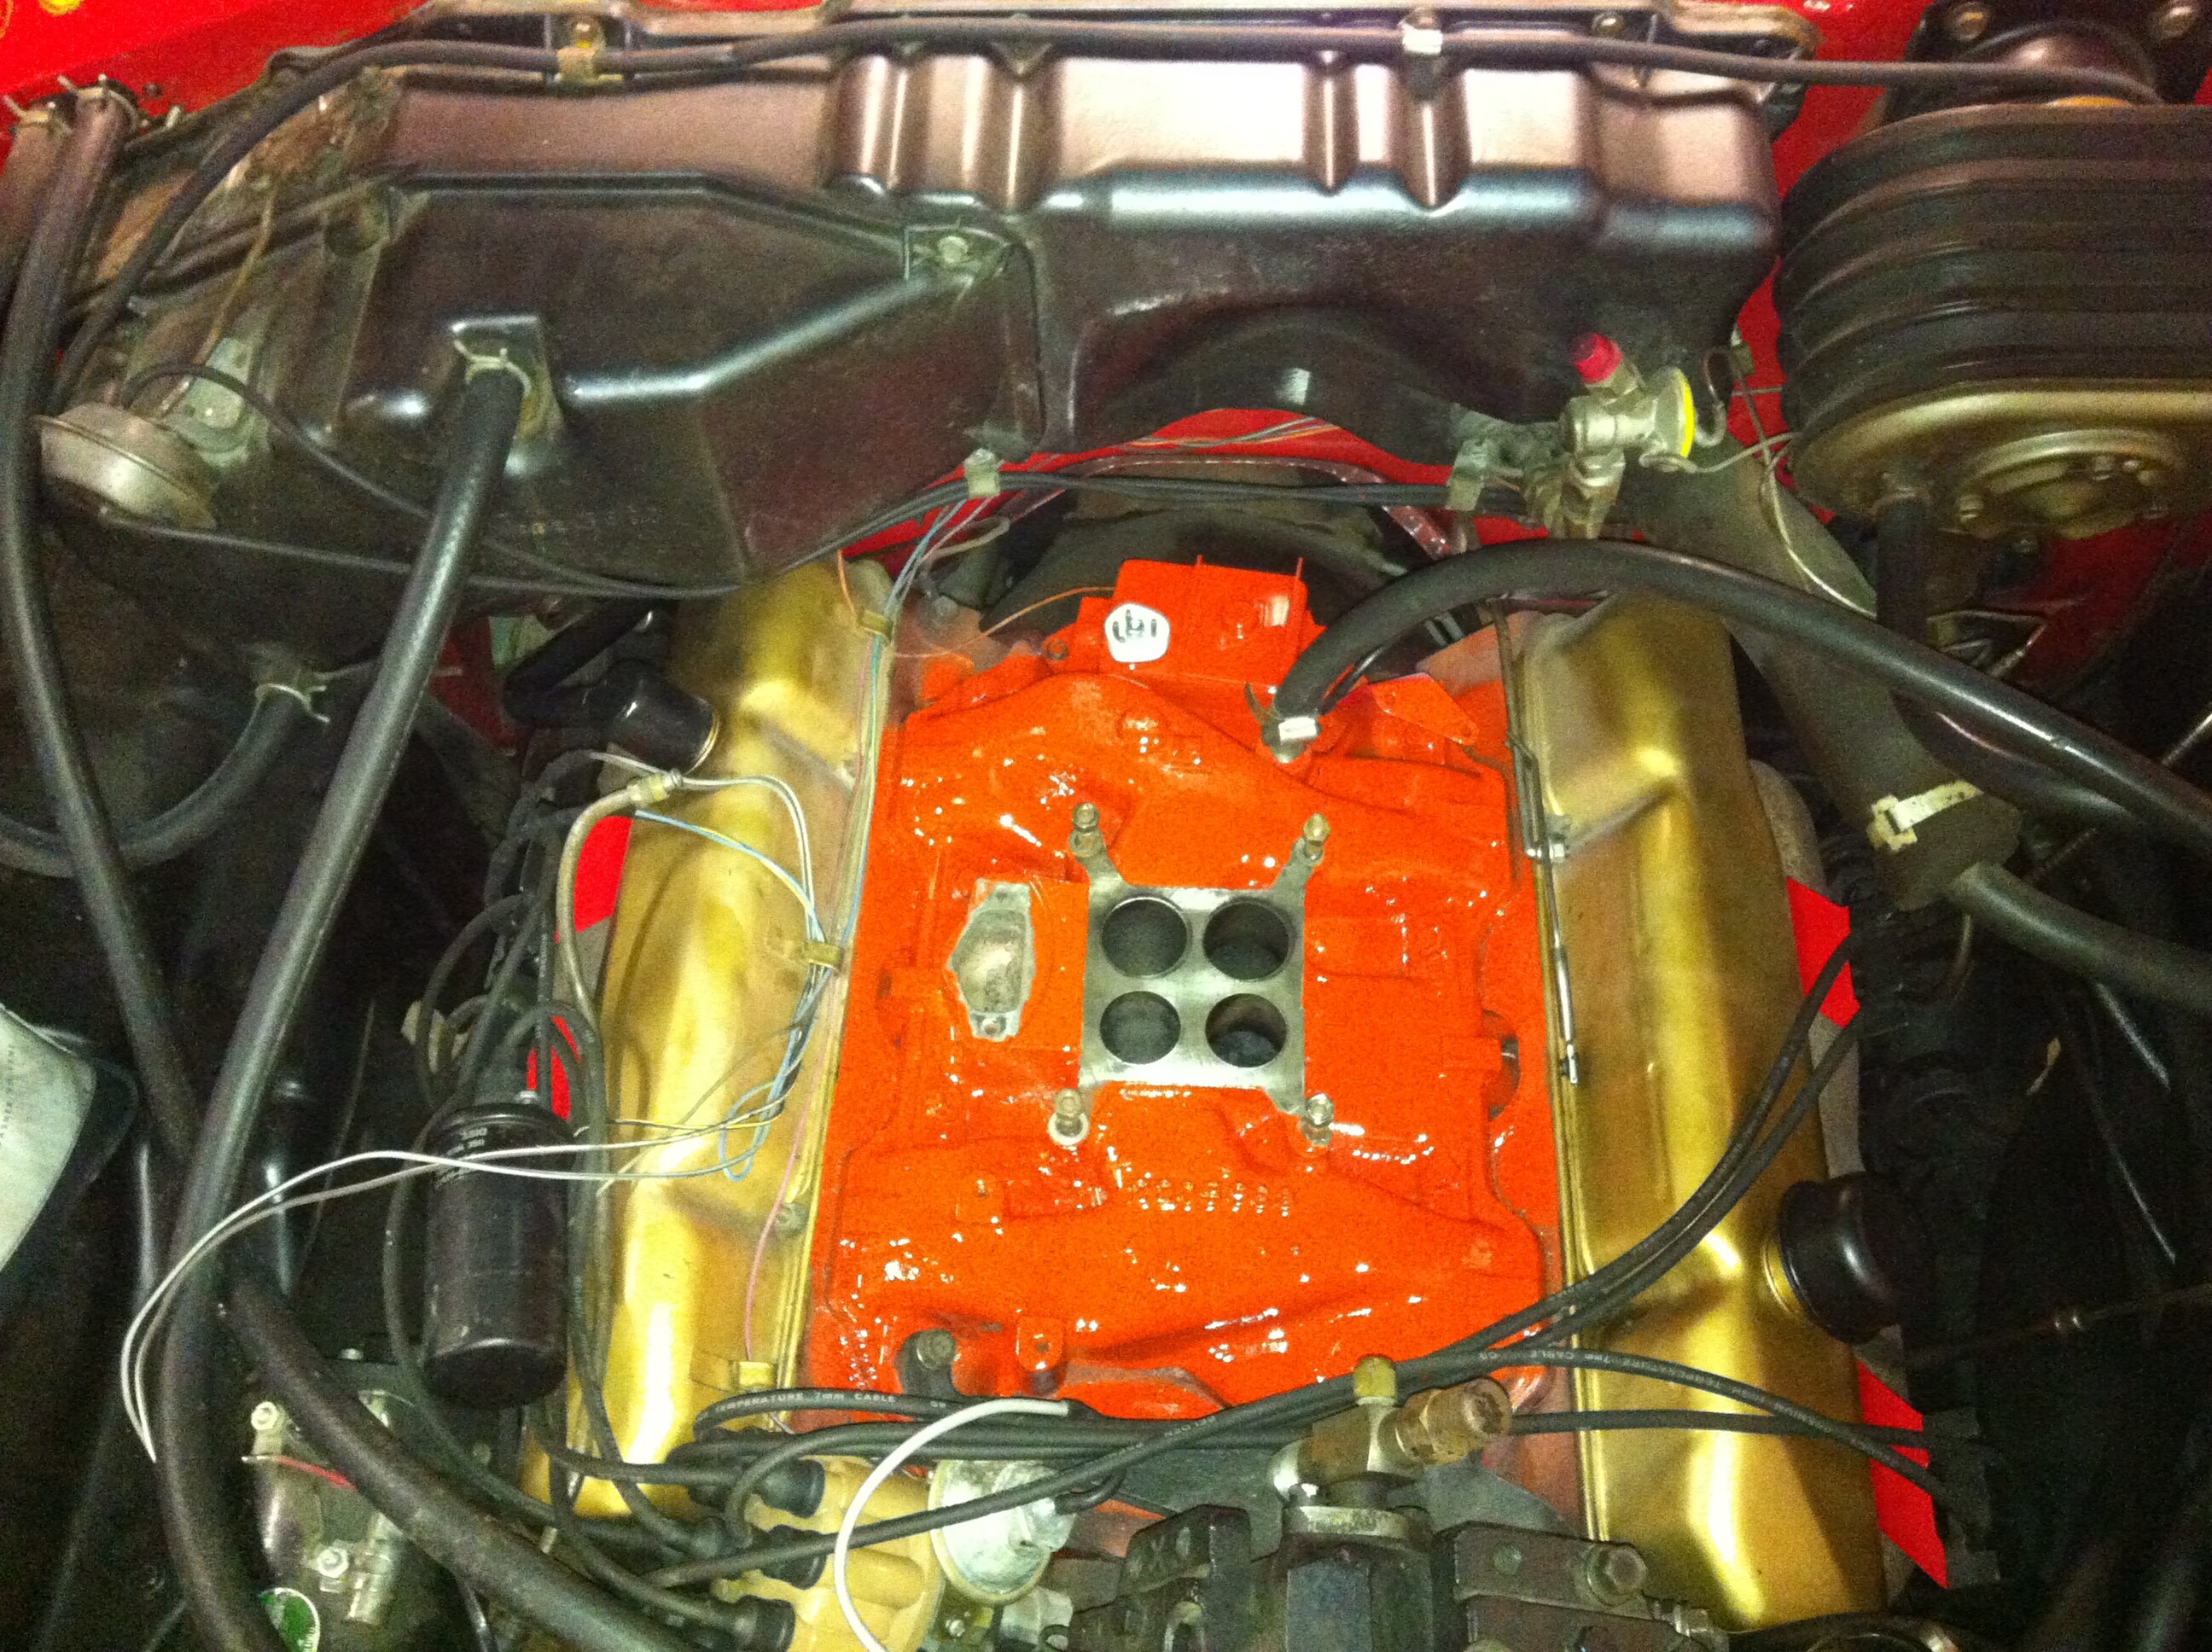
Paint was peeling from the intake so I repainted it. Also moved the electronic ignition ecu.
There is a local Mopar guy that cuts a piece of 1/4" thick aluminum for a heat sink to fit the ECU and then mounts it on the firewall.
Dick.
We got a bracket from eBay and it bolts right on the engine.
No holes that need to be drilled or modifying, it’s a bolt on!
It’s a lot better with it being out of sight
Finally found out how to get pics from my phone to my computer.
Here are some pics of what i did
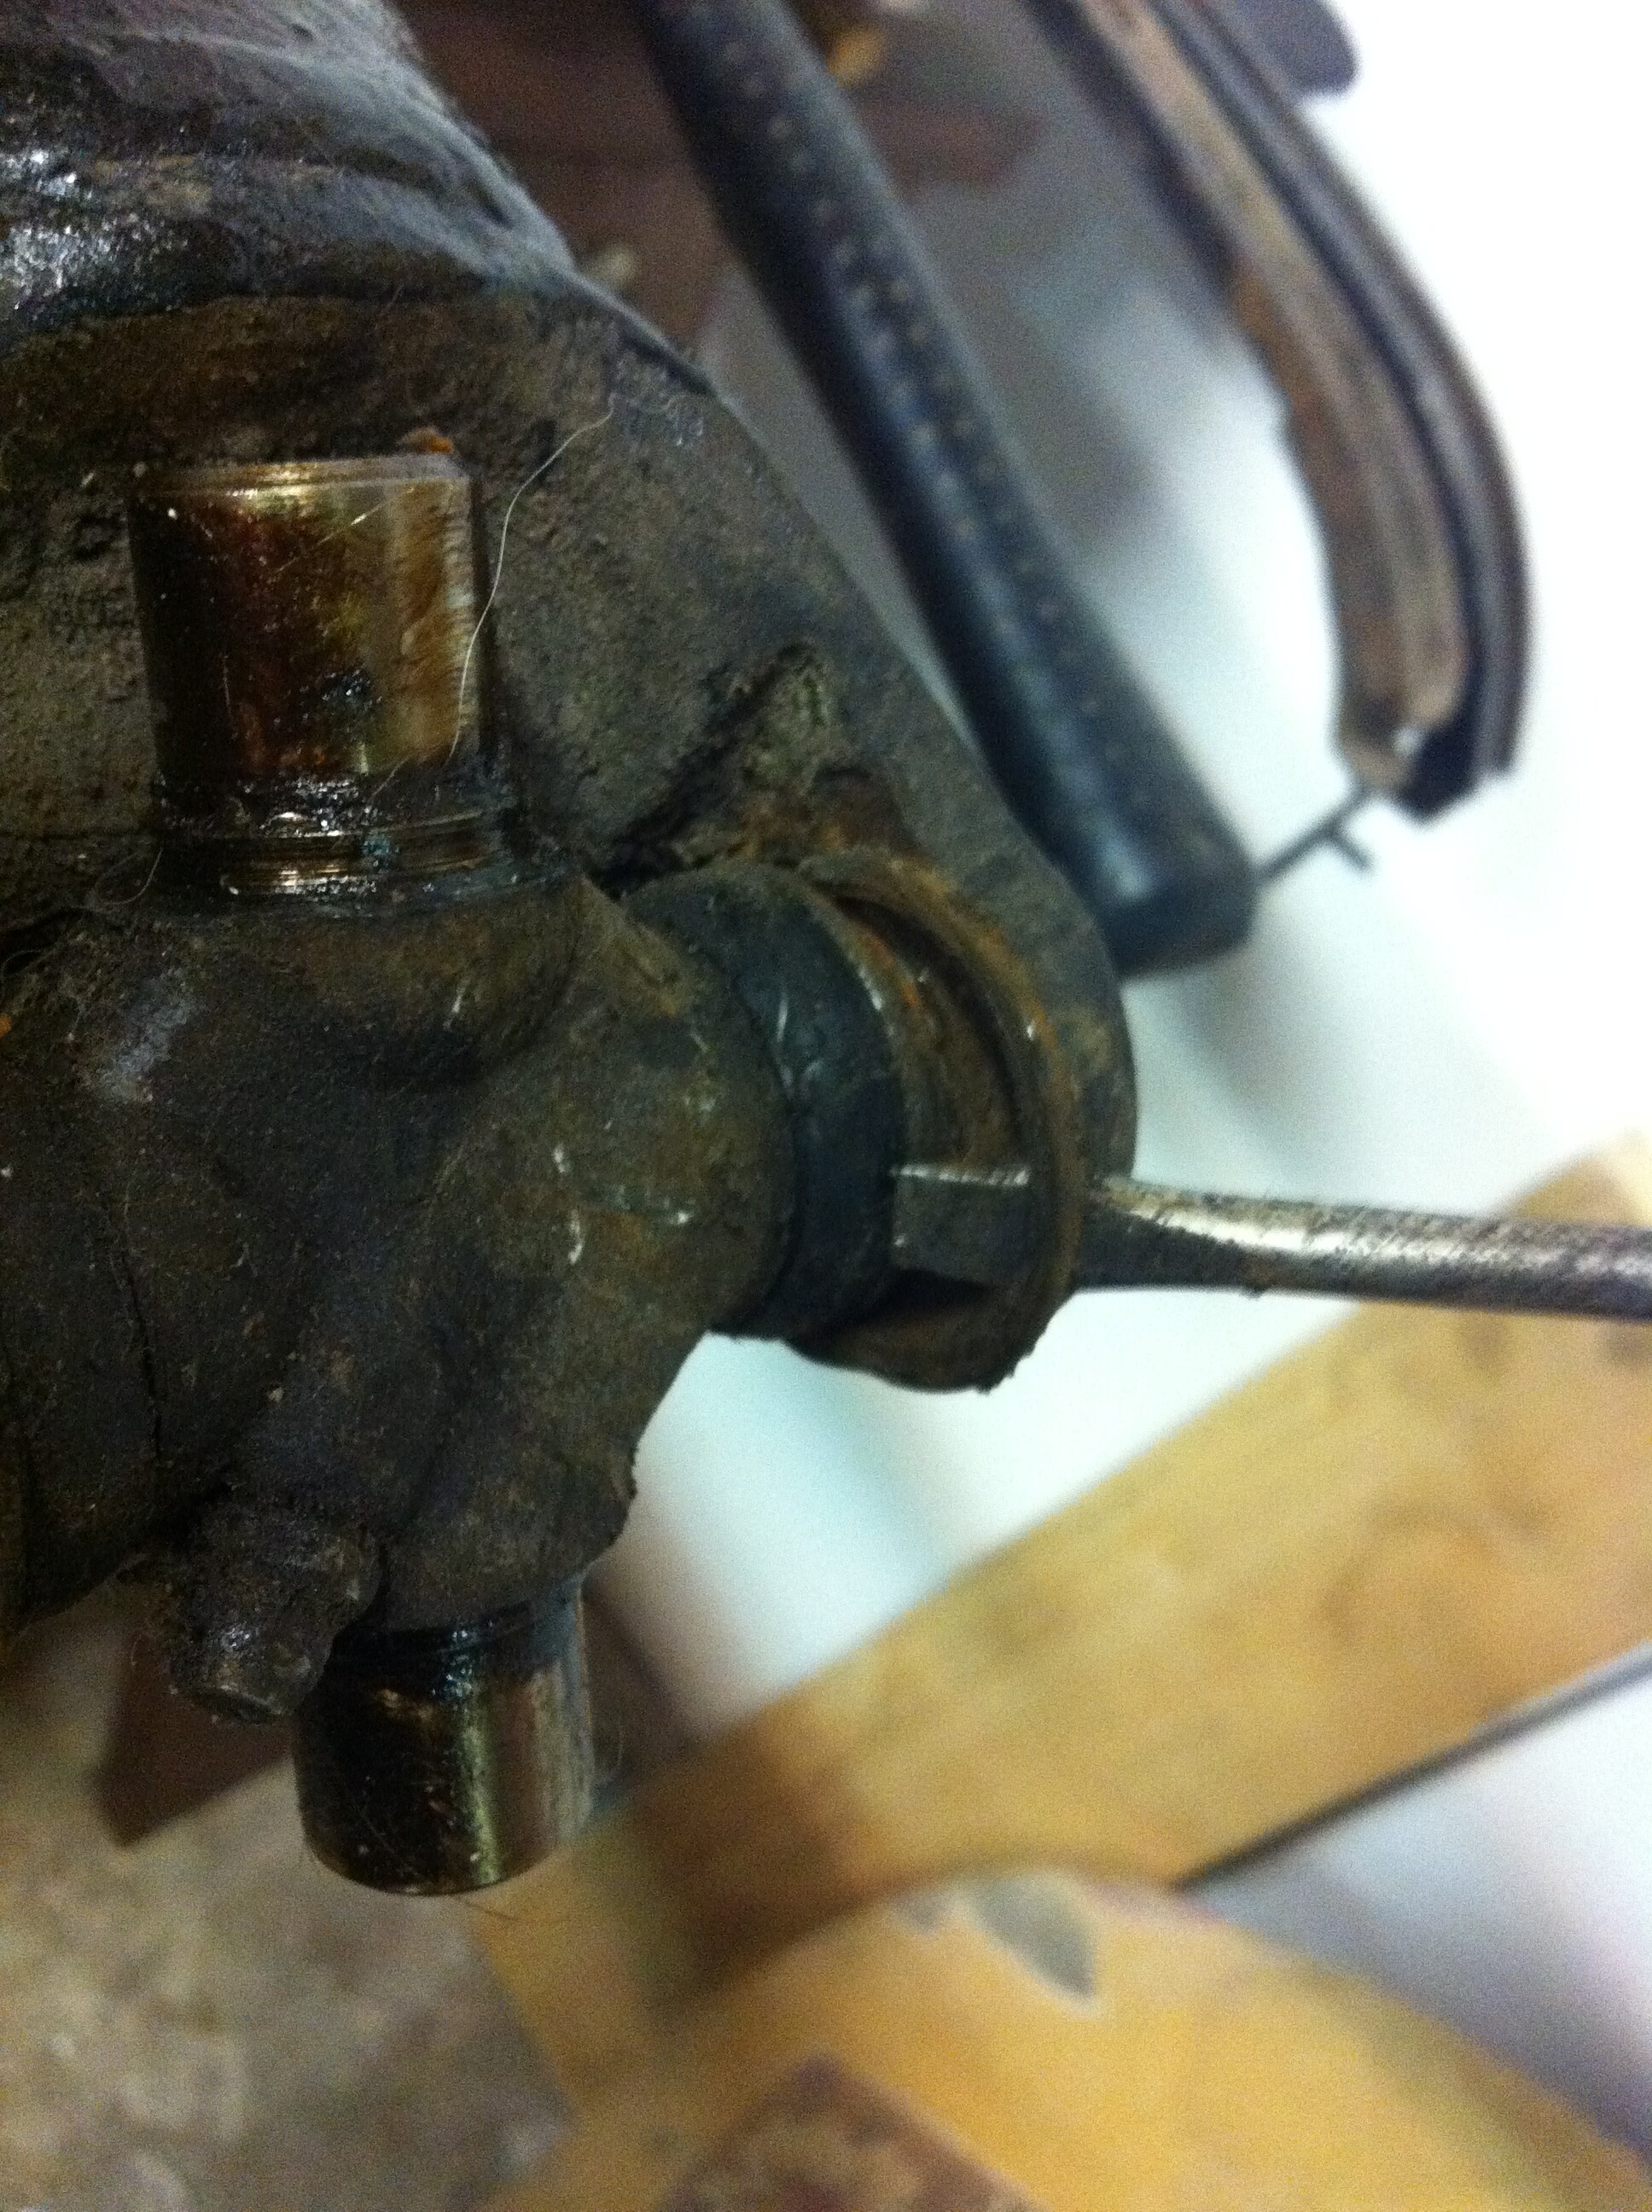
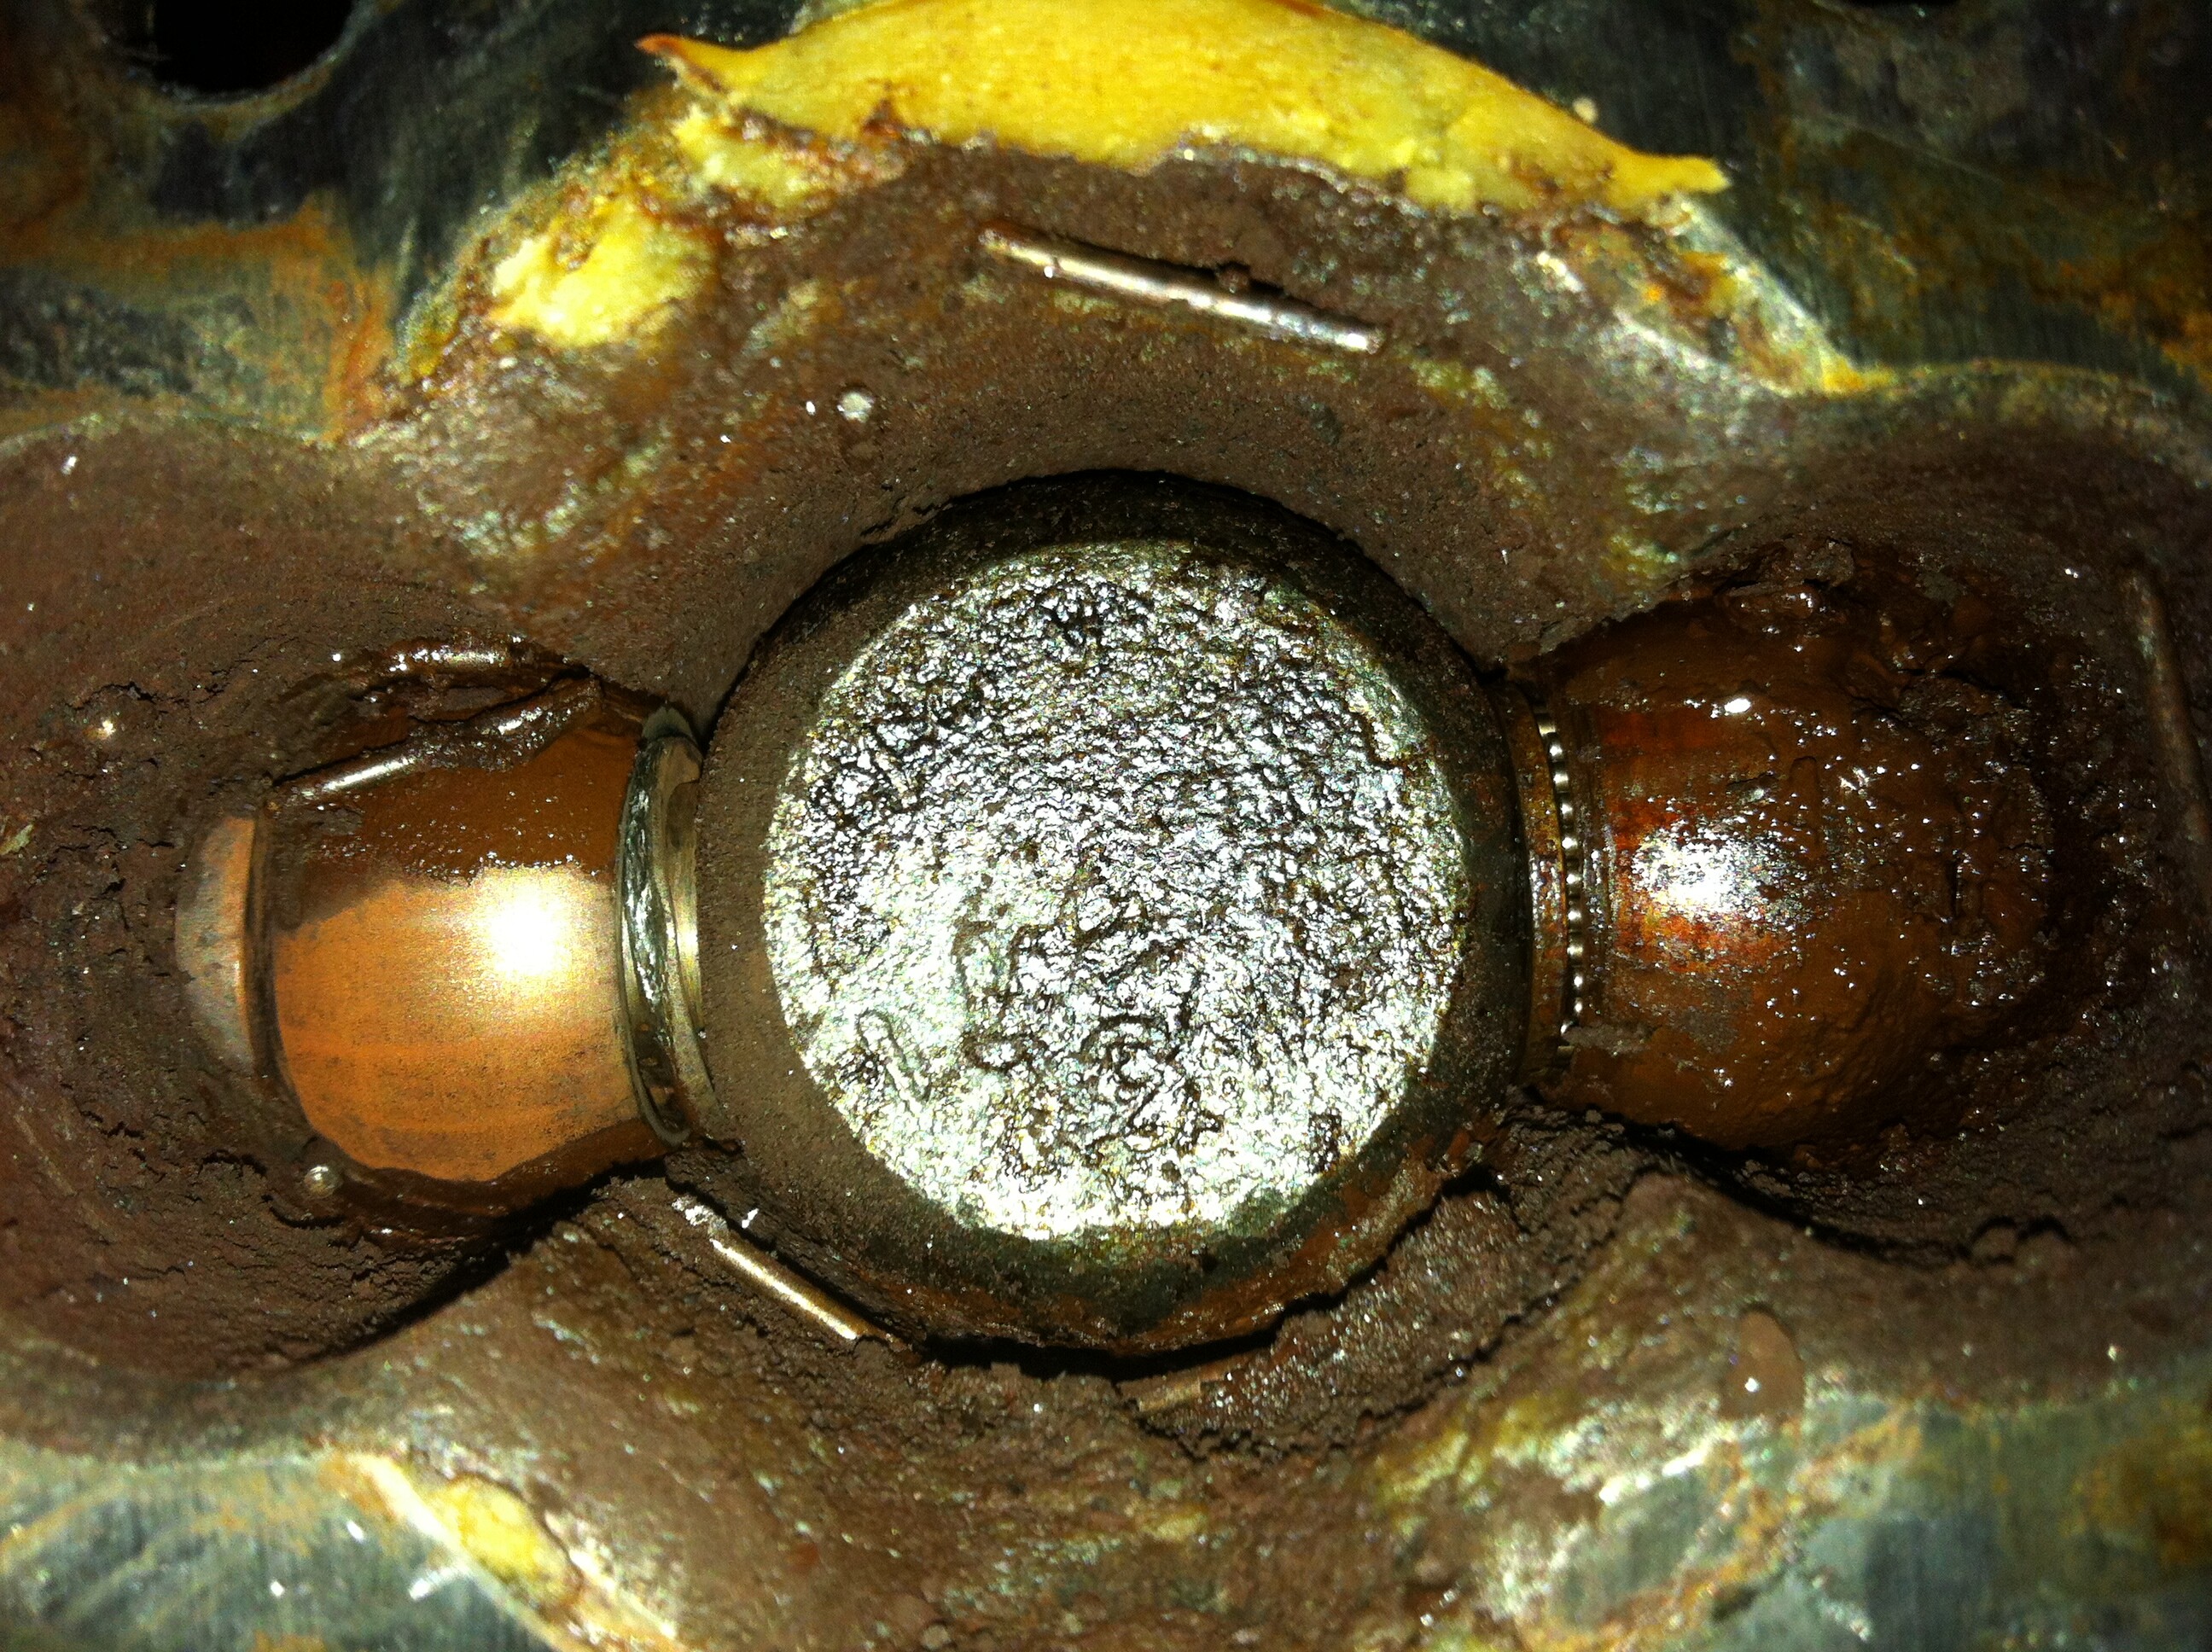
And another post about the drive shaft.
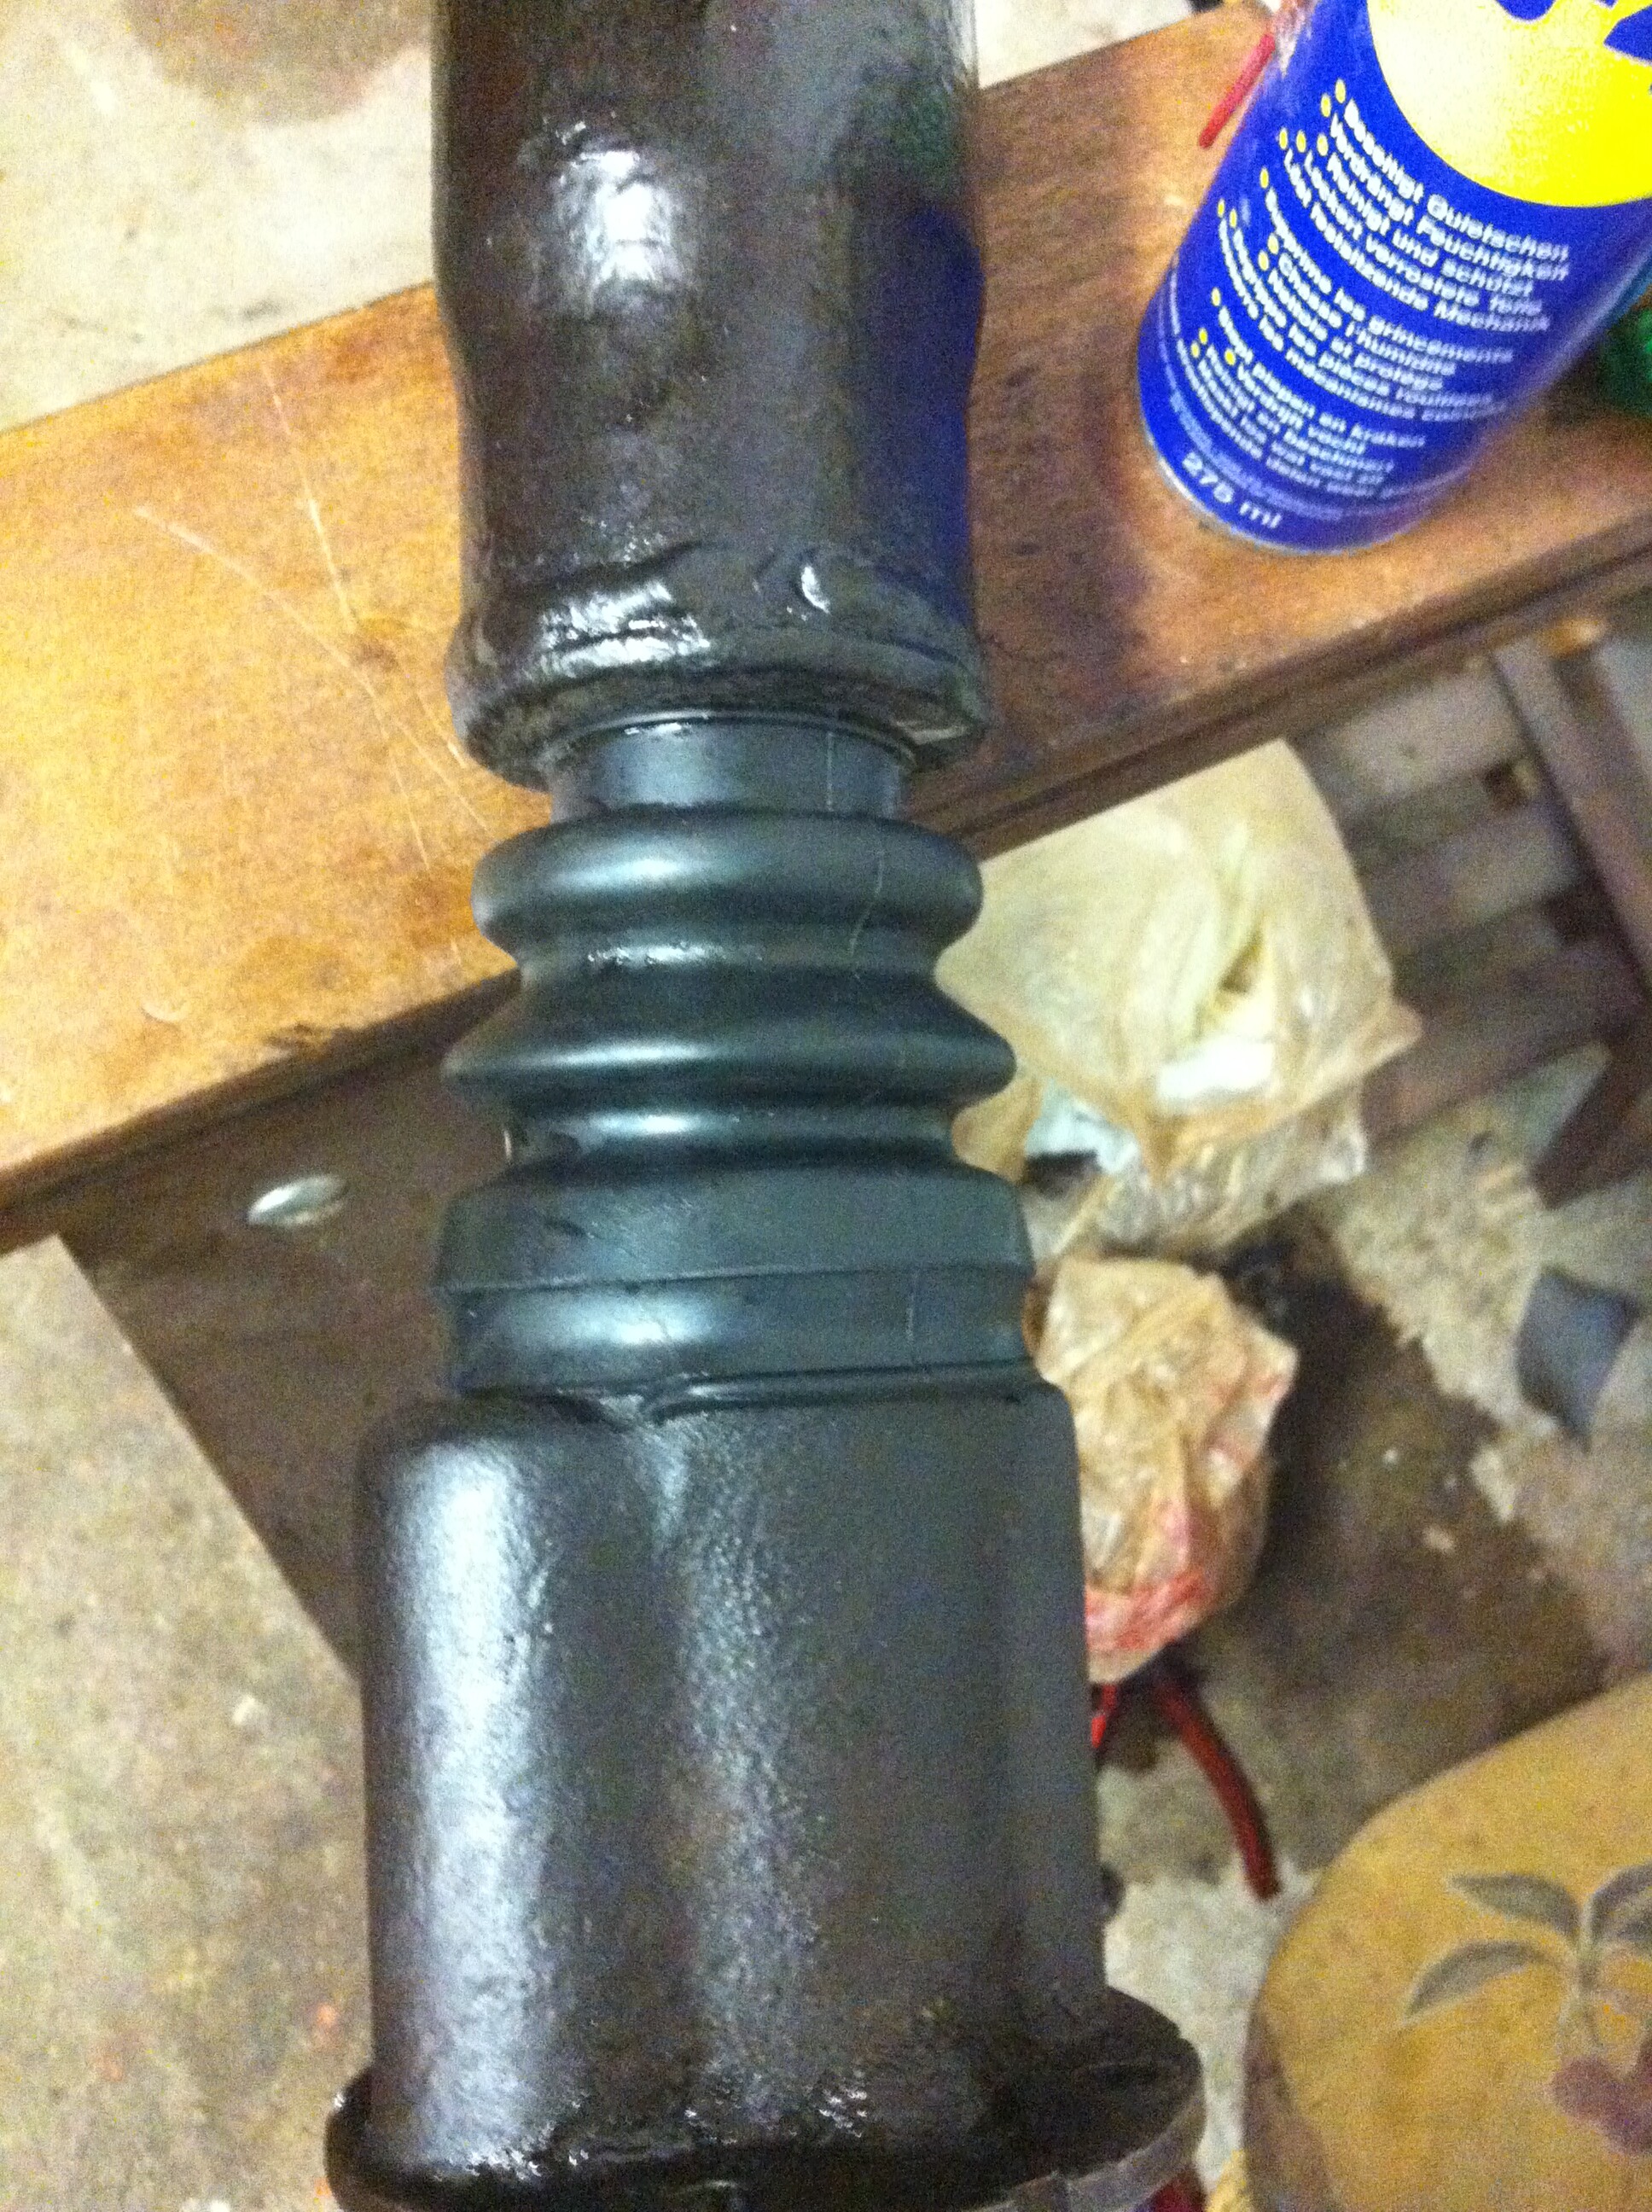
The car was vibrating badly and making noises. After checking things for about 2 weeks I thought it was the drive shaft. Also the rubber boot was long gone.
We had an extra drive shaft from the Fury we parted out so I decided to begin with that one and just swap them out.
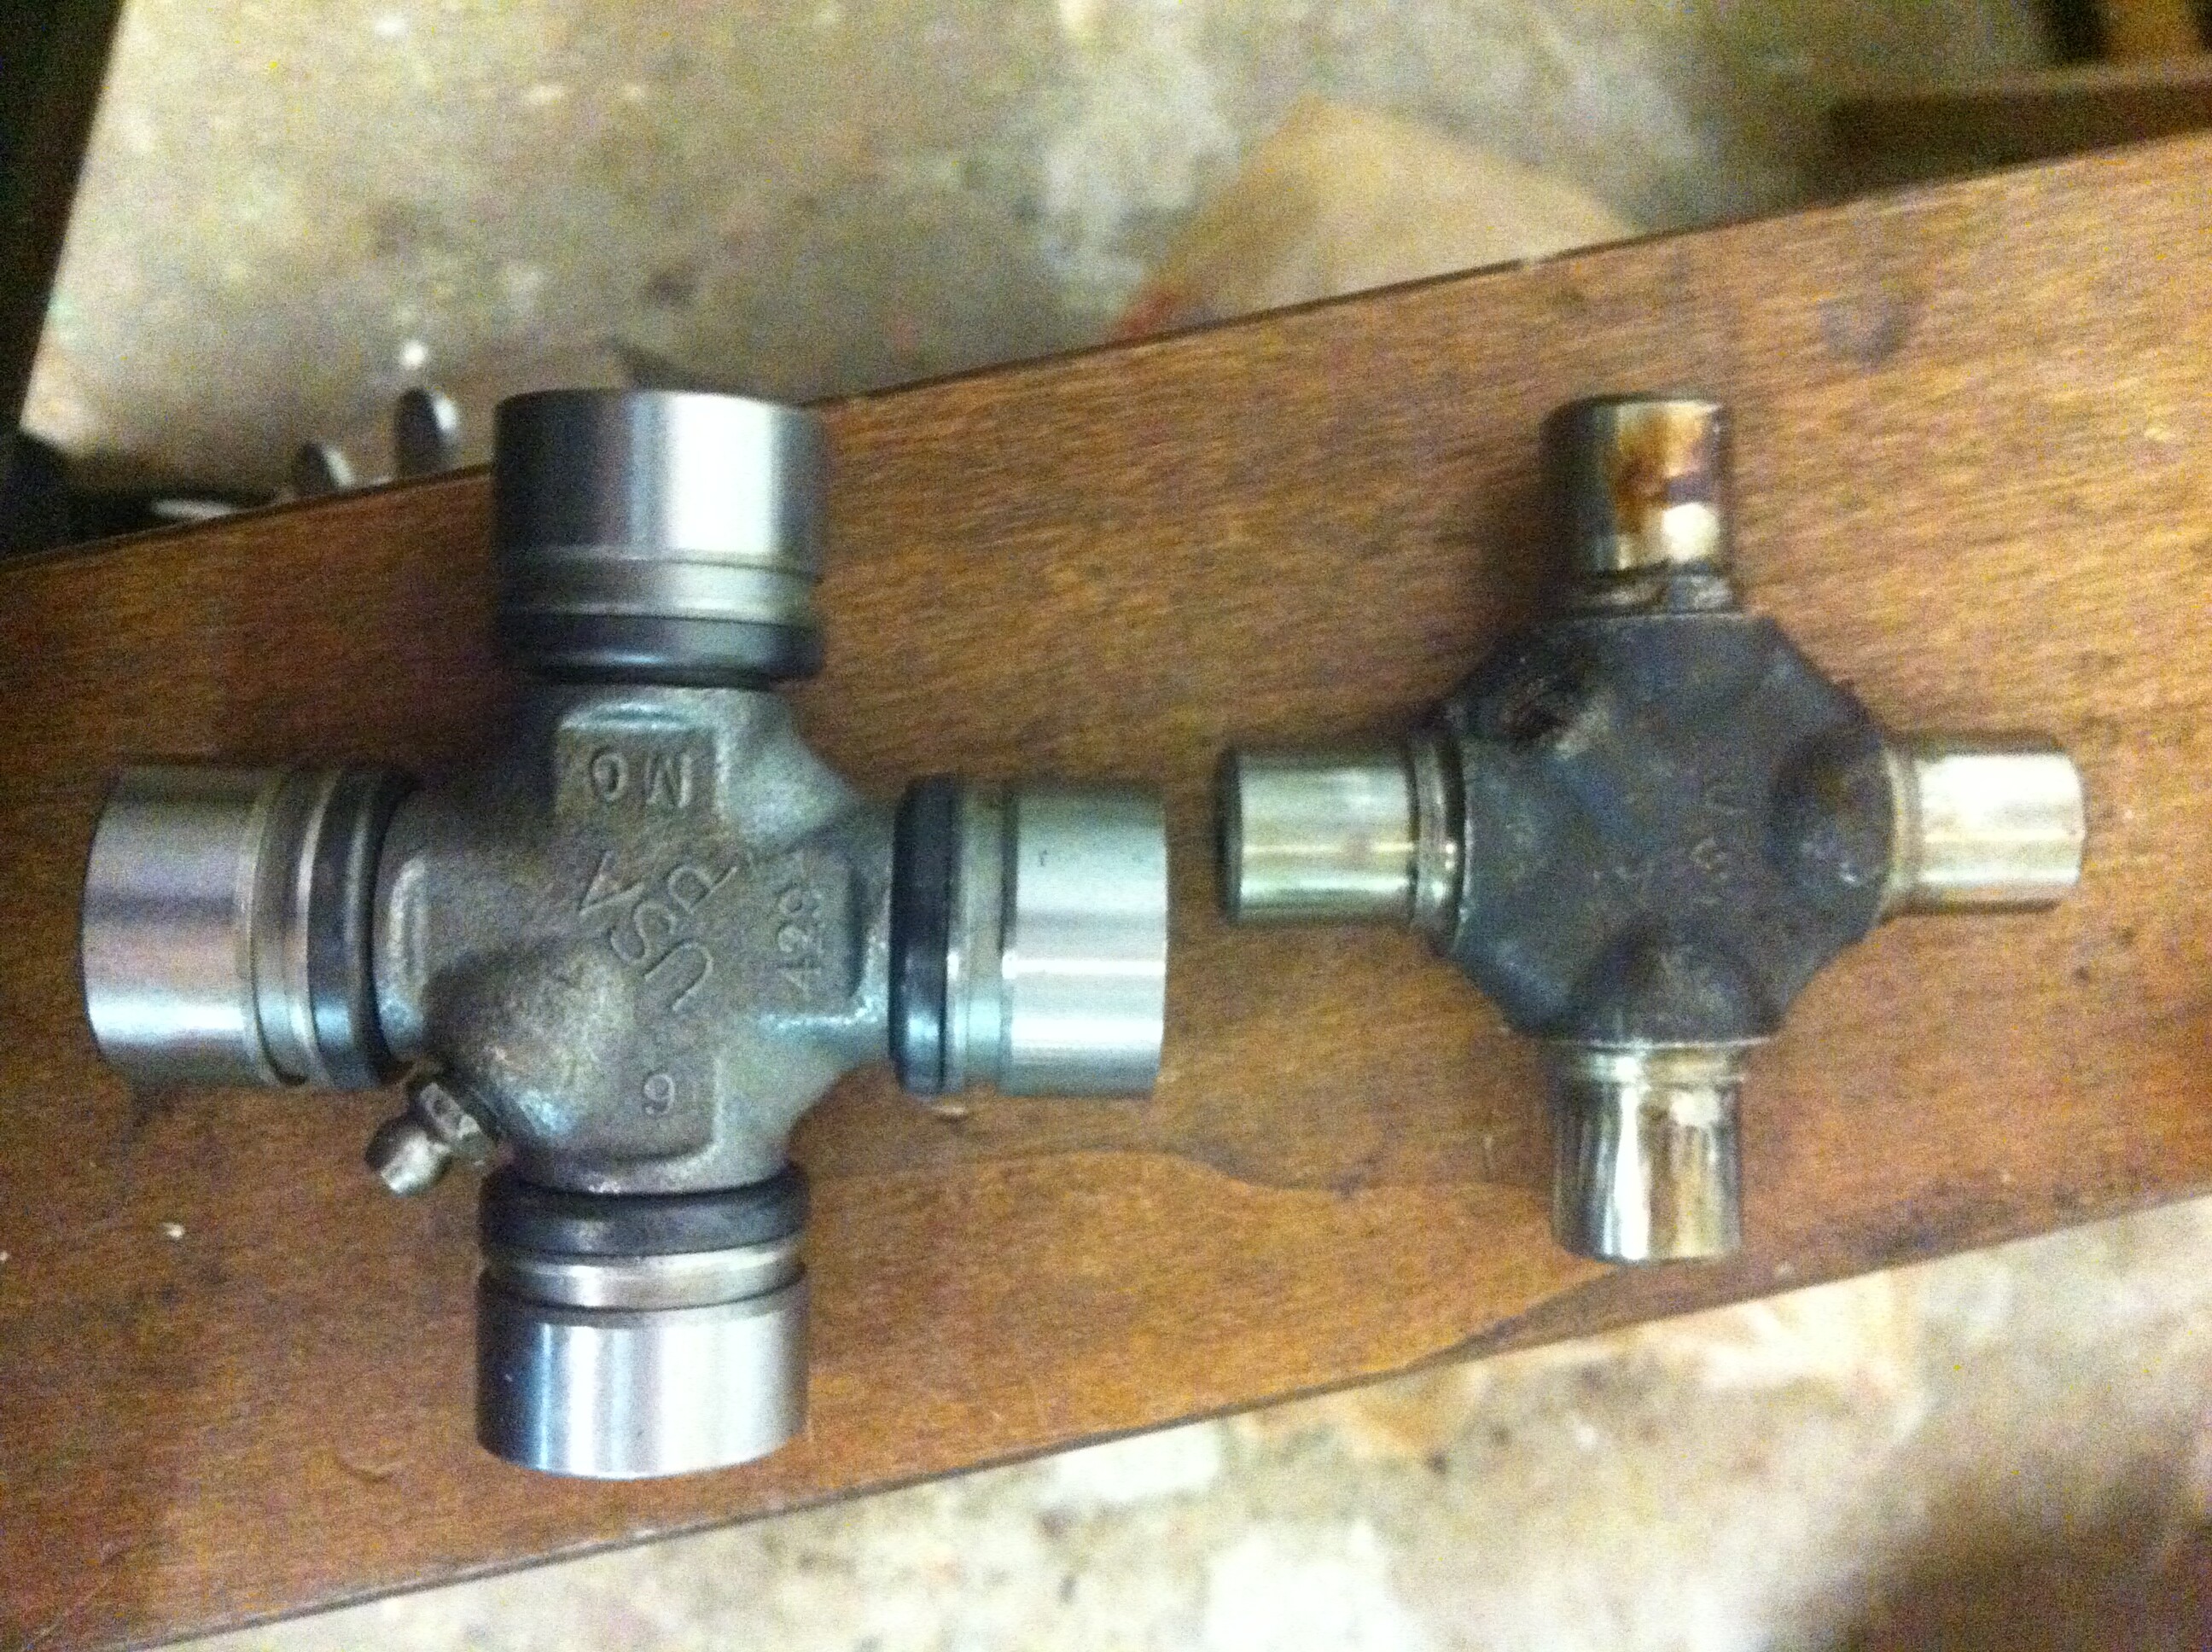
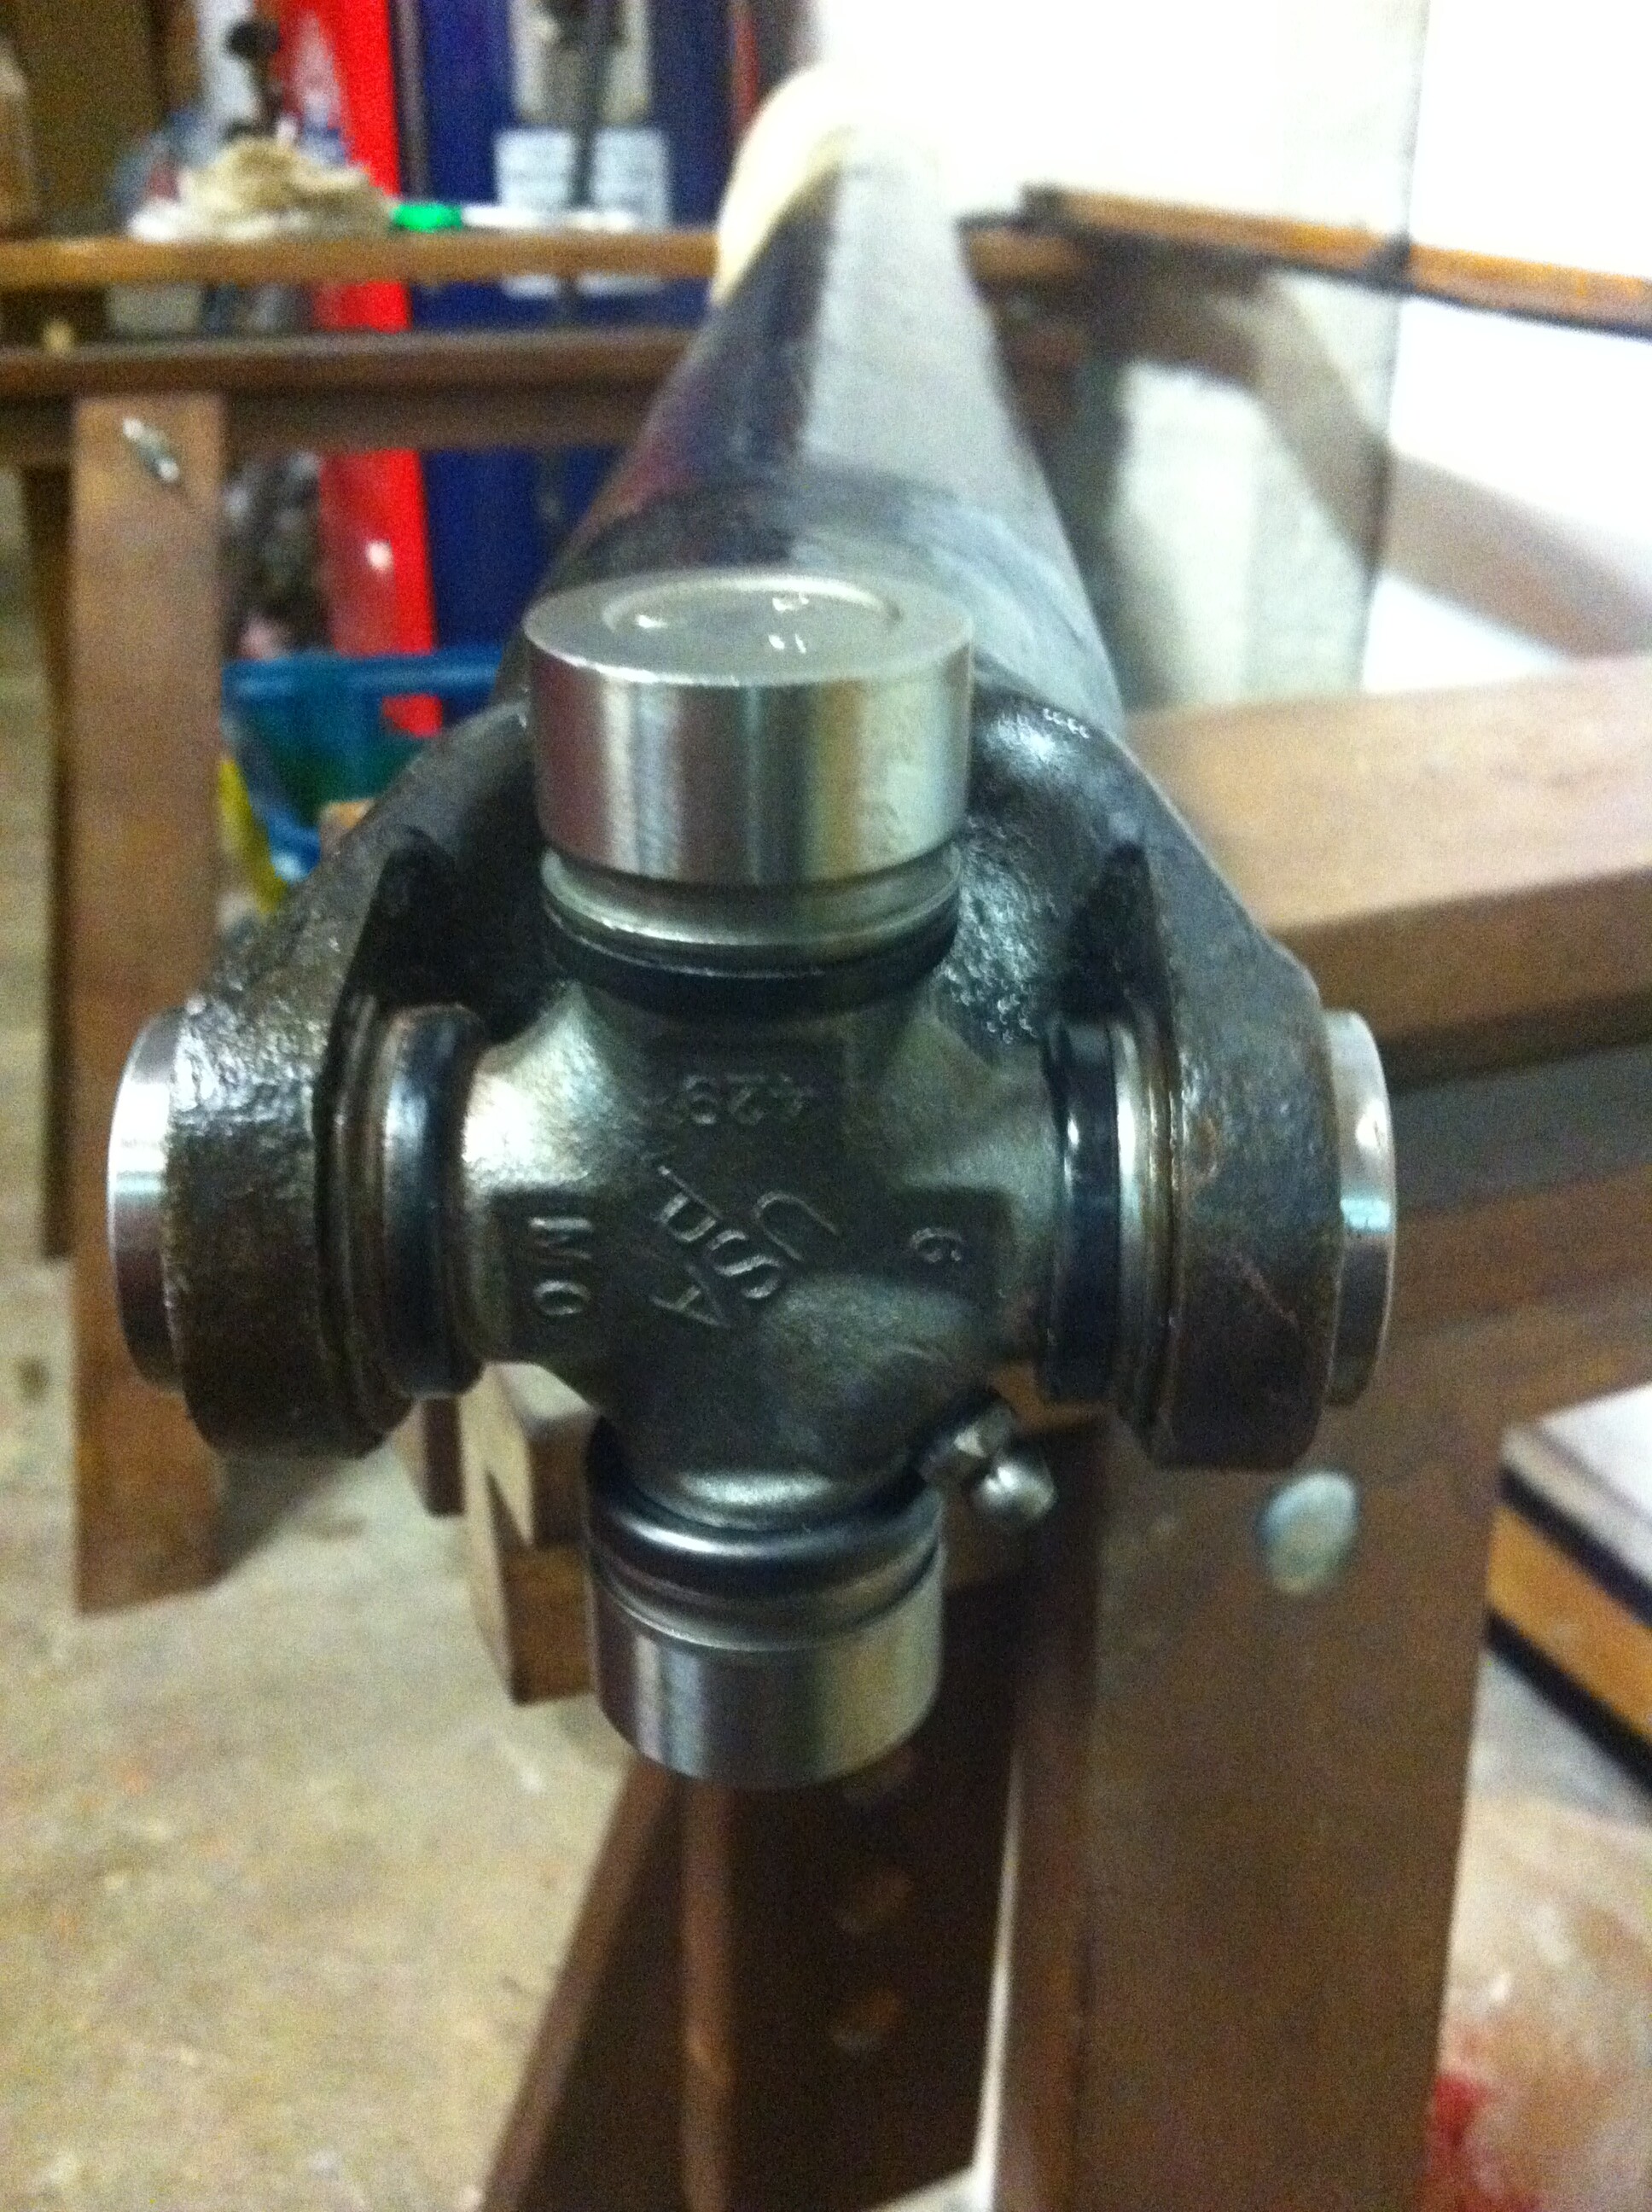
We bought a kit from Atlas and so the fun began!
Nice work, Matthew!
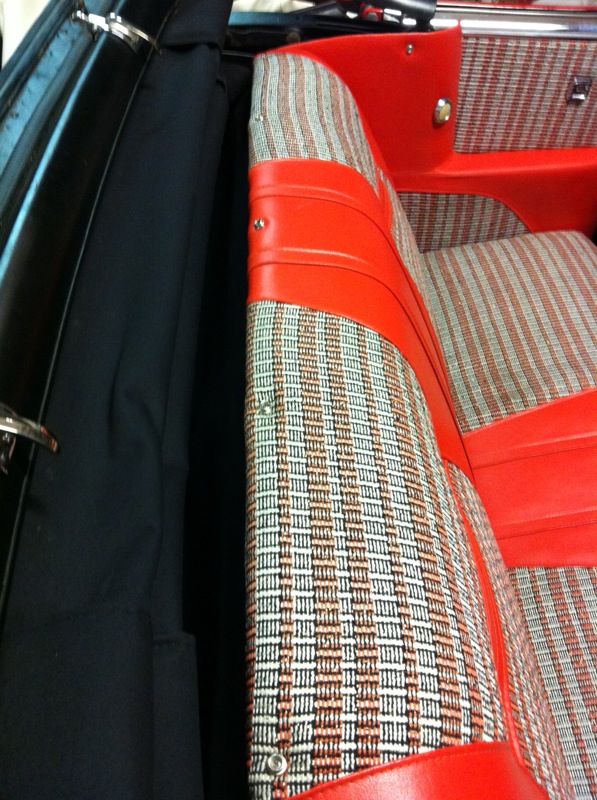
I wonder why you had to put snaps on the rear seat…weren’t they there already?
There were no snaps on the rear seat. There was a strip pop rivited to the back of the seat and the top boot cover slided in there
Oh yes, I remember now. A person couldn’t easily remove the boot cover, which didn’t bother me because i would always use the boot cover when the top was down.
I guess it’s more “correct” to have snaps all around, as the dried up old boot cover had. ![]()
The replacement “U”-joint looks much bigger than the old one. That one ought to last forever!
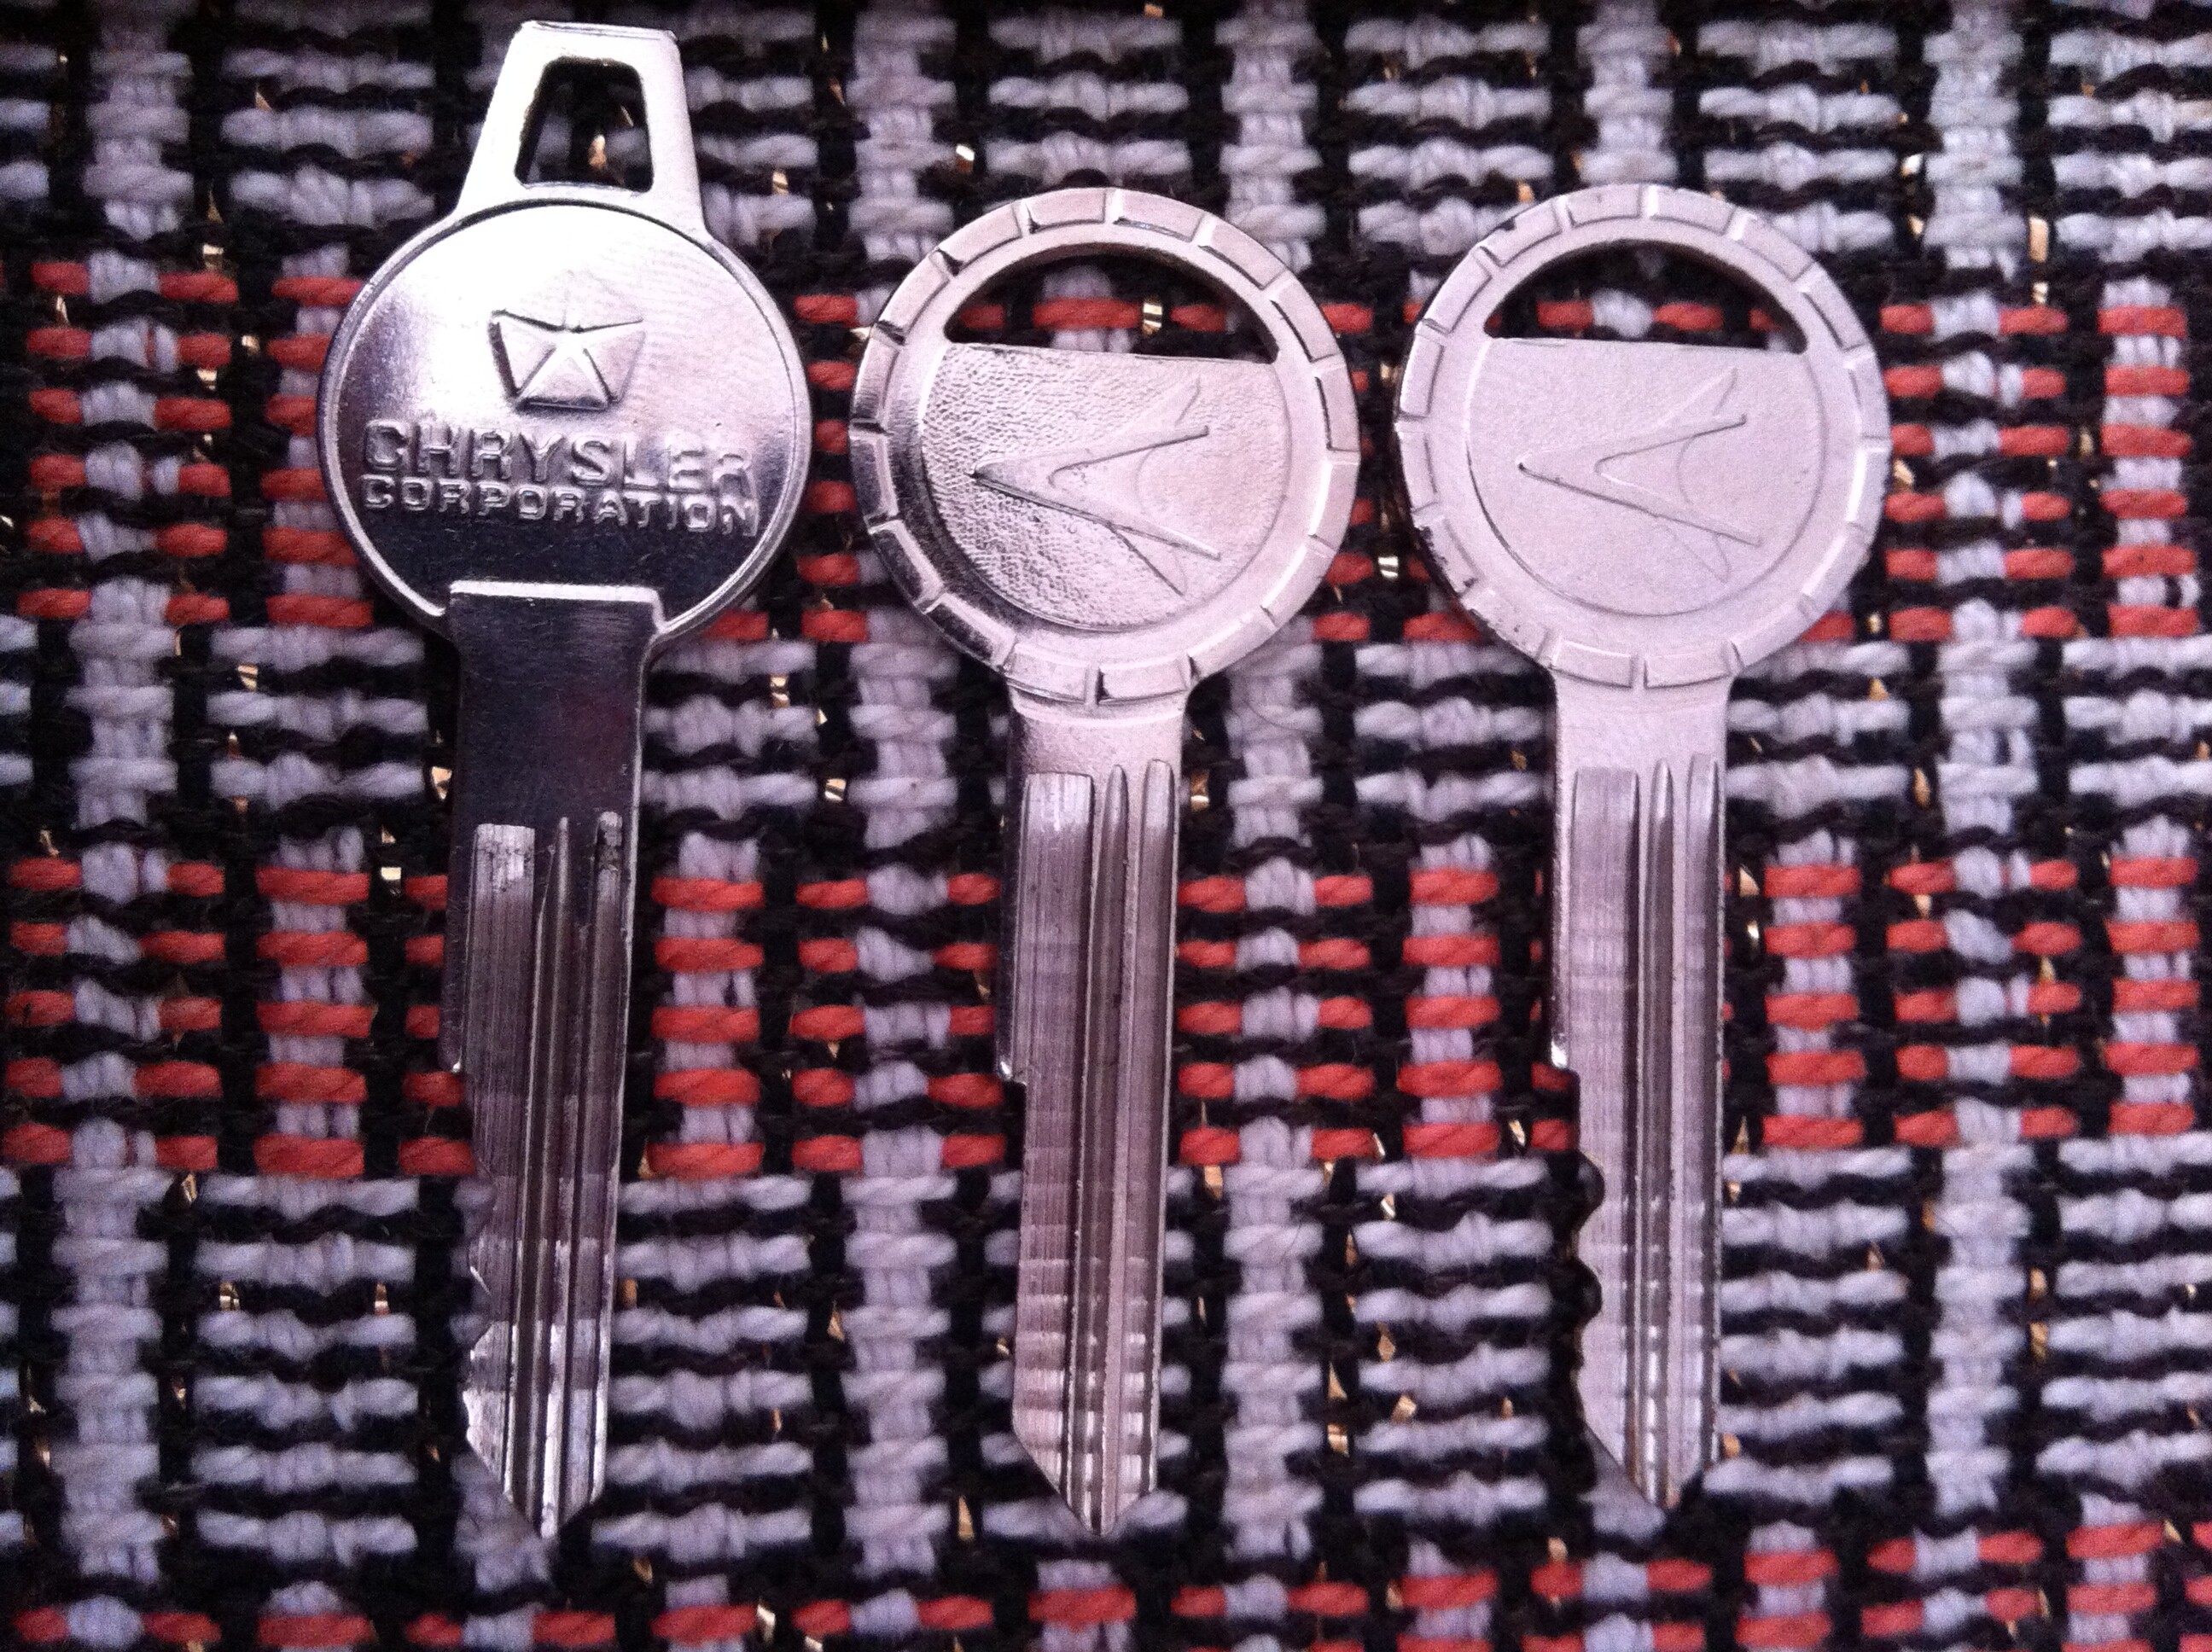
And we have more parts!
Also some problems with the a part but more on that later.
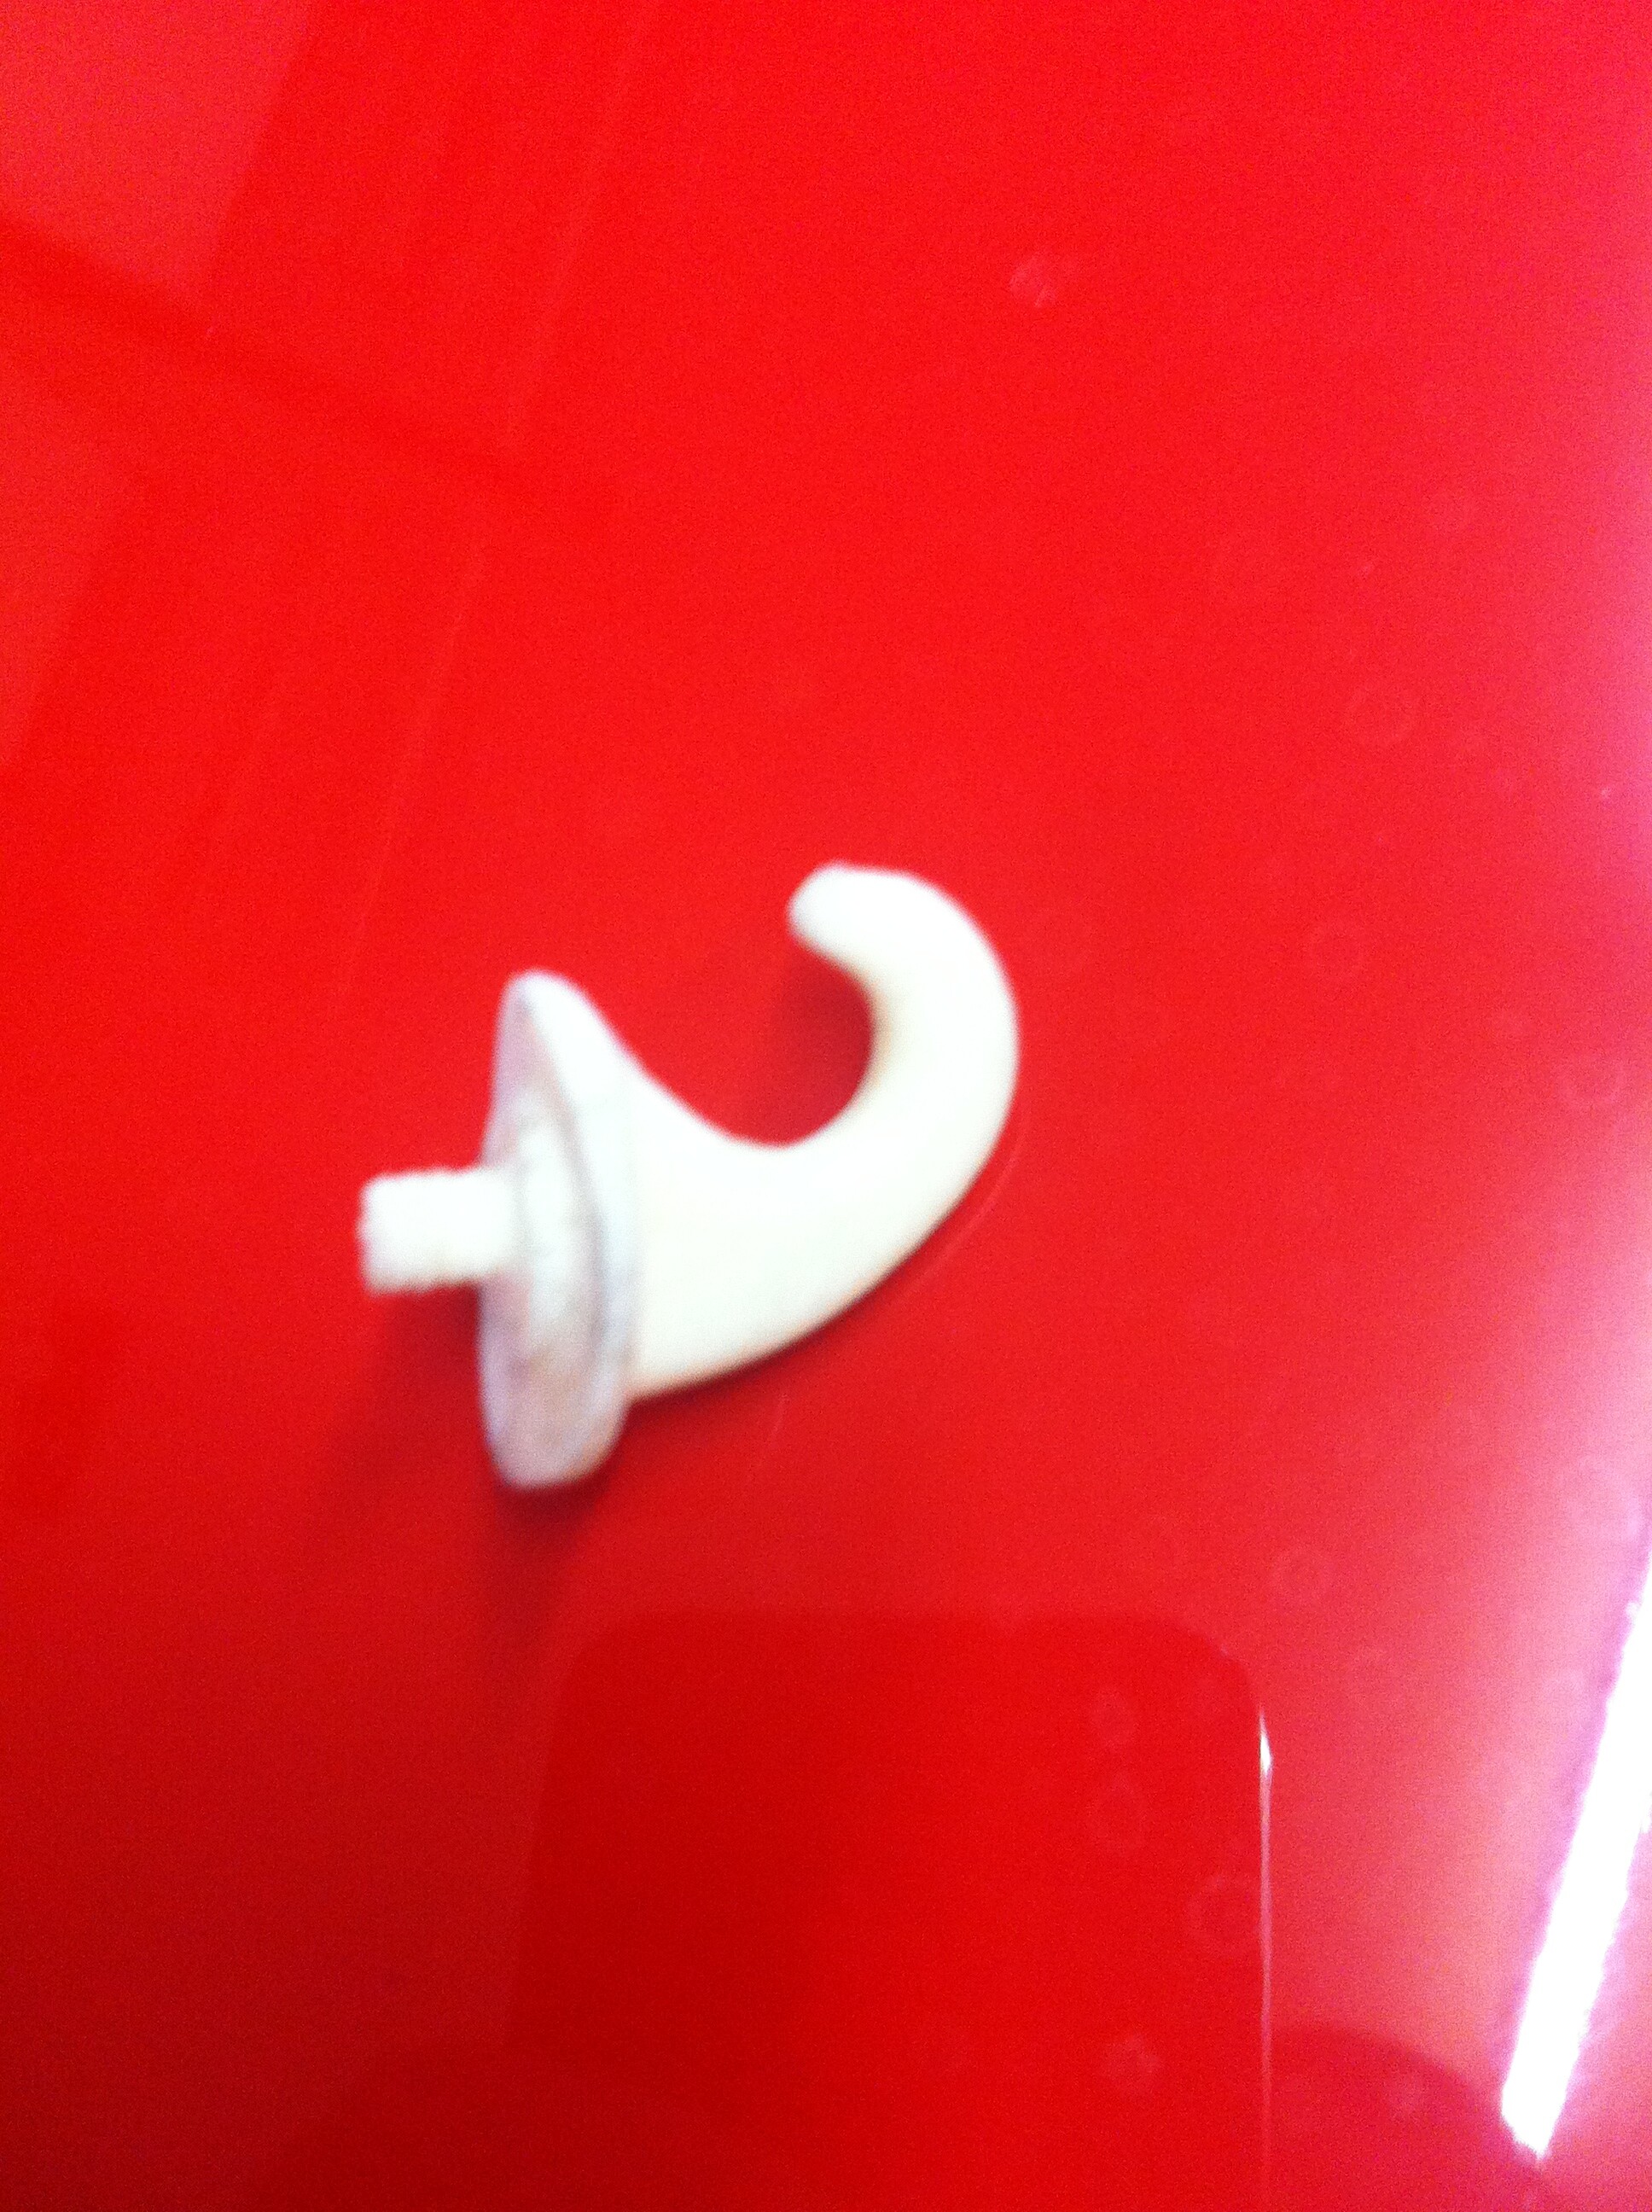
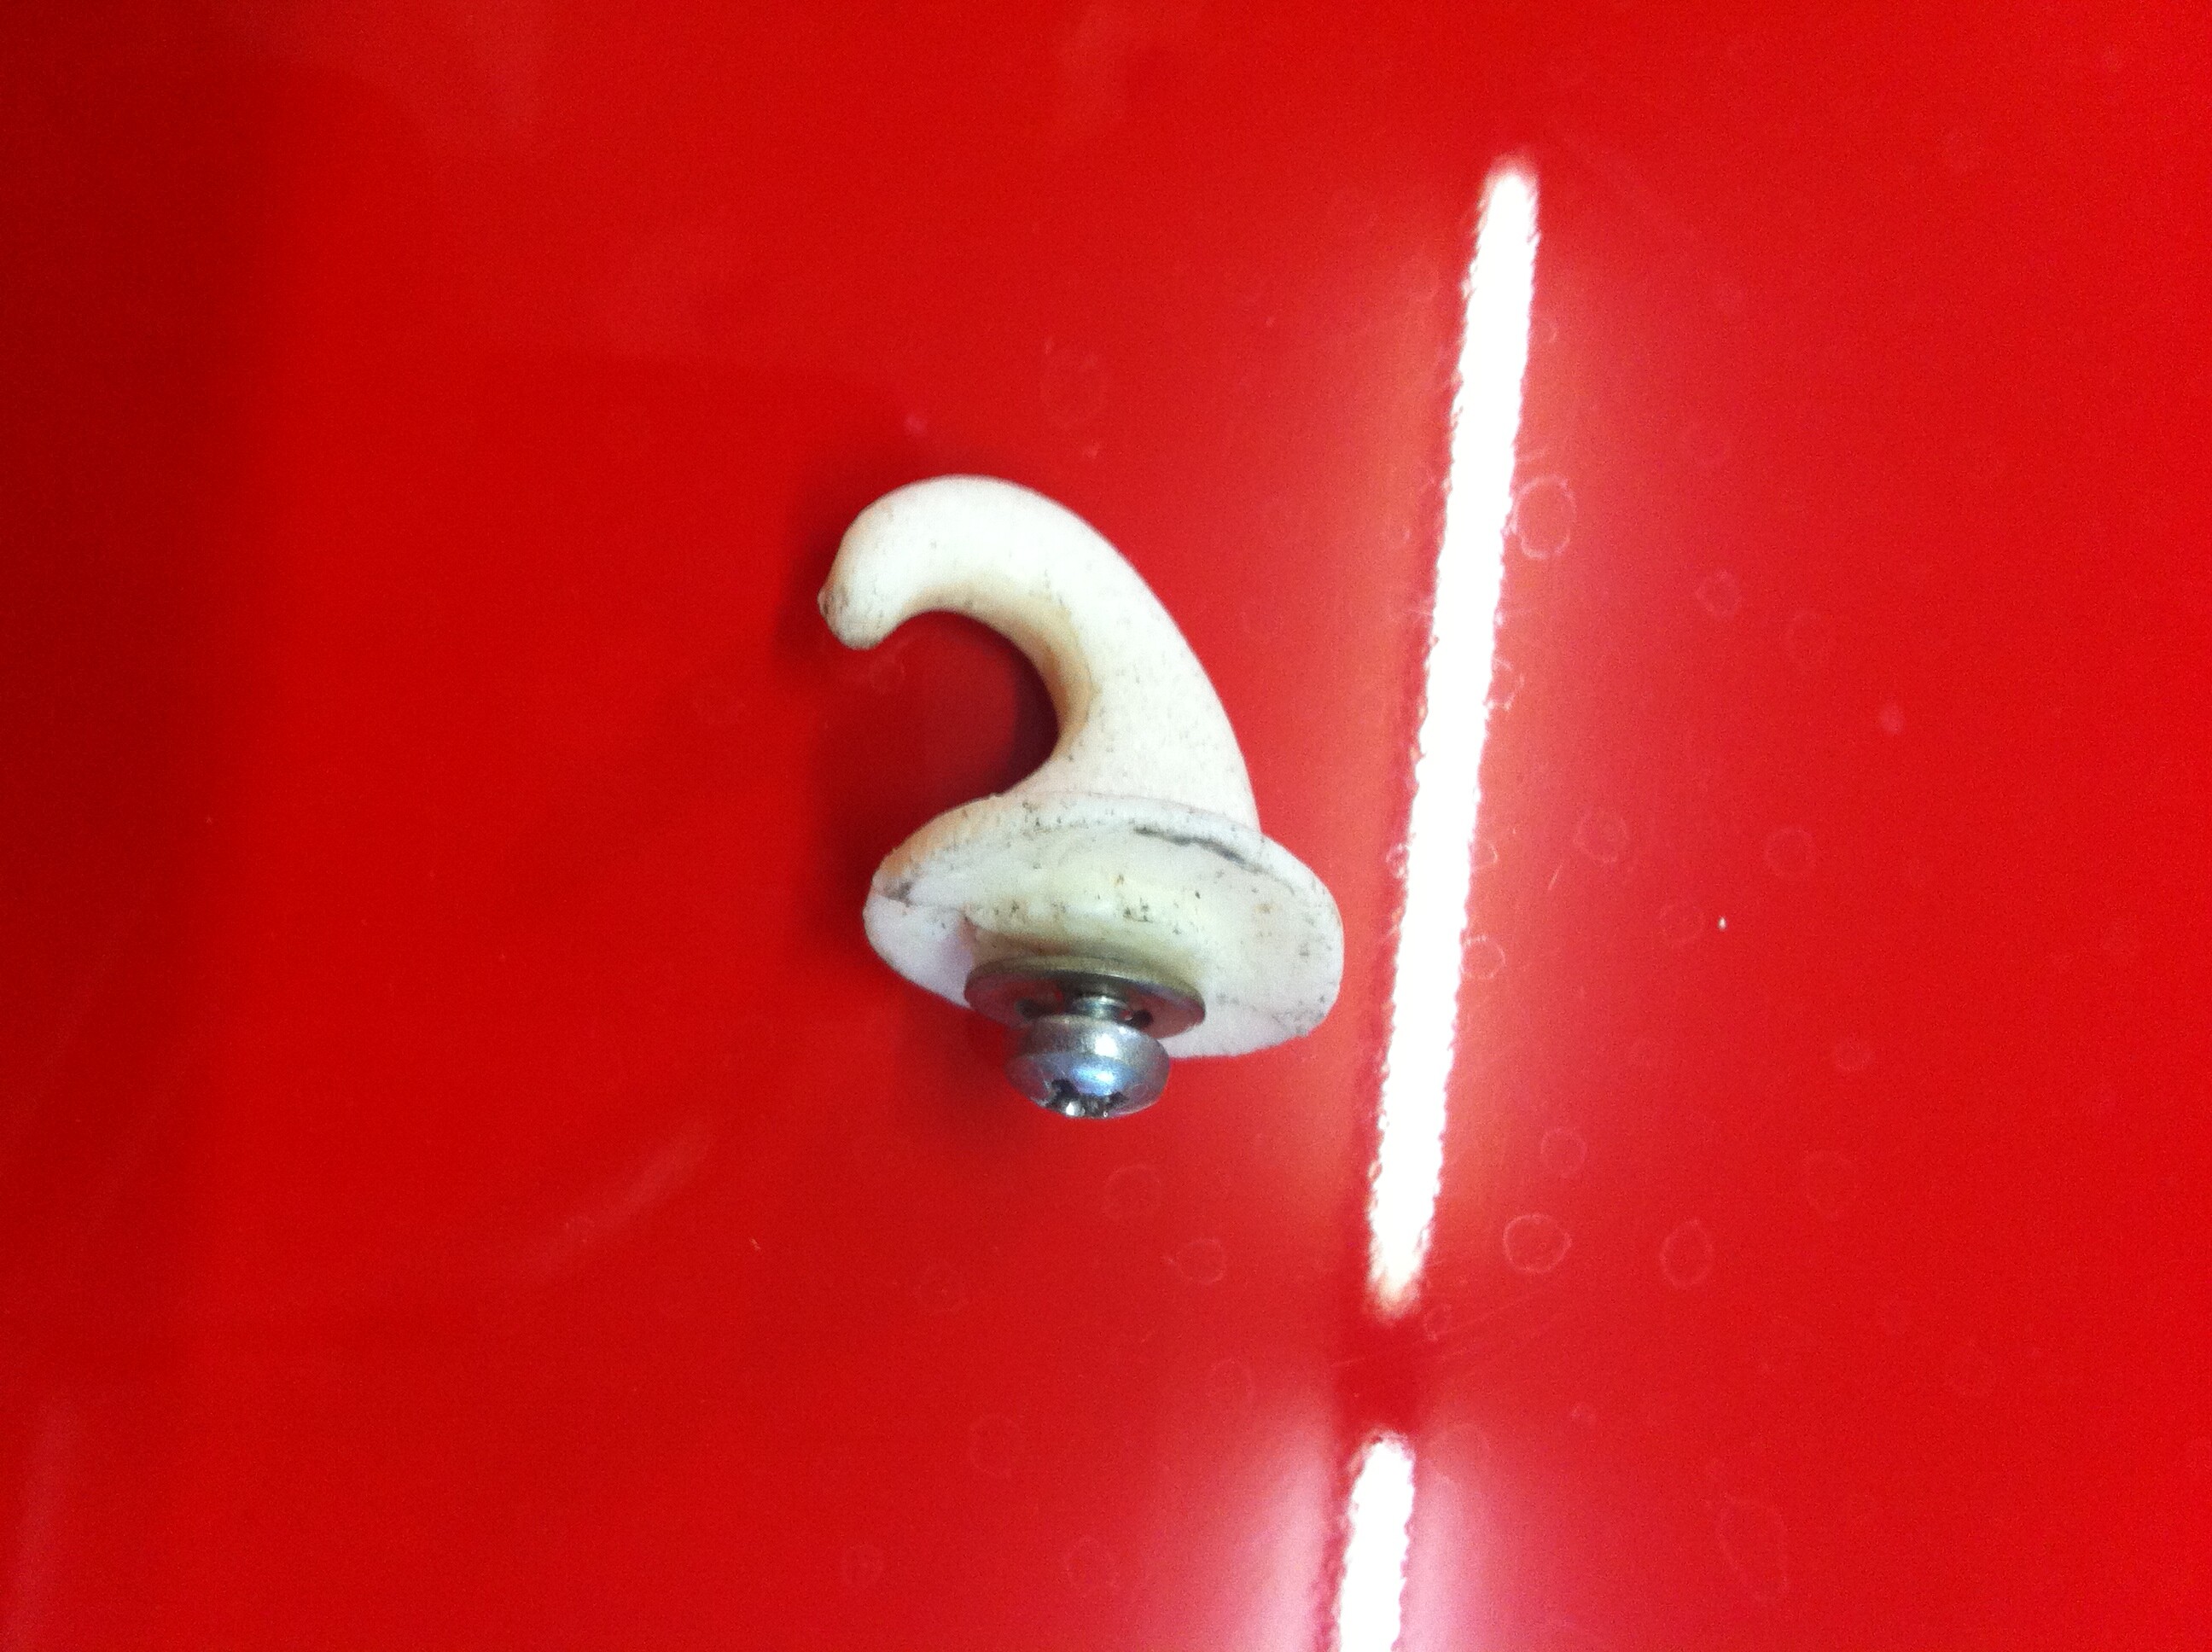
For this week I have to replace the cvt sun visor hooks as 1 broke of a long time ago.
Started with putting on the convertible top boot cover on the car but it doesn’t fit.
Some of the snaps are not even close to the ones on the car.
Also replaced 1 sun visor hook and I put the other one in that broke off a while ago.
After all the trim was put back on the car the first visor hook already fell of.
The plastic thread on the hook wasn’t very good so I modified them a little bit and put a screw in it, they are on there very tight now.