Okay, I found teh color chips…Tom’s car is either Turquoise or Mint Green.
John, if you hoped to post a pic of the turquoise on your car, I don’t see it…
I have a family wedding to attend in Crested Butte on Aug 1. My daughter and I will be traveling together. I am looking at flying into Denver, meeting up with a sister, renting a car and driving the 4 hrs to Crested Butte. I have to decide whether to fly in on July 29 or 30. I do want to coordinate with sister so as to share the cost of rental car. The crunch part is hotel rooms…we have booked in CB for jul 30-aug 2. That is all I have at the moment
John - Take a look at my Emerald Green 59 SF in the showcase. Is your tourquois the same.
Dick.
I currently have a 361 engine and tranny from a 1961 WIndsor powering my car. As I recall it went in okay, the only minor differences were in parking brake cable connection and TF cable connection. I suspect you will find a similar situation.
Sounds like you may have to monkey with the wiring harness under the hood as well, since some components are “flopped”, due to a/c.
Hi Guys,
My Belvedere convertible is indeed Mint Green
Tom
Guy’s I have photocopied the color chart my wife and I selected the Turquiose from and have attachted it. I know Tom Fox’s car well from his visit to Colorado last Summer on his way to Carlisle and it is the light mint green color, And I had a friend here in Denver who had Dick Koch’s Emerald Green on his 59 till he painted it white. (Lee Shurtleff was his name. Ron, you saw this car about 5 years ago when it was displayed here in Denver at a Car show.
The turquiose is almost Blue - Green in shade. It has a lot of Blue in it. Actually, the color above in the Header part of this 59 forum is similar to the color, just missing a hint of green. I have circled the color that according to this Paint chip, this color was on Plymouths only, The other color came on Chryslers. I asked my body man to take a picture of the dash to show the color better, but he has not sent me the email of it today yet.
Roger you are right on regading the Harness. I have a AC harness out of the same 60 Chrysler that I could make work by splicing and shrink wraping connections and then covering it with non-adhesive black harness tape.
If all goes well, I can get a better picure for you guys this weekend on the color when the car is painted. I wanted to have a color that not to many people have seen and still be a late 50’s color. The original black did not do it for me at all. Interior wise, I have a set of 59 swivel seats but will wait a bit to do the interior correctly and will be putting in a set of 67 power seat buckets in white leather as a stop gap measure. My daughter graduates this May and then I should have some funds to spend, unless she goes to Grad School and then I’m sunk for a bit longer, Thank goodness my son goes to Community College, much cheaper!
John Q.
59 colors.pdf (1.65 MB)
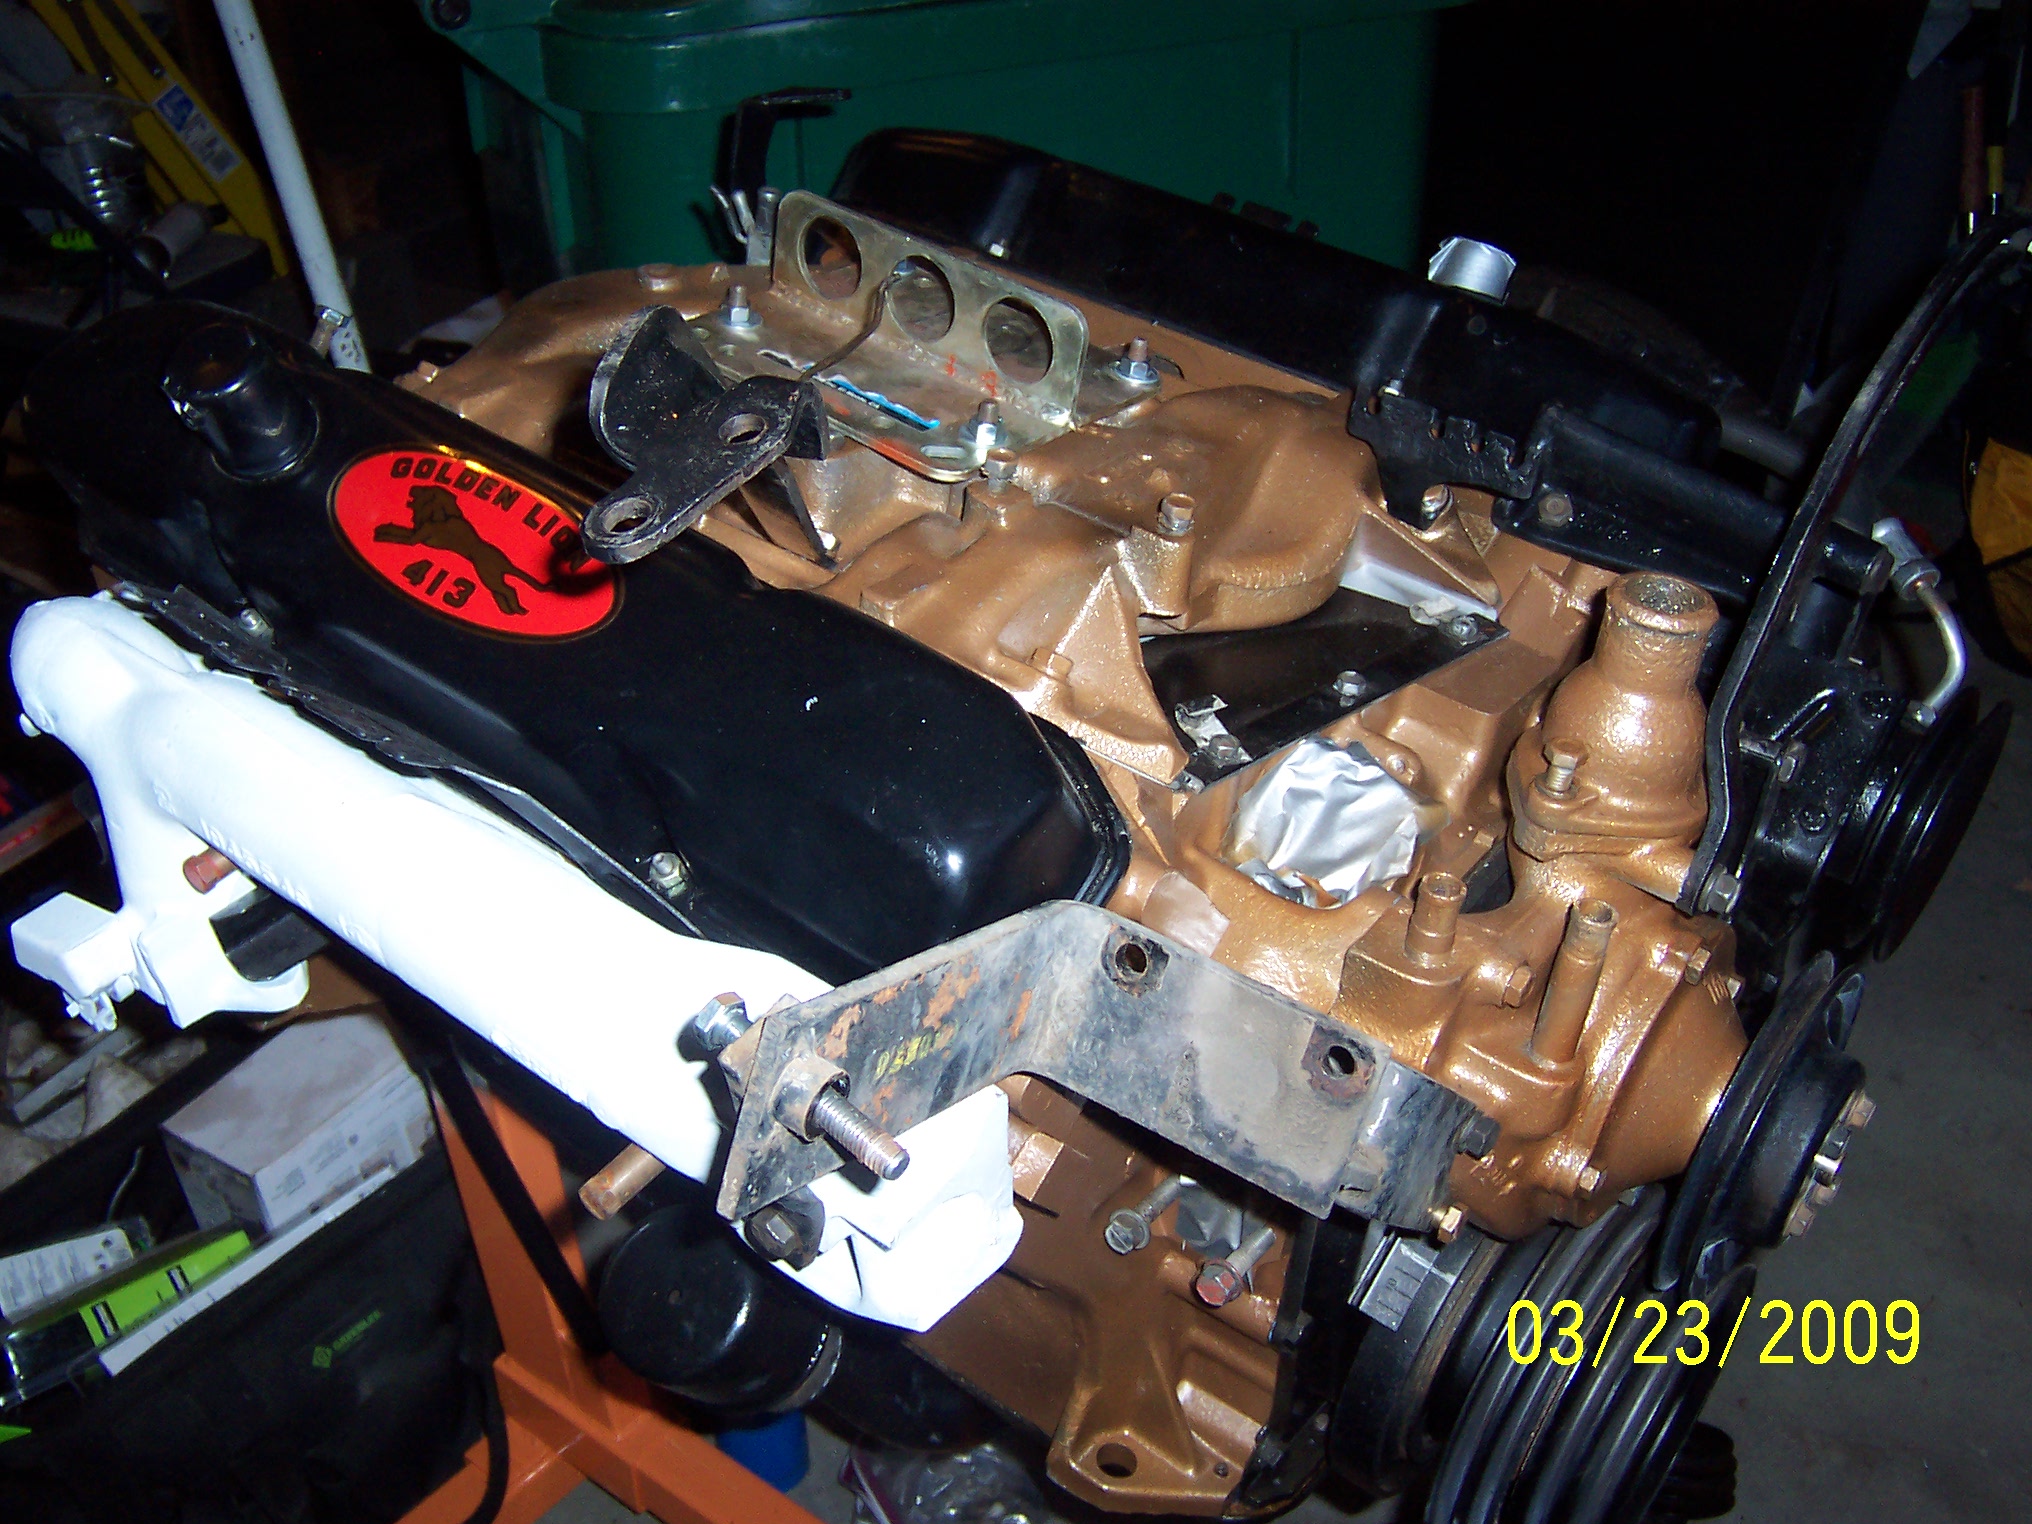
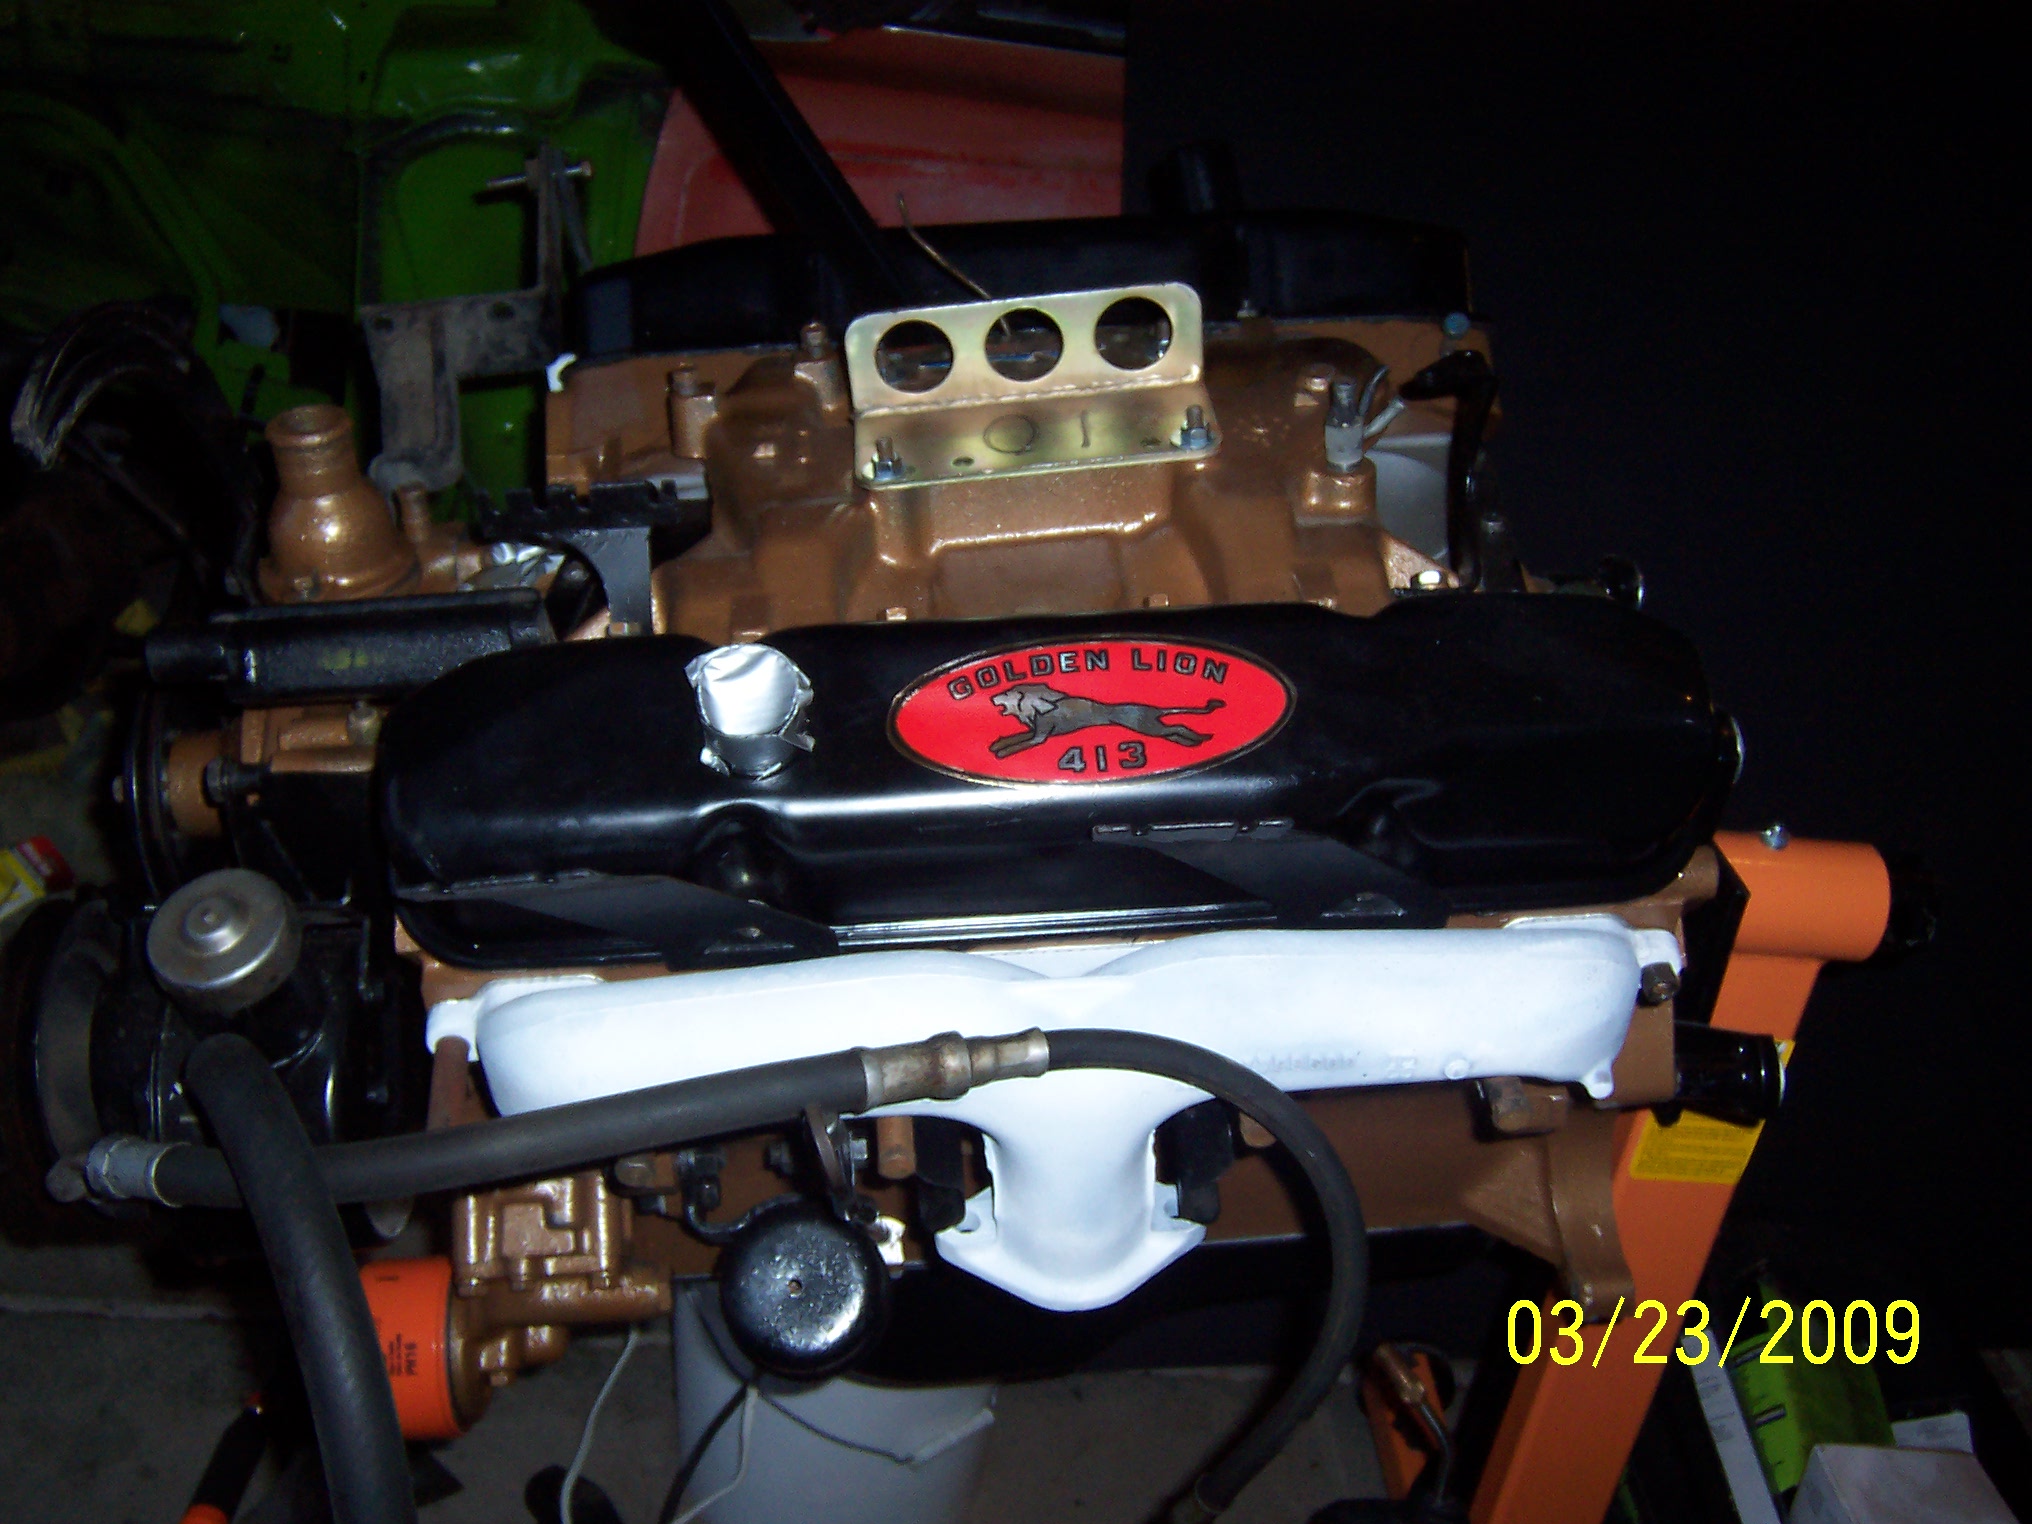
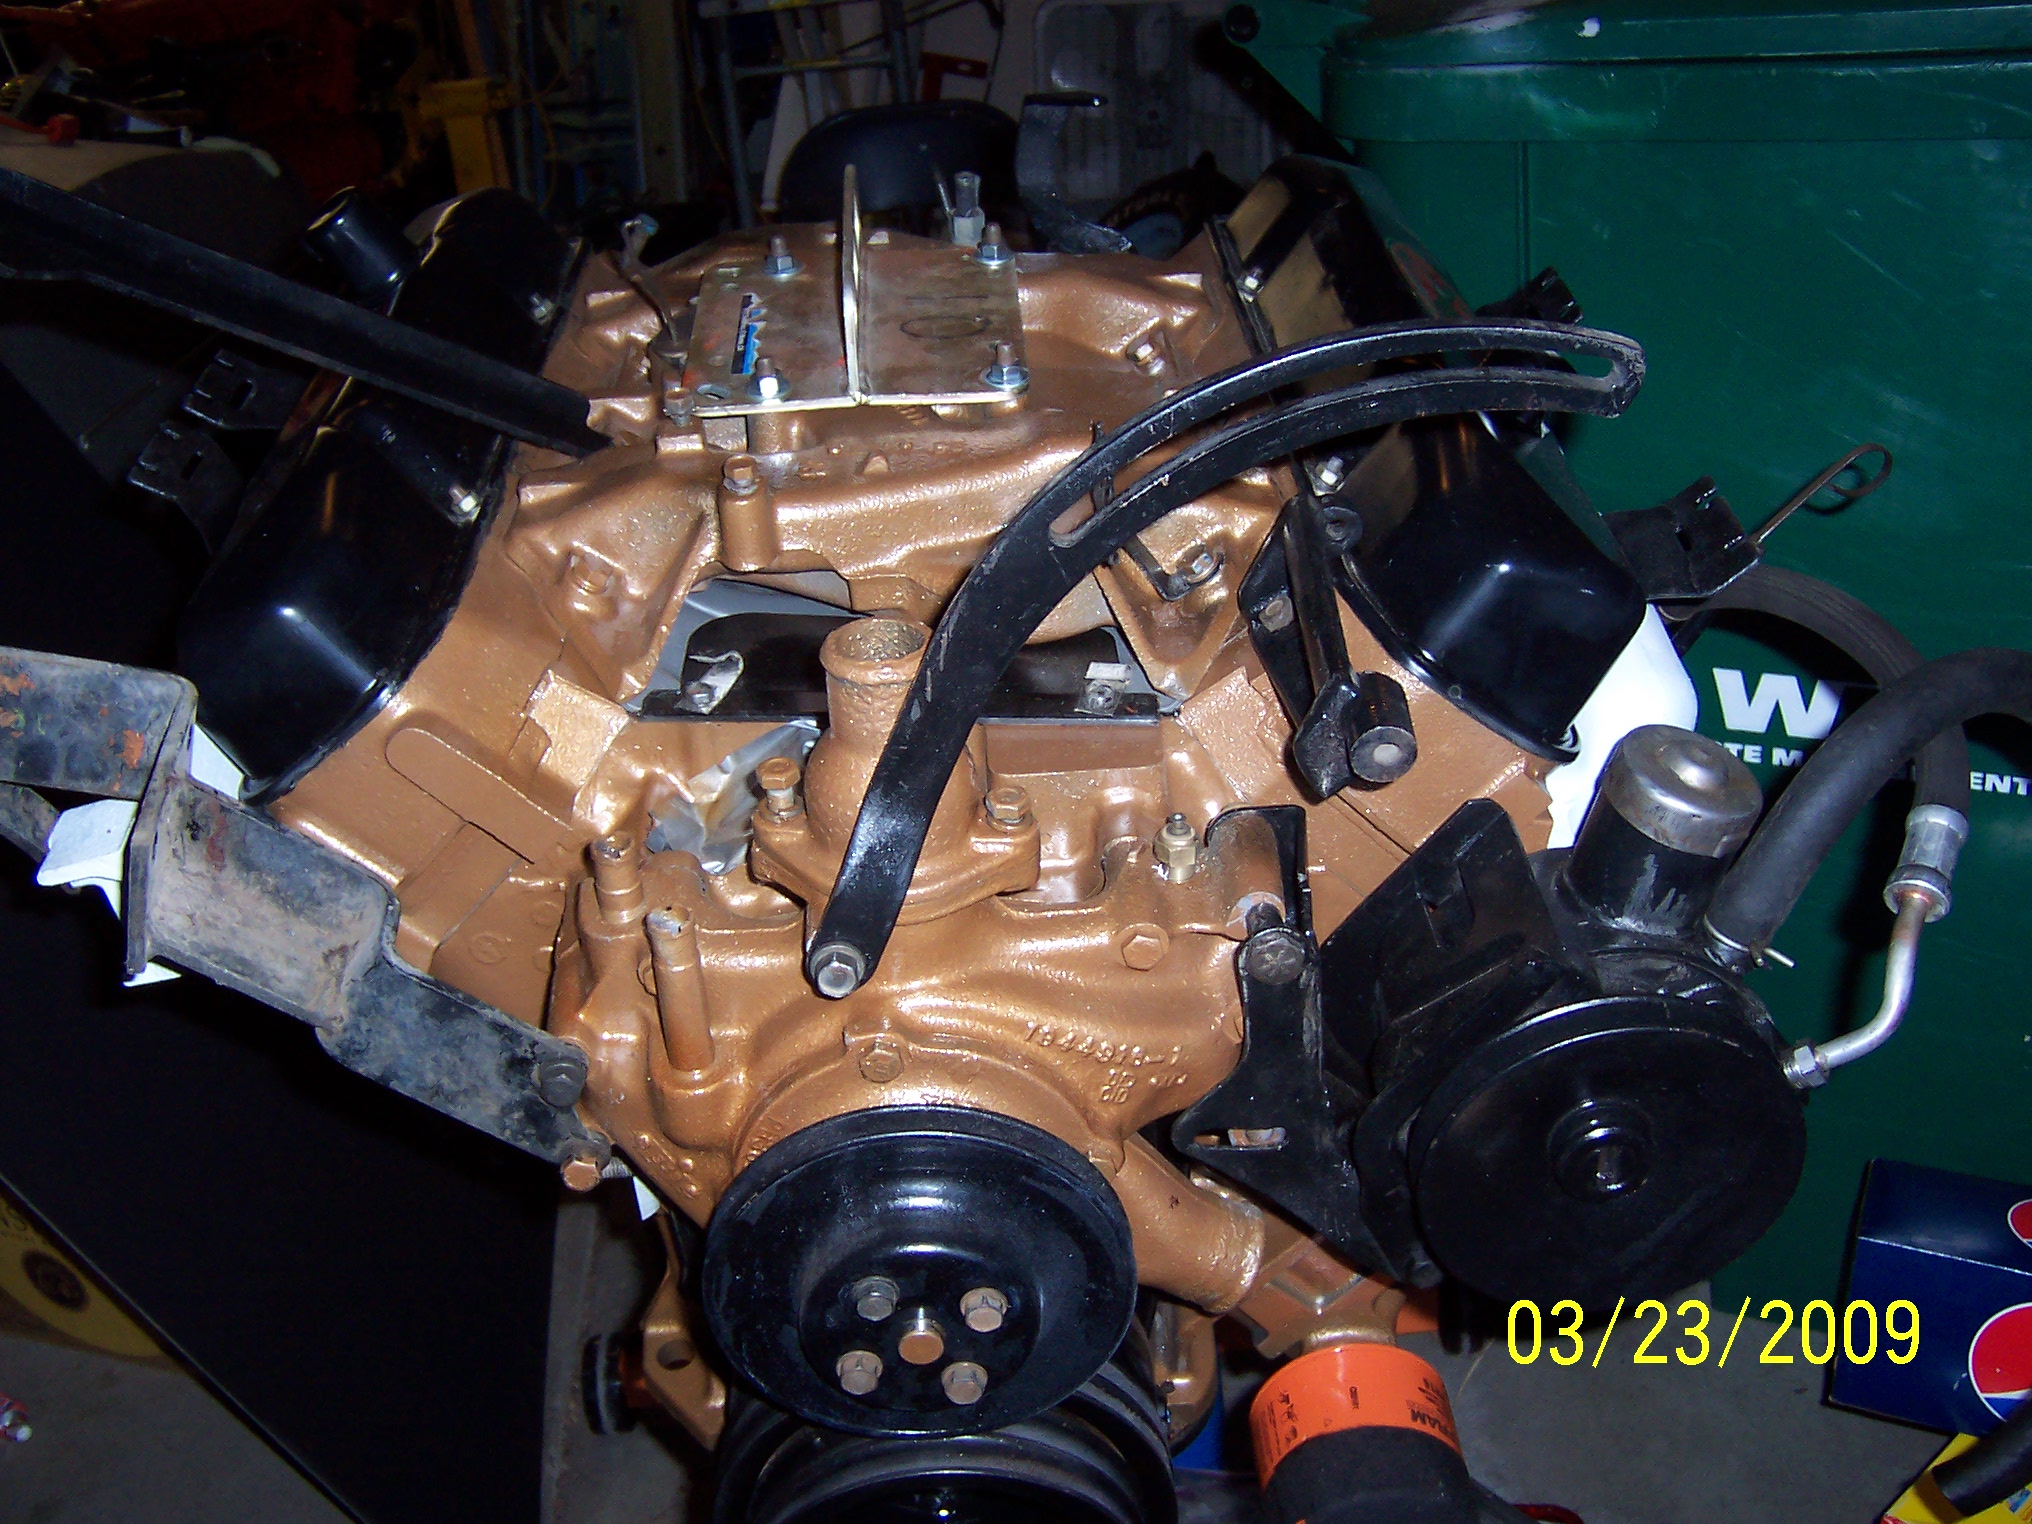
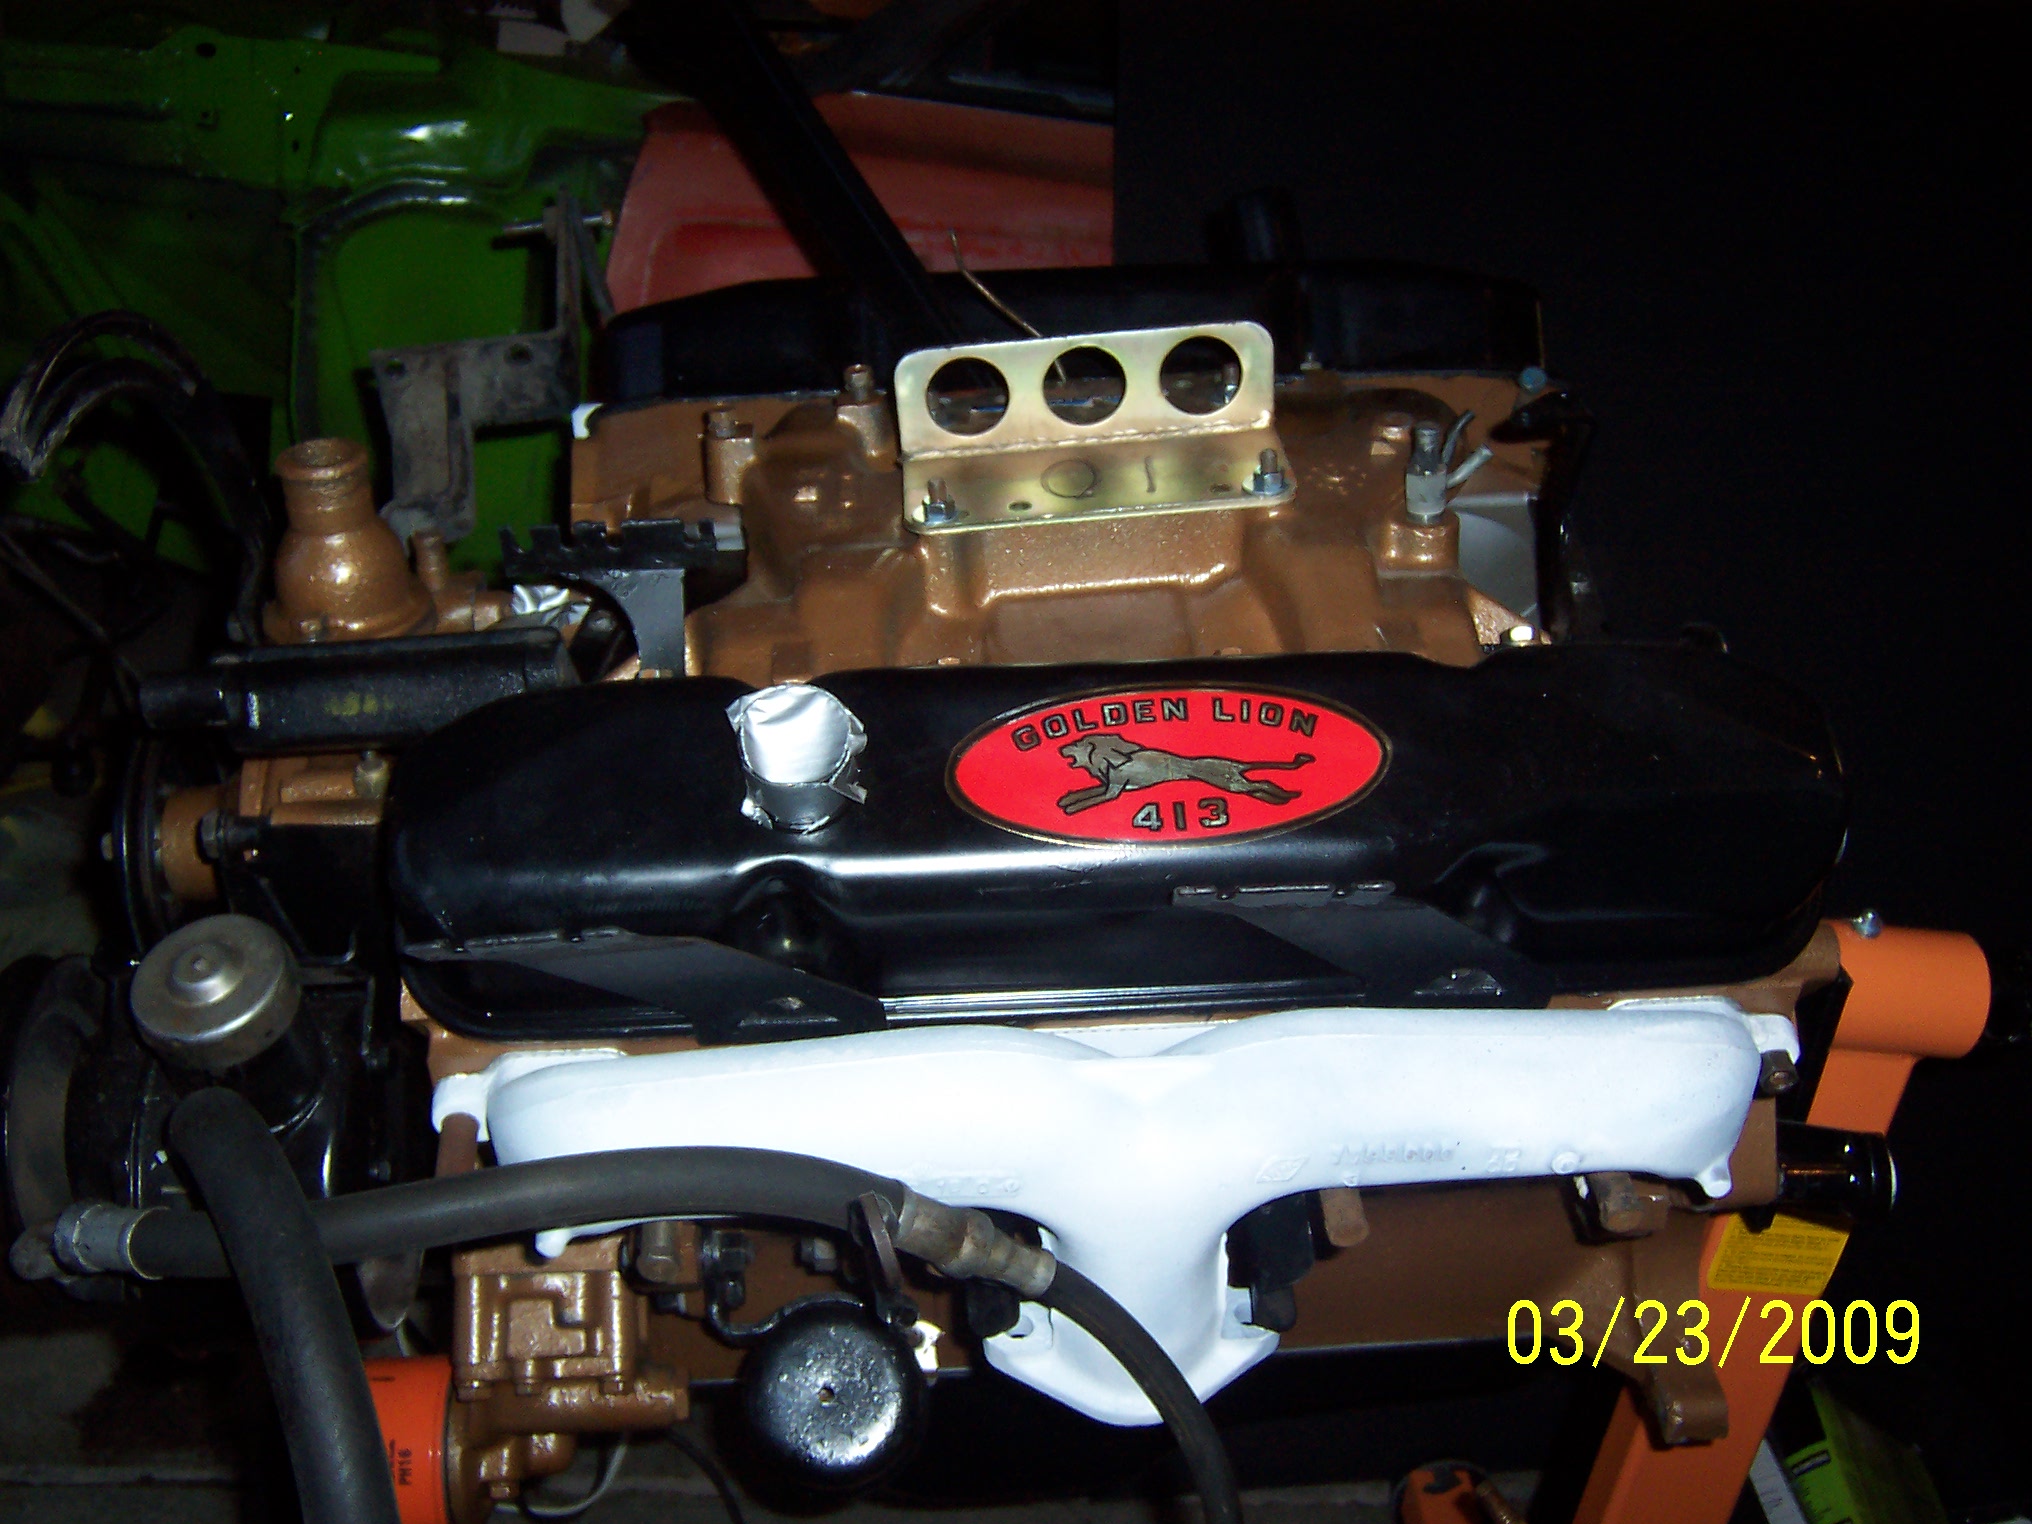
Guys, here is a couple dark pictures of my 413-4bbl RB I am detailing right now, hard part is trying to remember where the brackets go and such, then I can clean them up, paint them and install. Still have a few more to do. The brackets still show some of Mother Mopars part numbers stenciled on them while others are cast in to the piece. These brackets came on my 1960 motor and was an earlier model year car. Later versions had to AC unit above the Power Steering pump.
No diagrams available on the unique AC bracket arrangement in the manual and somehow the pictures I took before disassembly have disappeared. With the AC compressor way off to the area where the Generator/Alt usually goes, I don’t need a 90 degree themostate housing to kick it over to the passenger side and then forward to the radiator area. I can use this straight up style or the 45 degree version. Will decide when I get the radiatior hose to see what fits best.
Hope the pictures are not to dark for all to see. I should have taken some in the daylight this past weekend when it was warm out. If I can get home earlier on Tuesday, I will take some in the sunlight.
Don’t worry about the white exhaust manifolds, they are in a rust preventive primer till I paint them in a Eastwood high temp cast iron color. The passenger side exhaust maniford had the extension cut off (factory done)to allow the AC unit to ride in that area. I will run the underdash unit for now, but hope to upgrade all parts to Factory Heater/AC box look with proper controls.
John Q.
I feel for you, John…I ran into trouble when I tried to attach a factory a/c unit taken from a 1959 Plymouth 318 to the 1961 Chrysler 361 engine installed in my '59 convertible. I went thru numerous brackets (found online and at salvage yards) before I got something that would work. I still have a box of wrong brackets laying around.
Your best bet is to find /contact owners of 1960 Chryslers w/A/C and request photos.
Speaking of a/c, if you ever see a salvage yard '59 P with a/c, I am in need of a drier with a Tee top fitting. I am trying to make my car look like factory-original.
I have a '59 shop manual covering a/c, but obviously you need tech info from 1960.
There was a discussion on Forwardlook.net (3-11-2007) regarding a/c brackets. Titled “whats the deal with mopar compressors”. There are several 1960 Chrysler owners on that site…if you are unable to post a question/request there, I can do it for you.
www.forwardlook.net.
As much as I’d love to see your car, I don’t think I have the time to spare to take a sidetrip to visit you this summer.
-Roger-
Thanks for the details, Tom. Looks like John will have the only (known) Belv cvt in Turquoise!
What color will Vic Barone (Australia) choose for his SF cvt? And how about Jeffrey in Wyoming, new owner of Ragtop’s SF cvt…
John,
Mother Mopar had so many publications! Thanks for posting the pdf file on 1959 Chrysler Corp. colors.
I have the 1959 Plymouth Colors Bulletin (No. 27), showing Turquoise as one of three “Spring” colors. Those were added to the list of 12 original colors.
I like your choice very much. It is not “ordinary” but still is authentic.
I must apologise to Ron for joining in on the “hijacking” of his thread.
Roger is right Ron, This was Ron’s thread and I should have started another one for my car instead of joining in on yours.
My bad!
John Q.
Isn’t it great that we are so informal, here on this List? 
Yes now you guys got me really mad 
Don’t worry about it, it takes a lot more to do that. And I’d rather have you posting in this topic than no posting at all mode. Right now I am waiting for Matthew to bring me the usb stick with last weeks pictures so I can get back on topic again  just a cliff hanger for now, the roof isn’t grey anymore.
Ron
And here are the pics matthew made yesterday.
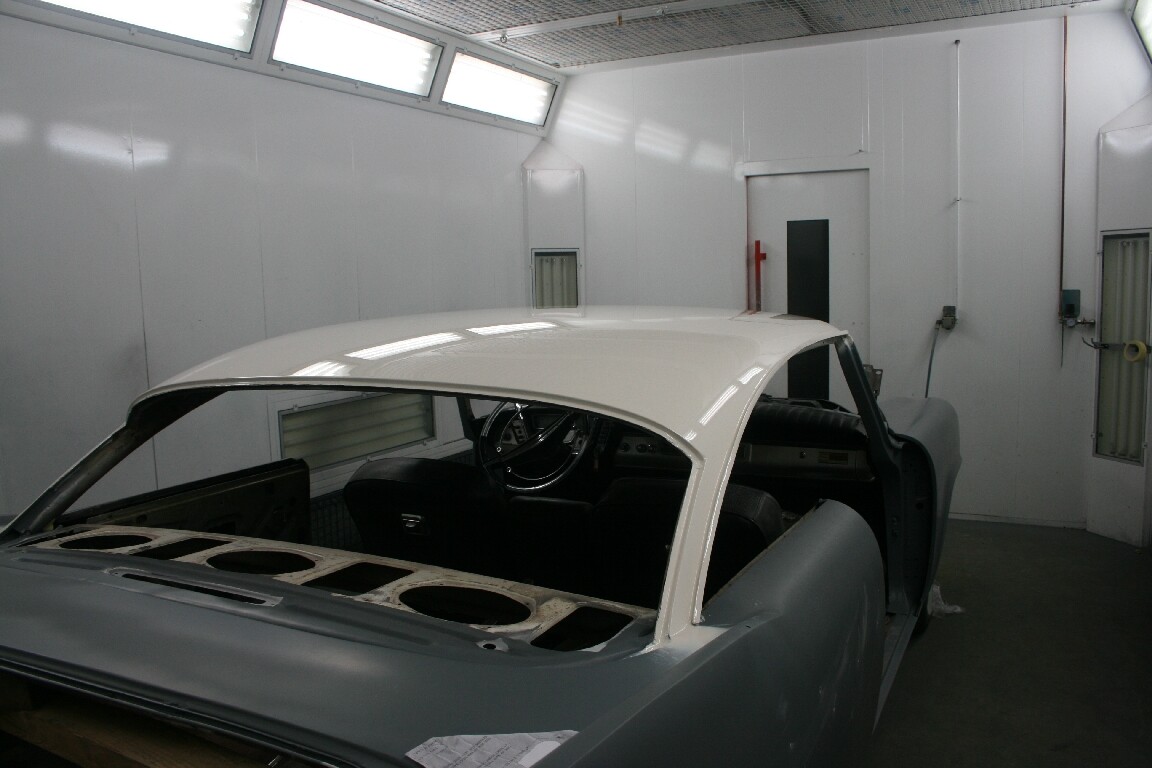
It is starting to look like the real thing.
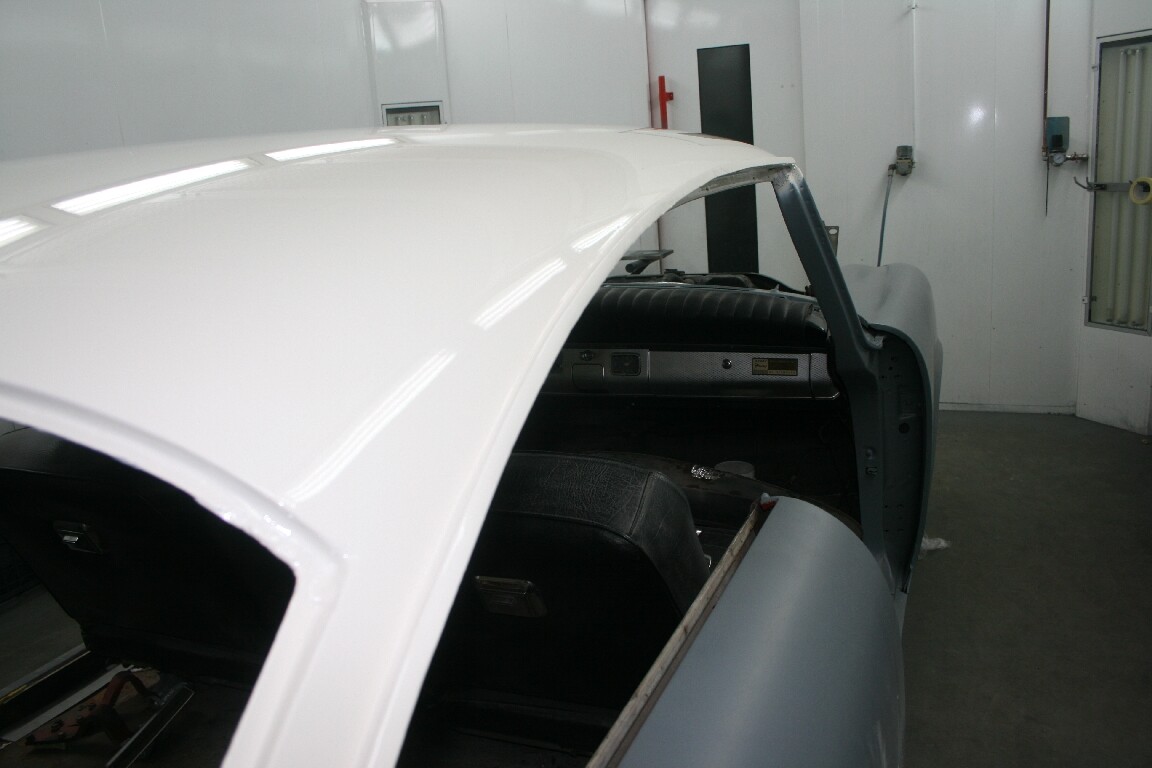
closer look
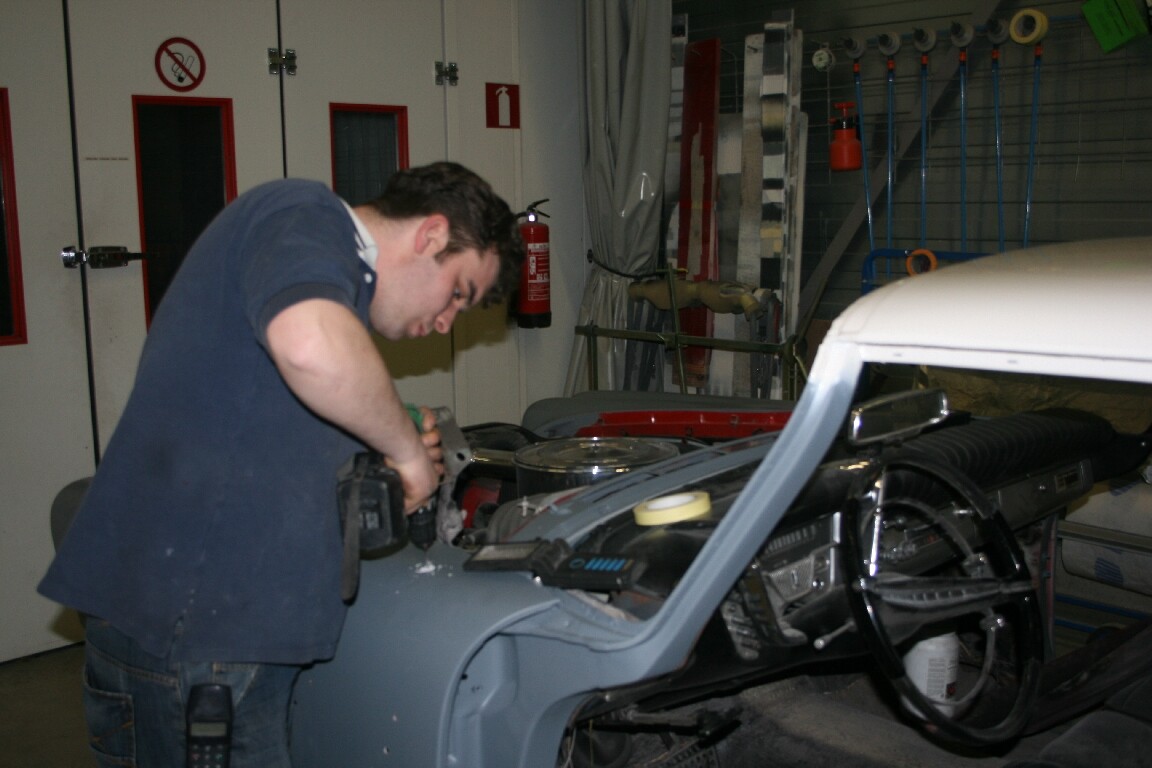
drilling holes for the mirror
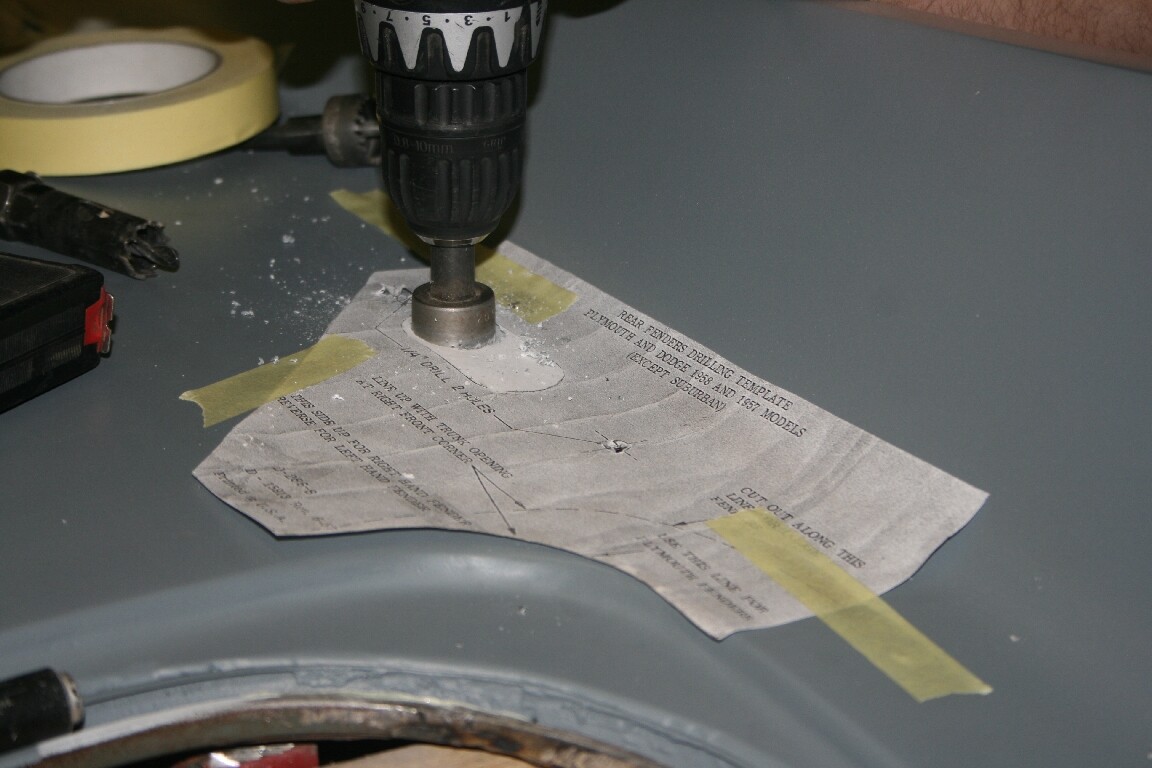
using John Quinn’s template, thanks again!
Good work Ron! I follow your work in progress, but still it hurts to see the guy drilling a hole in the metal. I also have this template taped on my trunk but didn’t find the courage to drill – yet. I’d like to see pictures when the antennas are installed.
Stefan
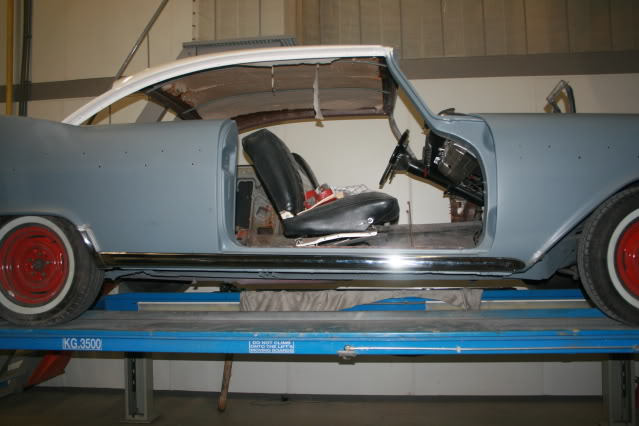
The 2 are from 2 days ago, the rocker mouldings were placed correctly this time.
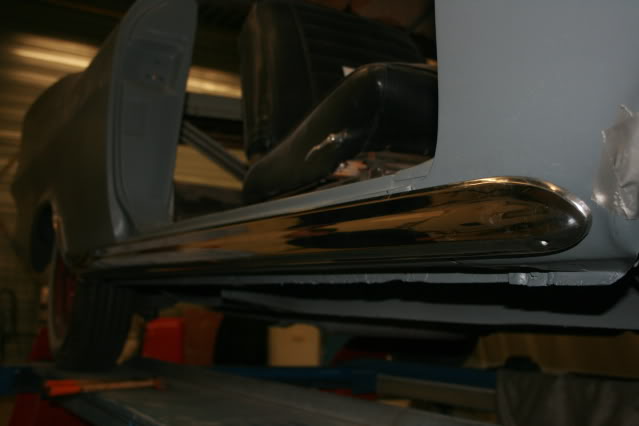
No screws thru it, just the clips and 1 original screw
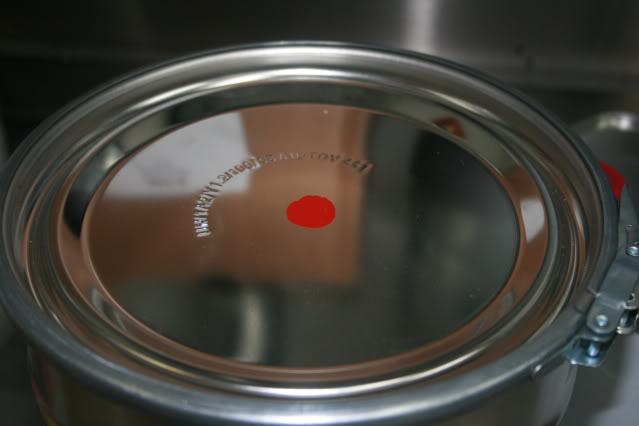
Today was the big day!!! The paint
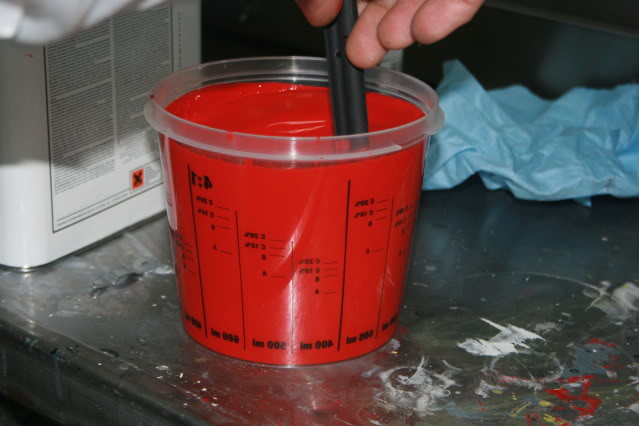
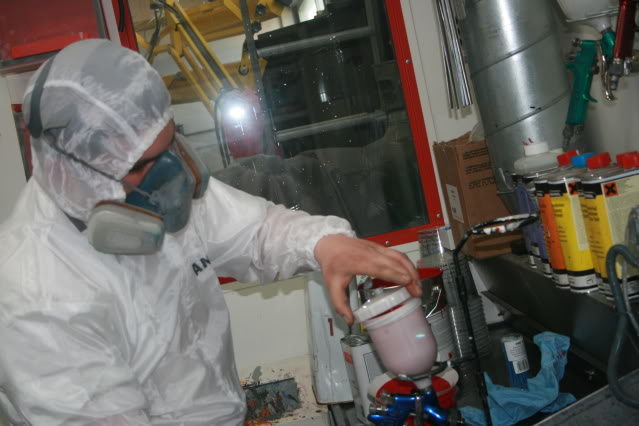
The painter
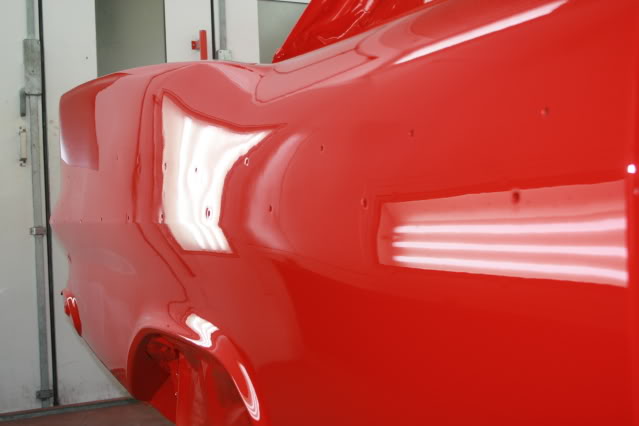
More paint!!
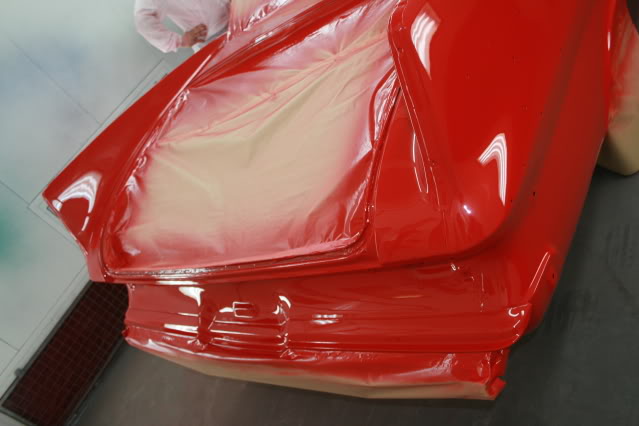
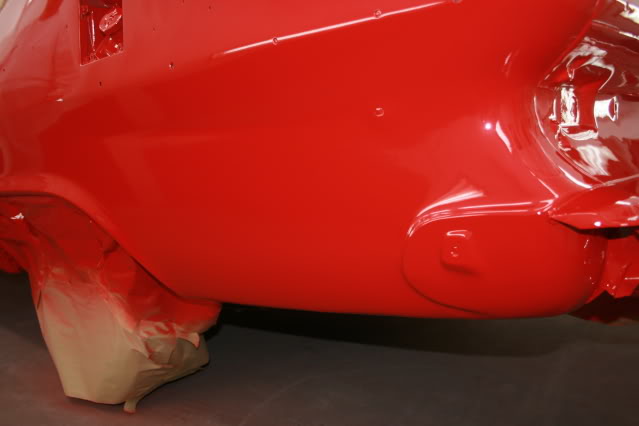
No more rust
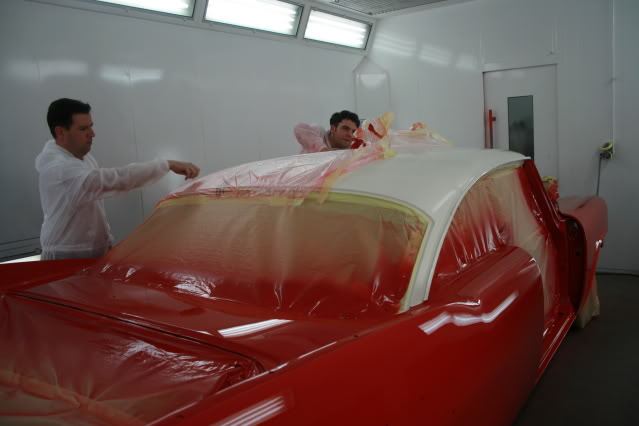
Where red meets white again
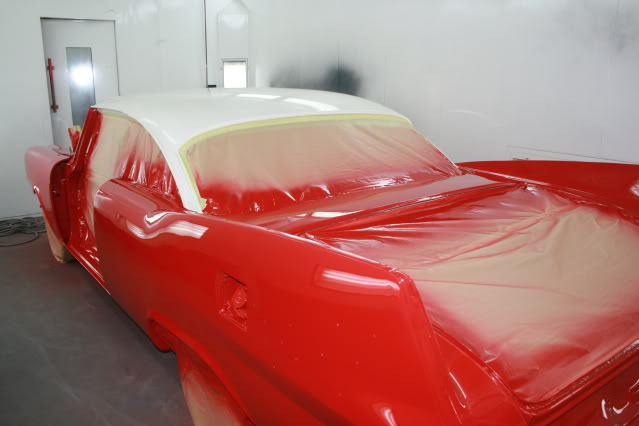
Now it’s going forward with high speed!
How are your tiffany mendalions? If they are pitted they will call negativ attention on the new paint. Will you rechrome it? (I’m asking because mine are laying on the shelf for two years now because I don’t know how to close the holes before rechorming)
A couple of years ago we bought a box with a lot of SF trim in it with 2 medallions in perfect condition.
Only thing left to do is rechrome the taillight
The Tiffany medallions are made of “pot” metal, metal that is self-destructive in time, as we have all observed. Inexpensive to make and easy to cast, something in the formula causes the blisters to form from within.
Because pot metal has a low melting point, I was told you need to use an even lower melting temp. solder for filler.
I was told to drill out the blisters, and fill the holes with lo-temp solder, file or sand smooth, then it’s ready for plating. I tried this on a taillight housing, but quickly lost patience.
The low temp solder I used is called Cecil Muggy’s. There it sits on my garage shelf.
___and I have just hi-jacked Ron’s thread, again!..