Dick discusses some of his travails with windlace - and other dashboard adventures - here. For reference, here’s a picture of his windlace in place with the dash out:
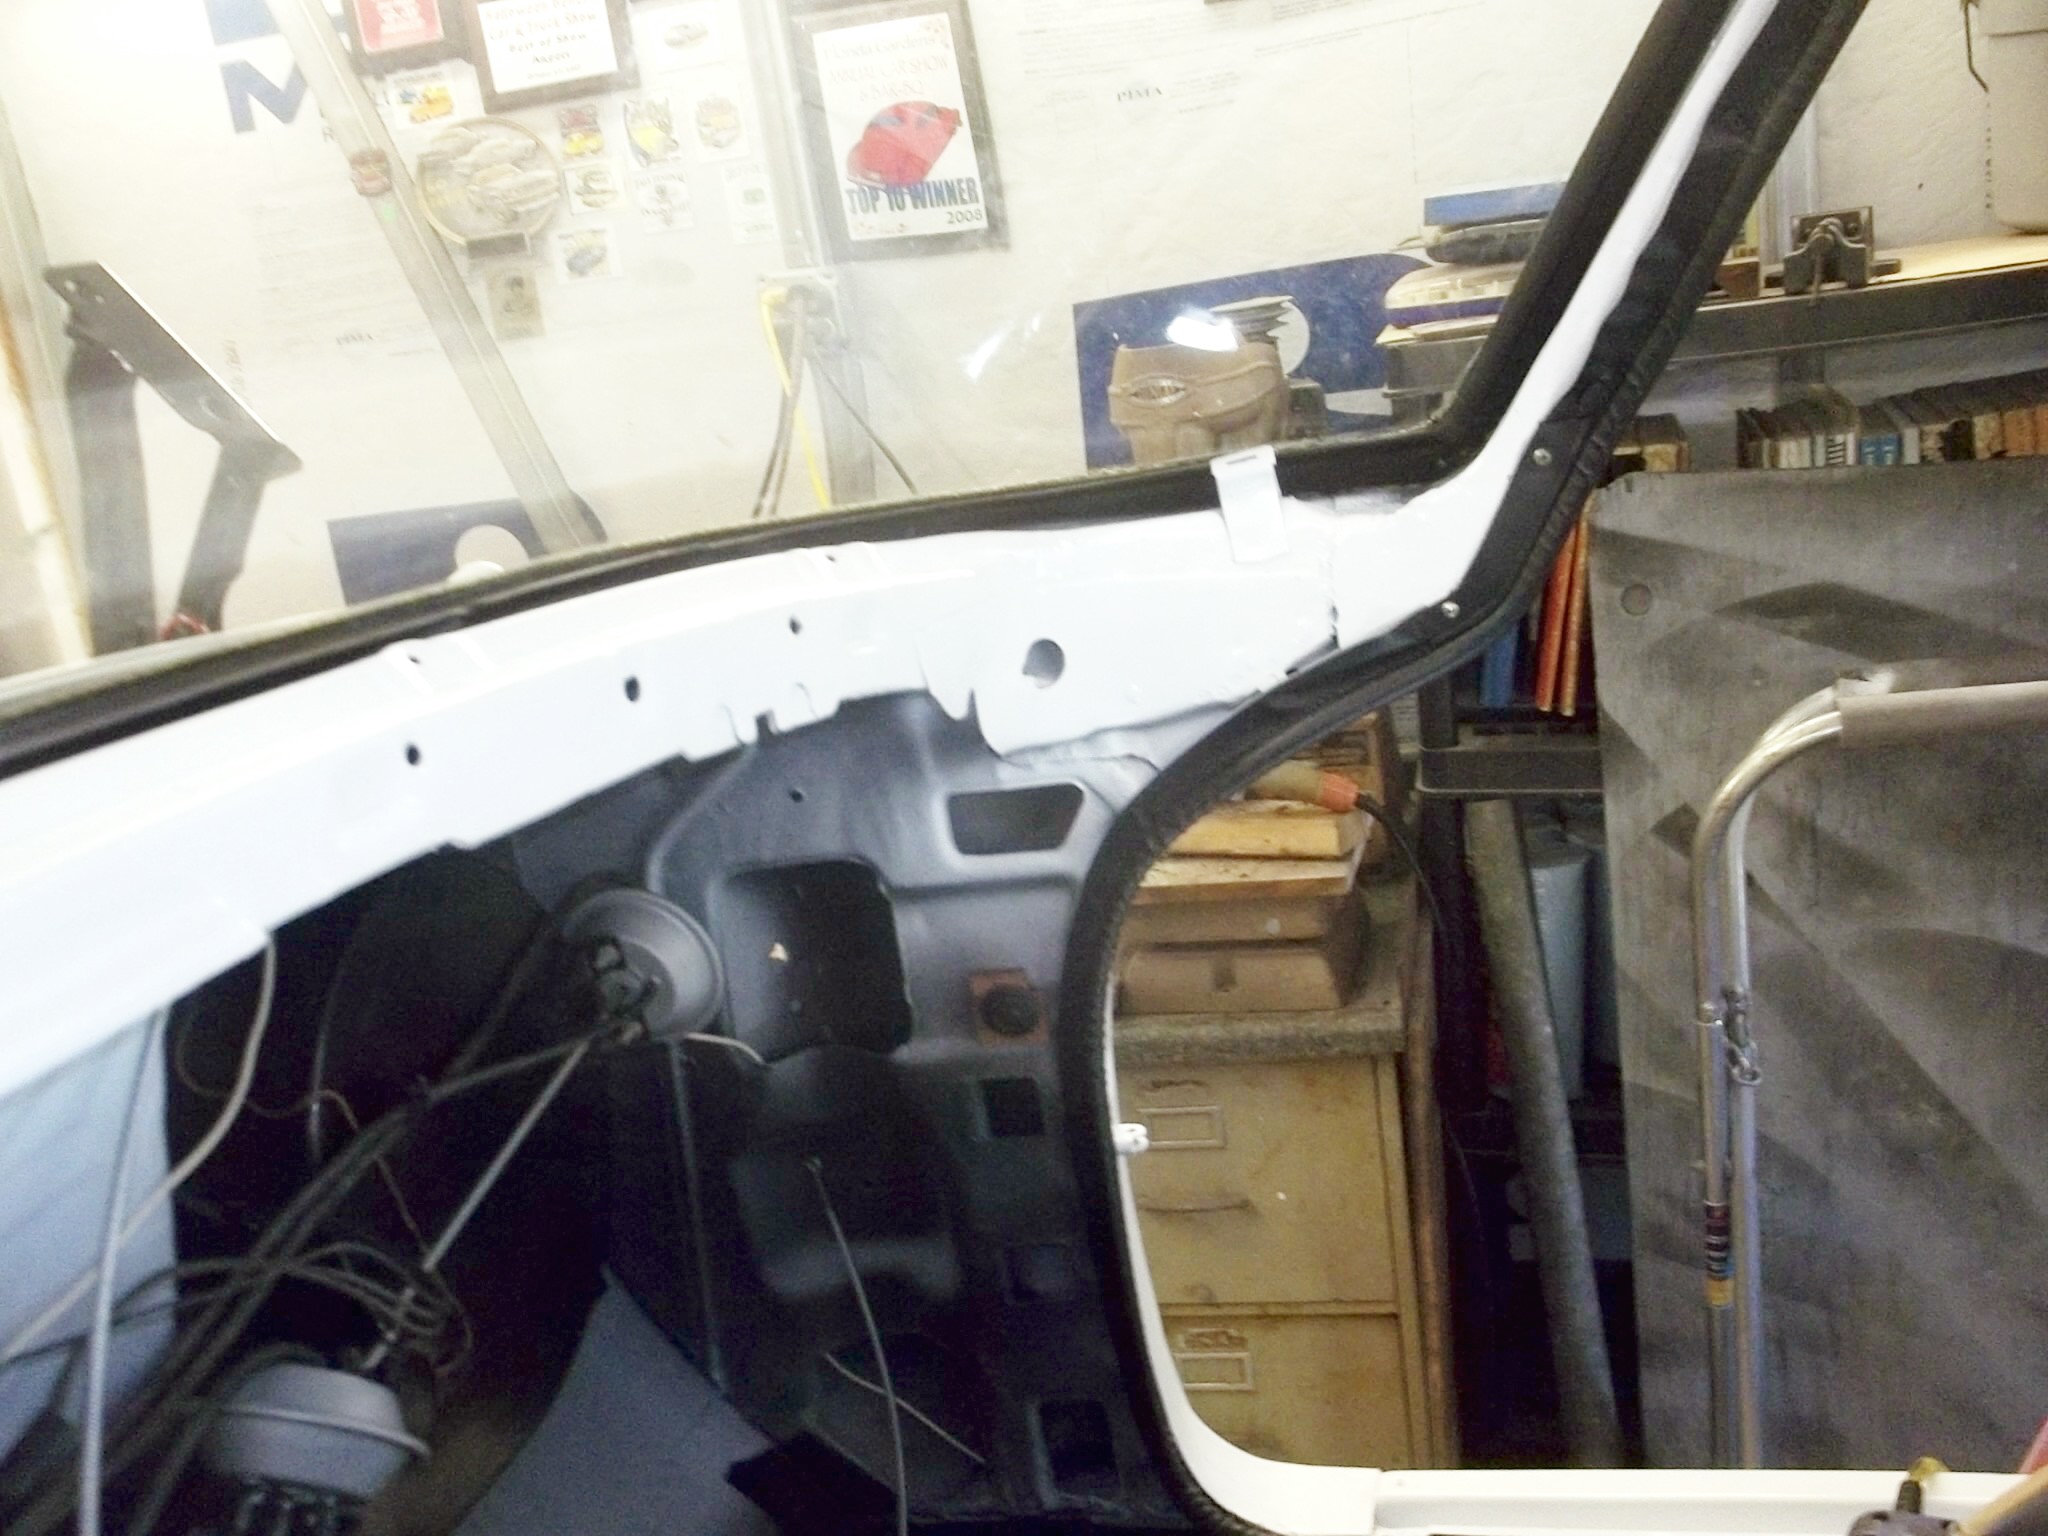
I took the screw out, you can see the one in my last pic.Gently pried it A little wider to see the hole locations(the screw will pull it back in anyway) and lined up and marked the windlace tab margin to the hole location with A sharp,very small allen wrench (it needs 90 degree angle) then made the hole in the tab and crawled underneath and behind it under the dash.On the passenger side I used A heavy guage wire(coated,I think #12) put A bend on it and threaded it through the tab and into the hole,gave it A pull and twisted it and cut the xtra.On the driver side I found that A small tywrap works better. I took the lead inch or so and put A 90 bend on it and threaded it through and put it in the zip lock and pulled it tight and it mated up to the hole tightly and cut off the xtra length with side cutters.Small needle nose pliers is A must as well.It is difficult I will say but can be done. There is just not enough room to get the pins in and do it the right way with the dash in.It also helped that my seats are not in the car and I use one of those led flashlight/headband type(I like those) flashlights for hands free work. Mark
Thanks for the info Mark. One question, was the glove box in or out.
Thanks again
Dick
Dick; glovebox was in. Mark
Got A little more. Xmatted the floor, put in the package tray, side panels, and the stationary rear glass trim. I also set the upper seat back in. Next is carpet. Mark
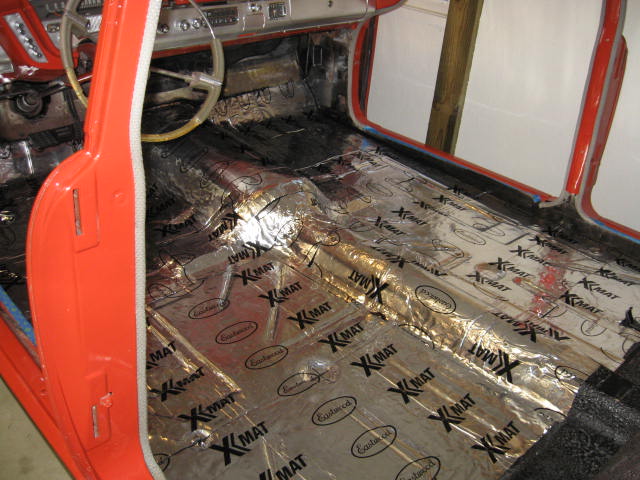
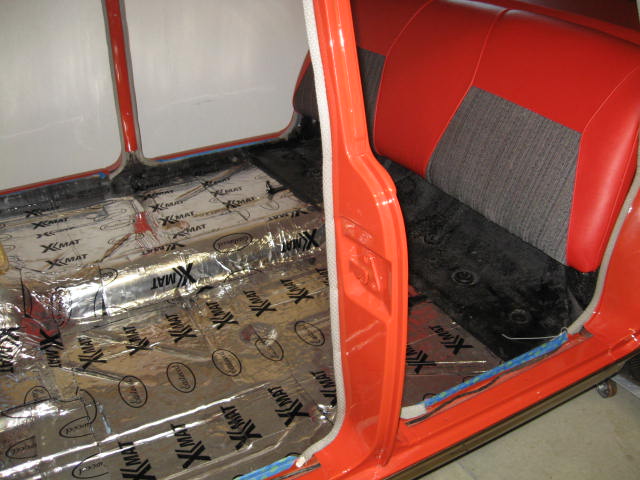
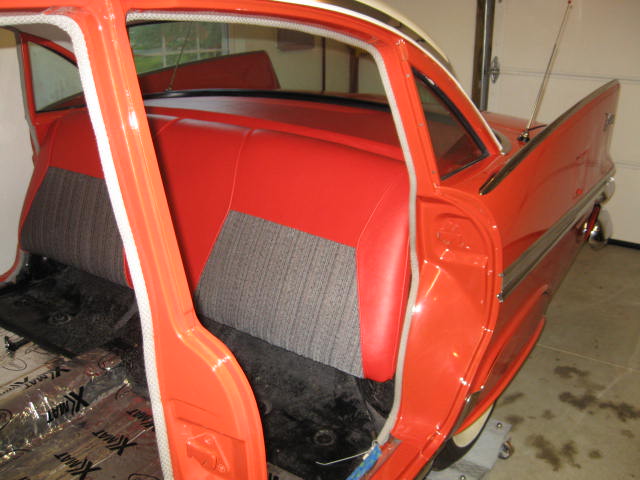
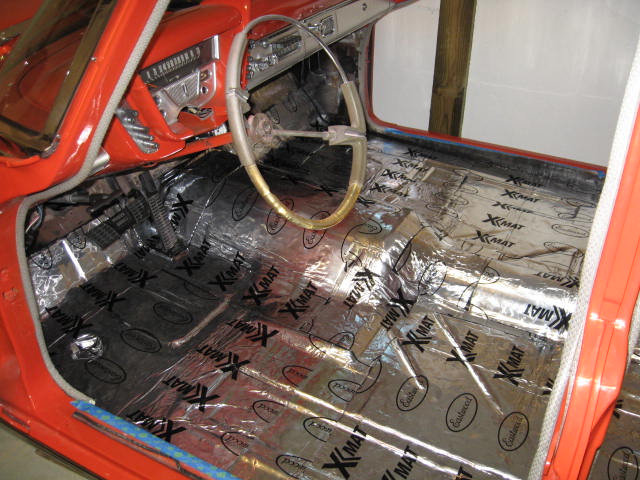
Mark, beautiful work but l got a question, are you working in a garage or the surgical wing of a hospital. Where the hell are the tools, equipment, dirt and grease. Looks like you spend more time cleaning up than restoring. I say this with envy.
Dick
Simply gorgeous. But,
What is the “package tray”? And did you put any insulation/soundproofing on the inside of your door skins, or do you plan to do so?
Amazing craftmanship, truly.
There is no ‘package tray’ in most convertible models.
Ah! Is this the rear shelf, above the rear seat? D’Oh!
Dan - l used dynamat, supposedly the best in the doors of charleen. After six months or so it started to sag and fell off. Gummed up the works so l took it out.
Dick
Yeah. Best to be avoided, methinks.
Dick; The tools and garage dirt are there just not in the photo. It is nice out there, it is my pole barn. Tv, phone, heat, YUENGLING, etc.etc.etc. Dan, I am not going to do the door skins. They still have a lot of factory tar spray on them and is better probably left alone. That is also why I didn’t do up over the hump/trunk area under the back seat. Man is that stuff thick and hard to get off.I cleaned the floor and gave it another coat of paint(waited A week or so to get plenty dry) to give it A good clean surface to stick to, I also took A razor knife and slit the foil on areas that are impressioned. I was getting air bubbles that are hard to get out when rolled with my small rubber roller. It fit the contours better. I will also do the trunk bottom surface as well. I’m going after more of sound deadness than insulate. It Should make the car feel tighter. Still got A ways to go but it will be A long winter as well. Thanks Mark
Mark, did you tape the seams, or does X-Mat have glue that makes that unnecessary? I presume the slits were from the top - any tape needed there? How many X-Mats were needed for the passenger compartment, how many do you think for the trunk? Most important - how many Yuengling timers are required 
I’m interested to know what folks think of this stuff - they offer a 5% discount to Forward Look members.
Dan: I did not tape any seams, slits were in the top. Peel the paper and it exposes “SHTICKY RUBBER”. I have kneeled, laid and whatever, it stay’s intact. Might have picked up one small booger on my knee. It is pretty forgiving, just watch how you handle the edges you can and I have gotten cut. The foil is A little ridged and sharp. It took 8 panels for the roof, 9 for the floor, and I am guessing 4 or 5 for the trunk. I am just doing the flat part. The floor tunnels and any curves, radius takes A little figuring. Like I said it is forgiving. Carpet pad is going over it then carpet, know one will know it is there. Good Luck Mark
P.S. Dan; The Yuengling timer never did go off after I started it, it must be broke, I will get it checked out!! Mark
Funny about your timer systems, My machinist uses the Pabst timer short and sweet, he gets things done even during the break.
I however tried the Colorado Native break system…I’ll have to get back to you on this later…

Is break over?
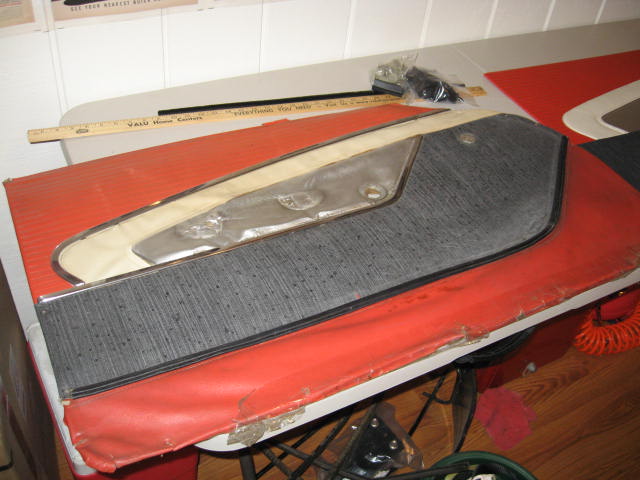
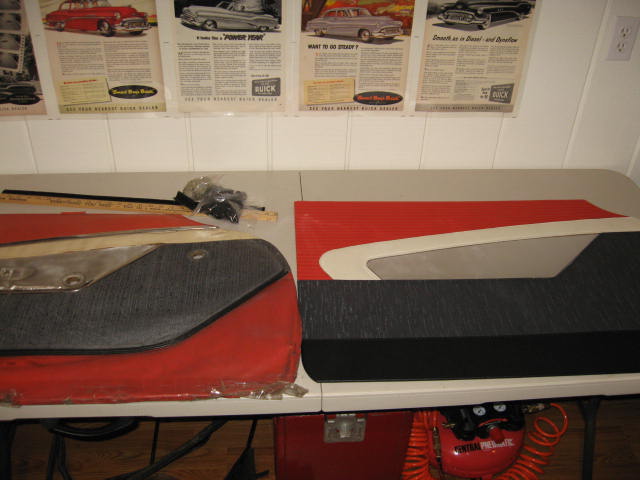
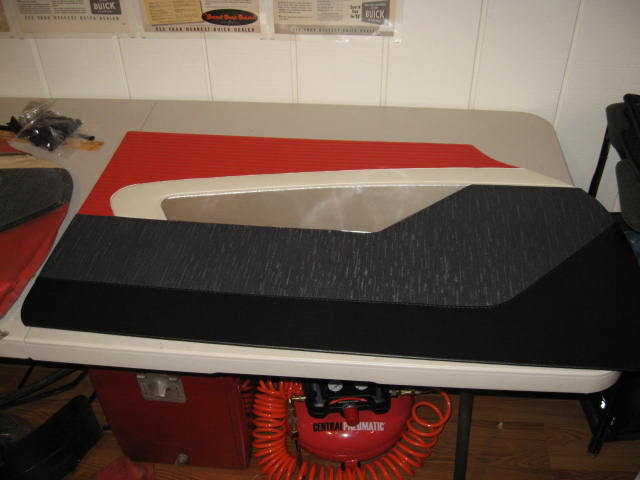
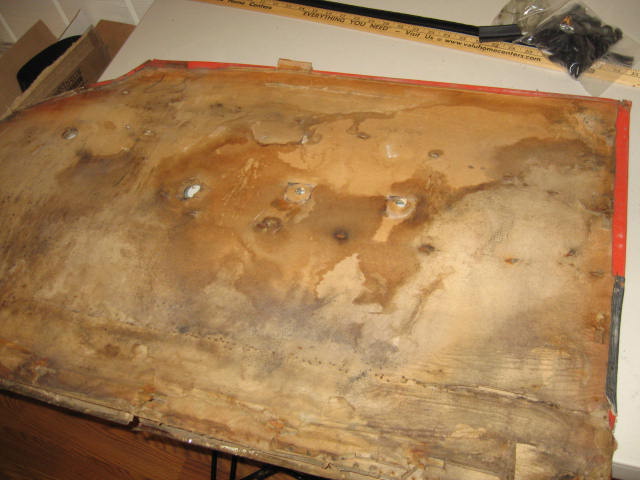
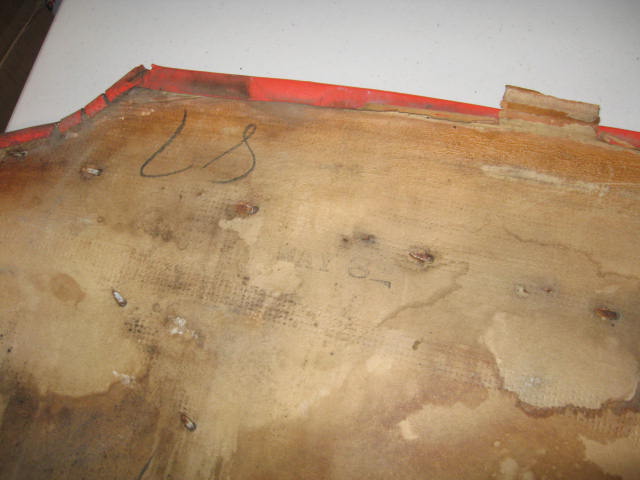
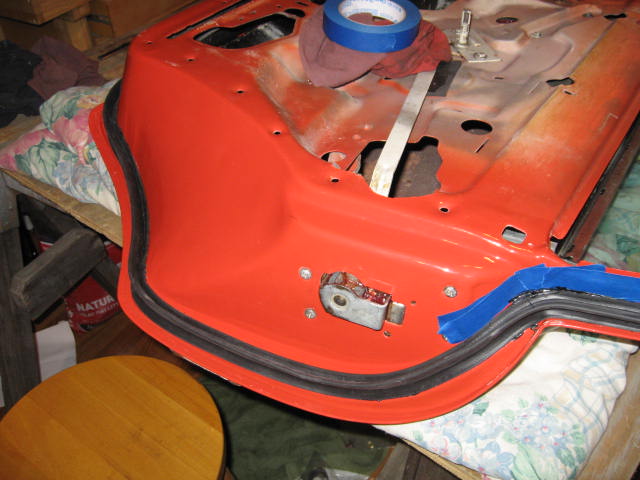
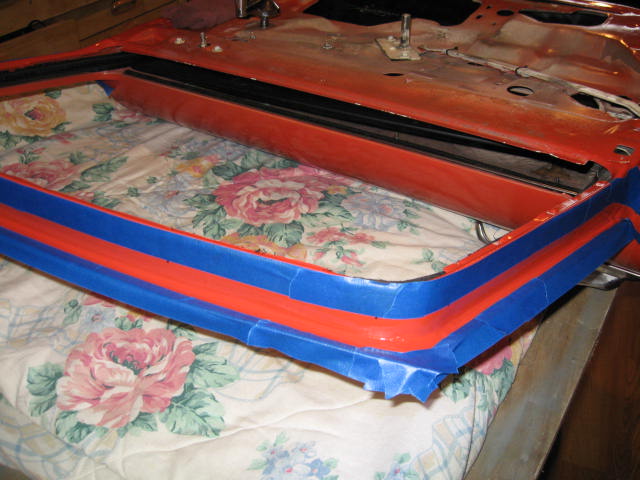
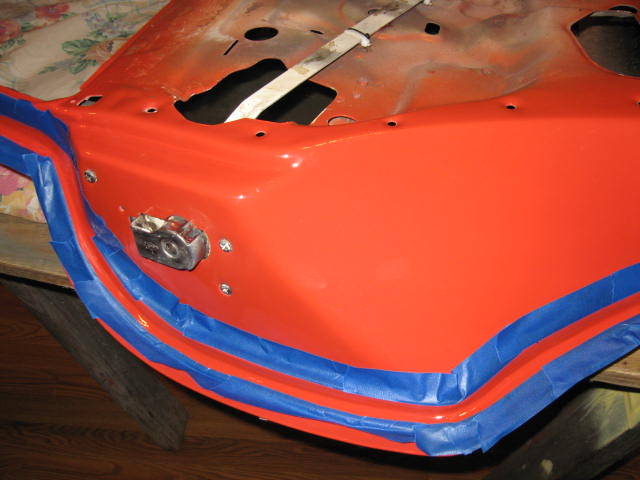
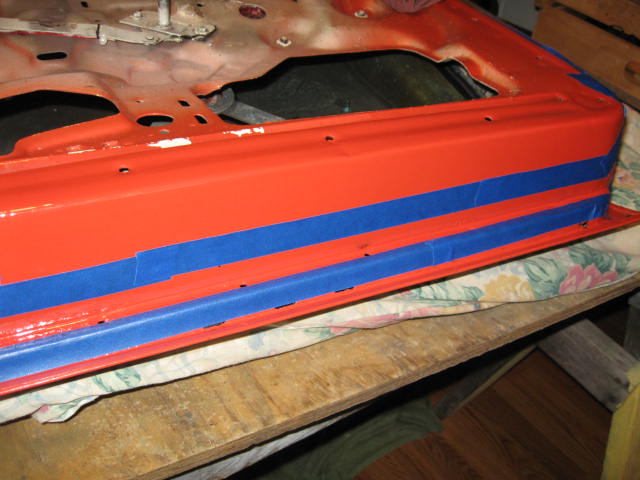
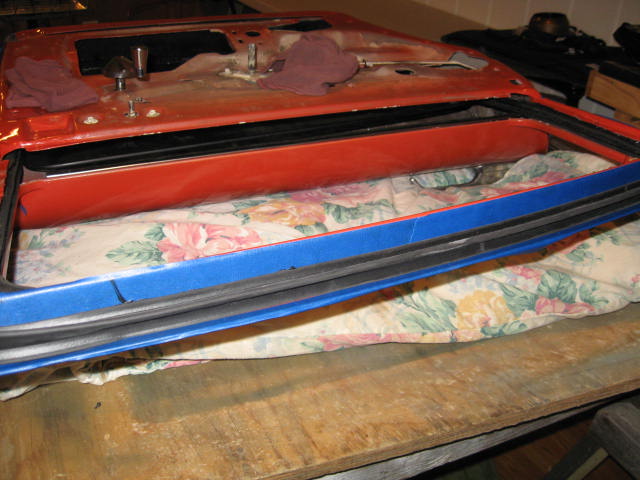
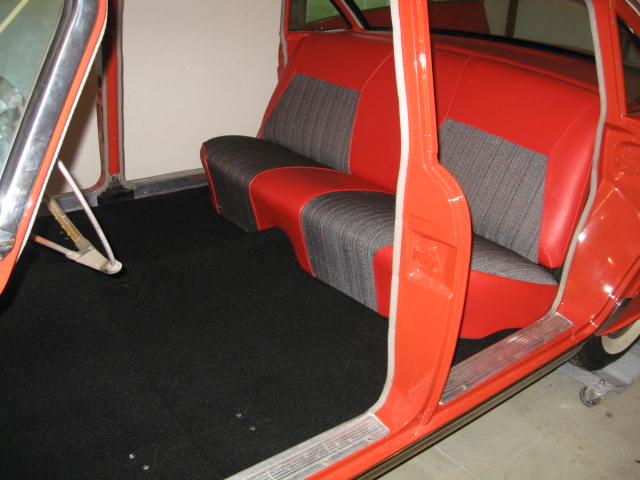
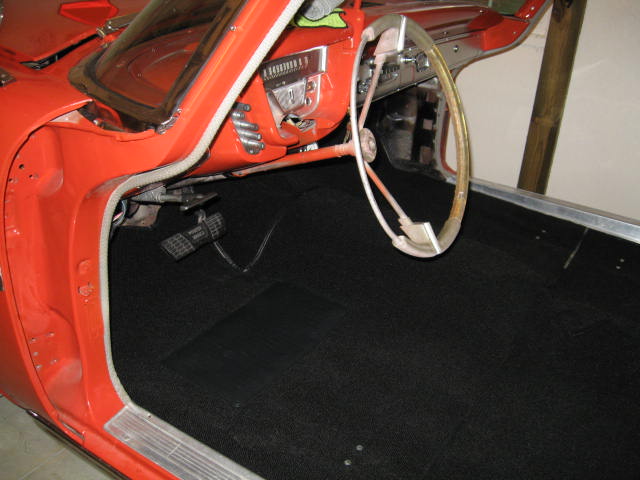
Well there’s the whistle, breaks over !! Would be alot better retired but that is another 1 1/2 away and another story.Made A stab at weather strip and got the carpet and back seat in.Turned out well. I used tacky spray (chooch cab assembley) to bond the pad down, then made A few cut’s and hole locations and that was it. Sms could have gave me A little more, would have been nice but looks good. I got some better sill plates from A part source coming, mine are very dinged. Many many many dings. I think some woman tapped her high heels everytime she got in to shed the Vegas sand or something.I put my plates on for now.The weather strip came out good as well, I masked it first and did the glueing about A foot or so at A time, putting glue on both surfaces and tried not to get glue on the tape. Then let it set till the next day and then peel off the tape, ( keep A razor blade handy) and re-mask the top edges. Then with my steel 6"scale ruler I pry the flap open and re-apply another small bead of glue keeping it moving with the glue tip (slightly flattened) right behind it.Just like decorating A cake. It looks right, and the one thing and first thing that I learned about doing cars (and I am sure you all became aware of this right off the bat) THEY DON’T COME WITH “HERE IS HOW TO DO IT INSTRUCTIONS”. Speaking of how to do something, I am going right now, TO EAT TURKEY!!! To all. HAVE A HAPPY THANKSGIVING !!! Mark P.S. Also shots of my old and new door panels. They took about A year. The back of the old one has May the 8th date I found on the inside, which confirms what I thought, I have A late 59 I think it was built in June.
Lookin’ fine, Mark! What adhesive did you use for the weatherstripping?