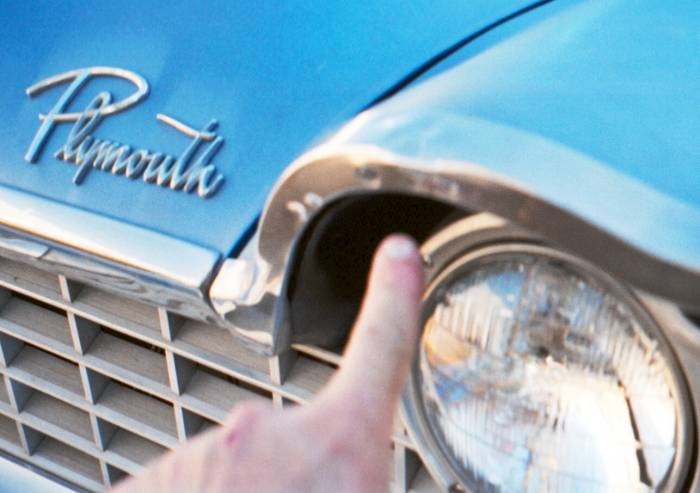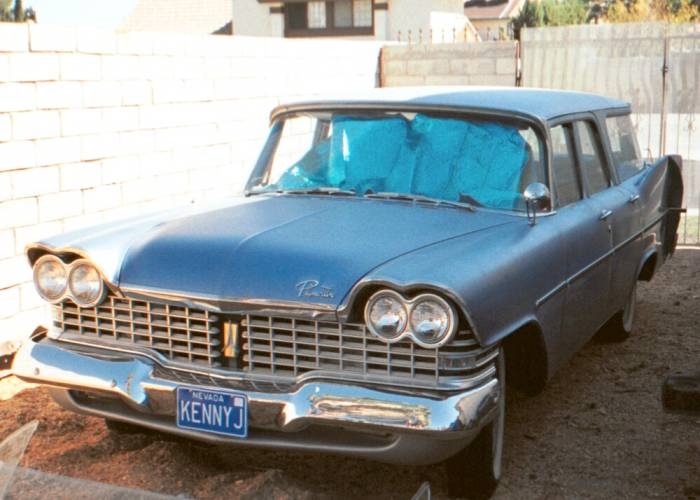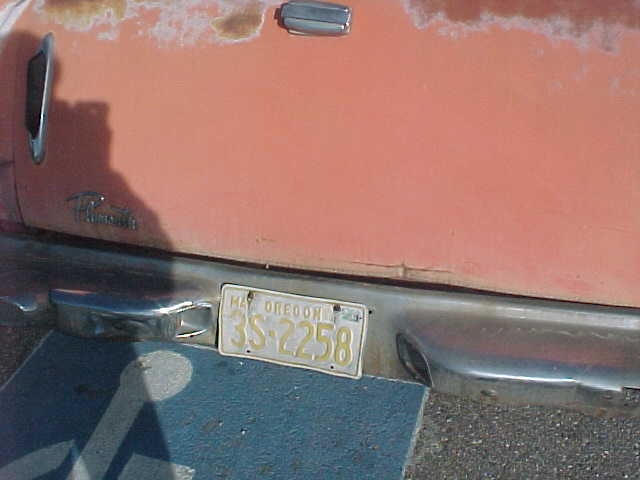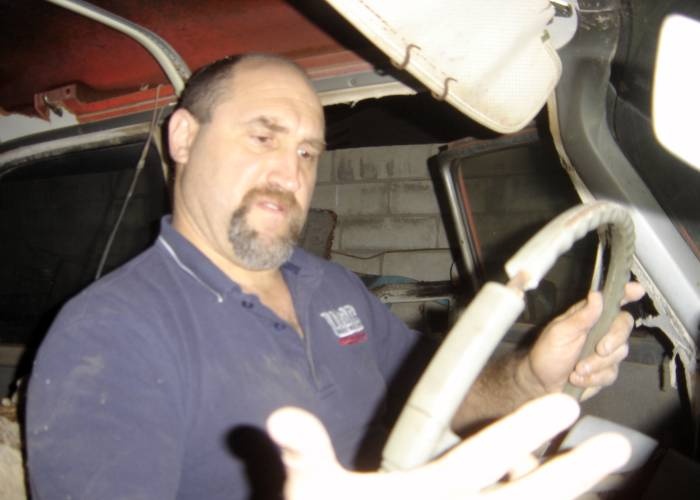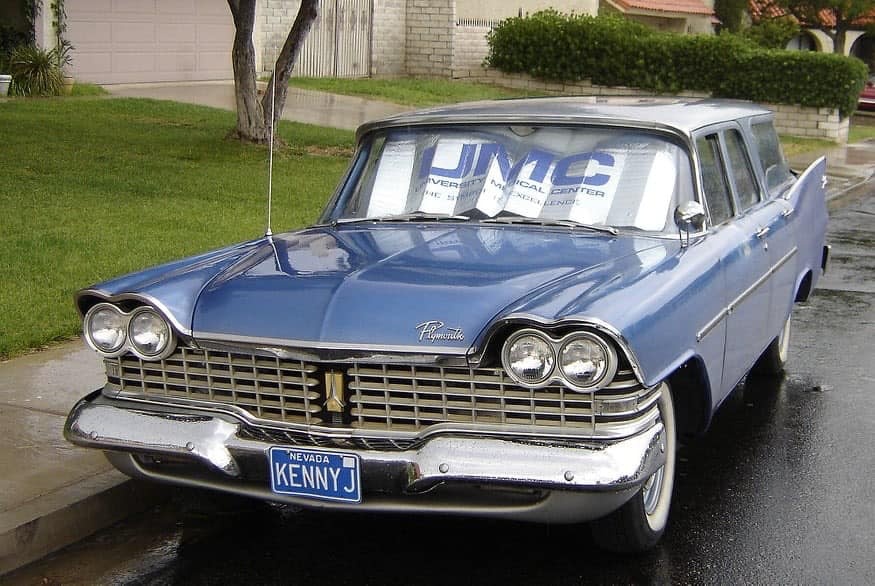
Kenneth Josephson - Los Vegas, NV, USA

I’ll let Ken tell his own story about his amazing experiences with '59 Plymouth Suburbans, and their ilk - but suffice it to say, this is a copy of his album on The Forward Look Network, hosted by Dave Stragand. The commentary is dated at this point, but perhaps as time goes on we will receive updates from Ken.
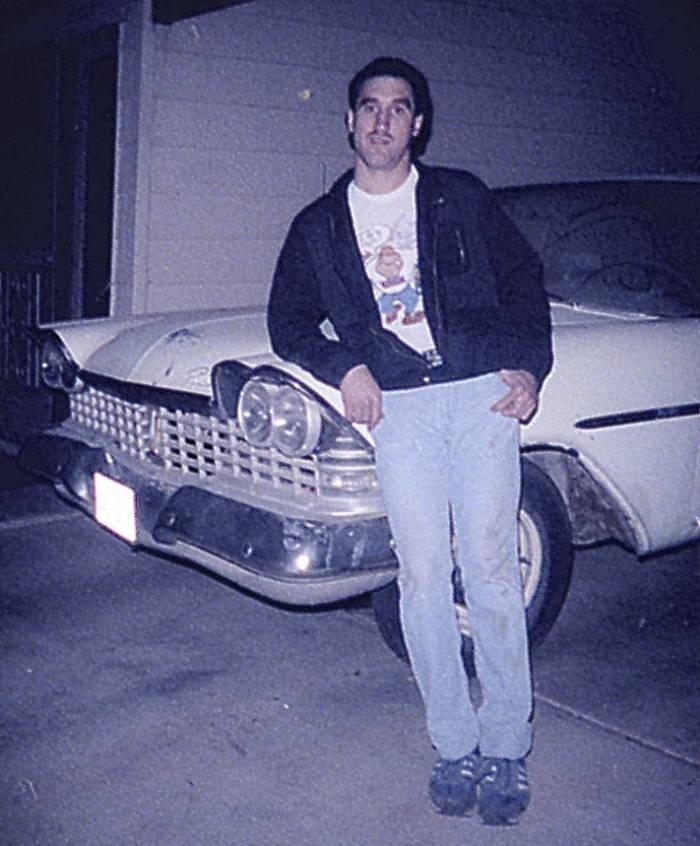

Egads, I had hair! Autumn, 1985
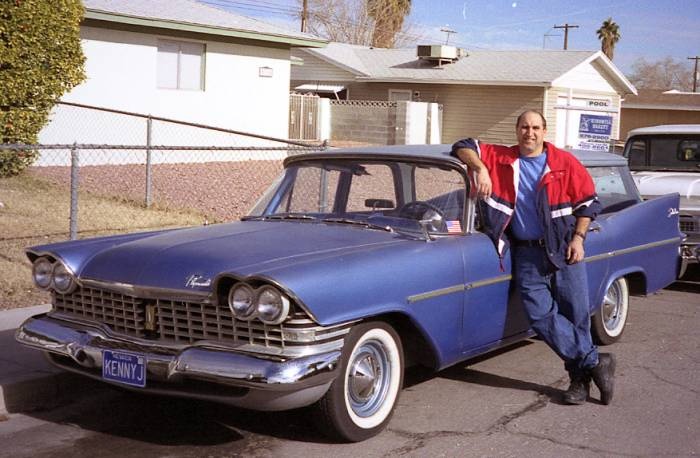

January, 2004
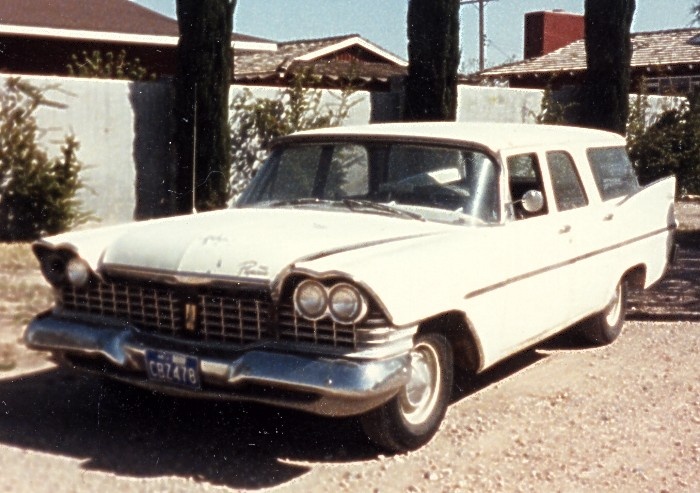

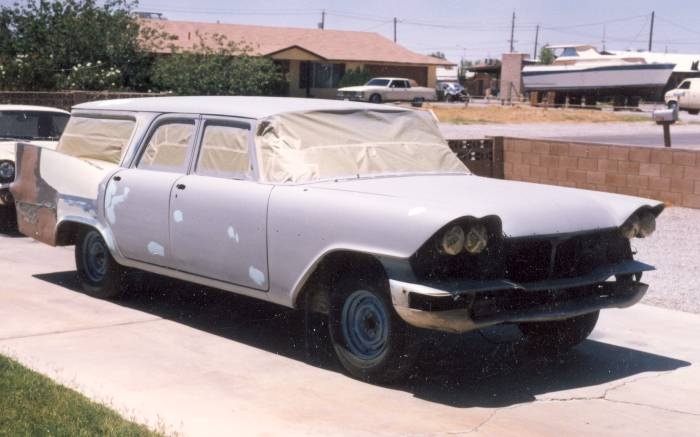
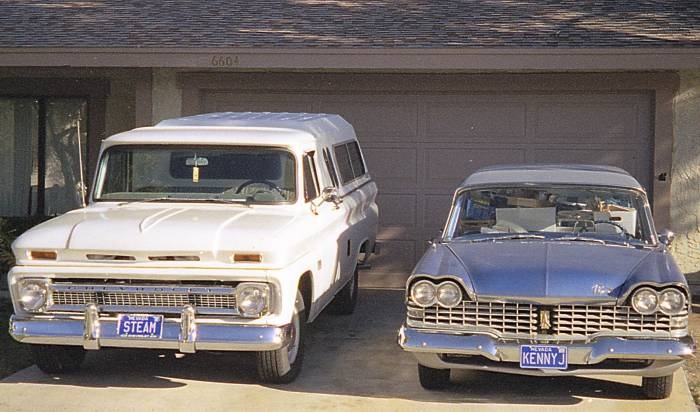
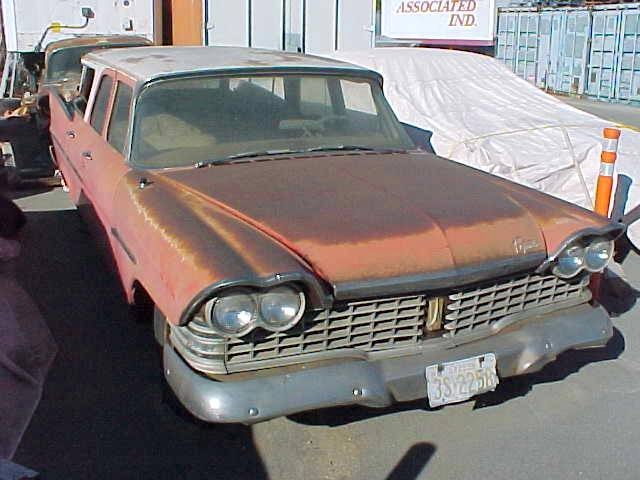
"Taking delivery." February, 1985. This photo was taken at Henry "Hank" Eliano’s house. Hank owned the wagon from 1974 until I bought it. He passed away earlier this year. Those of us who knew Hank miss him greatly.
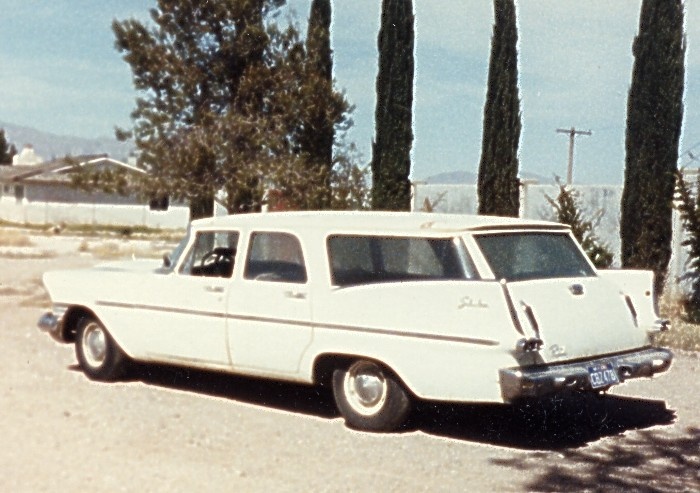

An N.C.O. at Nellis Air Force Base was quite upset when he found out I bought the wagon. He wanted the front clip for his two door hardtop.
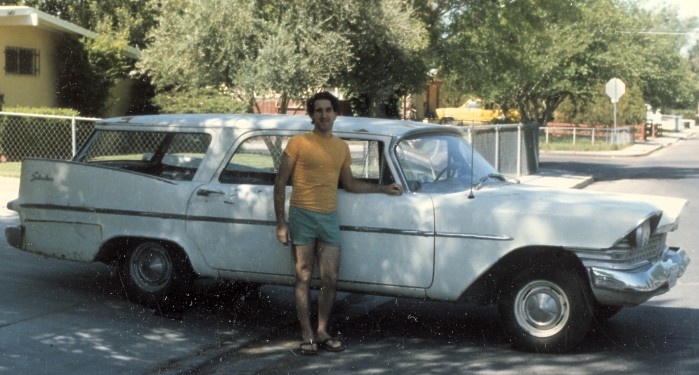

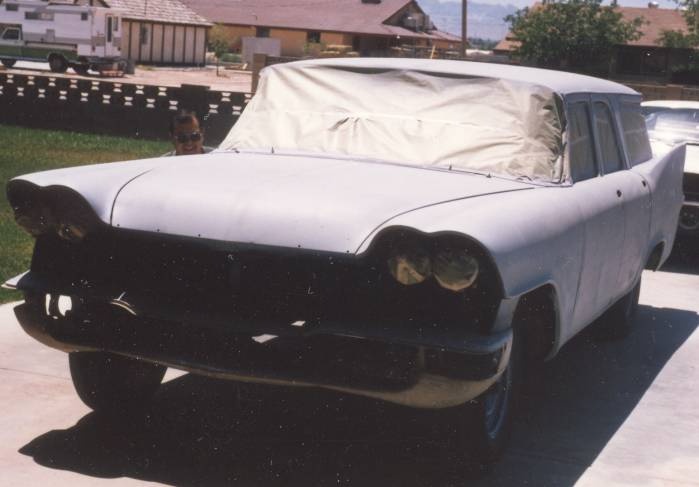
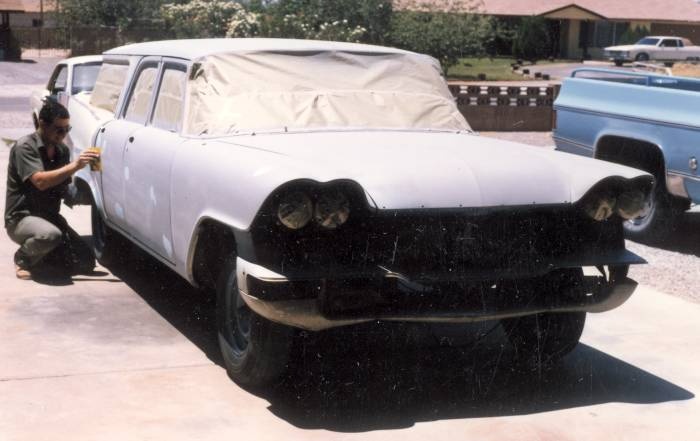
Yeah, I’m wearing a yellow shirt with green shorts. My wife gives me a hassle about that whenever she sees this picture. This was the day my buddy picked up the car for the repaint. The harmonic balancer came apart some months before and since the engine was well worn, I removed it for rebuilding. We towed the wagon to his shop so he could begin the bodywork. I don’t wish to disclose how long it took me to find another balancer. And there were no "Damper Dudes" in those days.
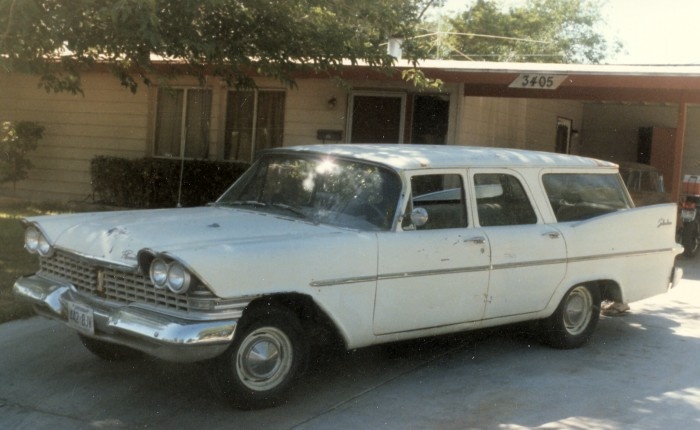

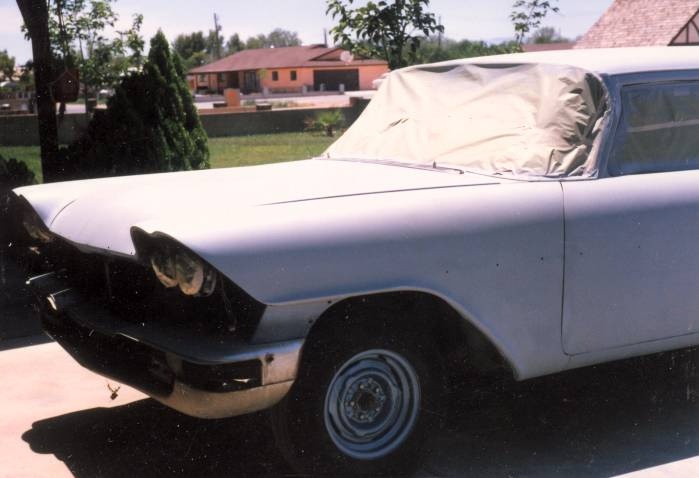
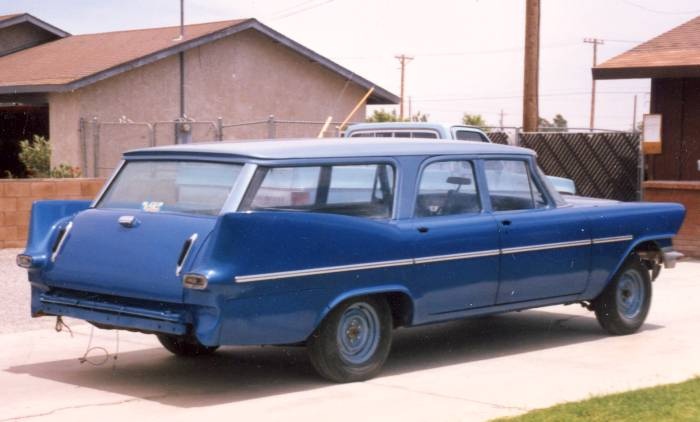
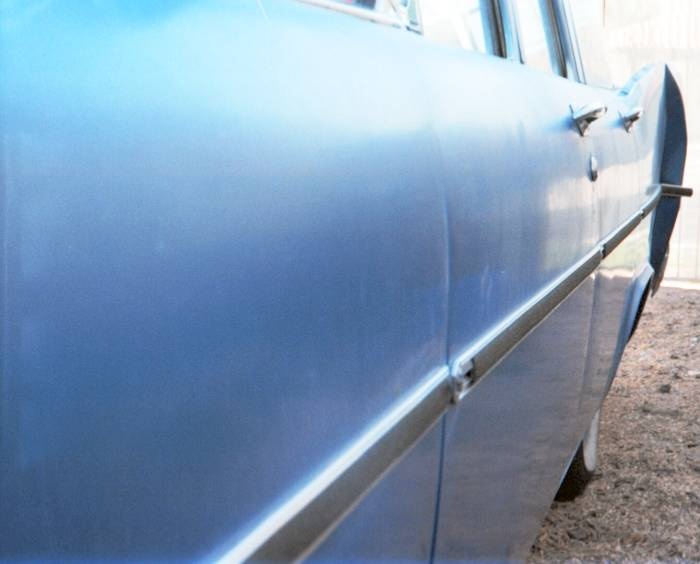
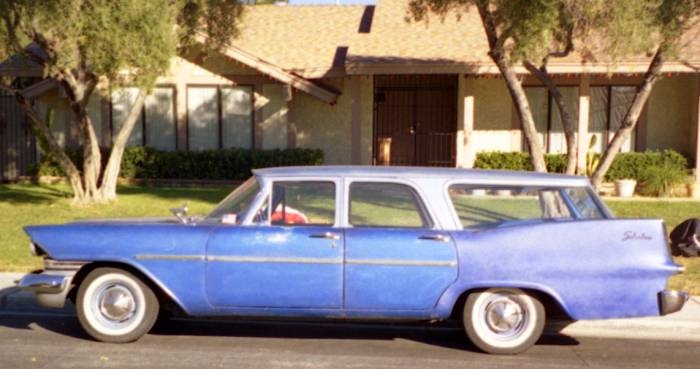
The driver’s side just before body work began. I didn’t re-install the original side trim as it needed to be straightened and reworked. I used some aftermarket trim with vinyl inserts that matched the light blue roof color.
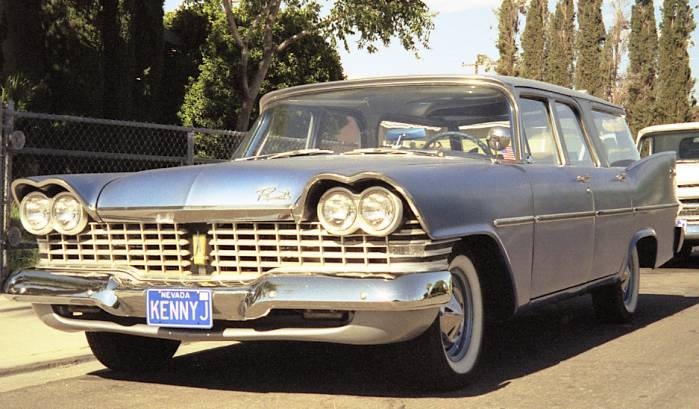

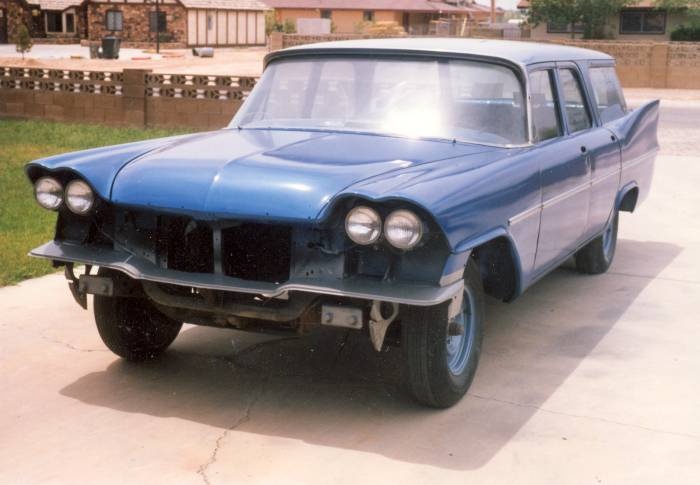
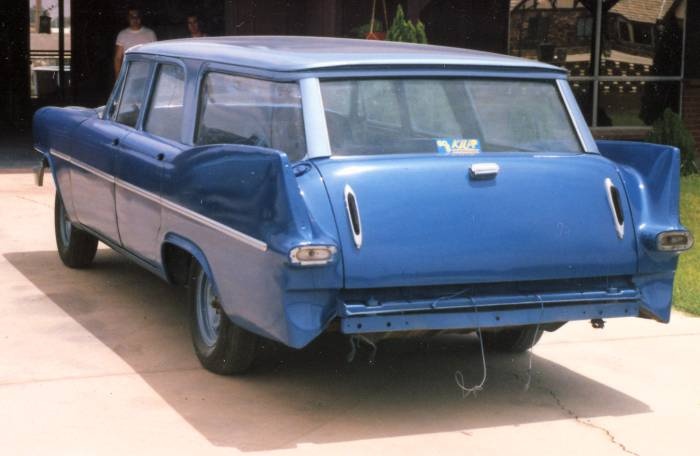
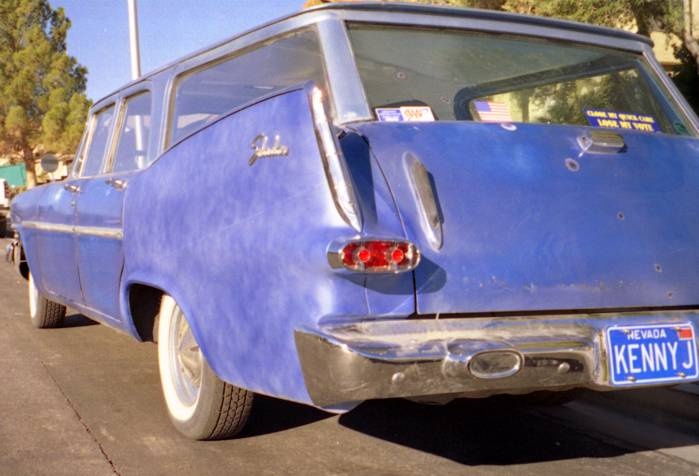
A photograph from Summer, 2003. The paint is nicked and faded. After the next repaint, I plan to re-install the original side trim (after having it restored) and perhaps add the Sportone trim, rocker moldings and rear wheel well gravel guards. I will also two tone it correctly, but I will probably use the same 1973 GM blue paint colors.Since the rear window seals are shot and the windshield is pitted, it will be a good time to install the Solex glass.
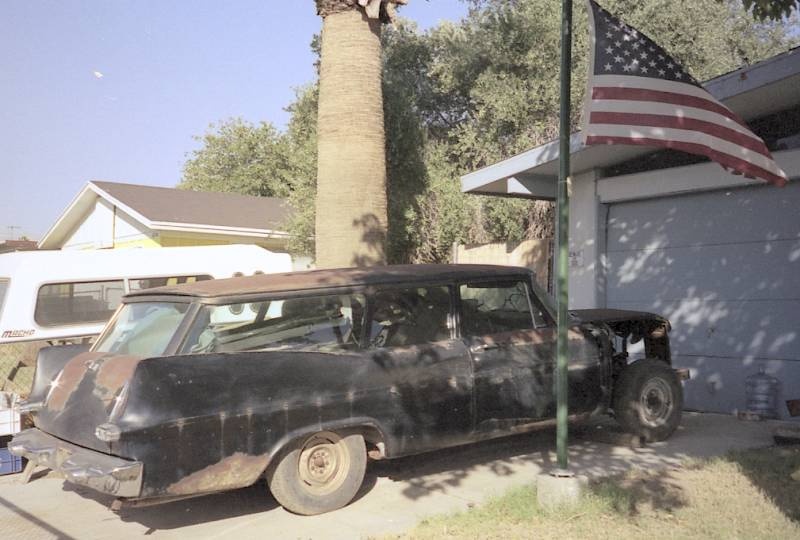

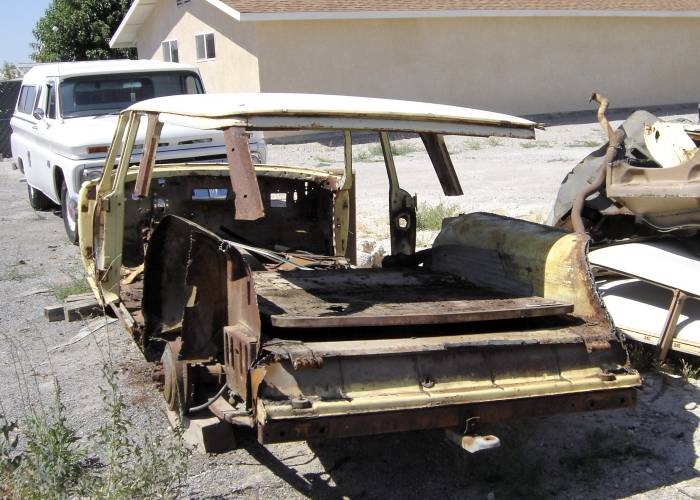
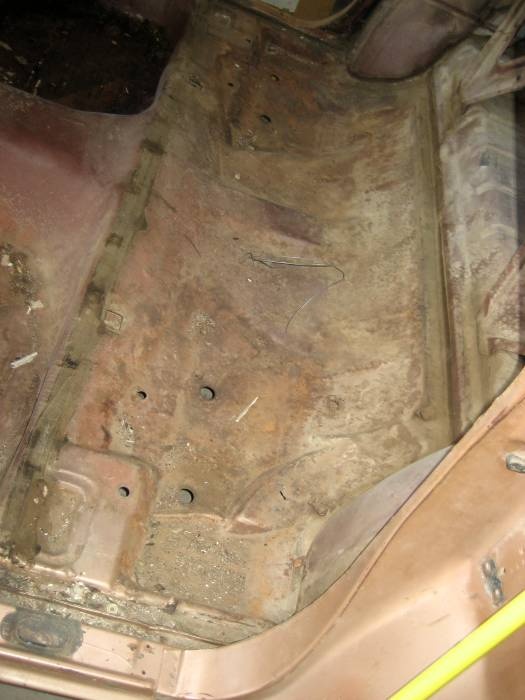
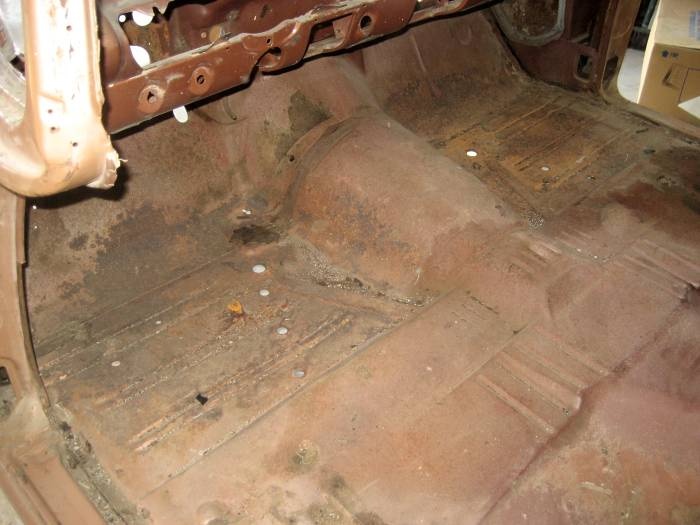
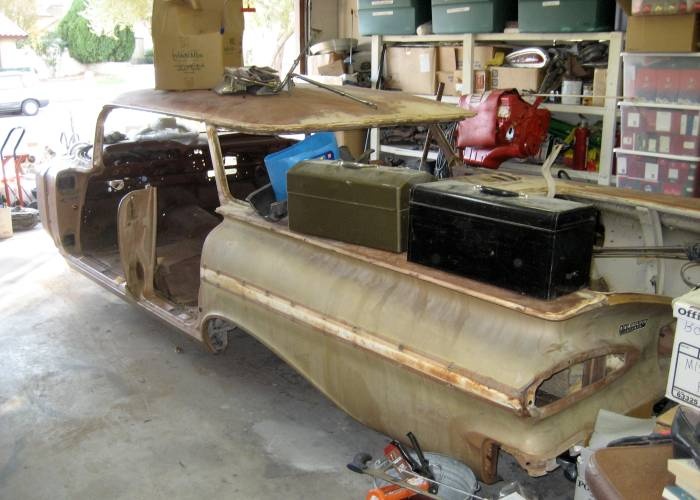
This is my other '59 wagon. It is interesting to note that the passenger side rear quarter panel was rotted, but the driver’s side is solid. The cargo hold floor is excellent, but the interior floor pans are Swiss cheese. I was able to purchase a new set, complete with bracing from Bob McGee. I am very impressed with his product. I threw away the front fenders as they were beyond help. I saved the headlight fillers as they were excellent. Roger Howard, of Burien, Washington, provided me with a solid pair of front fenders. This would have been my next project, but I allowed myself to be sidetracked by a '68 Crown Imperial. As soon as I have that beast in good running order, I’ll get back to working on this two door wagon. It is actually in better overall shape than this photo suggests (at least I keep telling myself that every time I look at it.)
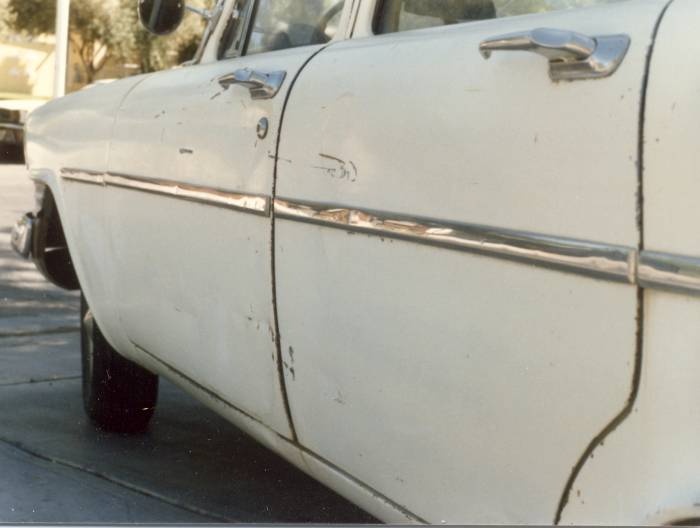

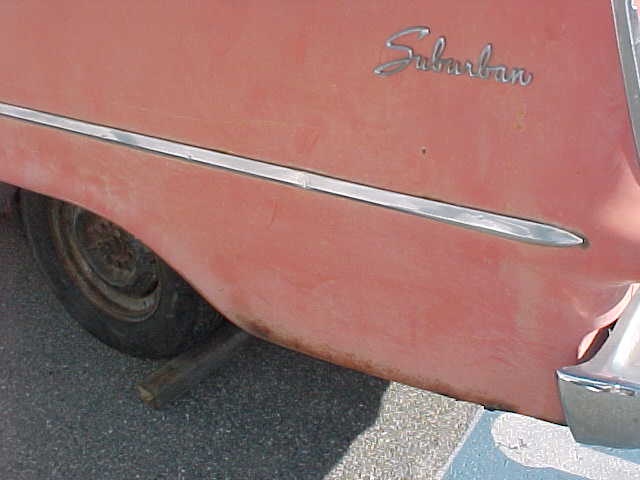
This view shows the poor condition of the side trim. I plan to get it refurbished for re-installation the next time I have the car painted.
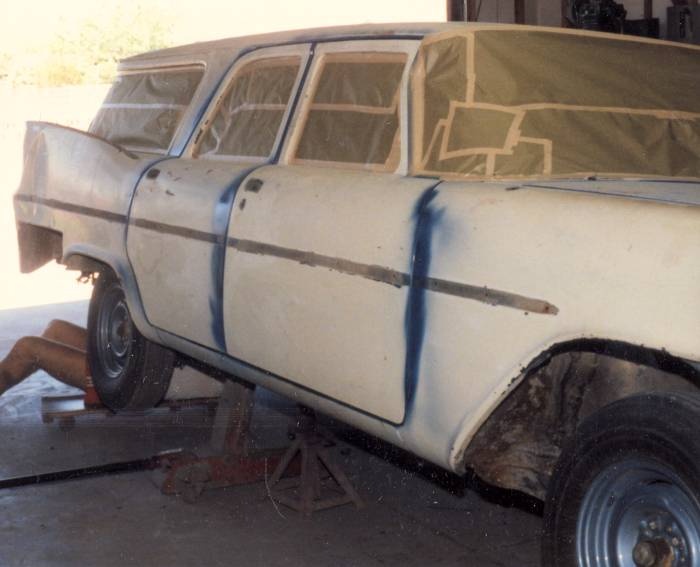

No, Christine’s younger sister did not claim a victim of her own. I was removing one of the rear shocks to get a match up at the auto parts store. The overspray from the interior is evident.
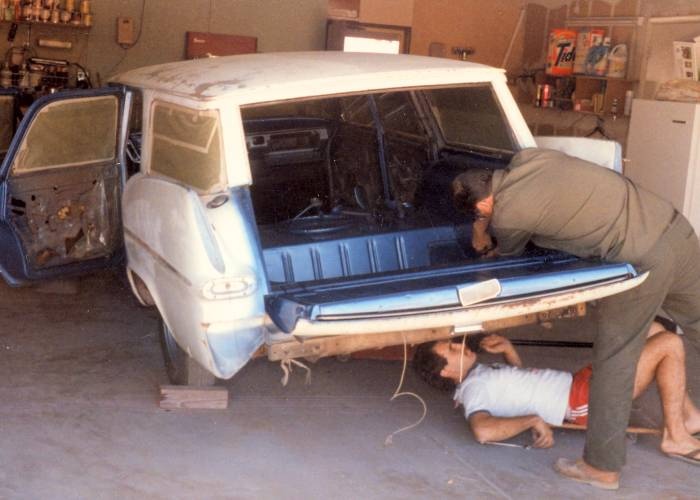

John working in the cargo area while I get ready to hold a wrench for him.
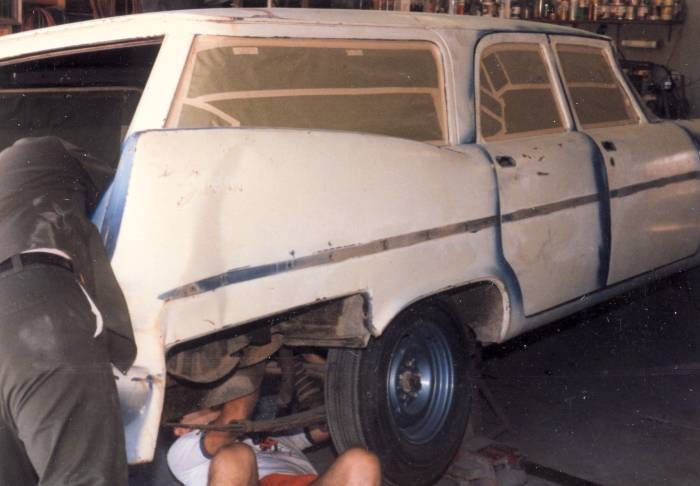

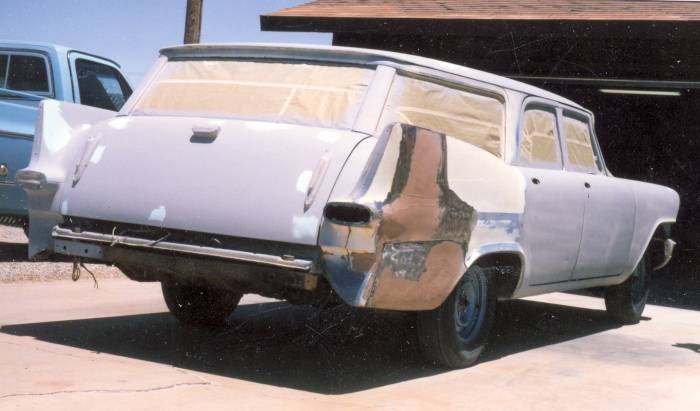
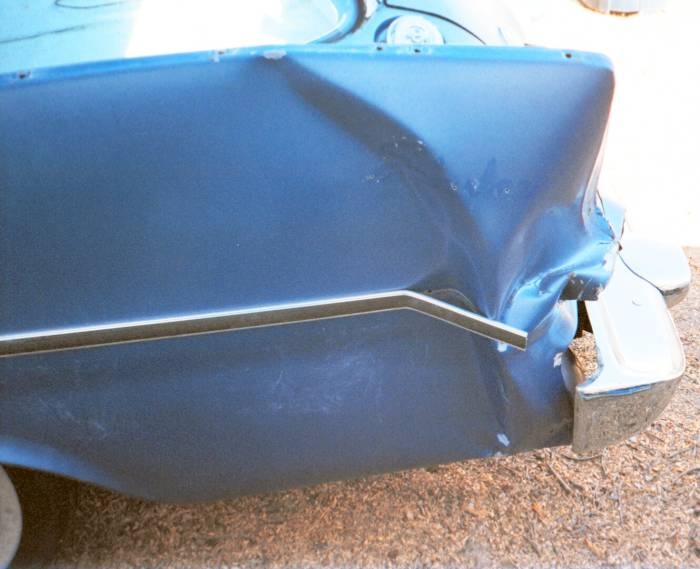
The damage to the rear quarter is evident in this shot. The previous owner used the Plymouth as his "shop car" for doing repairs at his various rental properties. The kid he bought it from had used it as a surfer wagon. This '59 led a hard life.
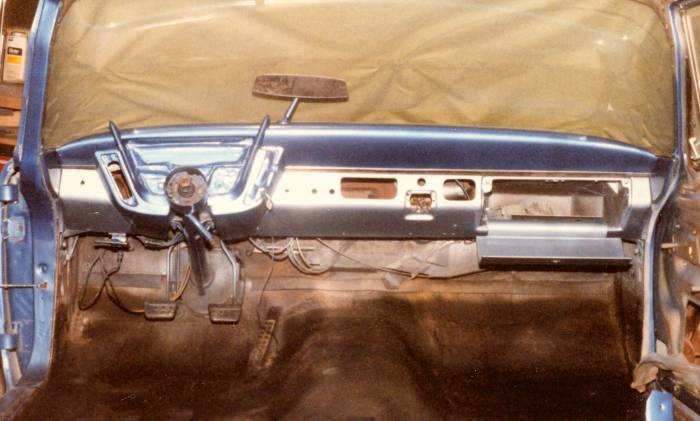
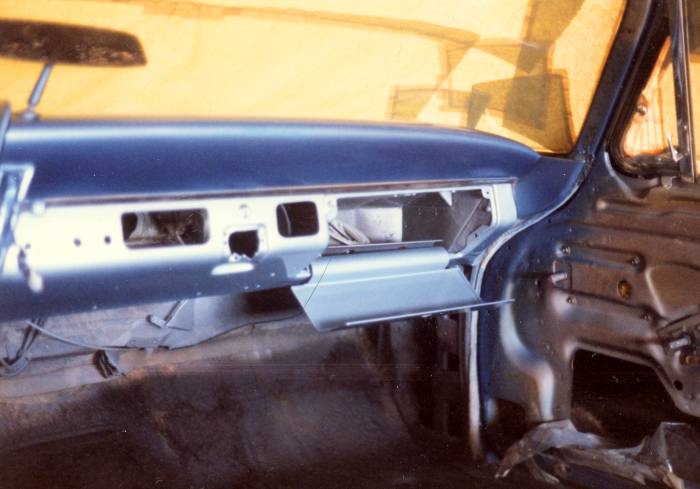
.


We carried the two tone metallic blue theme into the wagon’s interior.


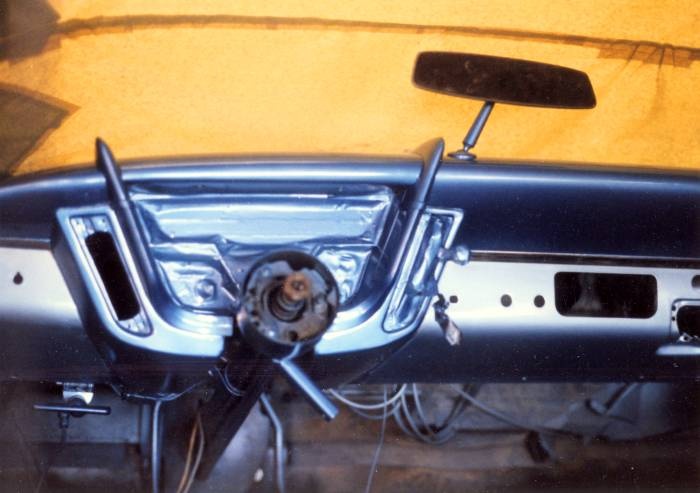
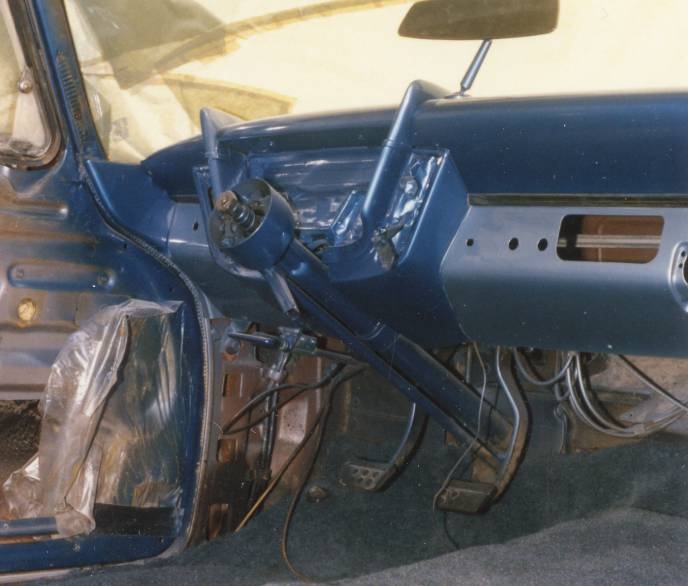
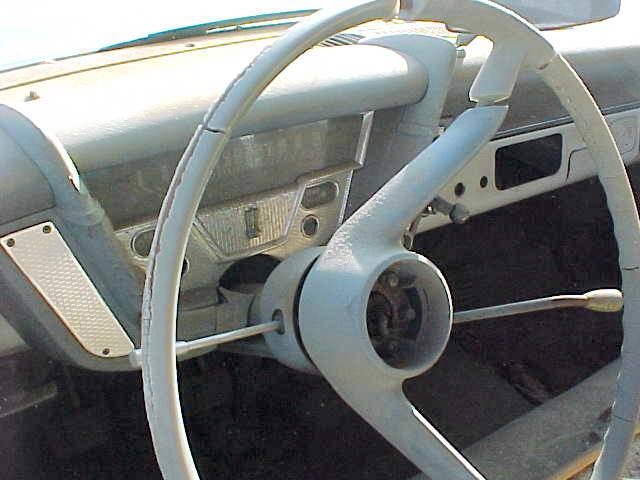
Knowing what I know now, I would have disassembled the dash further for the repaint. Or maybe I would have had John paint it in the original two tone gray. Live and learn.


Case in point. Rather than figure out how to disassemble the dash, I had John mask off what I was afraid to take apart. I didn’t have the shop manuals at this point. Nor the expertise. Lars is right, having the books is the difference between night and day!


Note the overspray. Some extra masking and a small air brush took care of it.


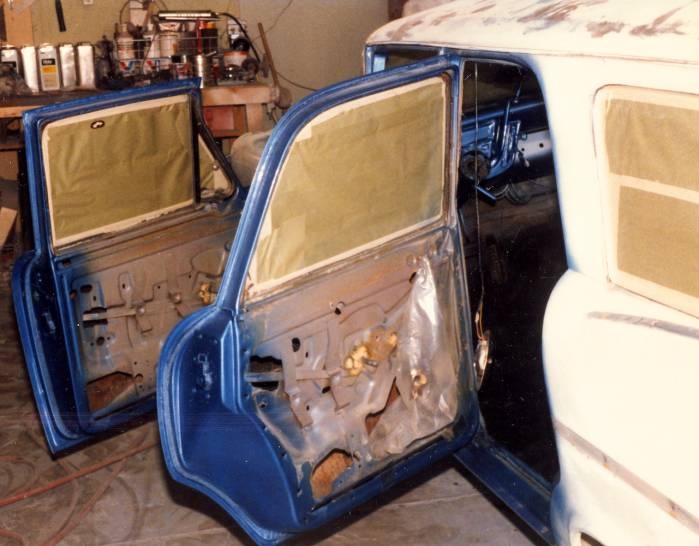
The inside of the doors and rocker panel. Now on to the exterior!


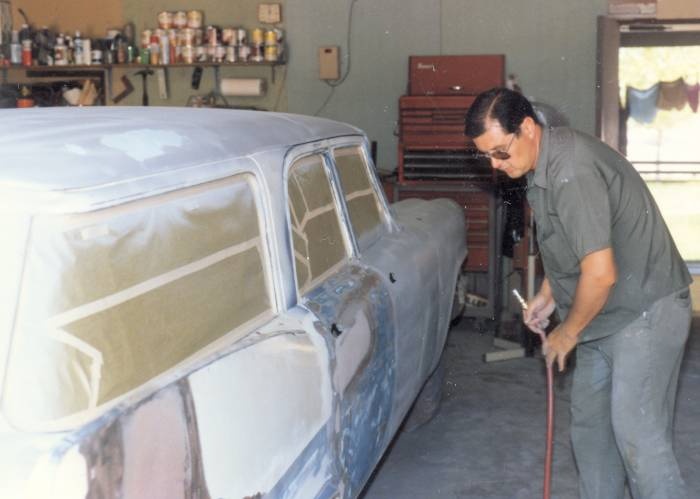
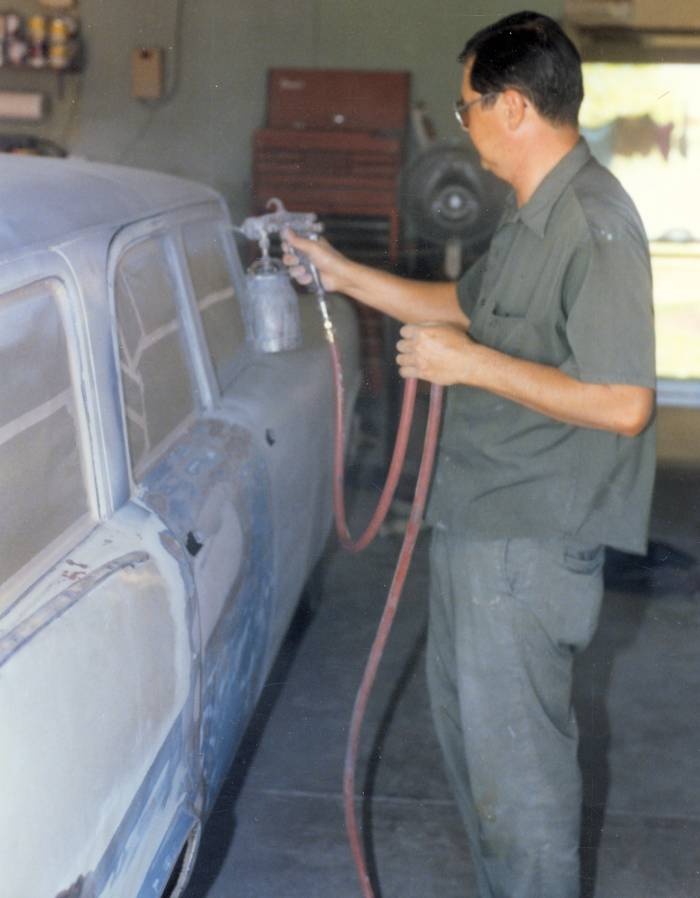
John getting ready to apply the initial coat of primer. Since these photos were taken, John has built two hobby shops, each larger than the previous one. His current hobby shop is nearly 1700 square feet and boasts both air piping and 220 VAC throughout!


Before using a painter’s suit and respirator for painting, John applies a light coating of primer to get started.


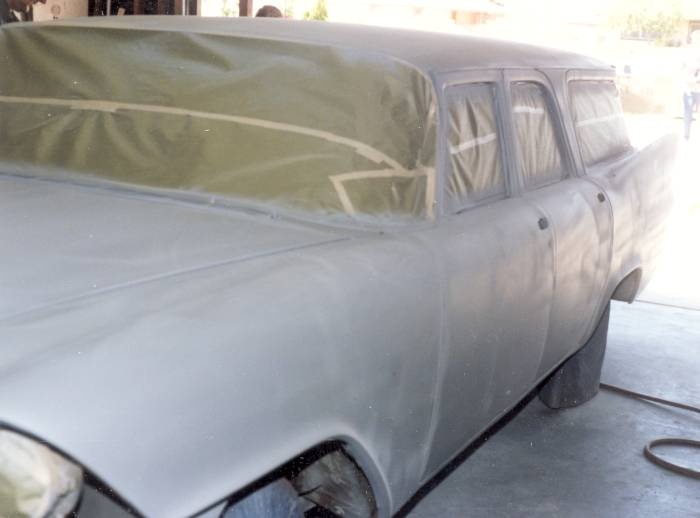
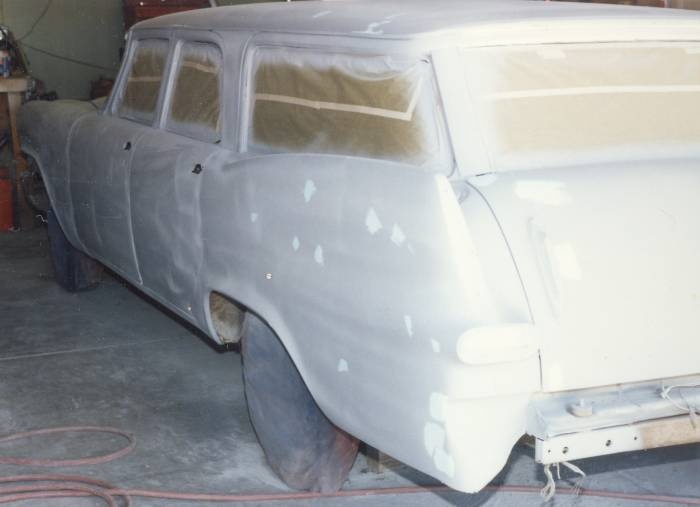
The first coat of primer. This solid, but beat up Forward Looker needed a lot of block sanding and glazing to look reasonably straight.


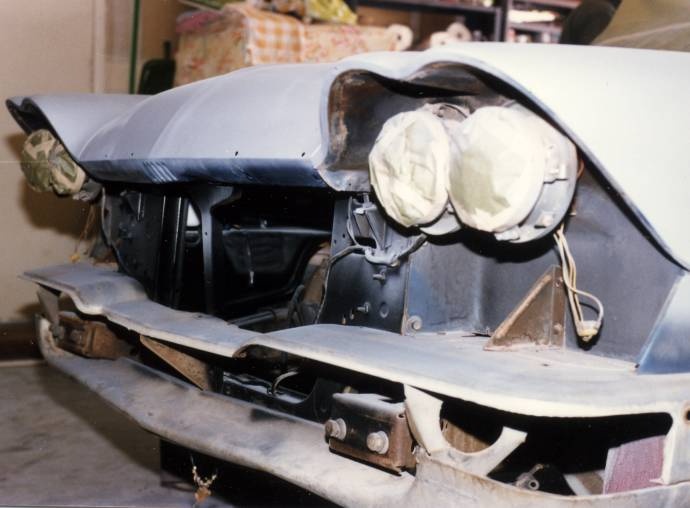
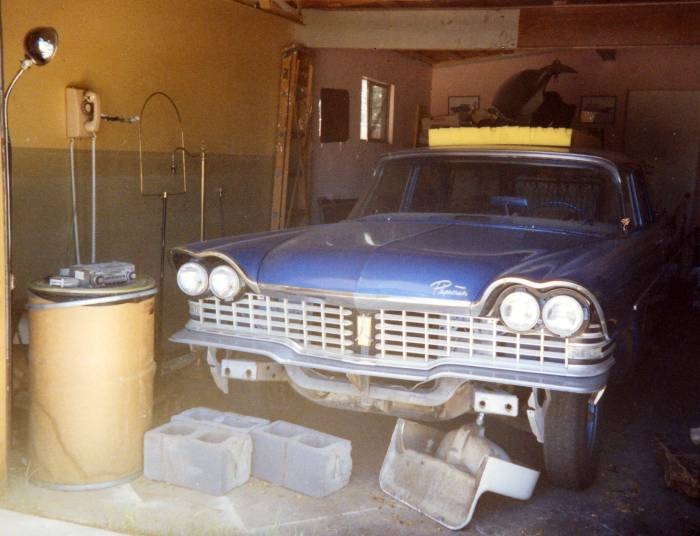
A close up of the front end. Notice the original factory blue, exposed after removing the trim, headlight hardware and masking tape.


Ready for block sanding. John later removed the front valance for straightening. He still refers to that little project as a big pain in his…uh…back.


After finding twenty seven years of dings and dents, John Glazes the low spots on the passenger side…


…while the driver’s side awaits its turn for attention.

.


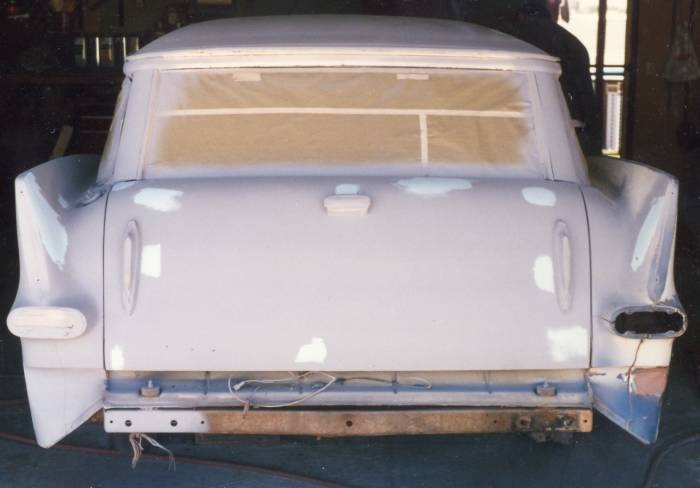
Glazing is complete on the tailgate. A few years ago, some rust began showing up where the inner metal meets the outer. Sheet metal replacement will be in order.


The driver’s side wasn’t as bad as the passenger side.


The passenger side was a bigger challenge, particularly the rear quarter.


In addition to the collision damage, the spare tire cover had been lying on the ground from about 1976 until 1985 and was rusted through. John had to patch it up as best as he could. It took me years to find a replacement. I found two. The better of the two was sent to another Forward Look enthusiast as a pattern for a patch panel for my two door wagon. The other is now on the car.


Painted at last! The roof color turned out to be just a few shades off from the wagon’s original color. Notice that the two tone application is not in the proper pattern. The upper door frames should have also been the darker blue.


While neither the colors nor the two tone effect were correct, the results still looked pretty darn good!


Considering the damage, this part of the wagon came out quite well. Since then, John has improved his welding techniques and can handle such repairs with less fuss and less body filler.


Now to put the darn thing back together. Finding a replacement harmonic balancer was a real hassle. Over the next few years, I wound up rebuilding the engine, rebuilding the front suspension, had the bumpers and other components rechromed and then had to let the car sit for a while.


Dead storage, 1990. After getting married in early 1989 and then moving from eastern North Las Vegas to the western side of Las Vegas, the car remained on the back burner. It wasn’t until the mid 1990s that I finally found a new old stock harmonic balancer and got the car on the road.


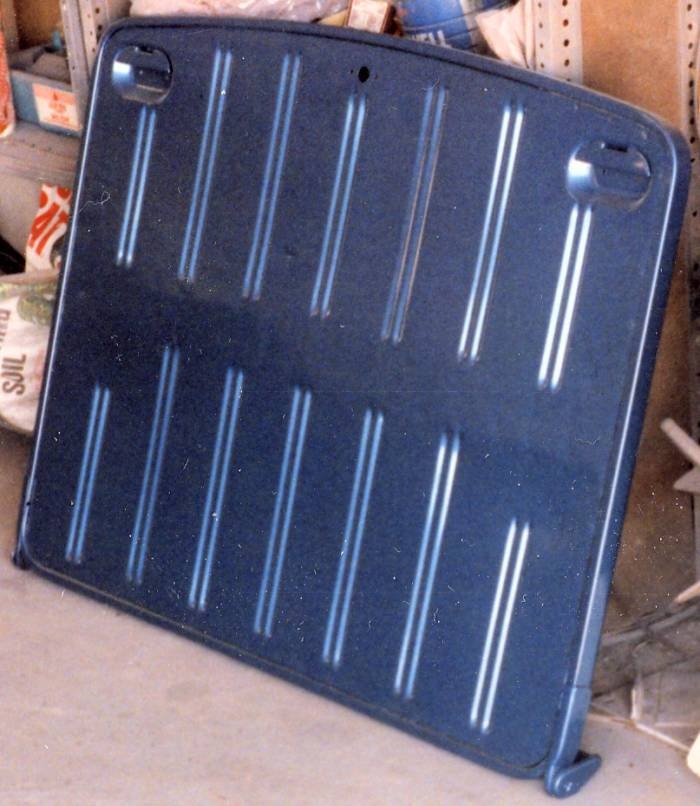
I forgot to post this image in sequence. It took four of us to carefully position this freshly painted "hatch cover" into place over the freshly painted cargo hold. We removed all the interior vinyl and simply painted the sheetmetal. All those years here in the desert Southwest had made it brittle beyond belief.


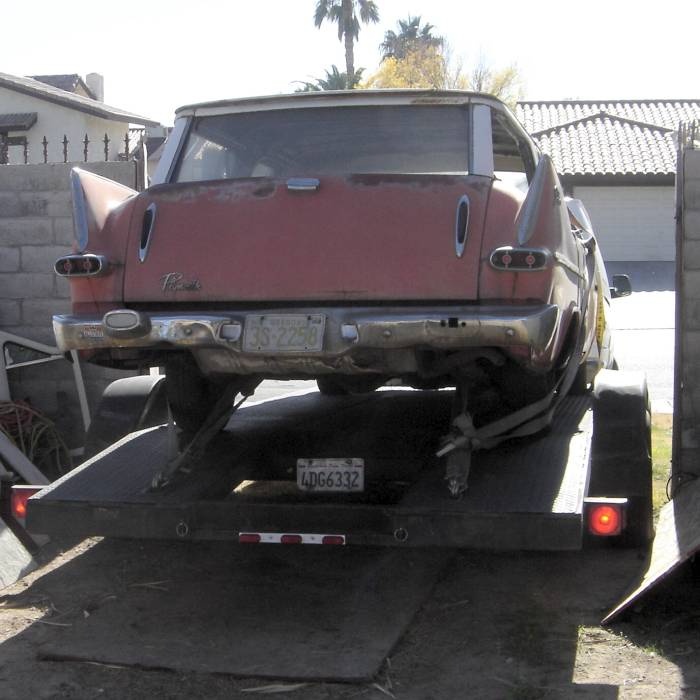
The recently acquired '59 parts wagon leaving for Las Vegas from Roger’s place in Burien, Washington.


My '58 parts wagon. This photo was taken by the previous owner (Brandon Frame) before he finished removing the parts he wanted to keep or sell. That included, among other things, the luggage rack, side trim, power steering column and box. But it was worth it for the glass, rear axle and other components.

.


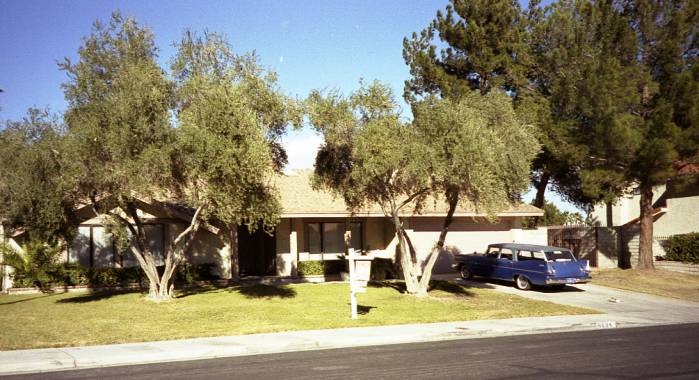
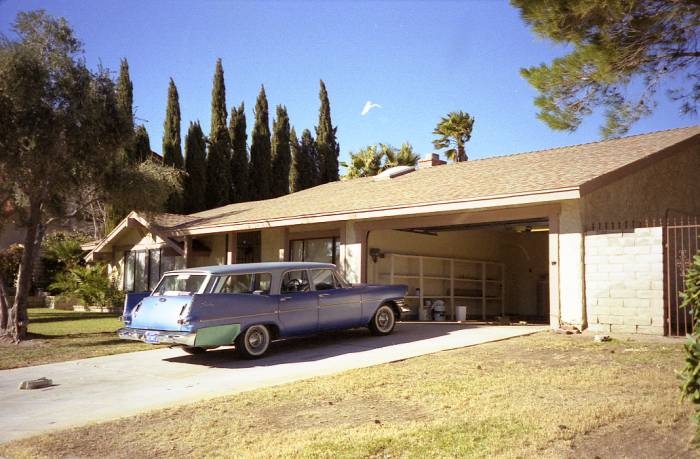
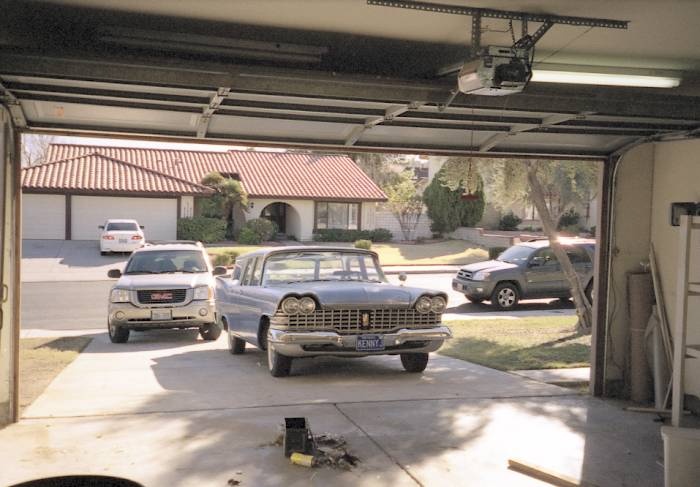
This is the house we bought during February, 2004. Over the years,the wagon has become something of a "neighborhood mascot" (in the area around our previous home.) Most people around there were used to seeing it plying the neighborhood streets. Once we moved into the "new" house, the gawking and questions started again. The most common questions are "Does it have a Hemi?" and "Can I see your push button transmission?" I have to disappoint admirers on both counts.


As noted before, the original spare tire cover had been lying on the ground, within reach of the sprinkler system, for nearly a decade (before I bought the car.) I knew it would eventually have to be replaced. Roger Howard spotted a good one at Newburg Auto Salvage in Oregon. He sent me some photos and I called the yard and had them send it down, along with other odds and ends. I initially decided to set it aside until the wagon needed another repaint, but the old one rusted so quickly that I was afraid it would fall off and bounce off the pavement into the windshield of a vehicle following me. So I installed the replacement about a year ago. Seeing it gives me extra incentive to get some body work and a repainting done soon!


Sort of looks like the wagon is inspecting its new living quarters. There is room to expand the garage and add shop space. This photo, along with the previous two, were taken in late January. Oh, the GMC belongs to Tracie’s parents and the Toyota belongs to our realtor.


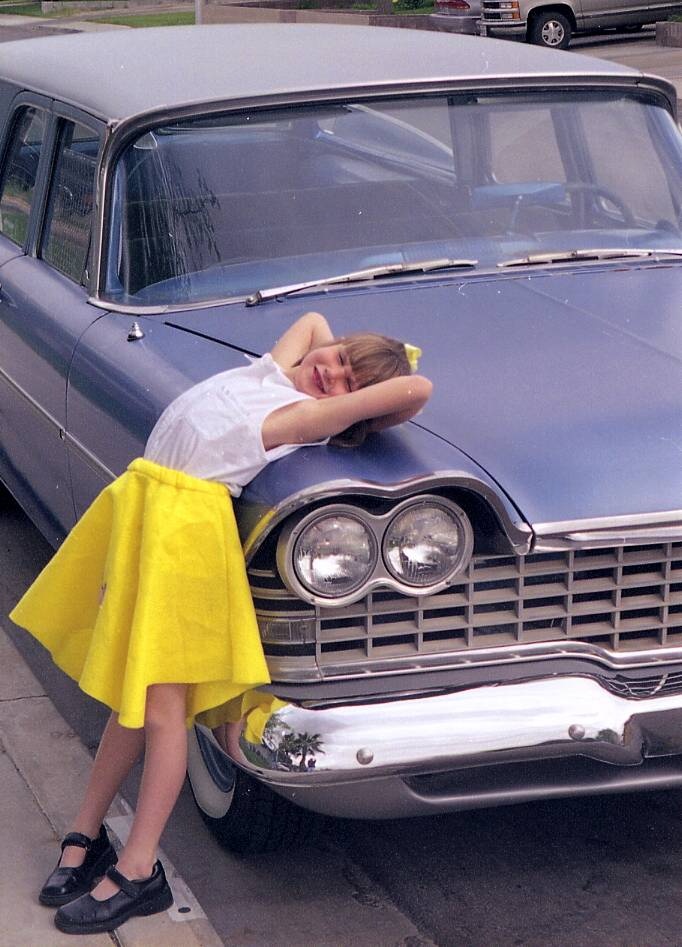
About four years ago, our daughter’s Brownie troop did a '50s theme "sock hop." Tracie wanted to pose Karla with the wagon. I initially protested, explaining that the "poodle skirt" era was pretty much over by the time the '59s hit the street. I have to admit, however, Karla does look rather cute posing with the blue beast. Too bad we didn’t have a '57 or '58 Plymouth handy for this shot…(there I go again…)


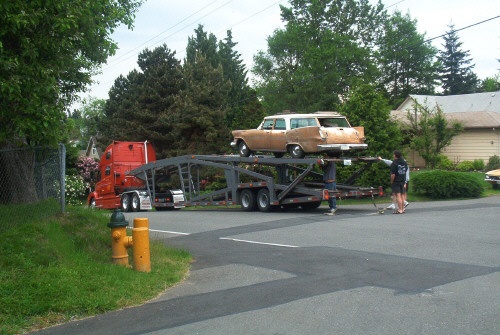
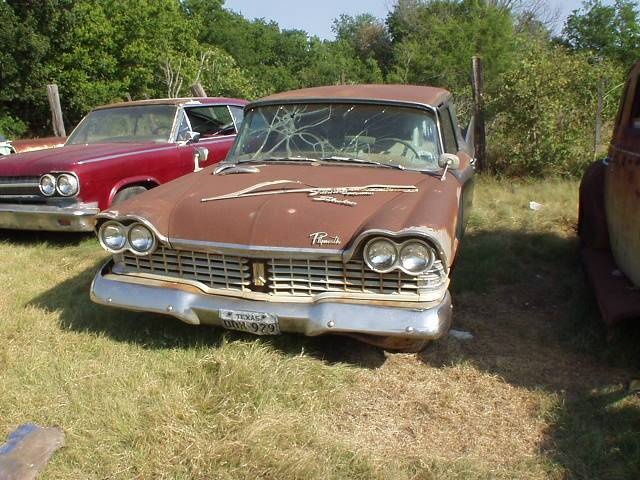
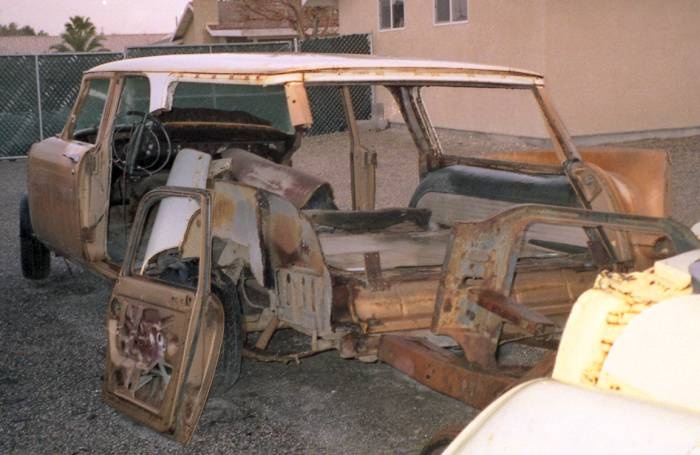
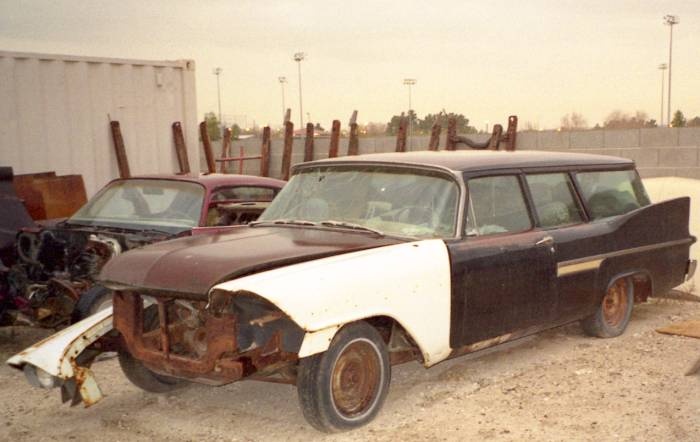
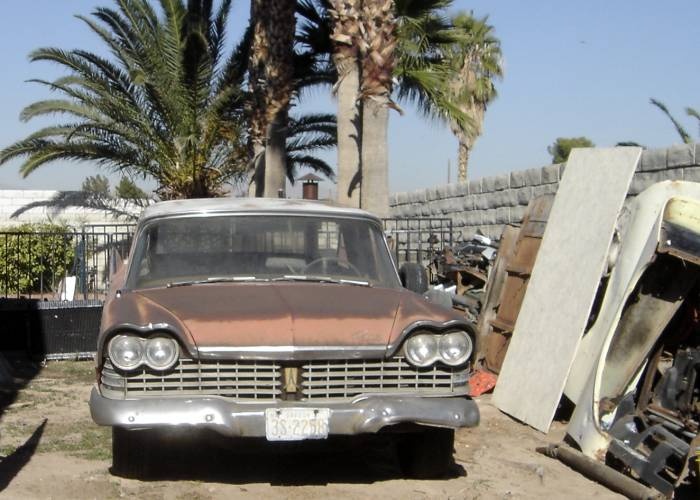
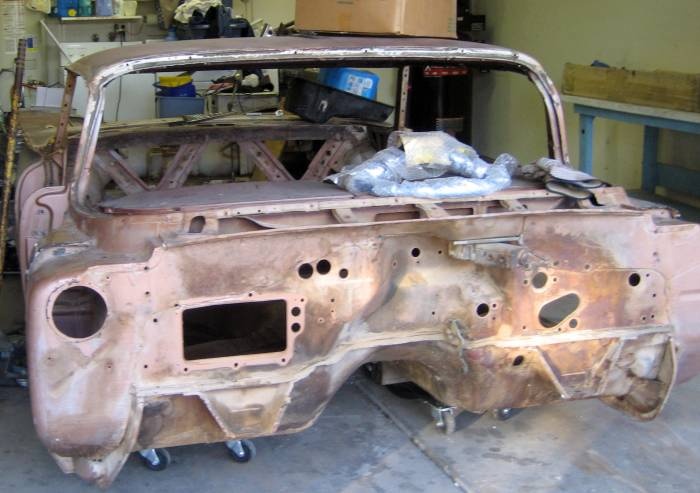
This is how the two door wagon appeared before leaving Texas for Nevada. Needless to say, it wasn’t driven here under its own power.


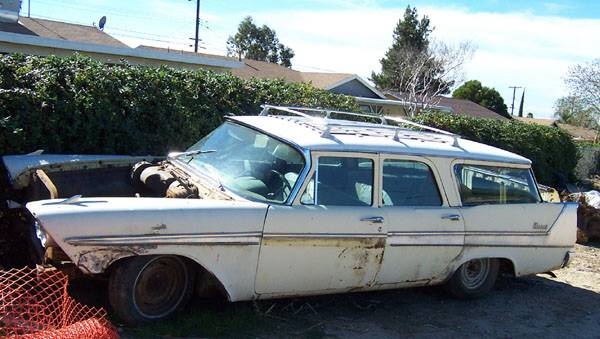
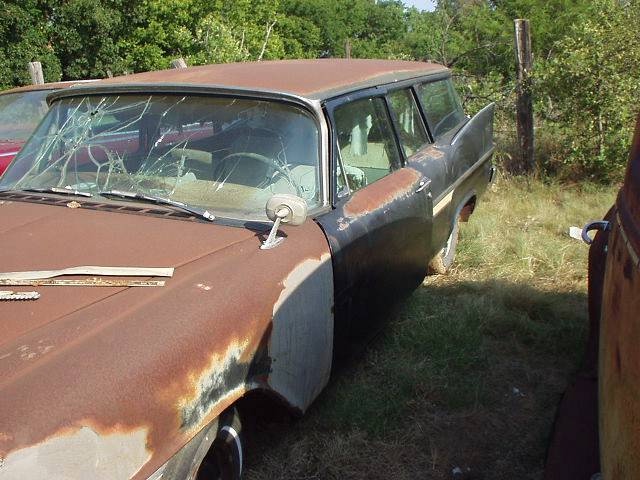
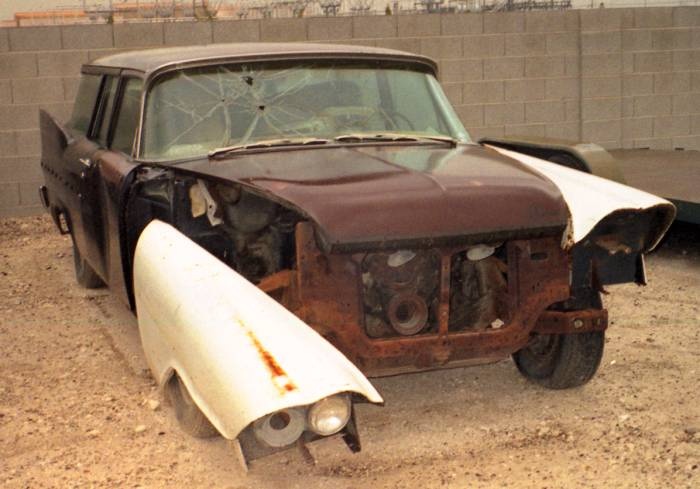
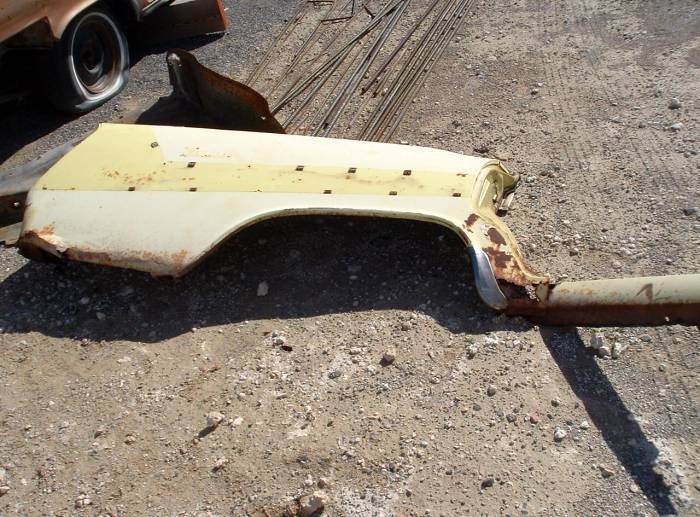
A previous owner apparently started body work by sanding off the paint, exposing the bare metal and then abandoning the project. The front fenders were rusted far worse than the rest of the vehicle. As it turned out, this wagon may have been in a collision. The front fenders were originally green and the rust around the headlights was poorly patched. When you take into consideration that this wagon was last registered in 1974, it seems surprising that a more solid set of used fenders couldn’t have been located.


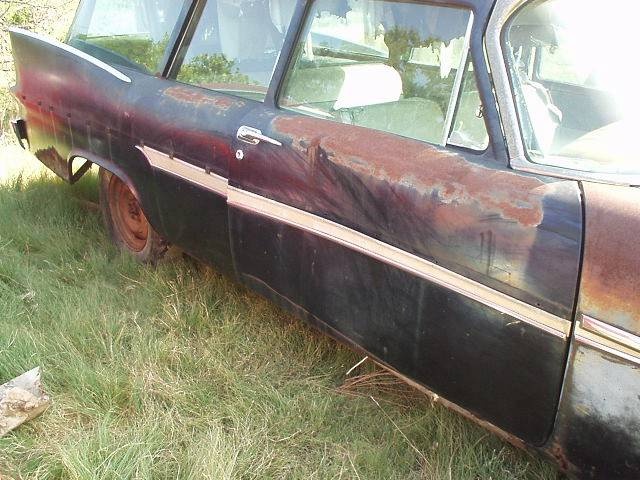
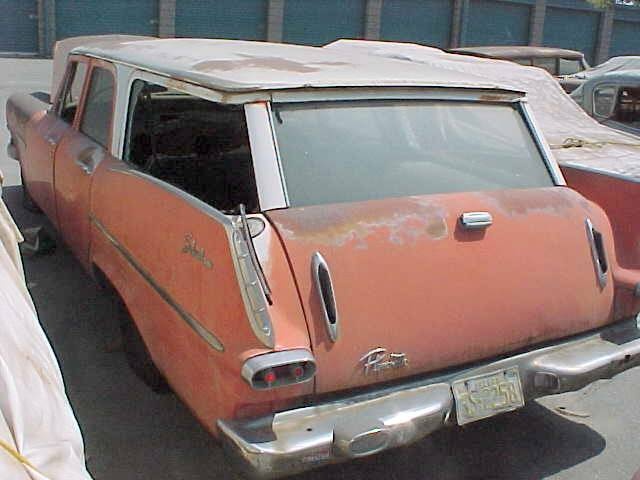
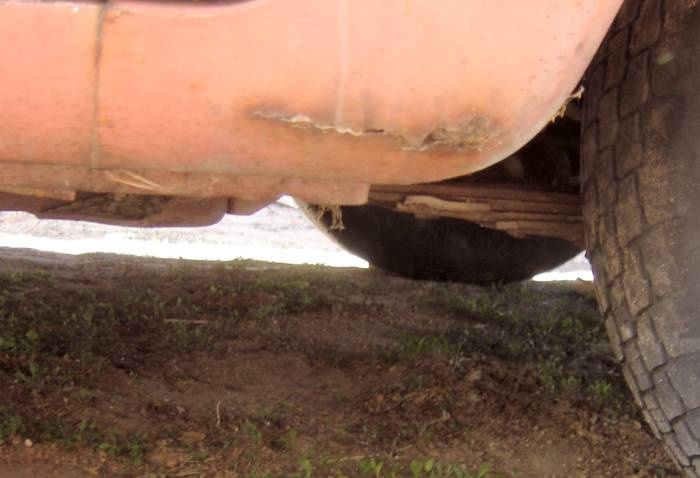
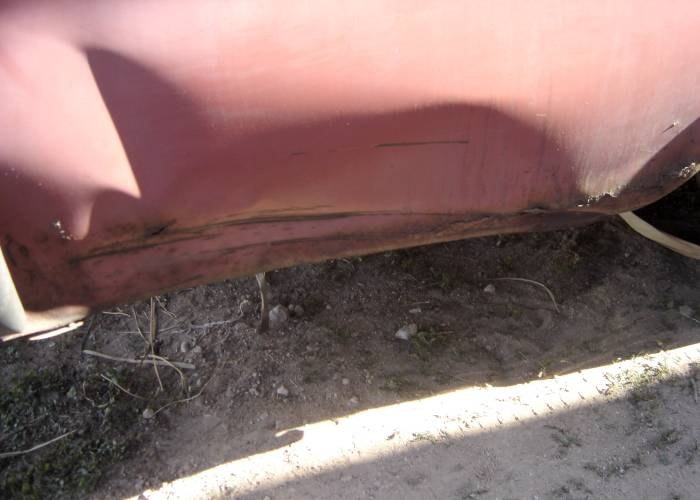
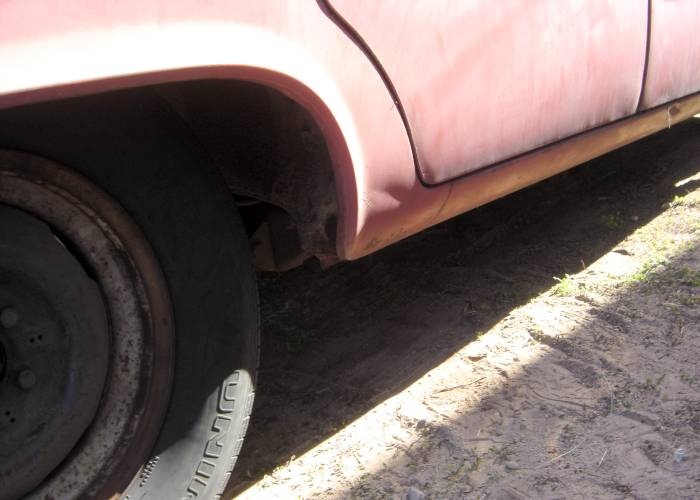
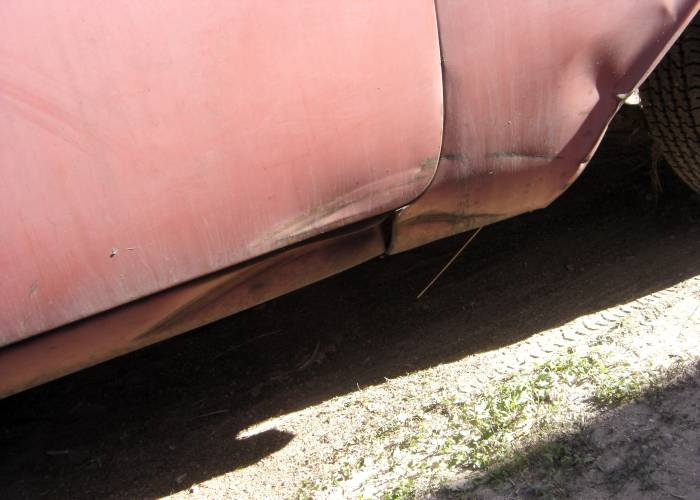
This view shows the rust in the lower rear quarter panel and the rocker panel. A dent in the upper section of the door skin is also evident. Note the Sportone trim.


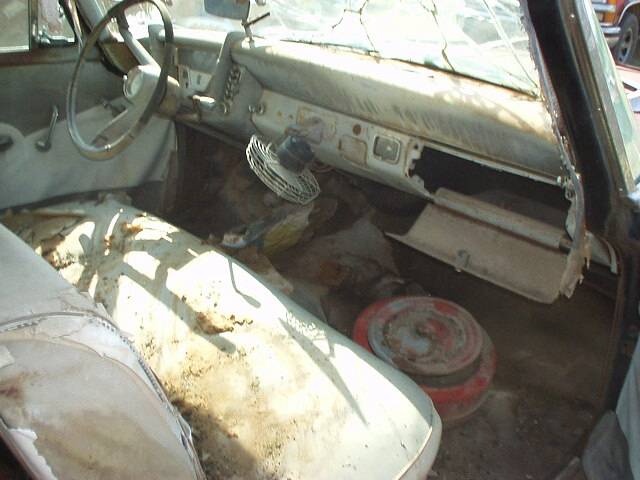
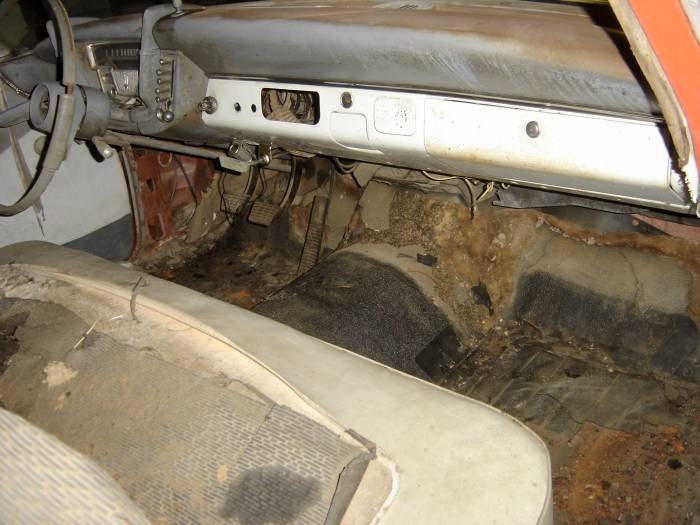
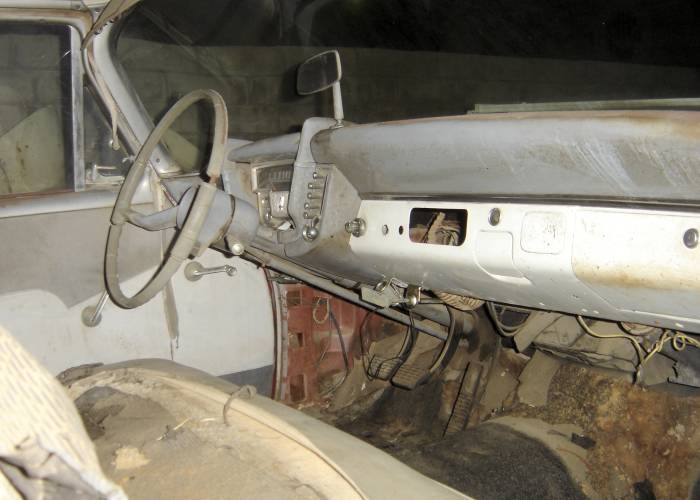
It’s interesting to see a vehicle with no radio and no lighter, sporting a clock. Then again, it’s interesting to find a base line Suburban with Sportone trim and a 318. Note the dash-mounted "add-on ventilation system." The floor initially appeared to be solid, but sections of it lifted out with the floor mat when I started removing the interior. I also found a November 22, 1973 Dallas newspaper under the front seat. It featured an article commemorating the tenth anniversary of President Kennedy’s assassination.


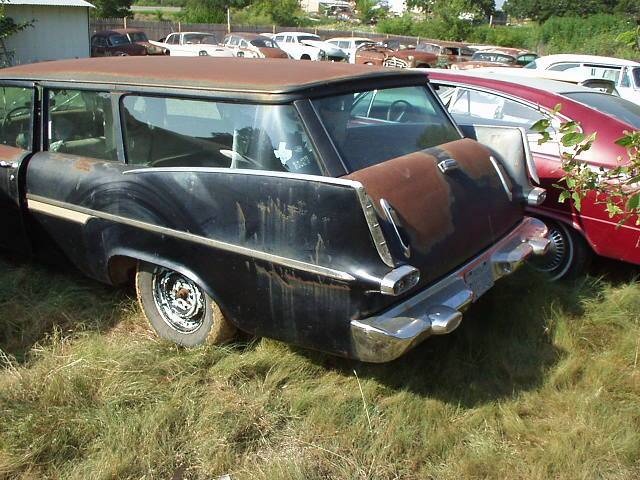
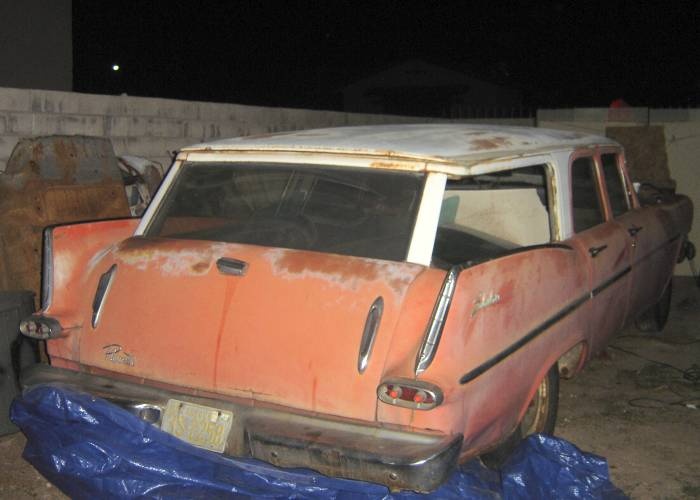
The driver’s side rear quarter panel is solid, as is the tailgate. Also note that somebody installed the tailgate bumpers upside down.


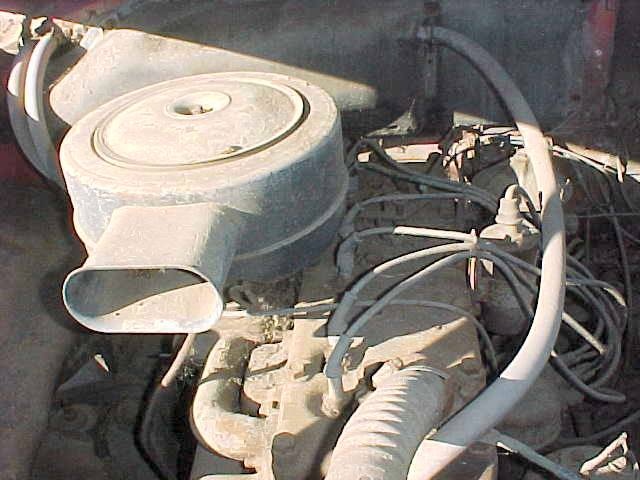
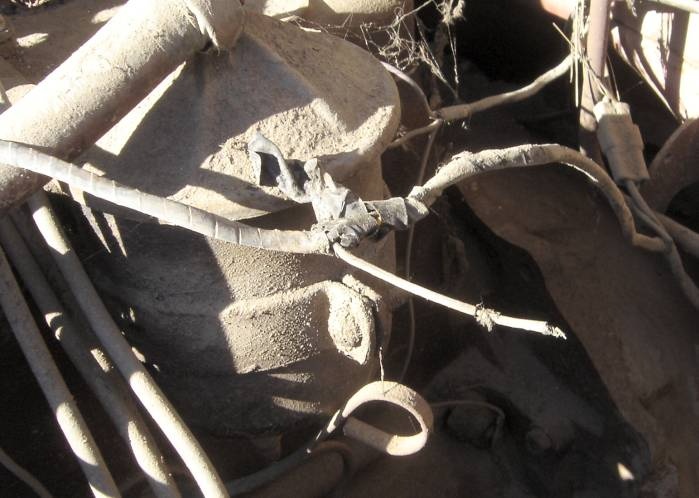
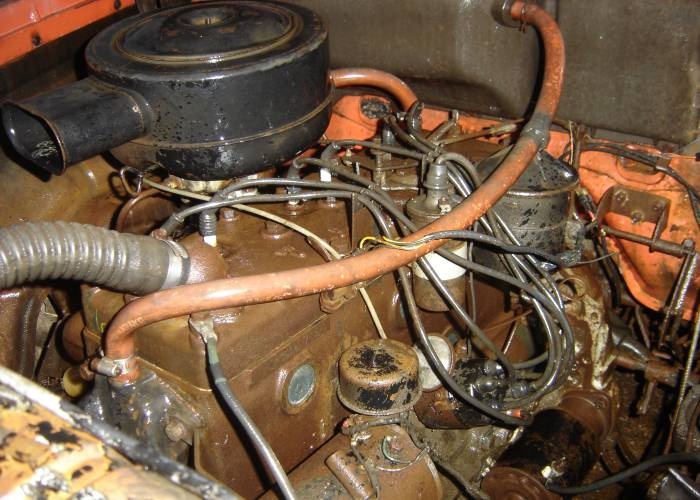
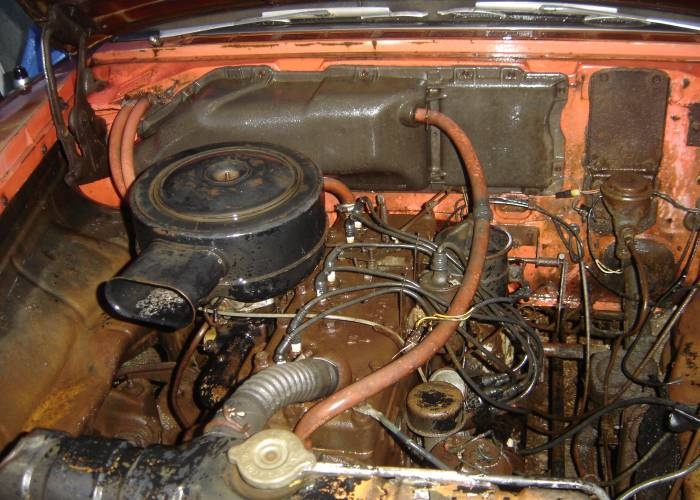
The engine compartment was intact. Note the disconnected heater core. There was a mouse nest between the distributor and the carburetor. The thoughtful critters built their home around the wiring harness and then used the harness as dental floss. There is also a wasp nest in the center of the generator pulley. At least all the hose clamps were the original style.


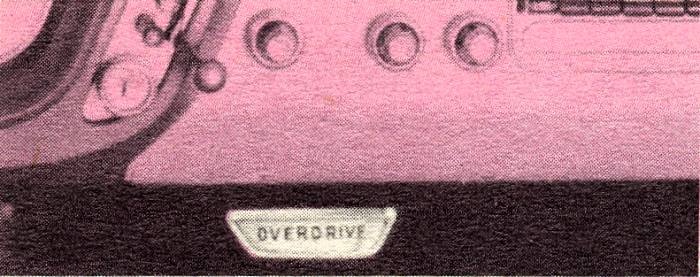
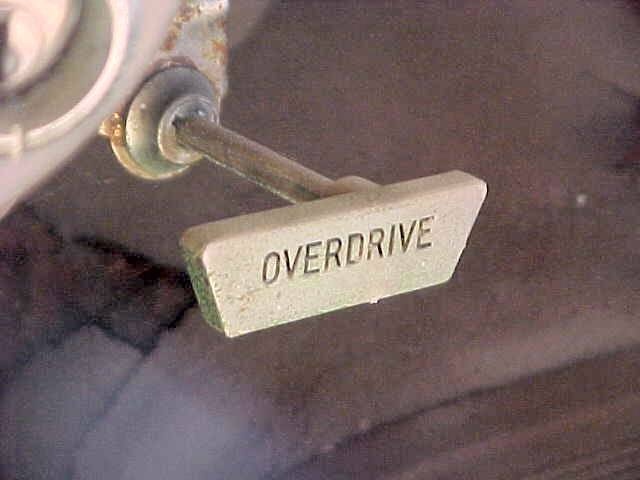
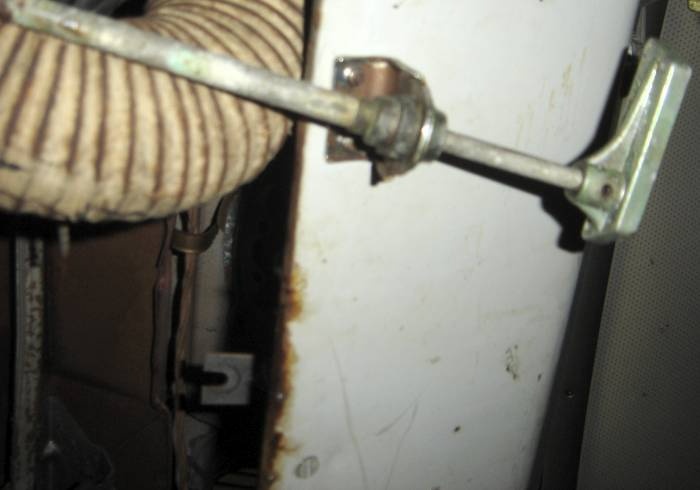
I have just about all I need to add overdrive to the blue wagon. But I need one of these cables and handles. If you have one you don’t need or see one in a salvage yard, please let me know…


Since some people have asked, I decided to post a photo showing my other driver. Yes, it’s a "Brand C", but it has both V-8 power and A/C, two items that are almost a necessity, given the aggressive Las Vegas traffic and our intense, brutal summer heat. Tinted glass is certainly in the future for the wagon, but there isn’t enough power in that flat head six to drive uphill, against the wind with A/C on full blast. I have lost fifty six pounds over the last year (by order of my physician), but even that reduction off my fat bod still hasn’t lightened the load enough to keep up with the maniacs in this town. And if you can’t accelerate fast enough to suit them, they will pass you and cut right in front of you, even if you are slowing for a red light with just a couple car lengths of space in front of you. They apparently don’t know nor care that they have just invaded your stopping distance and that they just might find your front bumper in their back seat! The AAJ brakes have helped immensely, but attaining the flow speed of traffic in short order usually keeps the impatient from trying the risky moves to get around this beast. I need to see how long it actually takes to get up to 45 mph, but even Neons and Tercels blow me into the weeds without trying very hard.

.


Stuff happens. I took the wagon to my favorite driveline shop for a pinion seal. One of the employees struck the wagon and a Jeep with a forklift. The wagon rolled into another Jeep parked in front of it.


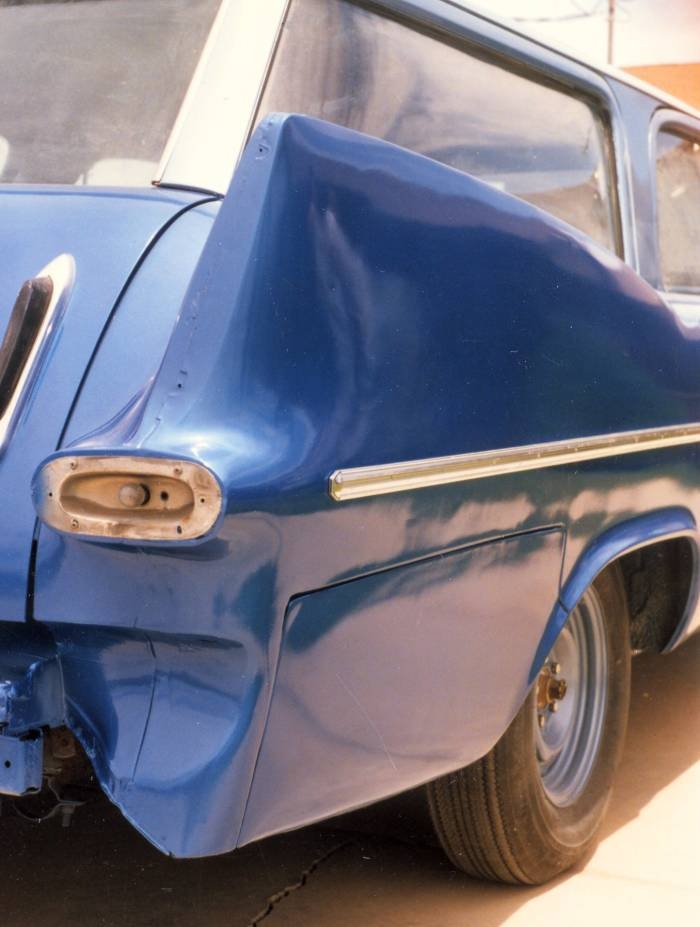
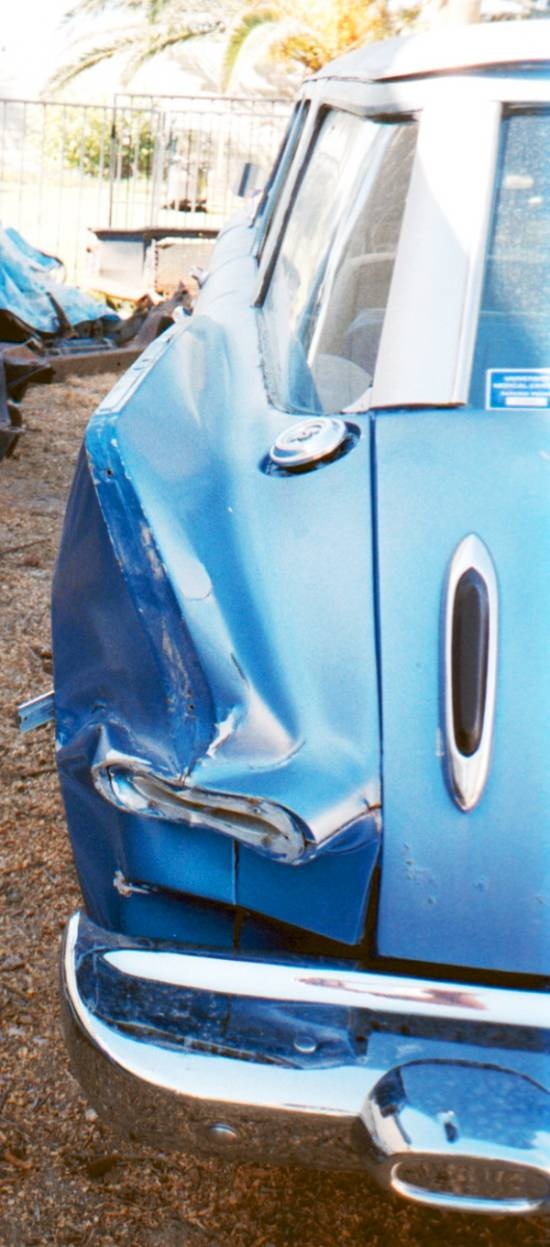
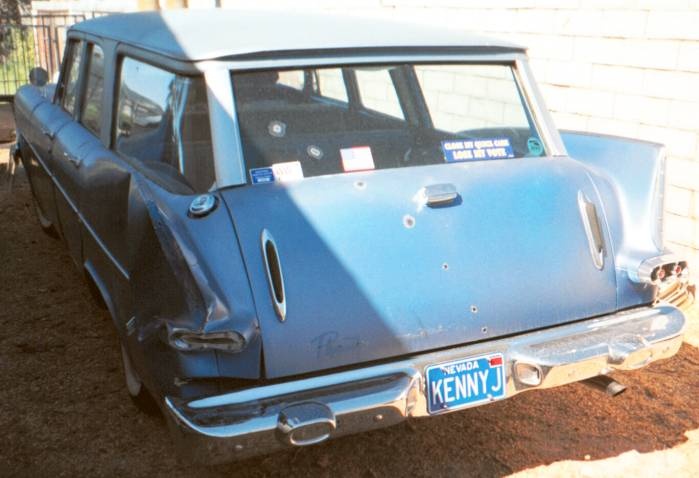
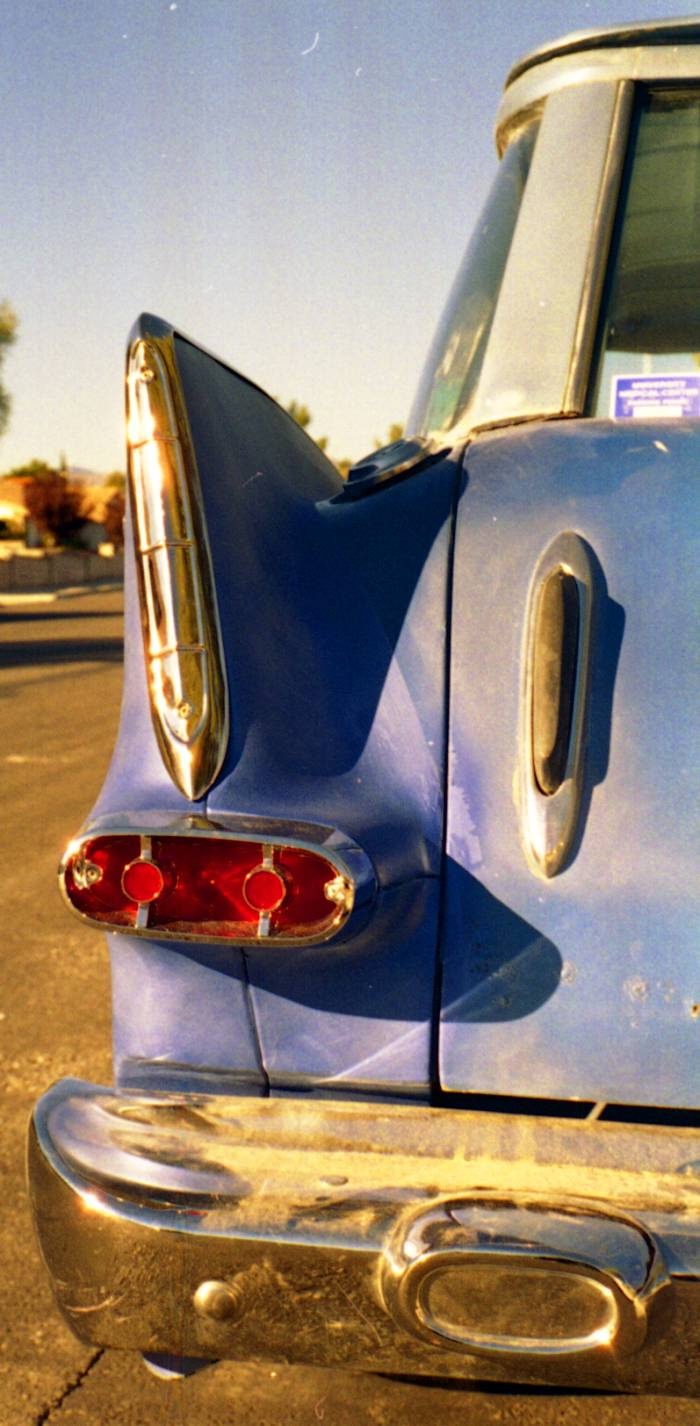
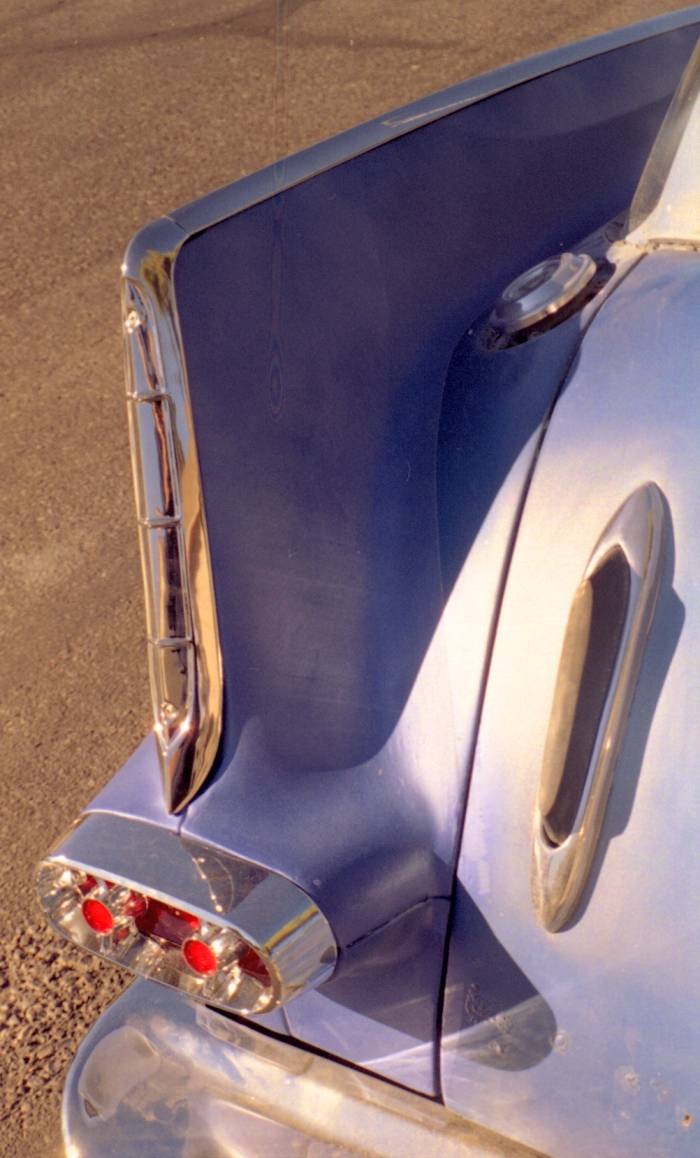
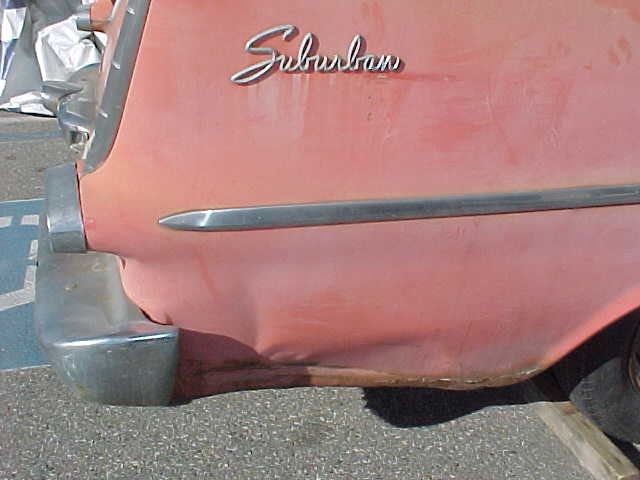
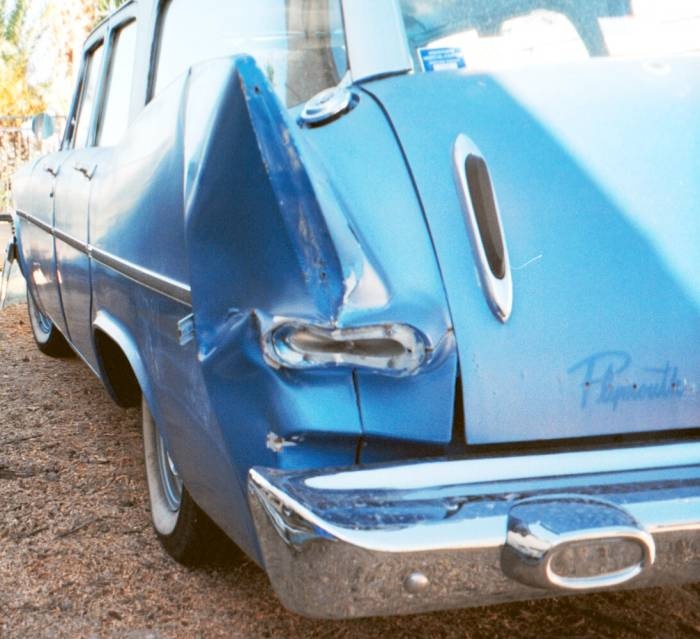
The tail light was destroyed, the tail fin cap crushed and the fin trim bent. Fortunately, I was able to locate a new old stock tail light. I could find only one. A pair would have been nice, but since the passenger side tail light bezel is virtually pit-free, I could get it replated so it matches the N.O.S. bezel.


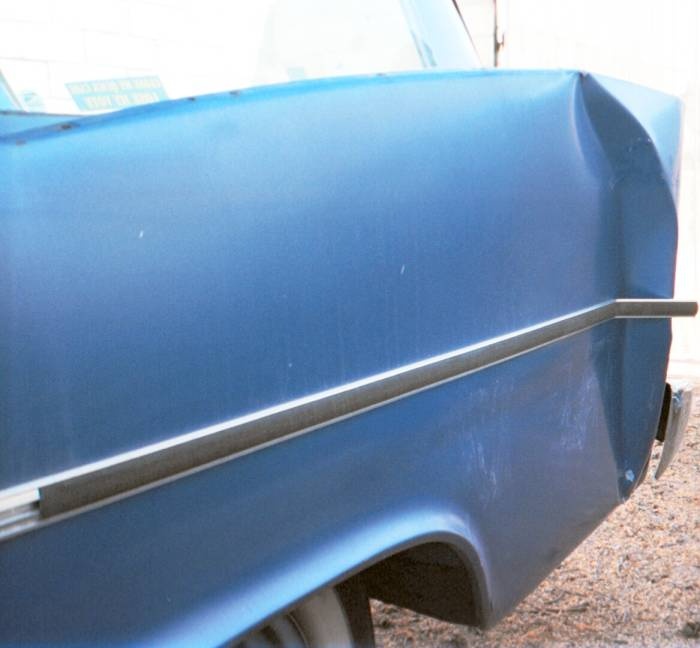
The aftermarket, mid 1980s side trim, with vinyl insert was bent beyond repair. No great loss, as I was planning to have the original trim restored for use after the next painting.


The regular auto body shops did not want to tackle the job. They either no longer employed personnel who were capable of handling this sort of repair, or did not have the time to bother with something this old.


This damage was the result of the wagon rolling into the Jeep.


I had three options here. First was purchasing a new old stock trim piece for around $200.00 Second was trying to locate a good used one. The third, getting this one repaired by a stainless trim expert for $40.00, proved the most practical. He also repaired the fin cap above the tail light opening.


The body shops willing to tackle the job juggled two repair options. Hammer and dolly work would mean not having to remove this solid rear quarter. Replacing the quarter’s outer skin would be less labor intensive, but would require trimming. cleaning, aligning and welding the replacement panel into place.


Since the wagon is overdue for a complete repaint (something I can’t afford at the moment), I decided the have the body shop leave the repair in primer. I’m certainly happy the damage wasn’t any worse.


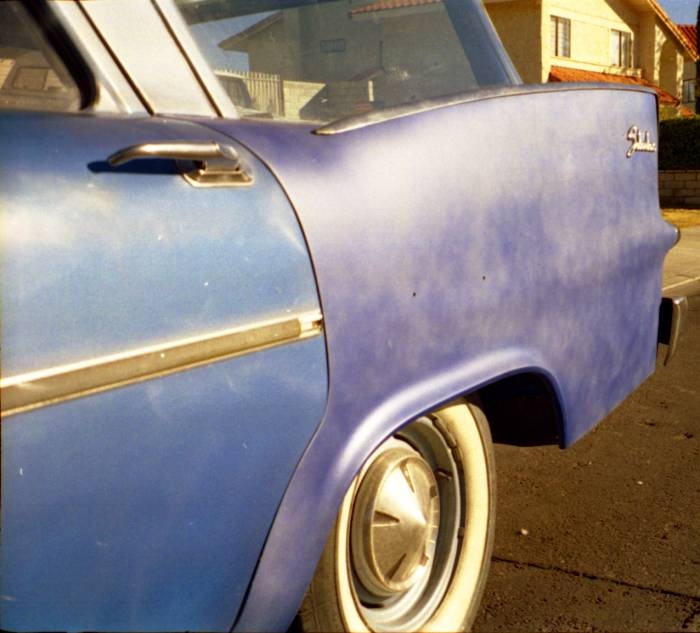
I did not bother to get the fin trim repaired since I had a couple of extras on hand. The "Suburban" script did not break, but simply followed the contour of the dent. The fuel tank stopped the dent from creasing further. I was able to remove the script and flatten it for reuse.


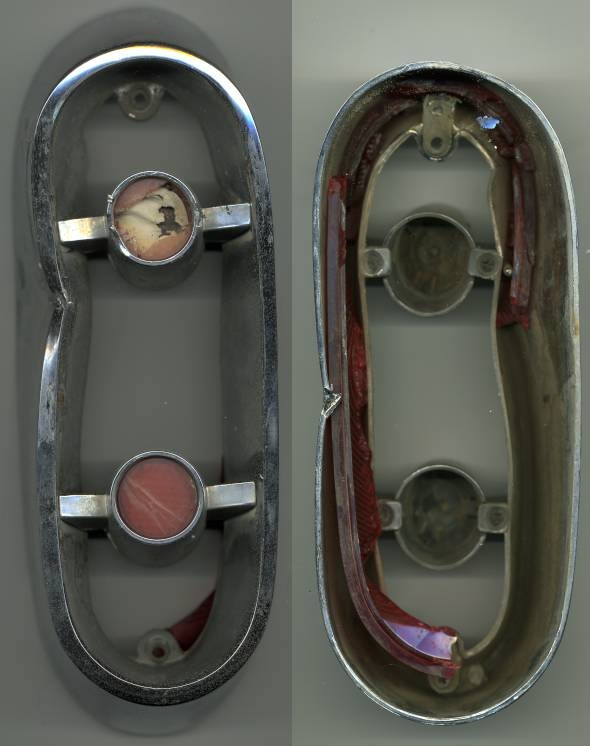
Two direct scans put together to show the remnants of the driver side tail light. Ouch! After getting around a stubborn and uncooperative adjuster, I decided to deal directly with the driveline shop’s insurance company. Once I provided the necessary information directly to their main office, my claim was settled to my satisfaction. The shop people were remorseful for the accident and I will continue to patronize them. They do darn good tranny and drive train work!


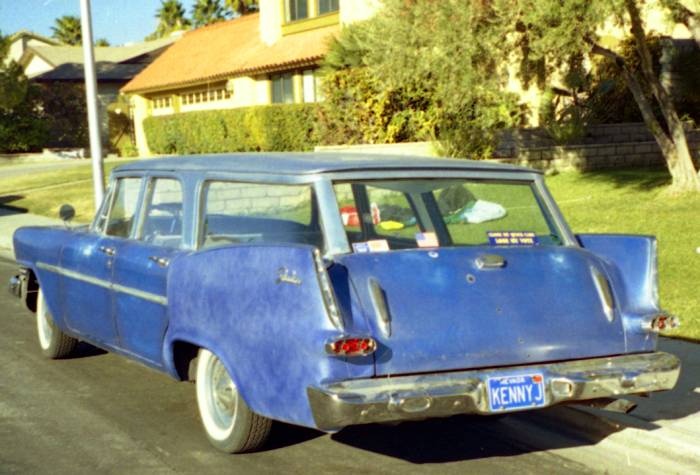
This is the wagon the day I picked it up from the body shop. The repair guy only needed the rear portion of the replacement quarter. The blue primer was a surprise. I instructed them not to paint the area as the car needs a total repaint and additional body work elsewhere. I was expecting a more traditional primer color.


The car was covered in dust and hadn’t been washed since August. We currently have a ban on washing cars at home due to a drought. I wasn’t going to risk taking it through a mechanical car wash with the body damaged.

.


I installed the quarter script and fin trim to make it look a tad bit better for now. The area where the trim holes end is just forward of where the replacement section was welded into place.


You can see the great job the stainless steel trim guy did on the fin cap. The replacement section of quarter panel ended at factory weld line on top of the fin, but the primer was continued over the "crest" of the fin and nearly to the fuel filler opening. The "Inboard" section of the fin was easily worked back into place.


That’s a new old stock tail light. I also got a matching lens for the other side.


Fortunately, neither the bumper nor the fuel tank suffered any damage. The pesky rust along the tailgate seam will be taken care of with a better tailgate skin from one of the parts wagons when the repainting occurs.


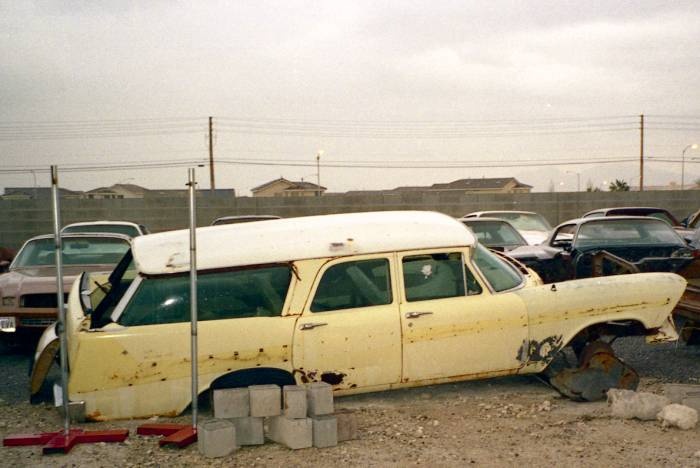
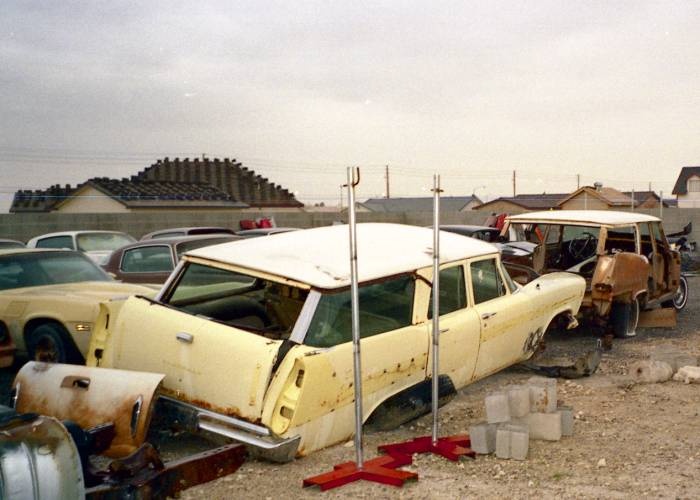
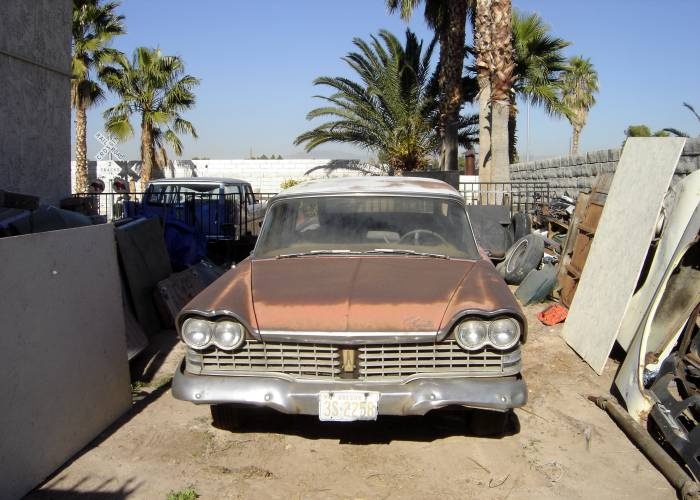
This is the '58 wagon I acquired from Brandon Frame for the glass, core support and some odds and ends. The hood is in very good condition and both front fenders, though dented, are solid. Don’t ask about the front end sheet metal. It is already promised to Roger at AAJ Brakes.


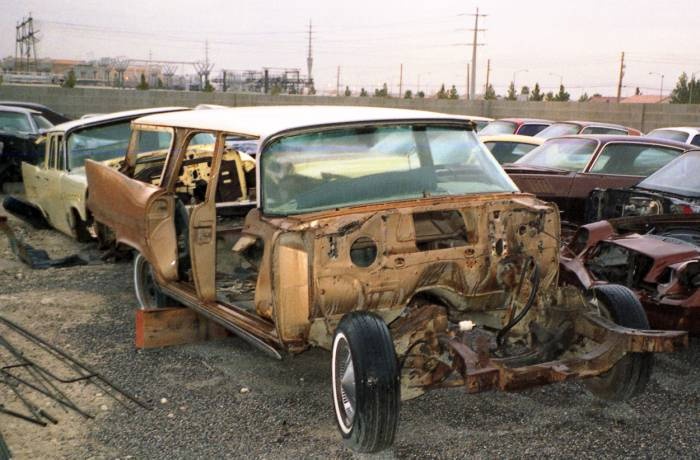
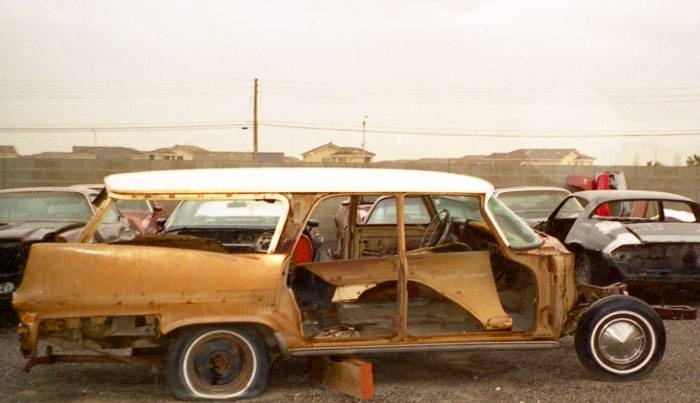
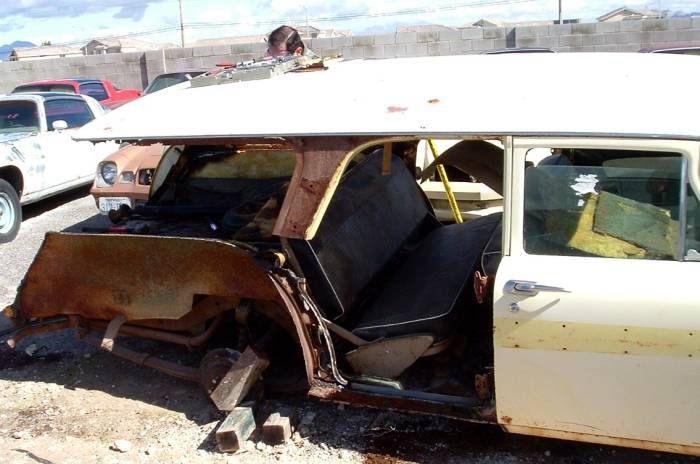
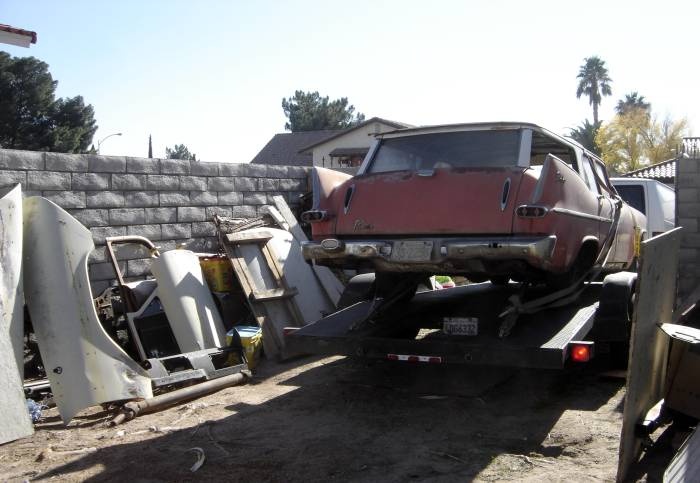
This '59 parts wagon was acquired from Roger Howard. It was dented and large sections of the floor had been replaced with patches. As you can see, it is well on its way to being dismantled.


I already promised the front section of this '58 frame to Forward Look member Thomas Dessart ("Peach Casino.")


This was a power steering, power brakes 318-Torqueflite wagon. It also had a power window in the tailgate.


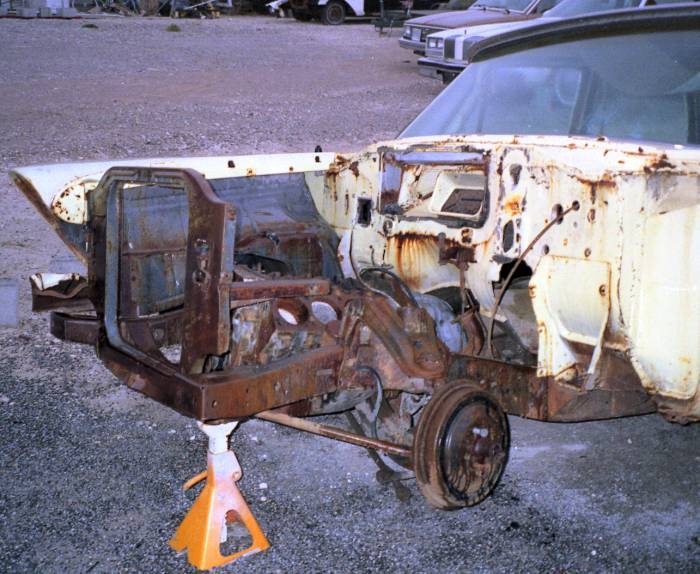
The front fender resting inside this wagon has some serious rust issues around the headlight area. I suppose it could be used for patching another fender. This wagon arrived minus its engine, transmission, power tailgate window assembly, spare tire cover and side trim.


It was a rainy day when I had the chance to take these pictures. The paint on these cars is much more oxidized than it appears to be when the cars are wet.


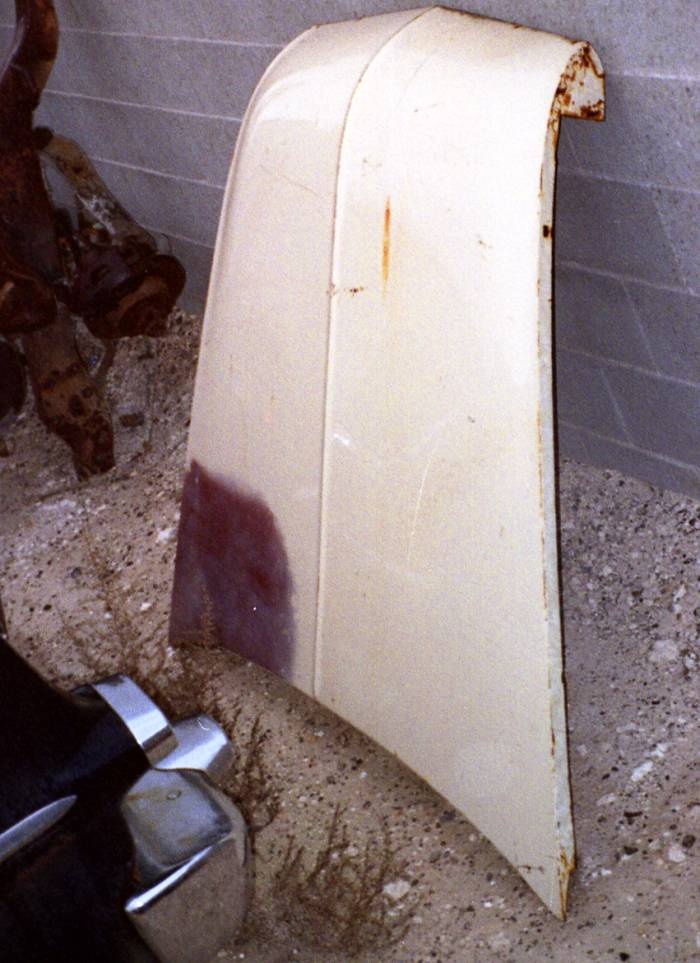
This hood may wind up on my blue wagon when it receives its next painting. The original hood, though solid, has a couple of dents along the center line. We all know how hard it can be to remove dents from hoods. By the way, that is NOT rust on the primered corner. That brown area is actually part of the dead weed next to the hood.


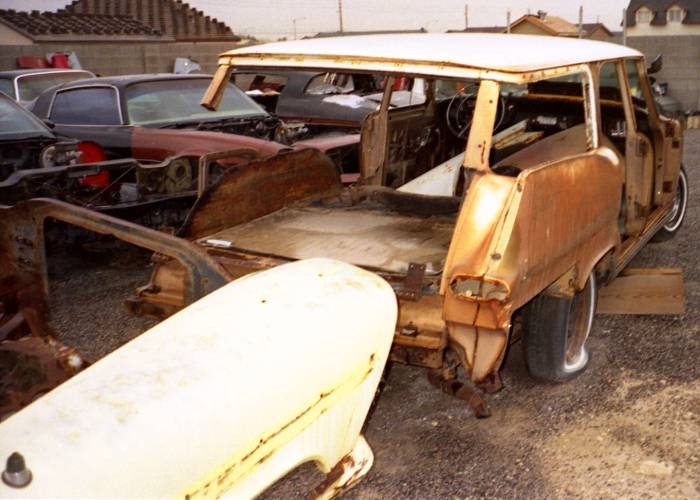
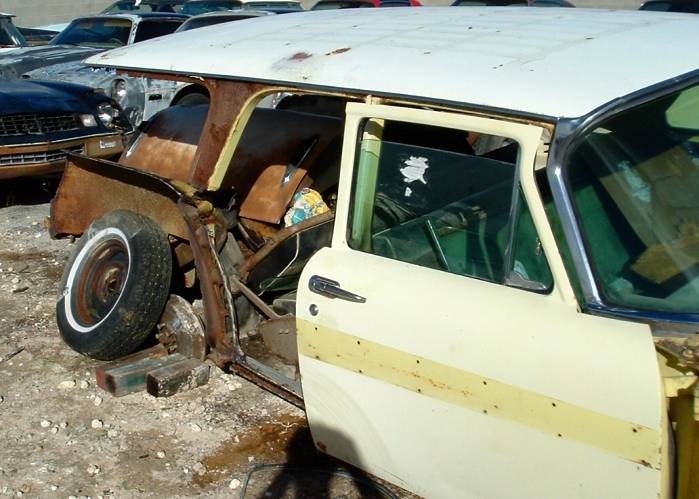
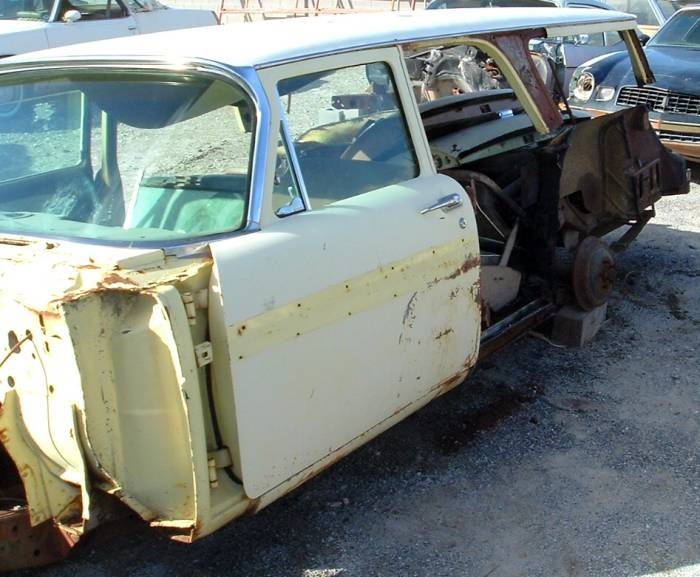
You have to wonder about how some of these cars rusted. The tailgate, rear quarters and floor on this '58 are very rusted in several sections, yet the front clip and frame are solid. The area around the passenger side rear quarter window is also very rusted. The car arrived with the window panel pulled away as pictured. I have no idea what happened to that section of the body or why.

.


Roger included some decent front fenders with the tan parts wagon and they will be going on my black two door wagon when the time comes to work on it. The wagon’s interior is loaded with parts, so I placed these fenders in position (well, sort of) on their new "home."


I had purchased some reproduction outer rocker panels for this wagon before acquiring the parts wagons. There are enough solid sections of original rocker panels between both to patch this one with original sheet metal. These pictures show why I needed the Solex windshield from one of the parts wagons. There is also enough glass between both parts wagons to add Solex to my four door wagon.


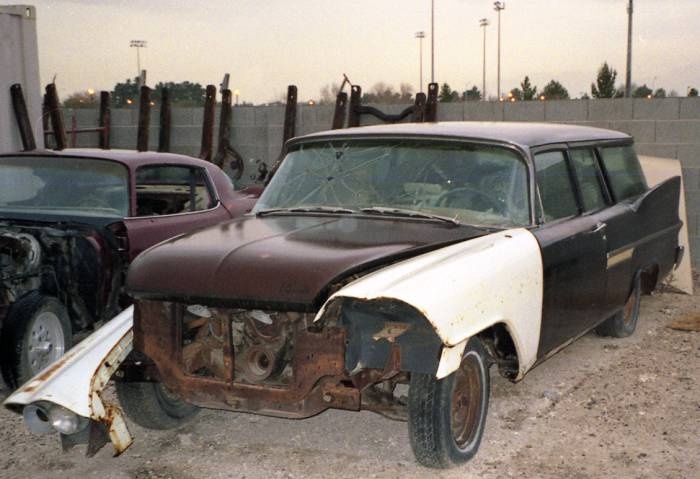
This photo clearly shows the vandalized windshield, as well as the damaged passenger side door. I am looking for another door, though John will fix this one if we have to use it. That is not a dent on the passenger side of the hood. It is a reflection. The guy I got this wagon from told me the guy he got it from had sanded off the paint from the hood, most of the roof and some of the body. Then he let it sit, bare metal exposed. The dry climate where the car has resided since then stopped the rust from going out of control, though we may deal with it soon to prevent further deterioration. I like how the wagon stands on those fifteen inch rims and may use fifteen inchers when I get this wagon back on the road.


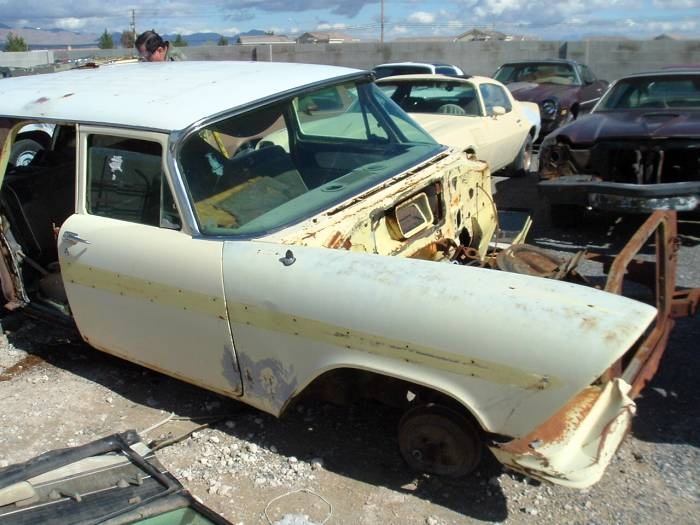
The '58 parts wagon lost some more sheet metal on February 20th.


Since the bottoms of the rear quarters were rusted through, my plan was to simply cut them up for scrap. One of our fellow Forward Lookers, however, needed them for a project.


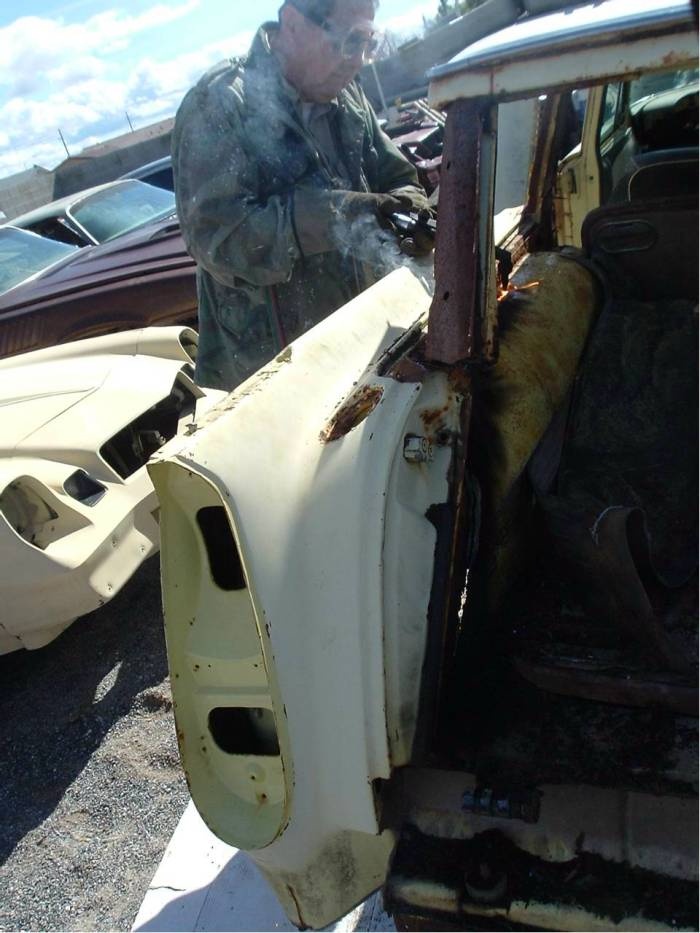
John brought out the torch to remove the quarters. I asked Jimmy (4wardlook) to snap this photo while I went for the water bucket.


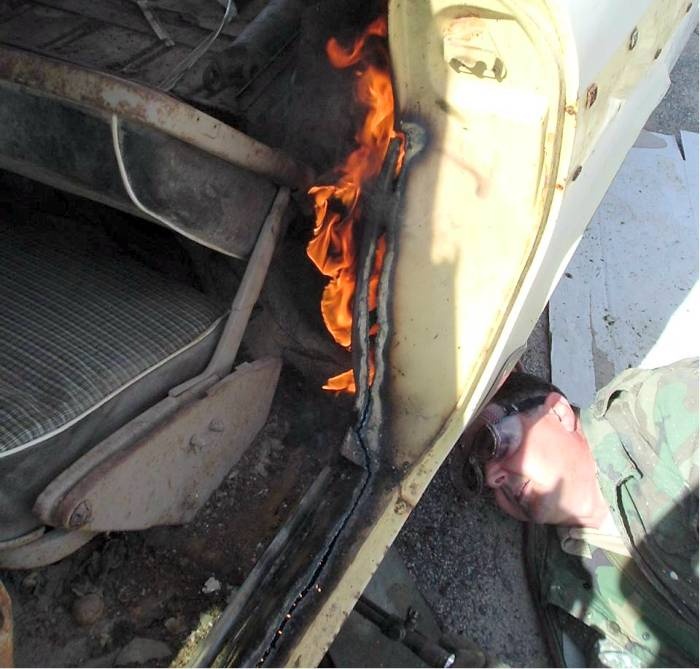
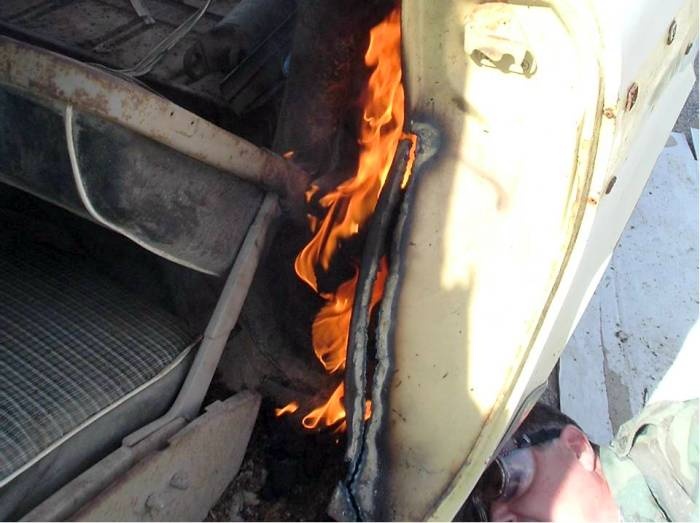
I don’t believe this is what the Pointer Sisters were singing about in their song, "Fire."


Look at all that roof post rust which was hidden under the stainless trim. I may use the trim on my blue '59 after its next repaint…after treating my wagon’s posts with POR-15!


The solid passenger side front fender. The bondo at the bottom was to cover a dent. Hard to believe I couldn’t sell, nor even give away, these fenders last year! They now belong to Roger of AAJ Brakes.


The passenger side quarter. Jimmy also needed the rear doors for his project. He needed only the outer skins, so we gutted them at my place before loading them on top of his wife’s Neon. (Yep, he took two rear quarters, two rear doors and a rear bumper home with a Neon!!!)


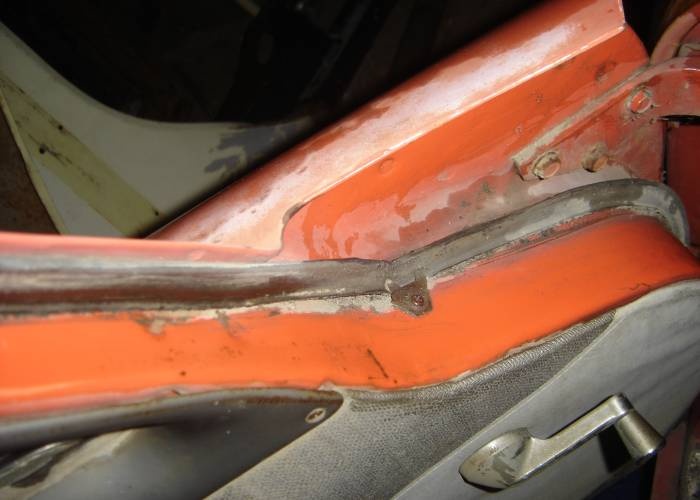
If you ever replace your '57-'59 wagon’s quarter glass or window gaskets, I’d recommend removing the "C" pillar outer panel and checking it for rust damage or trapped dirt which can retain moisture. Sand and dirt can blow into every nook and cranny of these cars. And we have plenty of wind and sand in the Southwestern United States.


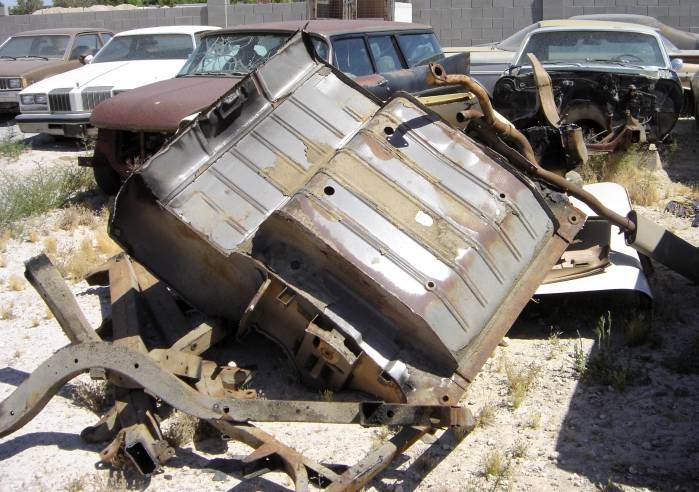
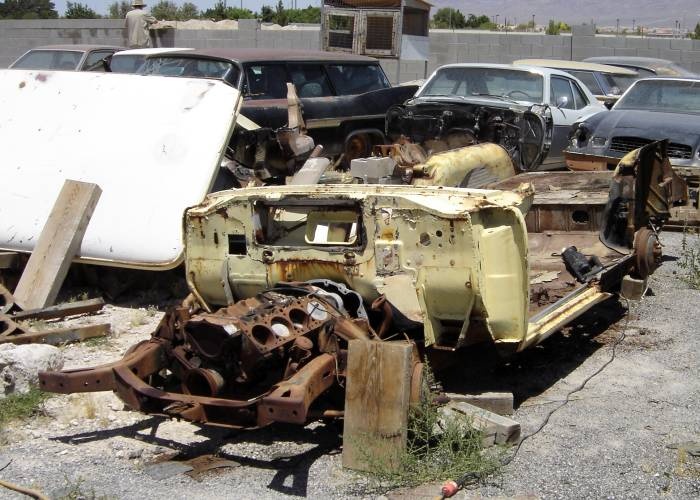
This is what’s left of the '59 parts wagon. That’s a pretty nice trunk floor. I am happy I haven’t scrapped it. I had planned use this to repair Pink’s rusted through trunk floor. Instead, I traded the pink wagon to Big M for a B body Plymouth. I sent this section along with the car. If you want this trunk floor, call him.

.


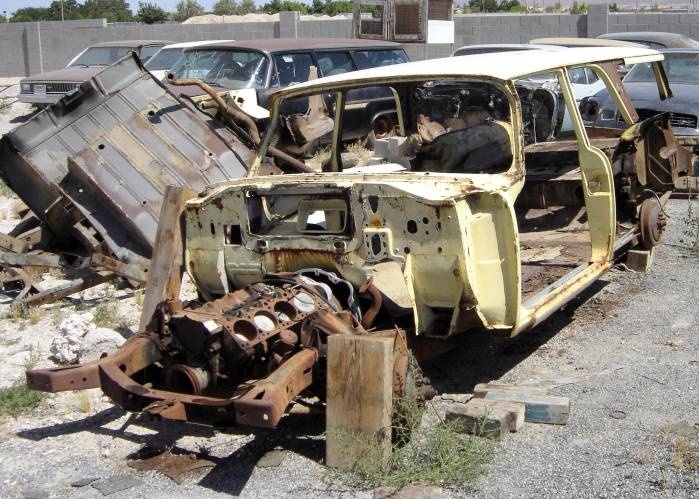
Next to go are the remnants of the '58 parts wagon. This wagon’s floor is rusted through in many places and is "paper thin" in most of the rest. Disassembling these two wagons, especially the '59, has been a good experience for when I get to restoring the black '59.


Getting ready to cut off the roof.That is daylight you can see through the passenger side door jamb. John used the torch to persuade a door that refused to unlock.


A 1958 Plymouth open touring car? Note the saw resting on the floor board in front of the left rear wheel well.


I haven’t seen this puppy in person, but it is a straight, solid overdrive two tone Southern California car.Looks like the front valance is either missing or crushed, a common fate for these vehicles.


Hmmm, I wonder if it had those round bumper pad thingies (steps) instead of the metal plugs? In any event, the holes in the top of the rear bumper are exposed. Notice one of the bumper pods is missing, too. The tailgate seems to be rotting at the bottom (common, even with "dry" examples, due to dust, leaves, pine needles, etc. getting down there and holding moisture.)


Another flat head six! I like these engines for their smooth and reliable operation. But their ability to accelerate a 4,000 pound vehicle in modern urban traffic leaves much to be desired. Being an overdrive car, it should have a 4.10 differential instead of the usual 3.73, which may help.


I have yet to see a stock 1959 Deluxe (Savoy trim level) Suburban that did not have a gray interior, regardless of exterior color(s). The guy I bought it from said the horn button is in the car.


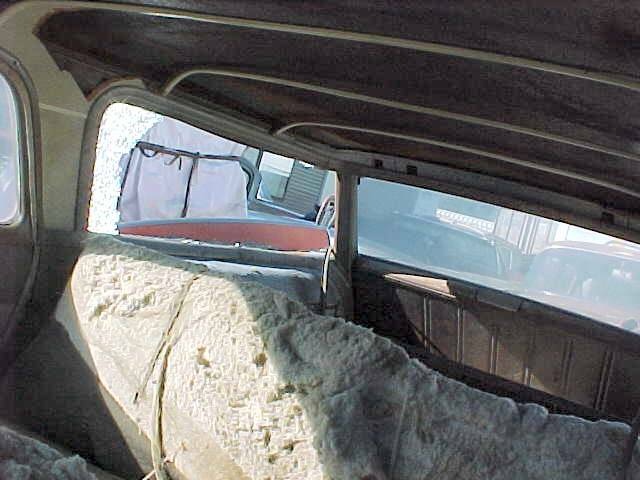
Well, at least I won’t be bumping my head on falling cardboard panels or snagging my clothes on split vinyl and torn cloth. Why must some people smash windows out of old vehicles? C’mon, now…did Beavis and Butthead ever "score with chicks" by wrecking other people’s property?


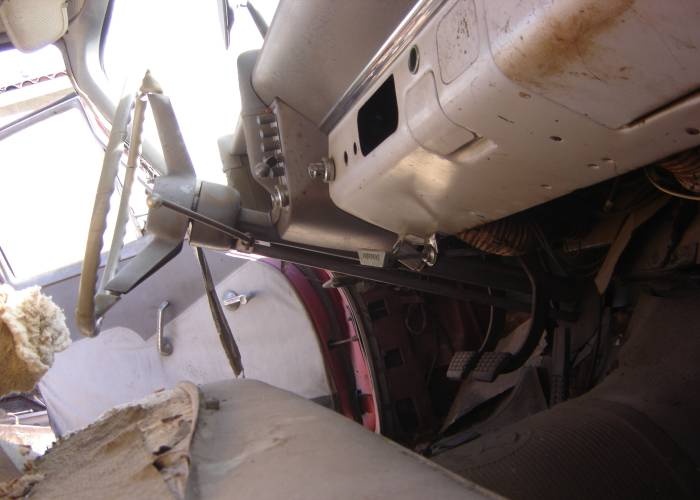
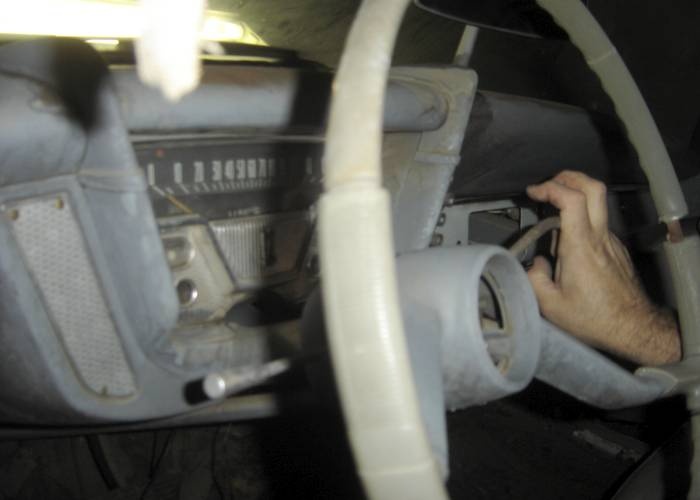
Looks like the overdrive handle is attached to a welded tab just to the right of the ignition switch. It is actually mounted under the dash. This is just an illusion due to the camera’s angle. But there are sometimes subtle differences to be found in these cars. I have noticed minor differences among '59 Plymouth wagons depending upon which plant built them and when during the model year.


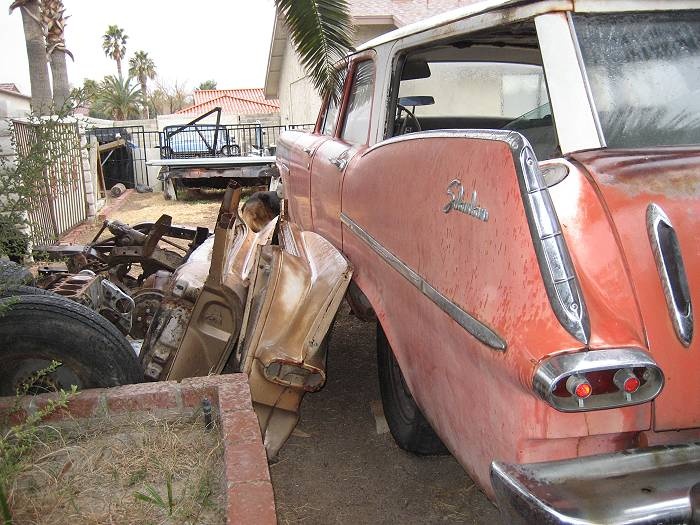
Some obvious rear quarter damage. Also obvious is this wagon doesn’t have an exterior spare tire compartment.


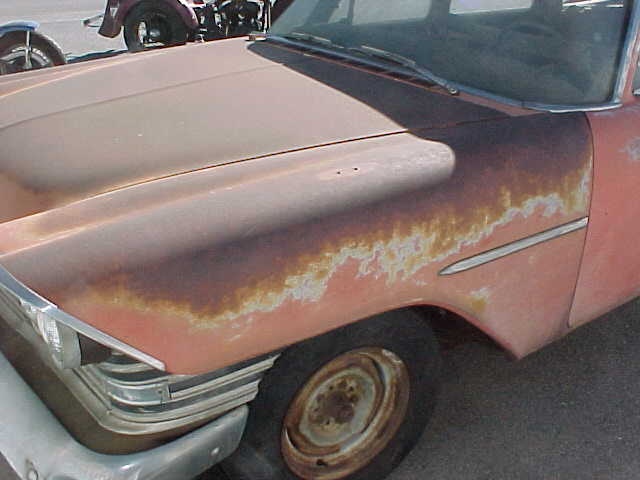
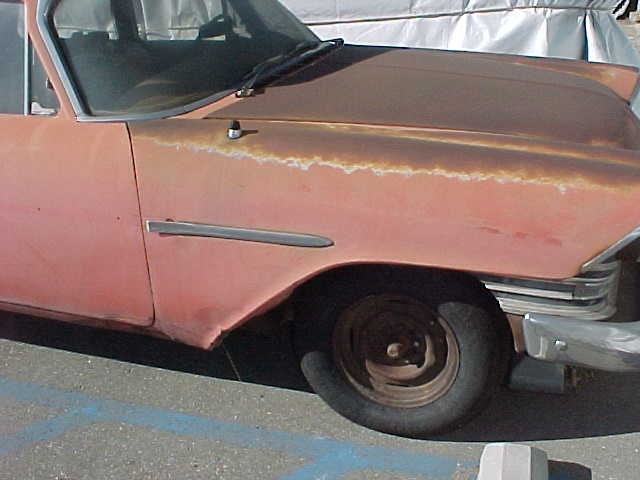
A bad case of sunburn. Common with vehicles left out in the Southwestern sun. Add natural sandblasting by the wind and soil erosion, hence surface rust.


This doesn’t look good…

.


Looks like the trailing edge of this front fender and the leading edge of the rocker panel are damaged. Still better than patching serious rust.


The tailgate looks promising. Ever notice how most surviving Forward Look wagons seem to come from Oregon?


Here it comes…another project car! I told Tracie to think of it as "pre-packaged spare parts."


Please don’t ask about the '58 Plymouth fenders. They are spoken for. I need to find a way to get them up to Oregon.


Yes, the front valance is missing. From the look of things below the bumper (as well as the bottom edge of the bumper itself), the separation may have been violent. No damage to the core support or the frame, thank goodness.


I wish it was paved back here so I could place the wagon on casters and roll it to one side. Concrete is way too expensive these days.


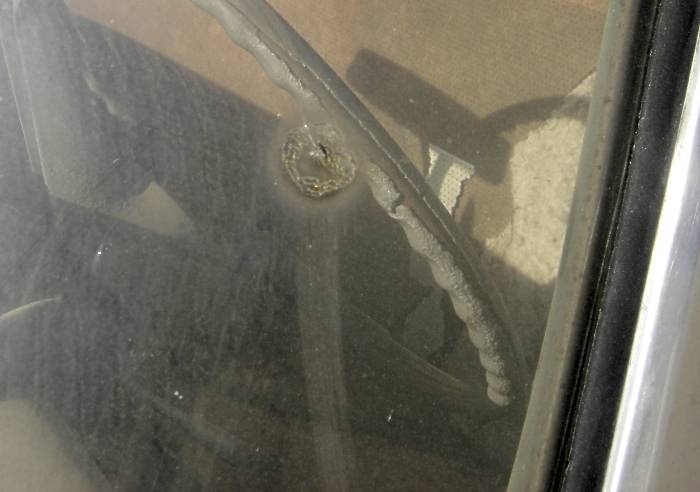
Rats! The windshield is damaged. From the inside. Weird.


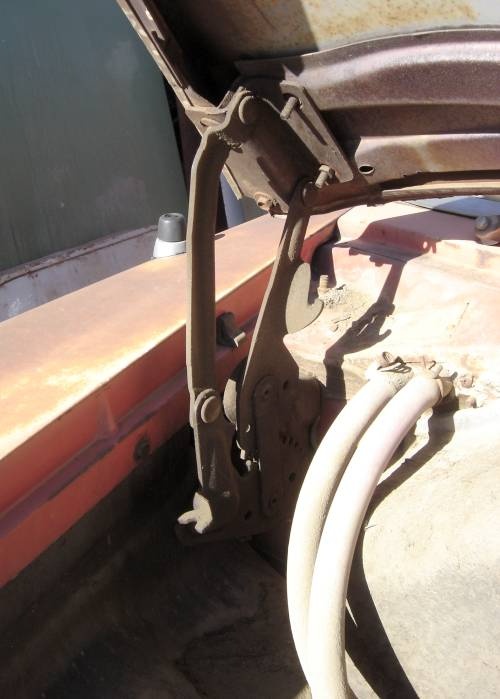
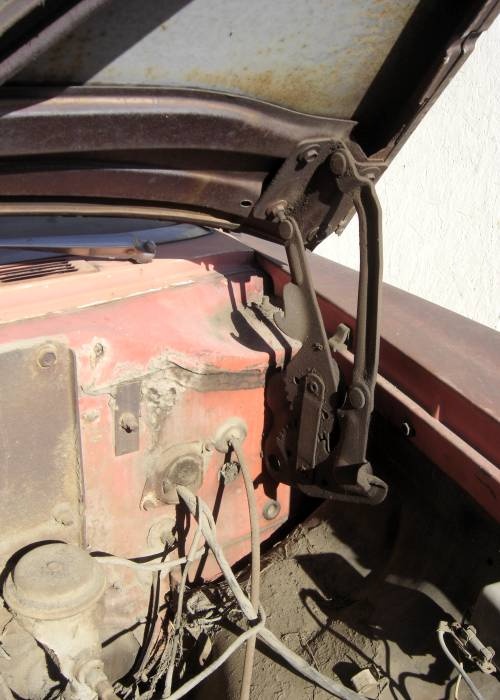
I wonder where the hood spring went?


None on this side, either.


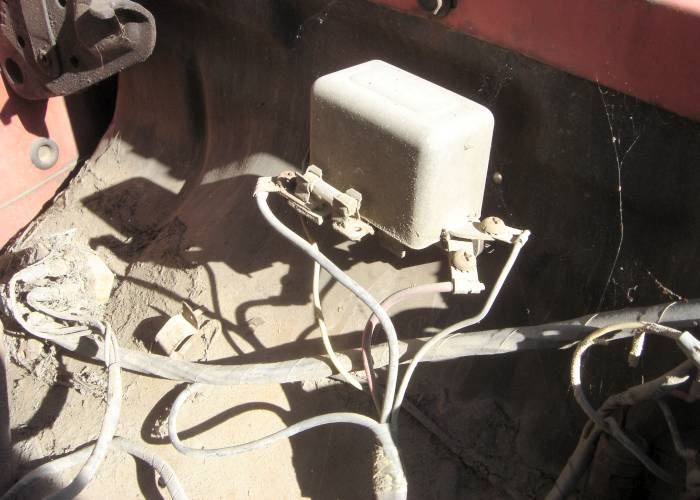
The overdrive relay, along with its external fuse holder.


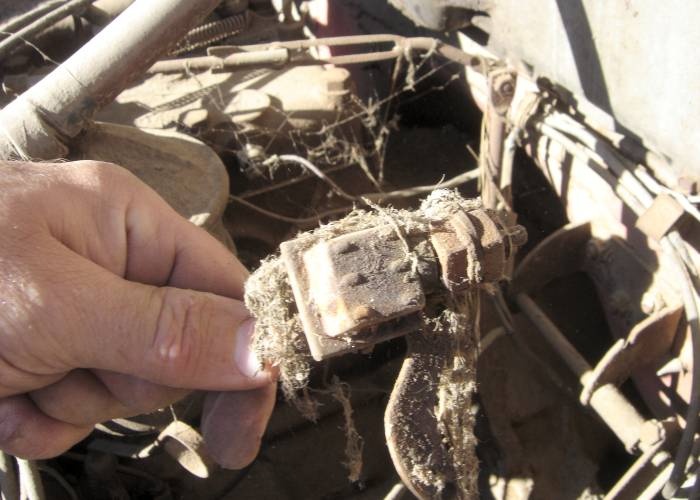
The overdrive switch, still attached to the harness, was tucked into the driver’s side dash corner of the engine compartment.


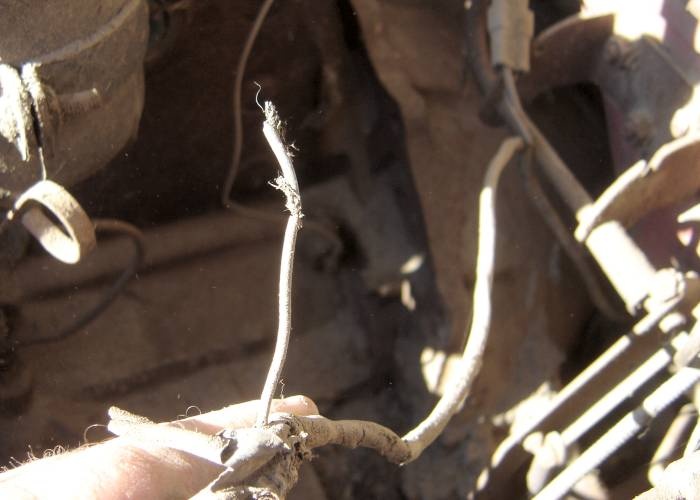
The coil lead from the overdrive harness.

.


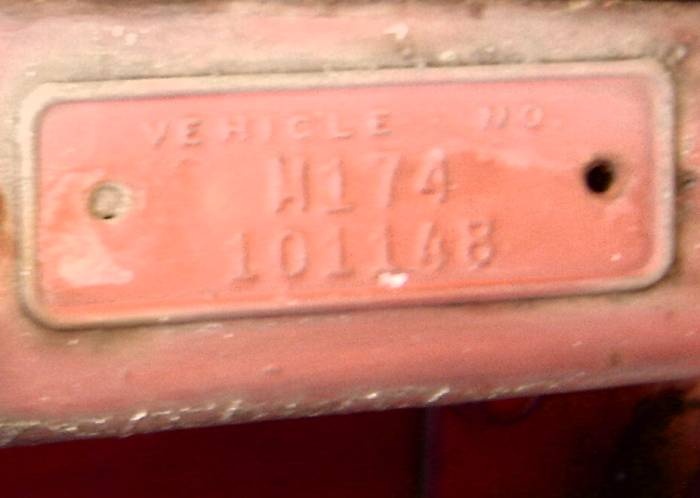
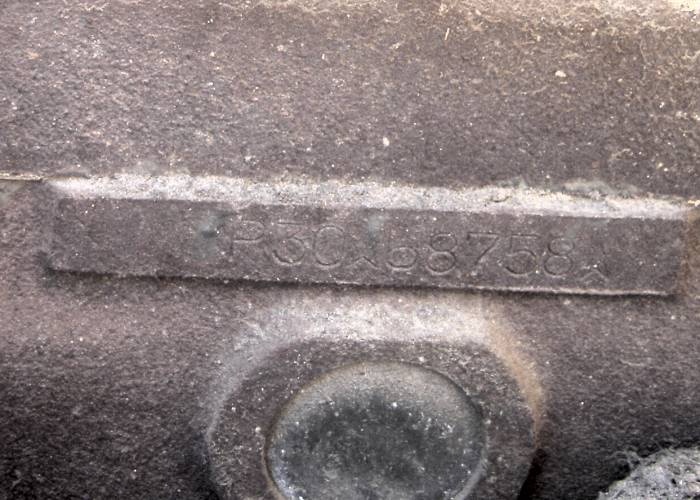
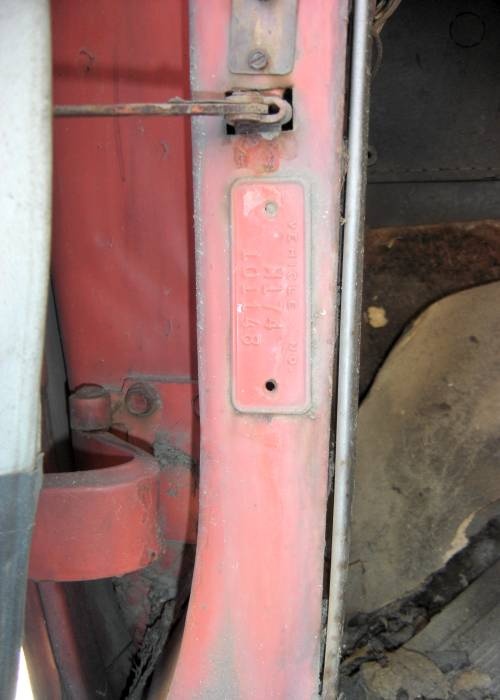
V.I.N.


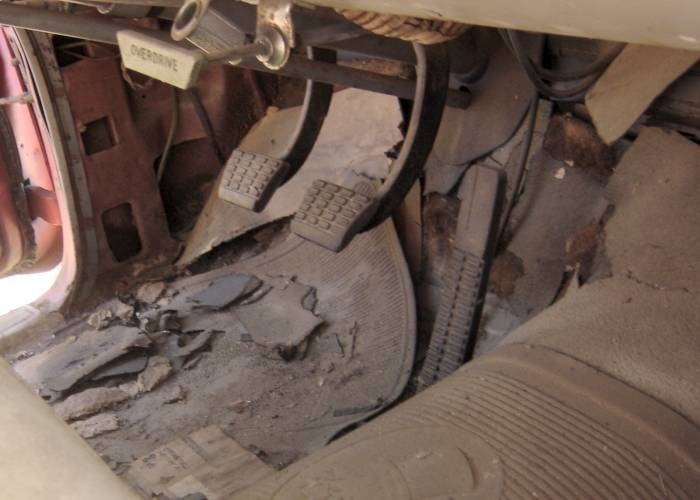
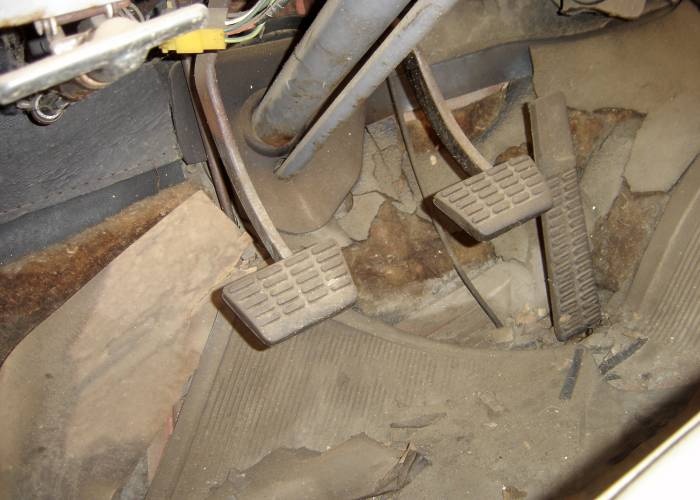
The "nicer" pedals in a basic wagon? They sure are in nice shape. This is the first "Savoy" level wagon I have seen with this style.


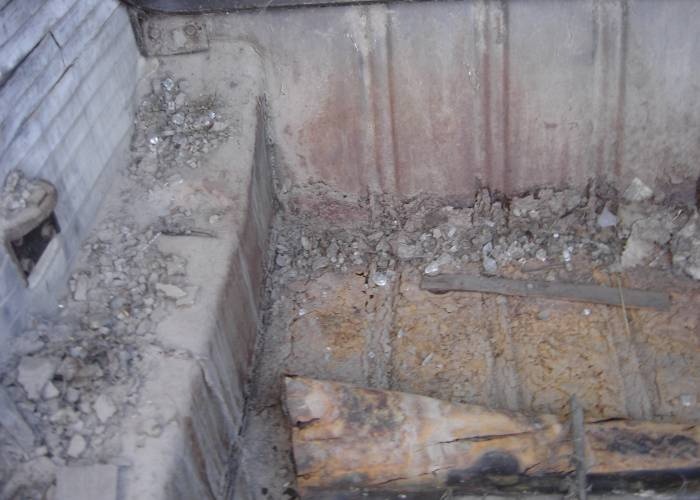
Rats! The cargo hold floor is "daylighted." Fortunately, I still have another floor, left over from the '59 parts wagon we dismantled recently.


Engine number.


At least there is oil in the engine.


The driver’s side of the cargo hold floor.


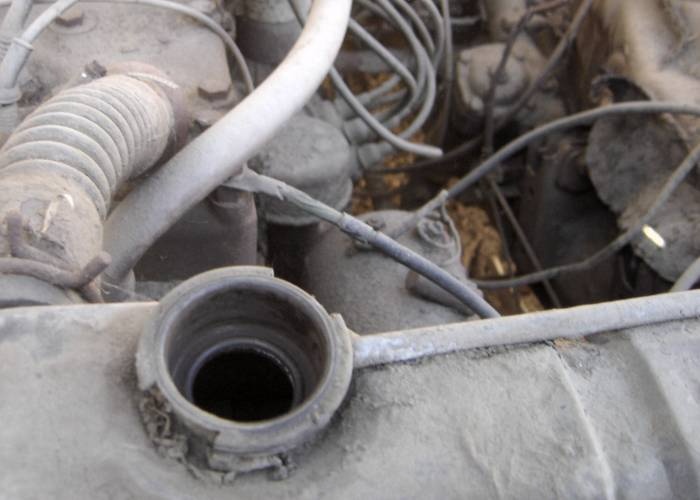
The radiator was bone dry.


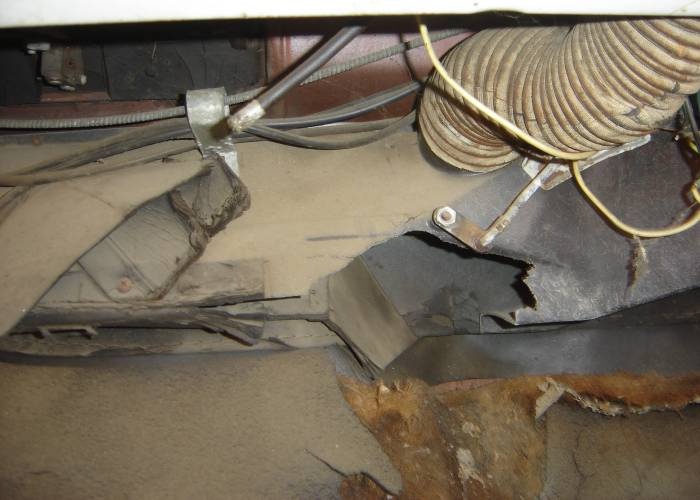
Now what happened here? Did somebody kick a hole in the heater box?


Both the lighter and the radio are missing. So what else is new?


I wonder what that extra lighter socket was used for?


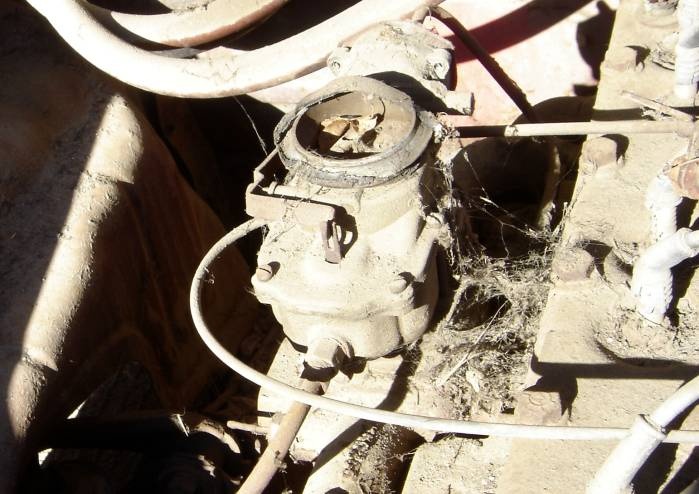
I need to pull this carburetor and see if it’s the original. Probably not. I suspect the orginal was replaced, which would explain why the overdrive kick-down switch, bracket and harness assembly was stuffed into the corner of the engine bay.


Another view of the coil wire coming off the overdrive harness.

.


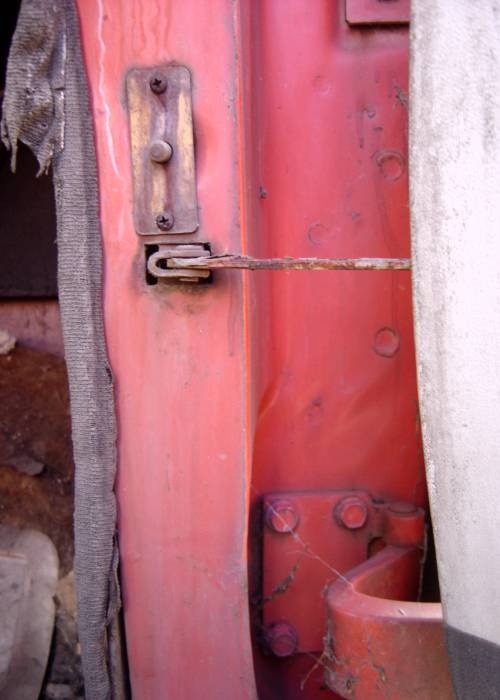
These are not the neat, little door dome light switches I’ve seen on other '57-'59 Plymouths. The wires are the correct yellow. Dealer installed? J.C. Whitney? Anybody know the answer?


Notice the driver’s side dome light switch plate is held in place by a slotted screw rather than the Phillips screws used on the passenger side.


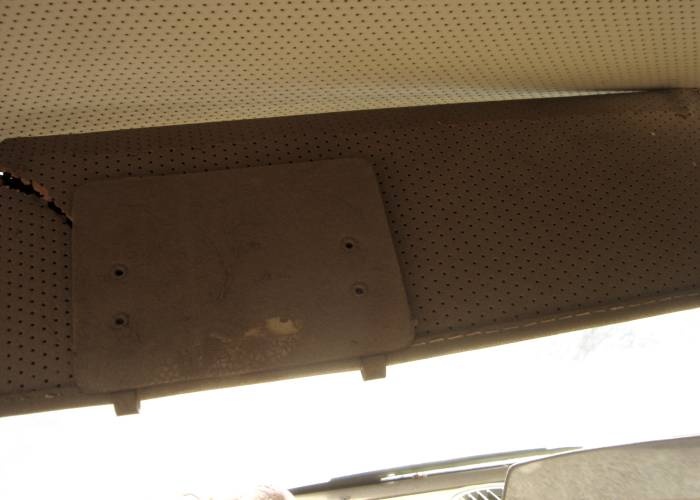
This wagon had a single sunvisor. I wonder if that was a vanity mirror clipped on there?


This does not look promising…


Oh well, most of them have this sort of rust. Note that the tank protection cover is missing.


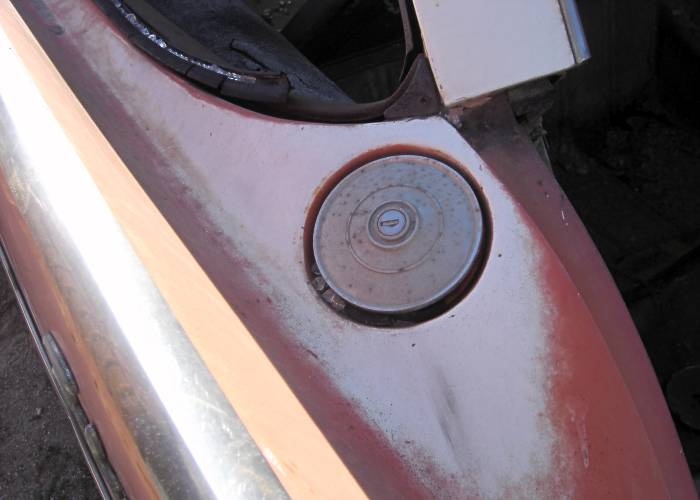
What a cool lookin’ locking gas cap. Too bad there aren’t any keys.I have a locksmith friend who can open this. I hope that pitting isn’t too bad.


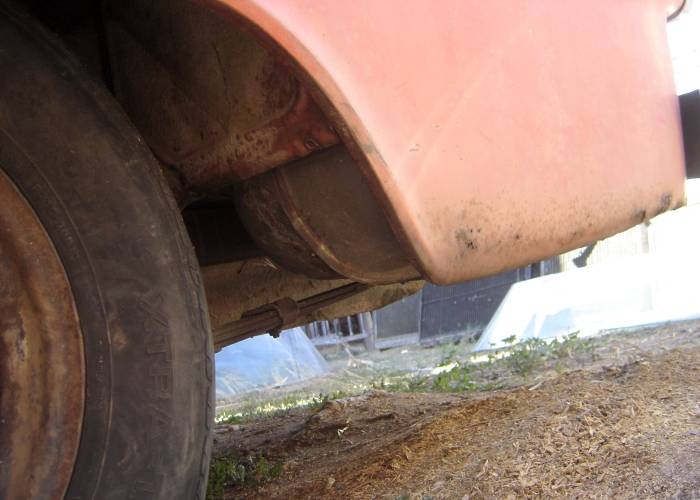
Rusted and crumpled…the passenger side rear quarter panel. And this isn’t an external spare wagon.


The visible rust looks deep, plus it has a nasty crease.


So what happened here? This damage seems to correspond with the rear quarter damage.


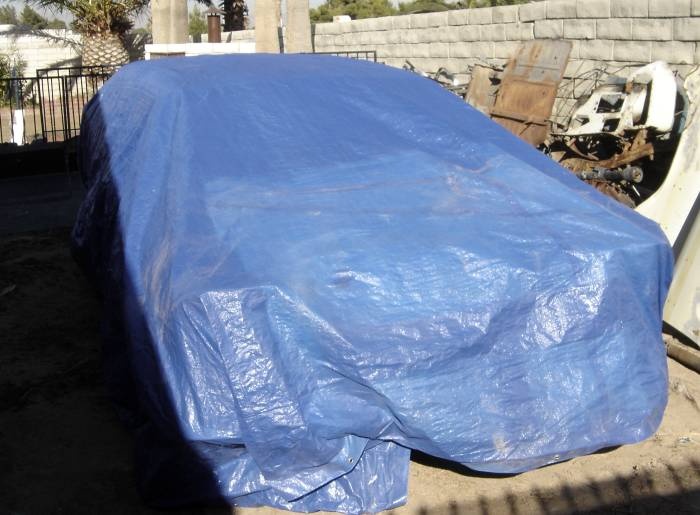
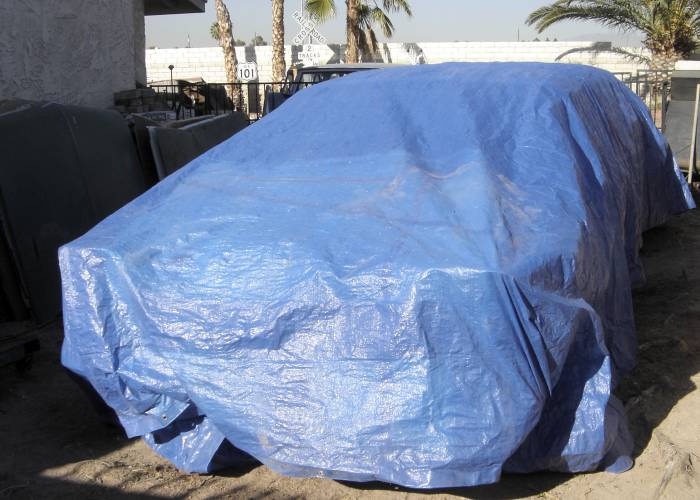
With both rear quarter windows broken out, this cover offers some protection.


Another car? What car???


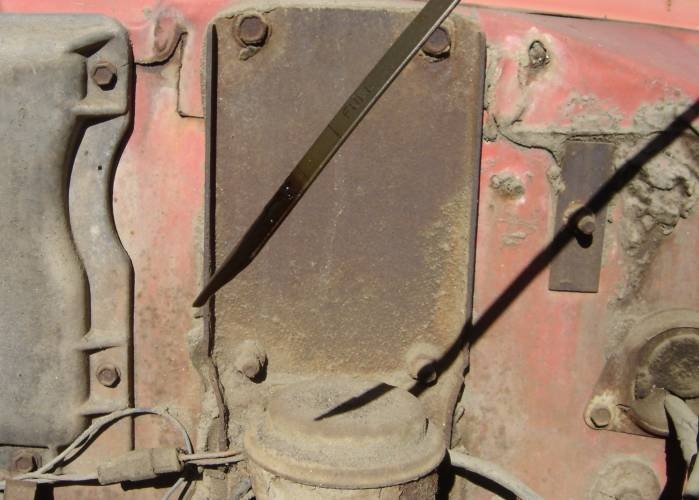
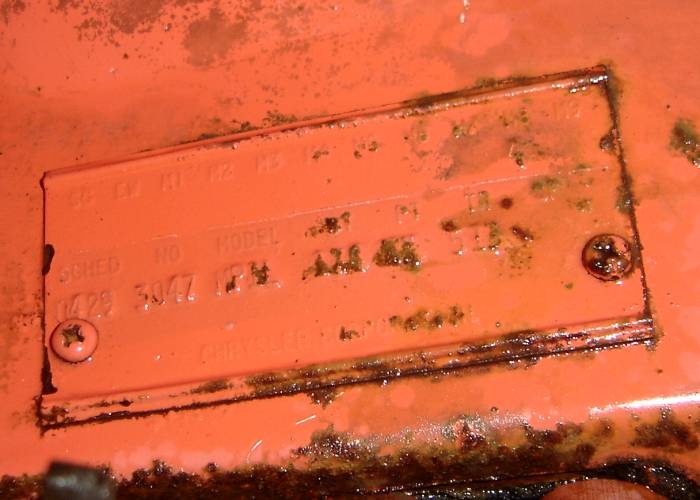
The trim tag, located under the hood, along the passenger side of the cowl. Hey, that’s a pretty neat color!

.


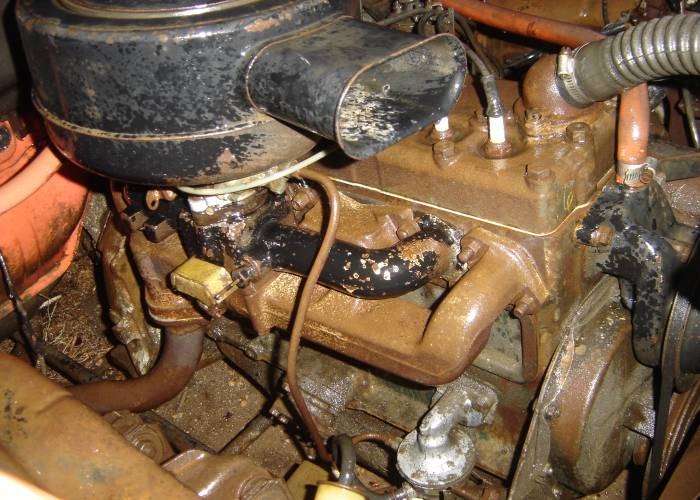
Some degreaser and a garden hose made things a bit more4 colorful and lot less grimy under the hood. Note the black paint on both the intake manifold and the water pump housing.


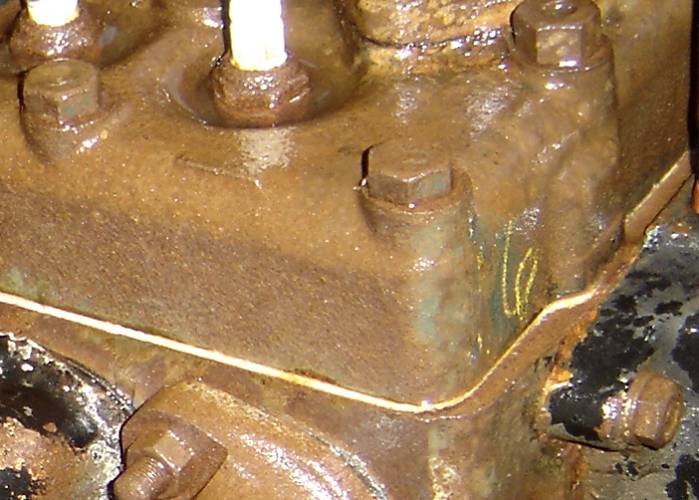
Okay, so is this an assembly line or salvage yard marking? Or did a mechanic with short term memory issues have to write the cylinder count on the front of the engine during a tune up?


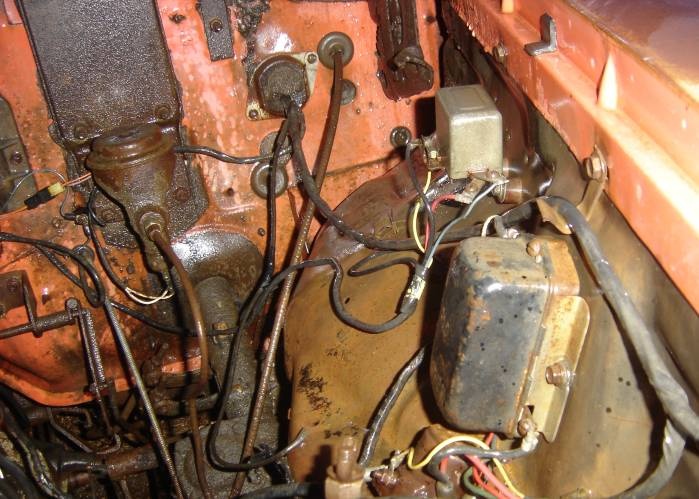
That looks much better. Now I need to trace that thick black wire and see where it originates from under the dash. My other ‘59 Plymouths’ horn leads exit from the steering column. Or maybe this fed that extra lighter socket.


This engine must have looked pretty sharp with its silver block and head, contrasted by black accessories. I like those nifty spark plug boots.


An overall view of the engine compartment.


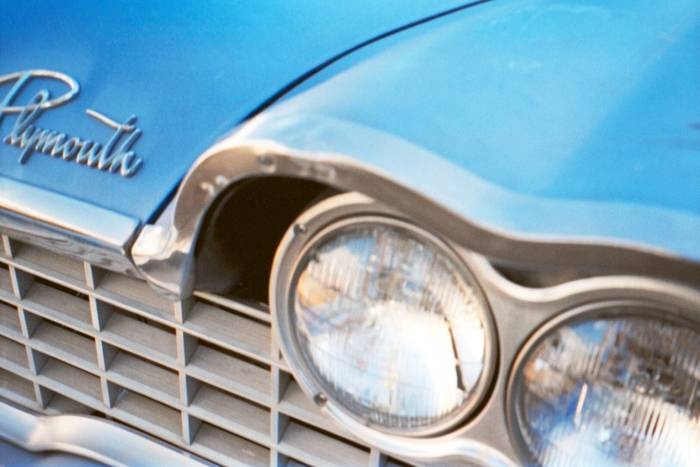
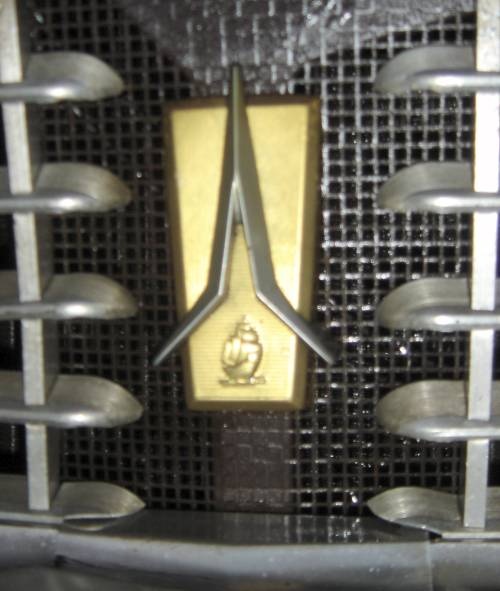
I’m happy to see no stone dings in this emblem.


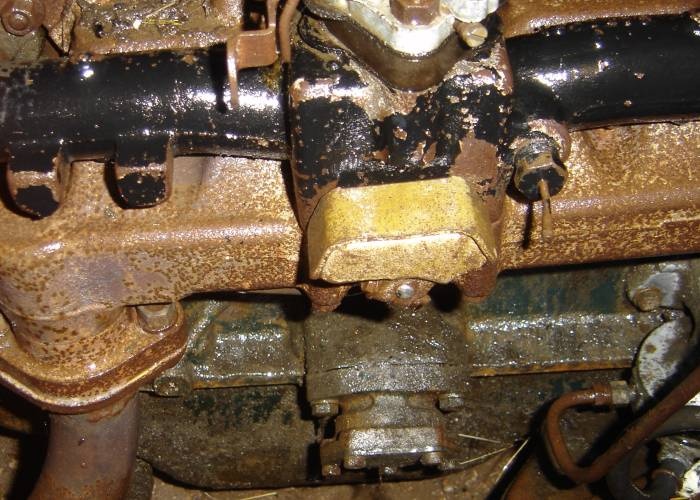
Looks like yellow paint on the heat riser weight.


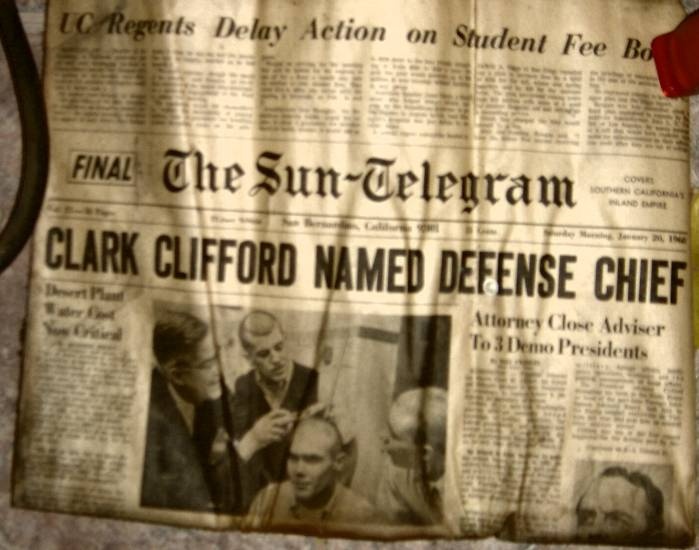
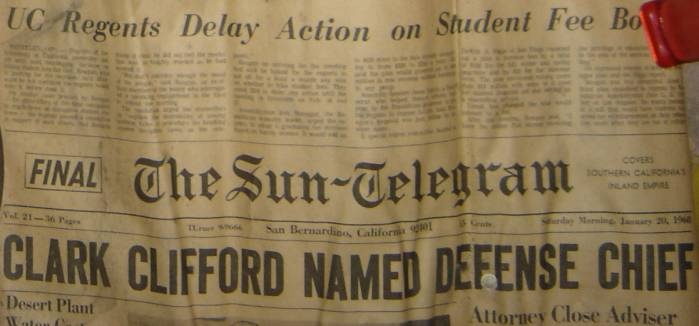
Under the front seat, I found a newspaper dated January 20th, 1968.


The date can be seen better in this shot.


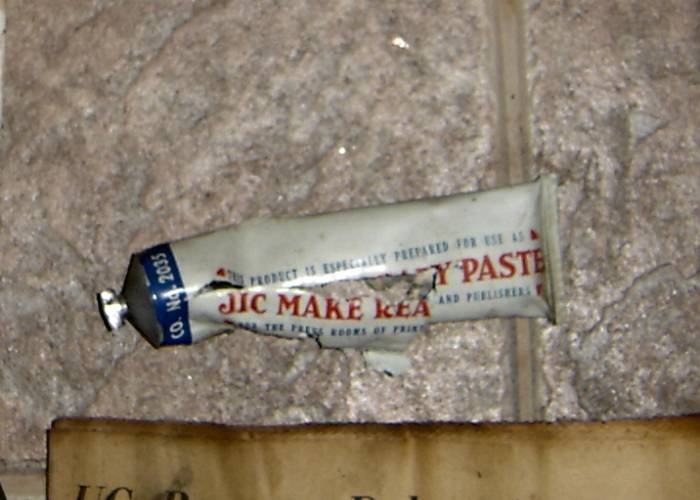
Also found the remnants of a paste tube.


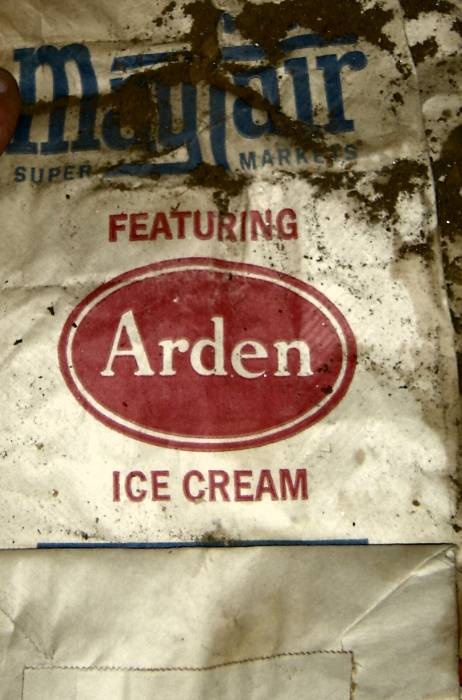
Anybody know of either Arden Ice Cream or Mayfair Super Markets?


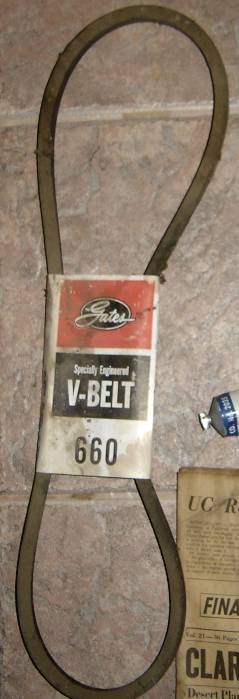
Hard to tell if this was a new belt or the replaced belt in the new one’s sleeve, being kept as a spare.

.


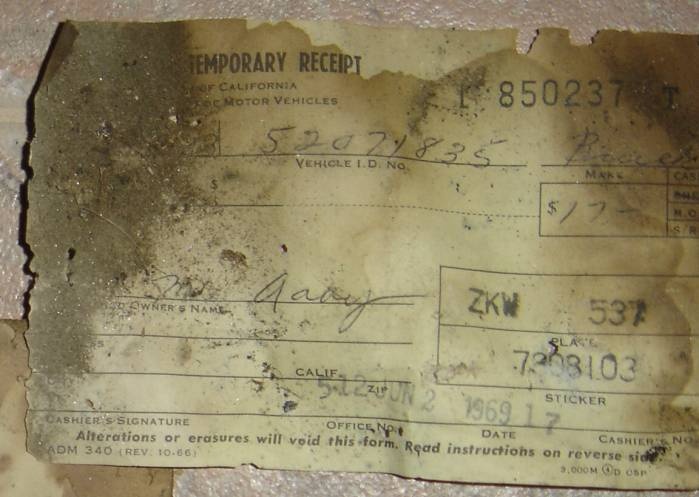
This is dated June 2, 1969. The newest paper I found in the car so far was a receipt dated 1970.


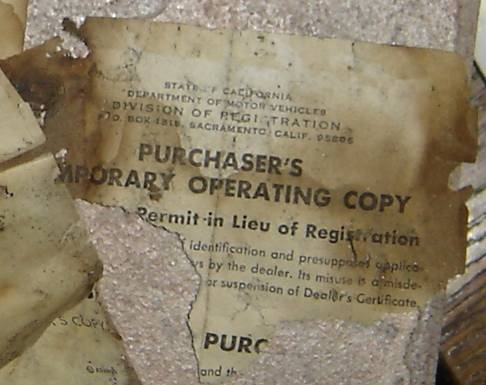
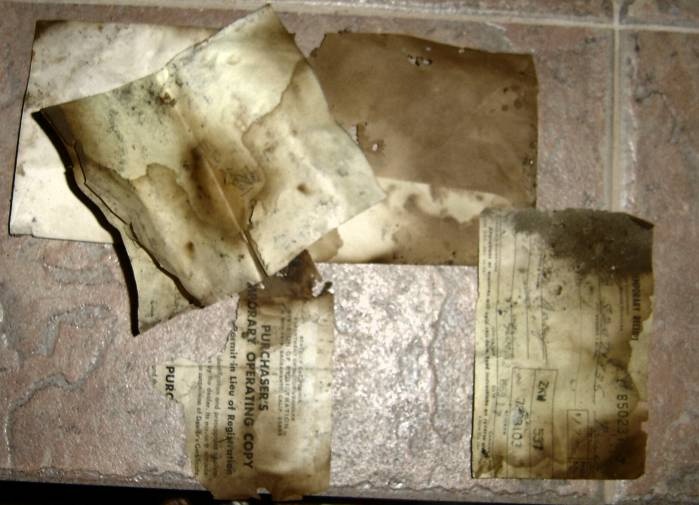
Too bad this is so brittle…


What secrets do these papers hold?


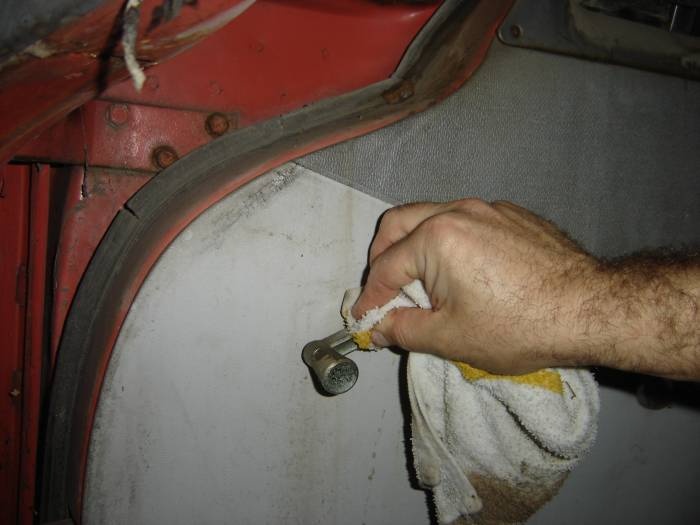
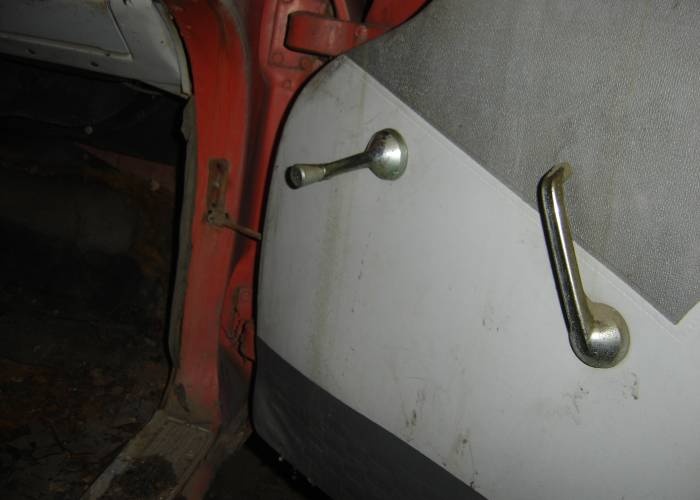
I attacked the car with a bucket of Simple Green and spray bottle full of window cleaner. The door handles cleaned up nicely, beautifully showing the pitting.


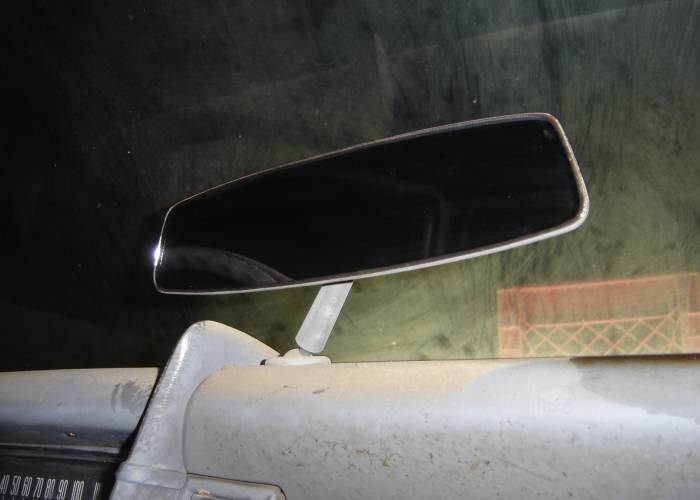
The mirror cleaned up nicely and the adjusters were nice and tight.


The door panels aren’t too bad…


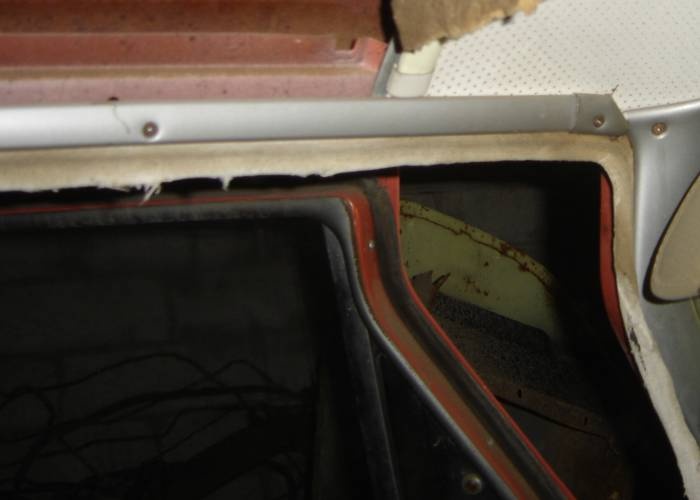
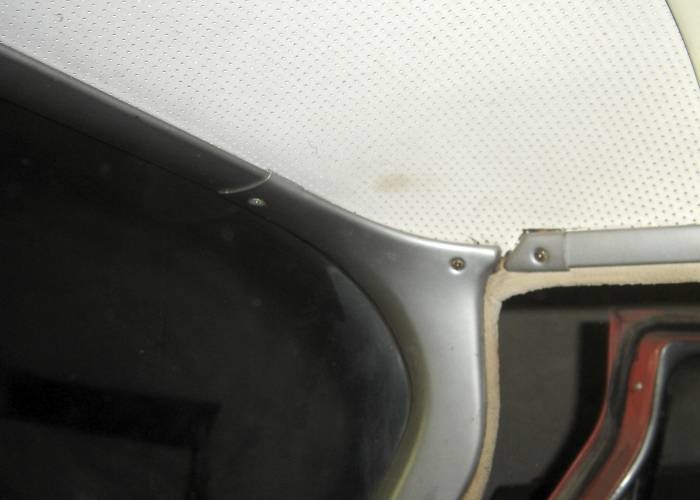
Here’s one of the differences in trim I noted earlier. Instead of a nice transition piece of painted trim merging the headliner rail into the windshield trim, an abrupt cap is used.


This wagon never had a passenger side sun visor.


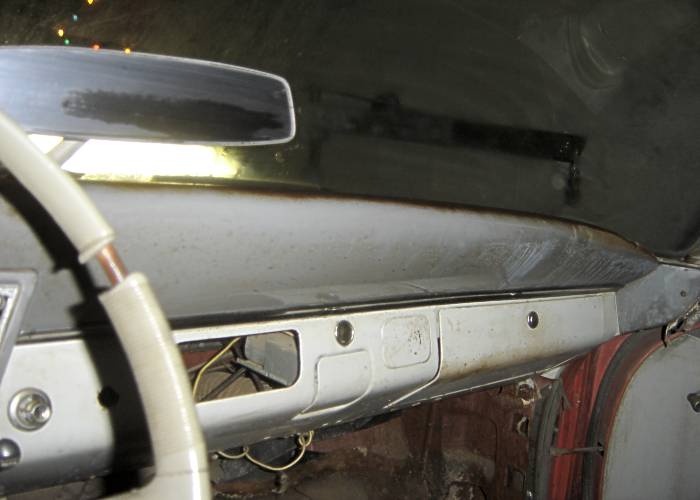
The dash didn’t clean up very well. I will attempt to polish it.


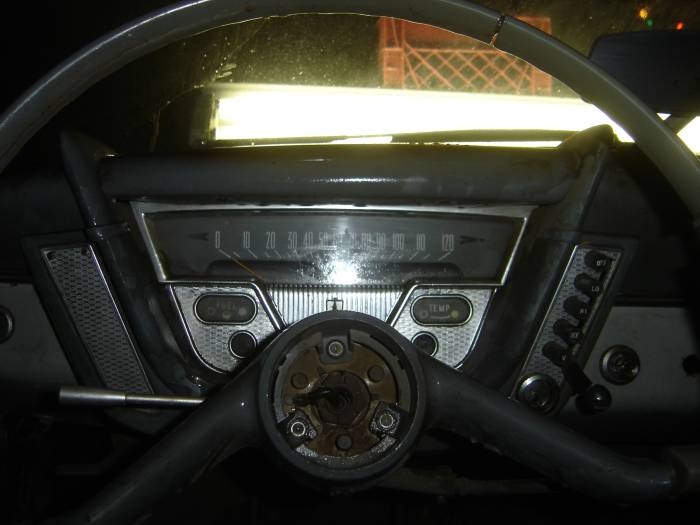
The gauge cluster was nice underneath all that dirt.


An interesting color.


The shifter wouldn’t go into reverse and didn’t feel very solid when shifted into second. The overdrive cable seemed frozen as well.

.


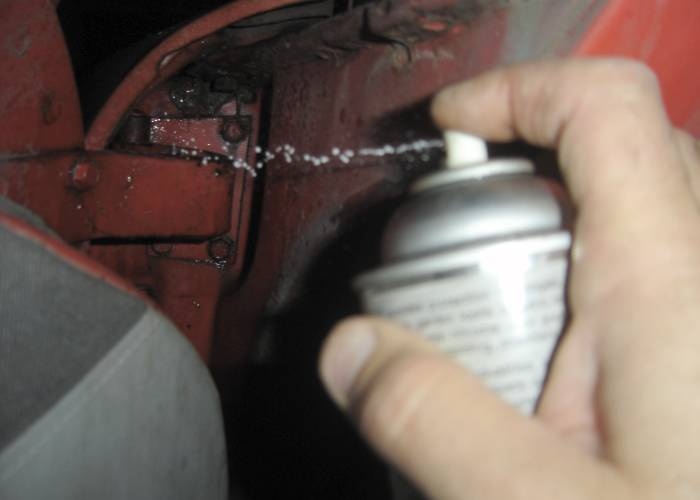
After spraying silicone mist on all the linkages (shifter, clutch, accelerator, parking brake, overdrive cable, brake pedal assembly) everything seemed to work as it should…we’ll see what happens when I get the engine started.


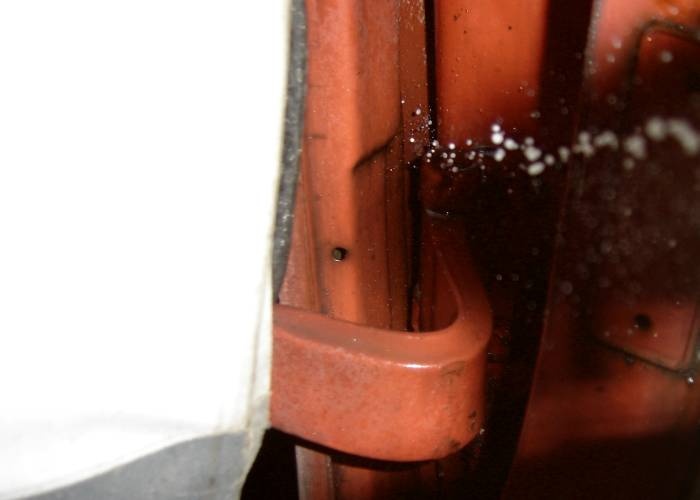
I became tired of the neighbor’s dogs going ballistic every time I opened or closed the driver’s side doors, so I attacked the groaning hinges with silicone mist.


The lower front left door hinge quieted immediately. The upper one (see previous photo) needed to be worked a number of times before it finally quieted down.


The floor seems solid underneath the brittle factory mat.


That is not a stain on the driver’s side door panel. That’s a piece of windlace hanging down. The windlace literally turns to powder when handled. The vacuum hoses for the heater control are hanging down.The push buttons and cable seem okay.


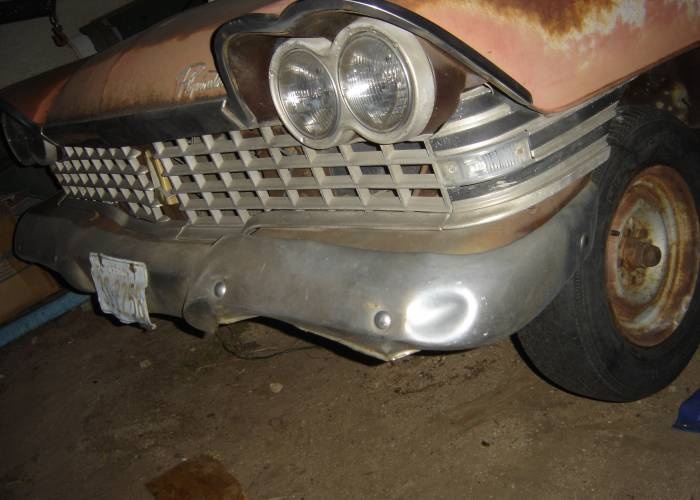
Ouch! That’s a nasty dimple. Notice how beaten up the bottom edge of the bumper looks.


A trail of silicone mist trickles down the tailgate from the window crank assembly.The stuff certainly smooths things out, but the proper grease is what really should be used.


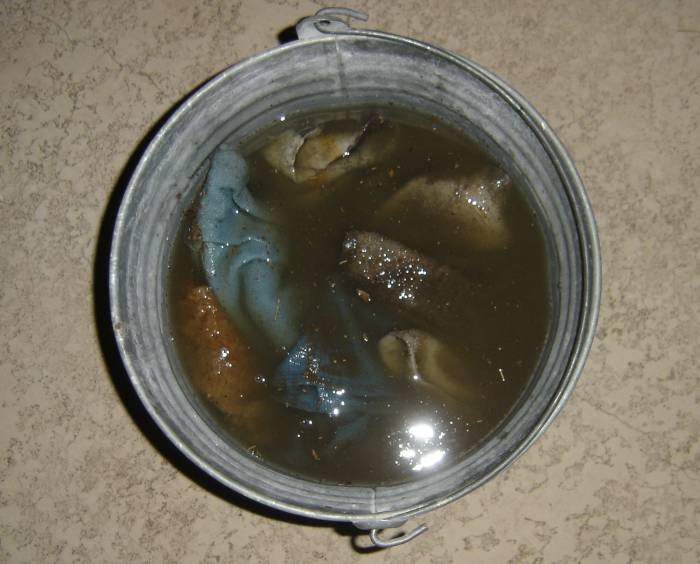
Hard to believe the contents of this bucket was once a nice, minty smelling green…


This is how the overdrive cable is mounted.


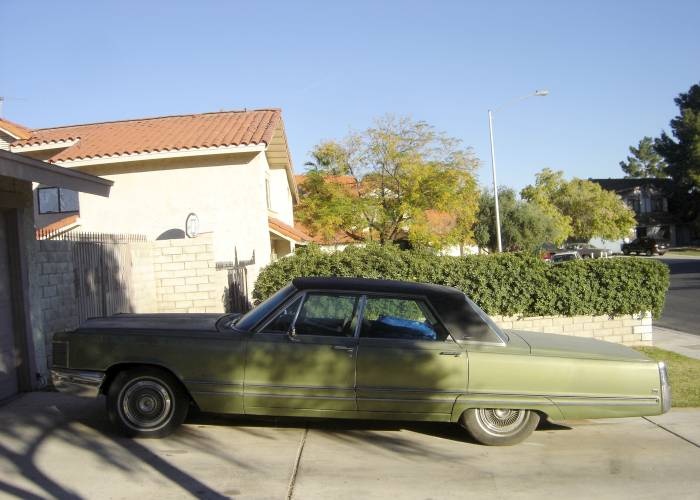
While my blue wagon is undergoing some refurbishing, this green behemoth will be taking over daily driving chores.
You are looking at about 5,000 pounds of 1968 Crown Imperial. 440/A-727 Torqueflite and leather interior. I suppose I can tolerate an automatic transmission under those circumstances.


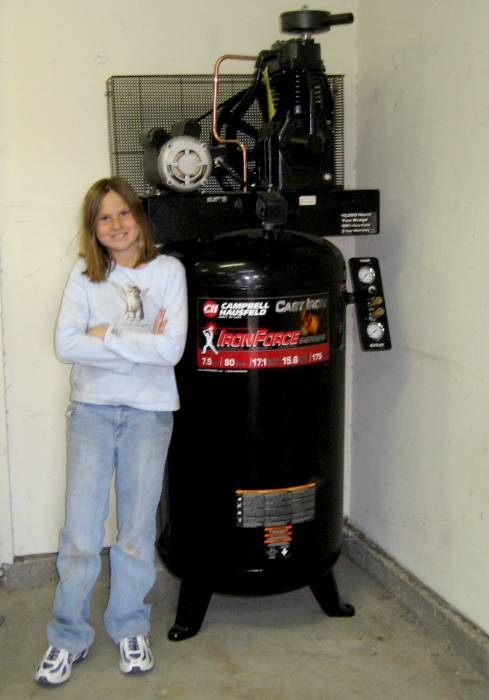
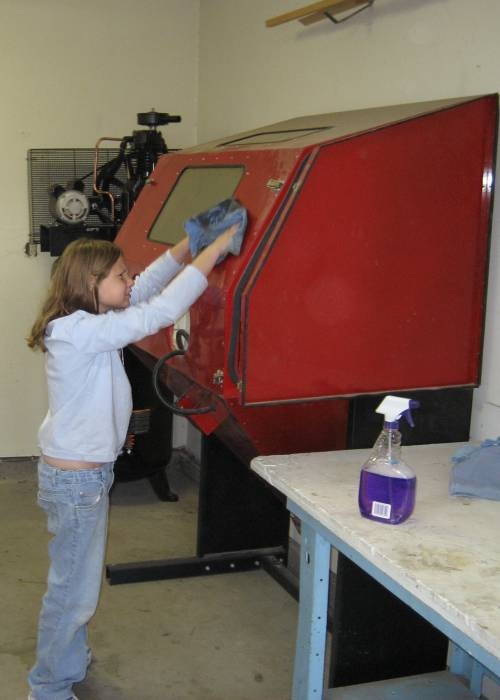
Twelve year old Karla poses with my compressor. I finally cleared out the garage and made progress in setting up shop. I hope to get the 220 wired in soon.


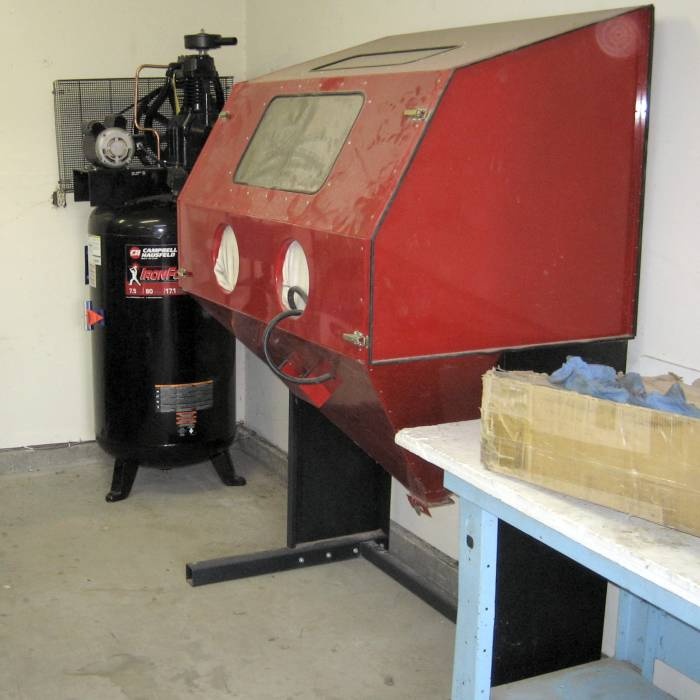
Dusty and unused since late 2003, my blast cabinet is finally in place.

.


I am returning the wagon to its factory exterior color.


Removing several months worth of dust…


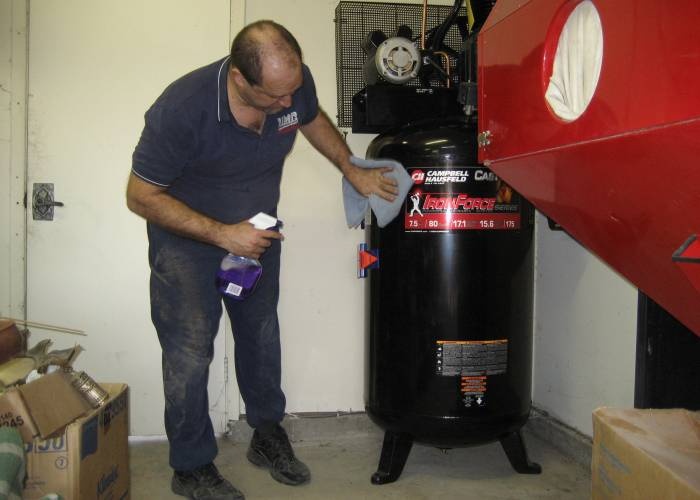
Making the compressor all clean and shiny. My plan is to anchor it into the concrete (on vibration pads) and extend the intake into the attic to keep the noise down inside the garage.


Many of you know I am a big fan of '58-'64 Chevys. My personal favorite is the '59 Impala Sport Sedan, Chevrolet’s four door hardtop. Here is the body of the one I plan to finish in the future. The car came from Phoenix and has not been registered since 1973.


This is the first '59 Chevy I have ever seen without even minor rust through in the rear seating area. Even in desert cars, this section sometiomes collected water from the trunk and around the windows after the weatherstripping deteriorated in our extreme desert climate.


The floor is absolutely solid.


Other than damage from a rear end collision, the body was very straight and is one of the most solid '59s I have ever seen.


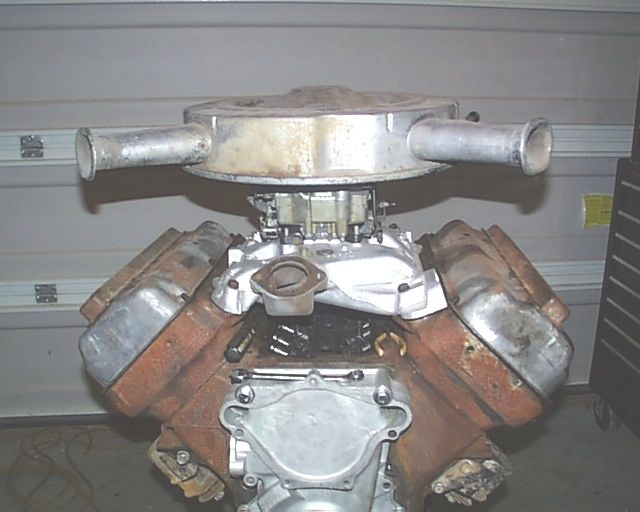
Here is the 1956 DeSoto 330 Hank Dozier is building for the black two door wagon. This engine is being "updated" with electronic ignition, a full flow spin on oil filter and a PCV system. I already possess a pair of 1959 361 torsion bars to handle the additional weight. I have a choice between several differential ring and pinions, depending upon whether I use a stick with overdrive or a straight three speed manual transmission. I plan to order a new set of rear springs.


I really hope this air cleaner will fit under the '59’s hood. I prefer it over the newer, flatter style of air cleaner ('70 & up) or an aftermarket type. This one is from a 1968 440.


I was hoping to install the rear quarter windows this week. I was getting ready to remove the items stored inside "Pink." Within five minutes of taking this photo, the light drizzle turned into a true rainstorm. Such is life. I did, however, trim the drooping palm branch to prevent it from damaging the driver’s door glass.
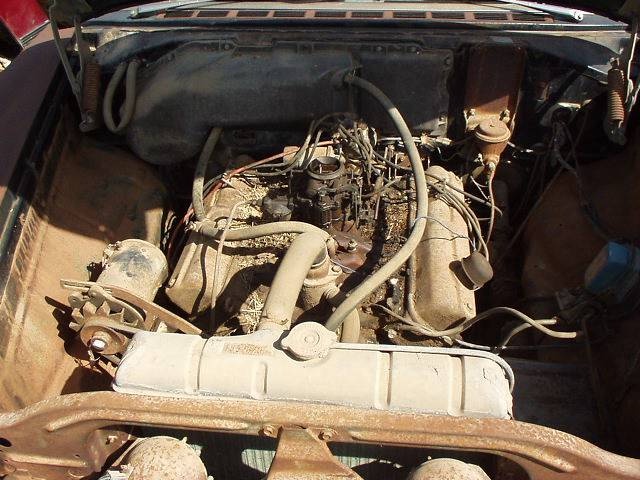

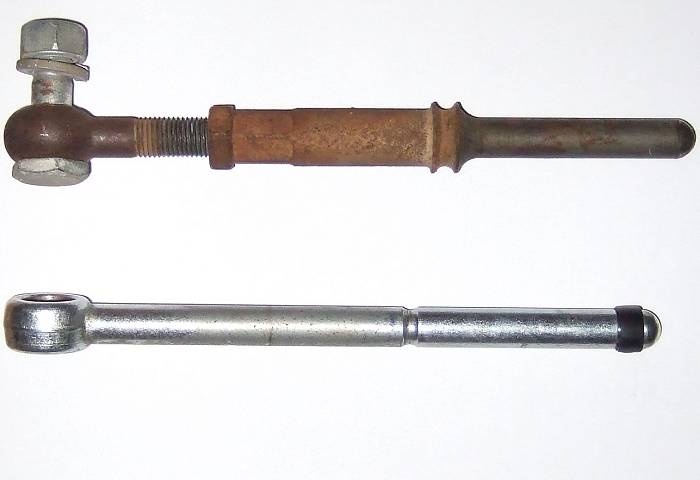
The anti-AAJ crowd doesn’t seem to care about this tip, but check it out. If you install Roger’s kit on a '59 & up Mopar, and have a low pedal after all the adjusting, bleeding and proportioning-valve setting you can do, this is a possible solution.
A pre-'59 pedal to master cylinder rod. Roger recommended this to me years ago. I got away without it, but that was possibly because I had the just the front kit installed. Mopar went to one piece rod in '59, doing away with this adjustment.
I have the rod set to it’s extreme limit to show the length possibilities. I acknowledge that this particular adjustable rod, out of a '57 Plymouth, was set at the same length as a '59 one piece rod. But even a slight lengthening reduces a considerable amount of pedal travel.
You could even make you own extension with a "long" nut and a piece of threaded rod.
I just wanted to show this to somebody who might be a bit more receptive.
All Roger did was design some brackets and use off the shelf components from GM, Mopar and AMC to make his kits.
Maybe Wilwood makes the top of the line conversion kit, but Roger’s kit works for me in hectic urban traffic.


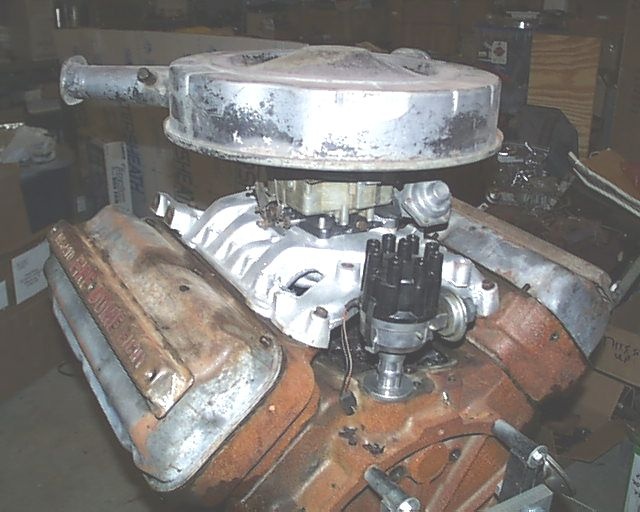
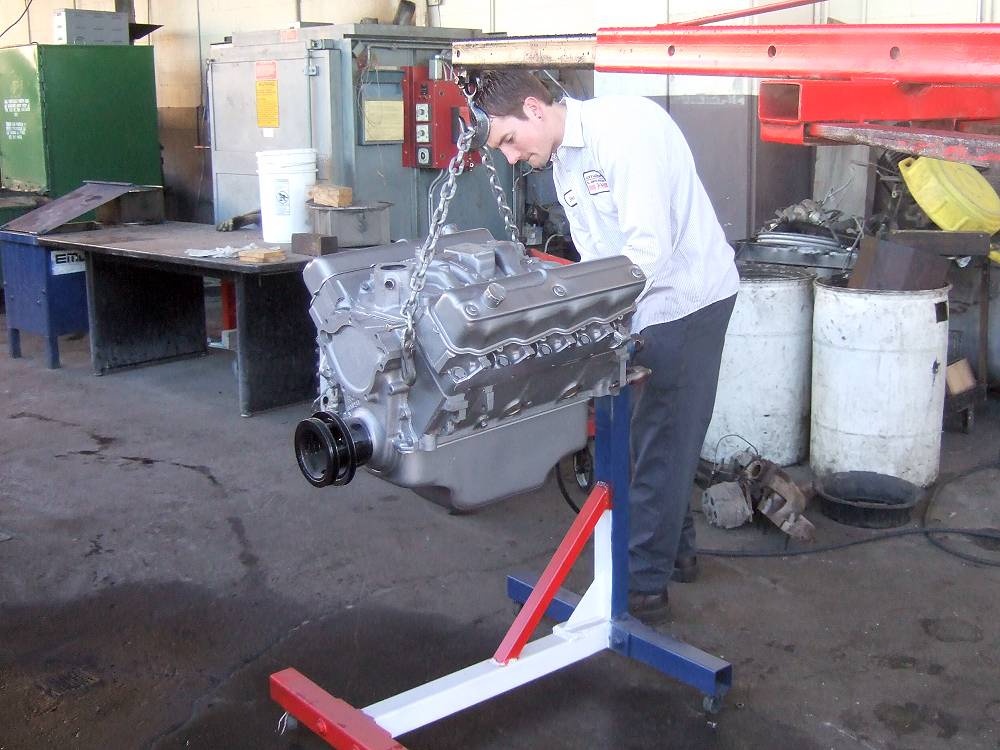
Well, it has been three years to the day since I have added to this album. Today, I picked up my blue wagon’s 318 from the machine shop. It consists of a '59 block, with everything else from a '58. This engine was modified for full flow oil filtration and will be using a spin-on filter set-up from a 1964 or '65 318. Also, will be running a '65 carburetor and PCV system. The 330 Hemi being built for me by Hank Dozier will be going into my two door wagon.

.


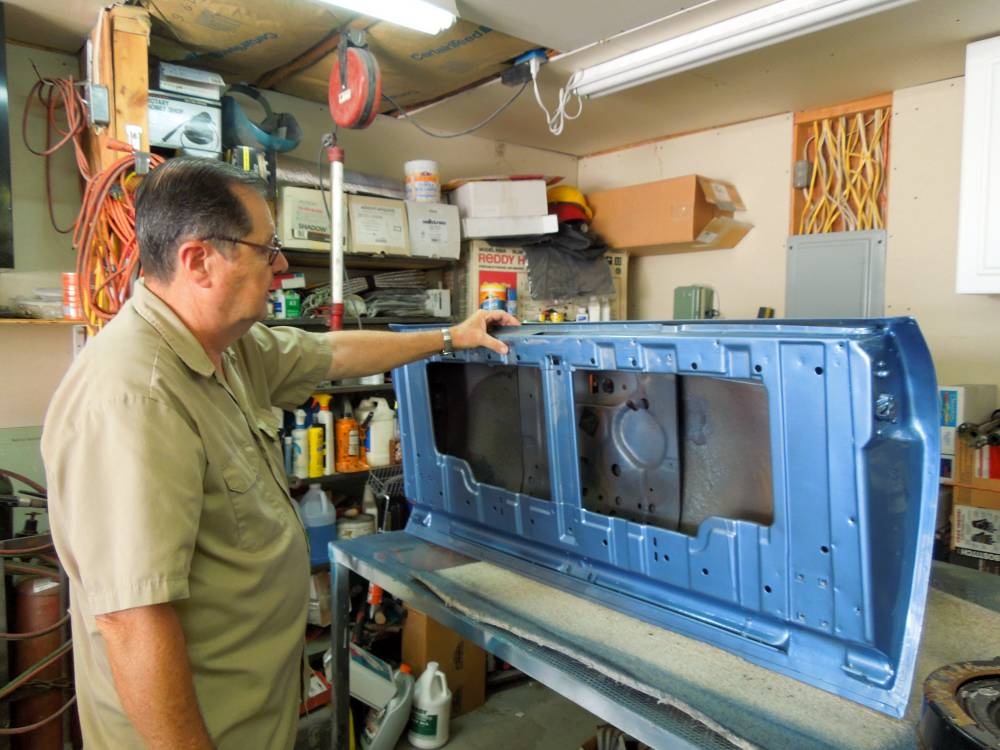
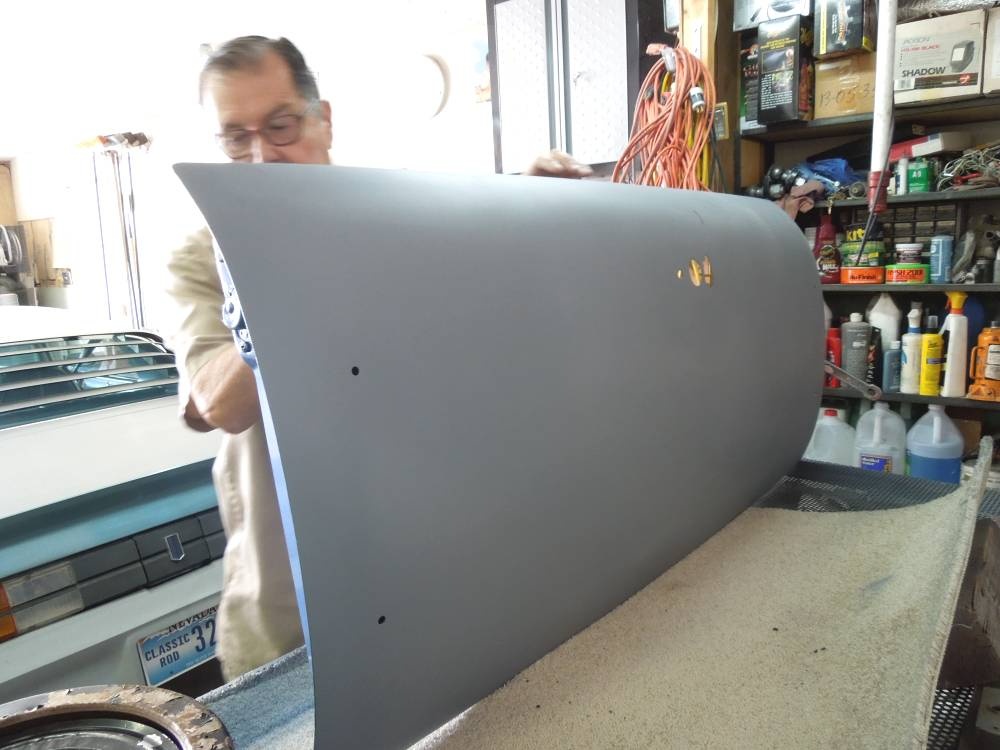
Twenty six years later, John is once again doing body work on this car. He has repaired the tailgate.

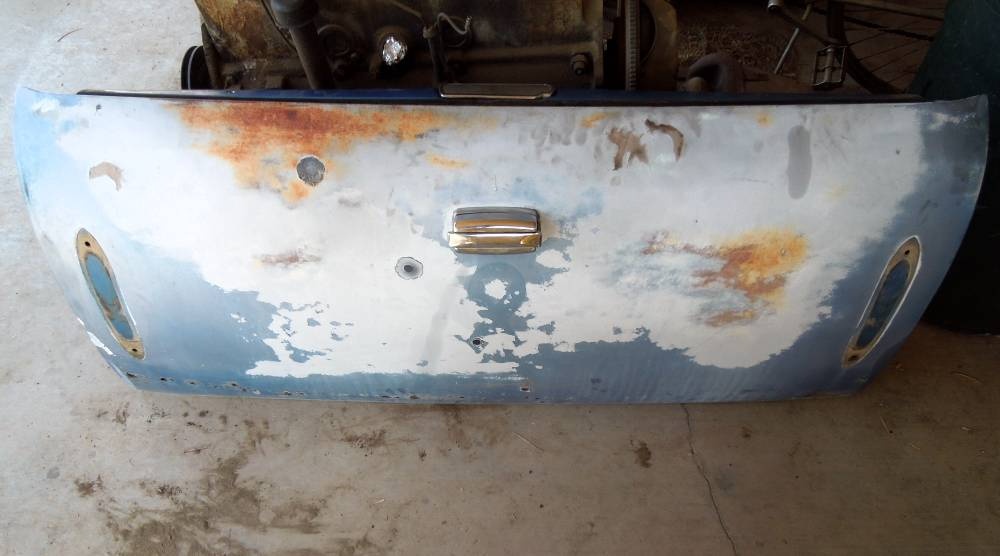
The tailgate just before being repaired.
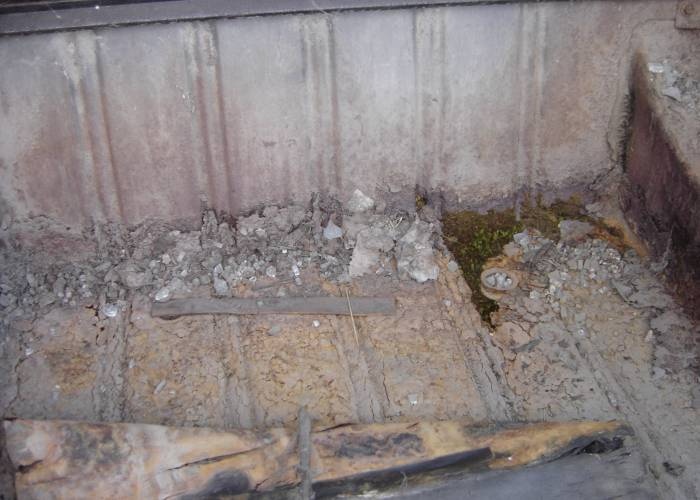

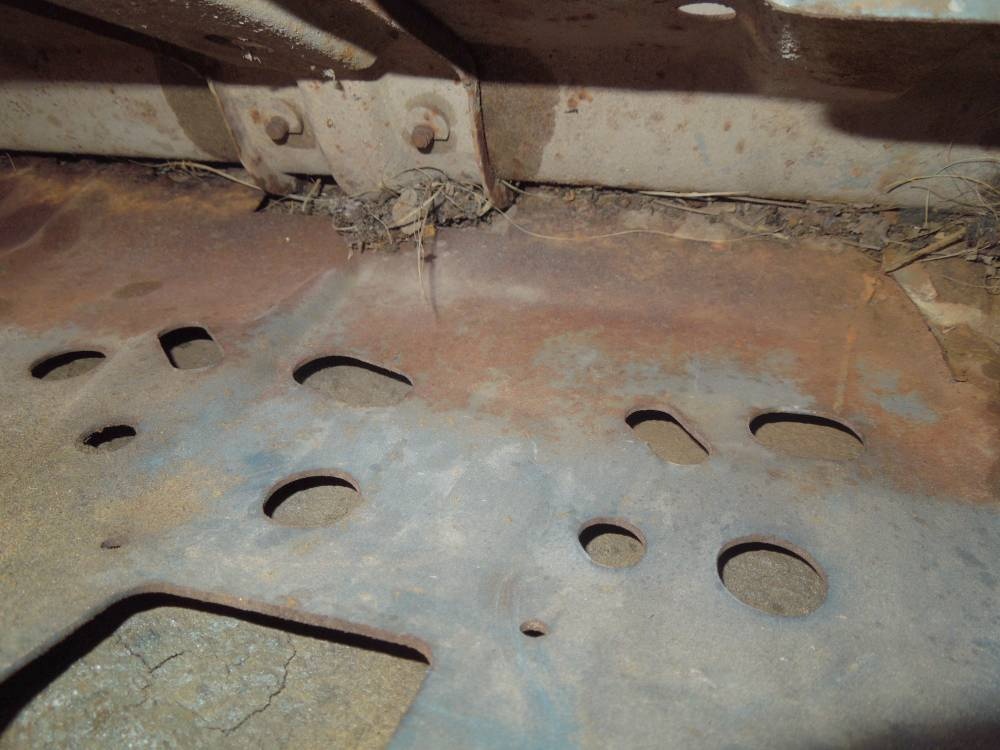
Some of the debris, which held moisture and caused the rust issues.