headliner time

I hope to get Faulkner back from Bill in a week or so – then, I’m going to work on getting the headliner fixed. I bought this vinyl material:

http://www.wlsheadliners.com/off-white-vinyl-foam-backed-perforated-headliner-material-p-292.html?zenid=3561dd499d4ae872dbf49c89300cb83e

I have Caravan headliner strips to hold the panels in place:

And I got some very nice strip ends from Tom Fox. Hmm… Maybe I’ll get my painted side rails (from John Fowlie) chromed… I wonder if I can pull this off before Carlisle? I guess I can always fall back on using Roger’s forks… :unamused:

Dan

So how is that gonna work…do you plan to glue the vinyl to the existing hardboard?
If you are abandoning the panelboard, be prepared for a massive test of your patience..trying to install headliner so that it looks good is better left to professionals, IMO! If I needed the job done, I’d get the rails chromed, then I’d take it all to an upholstery shop!

I agree, its a thankless job if you dont know how to do it, and its also my understanding that on Plymouths you have to remove the rear window glass to change the headliner…

Bob

My guess is that we will need forks again this year :slight_smile: How about putting the medallions on the fins this year Dan?

Ron

Actually, the (replacement) panelboard seems to be in good shape – just needs to be trimmed, methinks. I was planning on reusing it.

Huh? I think the panels are tucked under the rear trim. No?

Dunno! Faulkner ain’t here for me to run take a look at!

That’s on Matthew’s “laundry list”! Wait until he finds out what else I have planned for him…

Dan

sorry to be dense, but what is the perforated vinyl for, if you have replacement panelboards (don’t tell me you paid Mopar Mel’s price!)
I havent had a hardtop for some time, but I do recall the sedans had only rubber on the rearw windows, so you had to deal with some fit challenges.
Do I remember correctly that with the Sport Fury hardtop, there is an actual chromed garnish molding at the ceiling-to-back window intersection? Perhps my parts book would show…

I’m pretty sure there’s a chrome upper rear window garnish, Roger – because I recall what a bad fit the upholsterer did. But someone else will have to weigh in, or I’ll have to wait for Faulkner to come home to know for sure.

My original panels are gone; the upholsterer made some decent replacements, they just need to be trimmed a bit, I think. I don’t like the material that’s on there. 'sides, there’s some spaghetti sauce on it – now, who got the raviolis-to-go with a plastic fork at the quickie-mart?! :laughing: (kidding!)

Dan

Some pics to share?

  1. nacked roof

  2. there was some kind of wool between the headliner and the roof. As the wool began to fall apart I put a foam plate in and glued it with a glue that can stand up to 95 ºC, without falling off.

  3. Press it on and let it dry for a couple of hours.

Next I took the headliner and put some duck tape on the back to protect the surface

On the duck tape I put a velcro tape from 3M (holds up to 80 ºC, just in case.

The same procedure o the foam plate

Of course I placed the velcro tape on the spots that usually fall of easily.

Put some anti sound pads to support hollow places and to avoid wrapping.


Oh yes, I forgot: To be absolutely sure I removed the rear and front window!

Wow Stefan - what a complete description of replacing a headliner in a hardtop car. My headliner is original and still intact (although a little dry to the touch). I have not attempted to have it replaced as I have a sedan that requires the rear window to be removed and the headliner tucked under the larger rear window rubber moulding.

I always think that I have done a lot of work to my car until I read these posts and I am put to shame. I have been lucky with my car because it was a low miles car and in pretty solid shape when I bought it 17 years ago!

Now if I can just get this 600CFM Edelbrock installed and the car cleaned up before Carlisle!

Thanks again for the headliner lesson.

Curt

If anybody has to be ashamed than it’s me! It’s kind of crazyness to do so much work.

I hope we meet next year, in Carlisle!

Stefan

I replaced my center piece in 2004. I read quickly thru above posts so don’t know if this was covered but I did not remove any glass. It was a simple procedure. Removed old center piece by removing the 2 strips and removing the chrome trim pieces at rear window and windshield. Cut new panel board to correct size. (make sure front and rear will fit under chrome trim) Ensure fit, then glue the perforated vinyl to panel board. Glued/attached to ceiling sheet metal, by factory, was/is a few, what looked to be rubber pads. These pads are what your new piece will be glued to. With the help of a helper, glue new center piece to these pads, then attach new strips (I used my old ones) and reattach front and rear chrome trim by the glass and you’re done. My side panels were a little “flaky” so I lightly sanded them with steel wool or fine sandpaper (can’t remember, maybe both) and then sprayed them with a white craft spray paint. Turned out pretty good, imho. I think I noticed your new vinyl was padded. I don’t think the original was and my new vinyl is not padded. Don’t know if this would make a difference. I think I required 2 yards. When you glue vinyl to panel board be sure to have a generous amount on top of panel board. As a side note, just before I did my headliner I had my sun visors redone by a local guy for $90. They required padded vinyl.

Well, that was last year; and, this year?

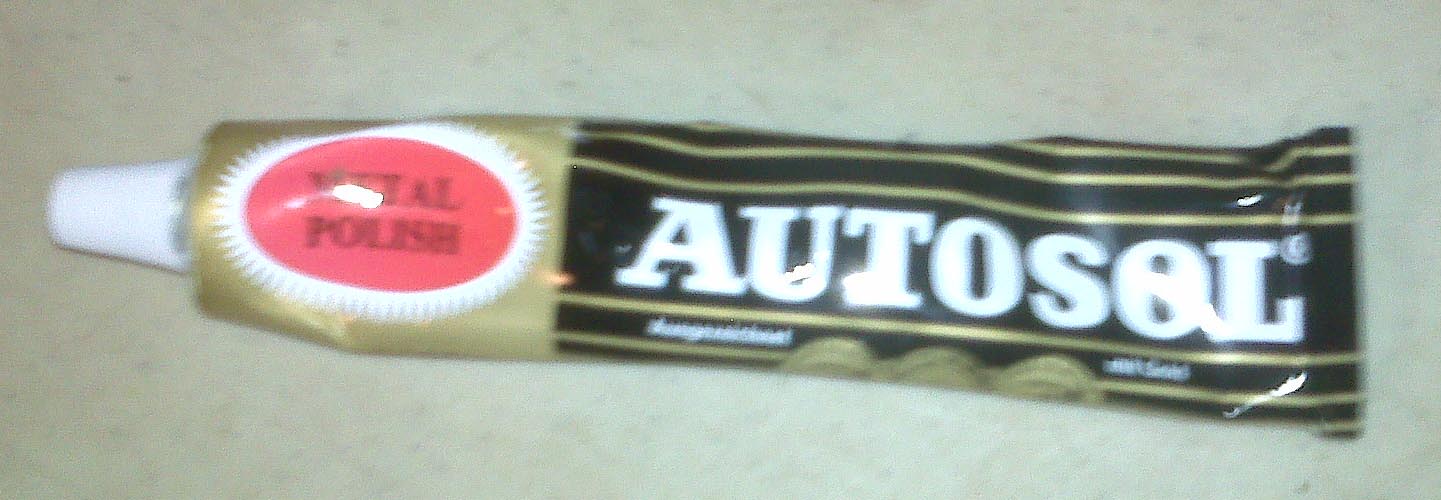
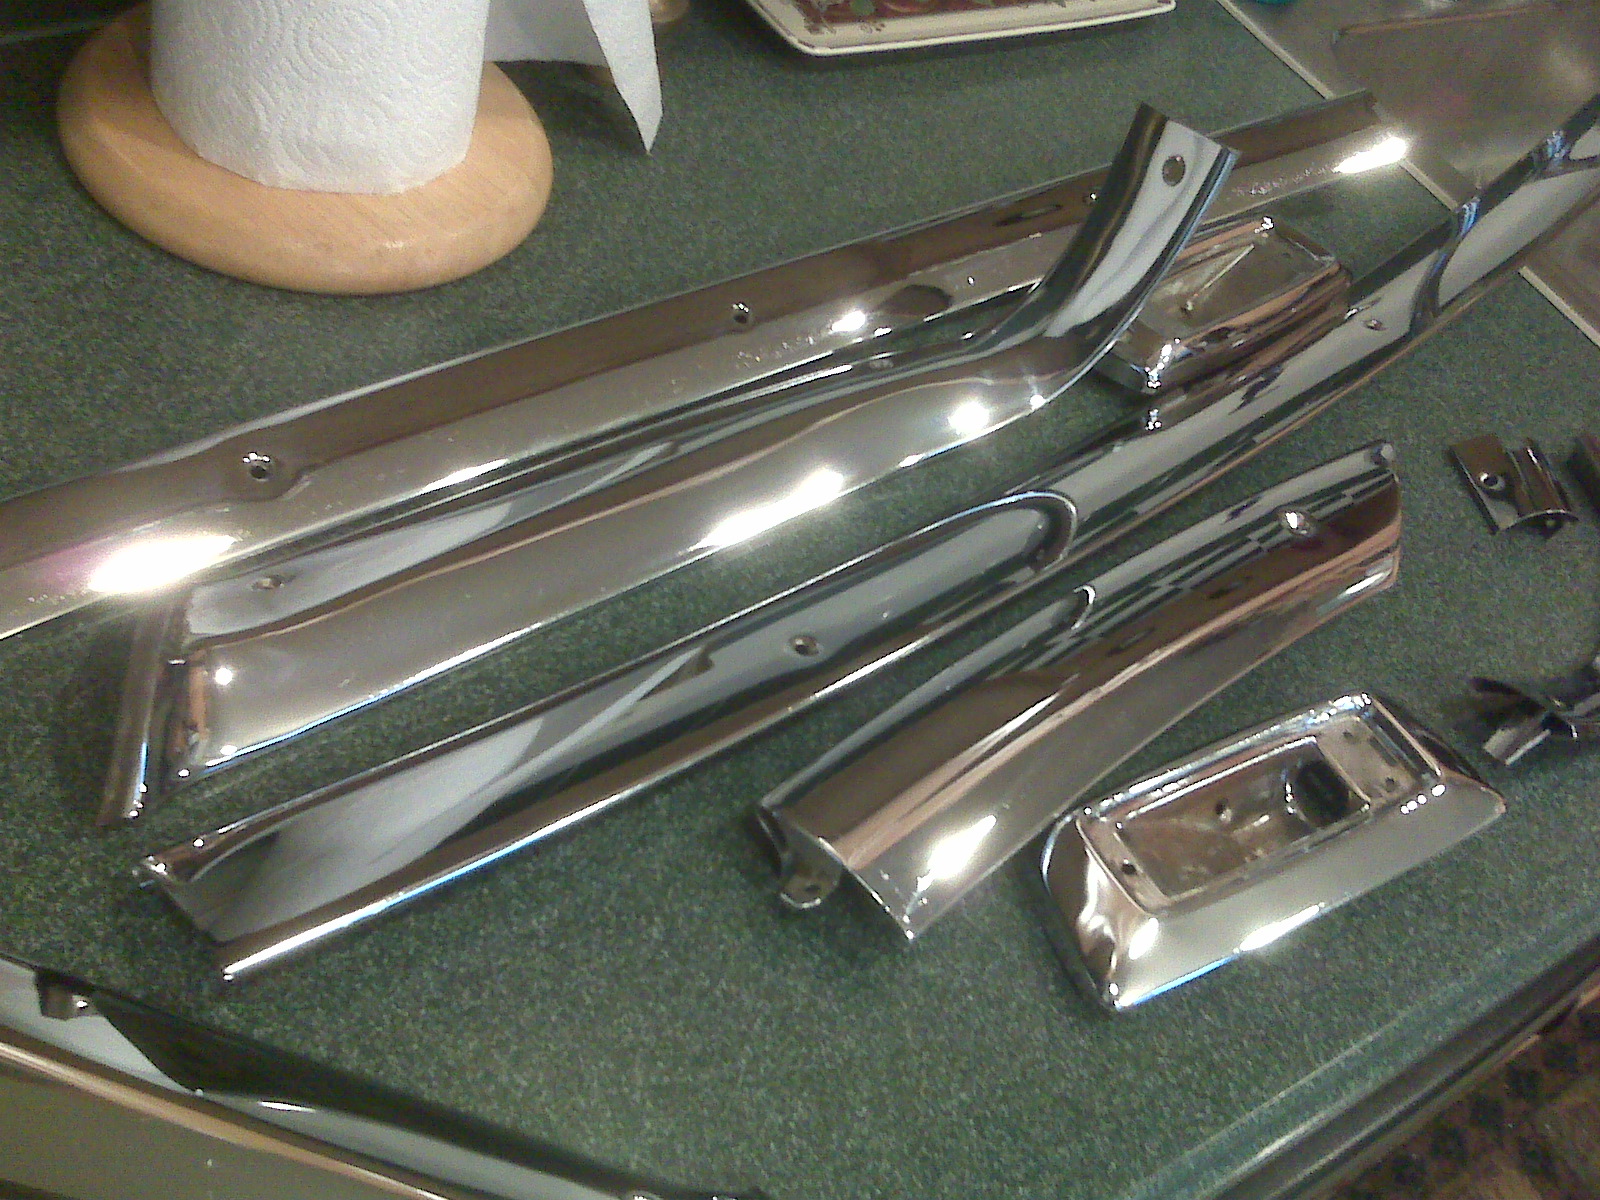
I’ve got the entire headliner disassembled now. All the chrome that wasn’t in decent shape was rechromed, and I’ve polished everything else. (Just can’t find Unipol, Matthew; I ended up using this stuff that I bought at Carlisle..)


I think it all came out pretty well:

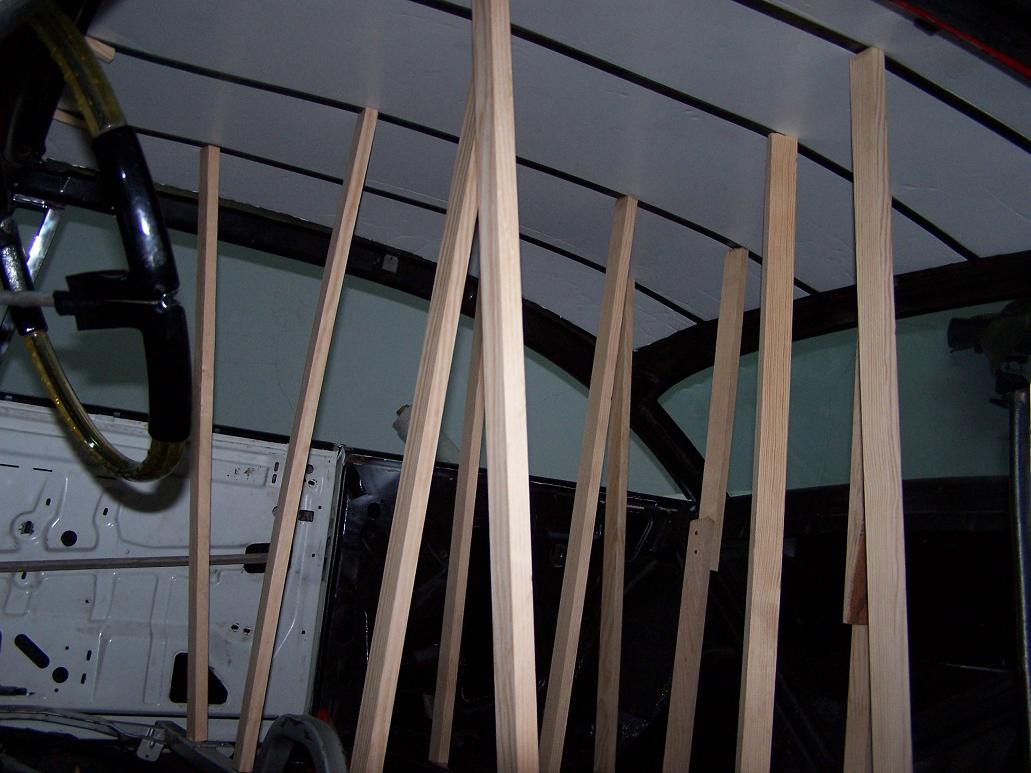
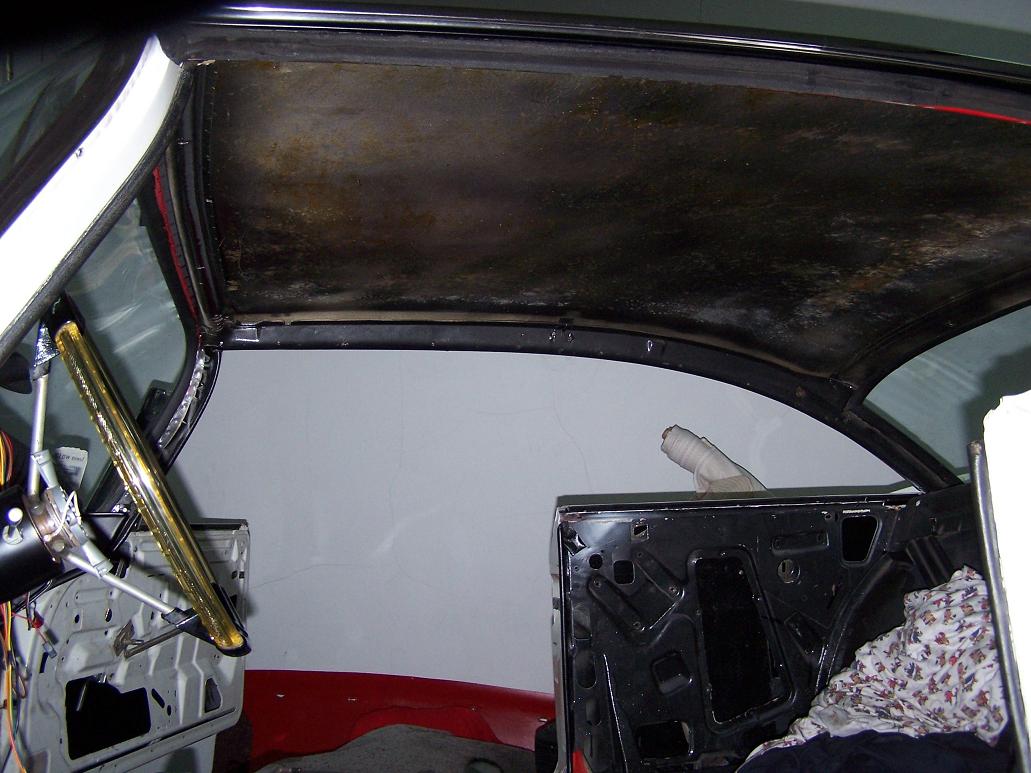
I’ve been debating with myself, whether to do the interior myself or not – I stripped the old material off the panels, and see that the left and right are in decent shape, but would need some trimming and a lot of work to get the old foam remnants off. The middle piece was luan plywood!

I called a headliner guy that was recommended to me. He told me to put the headliner back in! He wants to see how it comes apart. I told him, it was never in right to begin with… Back to wondering if I shouldn’t get some ABS panels and redo it myself; I have the material I want to use. But I think I’m going to leave it to the experts, and put it back together as he asked – using the rechromed siderails, of course.

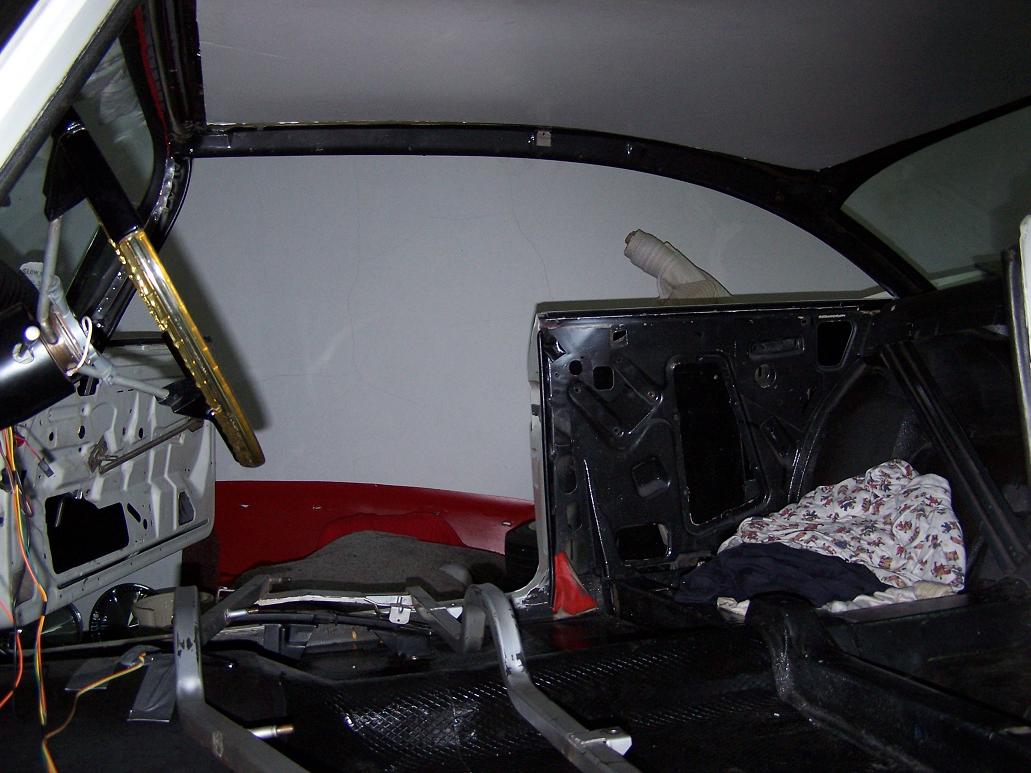
Before I got too far down the road, though, I wanted to make sure all the wiring for the dome lights is intact. I buzzed out the ground side – everything works great, the door switches and dome switch connect to ground to complete the circuit when activated (yellow wires). But no connection to the hot side, or between each dome light (pink wires). I traced them back to the trunk… There! Someone had snipped them, and the block where they connect to the hot side is missing. I taped up the hot side real well, and I’ll leave that for another day. The headliner can go in, and the lights will work.

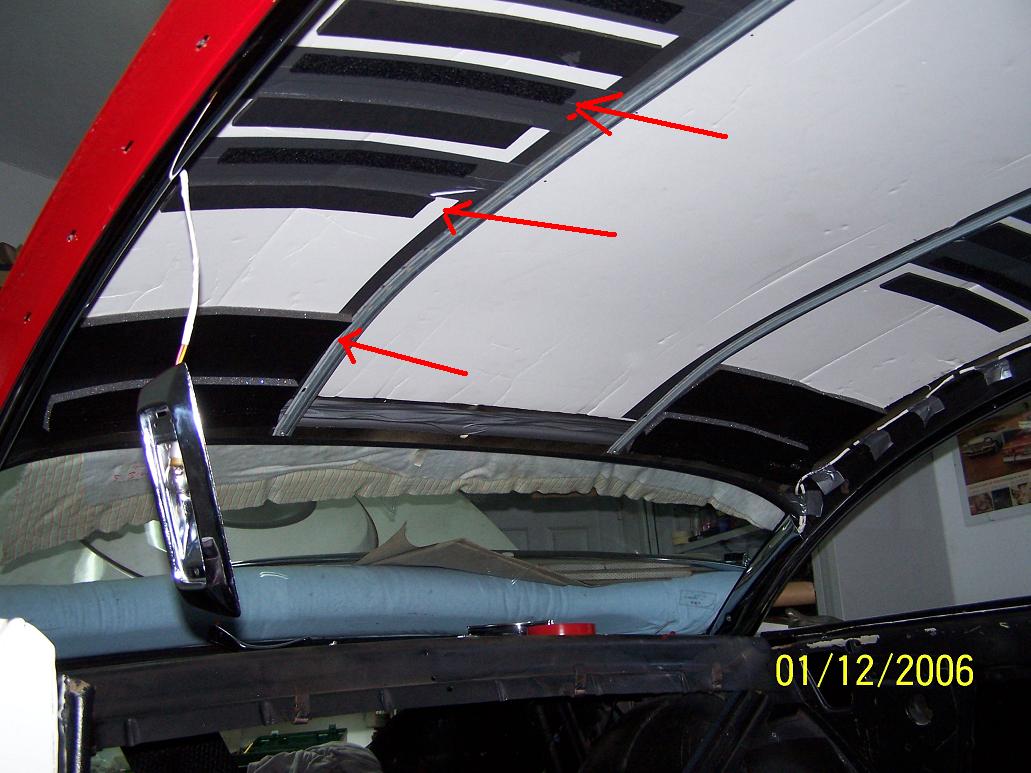
The passenger side panel is back in, now to put the driver’s side in and all of the chrome. I’ll leave the luan out!

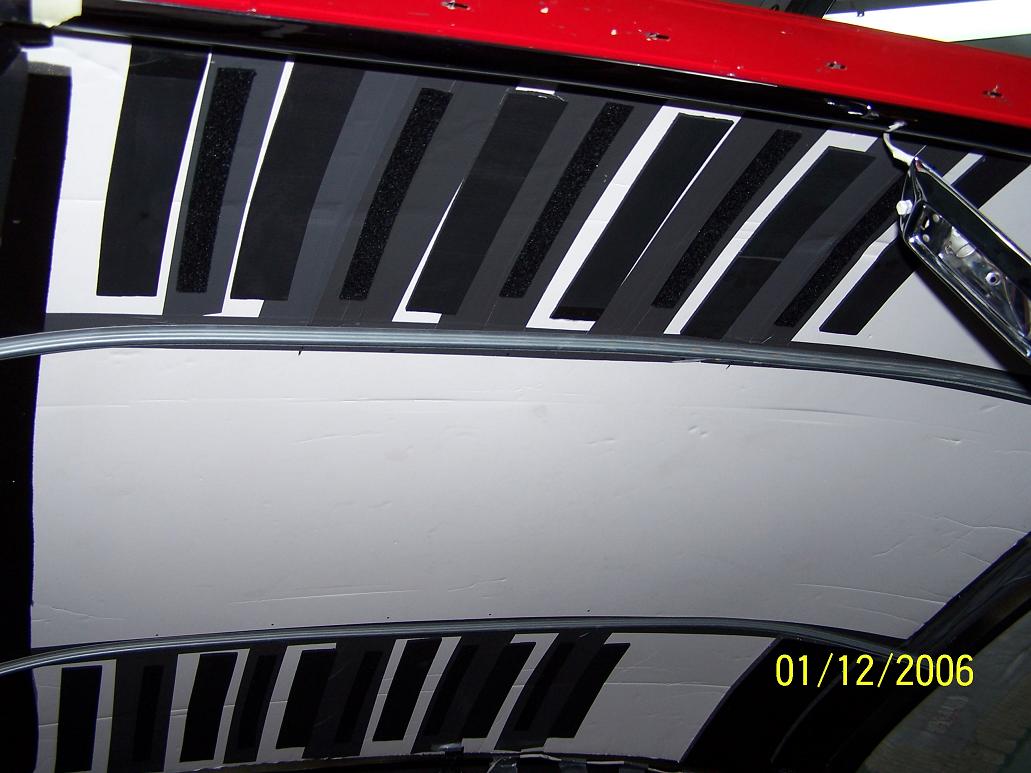
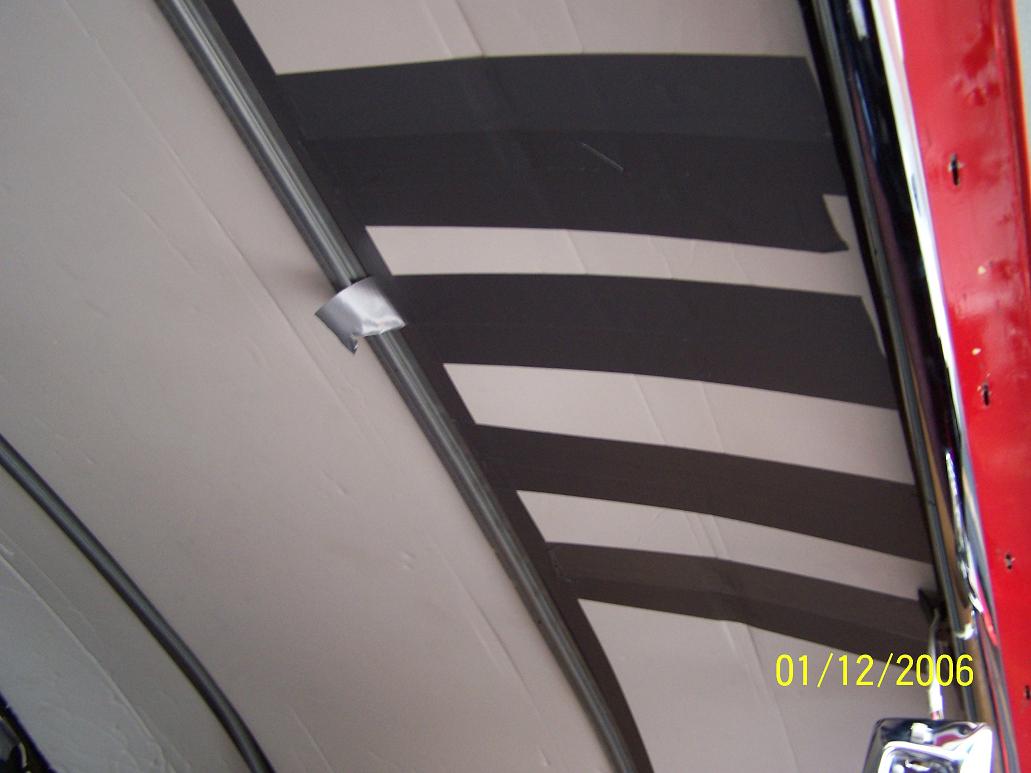
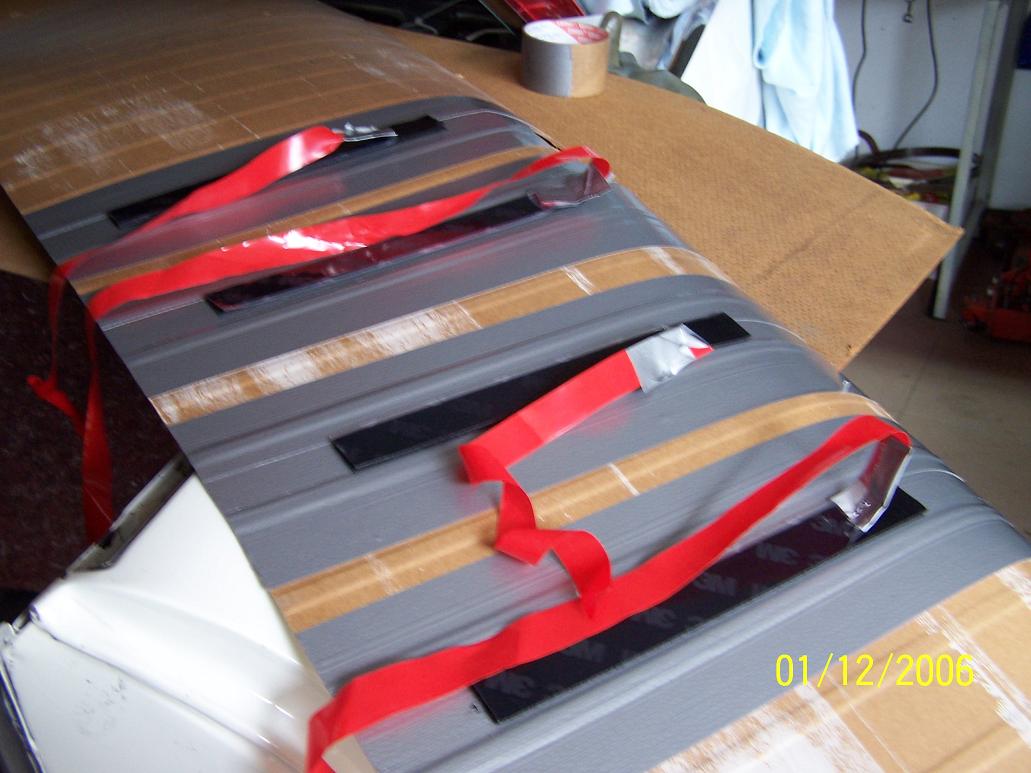
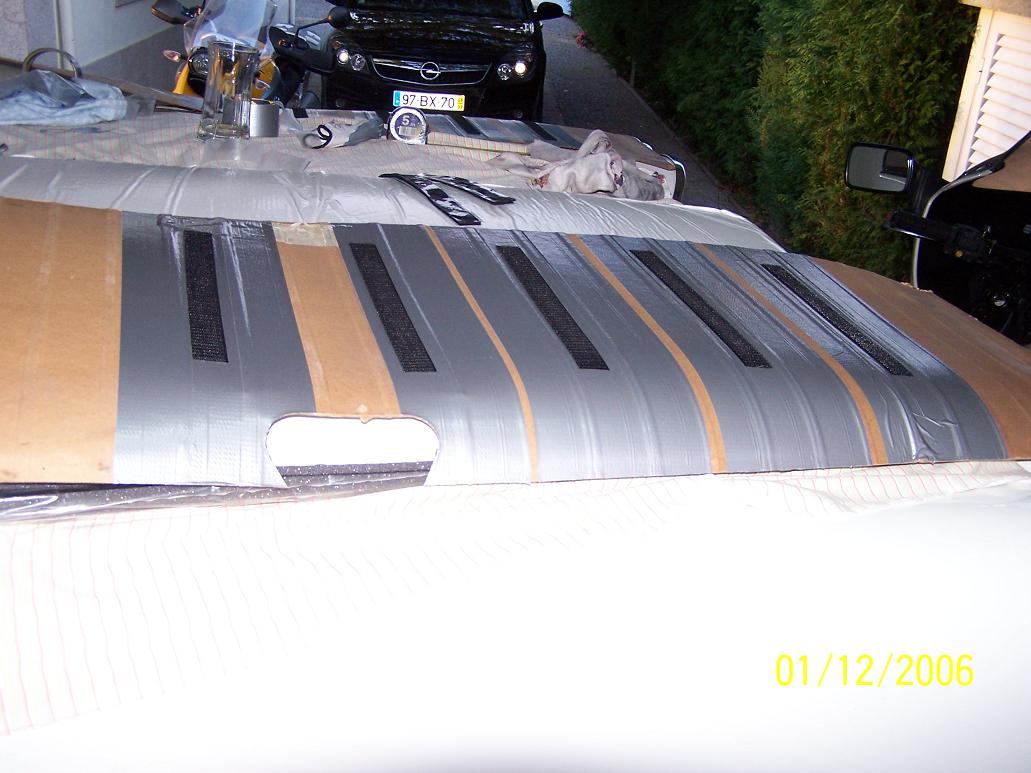
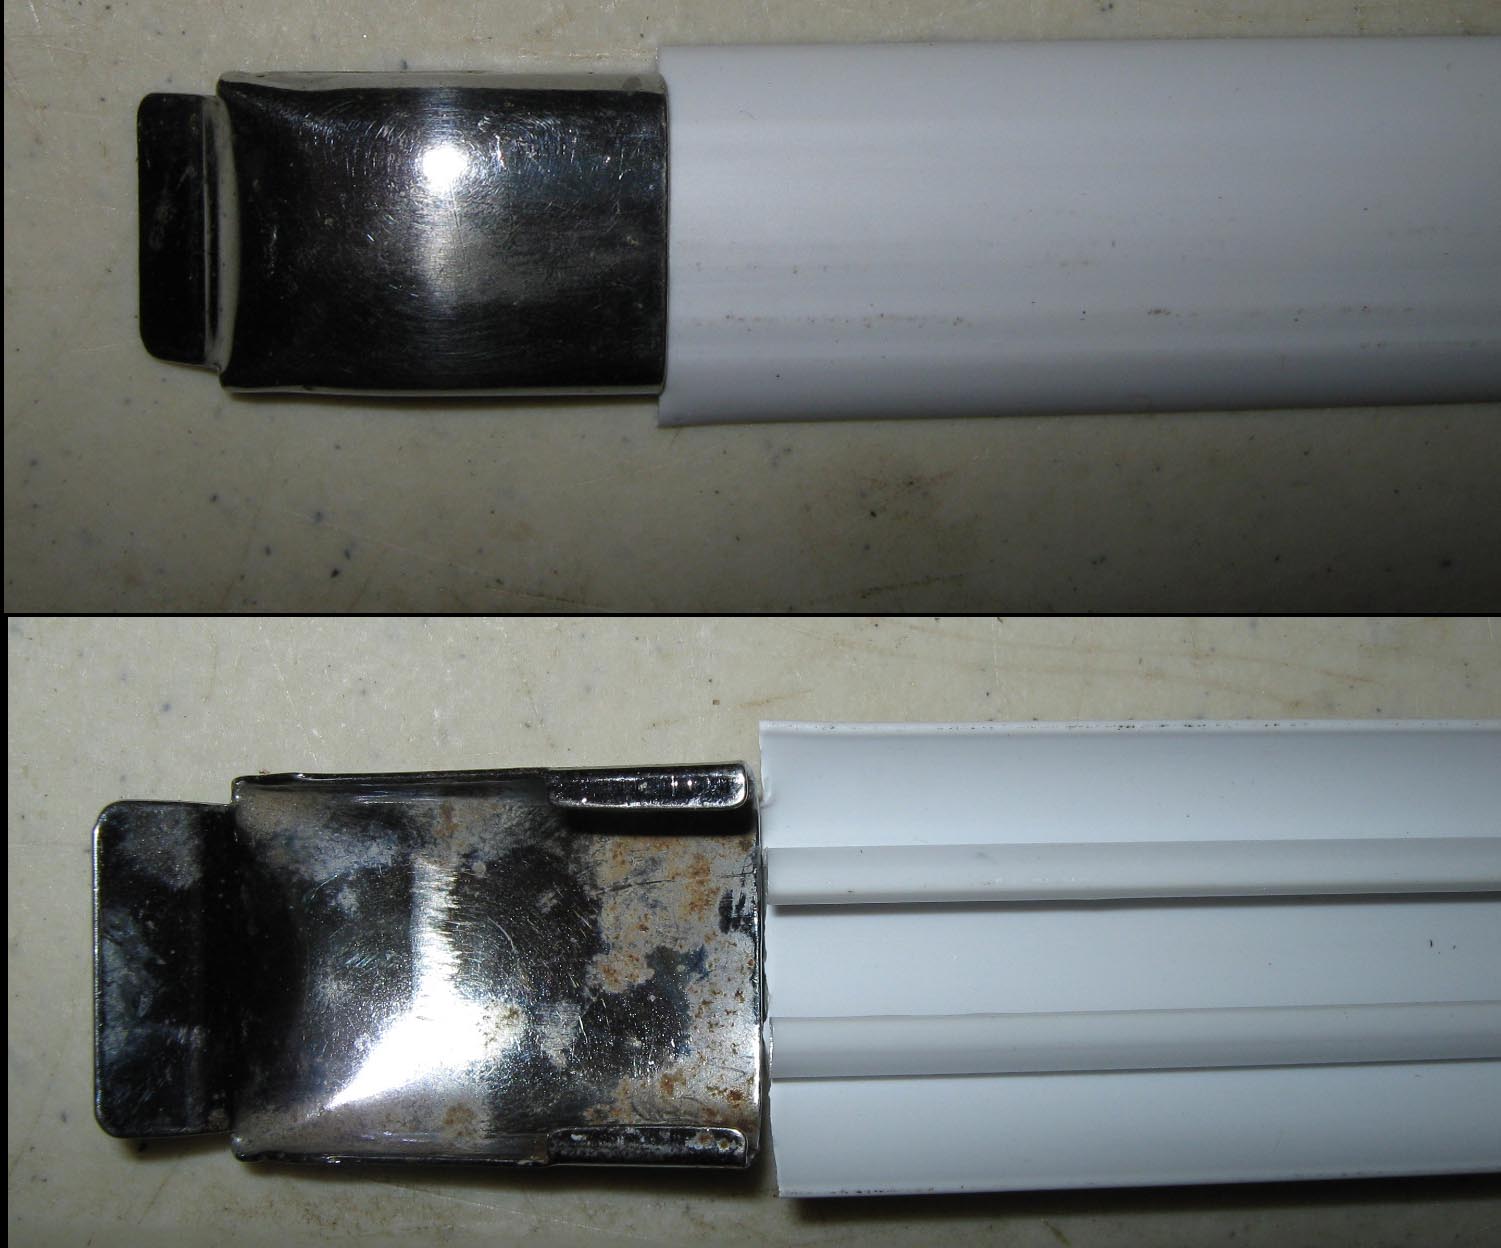
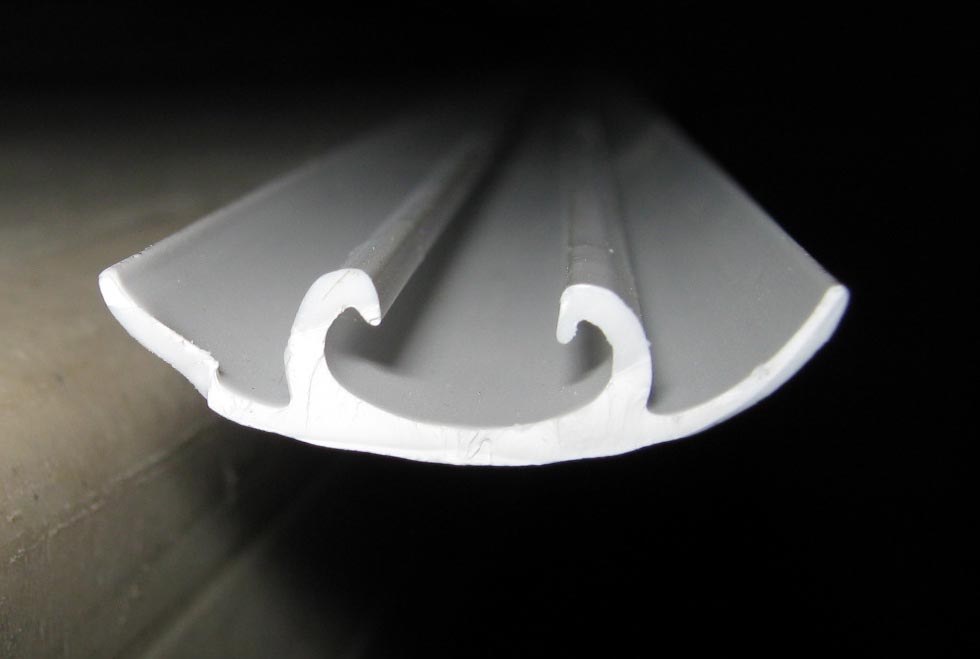
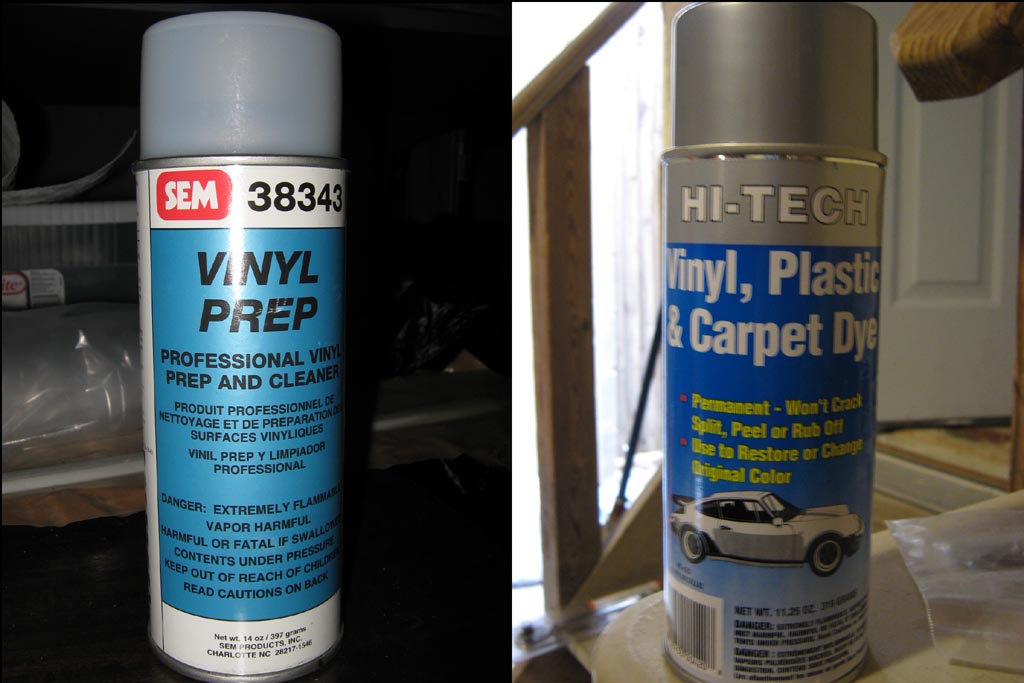
I’ve got a problem, though, with the Caravan strips I’ll be using. They’re white plastic, I’ll be painting them silver. They snap onto the rails great – but, they’re wider than the four chrome strip ends that Tom gave me. Since the only thing holding the ends on is snapping onto the strips, I guess I’ll have to trim the strips at the ends a bit…

Dan

I am impressed with your achievements, Dan! While I noticed the Caravan strips were wider, I didnt see far enough ahead to where the end caps wouldn’t fit.
They make spraypaint for plastic now, hopefully you can find silver/chrome color :slight_smile: .
Why would anyone cut the dome light wires? I didn’t recall they connect at a terminal block. I hope the professional headliner installation doesn’t set you back too much. With that polished stainless and new chrome, the interior is really gonna REALLY perk up.

Thanks, Roger. I’m startin’ to feel the heat, just like Matthew did when he heard I was coming a week early :mrgreen: I realize it’s time for TWSAM to get his butt in gear…

Yeah, here’s a pic of front and back:


Here’s a pic of the Caravan strip dead-on:

I could trim the strip (with great difficulty) the entire length, but then I’d be concerned about it holding the panel in place with sufficient pressure. So I guess I’ll trim it at the ends to allow the clip to snap on, but appear as if it’s butting against it. Not sure what else to do, unless other folks have suggestions.

Yup, I’ll be using SEM prep to make it tacky, then spray with plastic silver paint:

Sorry, I shouldn’t have used that term – it’s really just a connector. The two yellows run to a single connector that joins them to a single yellow; I presume there was something similar for the pink. My guess is there was a short at one time, and this was their brilliant plan for fixing it :laughing:

Yeah, well, I’m working on the premise that time is money; and time is something I don’t have. So let’s just keep this a little secret amongst us guys (hint, hint – how’s that working with Yvonne, Dick?).

Dan

Yes, I vote for the idea of trimming just enuf to get the end caps on.
Looks like you have the paint all figured out.
You are speaking of a plug connector..now I understand!
Additonal springs, E-brake and manifold fixed mid-June.
Headliner ASAP. You are right on track!

OK Dan,

You are going fast! I have so much faith in your plans that I will leave the plastic forks at home as i am convinced we don’t need them this time. Your end caps are not as big of a problem as mine, you just need to figure out how to trim the strips while mine have dissapeared during the resto :angry:

I get your hint but I hope Marjo’s English is bad enough to not understand it :laughing:

If you want Unipol we (Matthew) can put a can in our bags. We did use “autosol” in the past but it doesn’t even come close to the results of Unipol.

Ron