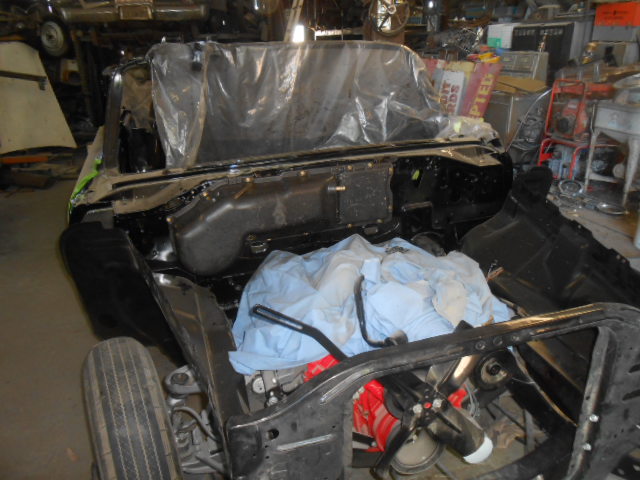
I installed the inner fender panels, also the heater assembly-
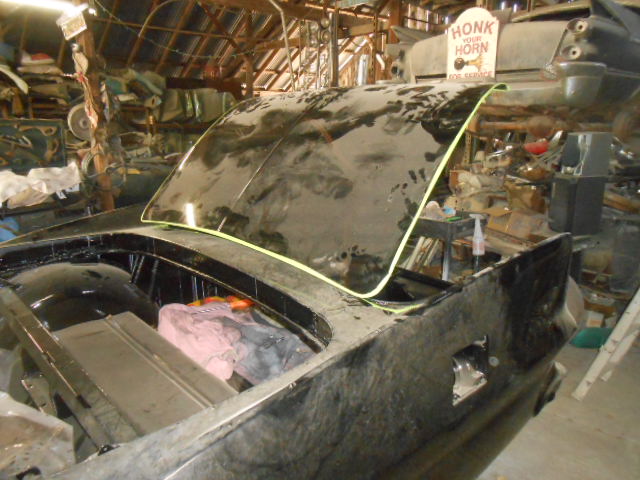
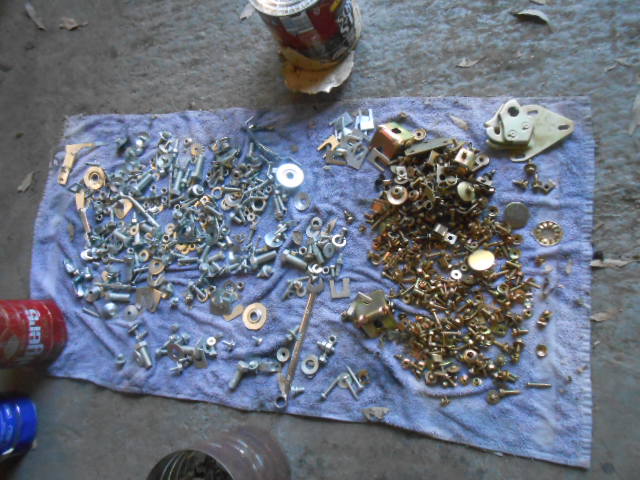
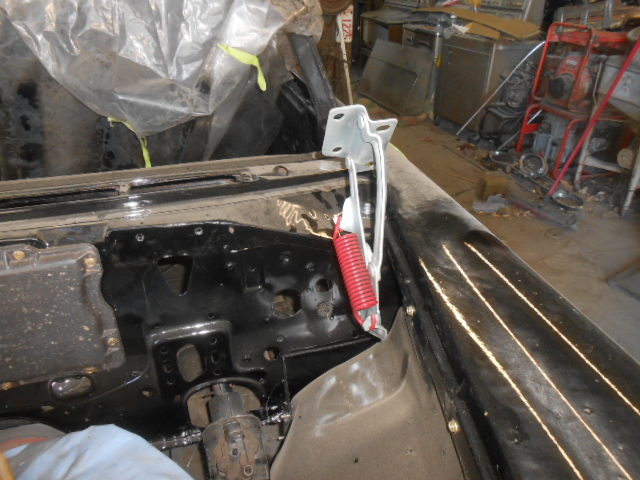
I sent another two coffee cans of hardware off for plating, I was held up because of missing a couple critical small brackets. I installed the trunk torsion bars and hinges, installed the trunk lid, as well as the front fenders. All will require more fitting once the car is buffed out. Also installed the re-plated hood hinges, with brand new springs that Greg Conomos sent me.
All major body panels are now fitted, and most of the car has been sanded with 2000 grit, in preparation for buffing.
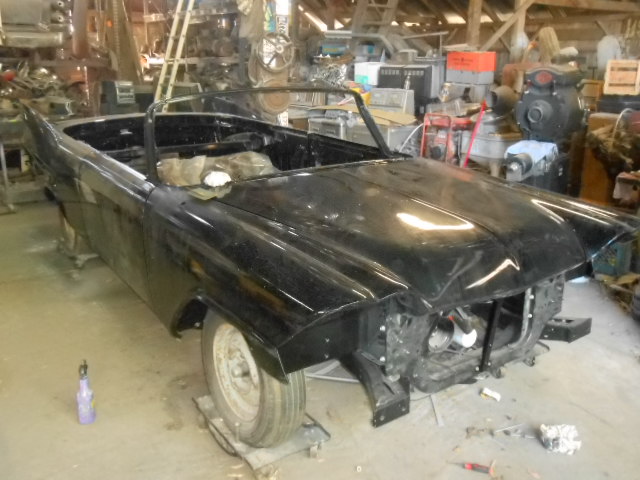
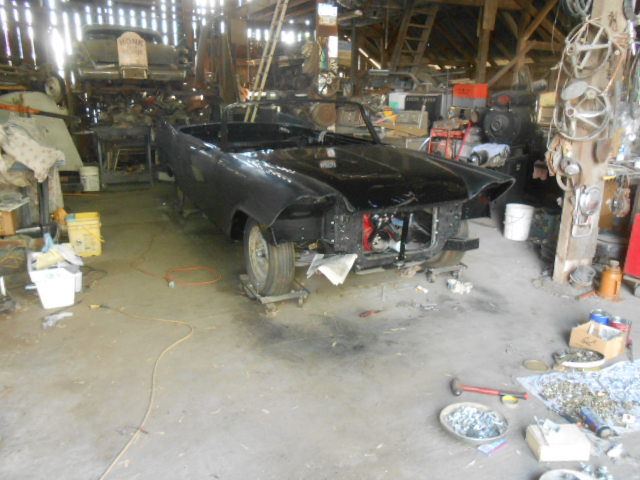
The paint is now all buffed out. I sent most of the aluminum trim out for re-anodizing, hopefully they do a good job.
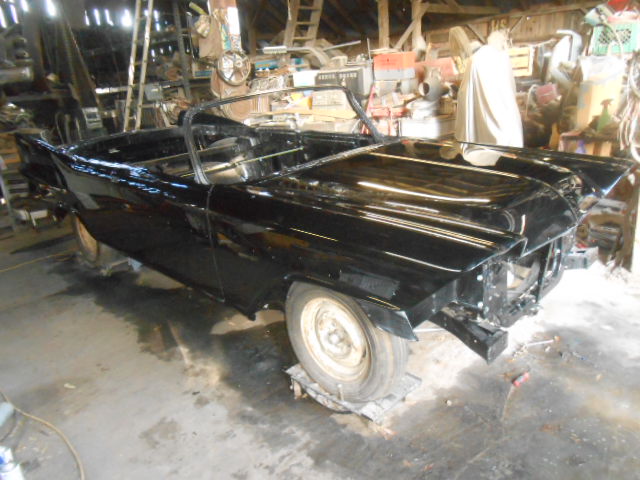
Straightened out the mangled front valance, and painted it and the filler panel argent. Close to 40 hours went into this alone, but good, straight valances are scarce.
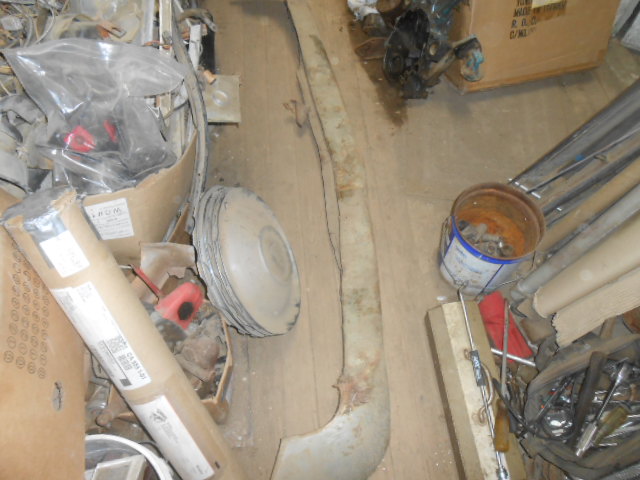
Valance before repairs, flat throughout the center-
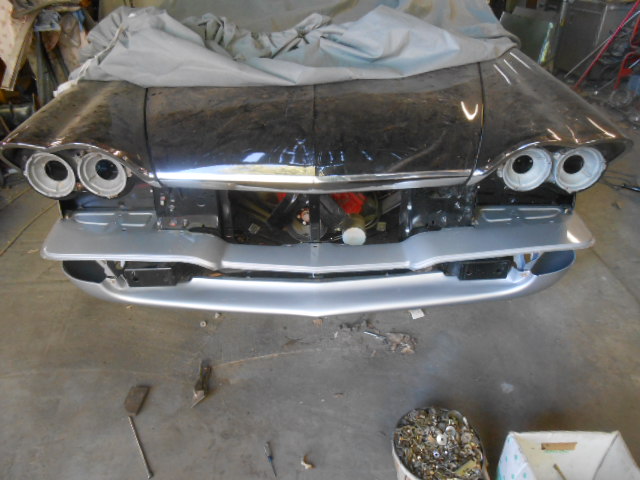
Also installed a few polished trim pieces and headlight buckets-
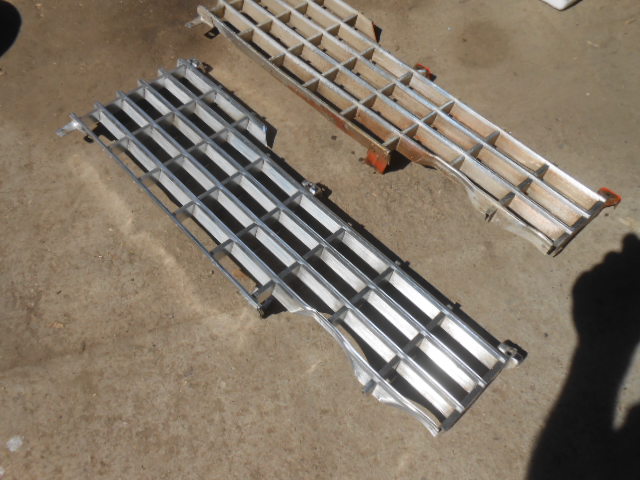
The two grill halves I elected not to send out, for without drilling all the rivets out, the plating would not come out well. Instead I took the tedious job of polishing them with a brass bristle brush and metal polish. Here’s the before and after-
Sum-a-gun John - You might be on the road before me. Classic work. Strange, I did the same thing with my grill.
Dick.
Thanks, Dick!
I still have a long road ahead, though, as all my top bows were junk, and have to be made, also, I still have to make rear seat cushions and find someone to do the upholstery work. My friend that did my other cars is up in years, and unable to continue doing this type of work.
—John
John, I must say you have done so much awesome work. It’s unbelievable what skills you have.
When do you expect to have this finished?
Sorry I missed your post, Matthew.
I don’t really have any idea when I will have this completed, the convertible top components are all in shambles, I have to make rear seat cushions still, and beyond that, my friend that does my upholstery can no longer do it for health reasons.
—John
Assembled the dash using either refurbished or NOS parts. The dash pad was made for me 15 years ago by Dash Specialists.
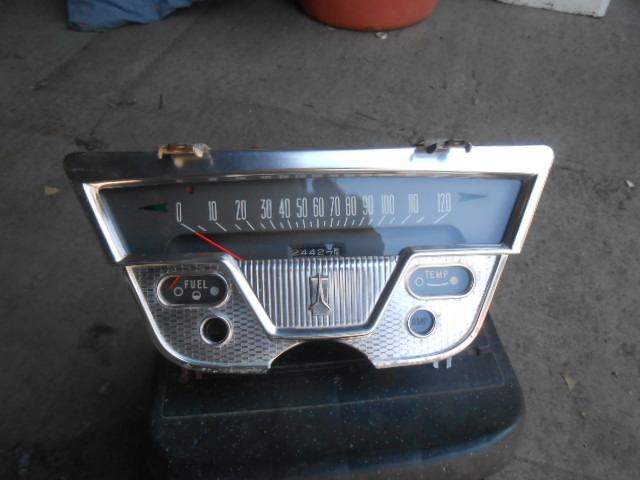
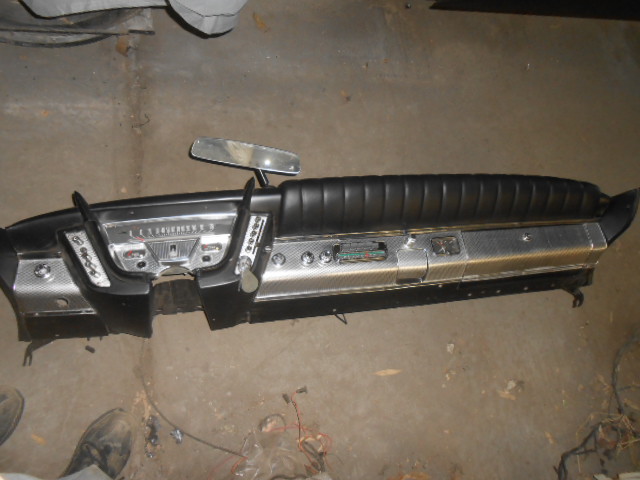
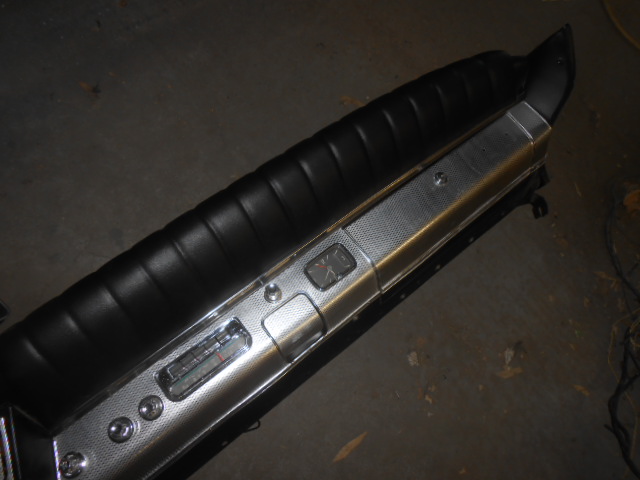
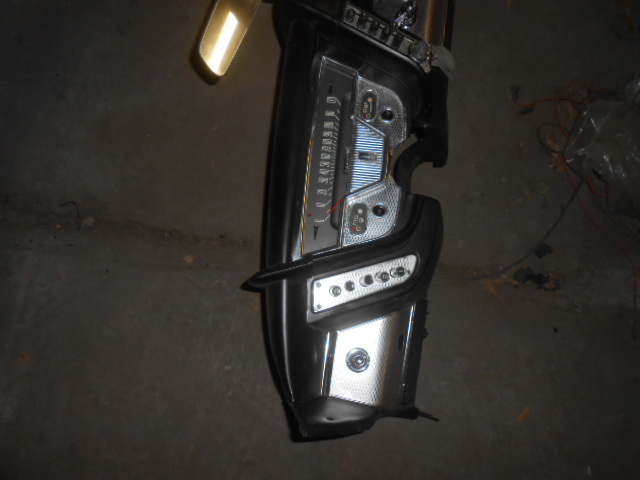
I bought a new, complete harness from Greg Leggatt and hooked up everything behind the dash, then installed it in the car. Next, I found a good, pliable, used windshield gasket in a '59 Chrysler, and soaked it in Go-Jo overnight to soften it up. After cleaning it thoroughly and using bedding compound, it was installed on the windshield, then I installed the windshield in the car.
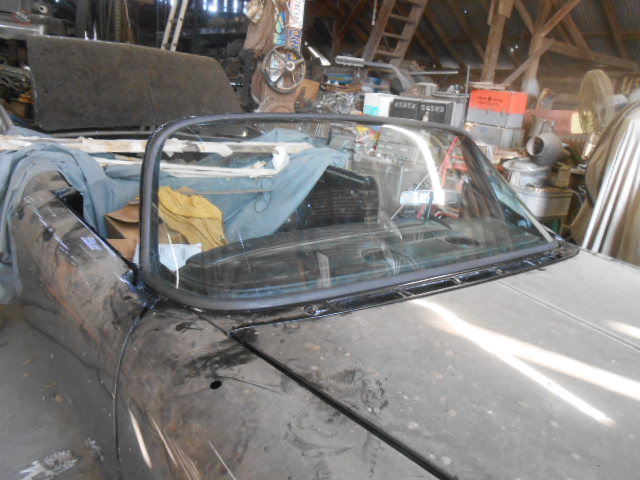
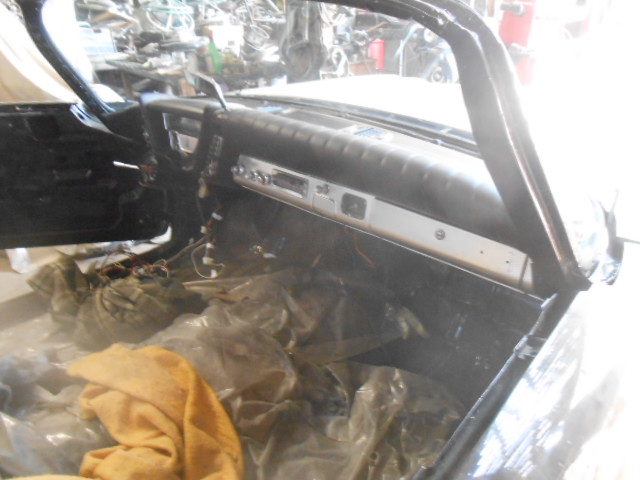
Go-Jo! That’s a new one to me, John. I’ve heard of folks boiling dried out rubber parts in linseed oil, but this seems like an easier way to go about it. Were you happy with the result?
Thanks
Dan
Looking good John - It should not be too long now.
Dick.
Wow… that is talented and dedicated work.
Looking at what you have to work with and what you have achieved is amazing.
Good luck with the upholstery work. Not sure what you are using for fabric. I have used a shop with an experienced upholsterer who has done this kind of work with outstanding results but he is 3,000 miles away from you.
Good luck with the interior.
I’ve used this before, and it’s always seemed to work well. Looks like a newly made gasket now, Dan.
Thanks!
John: Looks like A million!!! Looking back from what it was to now is amazing.I love watching Dick and you post your progress on your cars,there needs to be A reality tv show on the two of you!!! Mark M
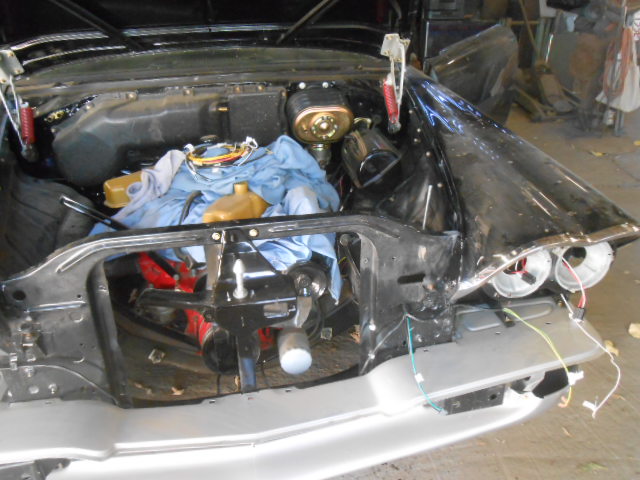
I routed the front wiring harness, and installed the rebuilt brake booster, new master cylinder, and vacuum tank.
I got the majority of my aluminum trim back from the plater, everything looked good, except for the trunklid ‘toilet seat’ insert, which is pretty well destroyed. There’s a chance they misunderstood what I was wanting, I have a couple spares, but may find someone else to do it depending on what I am told.
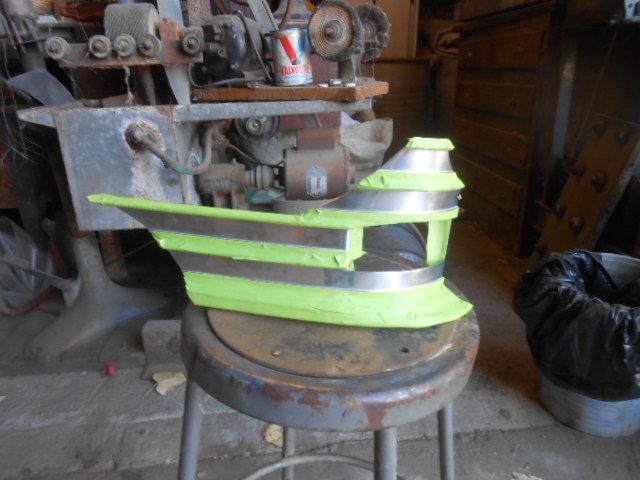
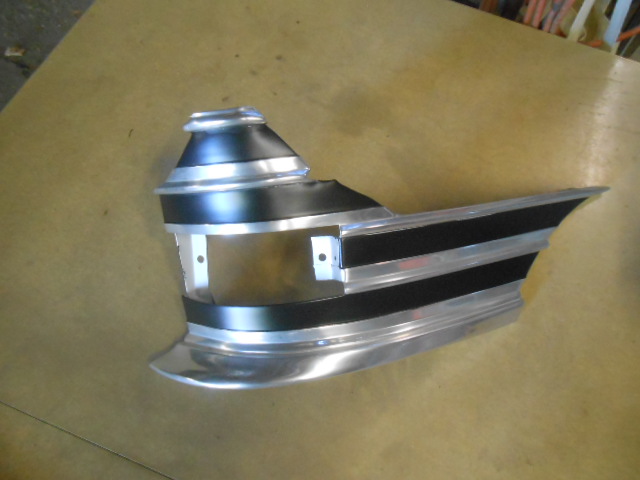
I masked and painted the parking light bezels, and reassembled them to the lower grill strips and grills with all redone original hardware. Then I fitted the assemblies into the front filler panel, and bolted them in. Next, I acid dipped the park light sockets briefly to remove corrosion, then painted them silver for better reflection. Next, NOS lenses were installed.
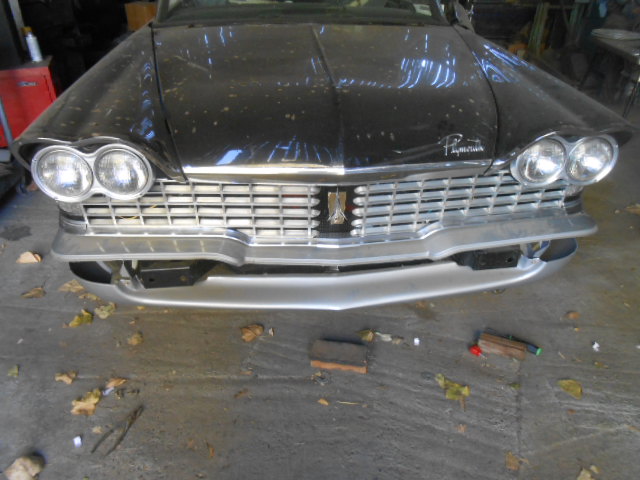
More side trim fitted and installed. Time consuming considering I had to refurbish quite a few of the clips and modify a few to line the trim pieces up better.
Fantastic John - Isn’t a lot more fun putting it back together? As a note I used bright white spray paint as a reflector in my lights and they are much brighter that silver paint. That car is going to be outstanding.
Dick.