Wow. Just… Wow.
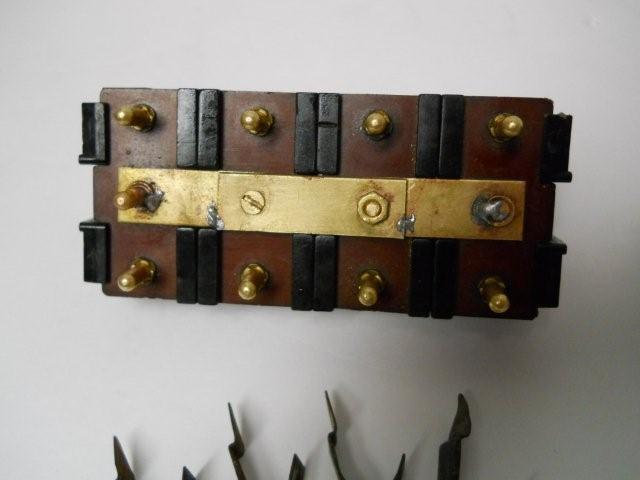
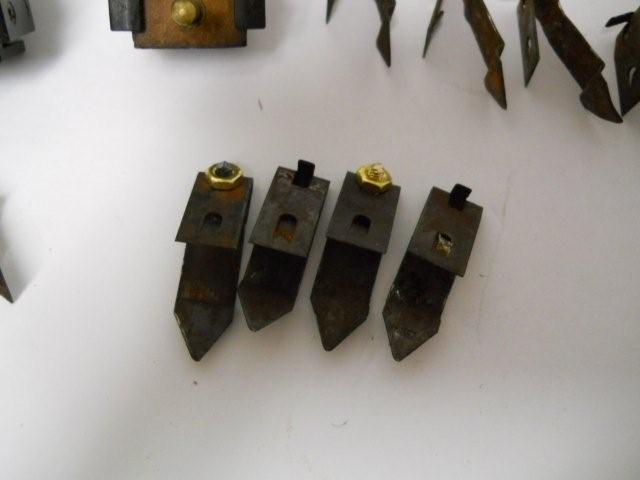
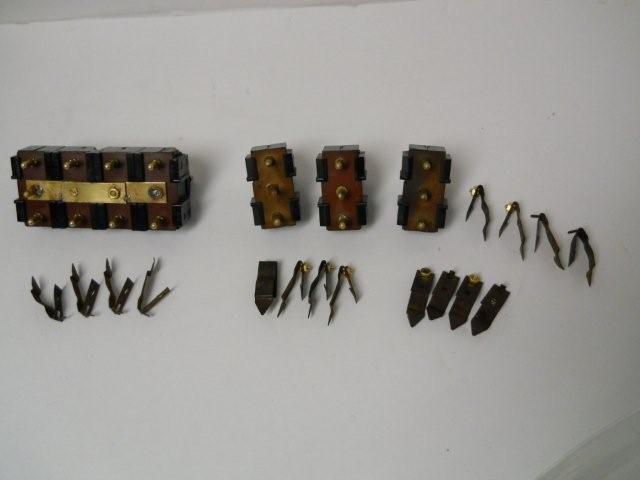
Check out the pix. Of course, I agreed to let Devin put them back together once Frankford Plating is done with the bezels. Like new!
Wow. Just… Wow.
Check out the pix. Of course, I agreed to let Devin put them back together once Frankford Plating is done with the bezels. Like new!
Wow in deed! they look fantastic! Maybe in the next few months I will box up mine and send to him for the same kind of treatment. Speaking of the wiring, Are you using the original wiring or a repro or after market harness?
My harnesses appear to be in good shape, Will - so, I plan to keep the original wires. But, I’ll be replacing the housings with these 3D printed parts from Vincent Van Humbeeck. I note further in that thread that I got 'em. Hopefully it will all come together!
I got the same housings from Vincent along with the wire clips. I have a box of assorted wiring components, connectors and terminals and a 100% complete harness at home but all the wiring is brittle and hard and I don’t trust it so I will make my own or might get one from YnZ, they can make new harnesses as well. I cant wait to see how yours goes together and installs.
I got my Bowtie (2007 Cobalt) inspected at a local shop by the name of Drexel Automotive, and on Thursday I went to pick it up. There was a '55 Nomad in the lot - I wish I had taken a pic, it was sharp. I asked the proprietor, John Hauser, if the car belonged to somebody in the shop, or if it was there to be worked on. He said they were doing work on it, sure, they would work on Faulkner!
I’ve dealt with these guys over the years, never knowing they worked on classics. They’ve always done good work for me and treated me fairly, and their reviews are outstanding. At 2.6 miles from me, this is the place to go.
The only downside is they don’t bend stainless, and my lead stainless pipes are just not bent correctly. But, he will make up aluminized lead pipes for me, so I may end of going that way. I’m guessing that after two years I wont be able to return those pipes to Waldron, but perhaps they’ll give me something.
So, I can pile my boxes of brake and exhaust parts into Faulkner, and get it towed over to Drexel Automotive. And, that’s what I’m going to do - after I get Faulkner started, and after Mary Kay and I get back from the Amalfi Coast in Italy. Hey, somebody’s go to do it!
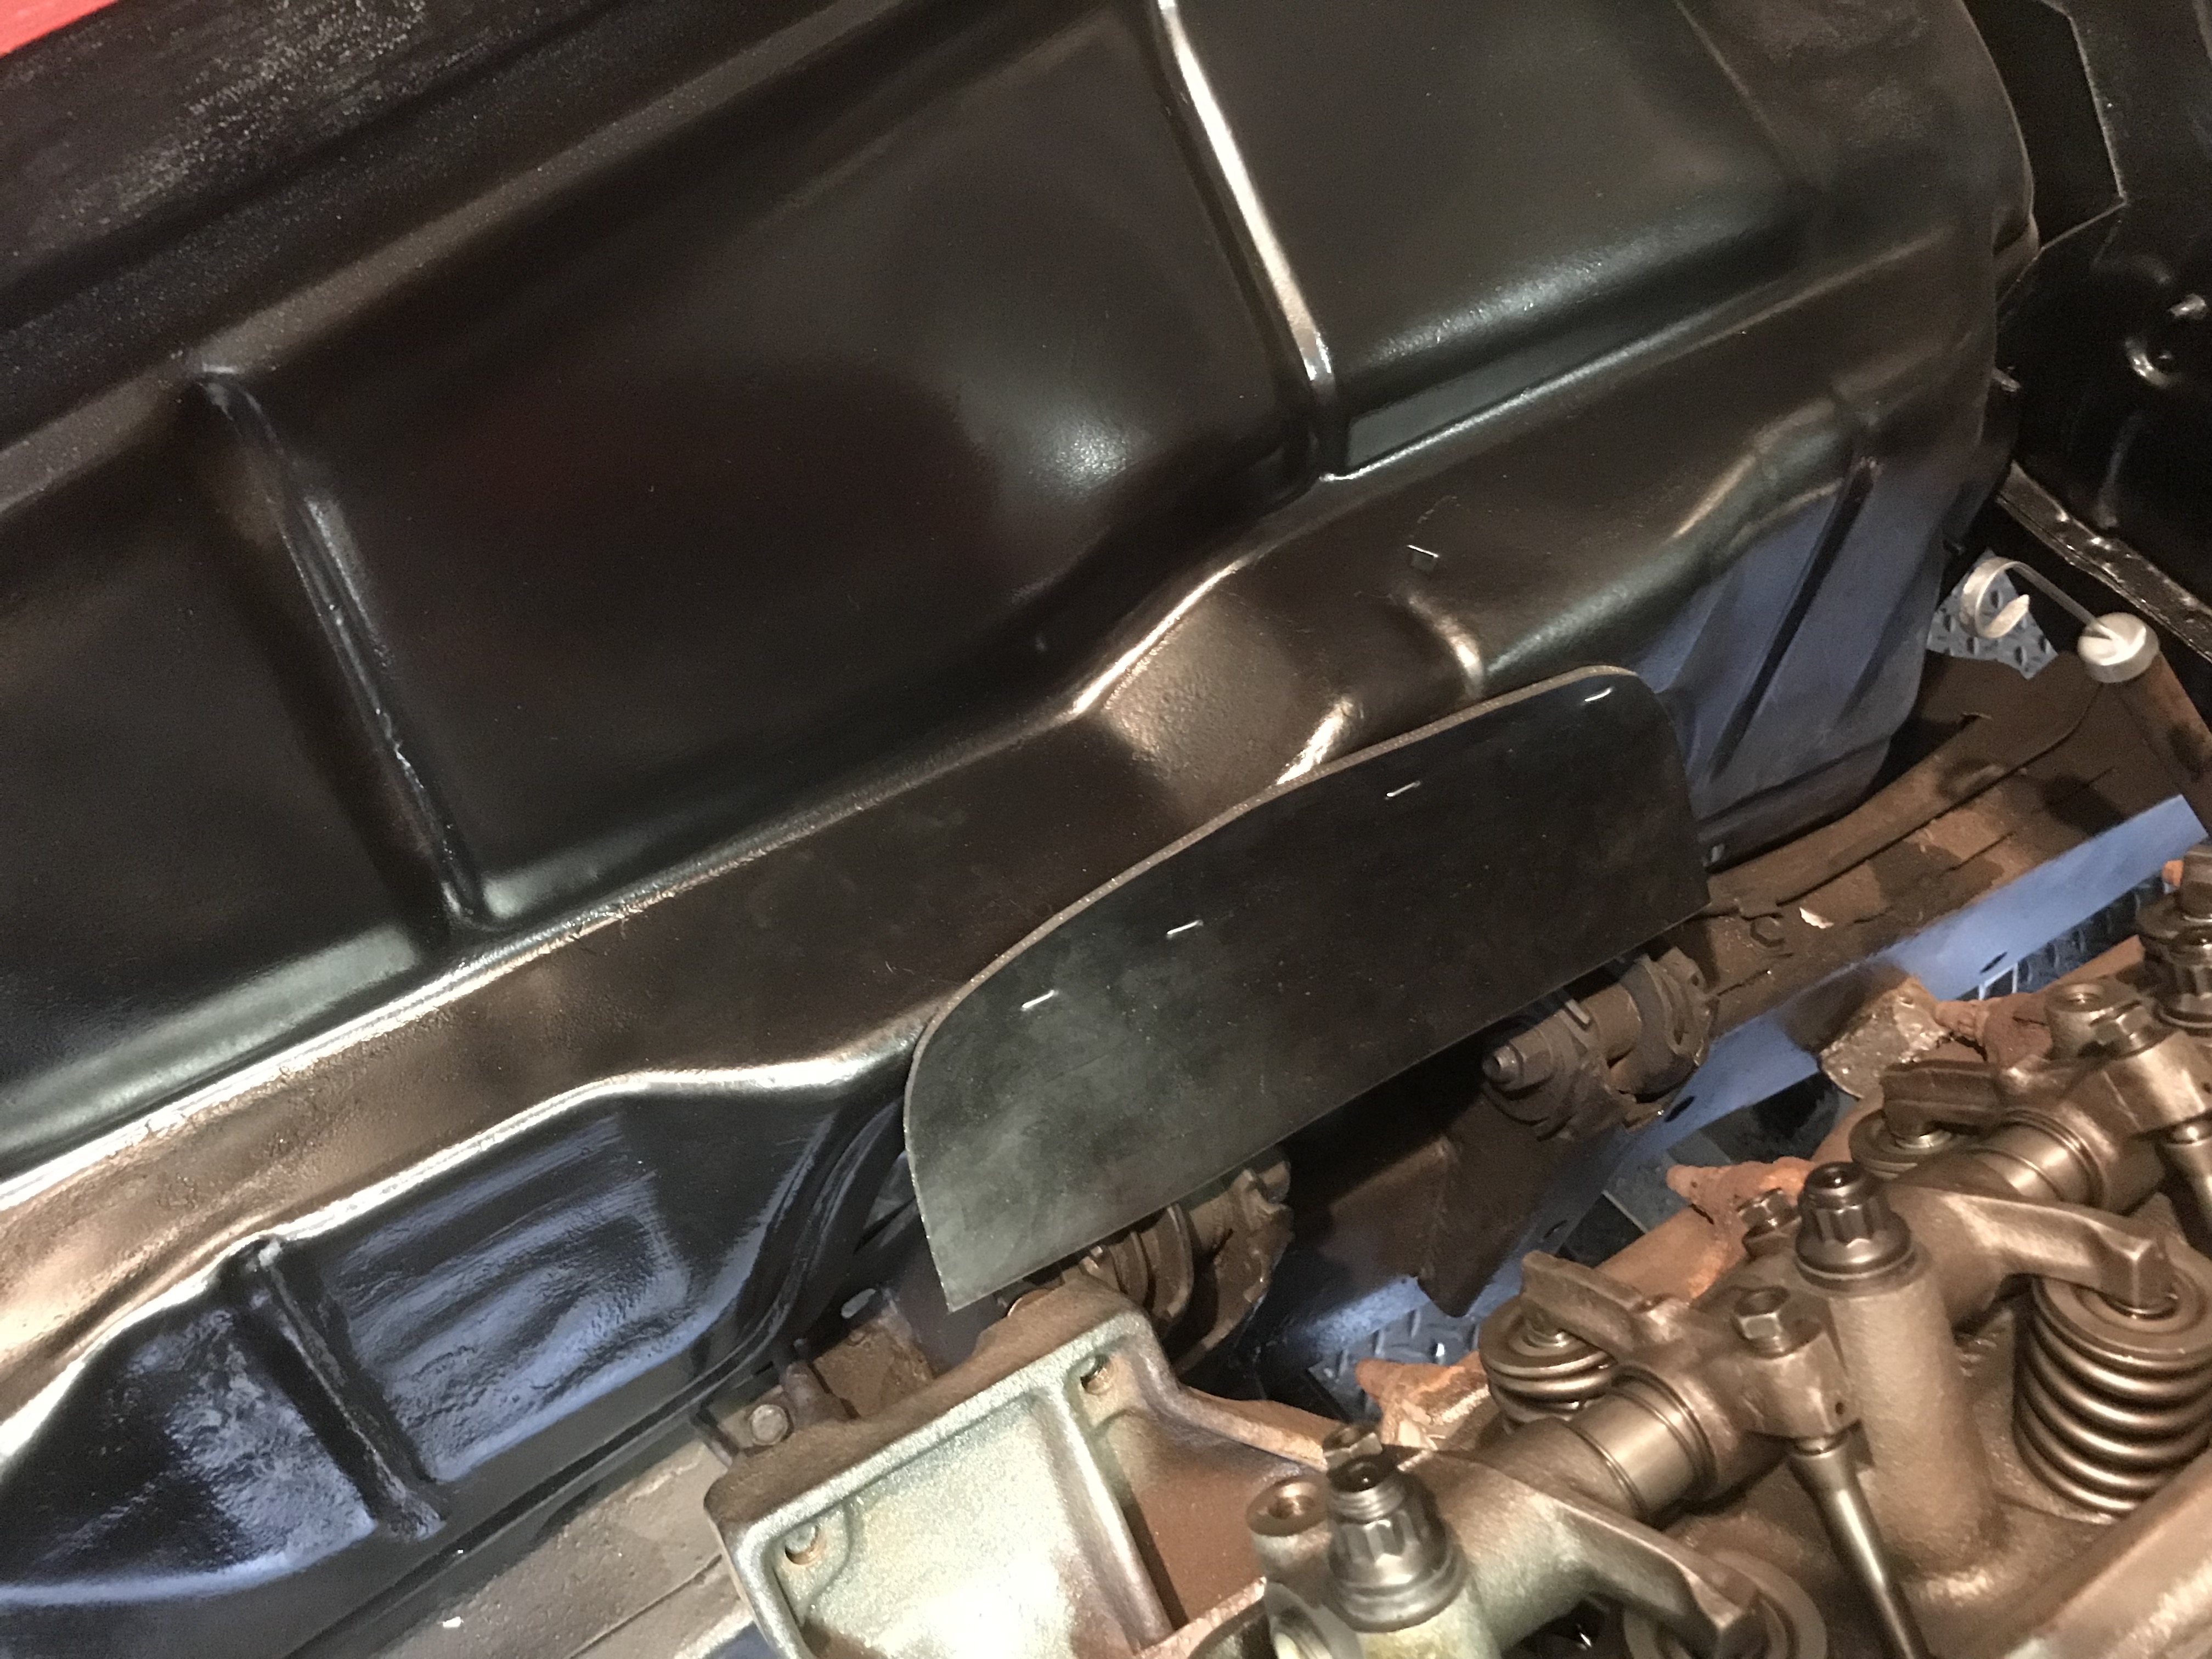
A couple more bites of the elephant today. I wasn’t sure how I was going to get the splash shields on as a one man show, but I came up with a strategy.
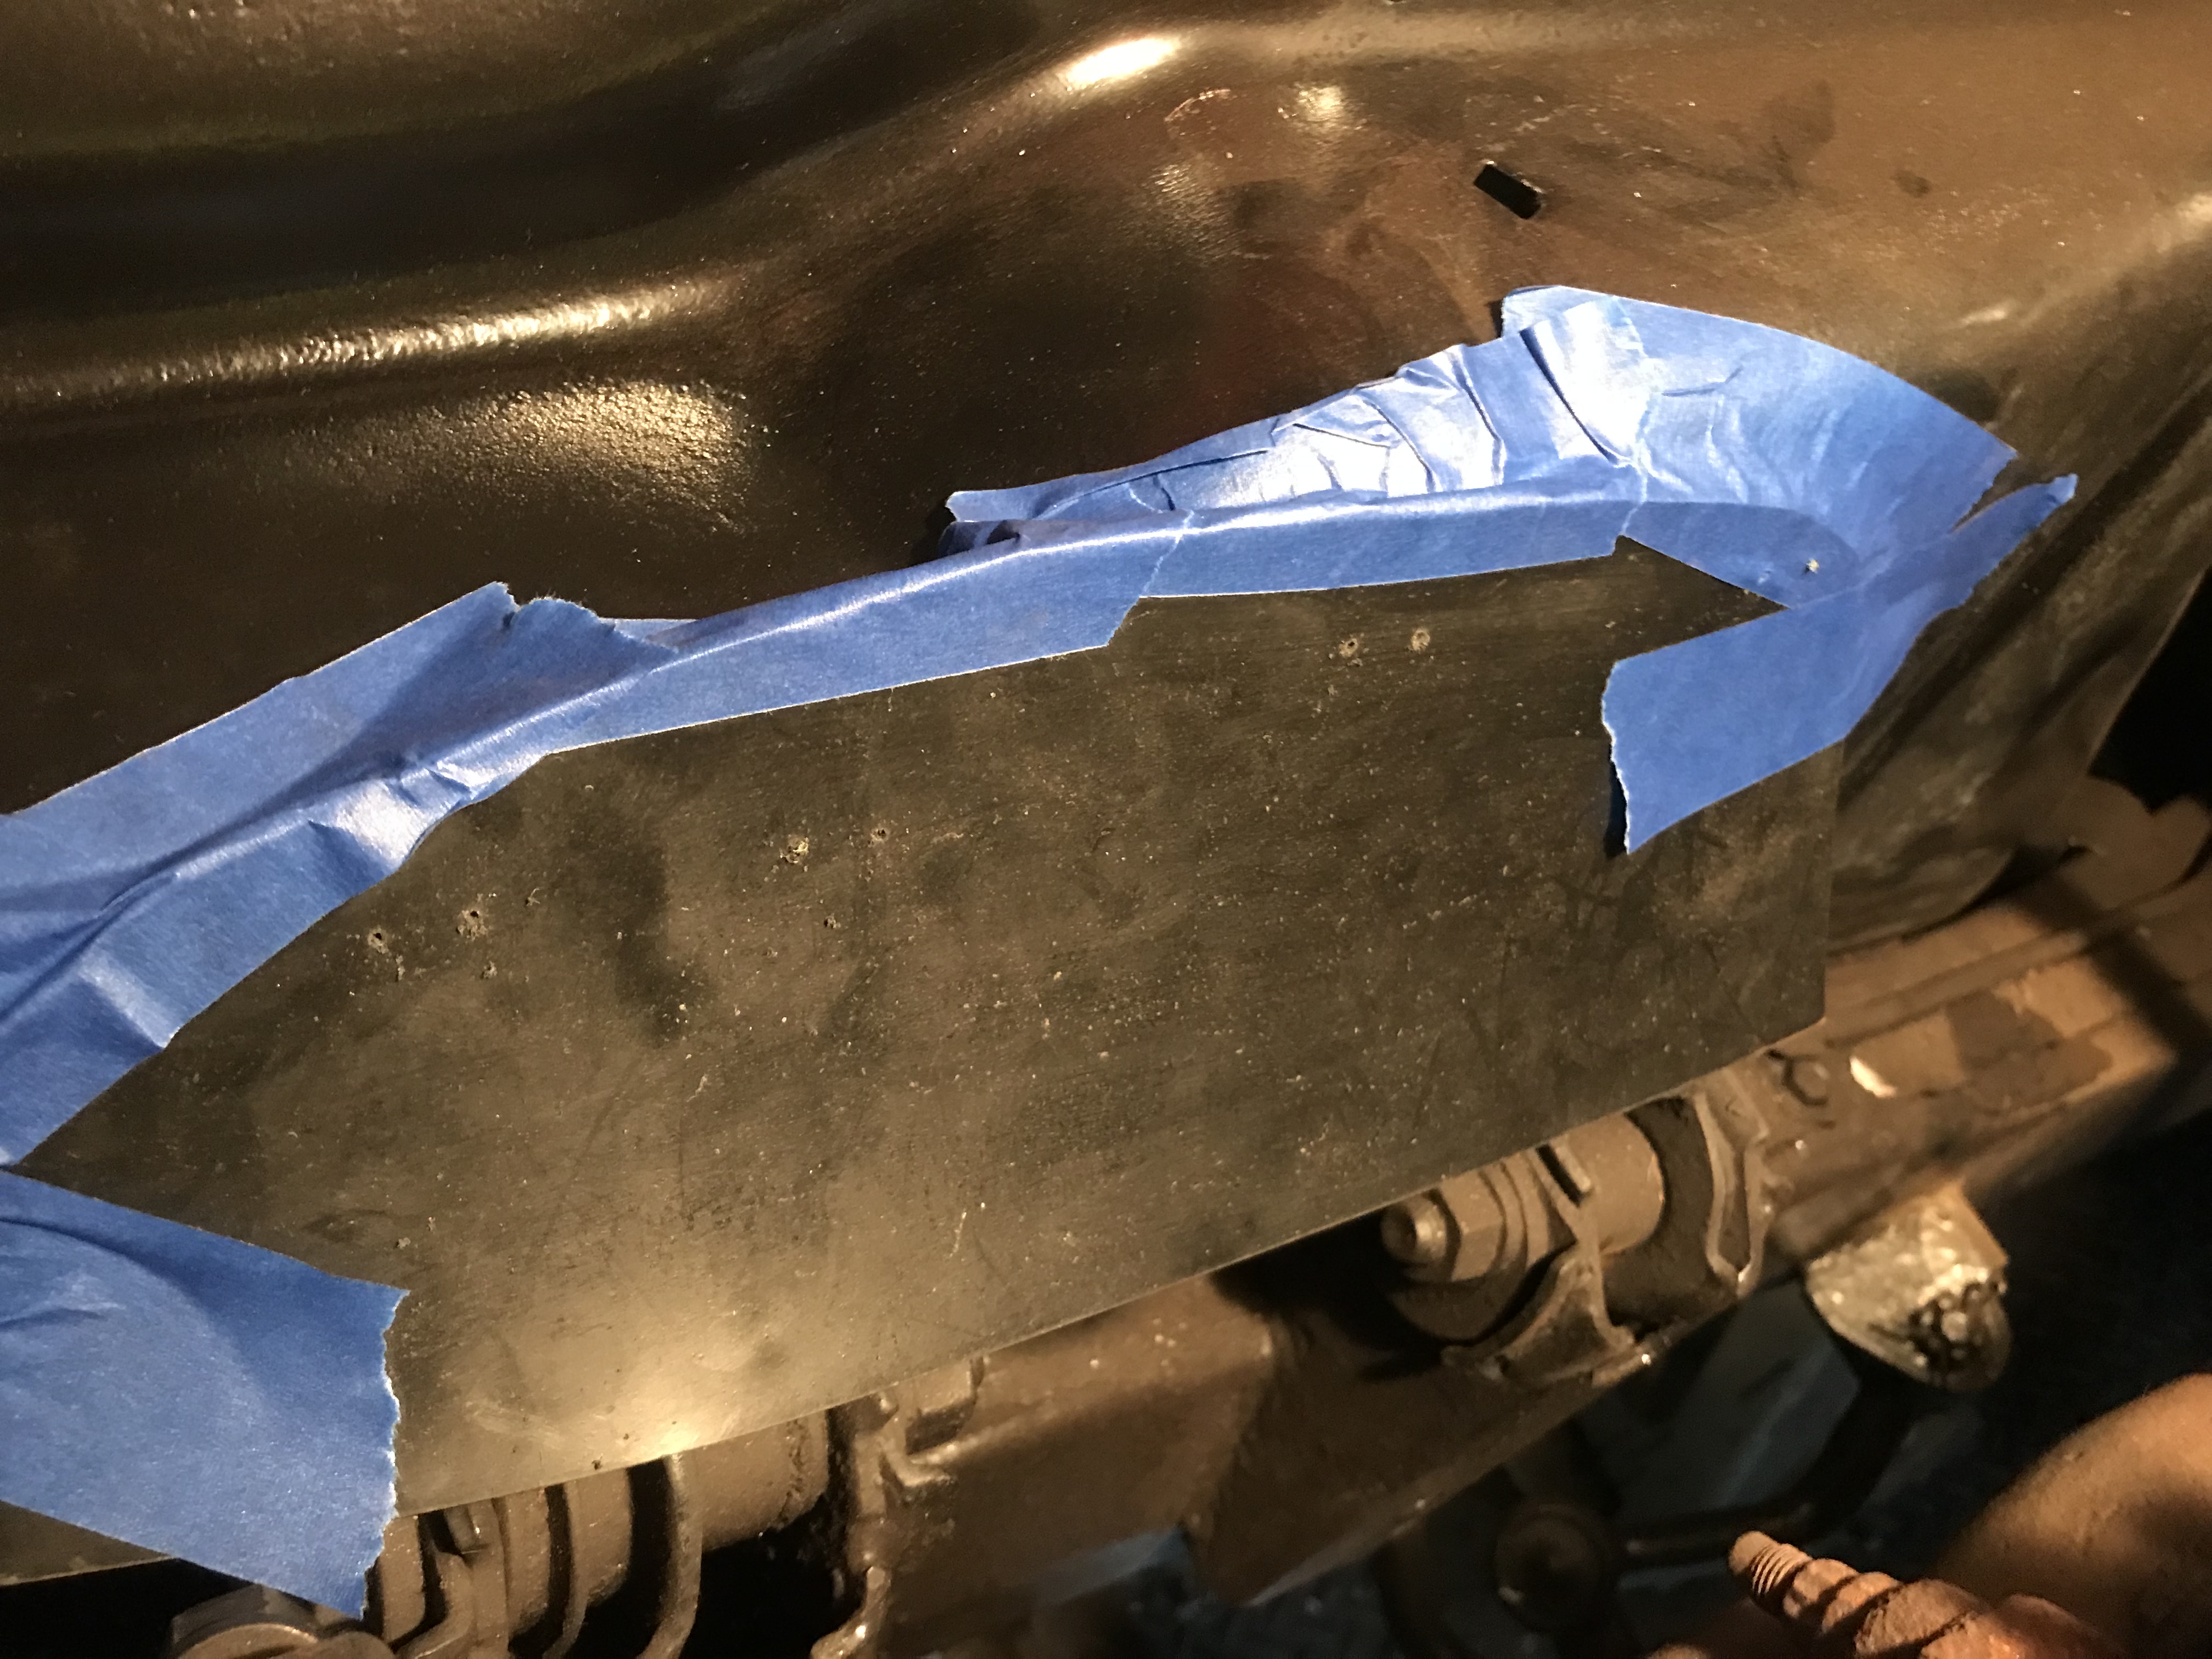
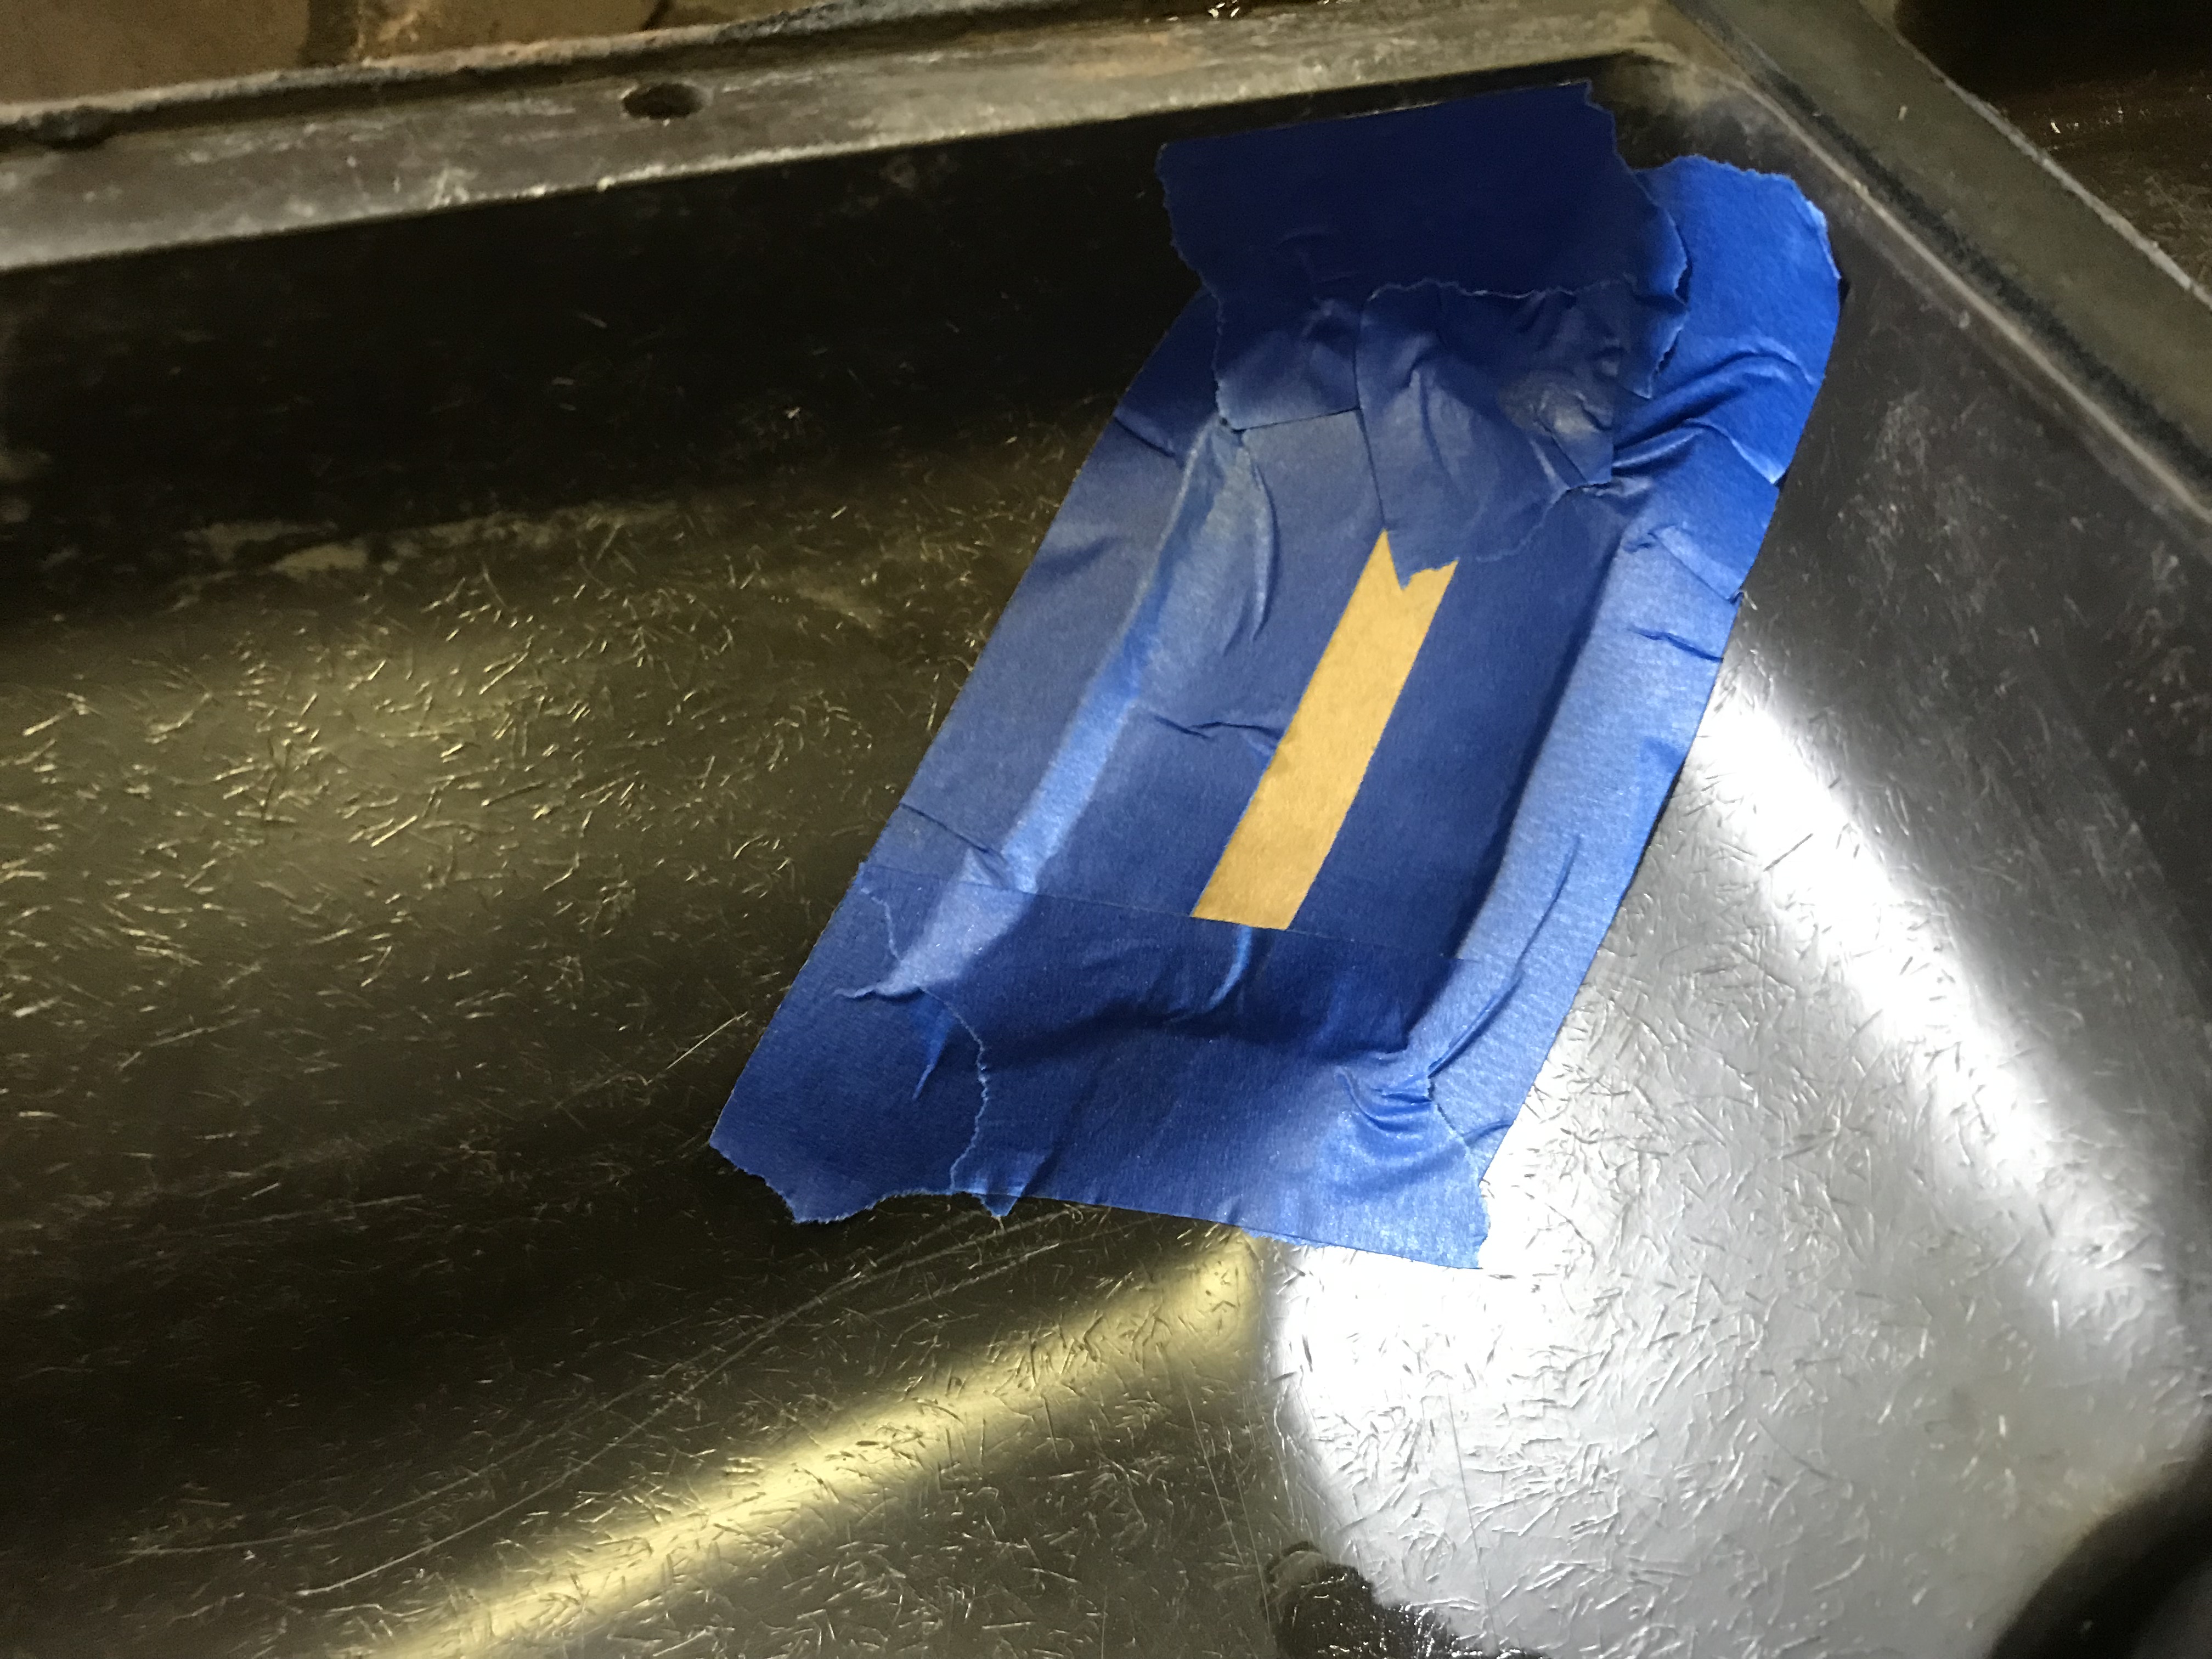
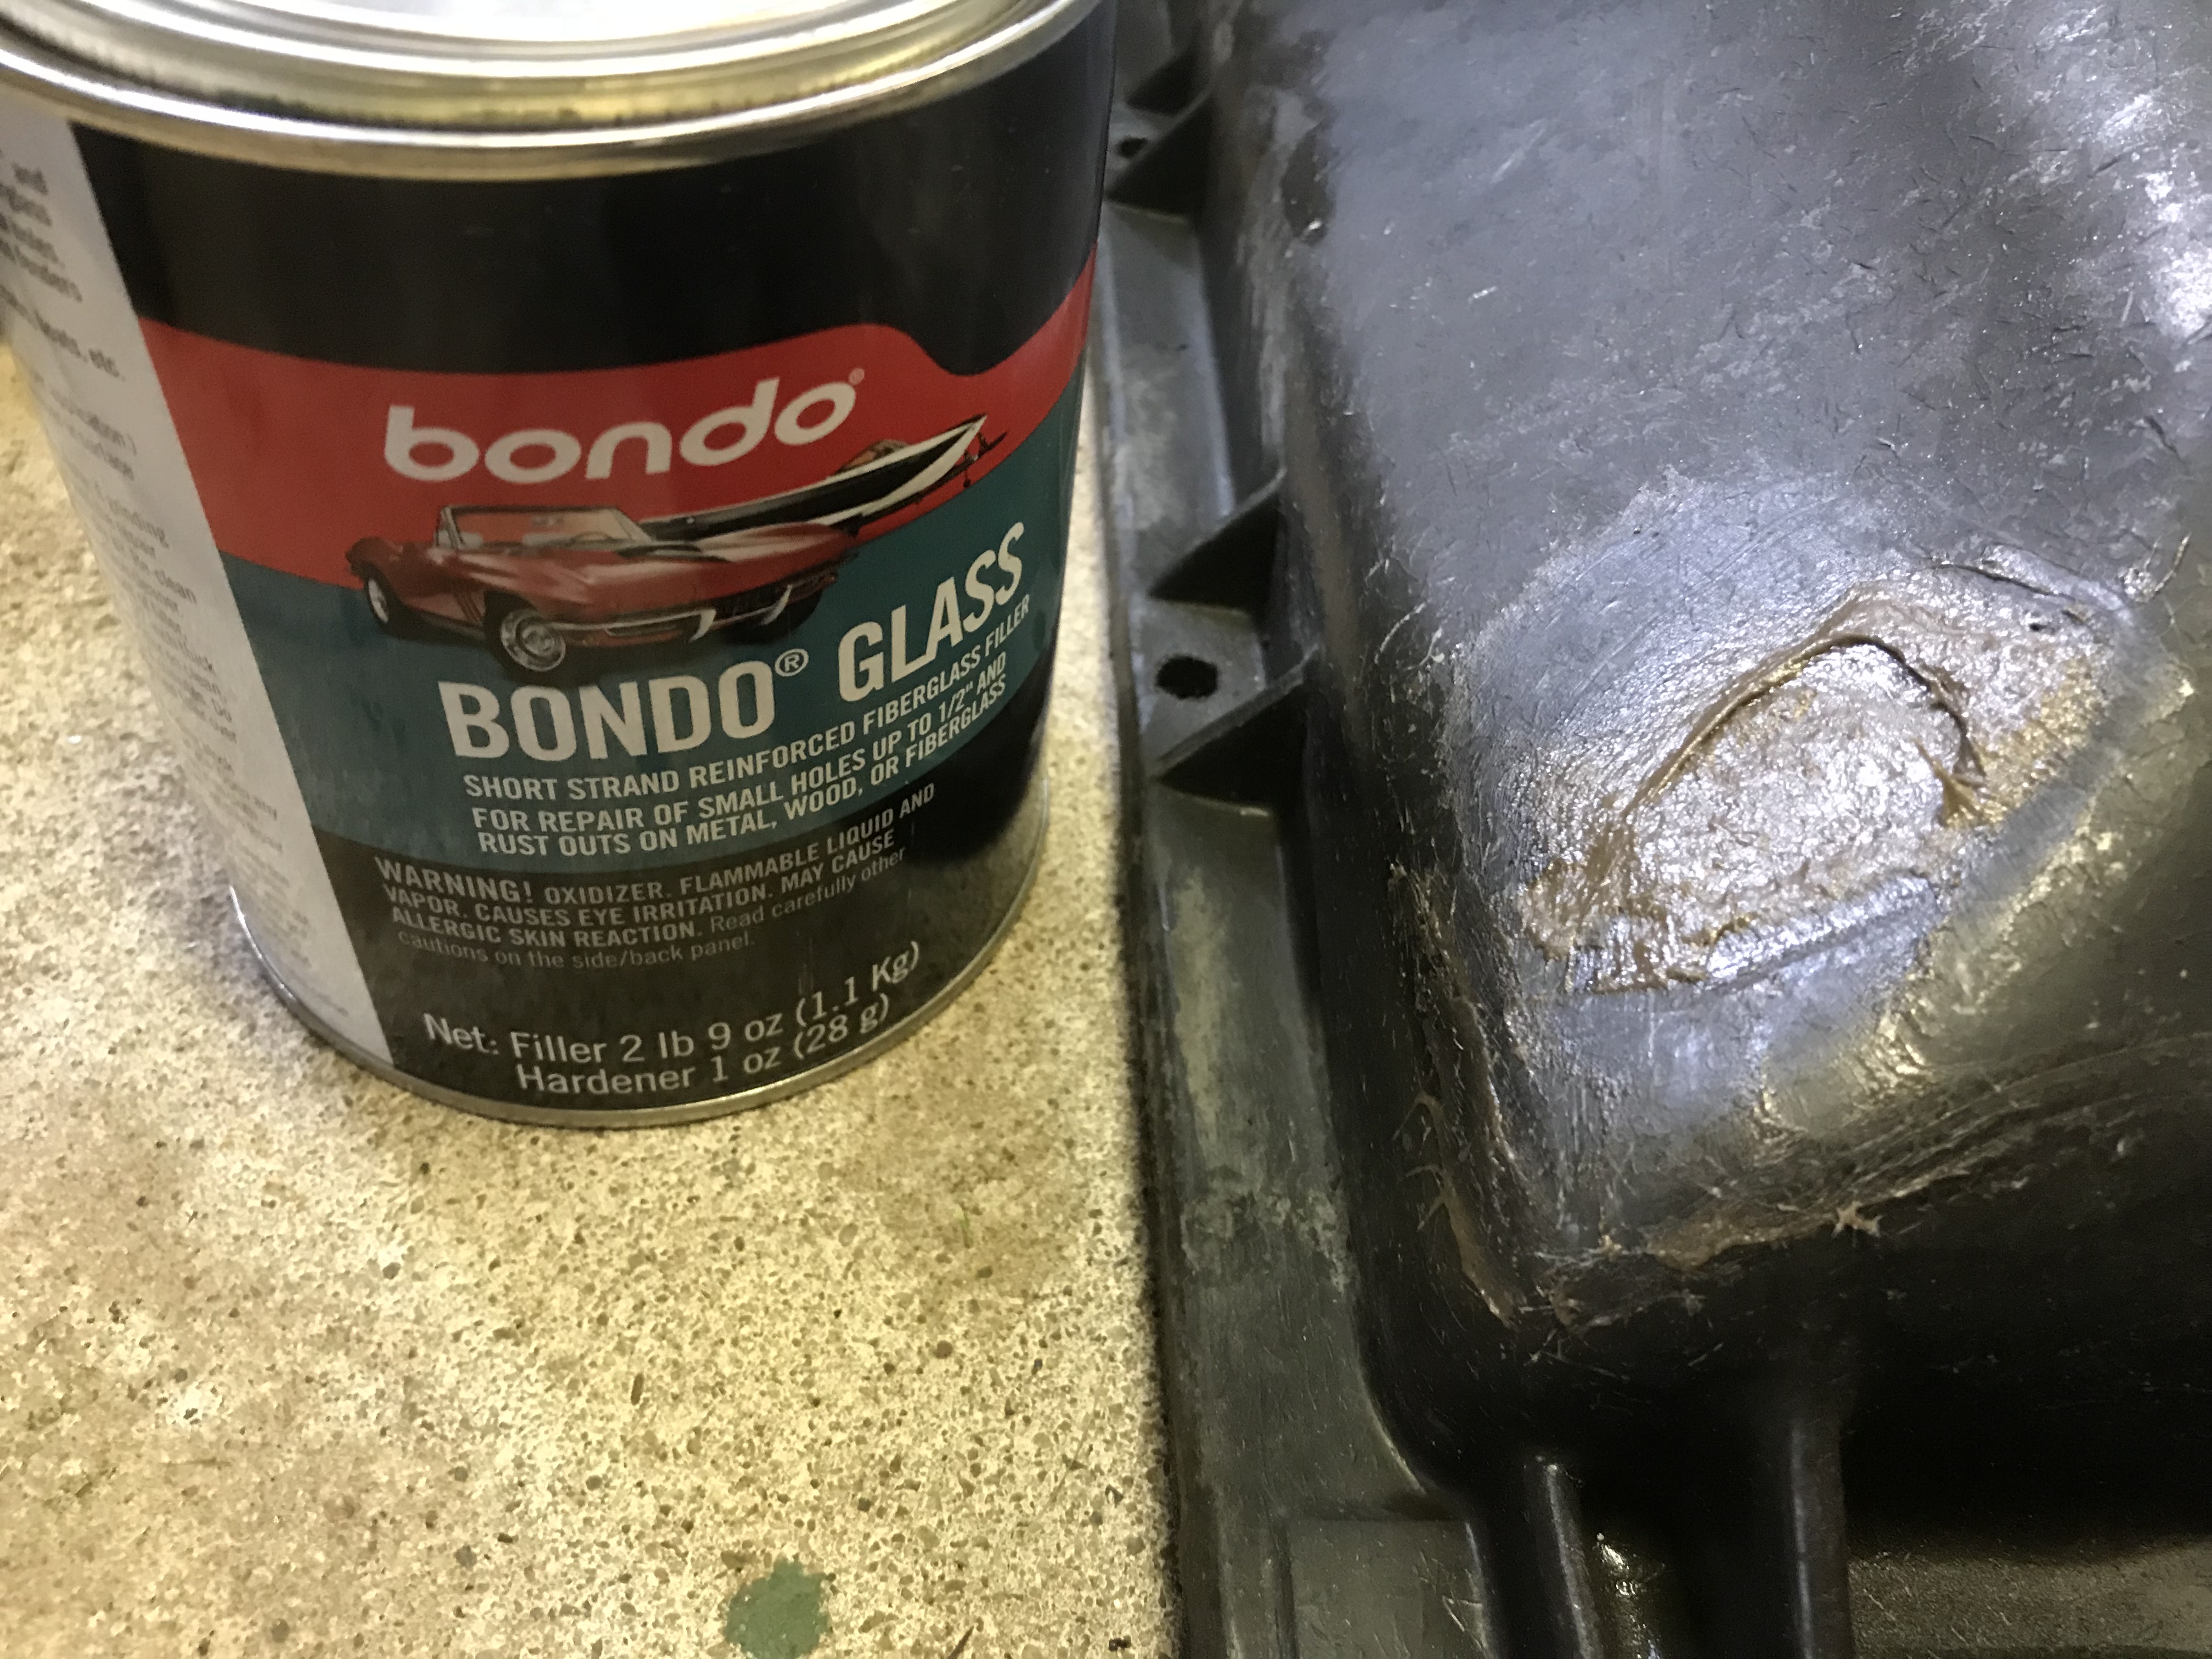
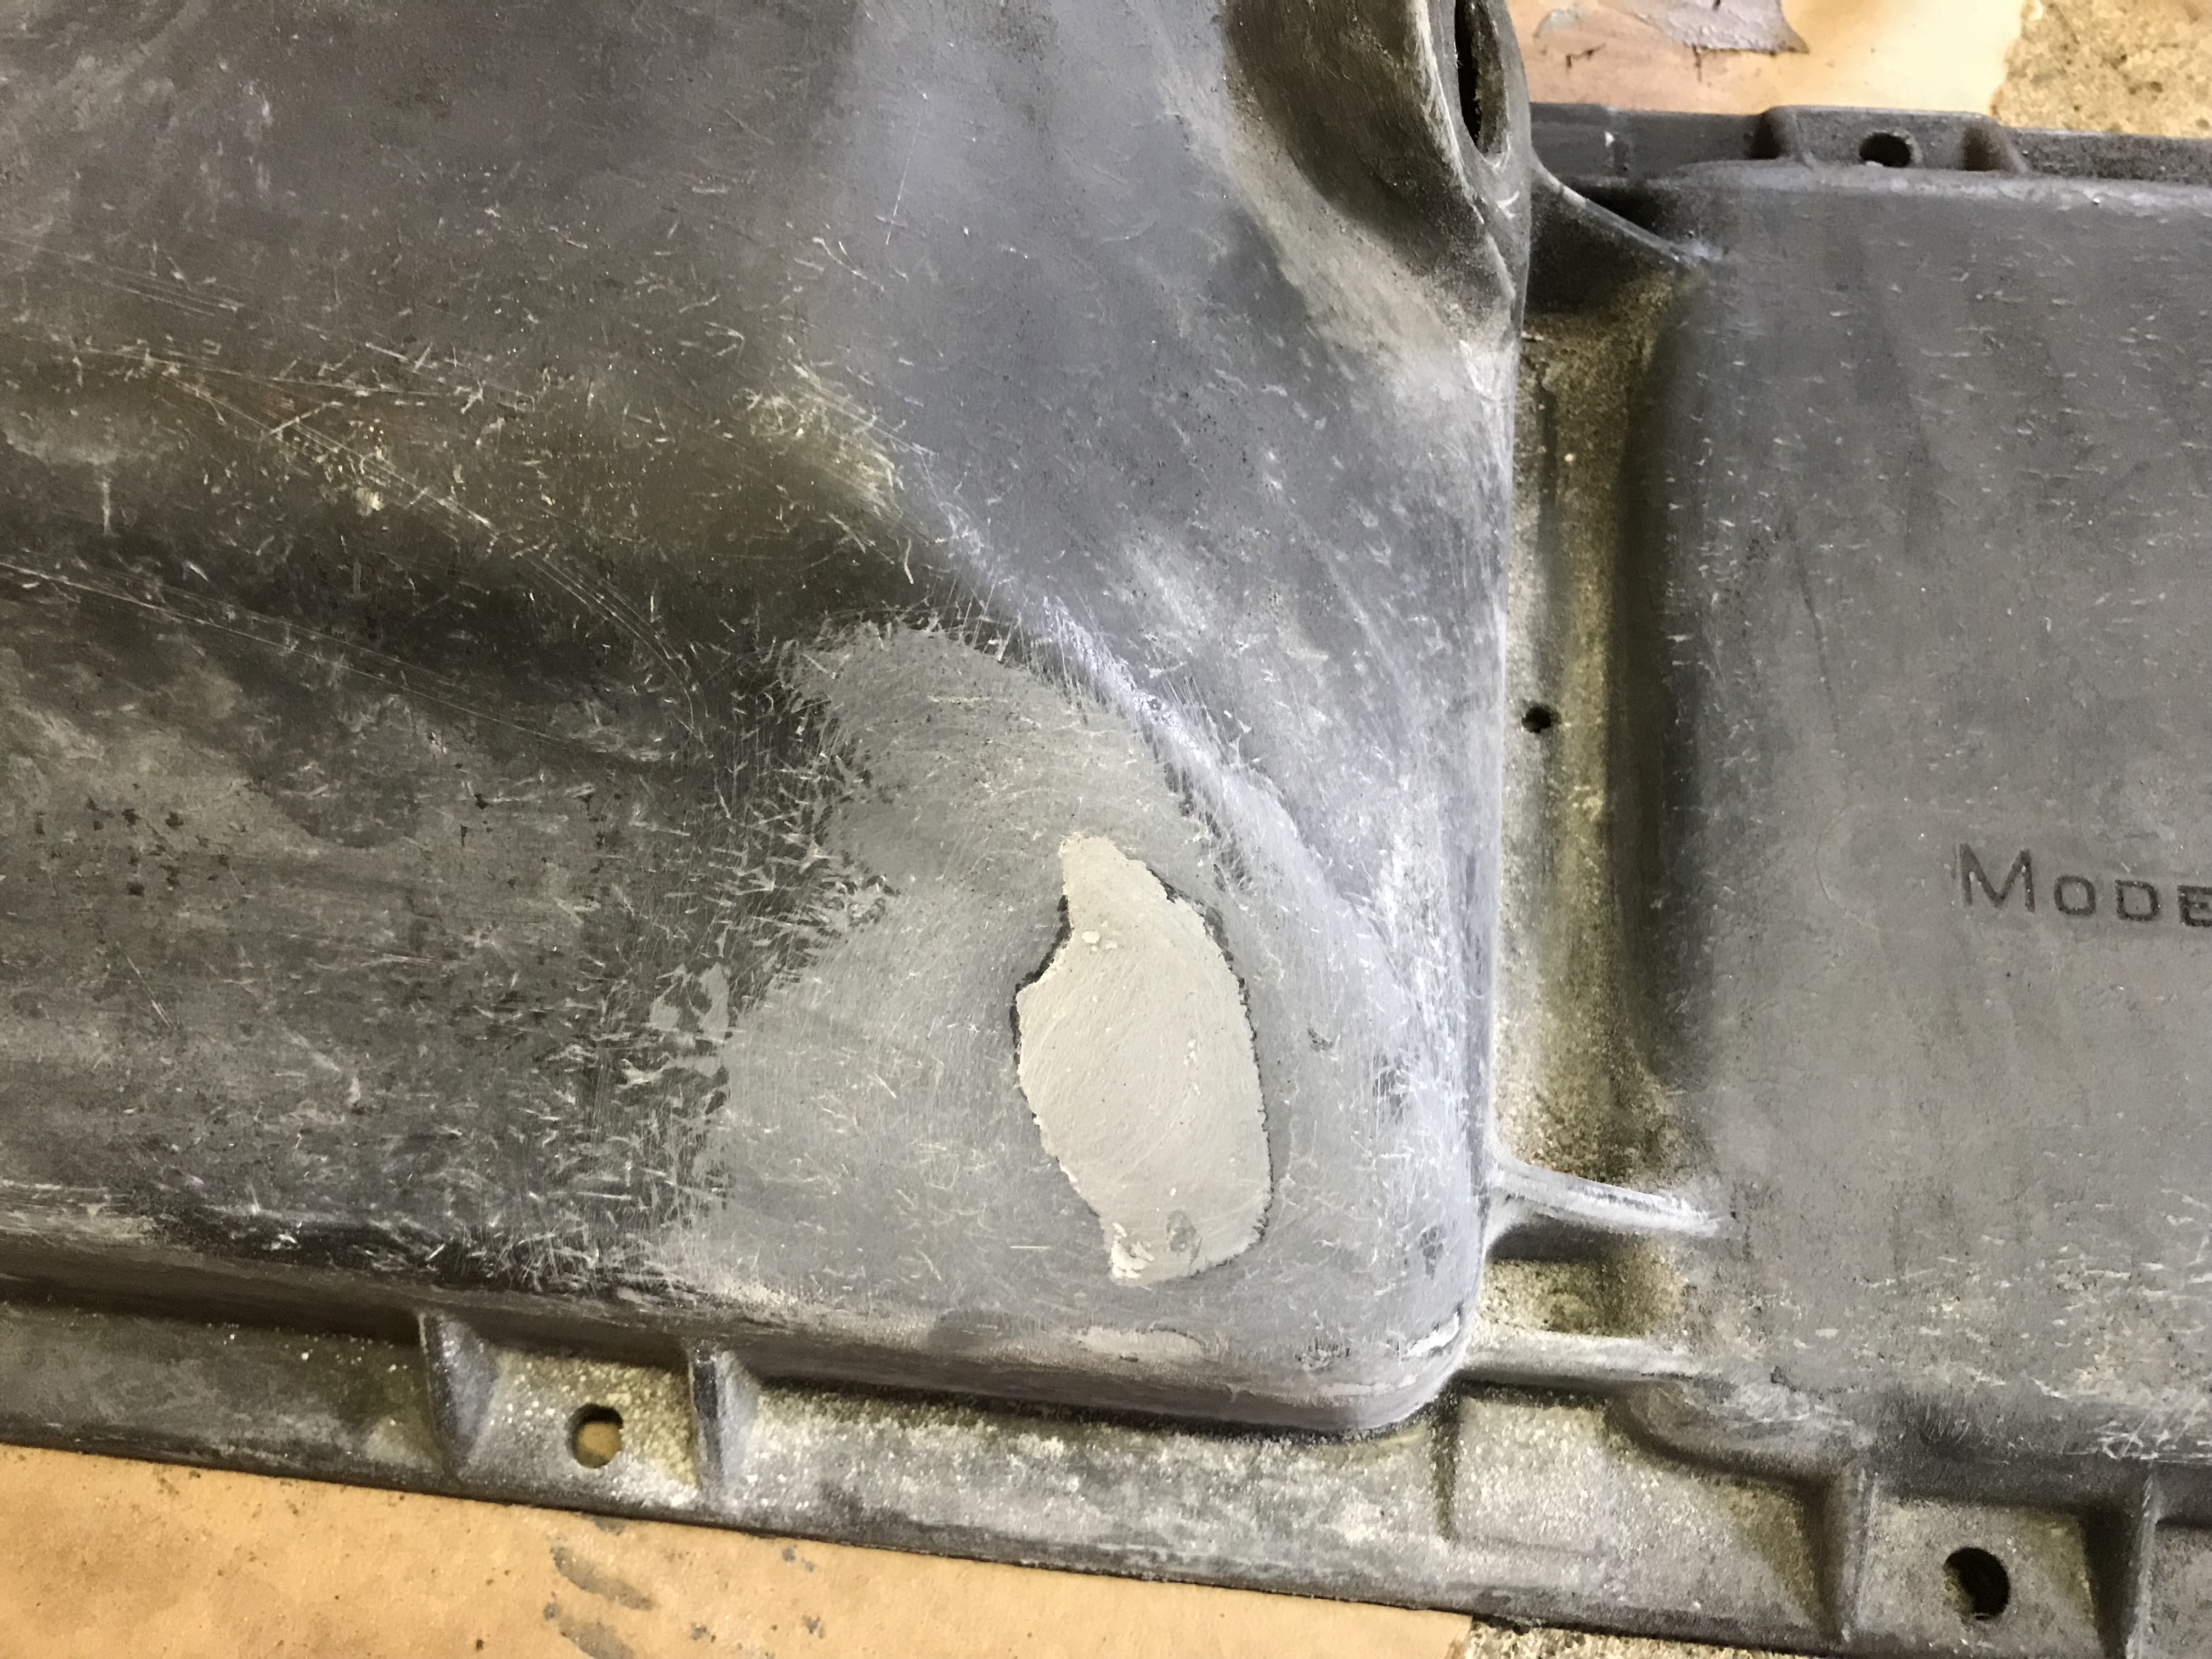
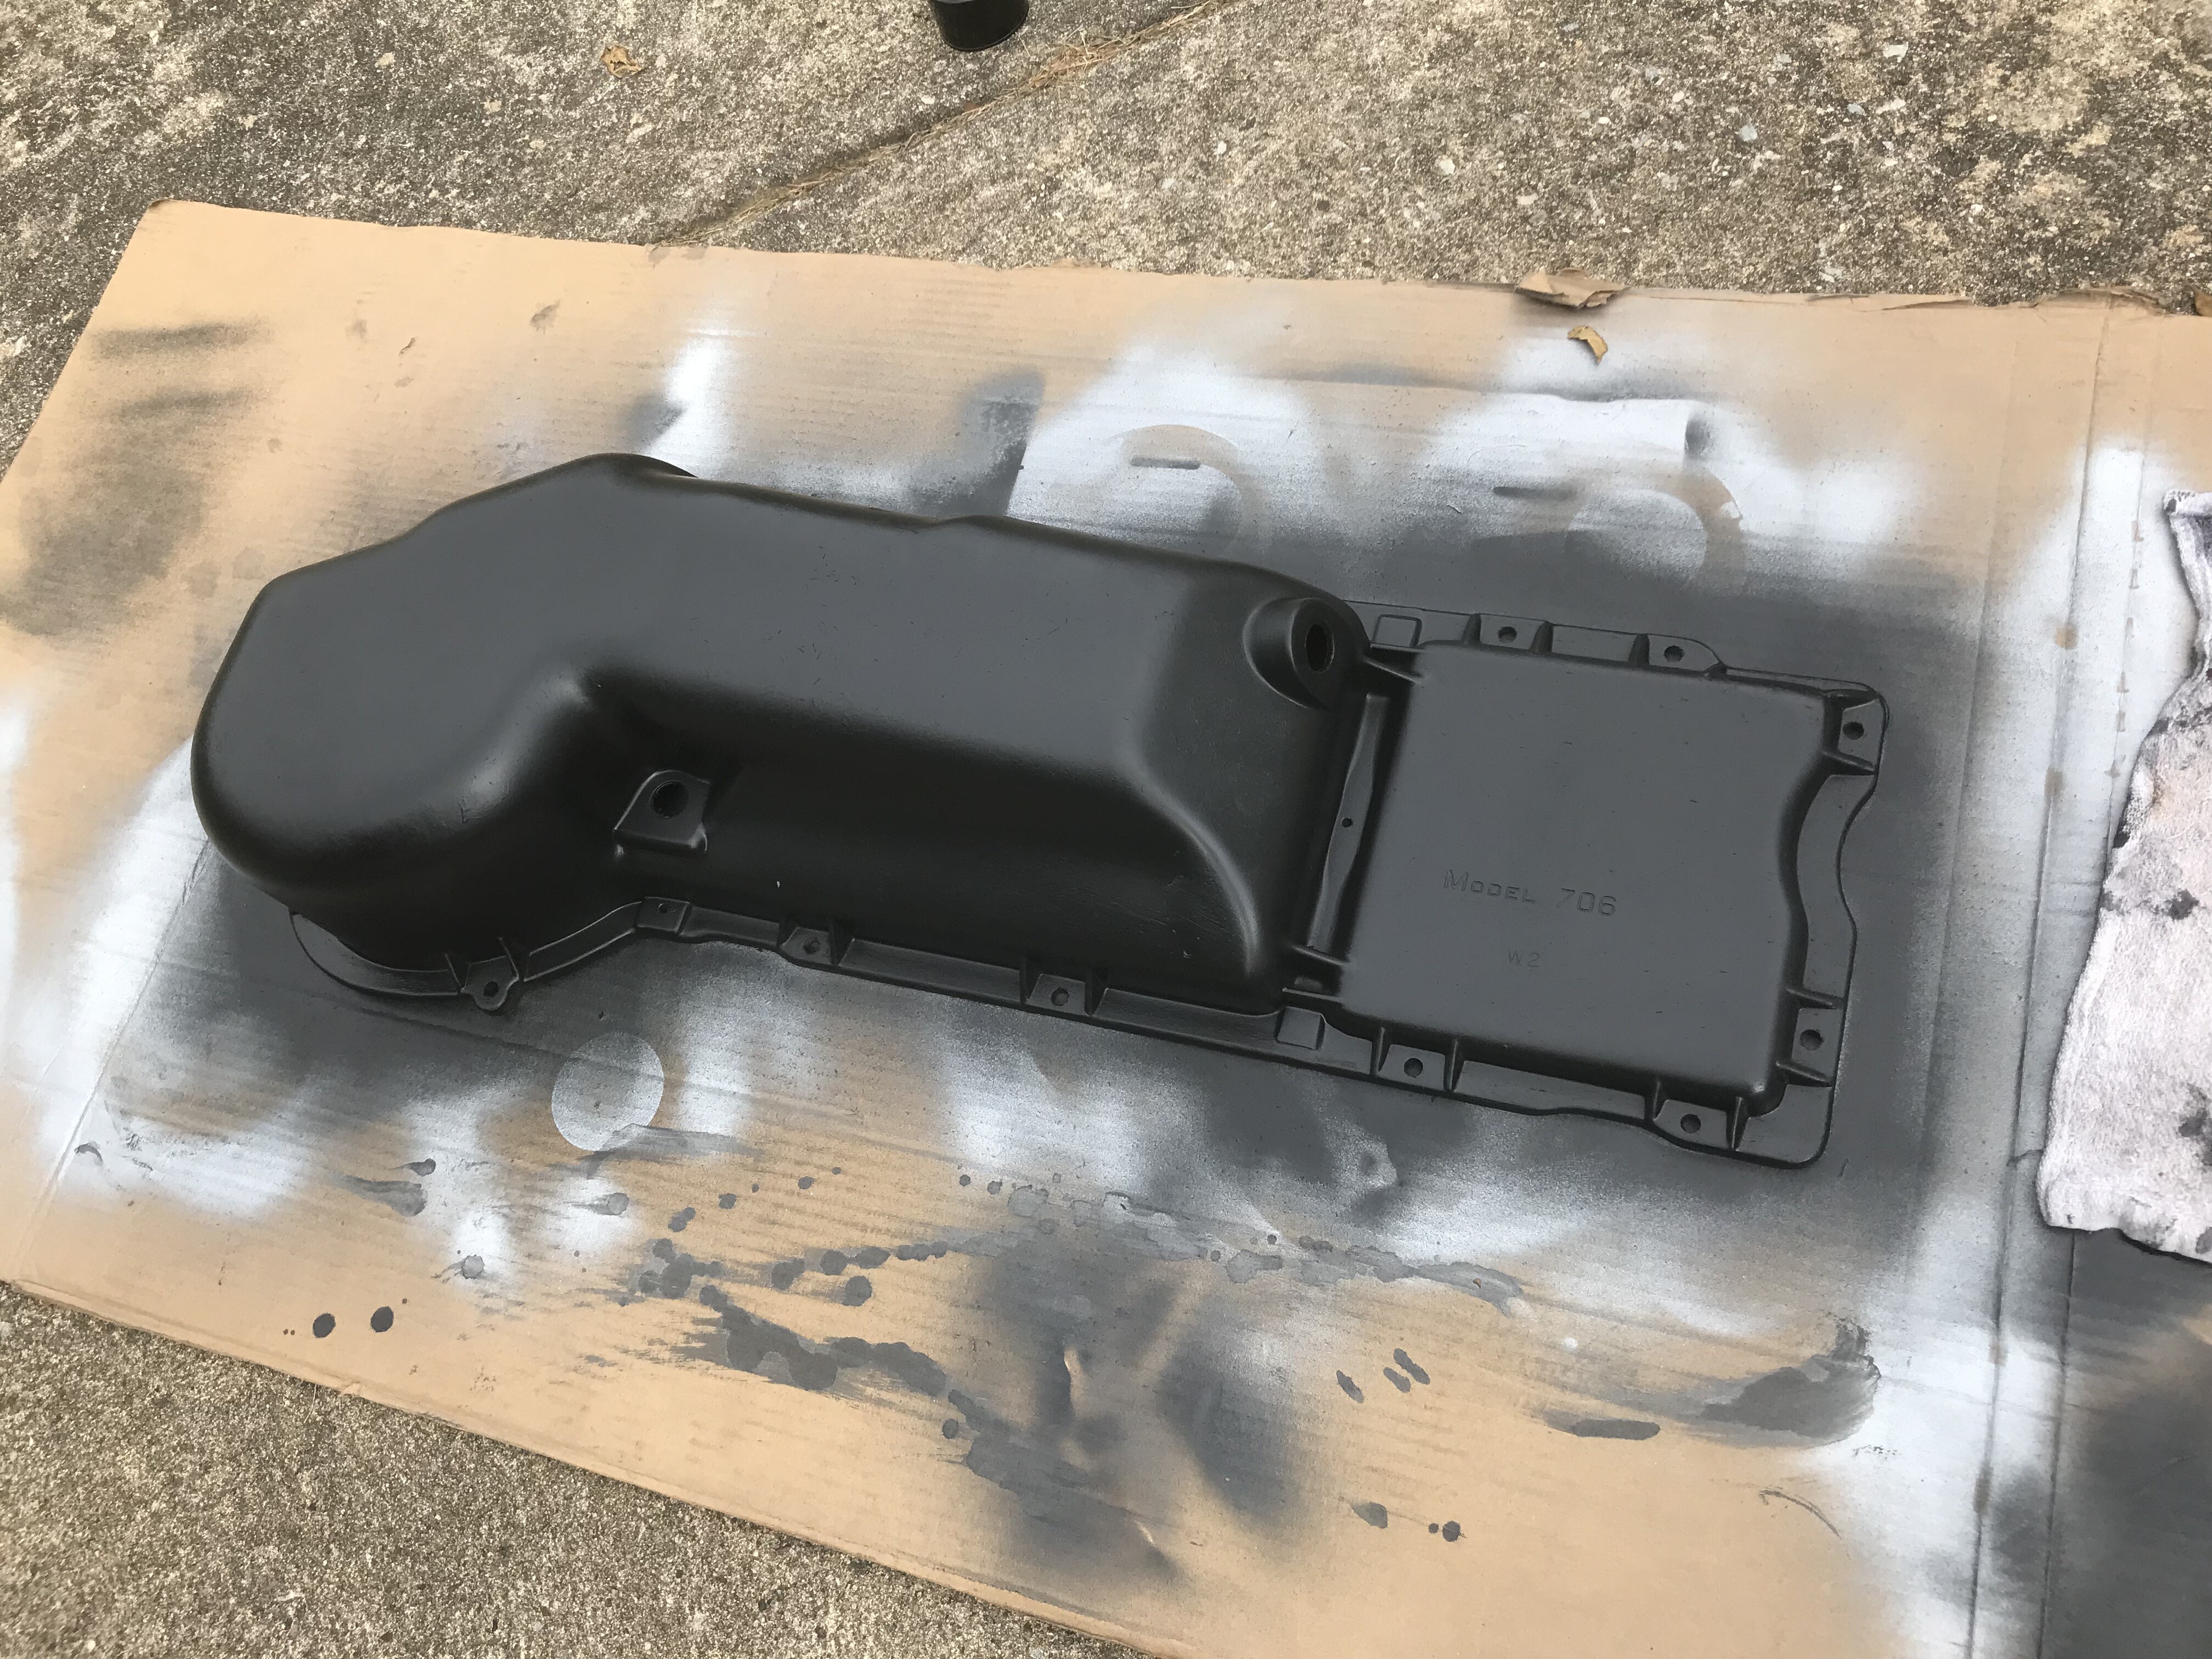
Time to fix the hole I had punched in the heater core cover long ago.
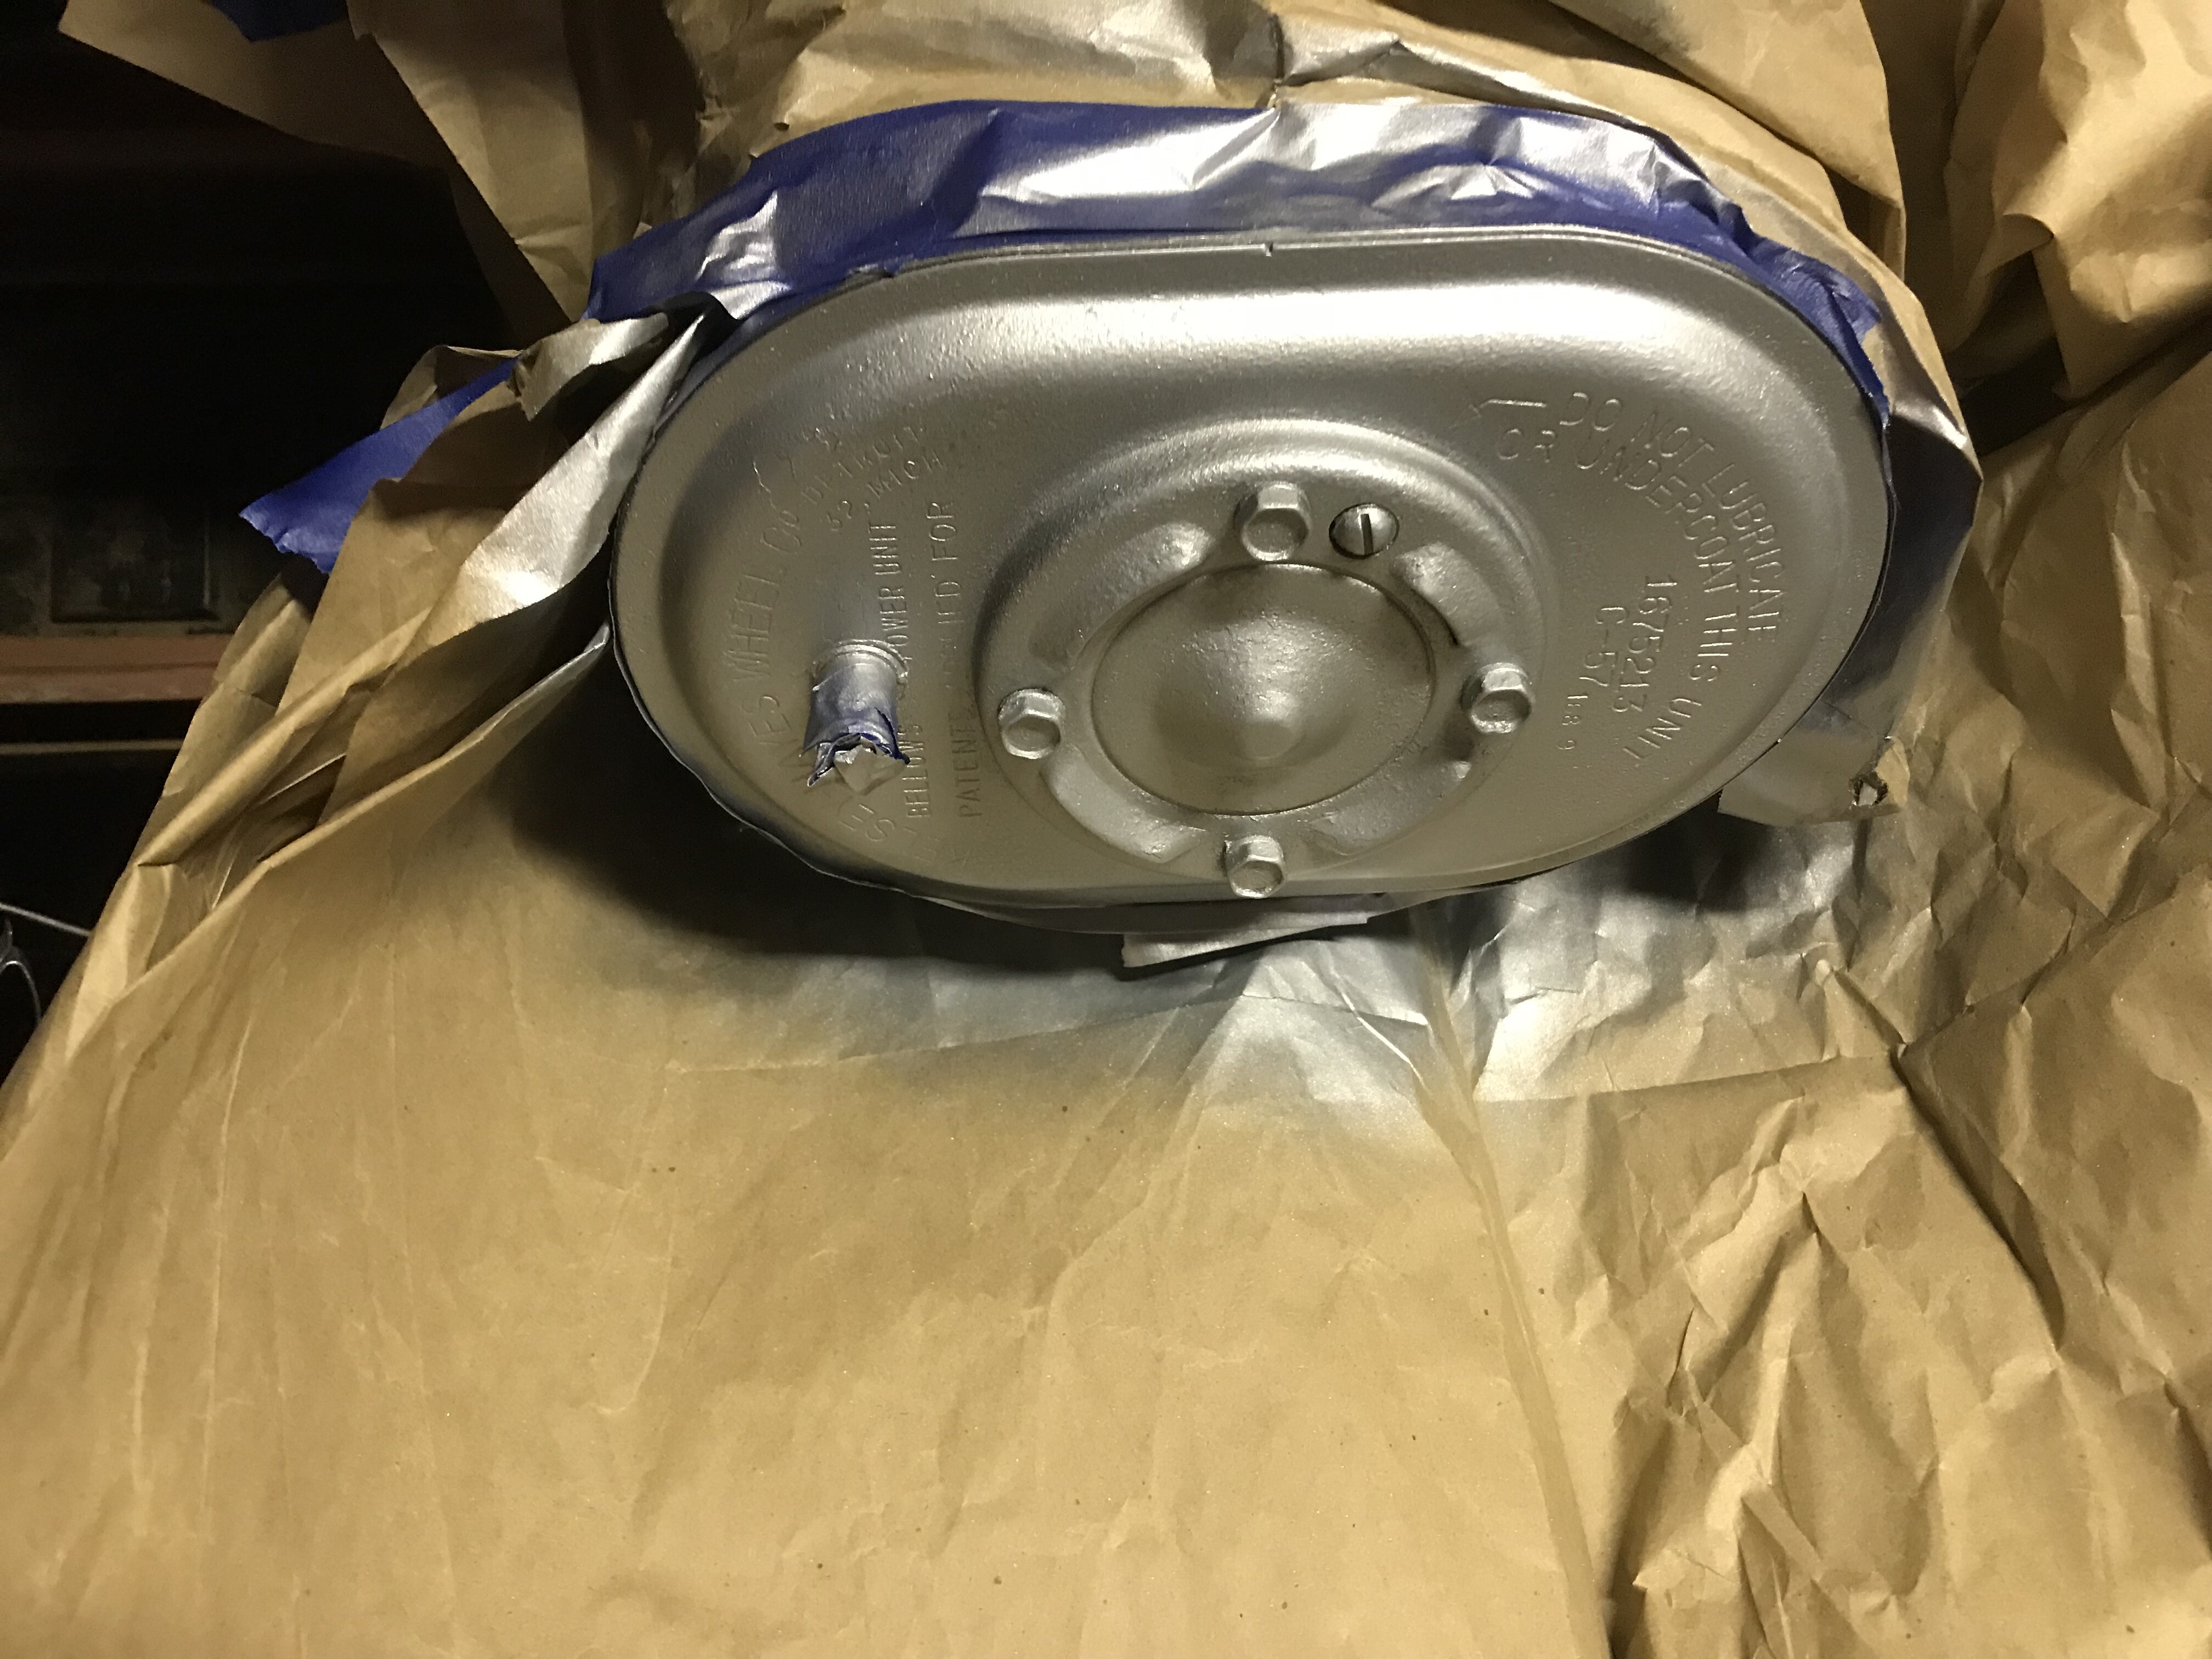
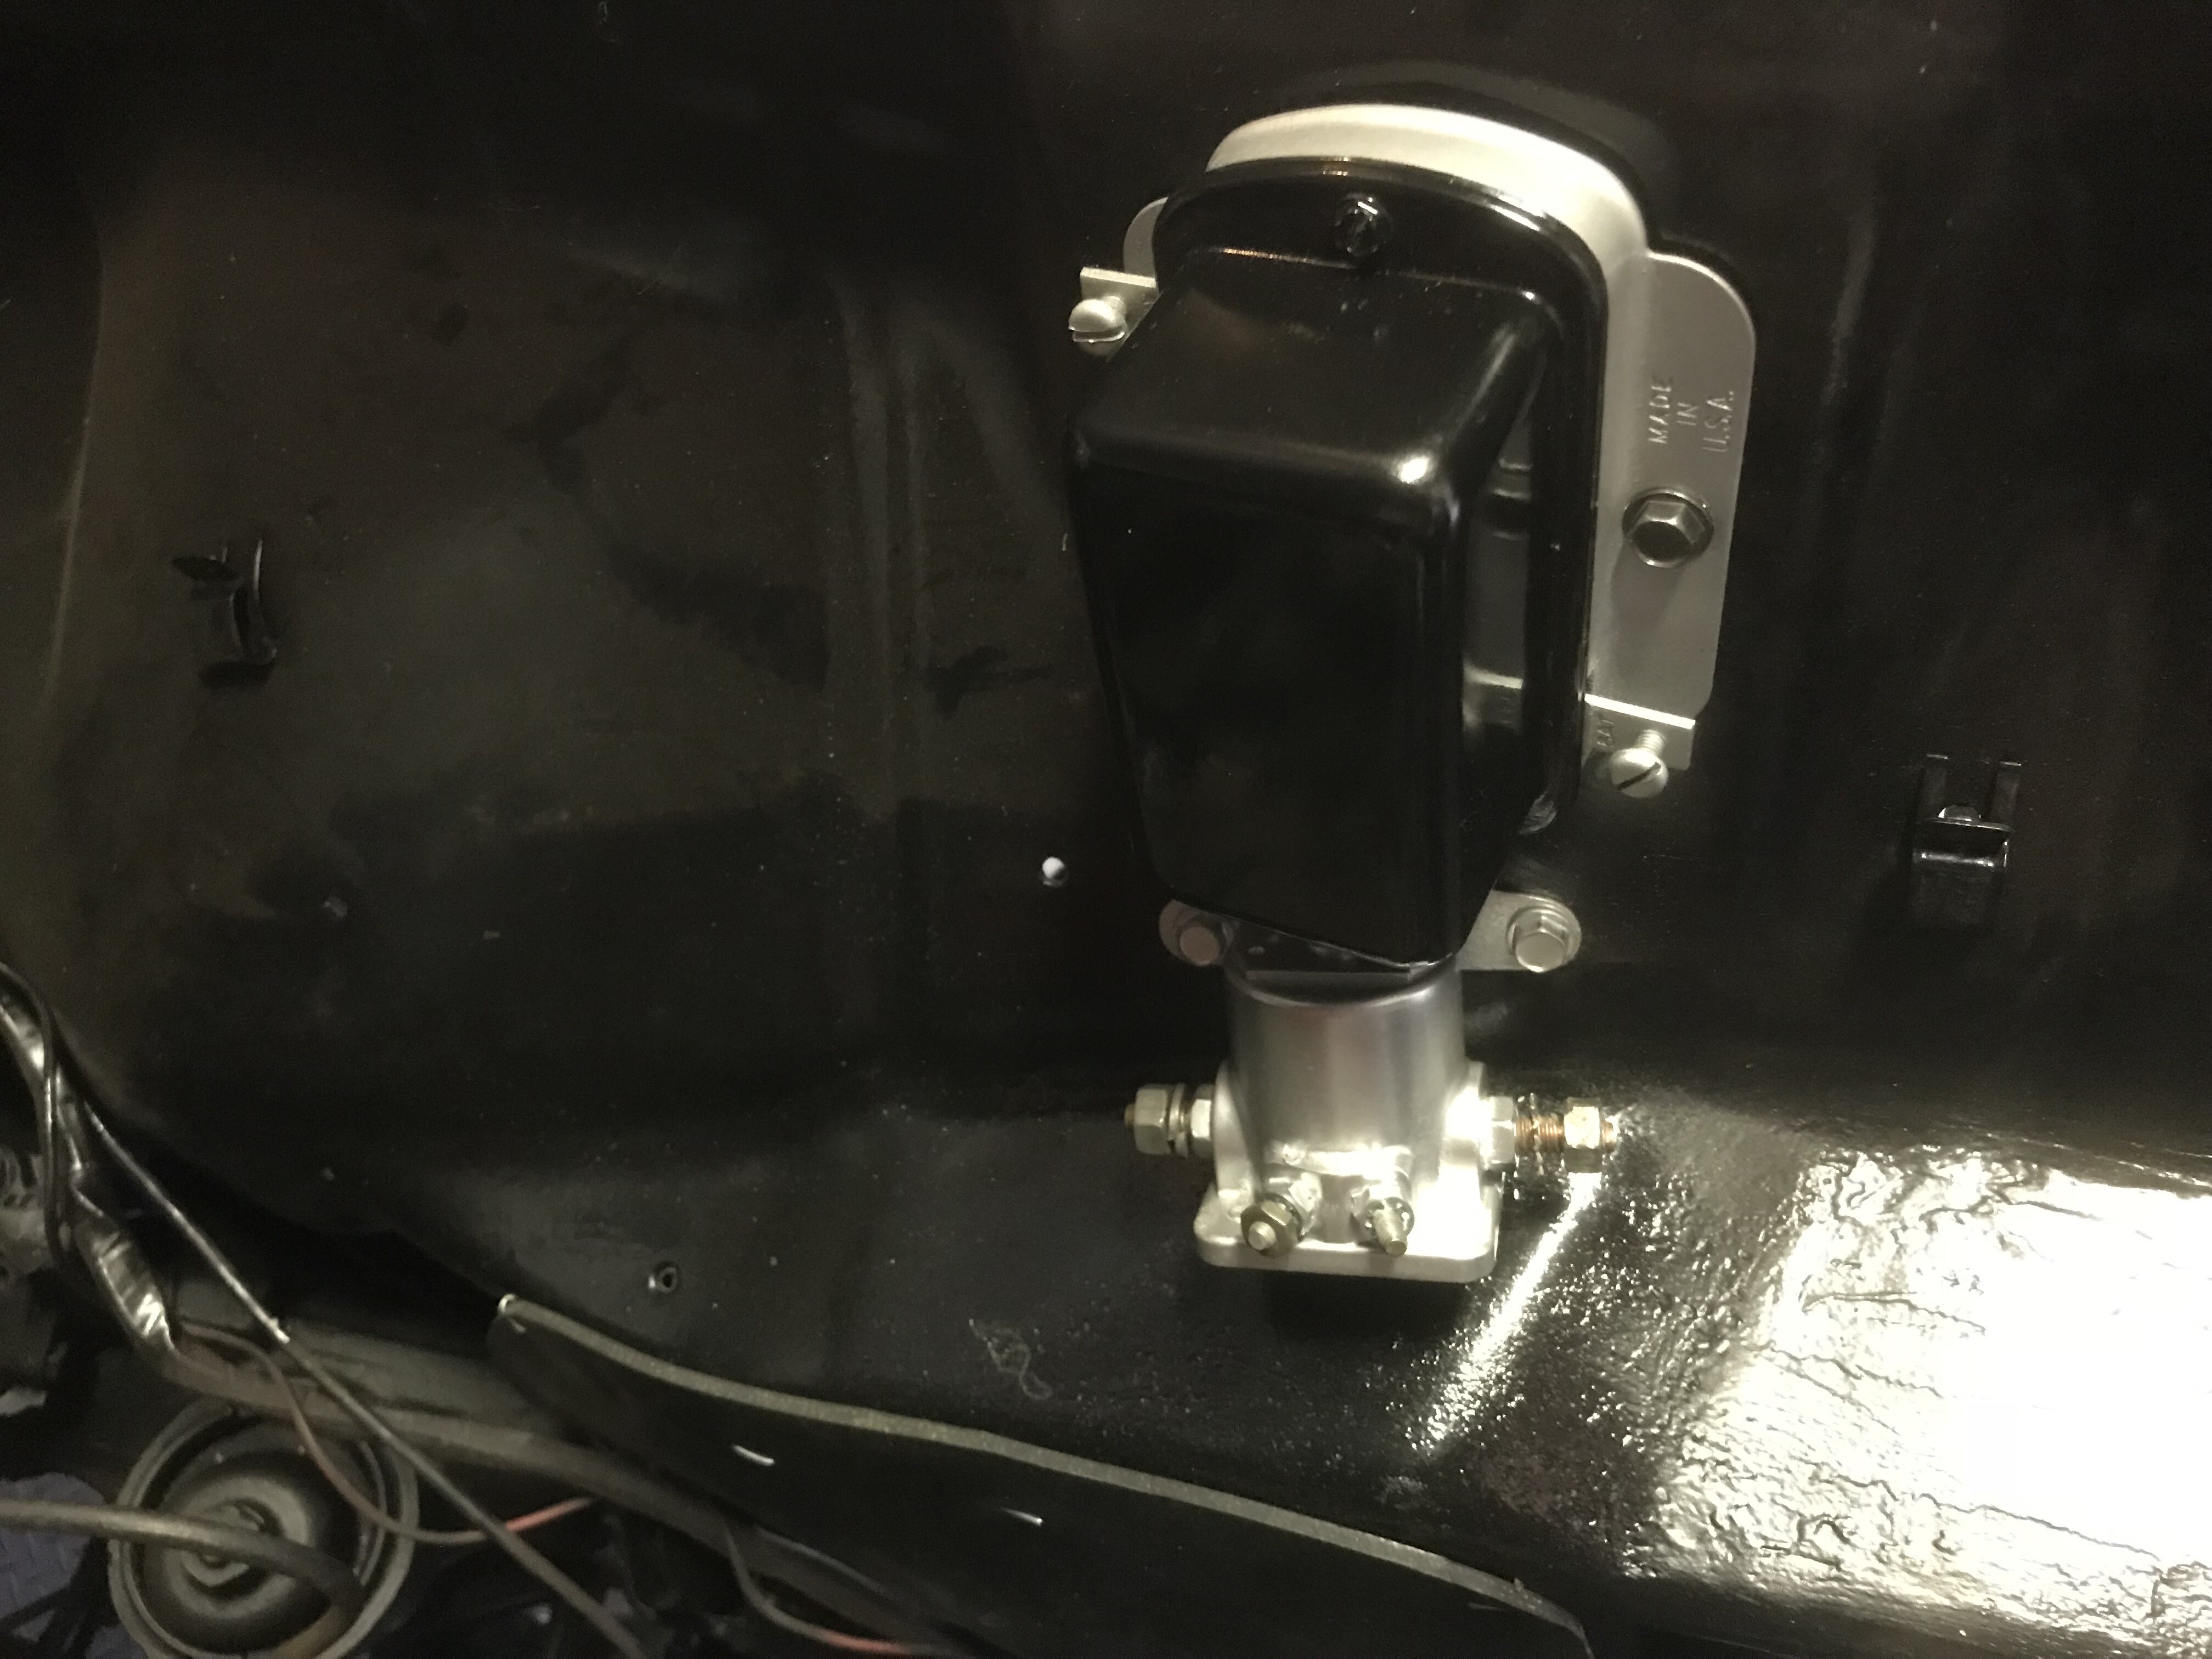
Oh yeah! I cleaned and painted the fuel tube, starter relay and a couple other odds and ends. But, it’s time for my power nap.
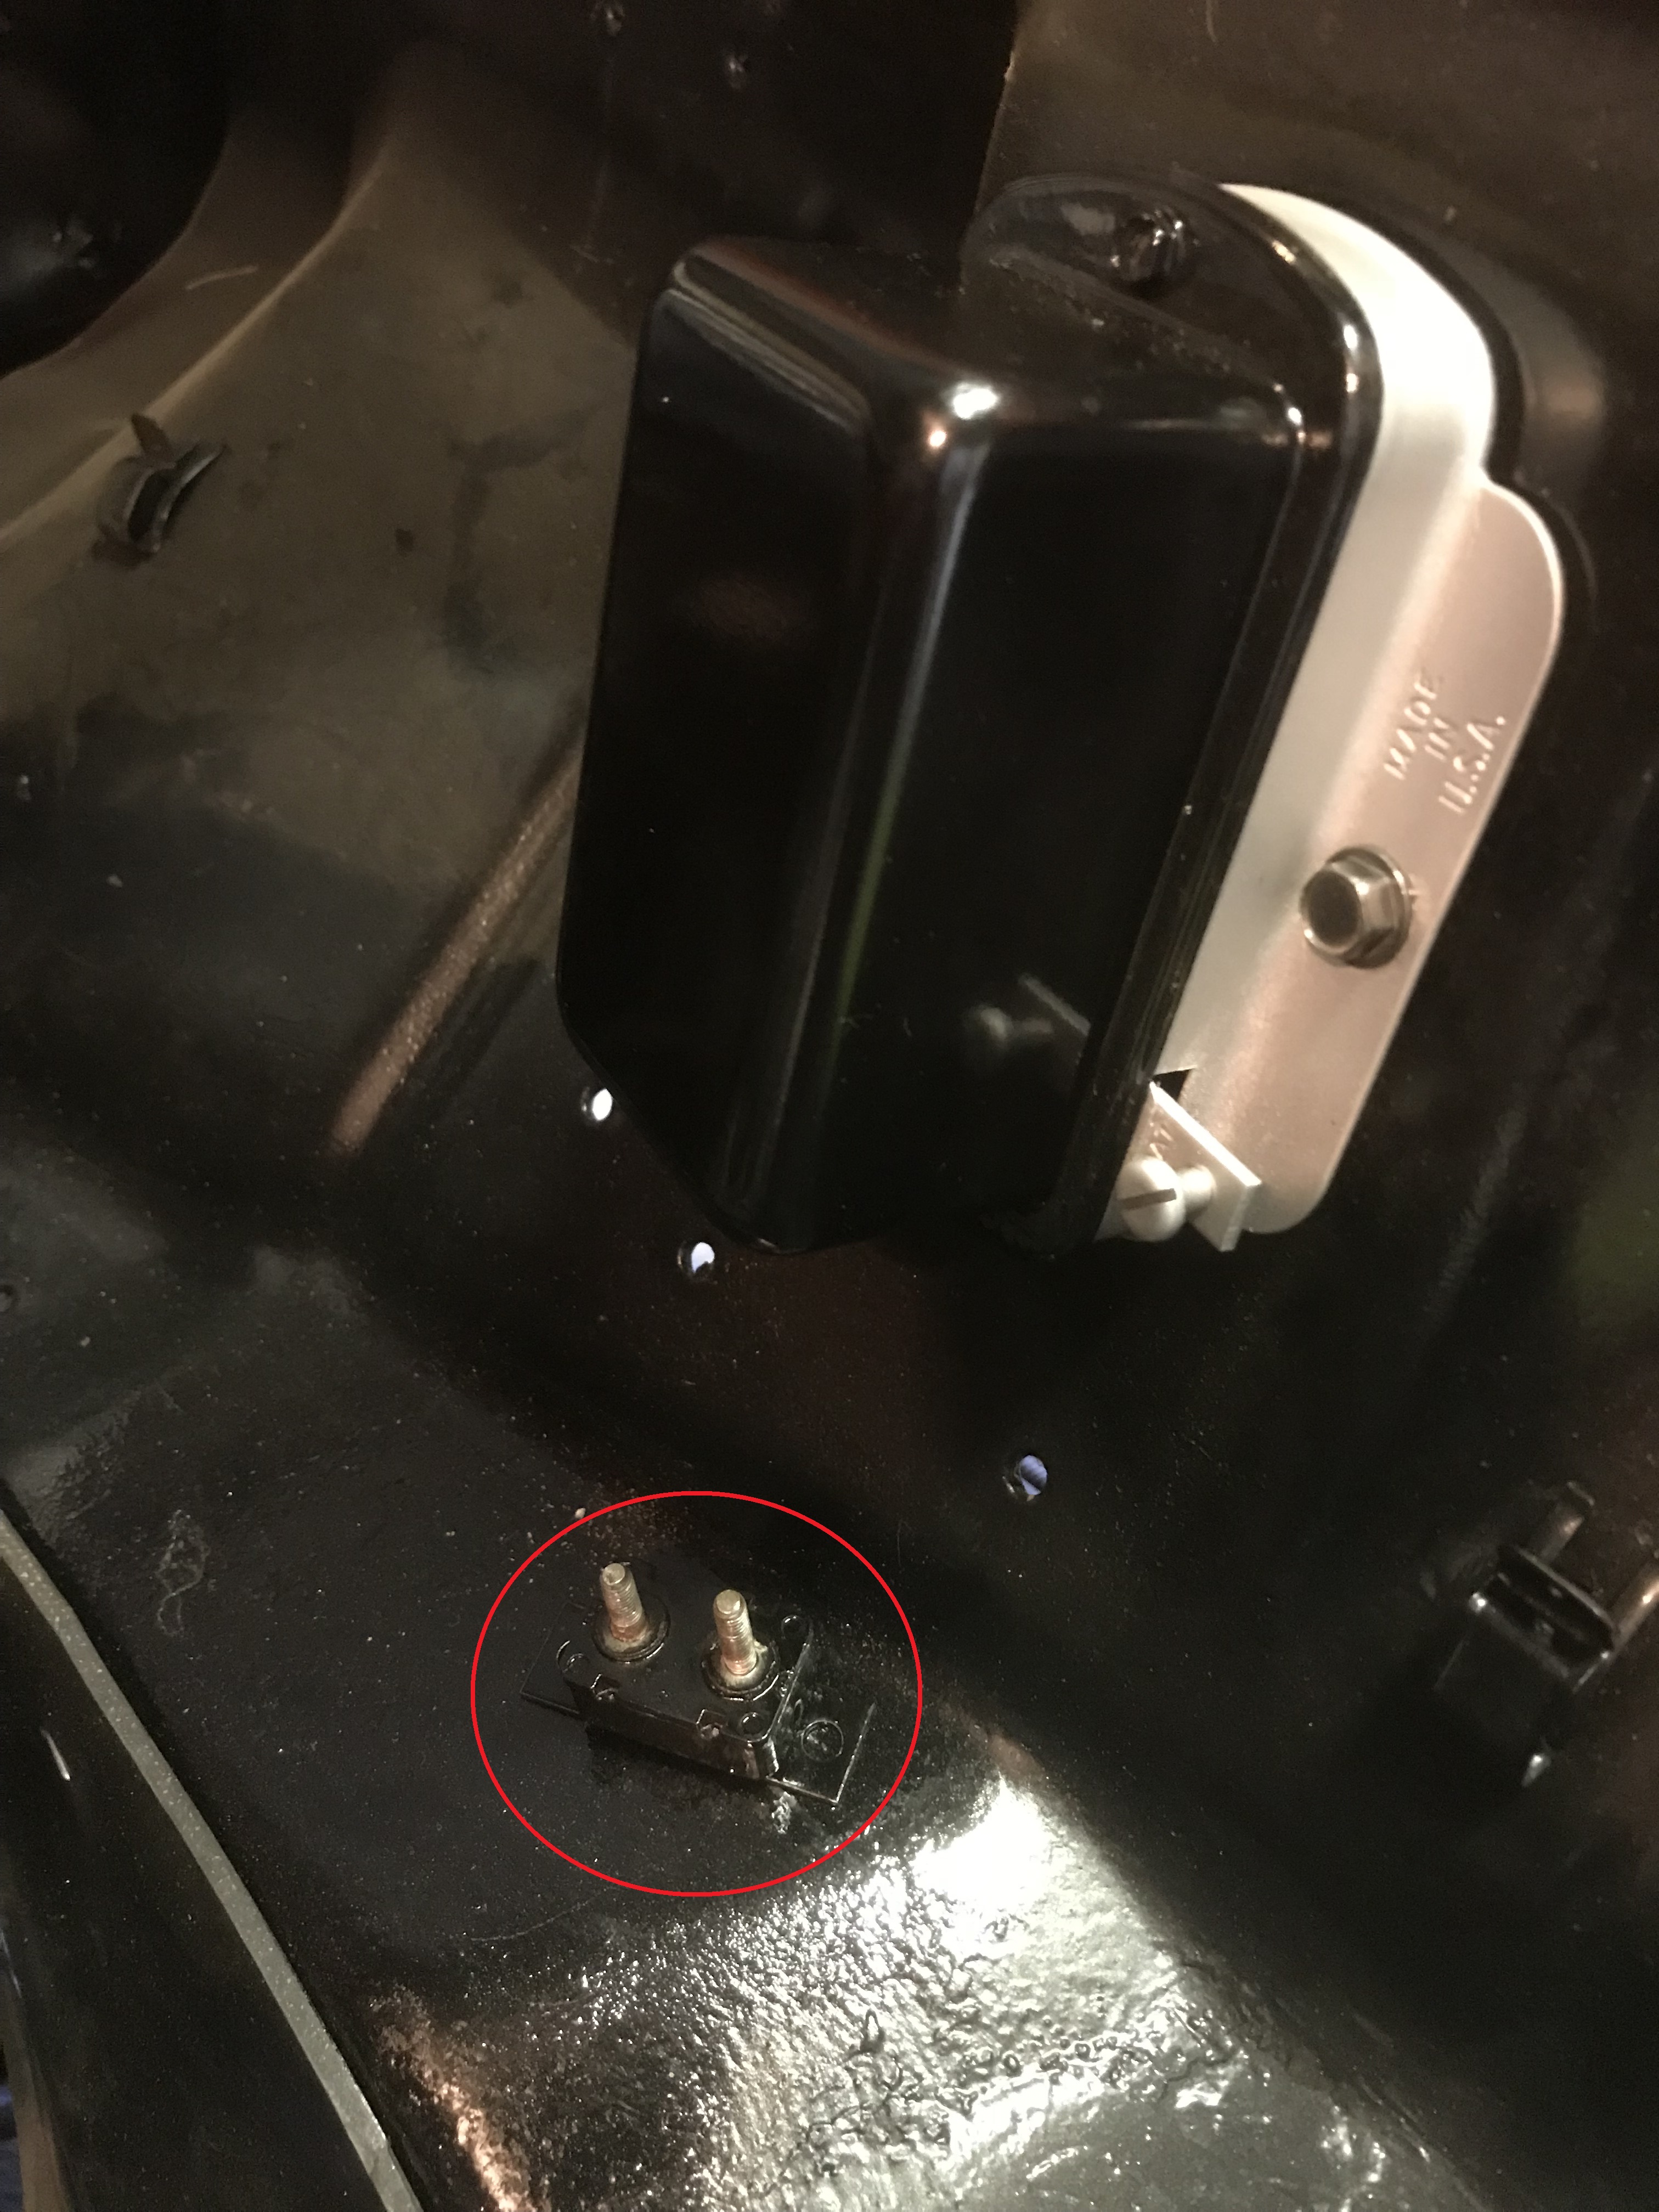
More nibbles. I plan to put the heater core housing back on tomorrow, after the paint on the bolt heads dries. I also mounted the four rear exhaust brackets, and took care of some odds and ends in the engine compartment. Hey, who is this guy? I’m thinking now it doesn’t go on the inner fender, but behind the driver’s side kick pad - I have some recollection…
I’m impressed, most computer nerds main tool is a finger nail file. Dan, you are the exception. Your progress is astounding and at this rate Carlisle is in Faulkners near future.
That gizmo (guy) is a circuit breaker. The amp rating is on it somewhere. My cars do not have them behind the kick panels. The only place l know where there is one is on the variable windshield wiper switch. After shorting out and frying the main red wire to the ignition switch on two cars l installed one in that circuit close to the relay. They reset themselves and can be had in many ratings, NAPA or any parts house has them. I’d love to go with you guys to Italy but since l wasn’t invited I’ll just stay home. Y’all have a wonderful time.
Dick
Aha! So that’s what it is. I checked the driver’s kick panel, there is indeed a block there with two terminations, but I hadn’t removed it, as I thought I might have. Where the h*ll this is from, I do not remember - my CRS is acting up again. But, no doubt I’ll find it!
Thanks Dick! You were invited. To Carlisle, that is! Hope you can make it. Just sayin’.
Dan
Seeing those circuit breakers were behind the kick panels they just might have something to do with the power window circuit?
Dick
I think you must be right, Dick - that block I’m seeing in the kick panel must be the breaker for the power windows.
I still can’t figure where I removed this breaker from, though! Tis a mystery that will unravel, no doubt.
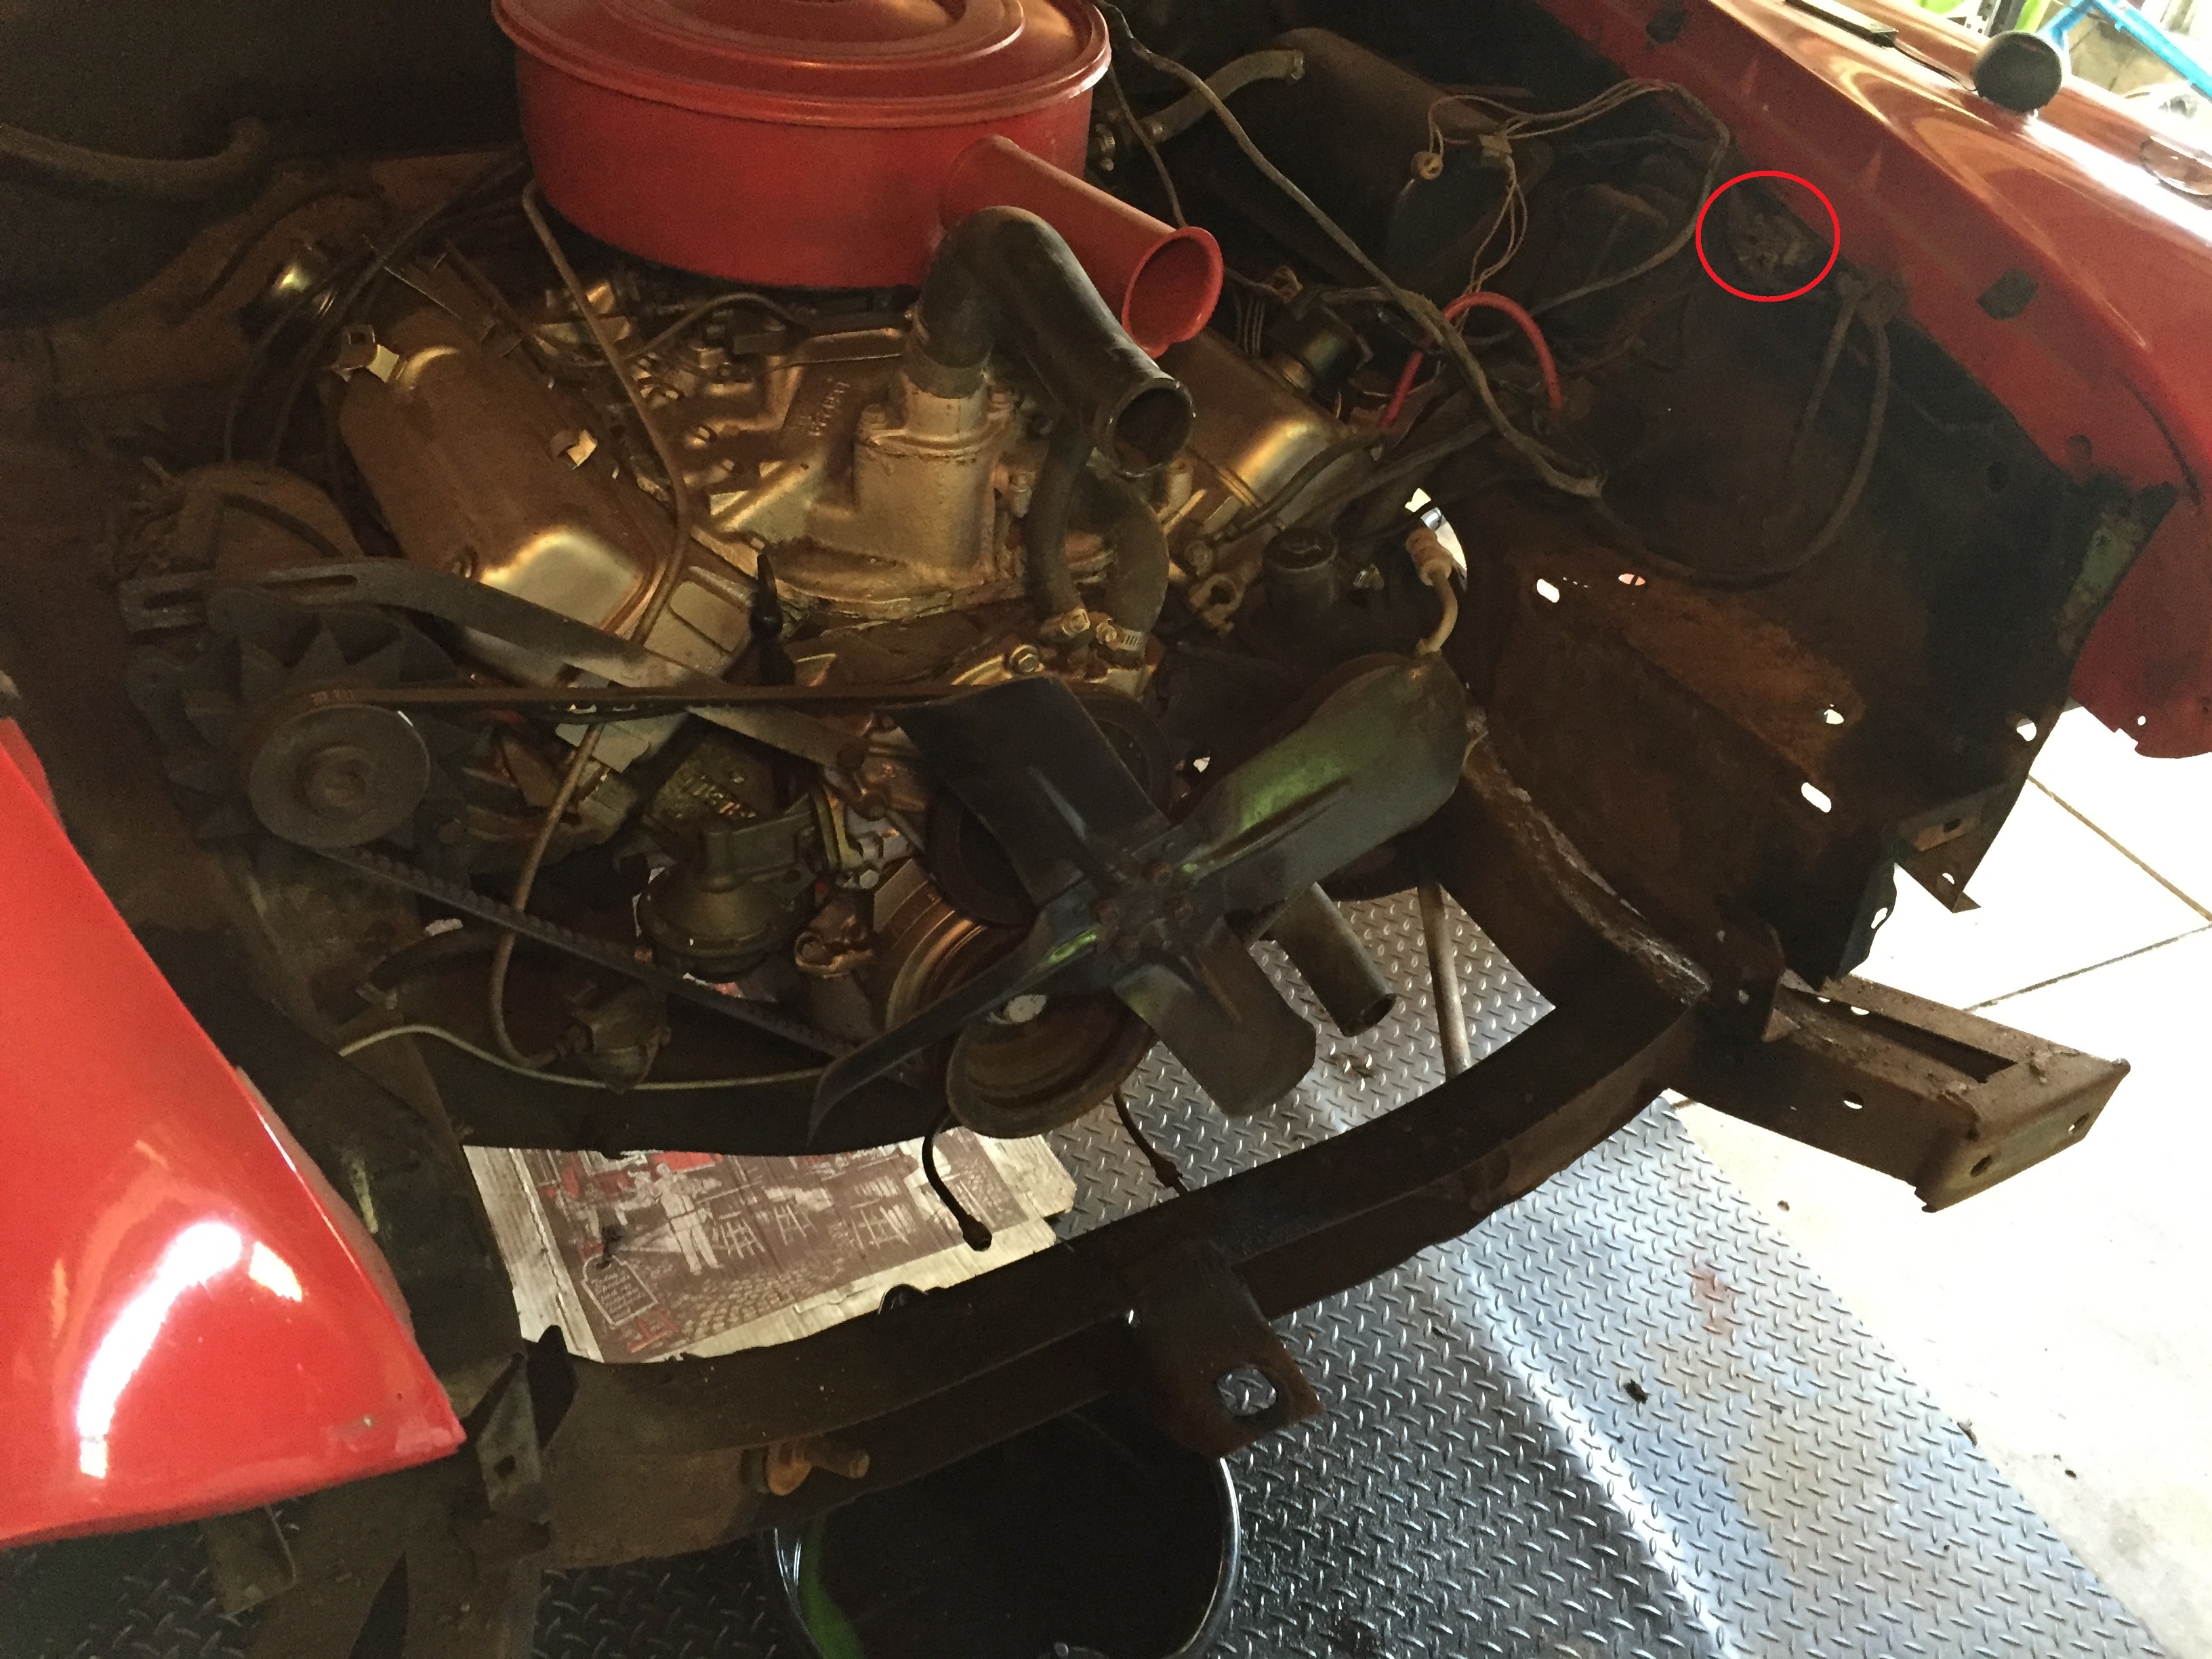
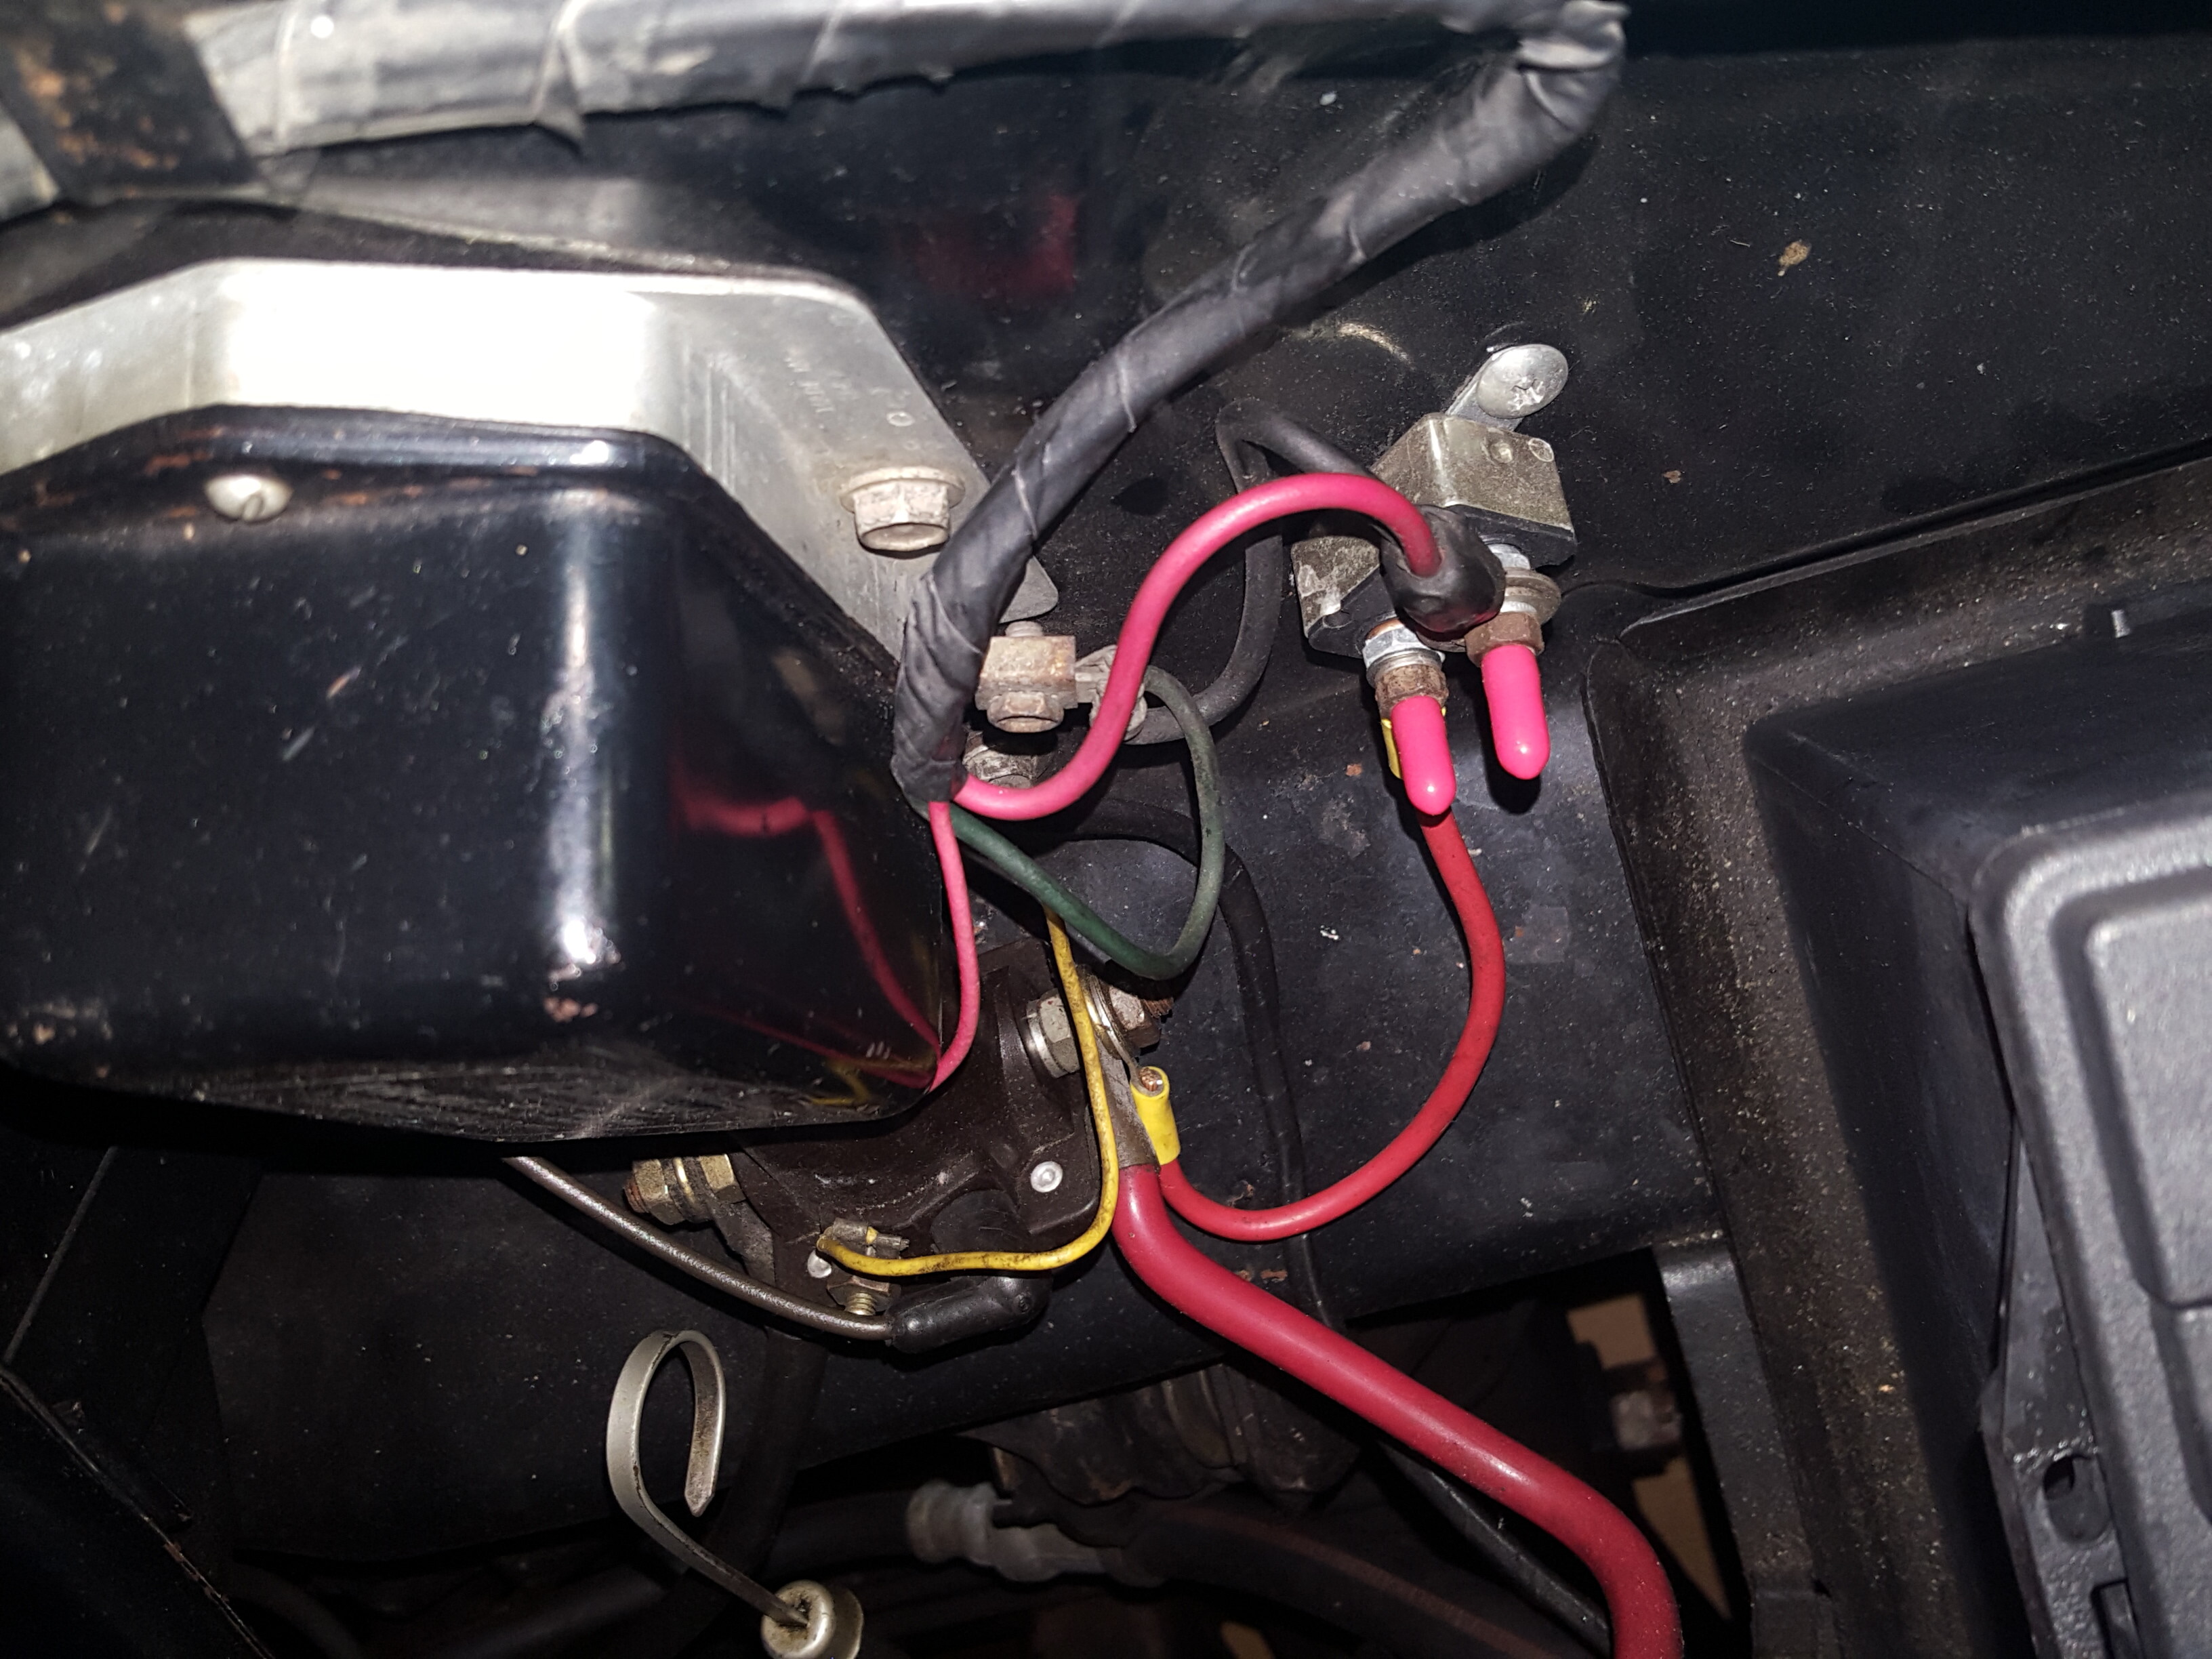
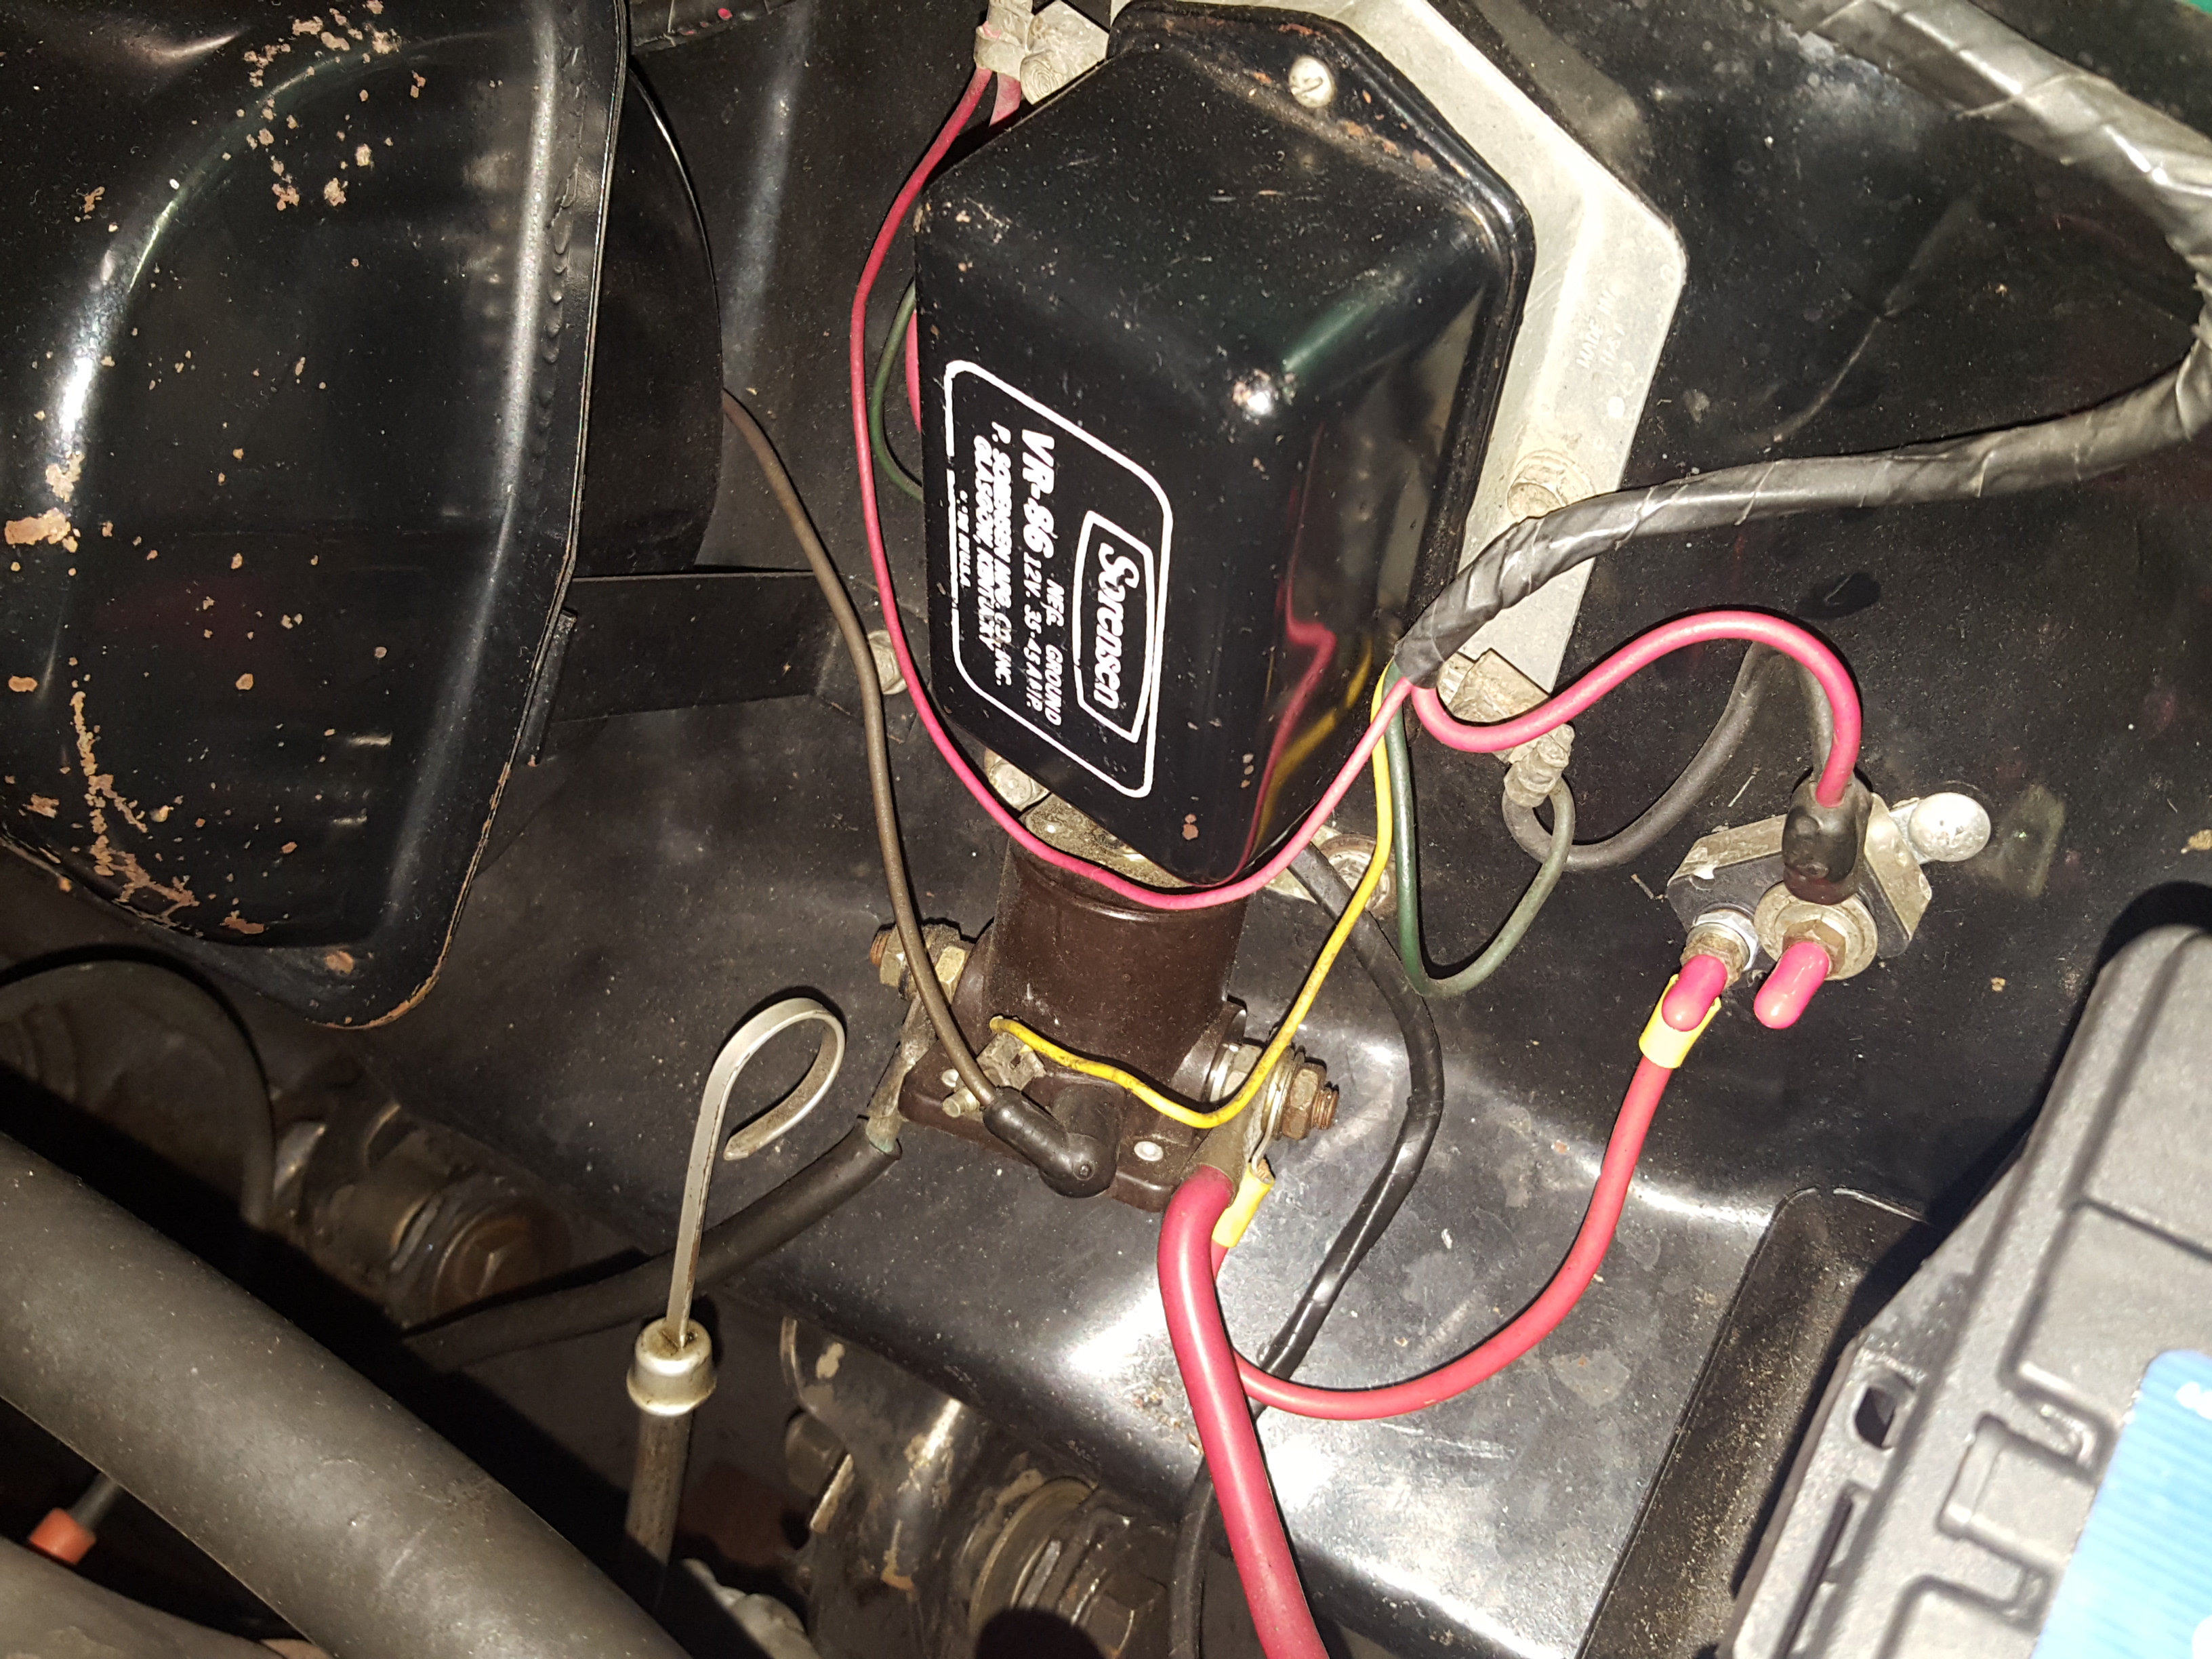
…and the mystery has unraveled! I spotted the breaker in this pic, taken before disassembly:
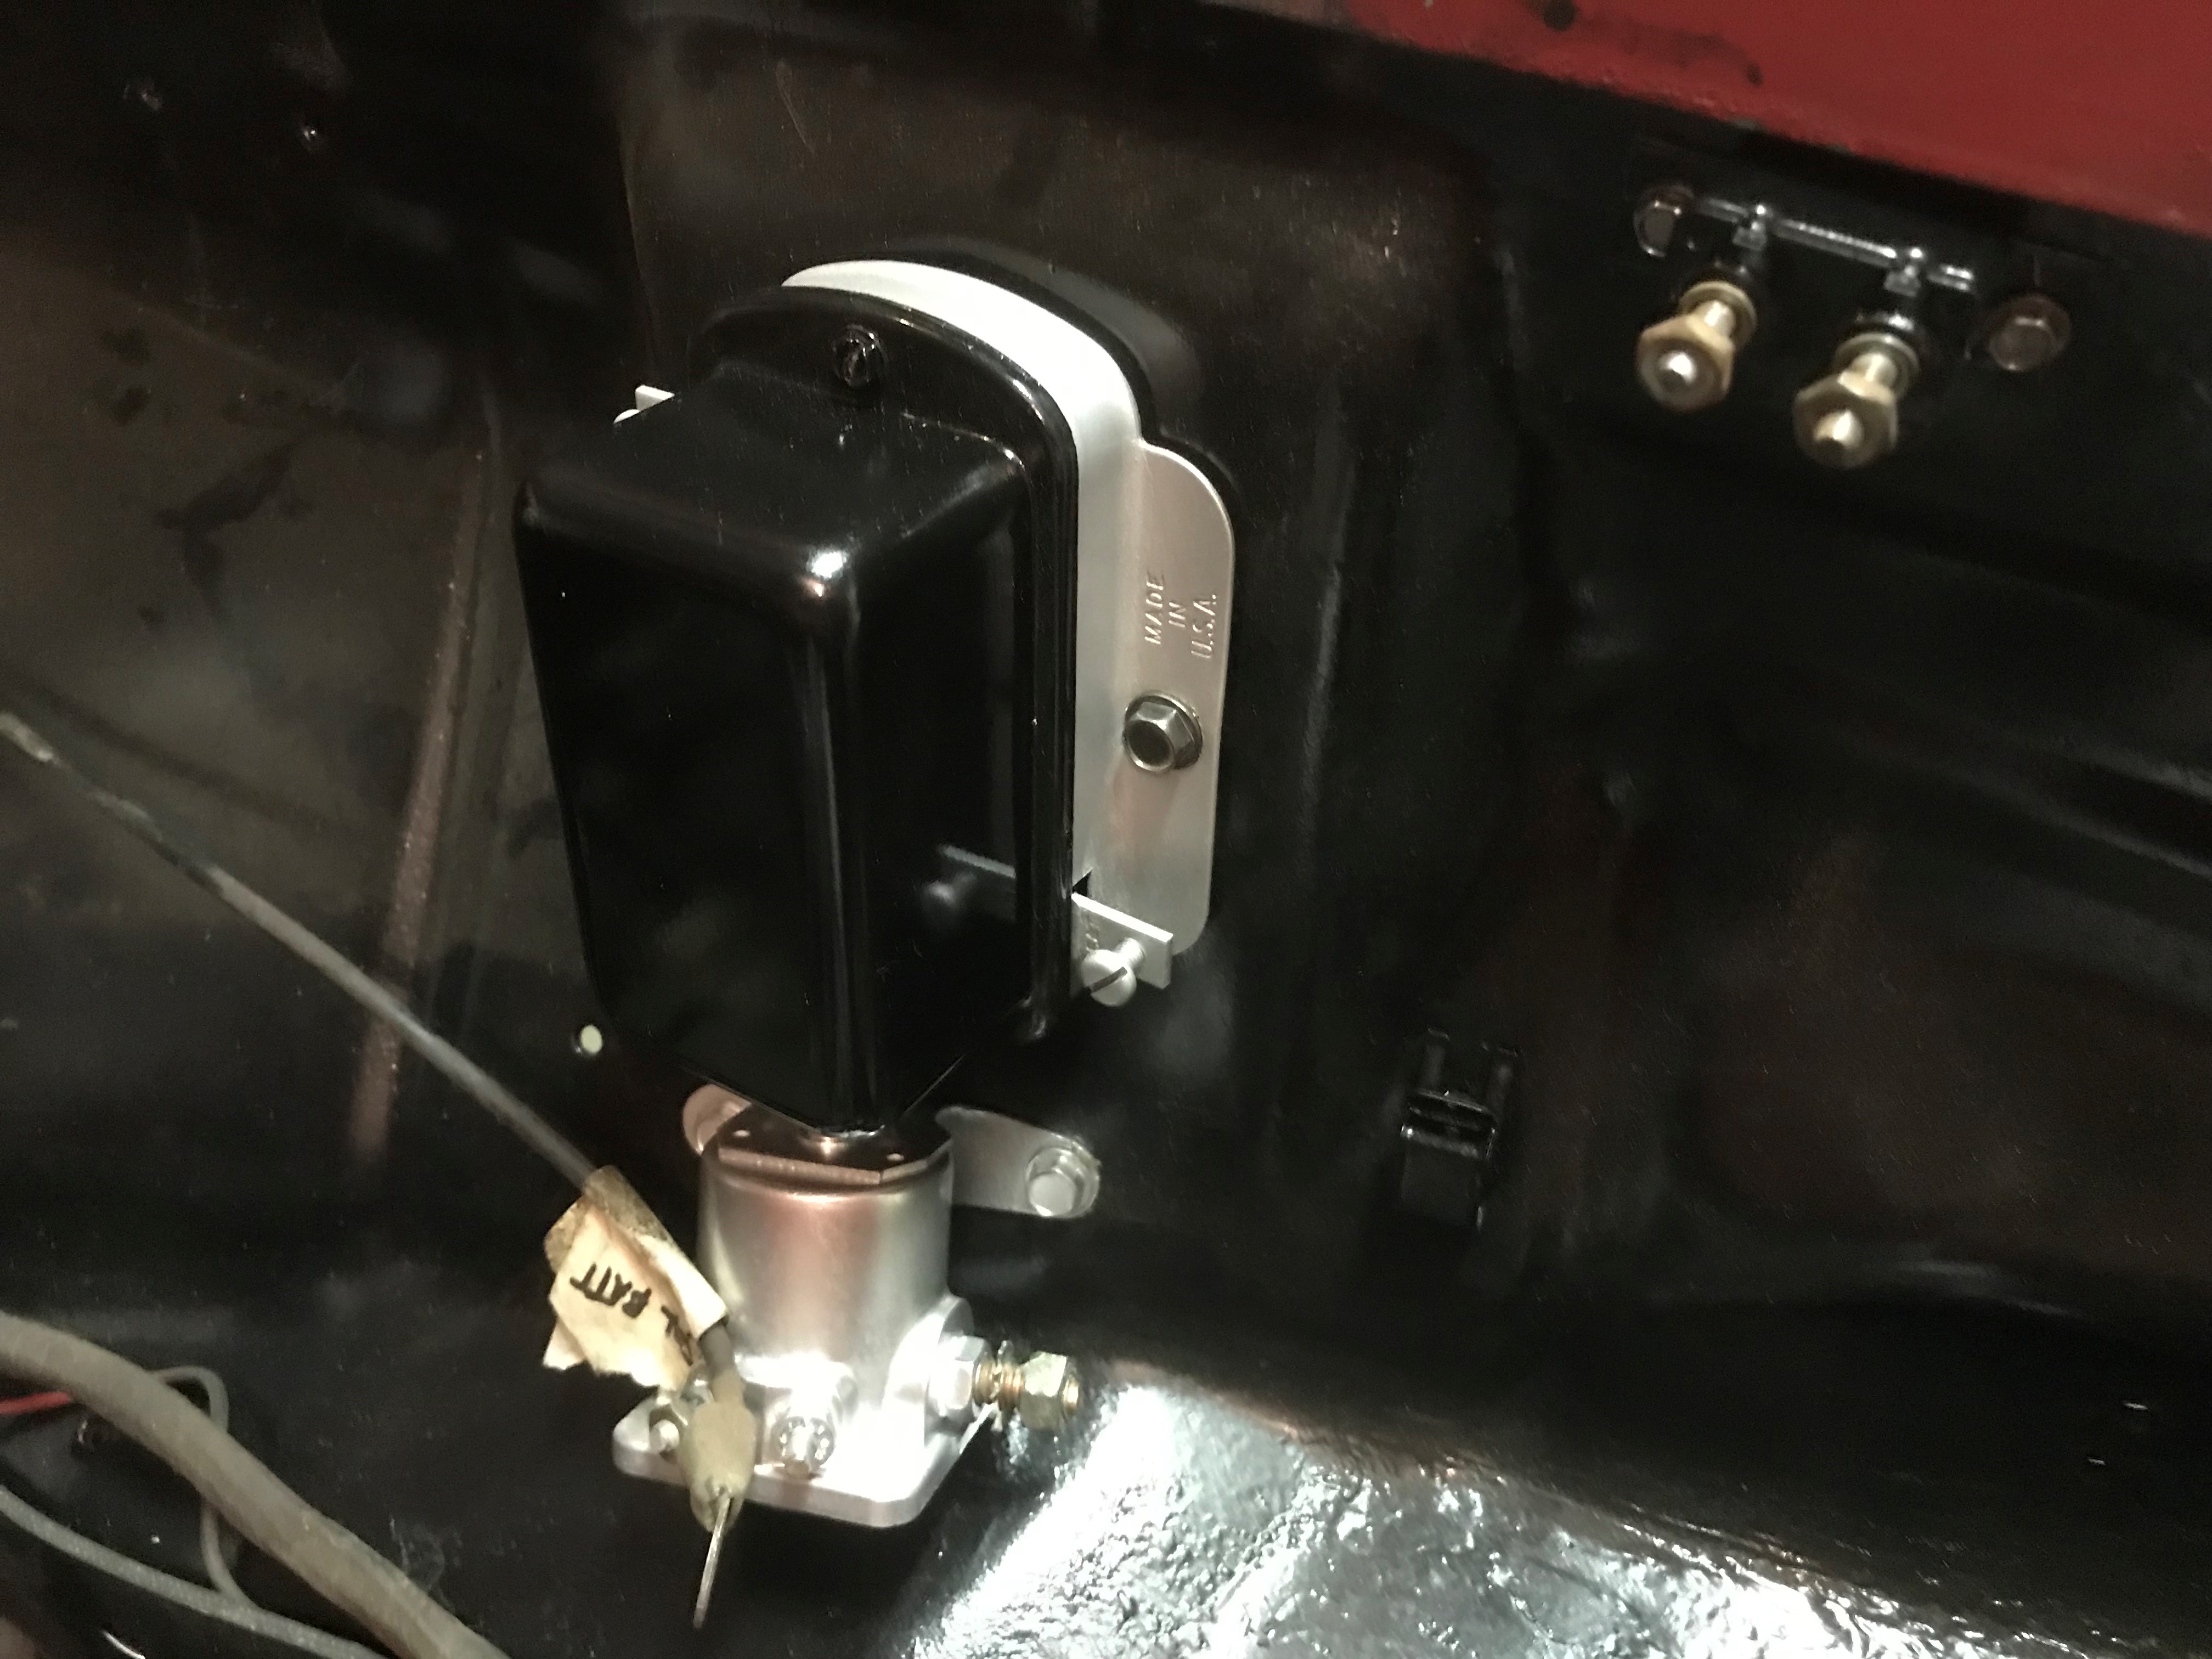
I can see that the terminals are actually labeled “BAT”(tery) and “AUX”(iliary), and indeed, I put tags on the wires with those labels. But one of the wires is in the bundle, the other is a single wire home run through a different grommet in the firewall. What circuit is this protecting? And why put the breaker way out in the engine compartment, when both wires originate from under the dash?
I’m still at a loss as to what this breaker is for - although, I suspect the horns. And, I suspect it’s worn - my horns have a way of fading after use. I purchased three relays, my intent was to use them for low beams/high beams/horn, and hide them under the battery tray - which, may circumvent the need for this breaker, which I assume was to protect some switch from current overload. Relays should provide that protection.
Does anyone know what this breaker is for?
After an overwhelming response to my inquiry  , it’s clear that Faulkner has a one-off here. This, because there doesn’t seem to be a practical reason for the device to be in the engine compartment, when both wires originate from the dash. And, one of them takes a run not with the harness (the other seems to be in the harness, but it could have just been taped up with it).
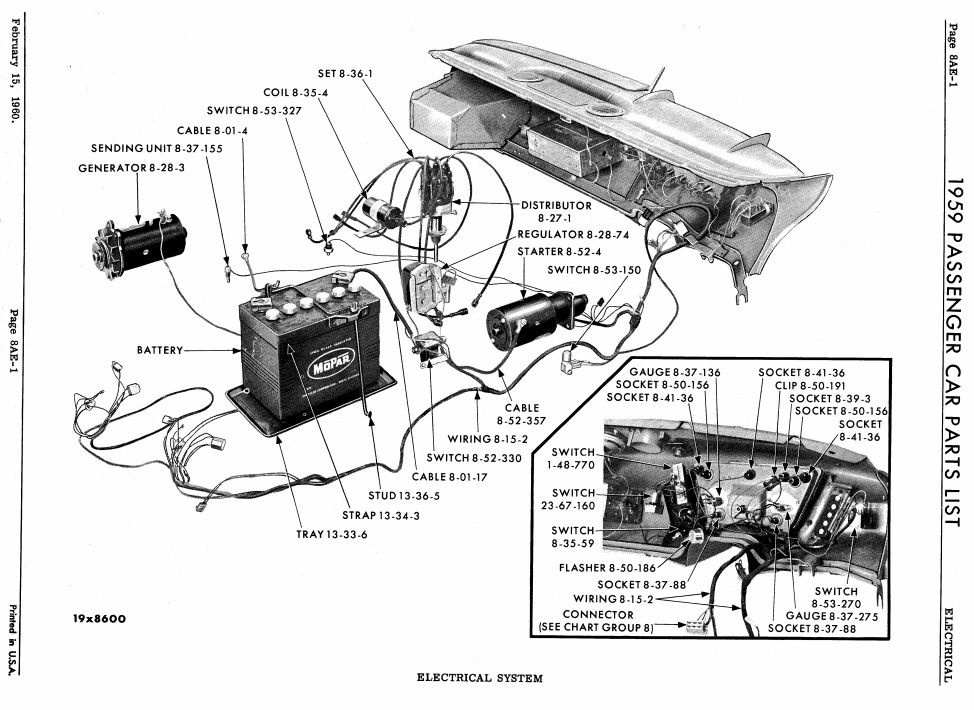
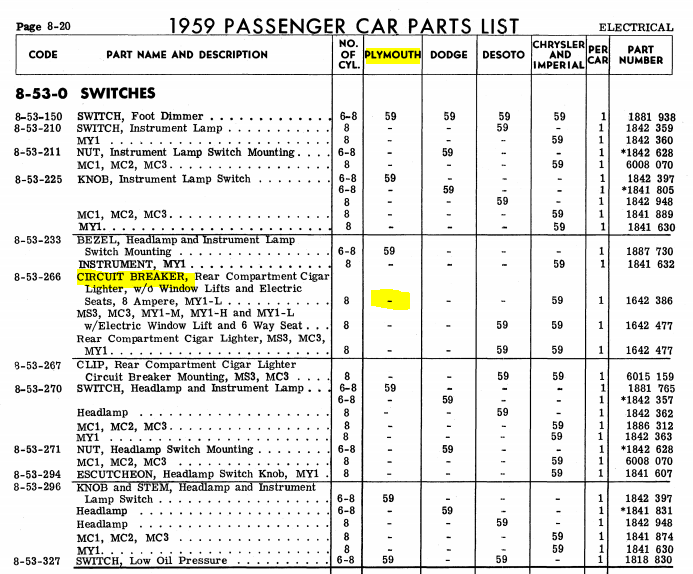
There’s nothing in the wiring diagram below that indicates the device is in the circuit - and indeed, the electrical parts list only lists a single breaker, and this not for Plymouths - only Chrysler and Imperials.
So I guess I’m going to have to break down and trace the wires under the dash. And you know how much fun that is… 
Dan - It looks like the previous owners did what l did. When working on Greenies ignition switch l shorted out (fried) the main red wire from the starter relay to the ignition switch. That wire is in the harness. To prevent it ever happining again l put a circuit breaker between the starter relay and the battery, same thing happened in the Desoto. In this case l ran a seperate wire to the ignition switch. Sse the pitchuhs.
Ahhhhh!! I’ll confirm that, but I think you are on to something, Doc '59.
The heater cover is back on, and the generator mounted. The P/S pump mounting bracket is freshly painted and still drying, so that will have to wait. Time now, though, to start thinking about packing and getting ready for our trip. It will be two weeks before I’m back in the garage.
Yeah, but… While making small talk with company, I snuck out to the garage to check on the brackets. Dry! So I bolted the P/S pump back on.
No, I’m not gonna get Faulkner started before my departure. But I’m closing in on it.
I spent some time getting reintroduced to Faulkner this afternoon, but accomplished very little.
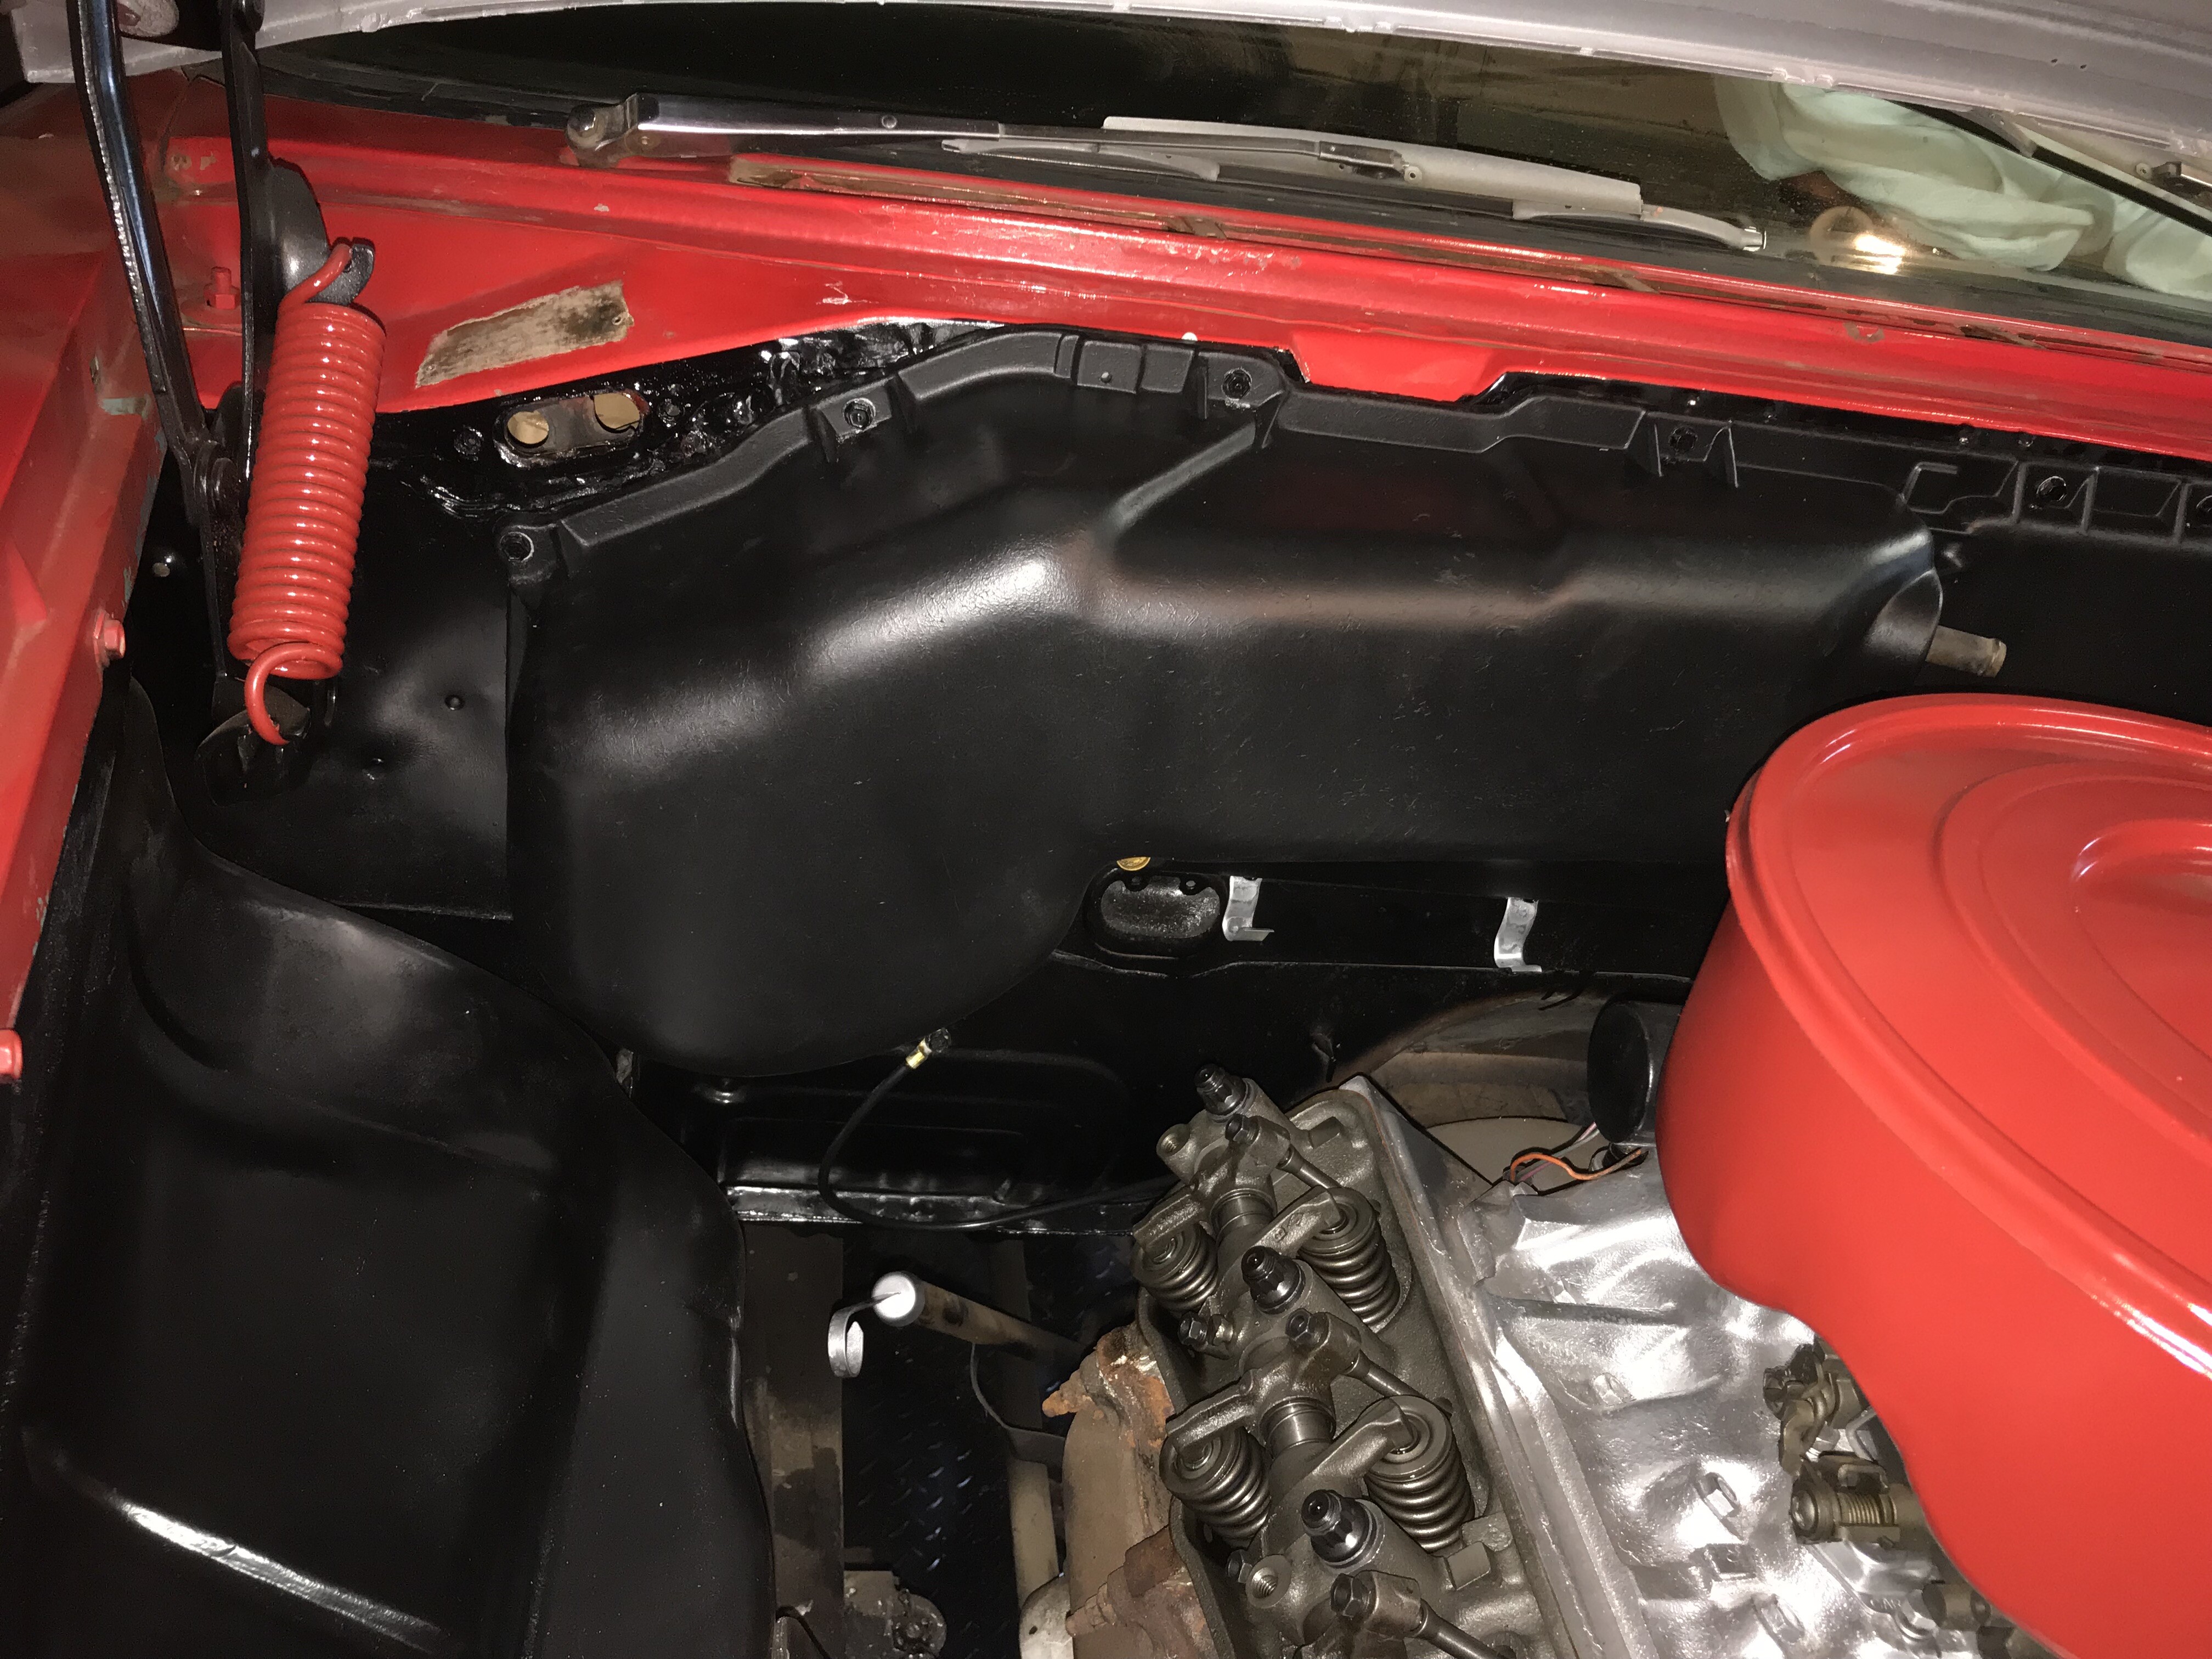
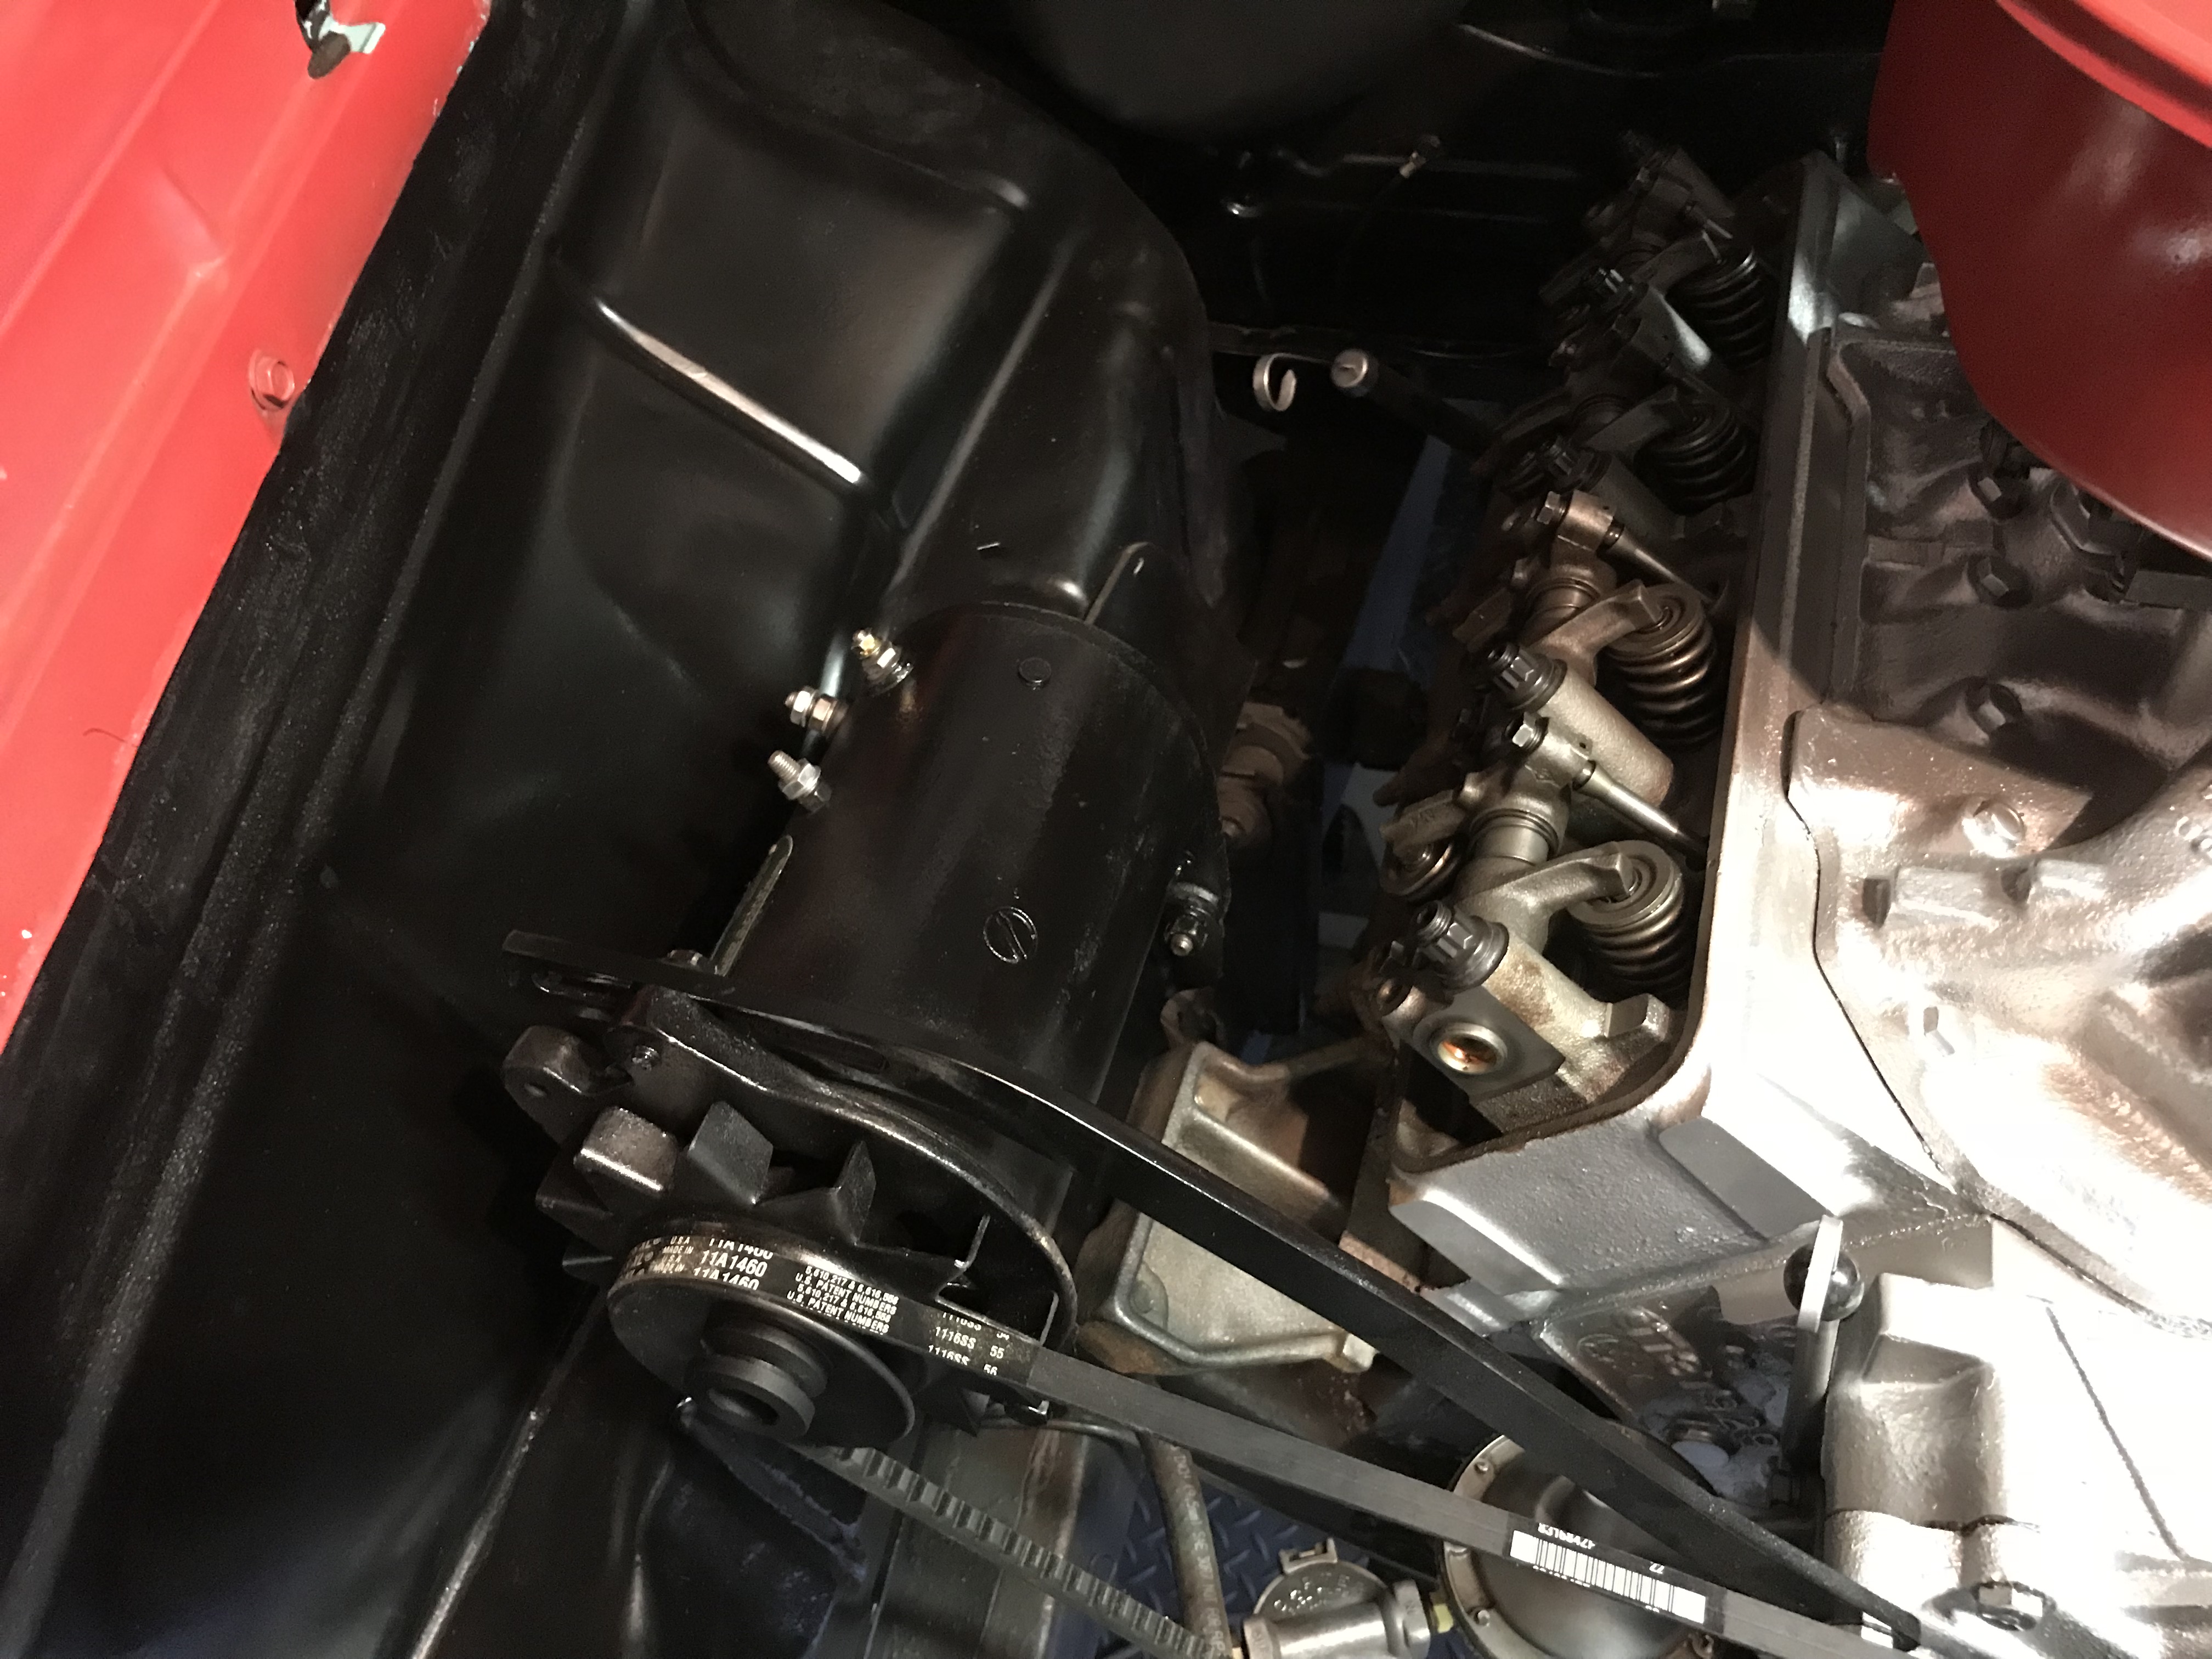
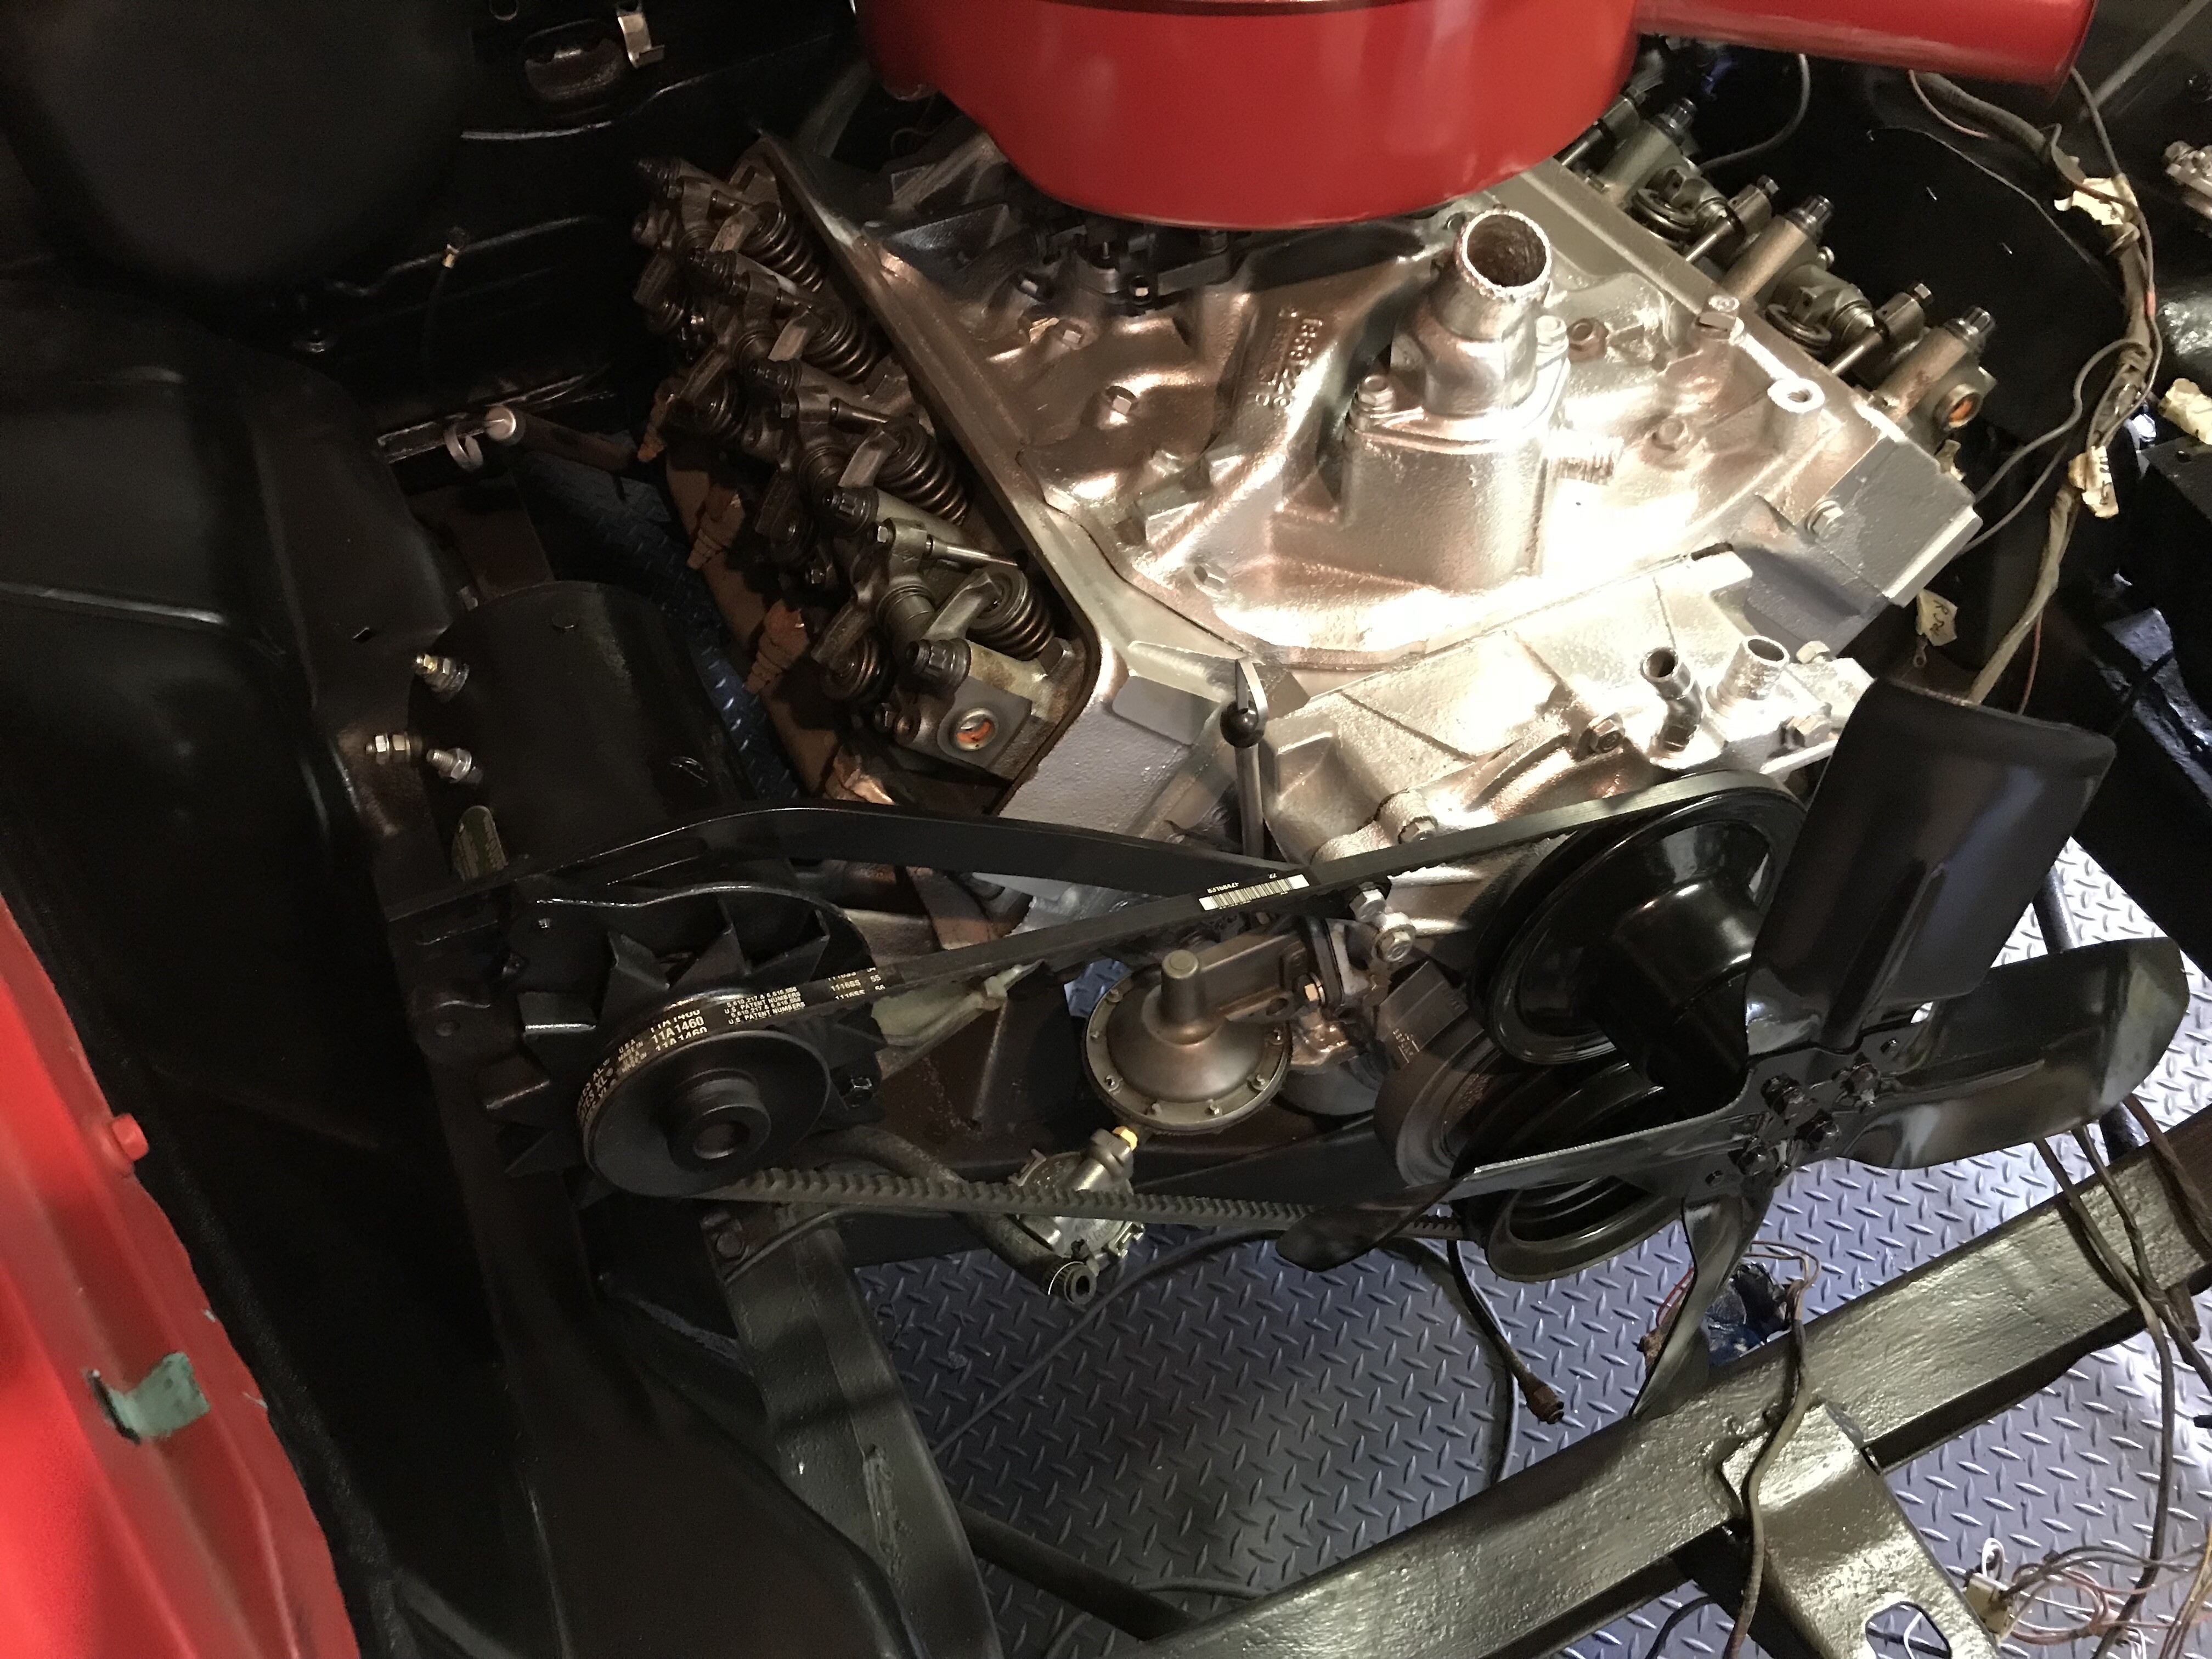
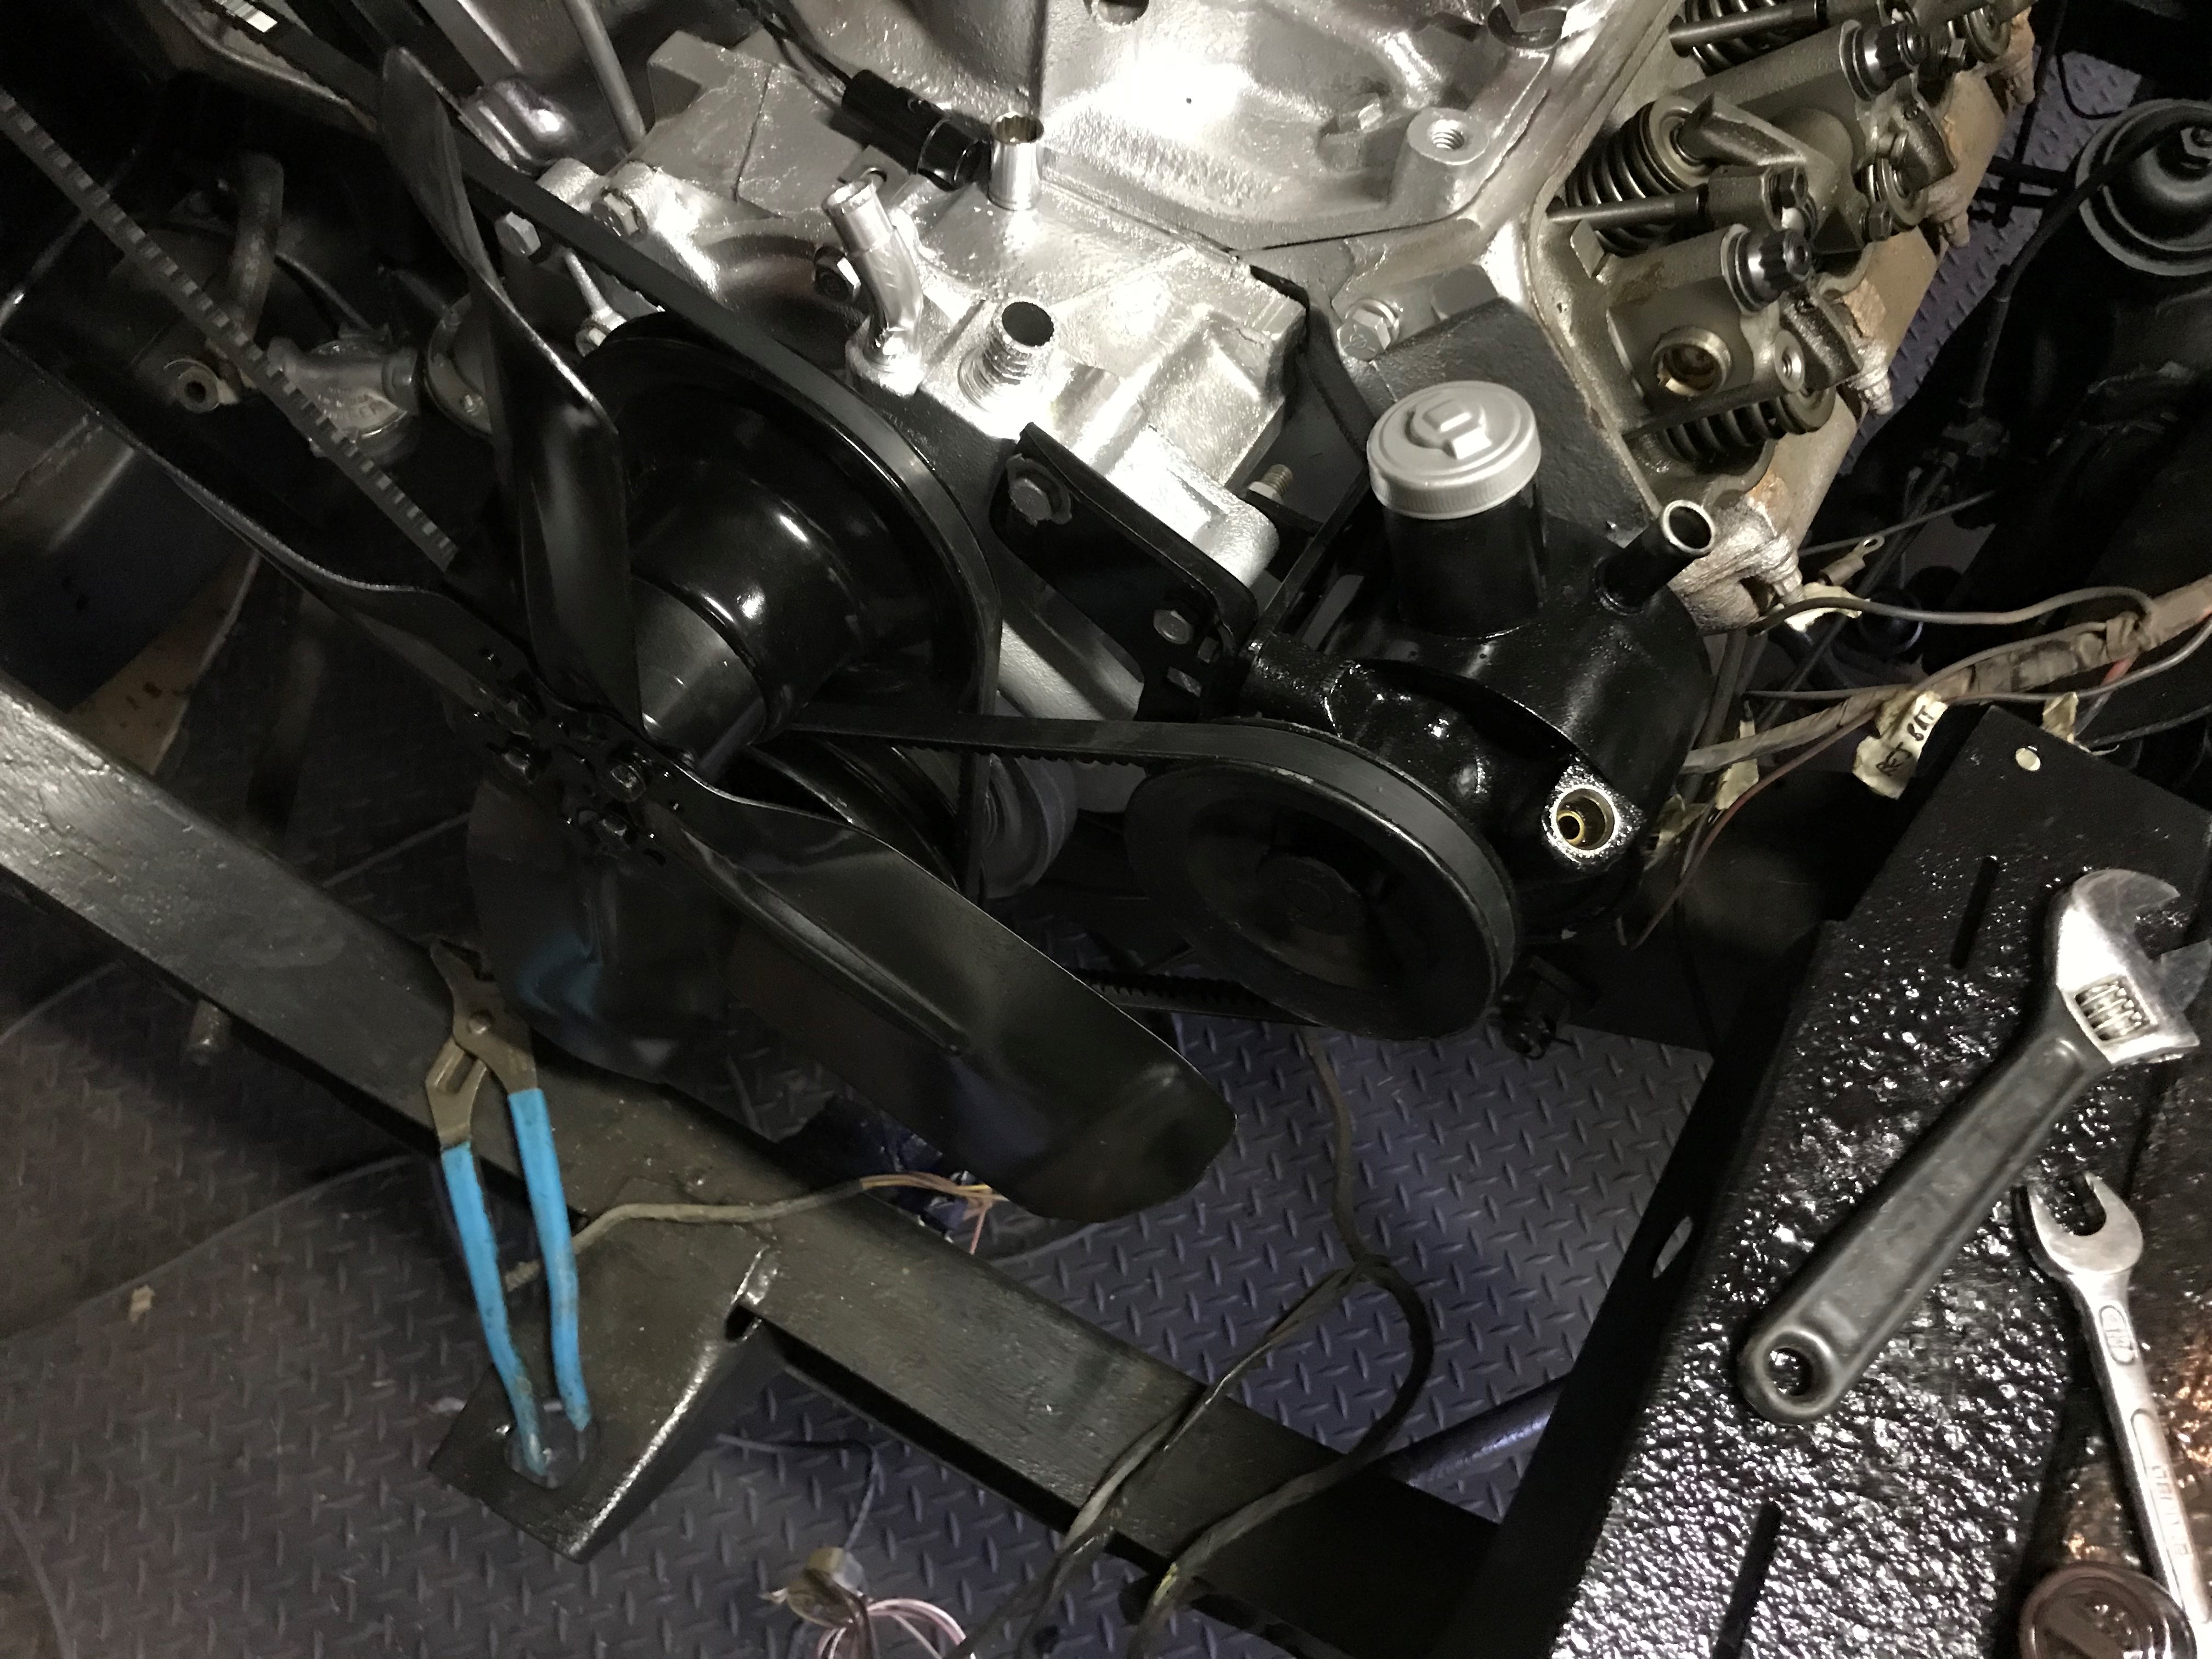
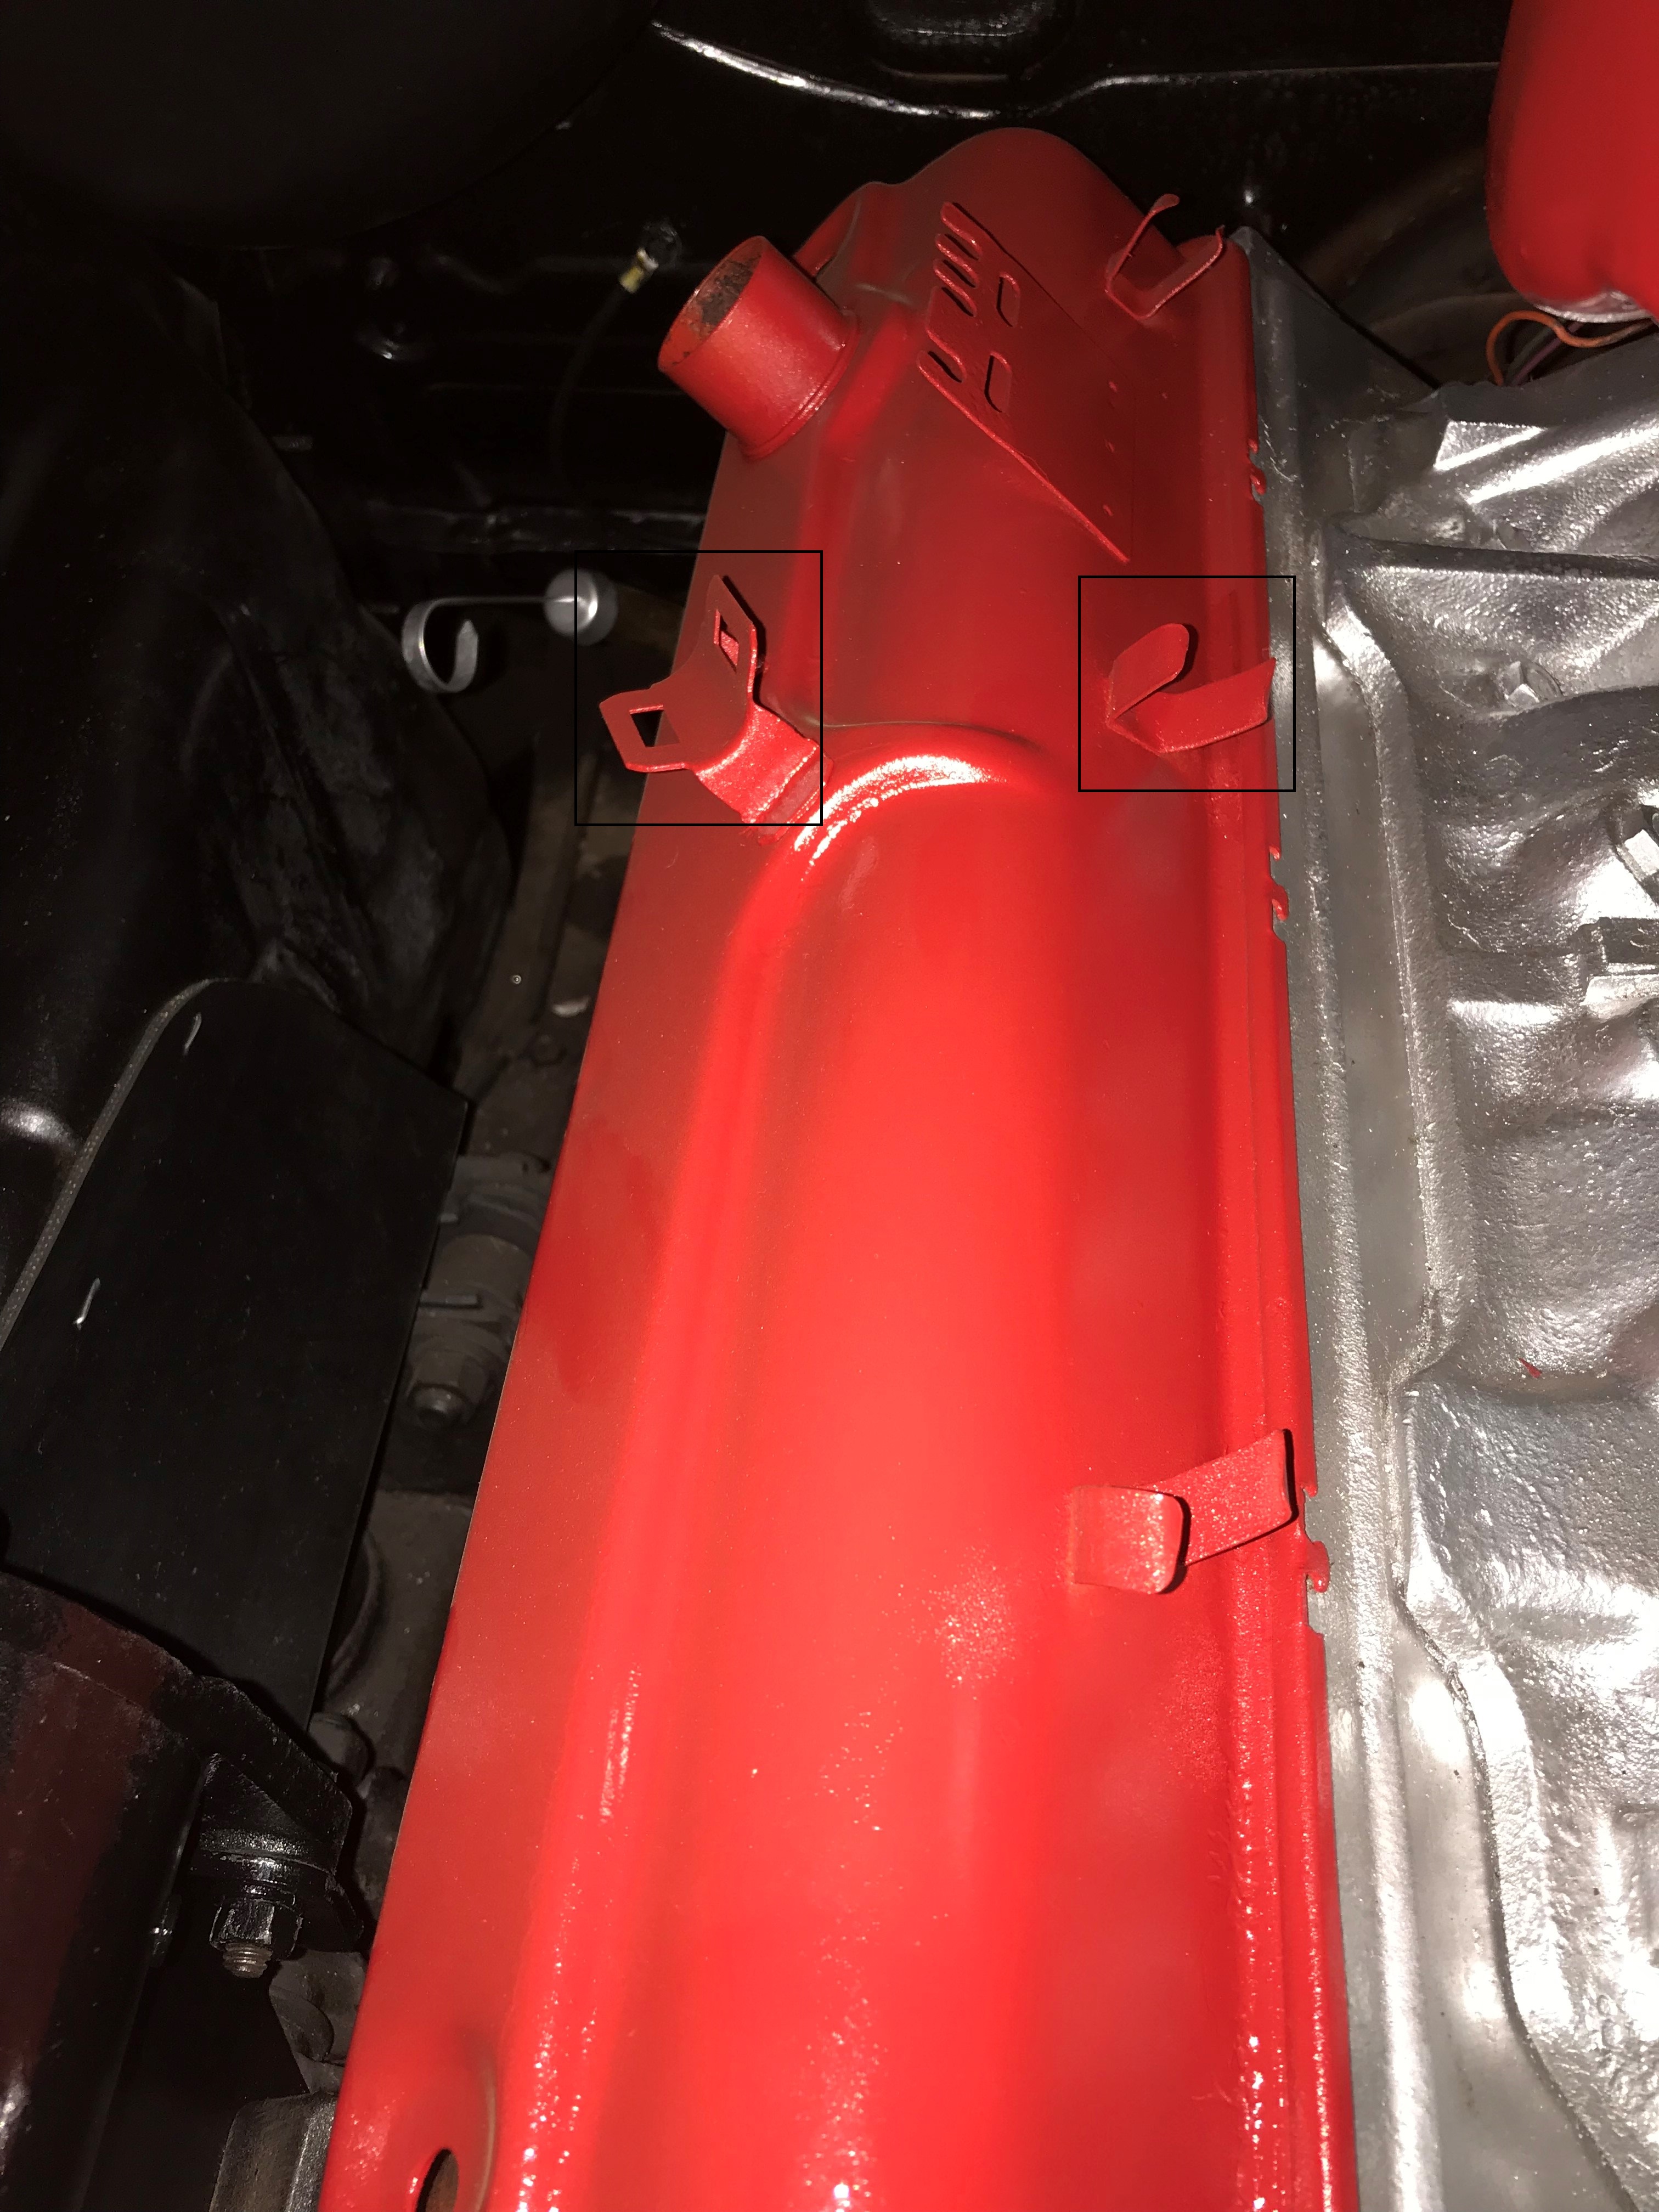
It seems (because I can’t remember) that the generator wiring harness to the regulator was routed across the radiator core, from it’s length - but, I’m thinking of making a new longer one that’s routed across the firewall, and along side the right valve cover. Isn’t that what those tabs are for, spot-welded to the cover? (I don’t know if '59’s had them, but my 318 is from a '58.) And is that other bracket for a heater hose?
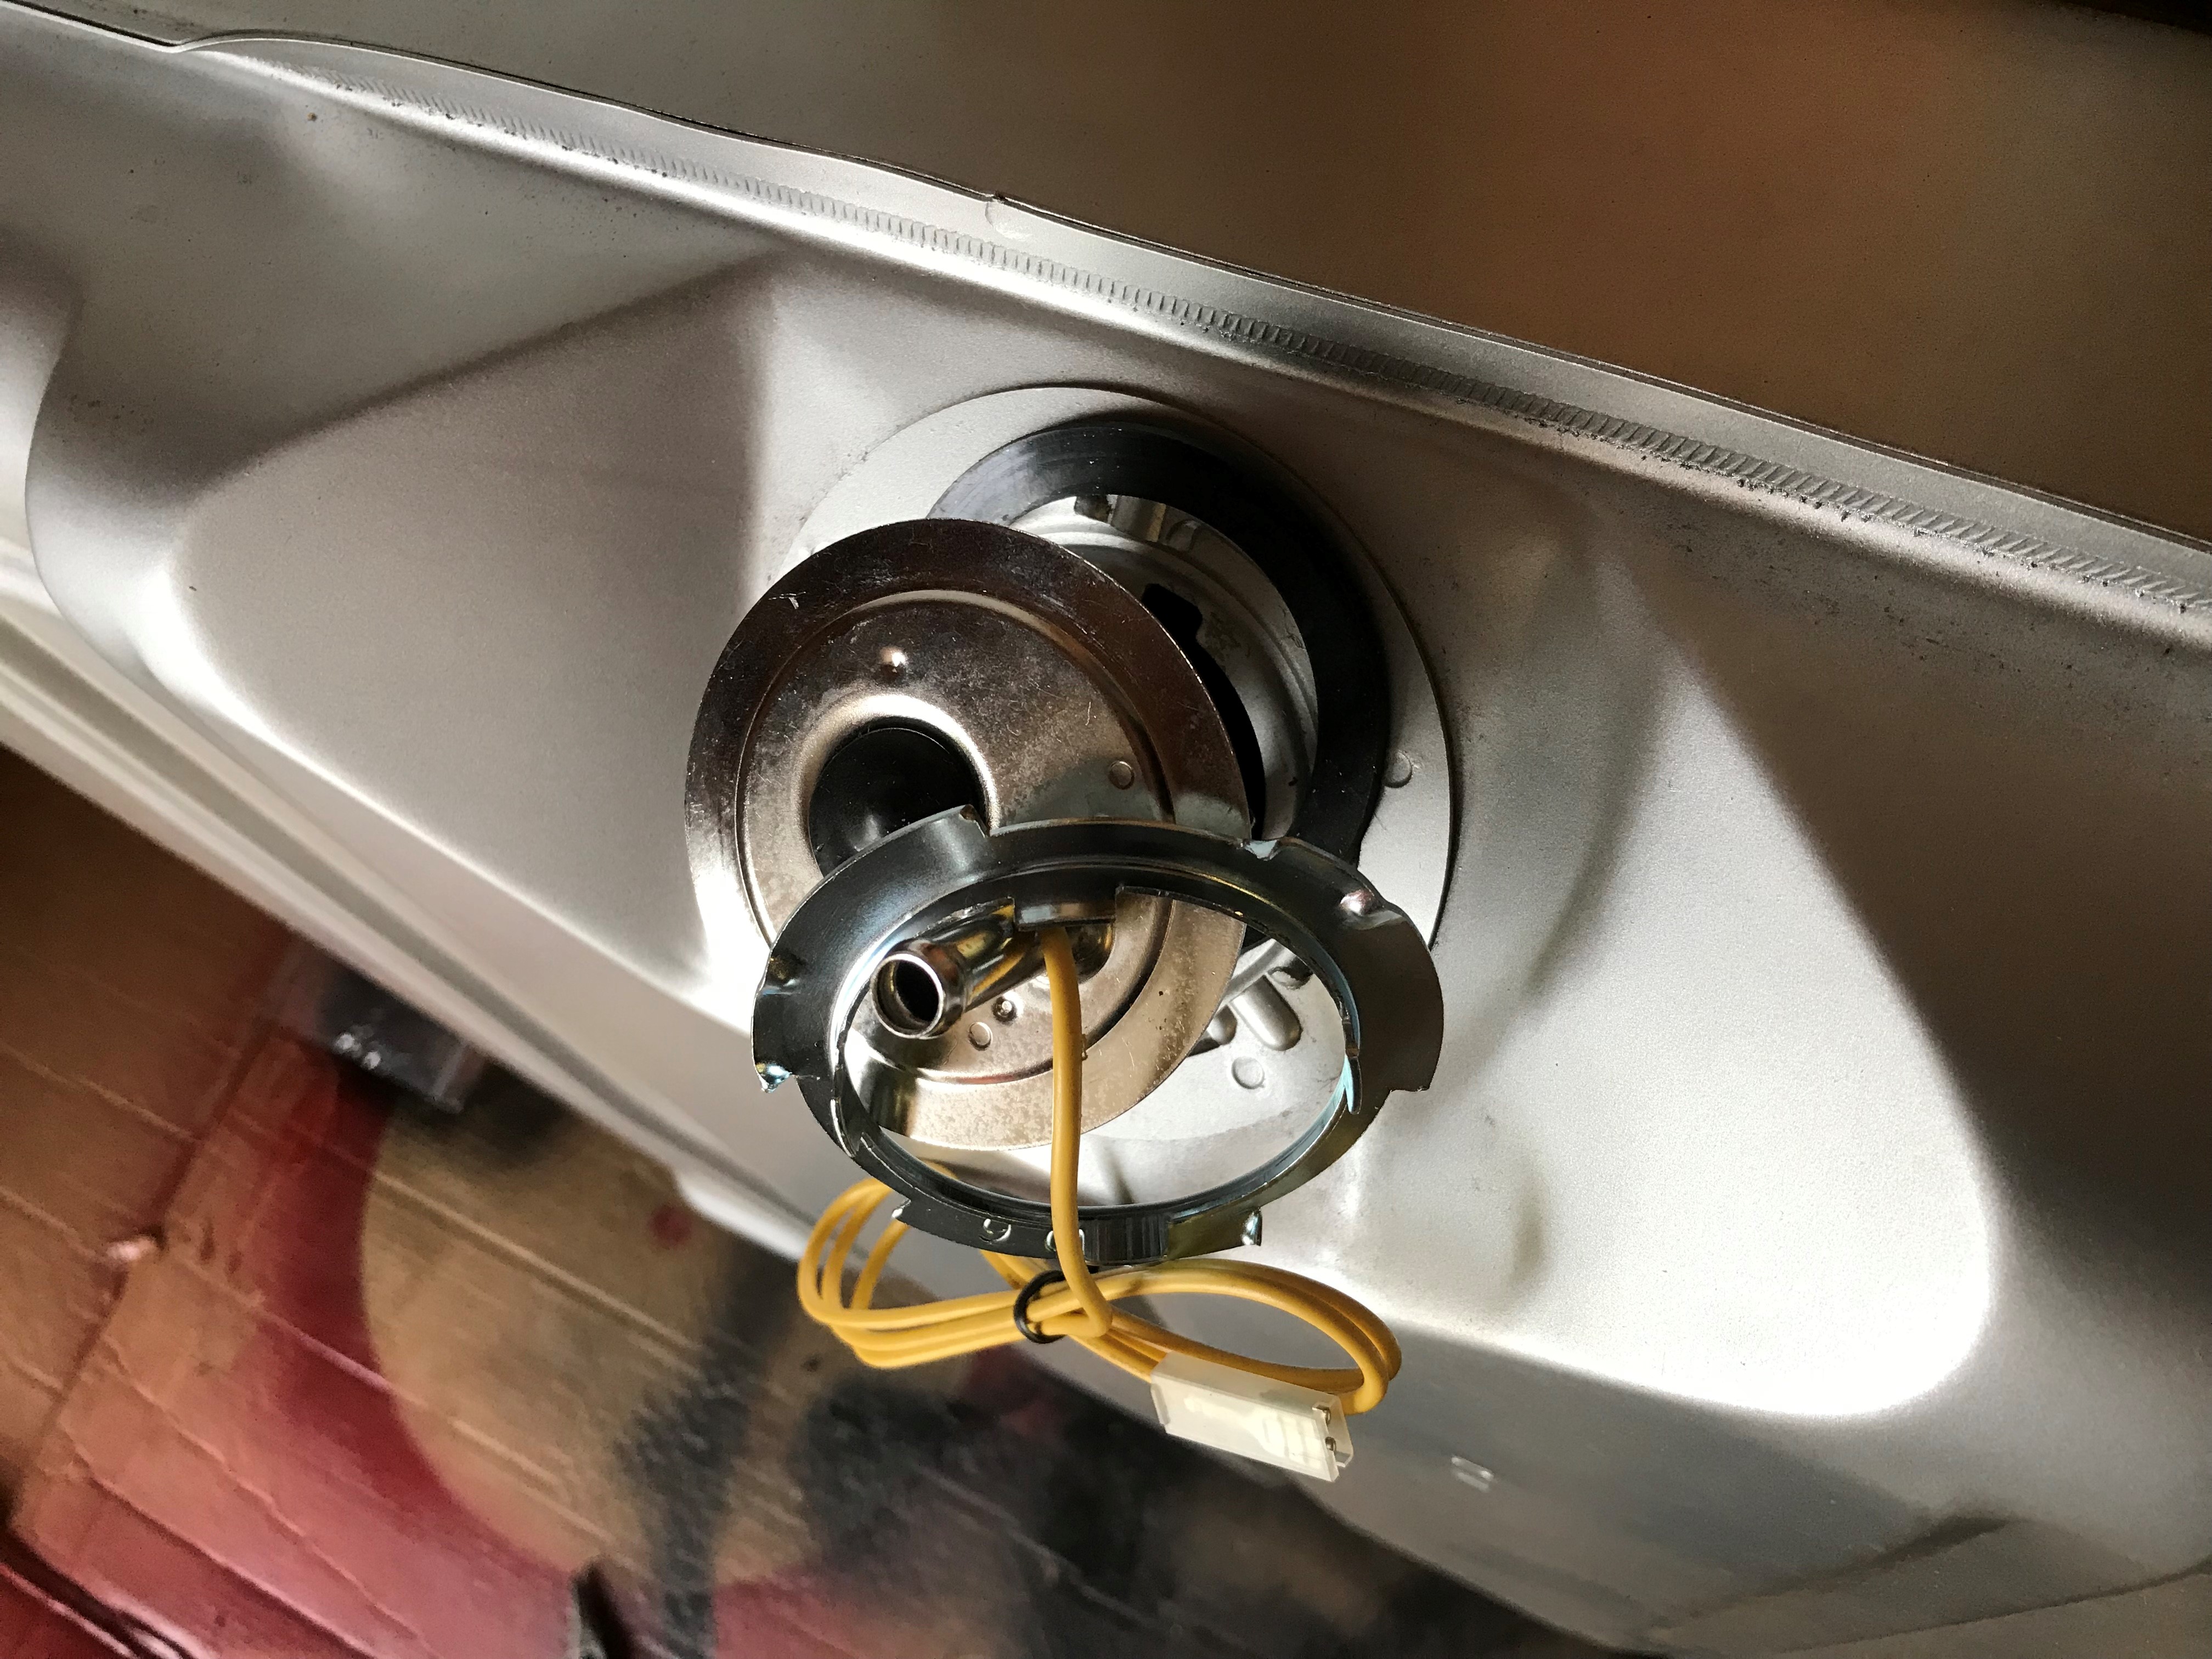
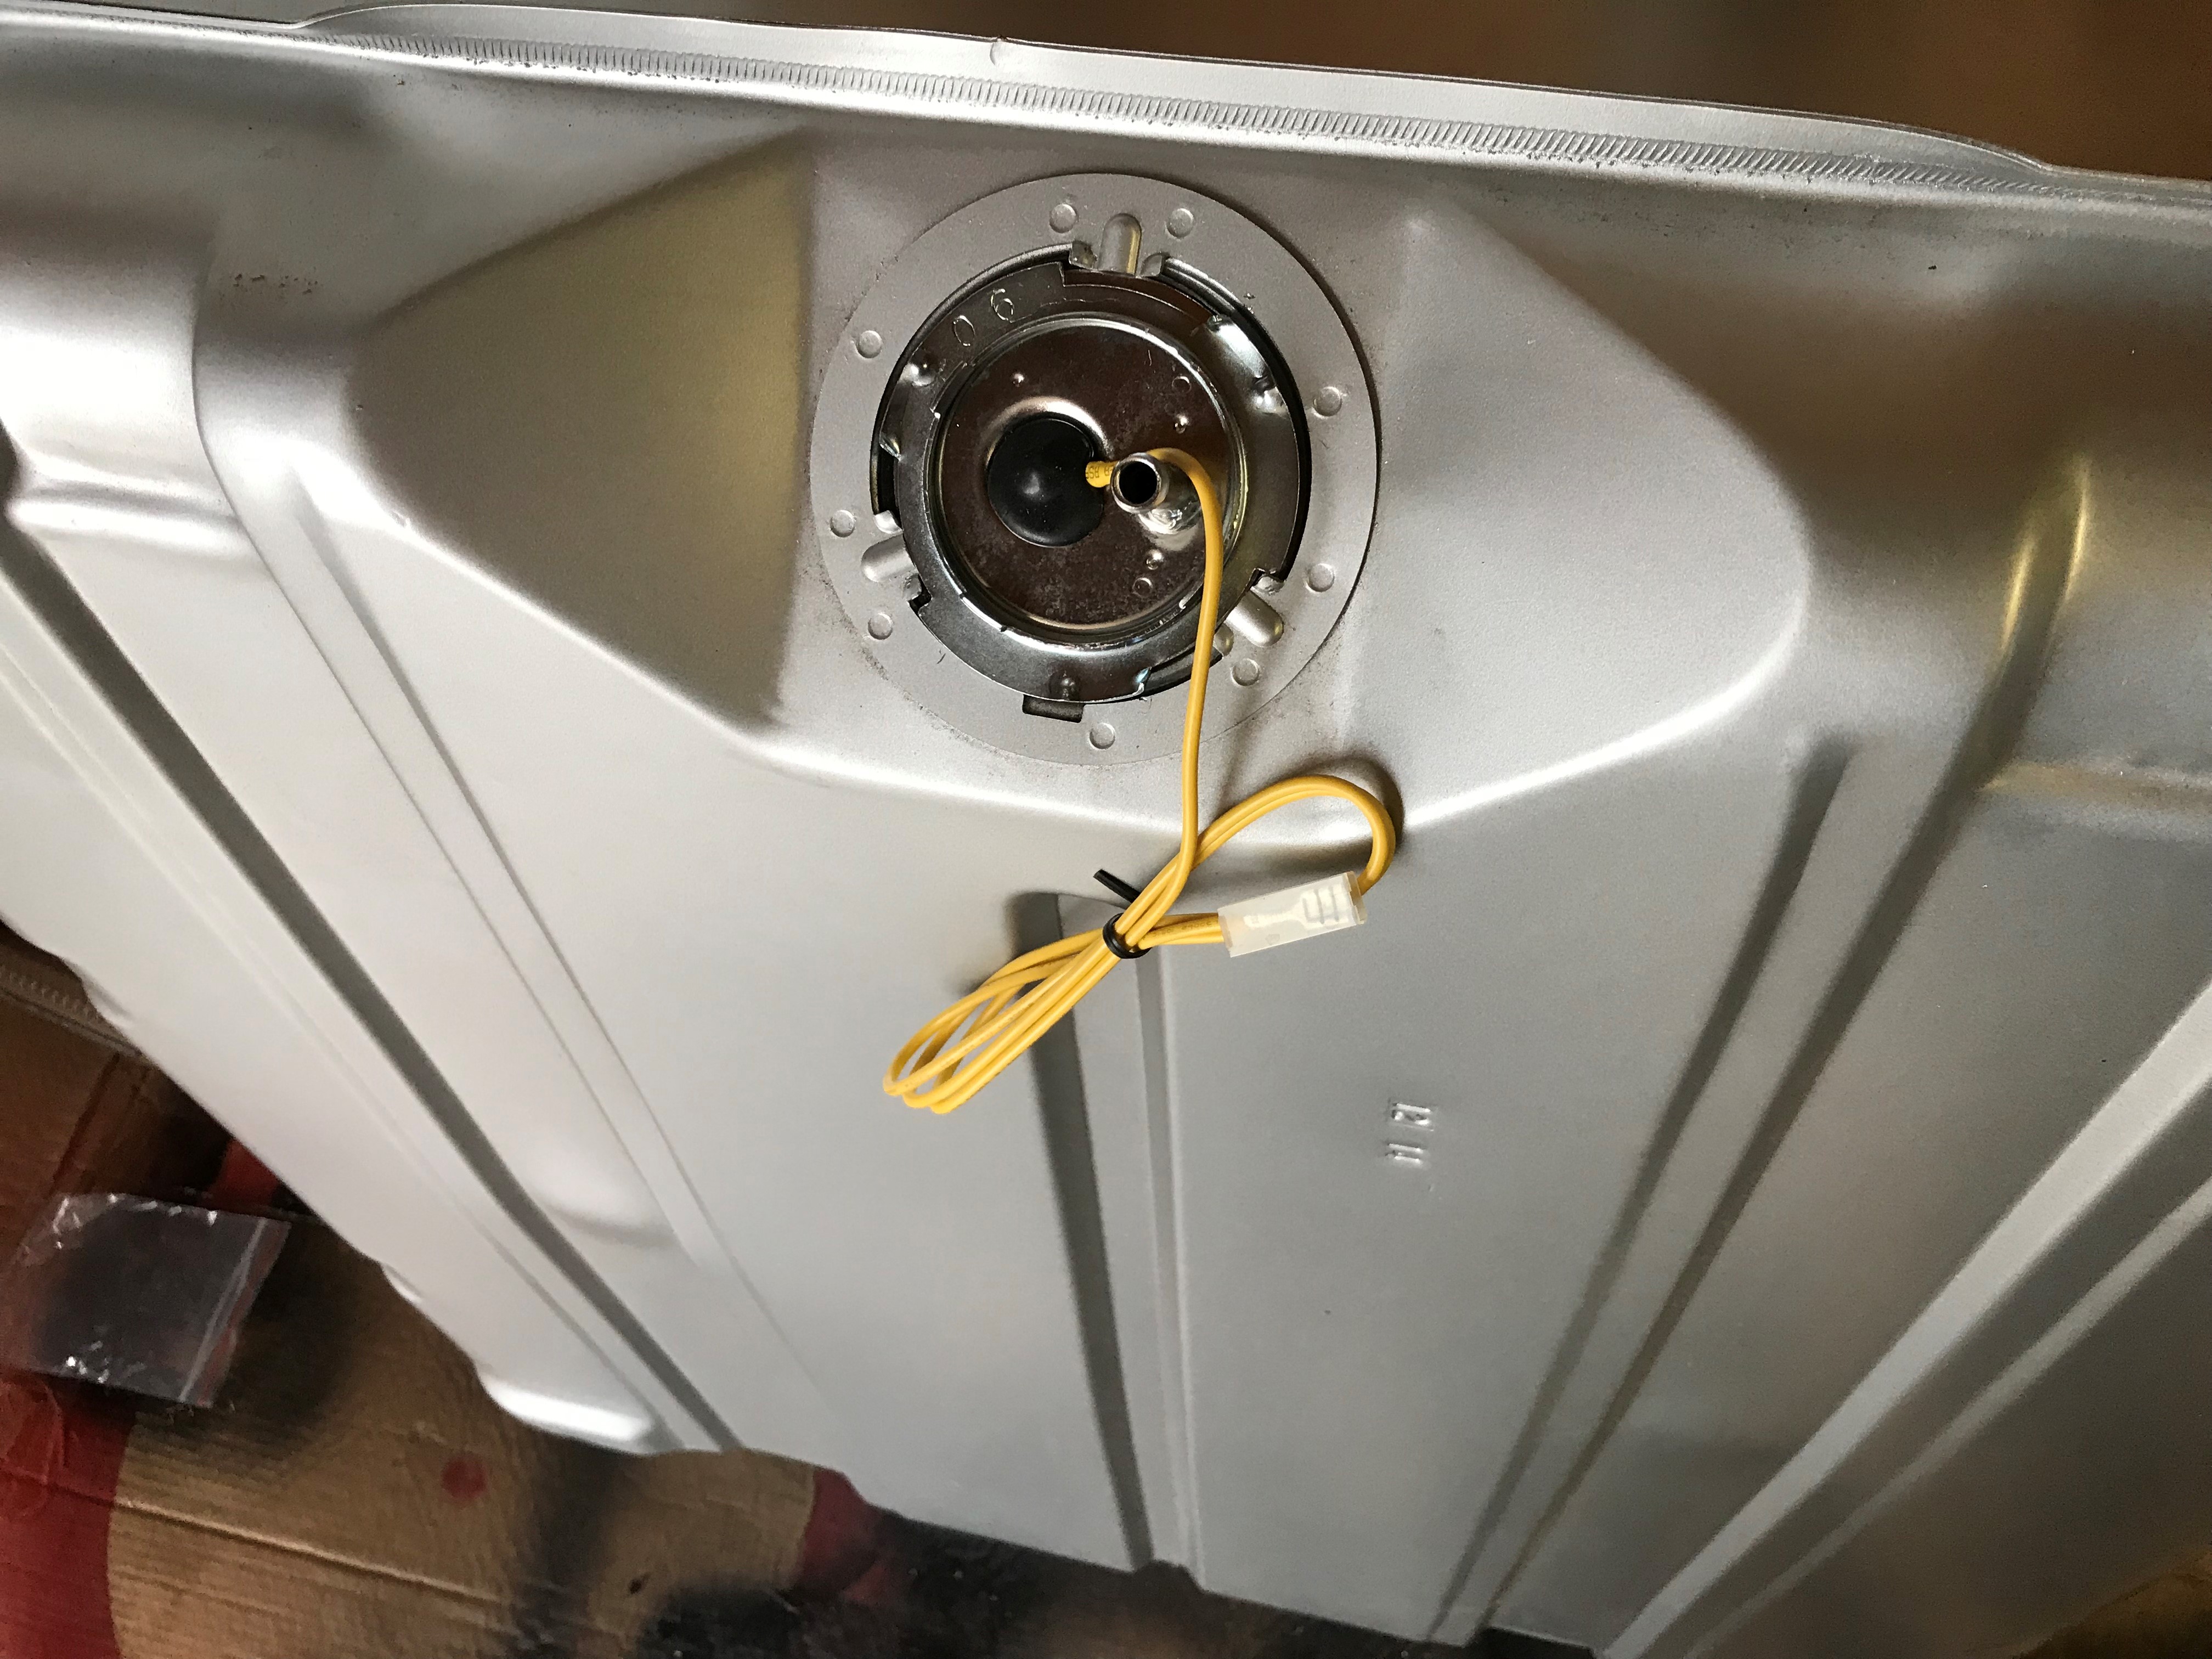
The sending unit float arm is up against the stop with the float at the bottom of the tank - it seems to be bent perfectly. But, I can’t twist the retainer in place. Any ideas? I think Matthew may have mentioned there’s a special tool for this…
He’s baaaaaaaaaaaaakk. Yes there is a tool for that. It’s a very tight fit so doesn’t leak. If your gasket is rubber apply silicone spray to make slikky. I use a screwdriver on the upright tap to tap it tight.
The generator wiring lays on the front top of the engine under the radiator hose to the regulator.
Dick
Okay, The bracket you thought was for heater hose is, and also uses a sheet metal strap to secure the hose to it. And for the sending unit…I like using ,375" key-stock and finish using the dull end of a .250" punch utilizing all the tightening tabs if I can’t find my sending unit tool…Usually out on loan and seems to have a hard time finding it’s way home.