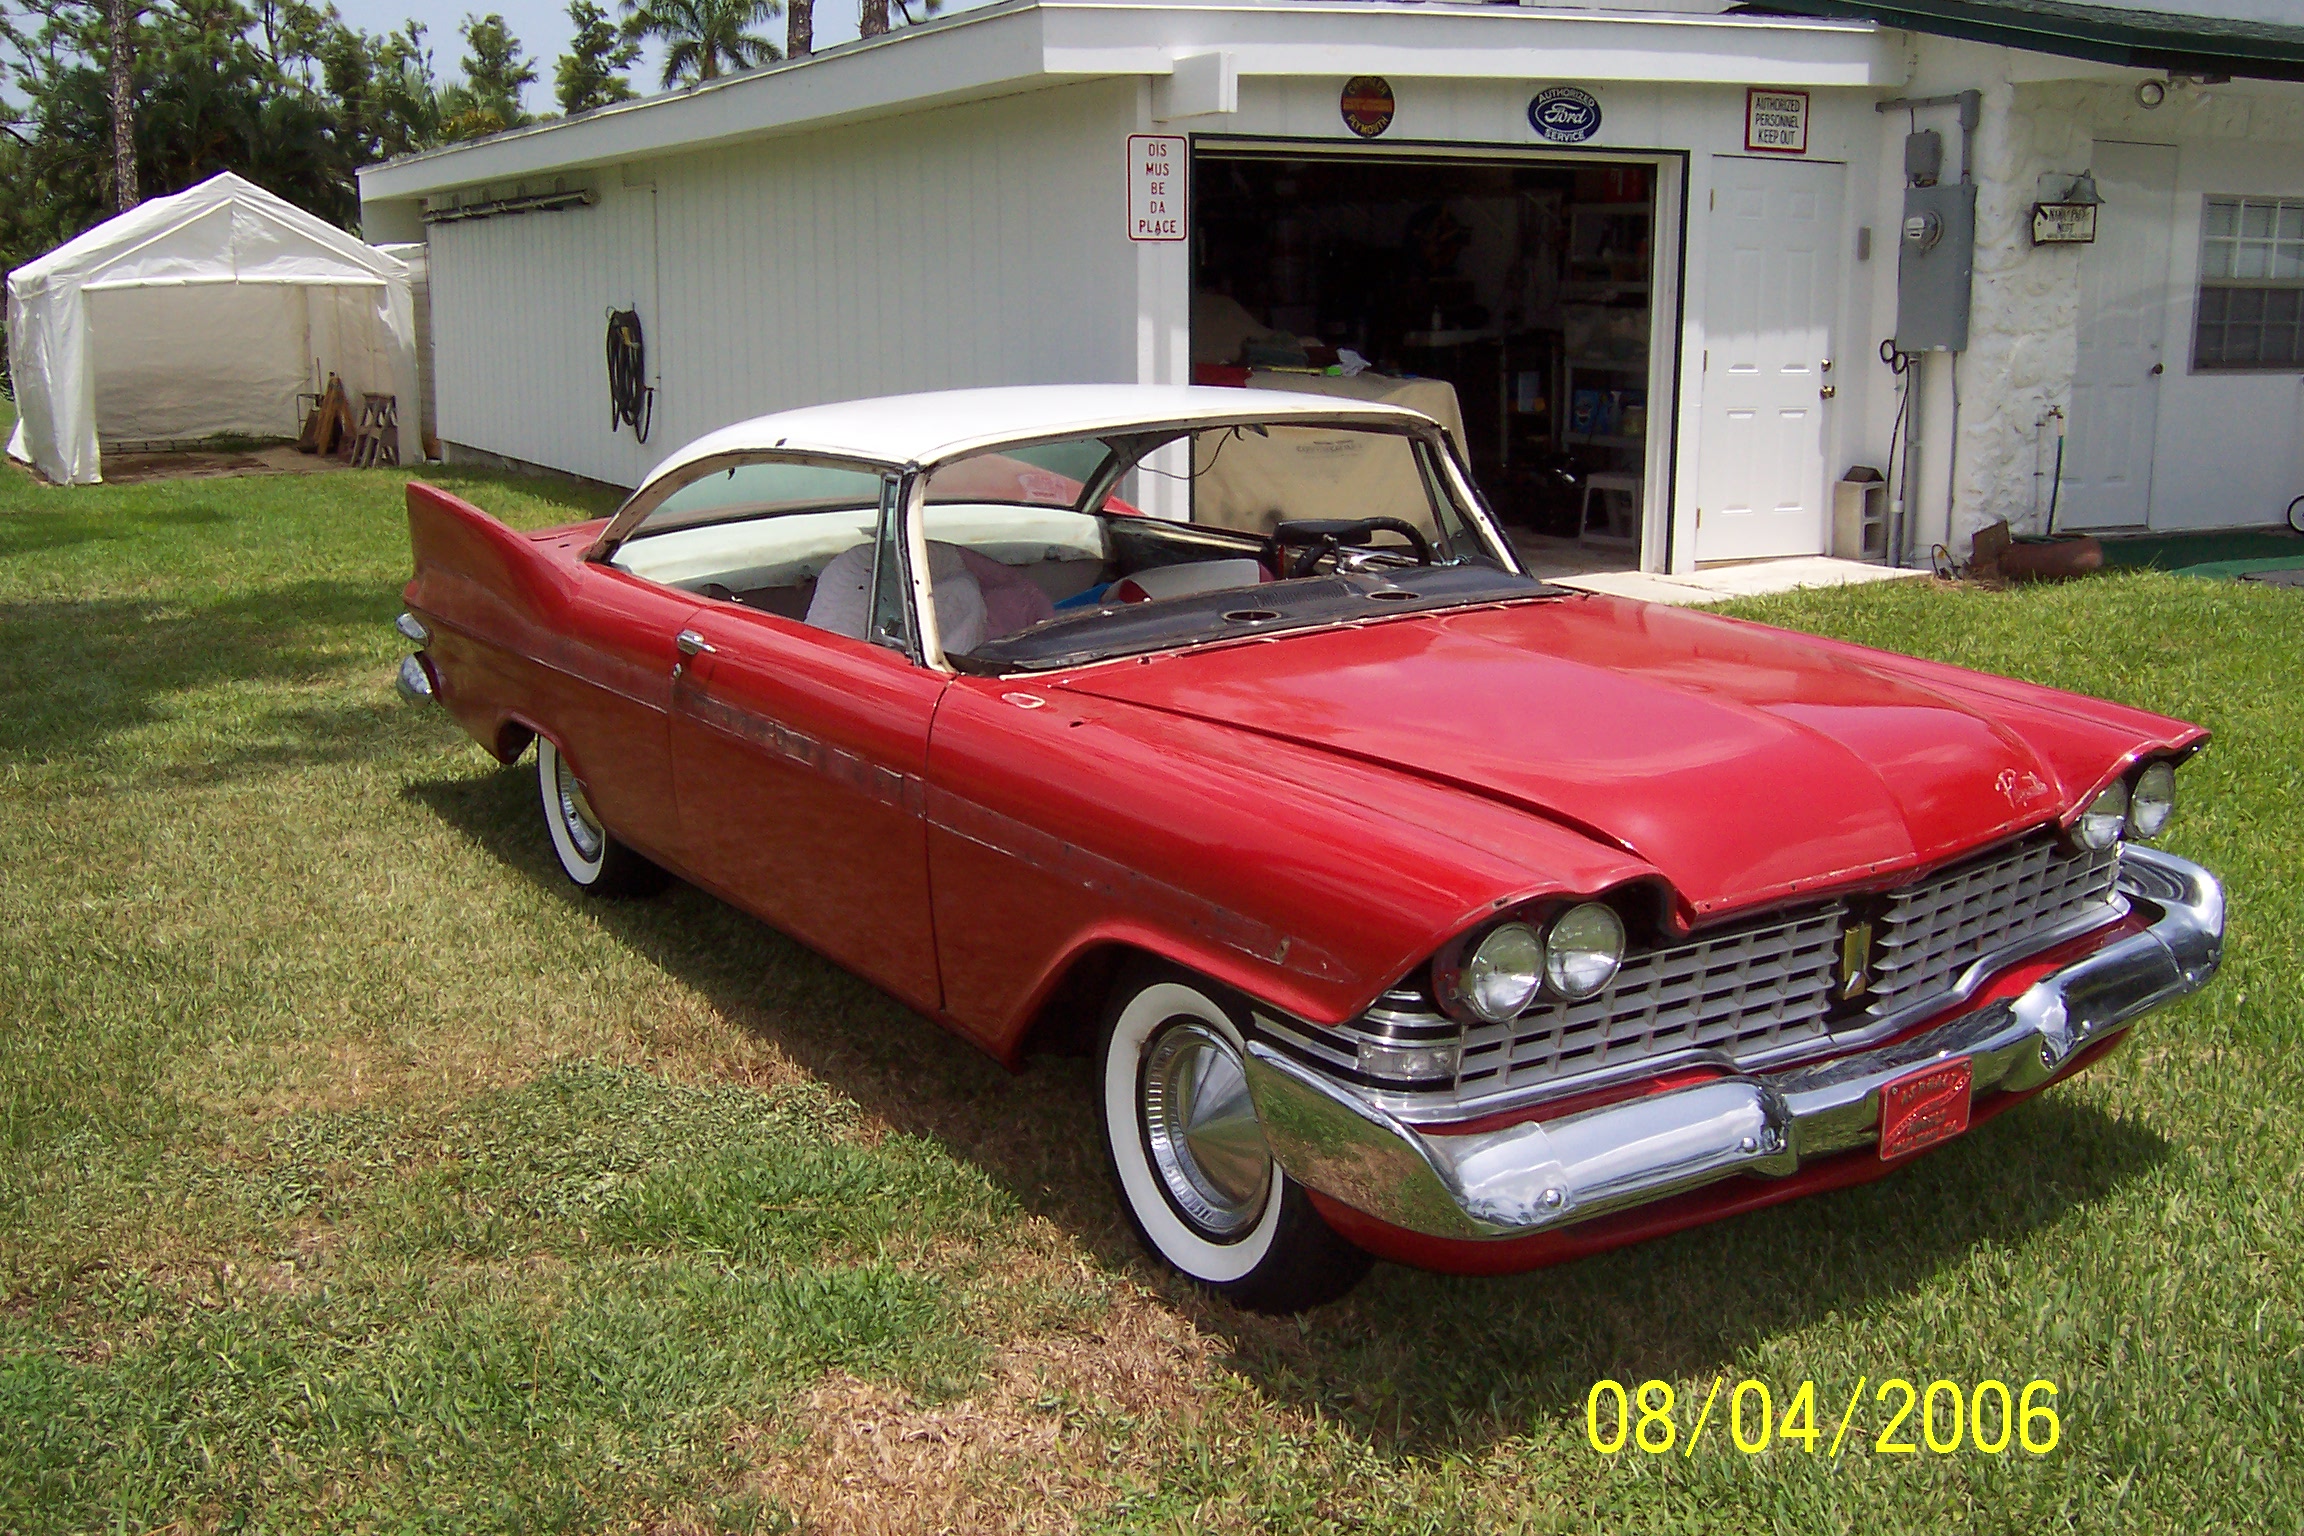
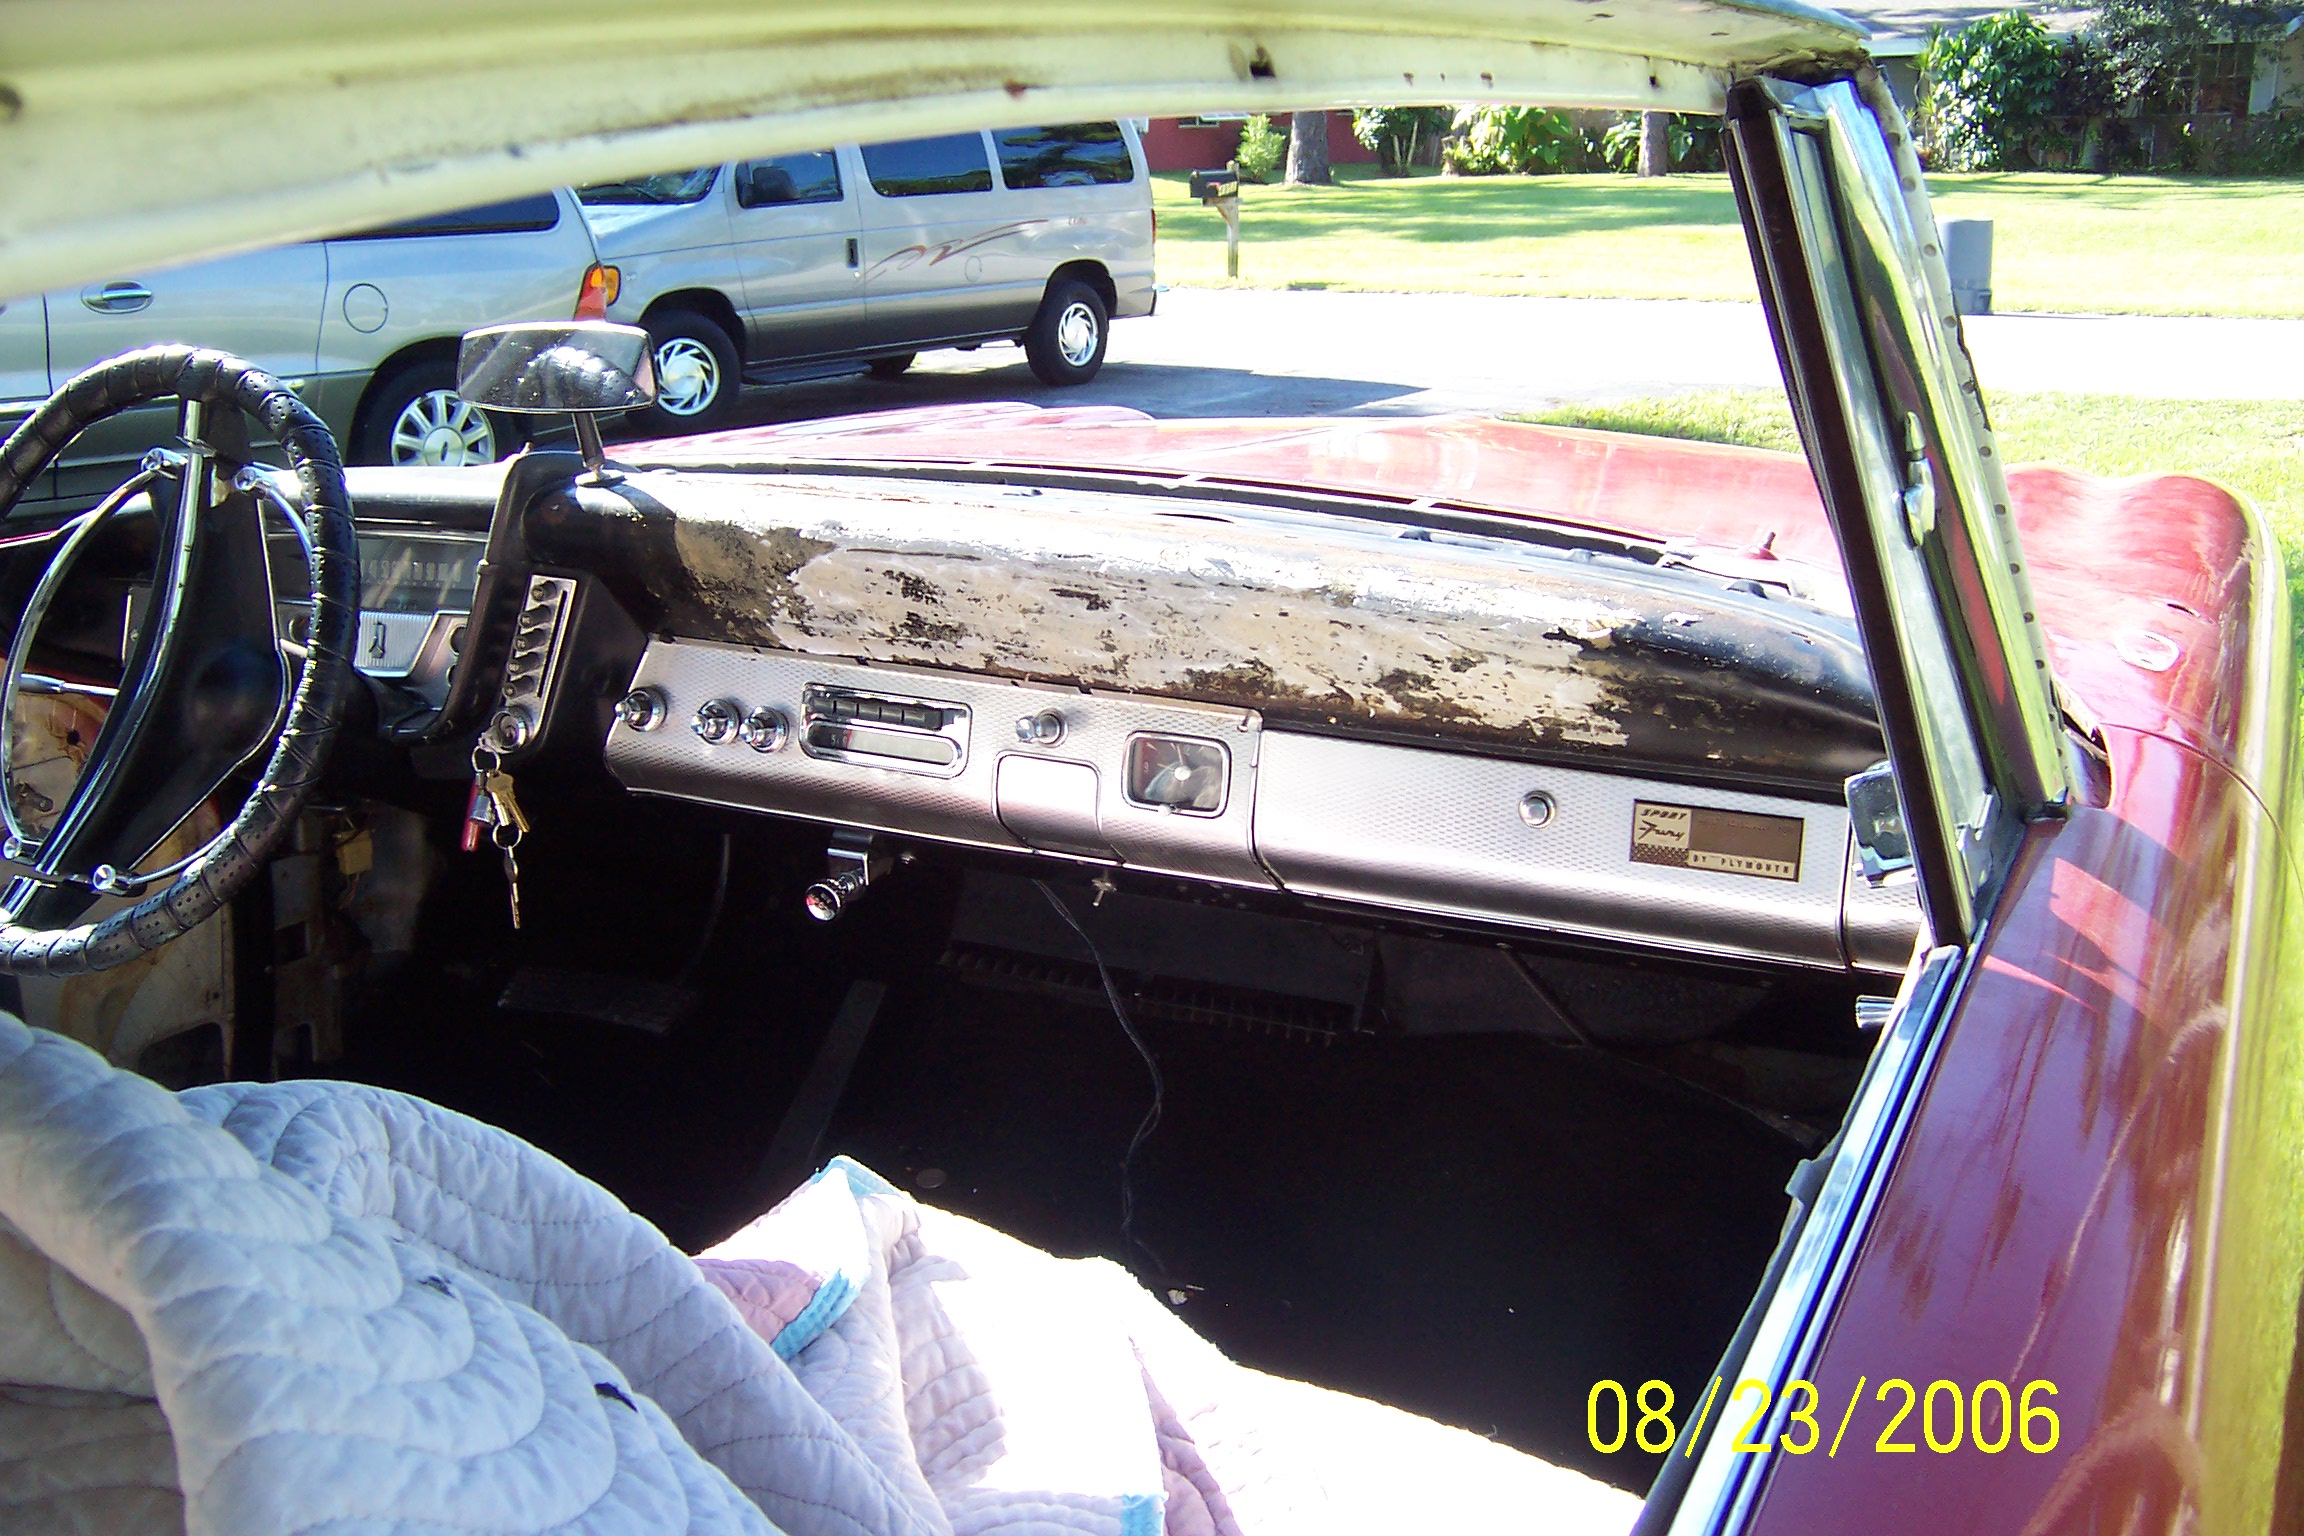
OK, hear we go, after almost three years of sitting and waiting I’m getting started. These pictures are from 3 yrs. ago.
STUFF DONE SO FAR:
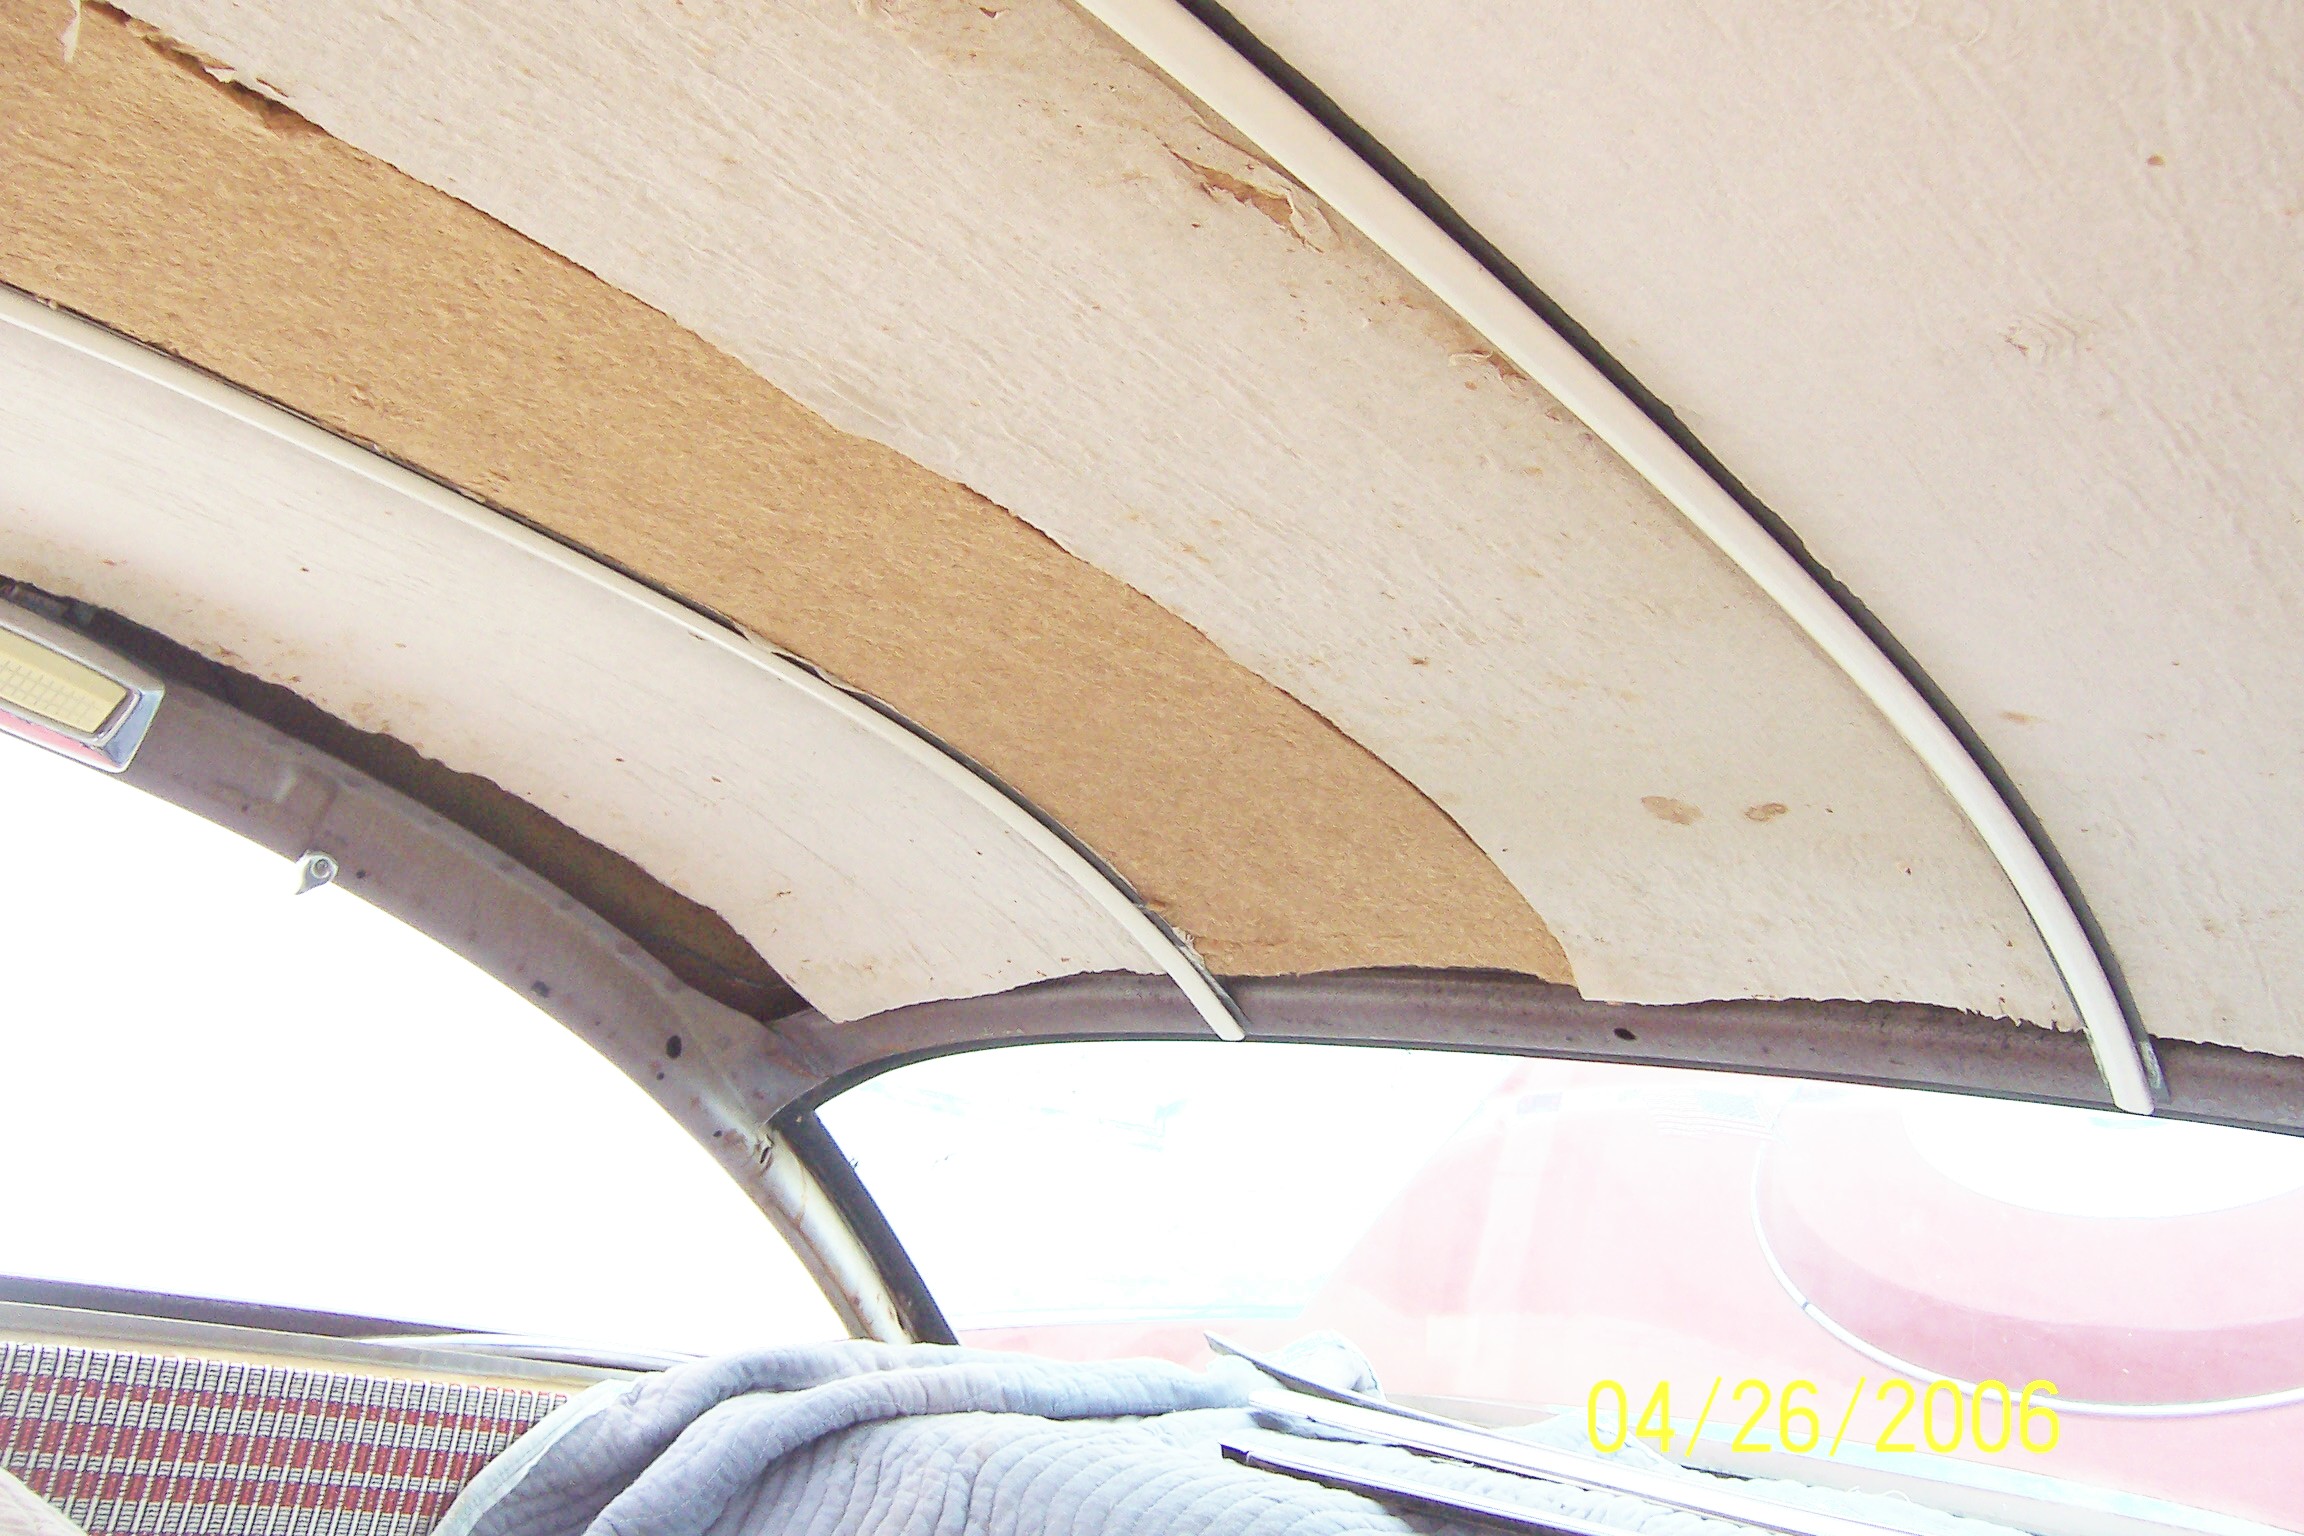
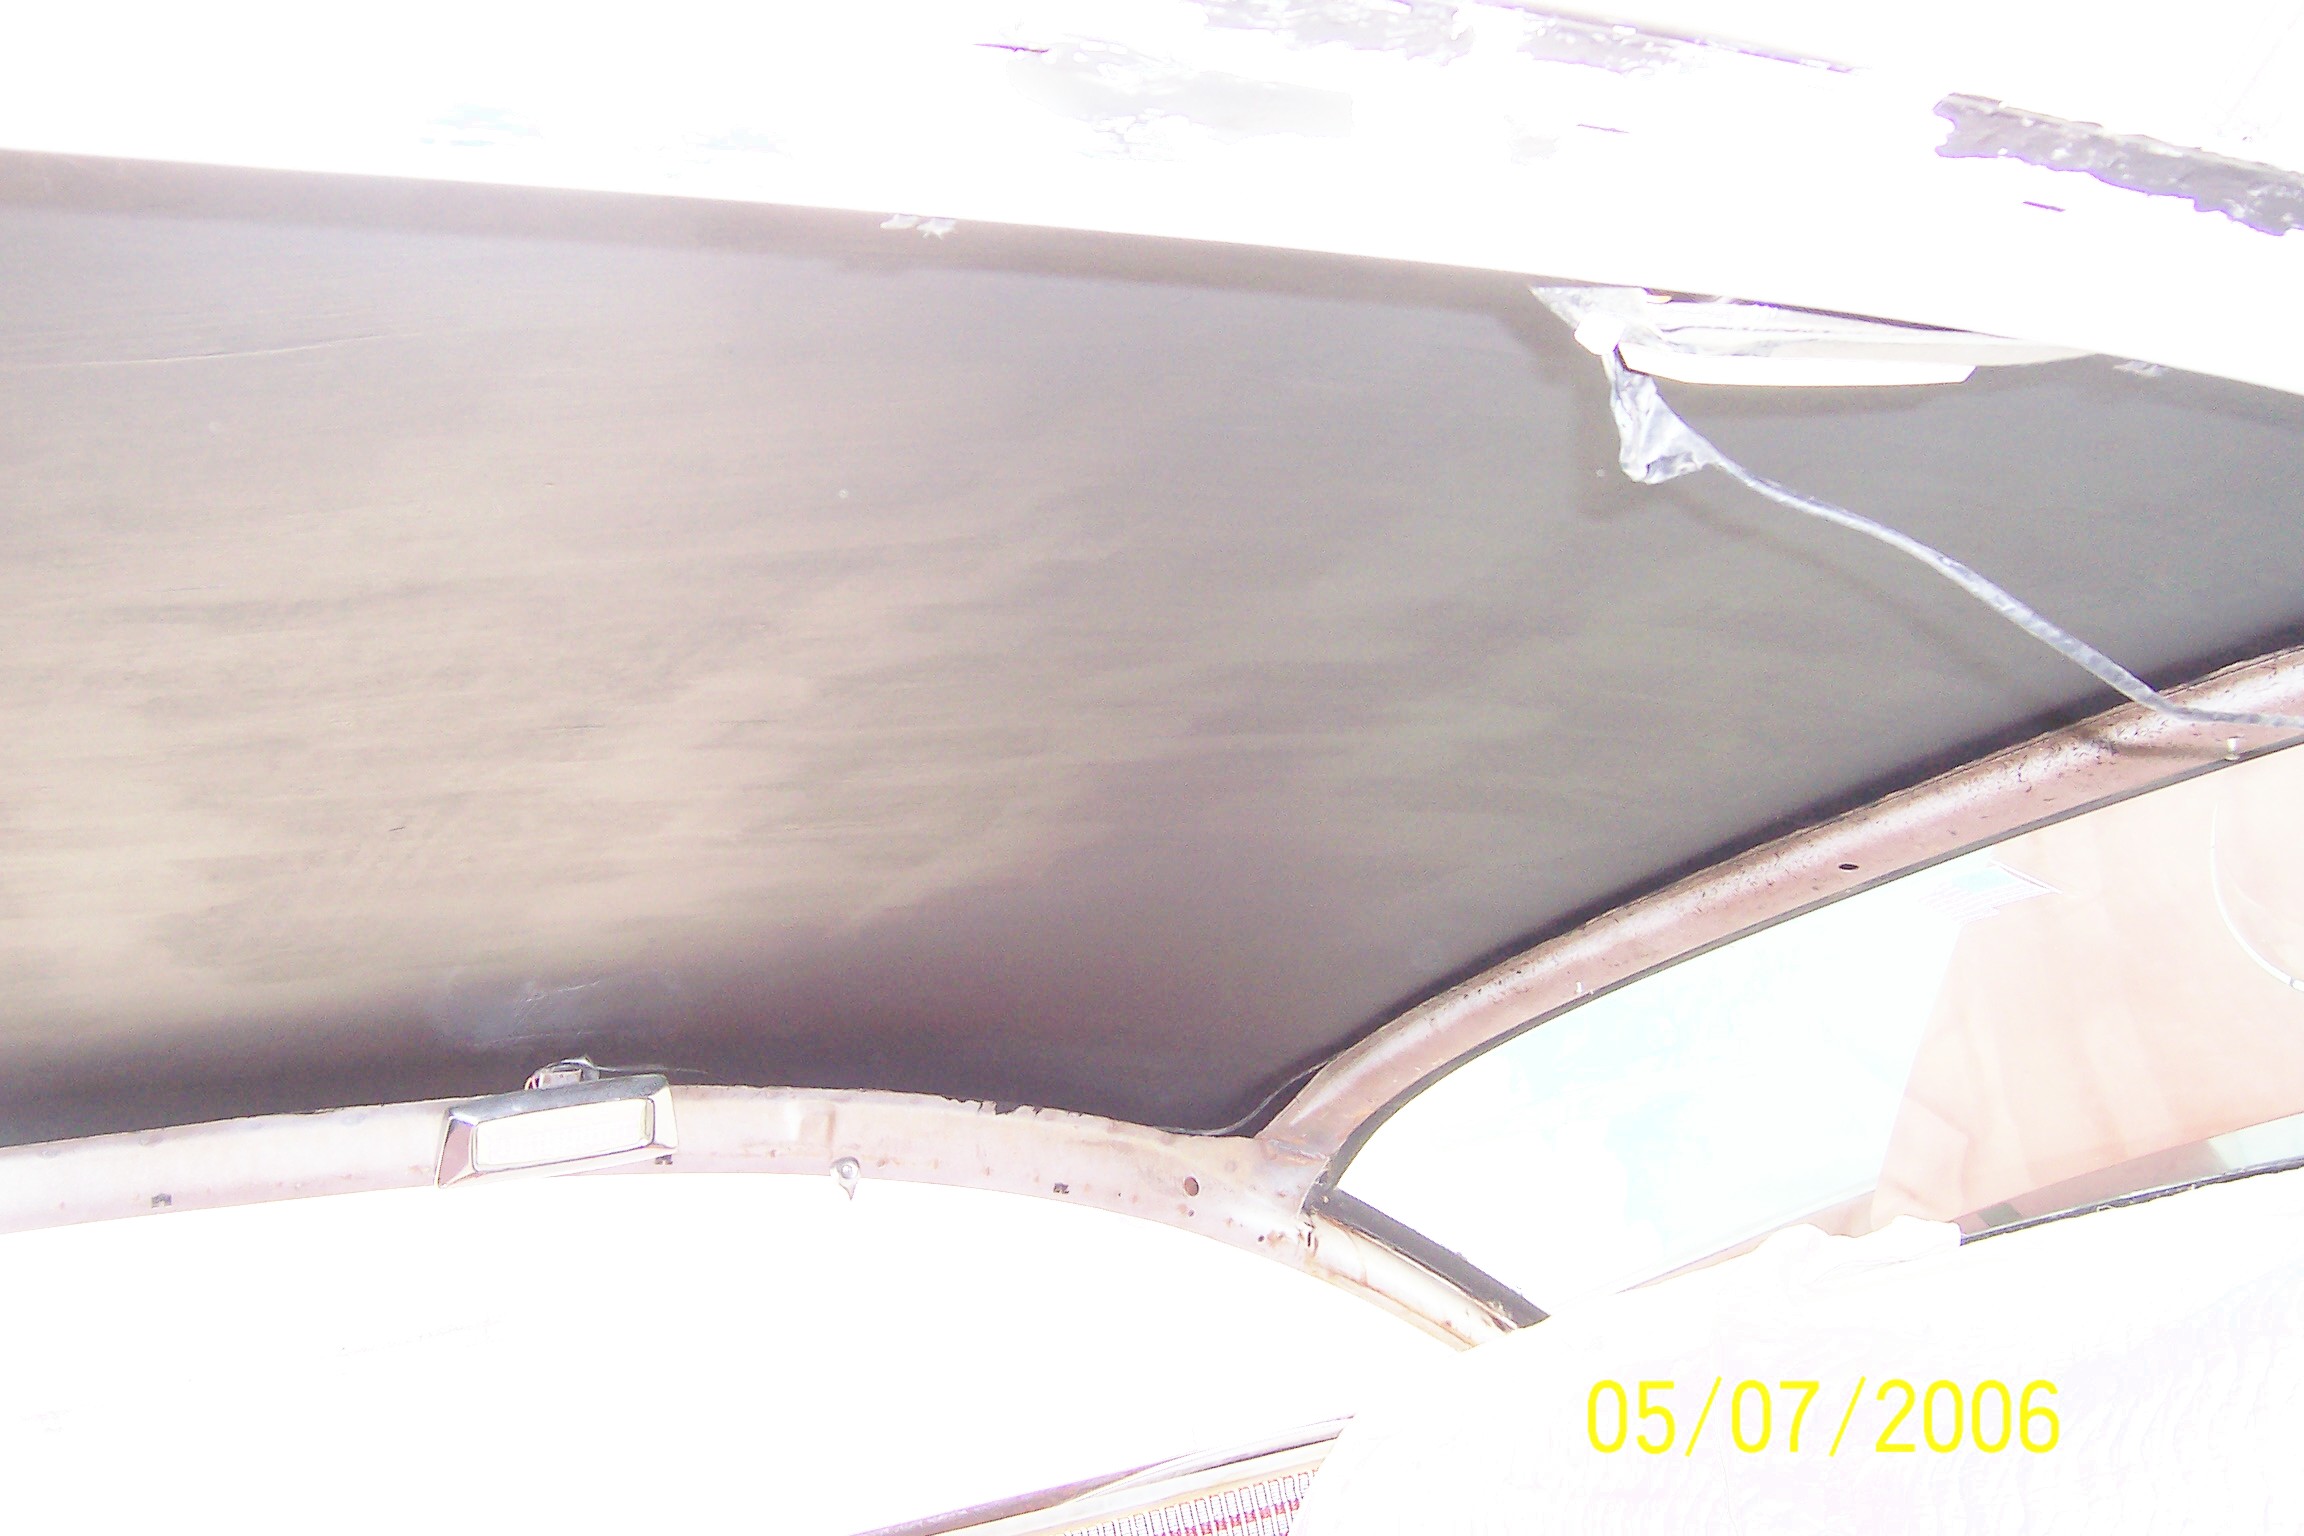
Inner roof finished, painted with encapsulator, will finish like dan’s Faulkner.
All stainless dent repaired and polished.
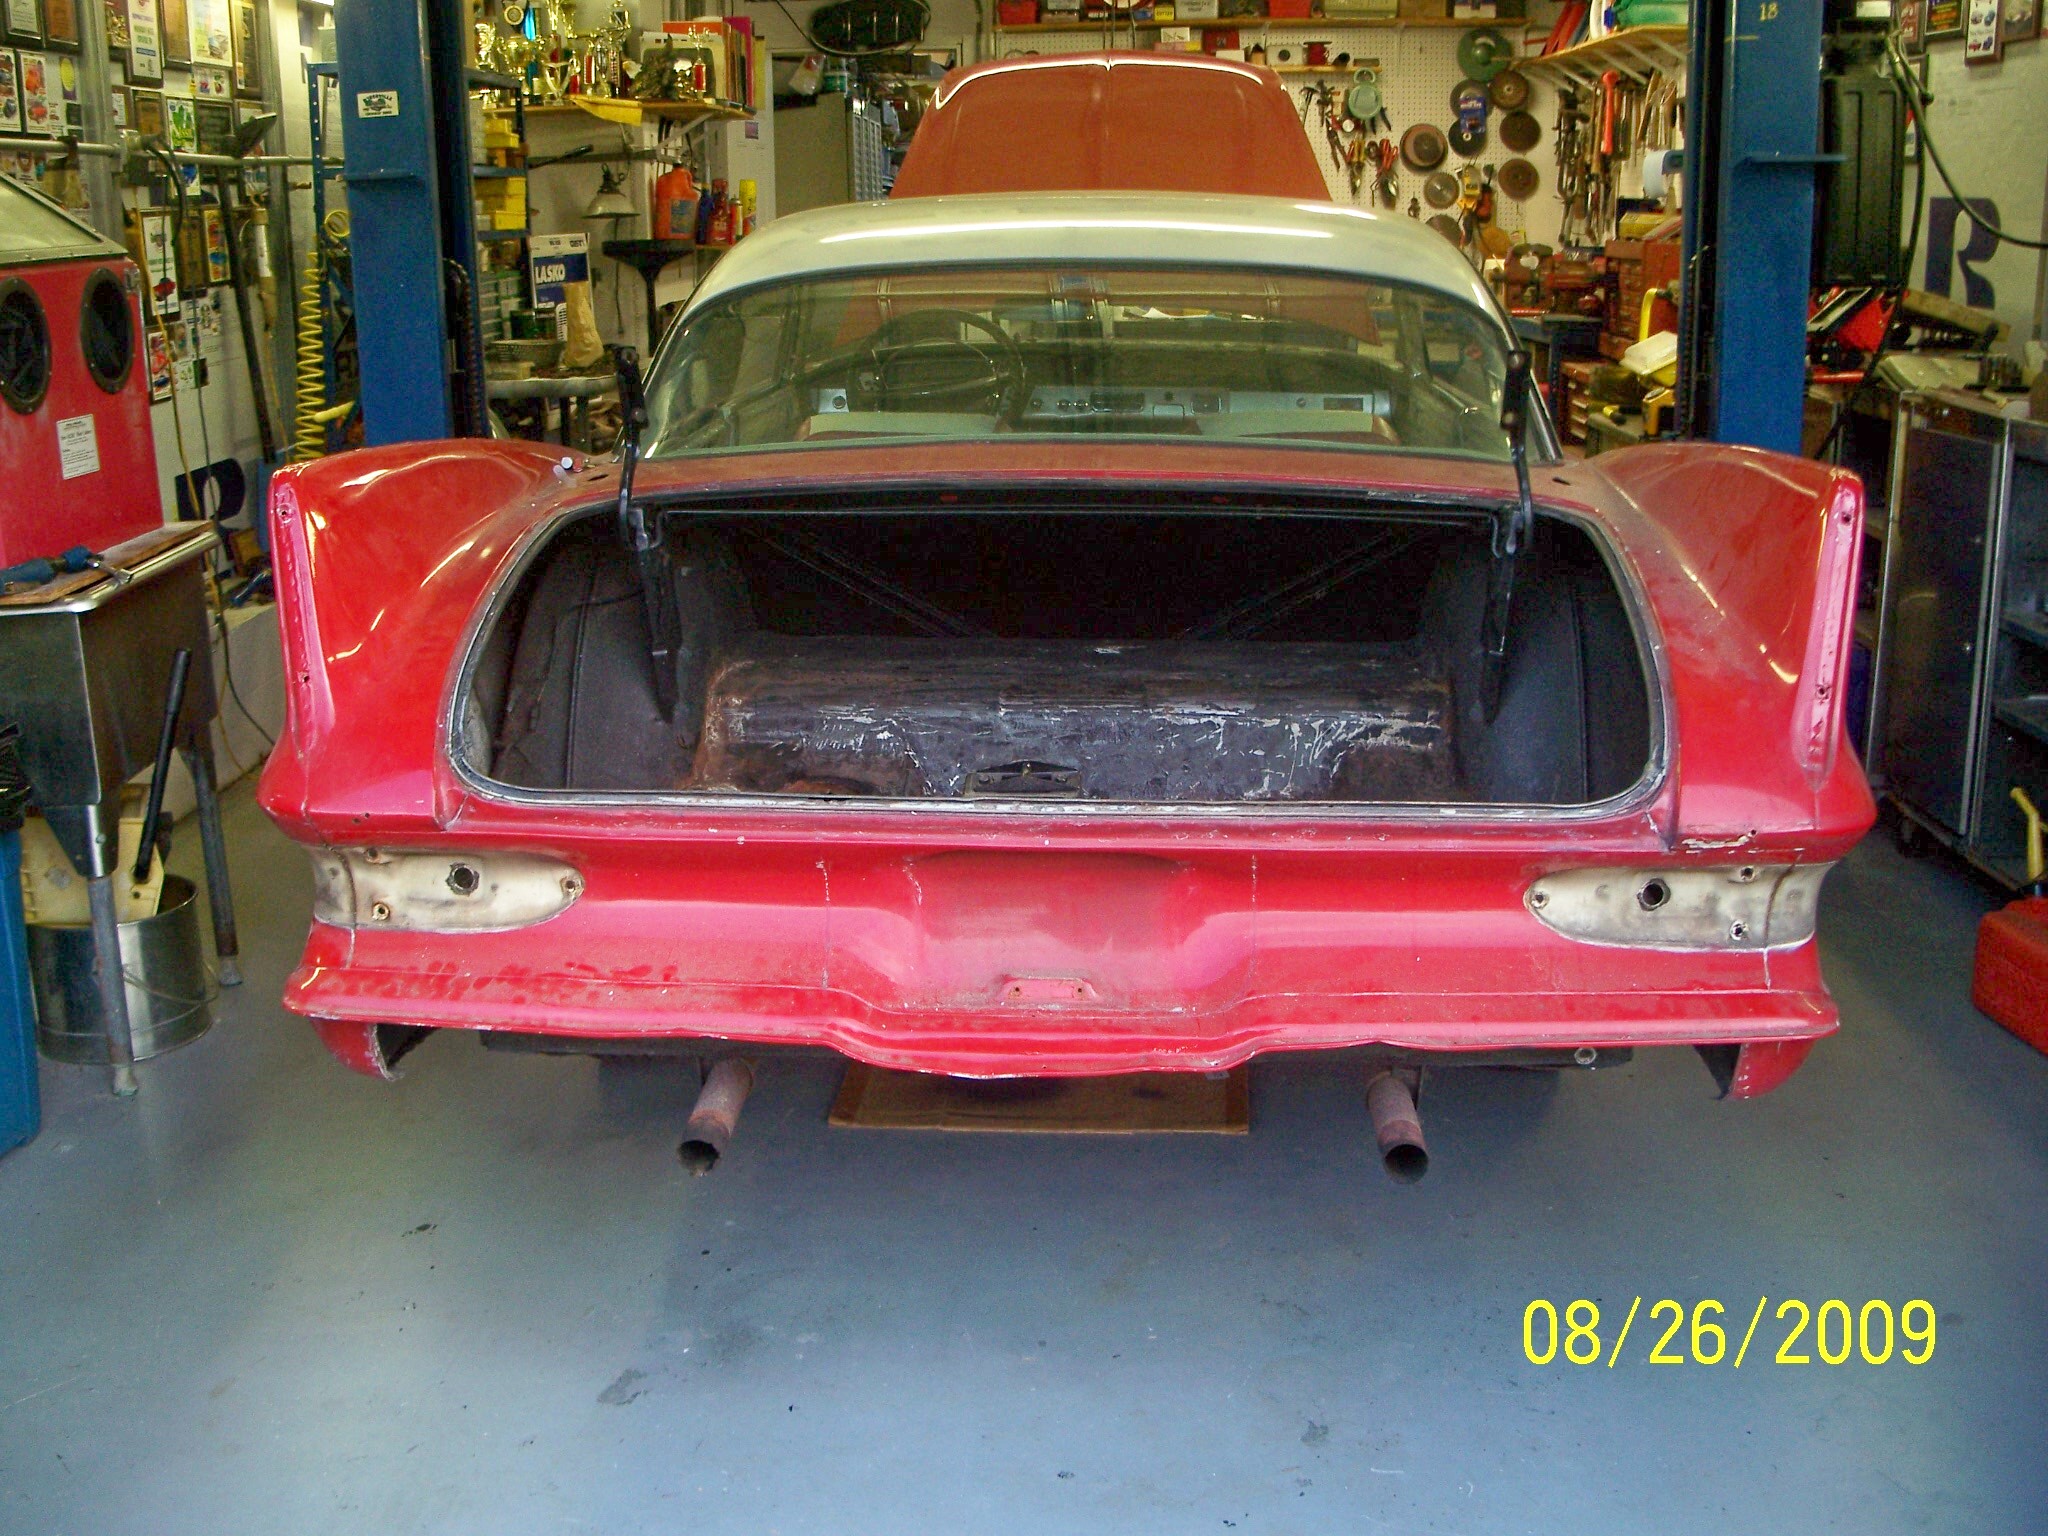
Have factory duplicated trunk floor. (pictures to follow) very nice.
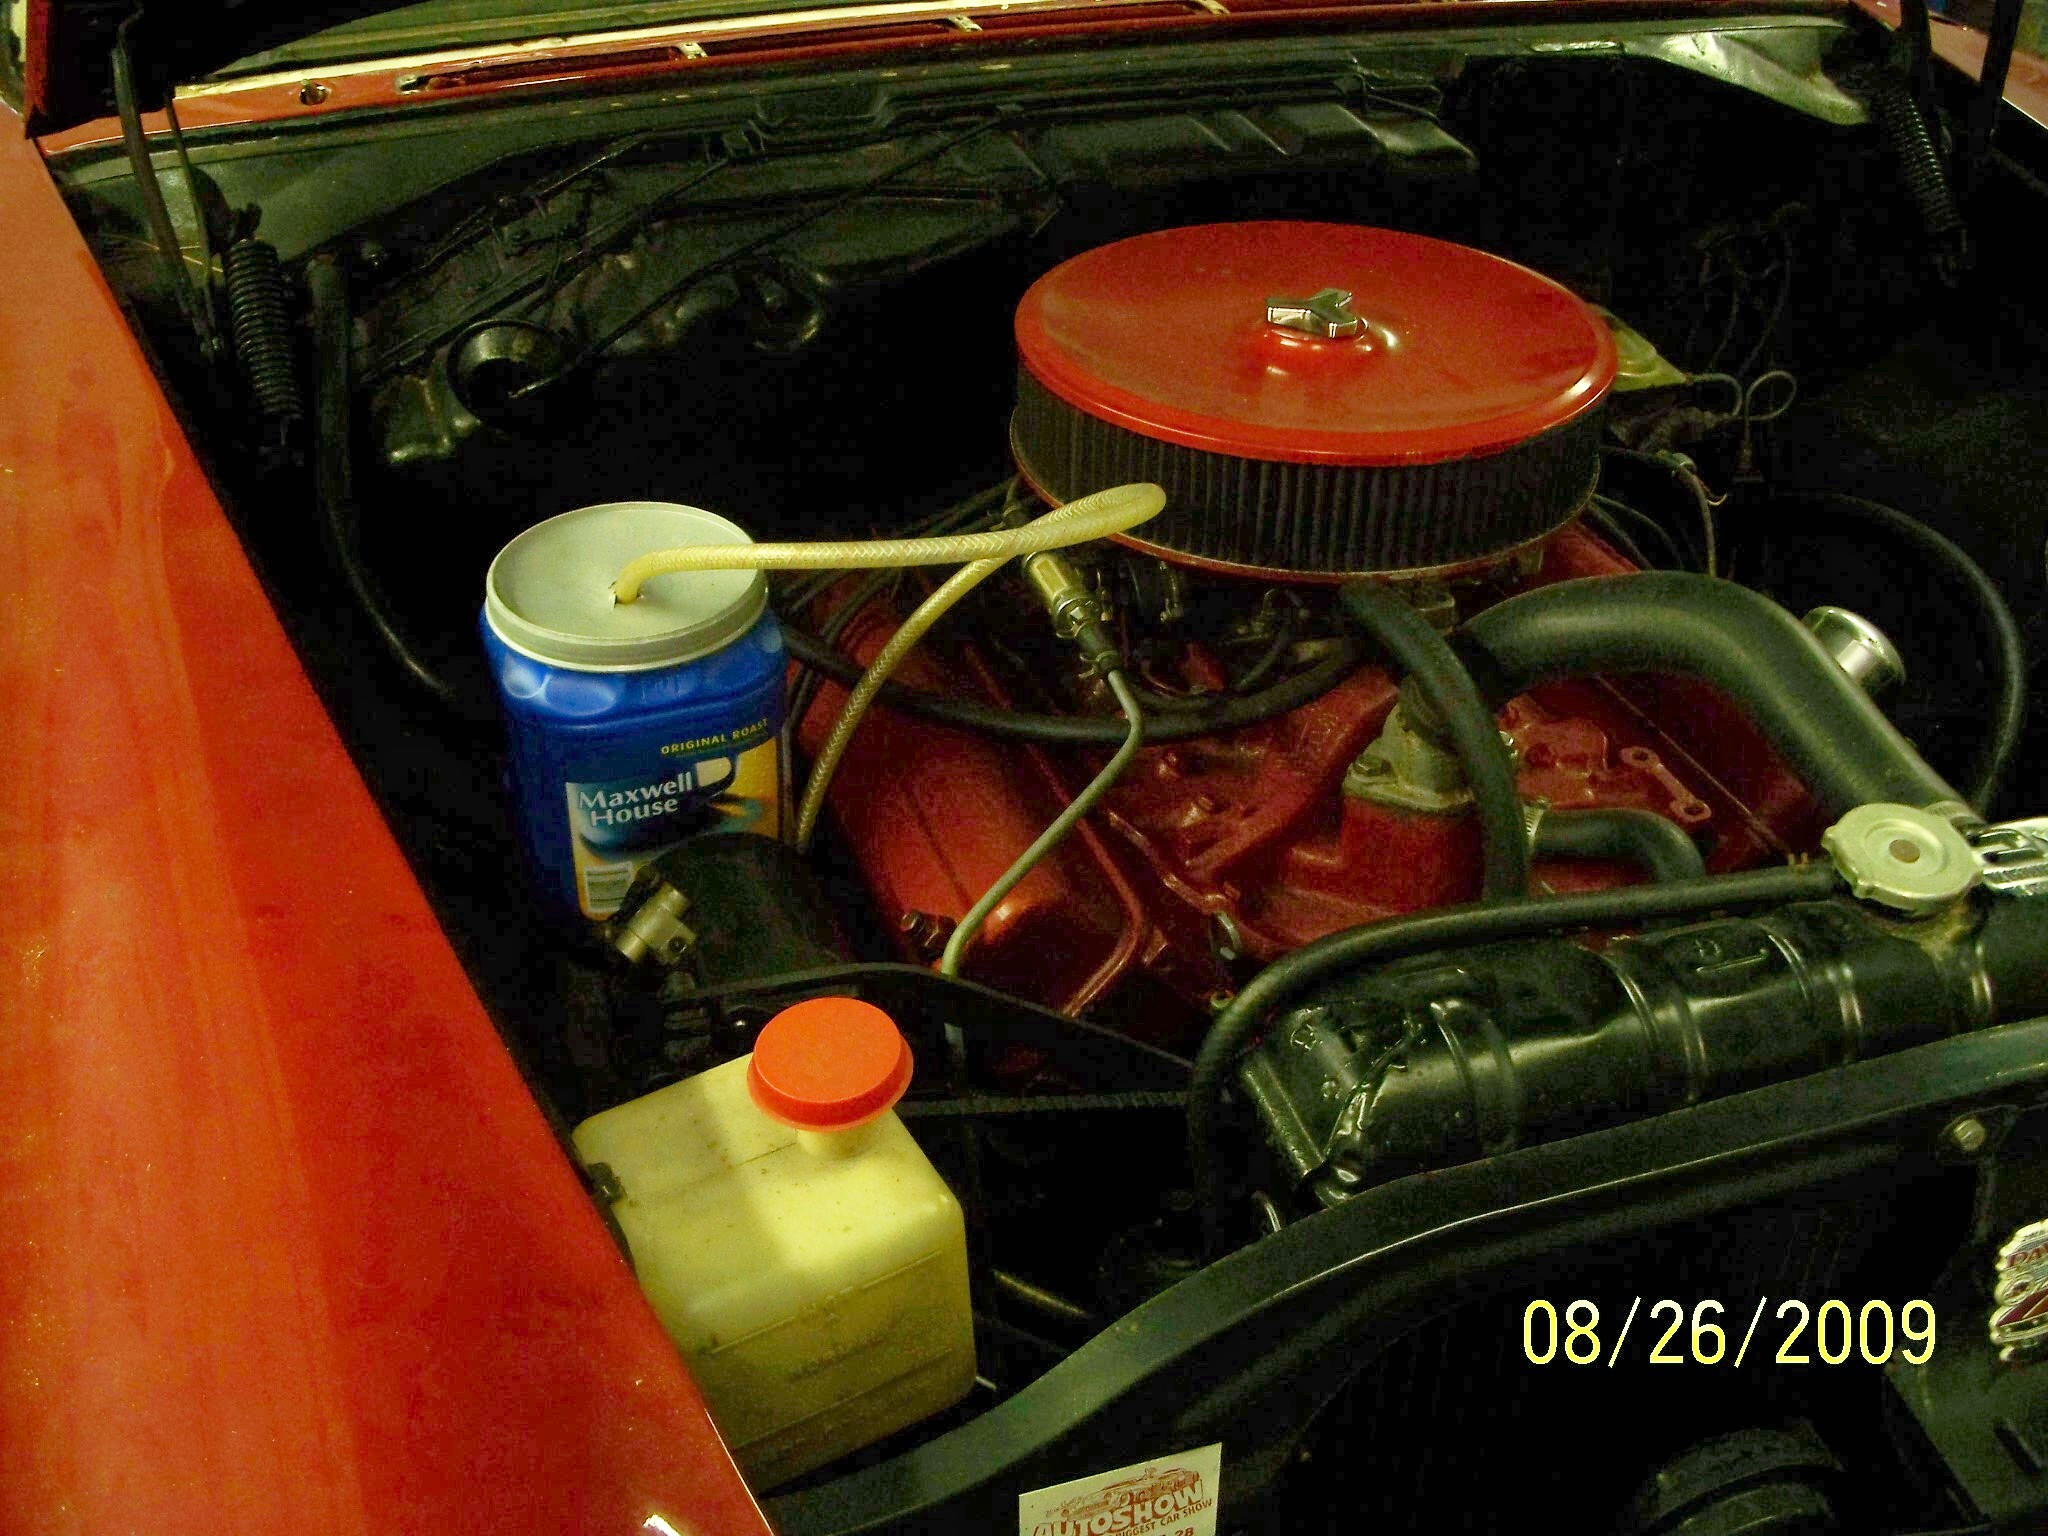
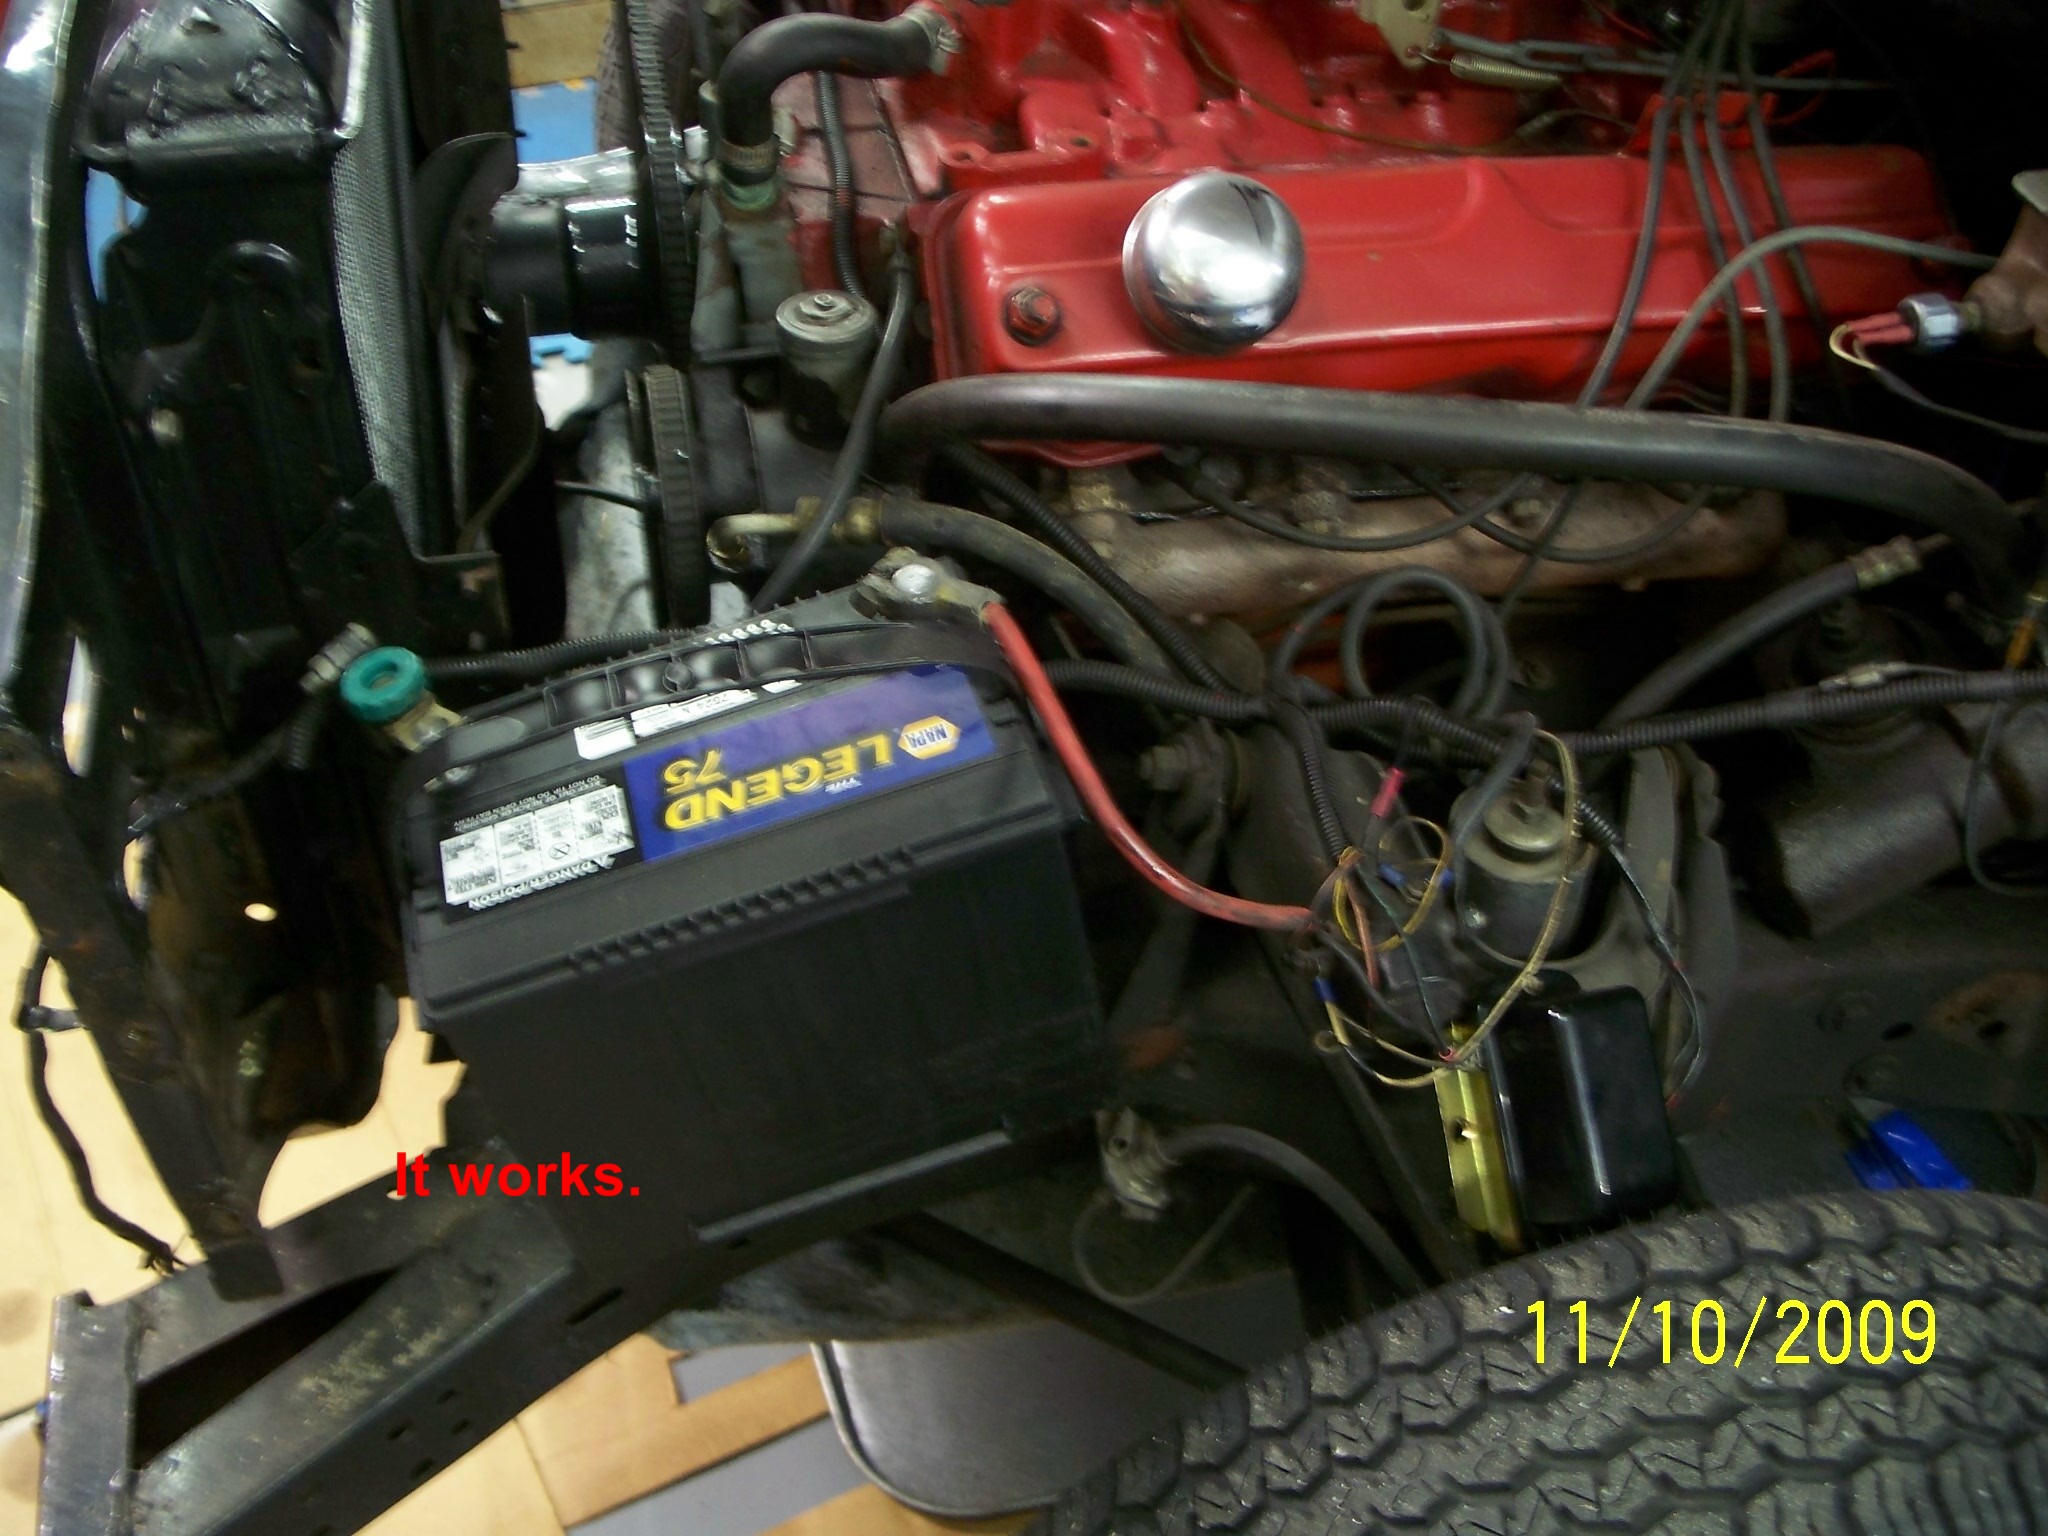
The engine started yesterday on second try. will take out gas tank today and fix brakes. Will replace trunk floor,
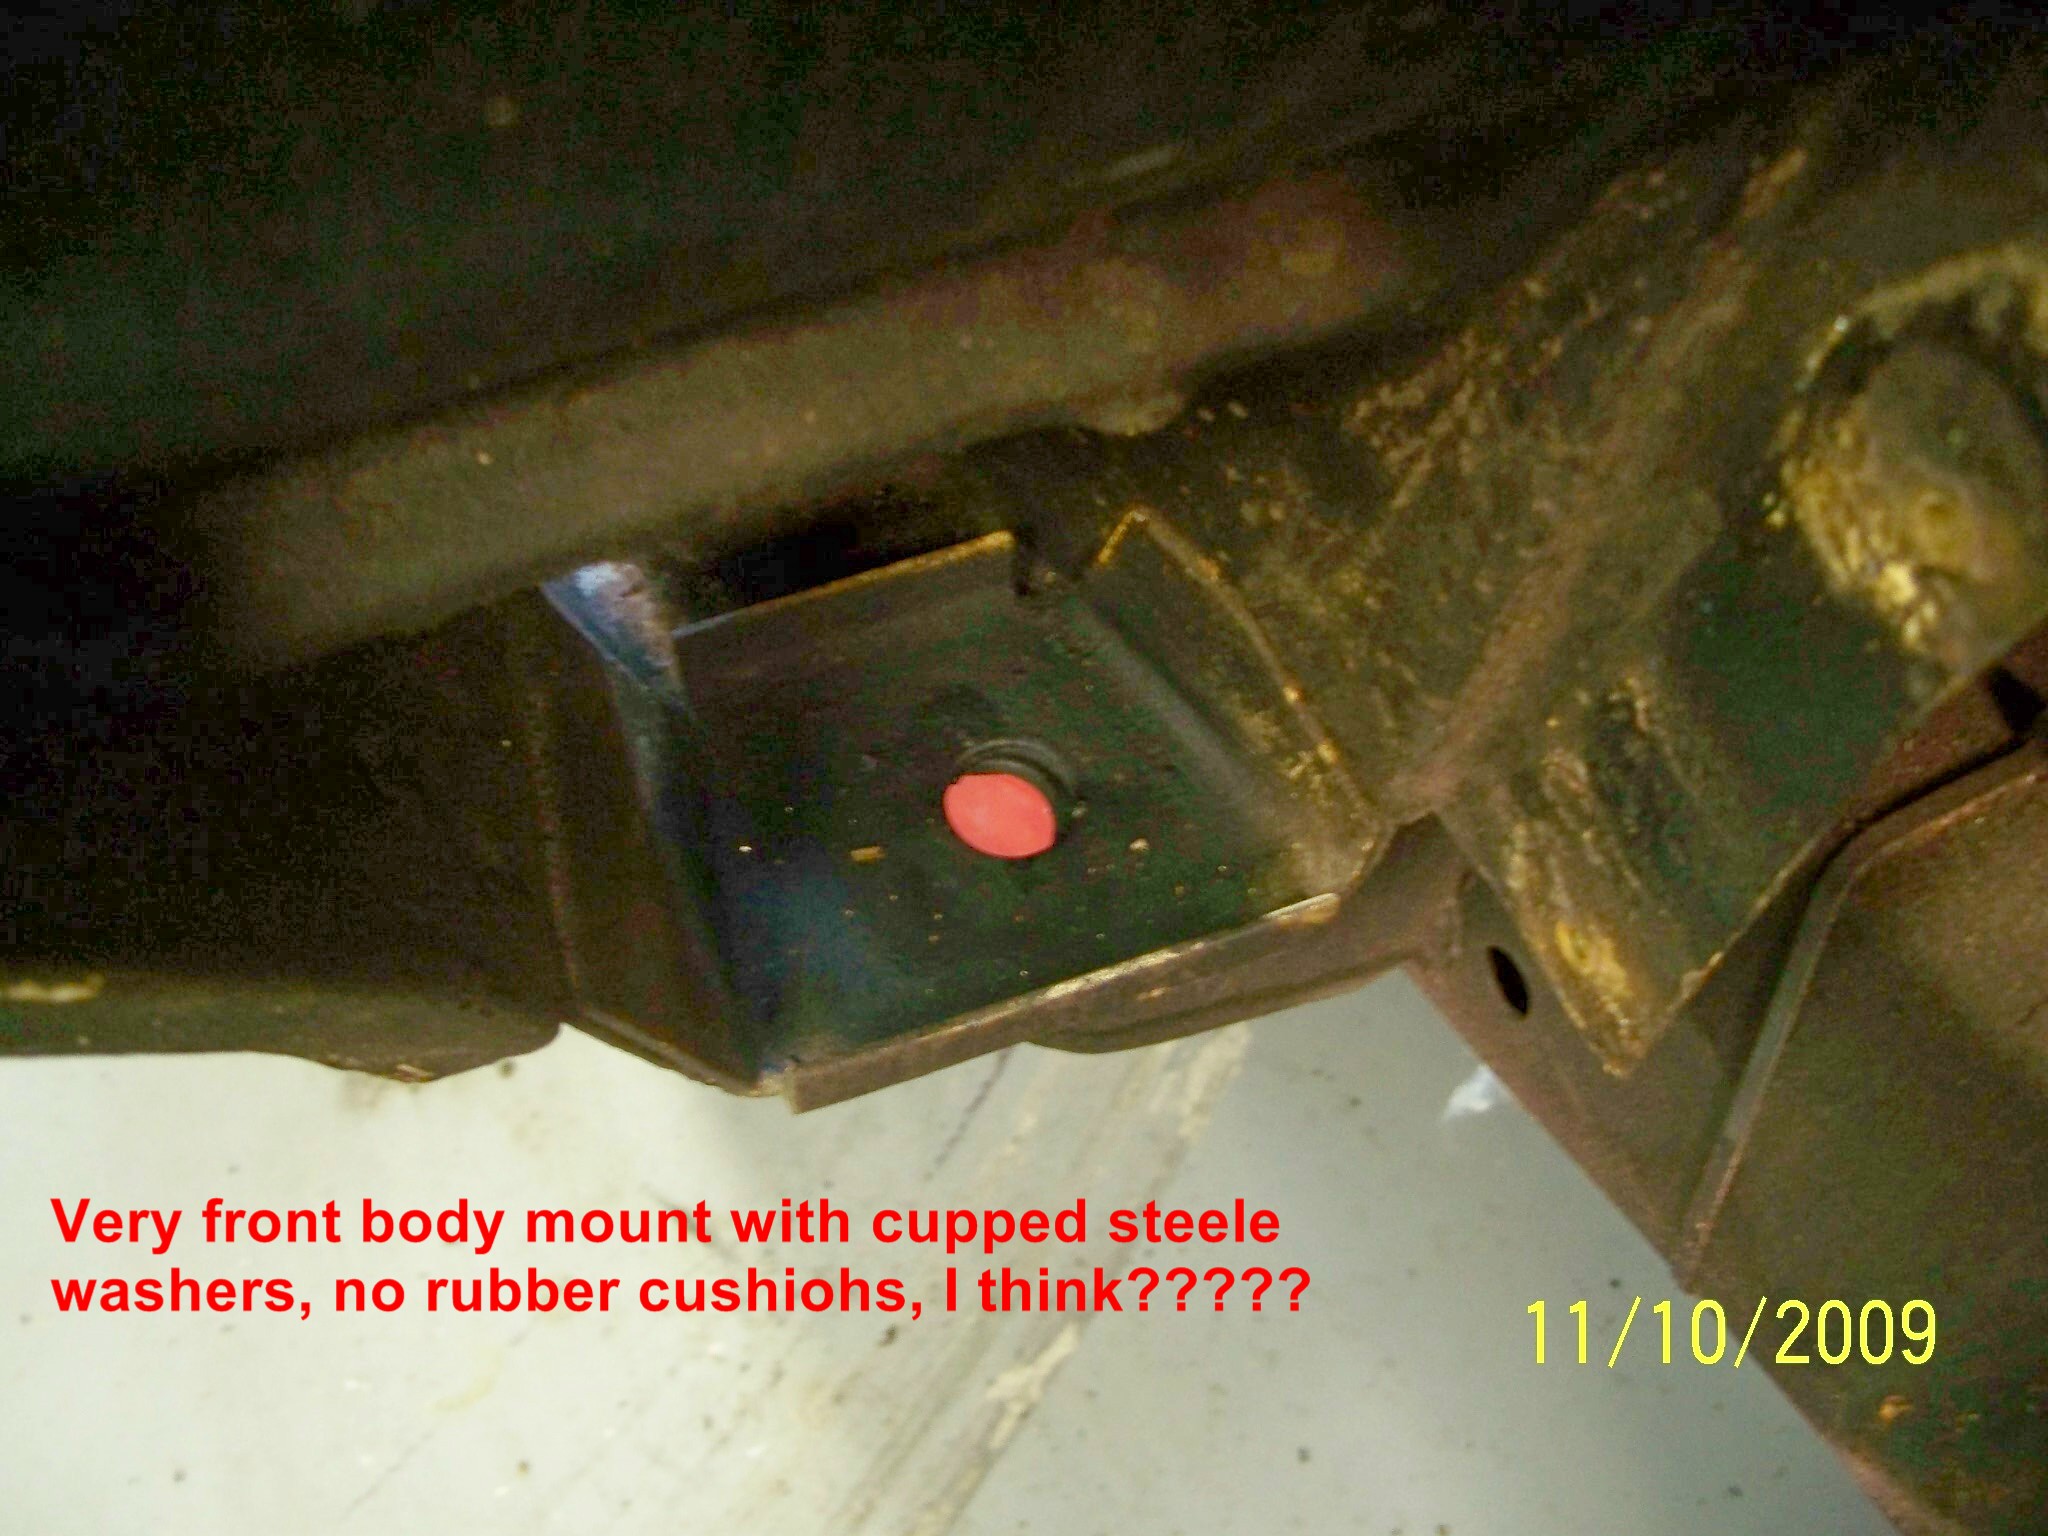
Replace all body mounts, only 4 are there, even the bolts are gone, clean and paint frame and underside before starting on anything else.
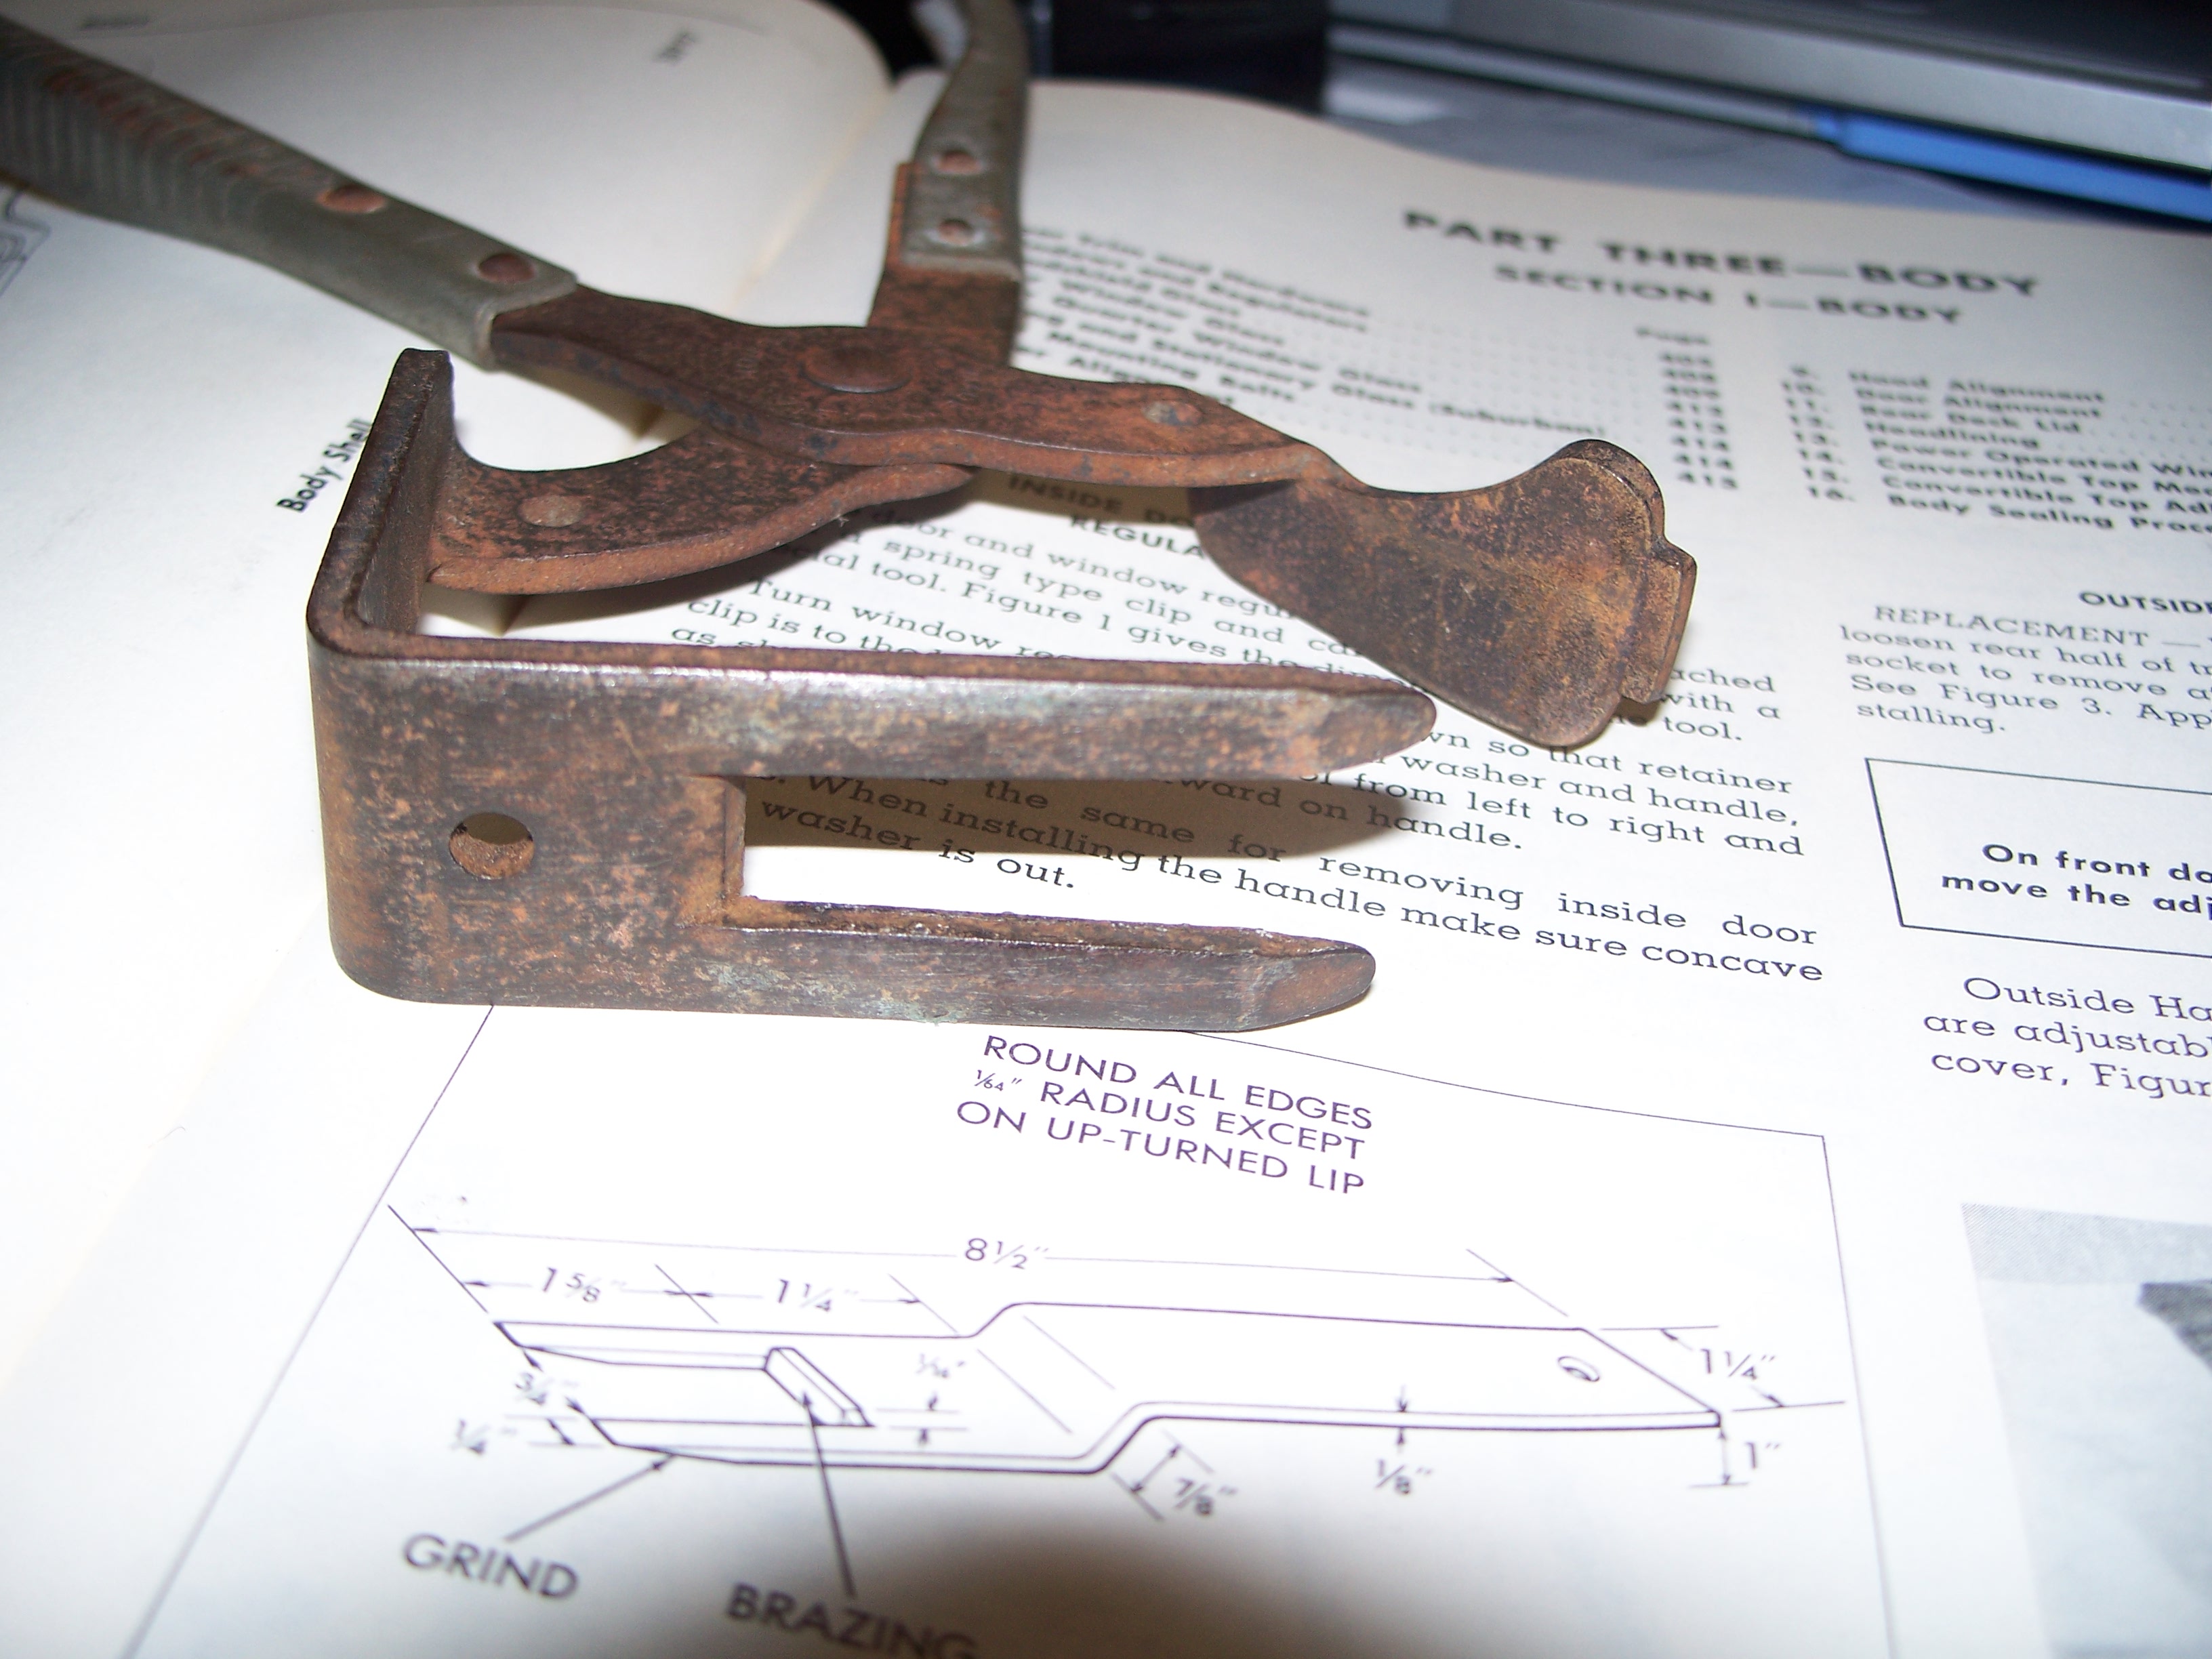
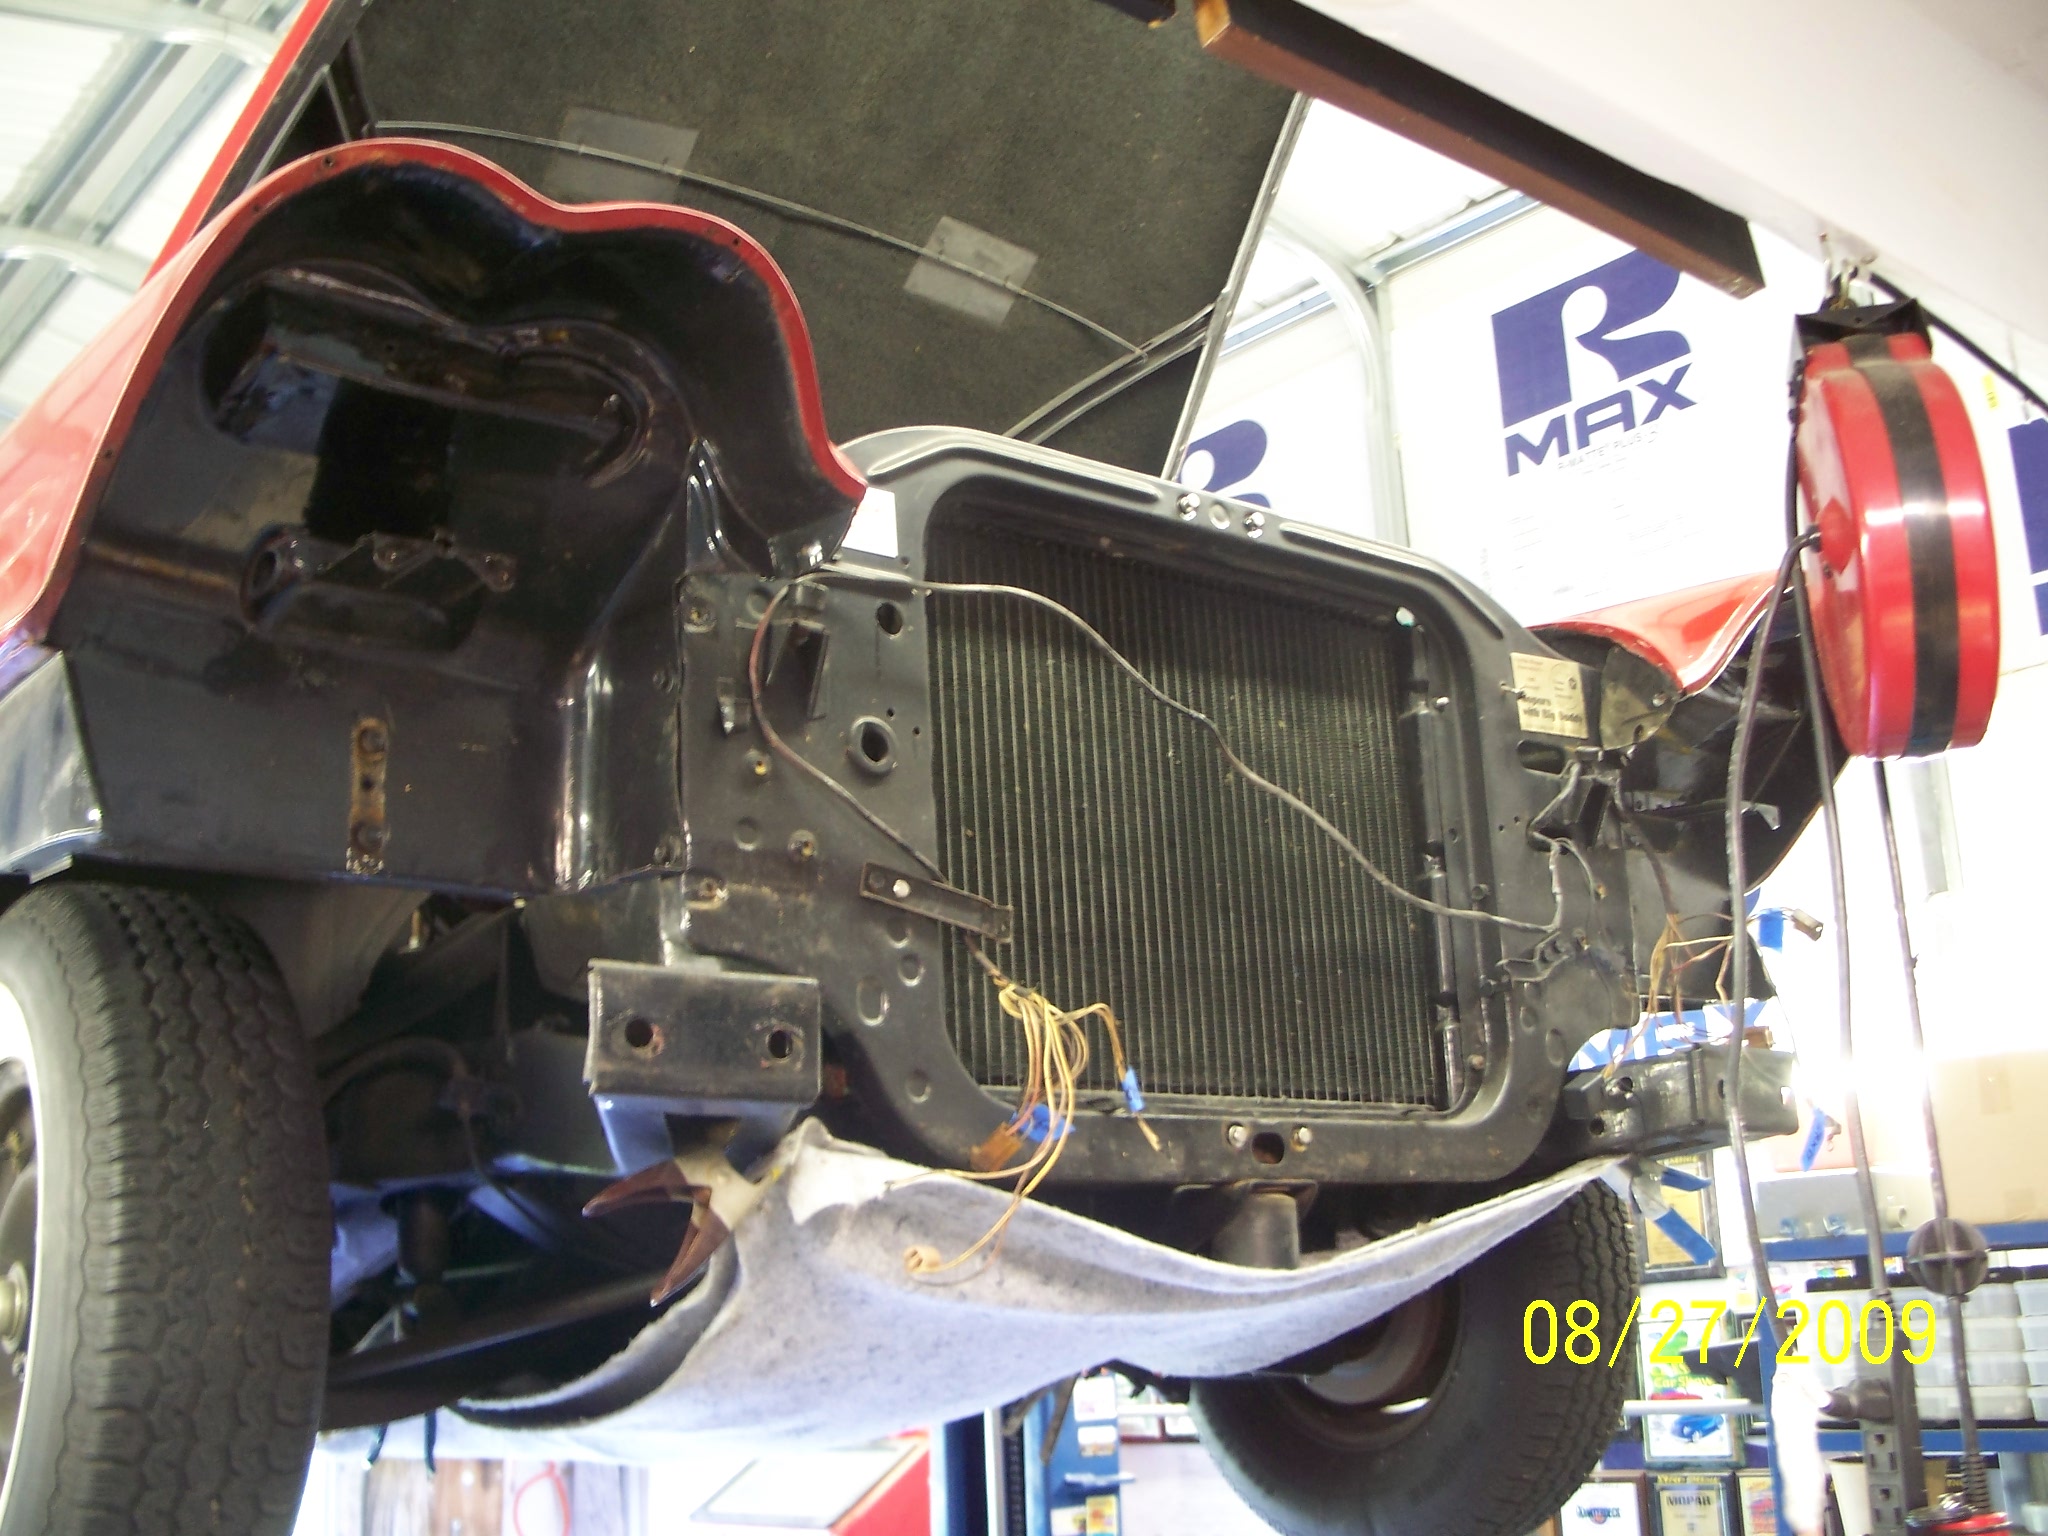
I will try to do a frame on if possible. After preparing the exterior and before painting I plan to remove the
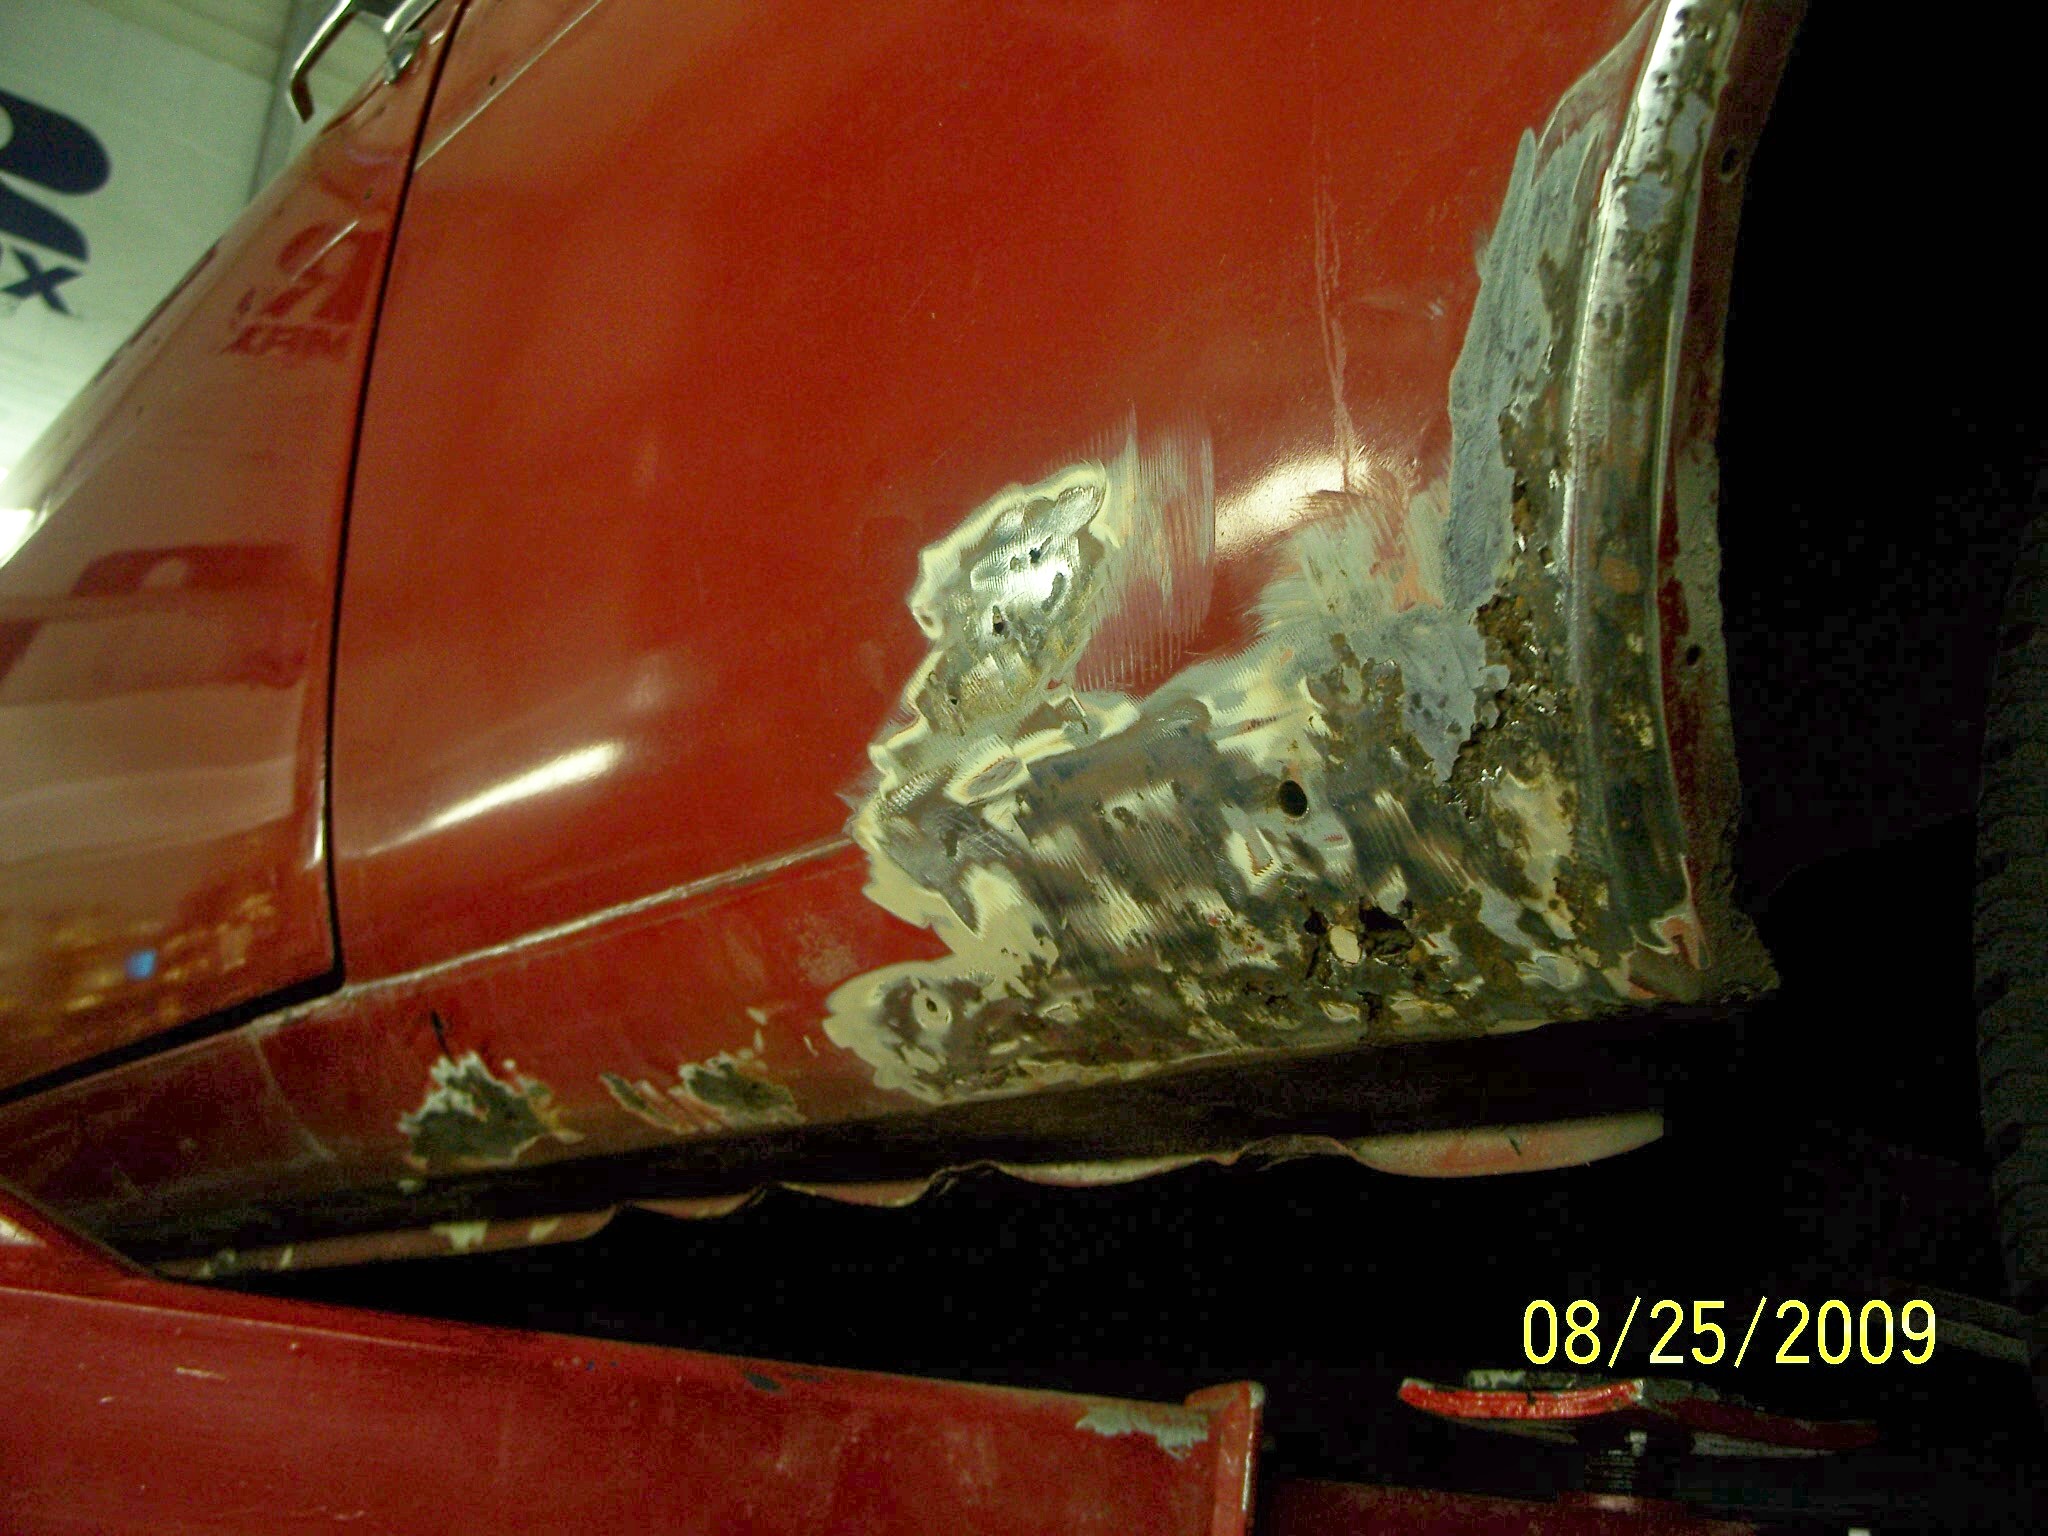
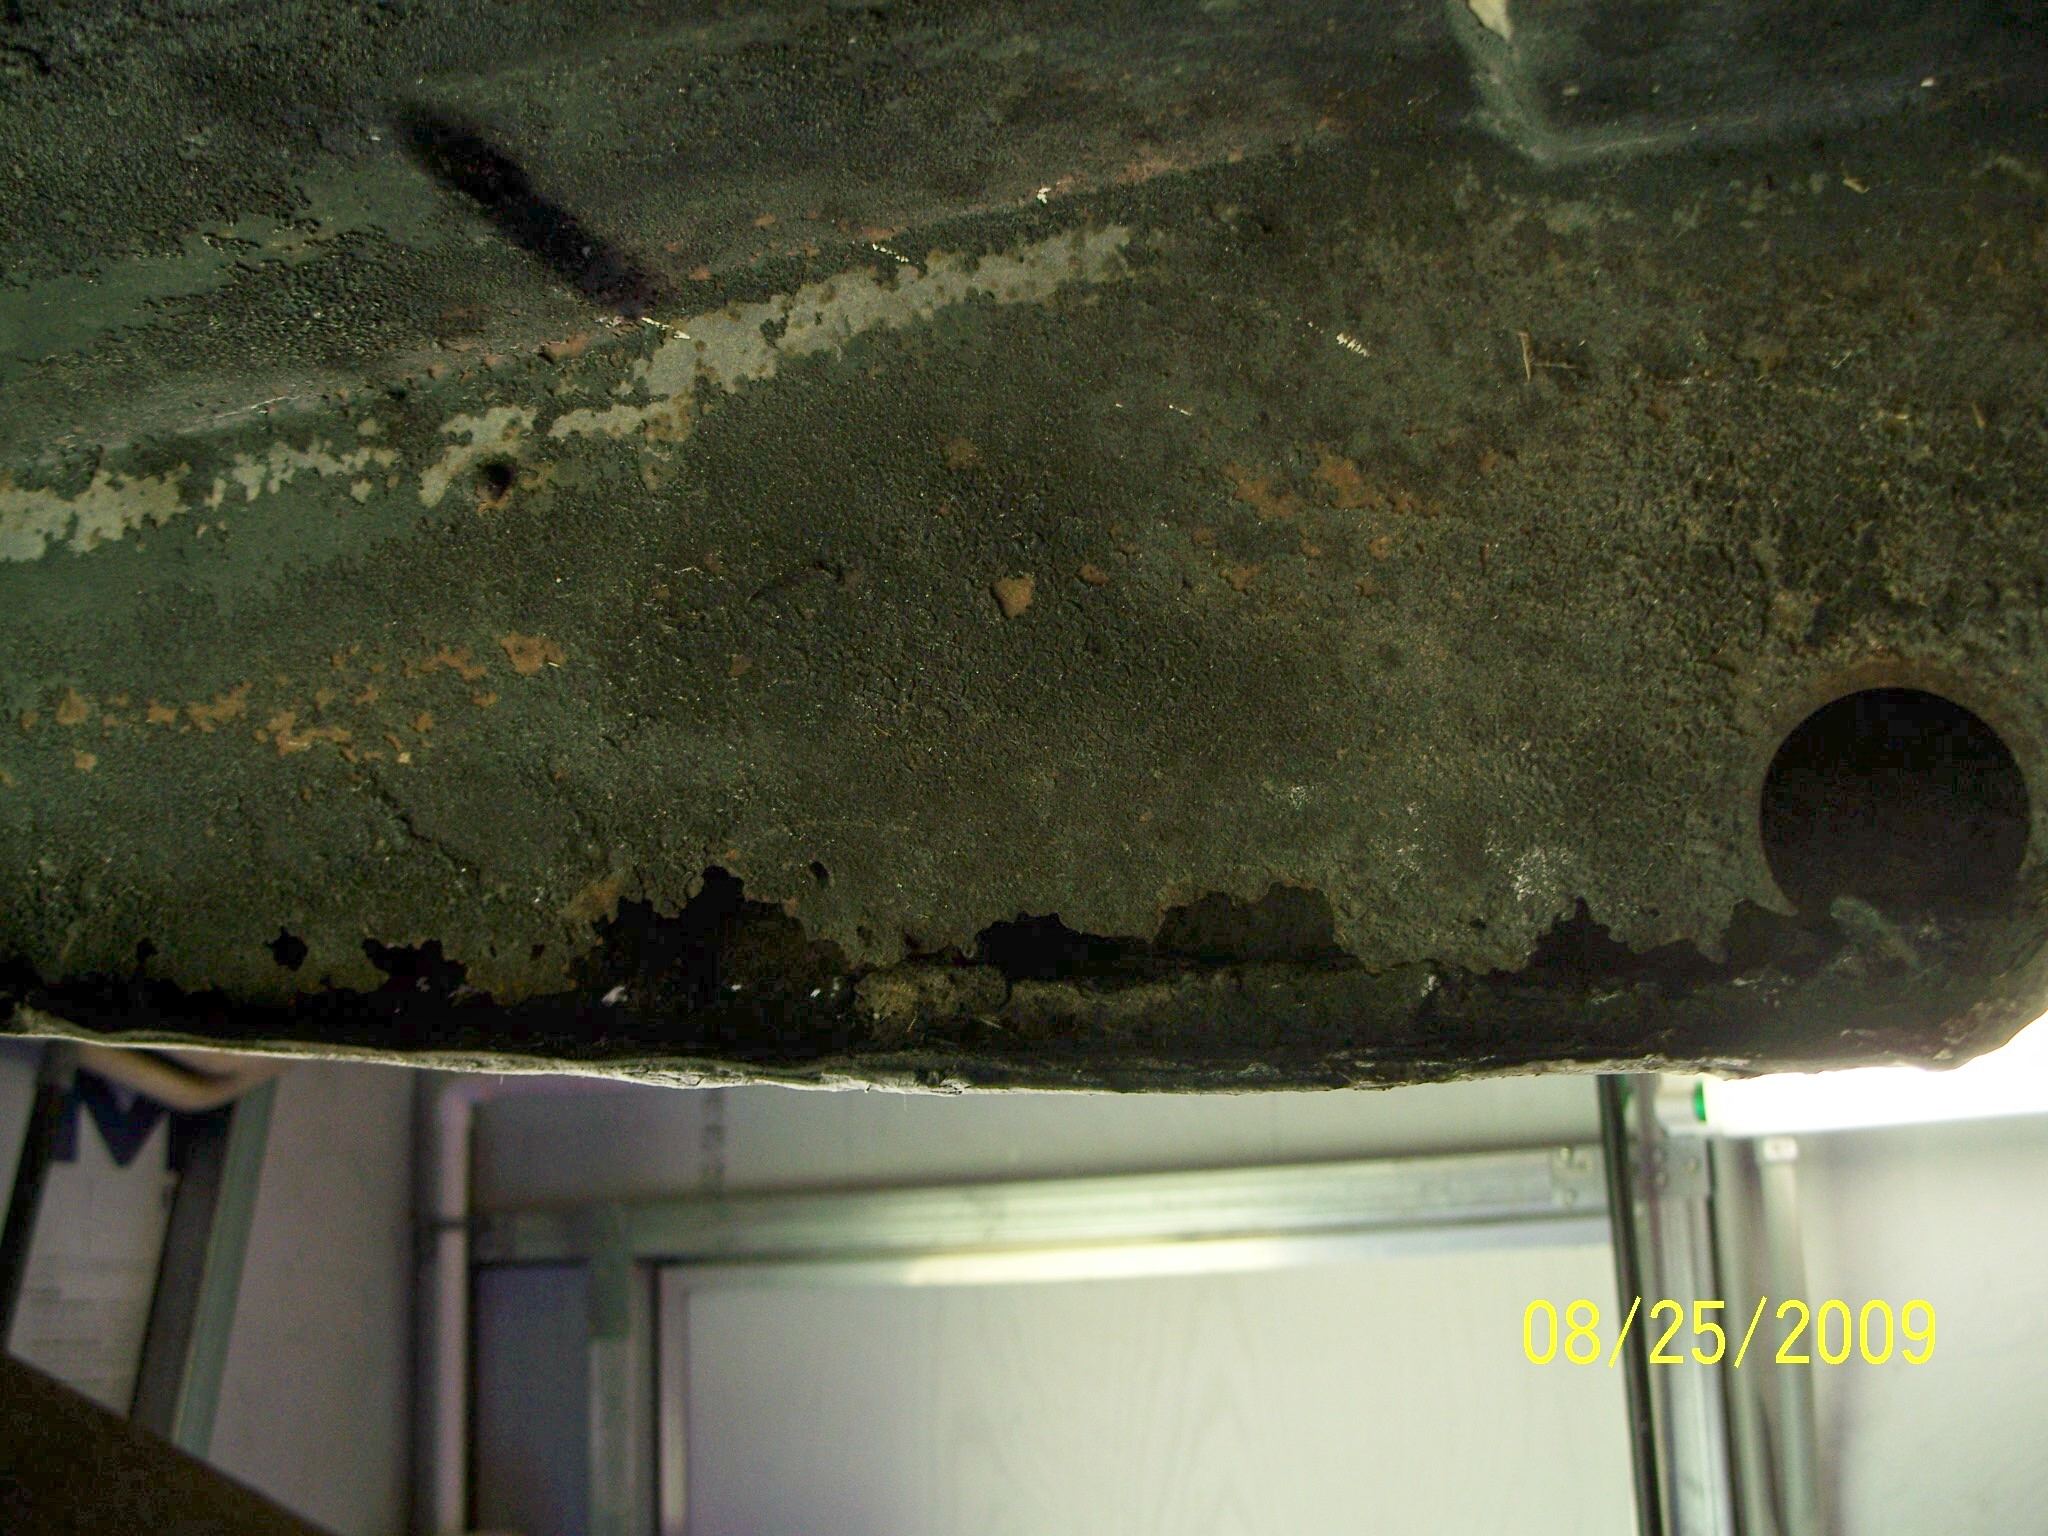
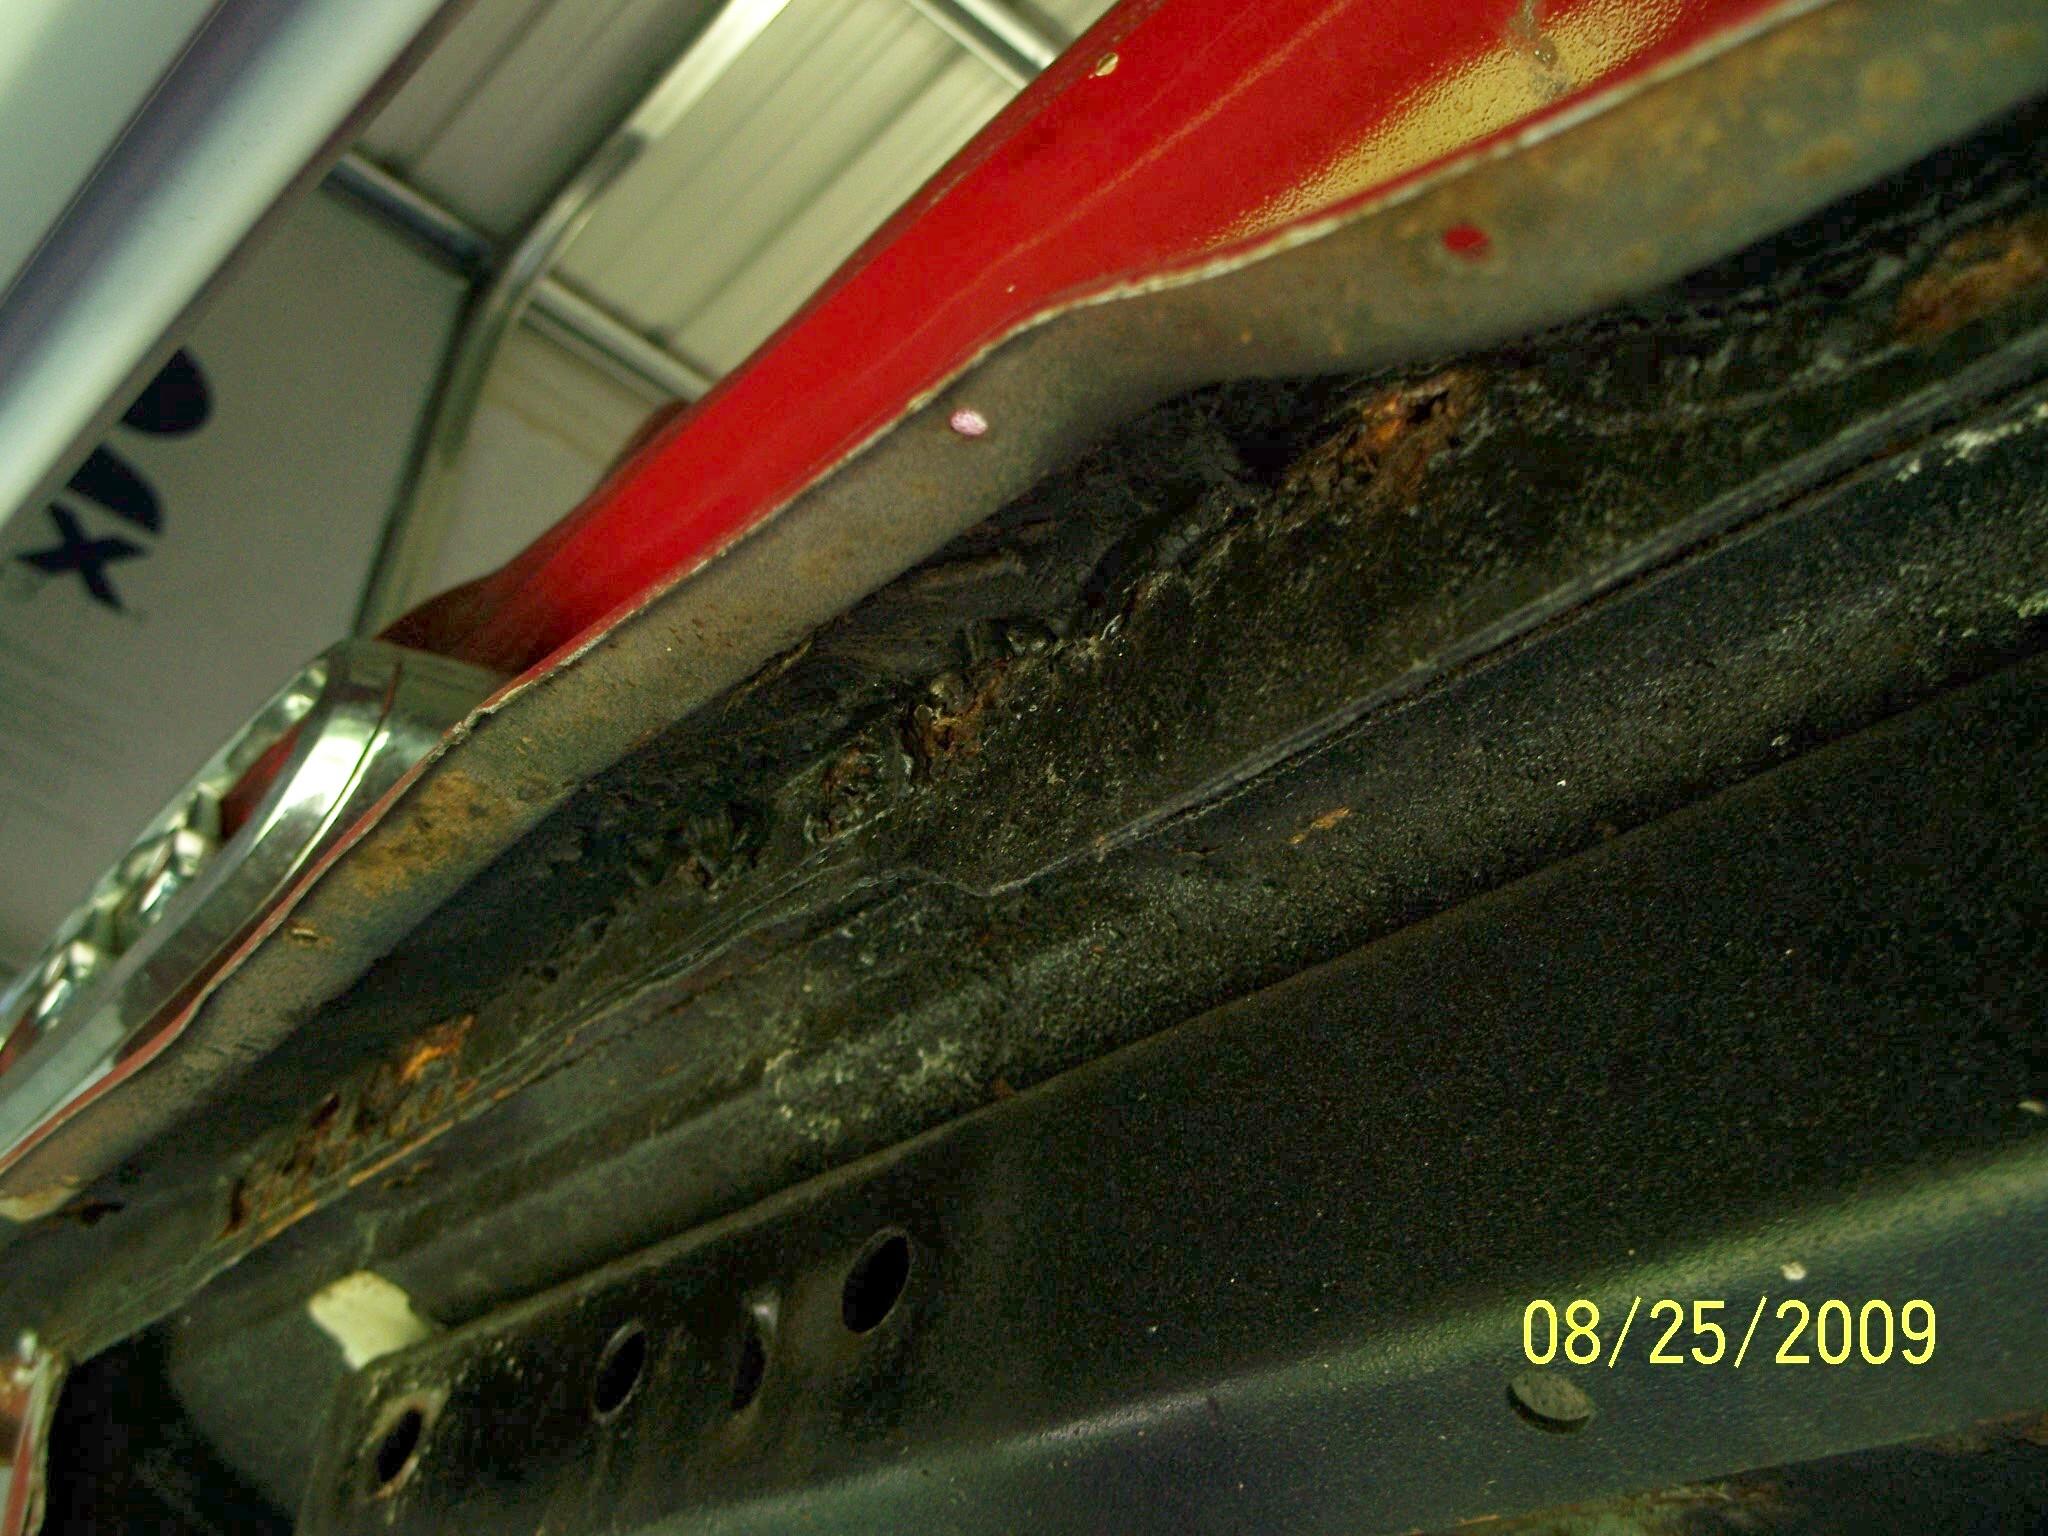
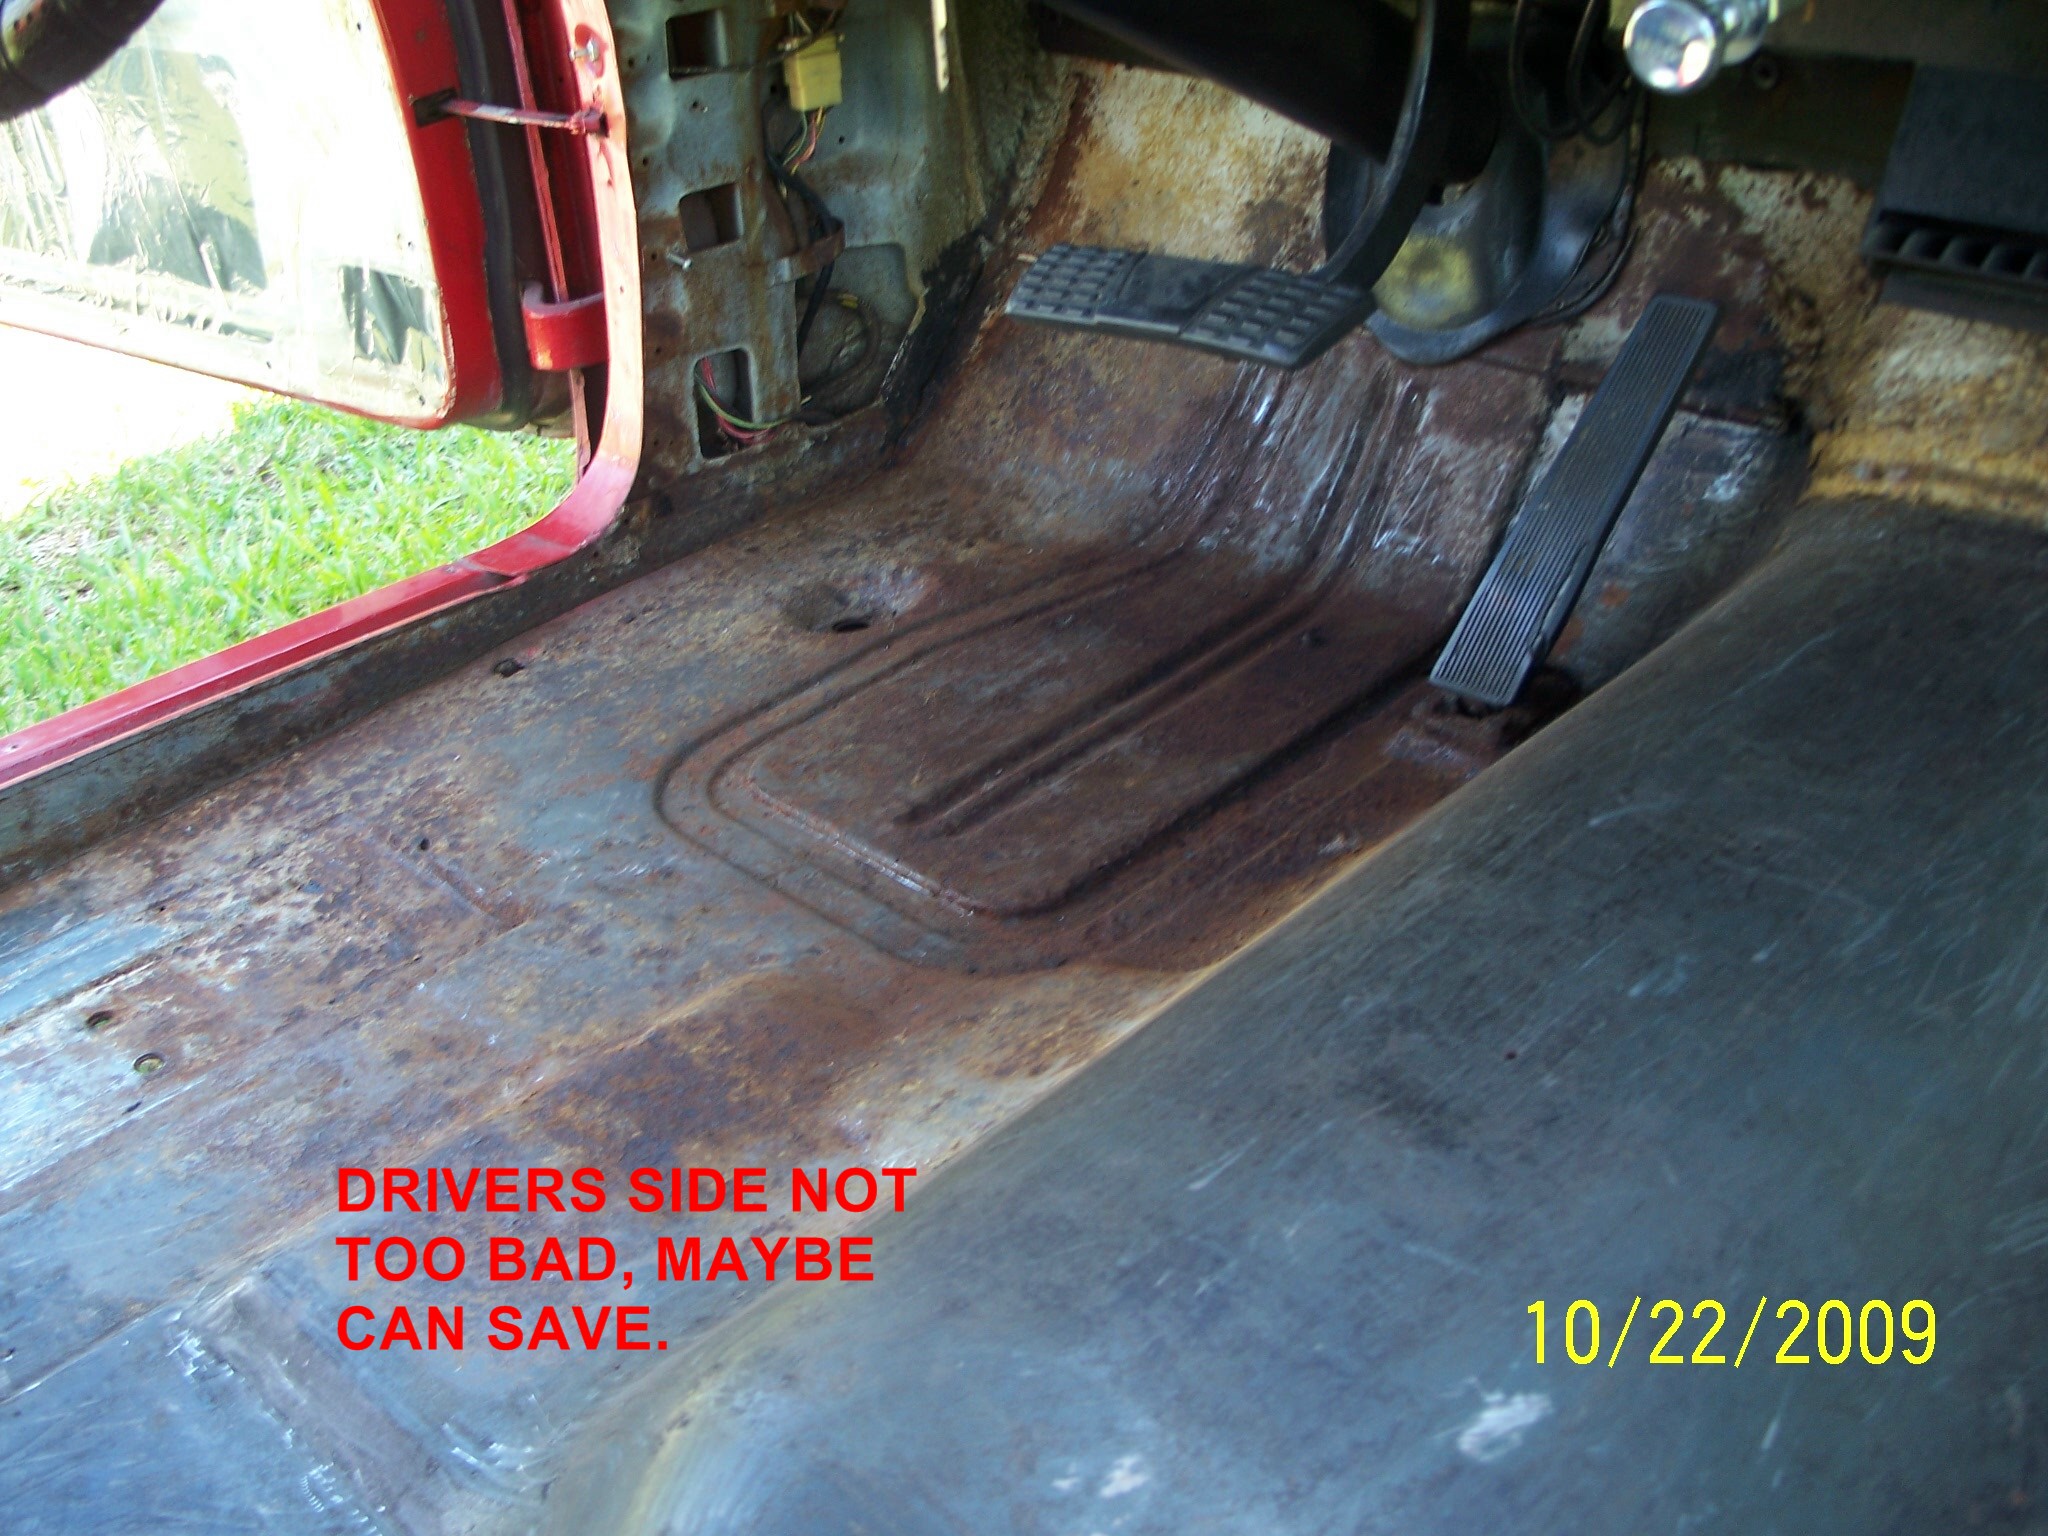
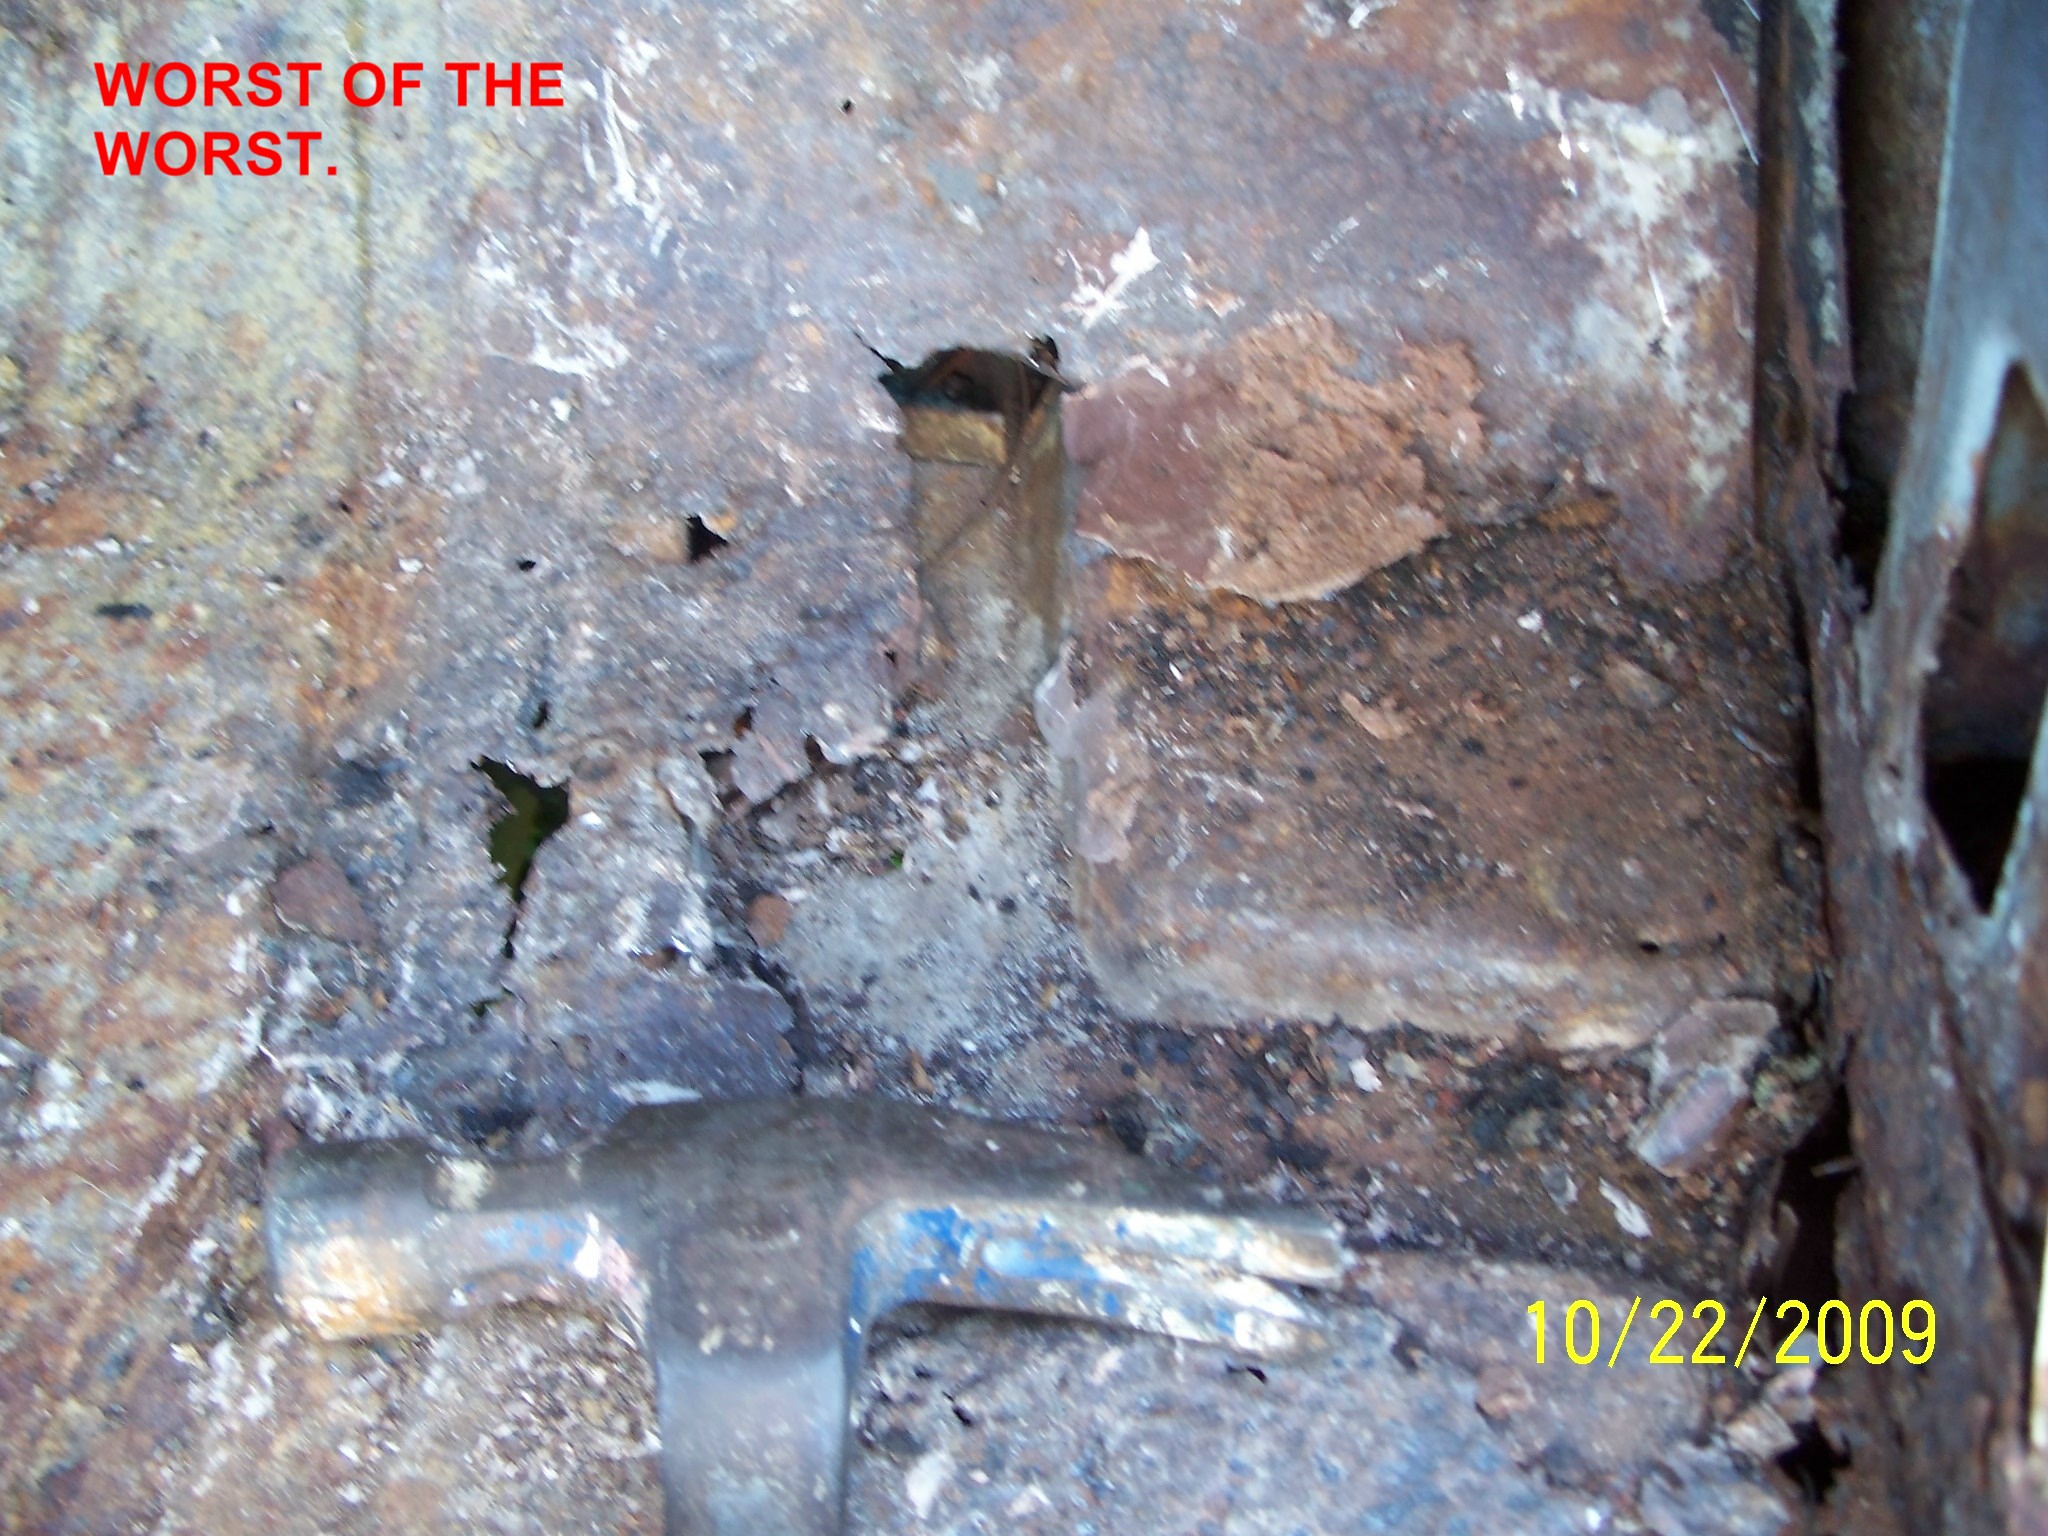
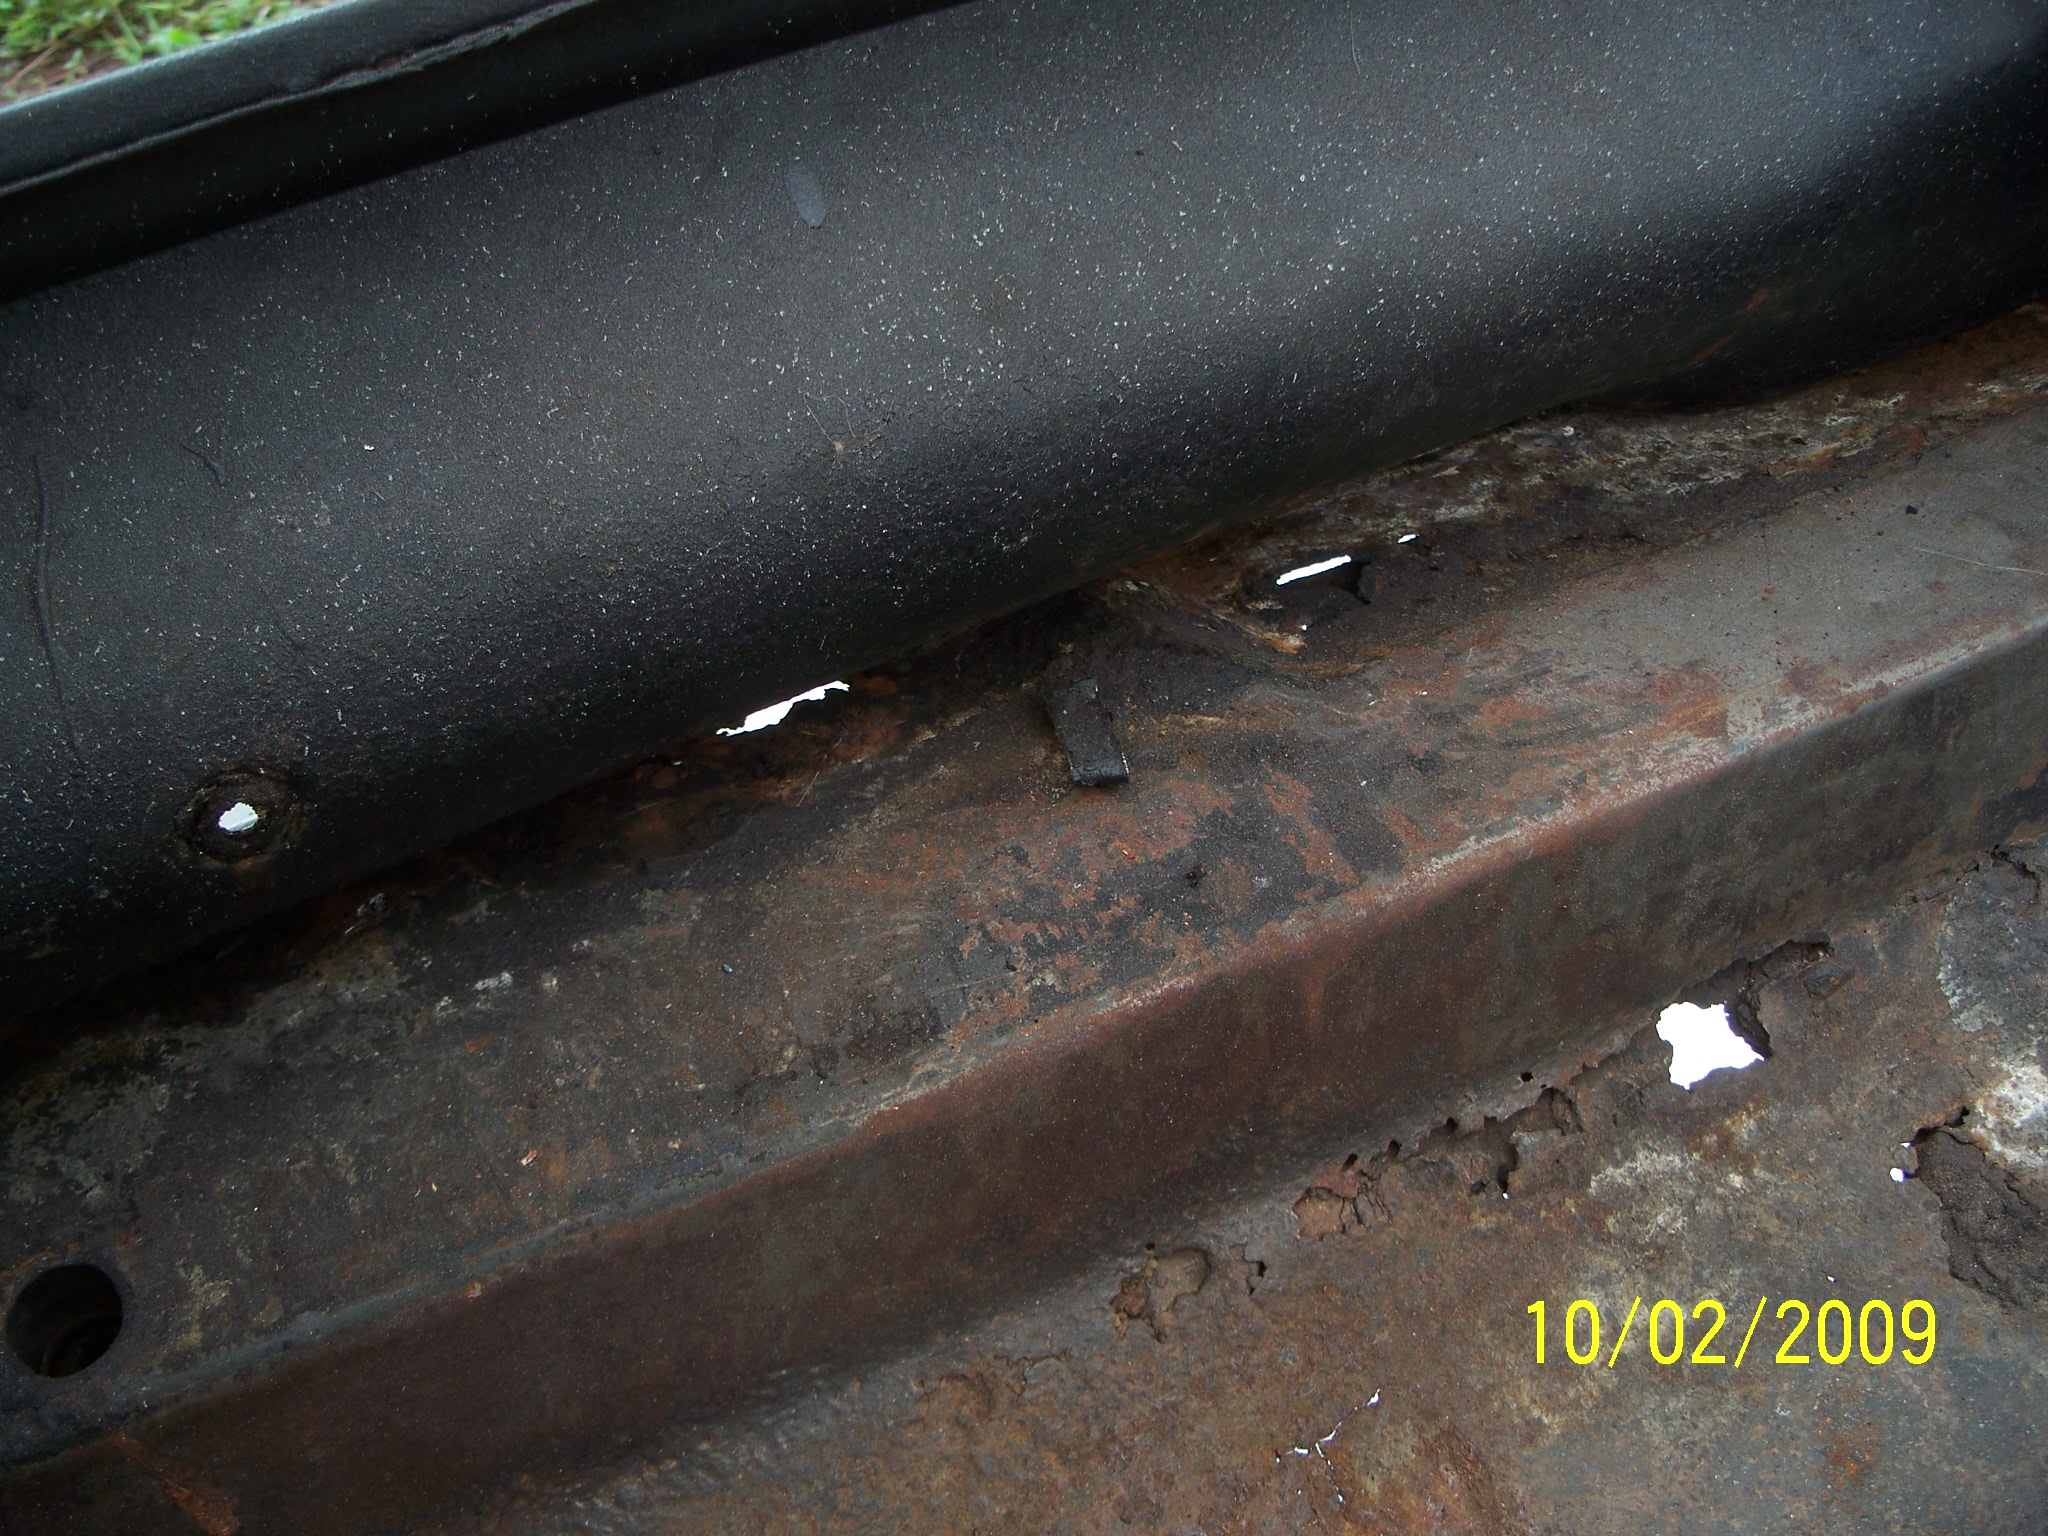
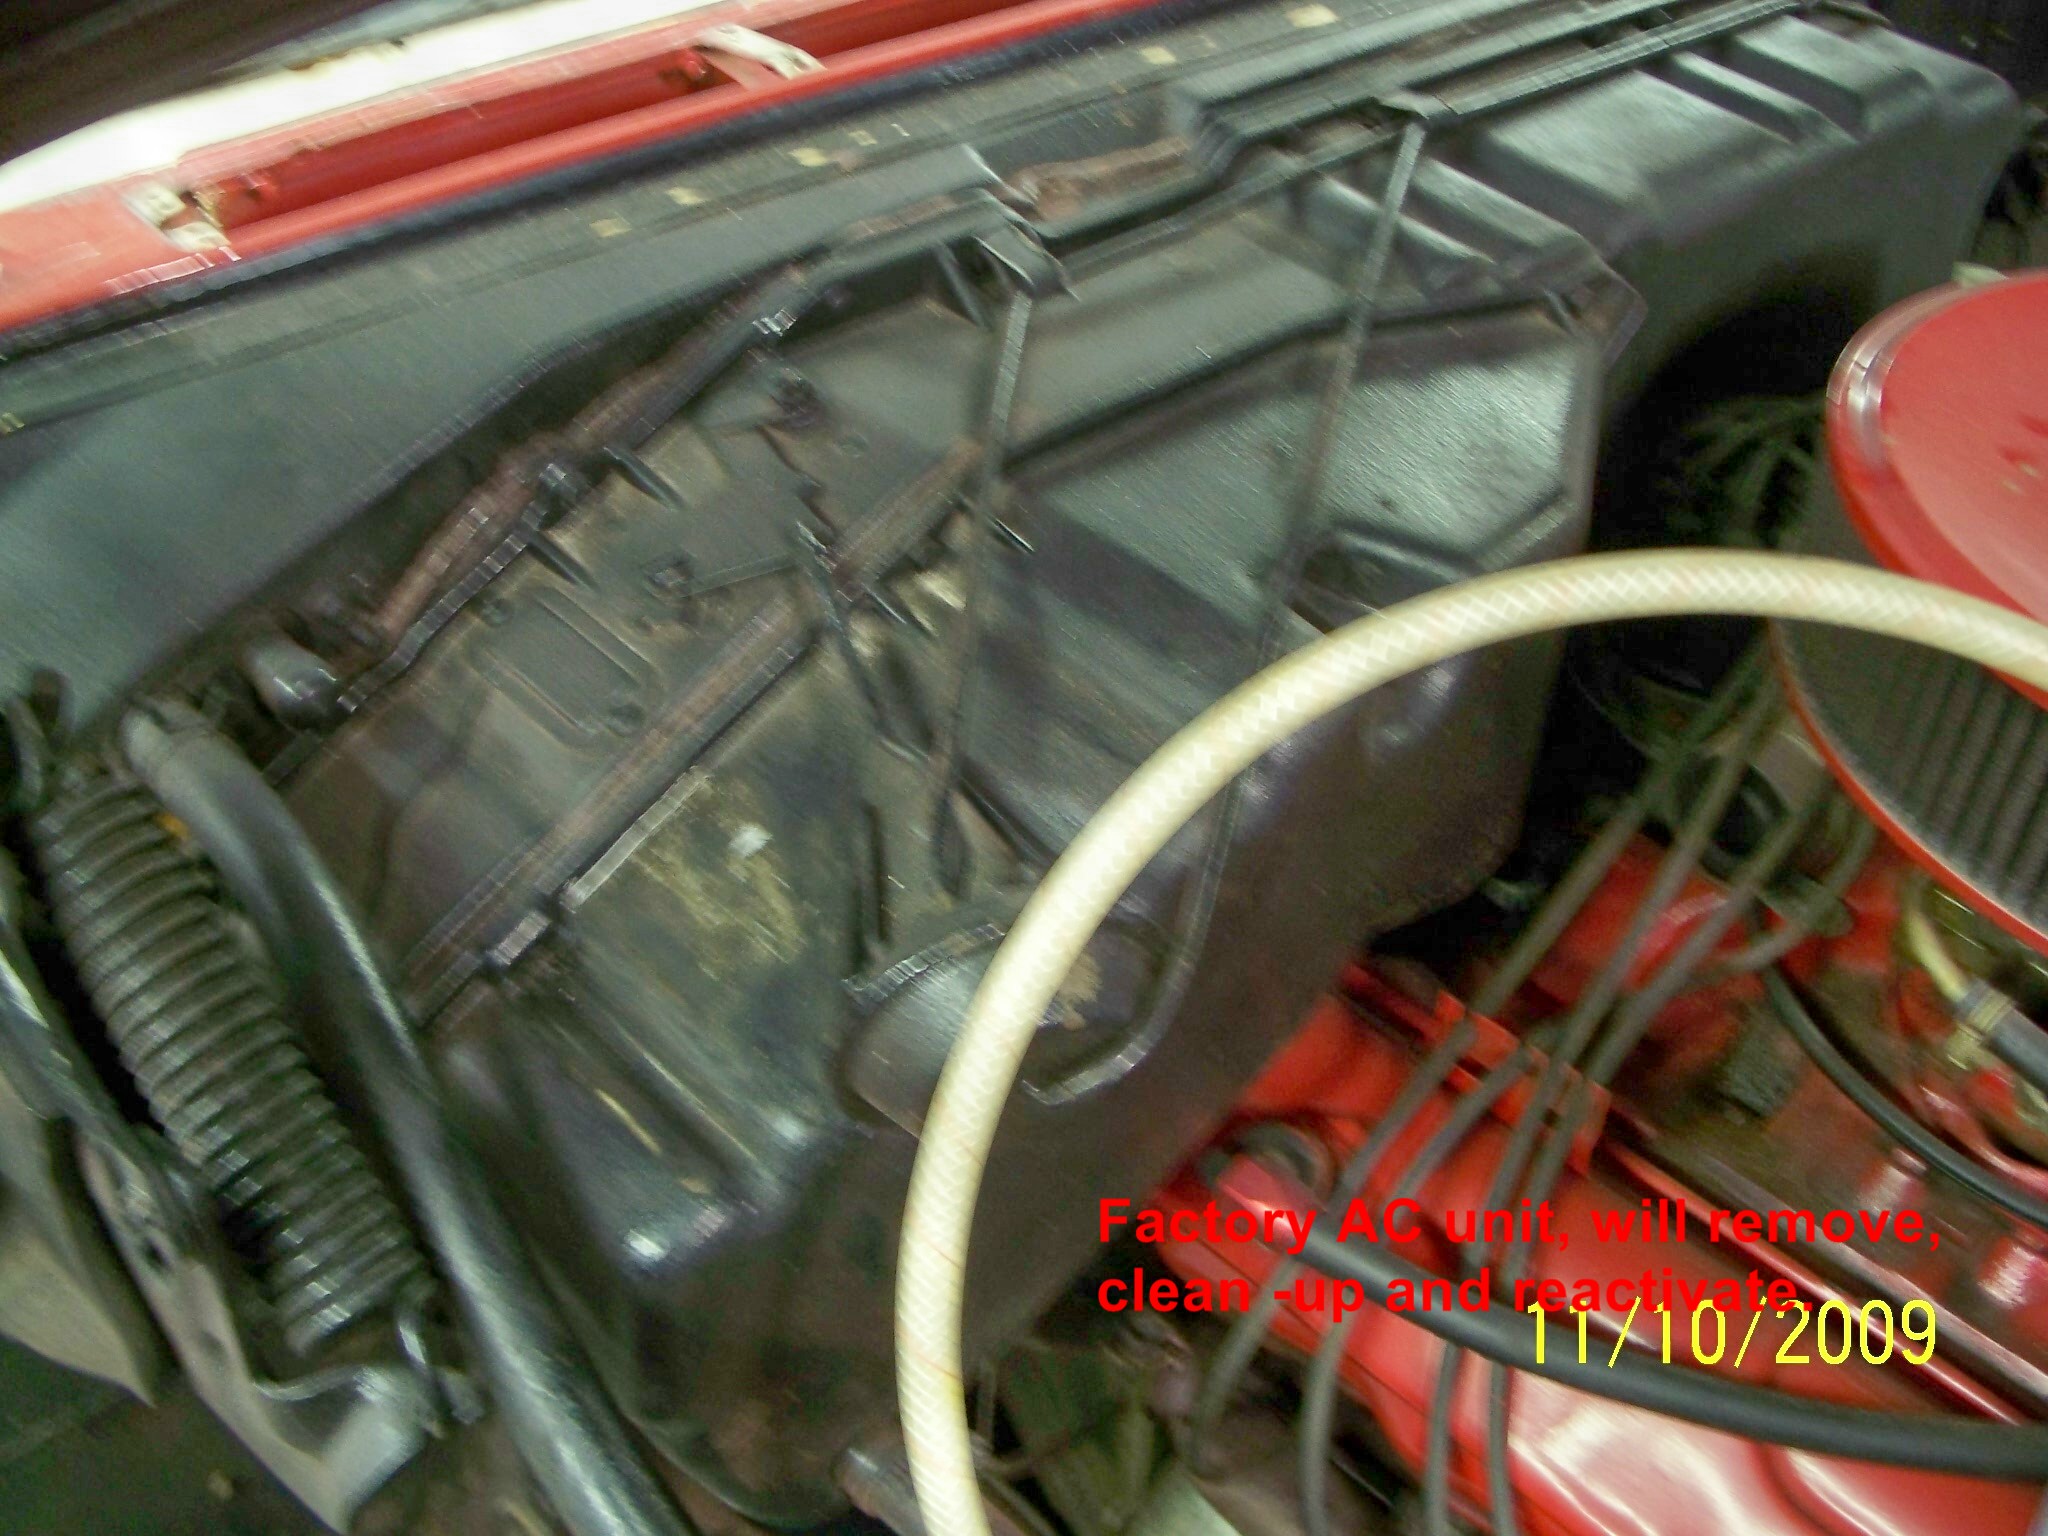
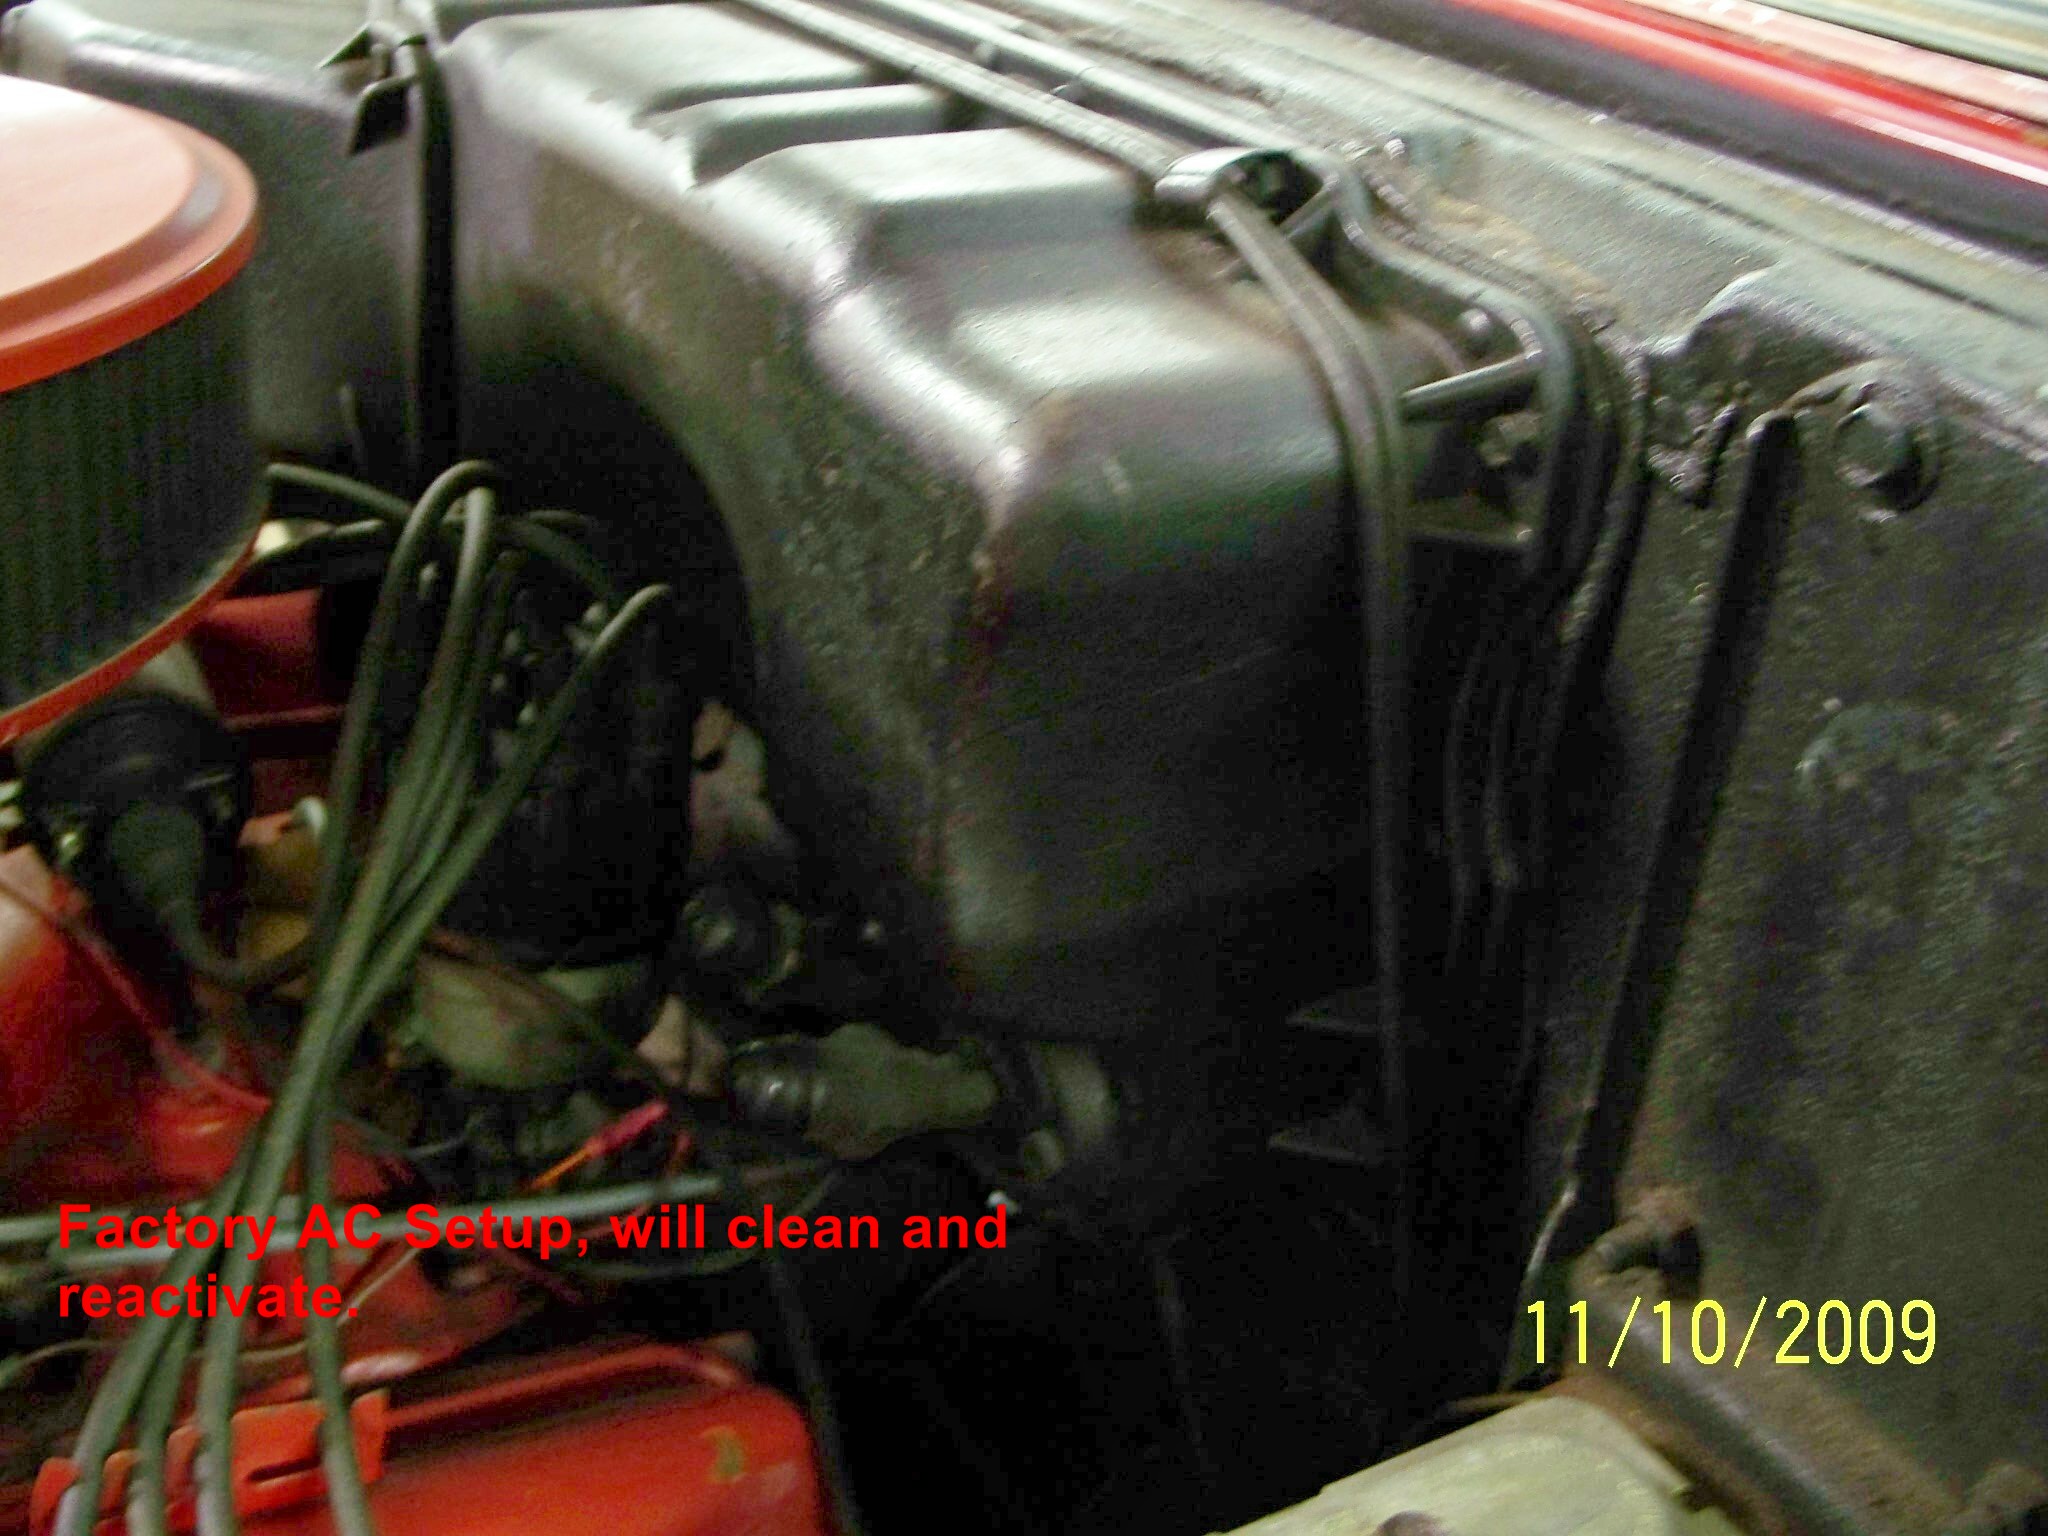
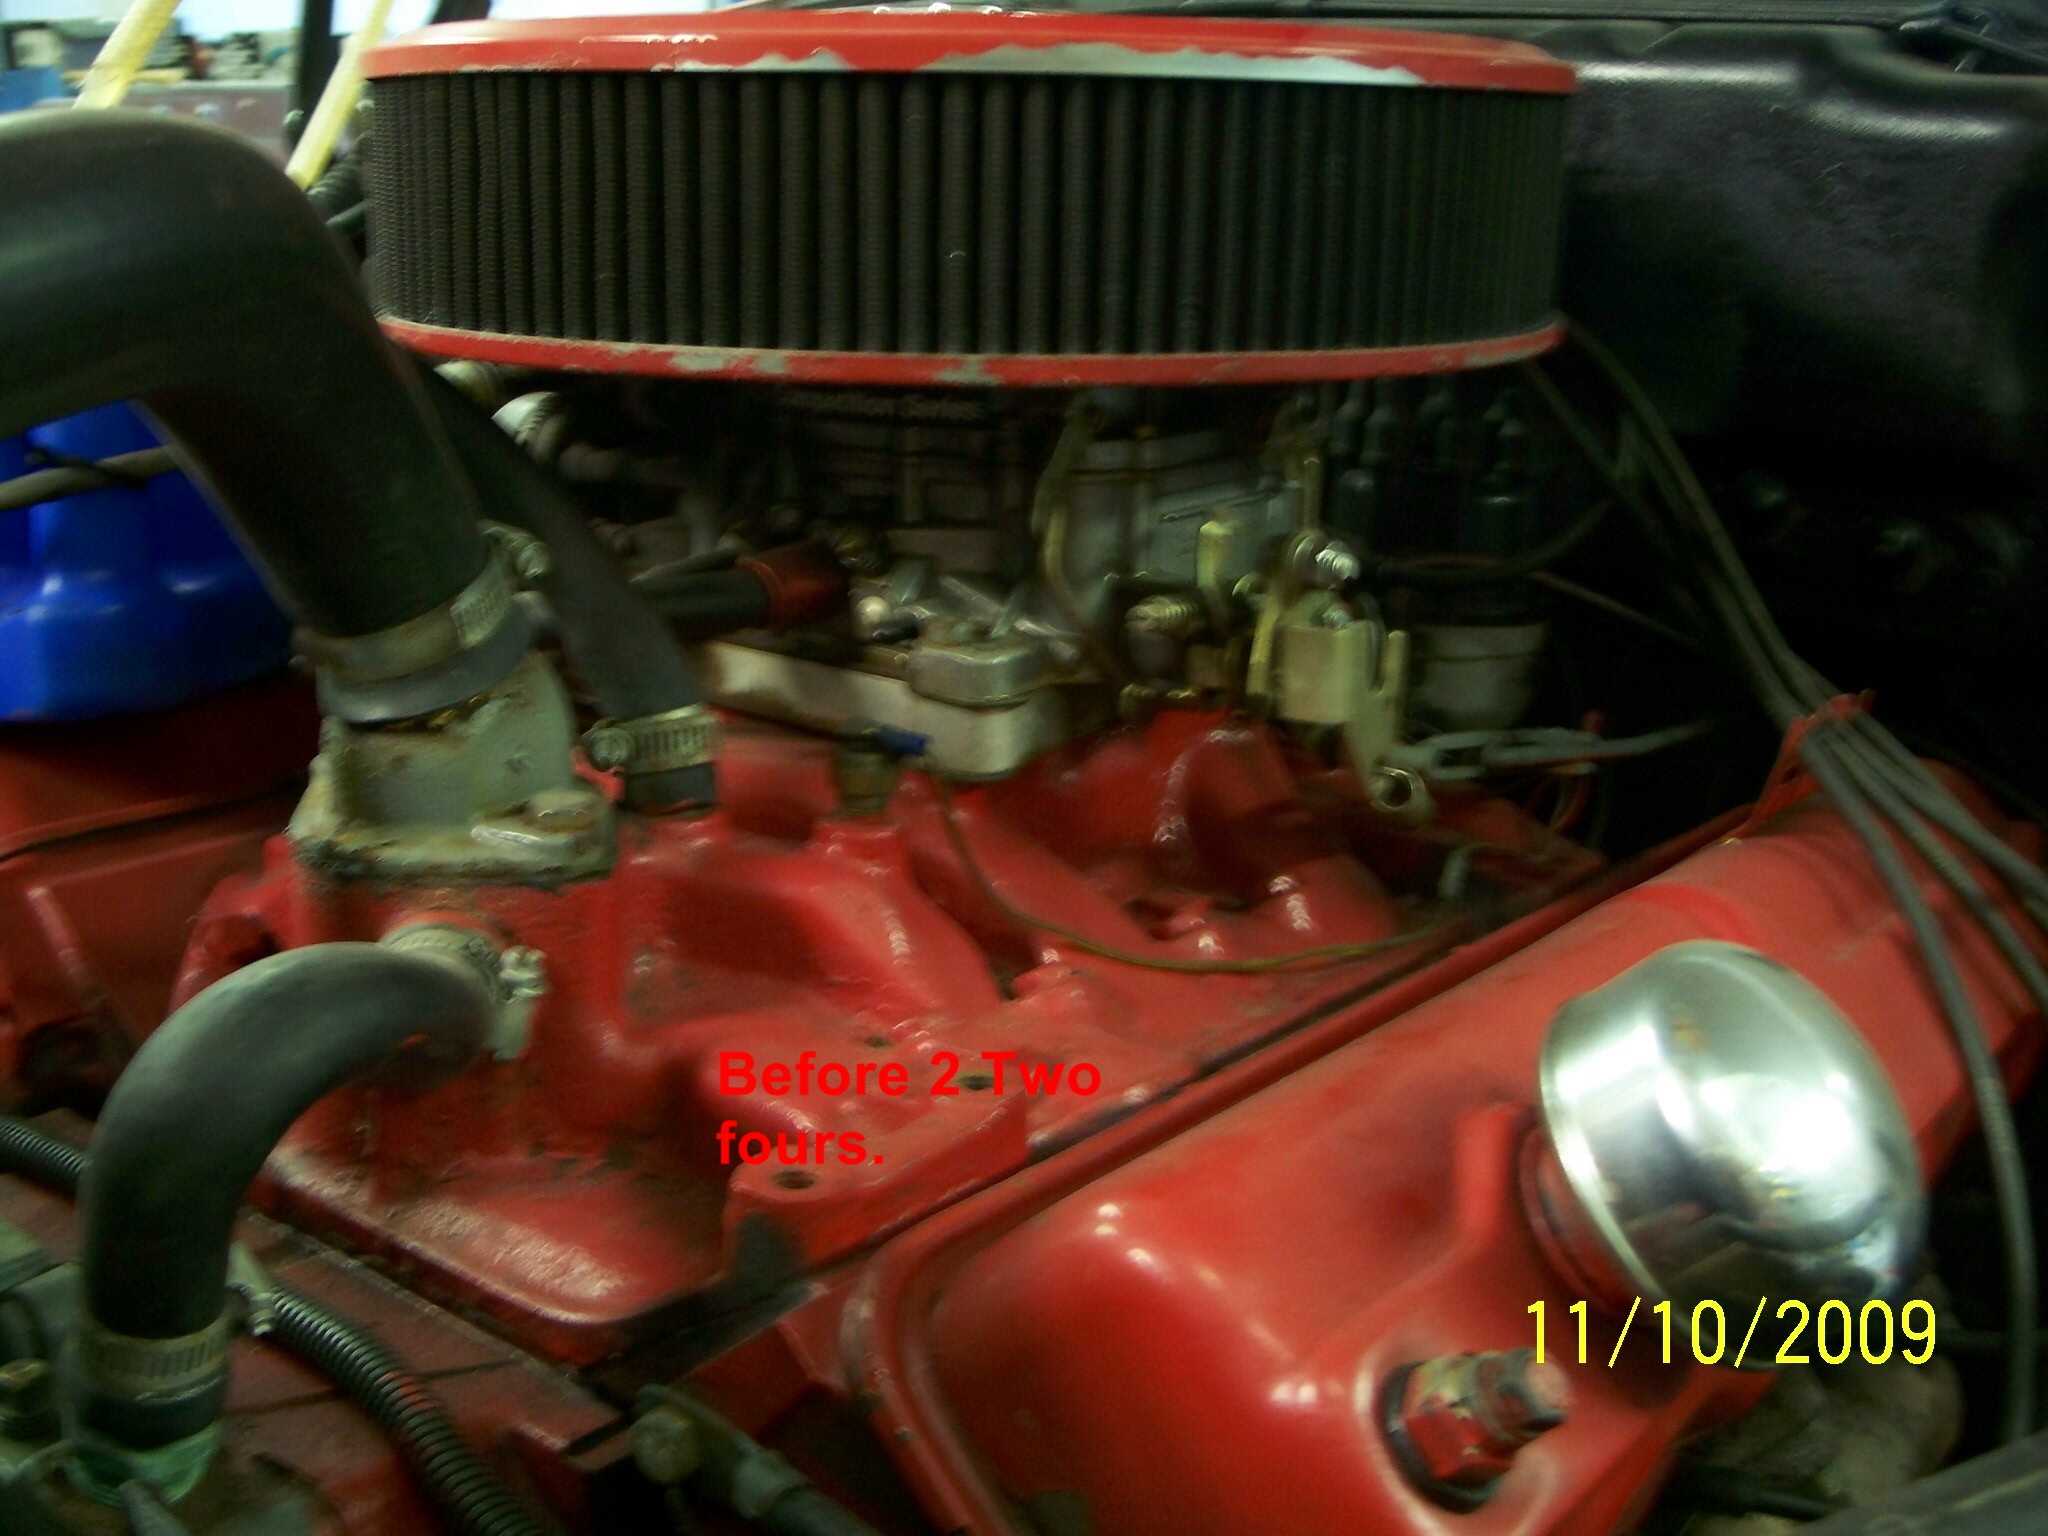
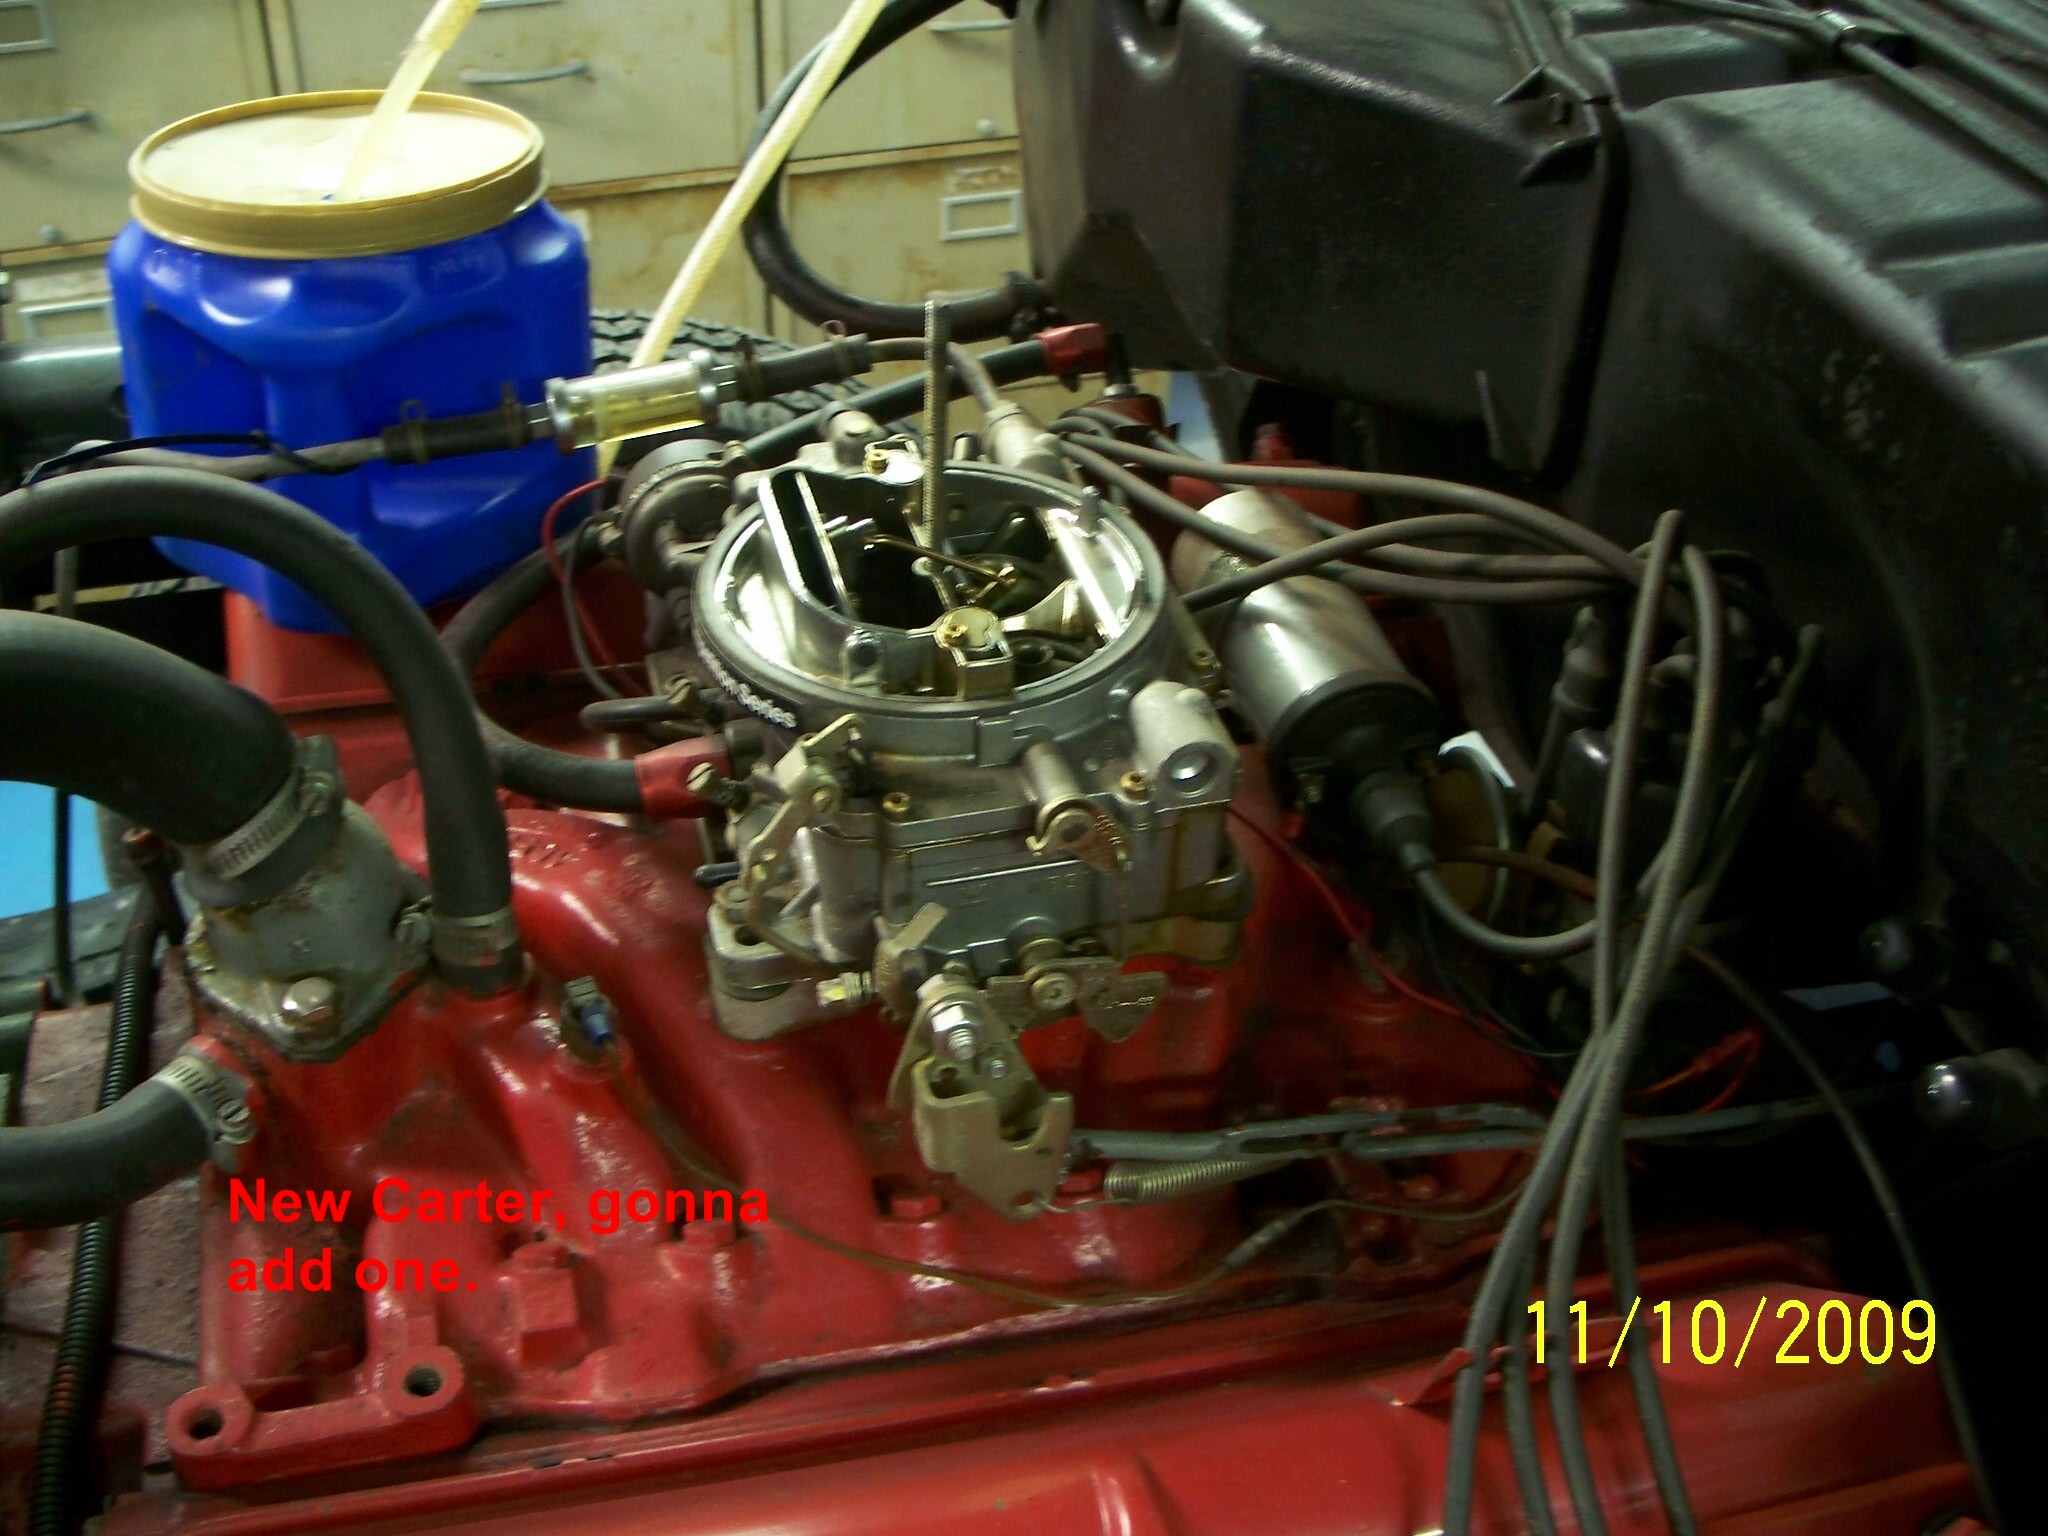
engine and clean the engine bay, the previous owner sprayed undercoat on everything, even the firewall, then I’ll freshen the engine, new timing chain, new freeze plugs, and install the dual carb setup. After getting the car up on the lift it’s a lot worse than I thought. Drivers side rocker panel in front of rear tire badly rusted, rust hole in panel rear of door. More to follow.
Dick.
Dan - When I saved this message I didn’t attach any pictures yet so I don 't know if it would have saved any images.
We’ve seen hw very talented you are in the body and paint department…are you going to tackle the sheetmetal replacement too?
You seem to have boundless energy and lots of time to dedicate to these restorations. AND you live in beautiful Florida! What a life! What a wife!
Thanks for the photos and descriptions.
Roger - Thanks for the compliment, I would like to do the welding myself and could probably do a fair job on the trunk floor with a lot of practice but over the headlights and the trunk gasket channel needs an experienced bodyman/welder and his name is Larry, president of our local car club the Asphalt Angels which by the way was formed in 1958, one of the 5 oldest still operating.
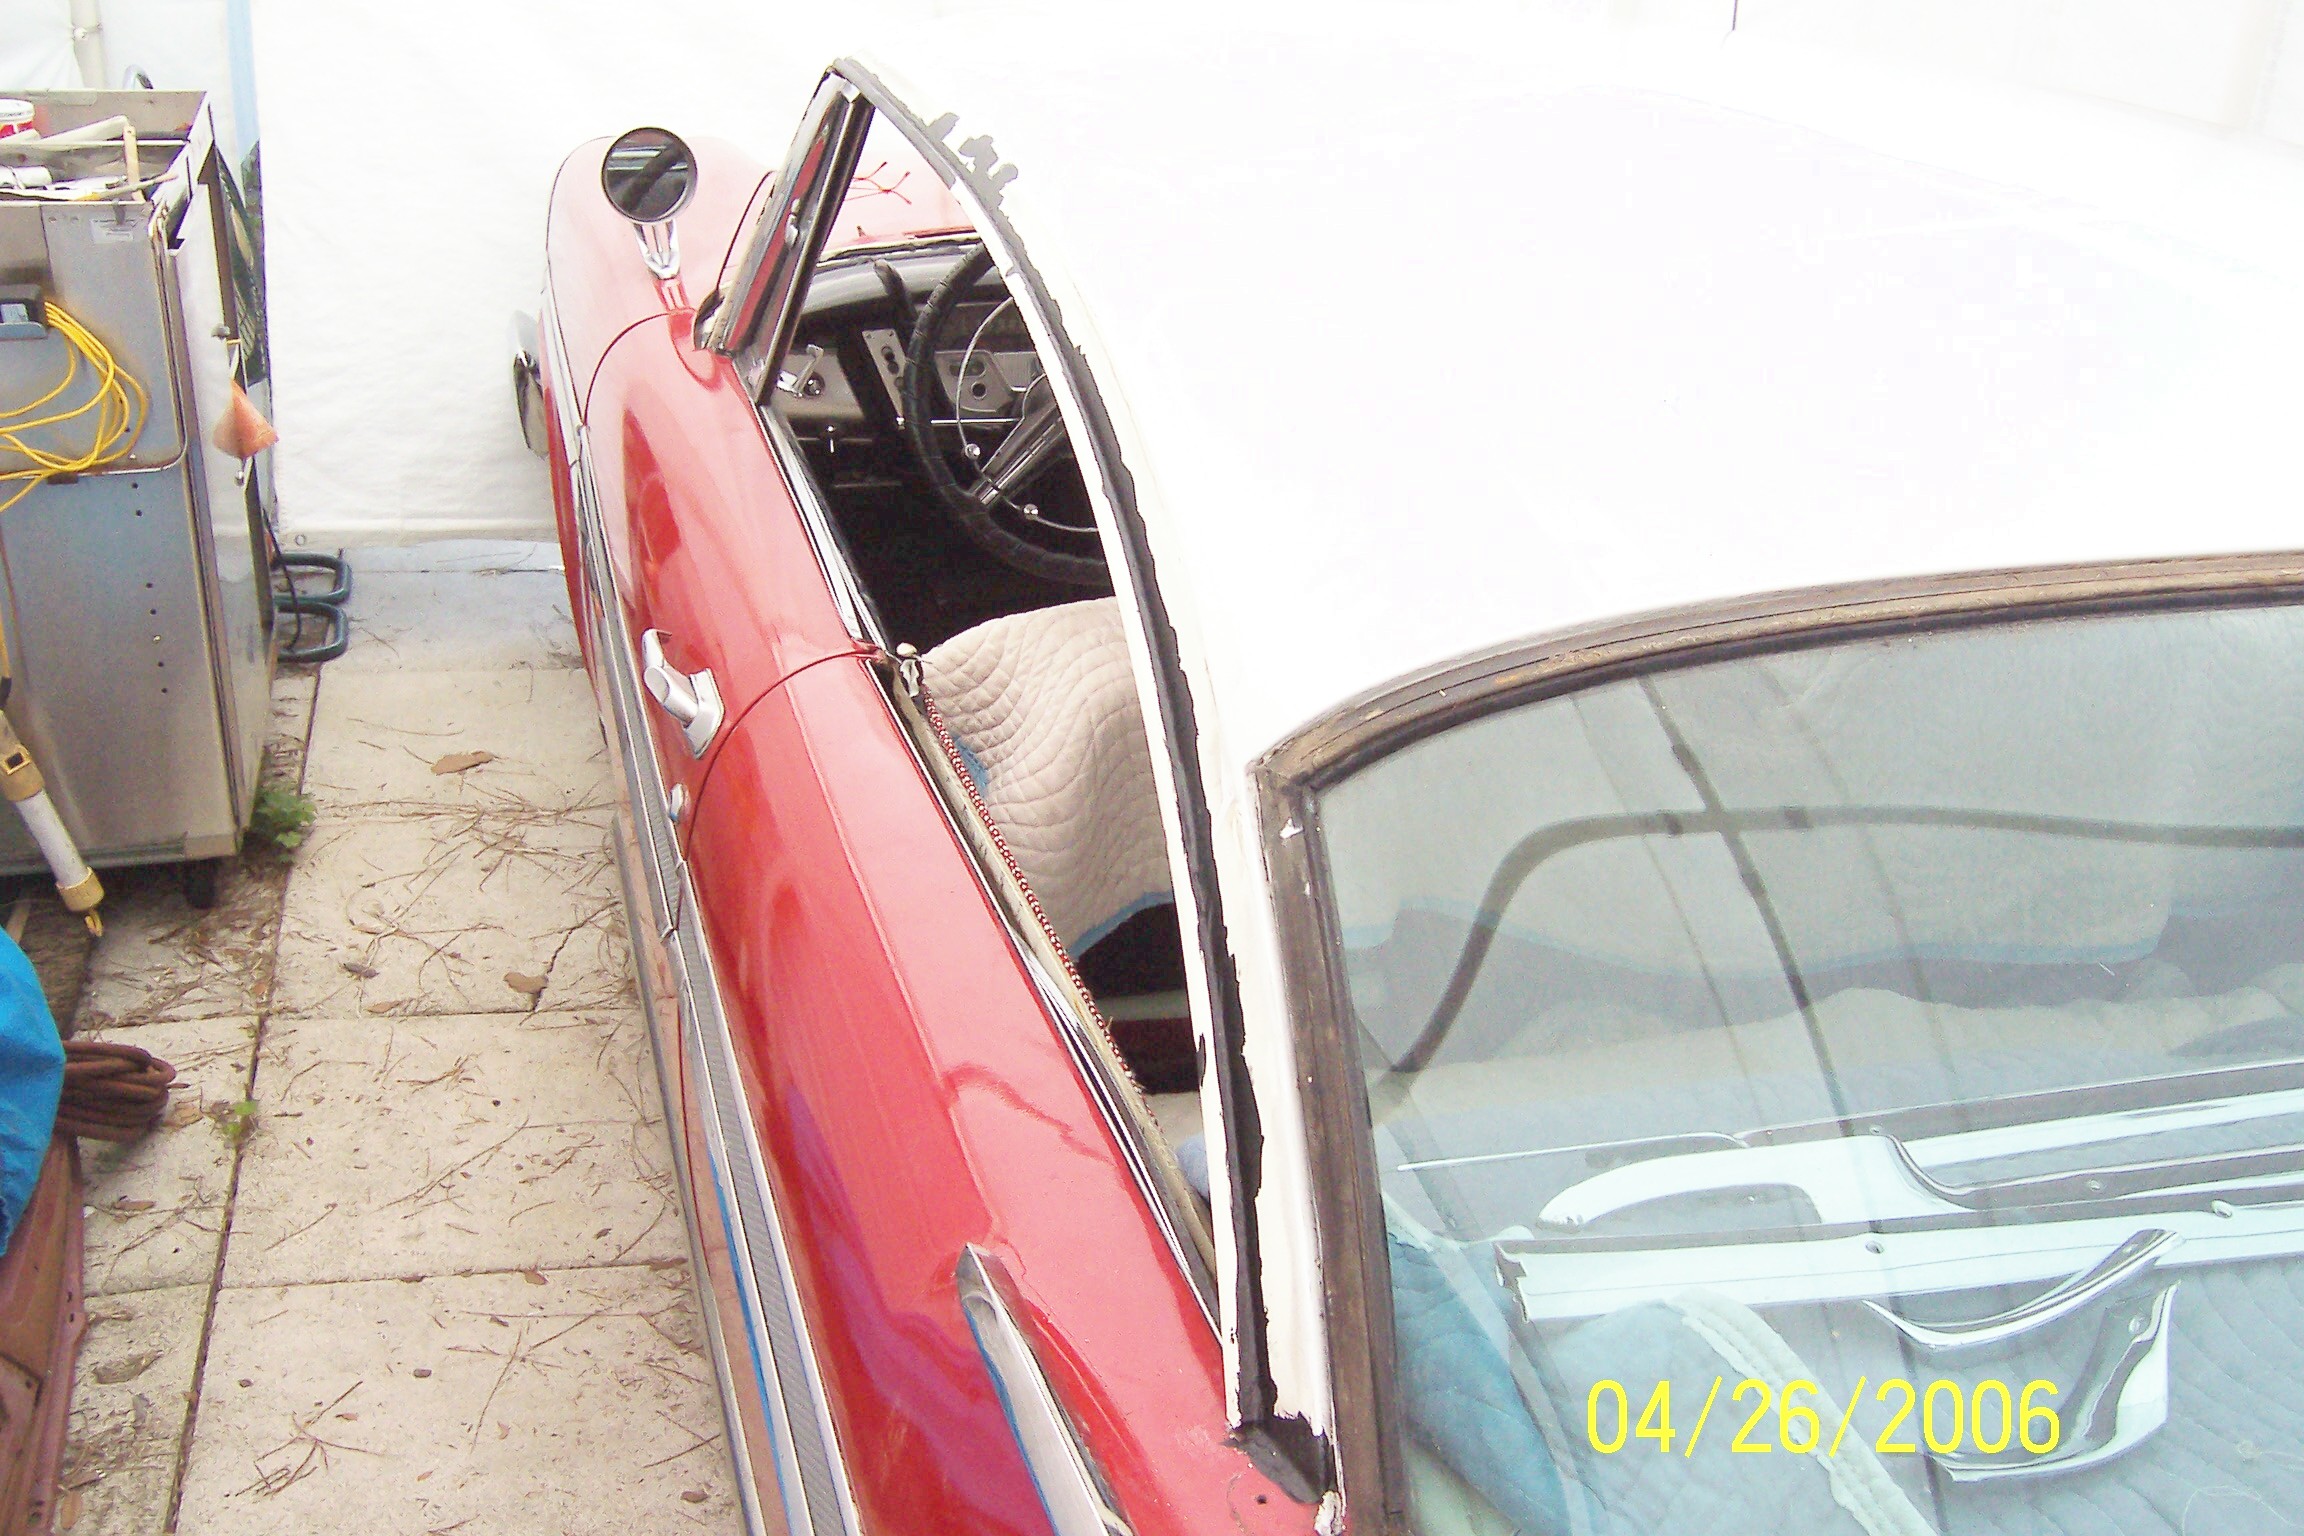
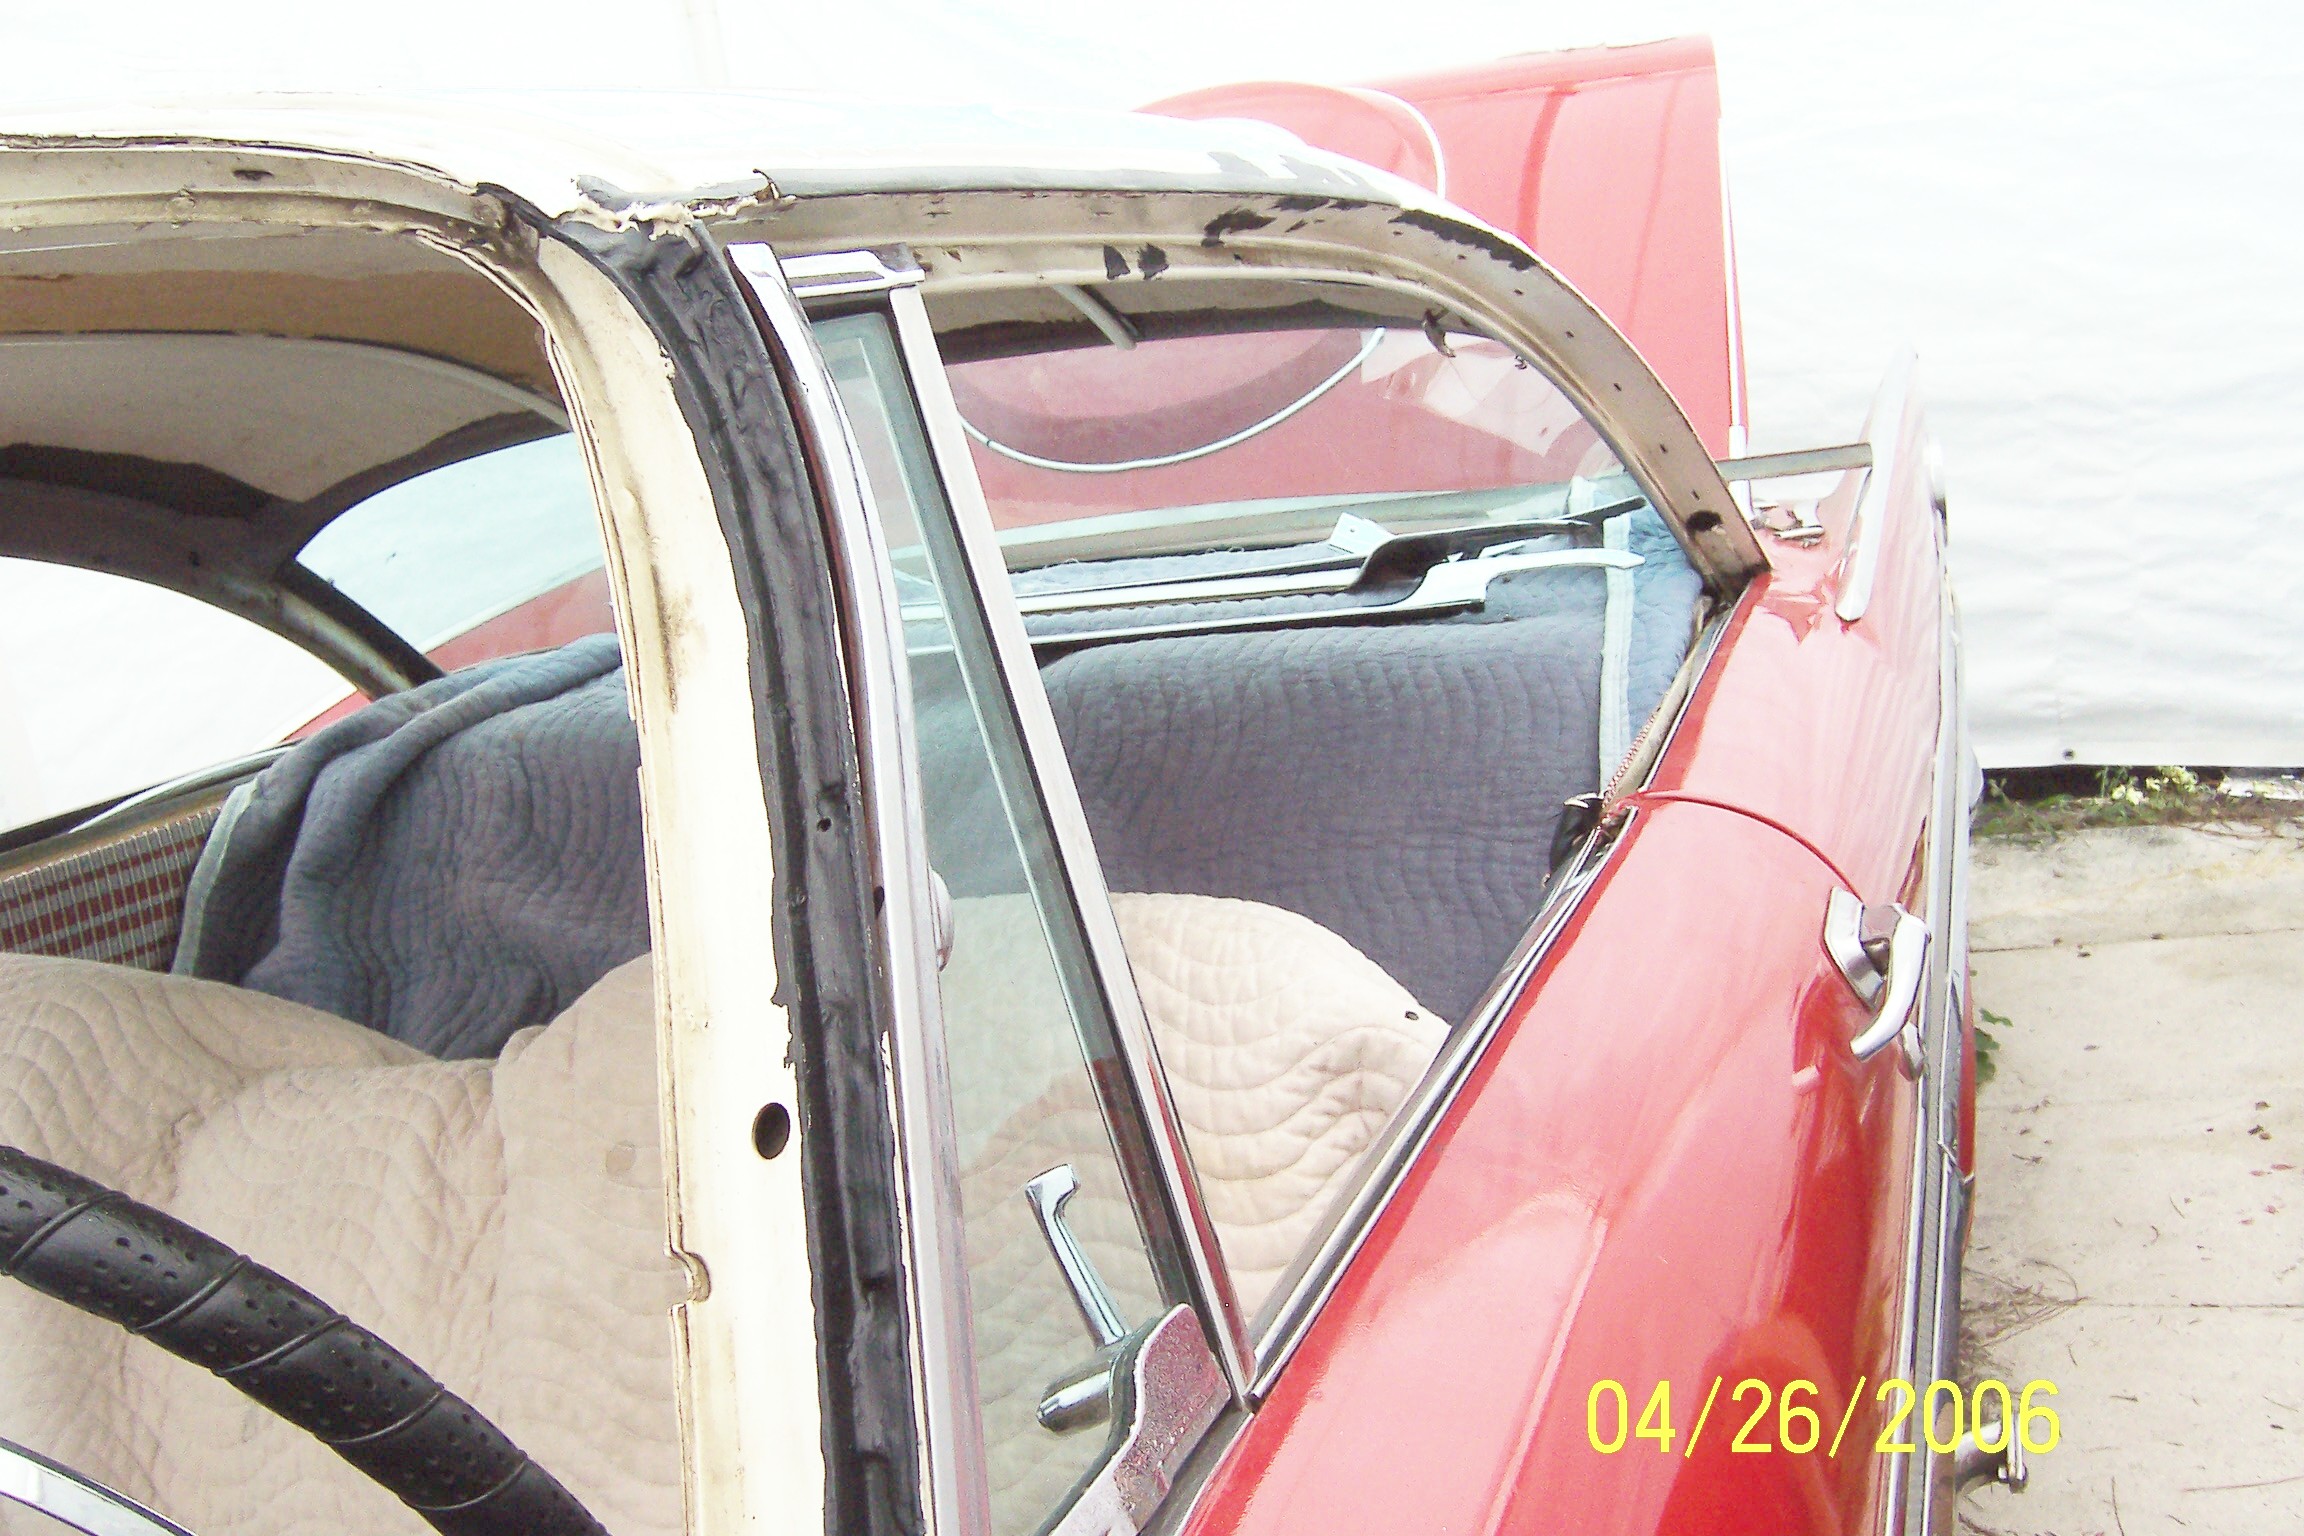
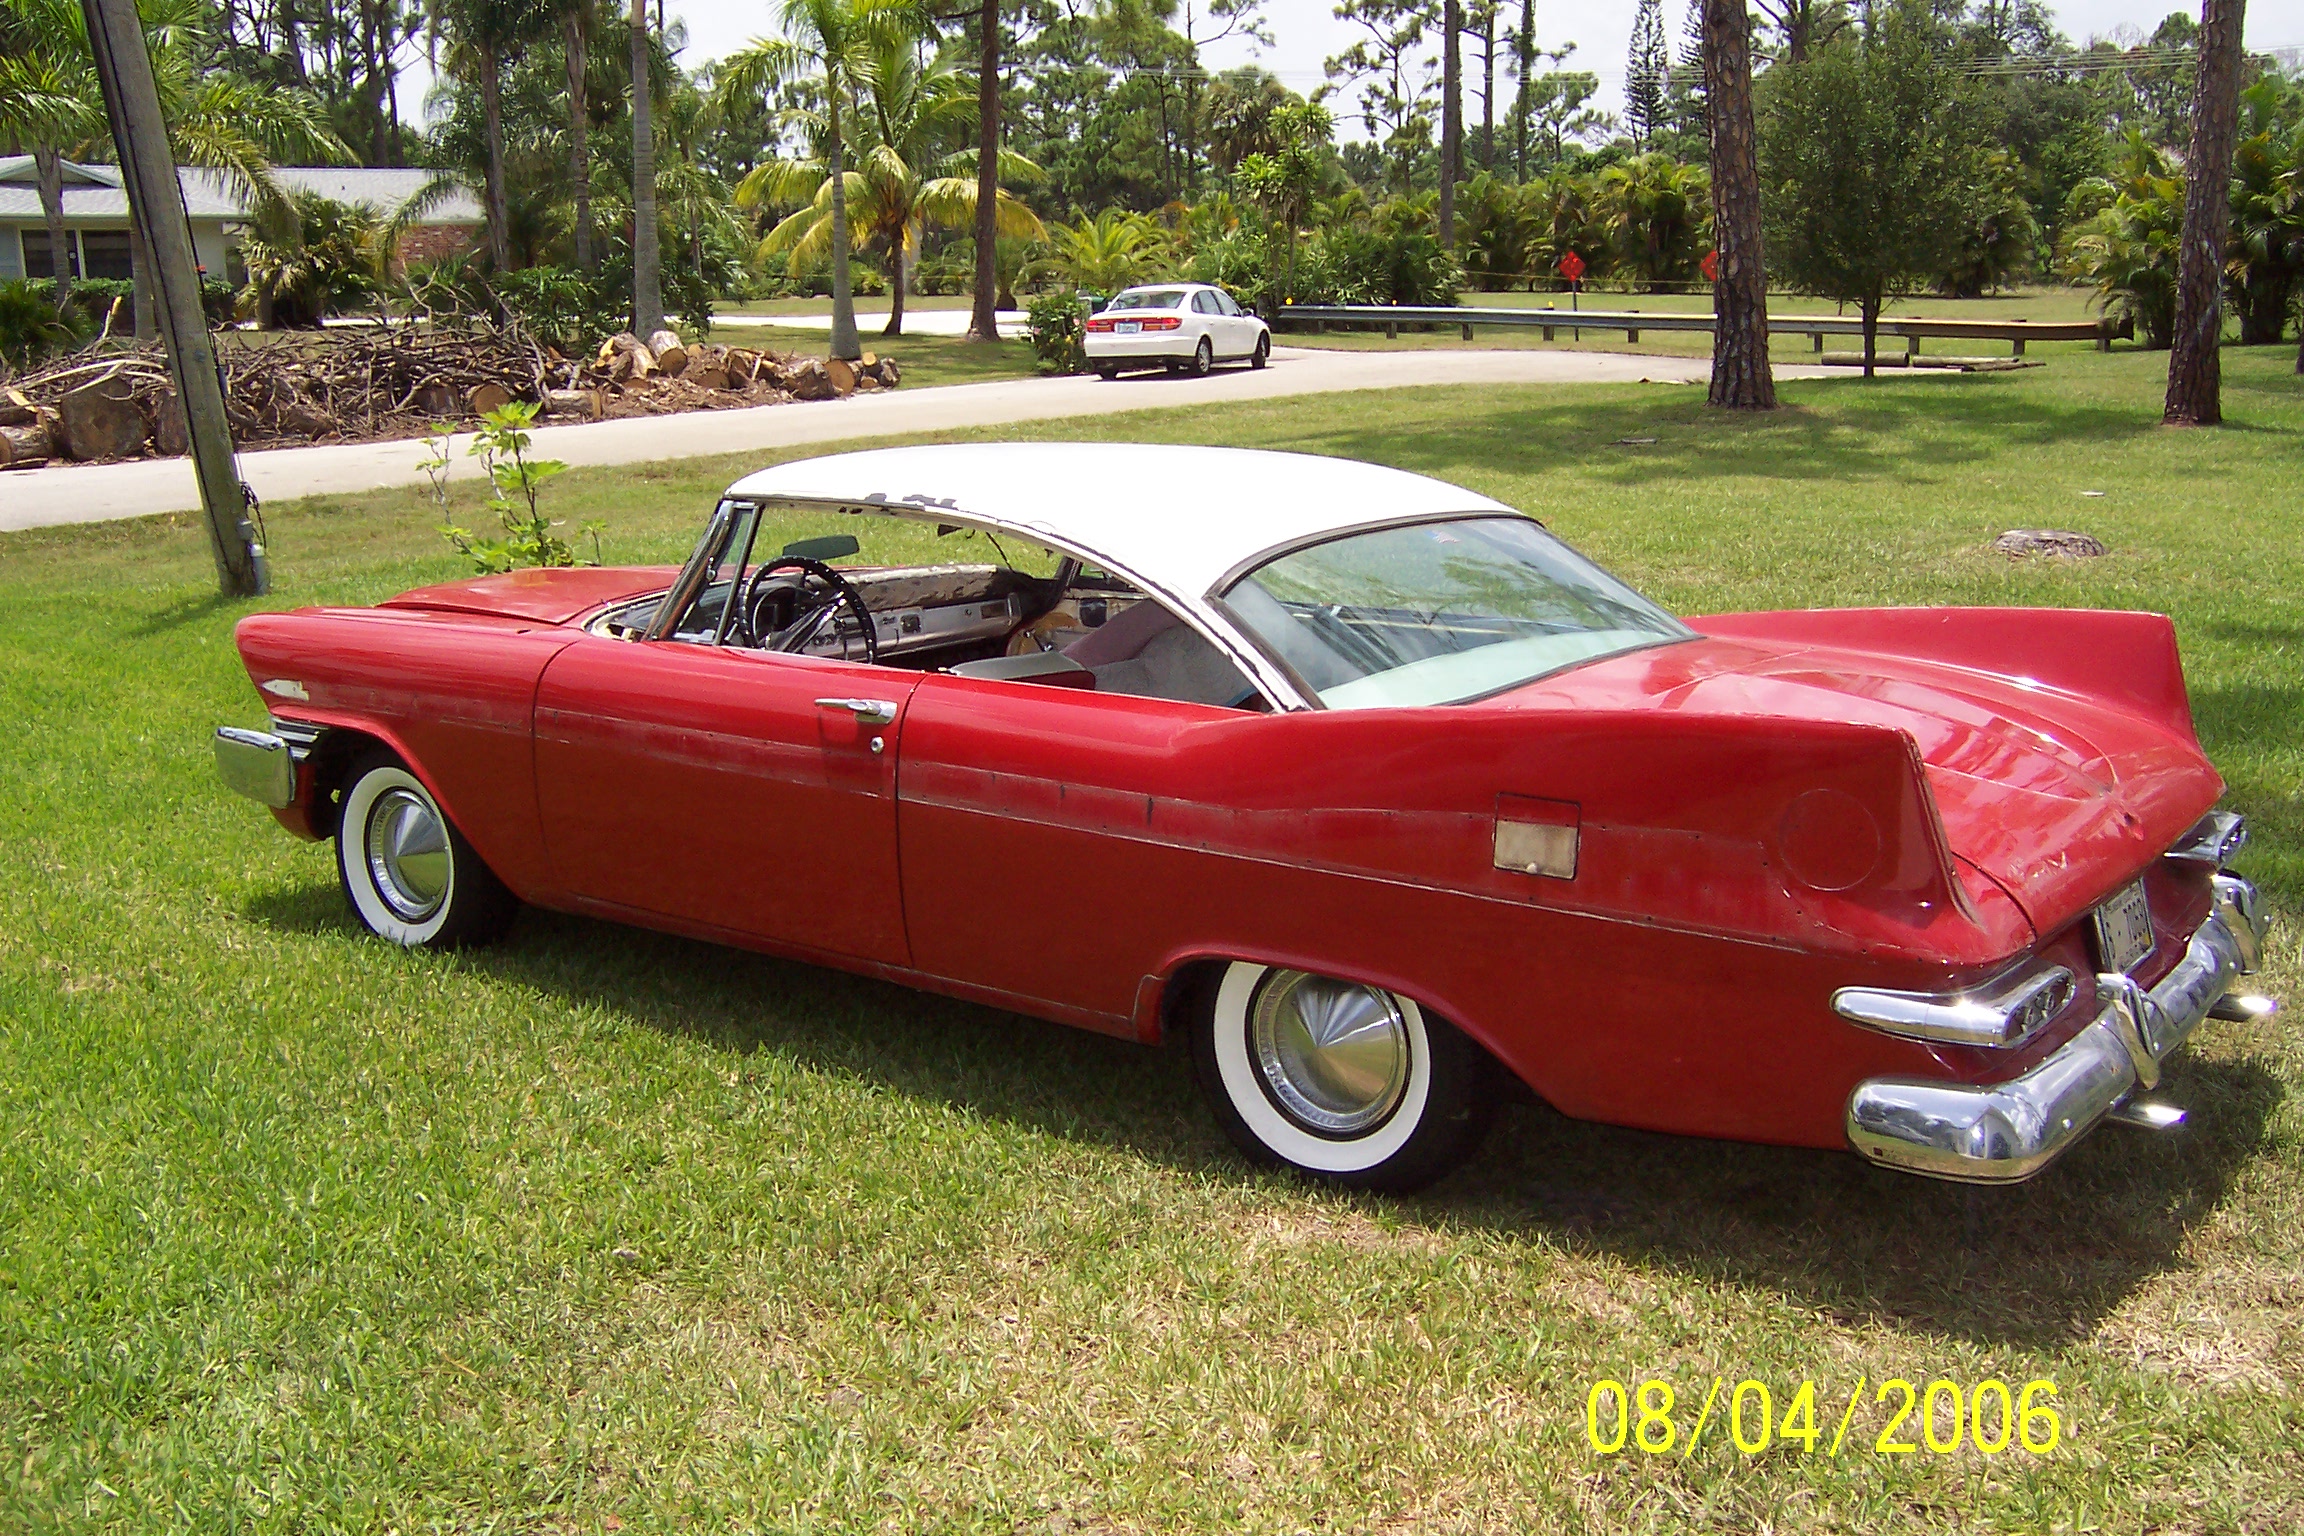
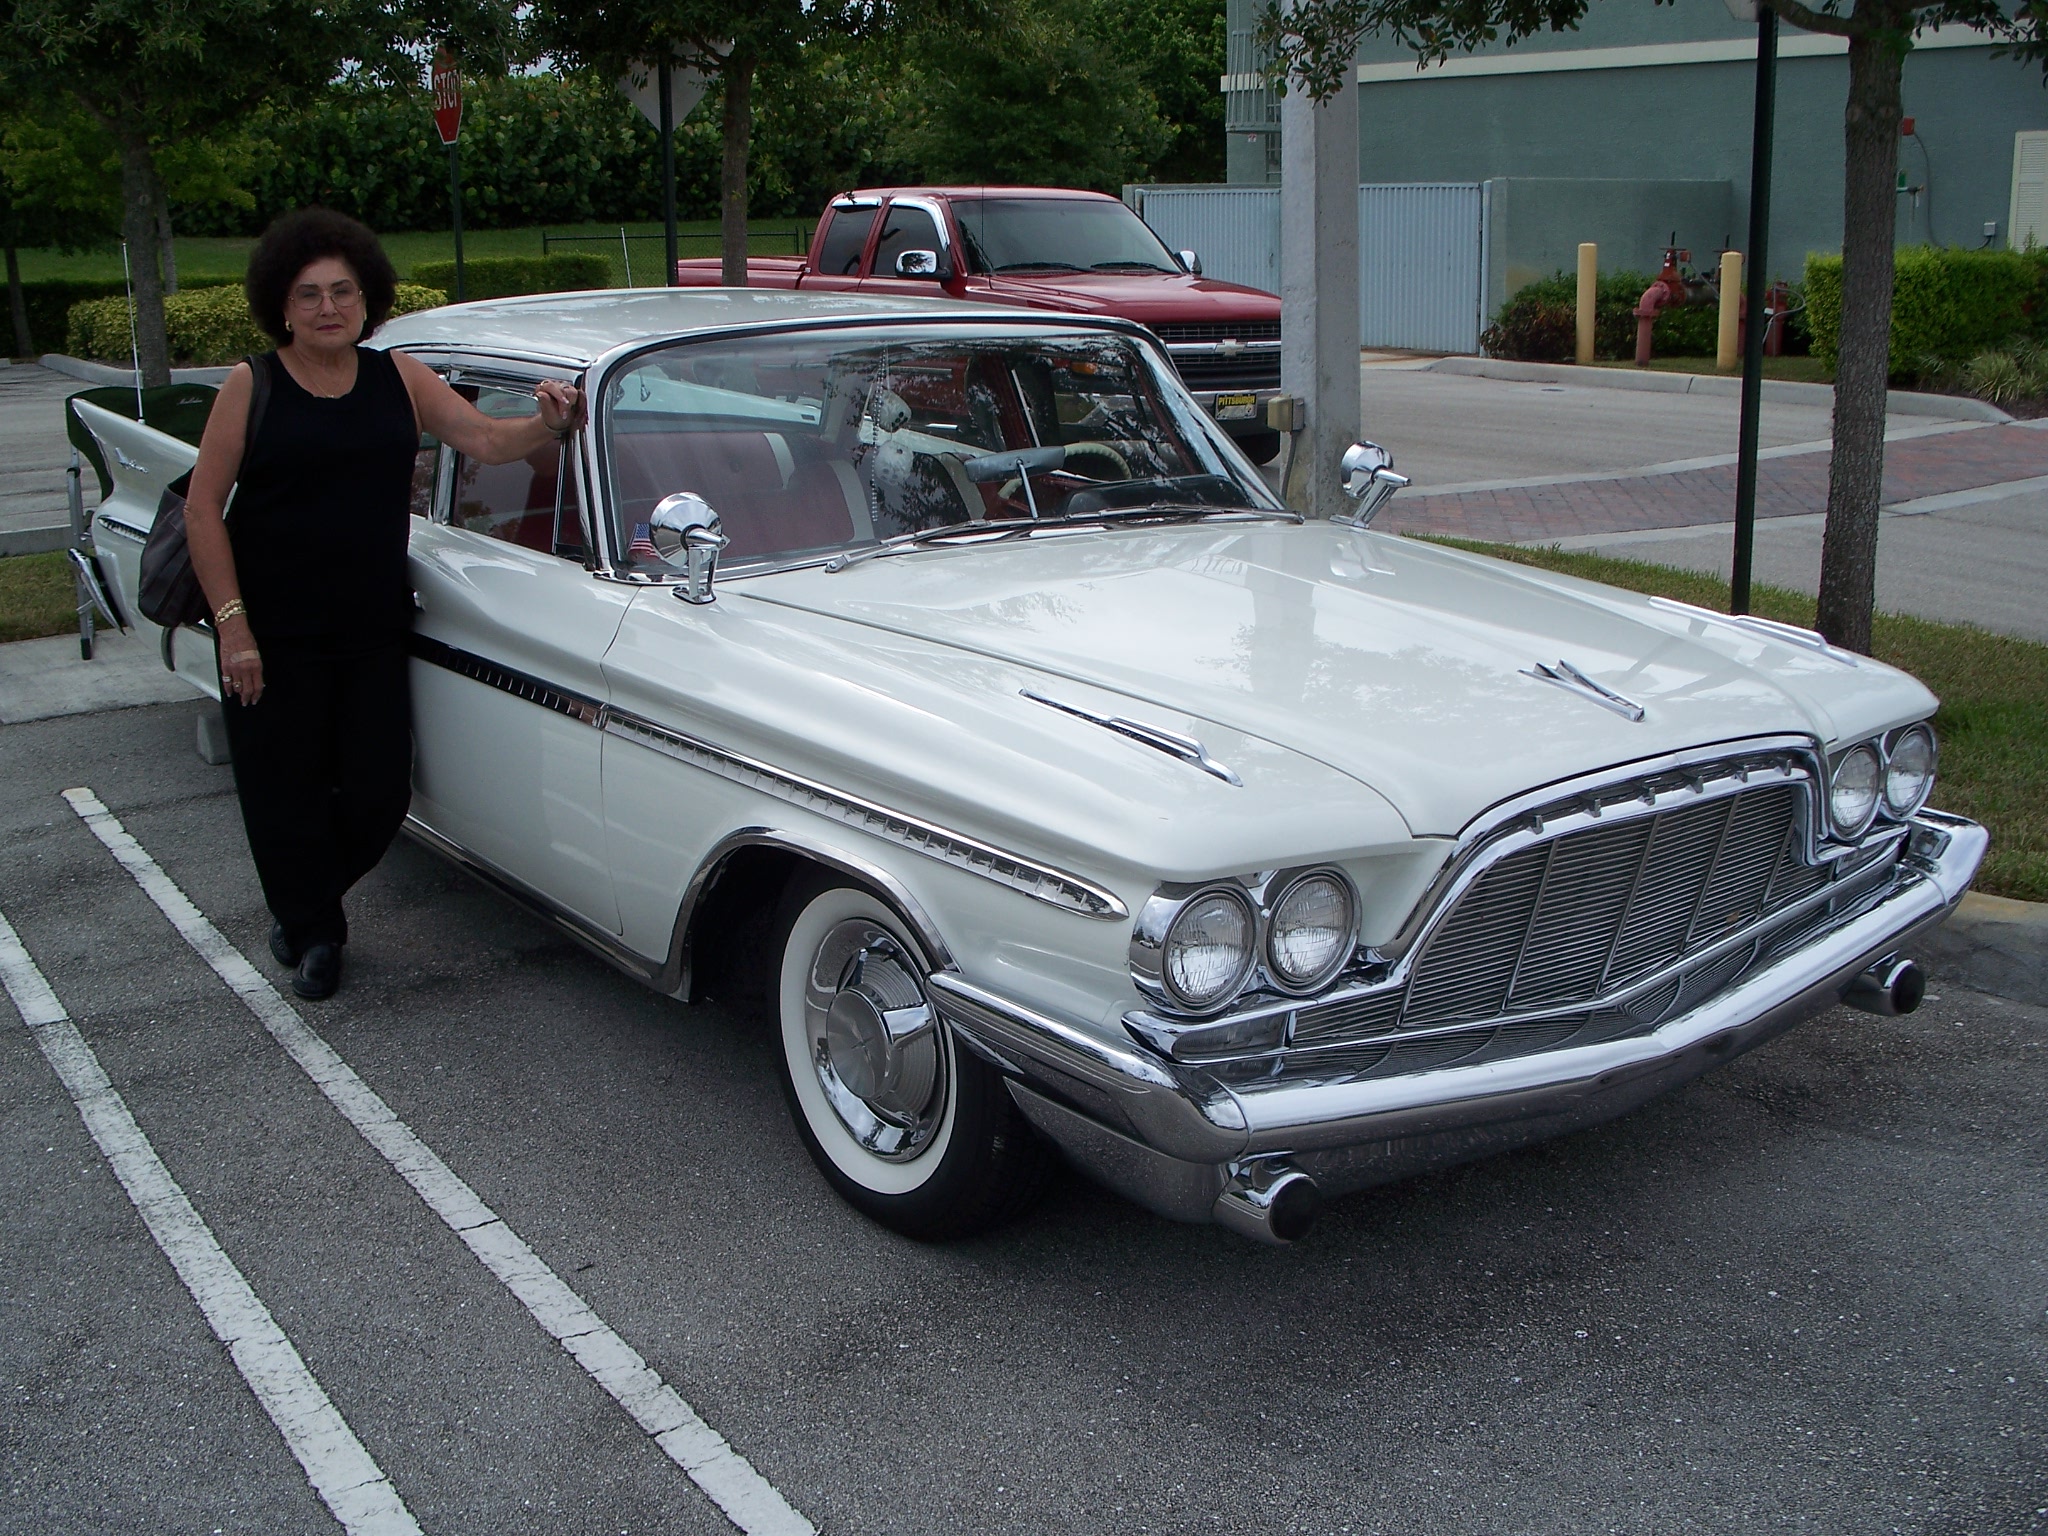
Not boundless energy, almost everything is done sitting down, I even lower the car on the lift so I can sit under it and work. Florida be da place except for the liquid sunshine, our car show got rained out the last two saturdays. You are right about what a wife, she puts up with a lot of stuff from me. Last pictures of the Desoto attached, picture of Yvonne included.
Dick
You kidding - I’m up for it but I’d tow the Plymouth on a trailer with the Desoto. She absolutely refuses to drive any of the old cars, say’s I’d go bannanas if something happened. But I can’t convince her its just a car thats insured like any other.
Dick.
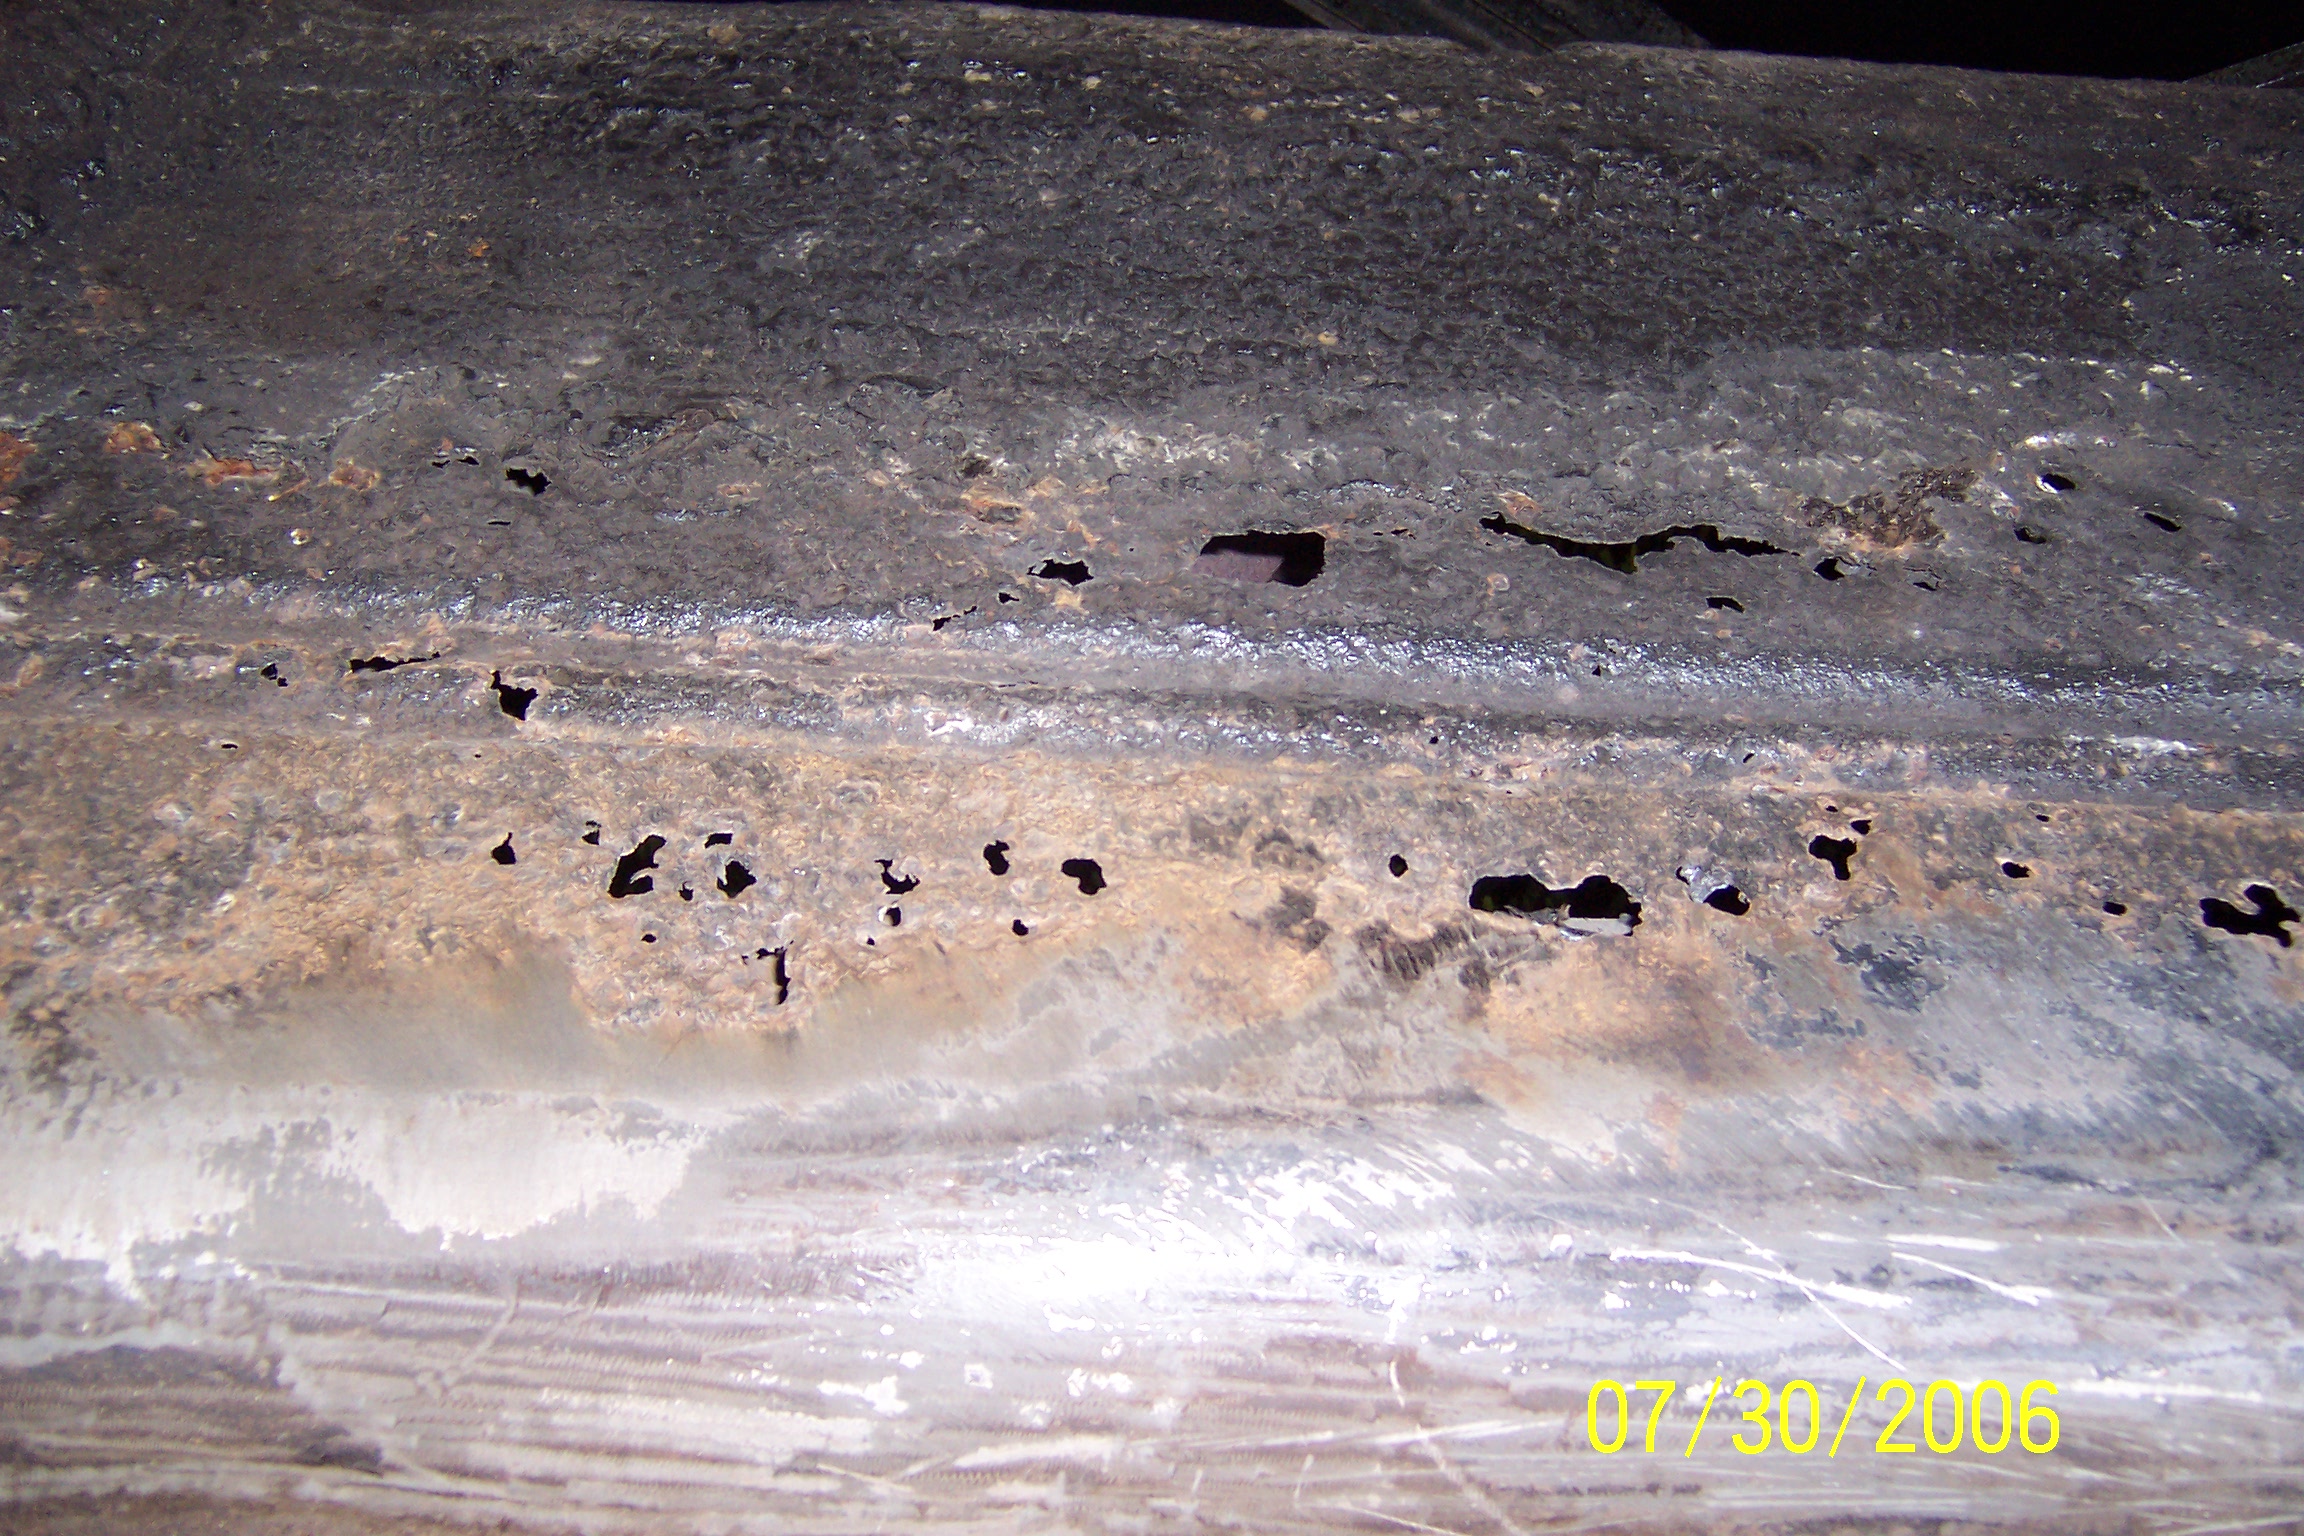
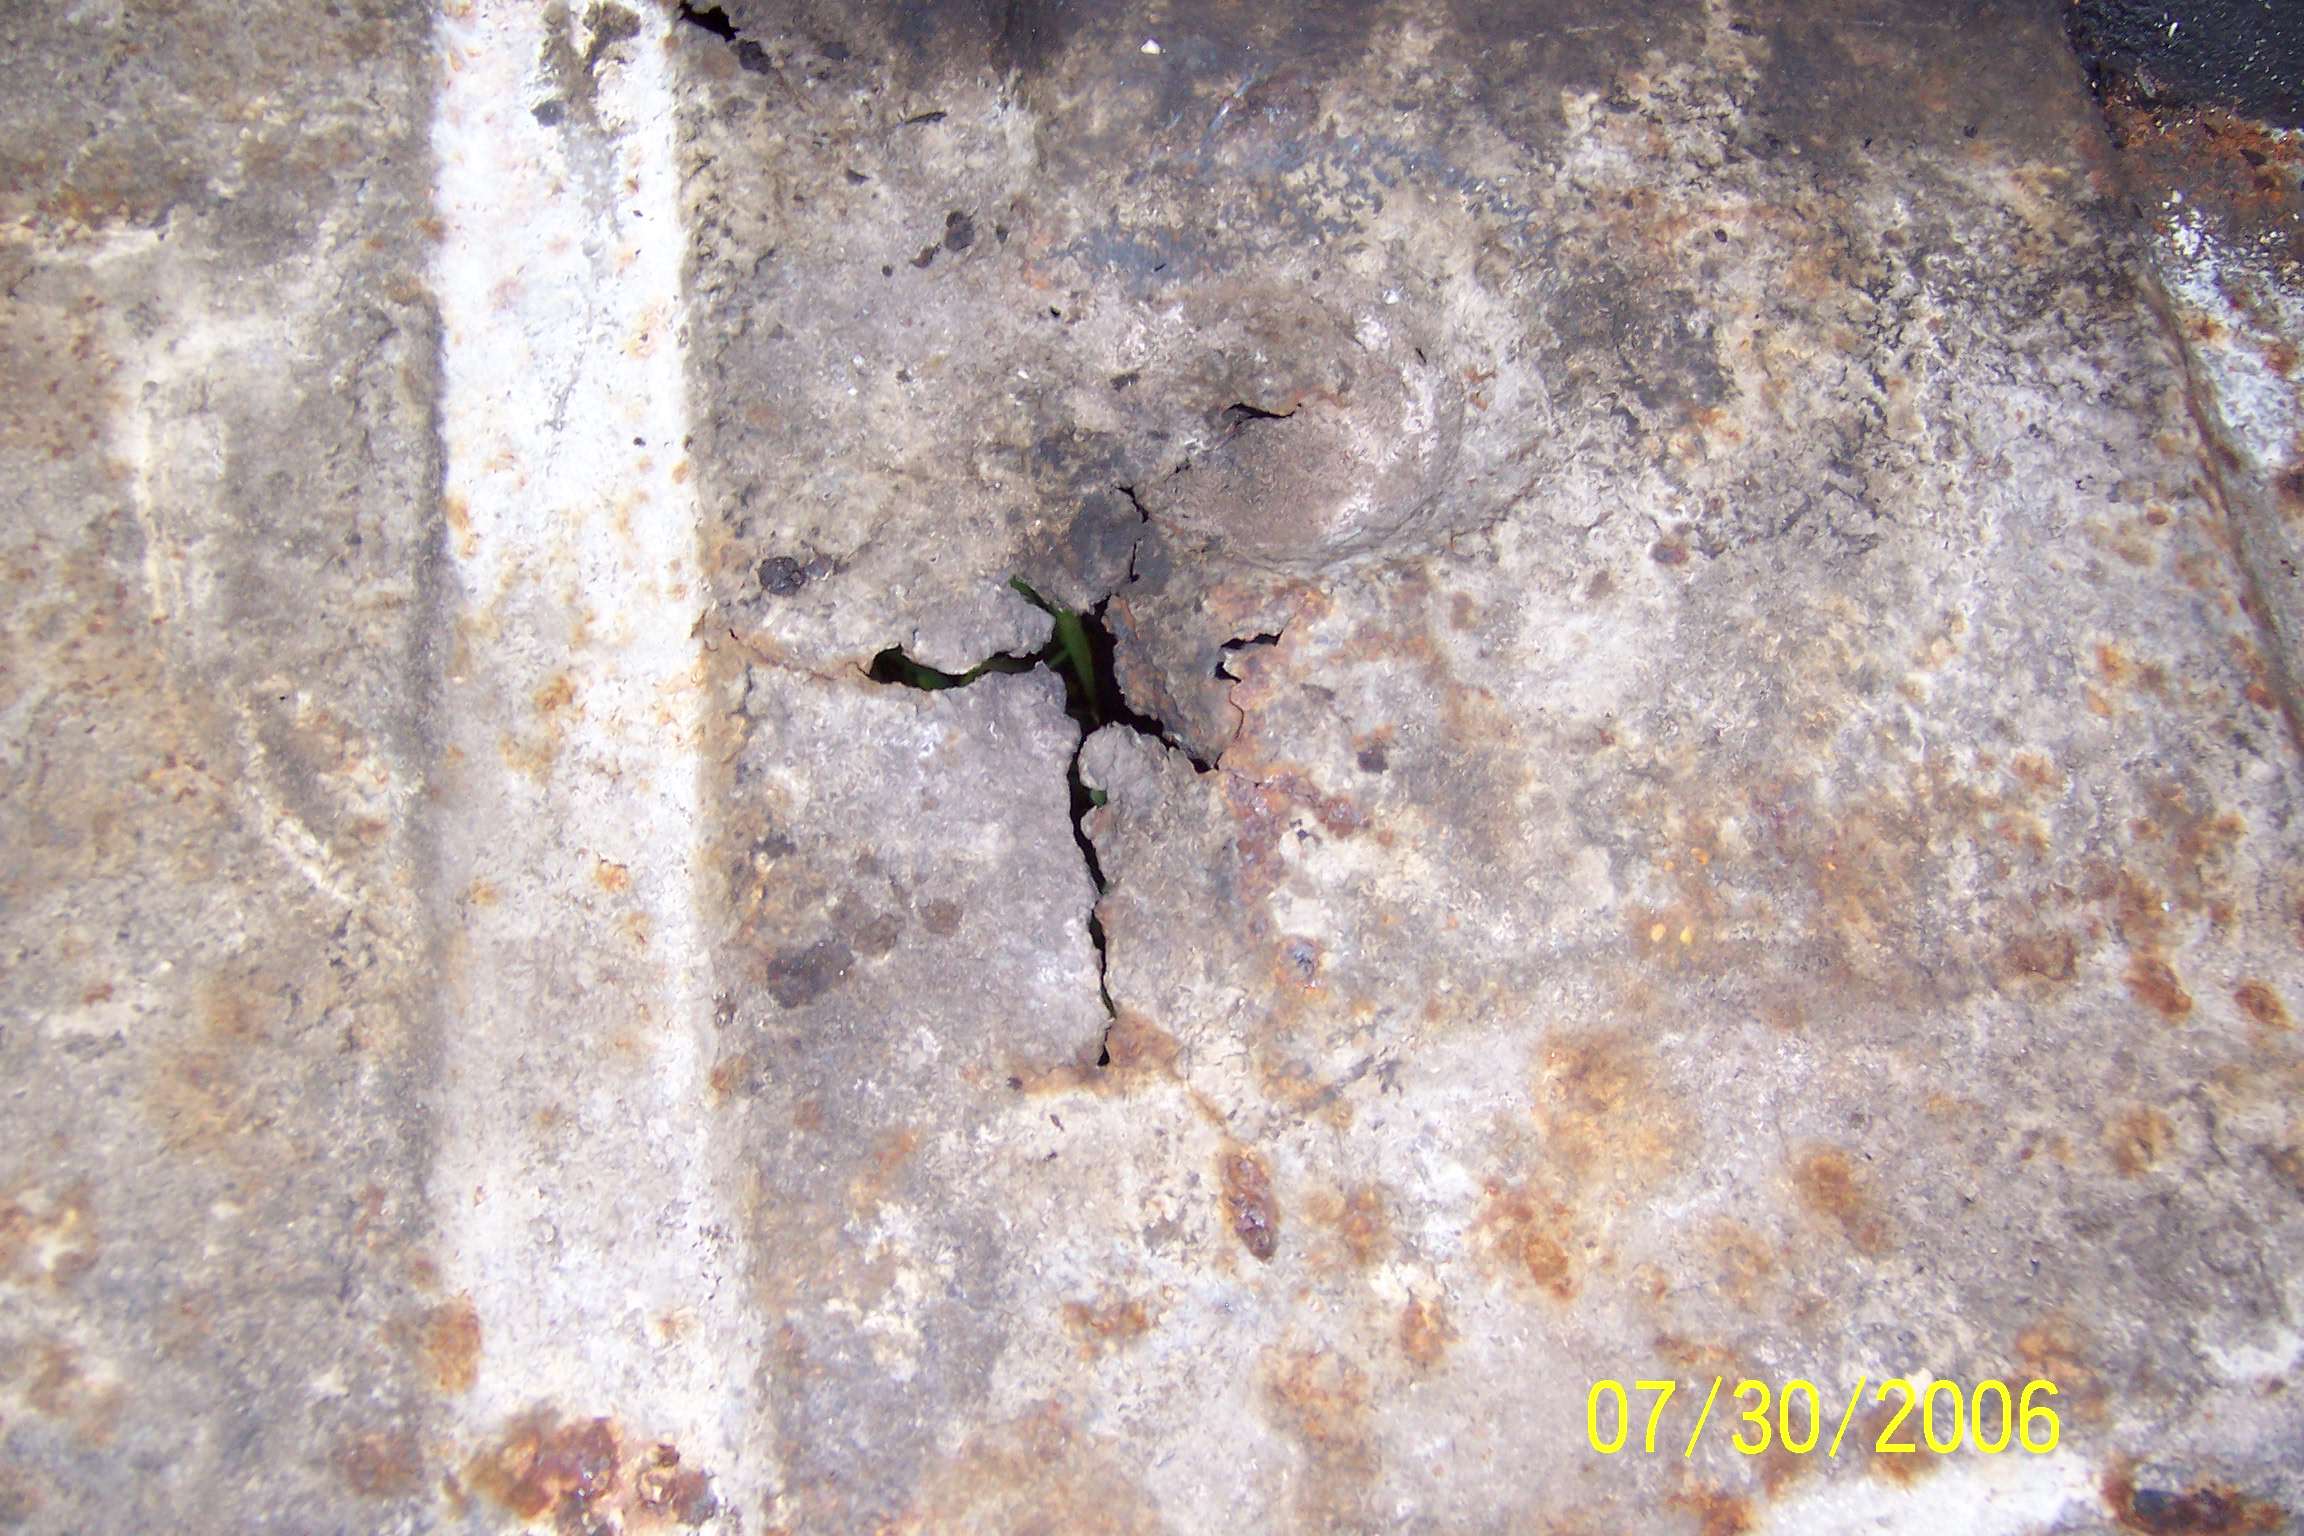
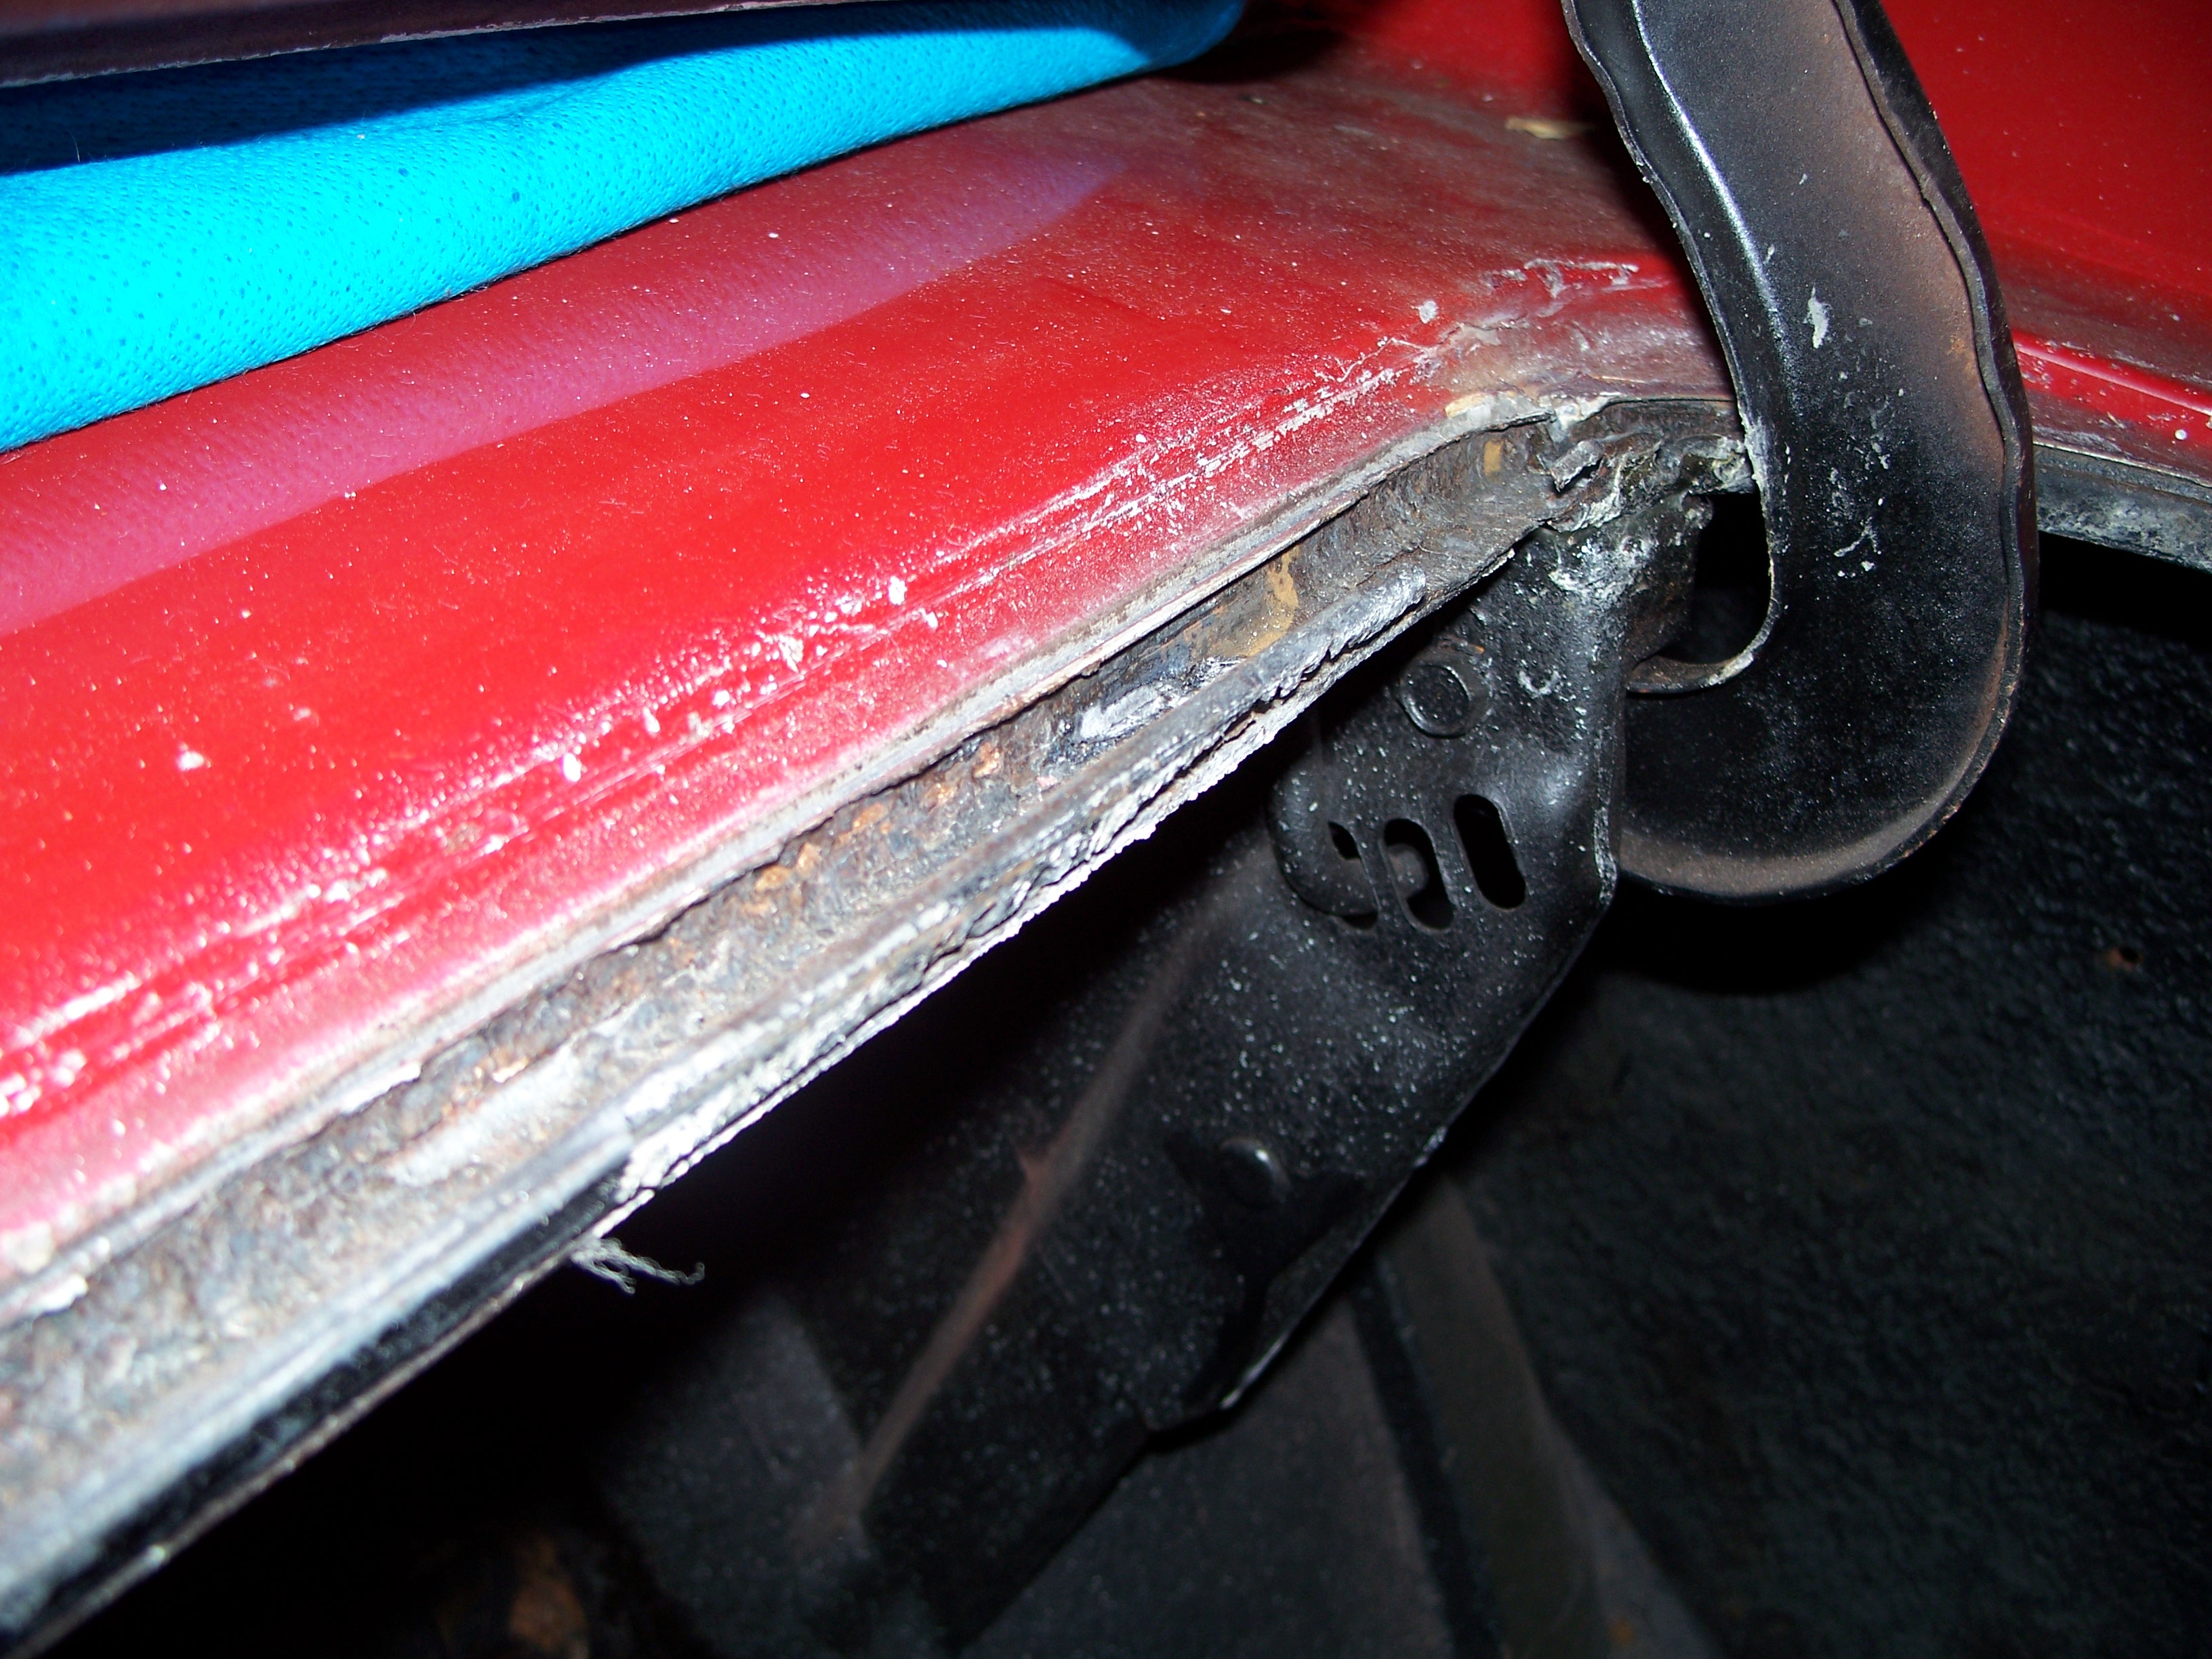
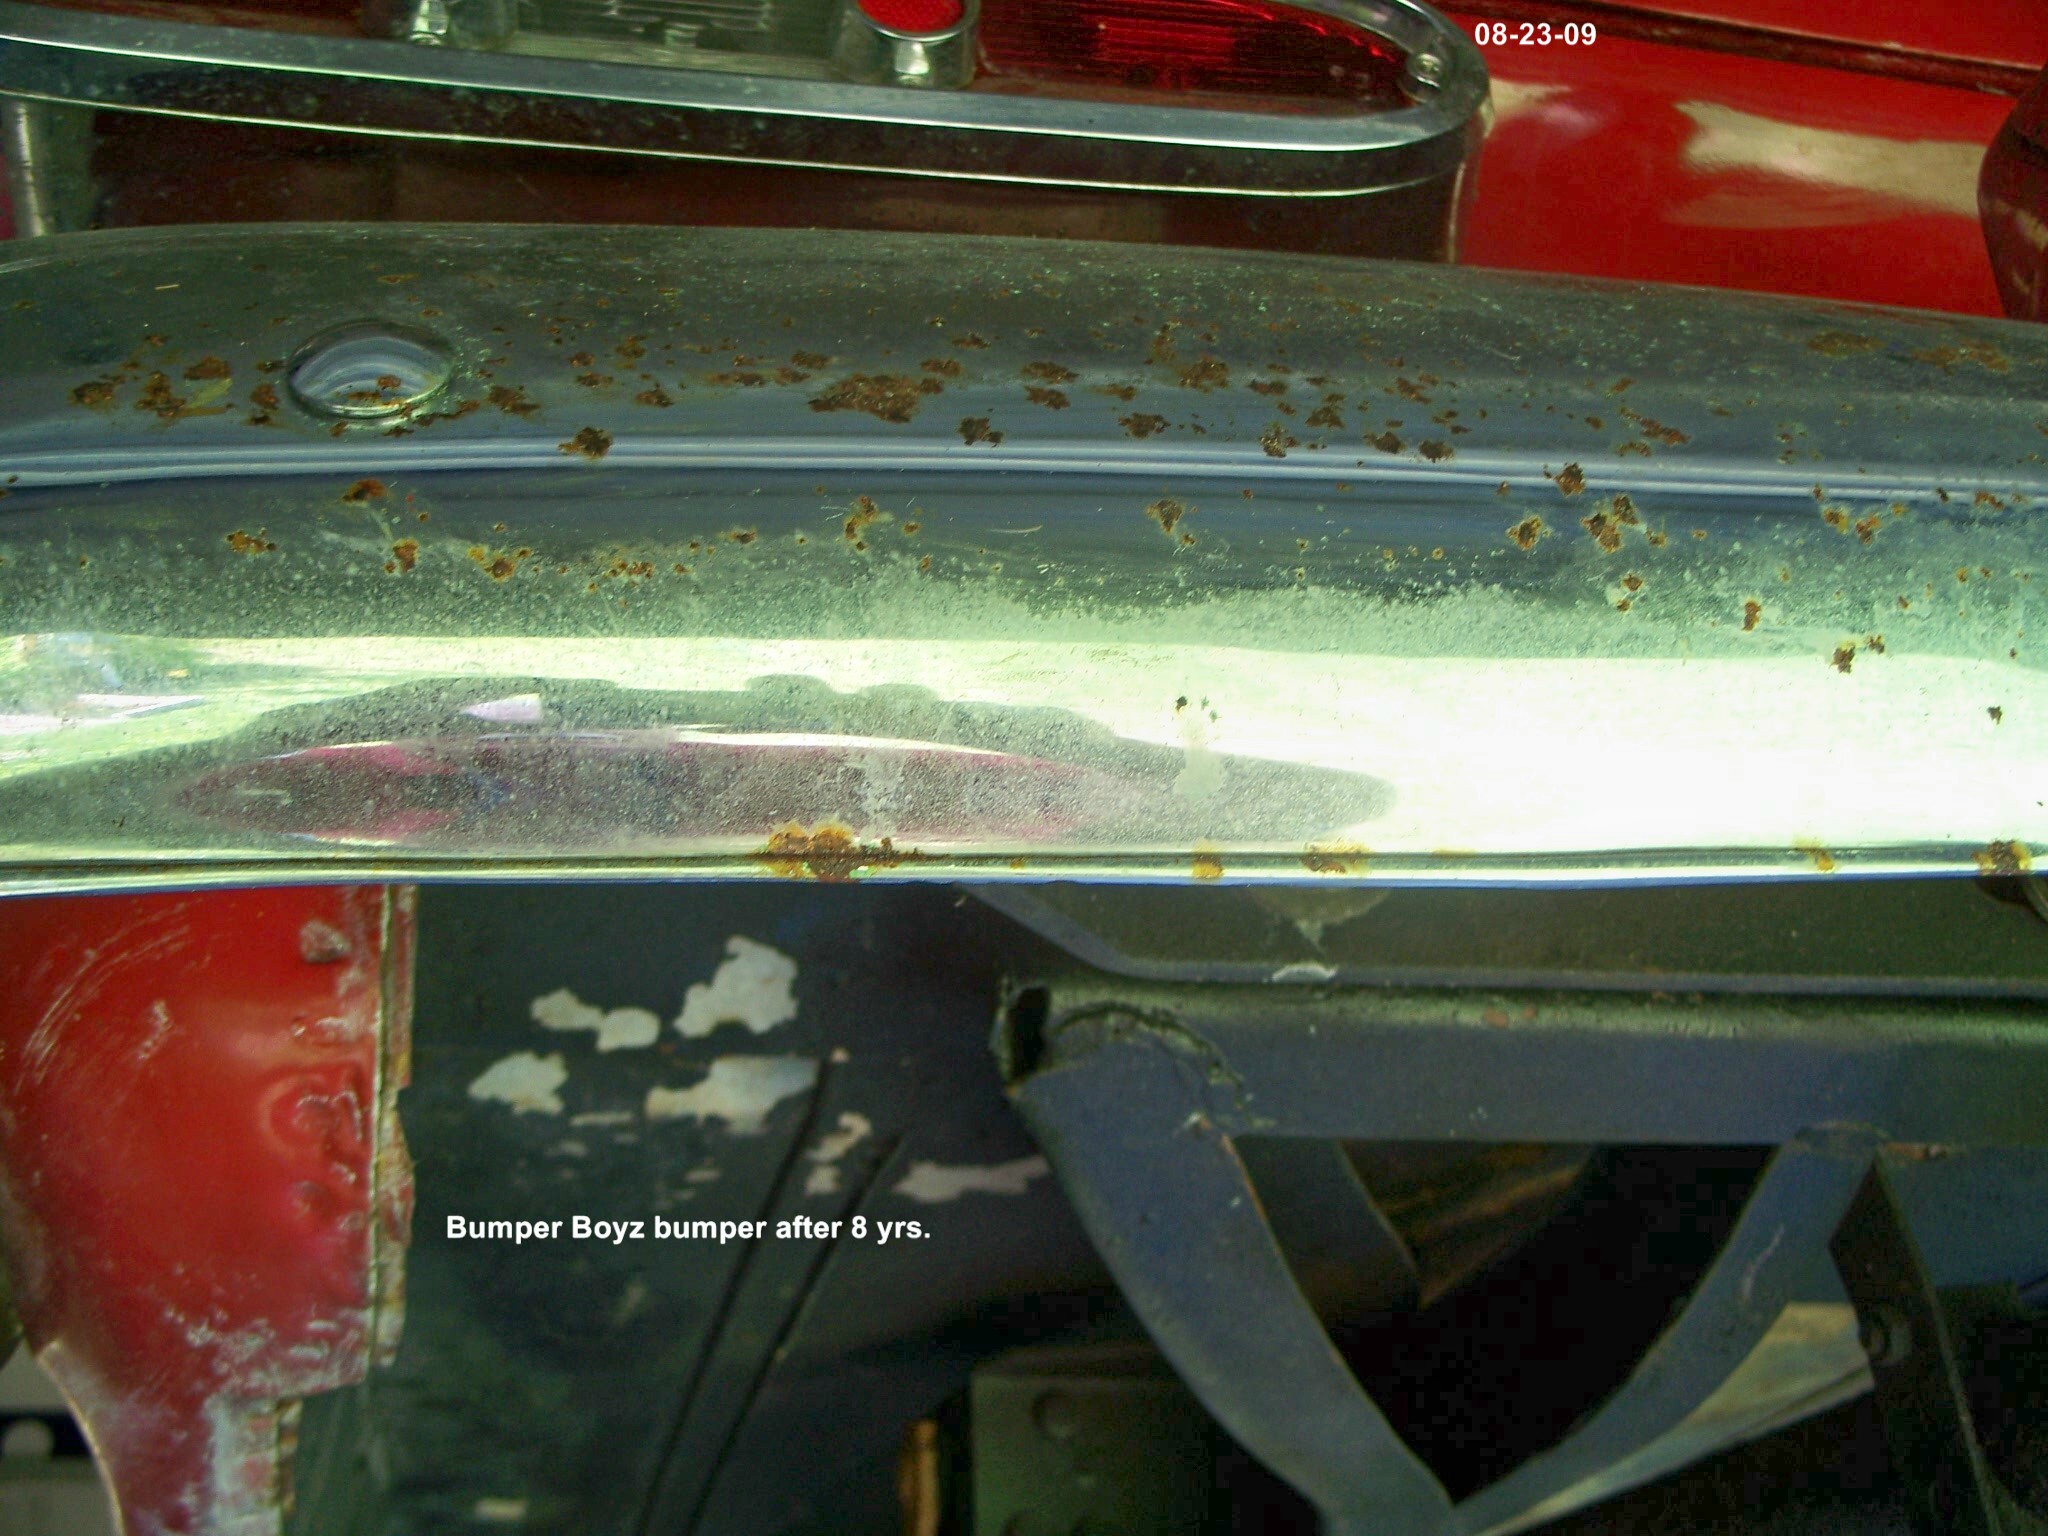
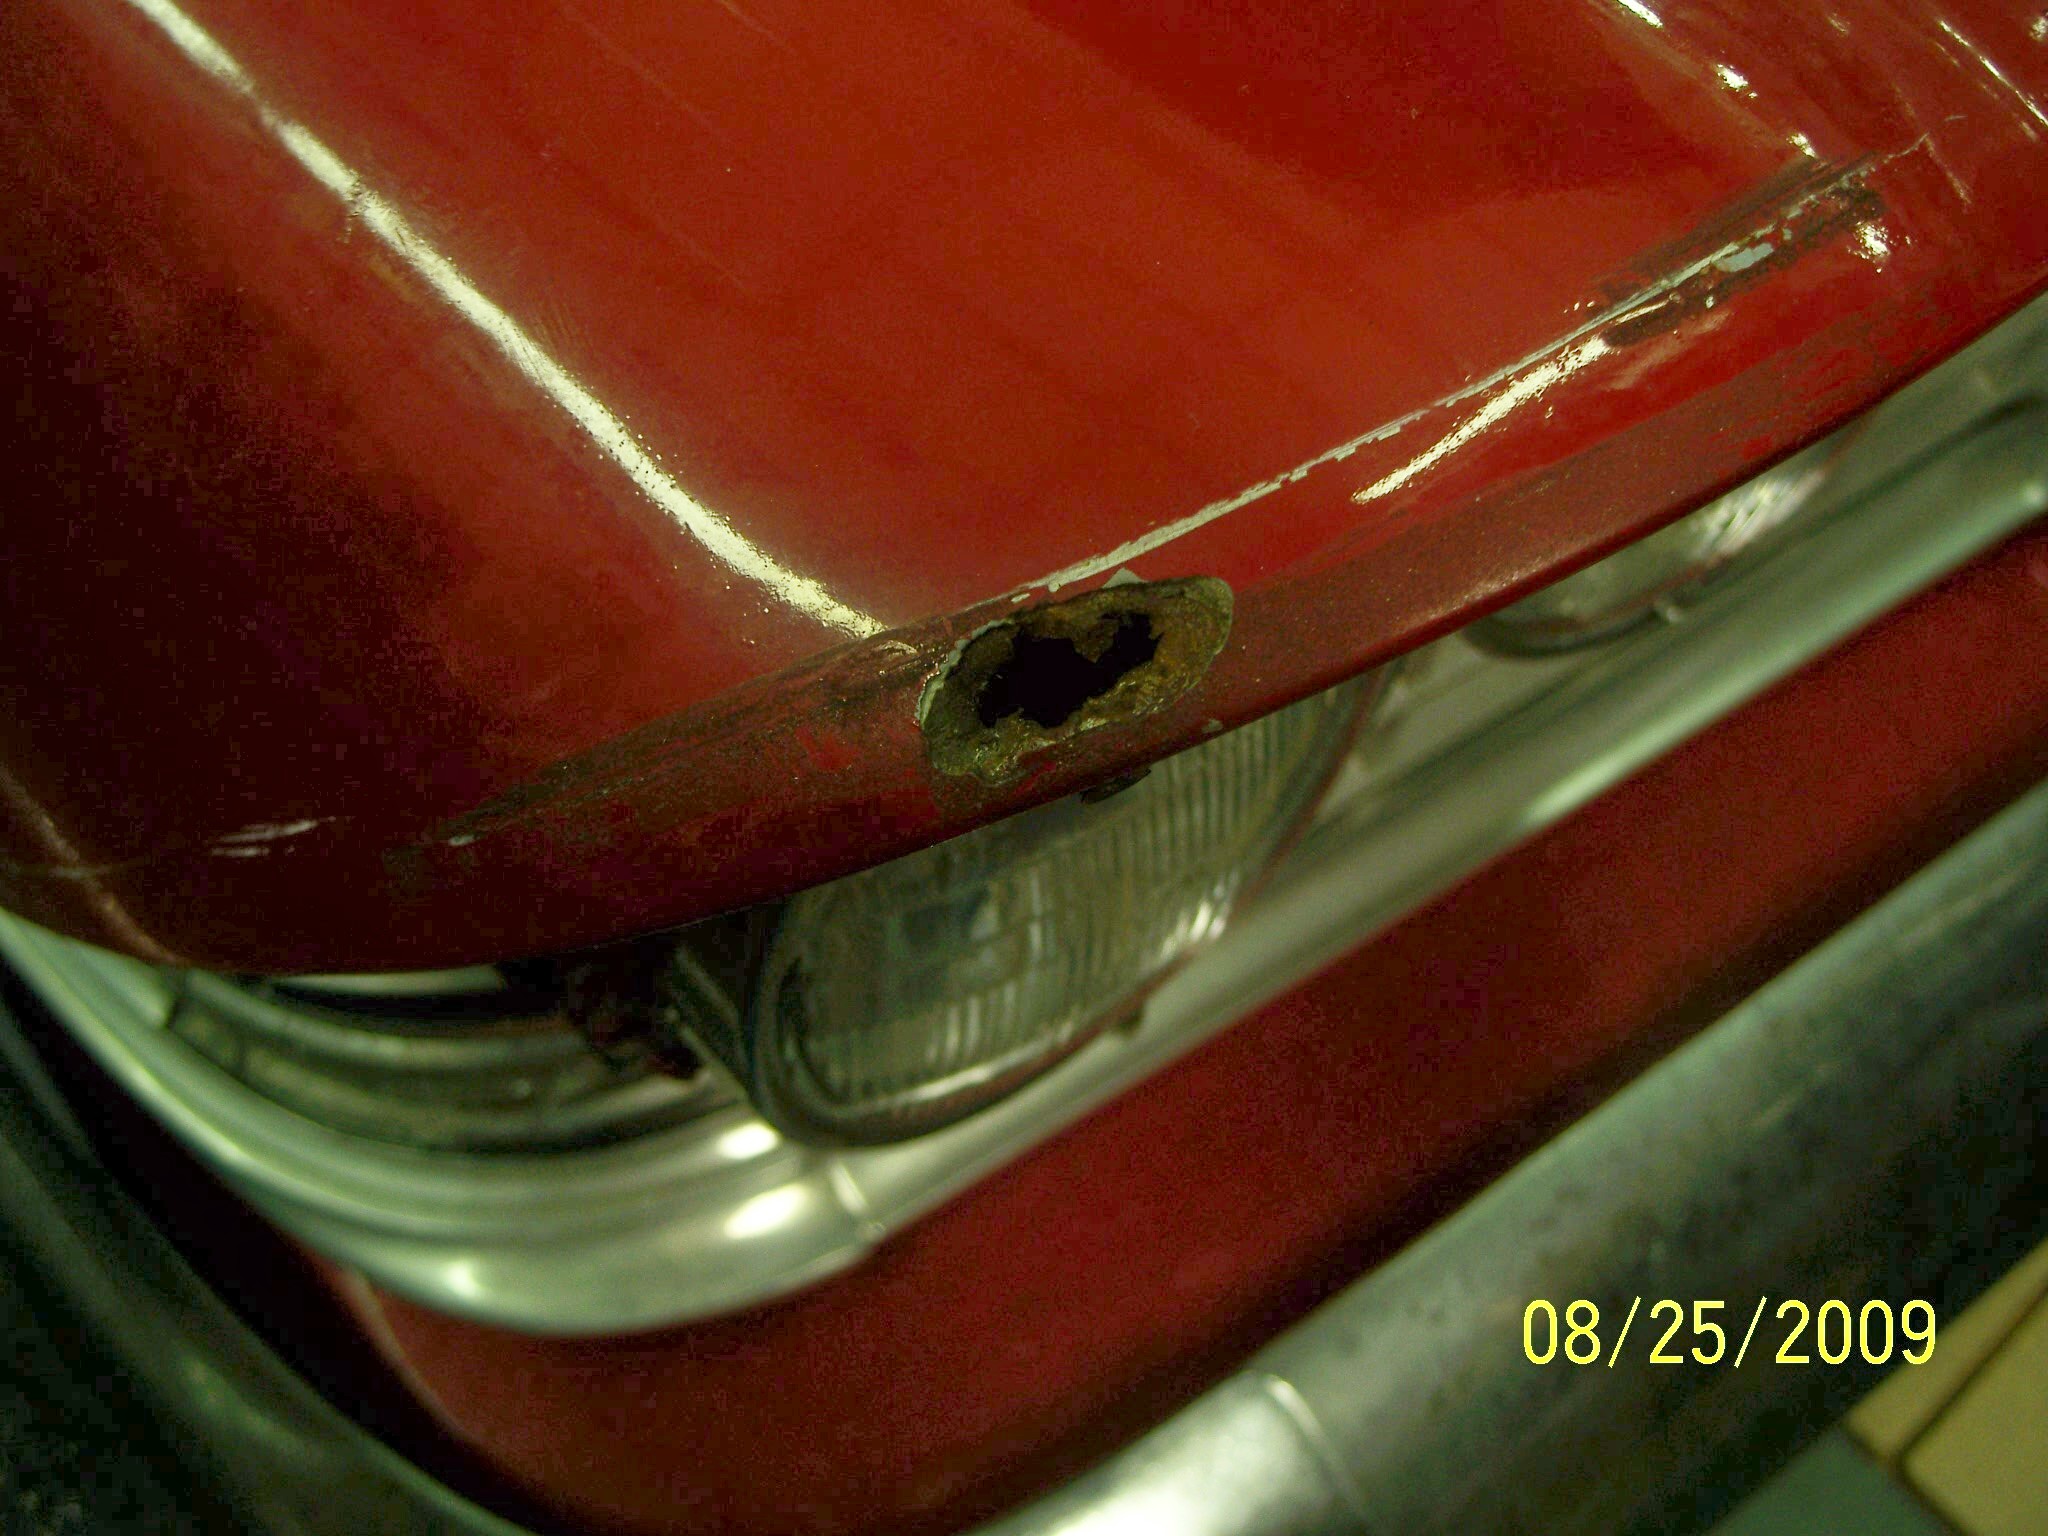
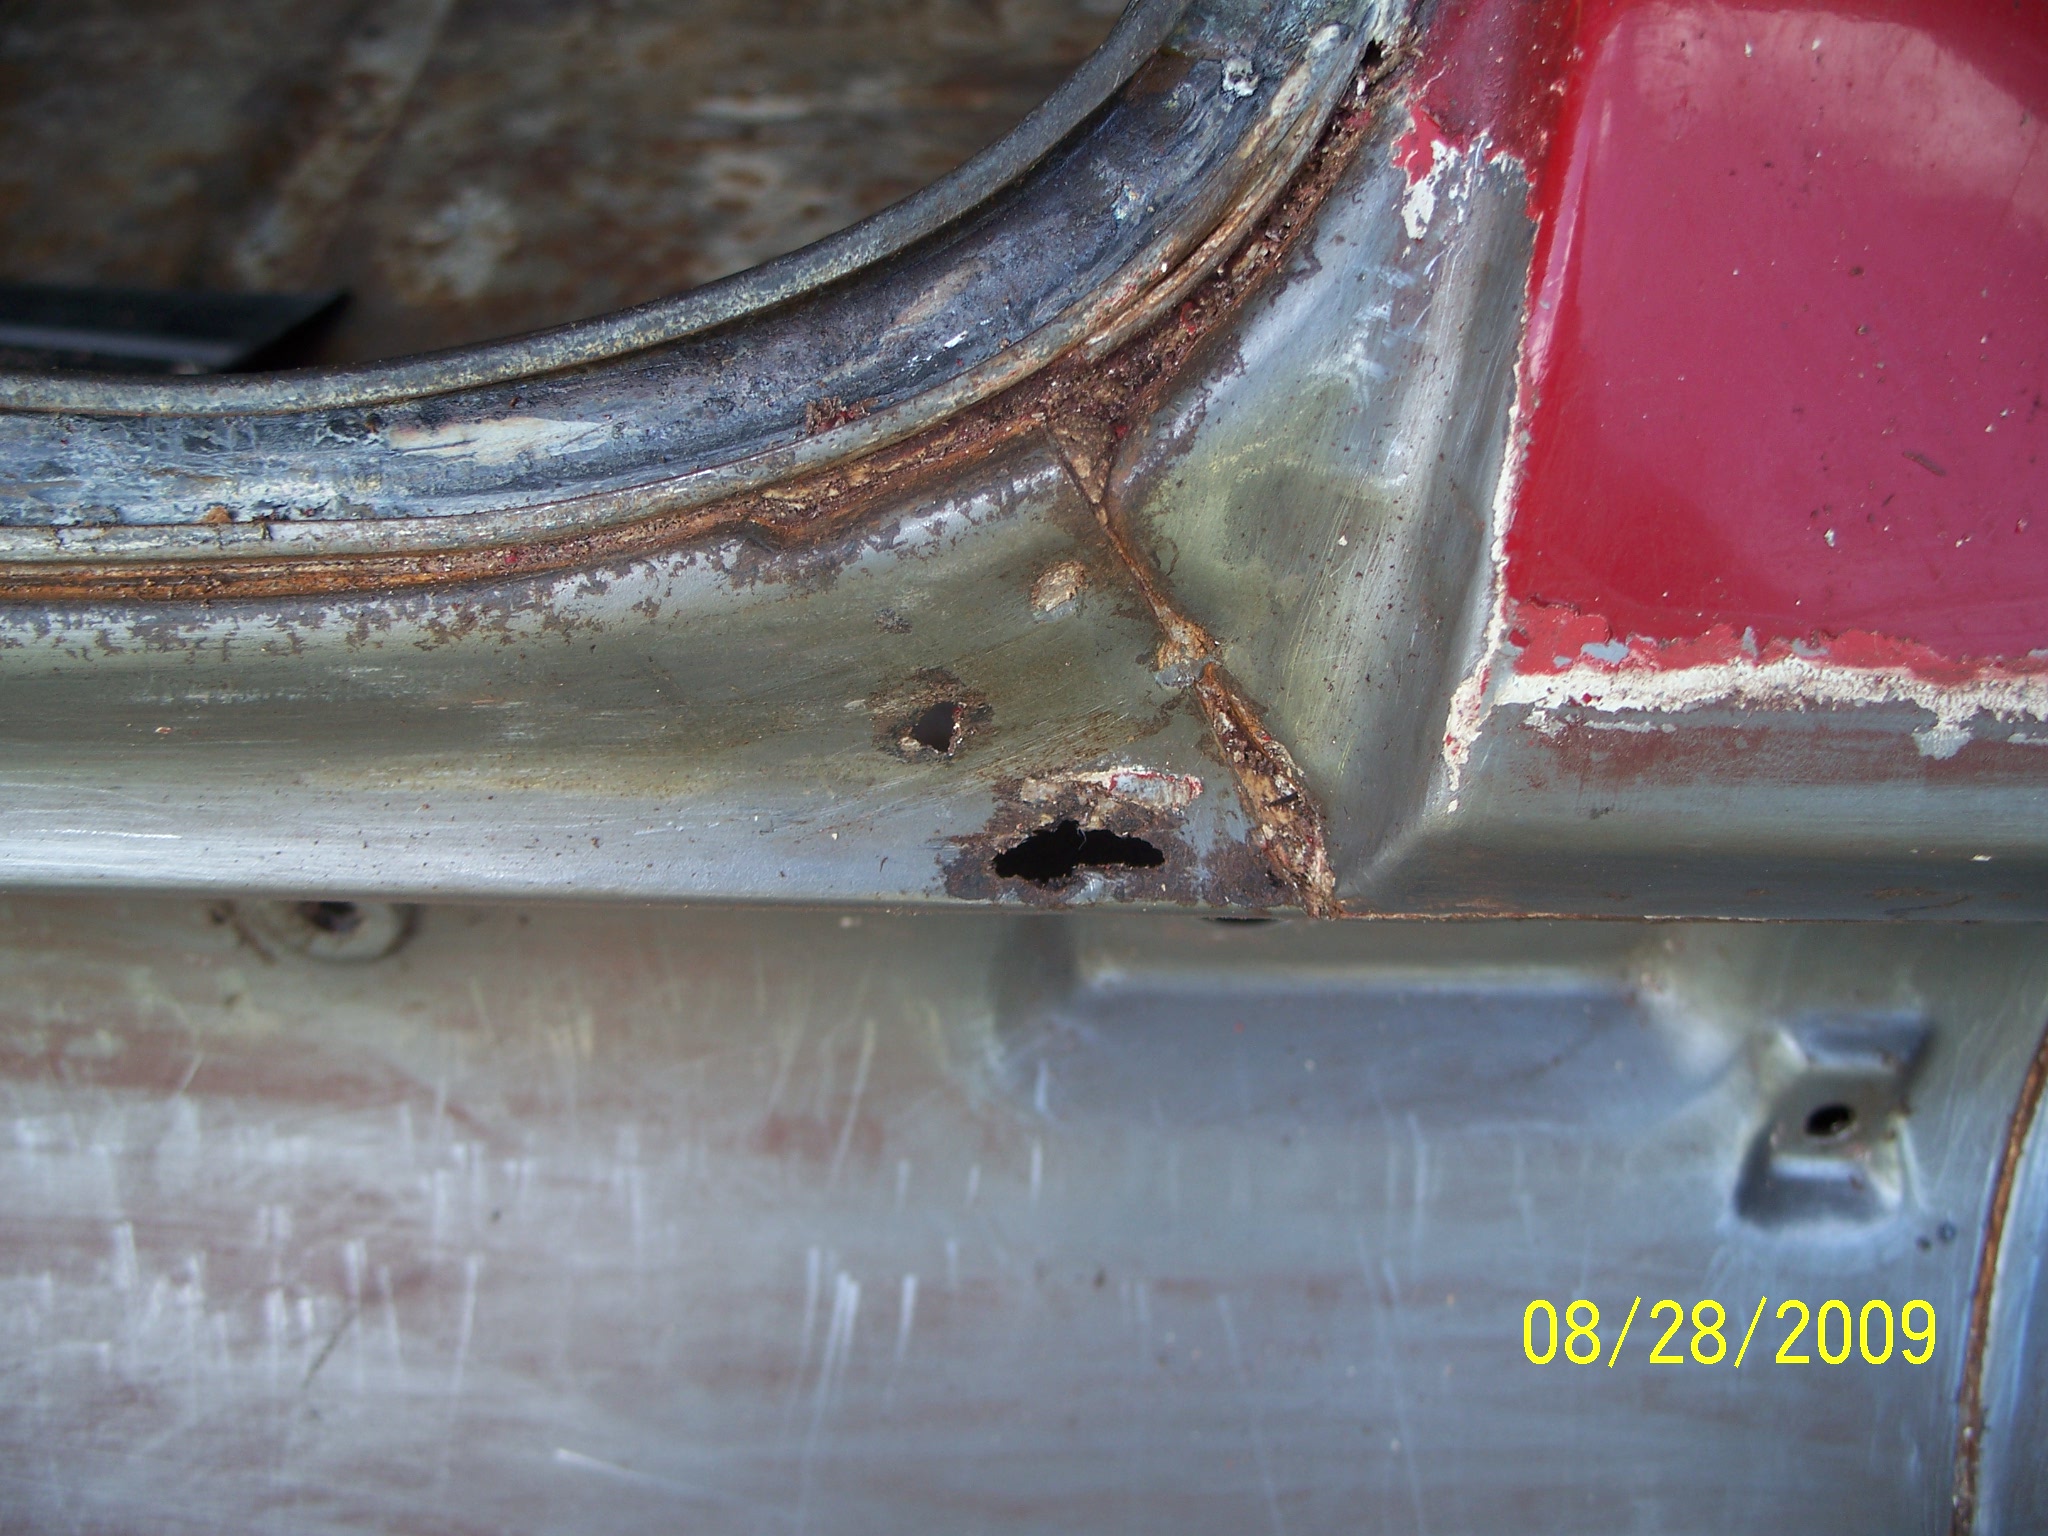
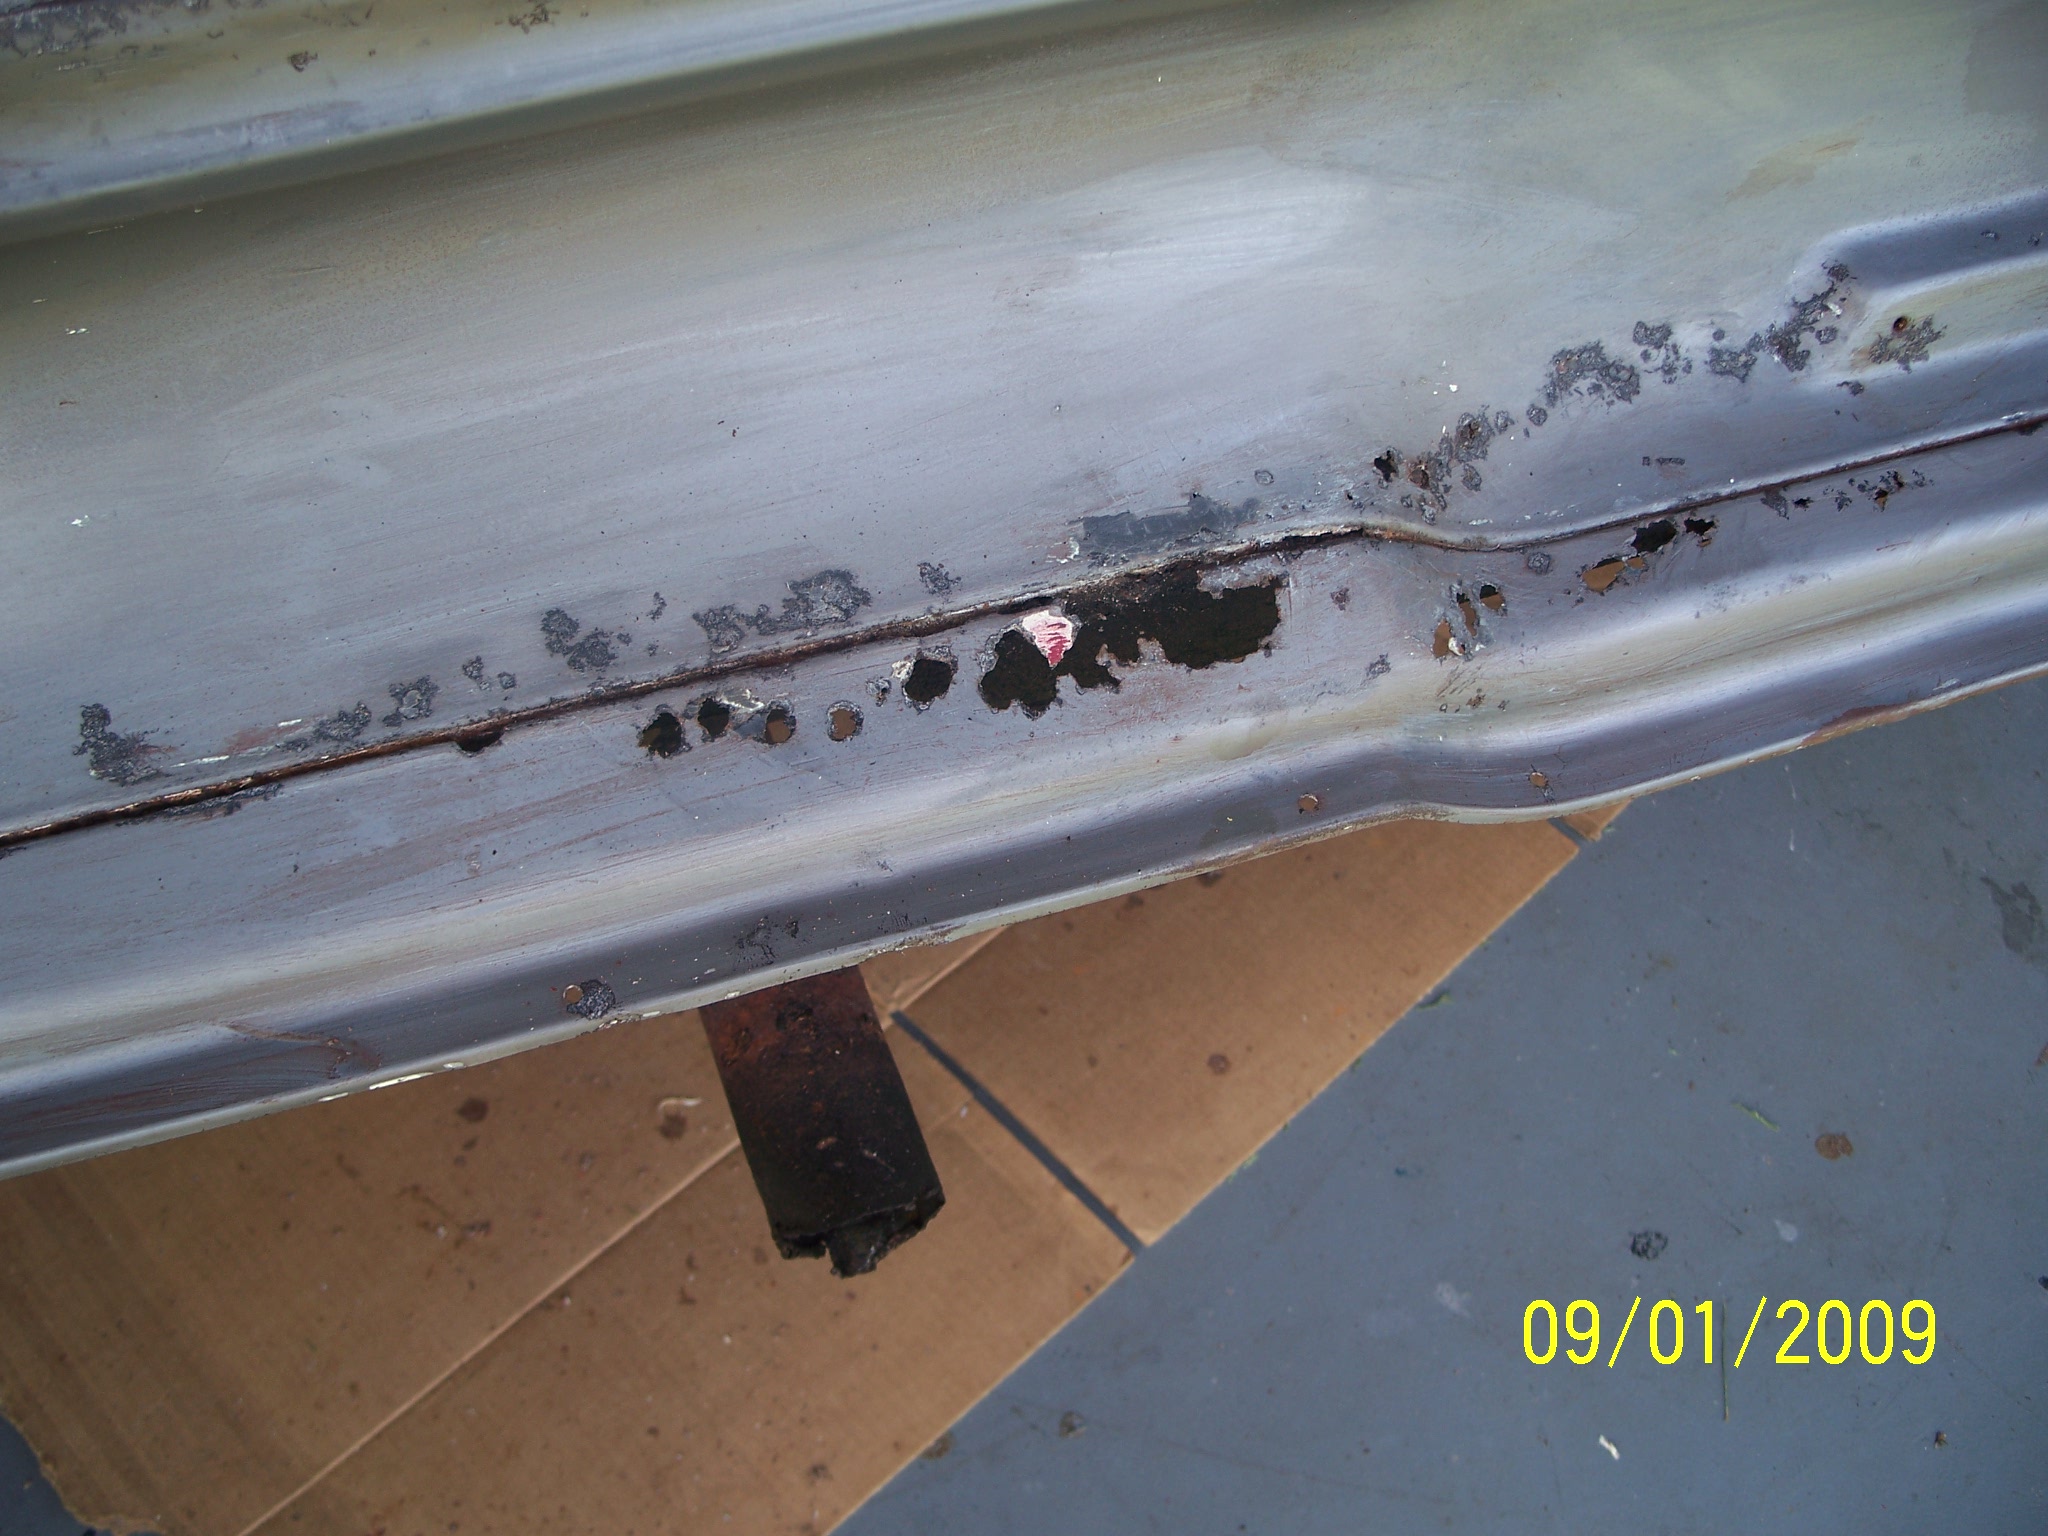
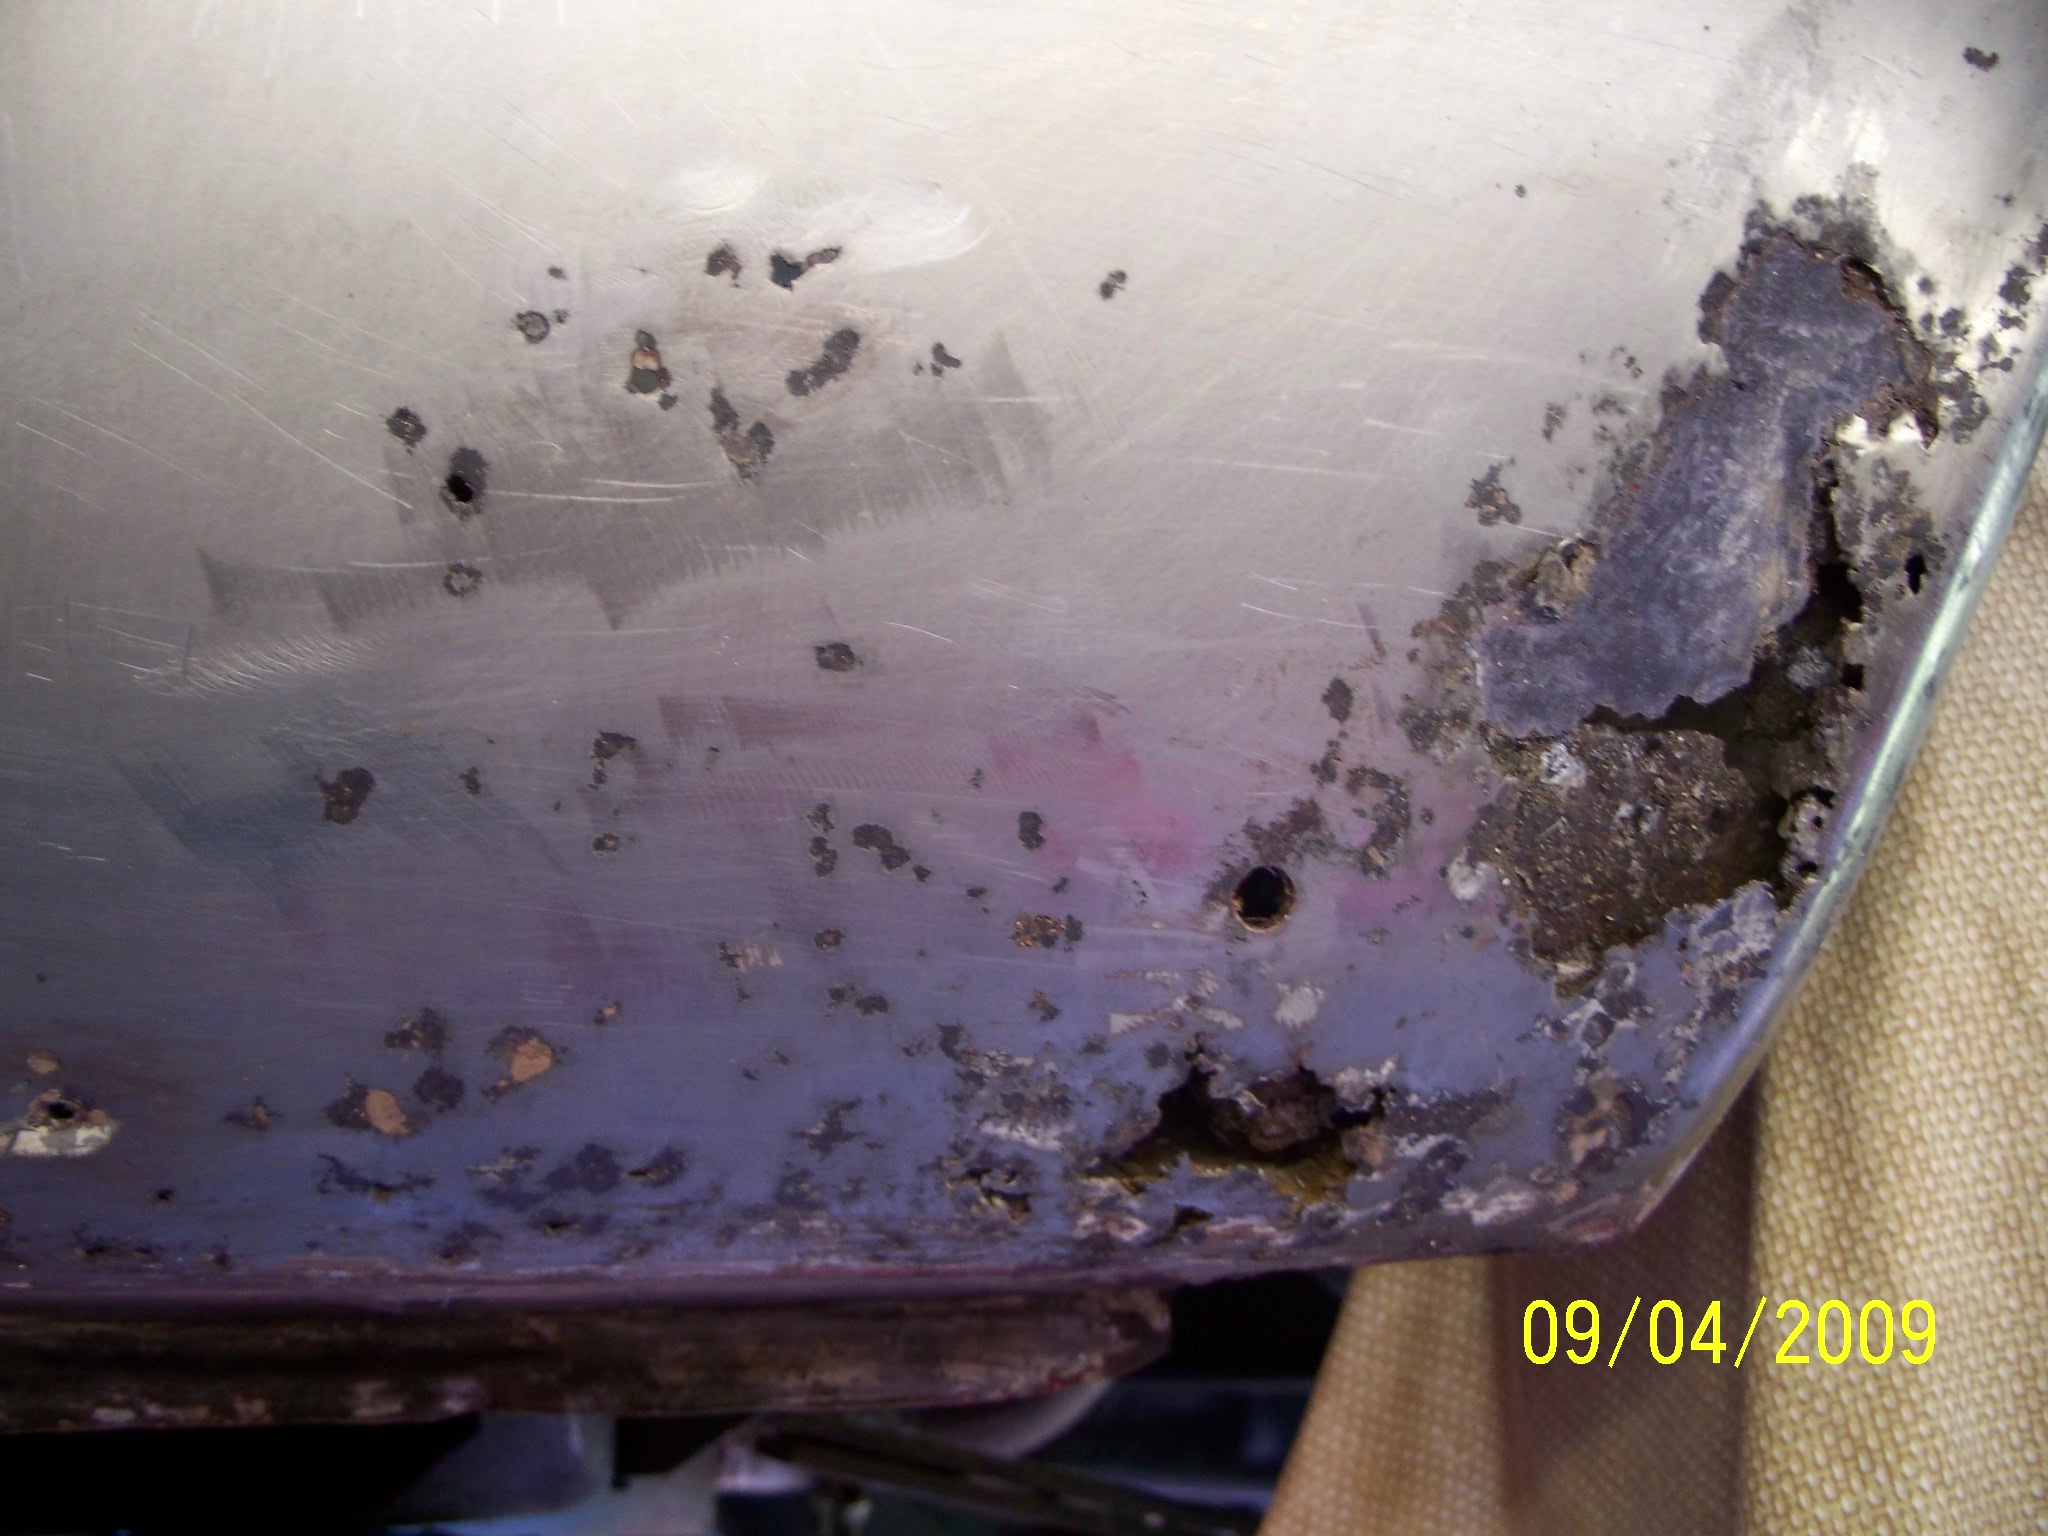
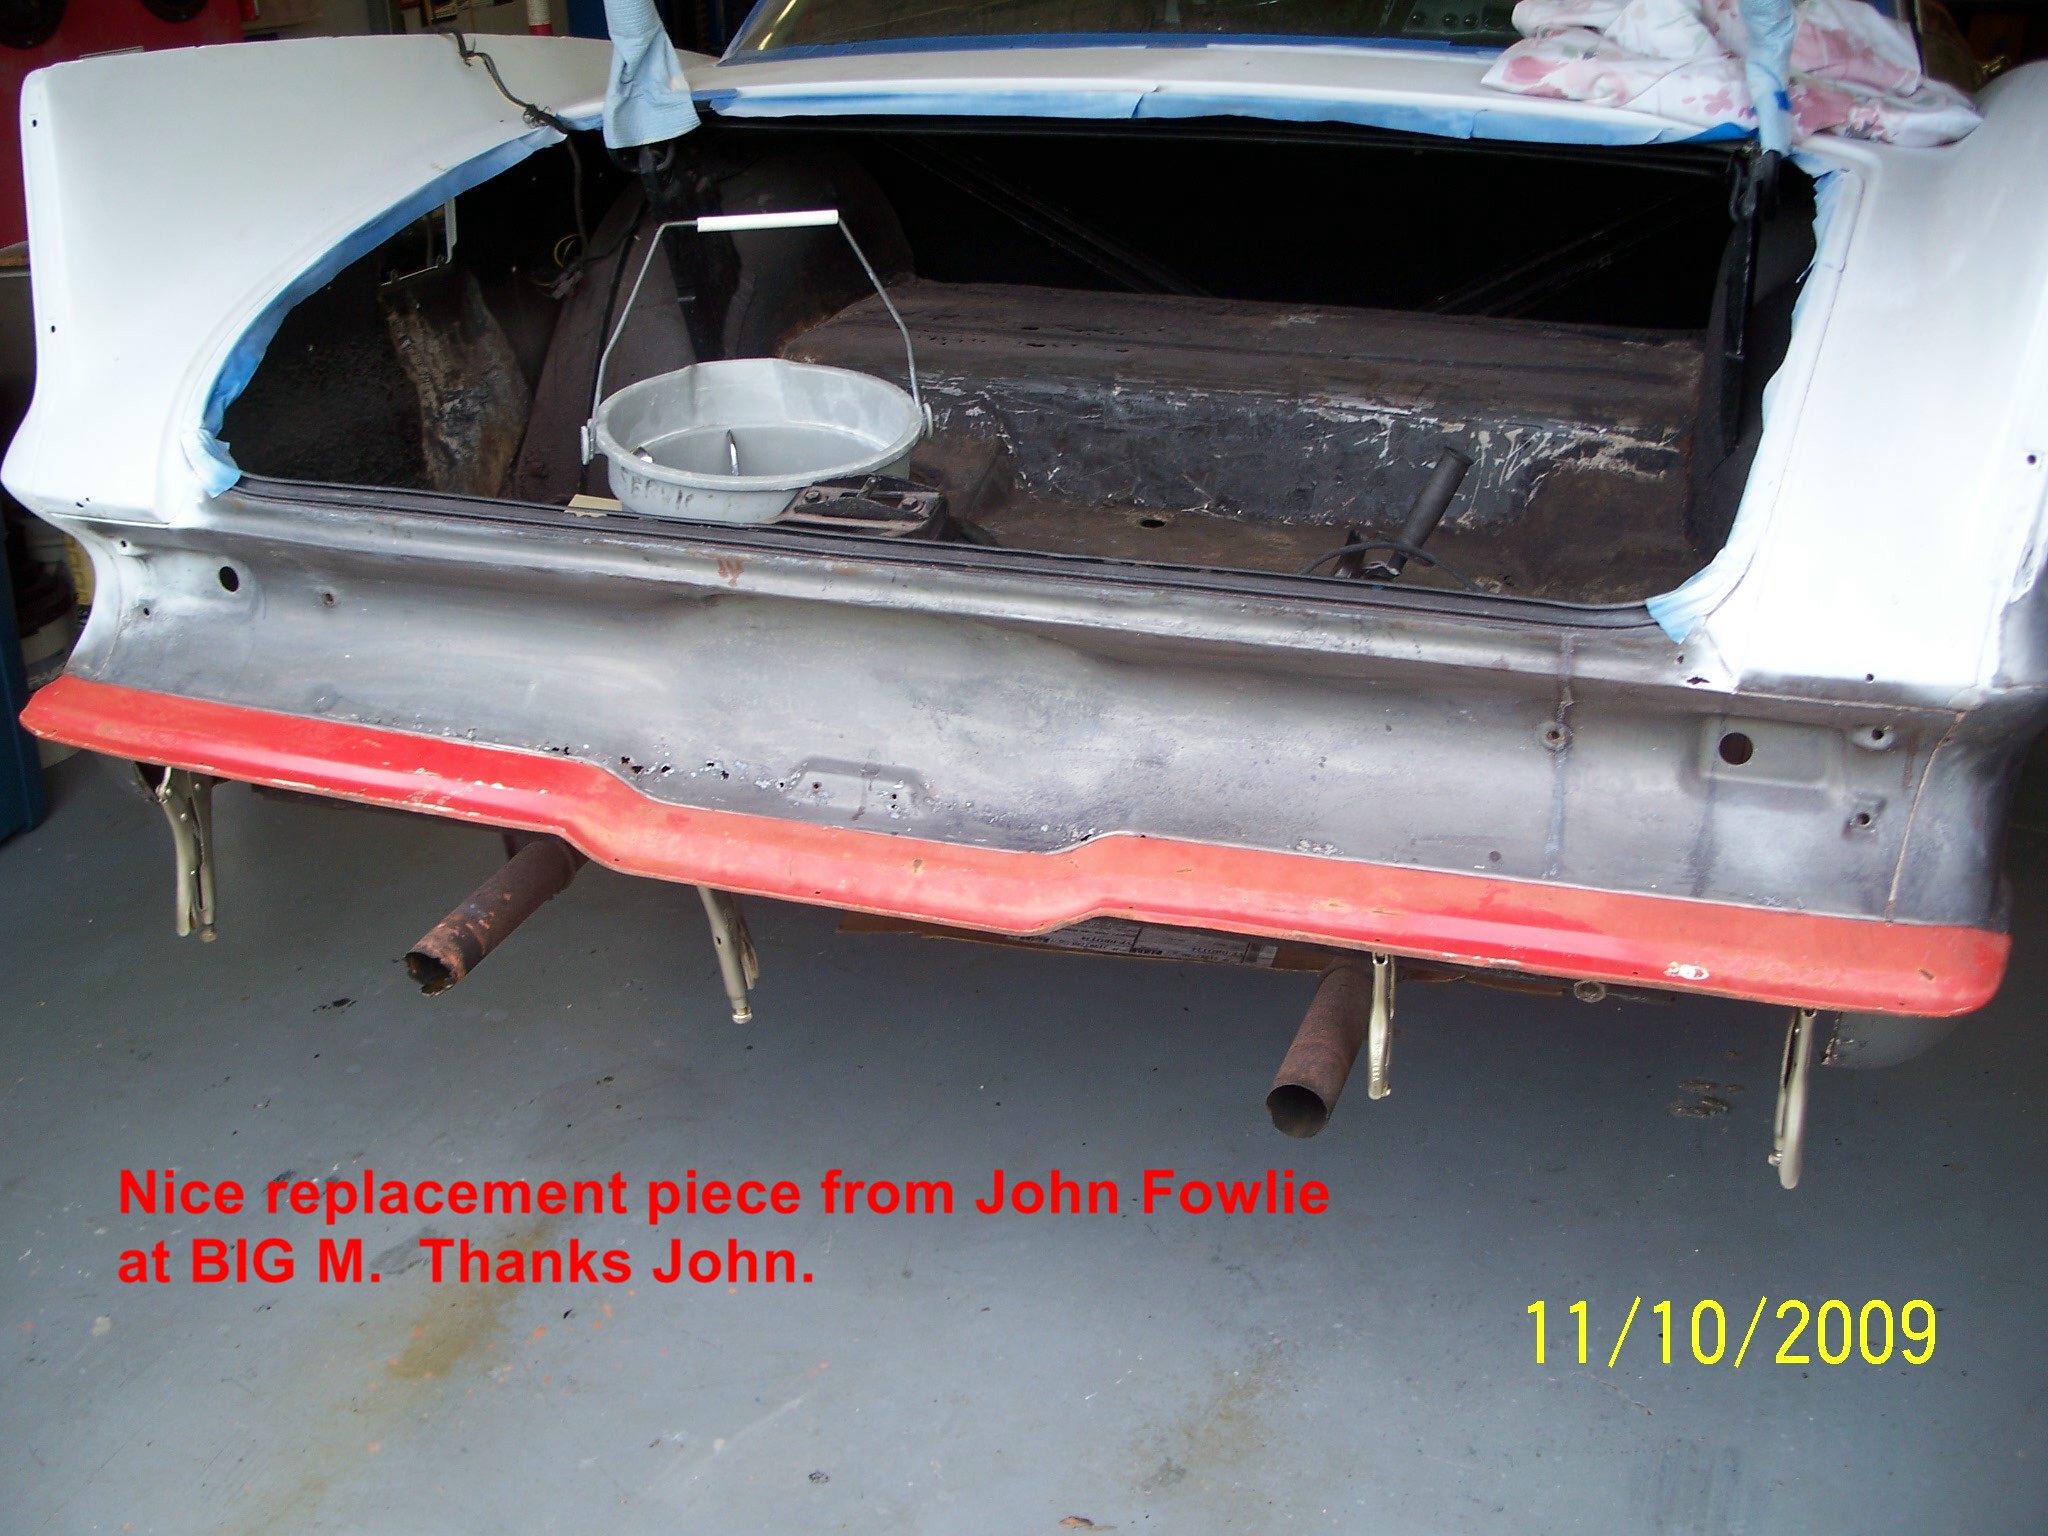
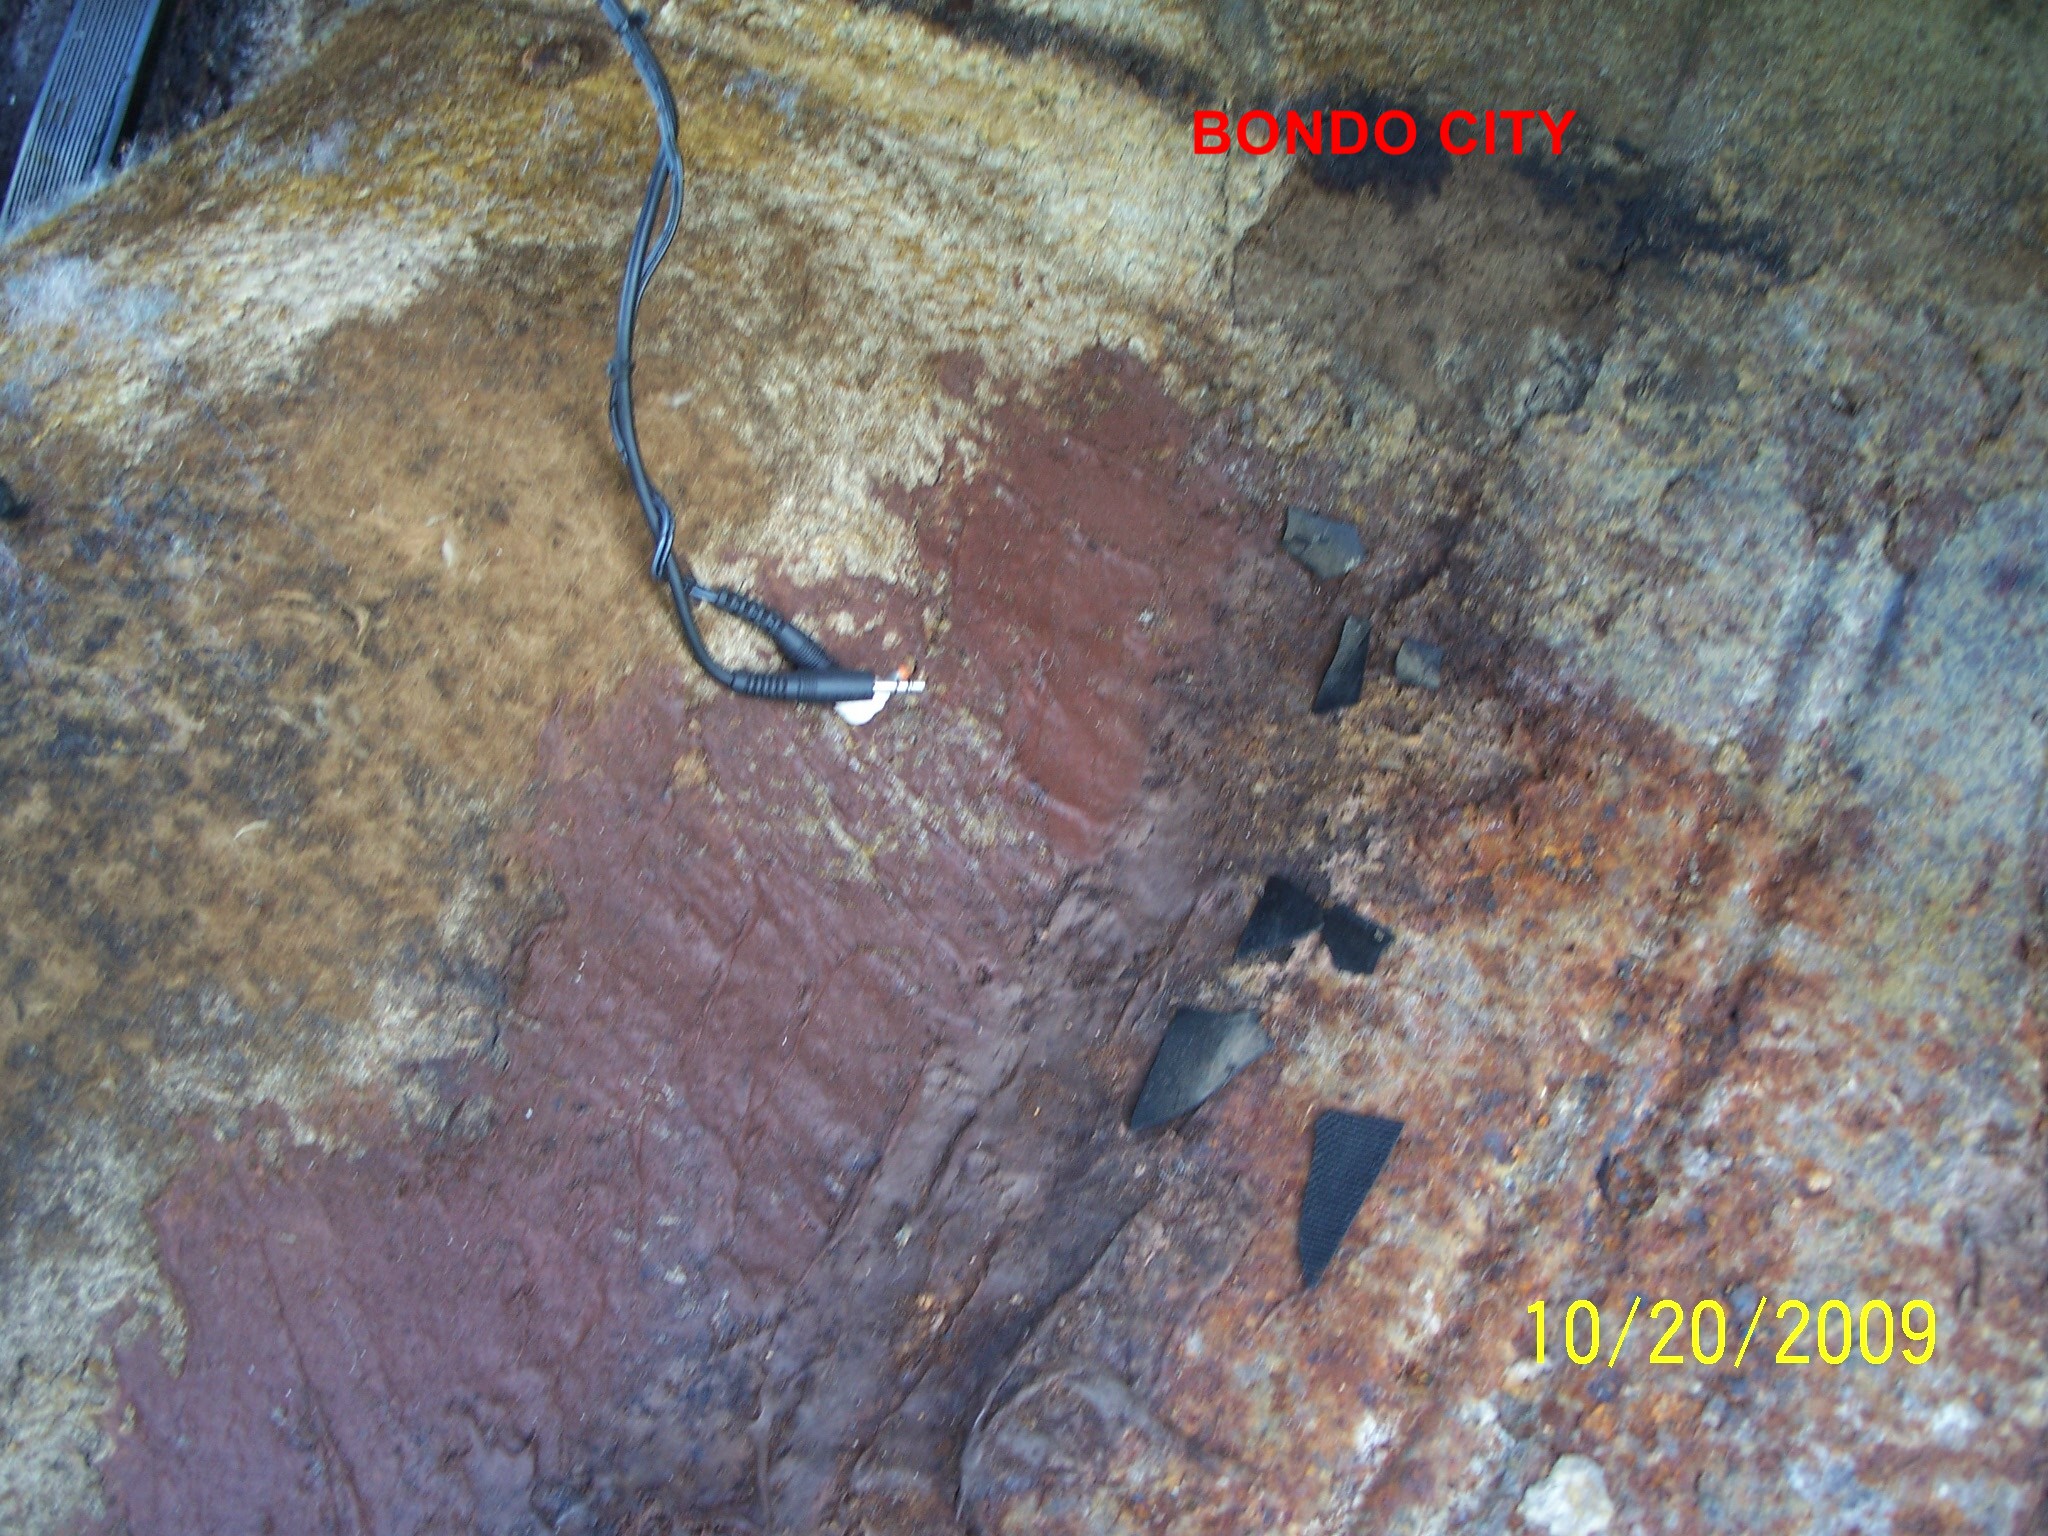
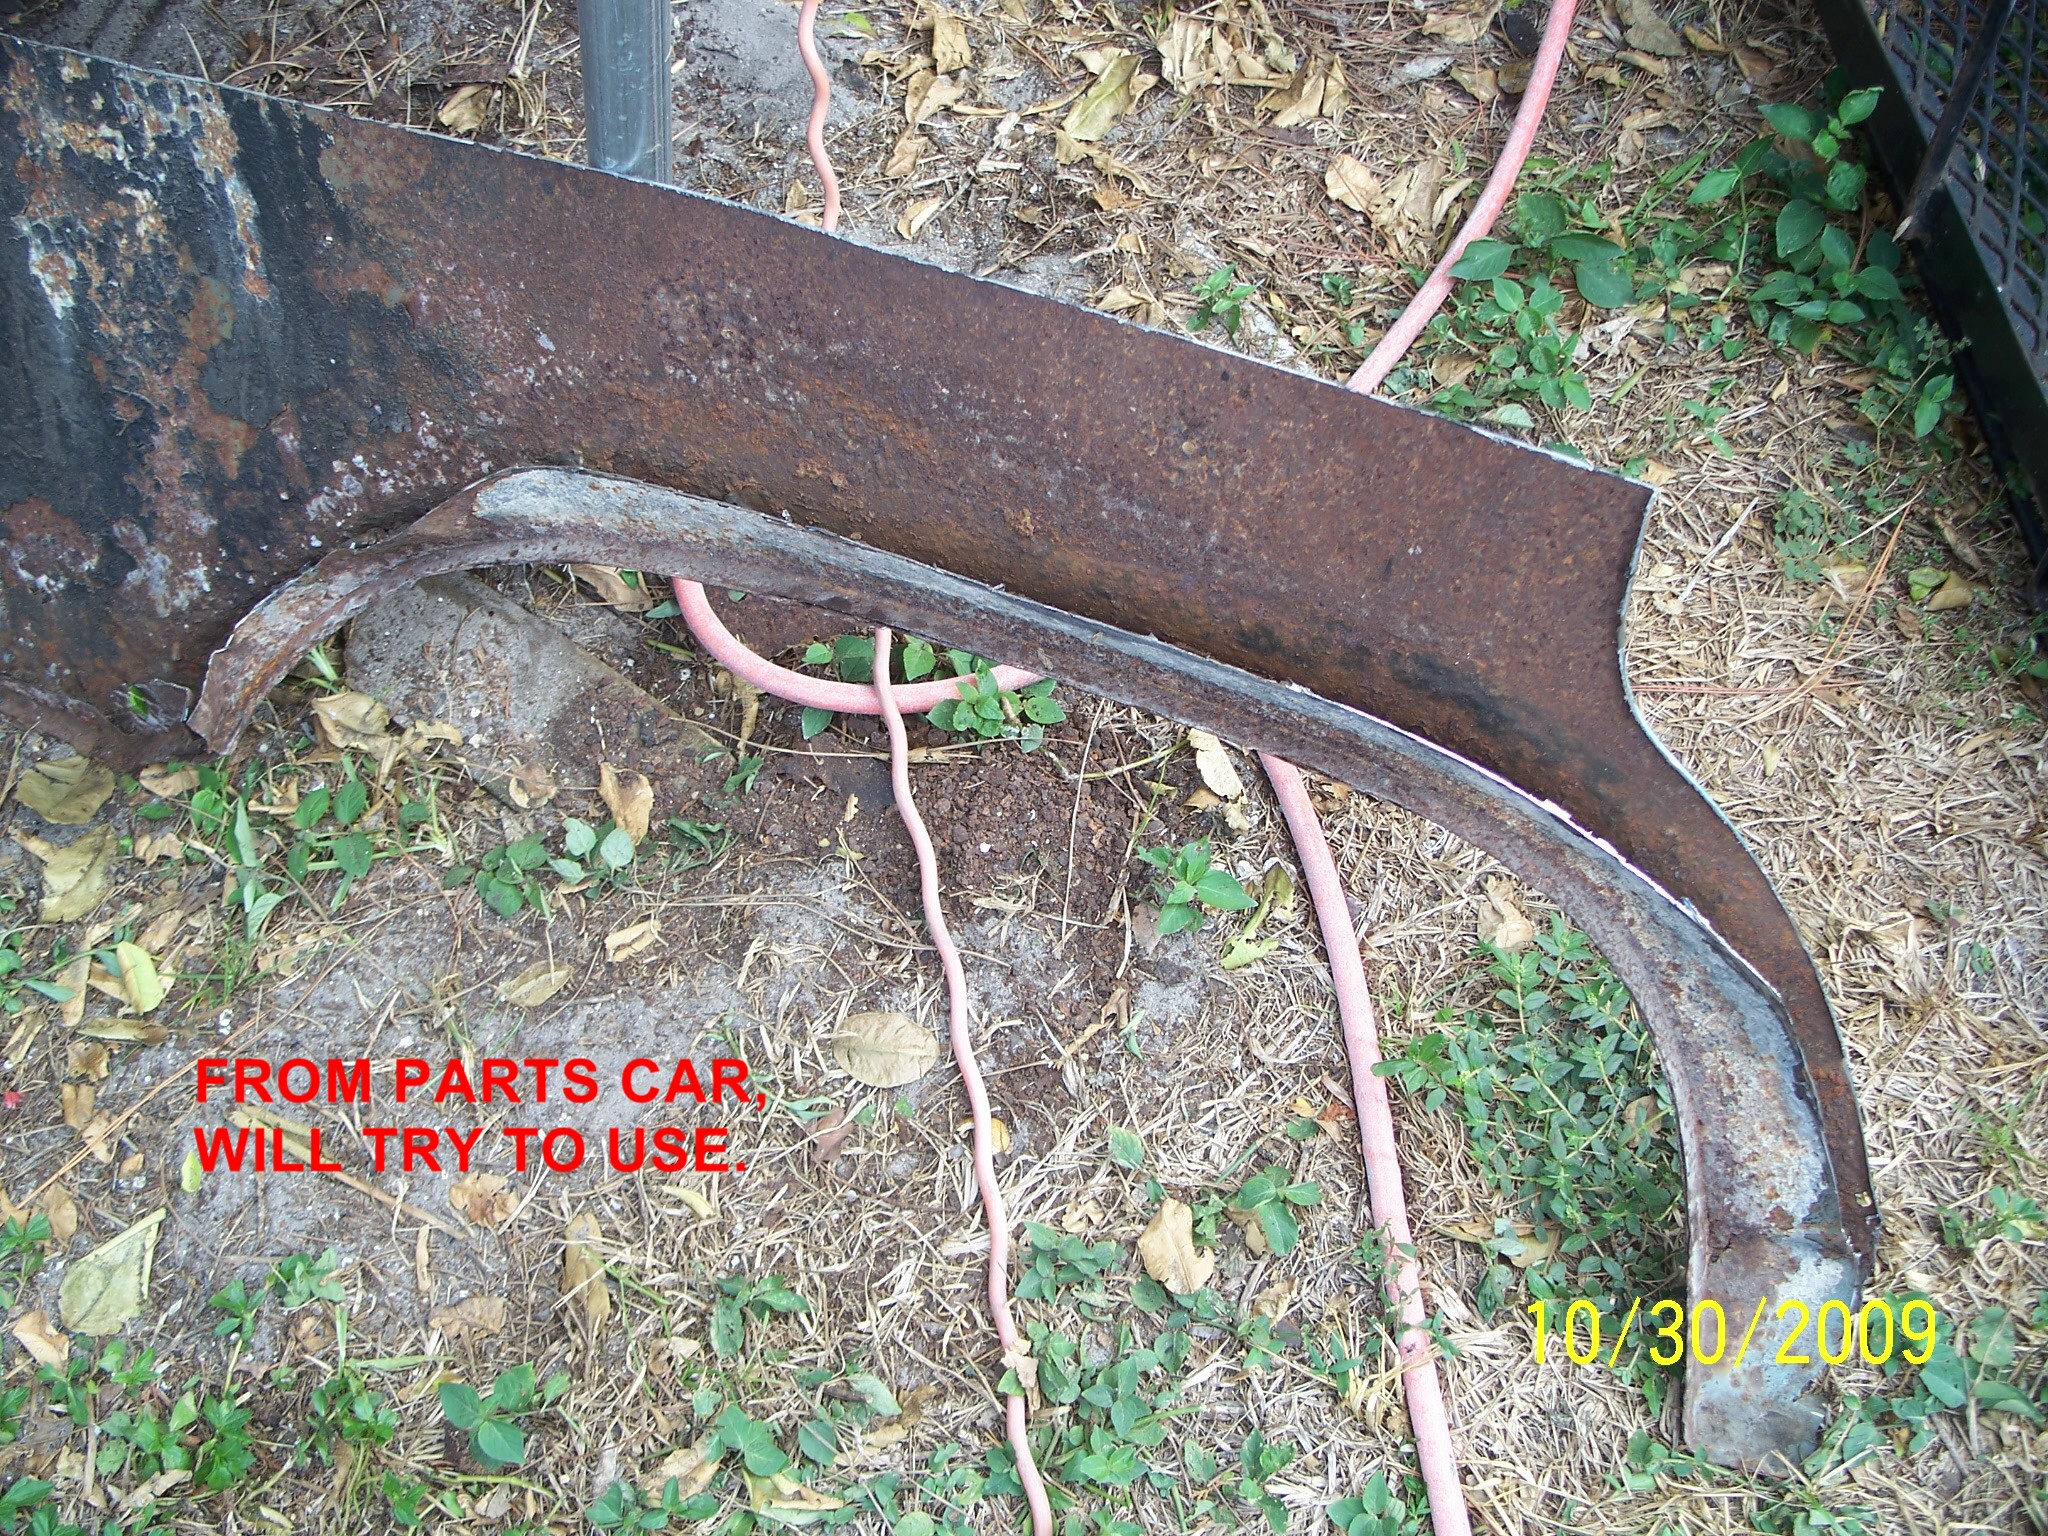
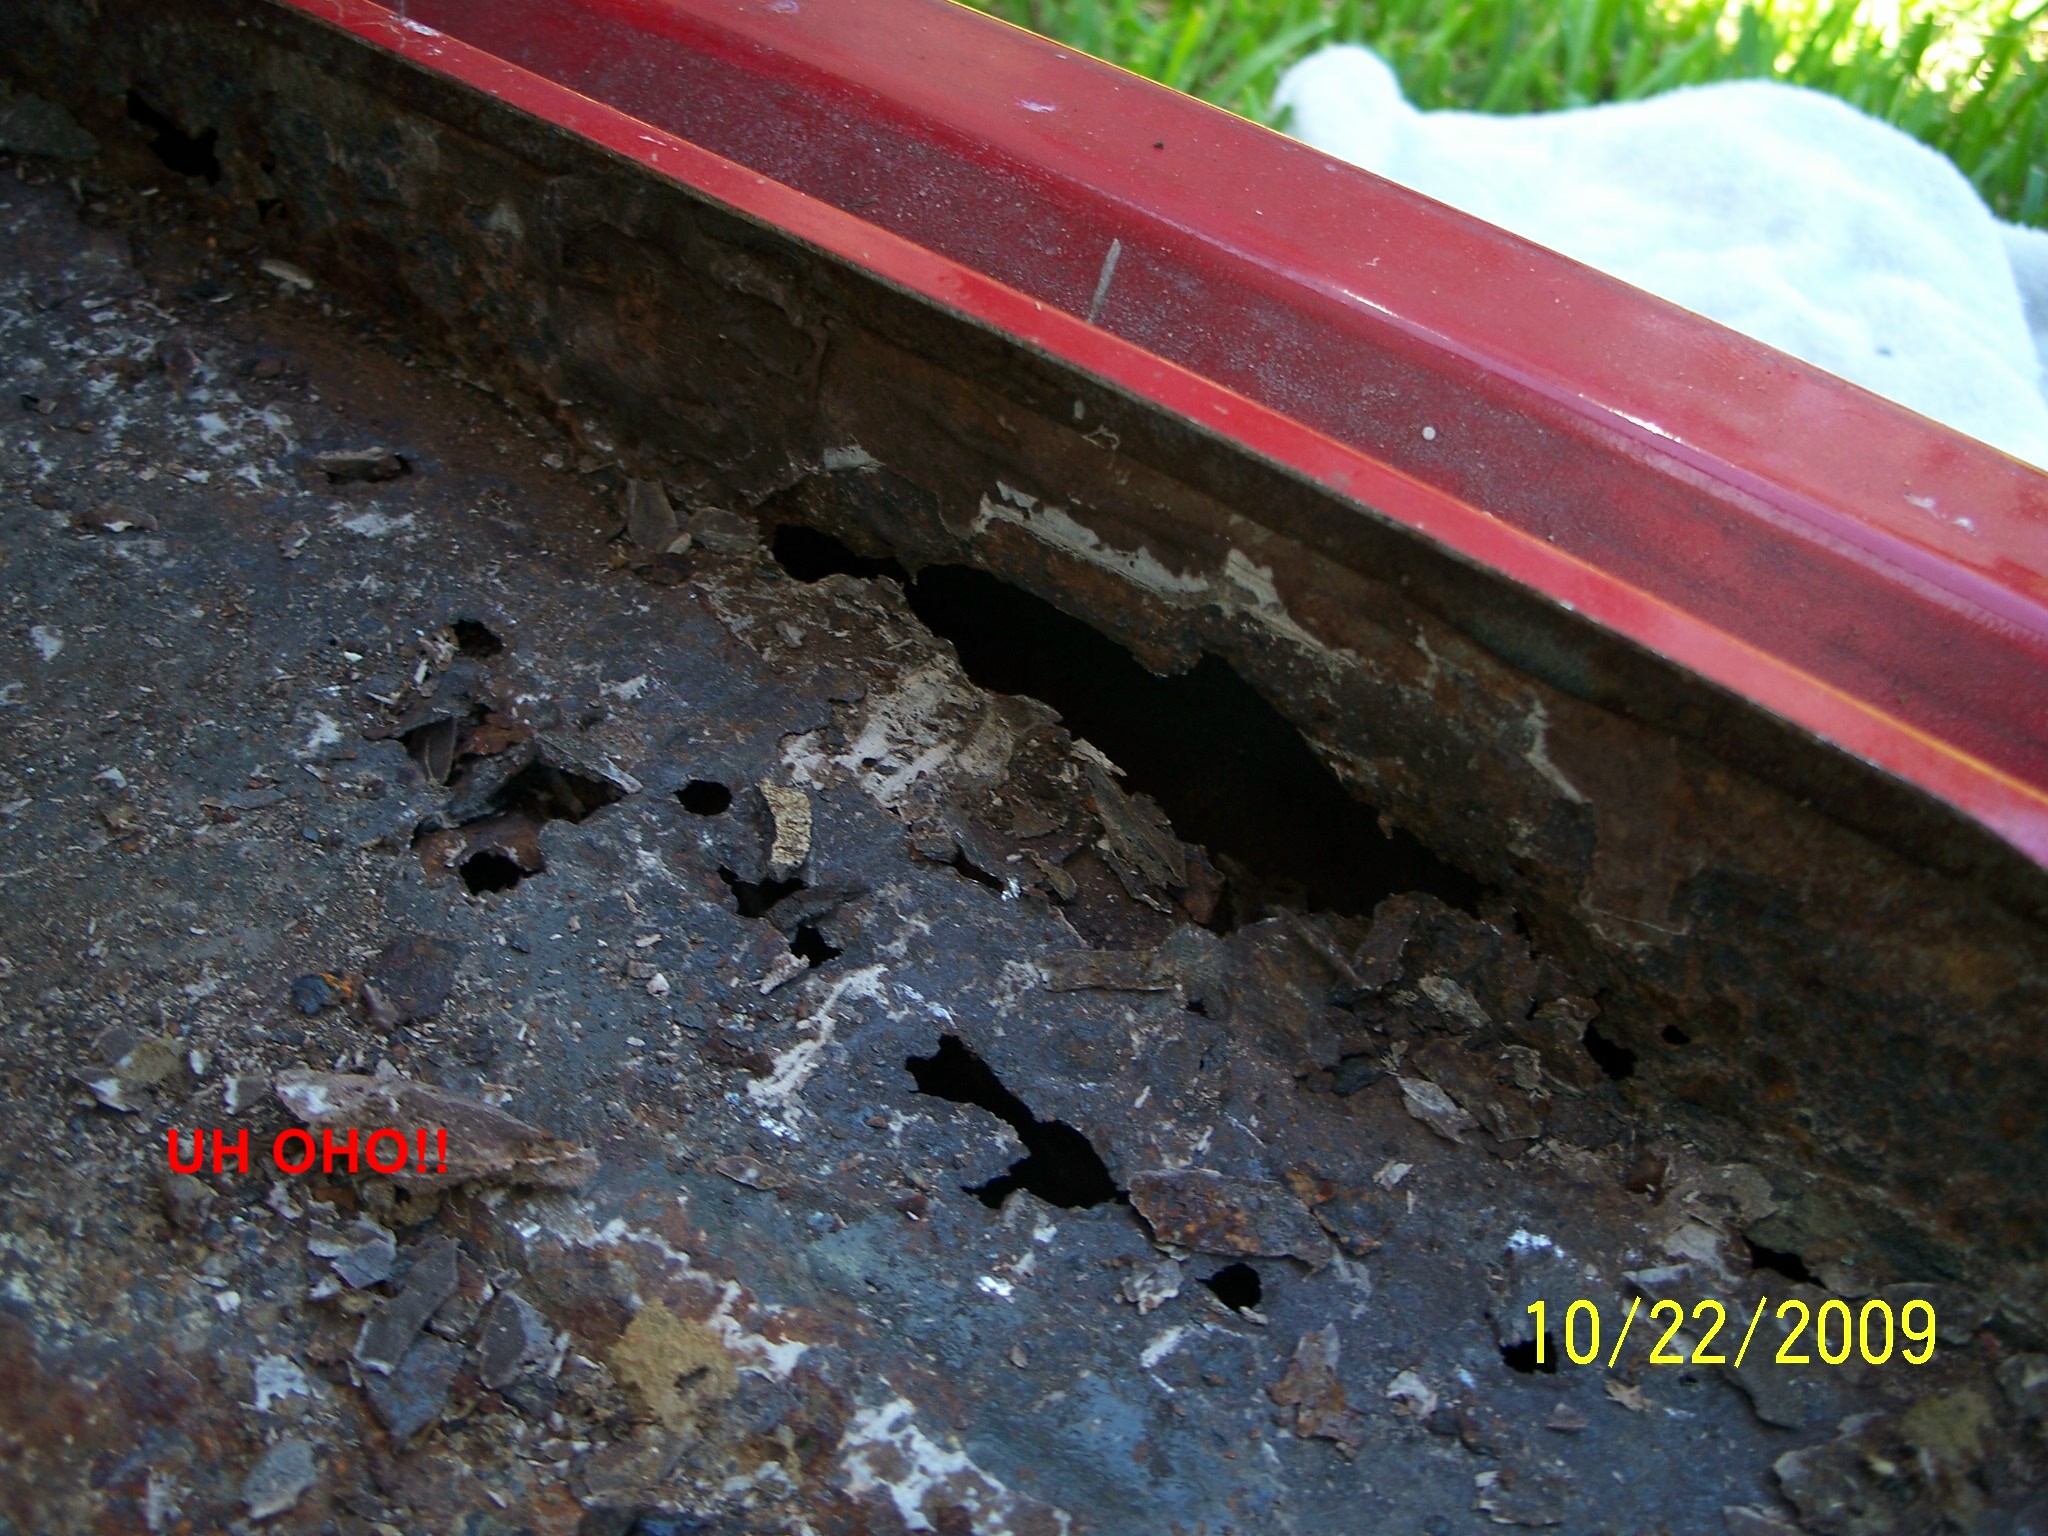
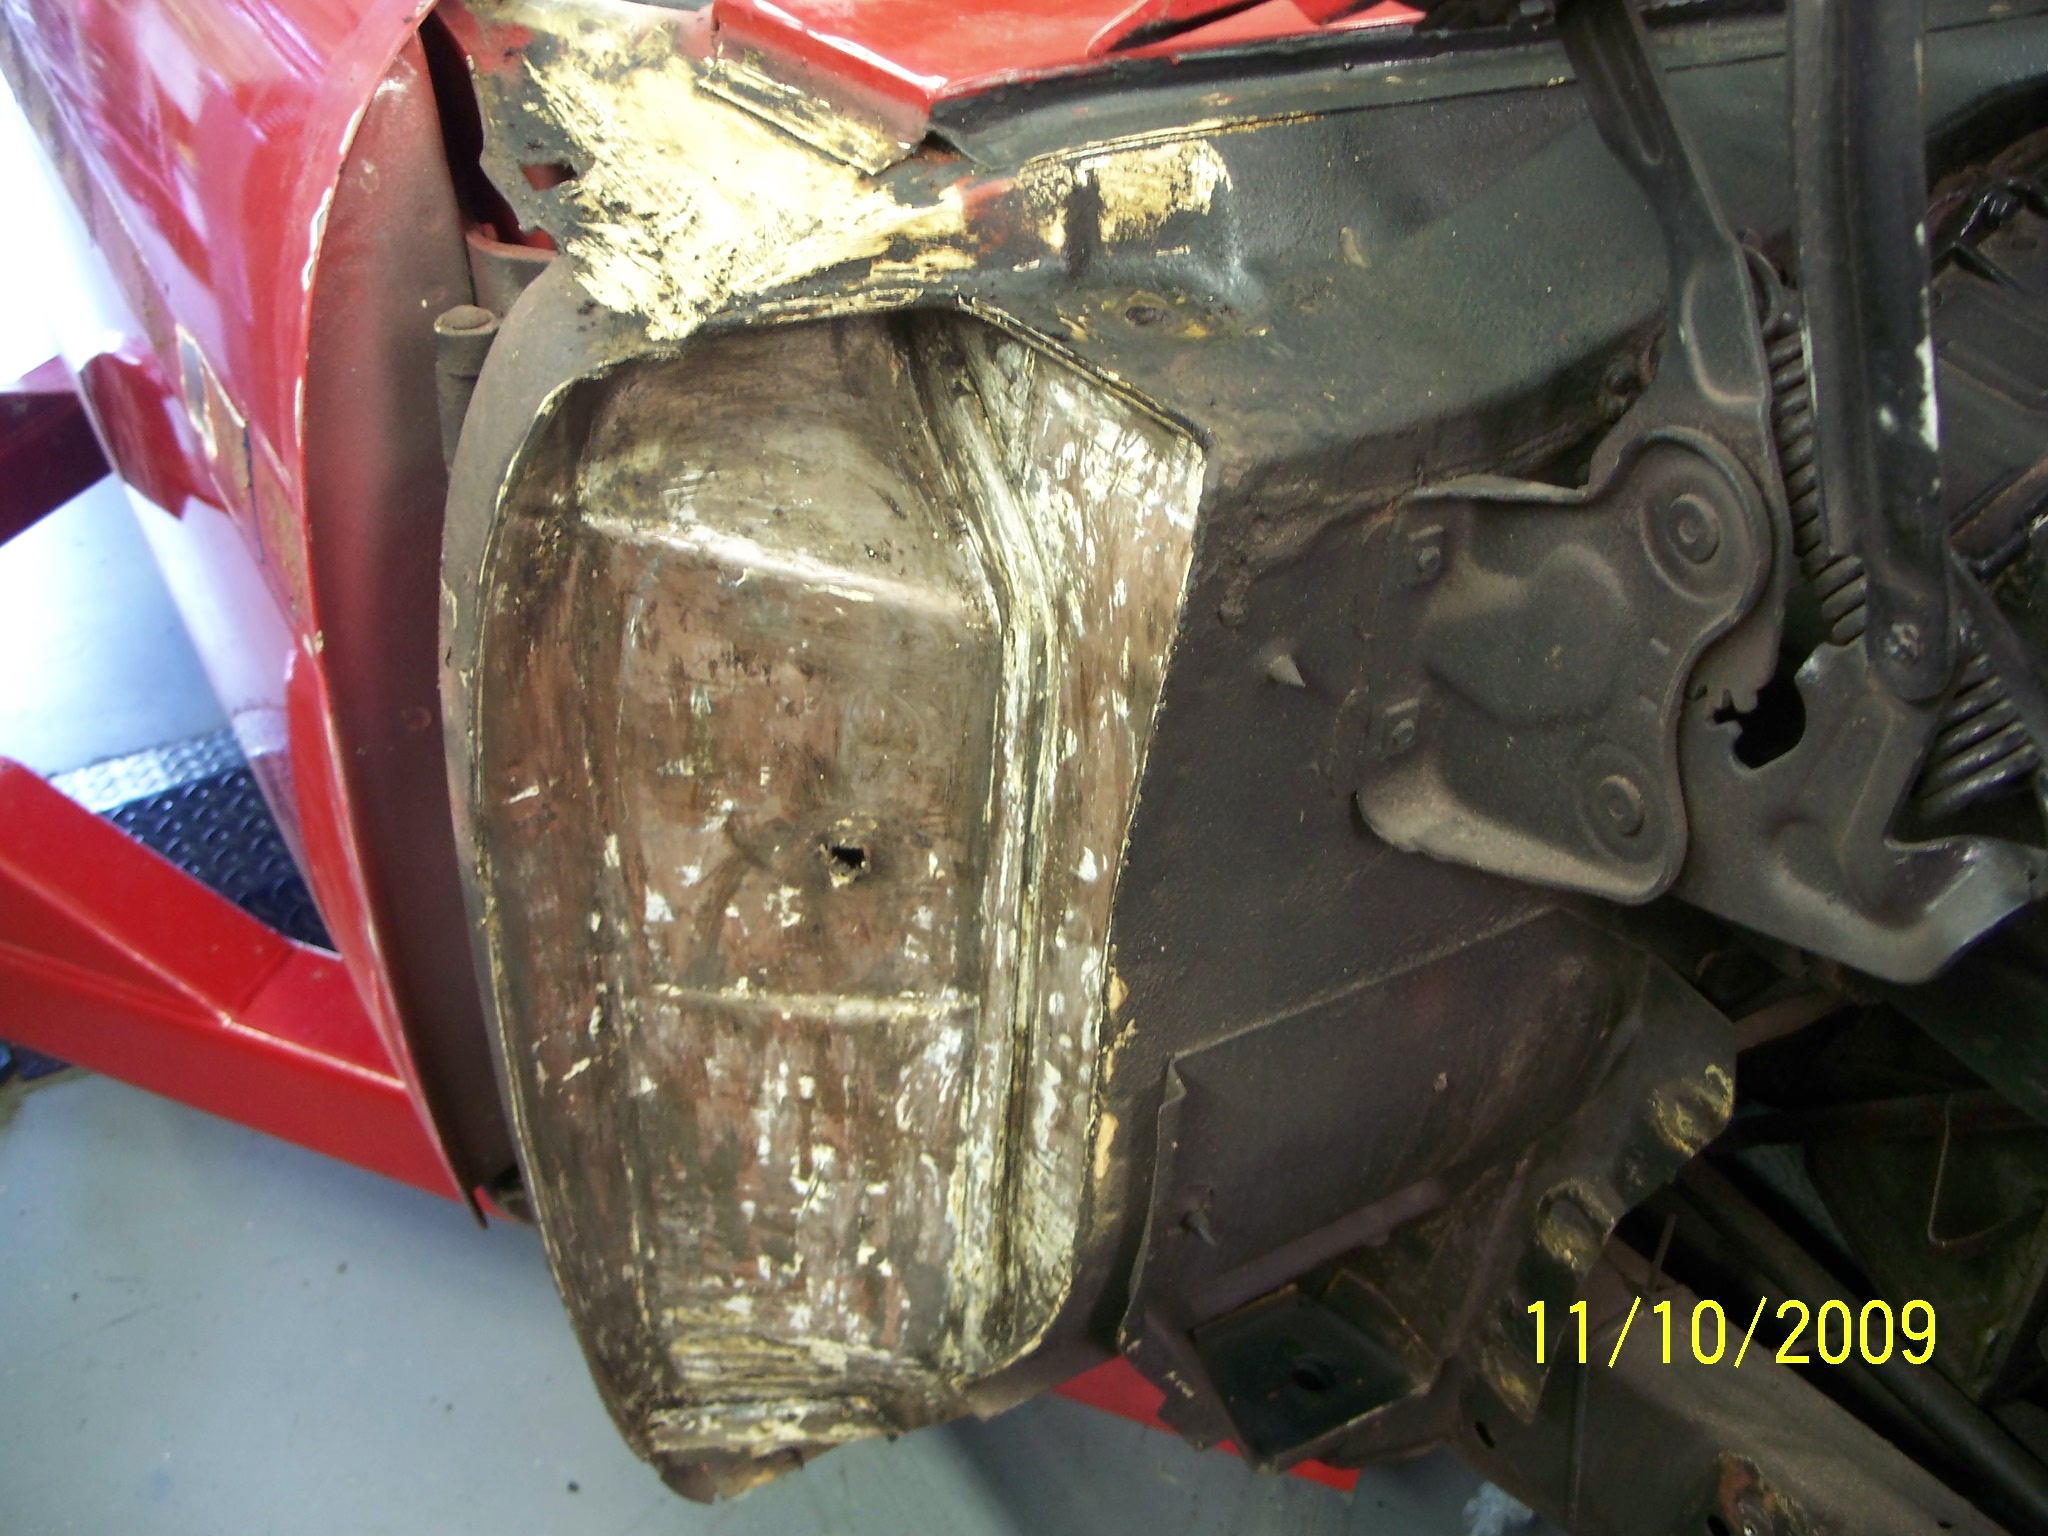
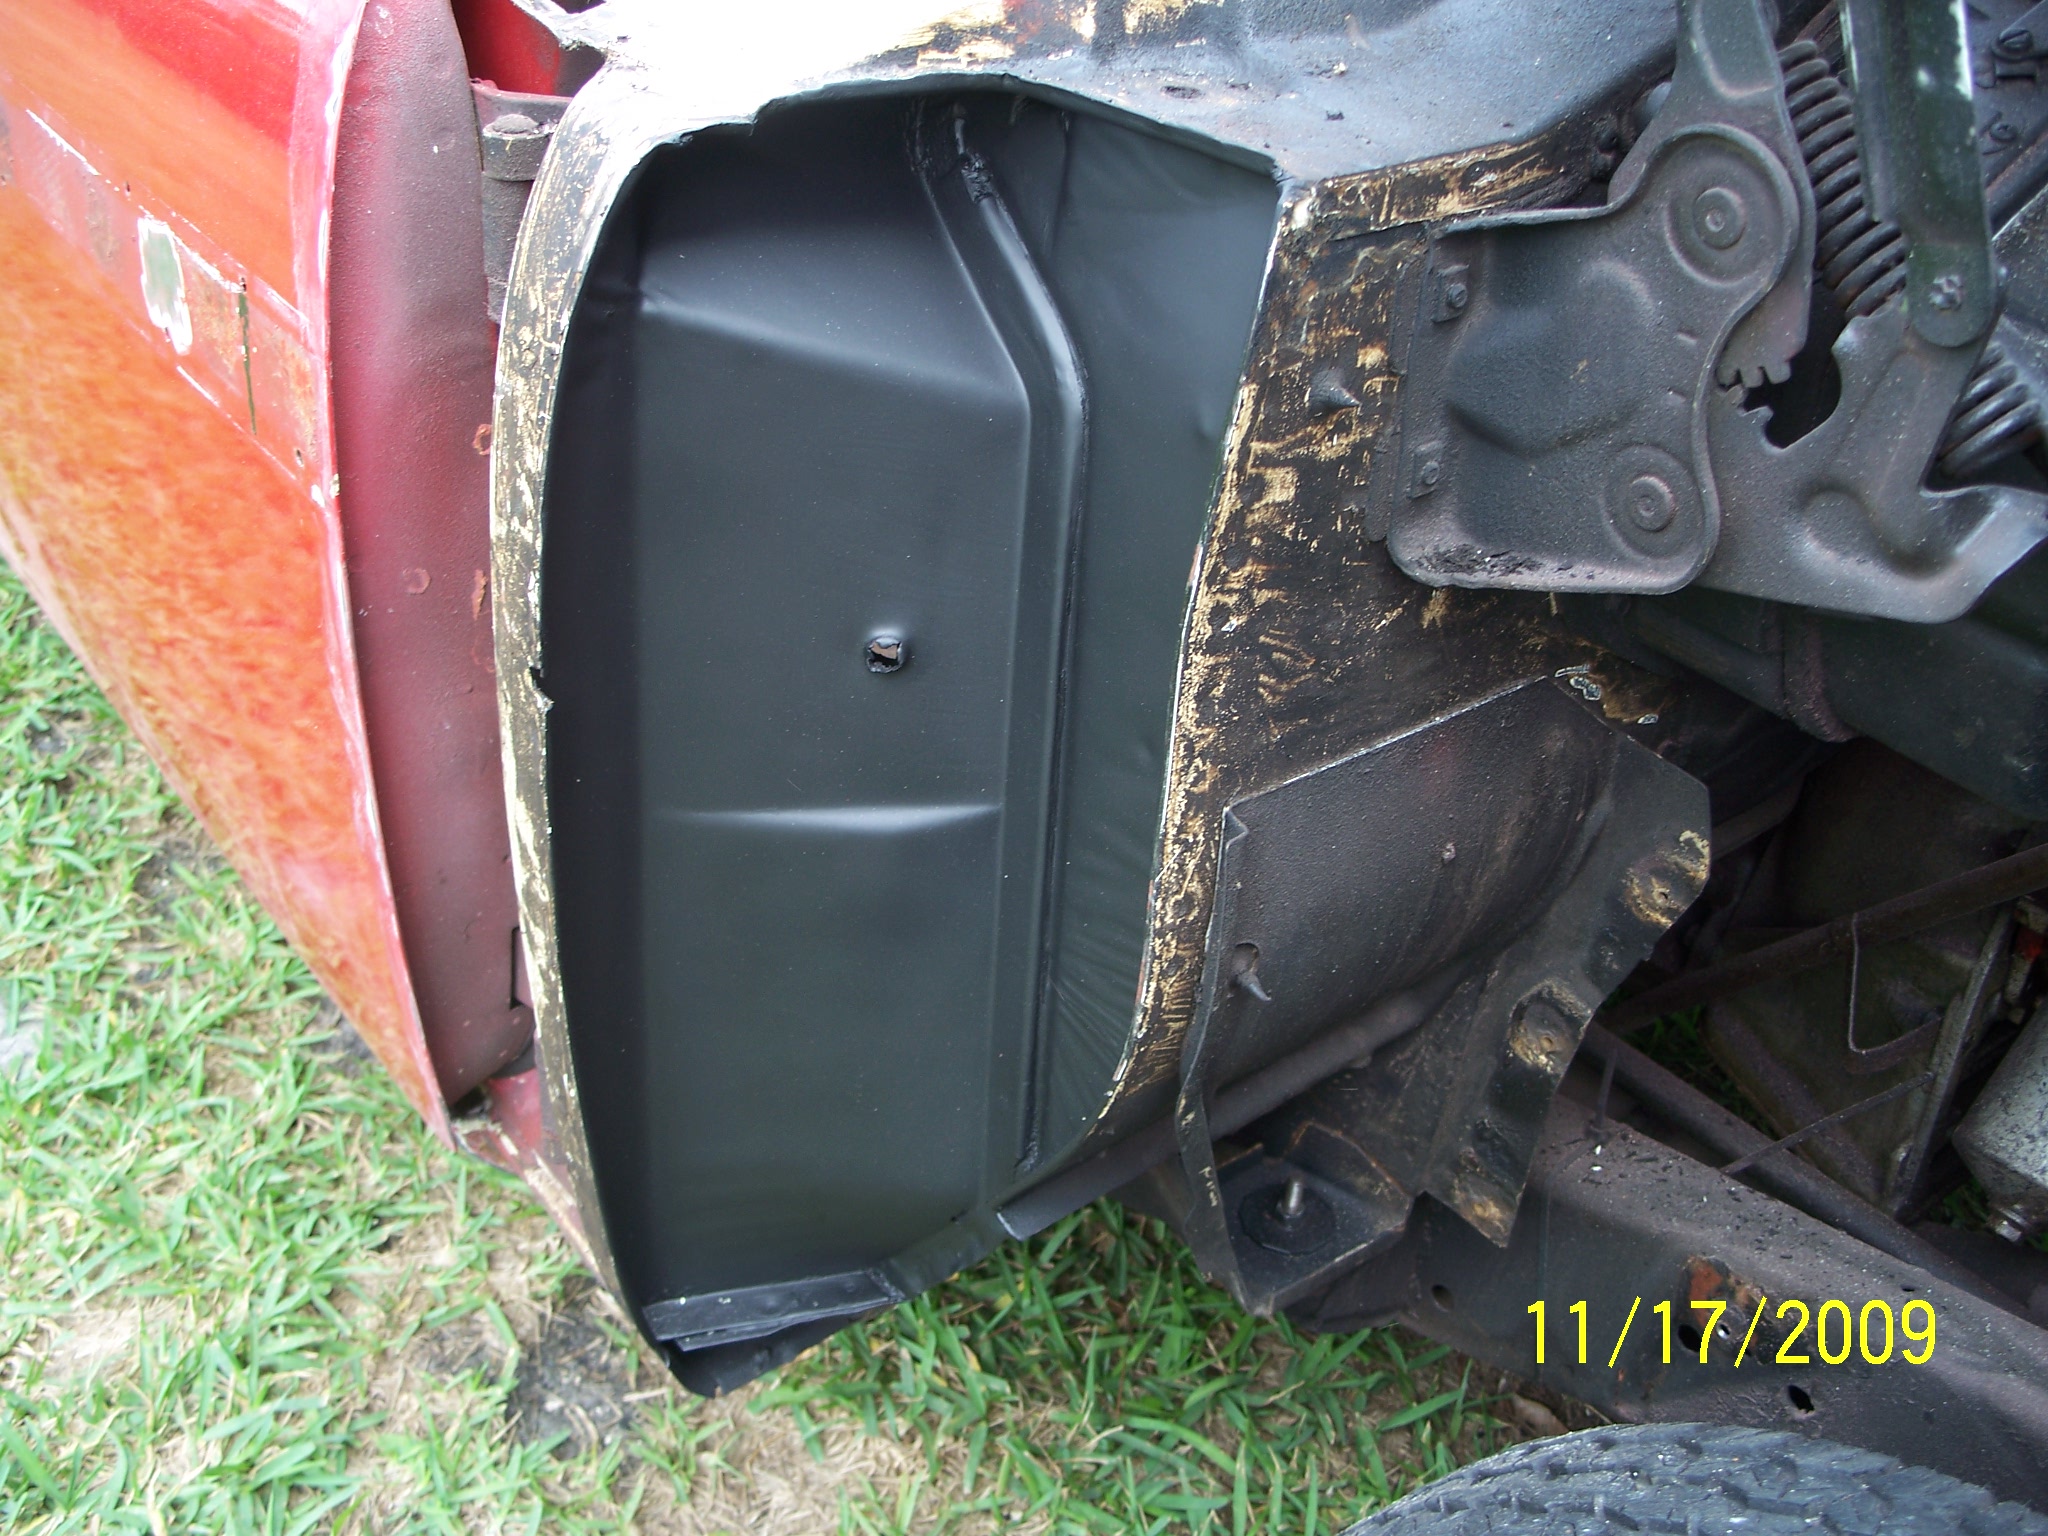
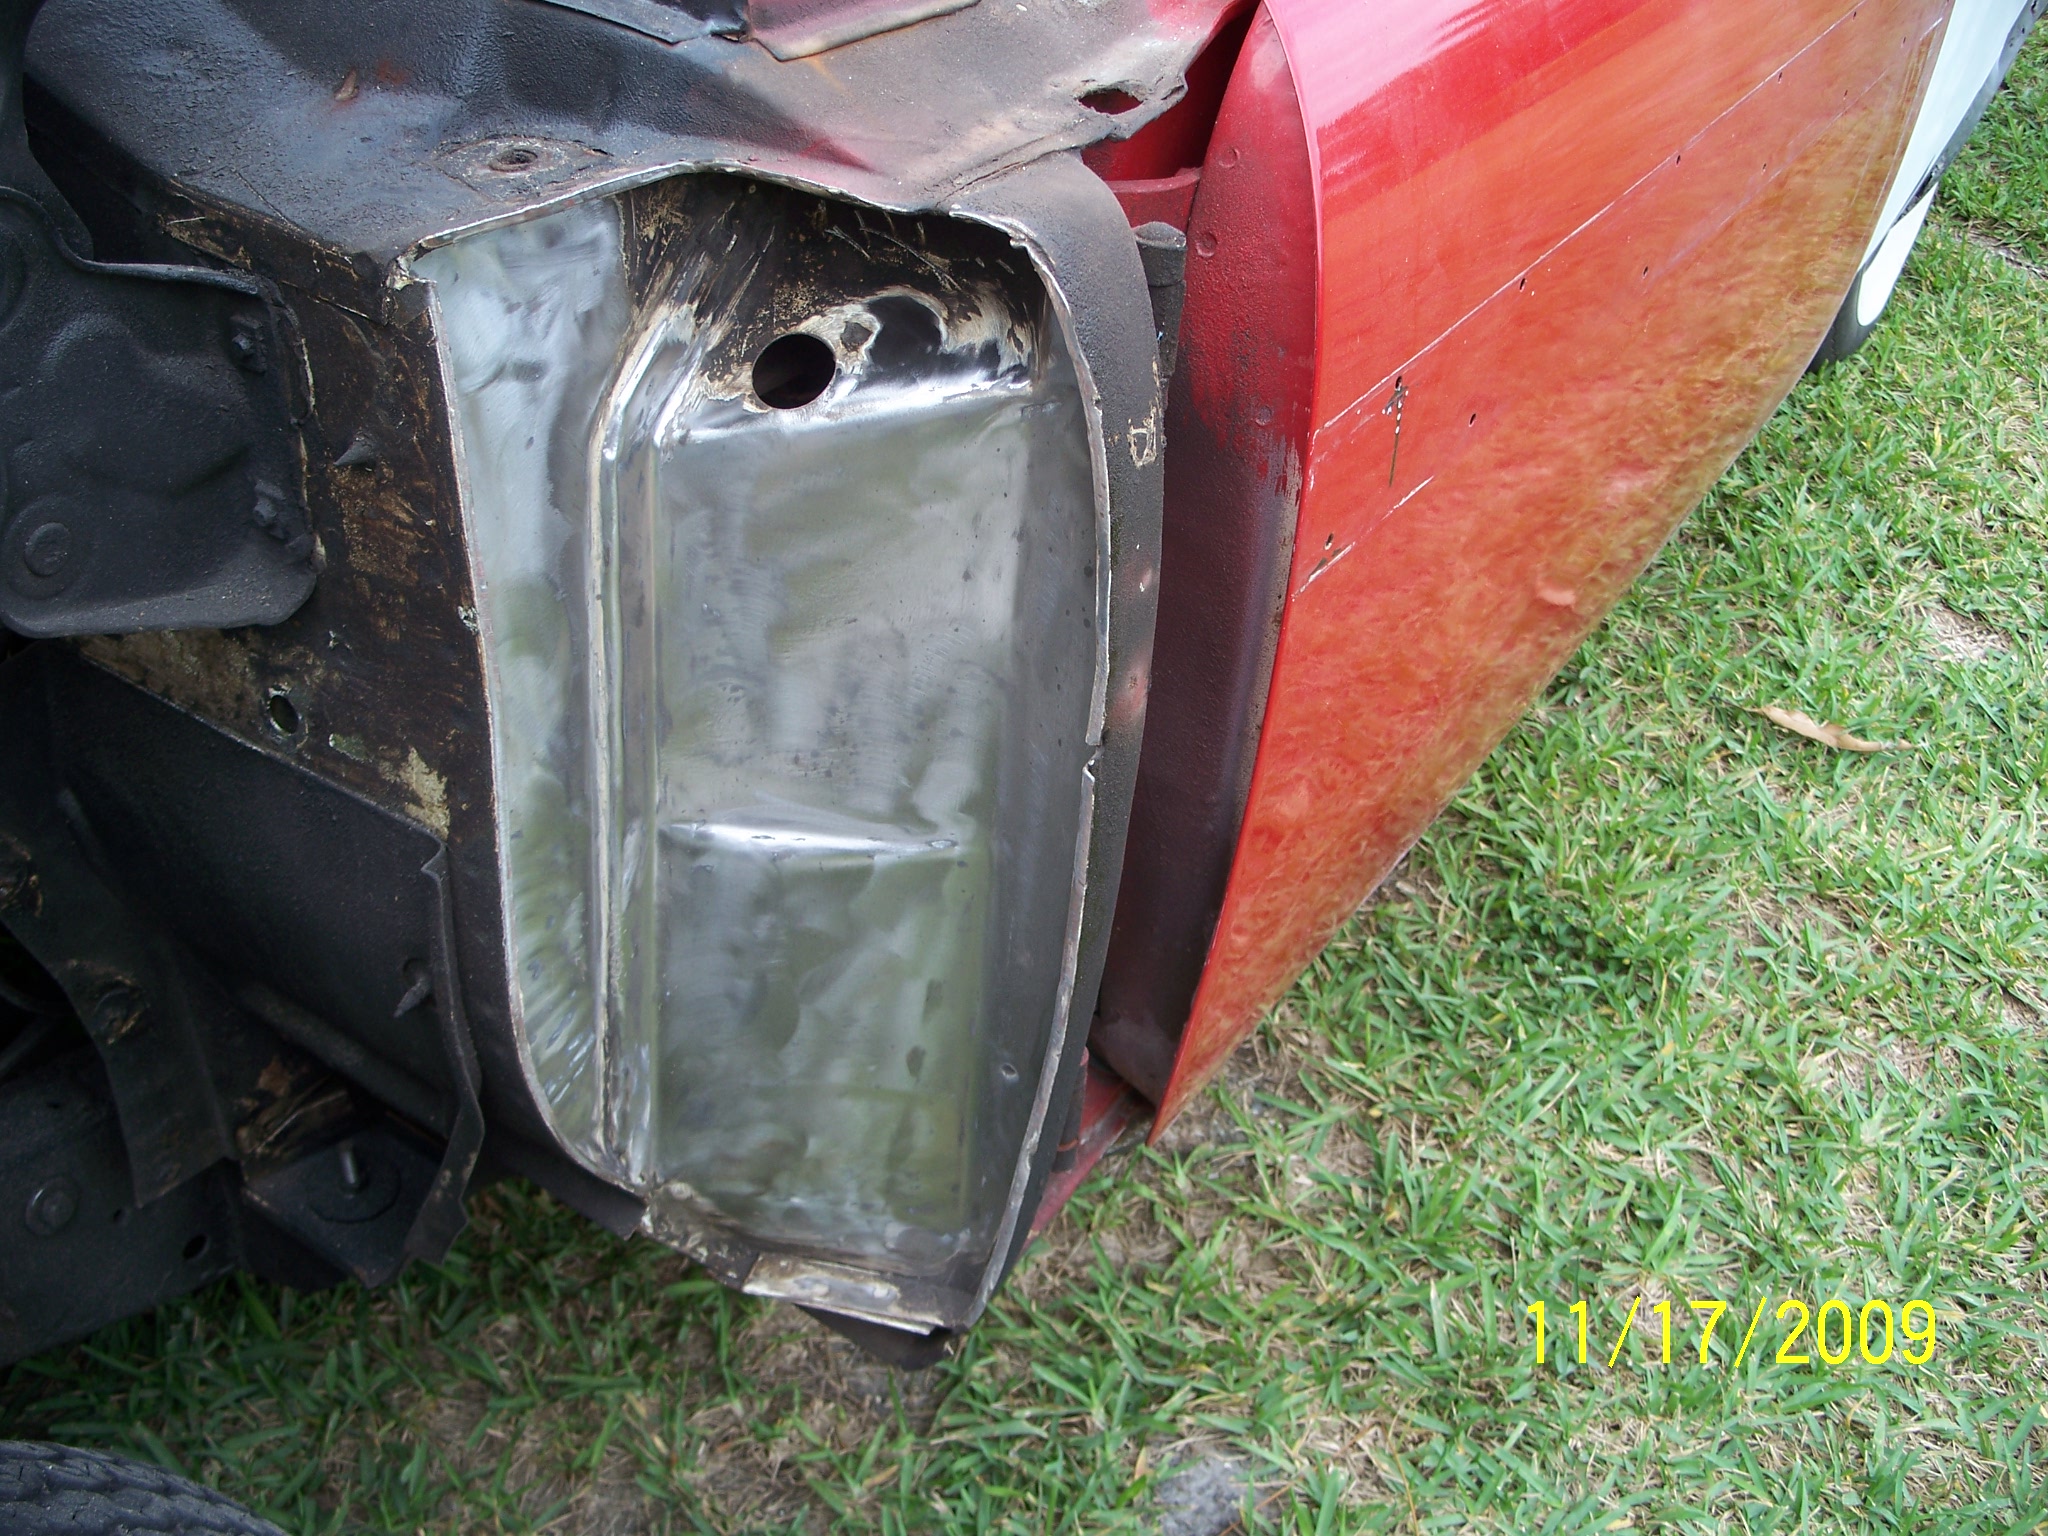
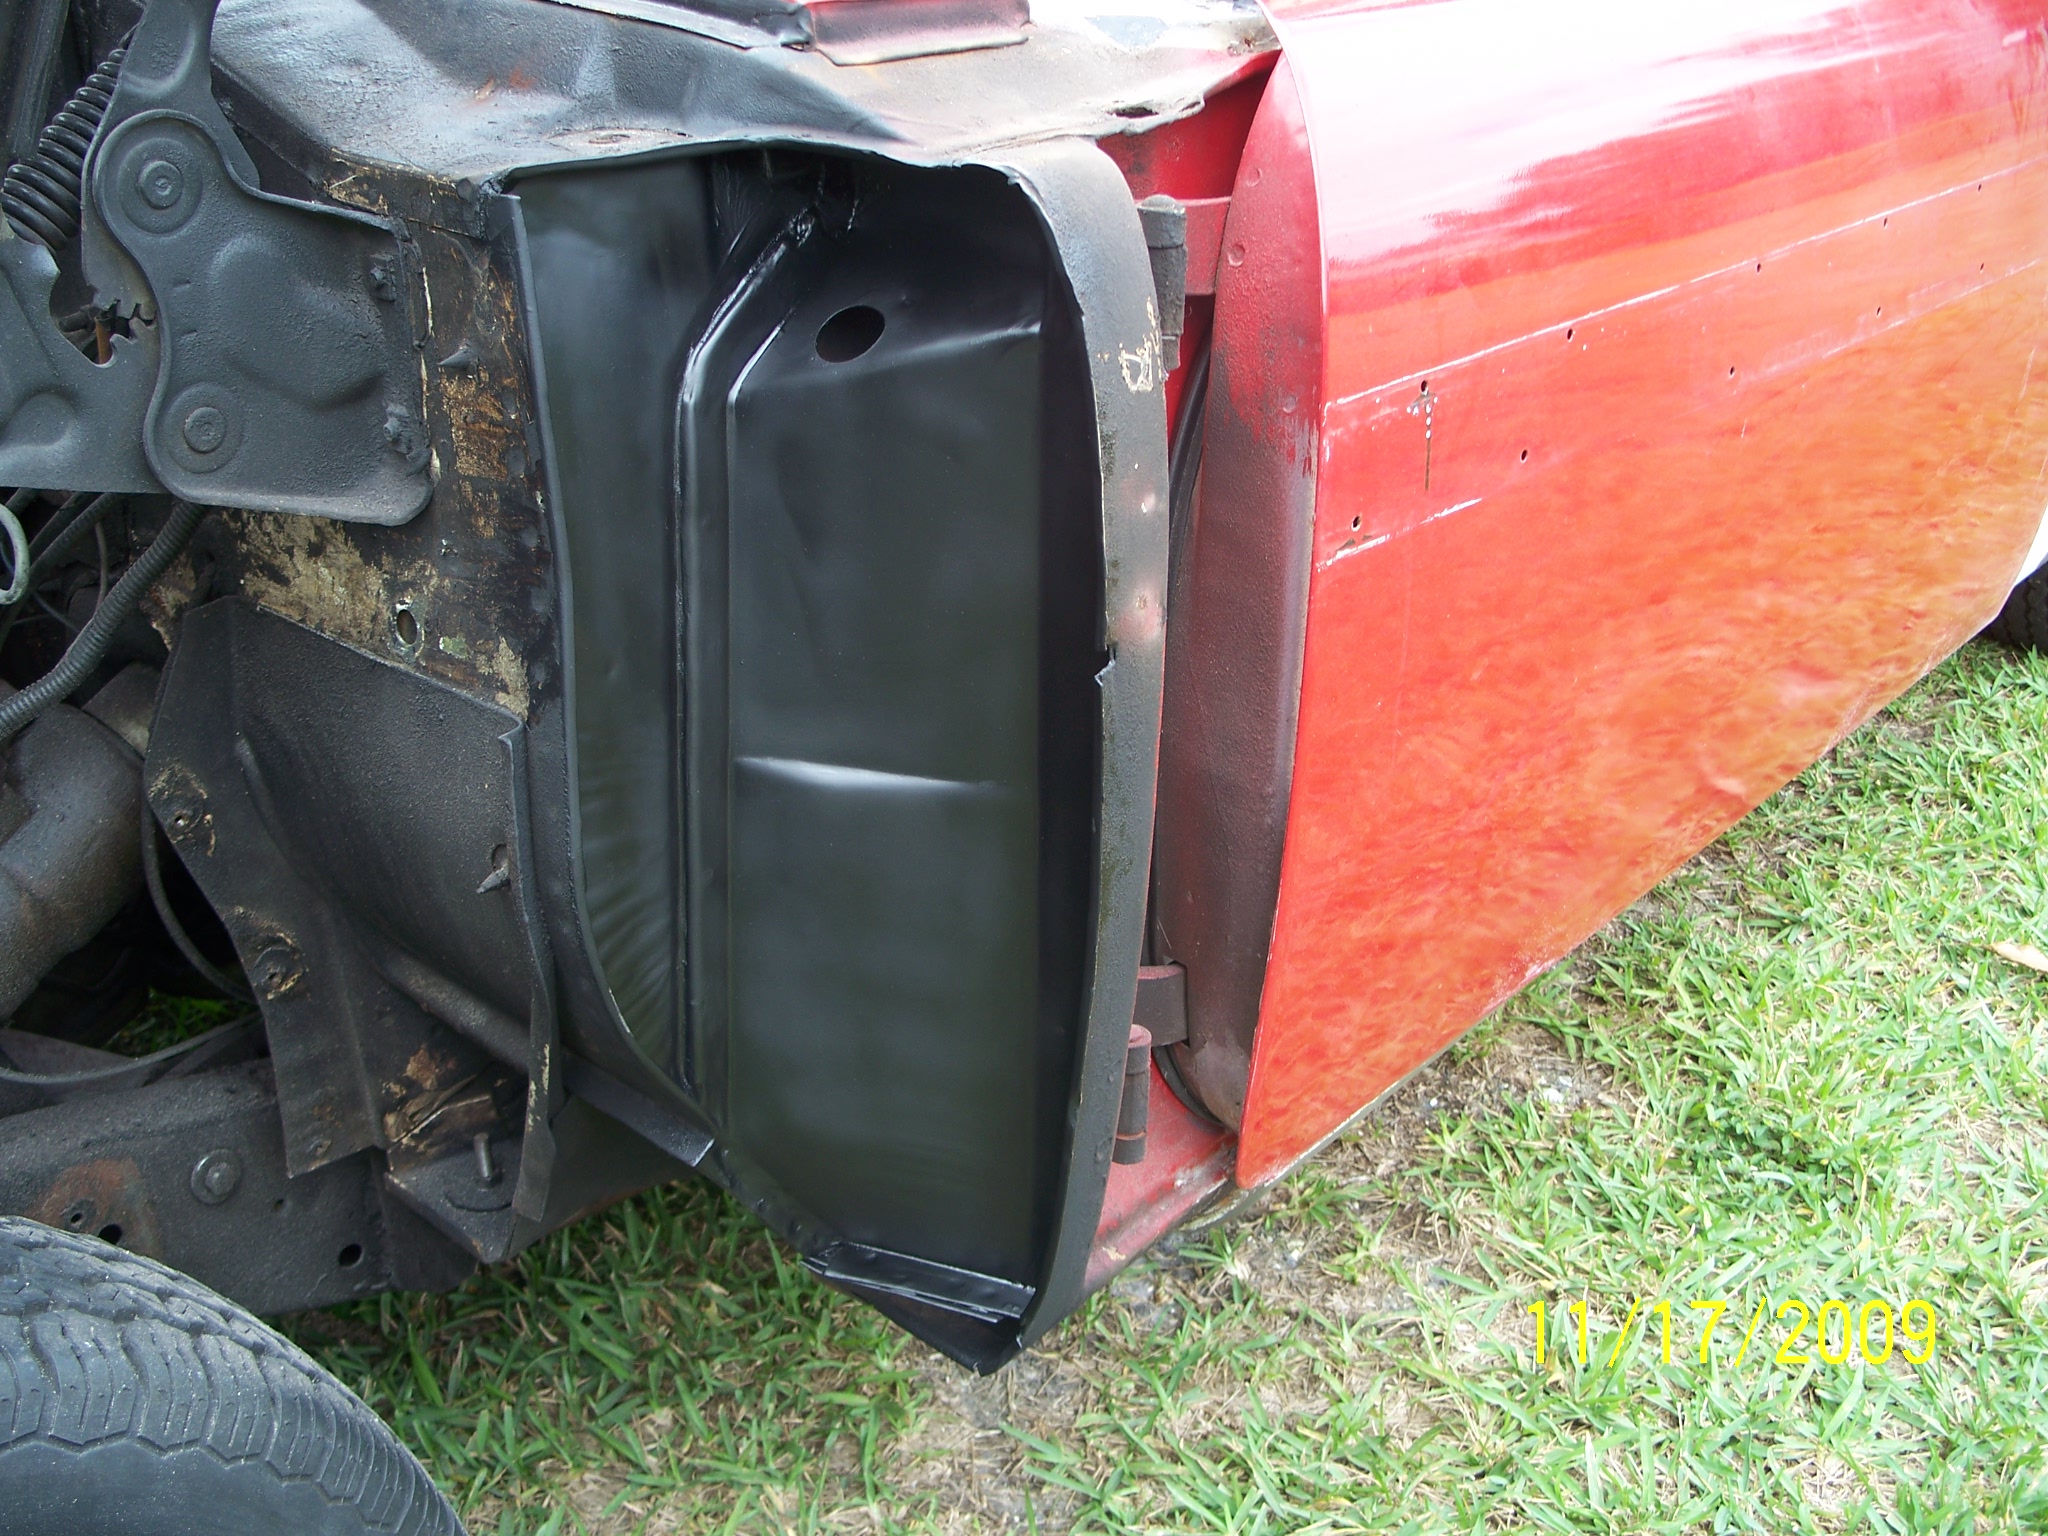
More pichers, the rust worm has really been at work. The rear panel and stone deflector had bondo were you see the holes, the car was last painted around 20 years ago. At least the bondo retarded the rusting somewhat. John (Big M) or anybody, if you can help me with the Metal Stone Deflector let me know.
Dick.
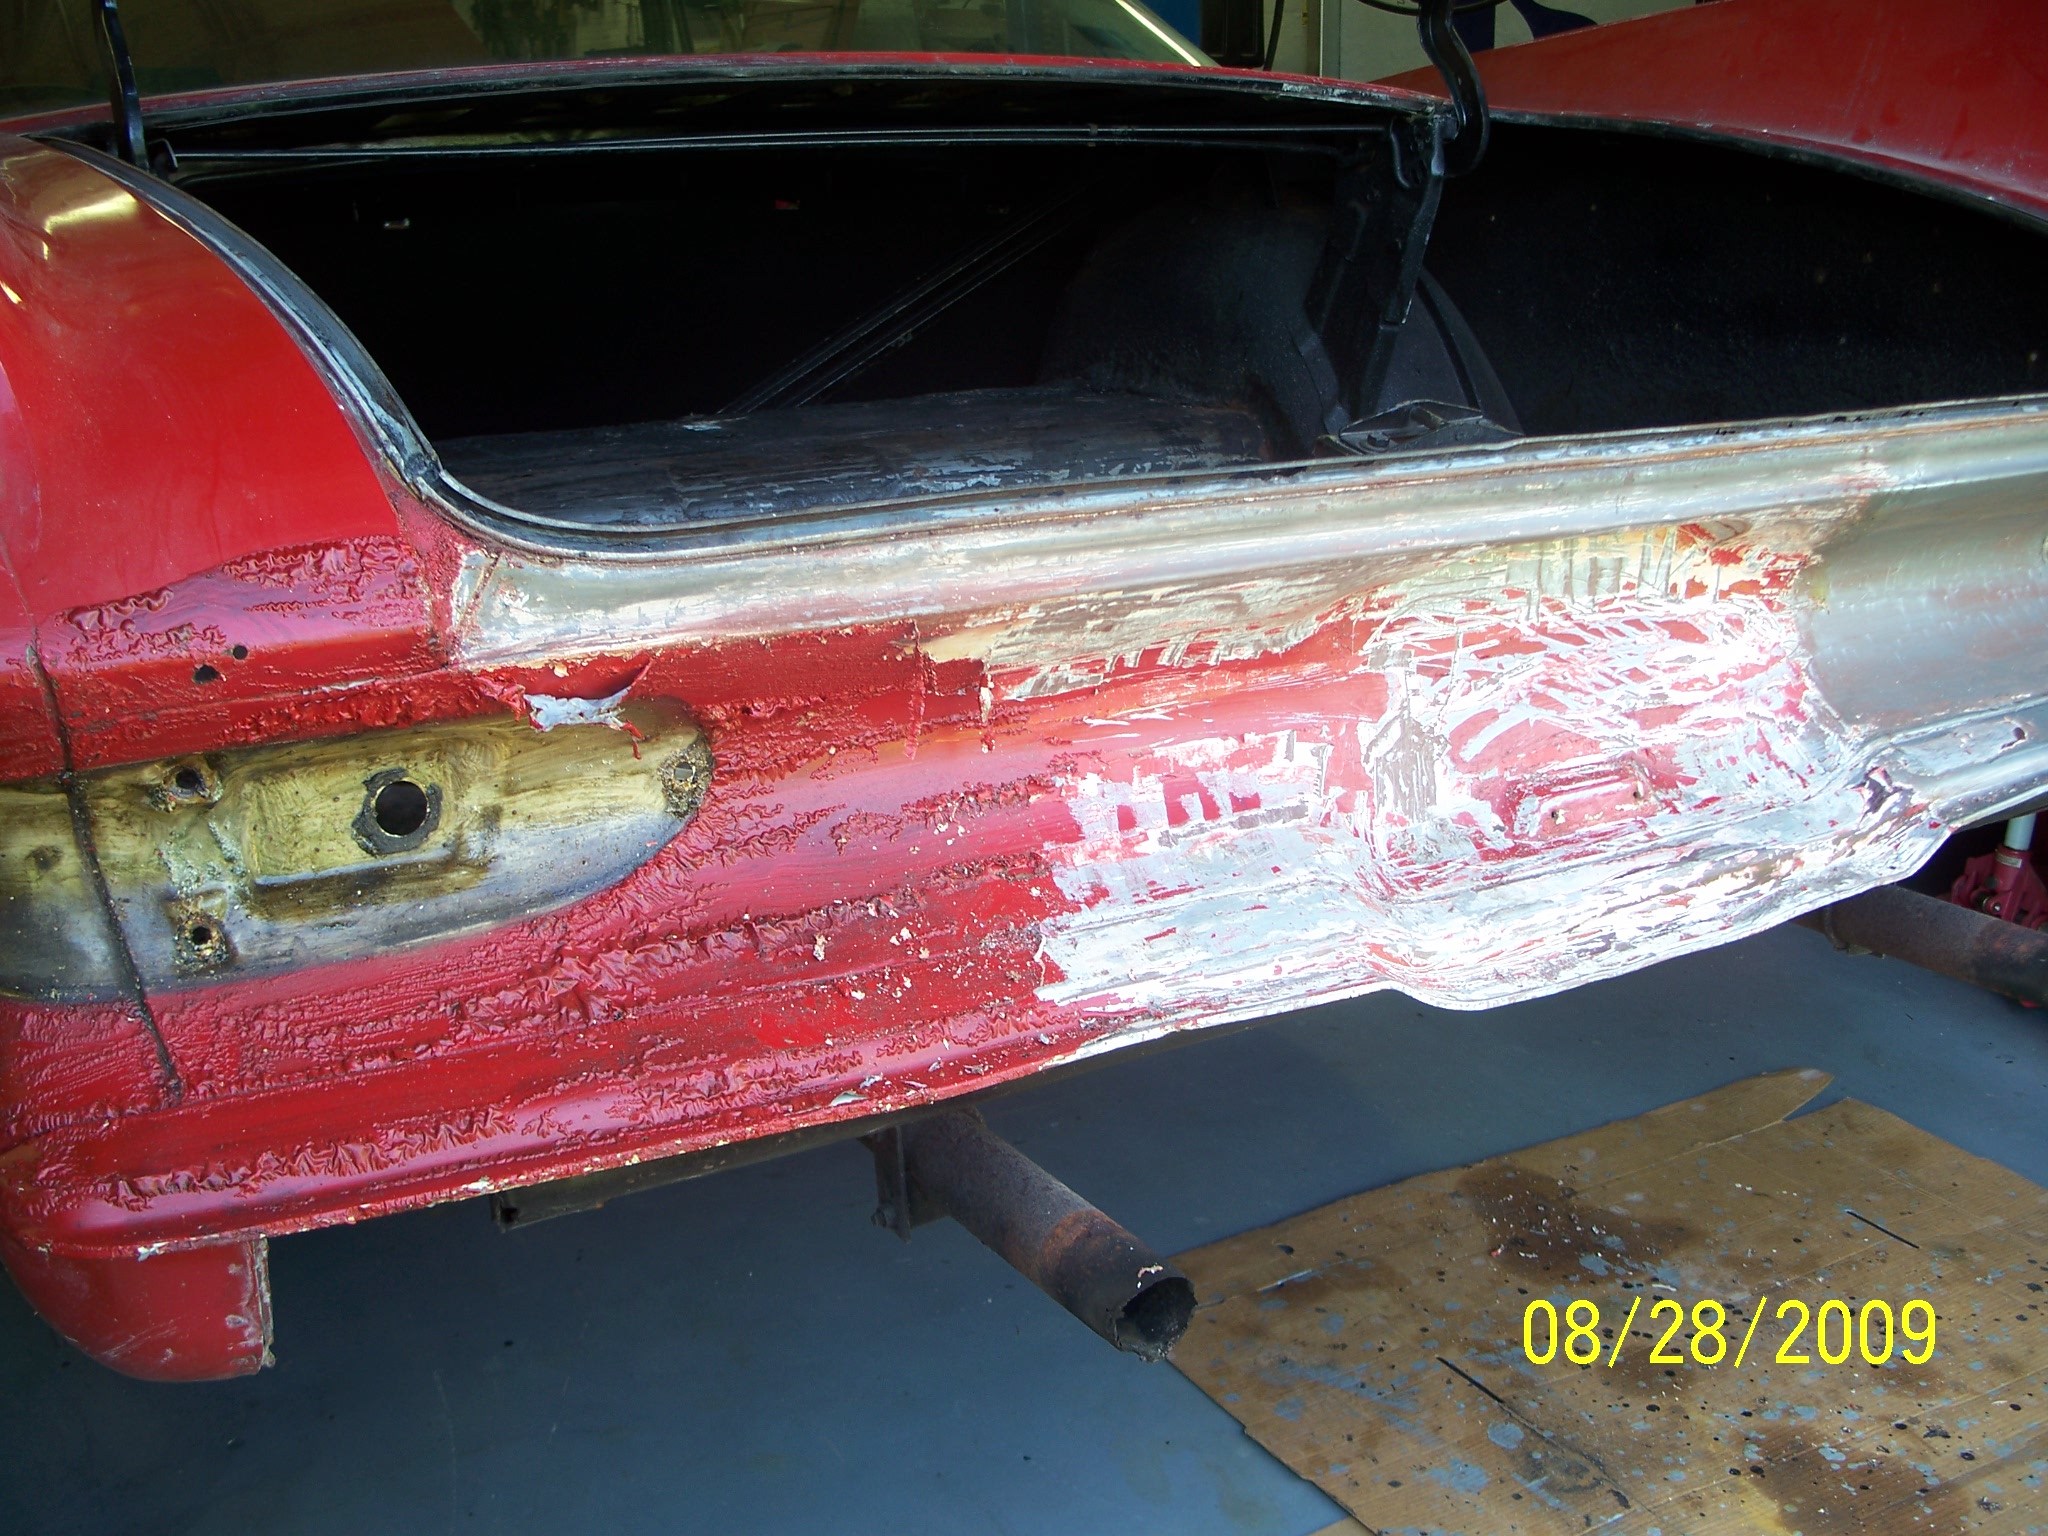
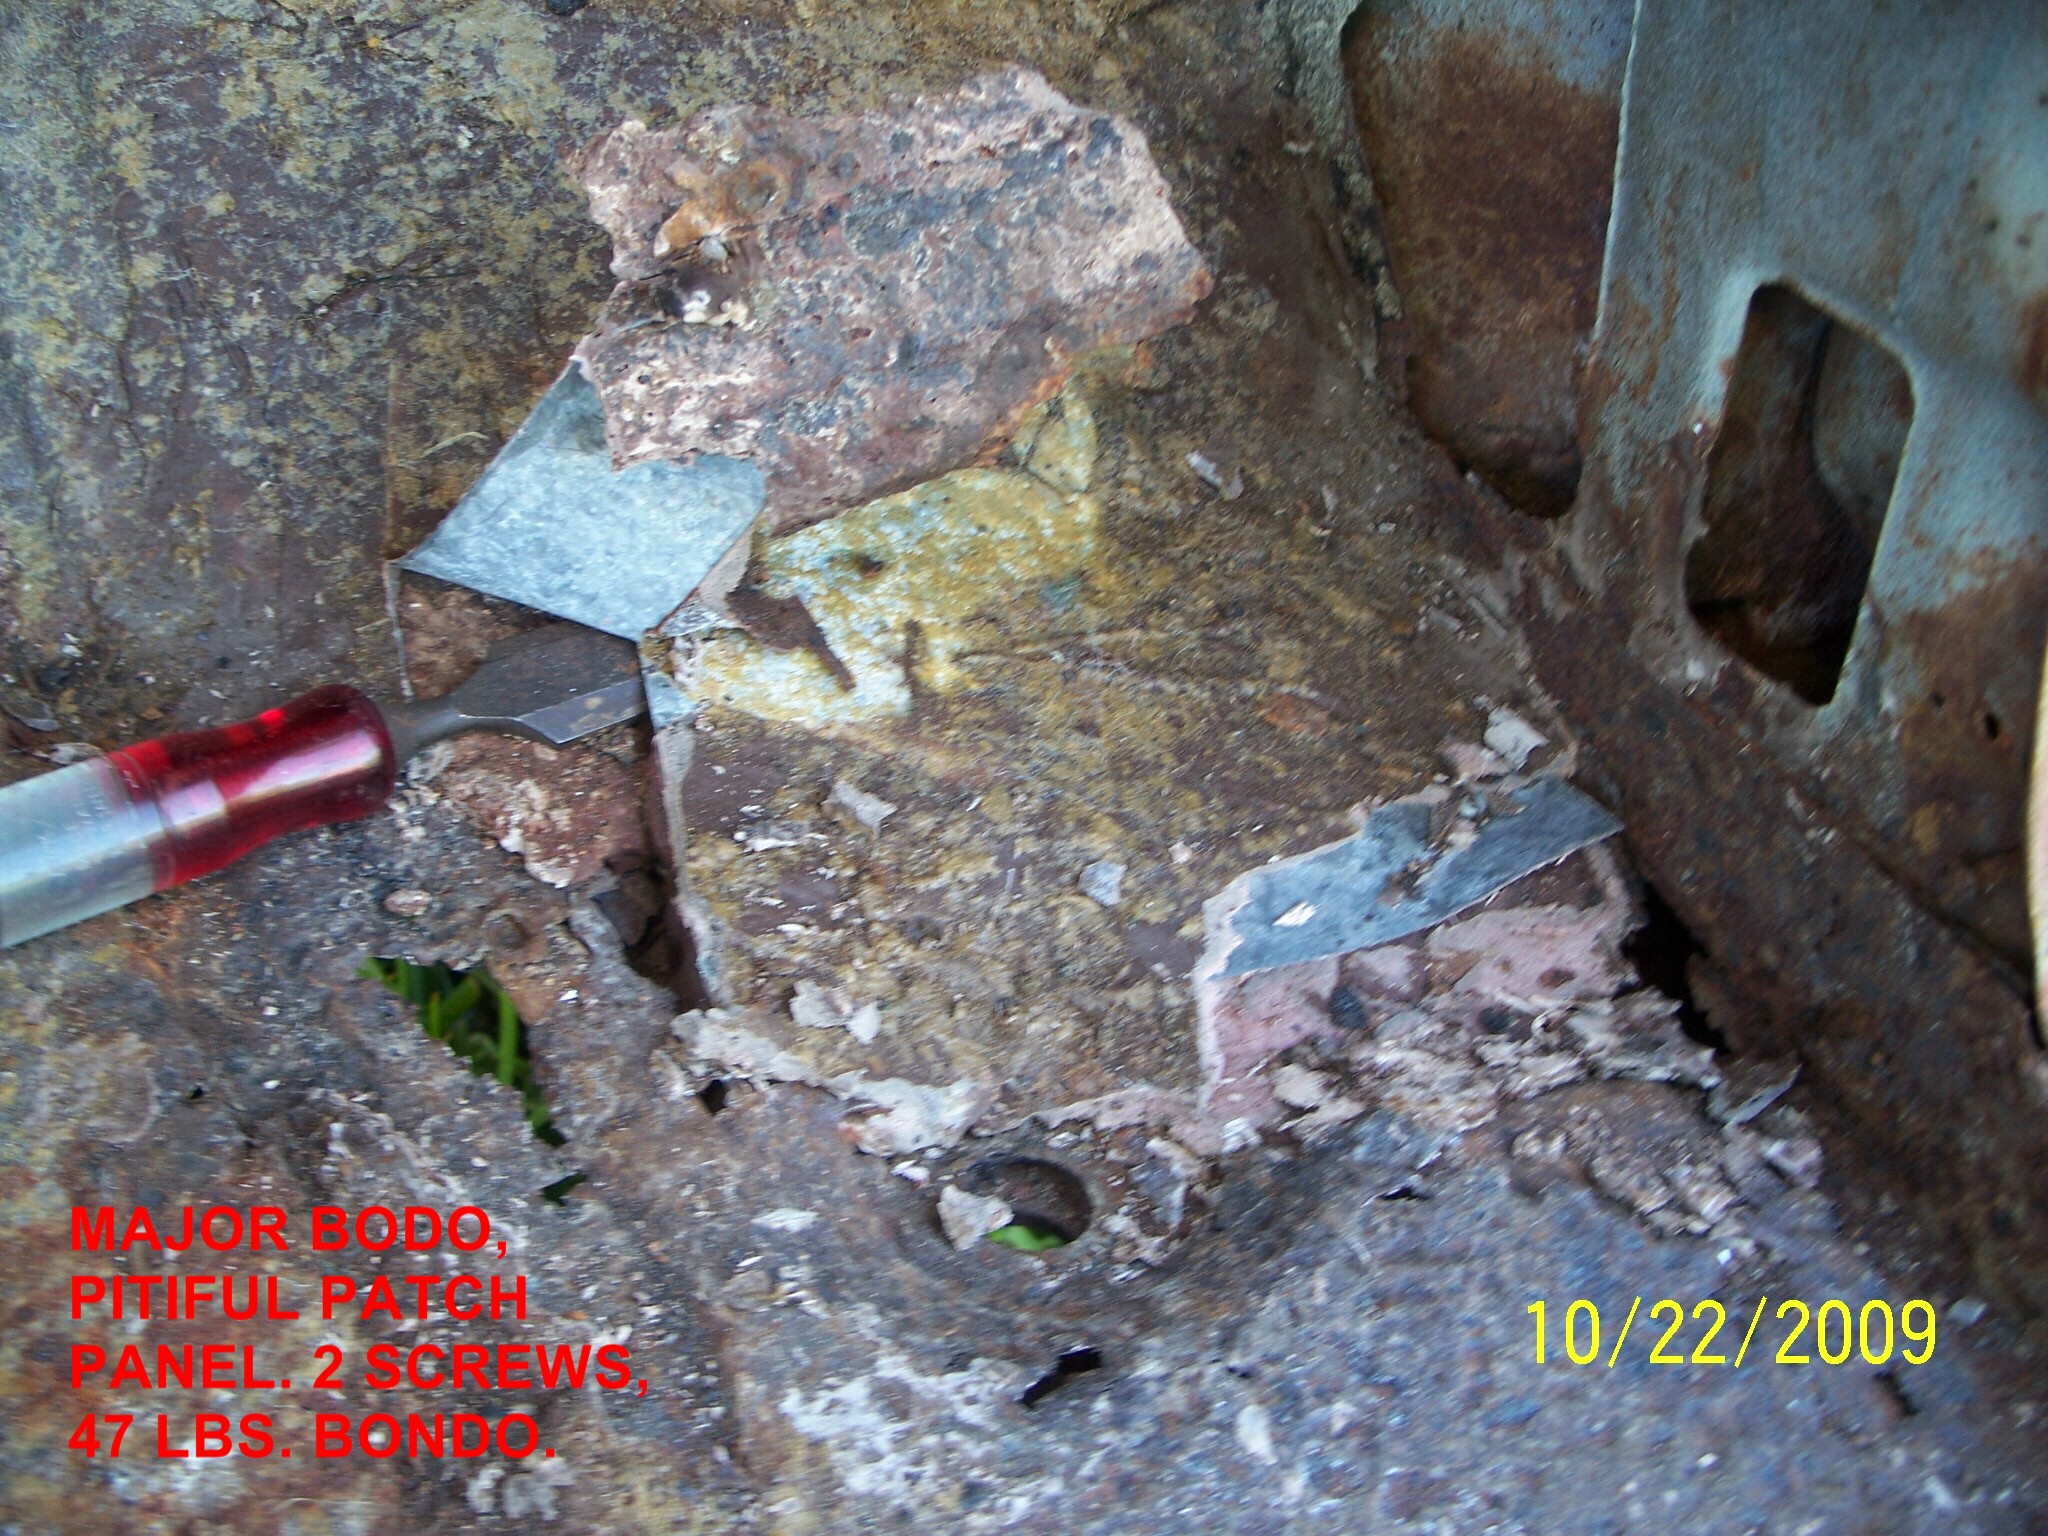
WO IS ME!! It’s going to be a long winter and spring and I’m loving every minute of it. Mo pitchers of the removal of approx. 47 lbs. of Bondo. Car was painted approx. 20 yrs. ago. They did not replace any metal, at least the bondo retarded the spread of any rust somewhat. Amazingly I found every patch panel I need. To save money I’m going to do all the grunt work and my friend is going to do the fitting and welding.
Dick.
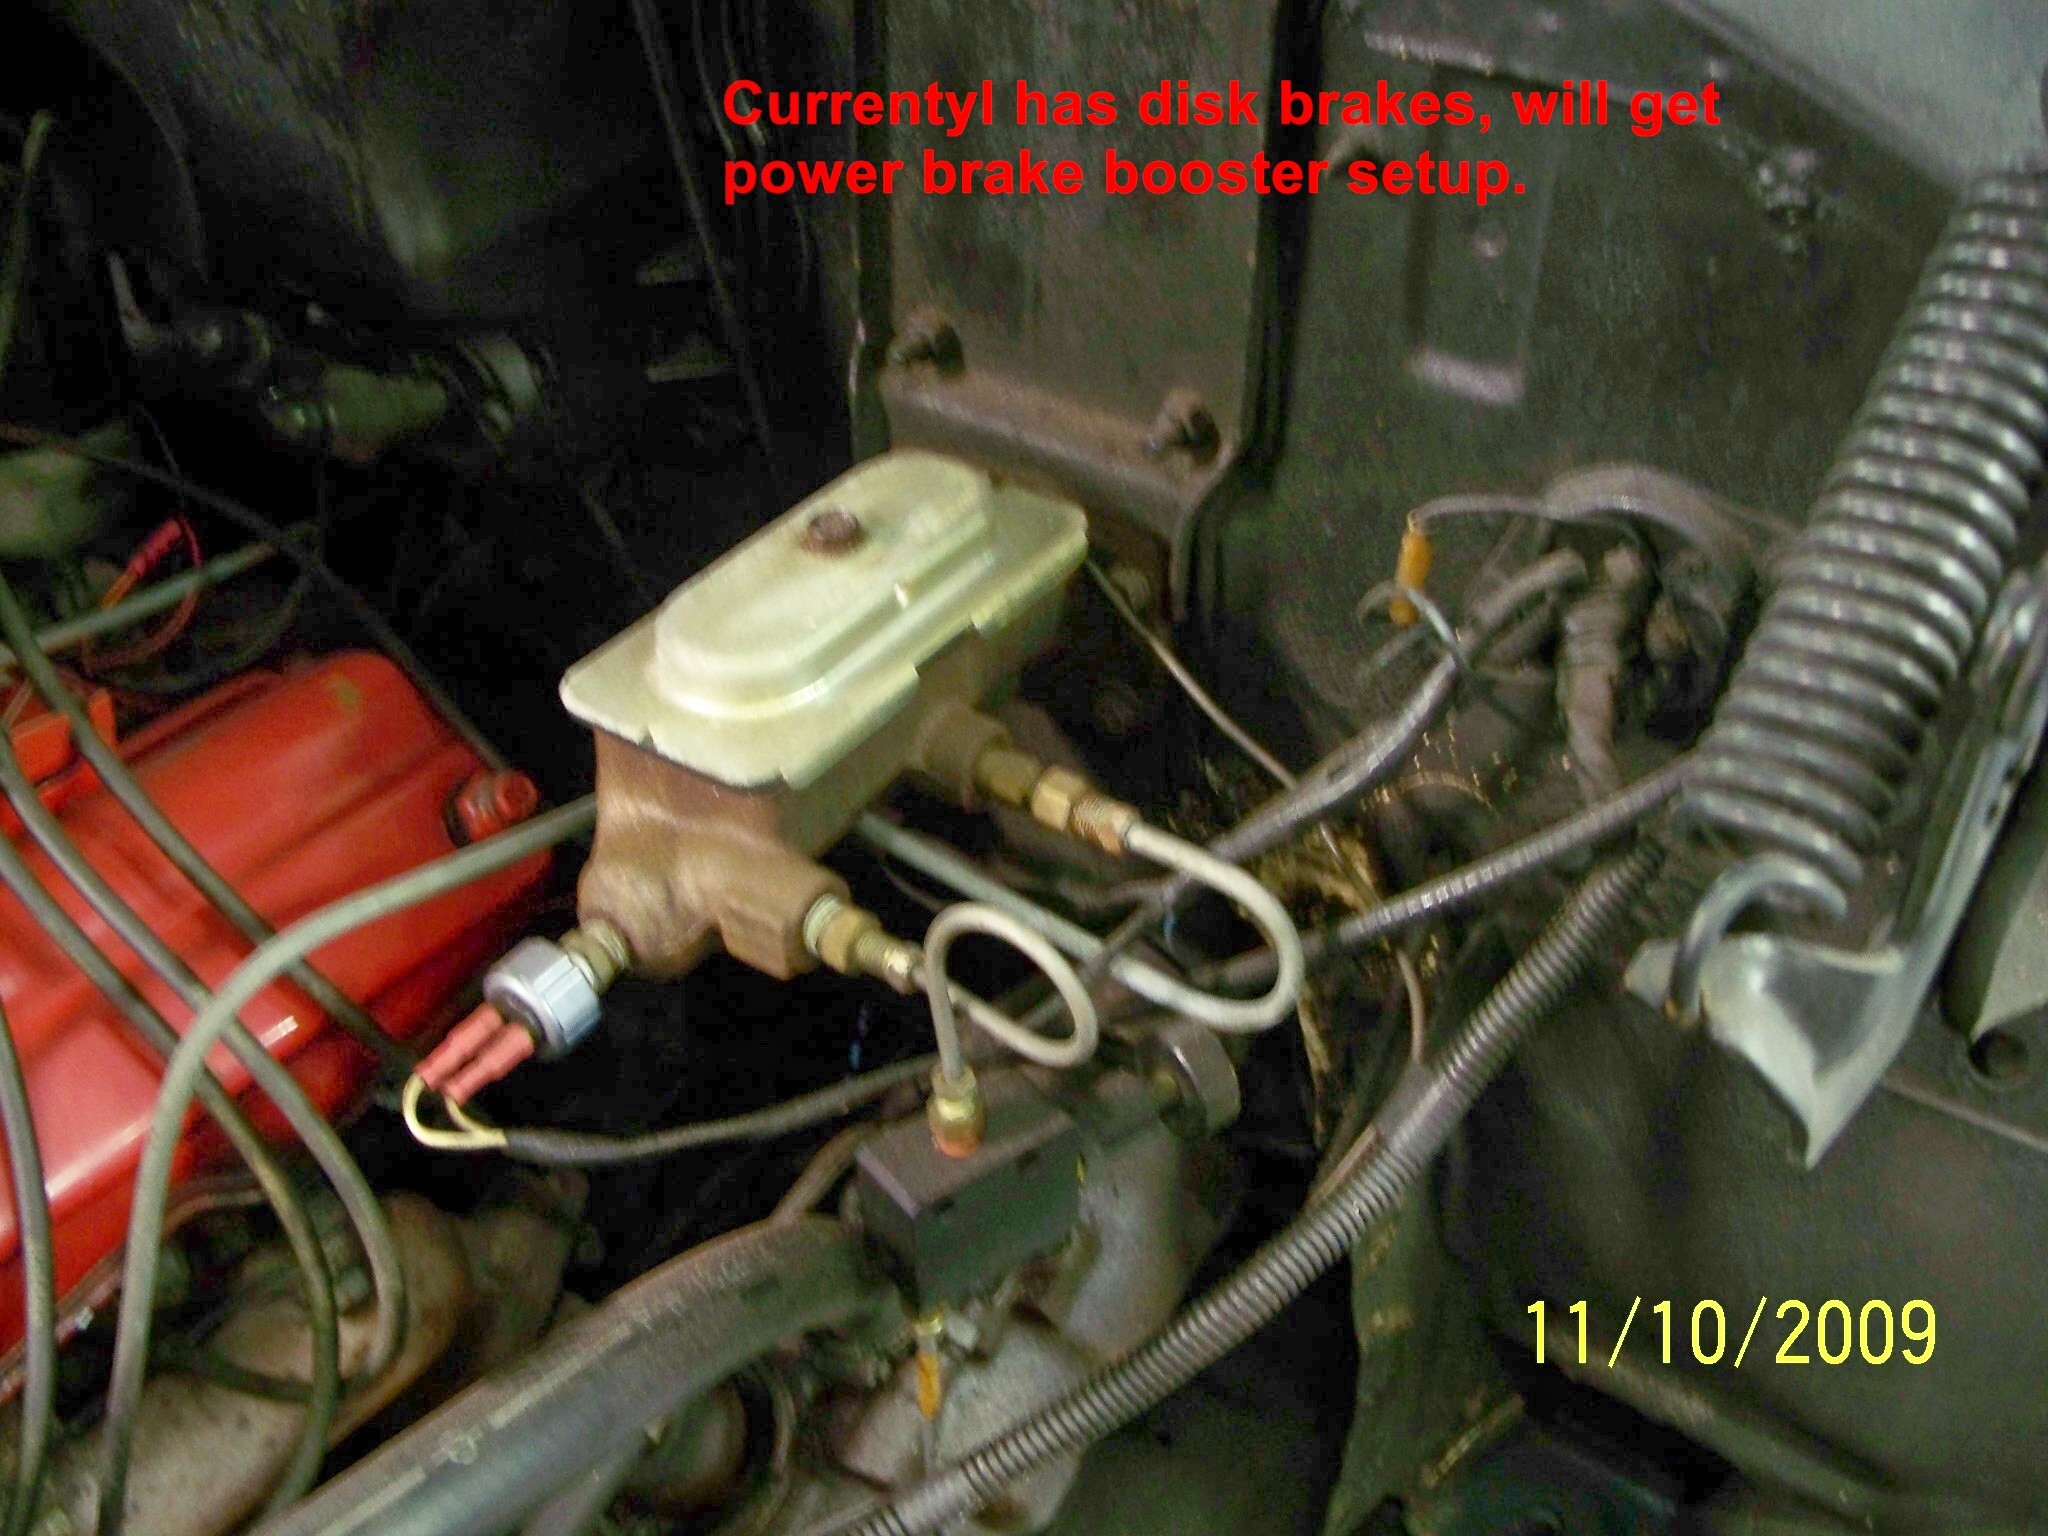
Very ambitious Dick. Noticed you currently have front disks, but are planning a booster as well. I’ll be taking close notes of that as i’m currently standing on the pedal ala drums in a feeble attempt to get the old girl to head for the barn!! Keep up the great work!!
Roger - Pretty bad huh, but still very salvagable, I have all the repair panel and elbow grease needed. The most amazing thing is that all the body mounts were gone or desintegrated so badly they were useless. When I get finished you will be proud of me.
Dick.
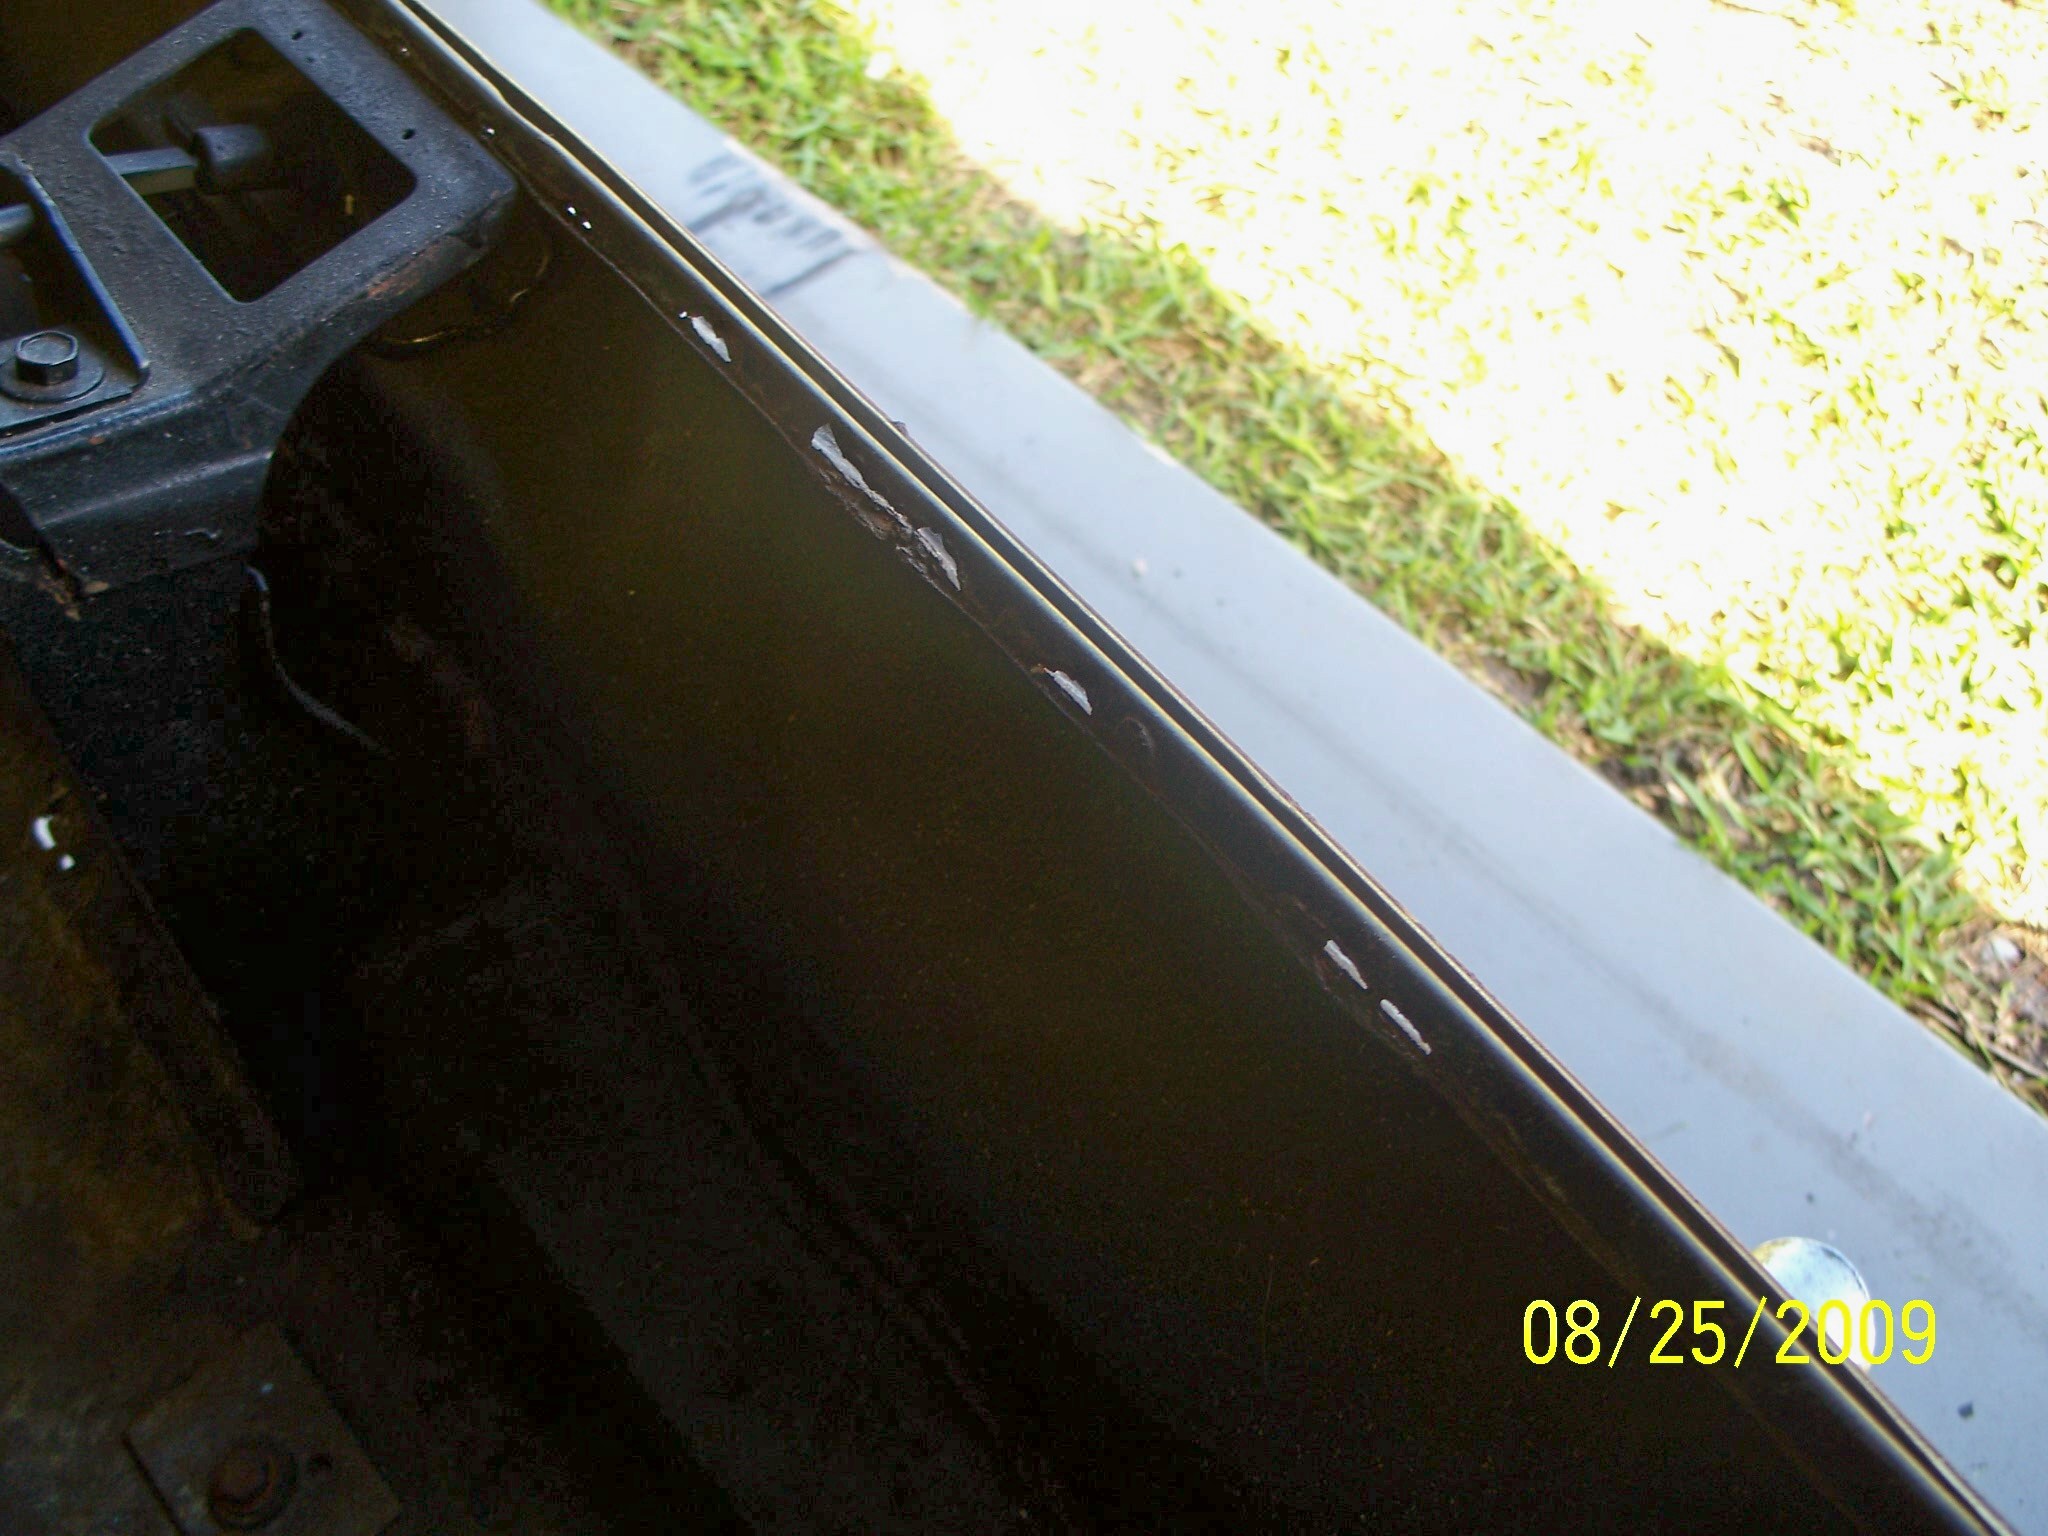
A little bit here, a little bit there, I got the body mounts in, started car to move out of garage and felt the difference immediately in the amount of vibration. Almost none.
Dick.
Dick, great picutres! I am taking notes on the body insulators locations.
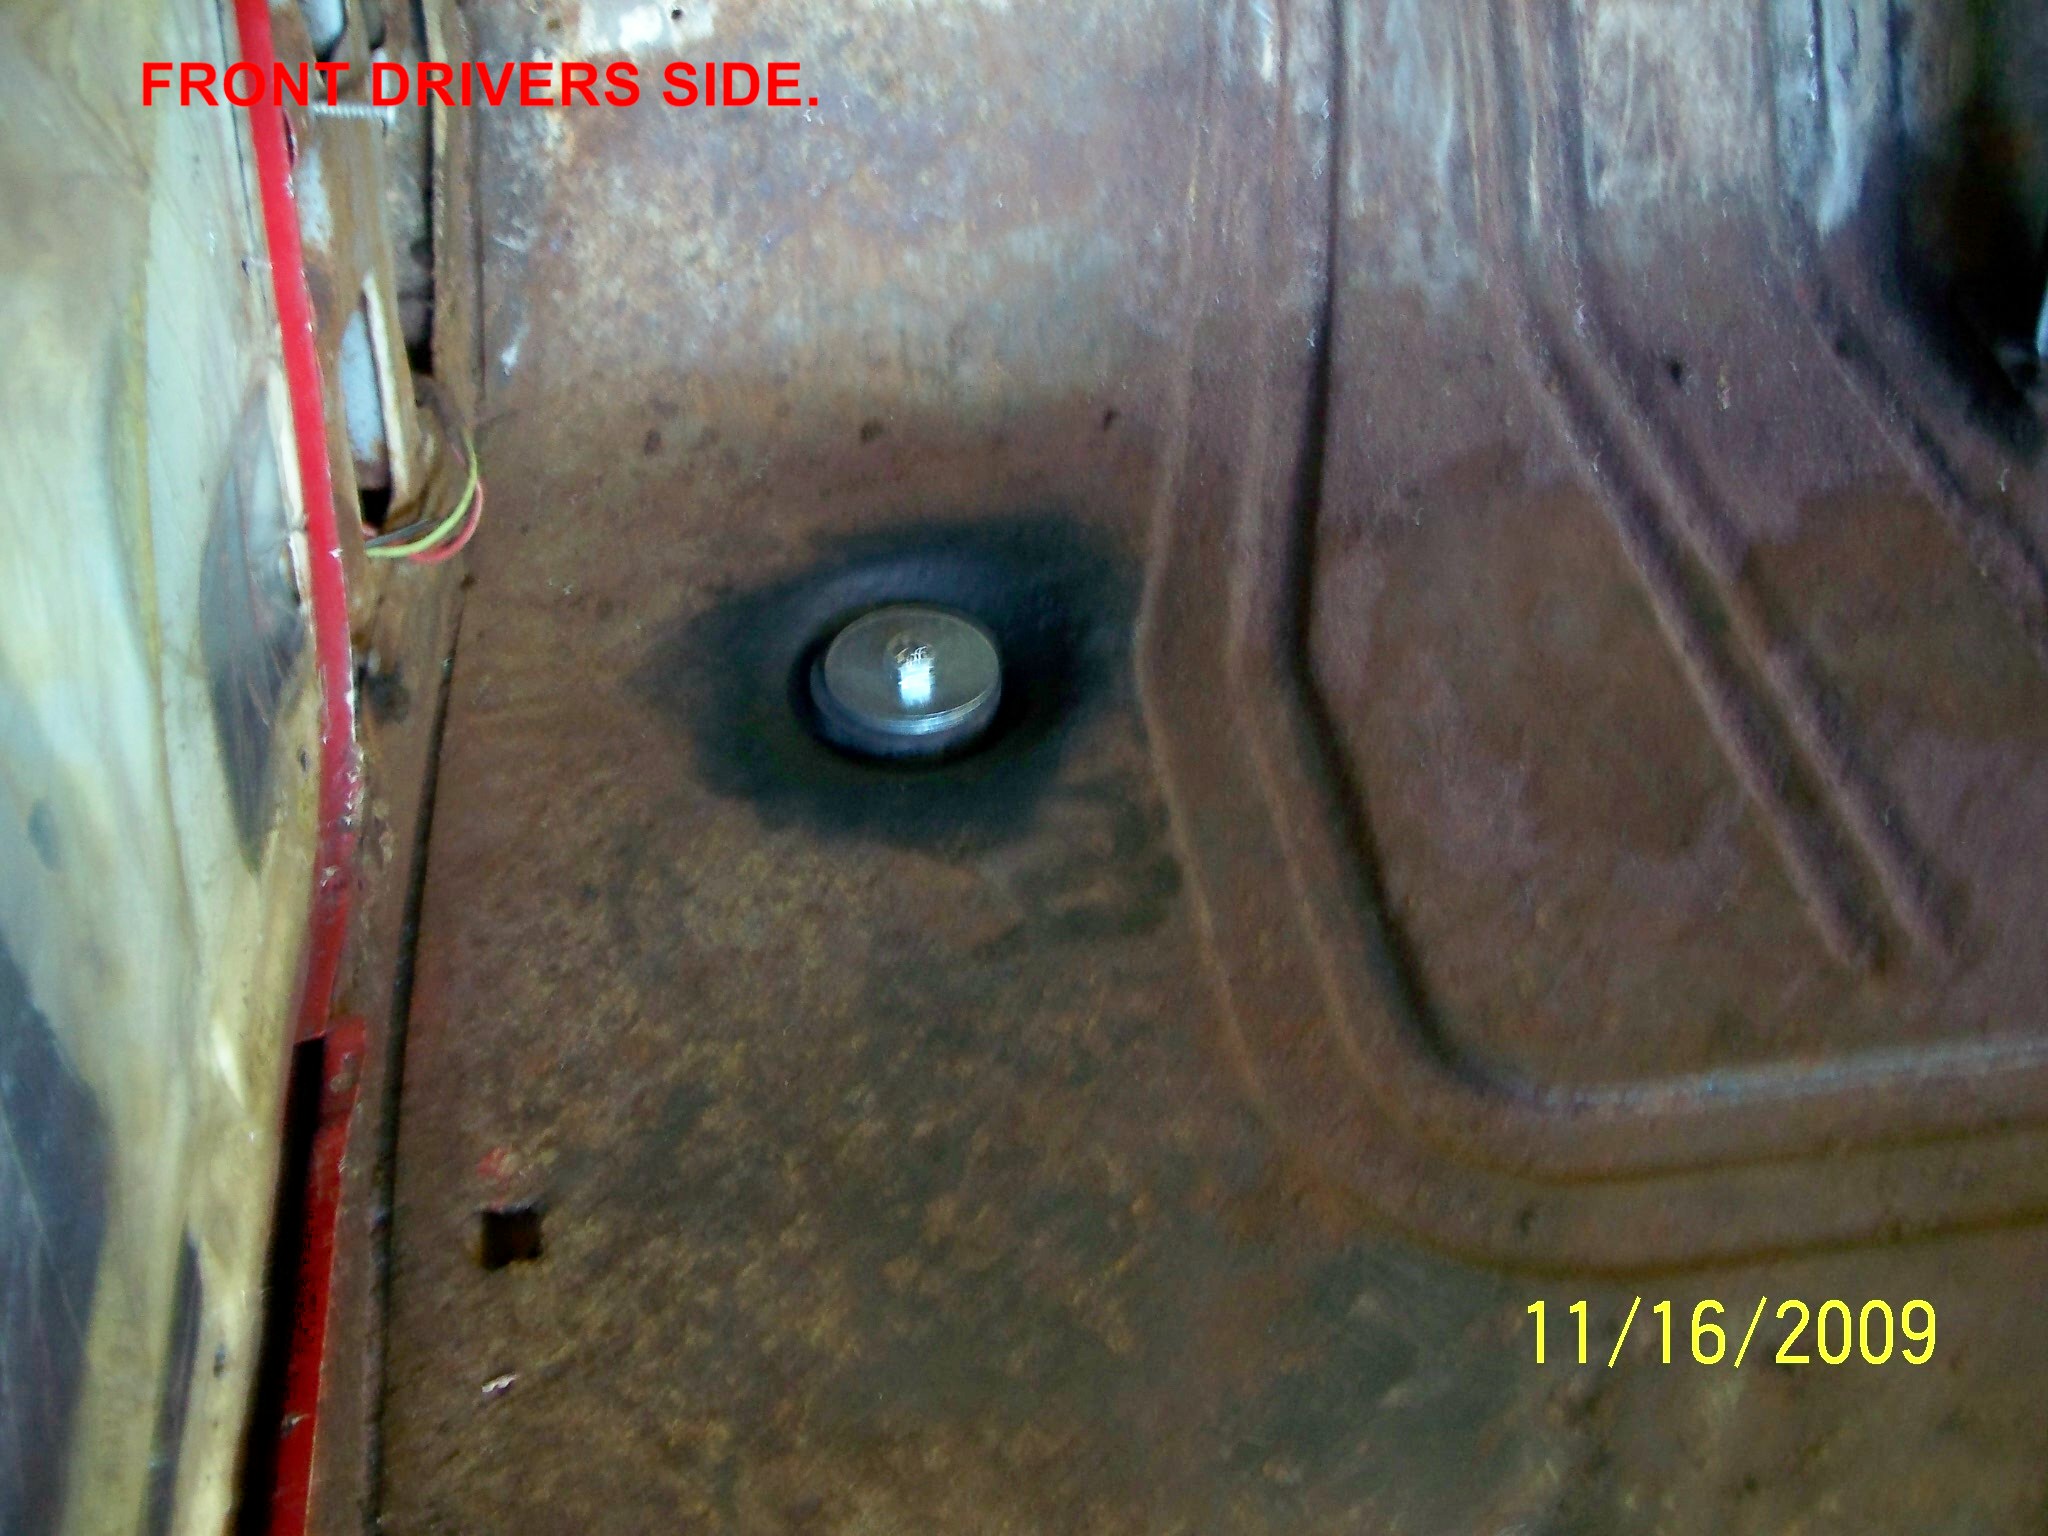
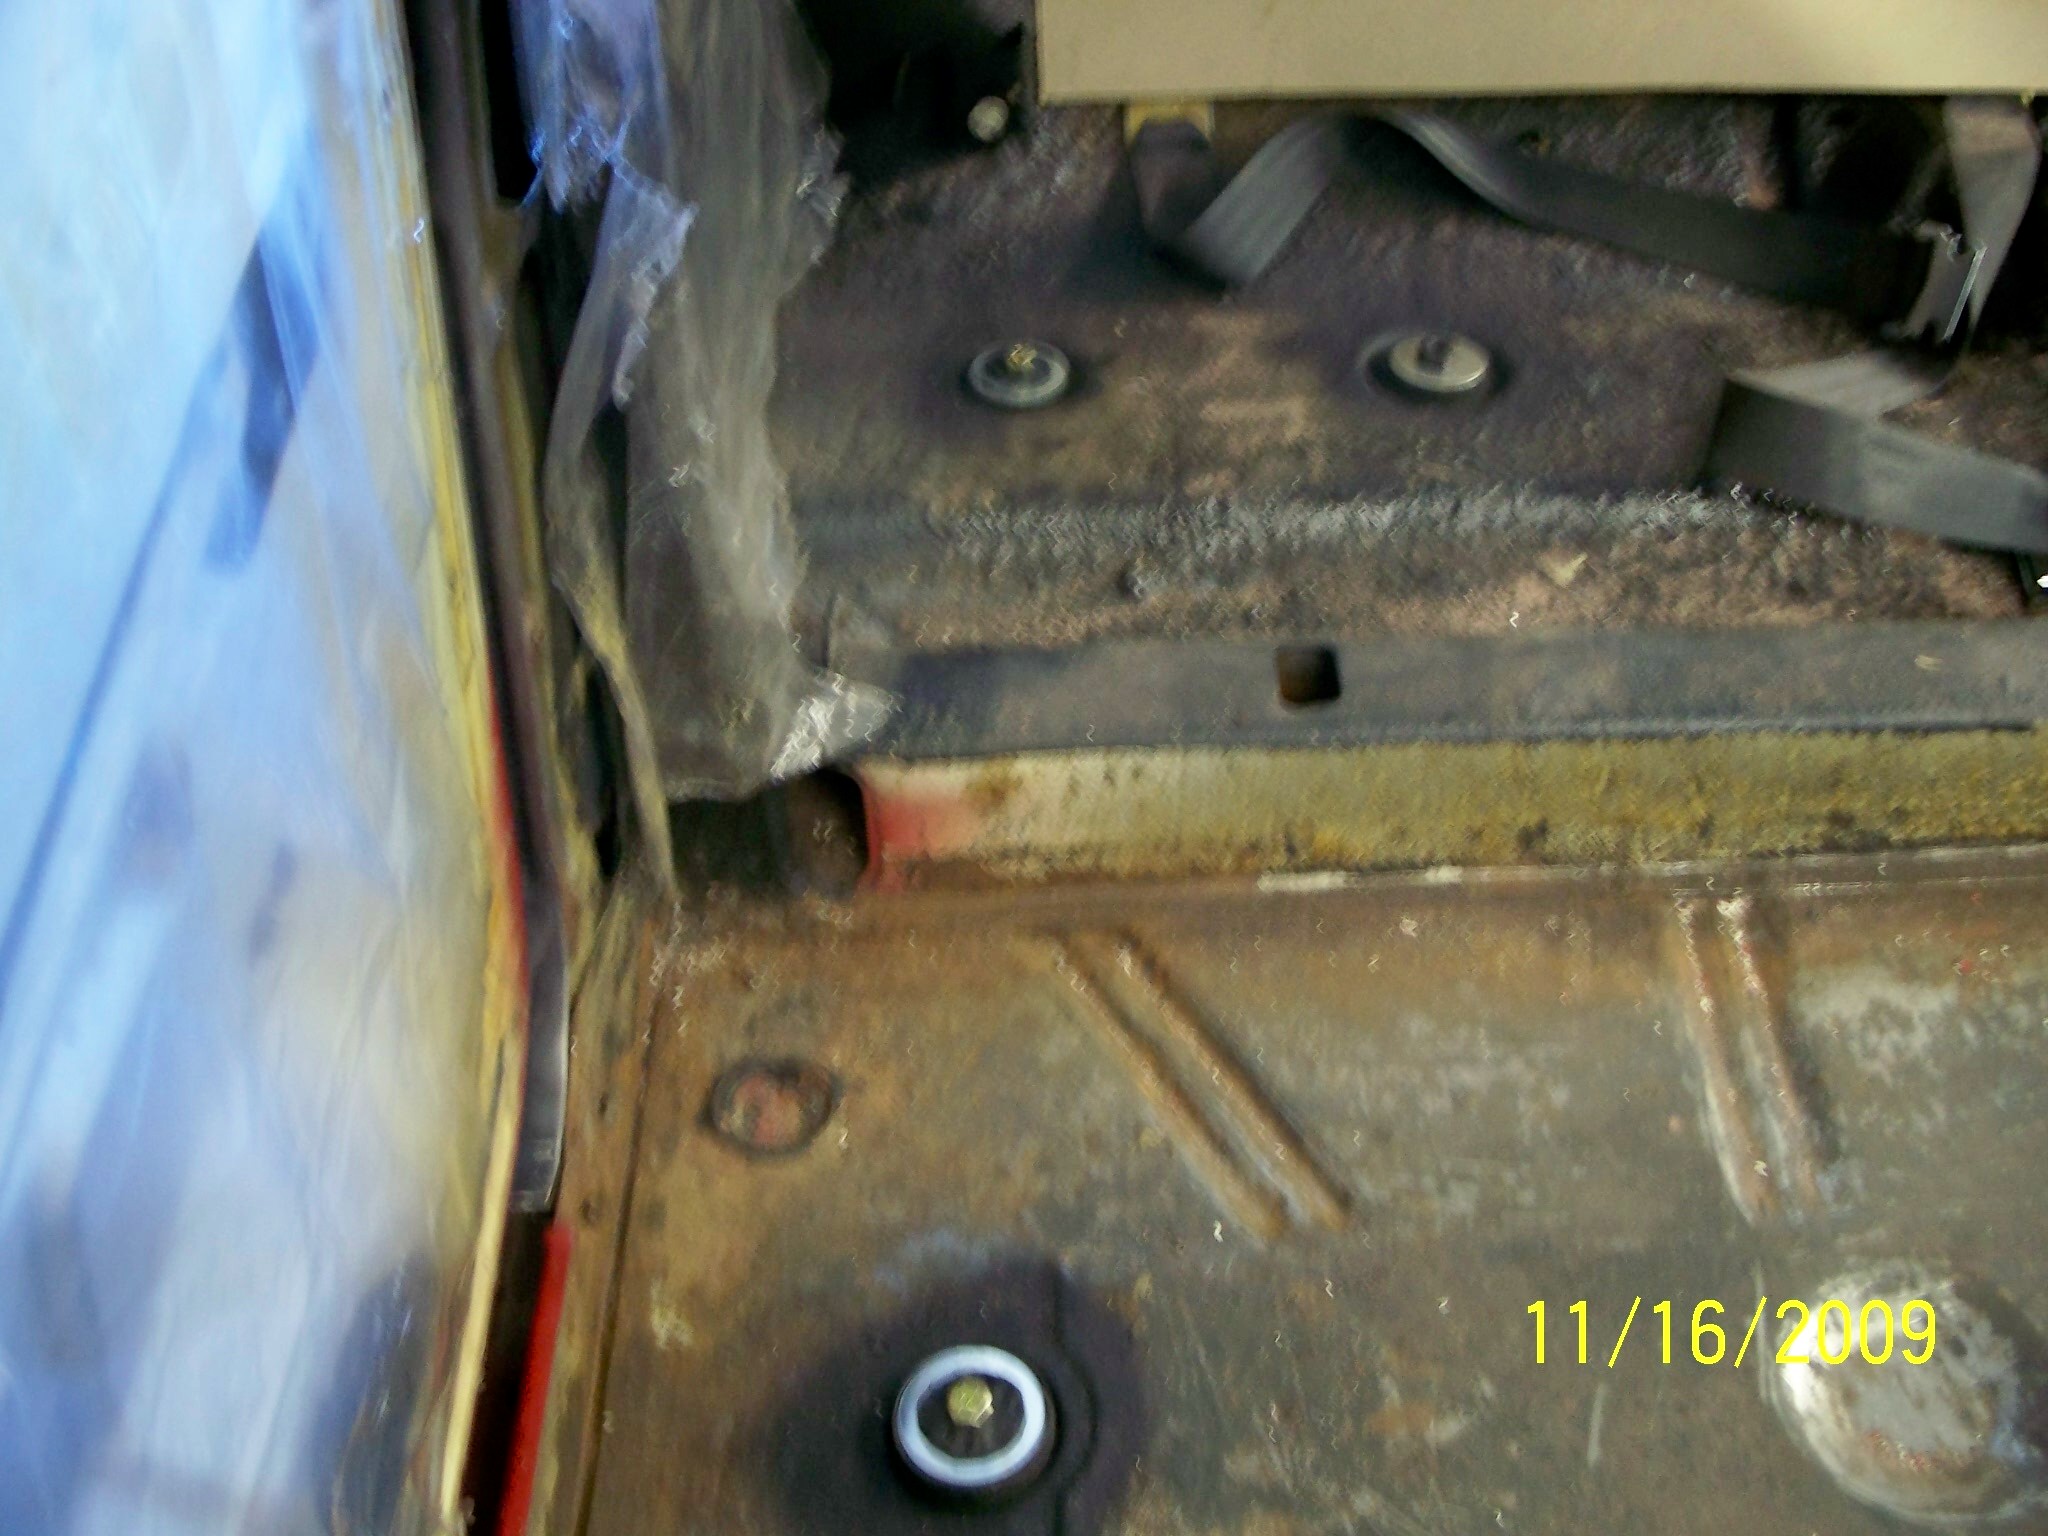
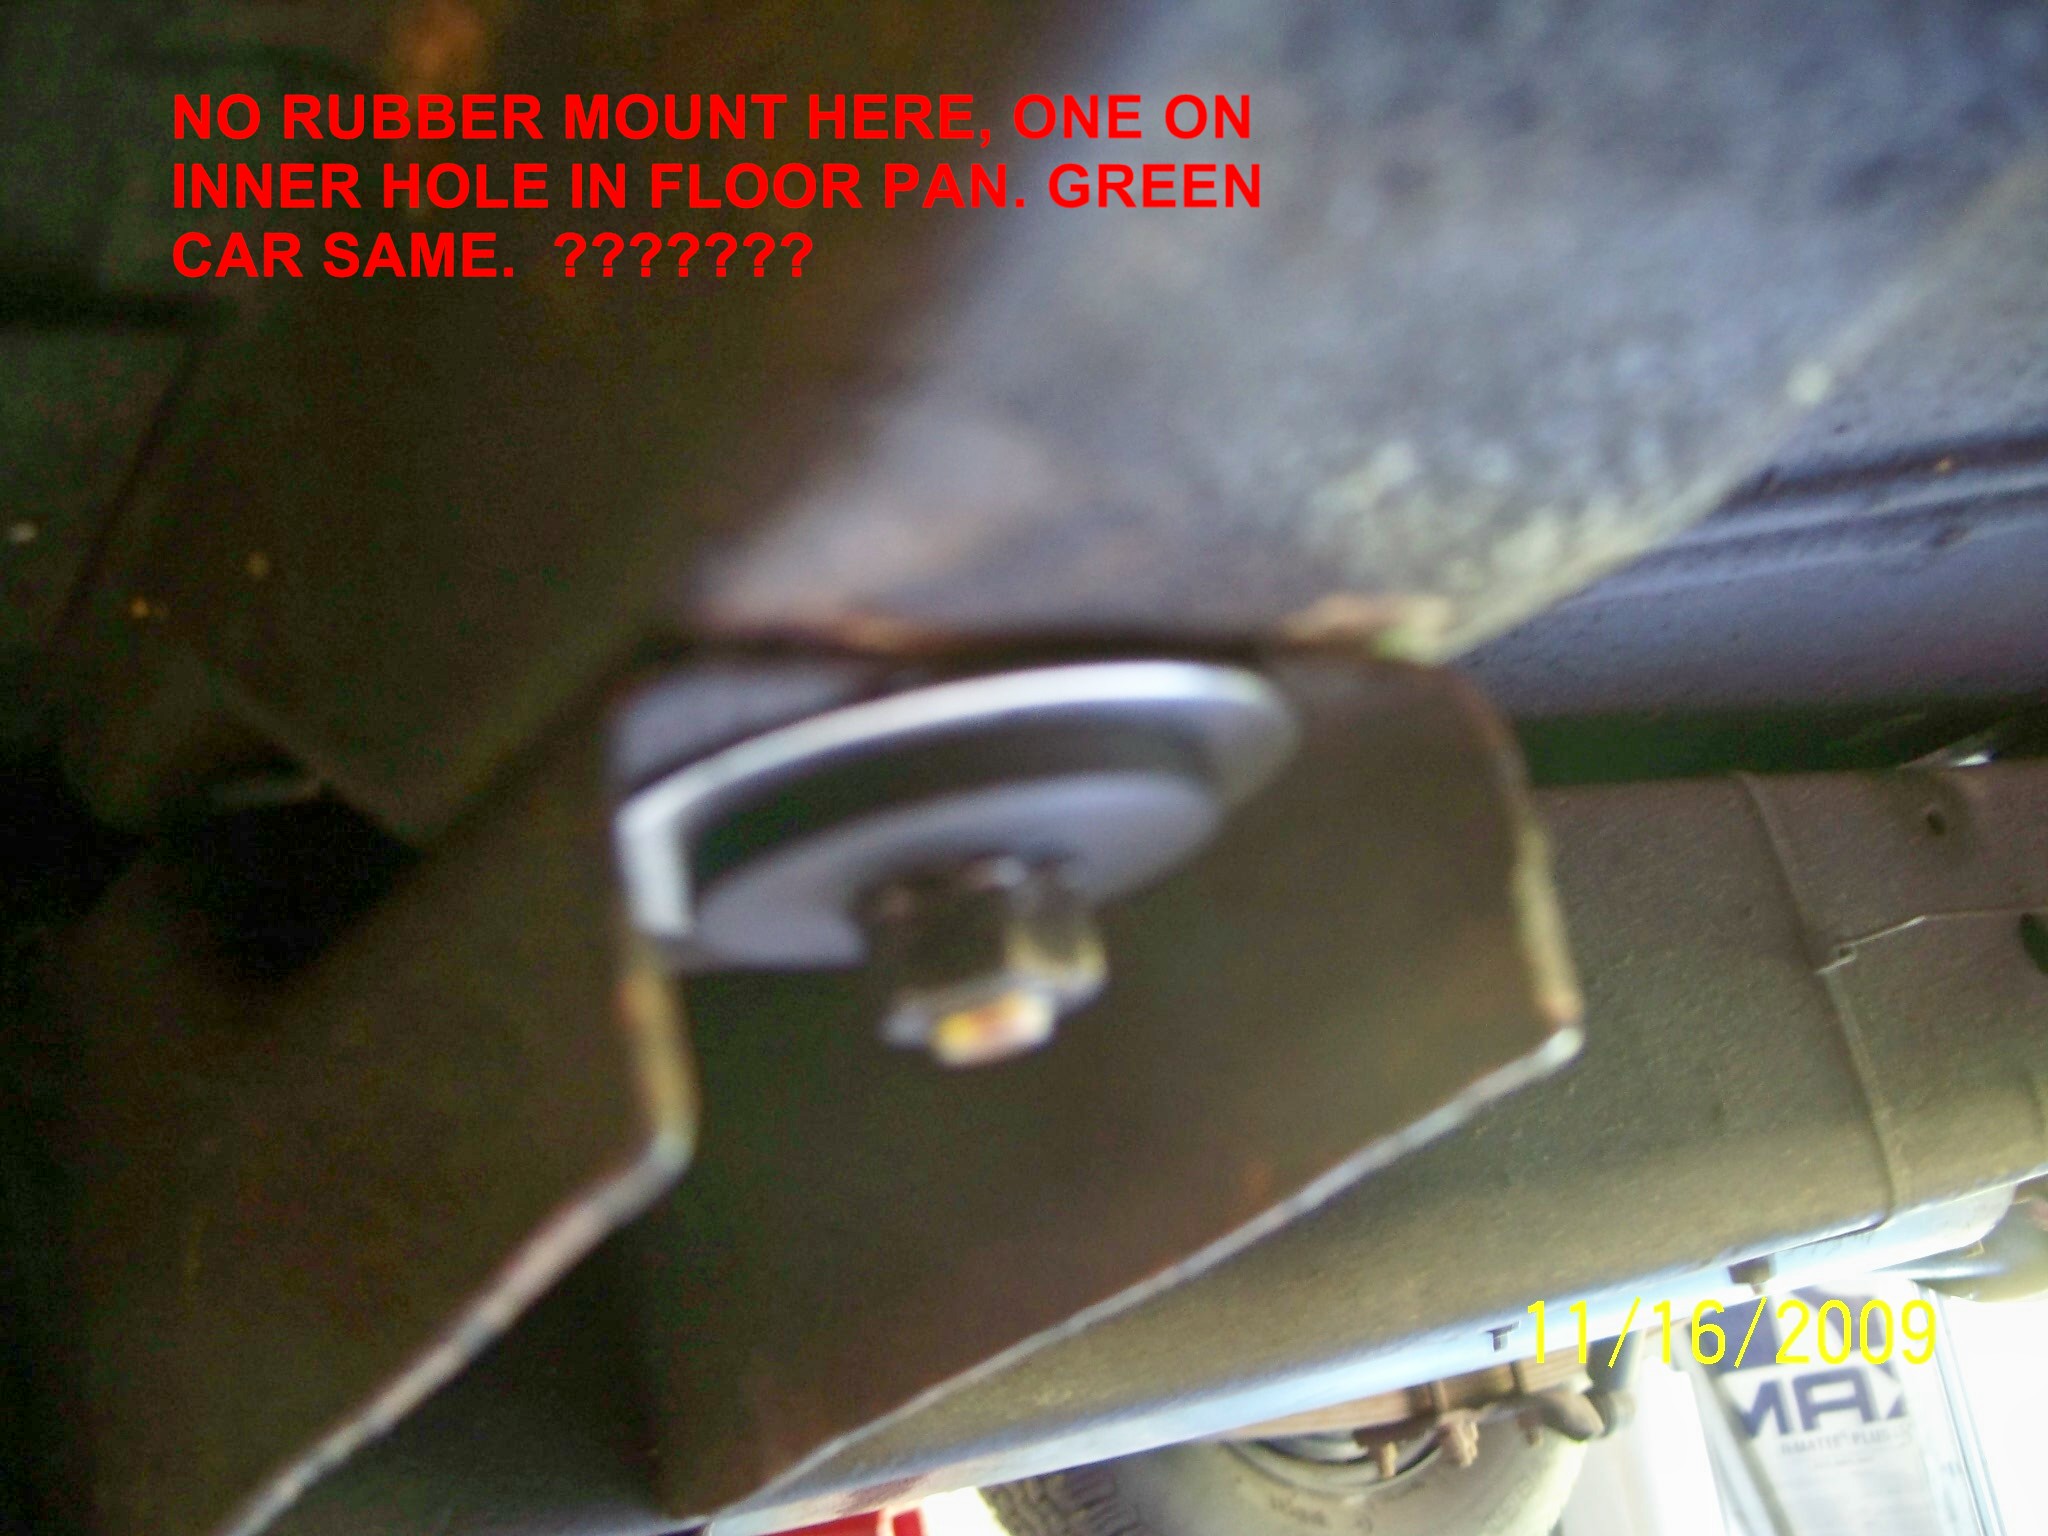
The one that has me scatching my head on is the Drivers Side (and the passenger side too) biscuit inside the car on the floor pan. I can see installing the ones underneath to do, but in the few Finned Dodges, De Soto’s and my 59 that I have seen, the big fender washer is making contact with the floor boards with no rubber bushing present. Maybe mine rotted away and previous owner(s) just tightened it down some more rather then getting a replacement biscuit. Was there a bushing there when you started on it? How about your green SF? Was there a bushing there?
Keep the pictures coming! I just ordered my insulator bushings today. Should be here next week for me to follow your instructions! Learning from you guys a lot!
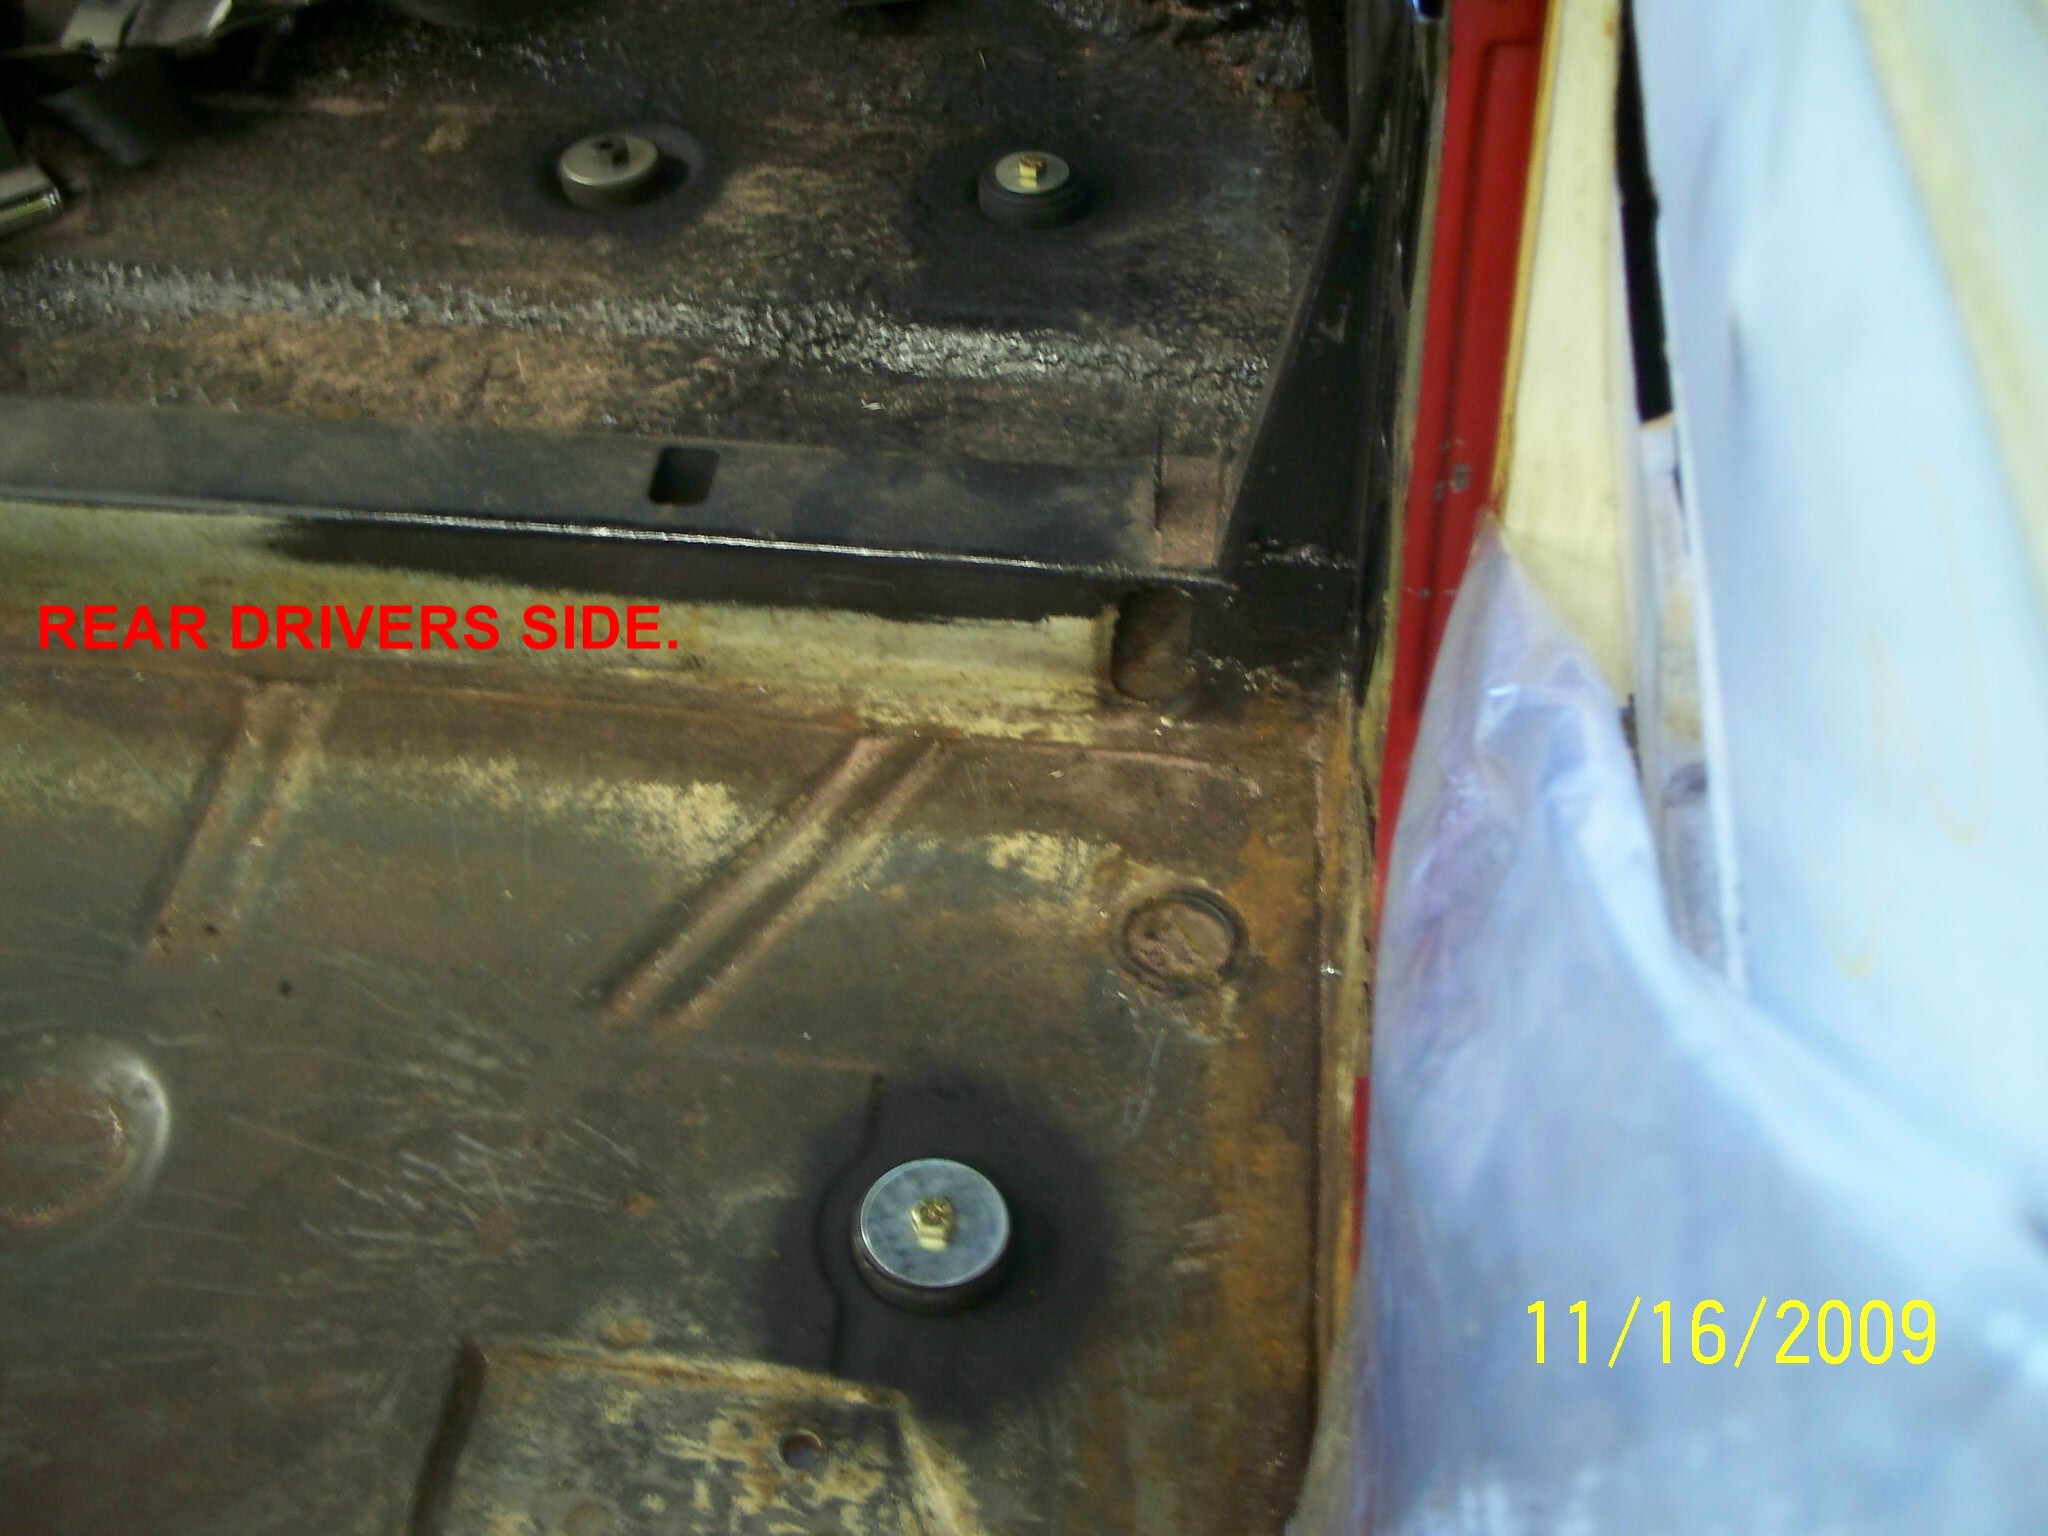
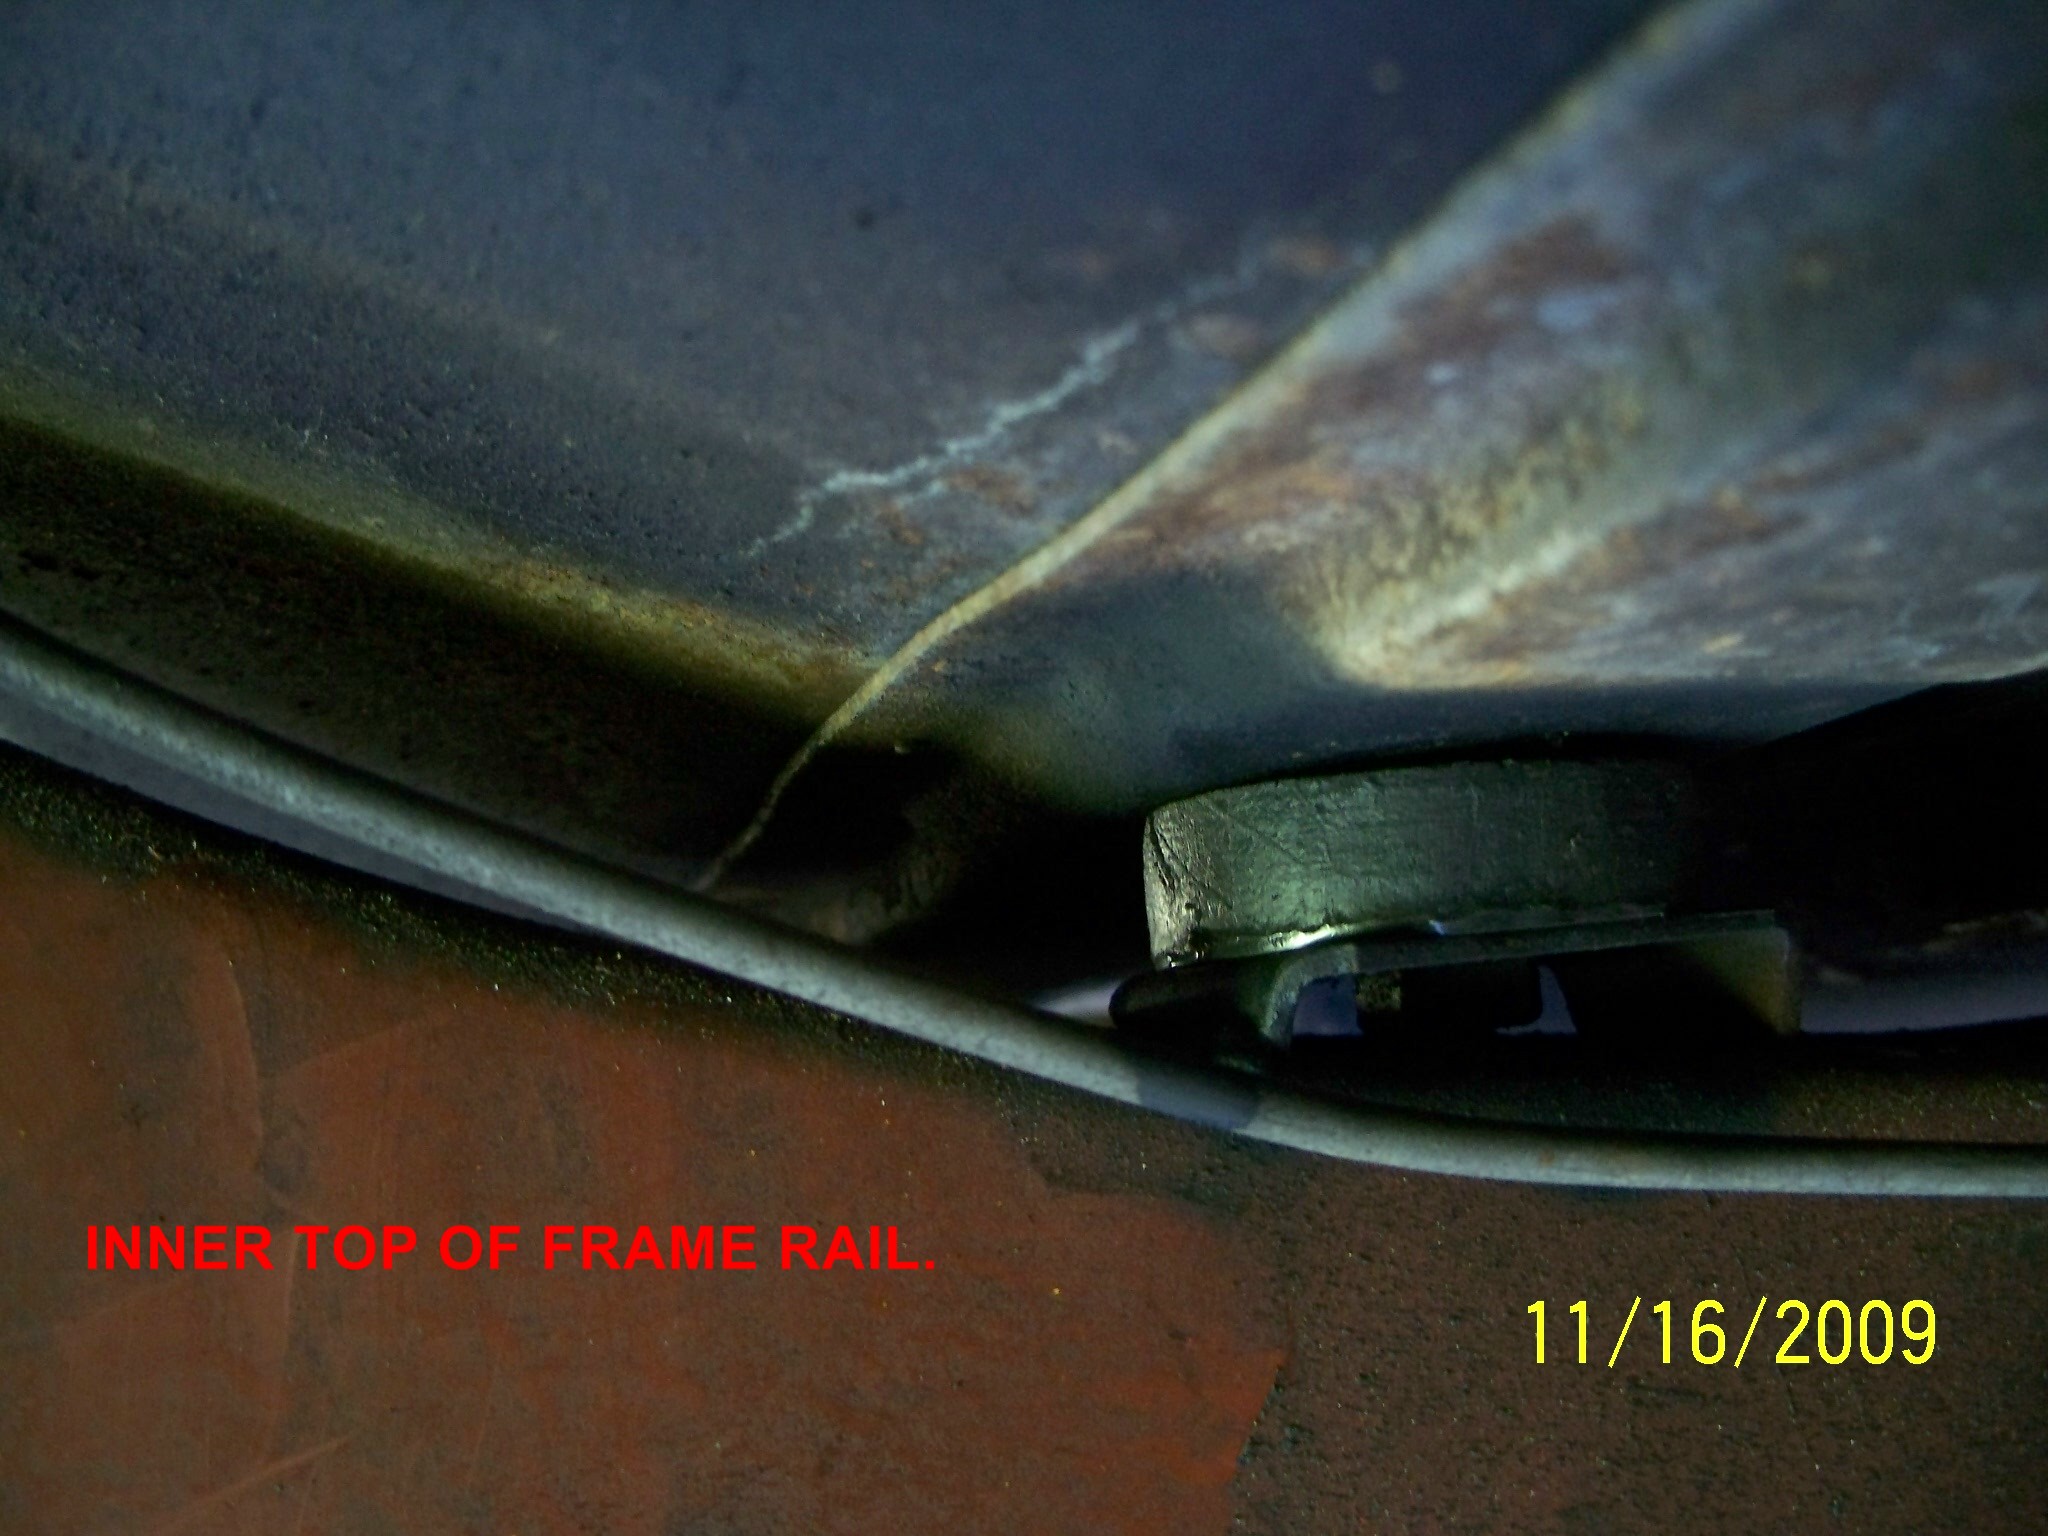
John - I had a hard time figuring out what goes where. Thank God I had the green car to reference. The inner bisquits are to isolate the floor pan from the frame or frame brackets. The bottom bisquits are to isolate the frame brackets from the floor pan. some take two, some take three. What’s baffeling to me is the one at the door opening and the very front one which is metal to metal. Go figure. Where there is a 3/4" hole it takes a bisquit with a protrusion to isolate the bolt from the metal so as to not pick up any noise or vibration. Where the heavy washers contact metal it’s for more support, as long as there is a bisquit there the vibration and noise is absorbed. All I know is it works.
Regards,
Dick.
Good morning Dick, Thanks for the clarification. If it works for yours, then it should work for mine too!
A friend of mine here in Denver just bought a 57 De Soto Fire Dome Convert that has been in storage by the original owner since 1986, It is a rubber mat interior car like mine. I am going over to his shop some time this week to see if I can take some pictures of his mounts just for grins.
Either way, I am going to duplicate your method of where to put the isolaters. Looks like I need to buy a couple more isolators.
Hello Dick,
This info is great. Hopefully Dn can put a tag on this thread so people interested in body mounts, etc can read this.
Dick, I how you can"flesh out" your experience with rubber body cushions…it has not been made clear what you ordered, from whom, what arrived, and how you applied such parts to your restoration.
O K - I will try to remember. Where possible use a bisquit with a protrustion in 3/4" hole in body.
A = Bisquit with protrusion. Gary Goers #339C
B = Plain Bisquit. Gary Goers #294
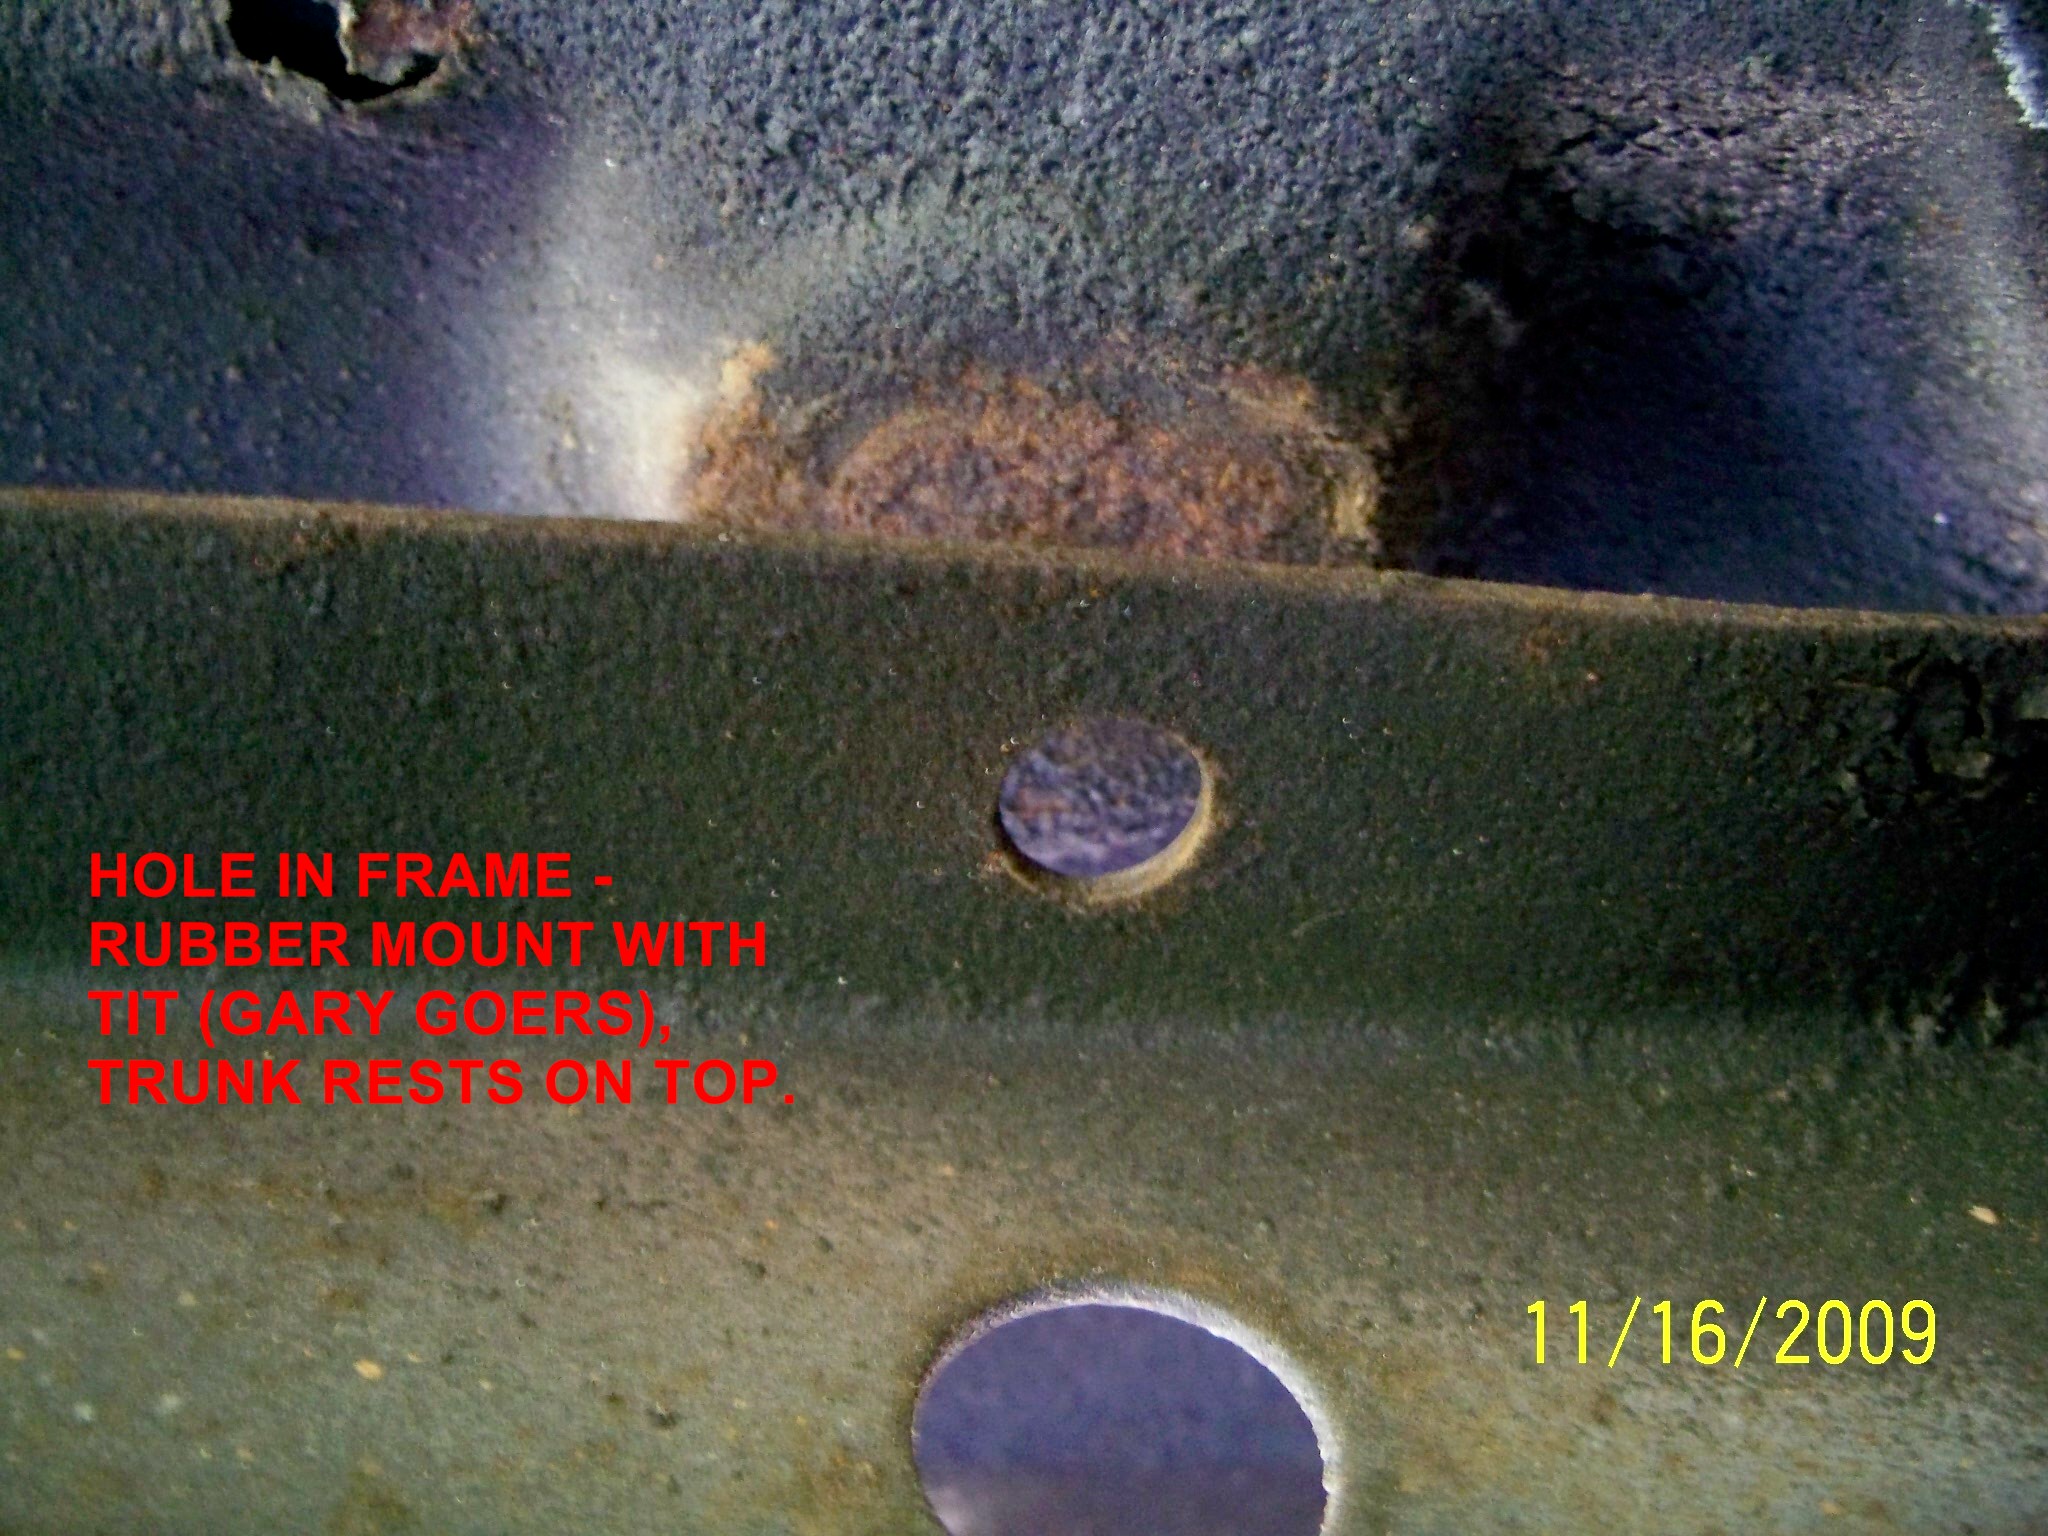
C = Bisquit with tit. Gary Goers #365
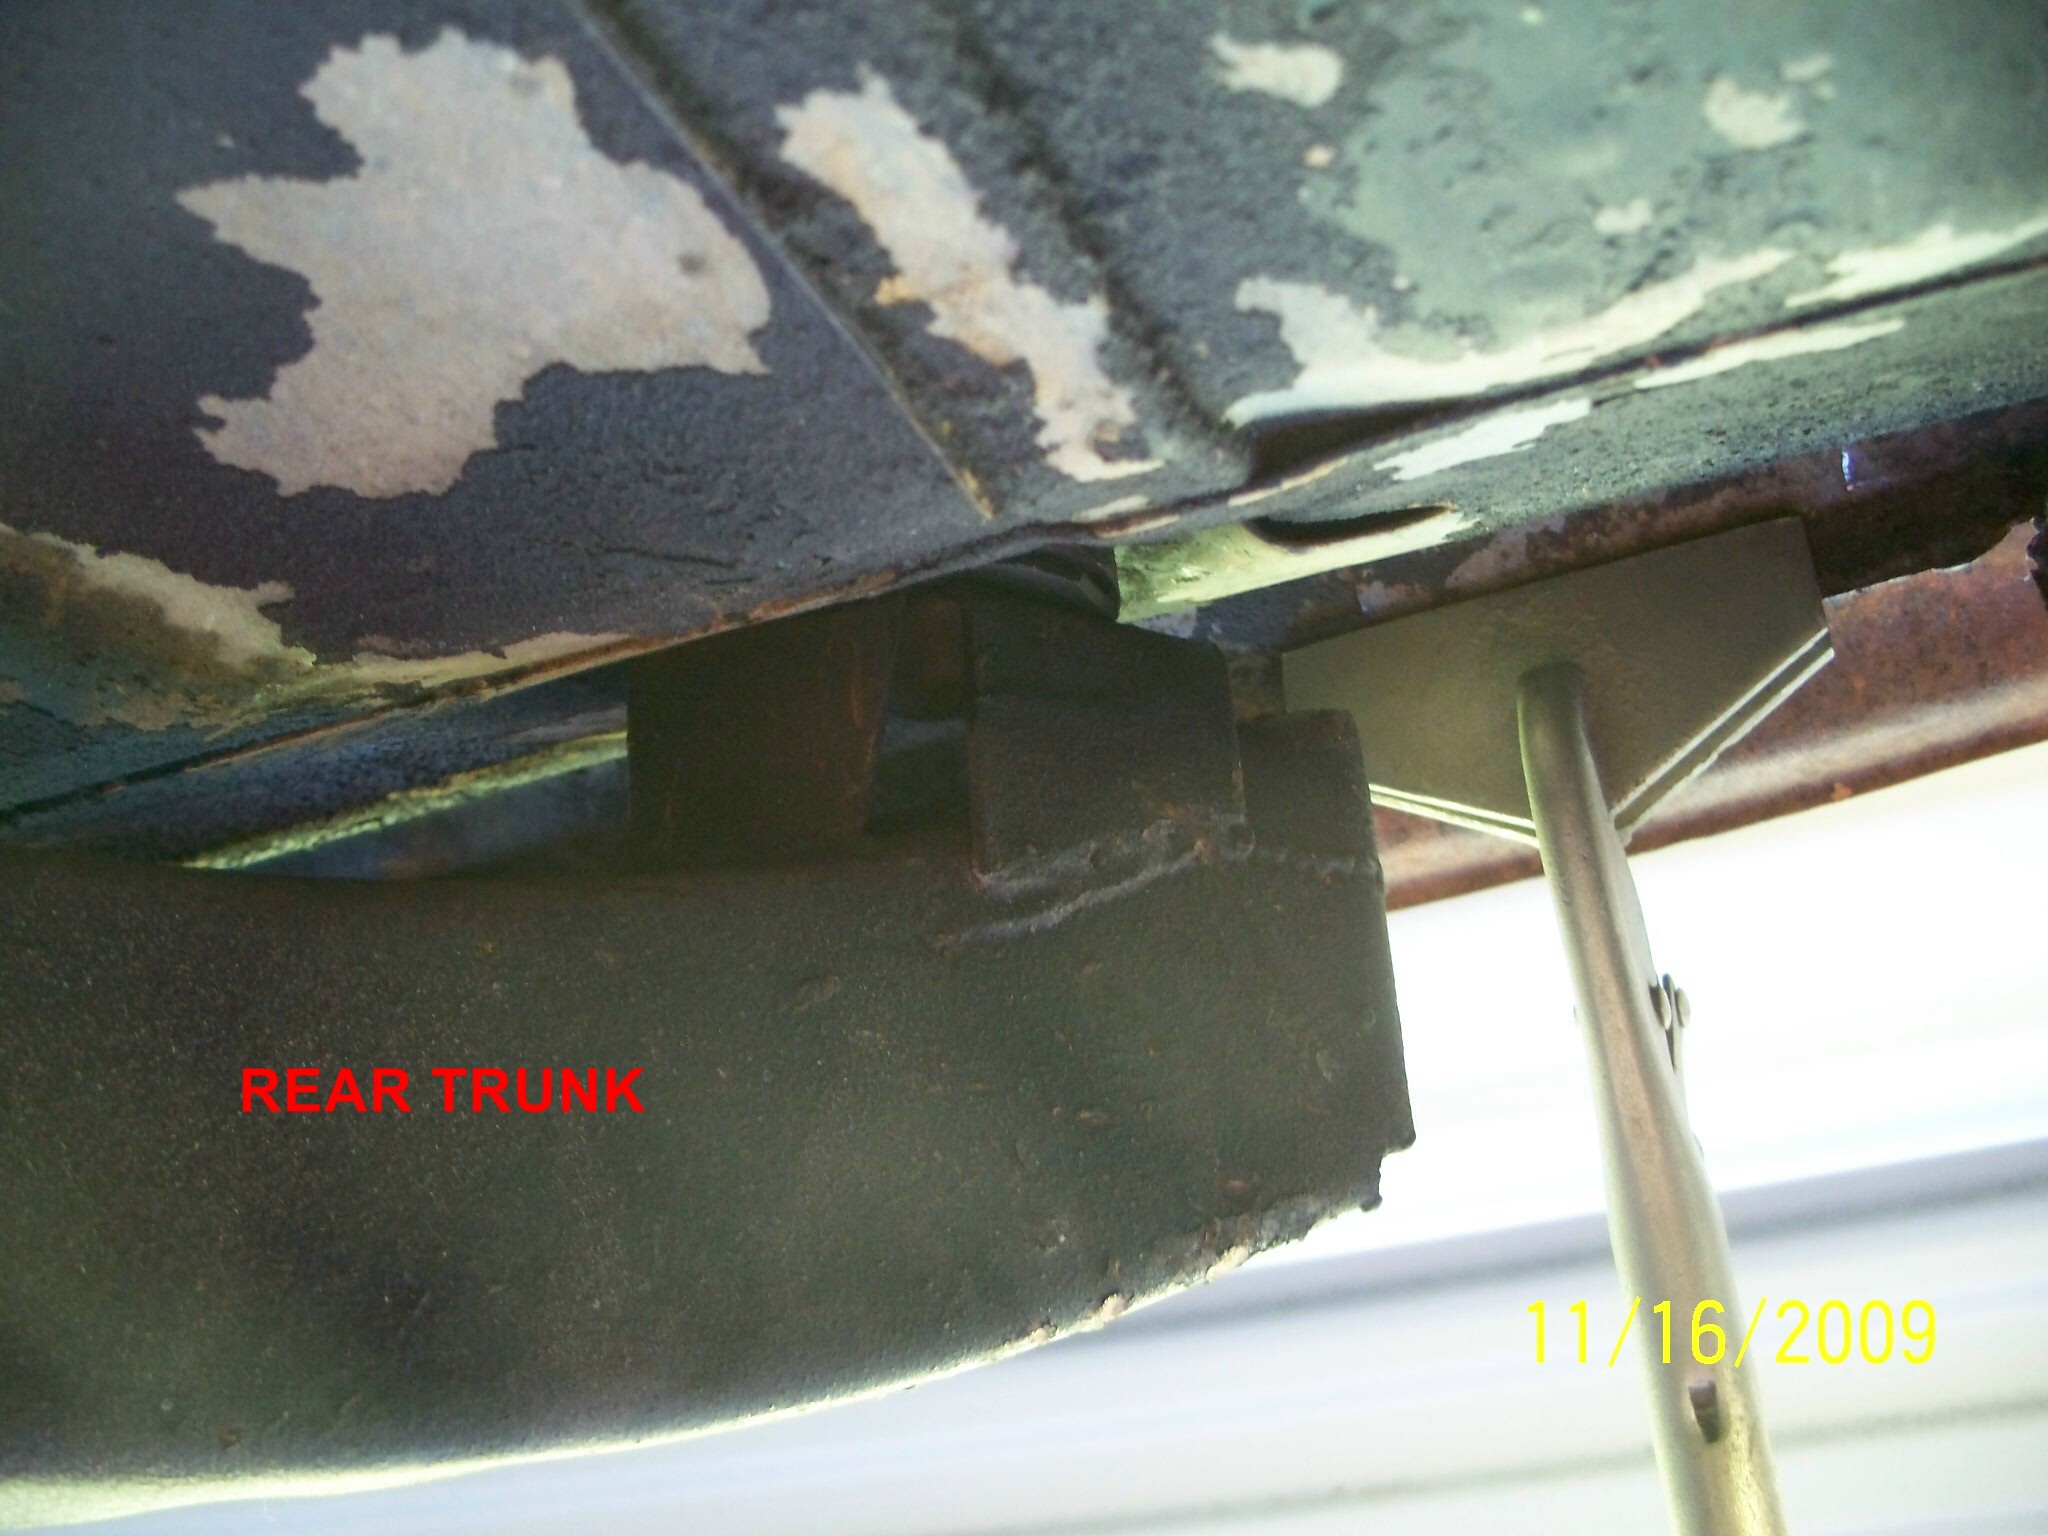
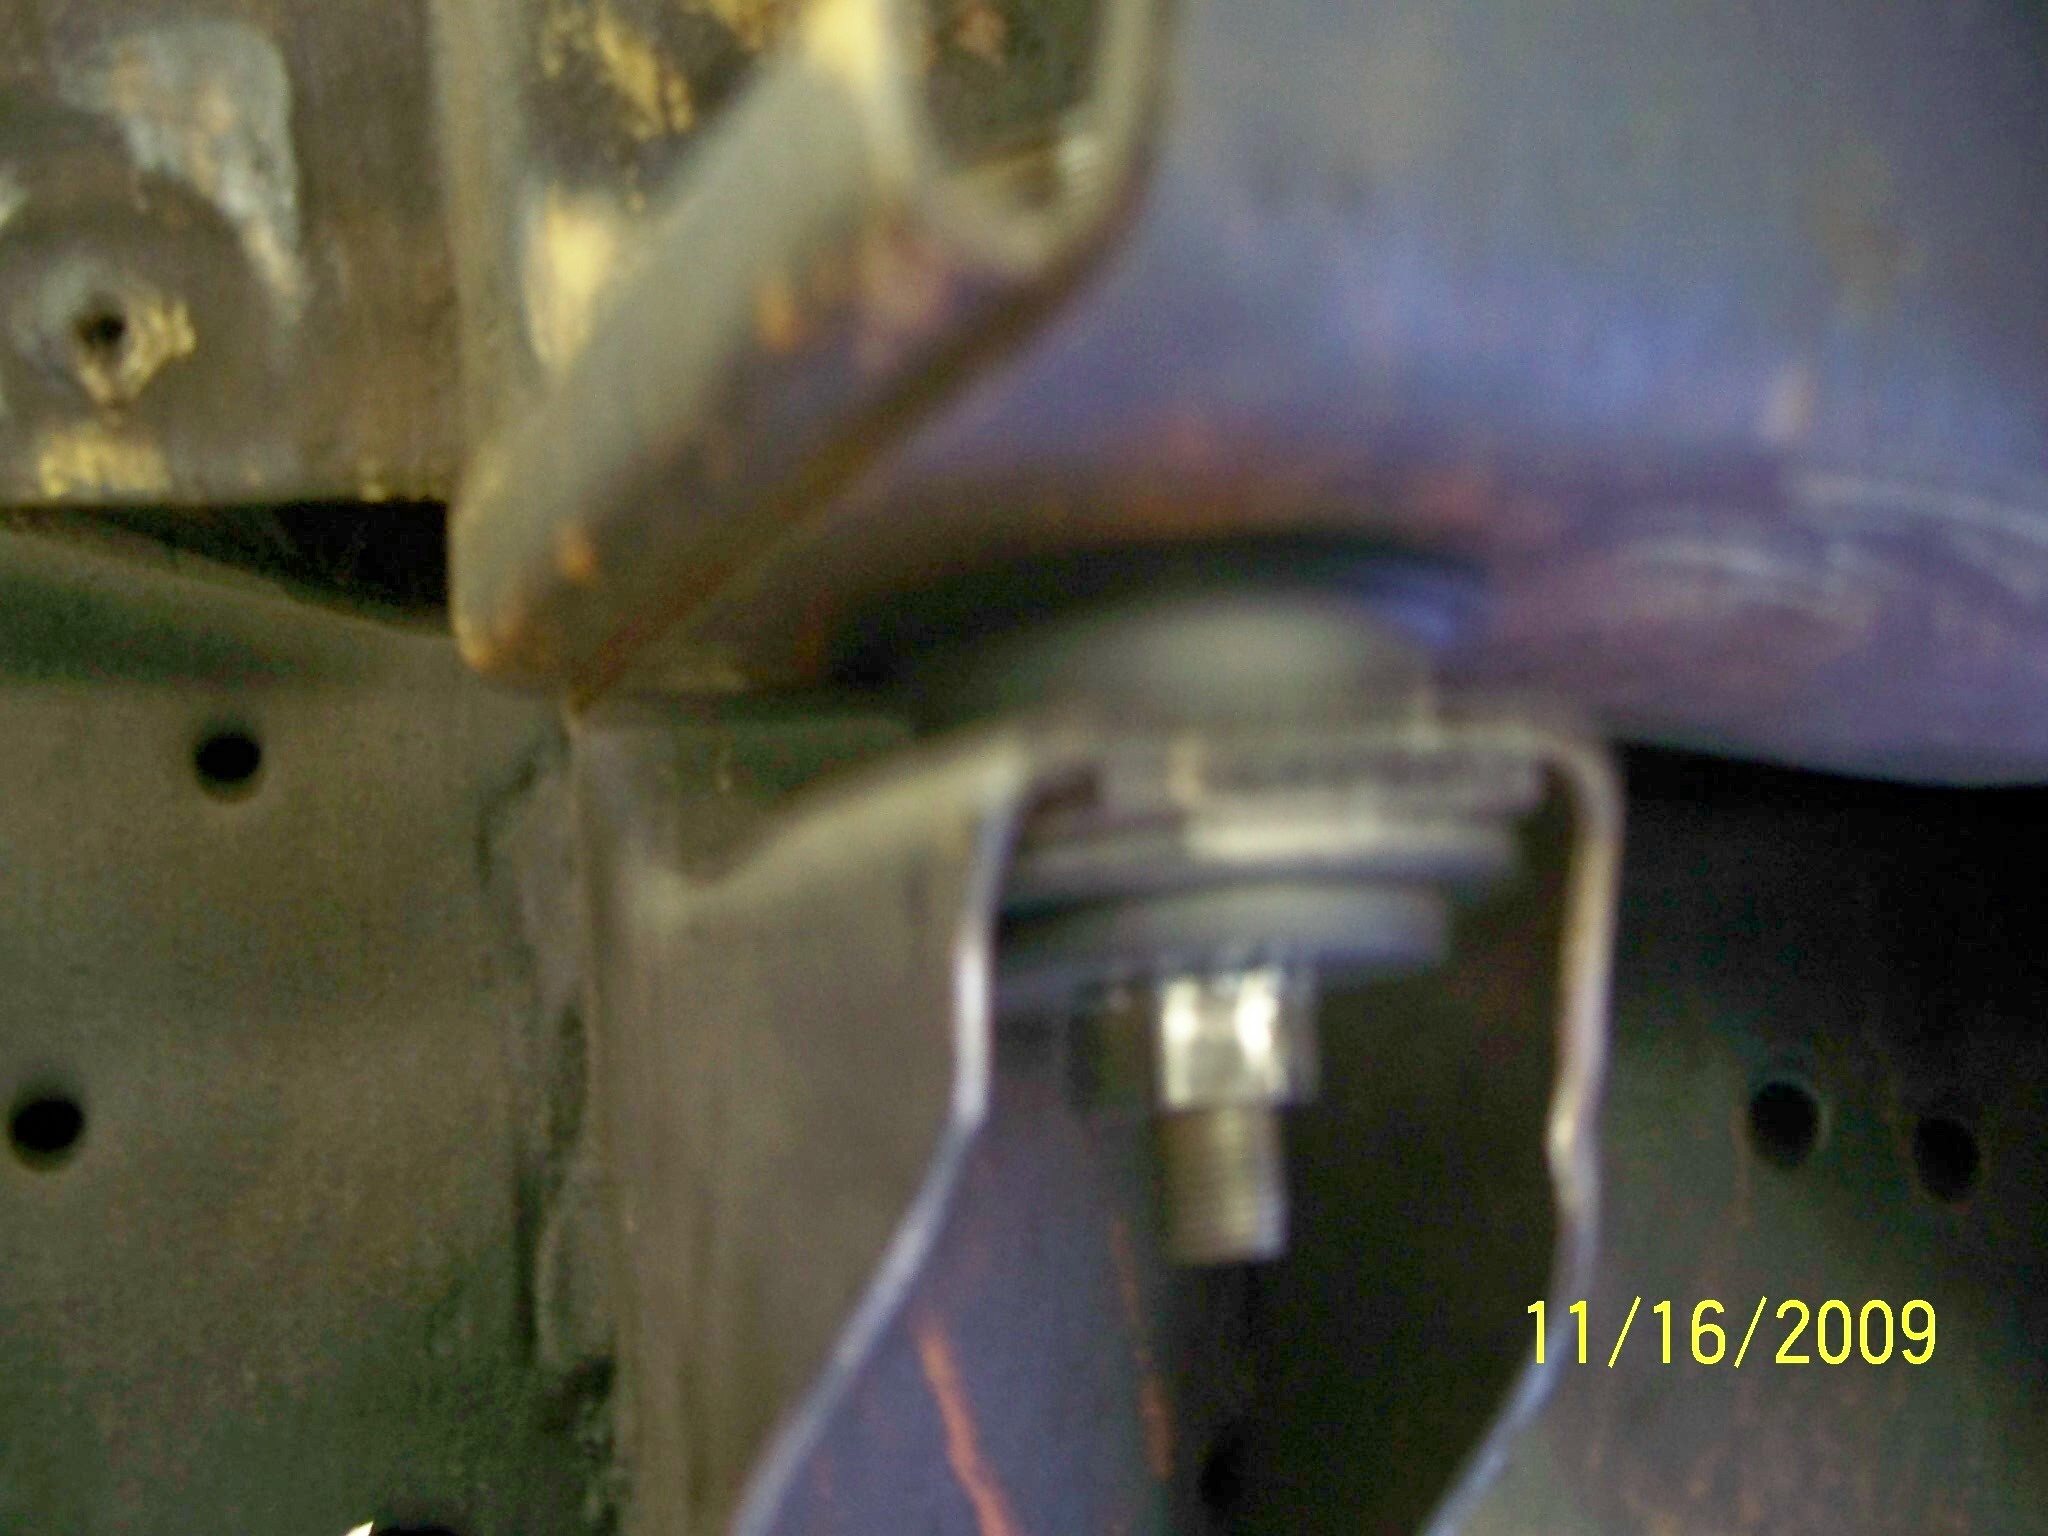
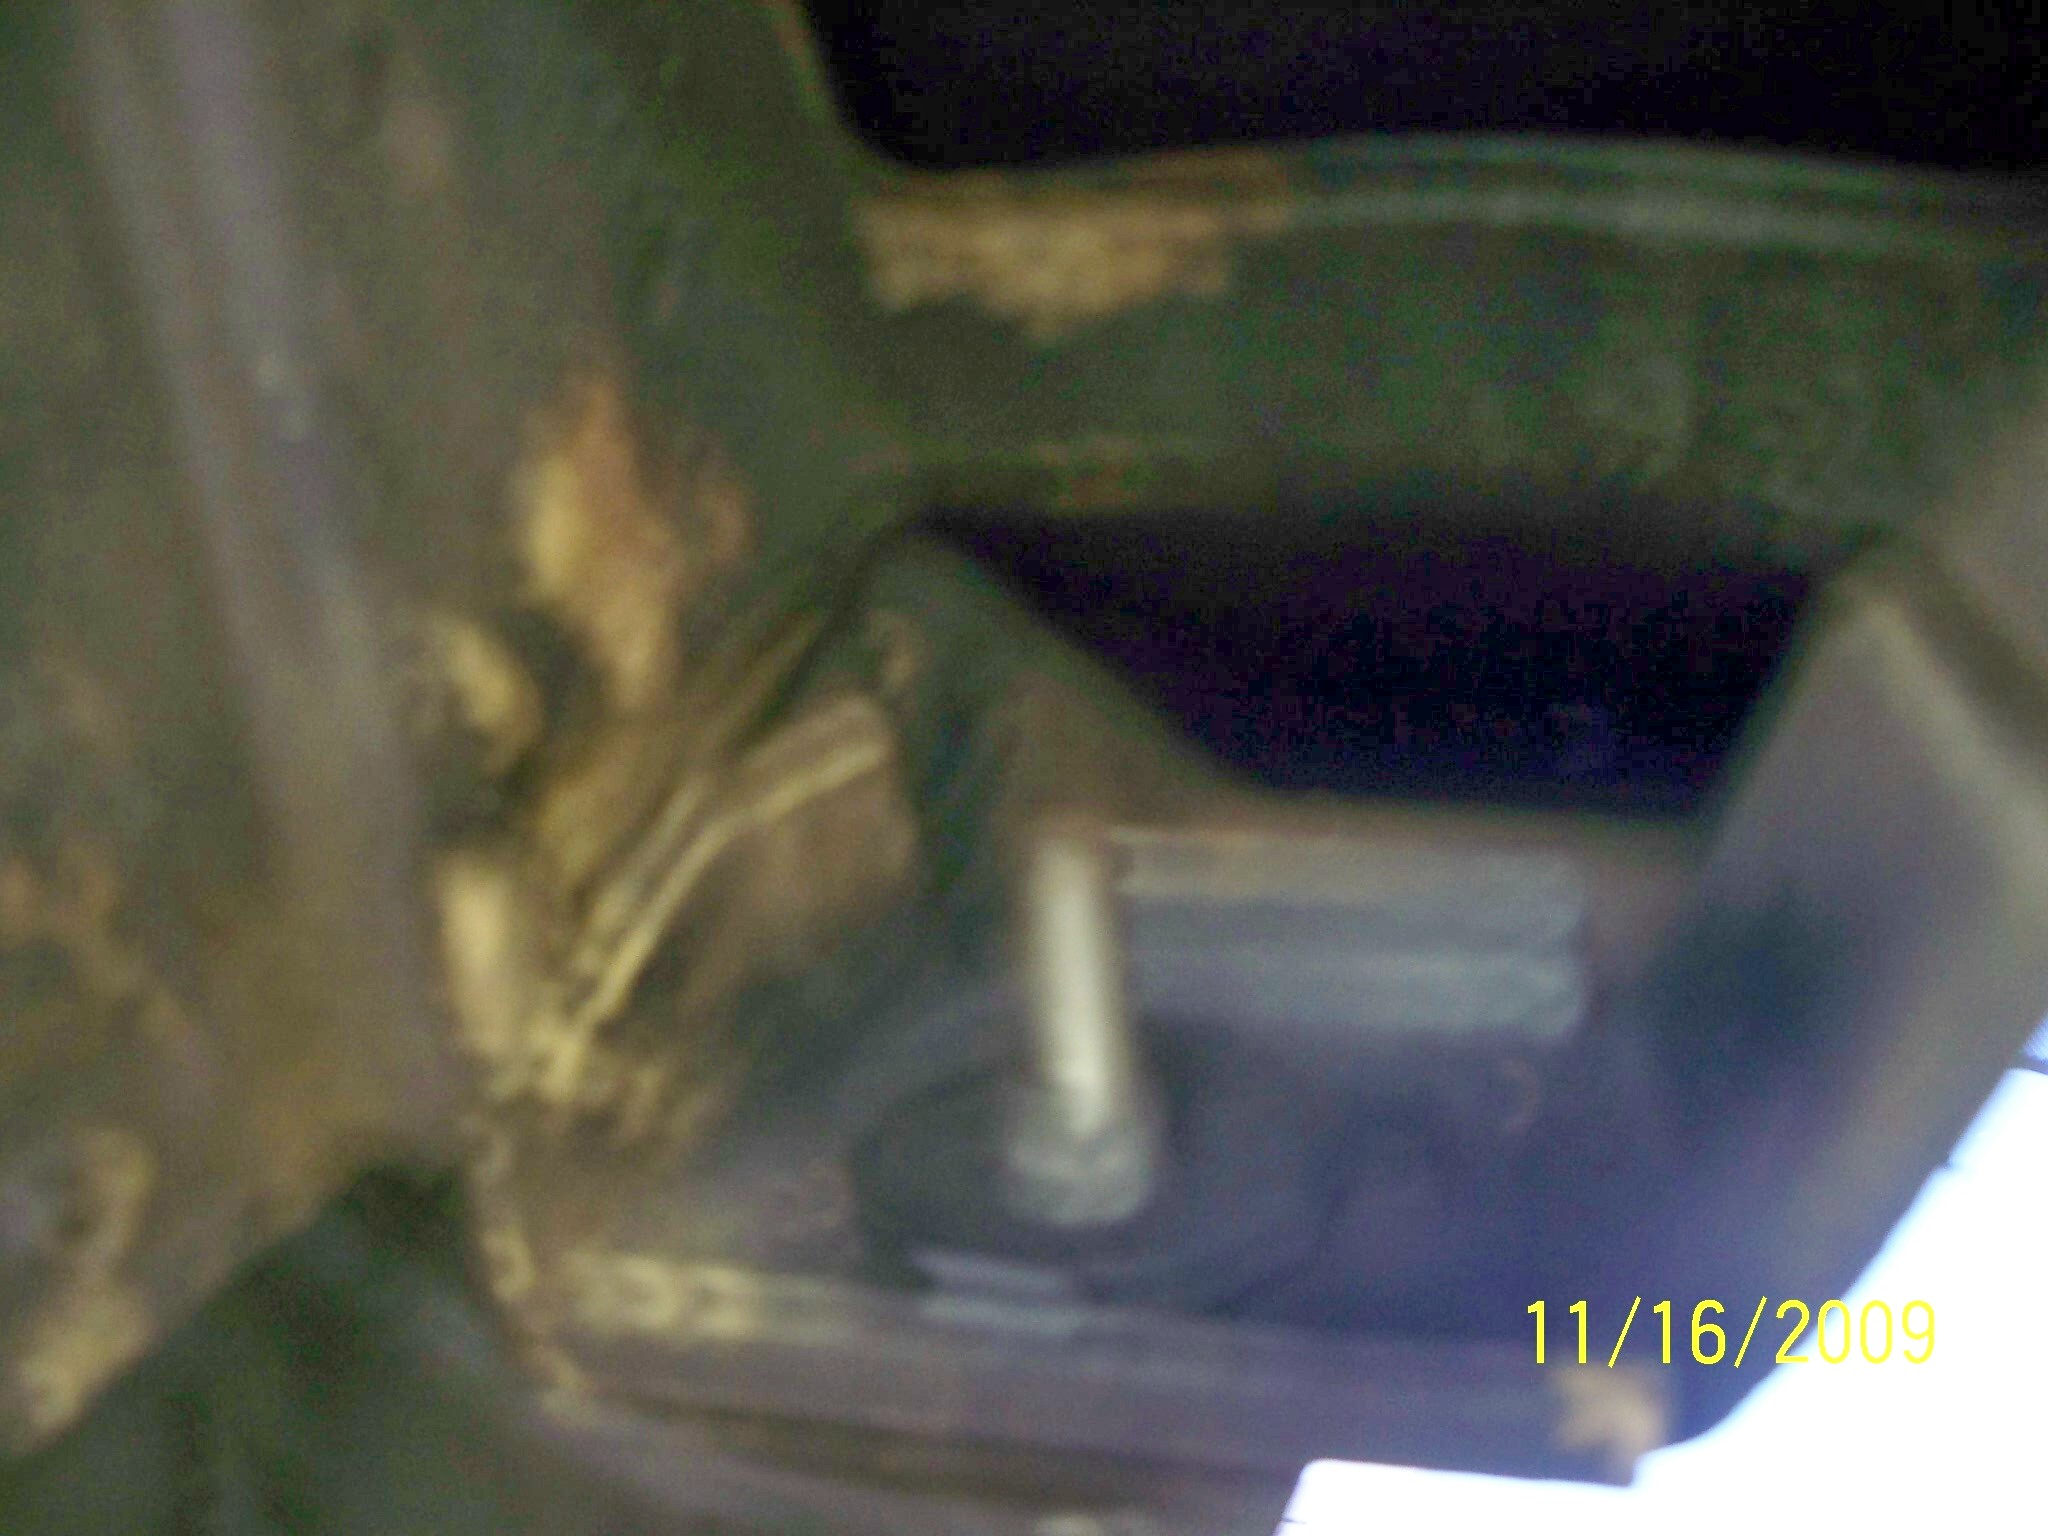
Rear of trunk - A on top of frame rail facing up. This has a captured nut.
A inside trunk with wide washer on top and bottom facing down.
Rear inner frame rail - A facing up. This has a captured nut.
A inside car with wide washer facing down. Use short shoulder bolt.
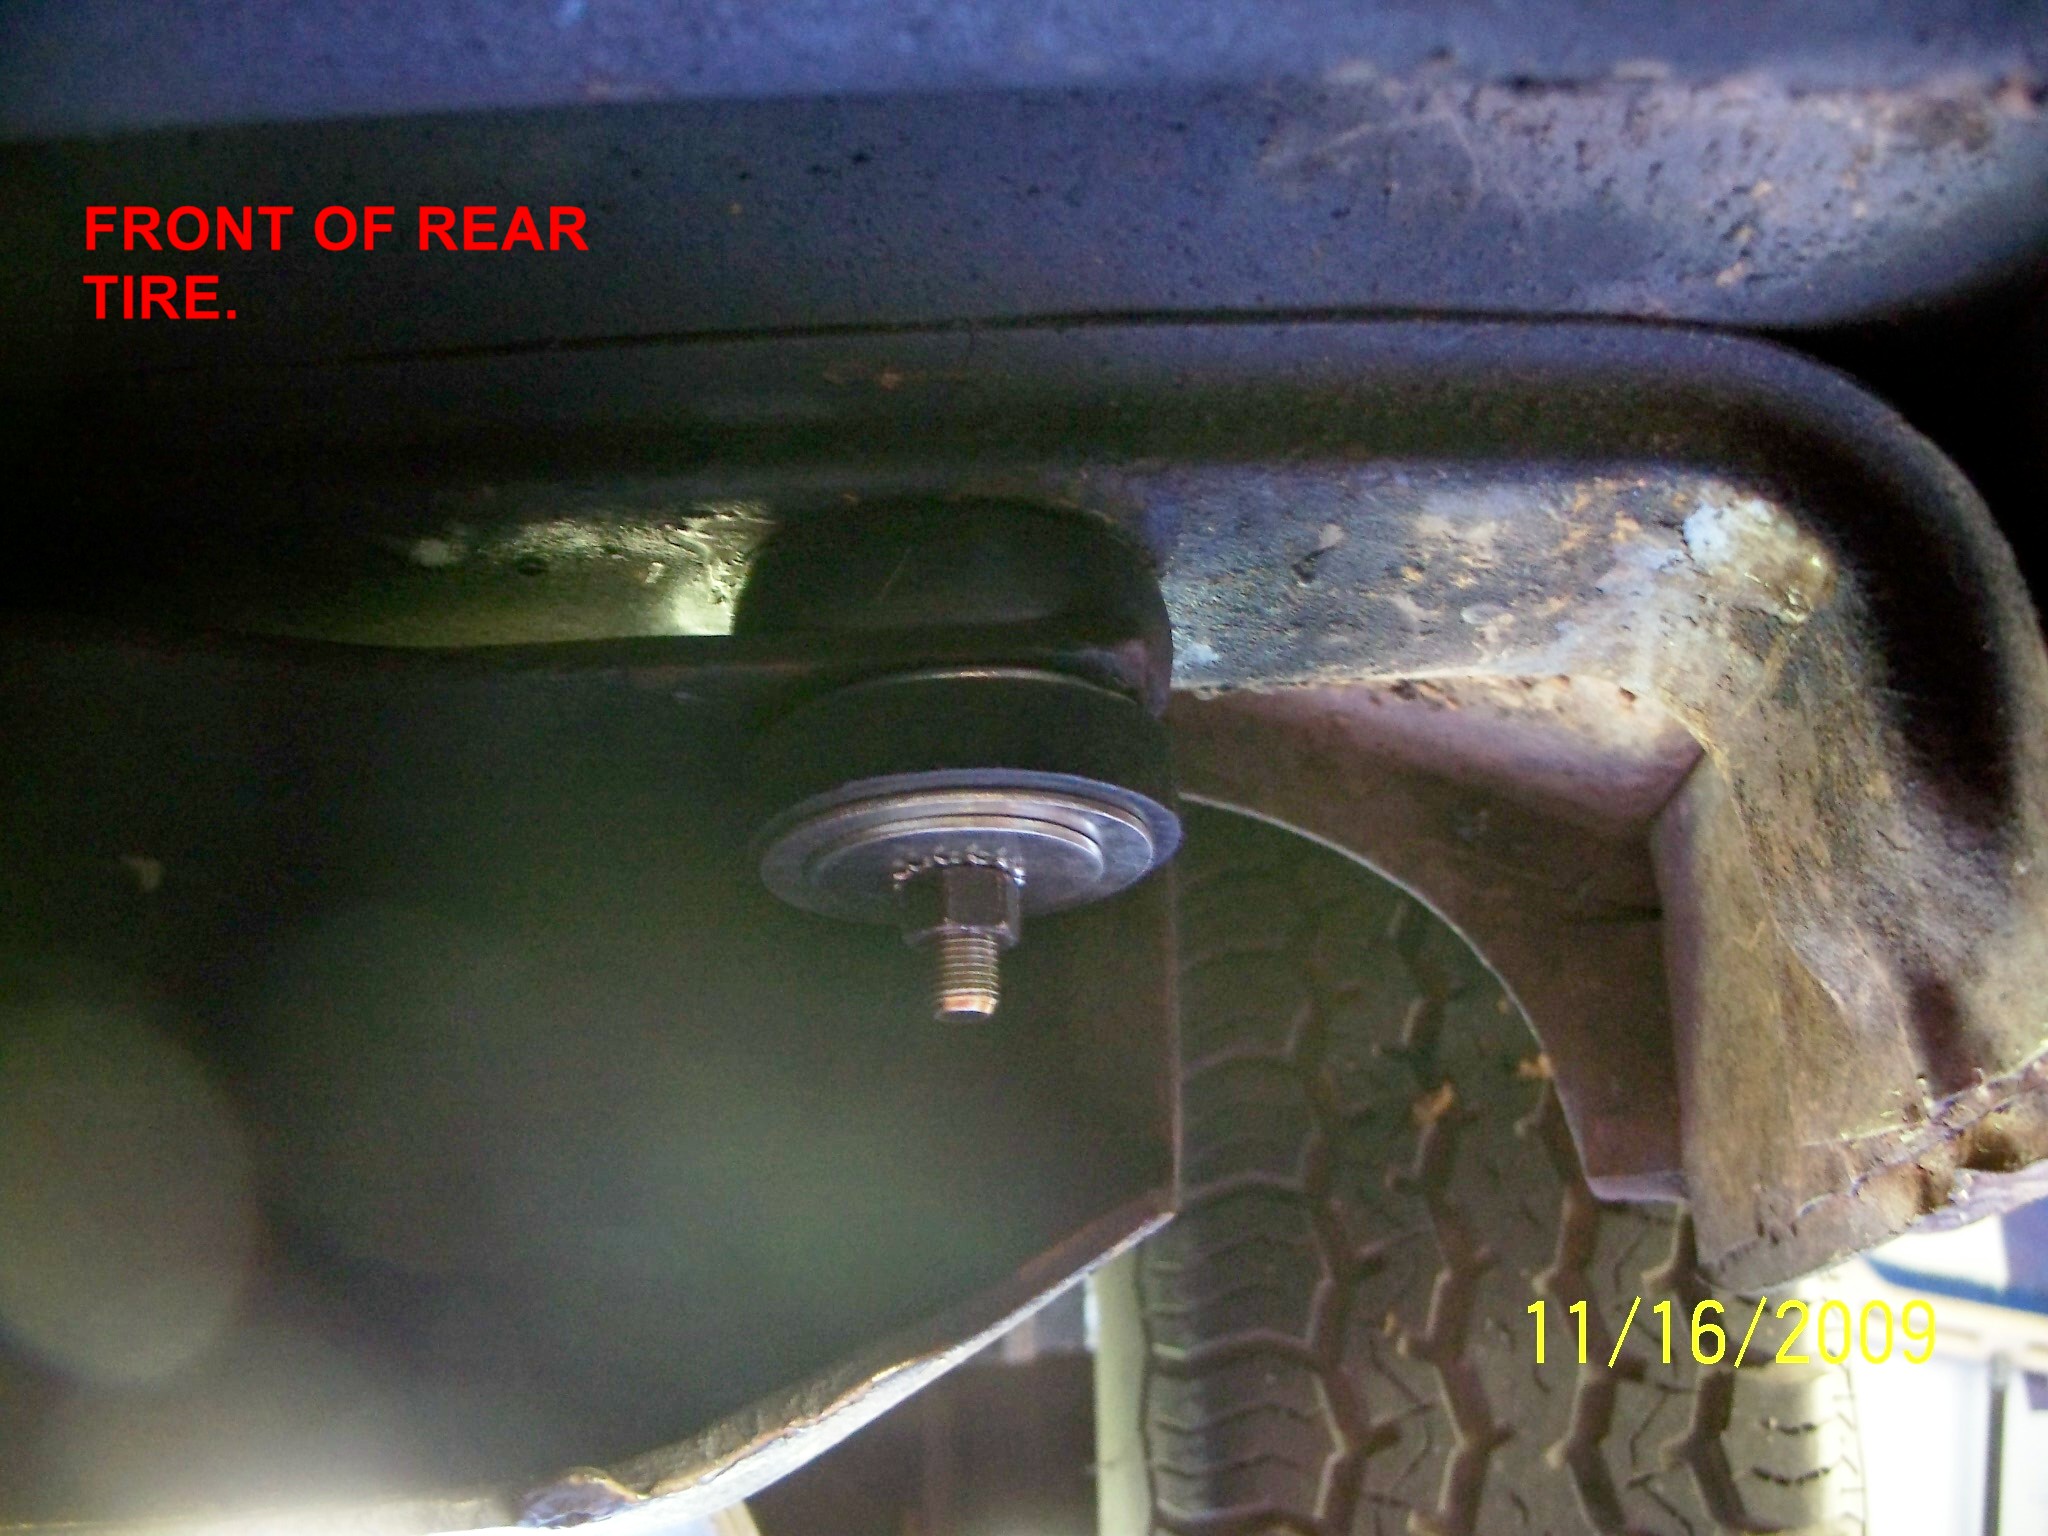
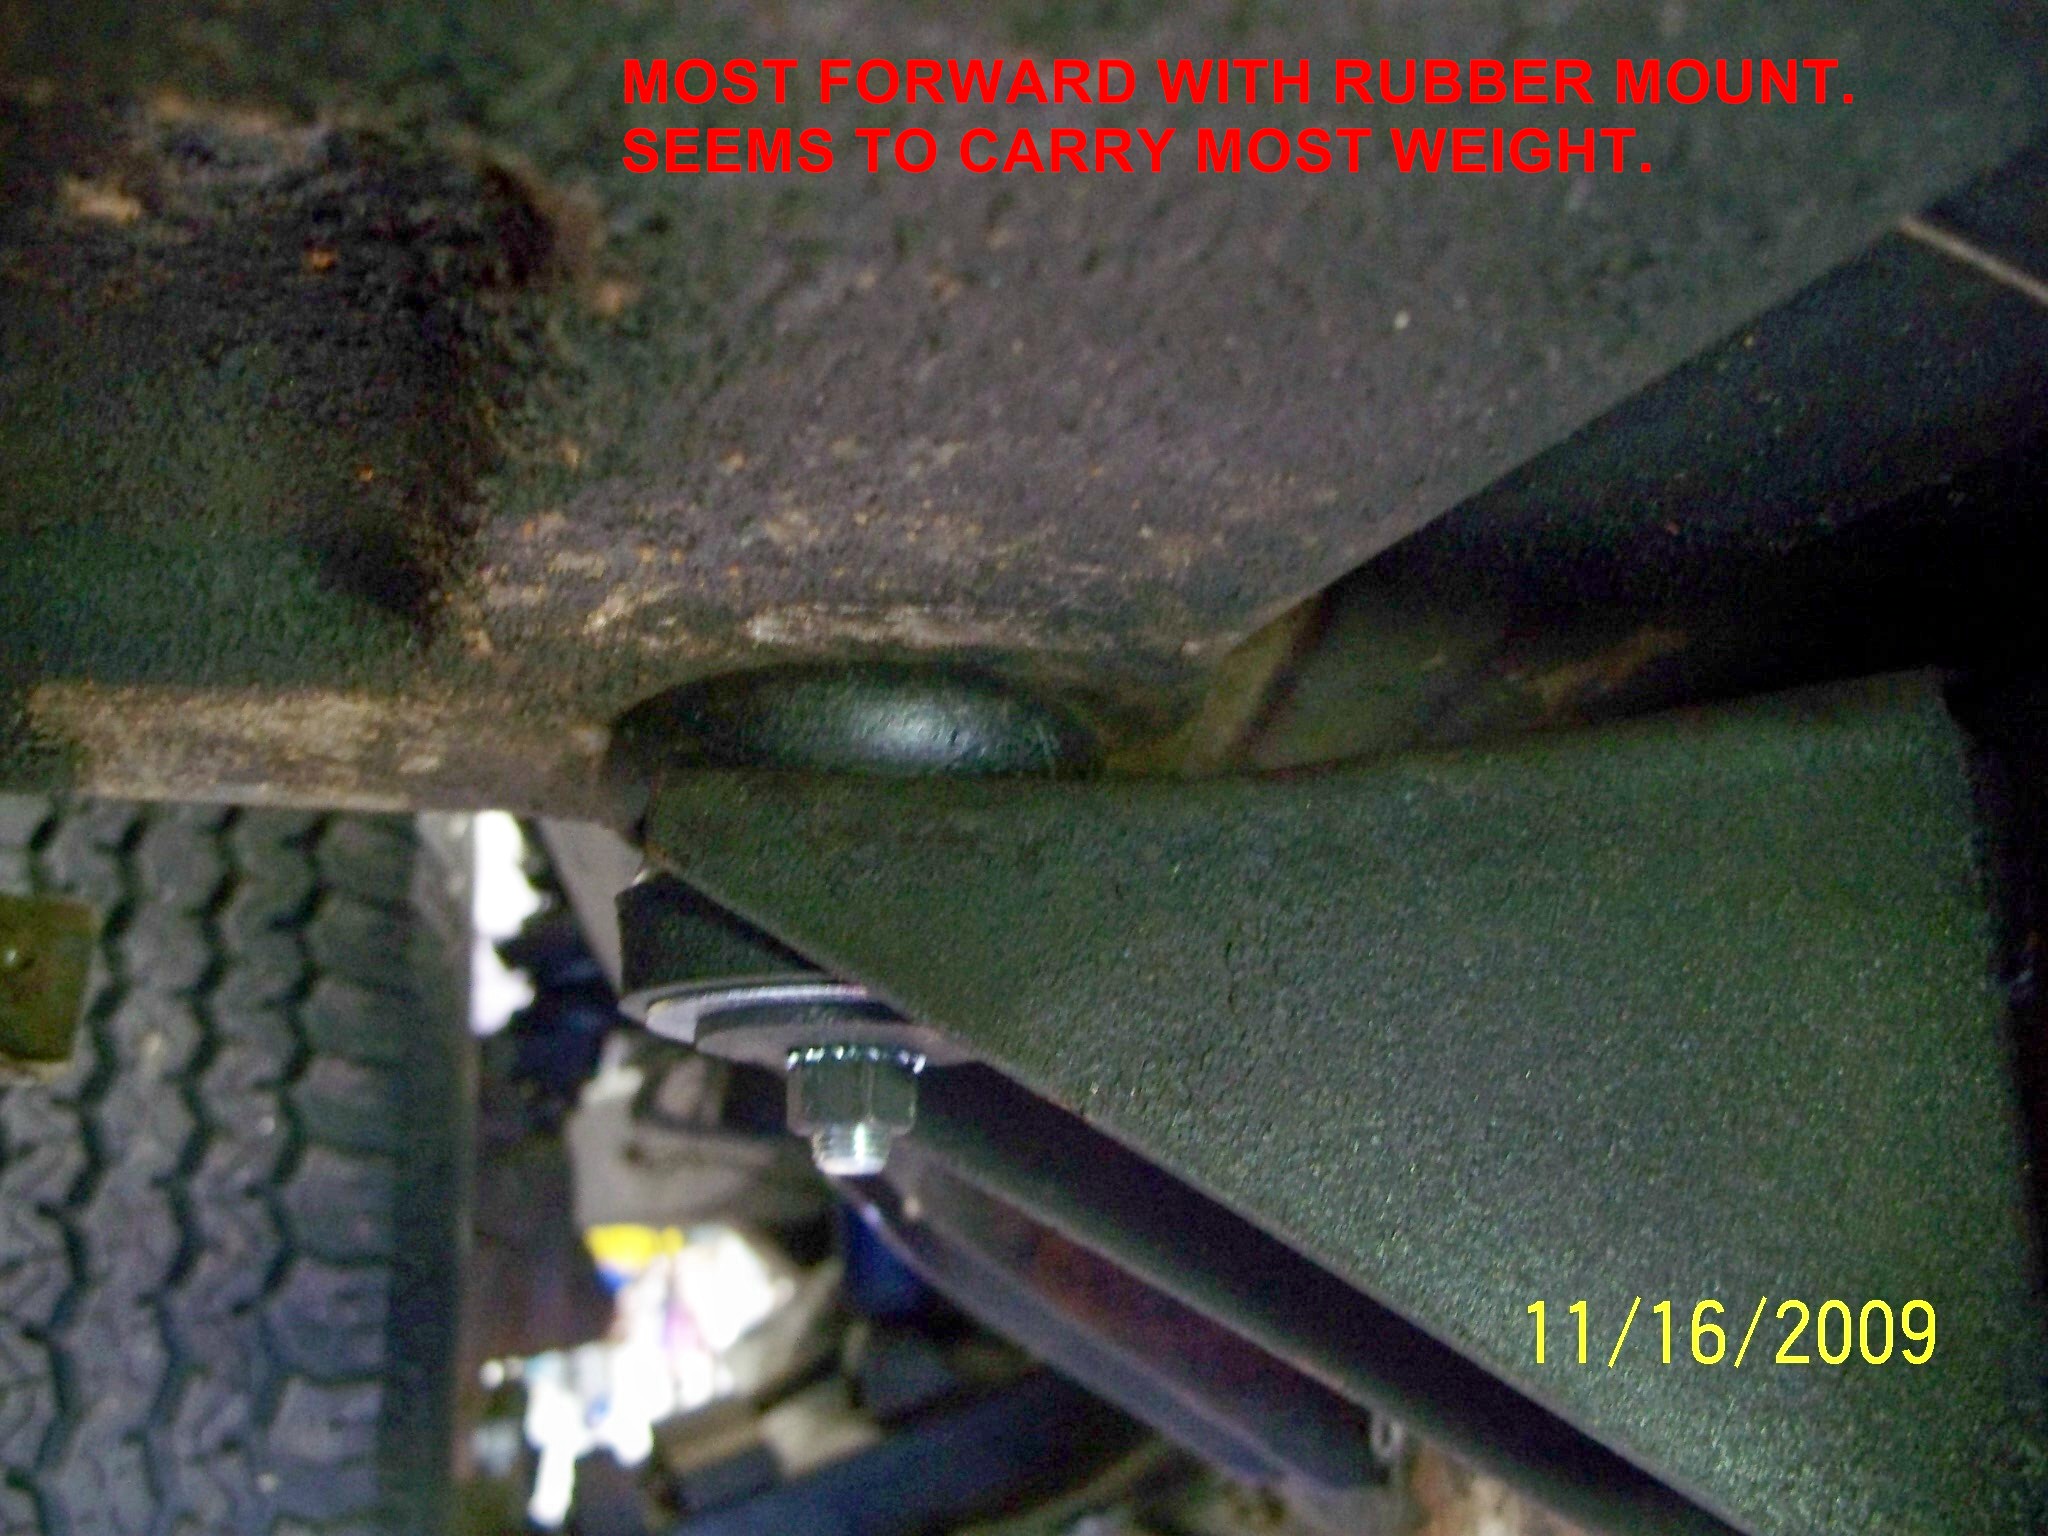
Front of rear tire bracket - A on top of bracket facing up. B on bottom of bracket with wide washer. A inside facing down with wide washer.
Middle - metal to metal on bottom. I used A facing down with wide washer inside.
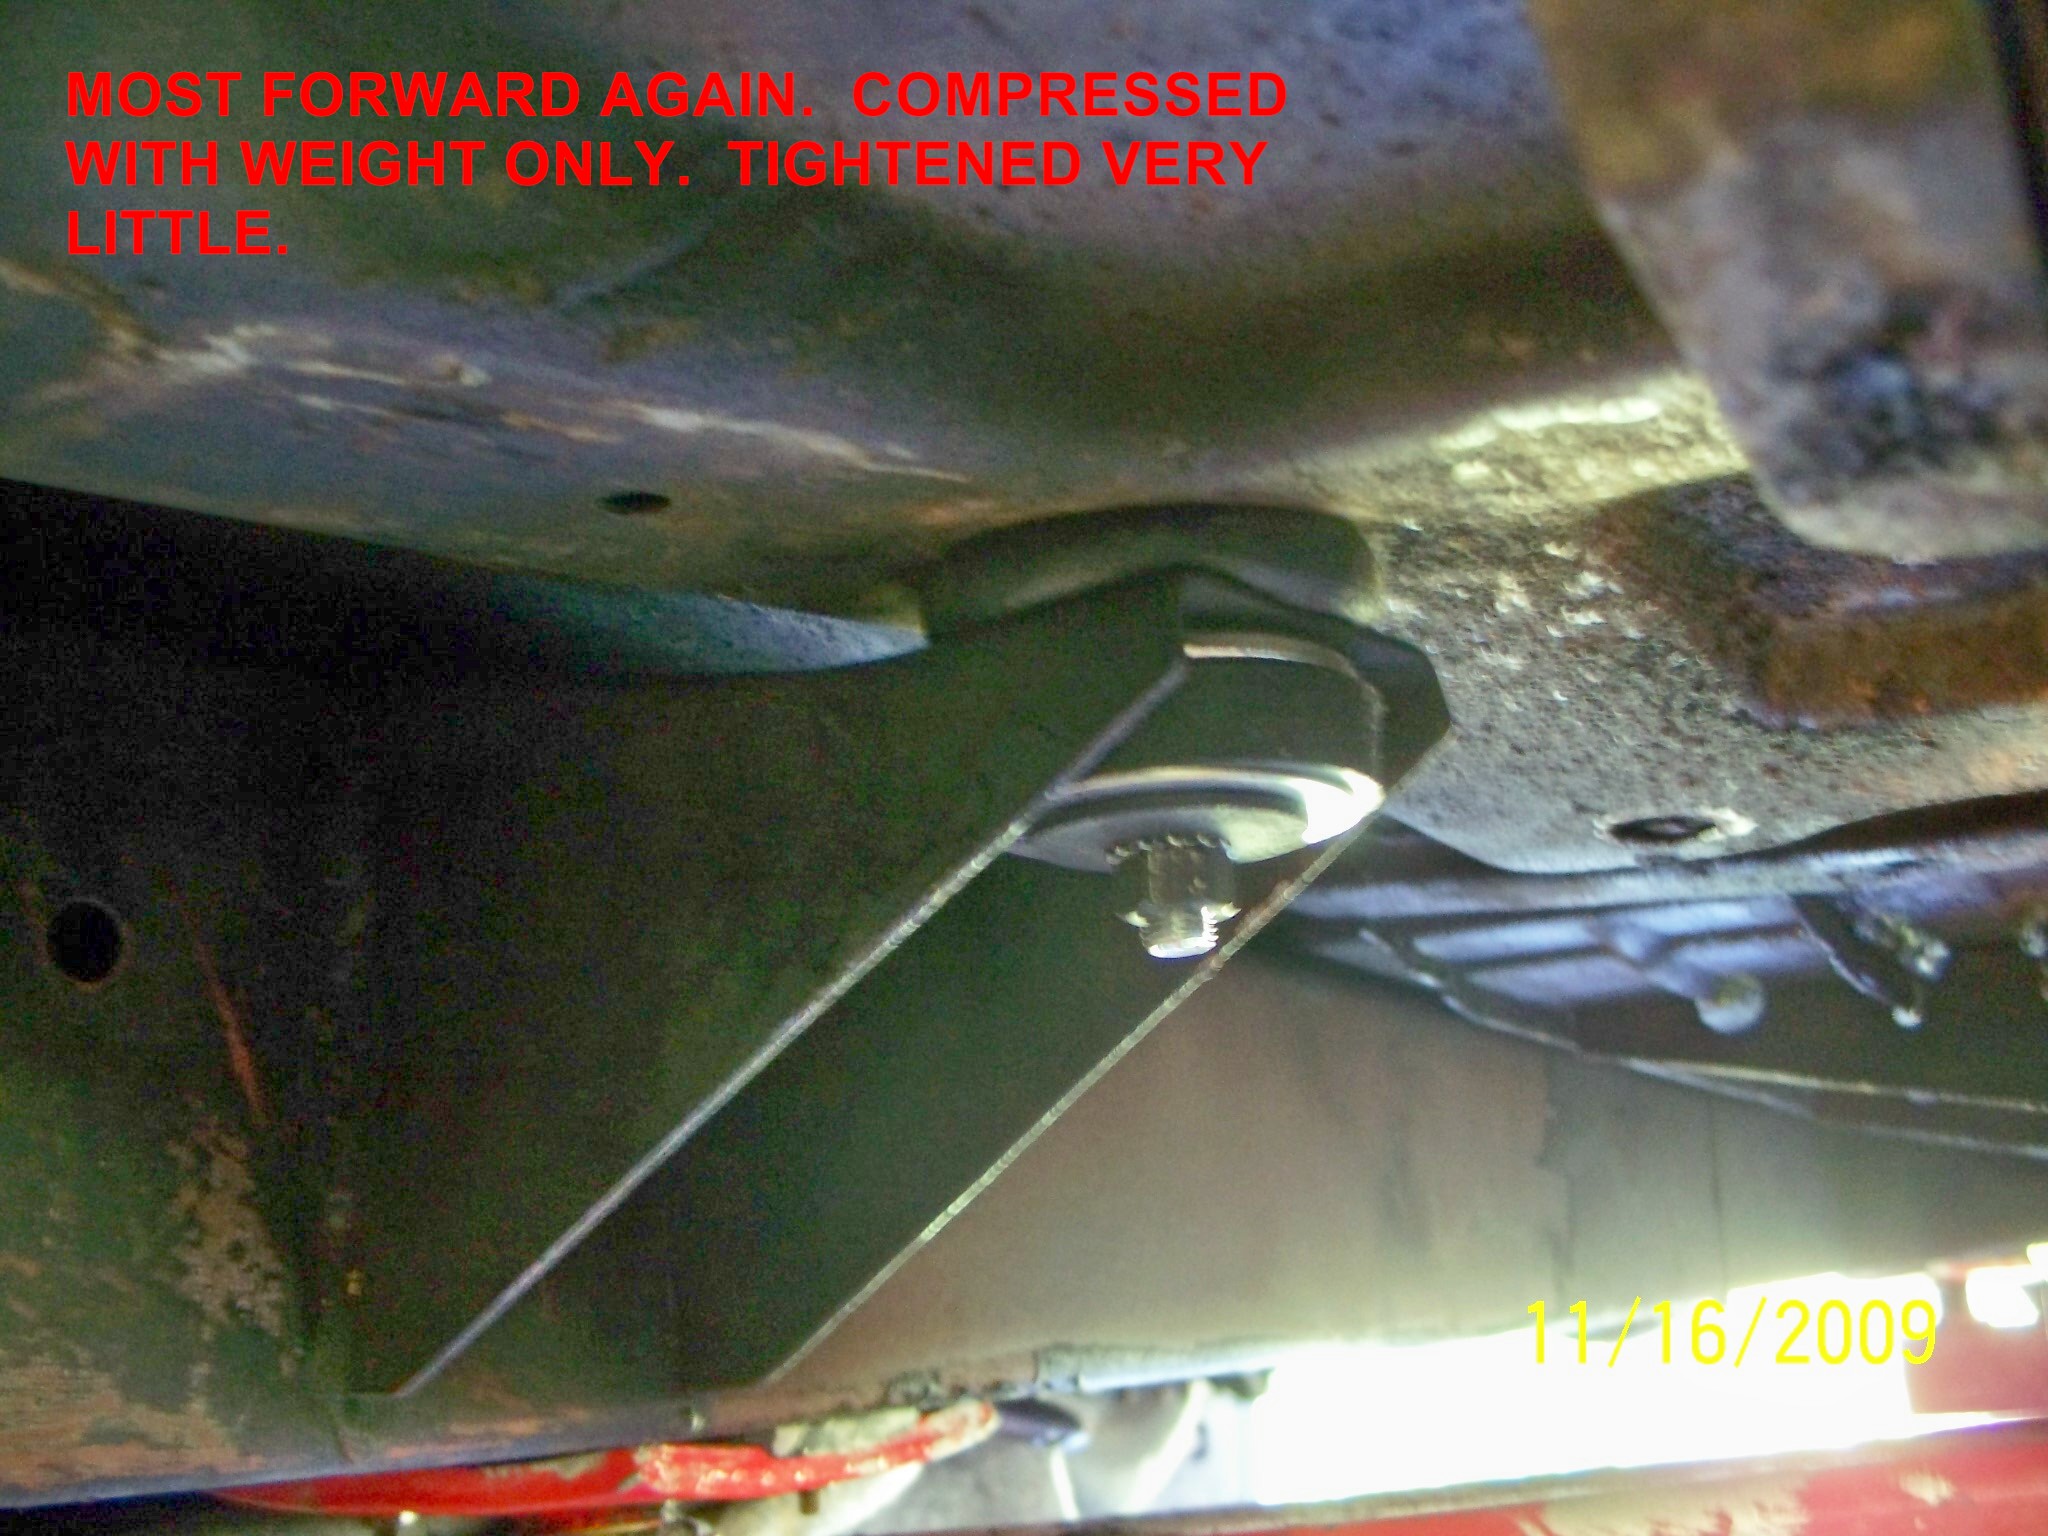
Rear of front tire - A on top of bracket facing up. B on bottom of bracket with wide washer. B inside with wide washer.
Very front behind inner fender - Metal to Metal. Mine had a 3/8" threaded rod. there is a heavy cupped washer on top with the smaller surface facing up. There is a thin cupped washer with a 3/8" hole that fits on top as a quide for the threaded rod (cup down). Heavy washers top and bottom with lock washers.
The trunk floor rest on top of a Bisquit (C) that has a tit on one side that fits in a hole on top of the frame rail. You can get these from Gary Goers.
Use heavy thick washers where possible or double thin washers.
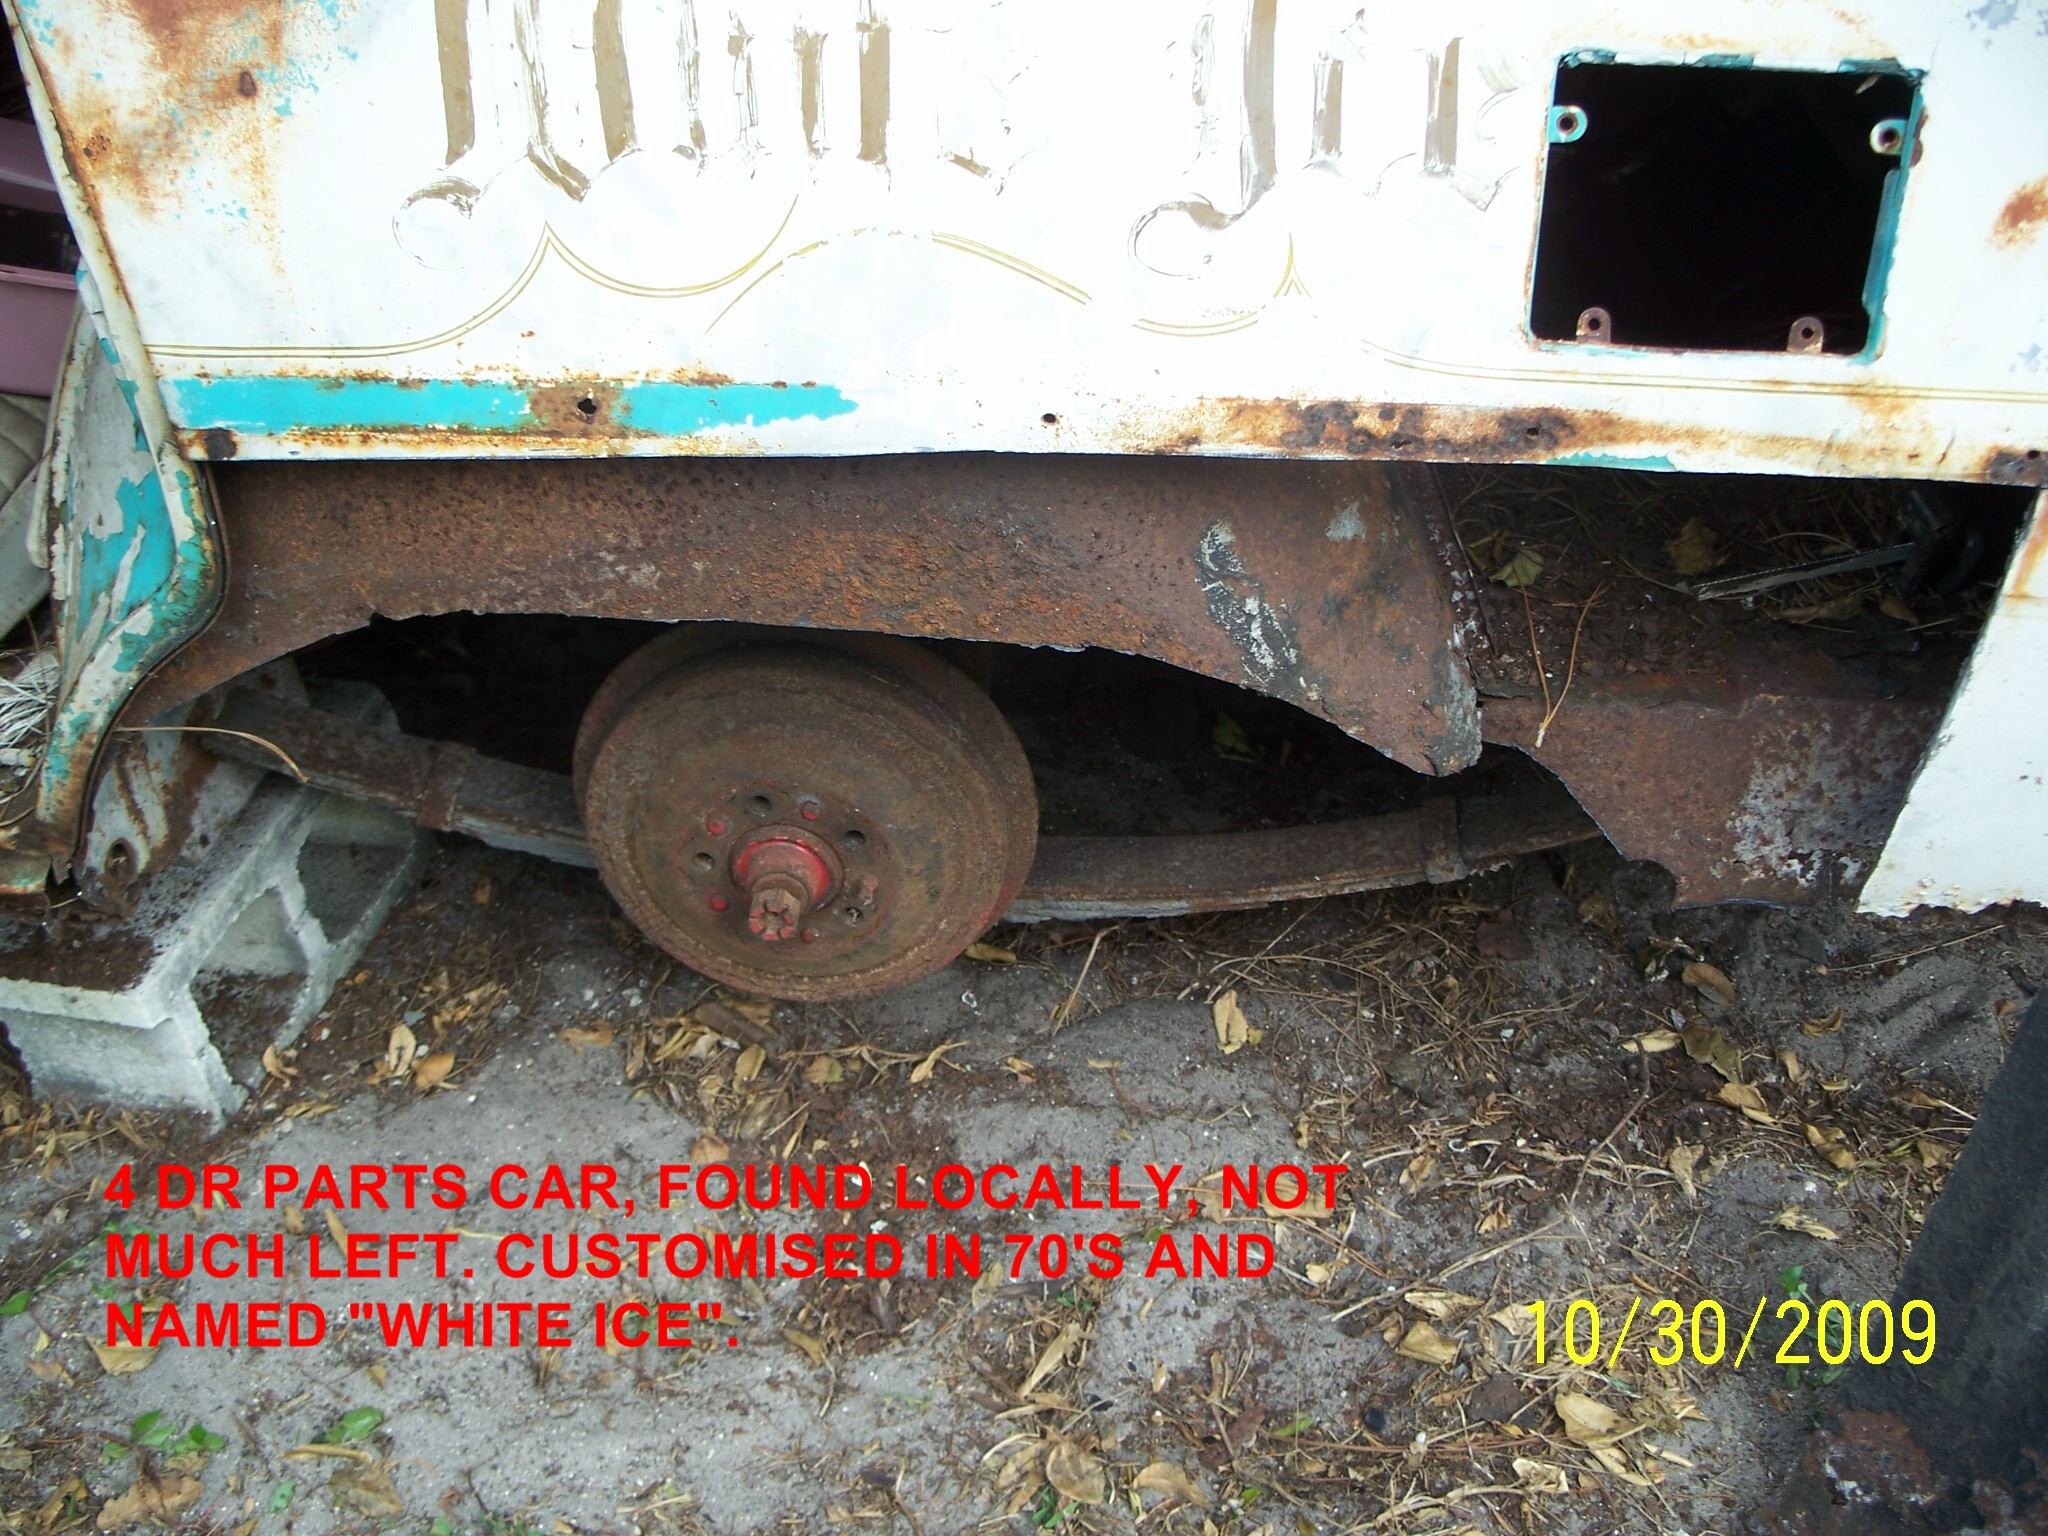
This is the best I could figure out looking at the green car and and a 4 dr. parts car I have and not looking under the carpet.
I have 13 of the Plain Bisquits (no protrusion) at my cost $2.00 ea. Plus flat rate postage of $5.00.