I’m confused, This Belvie Convt. does not have ANY rubber body mounts anywhere on the entire car. The body mount position with flat washers (at the seat bracket position and at the forward trunk mount position) every other one is the metal cup type. Can any one splain me whats up with that. Talked to John Q. and his car has the rubber body mounts.
Help,
Dick.
My convertible had the metal cup washers. Seems like some were combined w/ flat rubber pads.
There were locations where flat washers were combined with half-inch thick rubber cushions.
However, I can’t recall which was where on the car.
I defintely remember collecting and cleaning a variety of body mounts, all of which went with car when sold.
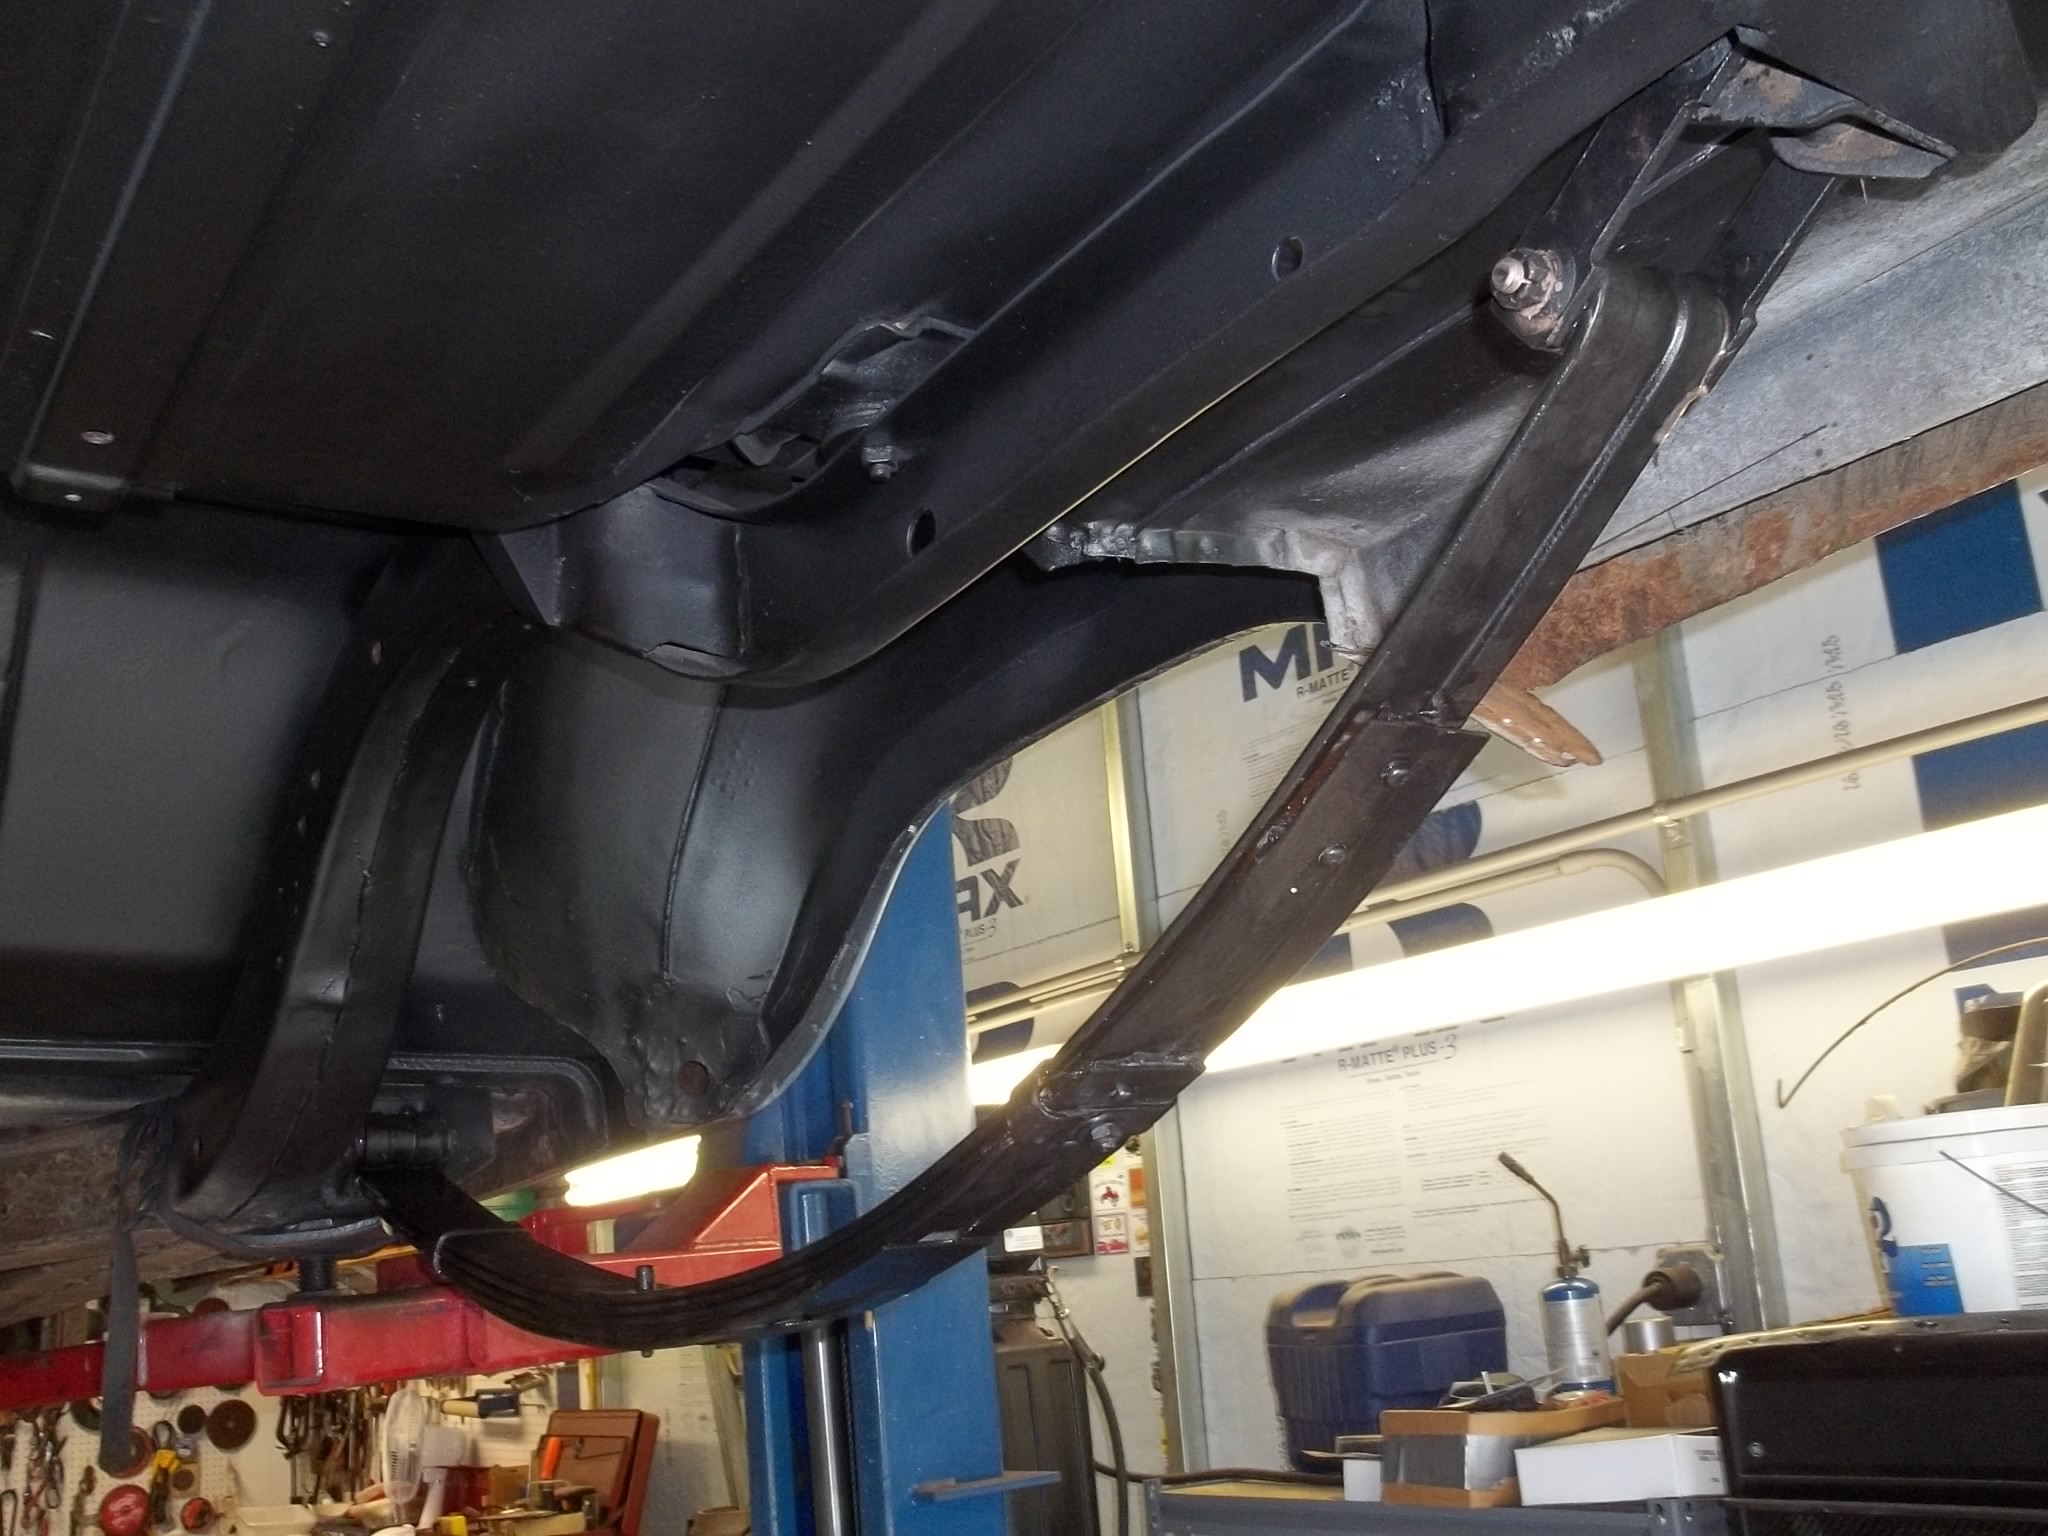
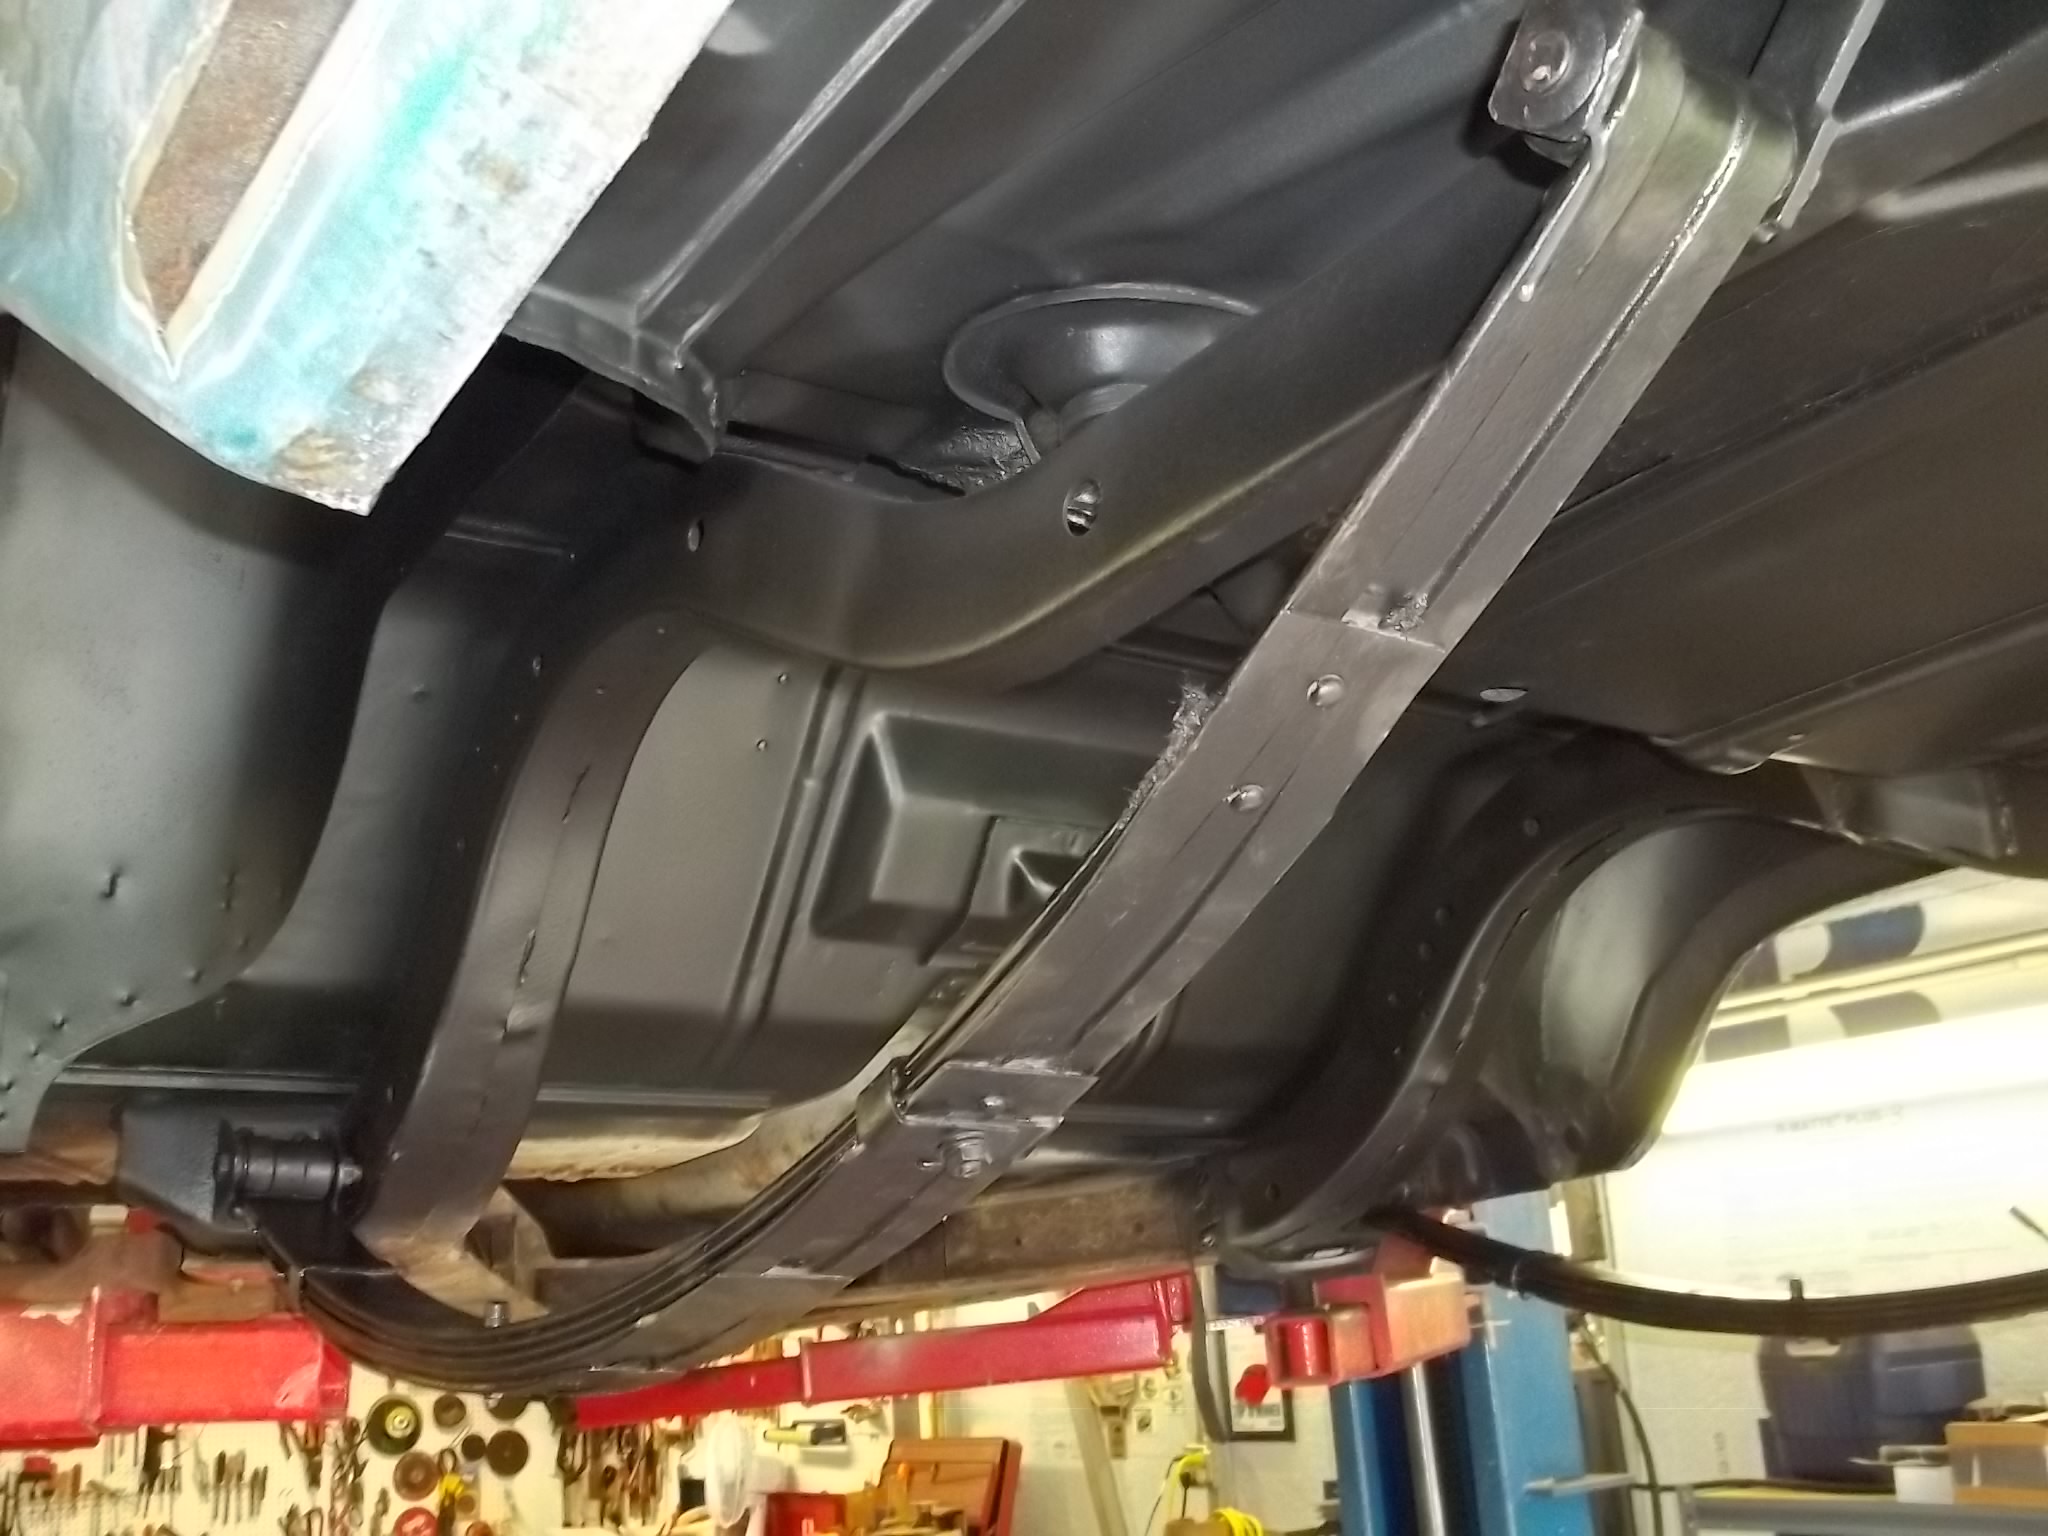
Well, done a lot since last post. I cut out all the rusted metal on the drivers side, I’m waiting for Larry to fit and tack weld in the new panels. We will complete the drivers side before moving to the passenger side. The inner rockers and the floors under the rear seat cross brace had to be spot weld drilled and taken out. I was suprised to find another inner rocker under the one the floors rest on, it was in pretty good shape. I found universal inner rockers on ebay that you can cut and fit. Used a air needle gun to remove as much rust as possible from the bottom side of the rear seat cross brace then coated it with Eastwood Rust Converter (amazing stuff) the painted that with encapsulator. Since I had the differential rebuilt from the parts car I decided to finish the rear underside area so I could install the rear springs with new bushings, differential, axles and brakes. The only rear brake parts I had was from Christeen (the early style). Now I will be able to roll the car in and out of the garage for paint removal and stuff that won’t crate a lot of dust. The frame rails and cross members have been cleaned and painted. Where there was pin holes in the trunk floor and inner rear fenders but no structural damage, I decided to use USC All metal filler on both sides figureing trying to weld up the pin holes would just make them bigger. Big M’s (John Fowlie) and John Q’s pictures have been a huge help. While waiting for Larry to get back from Vacation I will clean and start on the front suspension. Sandblasting, all new bushings, rubber bumpers, etc.
Had to suspend operations for four days 8/28 thru 8/31 to help refurbish the interior of the Asphalt Angels car club trailer. Reason being the trailer was at Larry’s house and I had to get him back to my house. See pitchuhs.
My computer just crashed, had loaded 26 pictures and lost everything, I have to wait a little over a minute for a picture to load and then sometimes I lose it and have to start over. Well here goes again. I’m going to send ten pictures at a time so I don’t lose everything.
Dick.

THIS WAS ALL ROTTED ON CHRISTEEN.

THIS IS JUNK, WILL REPLACE WITH ONE FROM PARTS CAR.

FIREWALL INSULATION, HAVE NEW ONE FROM GARY GOERS.
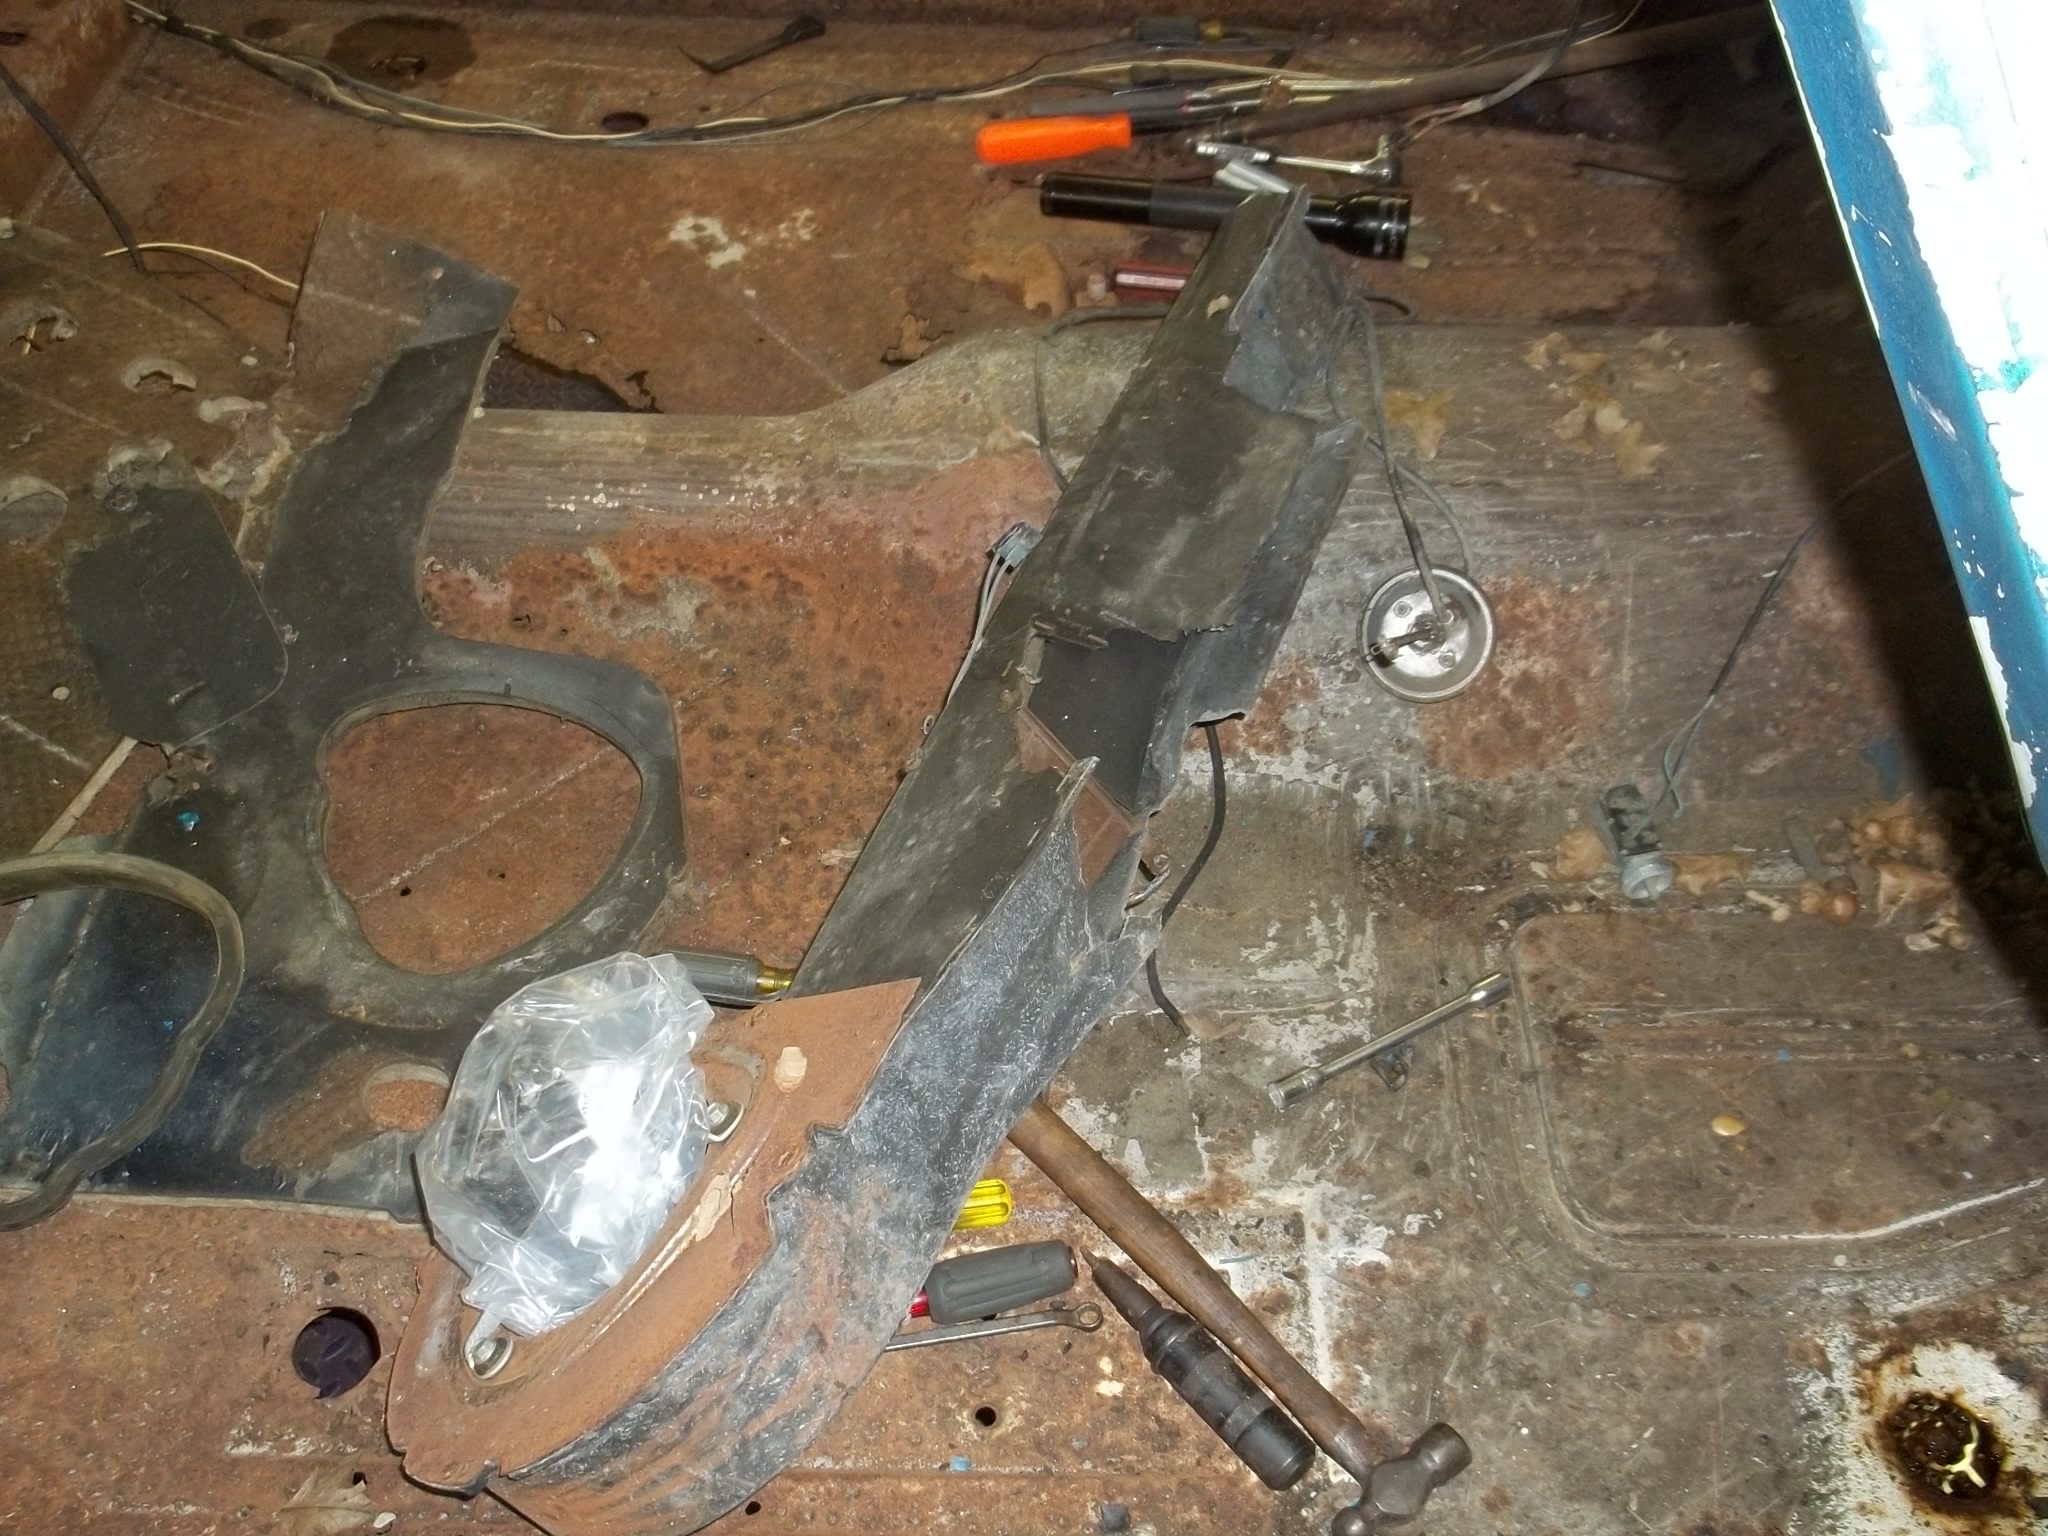
INNER HEATER BOX, WILL USE ONE FROM PARTS CAR.

ME NO LIKE.
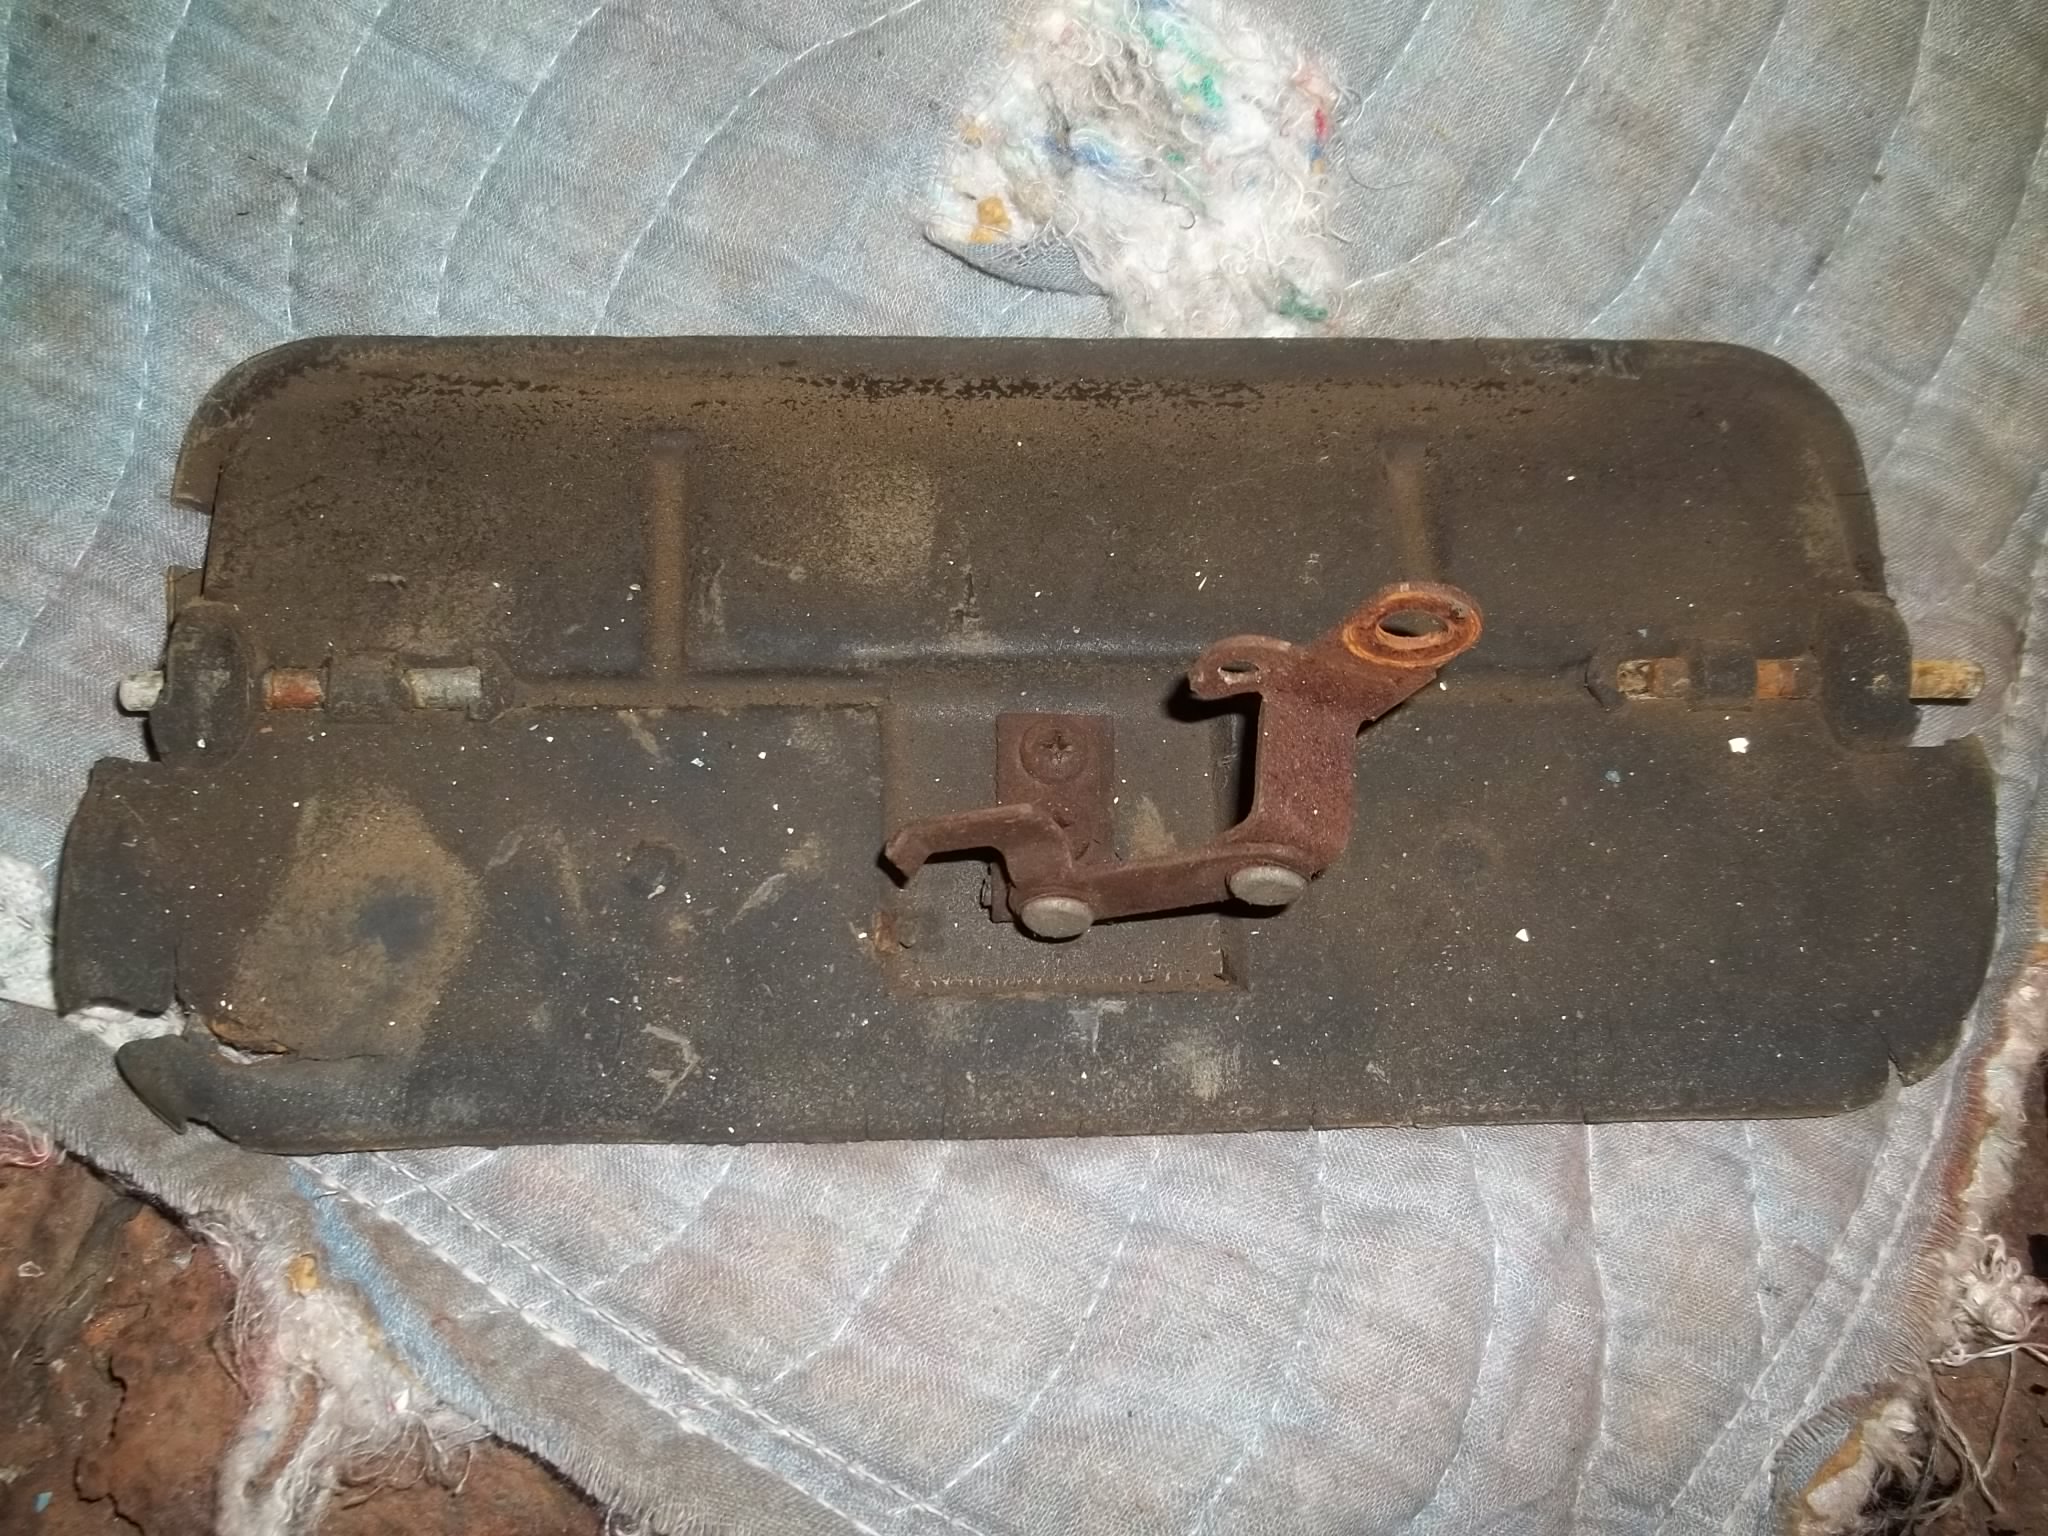
GARY GOERS REBUILT THIS DOOR FOR ME.

BOTH FRONT FENDERS WERE LIKE THIS IN THE SAME SPORT, REST OF FENDER WAS OK.
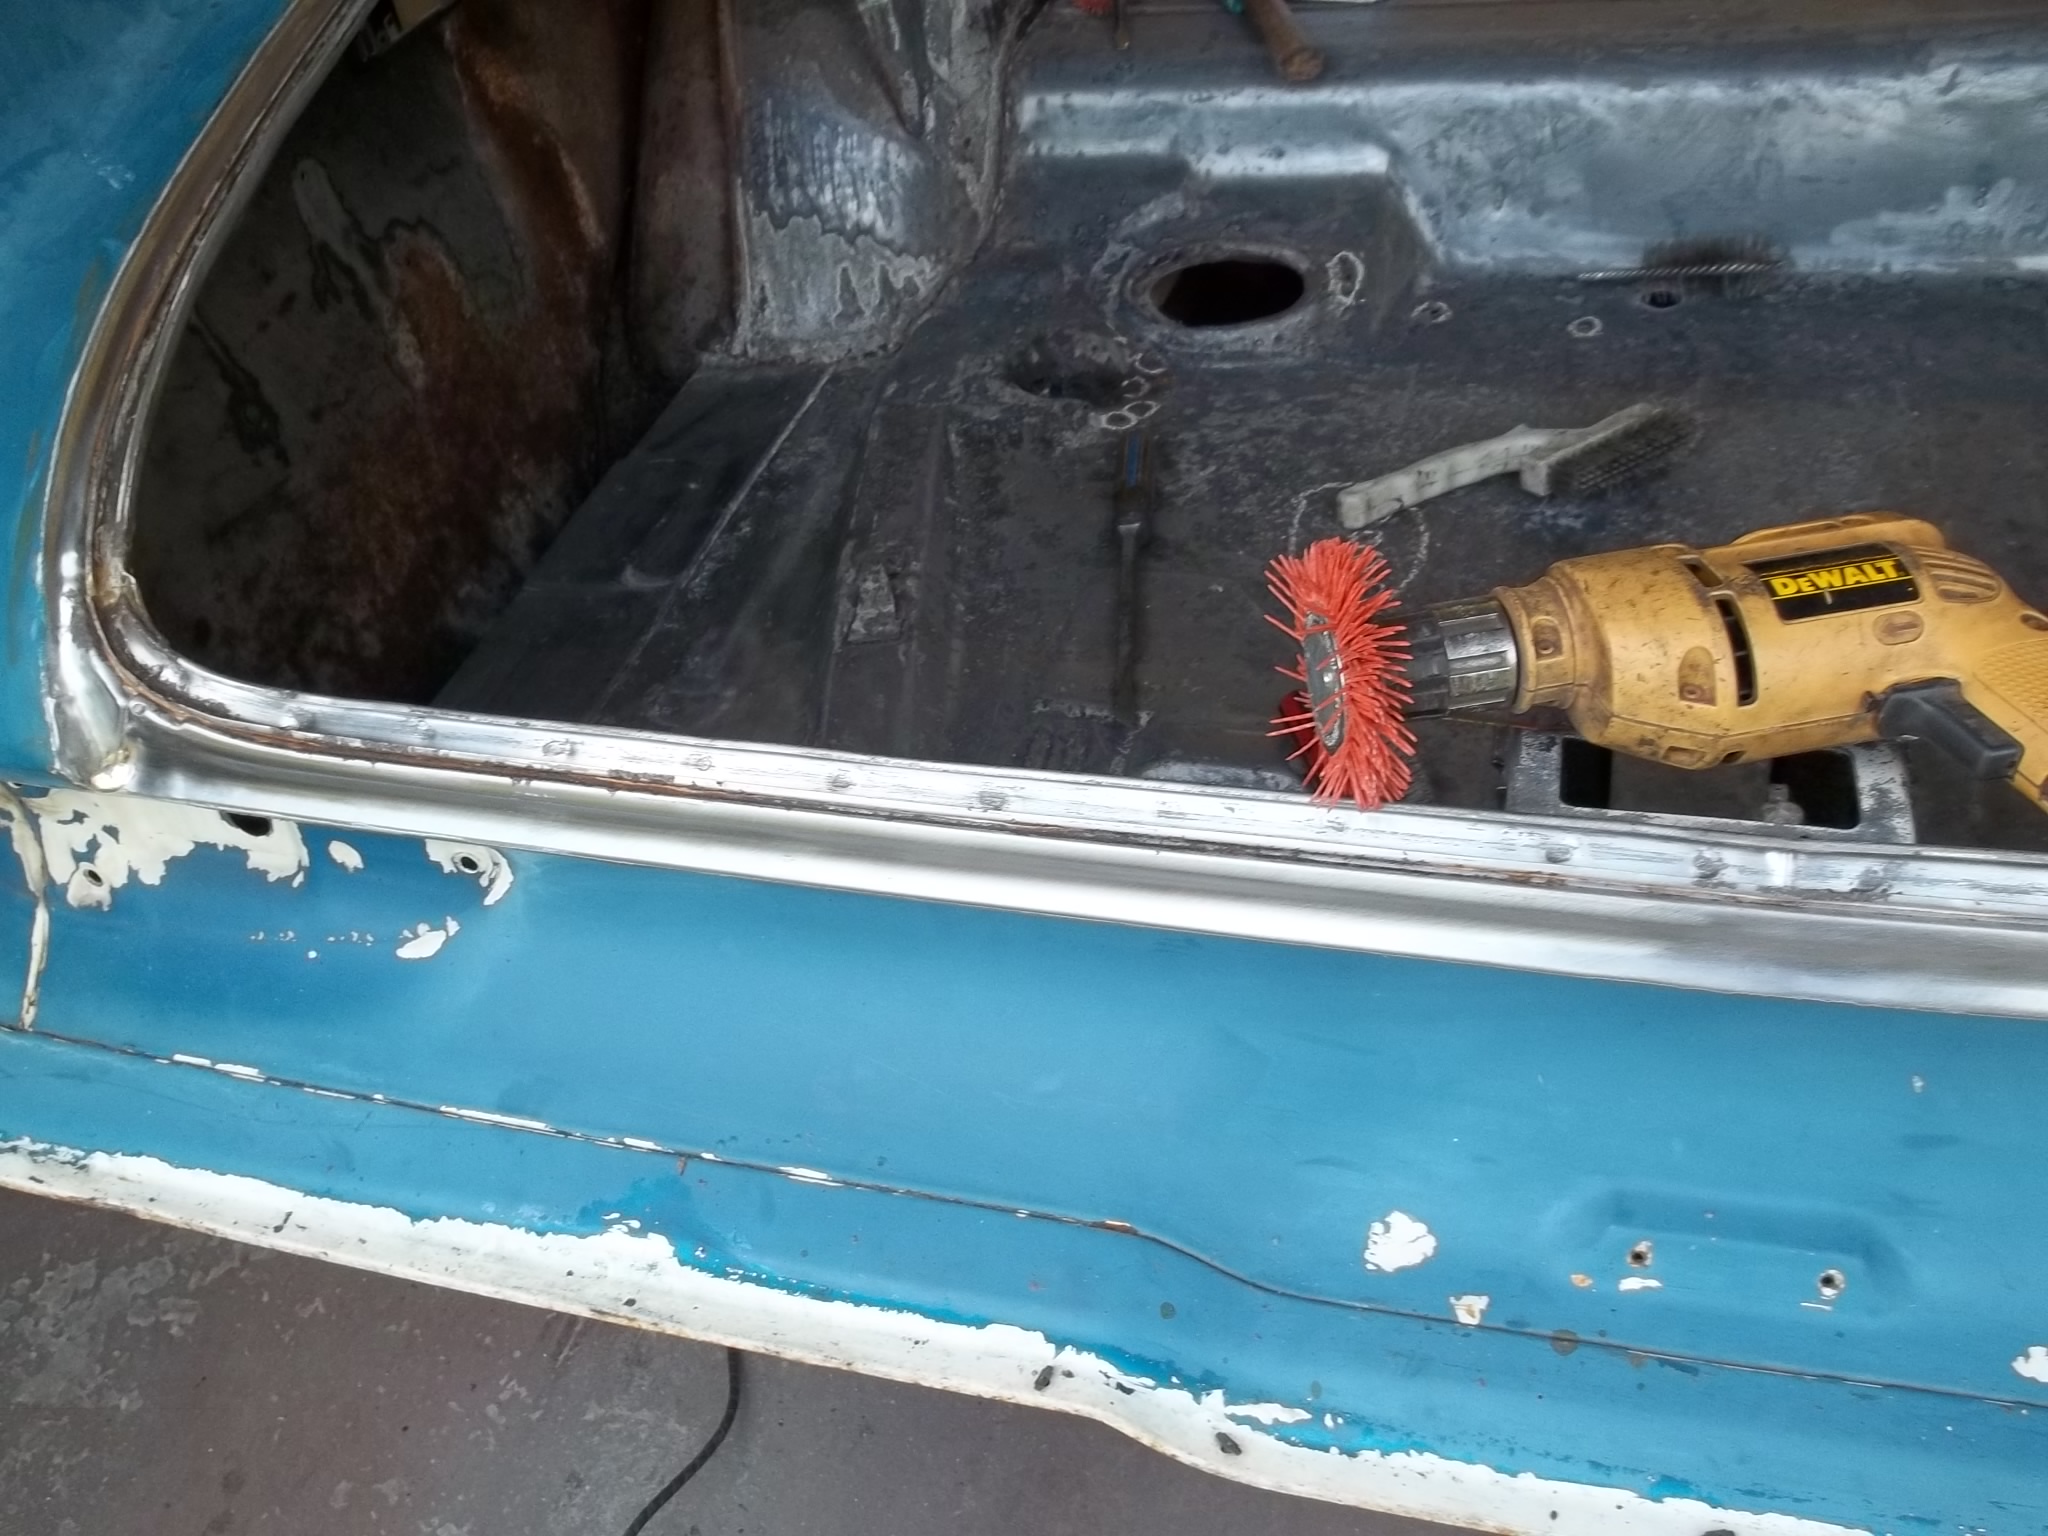
TRUNK WEATHER SEAL CHANNEL GOOD ALL AROUND, OSPHOED AND ENCAPSULATED.
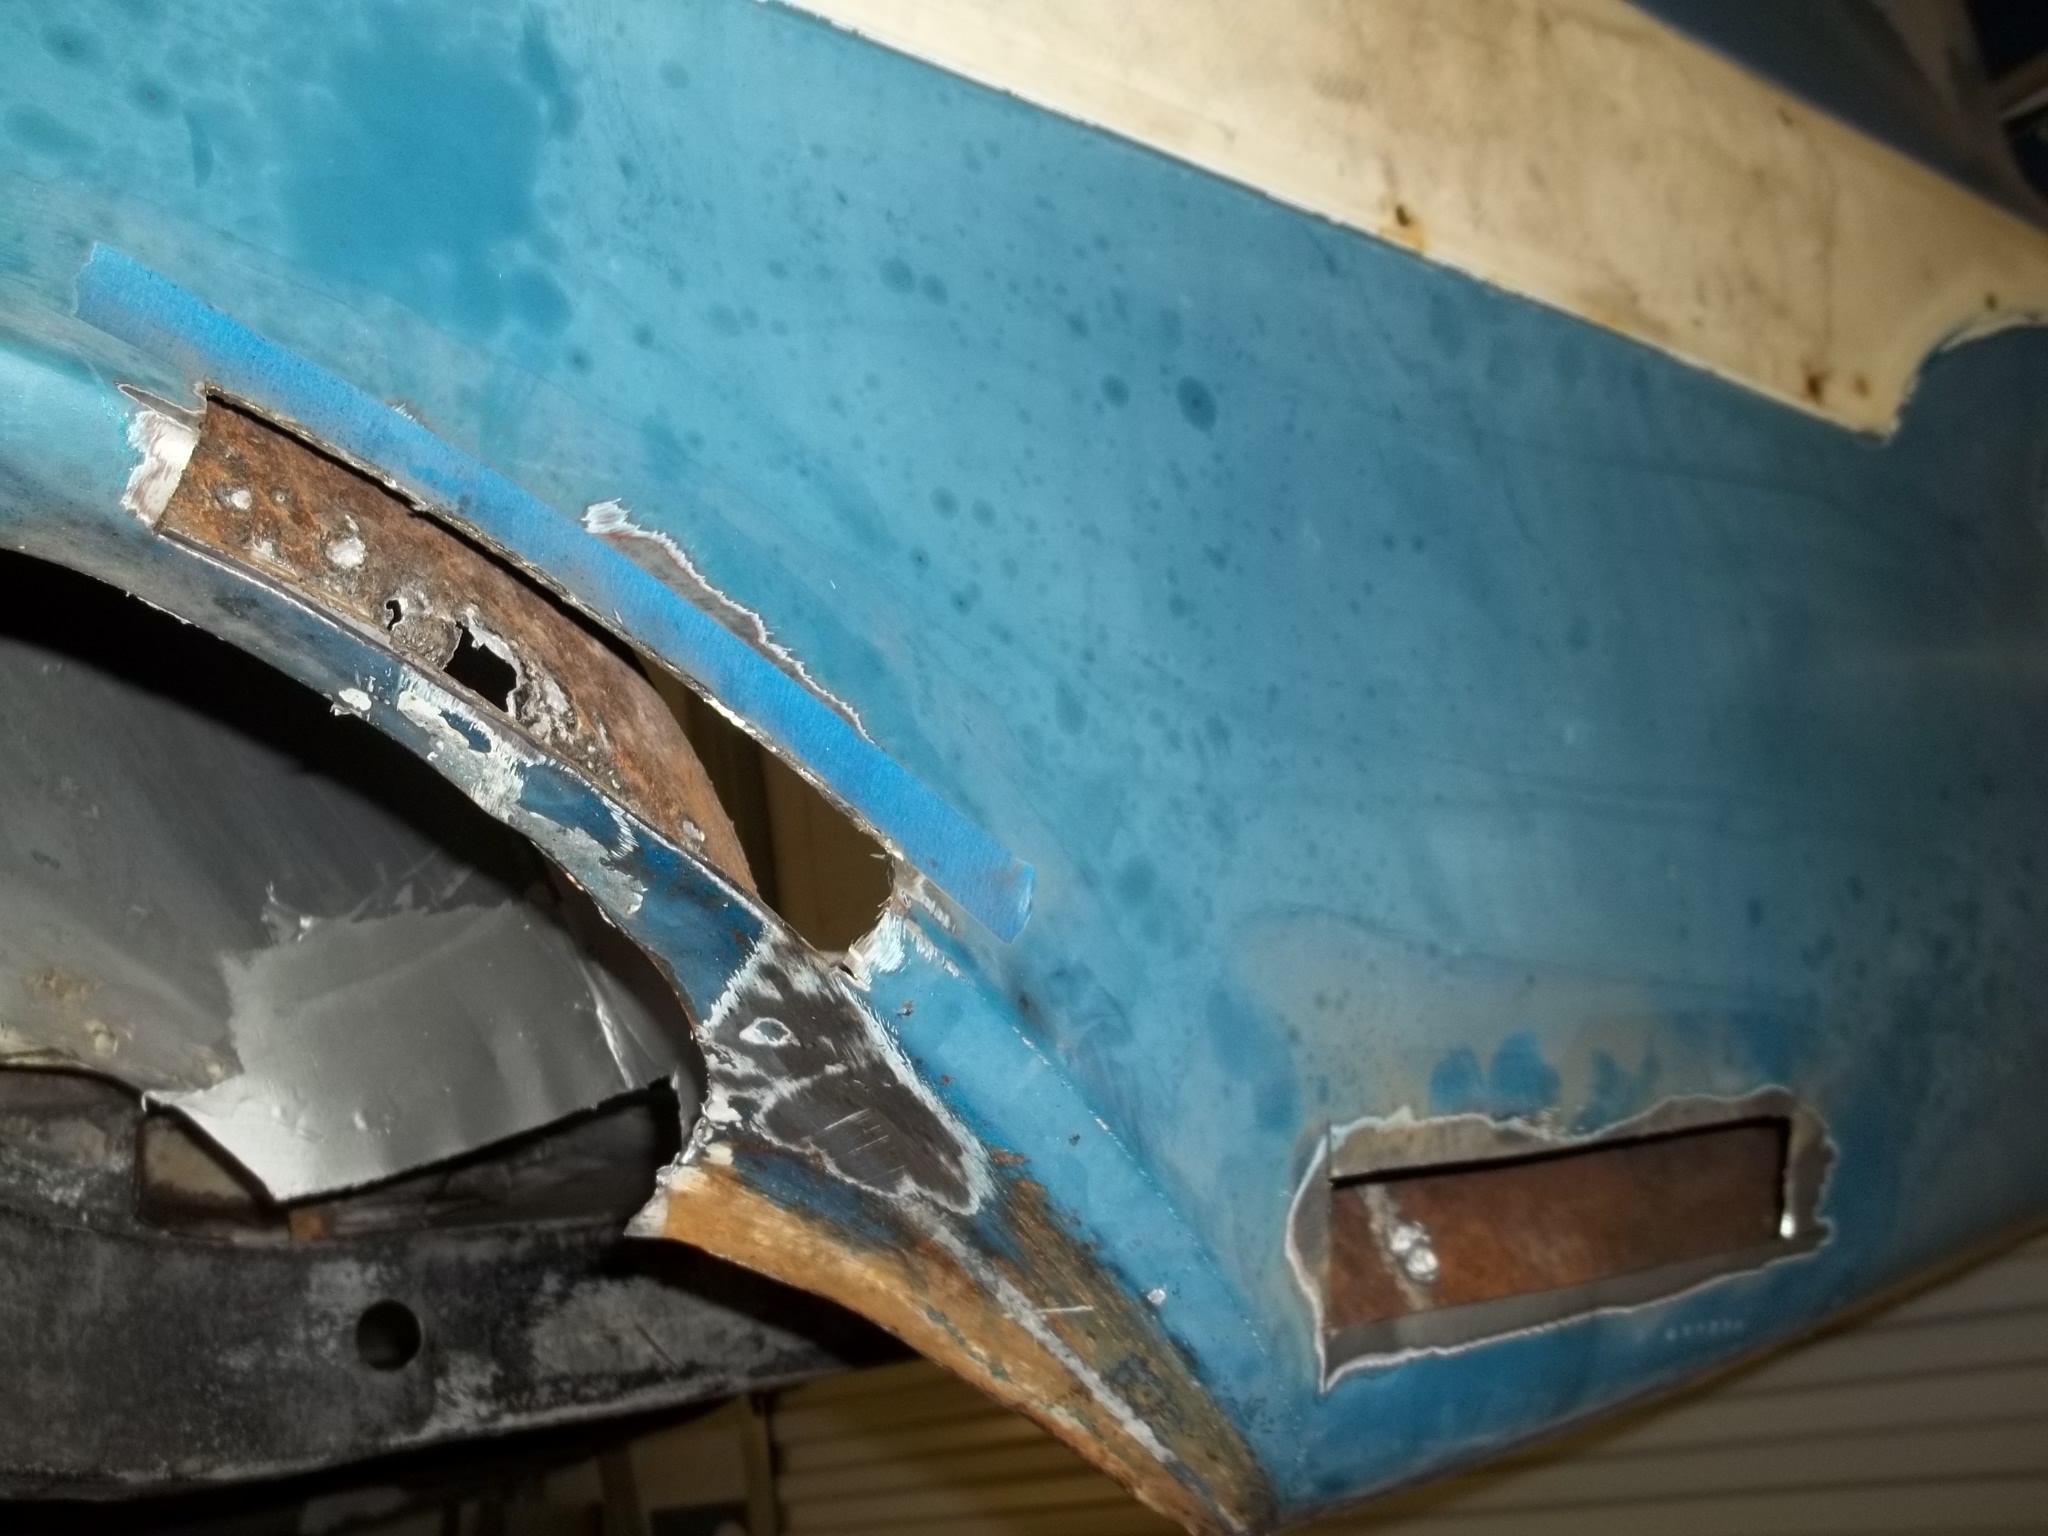
DRIVERS SIDE REAR QUARTER, REST GOOD.
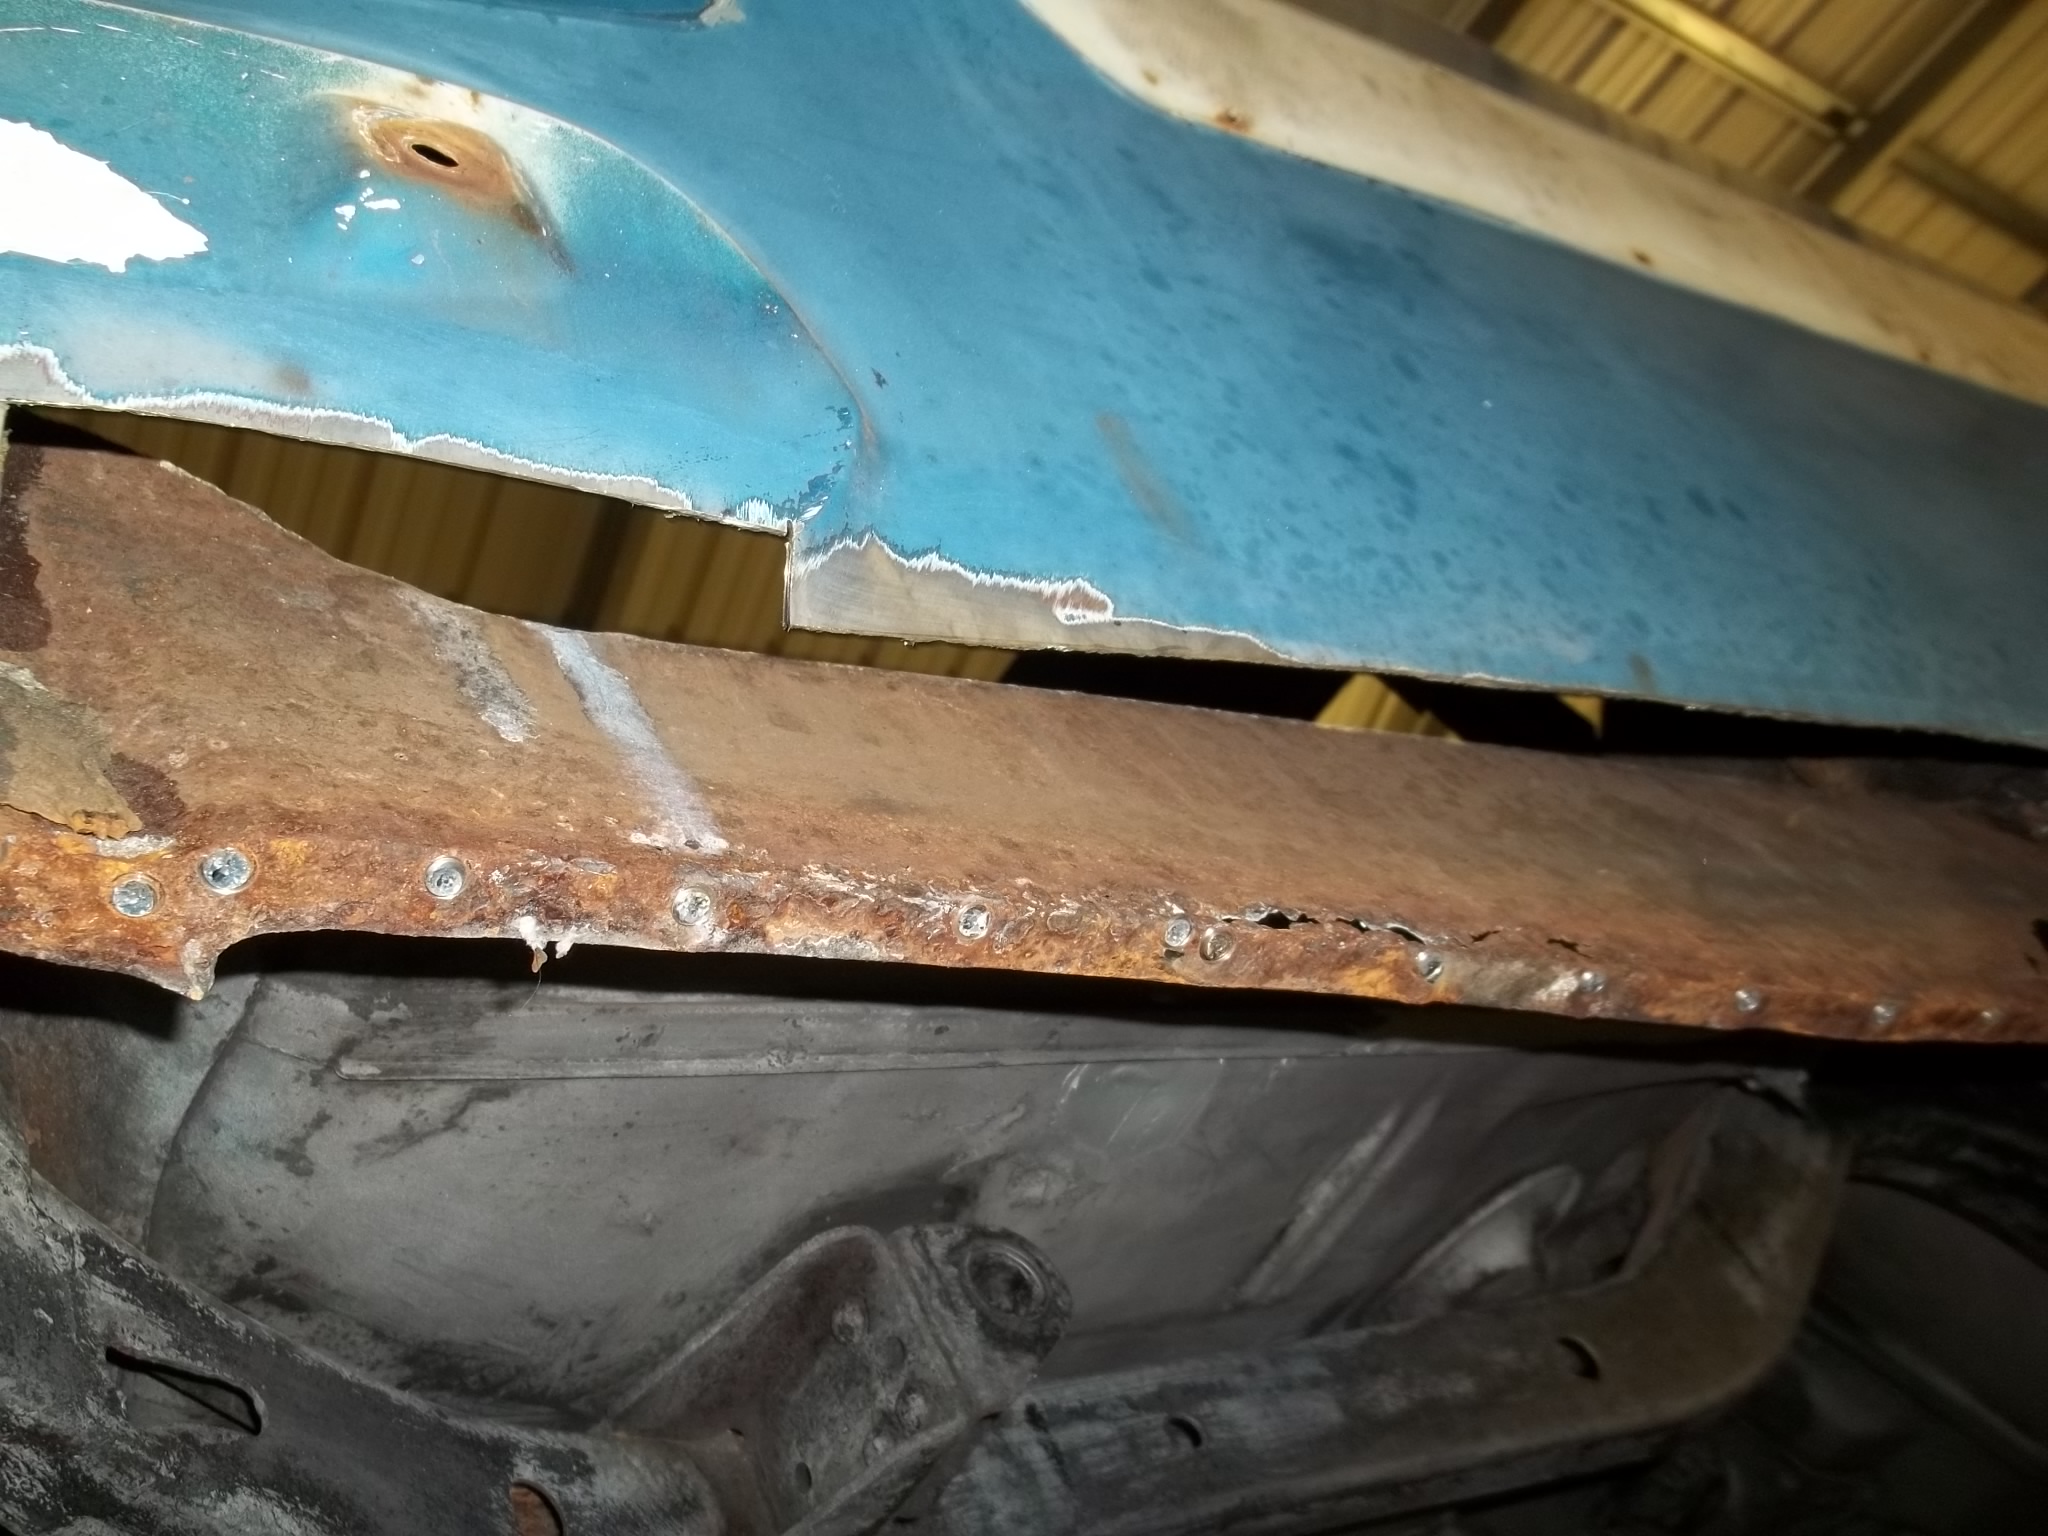
PASSENGER SIDE REAR QUARTER, THE REST OF BODY WAS REAL GOOD.
Here is ten more pictures.
Dick.
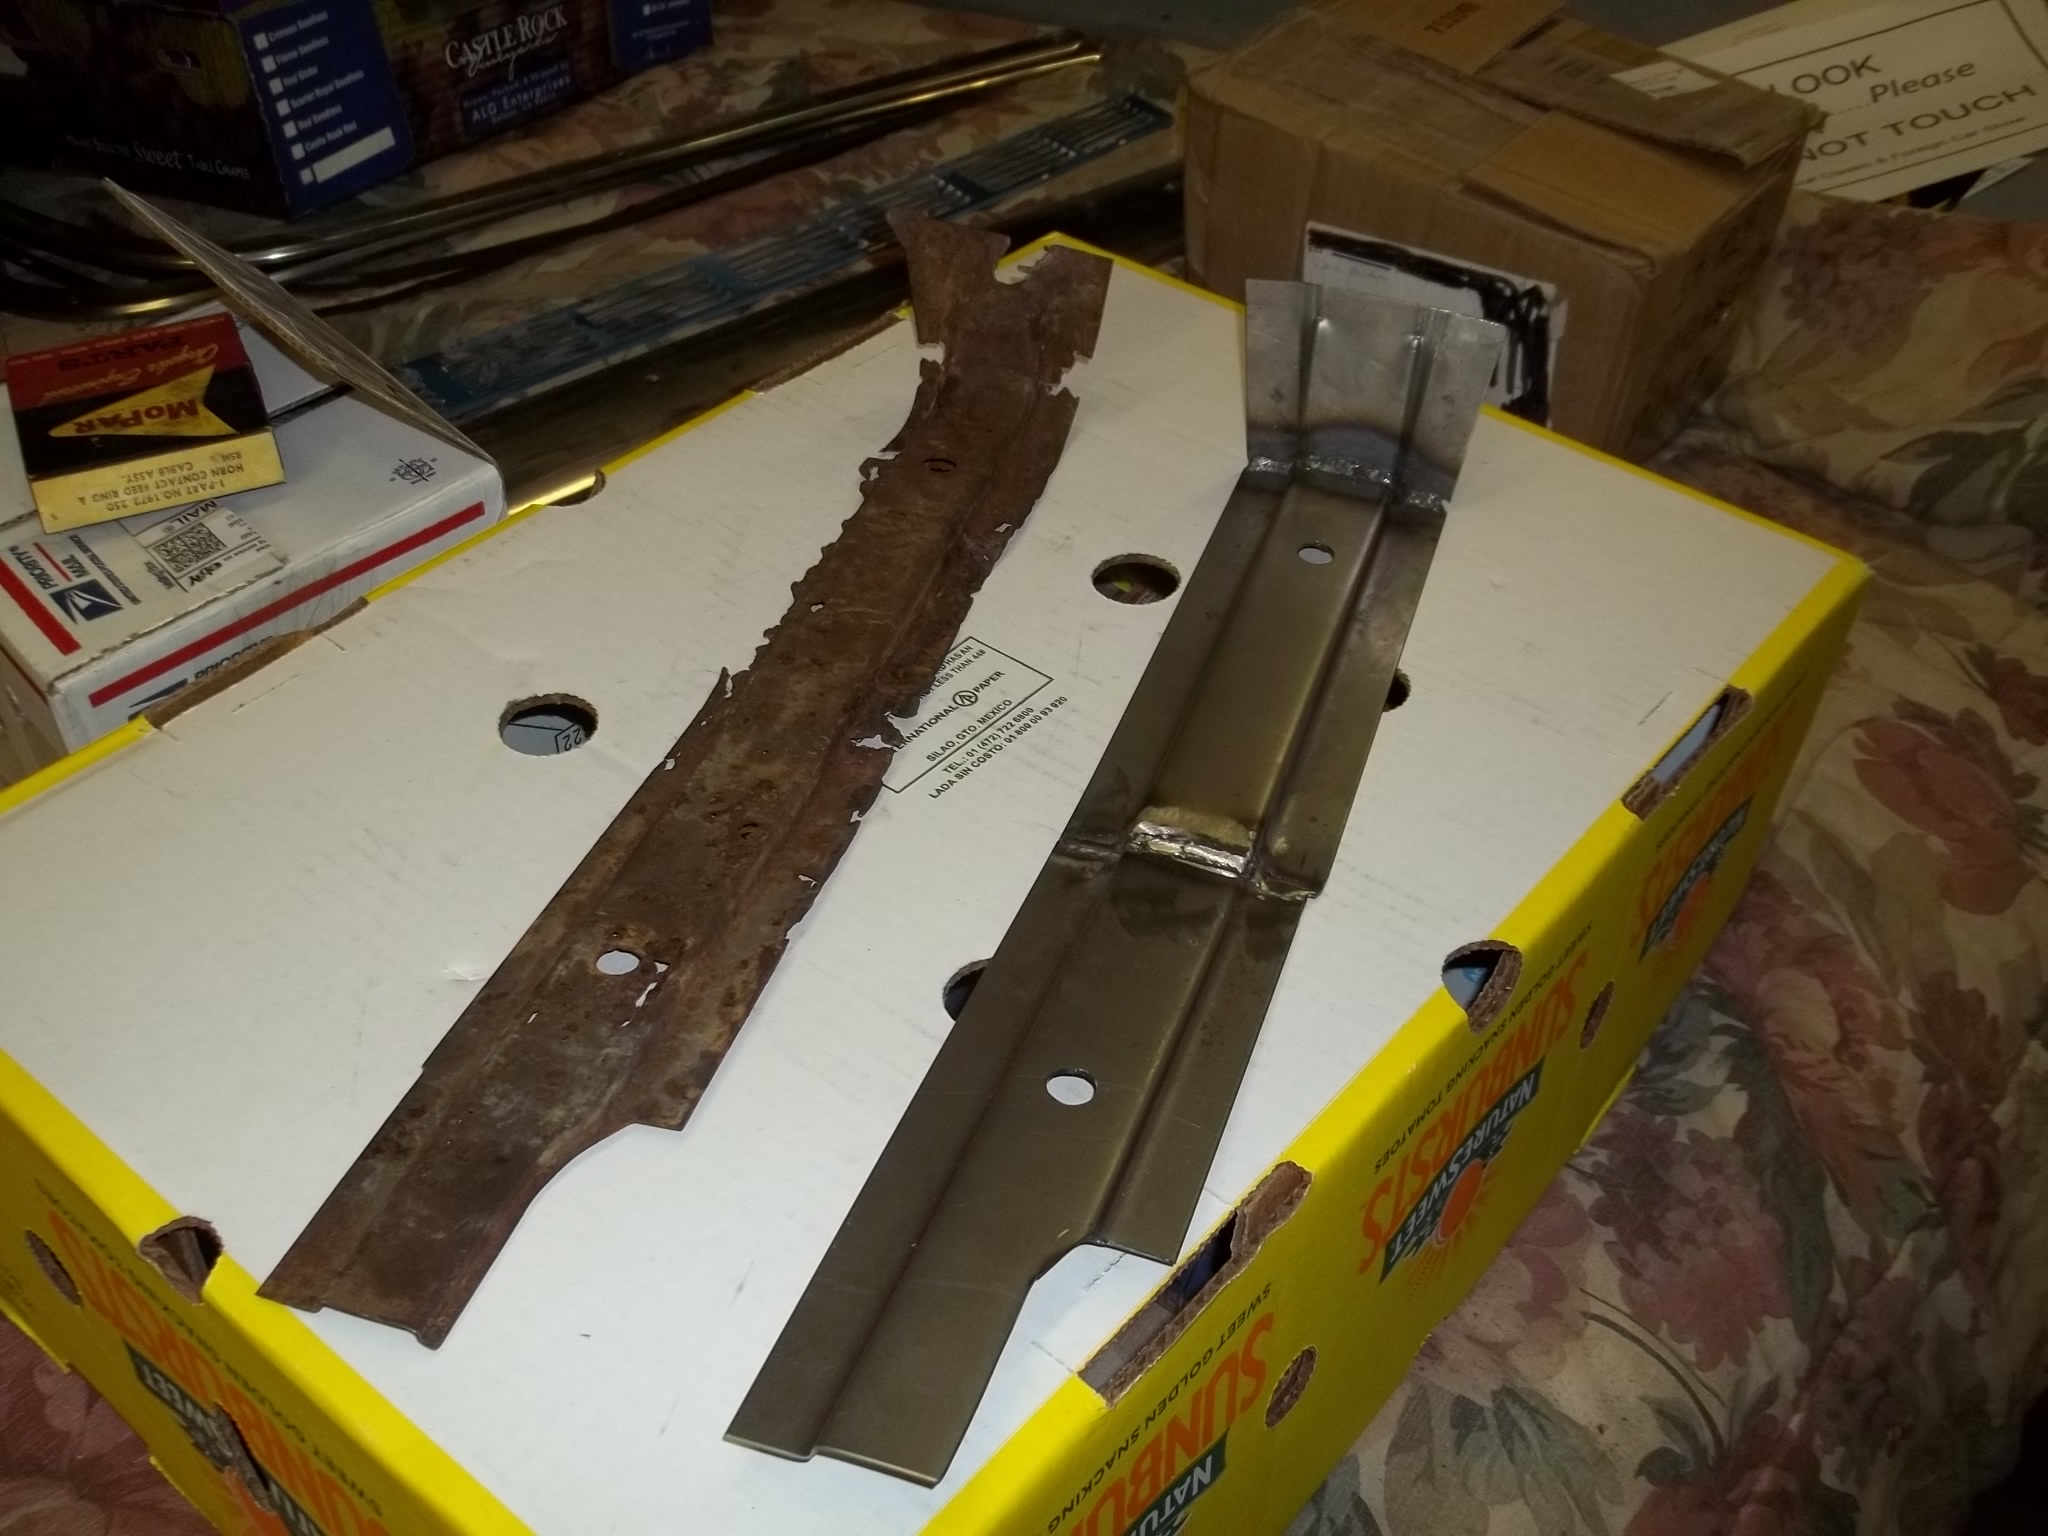
HAD MADE AT LOCAL SHOP, WORKED BEAUTIFULLY.
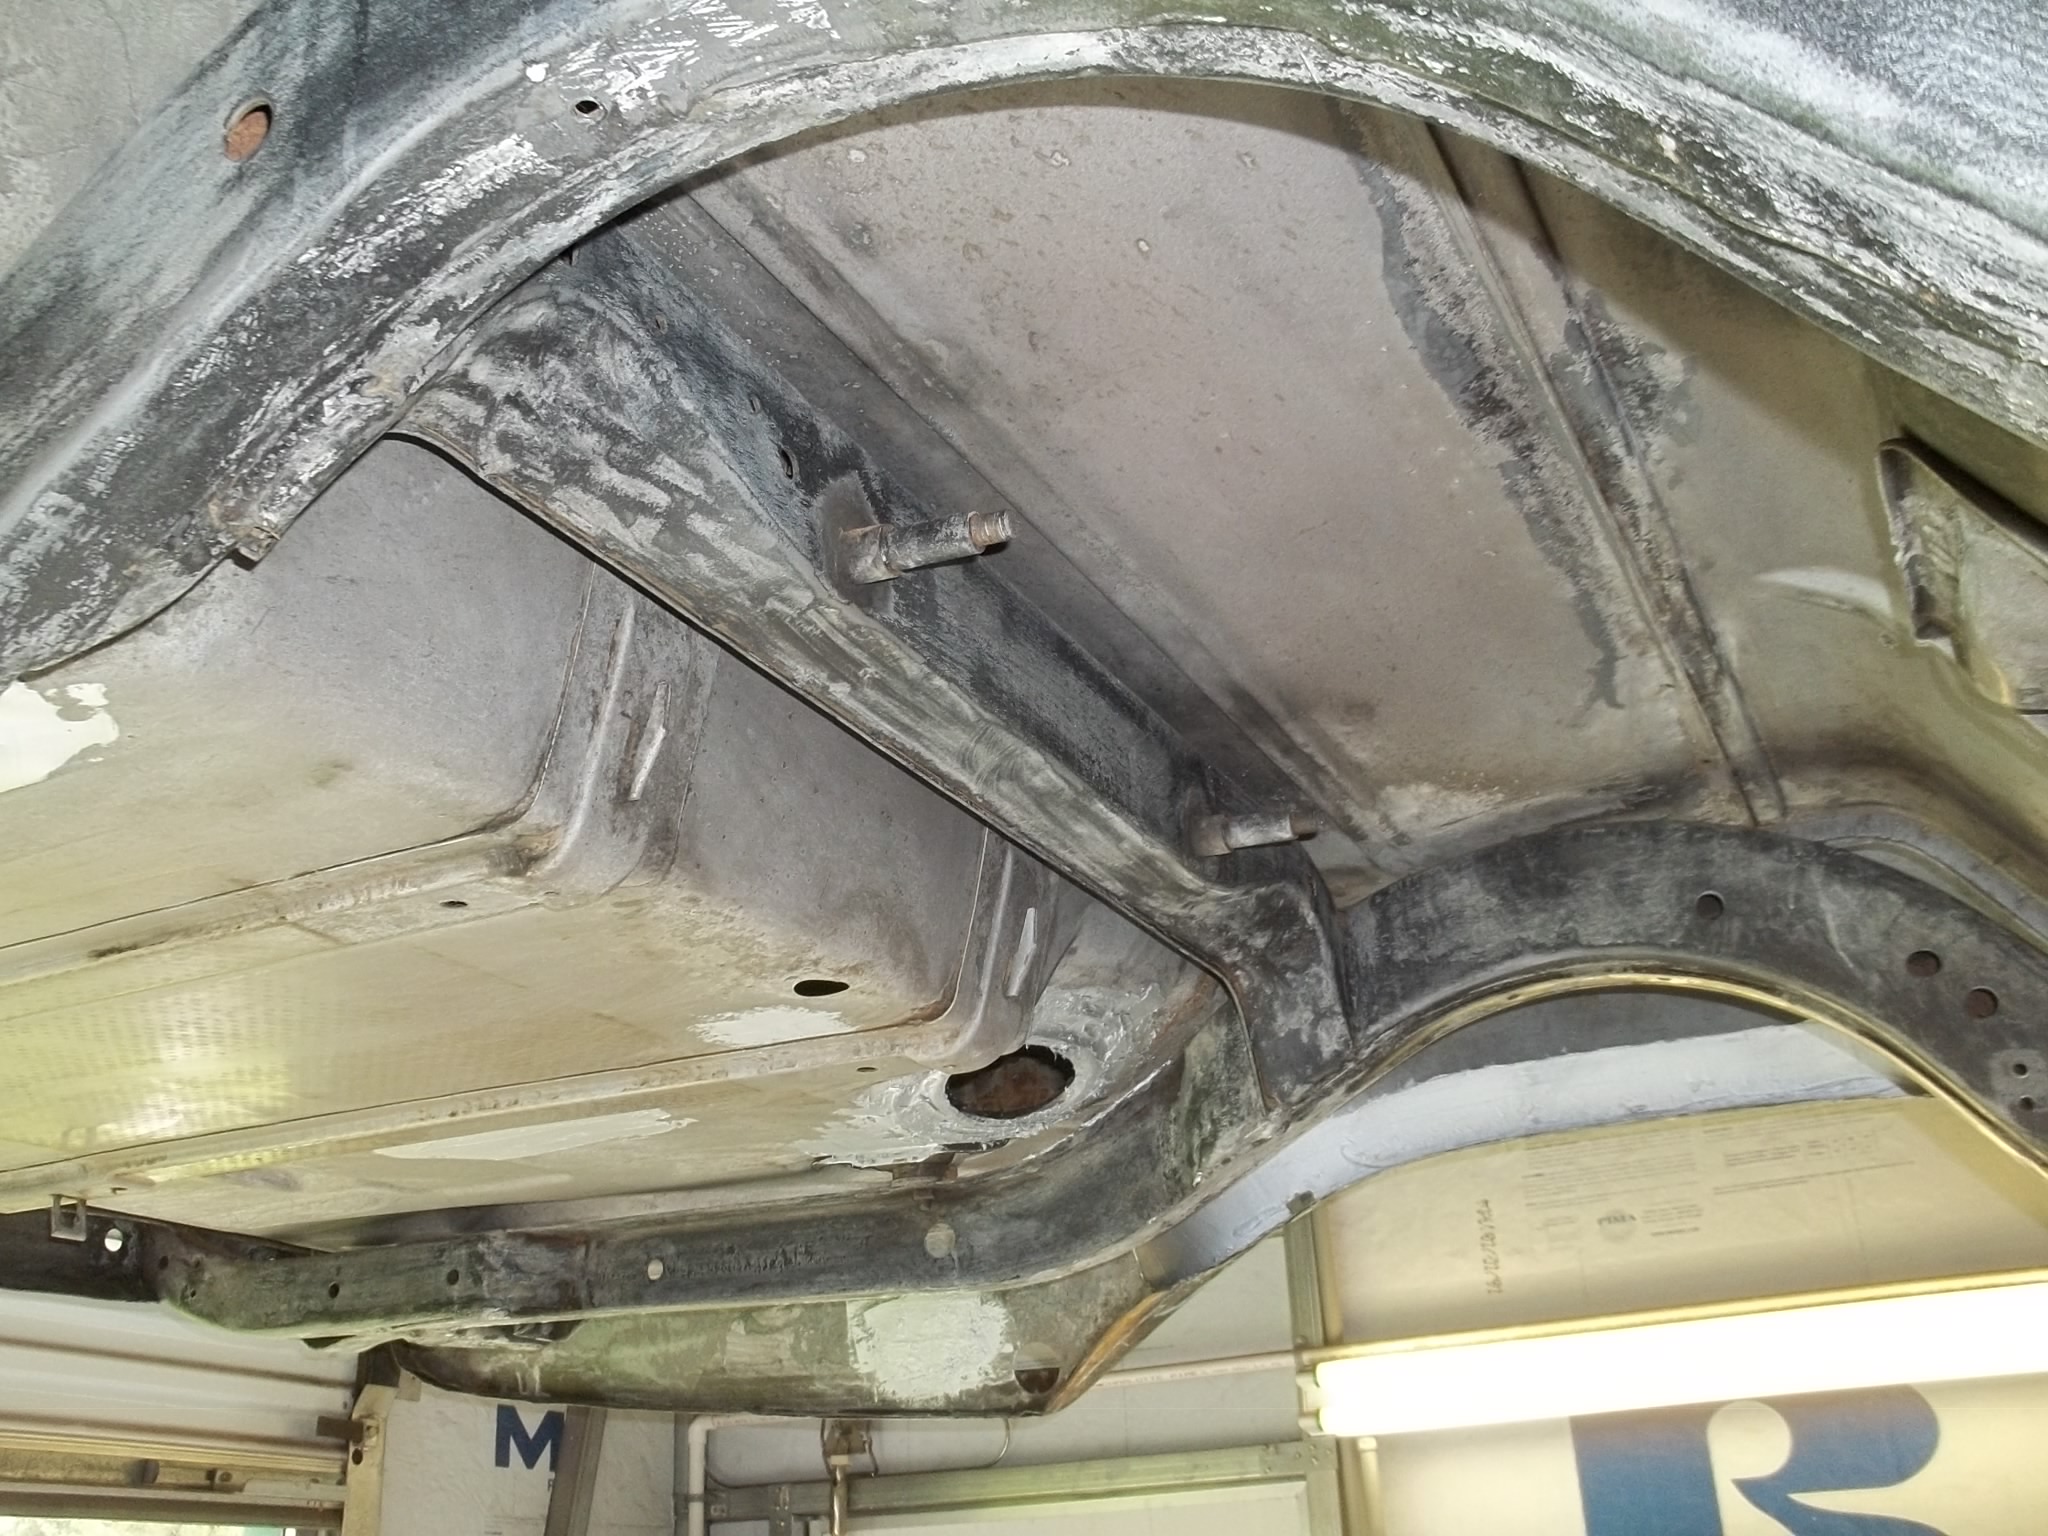
CLEANED REAR UNDERSIDE AND OSPHOED SO COULD INSTALL DIFFERENTIAL.
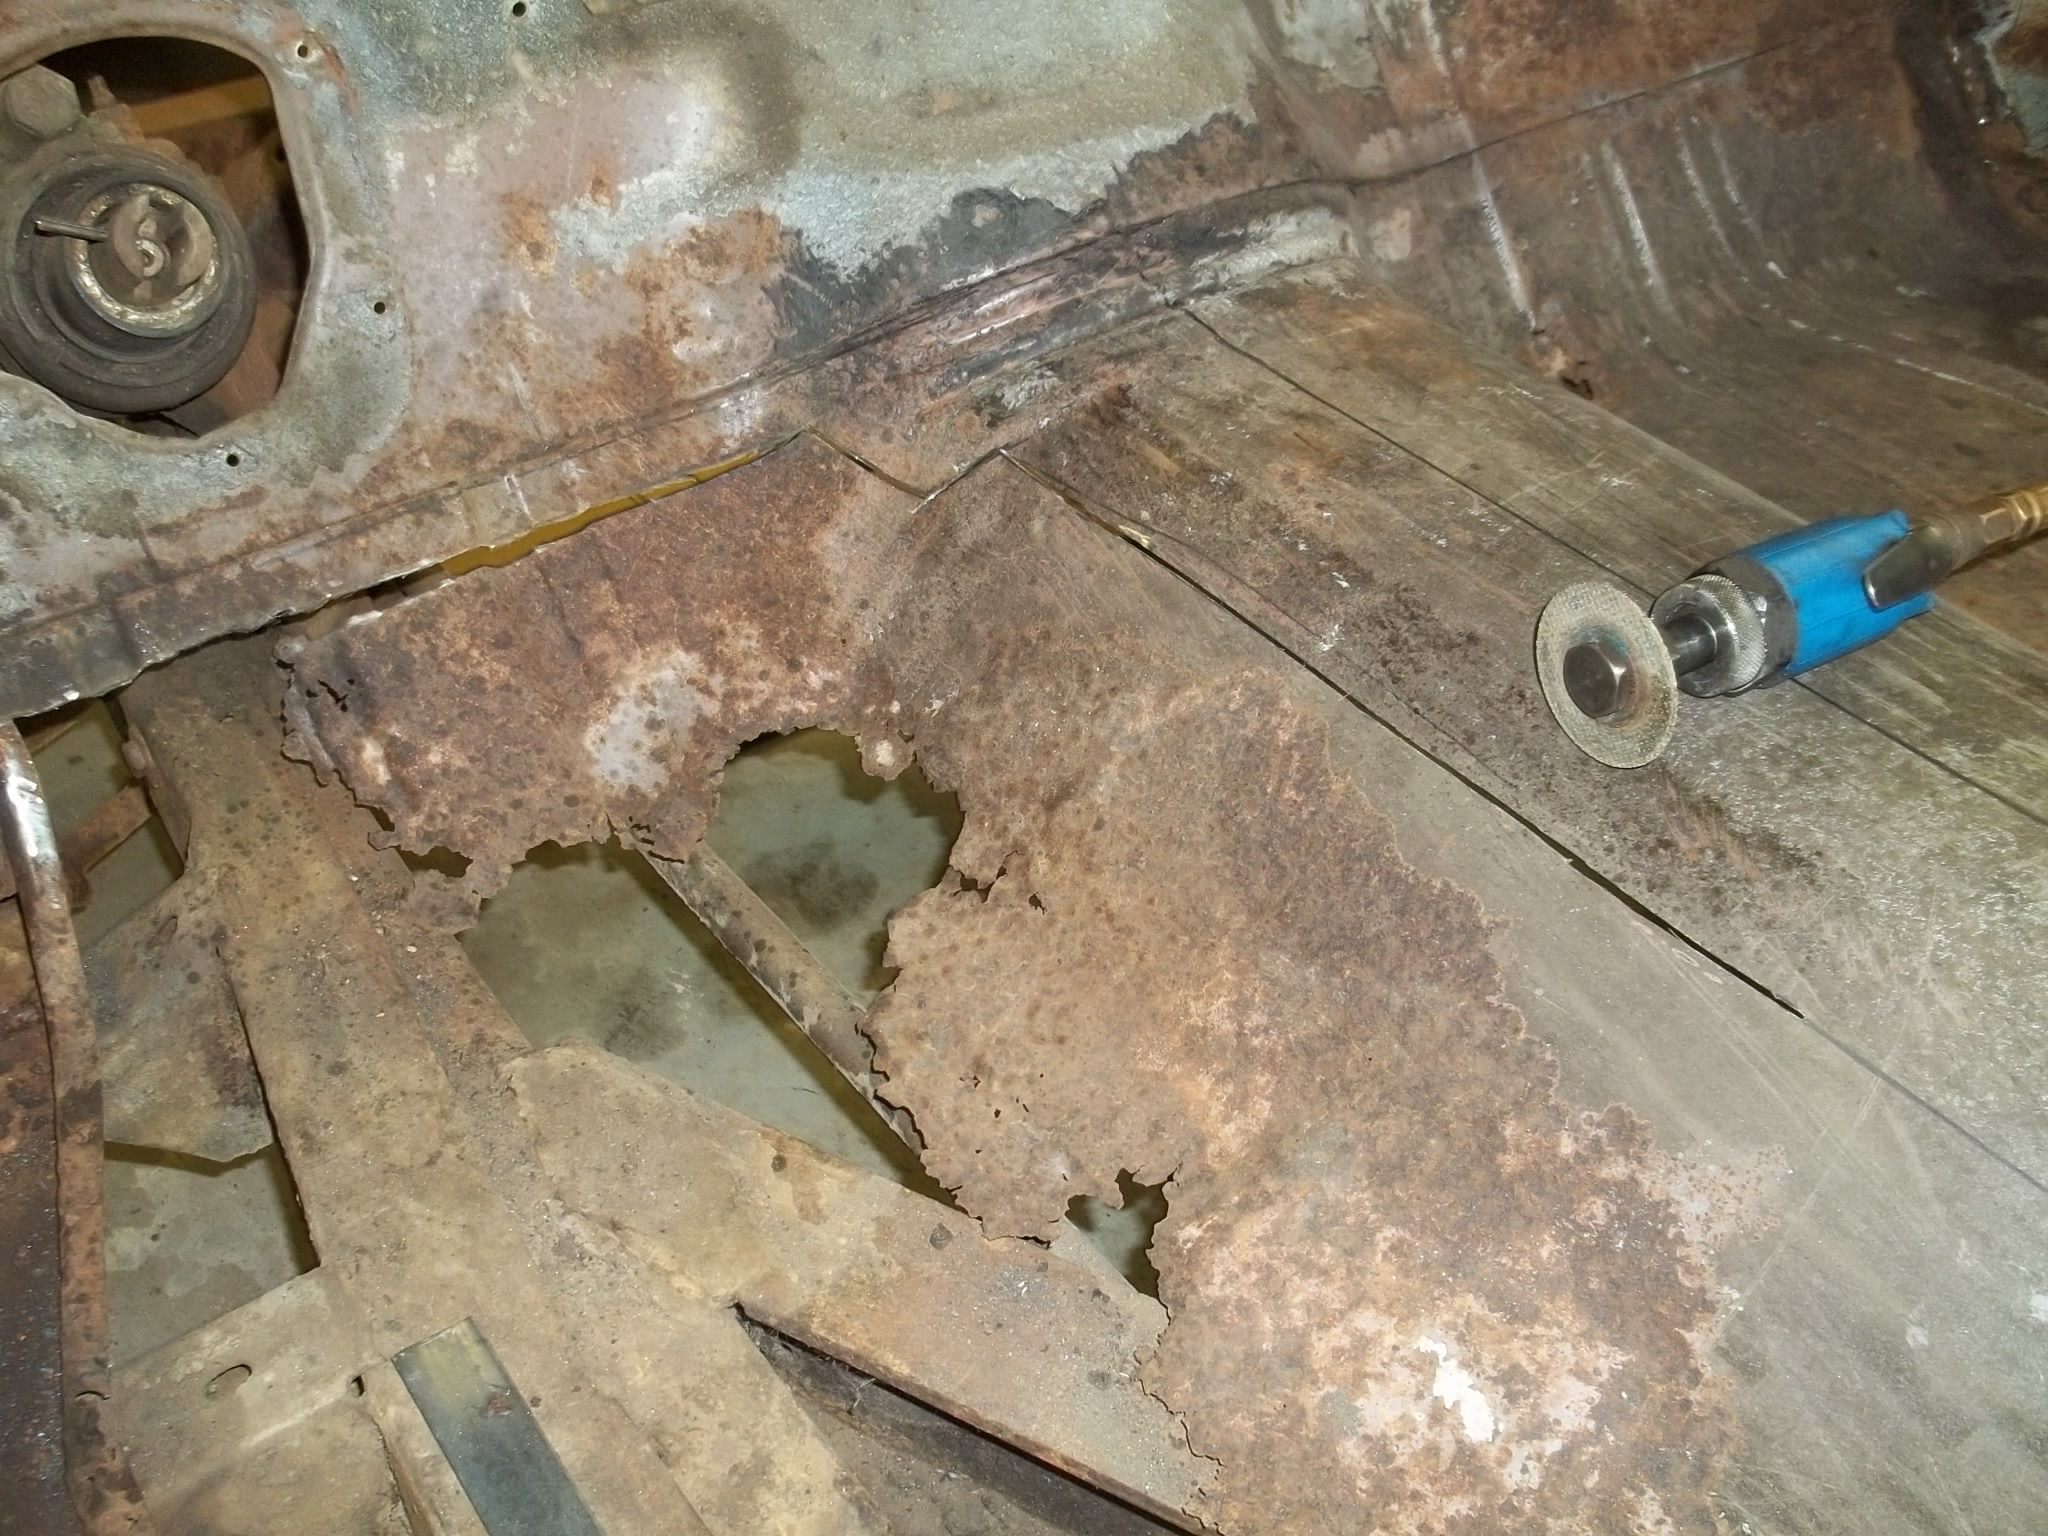
STARTING ON DRIVERS SIDE FLOOR.


PURDY AIN’T HE.
TIN MO.
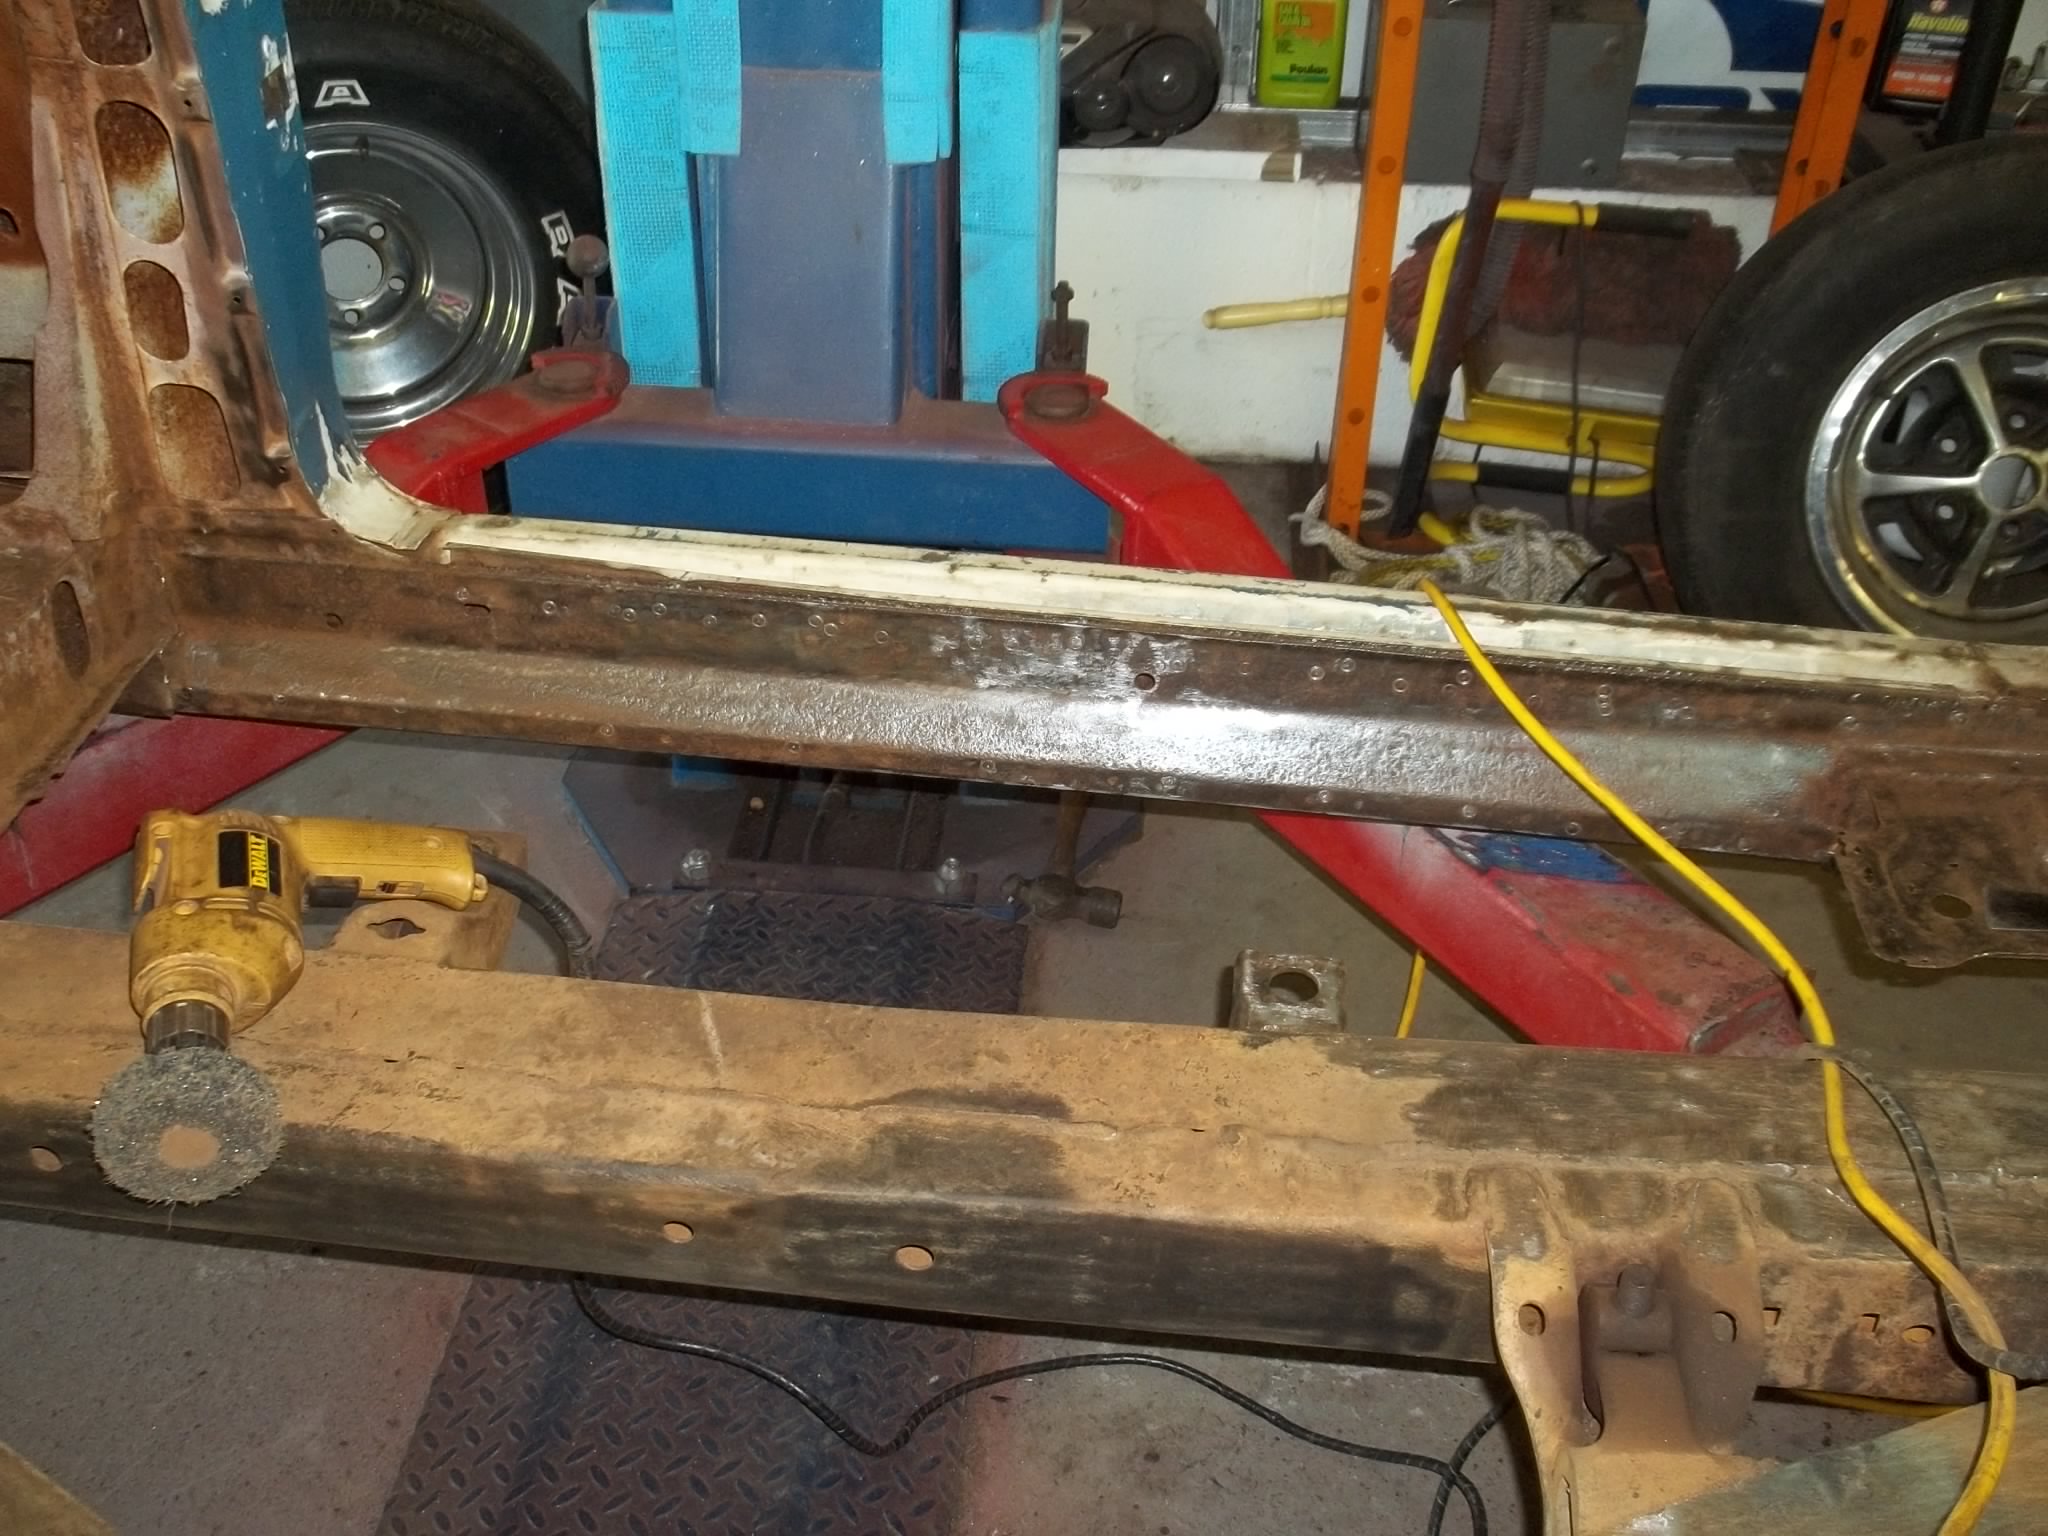
THIS IS THE REAL INNER ROCKER, THERE IS A STEPPED PIECE WELDED TO THIS THAT THE FLOORS REST ON.
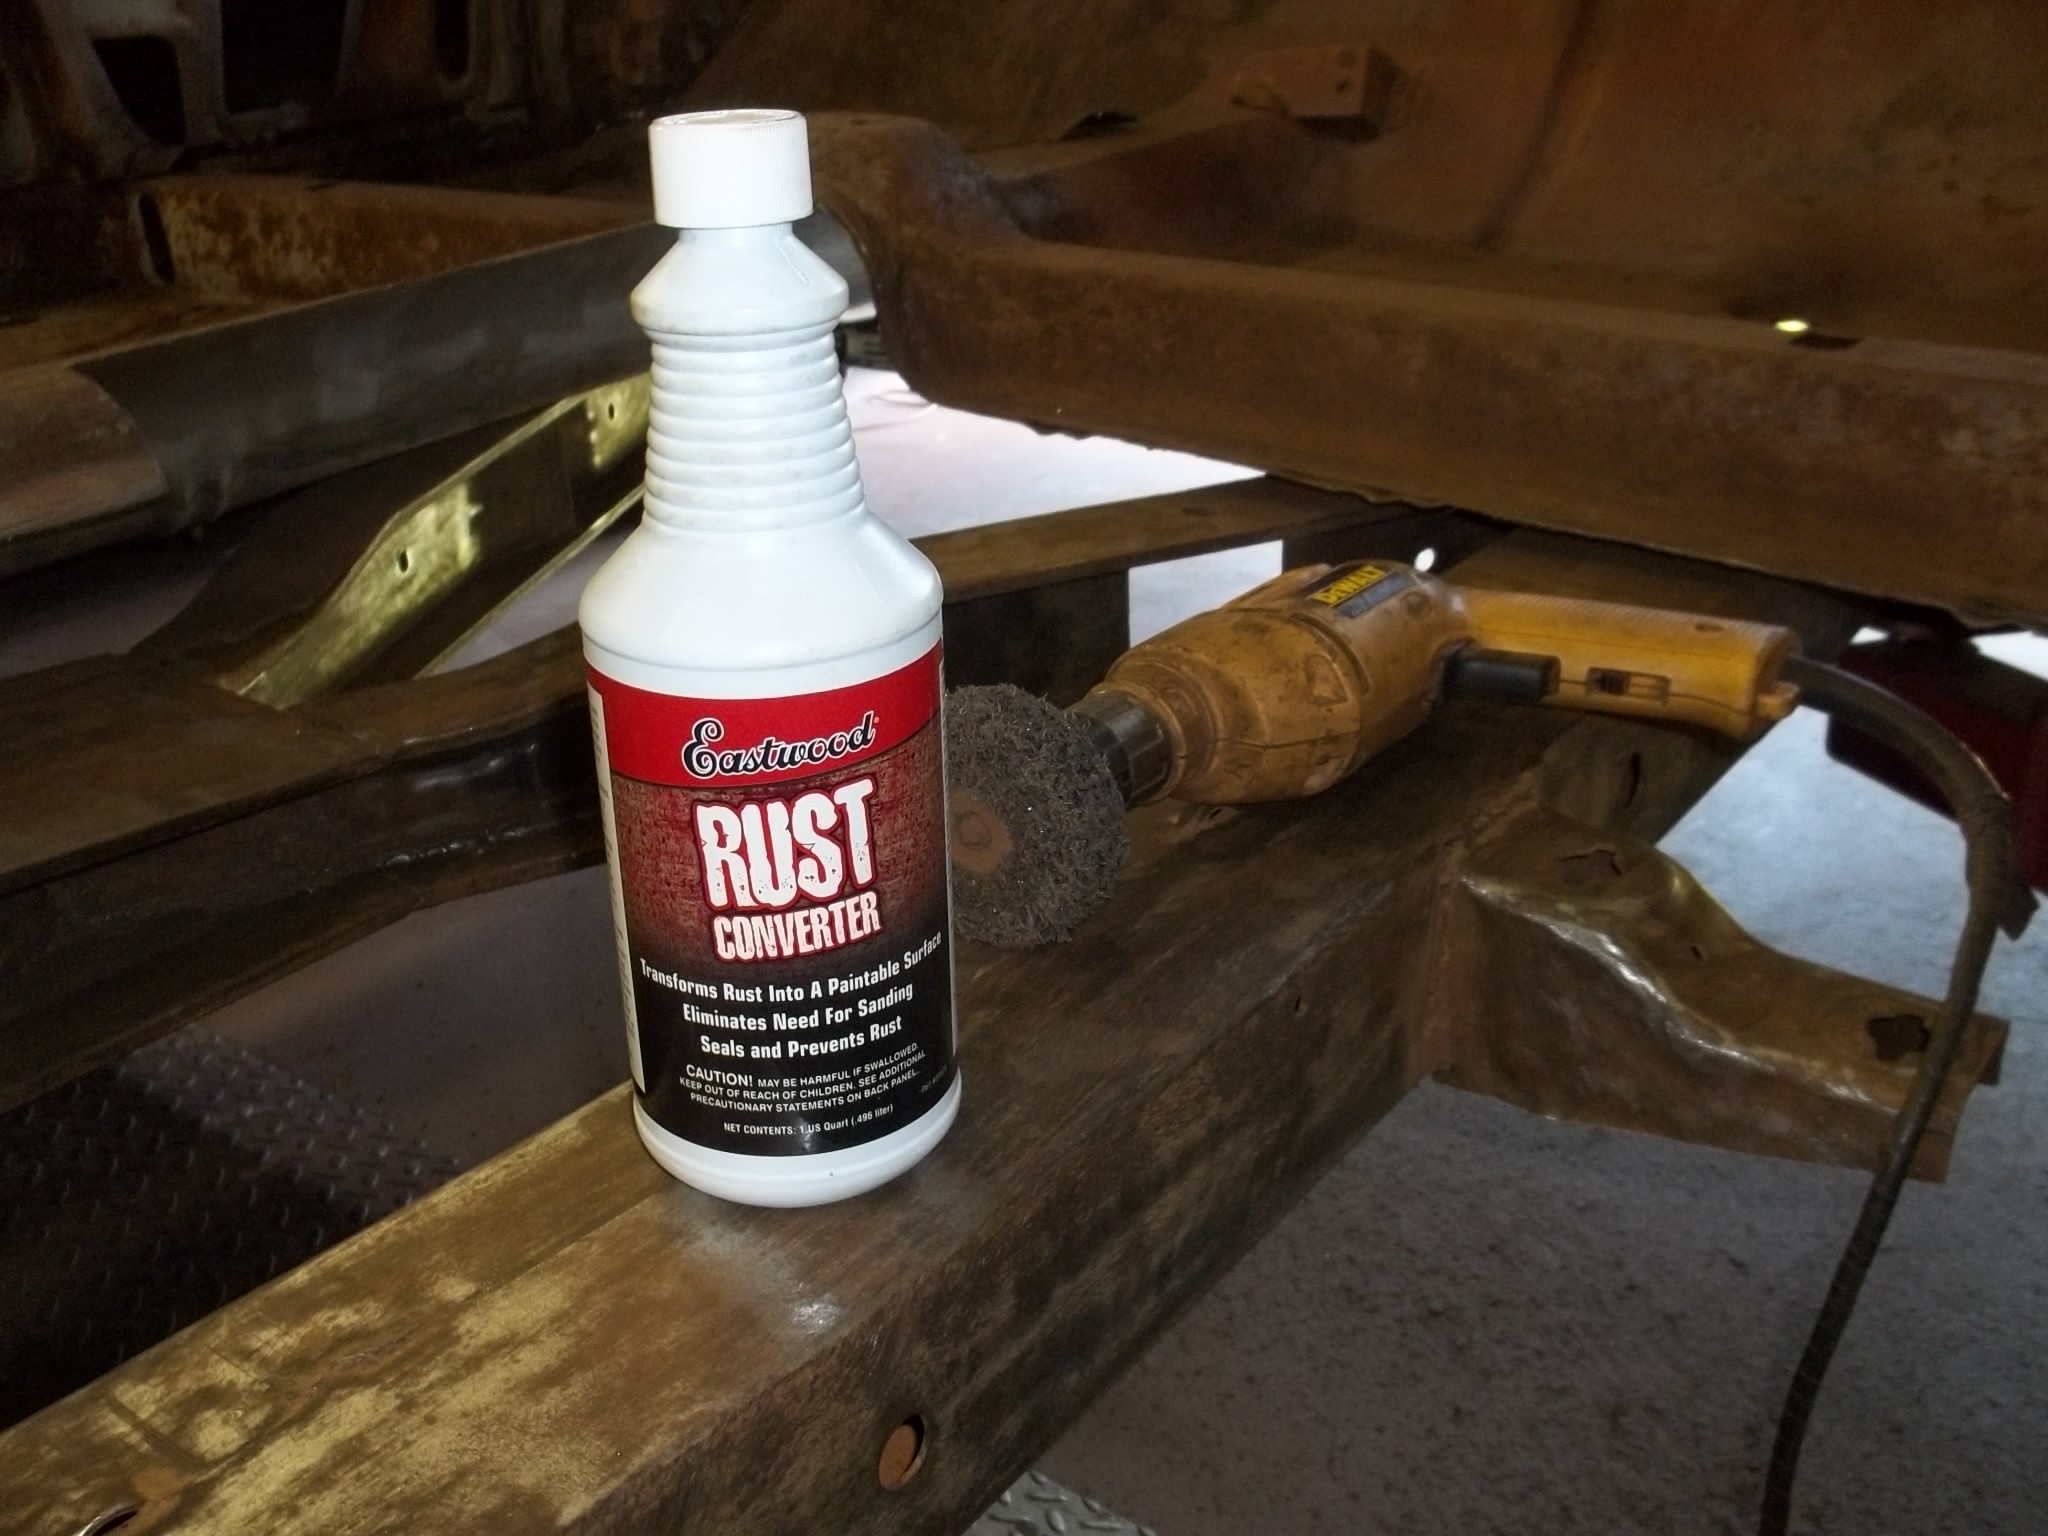
ALL A YA’LL GOTTA GET SOME OF THIS, IT’S REAL GOOD STUFF.

REAR SEAT CROSS BRACE, FLOORS UNDER THIS RUSTED BADLY.
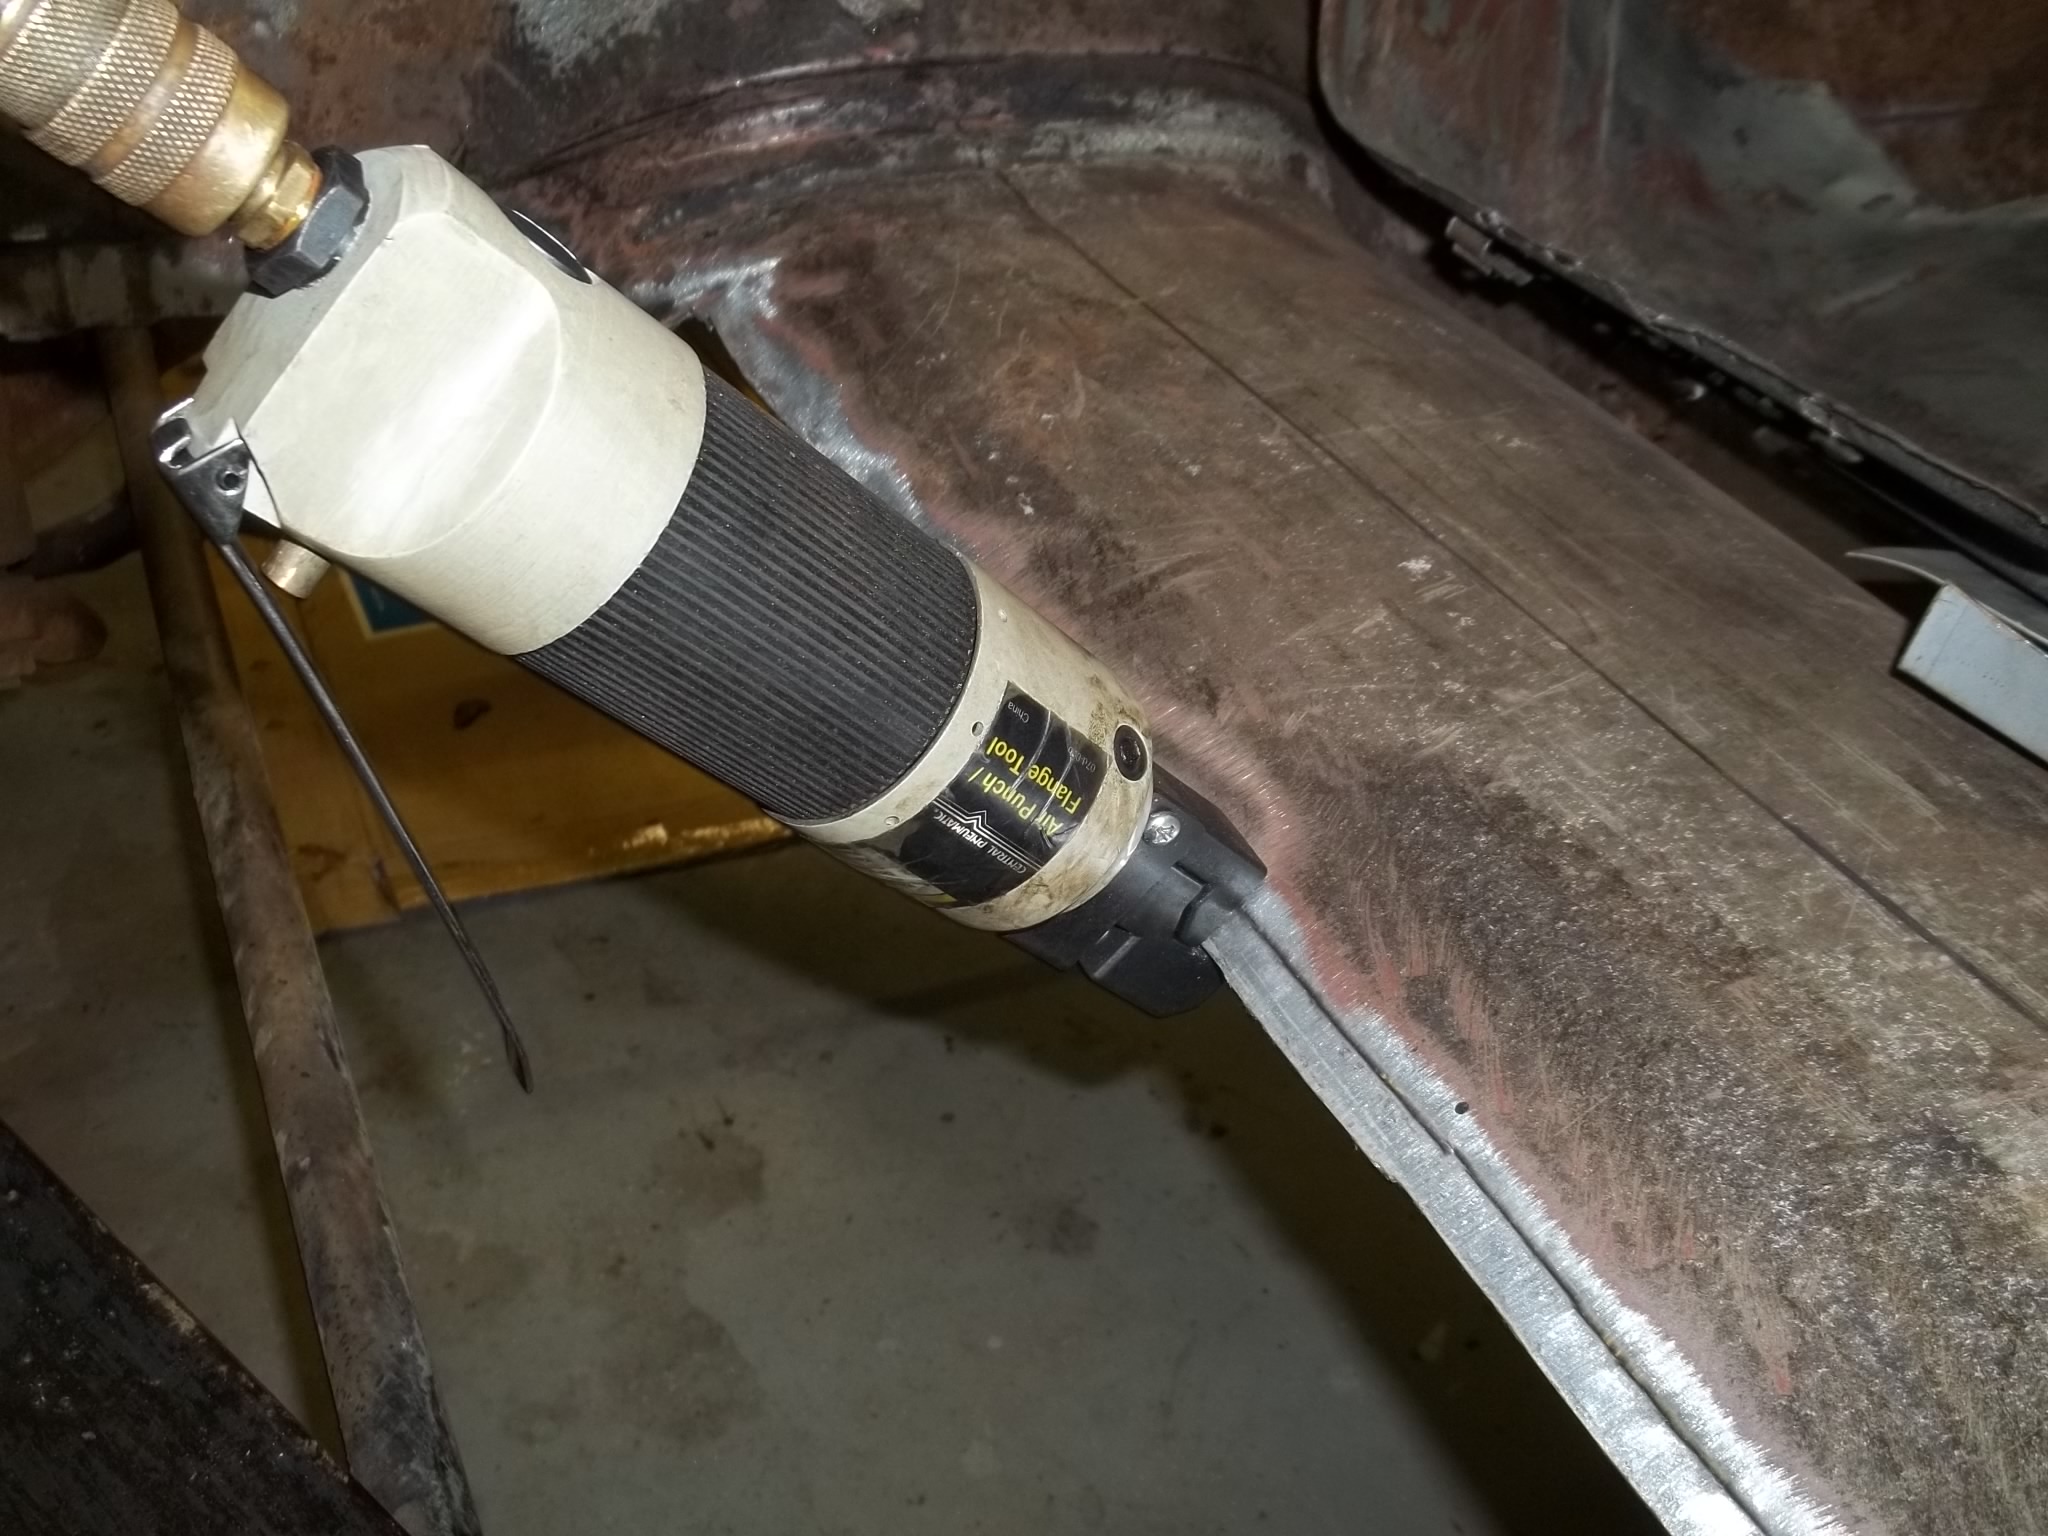
GREAT TOOL, PUNCHES HOLES TOO. HARBOR FREIGHT AROUND $35 - 40 BUCKS.

FROM PARTS CAR, TOTALLY REBUILDT.

EARLY STYLE SINGLE PLATFORM REAR BRAKES.
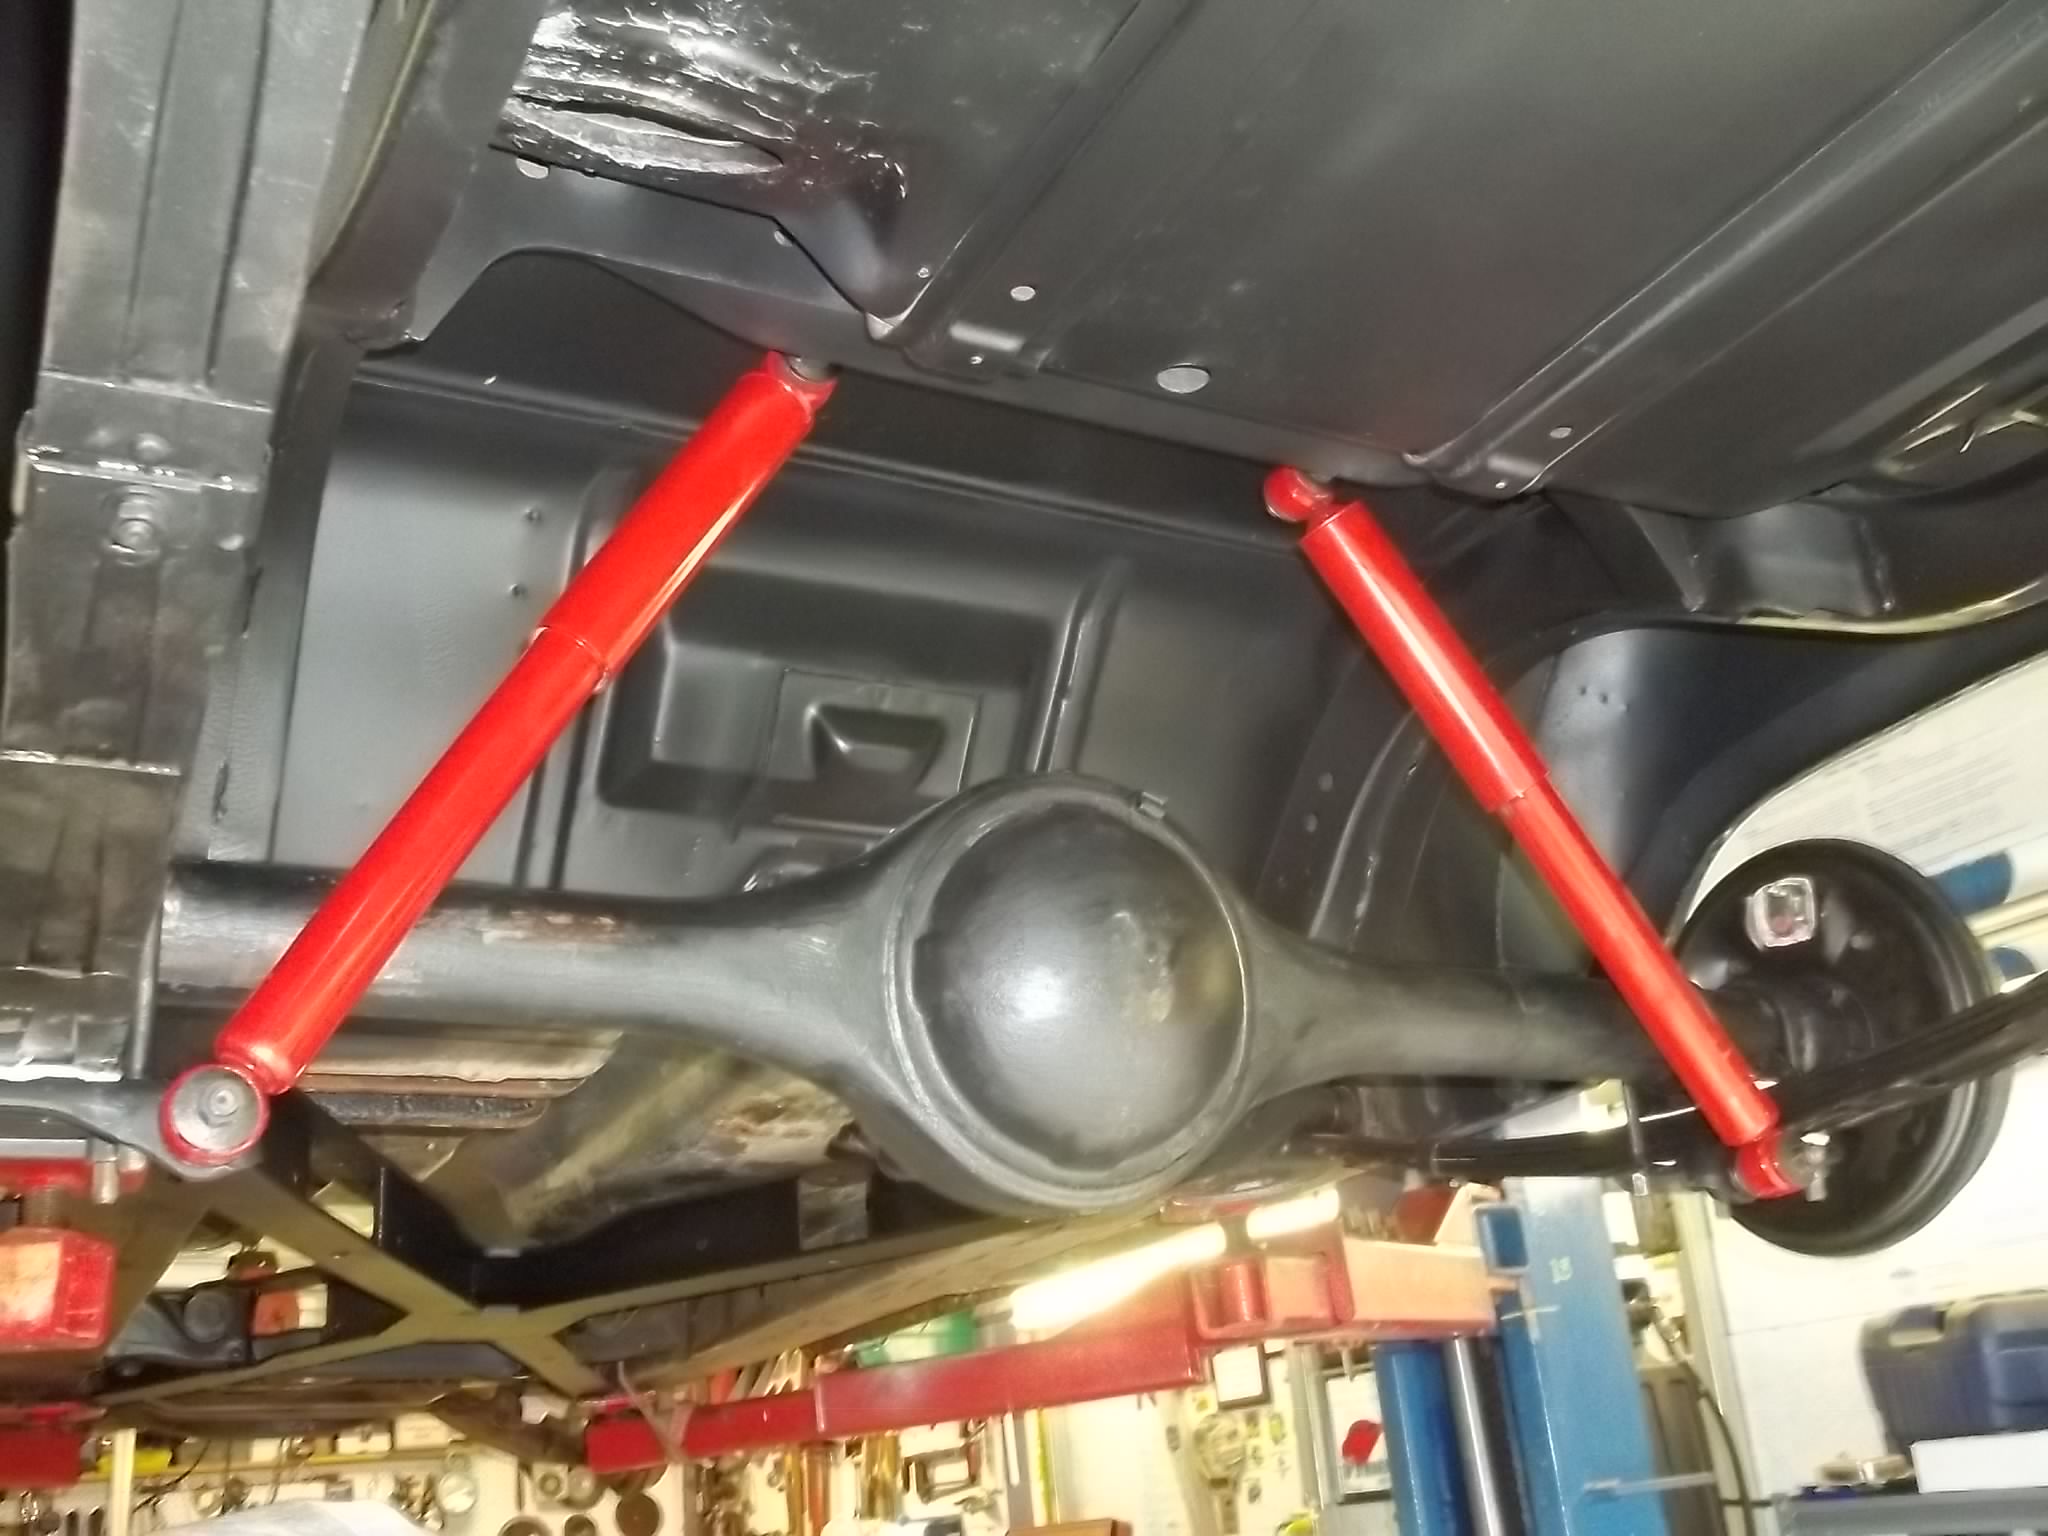

THIS IS THAT RUST CONVERTER, ENCAPSULATOR WILL GO OVER IT.

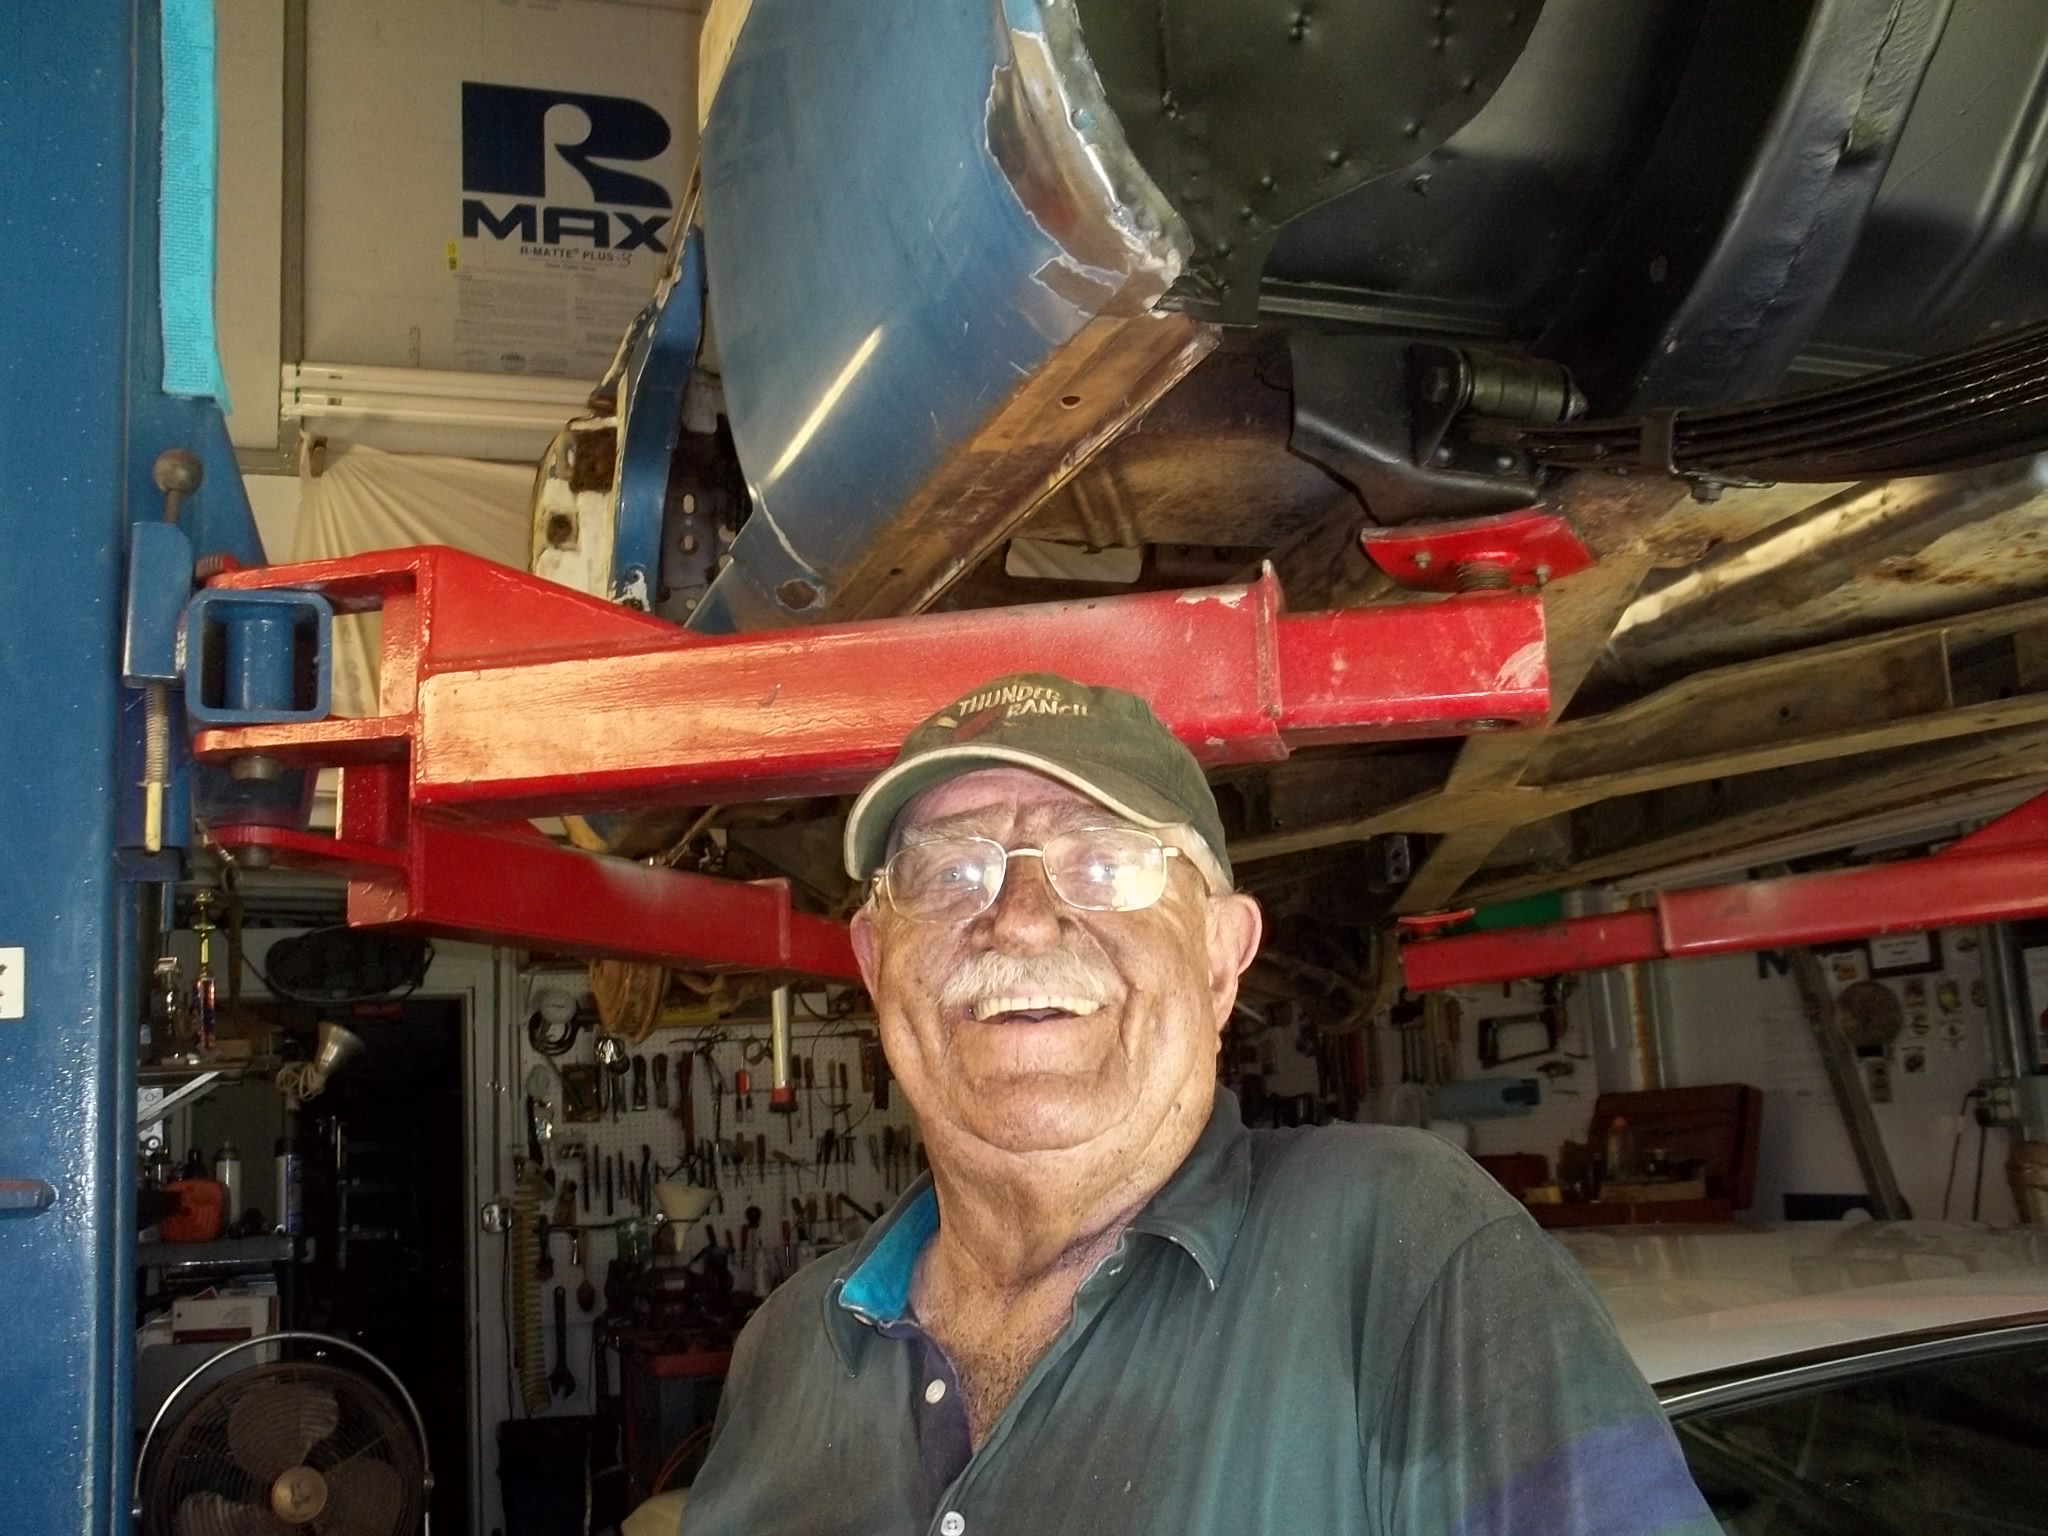
MY MAIN MAN.

Looking good Señor Dick! Keep up the good work!
Love seeing the pic’s you post of your endeavors on your convertible re-build. Great to have another of the super rare Belvedere Convertible will hit the road in the near future! 
What final color did you decide on? Wasn’t it light blue?
I also have that Harbor Freight Air Flanging/hole punch tool, neat item to have when doing metal work on overlap seams!
John Q.
NO MO AFTA DIS.
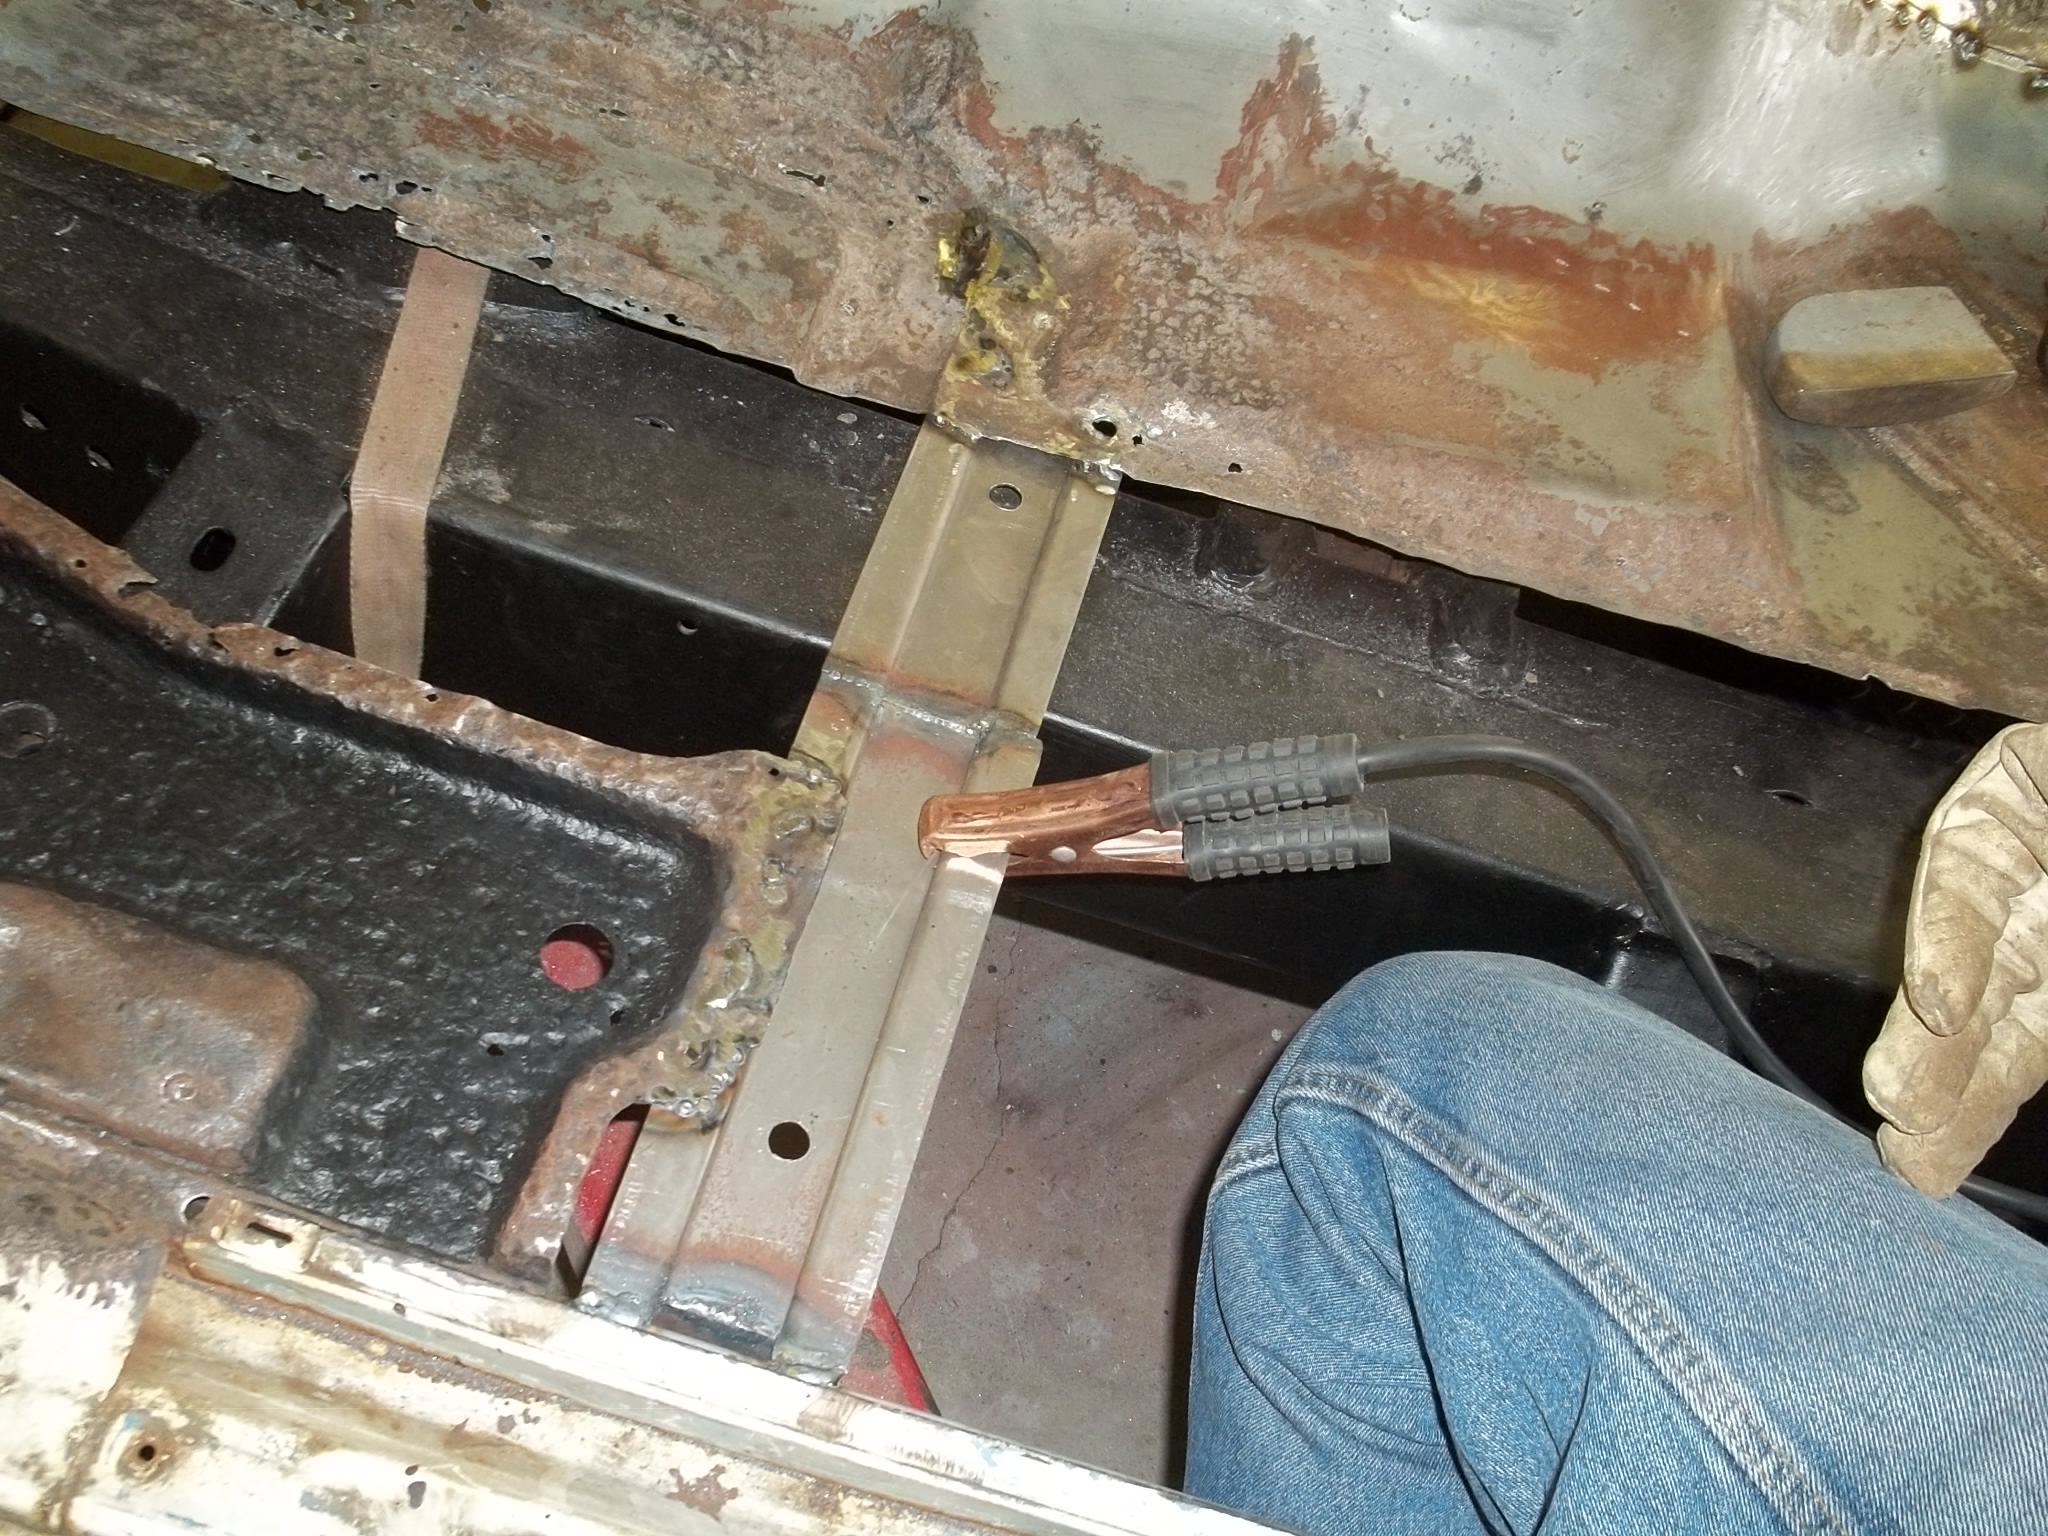

UNDER SEAT FLOOR THAT GOES UNDER REAR SEAT CROSS MEMBER.

TO MAKE SURE THE SEAT SUPPORTS ARE WELDED IN THE RIGHT PLACE.
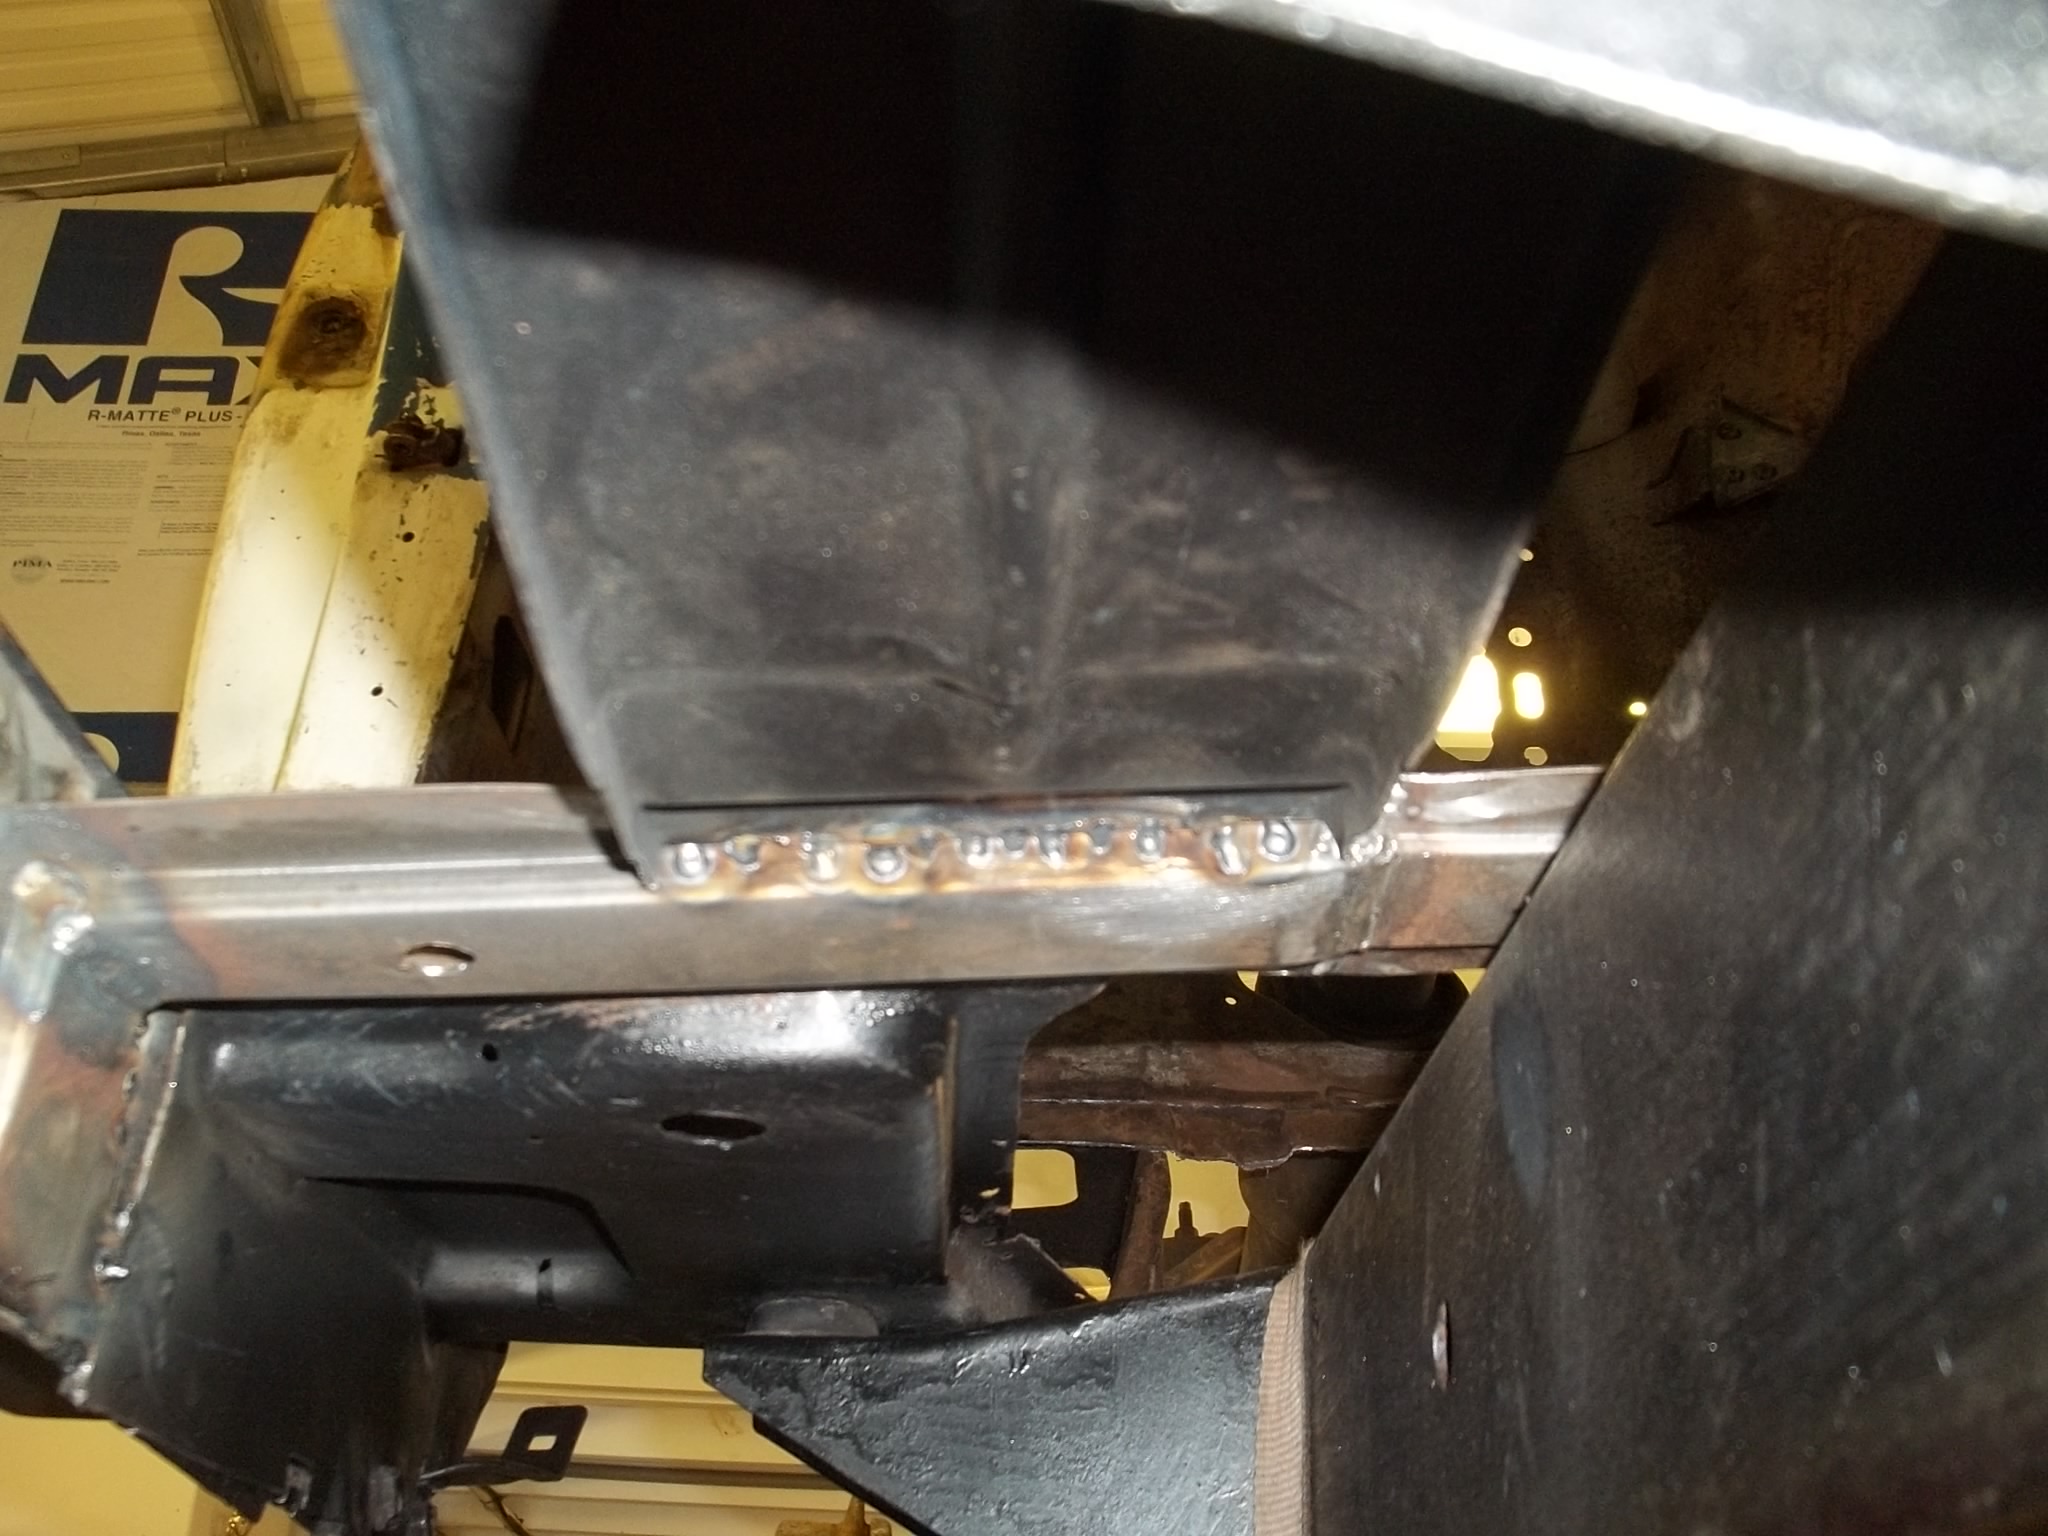
NEW SEAT SUPPORT FROM ALAN RALSTON.

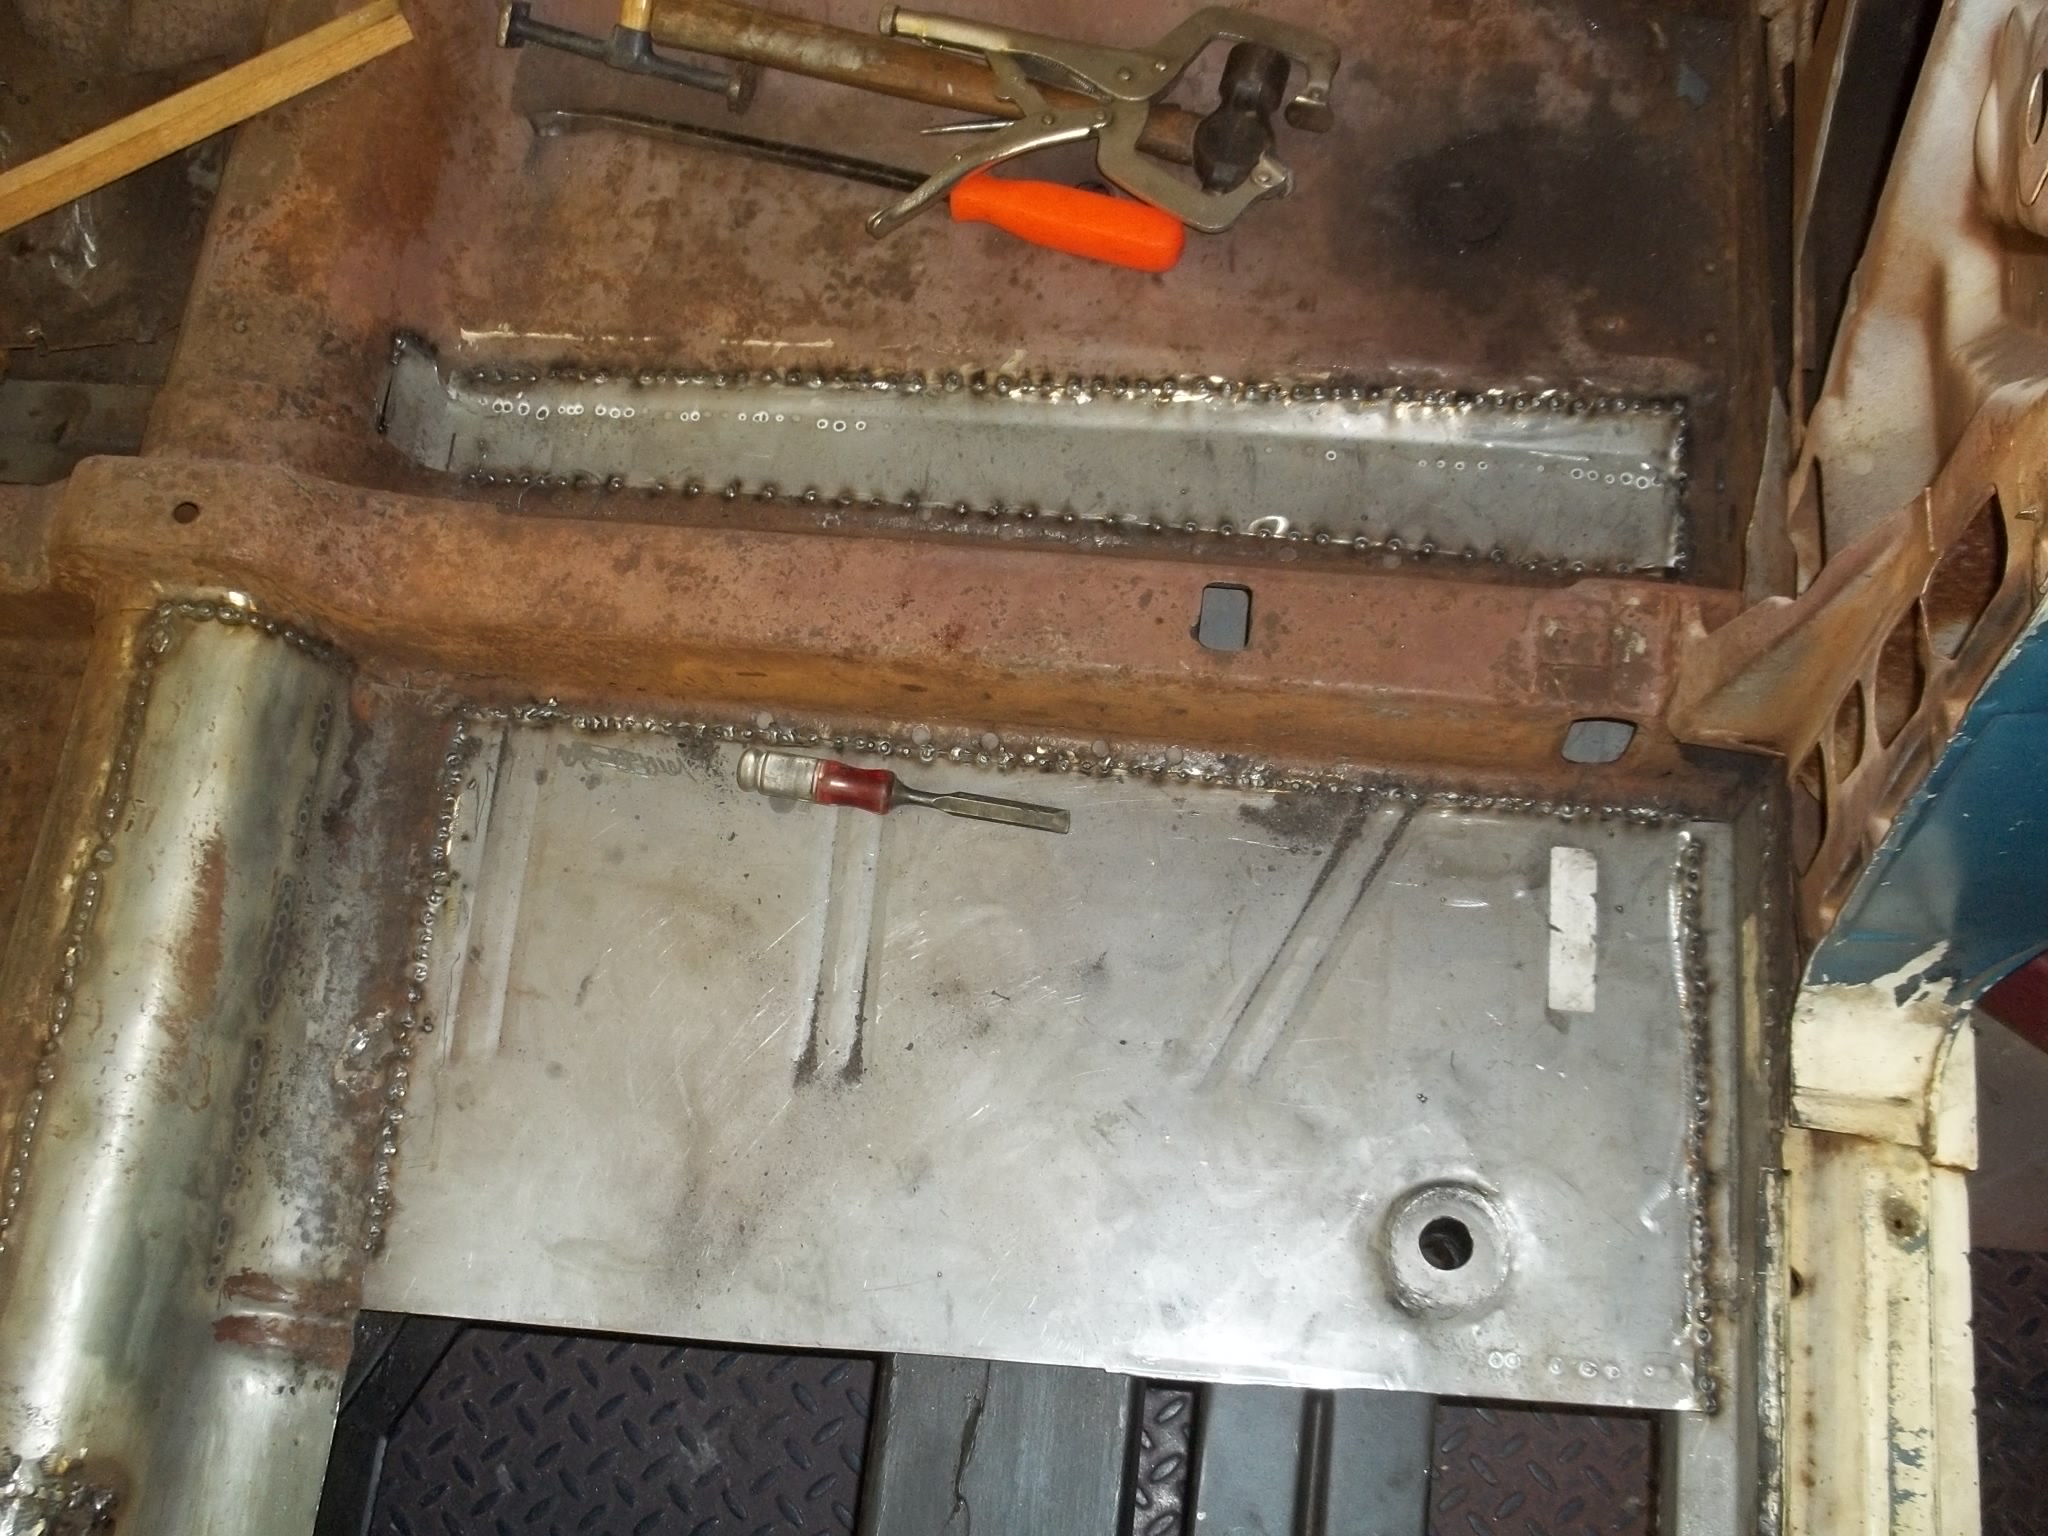
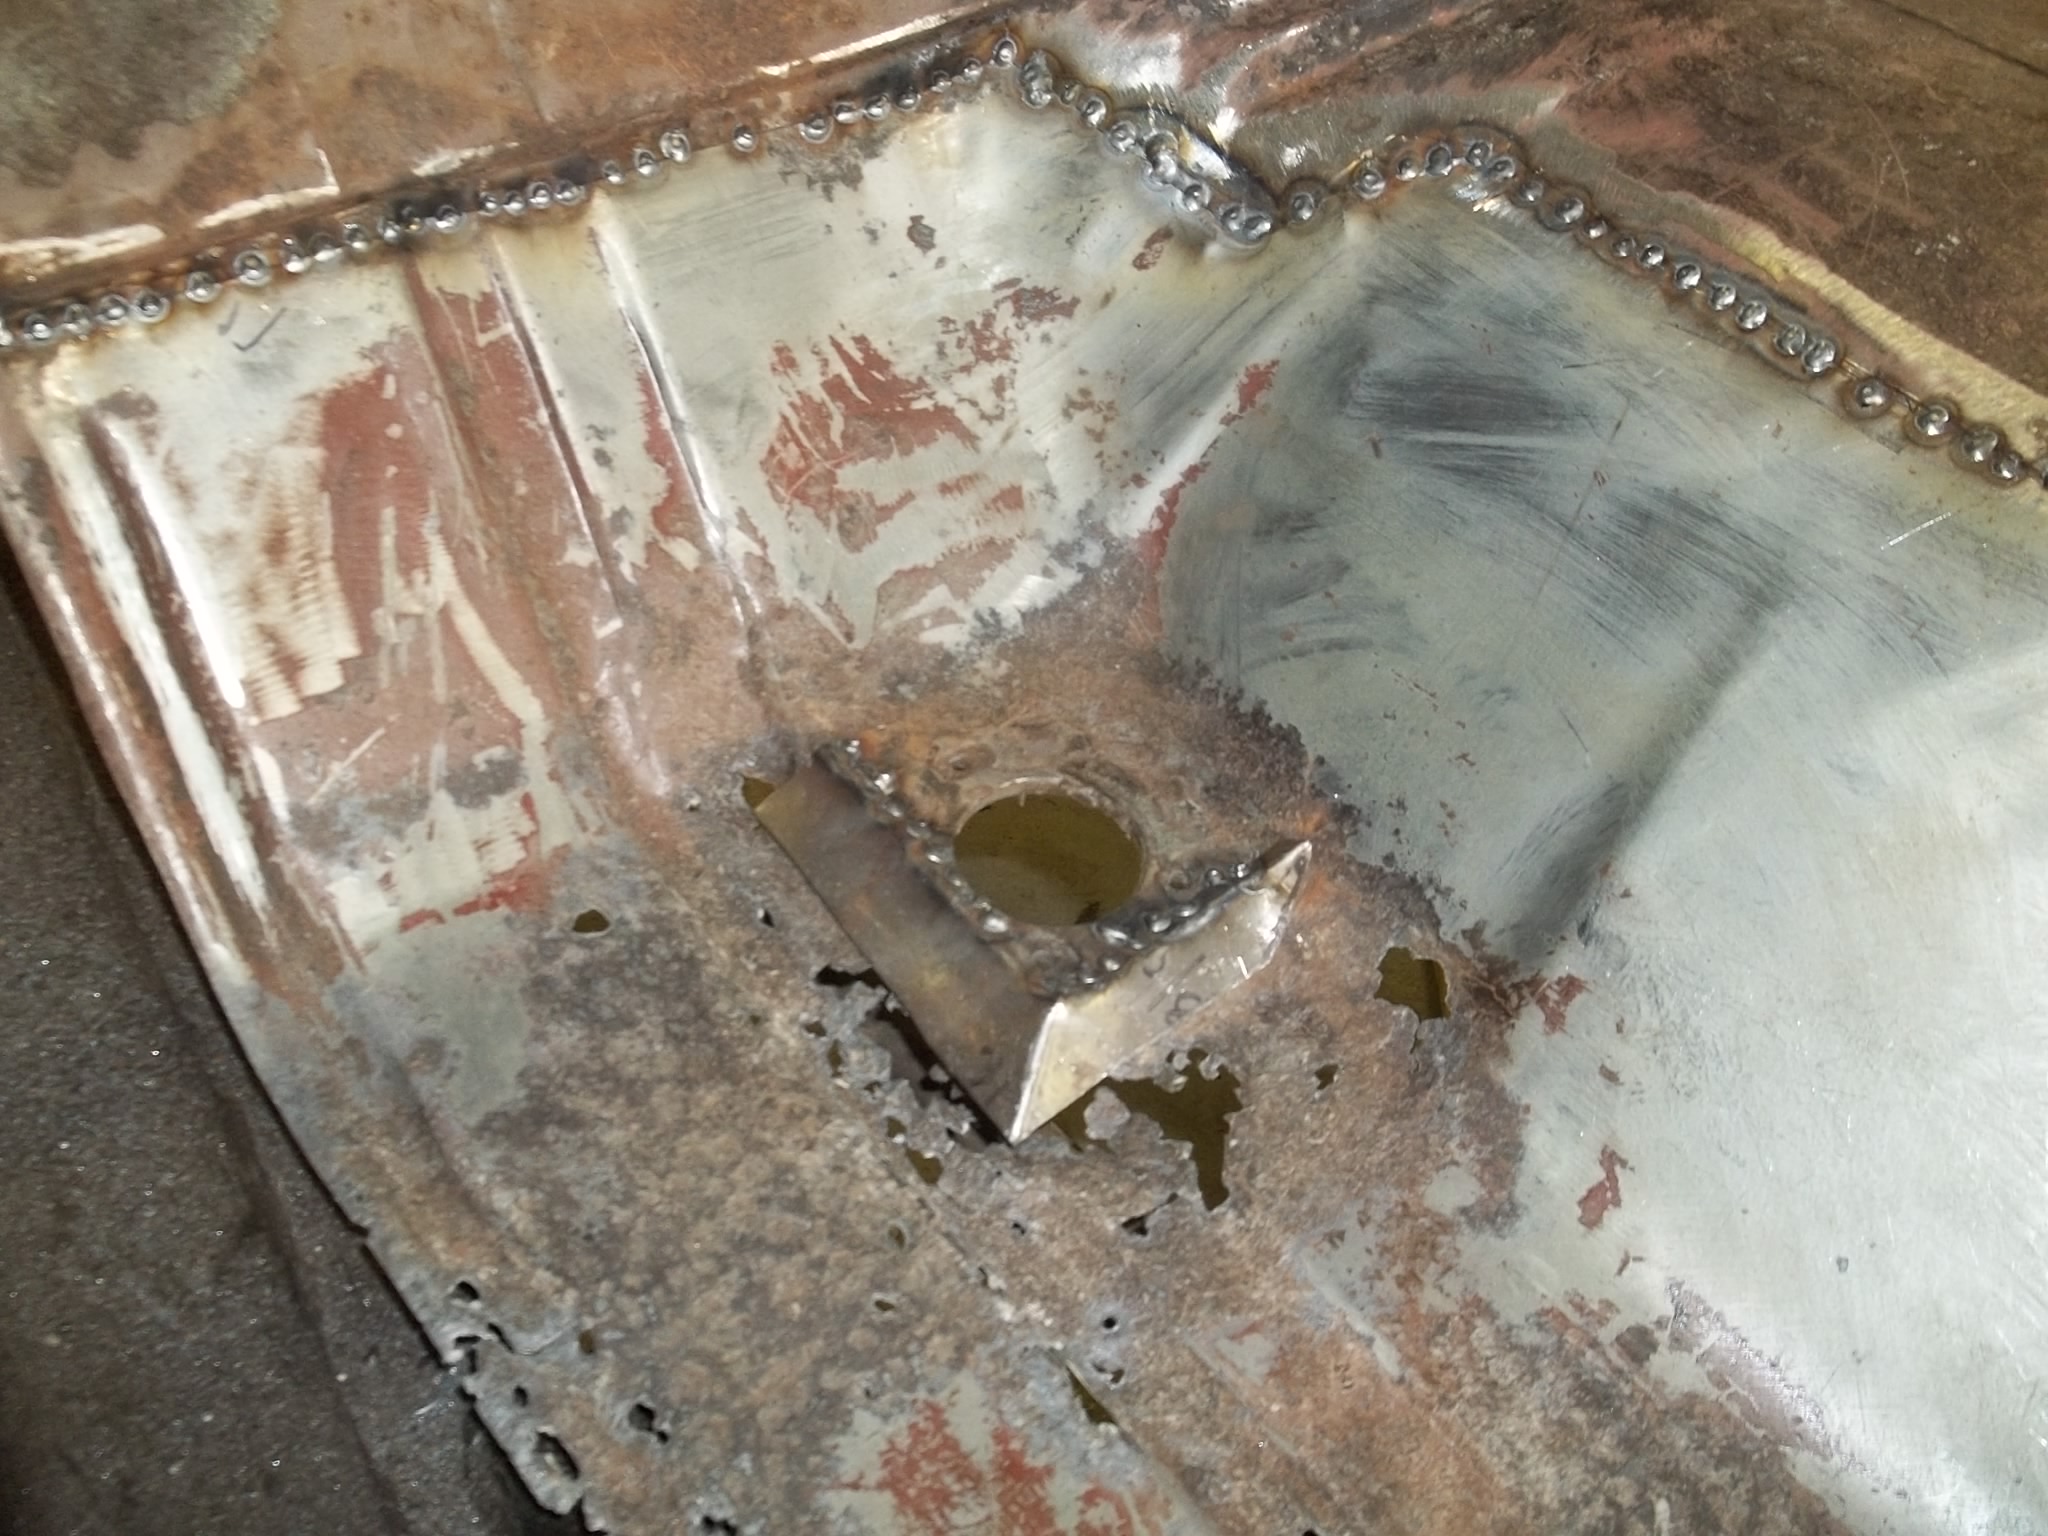
BAD METAL WILL BE CUT OUT, NEW METAL WILL BE WELDED TO REINFORCEMENT.
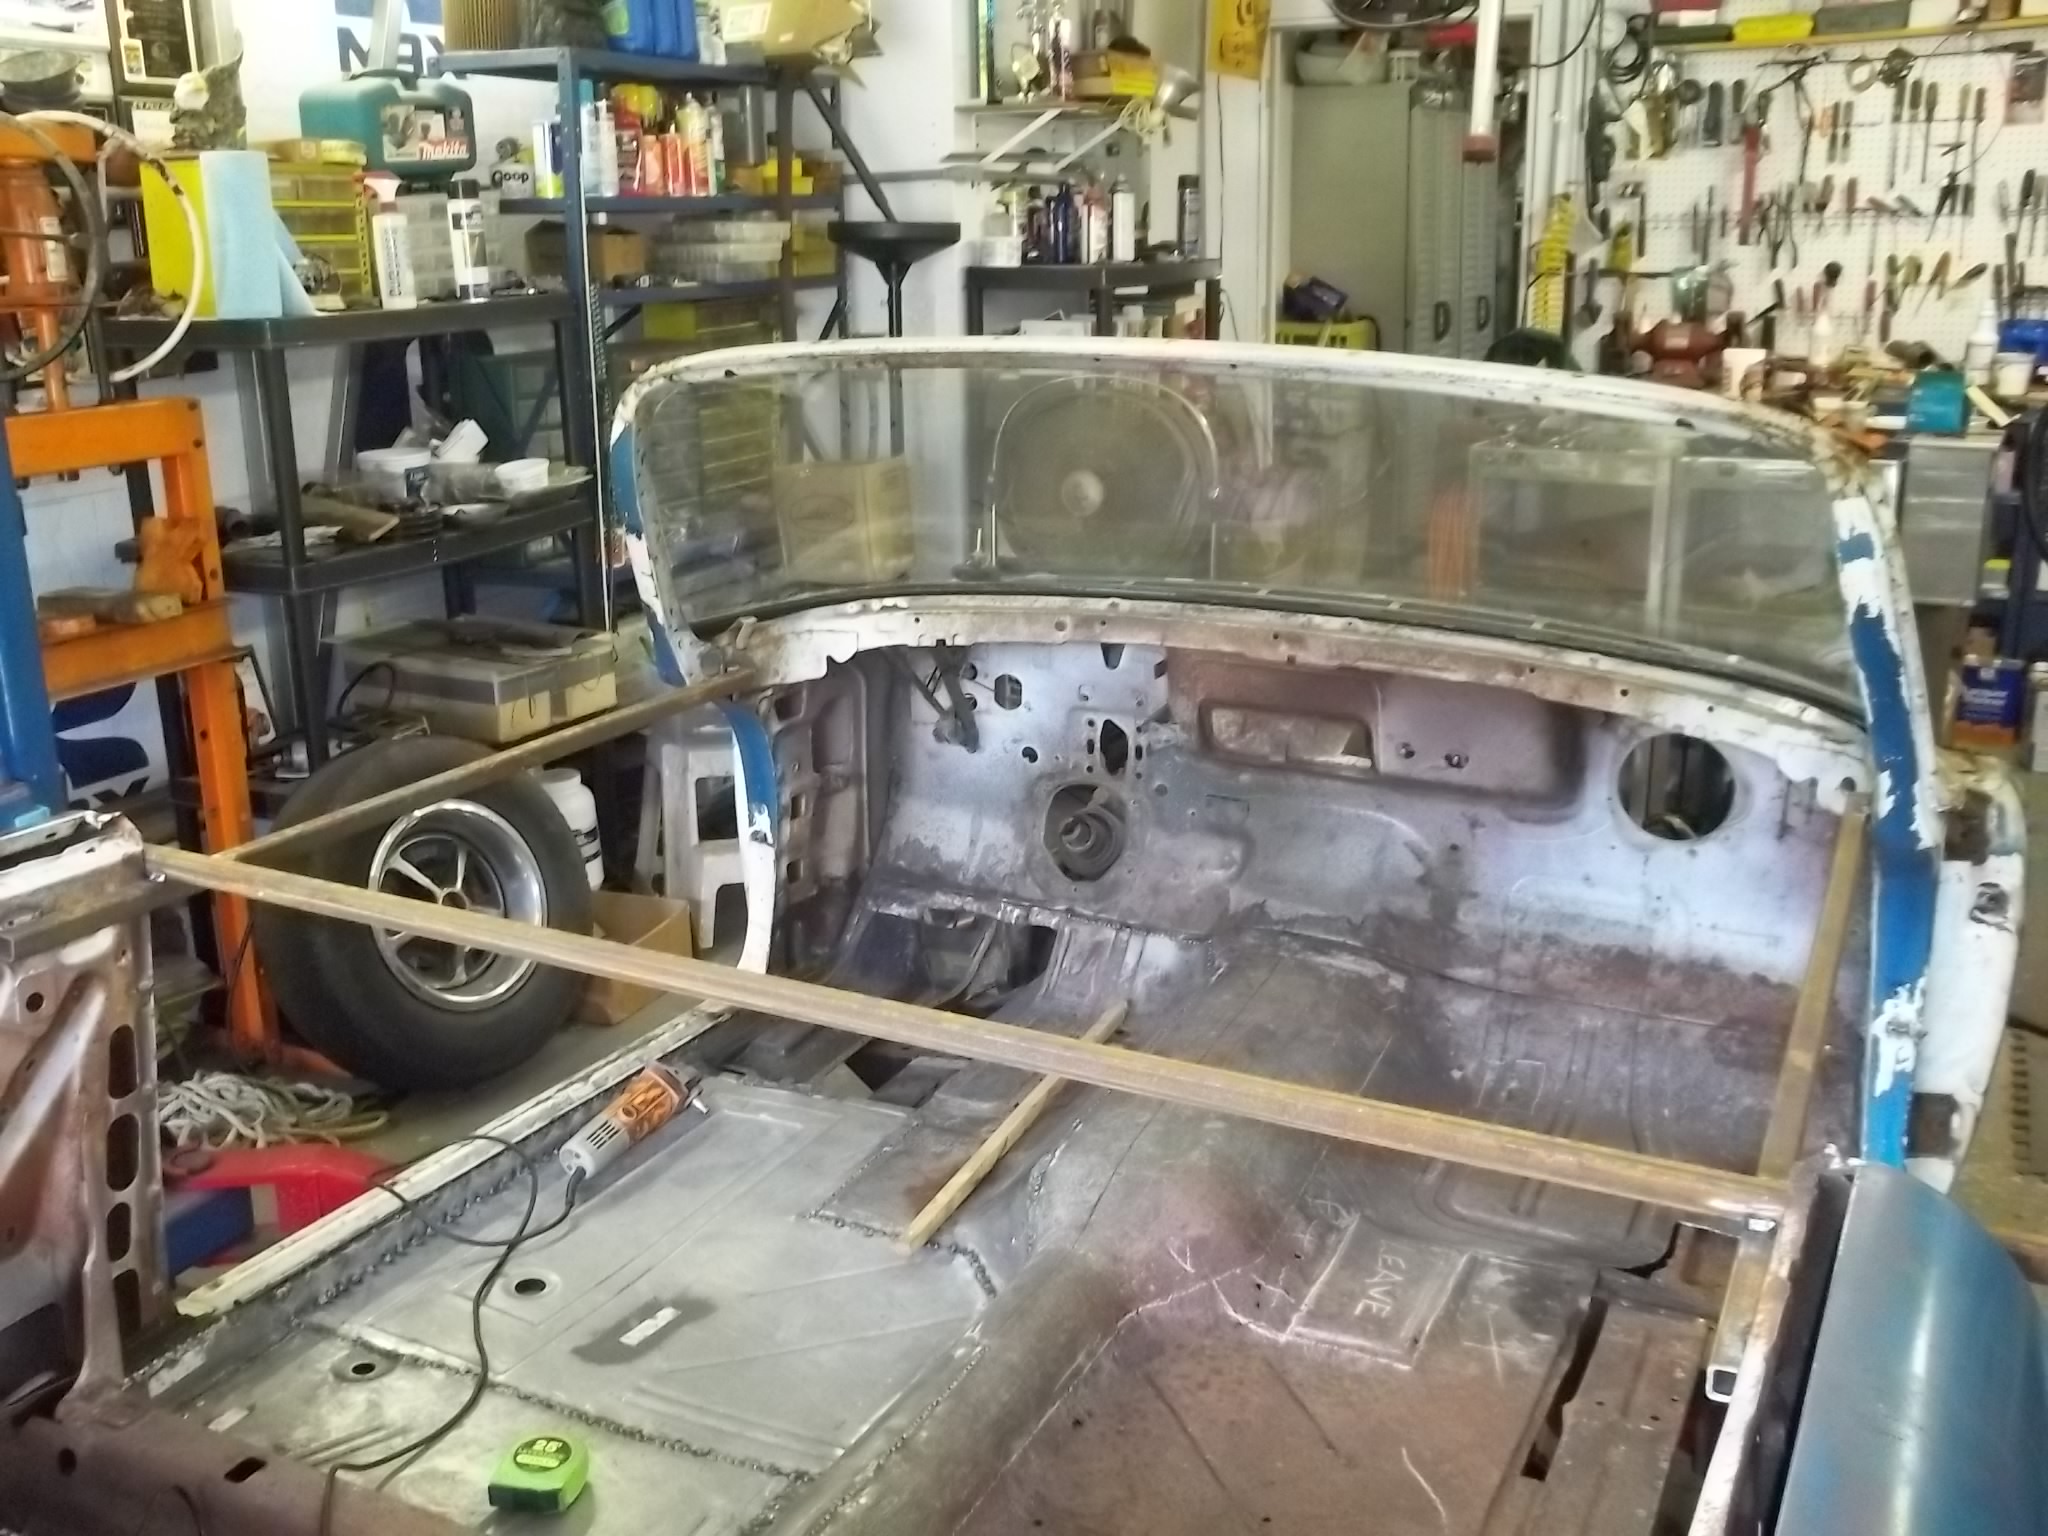
BEEFED IT UP A LITTLE FOR WHEN THE BODY IS JACKED UP TO REPLACE BODY MOUNTS.
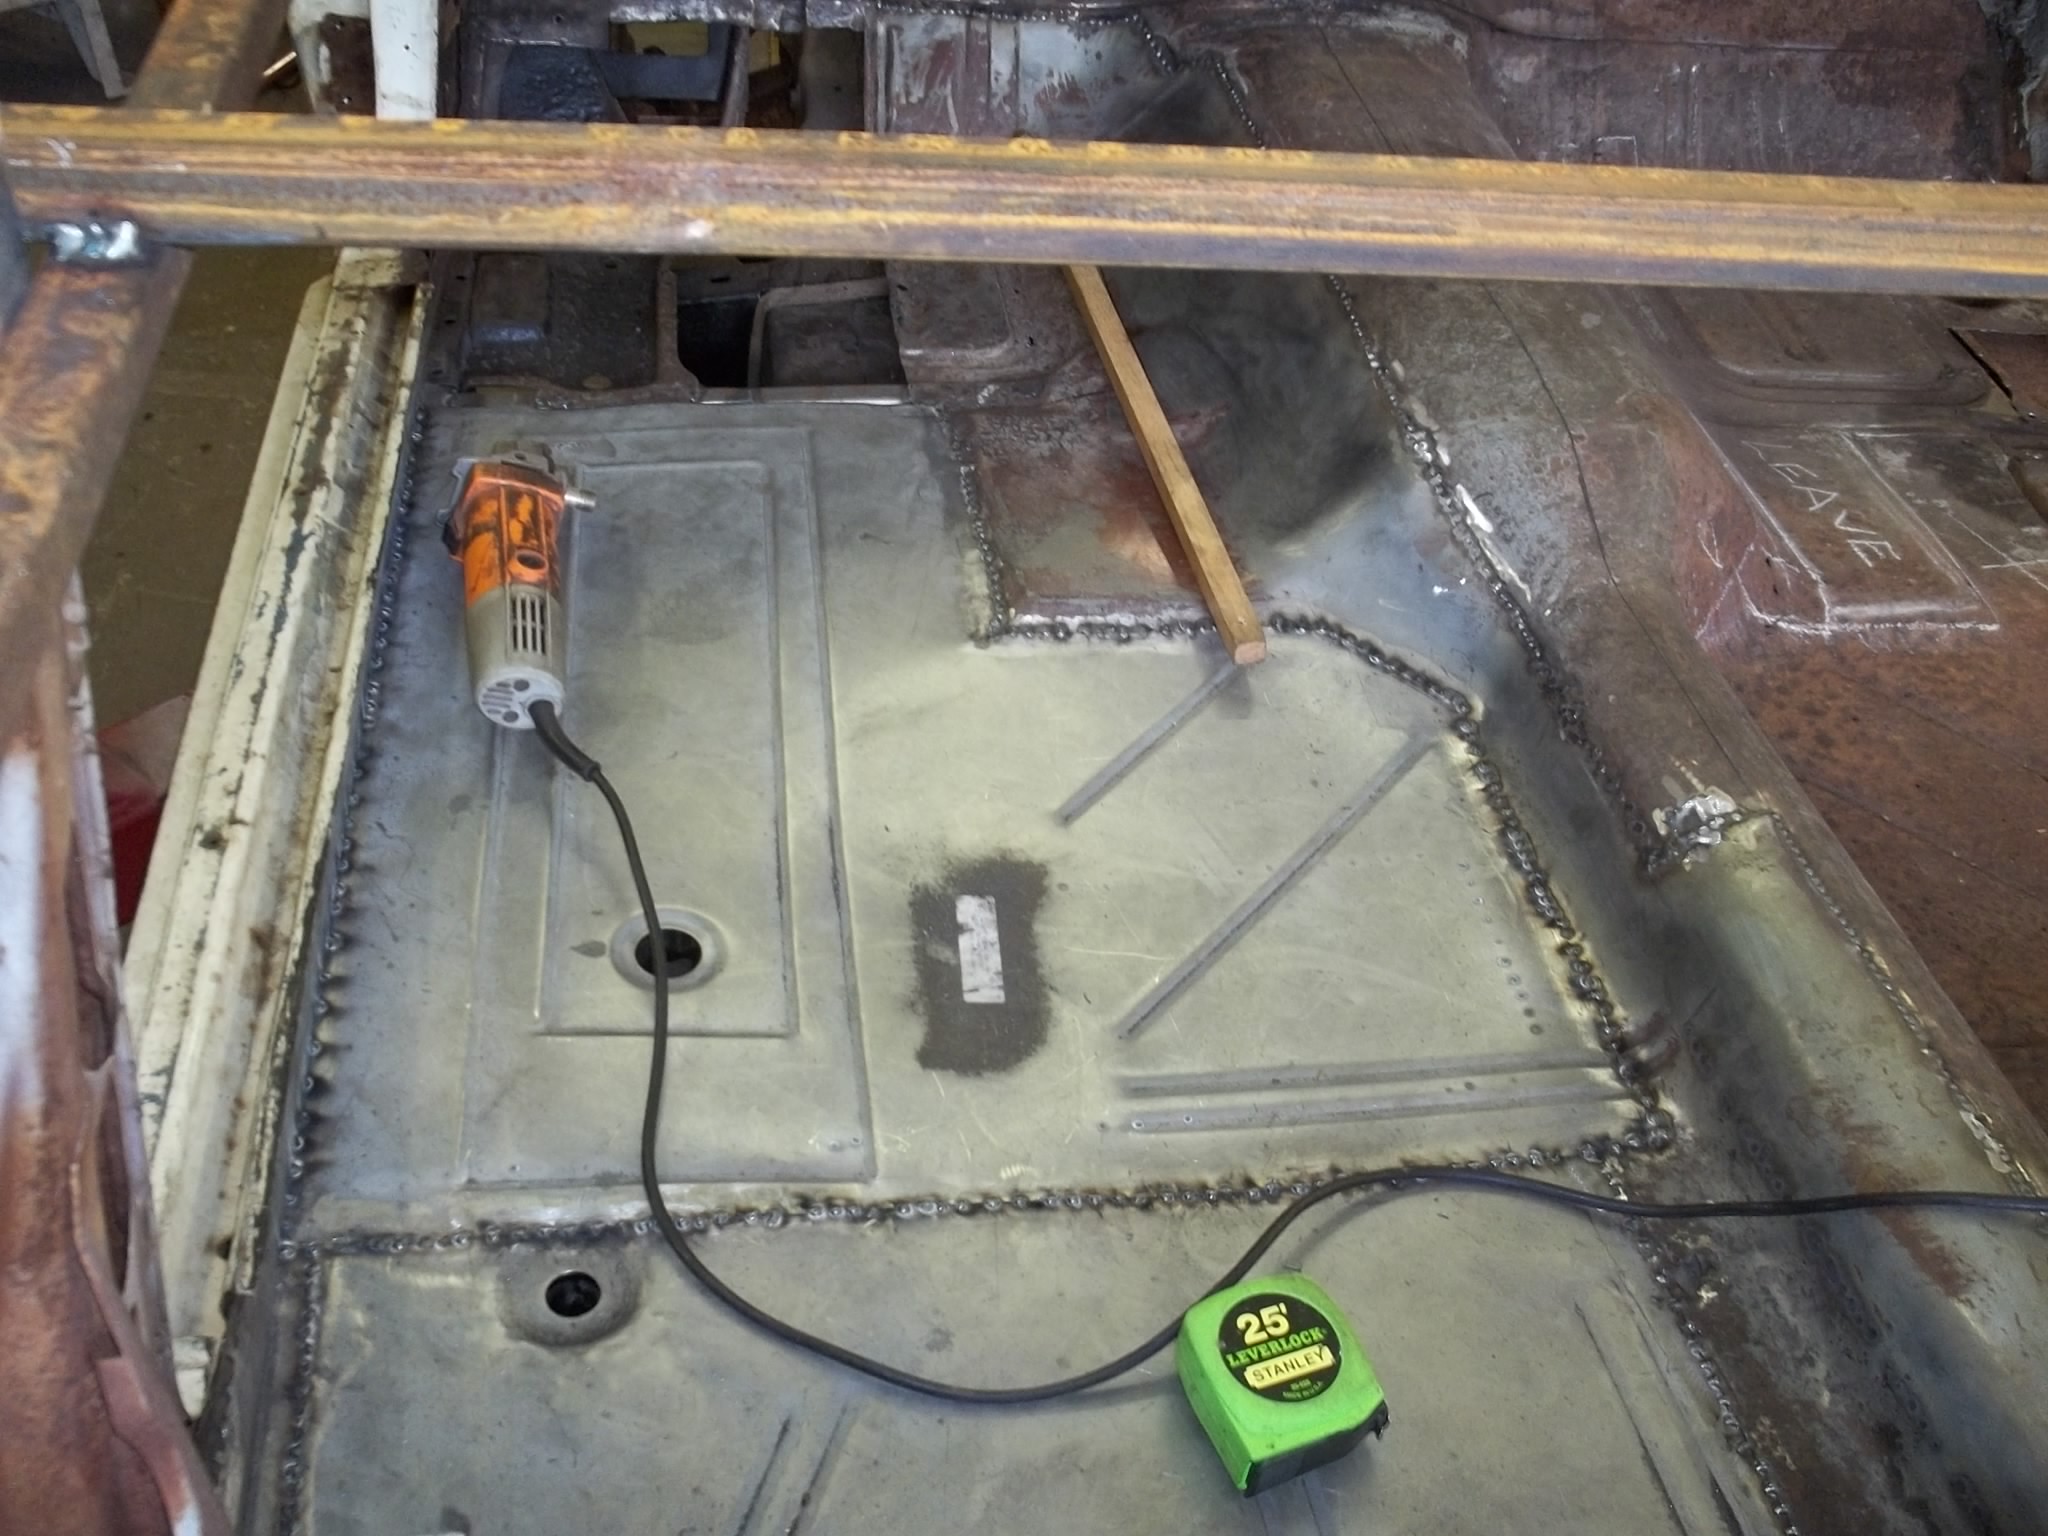
THA, THA, THAS ALL FOLKS. FOR NOW.
Thanks John - I’m painting it factory colors. White with black top, gloss black dash and garnish moulding, black carpet, mottled grey cloth and silver vinyl on the seats. Door panels will be silver and white with a black vinyl or black carpet kick panel at the bottom. A friend Frank Lamp (he’s on the site) gave me a beautiful chrome plated sport deck for the trunk. I will put a polished alum. disc on it. Ought to be cool, what do you think.
Dick.
Dick, I think it will be not only cool but super looking! Tom Fox’s convert is stunning in its straight Basic Belvedere trim and yours will to!
What other parts do you need that is not on your overflowing garage shelf? Just send me a PM and I will check my stash before you go out for a general call or go E baying.
John Q.
A pound of $20’s or a bag of 50’s, your choice. heh, heh. I’m pretty much set for now, but I’m sure there is something I’ll need in the future.
Thanks,
Dick.
When I saw you last December, I stashed $20 bills, like 20 of them in some of your 59 Parts boxes on the shelf, I am surprised you have not found them yet, Maybe you have mice… 
John Q.
You’re making some nice progress, Dick! The car was in really good shape to start with, considering how most of these are.
—John
You are right John - The body is in much better shape than the one I just finished. Minor repairs on lower rear fenders, trunk pretty good shape, rockers solid. The only thing major are the interior rockers and floors. A lot of surface rust but that is not a problem.
Dick.
Great work Dick ,very proffessional work your doing there , shes going to be a beauty for sure great pics very well documented resto I love threads like this. I can see from your work youve done this many many times before ,very clean results.
Great work and great skills Dick! Now pick up the pace, in his own topic John Q is saying he works faster than you
Ron
Only because he is a younger turtle than I am.
Dick.
Turtle? That explains my speed and restoration on this drop top…I was stuck on my back in garage and could not roll over!
John Q.
Been there, done that.
Dick.
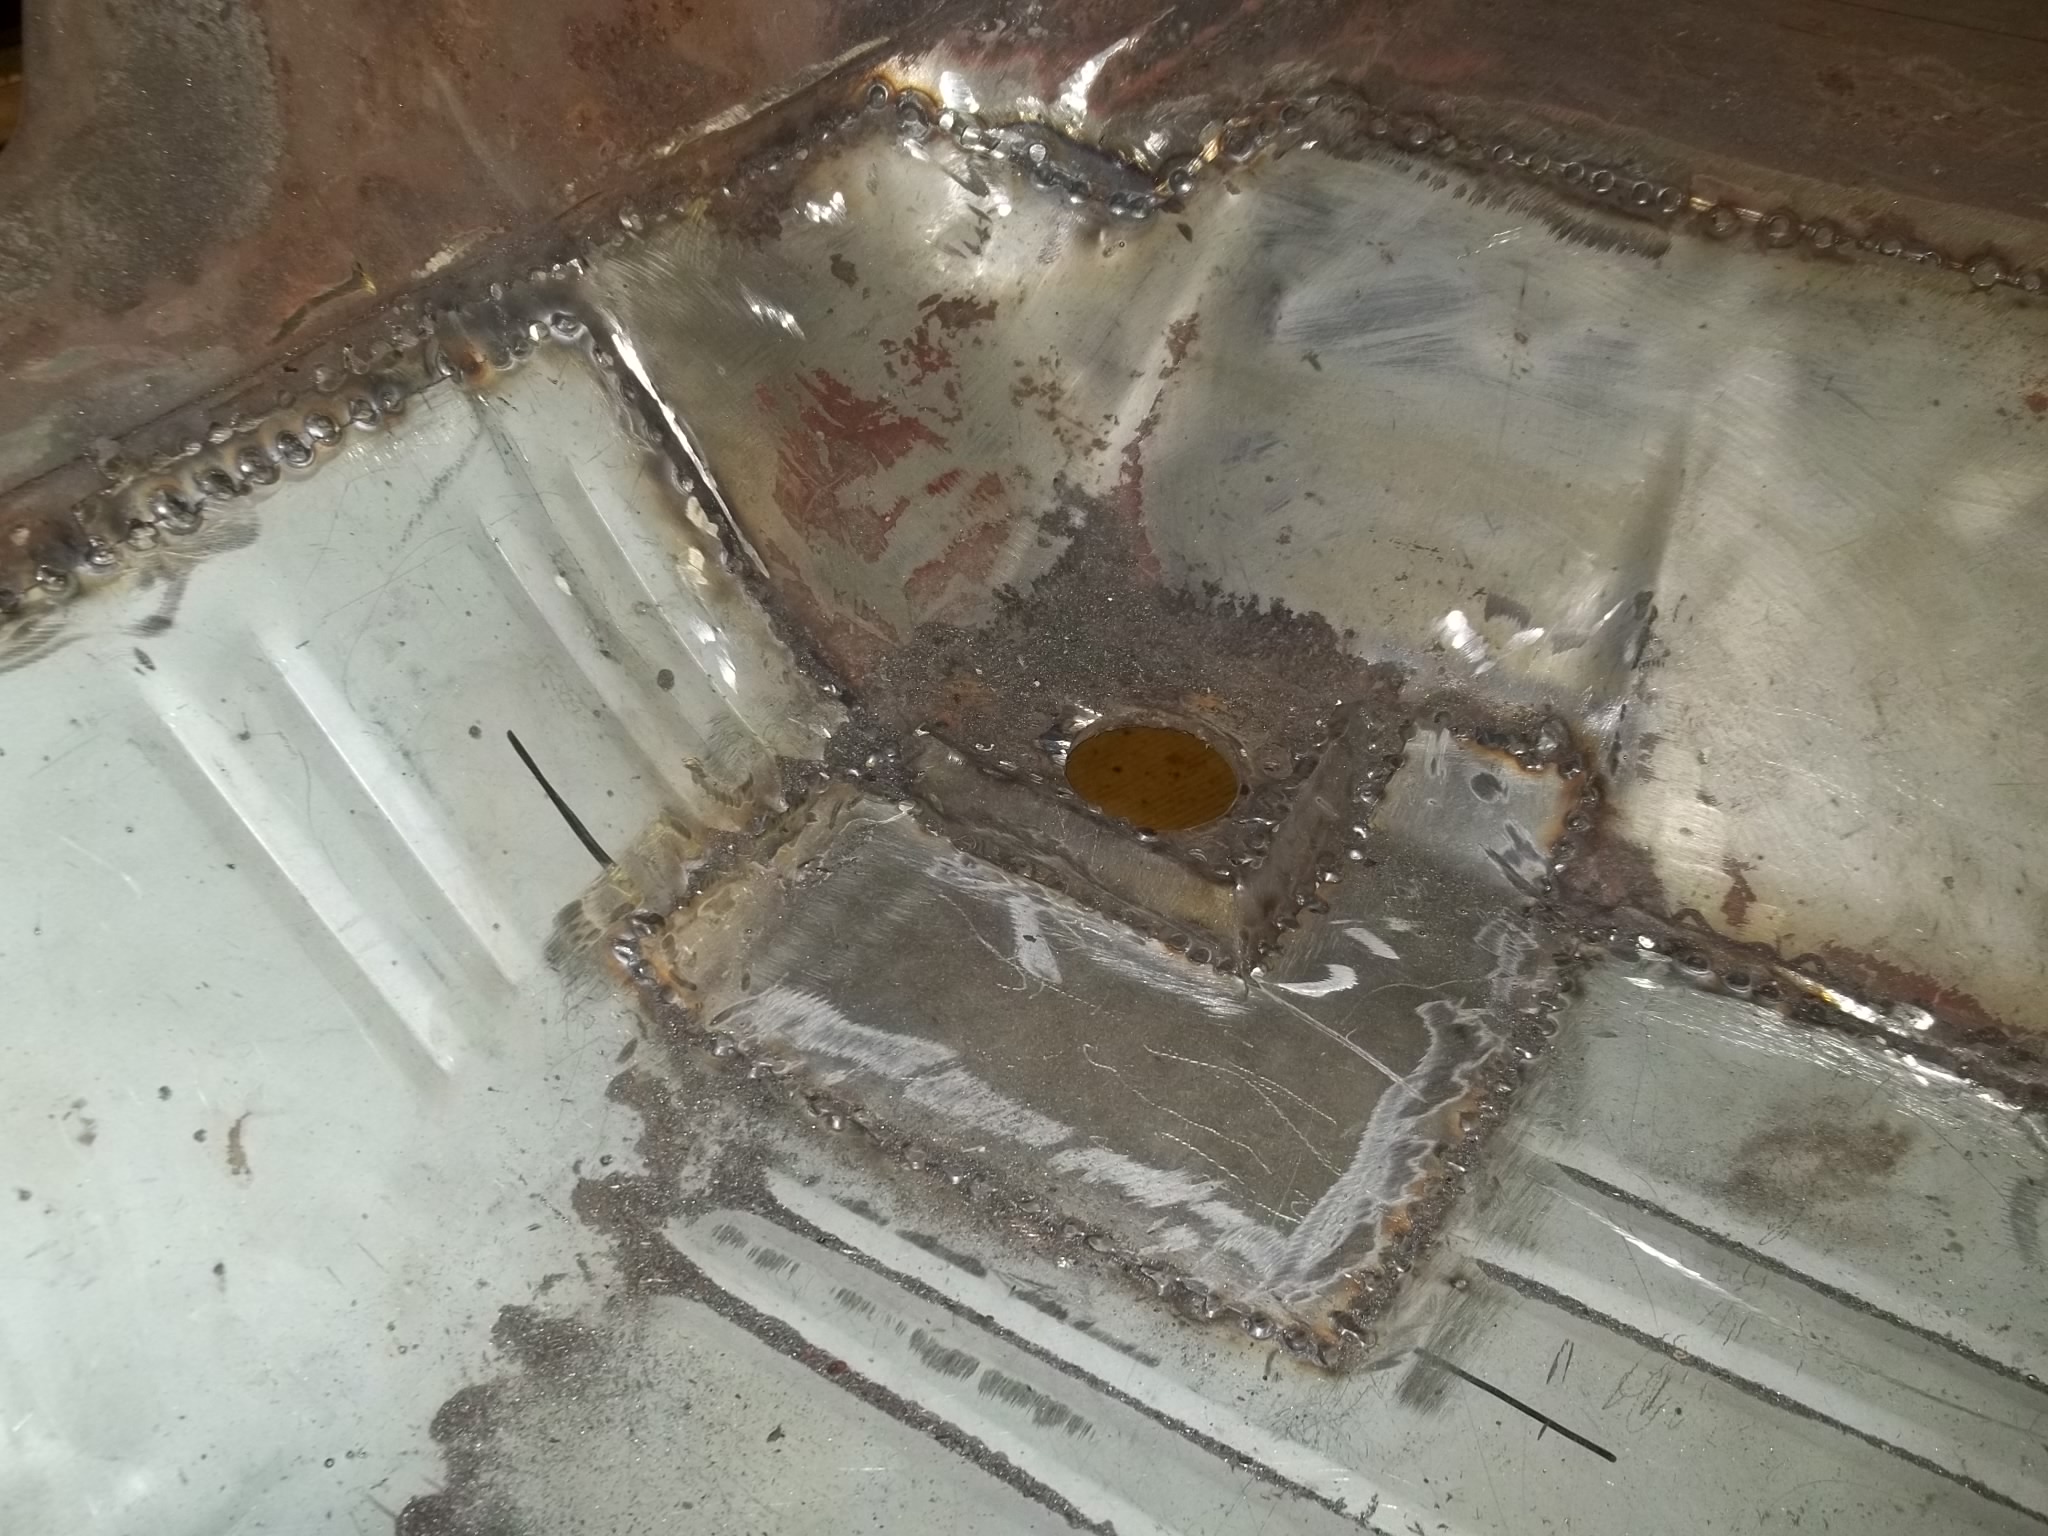
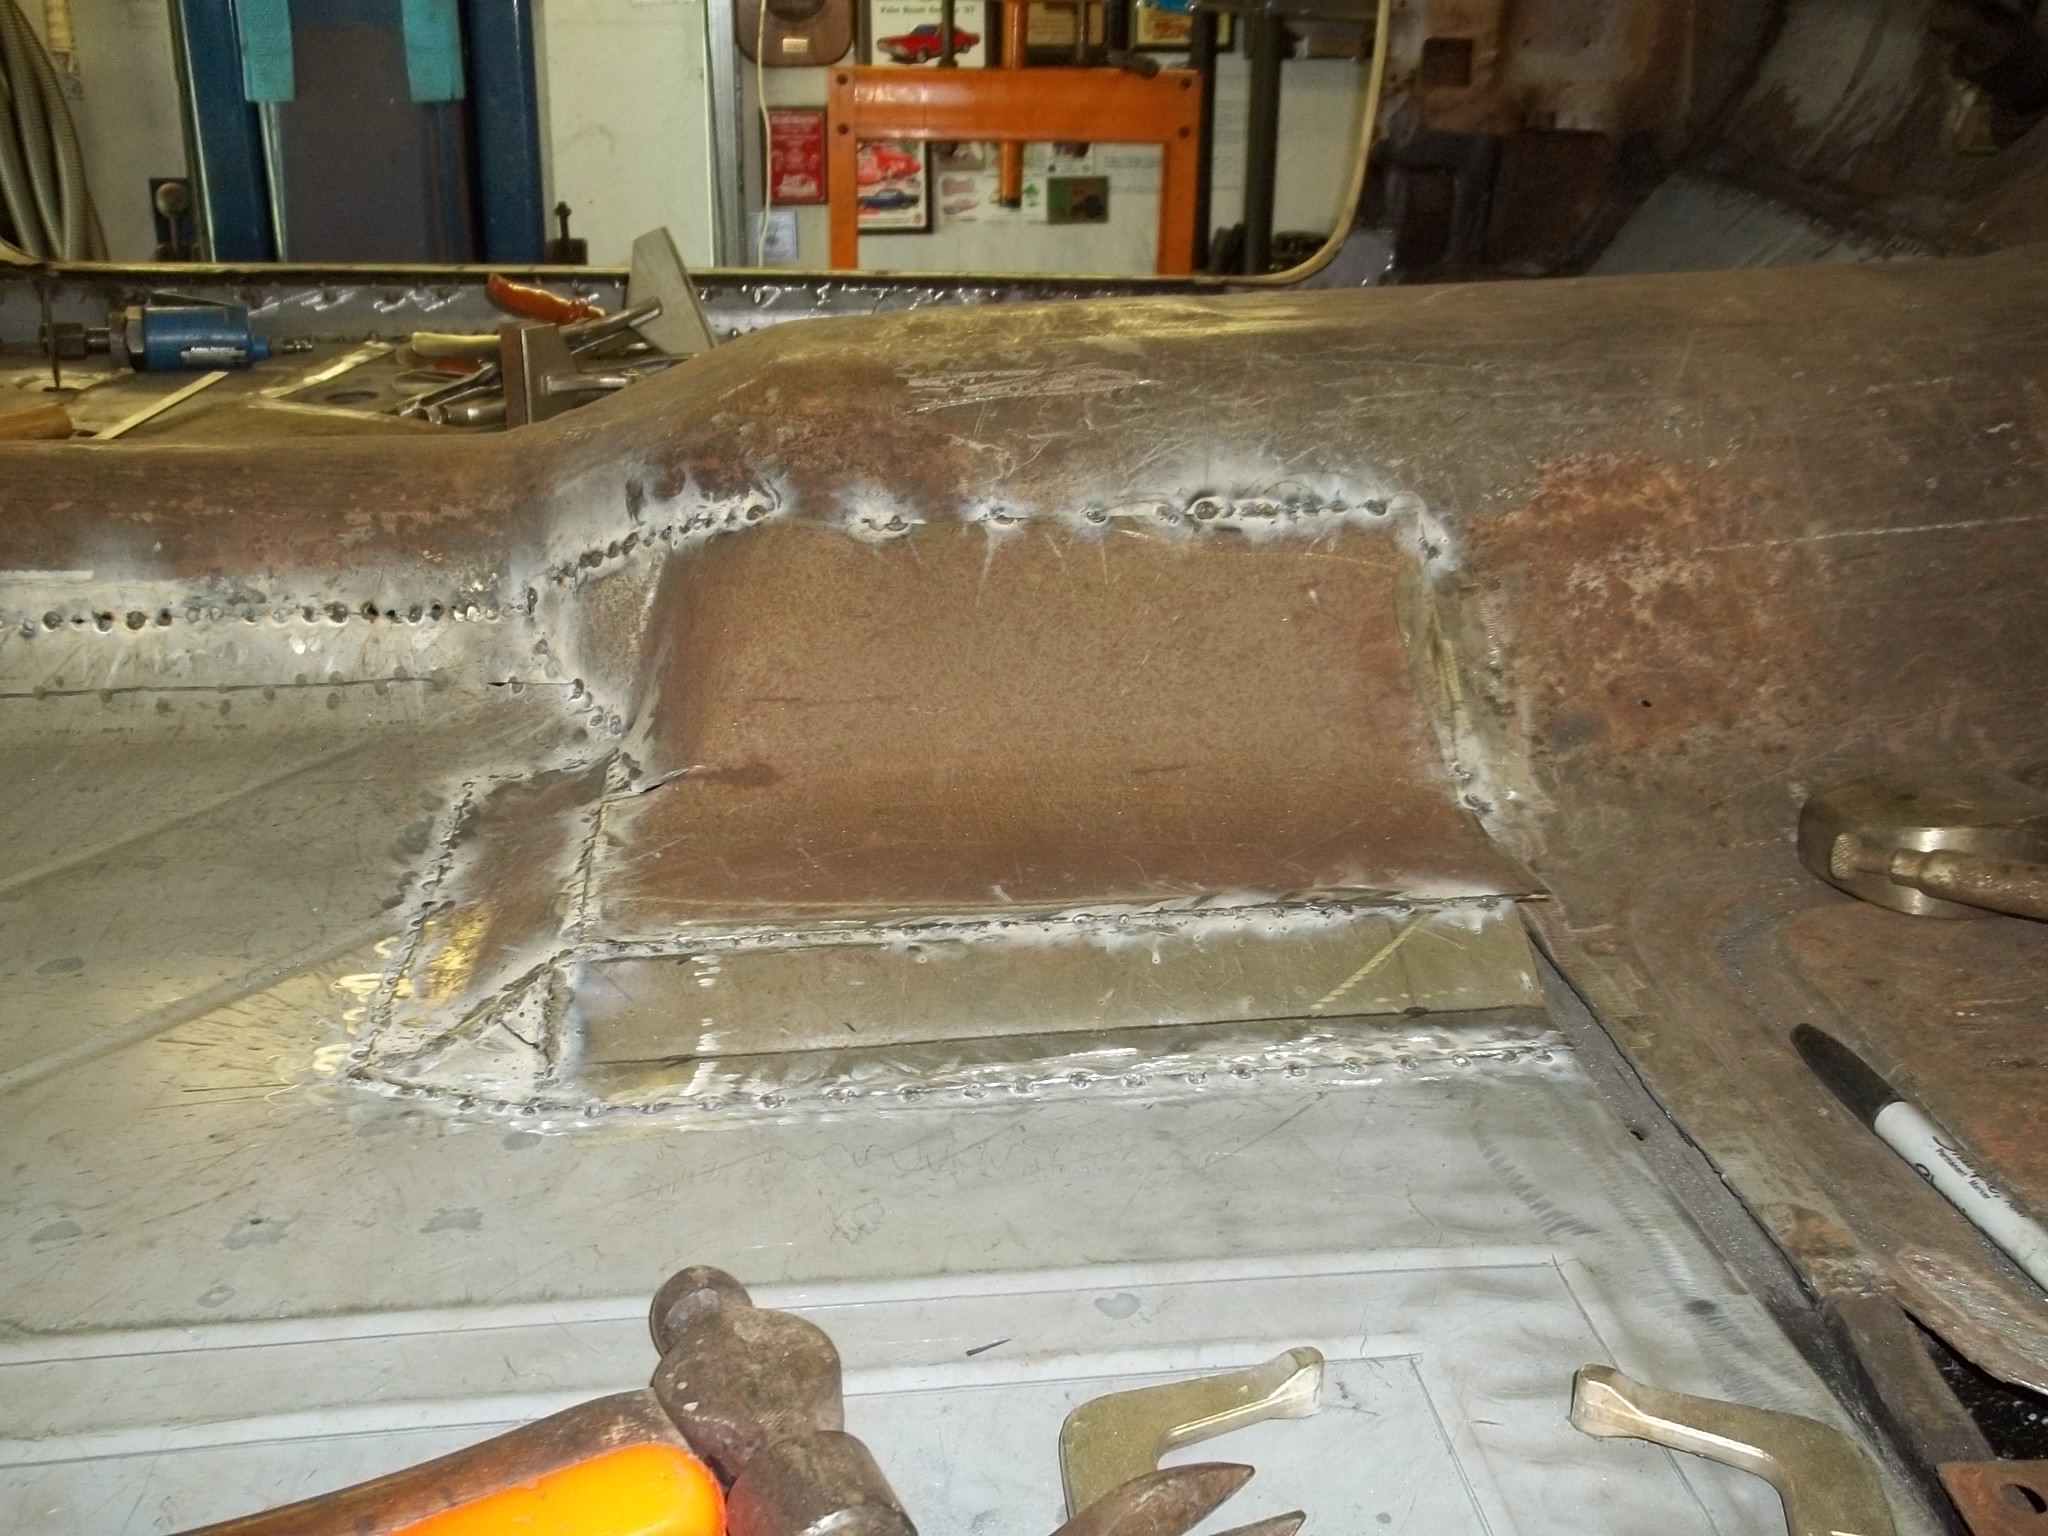
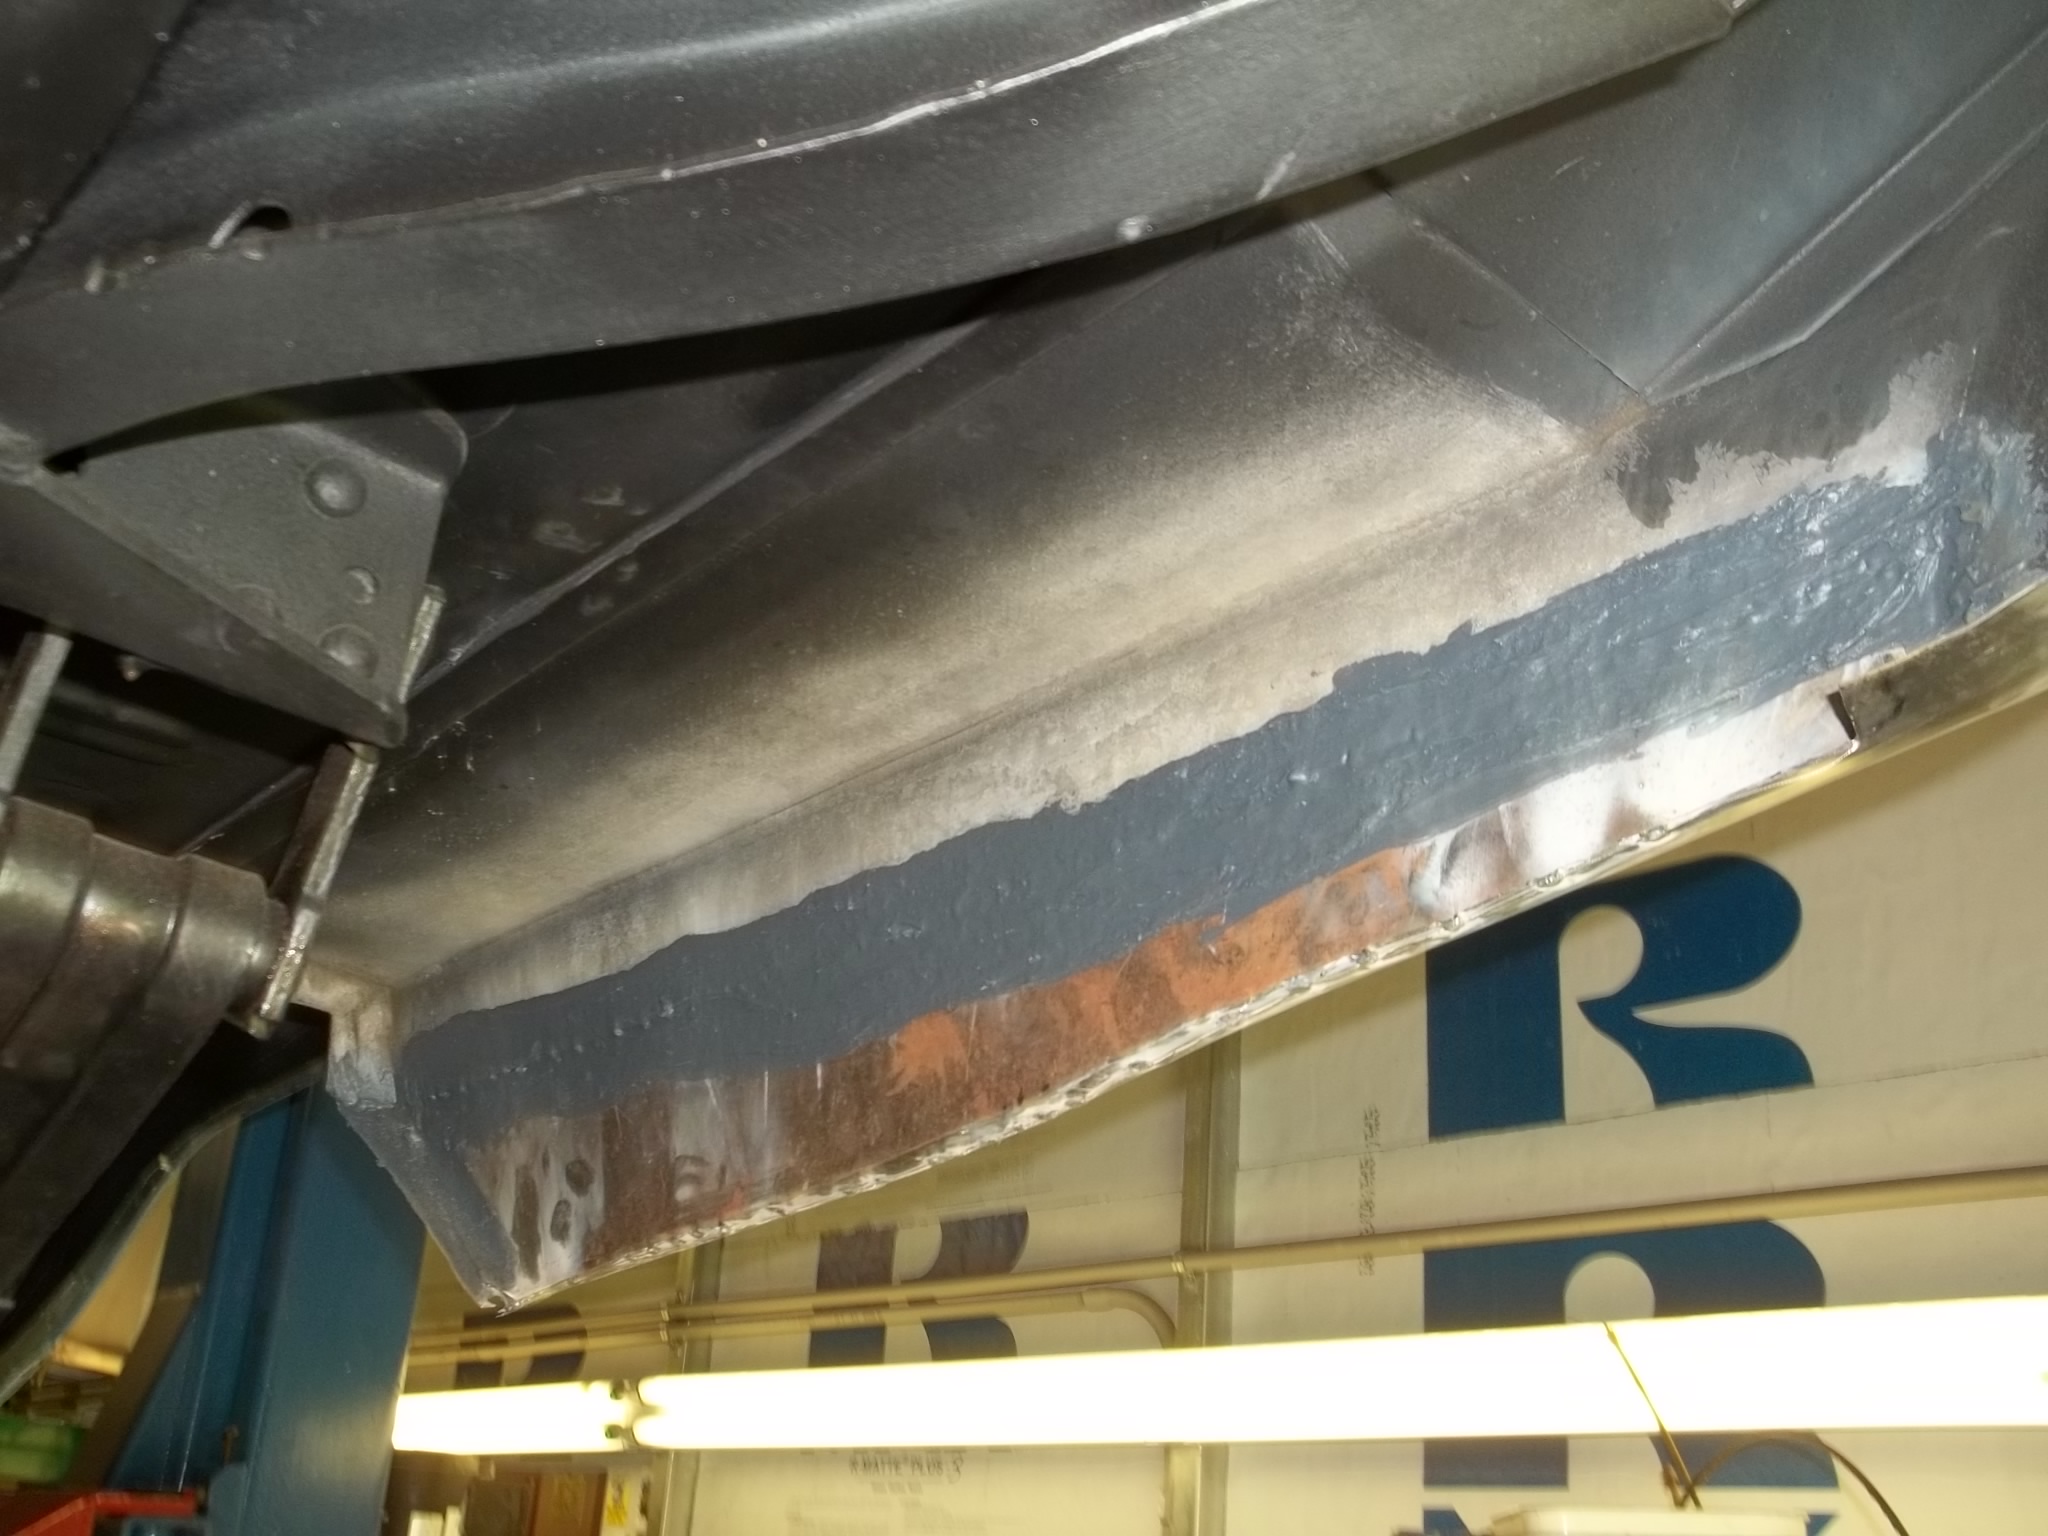
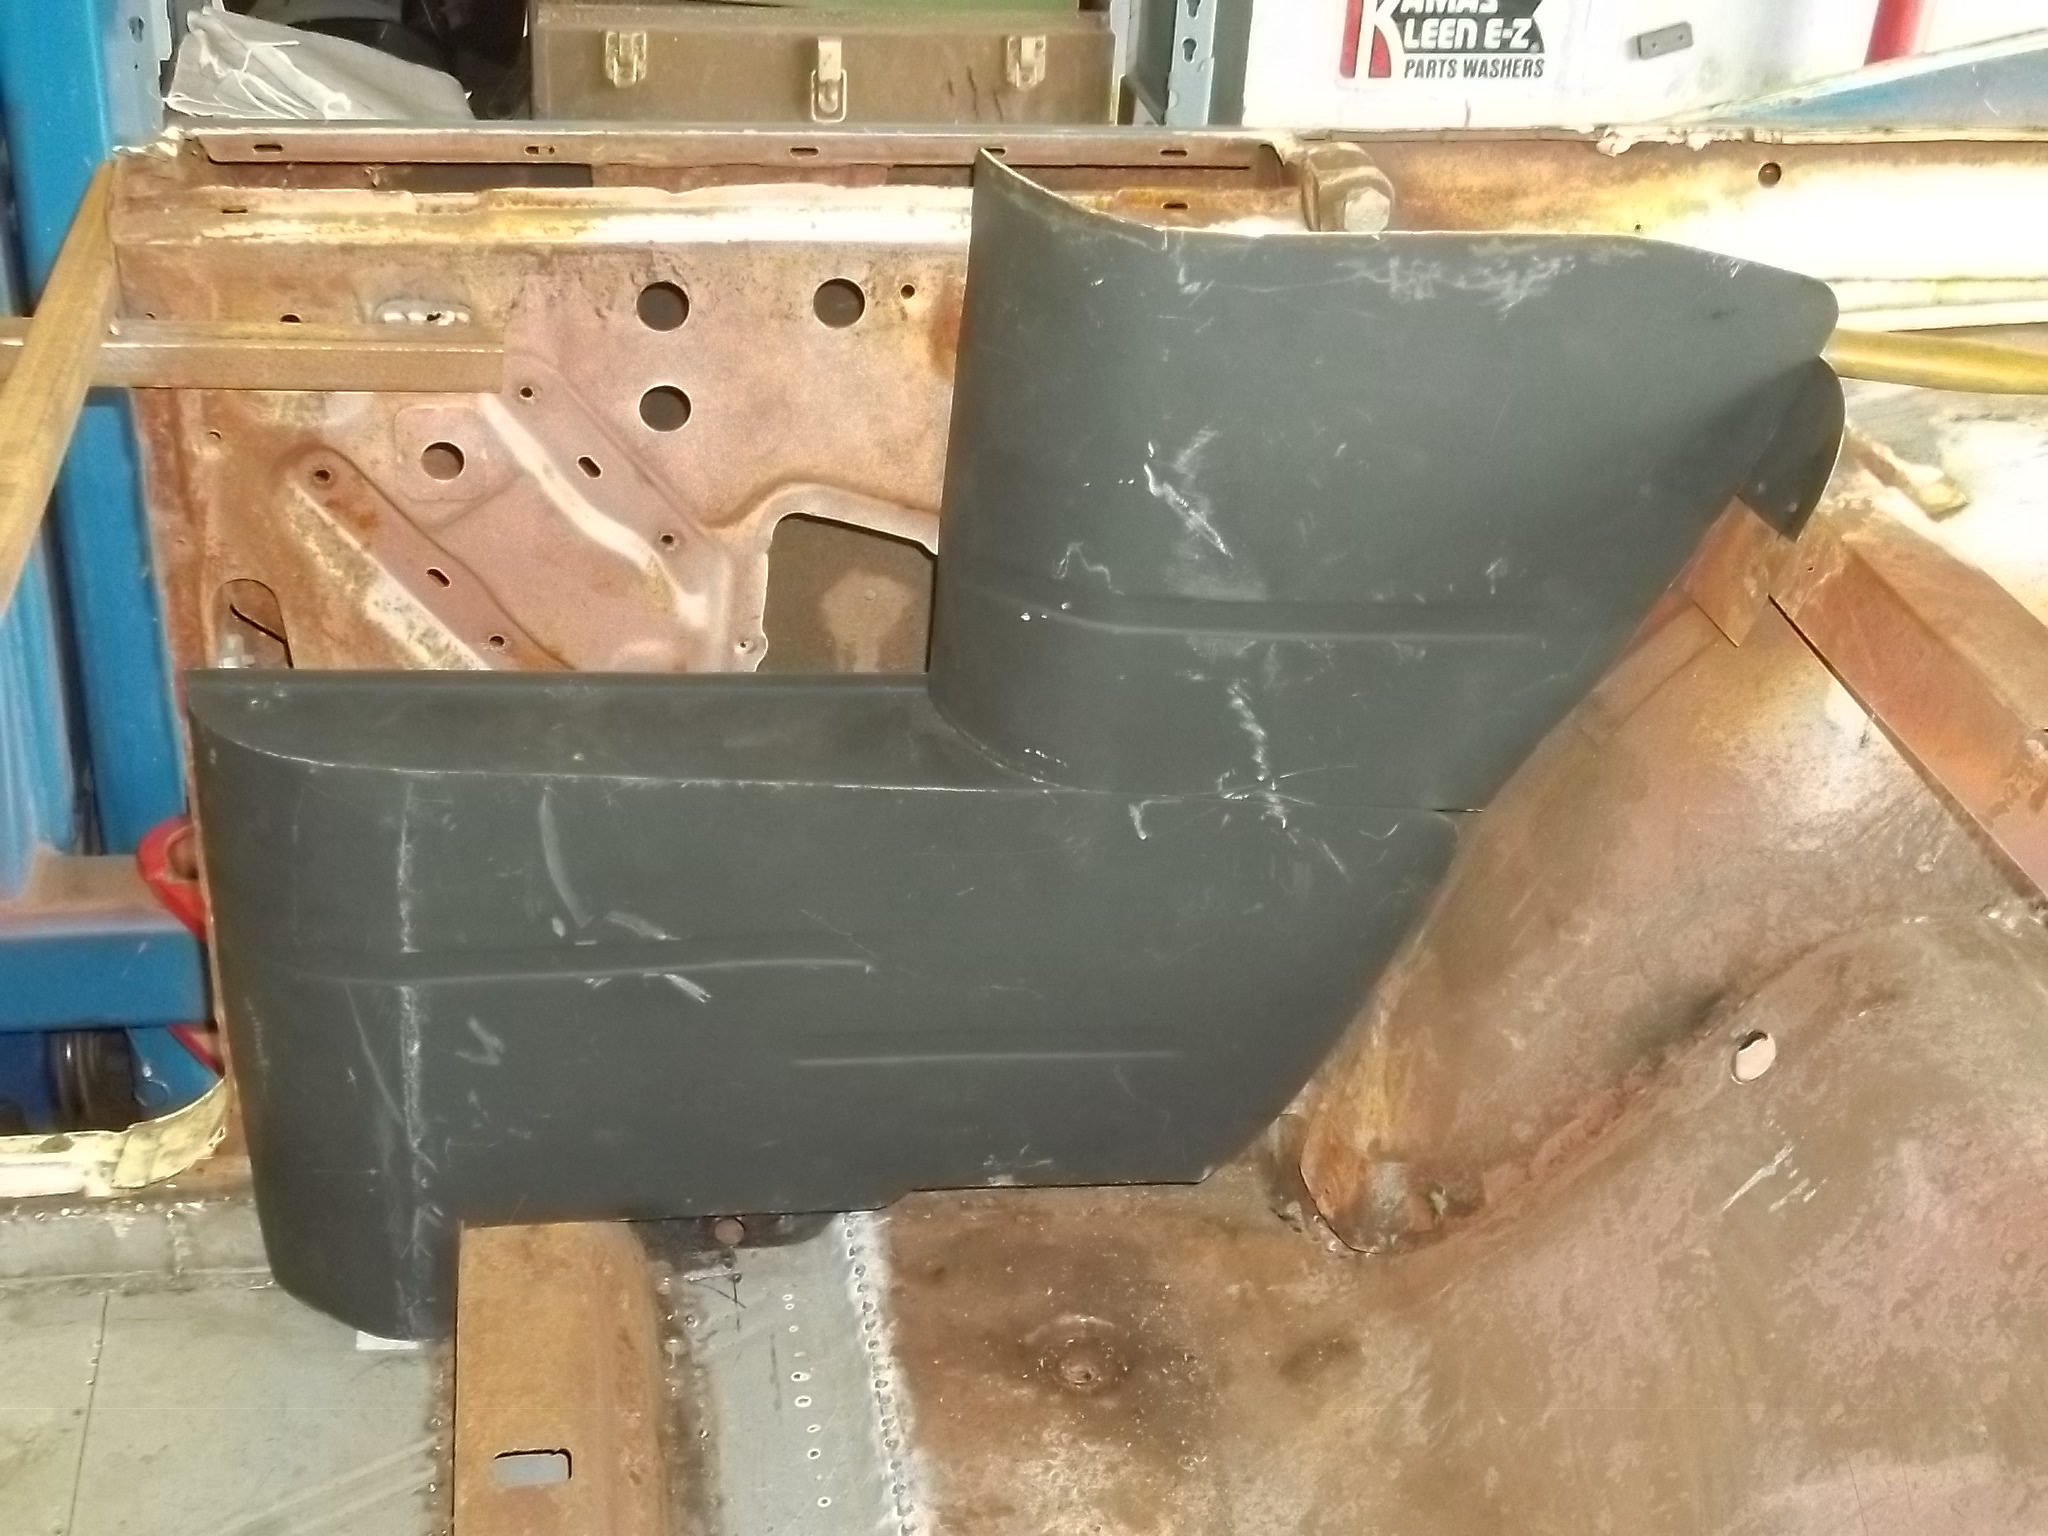
All the welding is done except the two front fenders, they are rusted up under the eyebrow pretty bad, brought them to Larry’s house today for repair. The underside is pretty much finished except for the gas tank. I had my radiator guy boil it out and line it for $75.00. He has aready recored the radiator and heater core from the parts car. All the welded seams have been seam sealed and encapsulated on the under side, new control arm bushings, ball joints, strut bushings and front brakes have been completed, installed new gas and brake lines, fitted top cylinder covers that Larry made for me. Next is removing as much rust from the interior of trunk and cabin as I can then apply rust converter and encapsulator then tackle the exterior paint removal.
Dick.






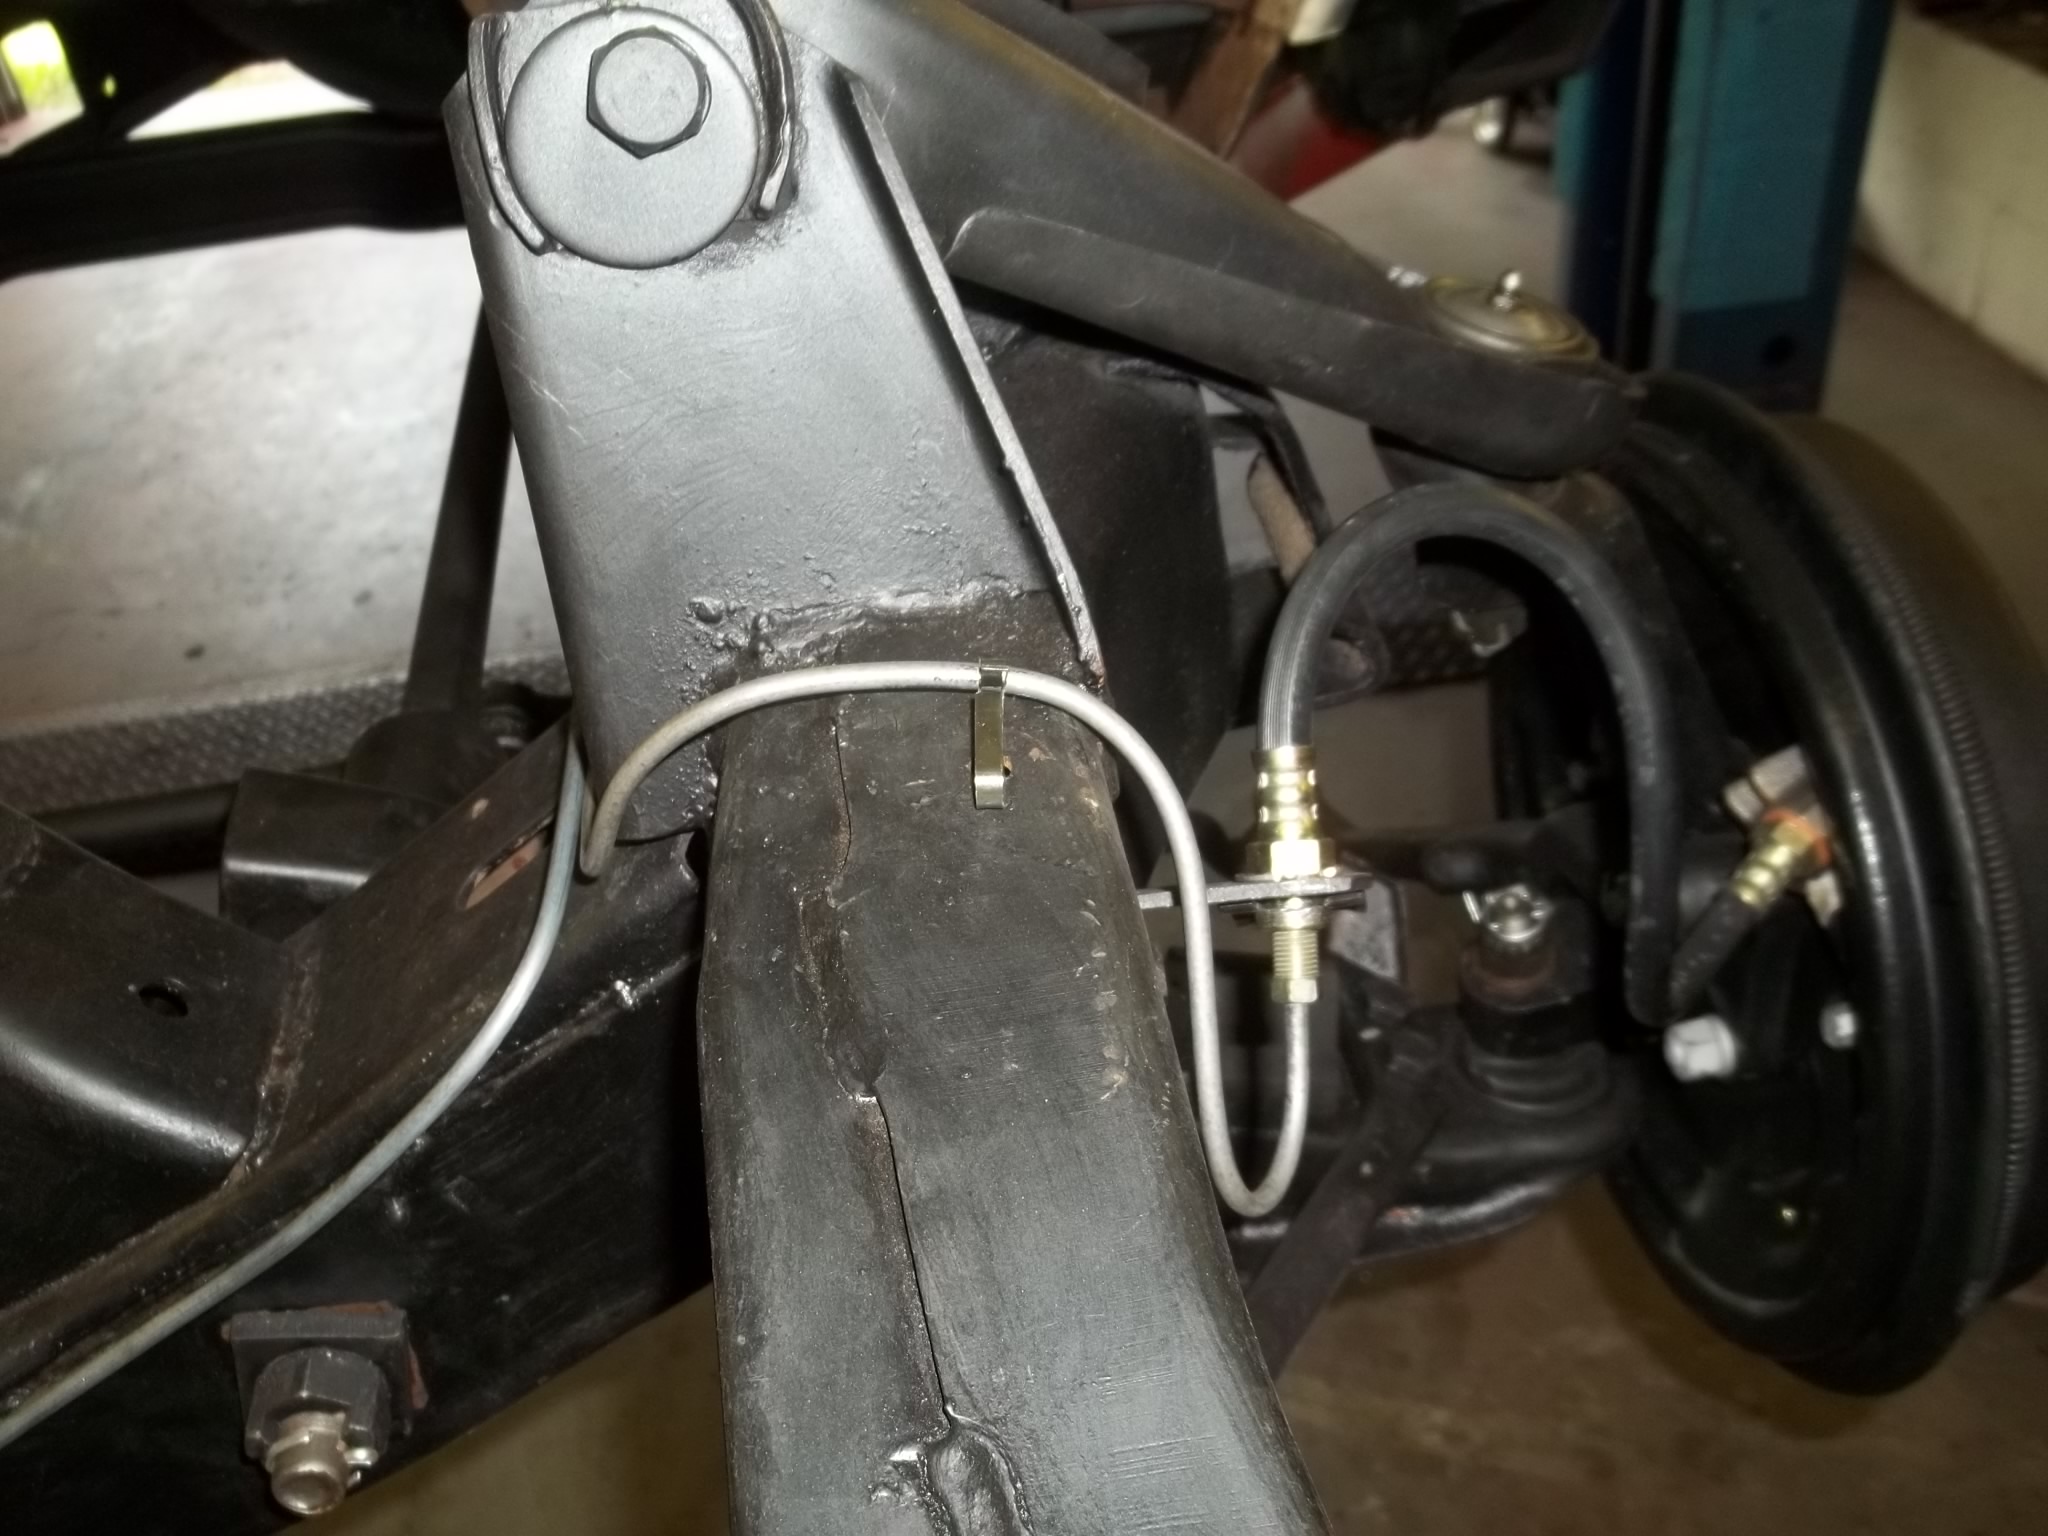



Everything looks really great Dick. The picture of your dual wheel cylinder front brake reminded me of how horrible my manual brakes actually worked and I wondered if that was due to my negligible skills or MOPAR engineering gone awry. After several near death experiences I installed a disk kit which kind of took care of things then converted to the vintage power brakes. I’ve wondered if the power brake conversion alone would have improved my survival odds.