John F. I hope you did get all your funds from the guy who lost out. Bonded security title is the route I went to make sure of just that happening. I have to post a notice in the paper on some of the cars I have bonded title with and wait 30 days and then proceed with the paperwork at my local DMV.
So far so good, but stranger things could happen of course…
Have you had any luck looking for a front seat 60/40?
Long story short. I have my 60/40 seat out of my Savoy 2dr sedan at an upholstery shop since about 1996. He was making a couch out of it because it was in excellent condition with fabric rolled and pleated upholstery. He lost interest and placed it in his home garage. My wife bugs him every few years to complete the couch, but it is so far burried in his garage - it will never get done. He says he needs his Father’s help to get it out. Here is another problem - he says it is “almost” done.
If you get in a real bind - I can get him to tell me what “almost” done means. Plans were to have light-up tailights, trim on the sides and tail fins etc. He has all my parts but I am not sure much was really done considering he had to make the frame for the tailfins etc.
It may be a long shot for you to get my seat - I am certain that there has to be a 60/40 seat available somewhere.
Curt
Hi Curt - See what you can do, I will need the seat tracks also. I have a lead on one at $250 but I’m waiting to hear if it has the tracks. Something tells me that after 15 years he will not be finishing it. He kinda lost interest don’t you think? When I get a seat it will be redone with new foam and factor style layout. Thanks for the heads up.
Dick.
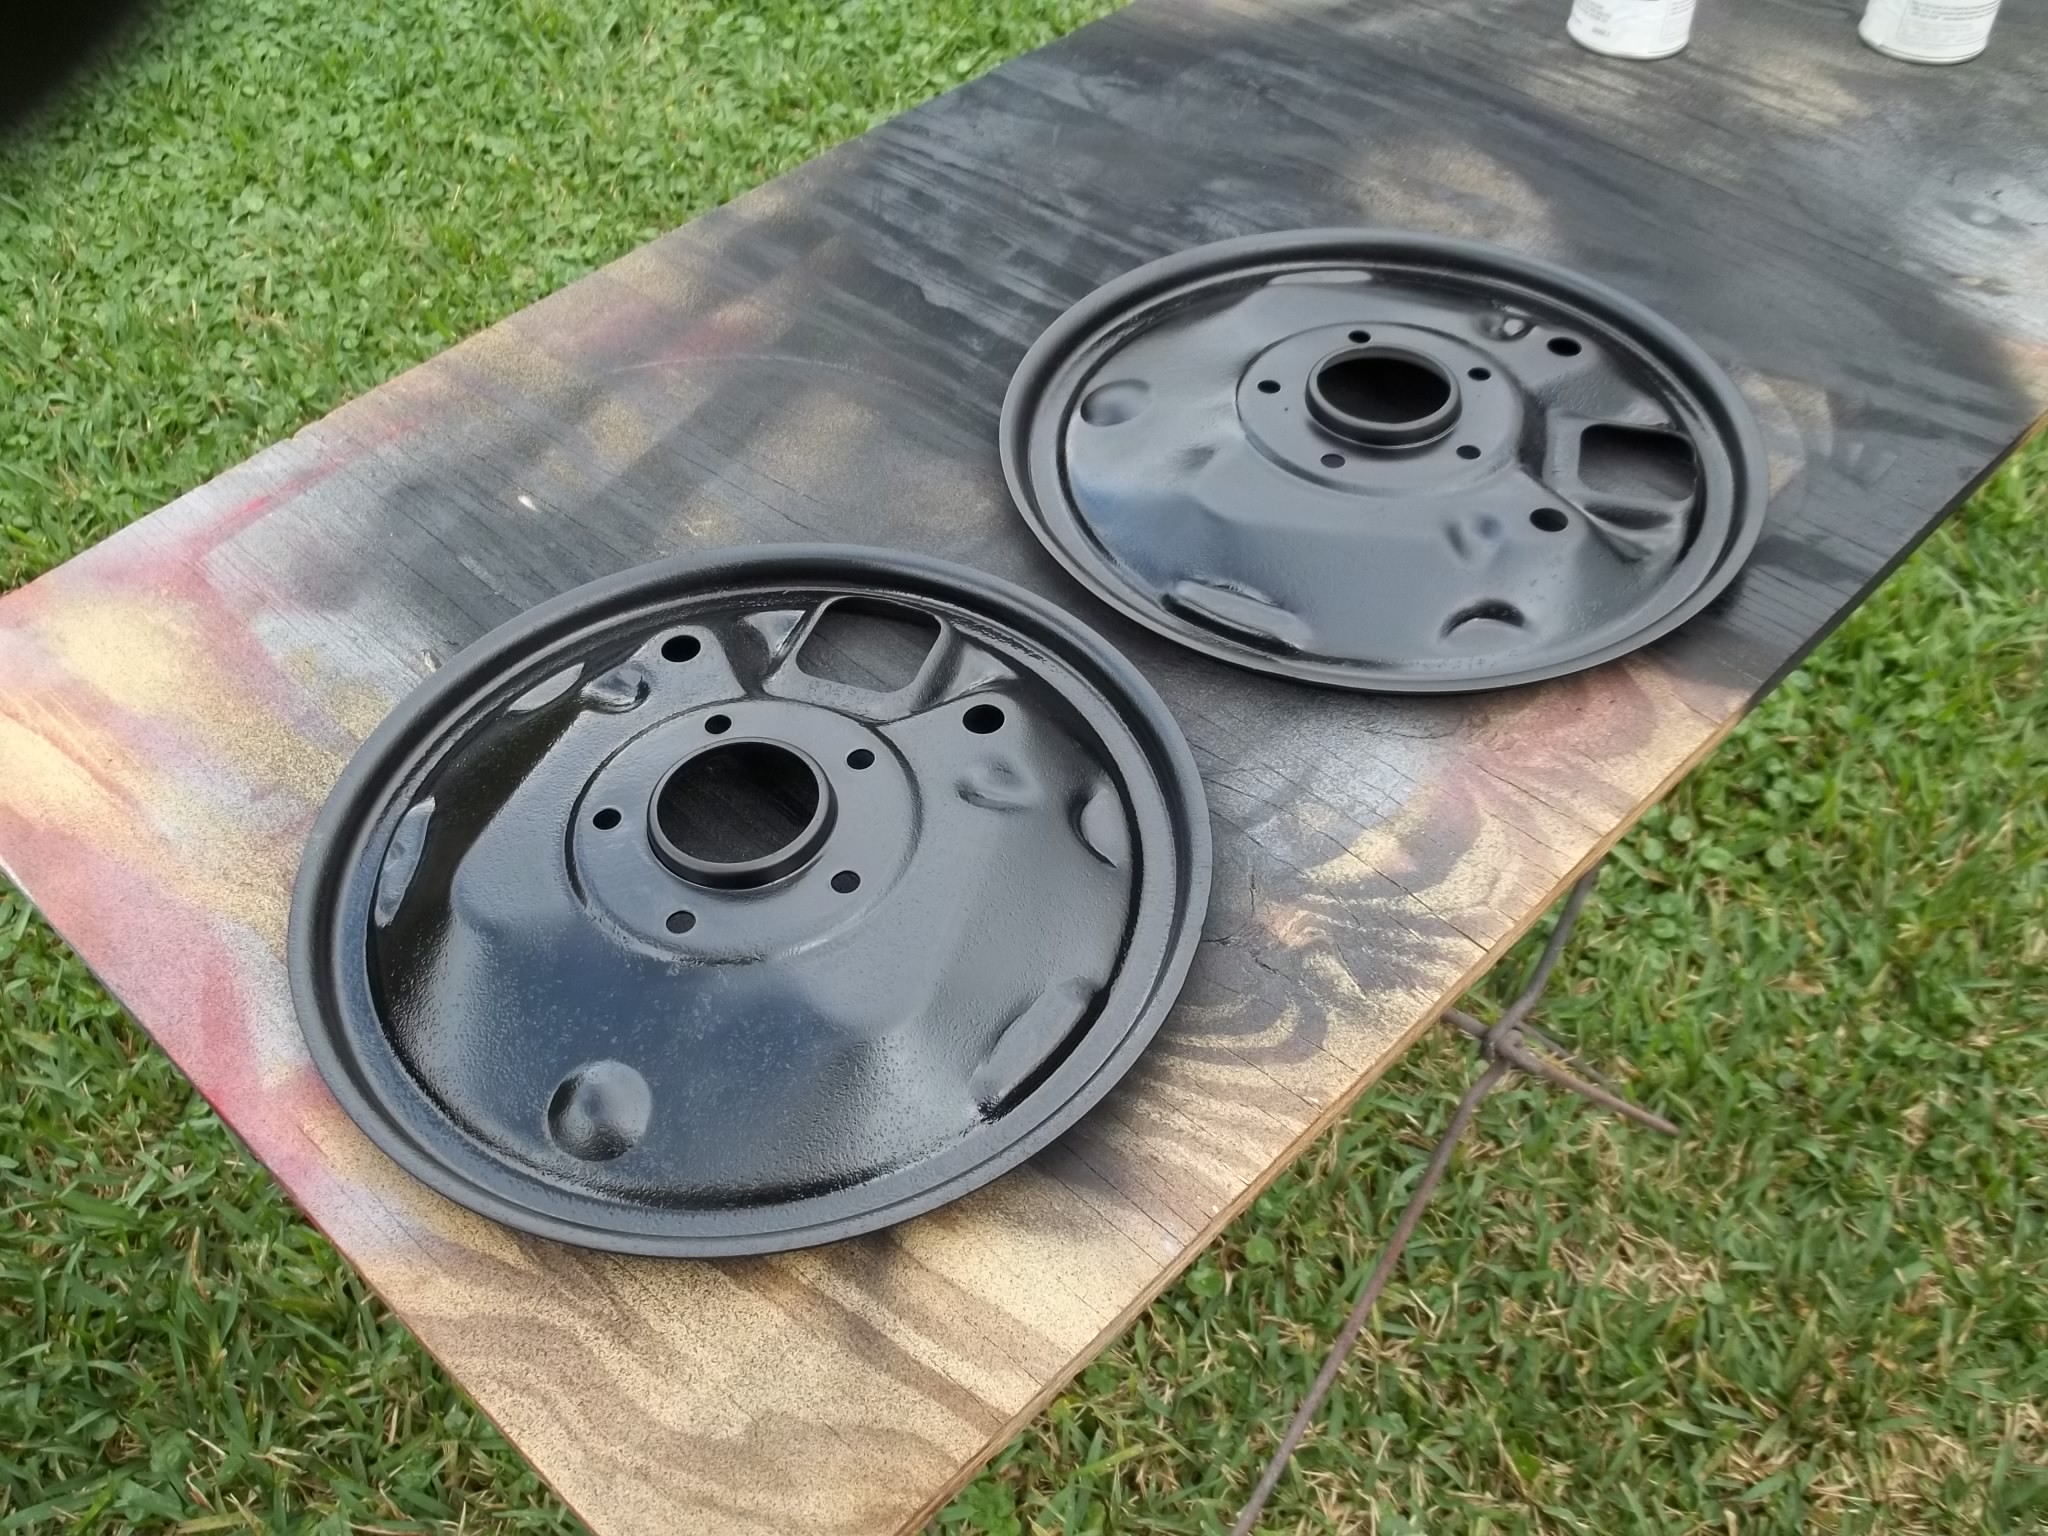
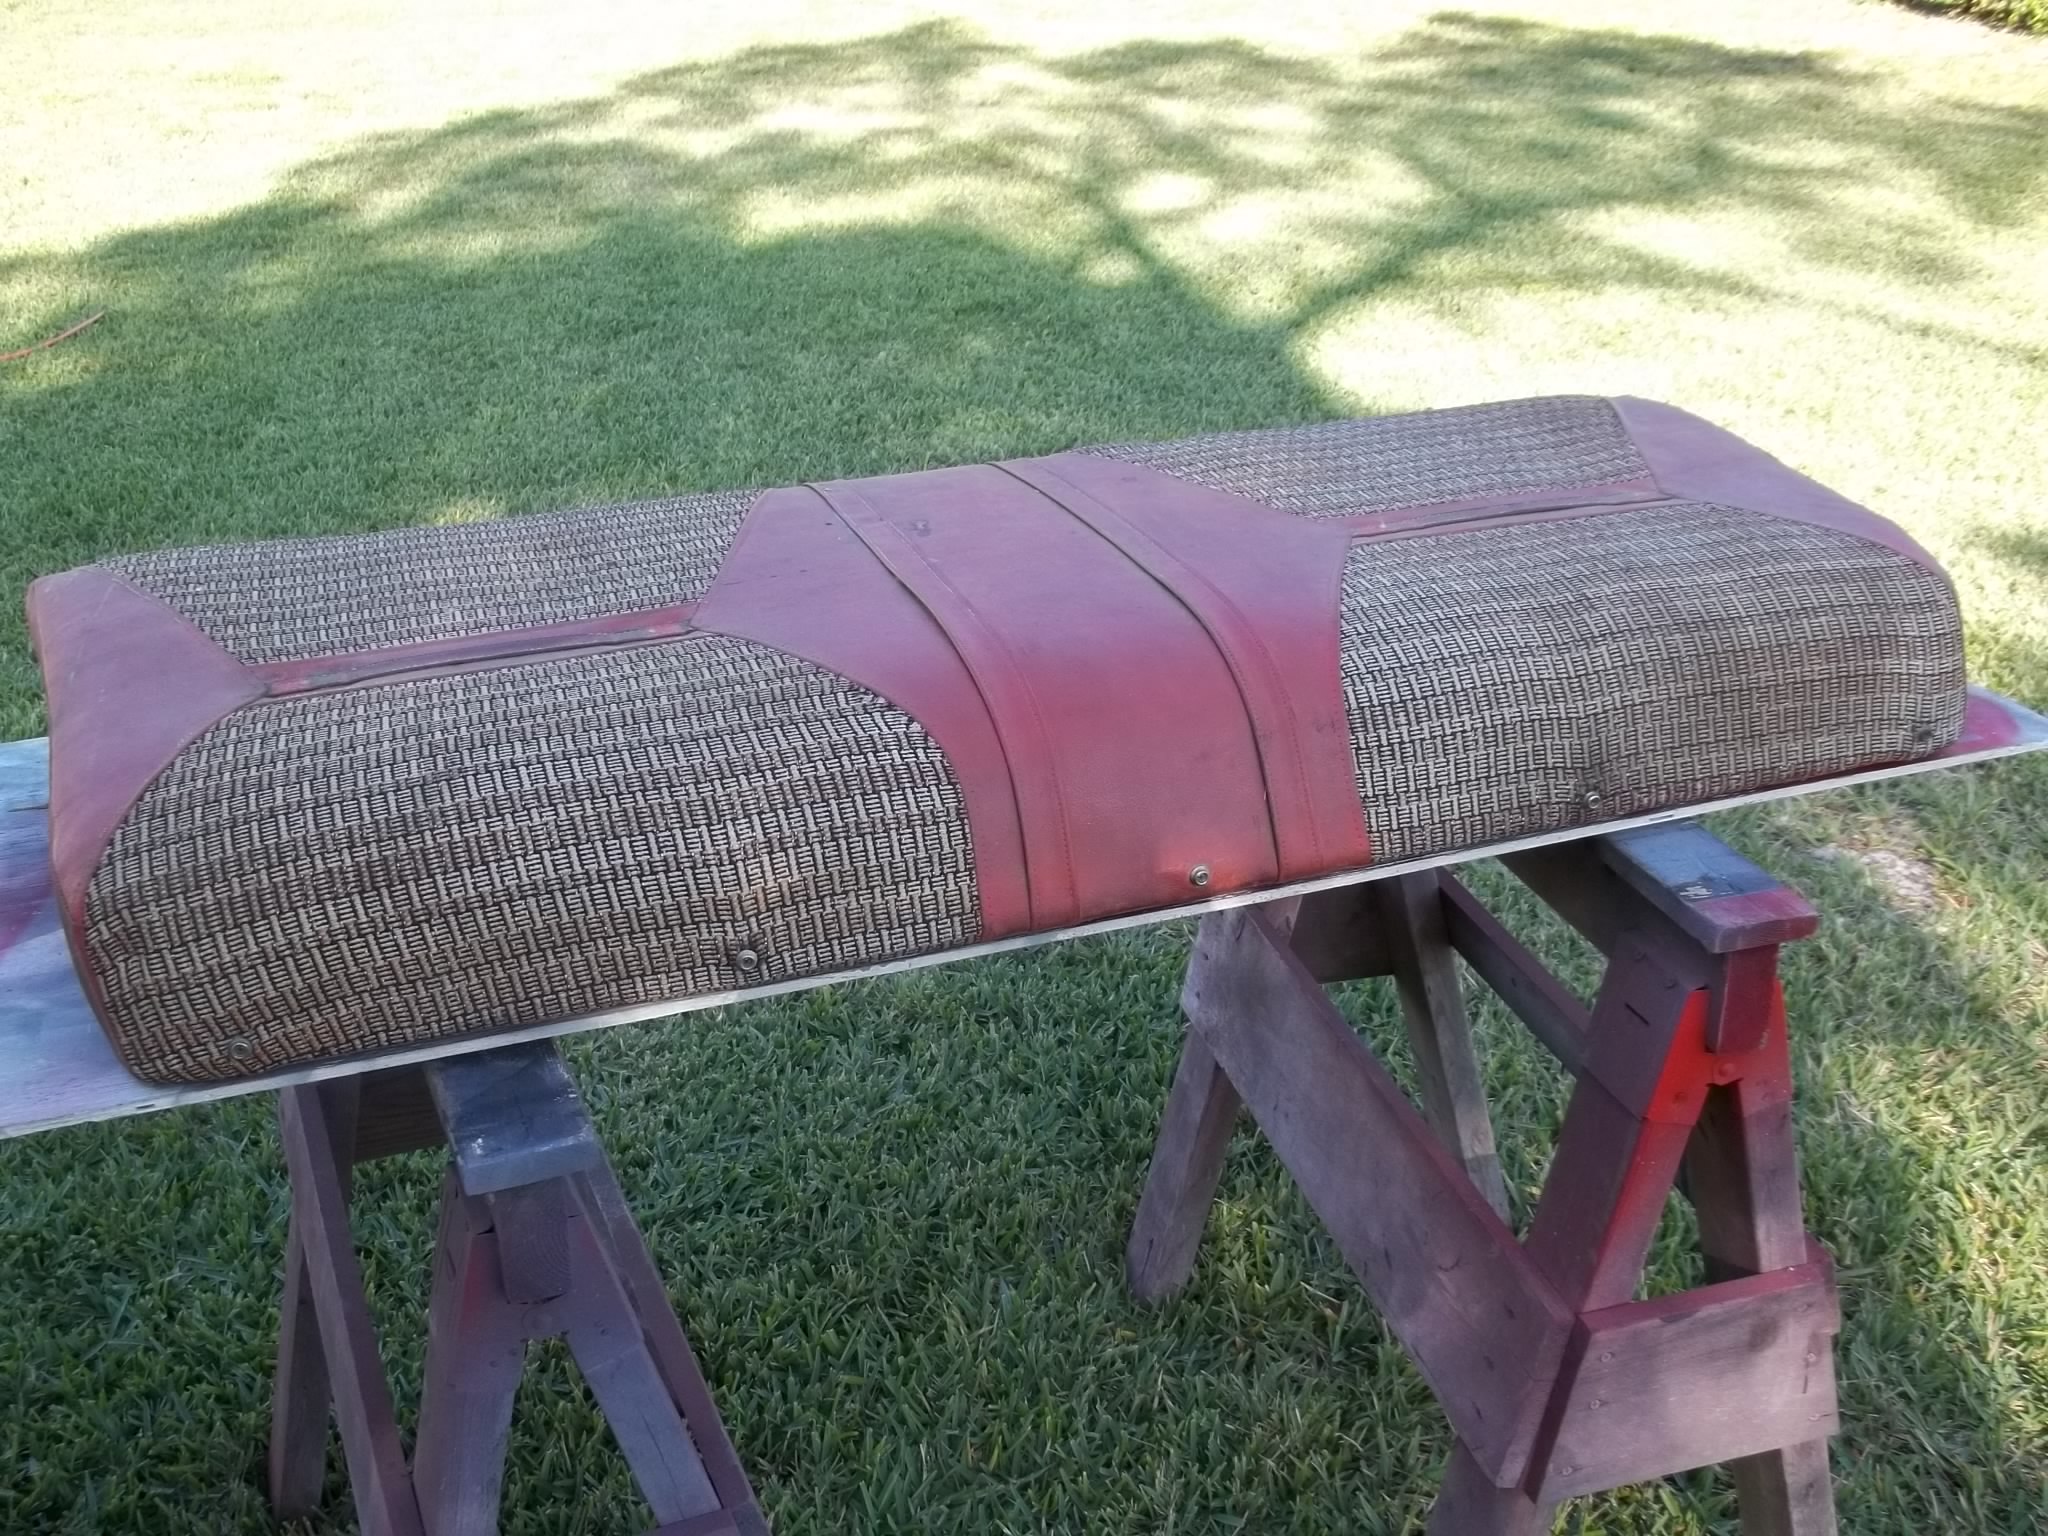
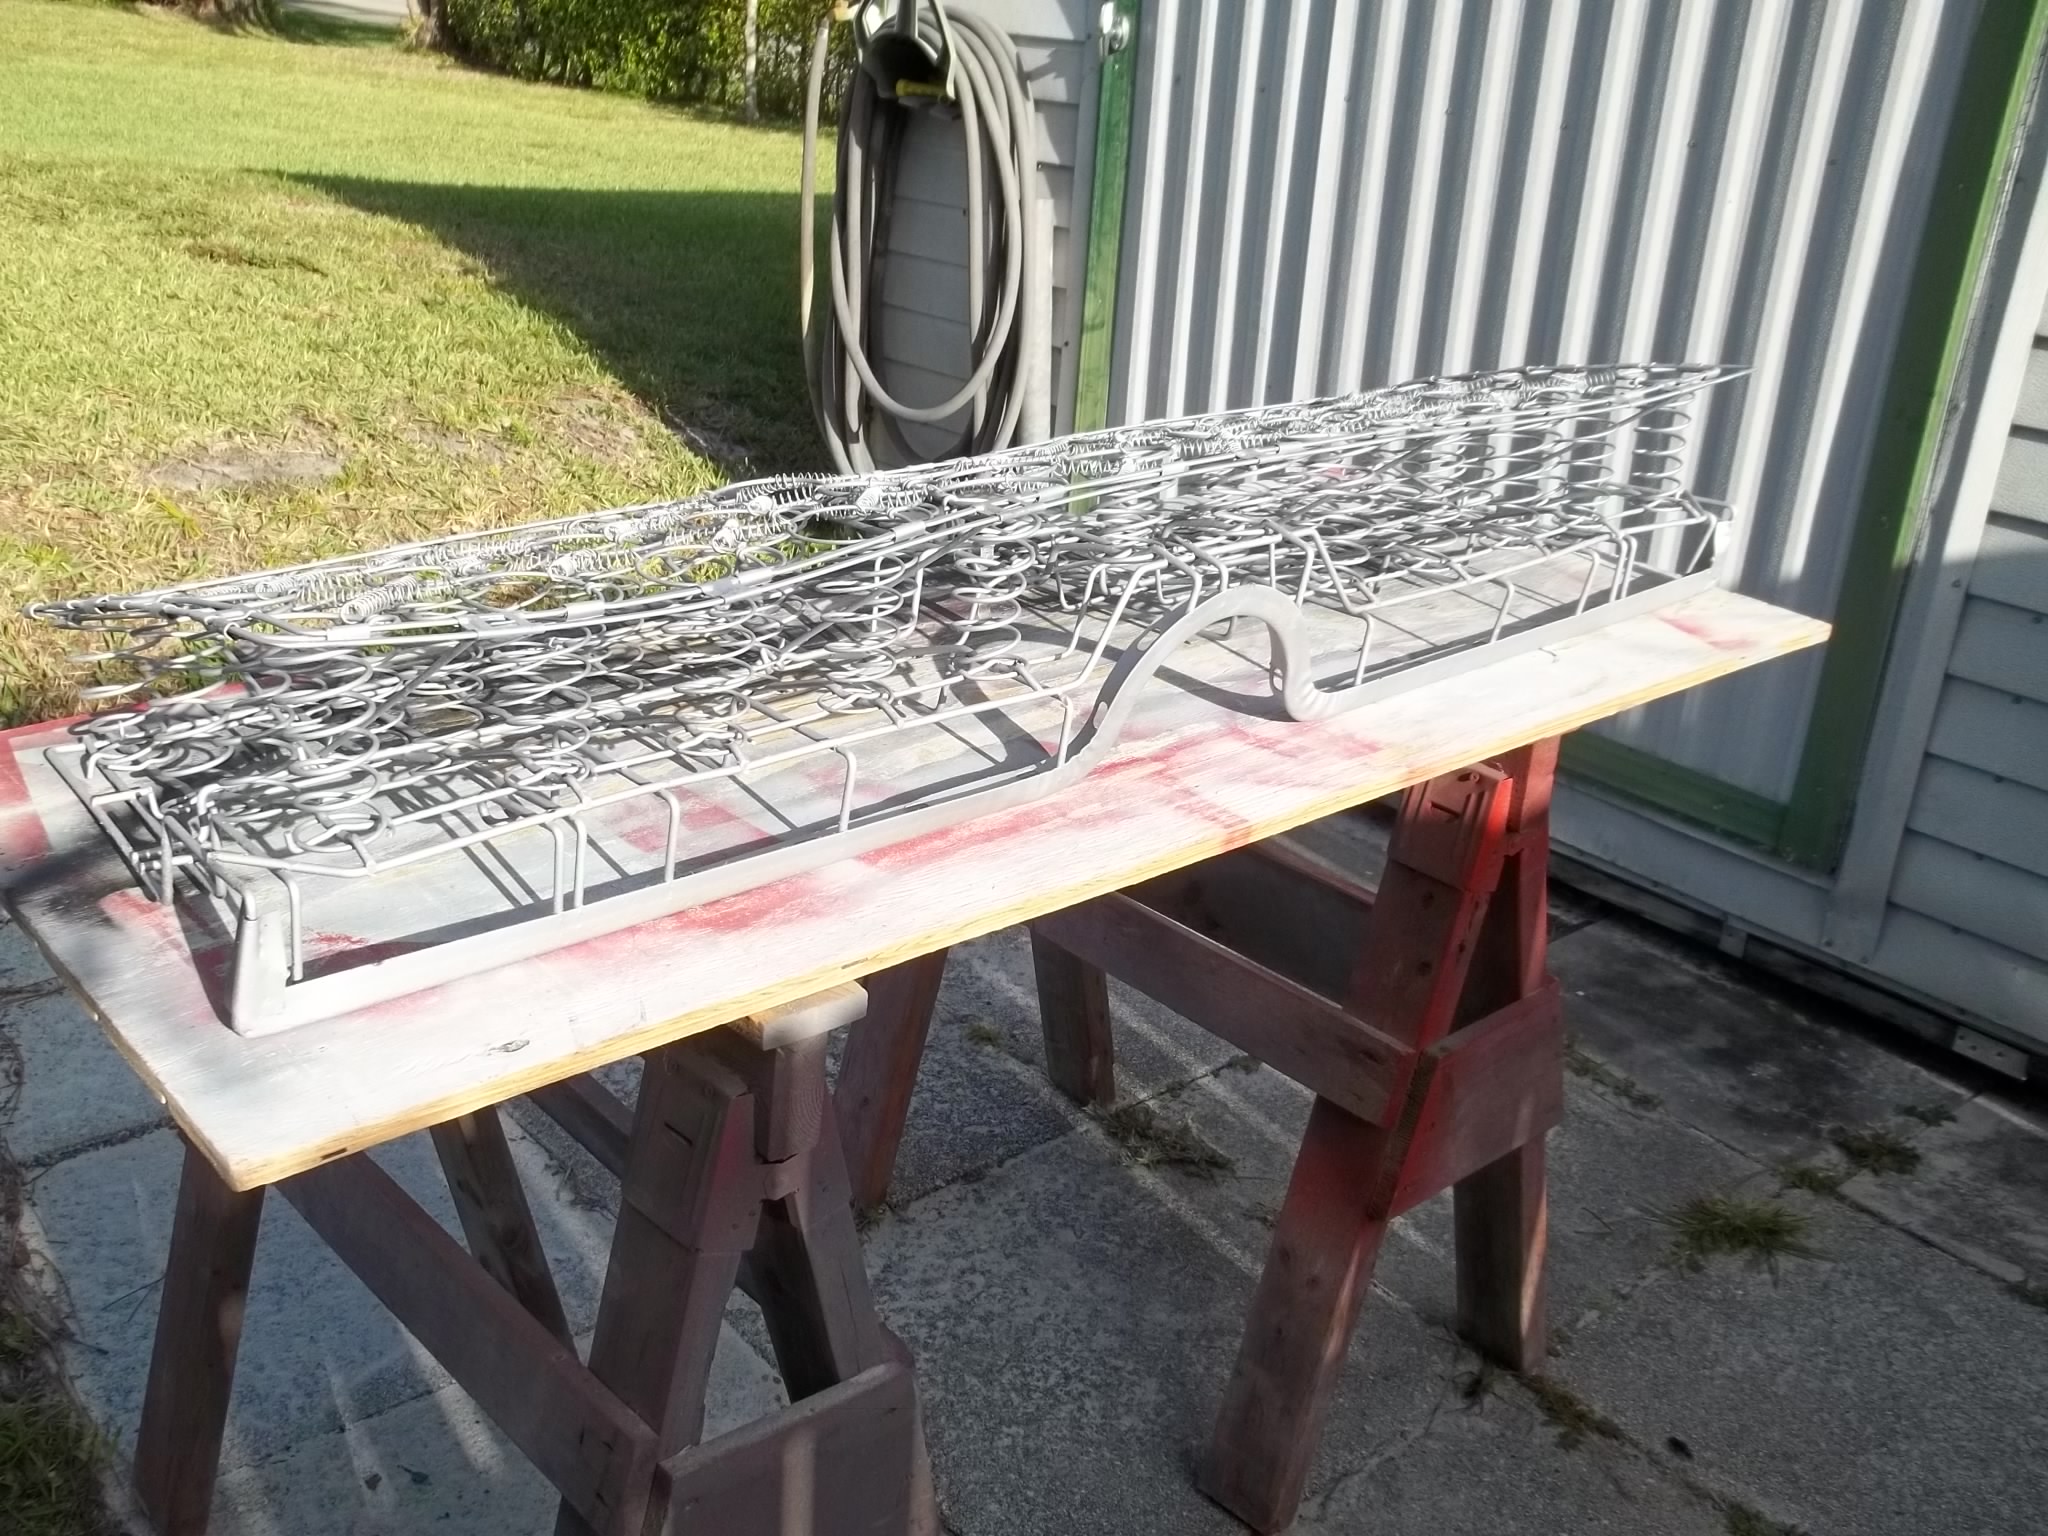
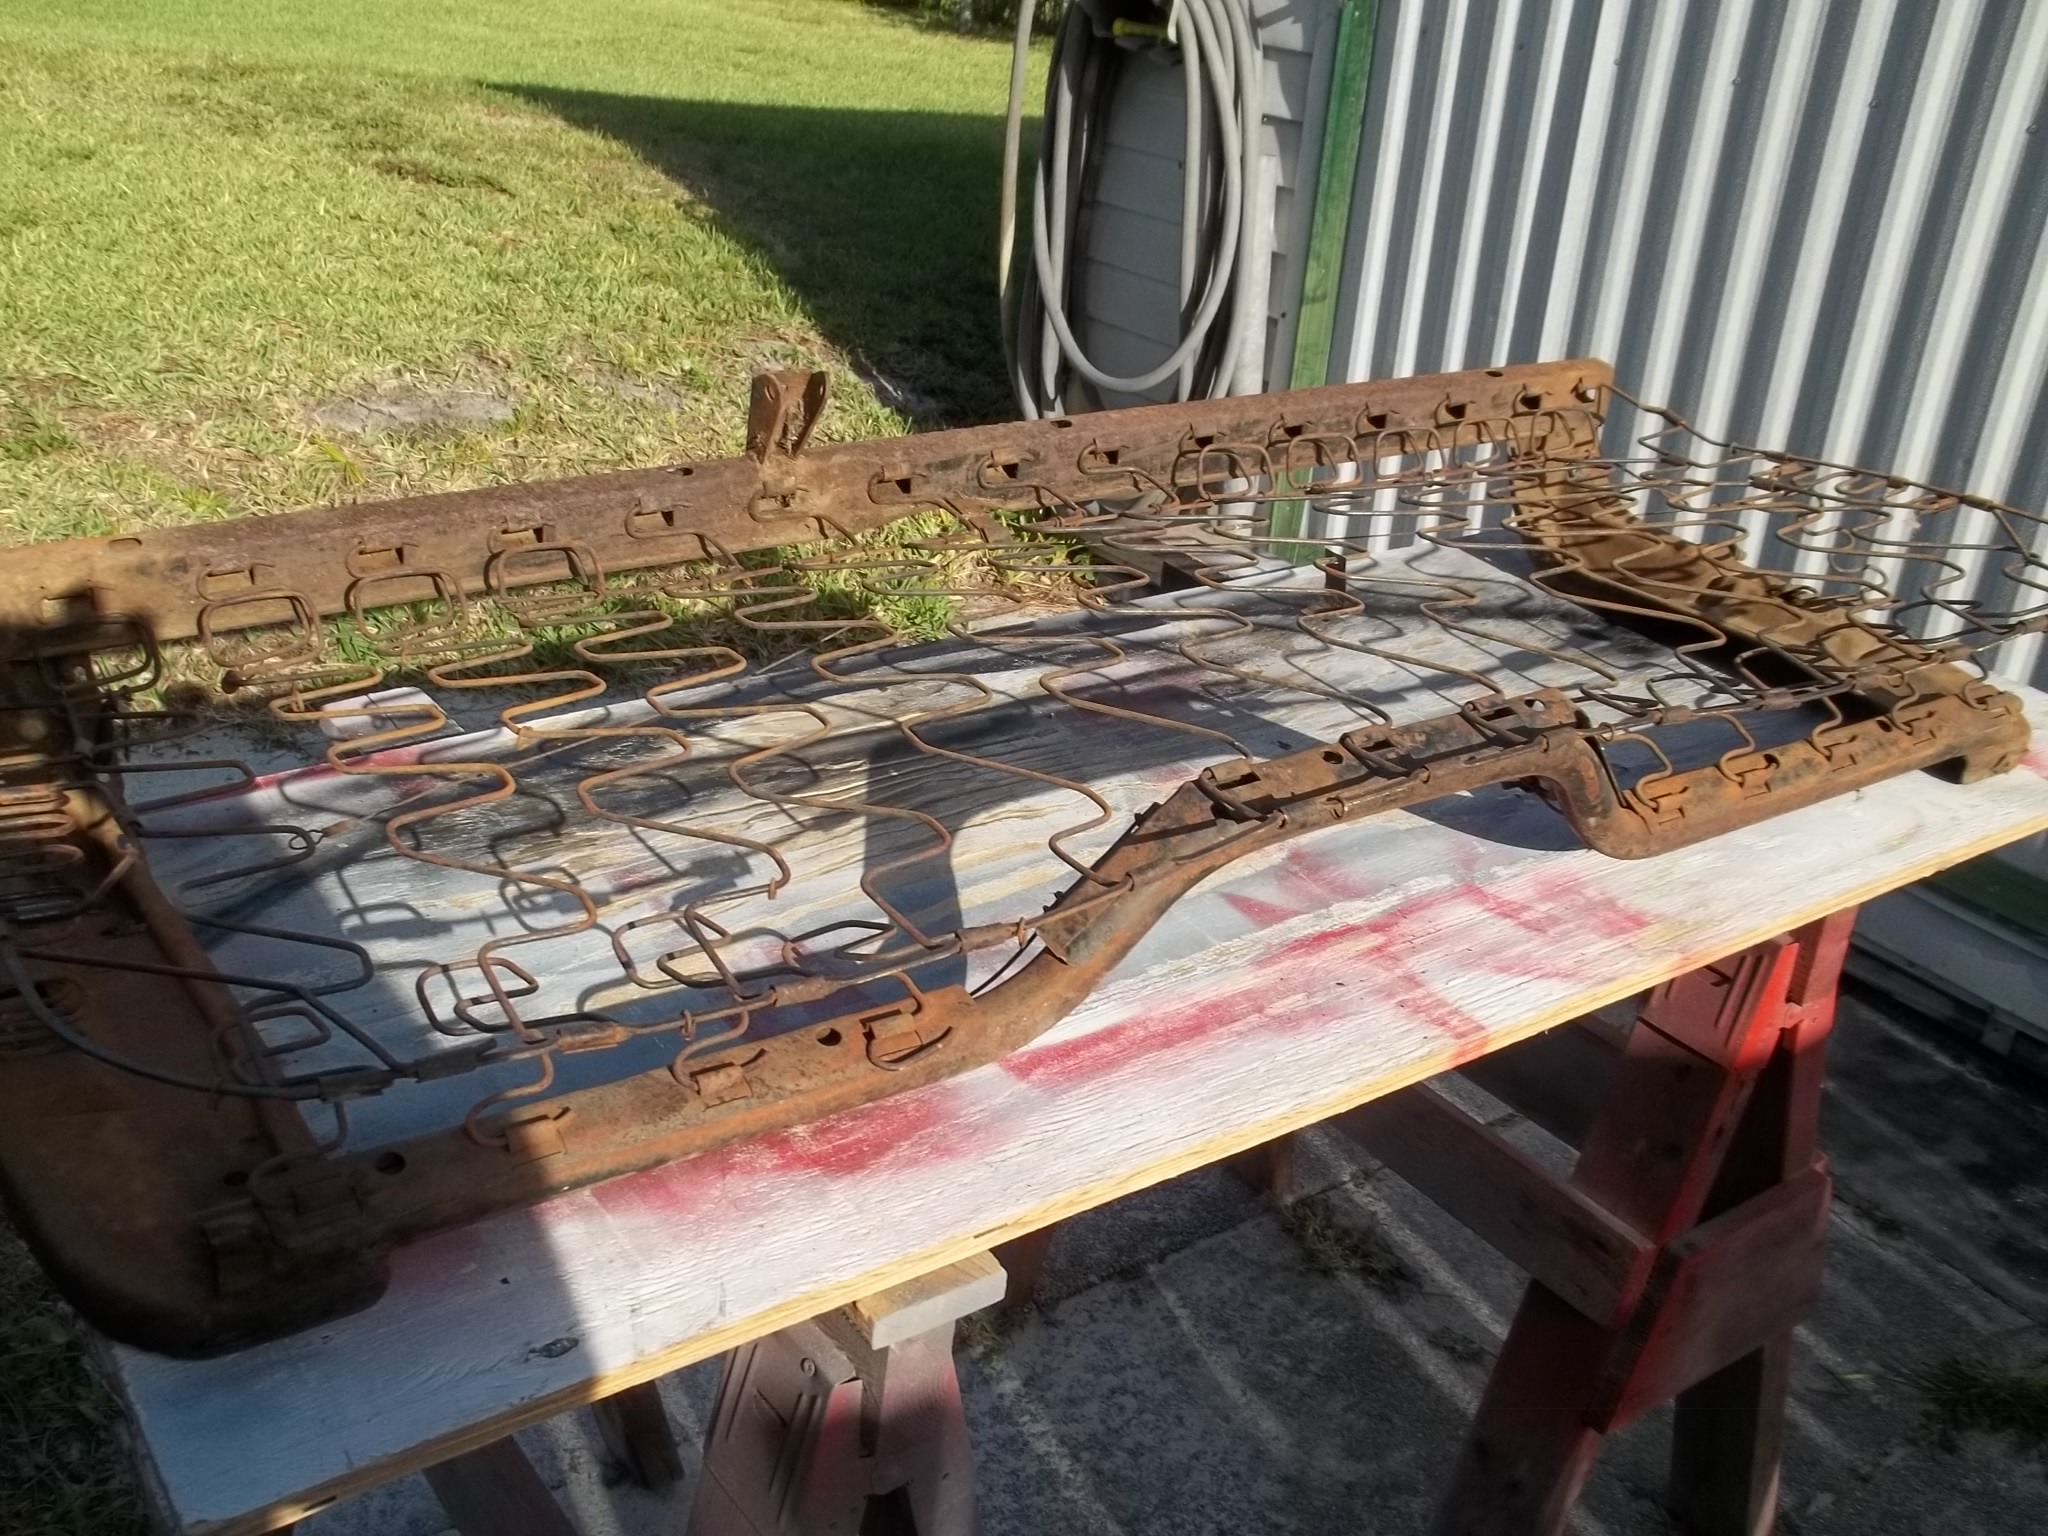
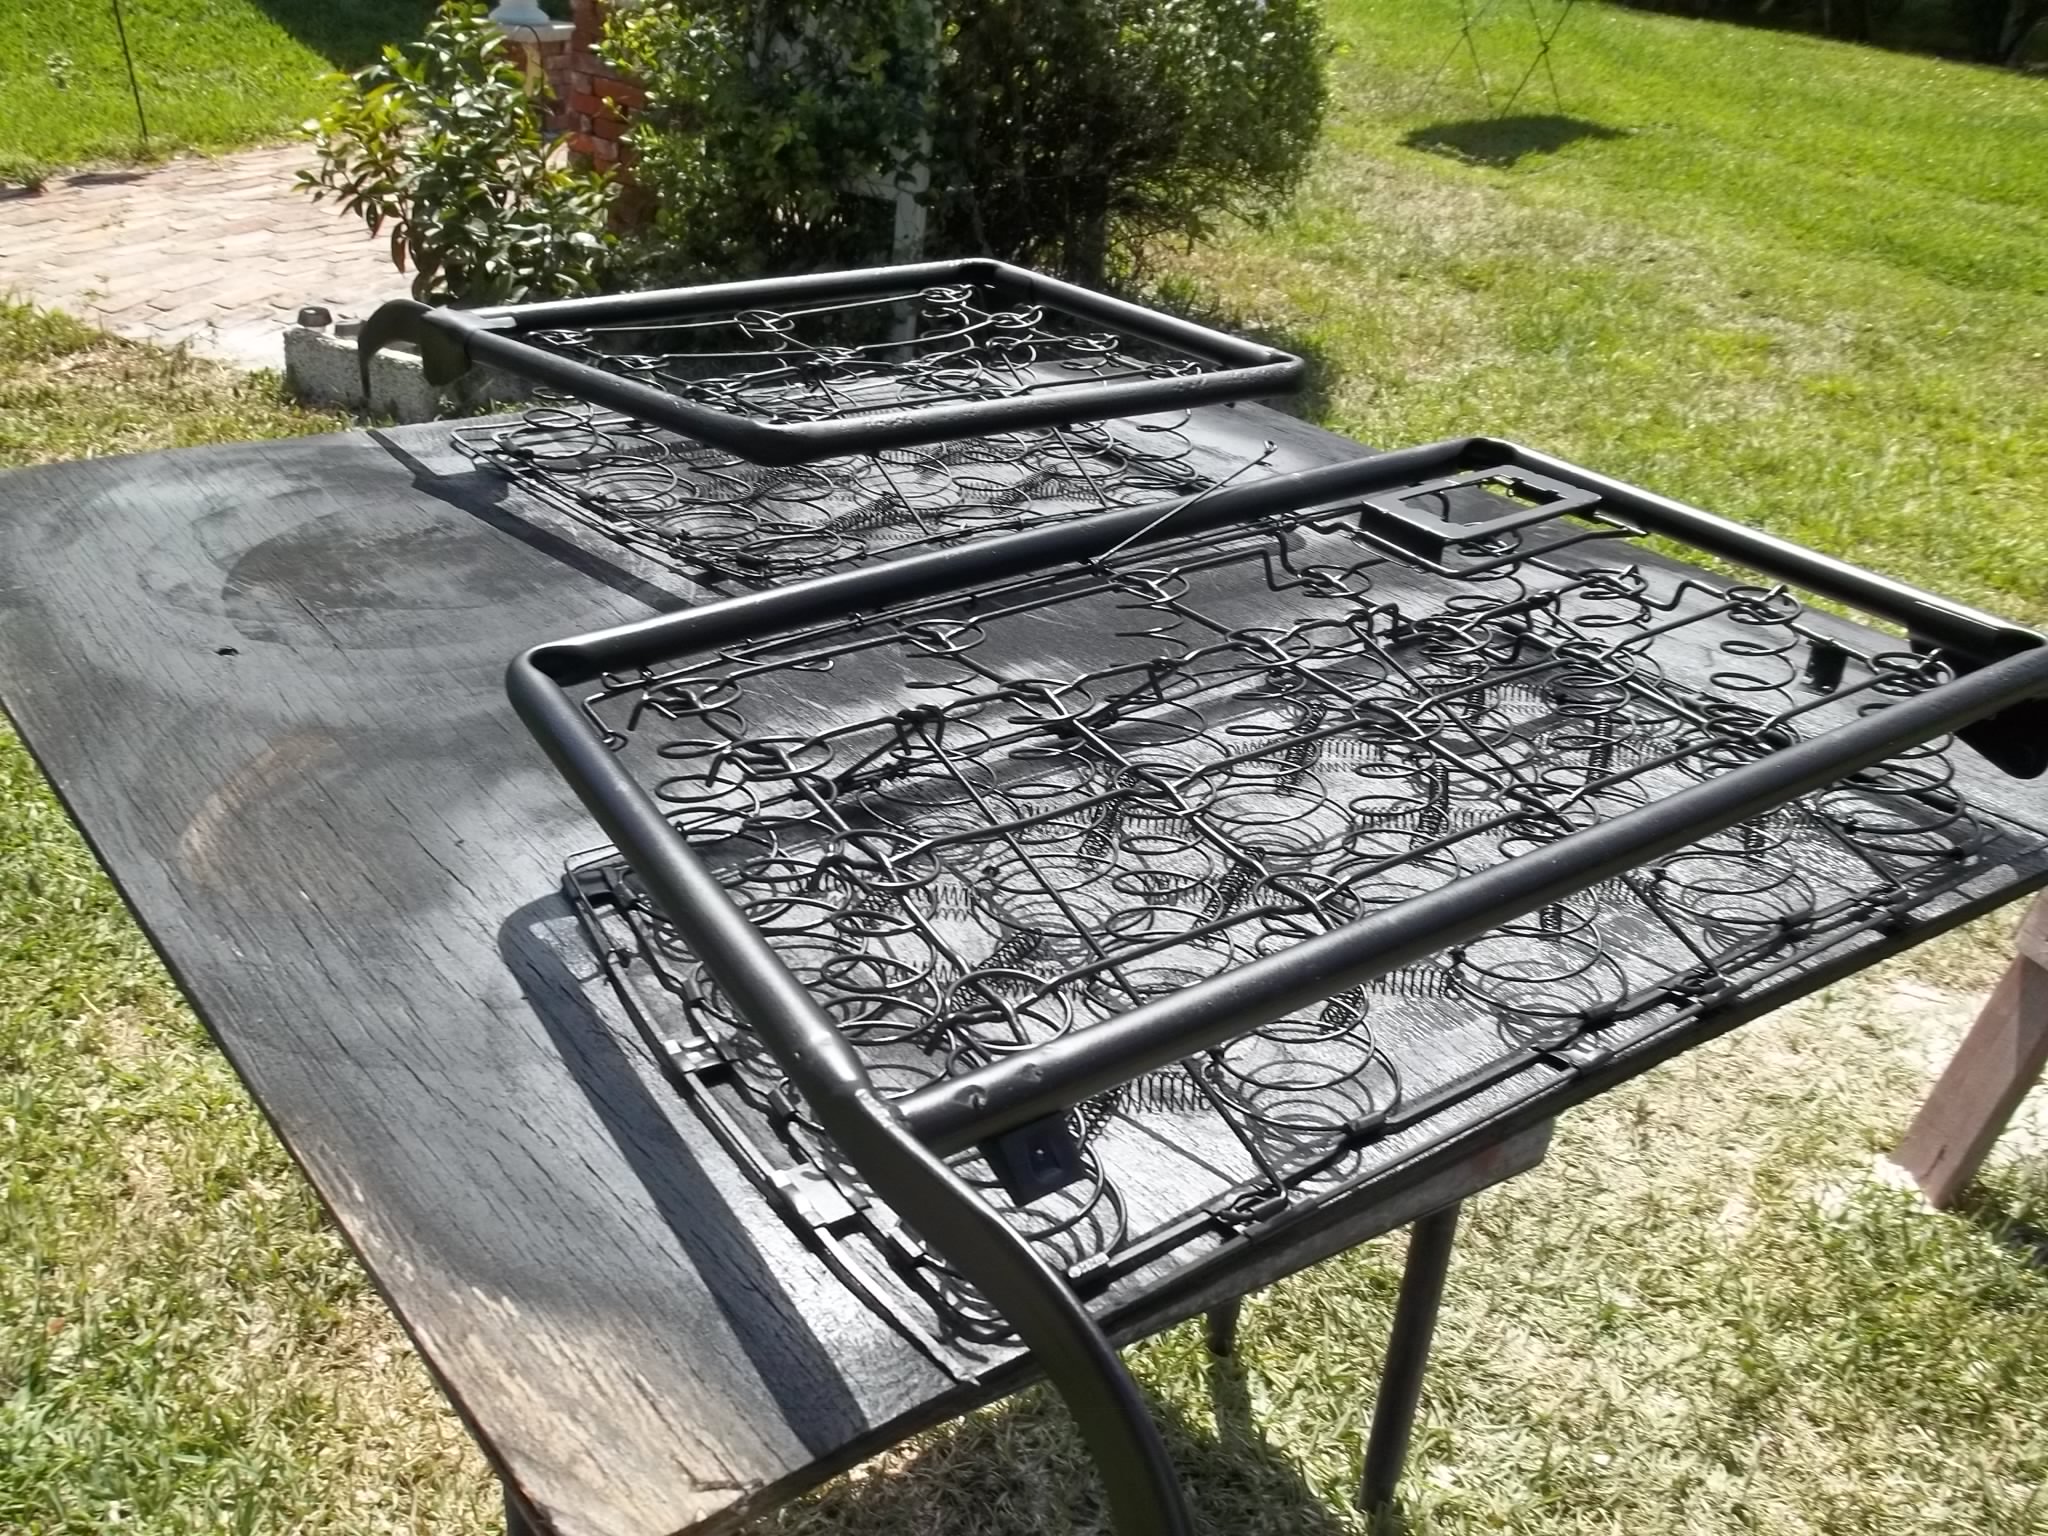
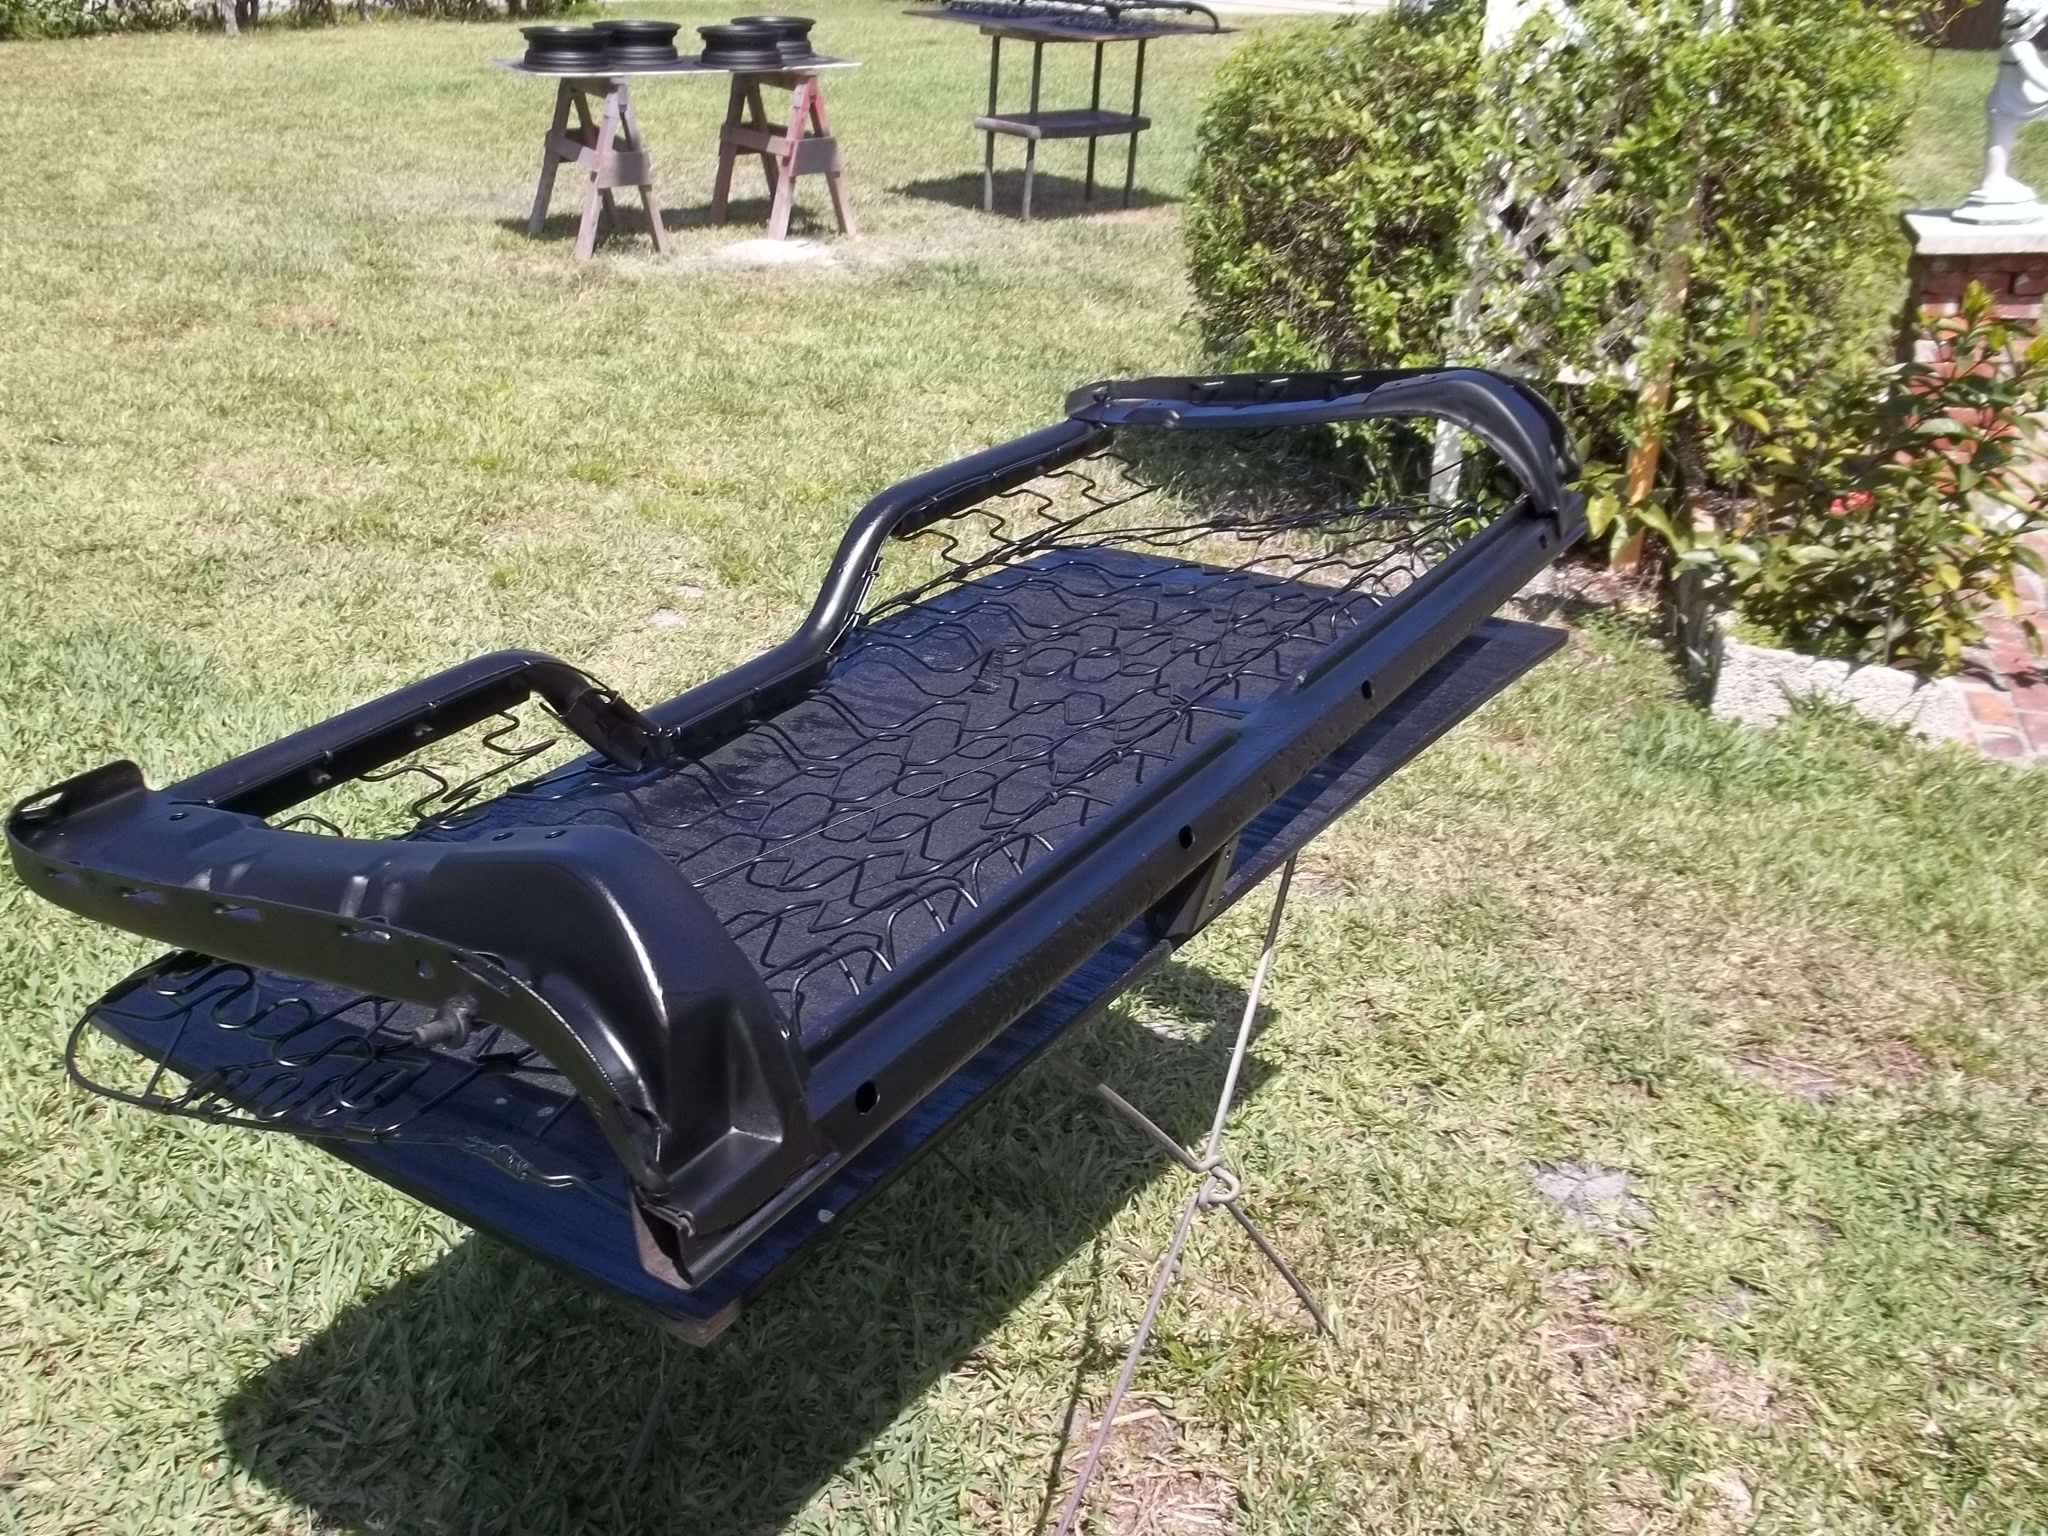
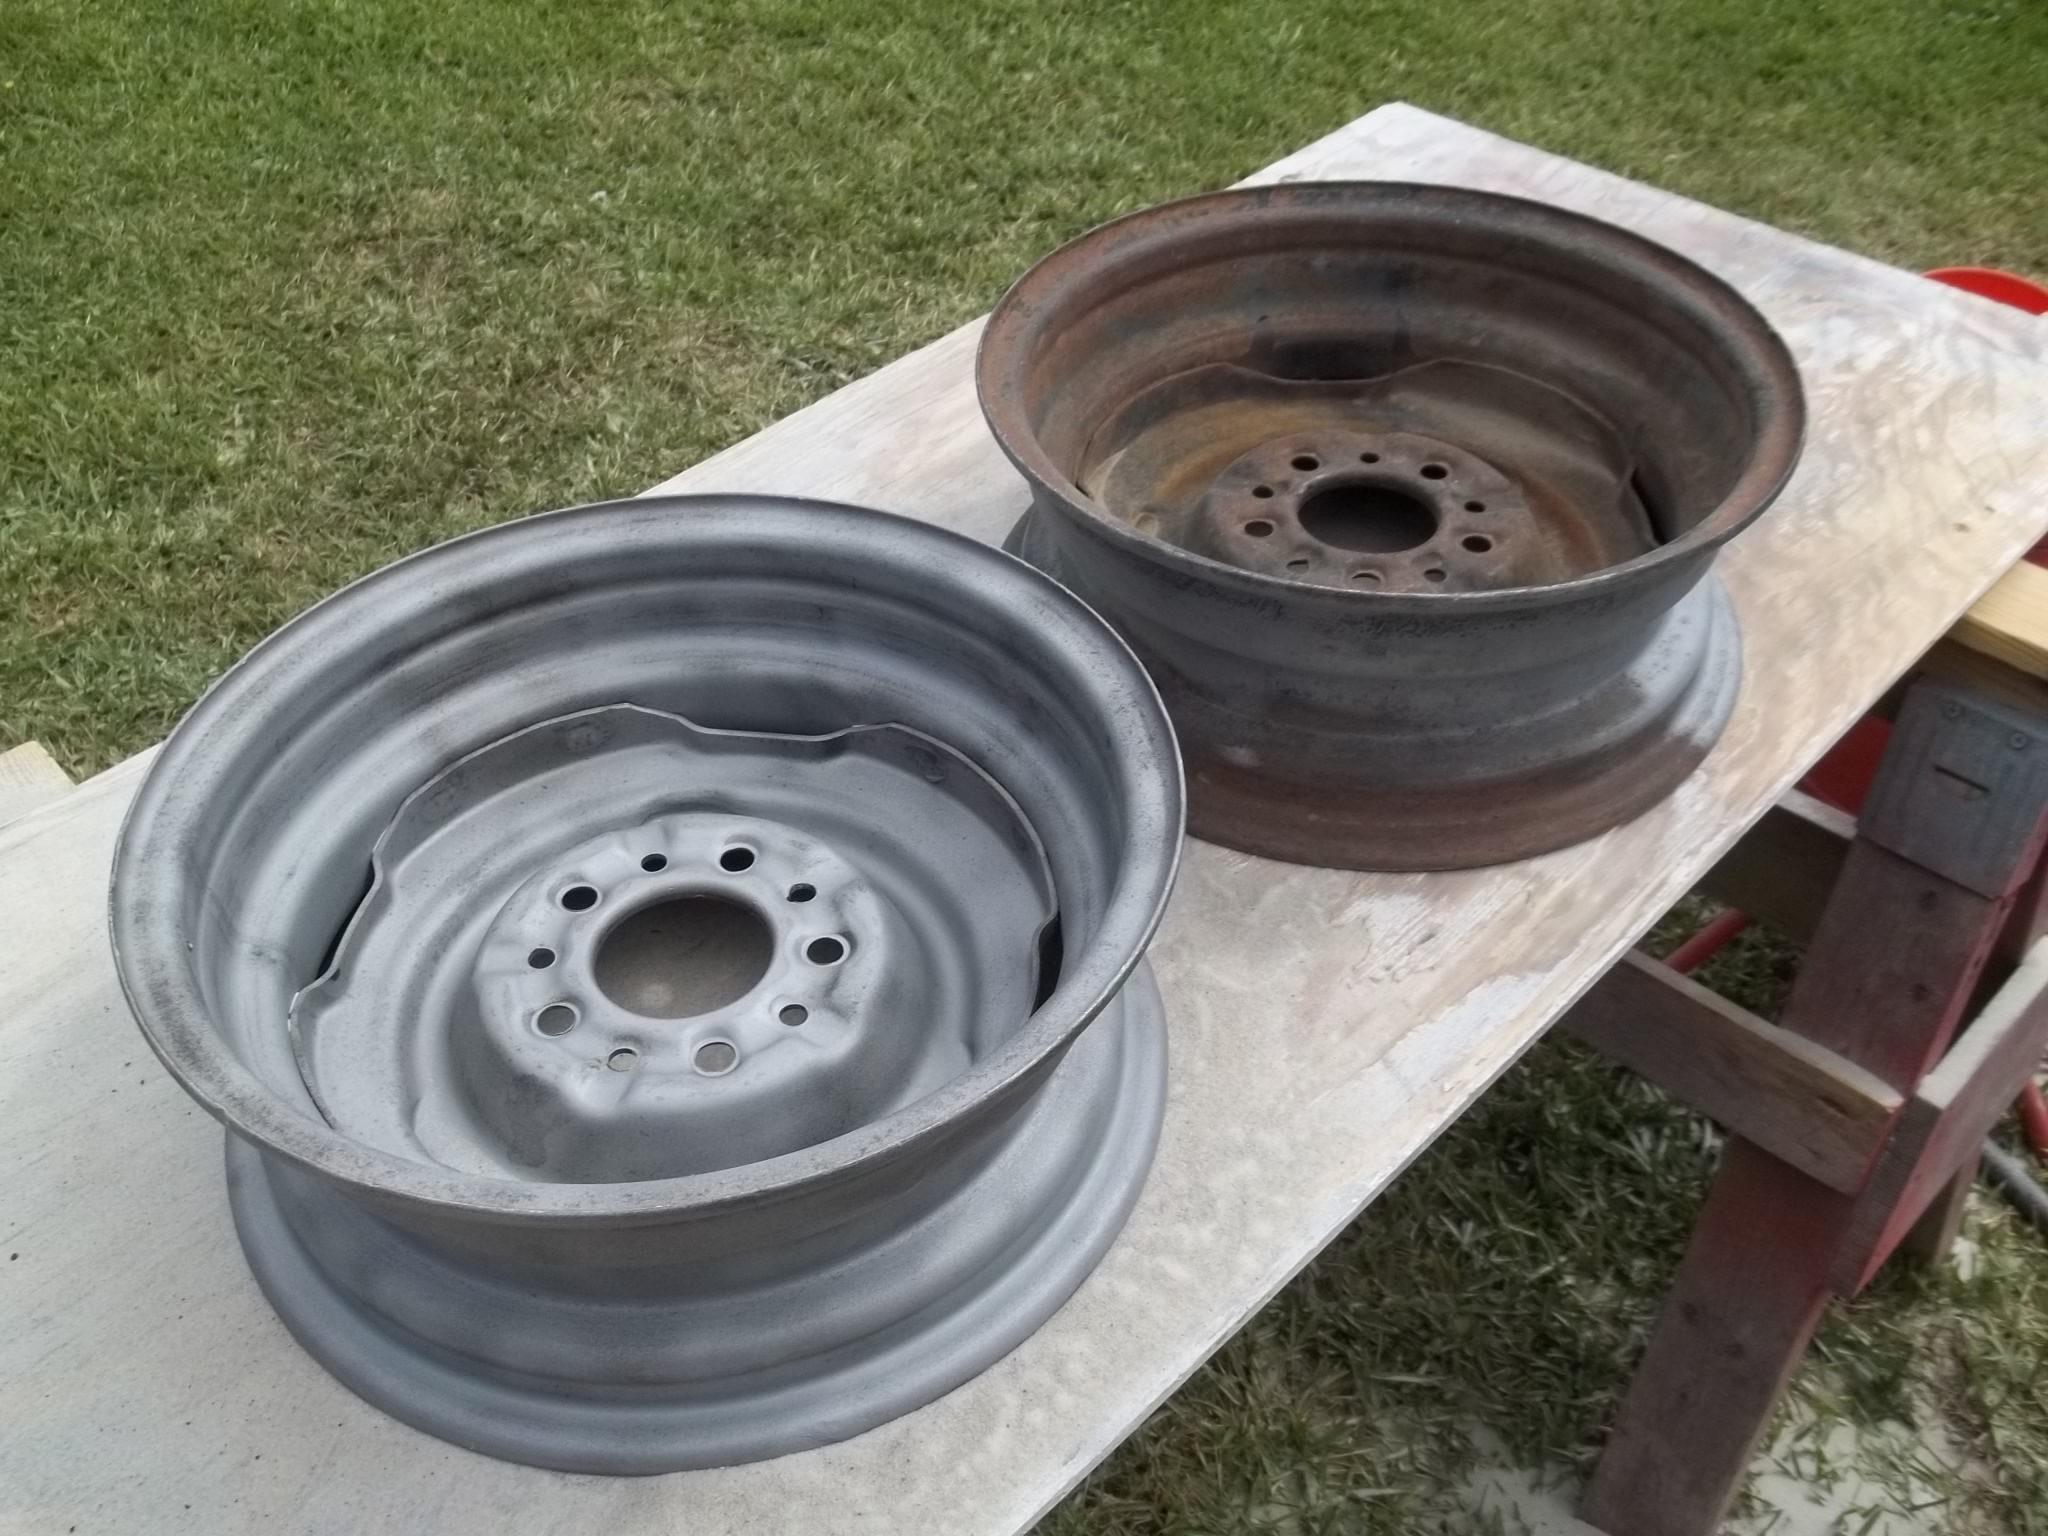
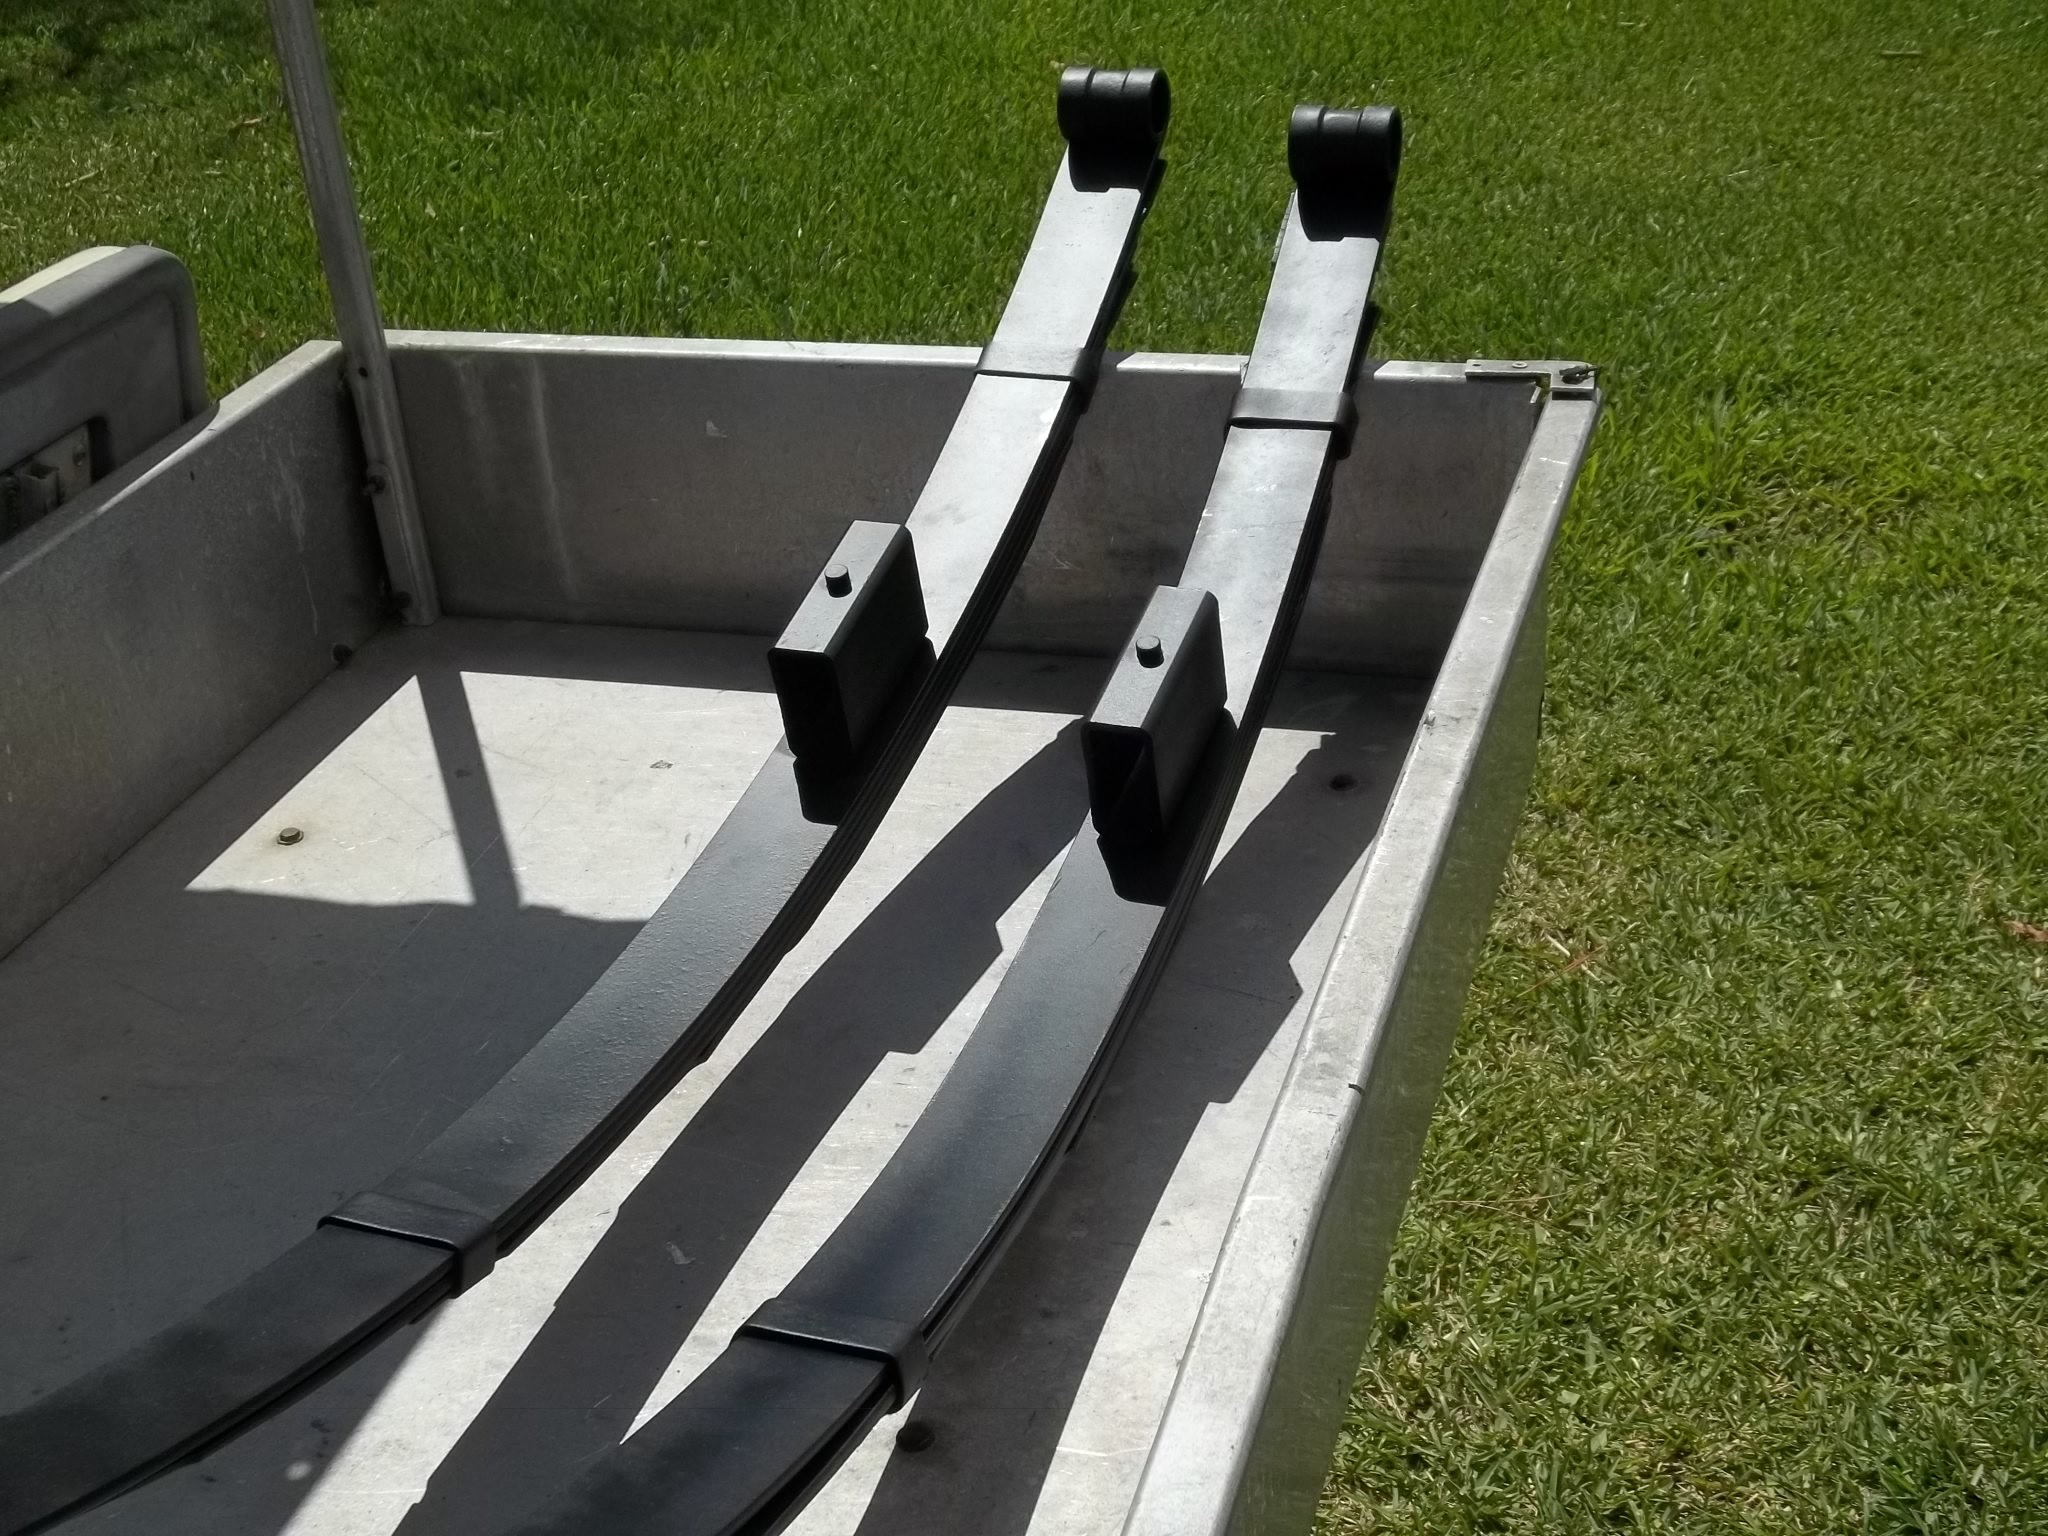
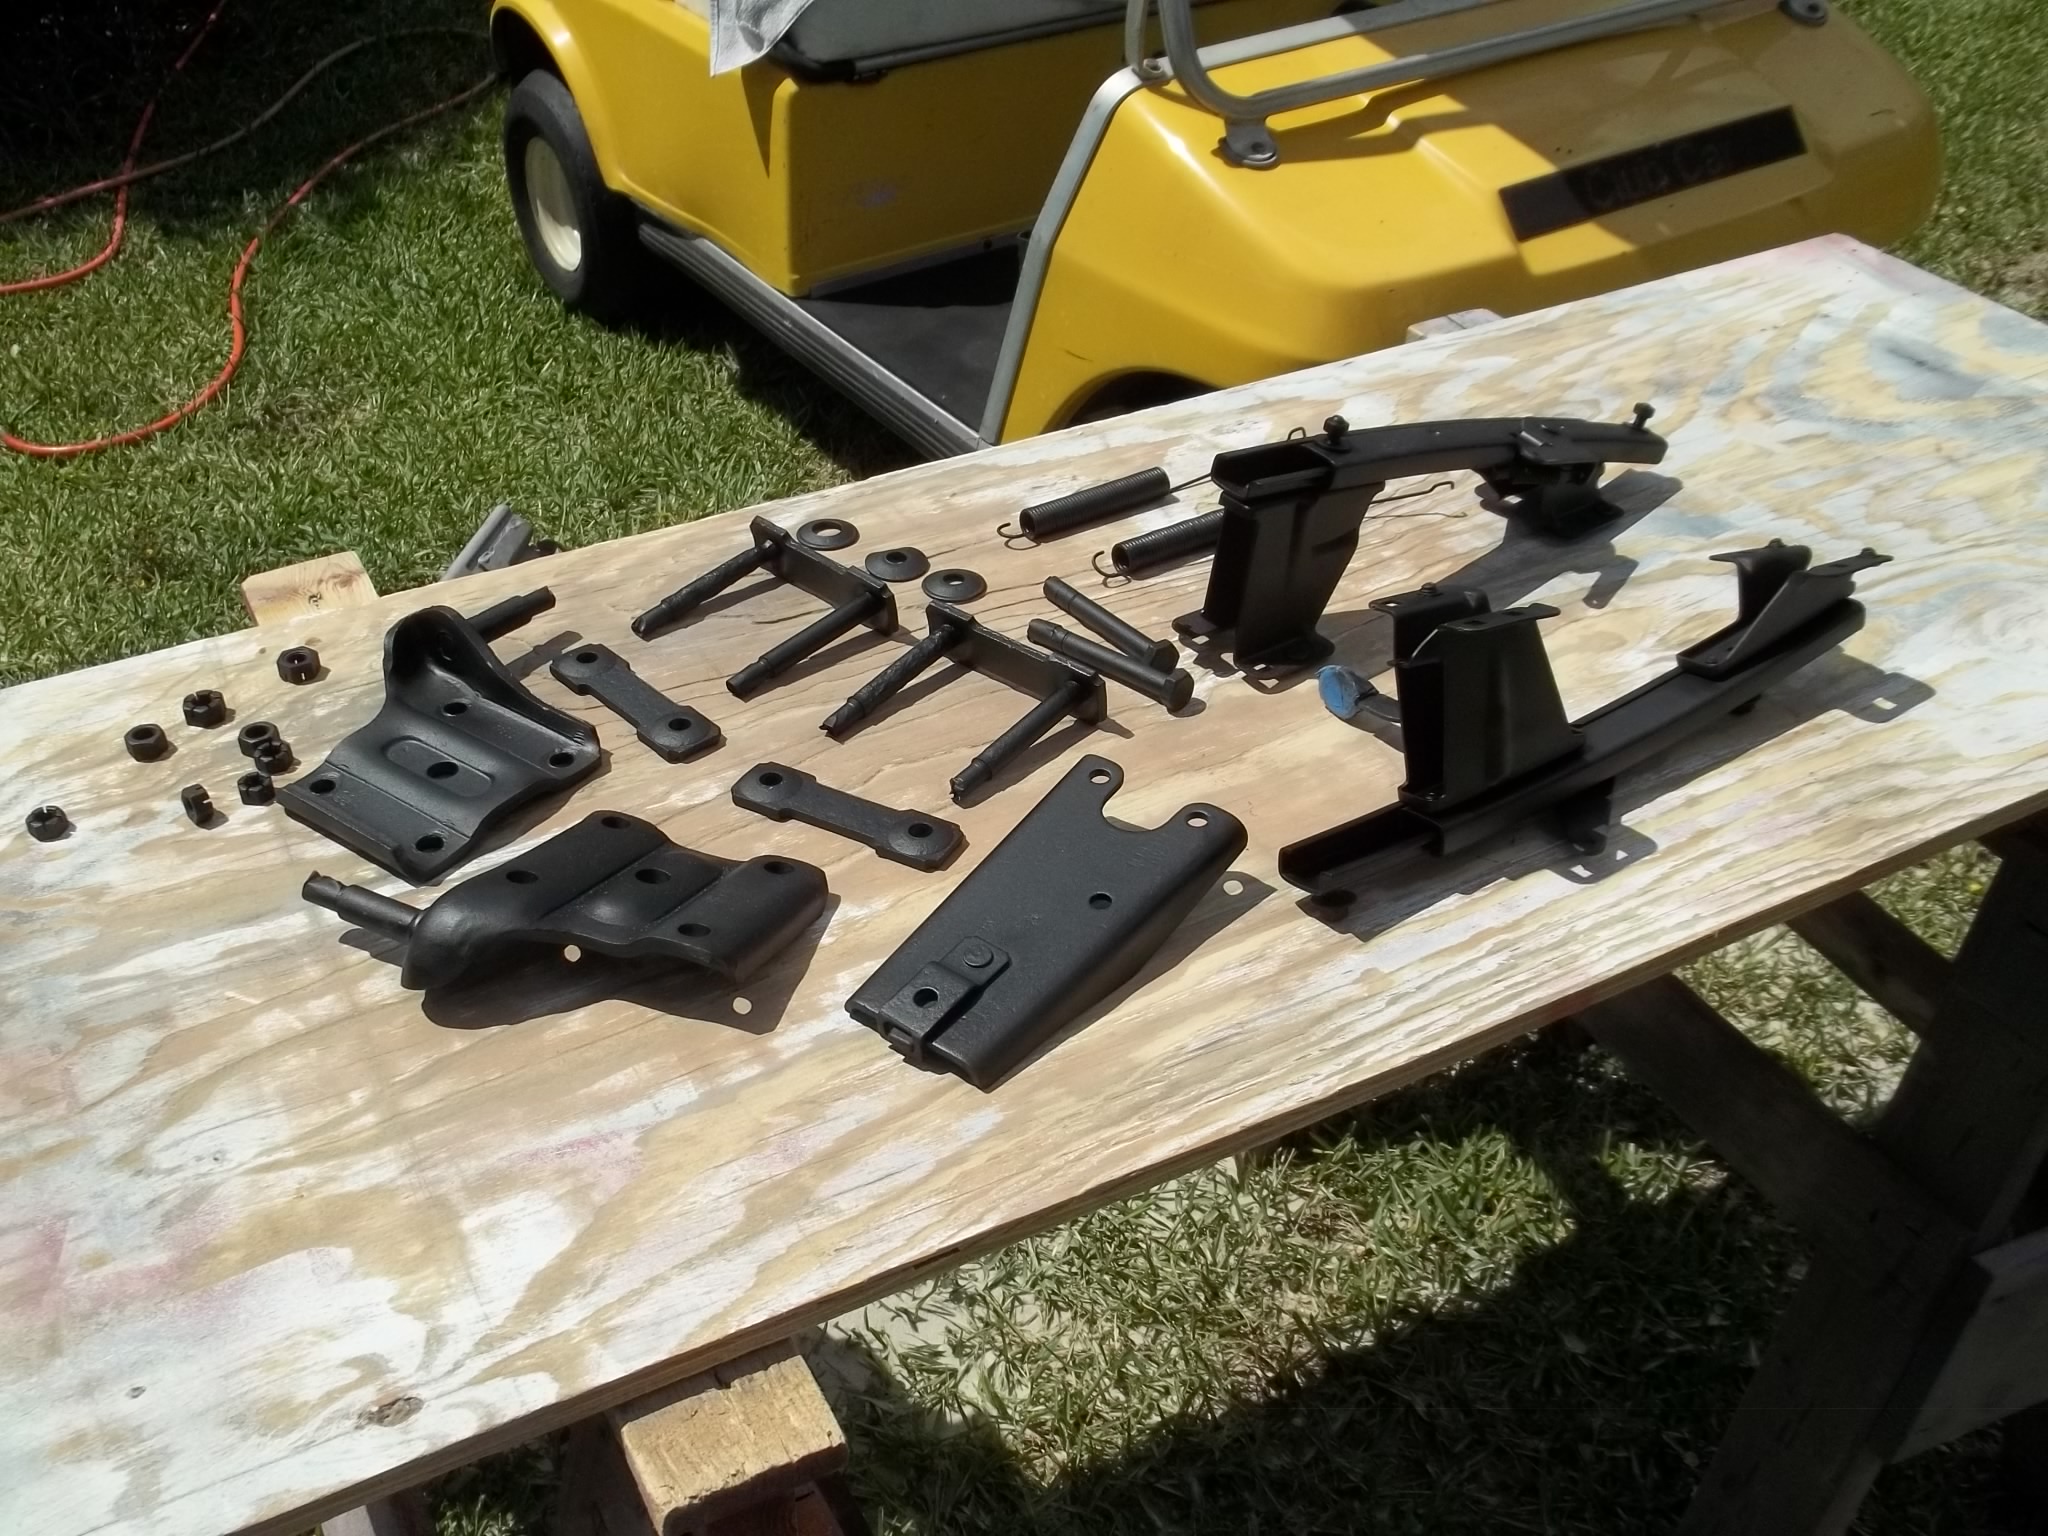
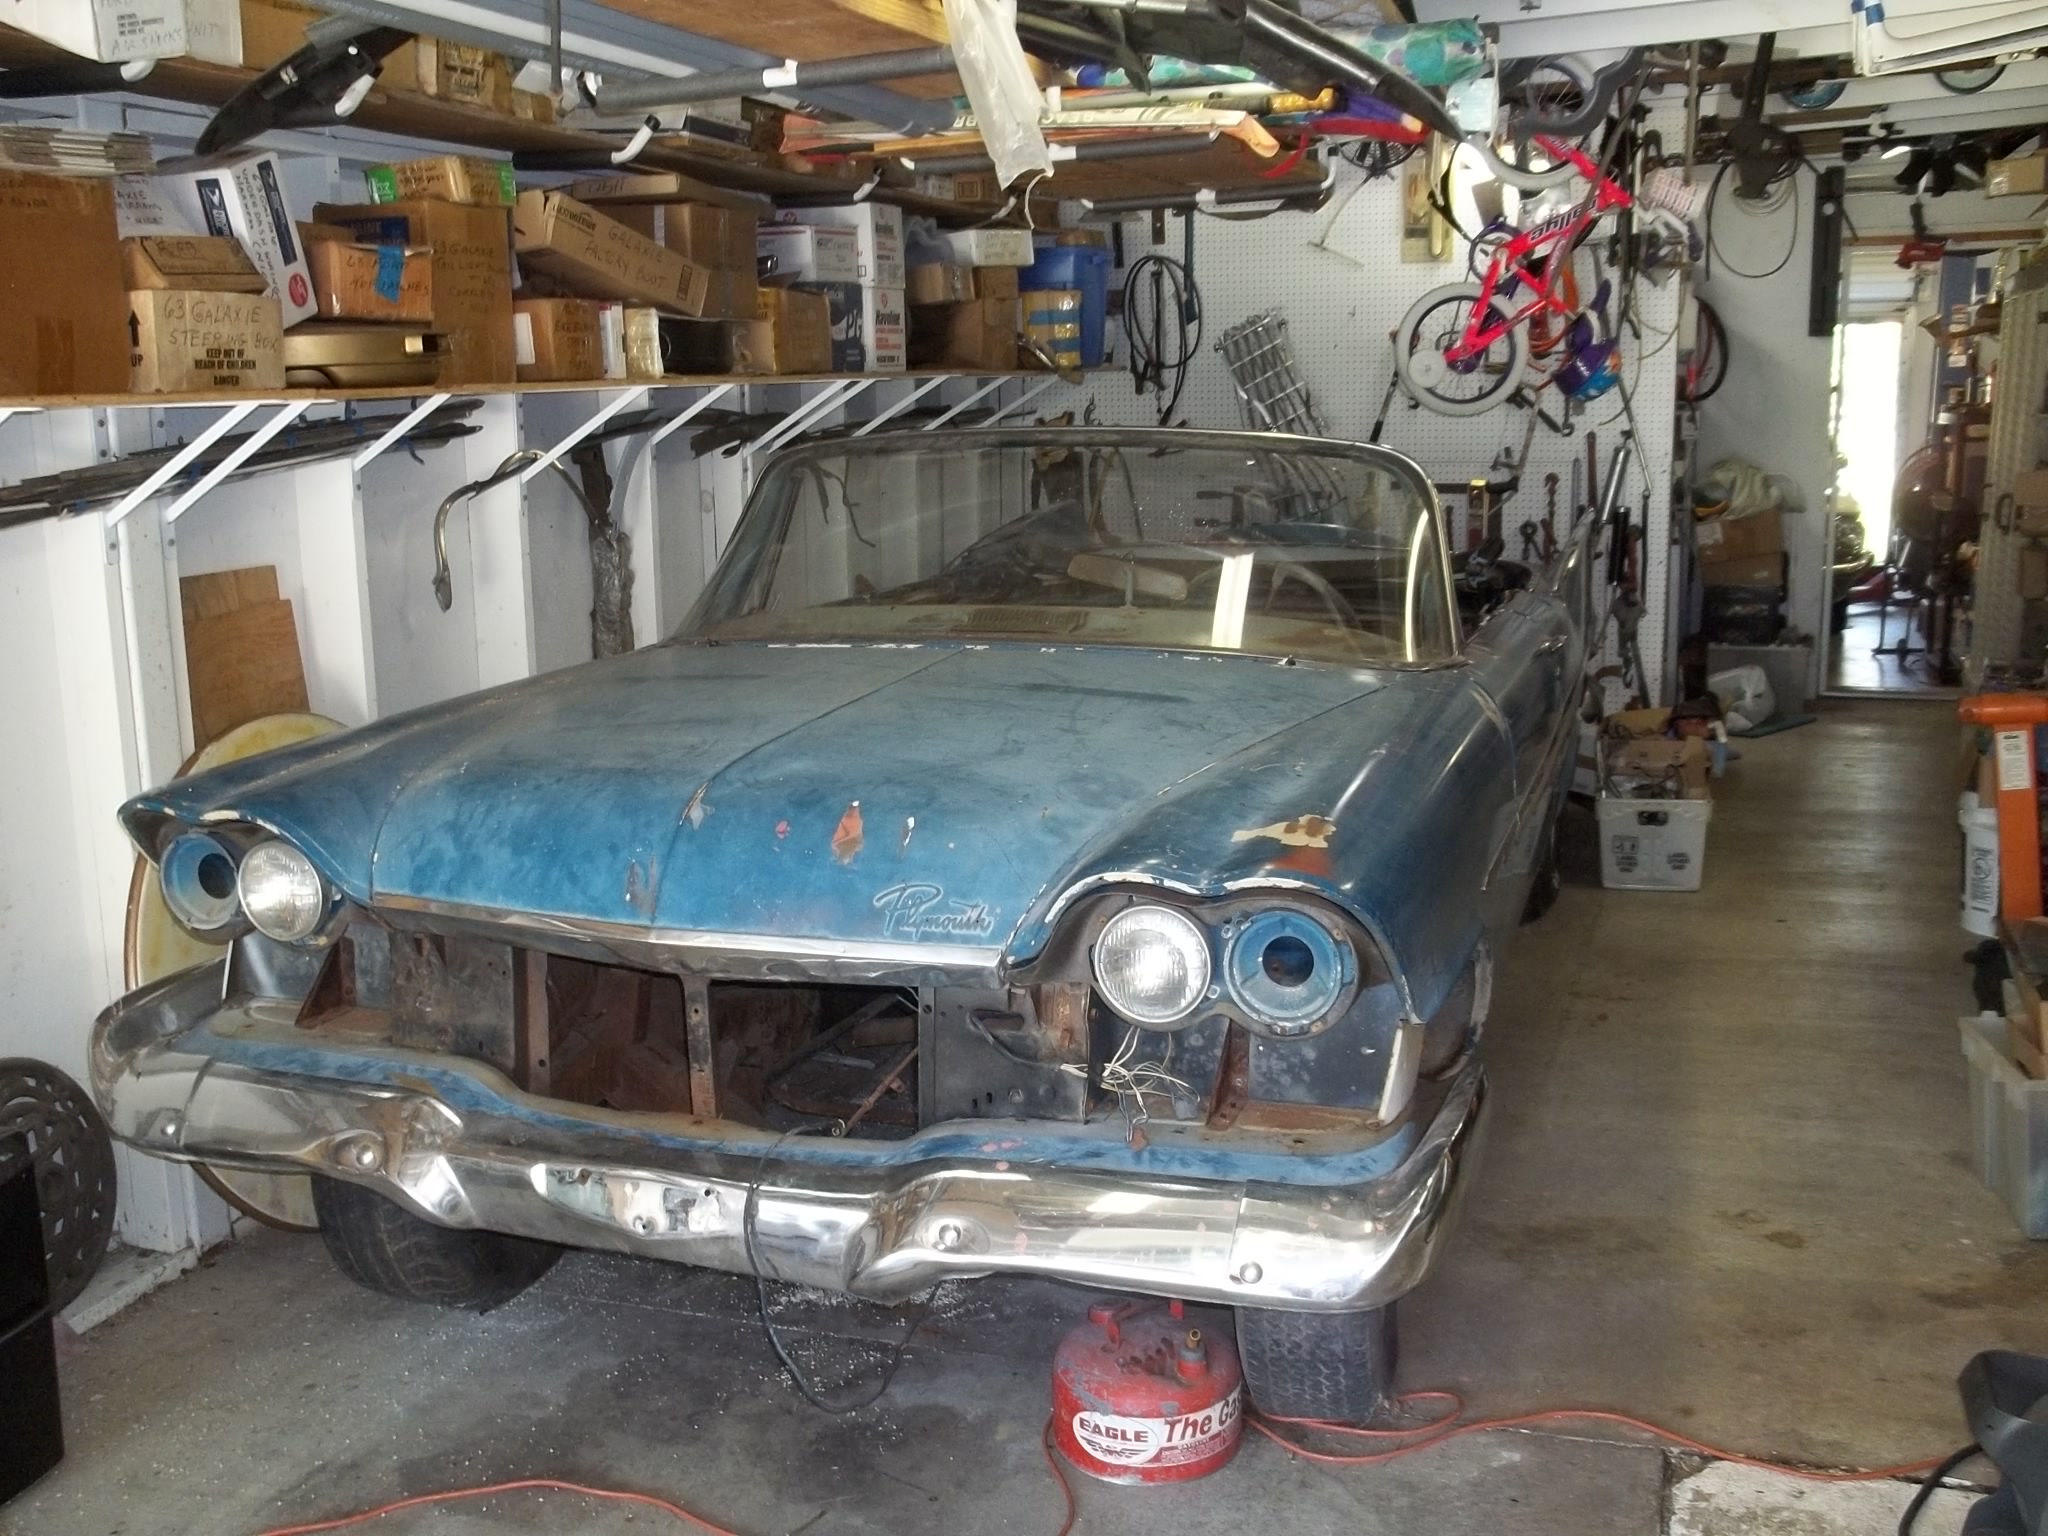
Da, da, da, dat ta dah. It’s started with some delay because of my wife’s health, but she is doing fine now and recovering nicely. My parts car which is totally stripped now (kept good stuff, rest to Junkyard). I Have a very good stripped frame (4 dr.) free to anyone who will haul it outa here. The first thing I’ve done is break down and clean the differential out of the parts car. Had the pumpkin rebuilt (new bearings and seals) also new axle bearings and seals. Sandblasted the springs, shock mounts, shackles etc. and coated with Eastwood encapsulator. Next I sand blasted the rear seat (from Jim Hamsher) and coated with encapsulator. Next I sand blasted the front 60/40 seat (from Fremans Auto) and coated with encapsulator. Then sandblasted and coated 4 wheels (ebay). The plan is to put the convt. on the lift, but to pressure clean as much as possible first.
After putting the car on the lift I will remove the differential that’s in the car now, I will clean and coat the area and then install the differential from the parts car I just rebuilt. Next comes cleaning and assesing the condition of the front suspension, repair as necessary and coat that area. Next will be the brakes. Decided to go with 4 wheel drum brakes. Then I will be able to move the car in and out of the garage as needed.
I am going to have my friend Larry cut, fit and tack all necessary sheet metal and panel replacement but I will do all the stitch welding, Larry has a bad back and can’t handle that part, besides I will save a little money that way and get a lot of practice welding. Once that’s done my son Steele agreed to help me get started on cleaning and removing all the paint and rust on the body. That my allow me a few month to drive it before entering the old folks home.
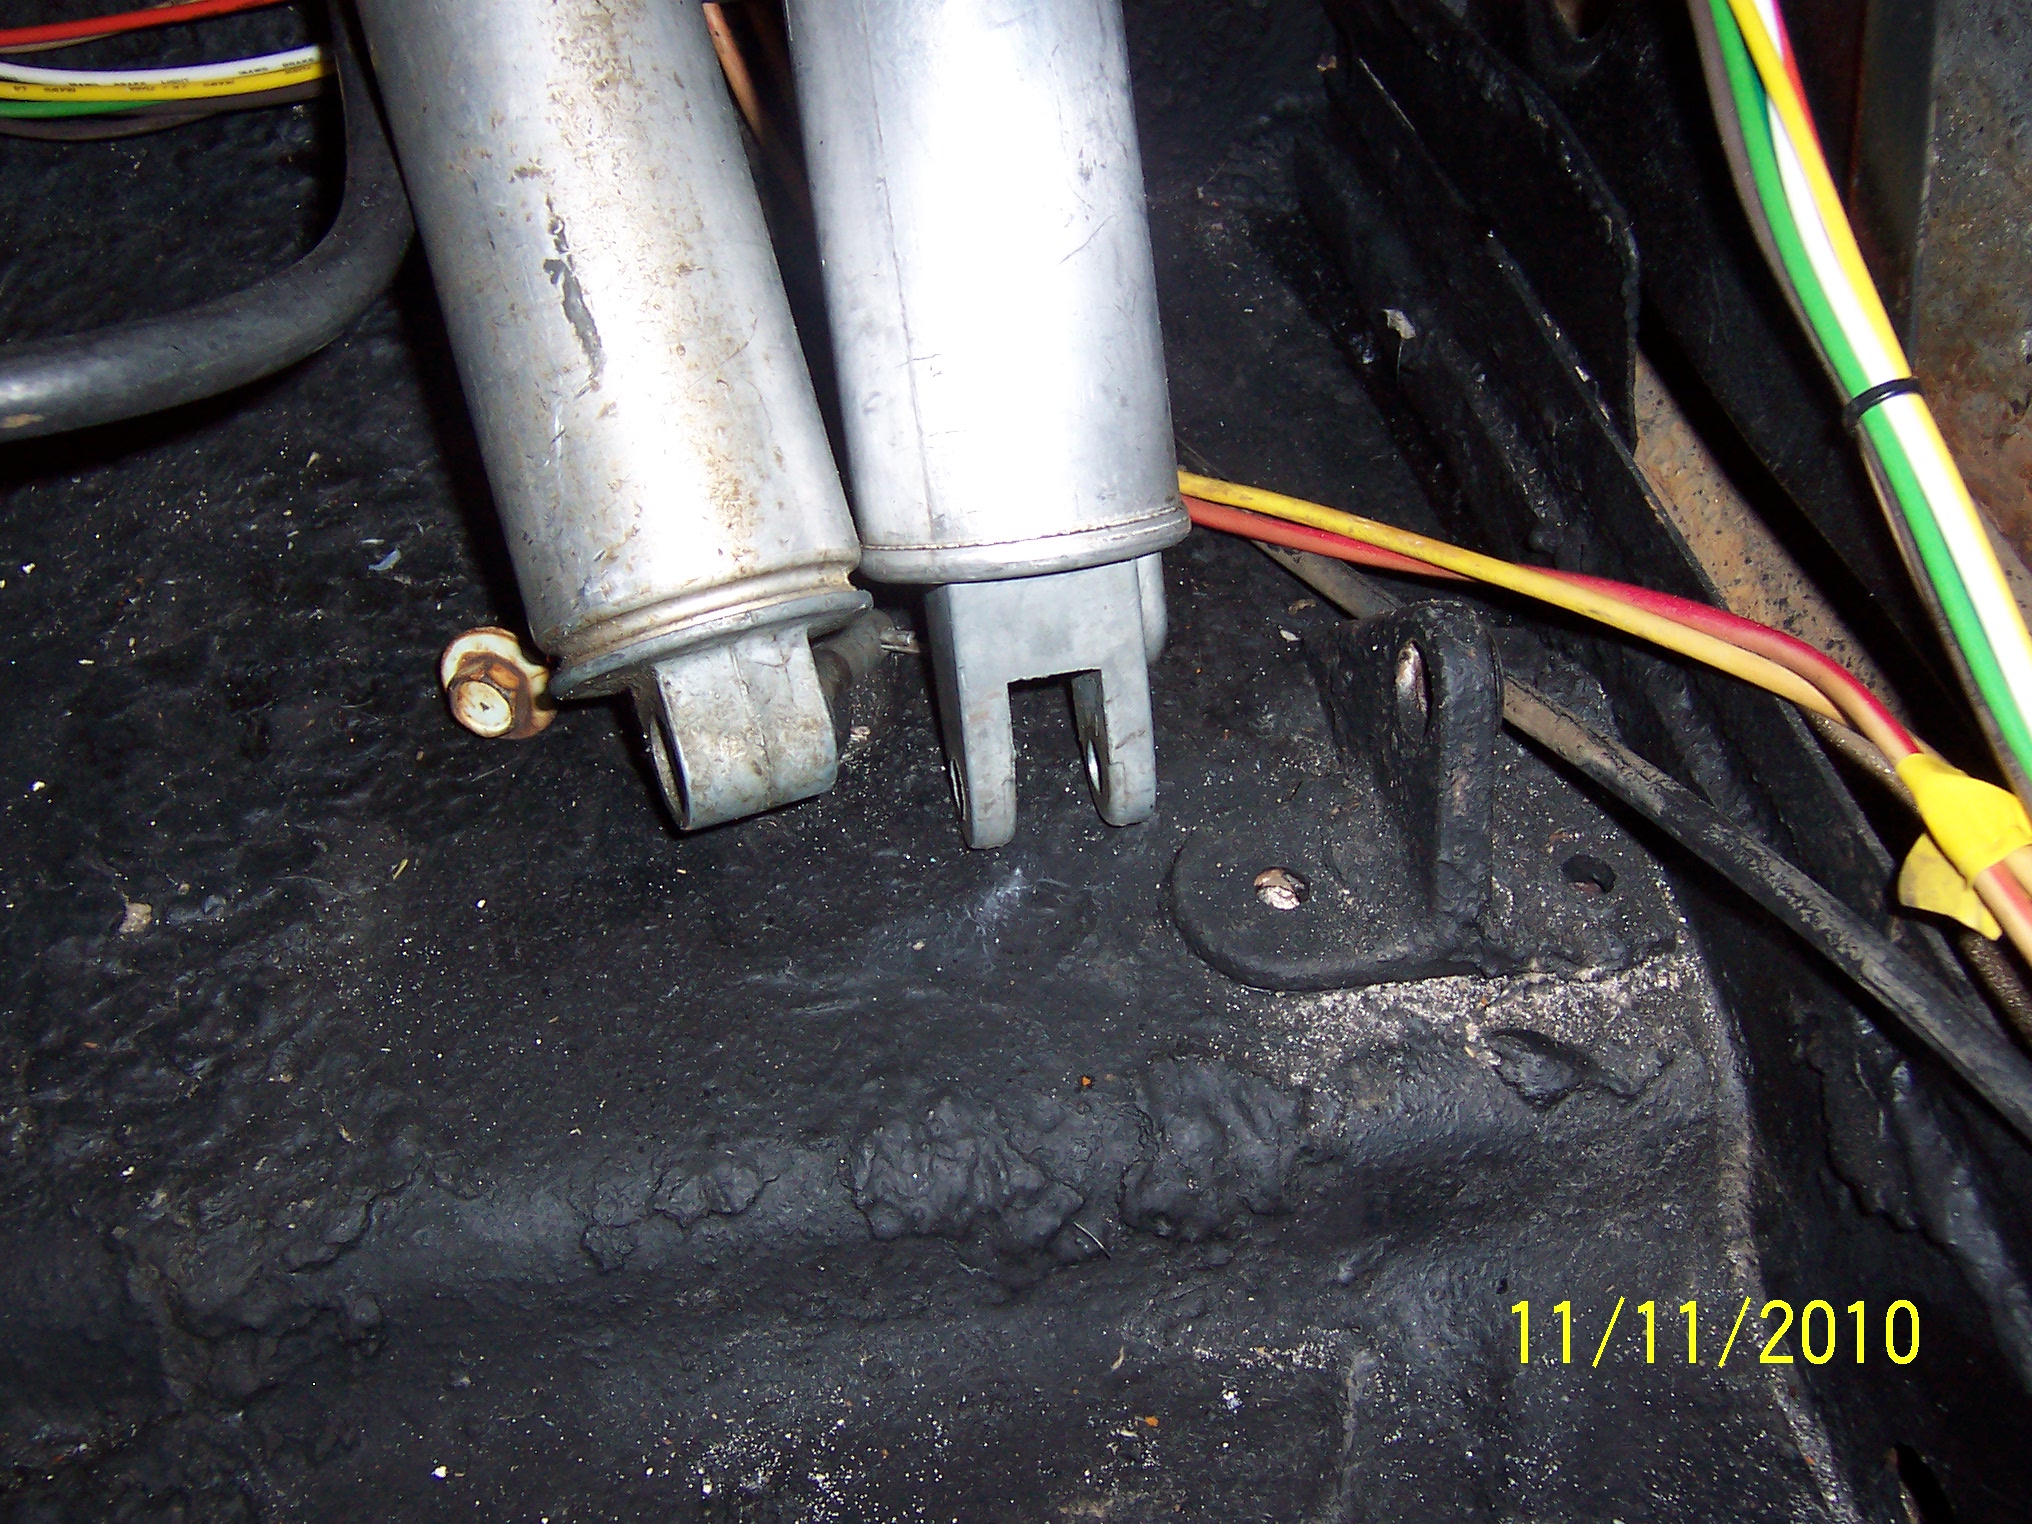
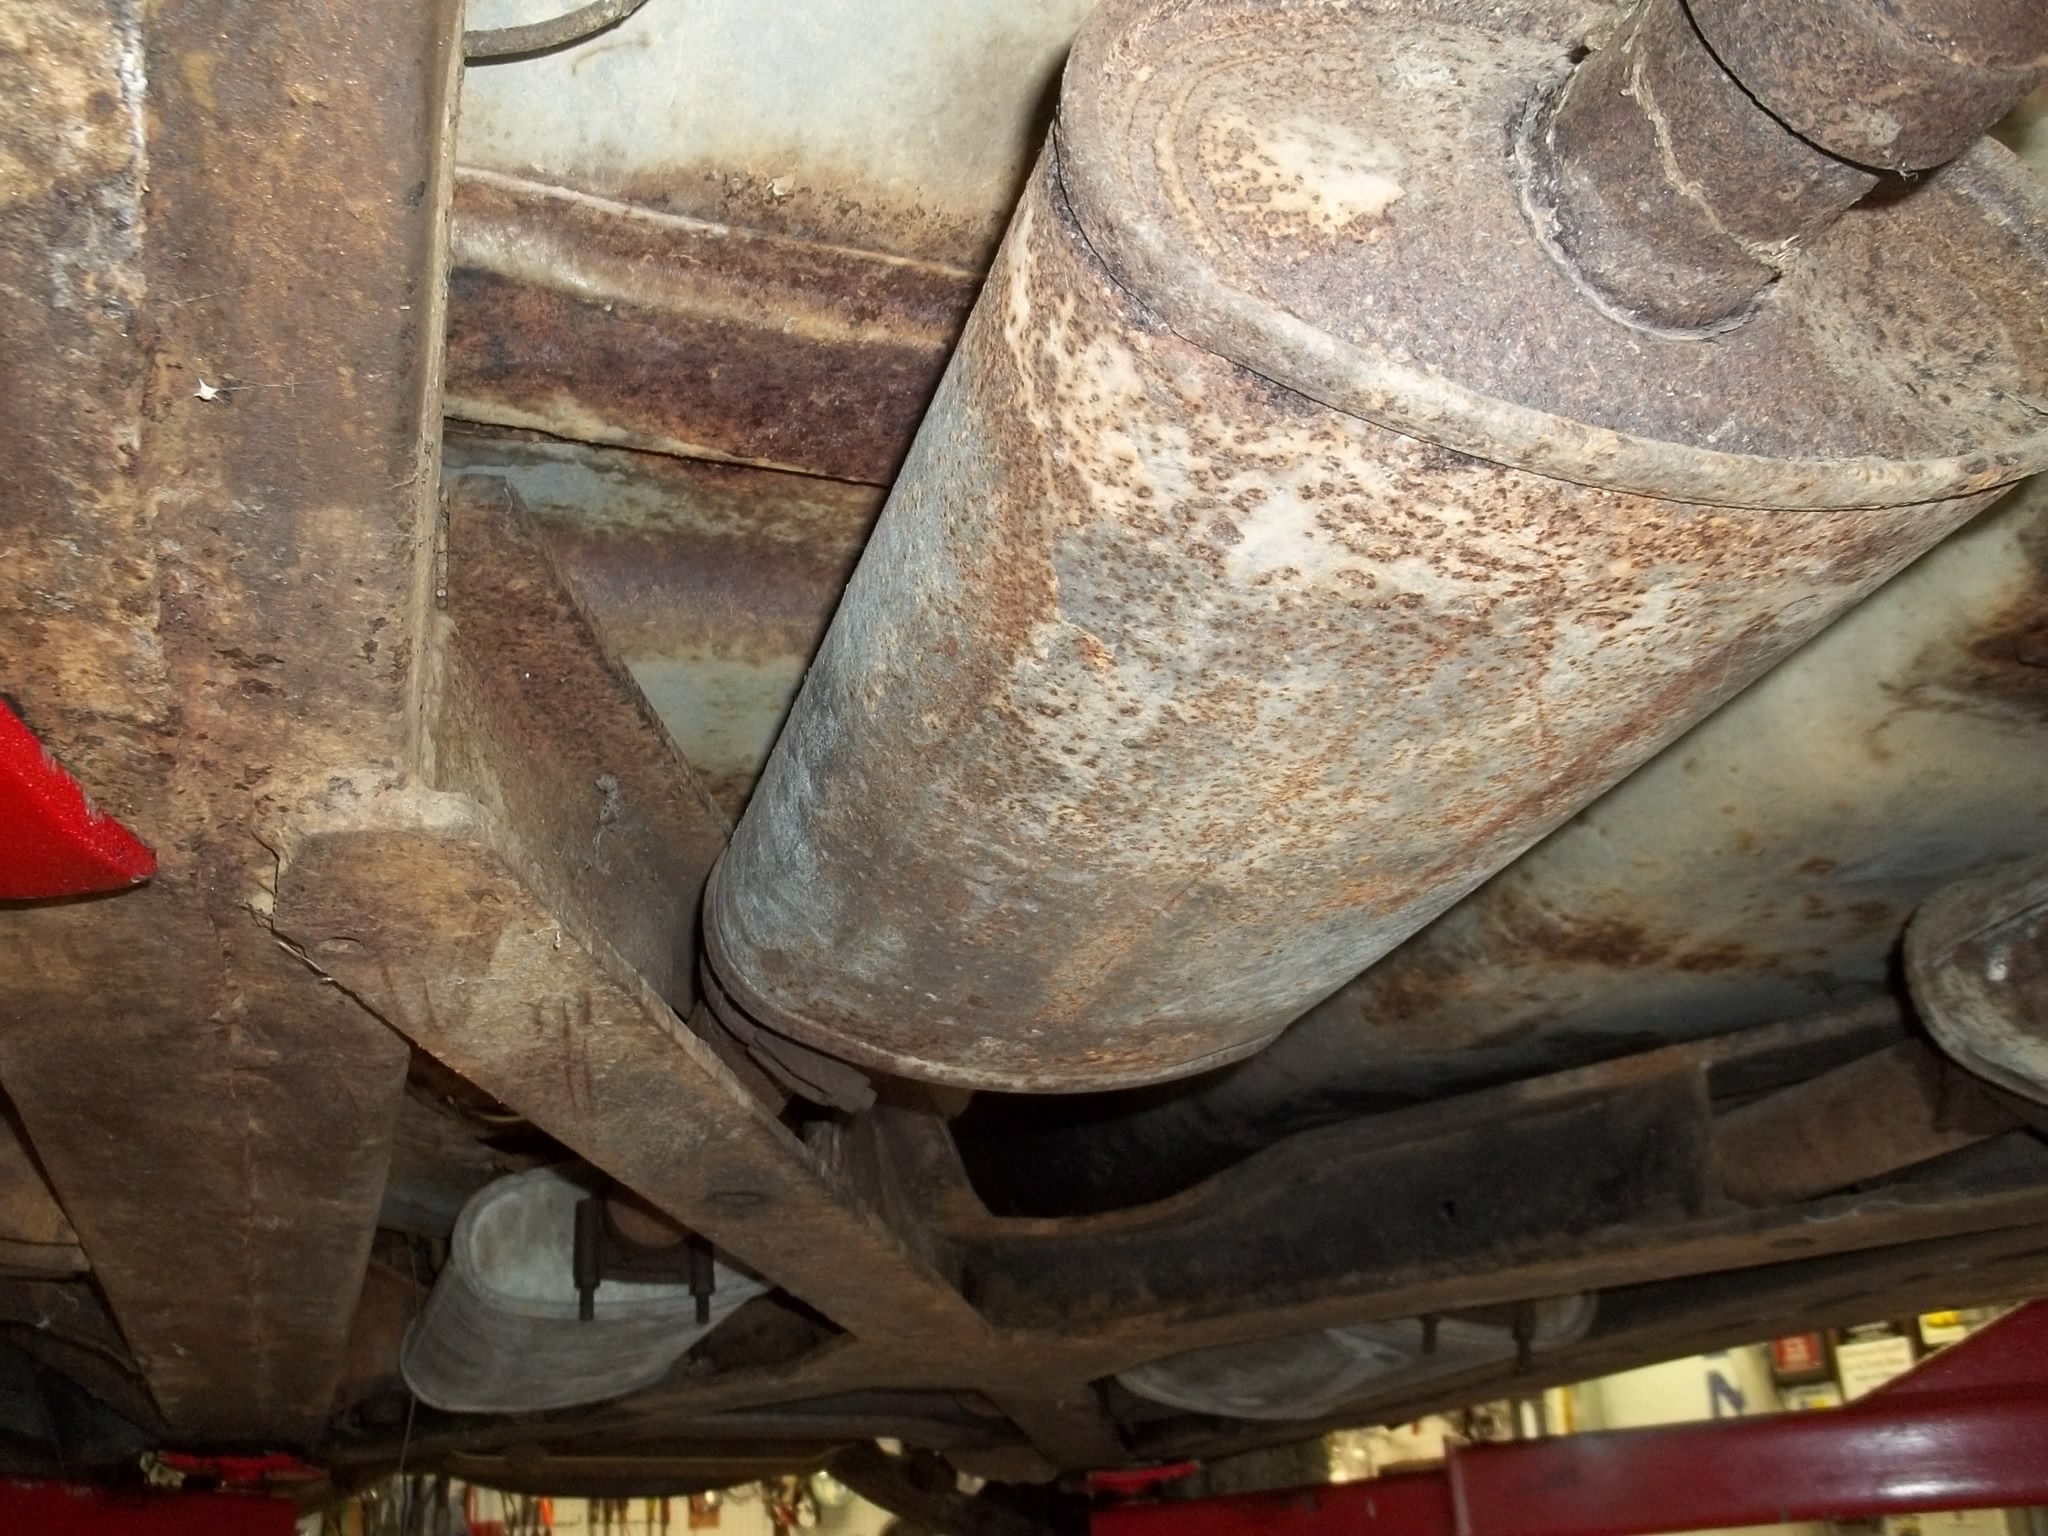
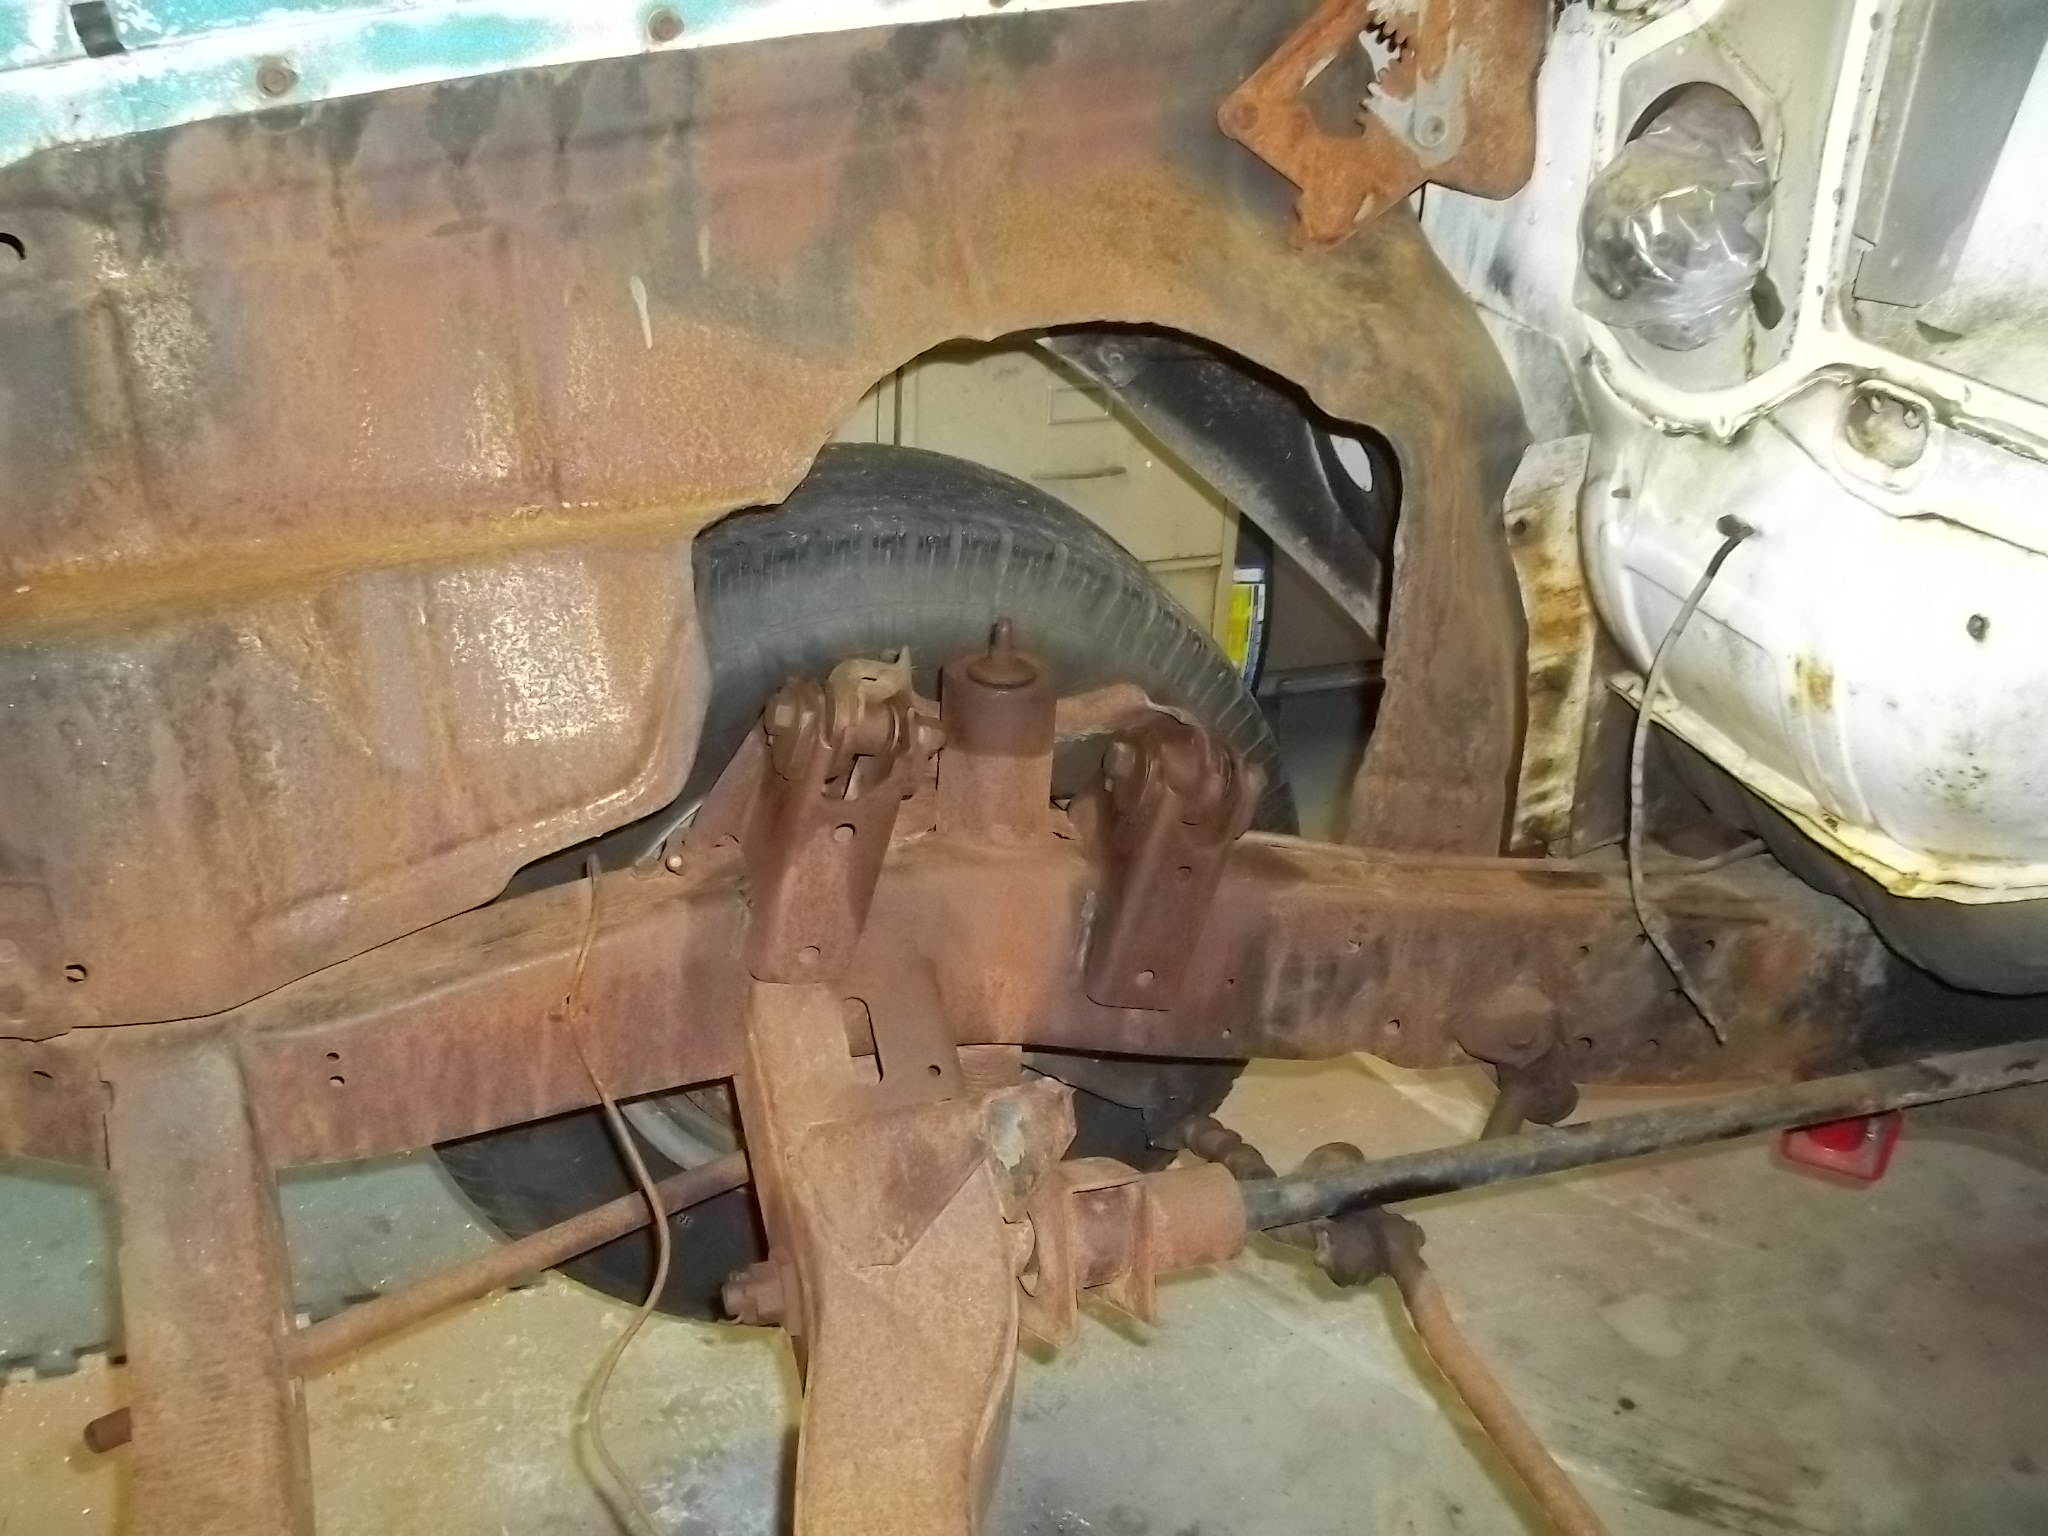
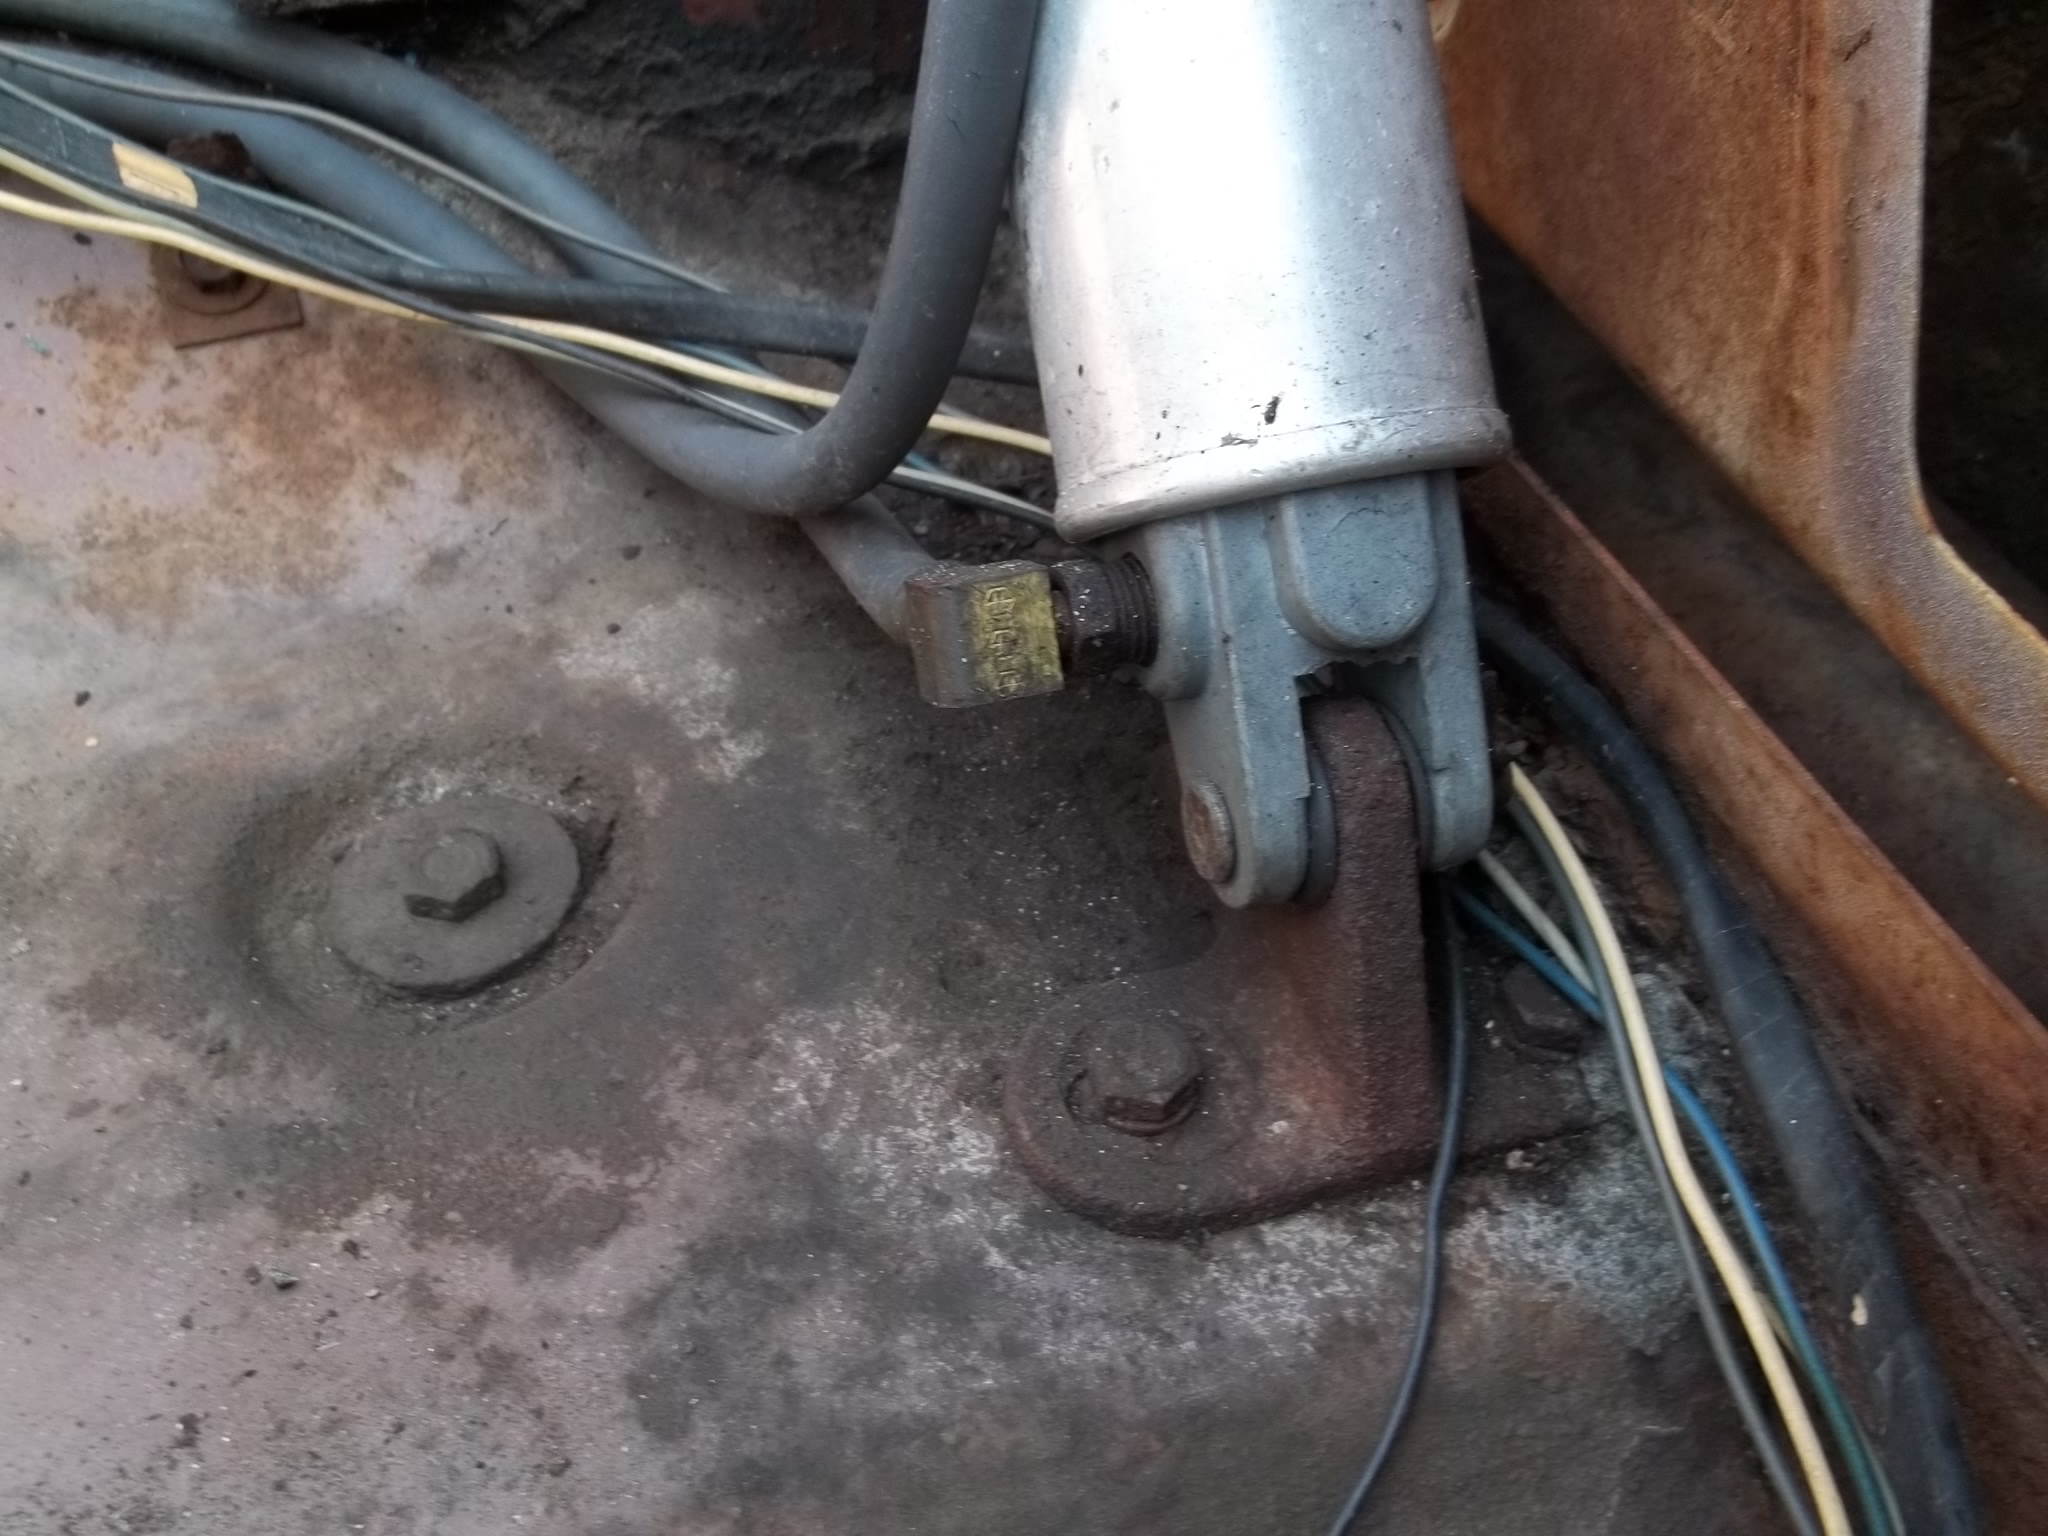
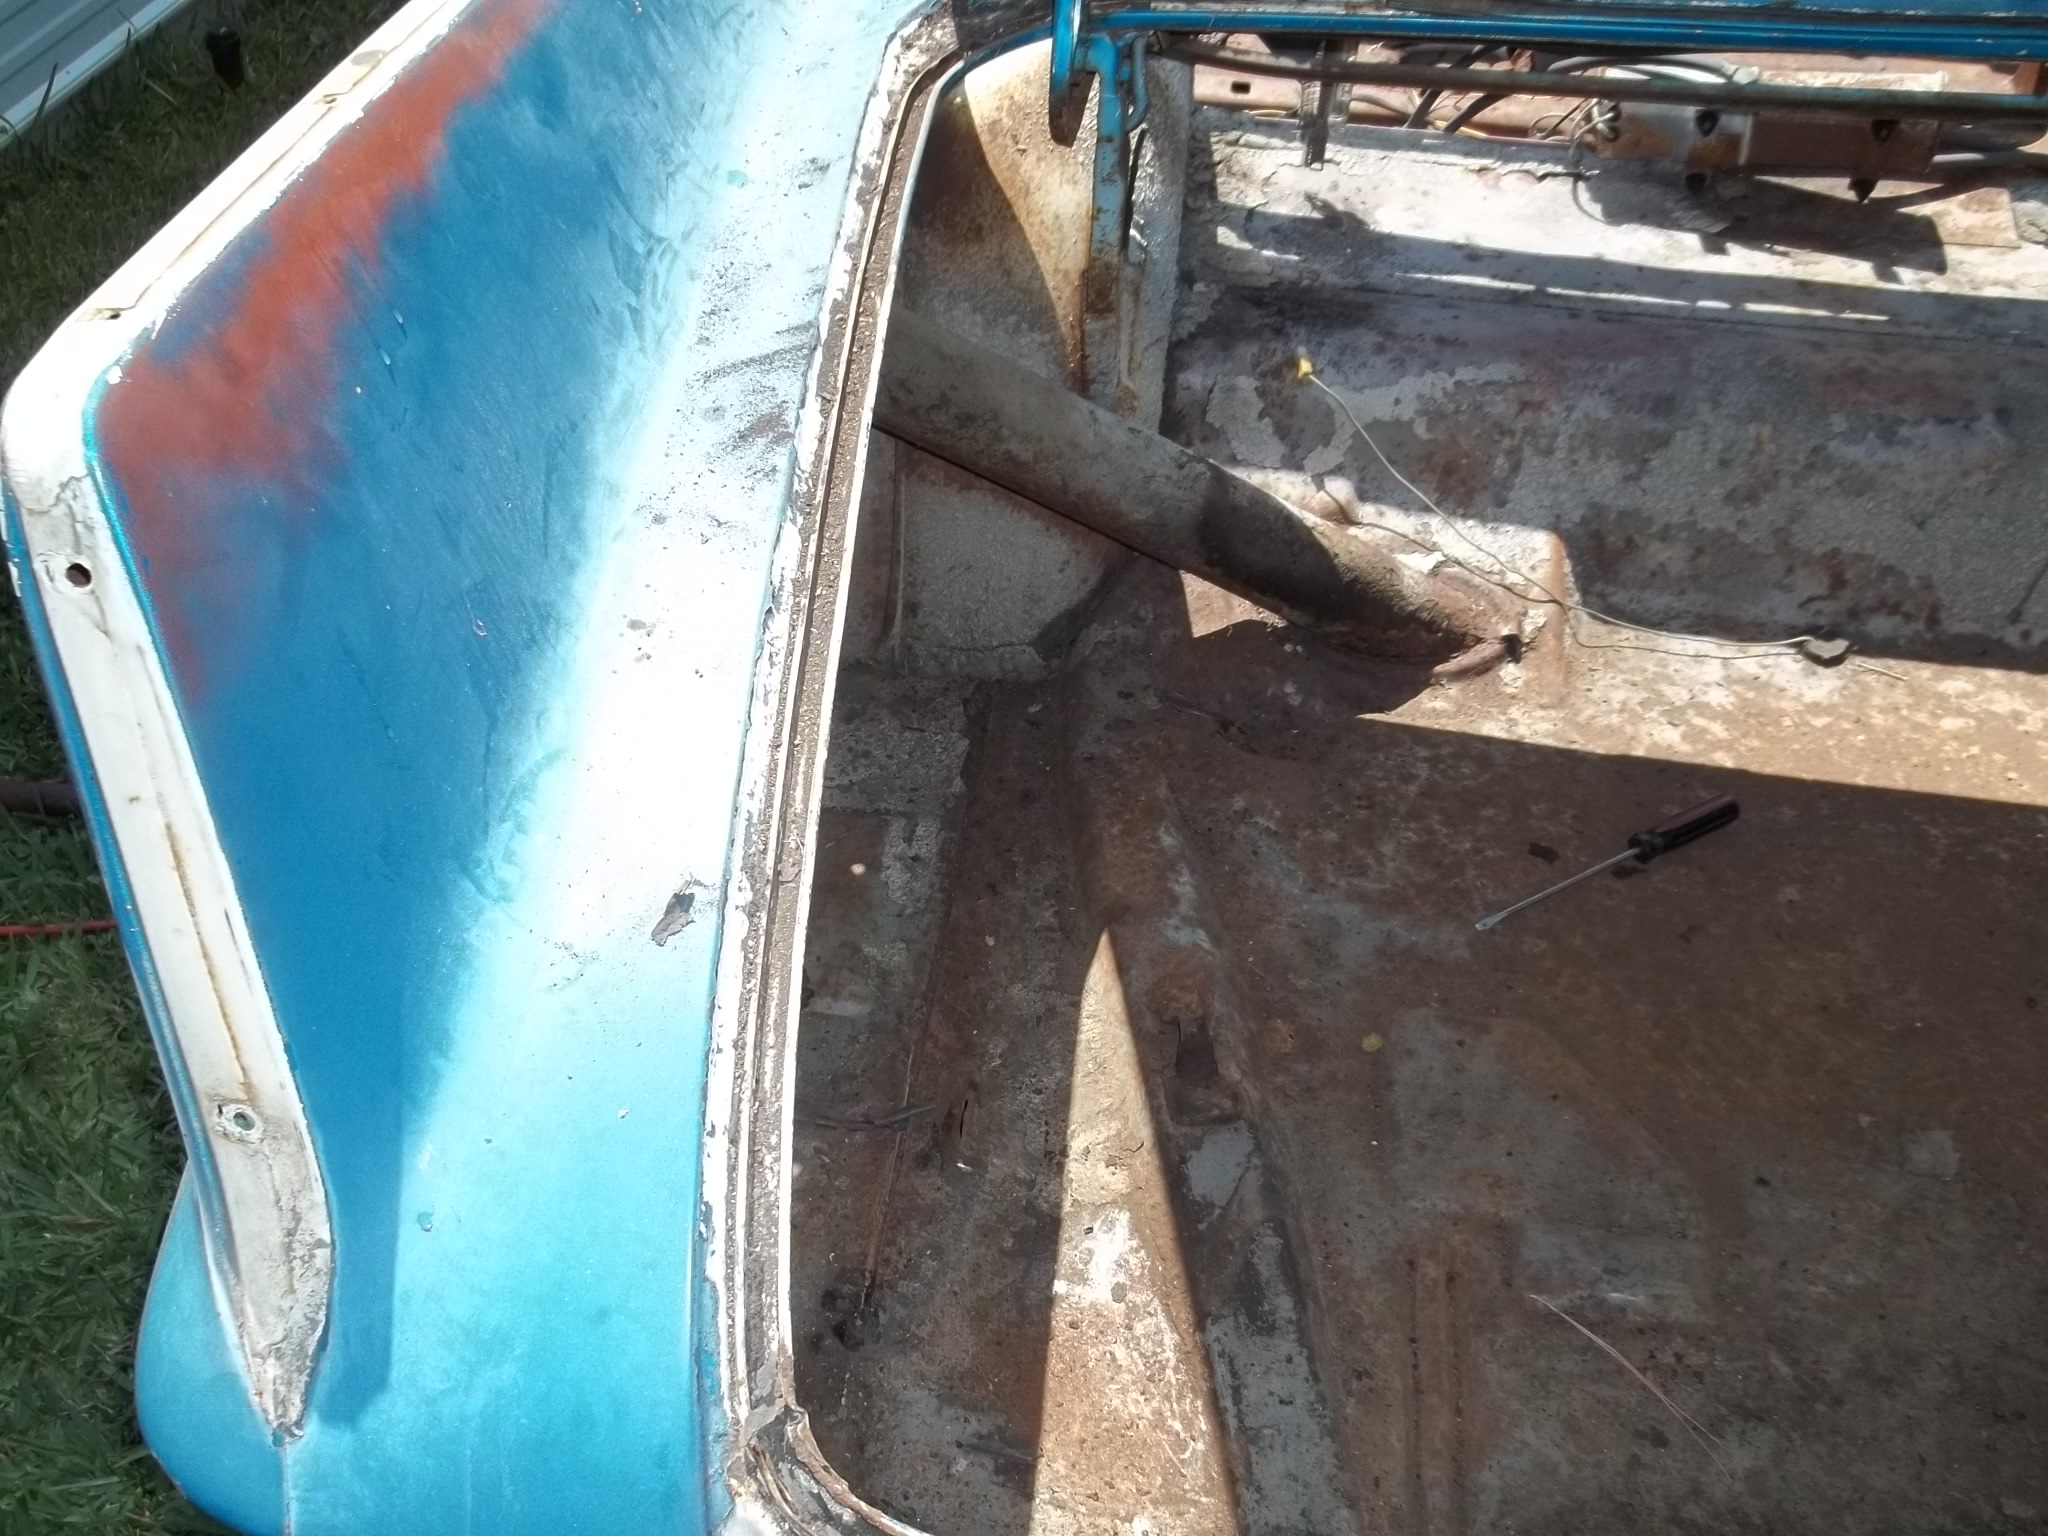
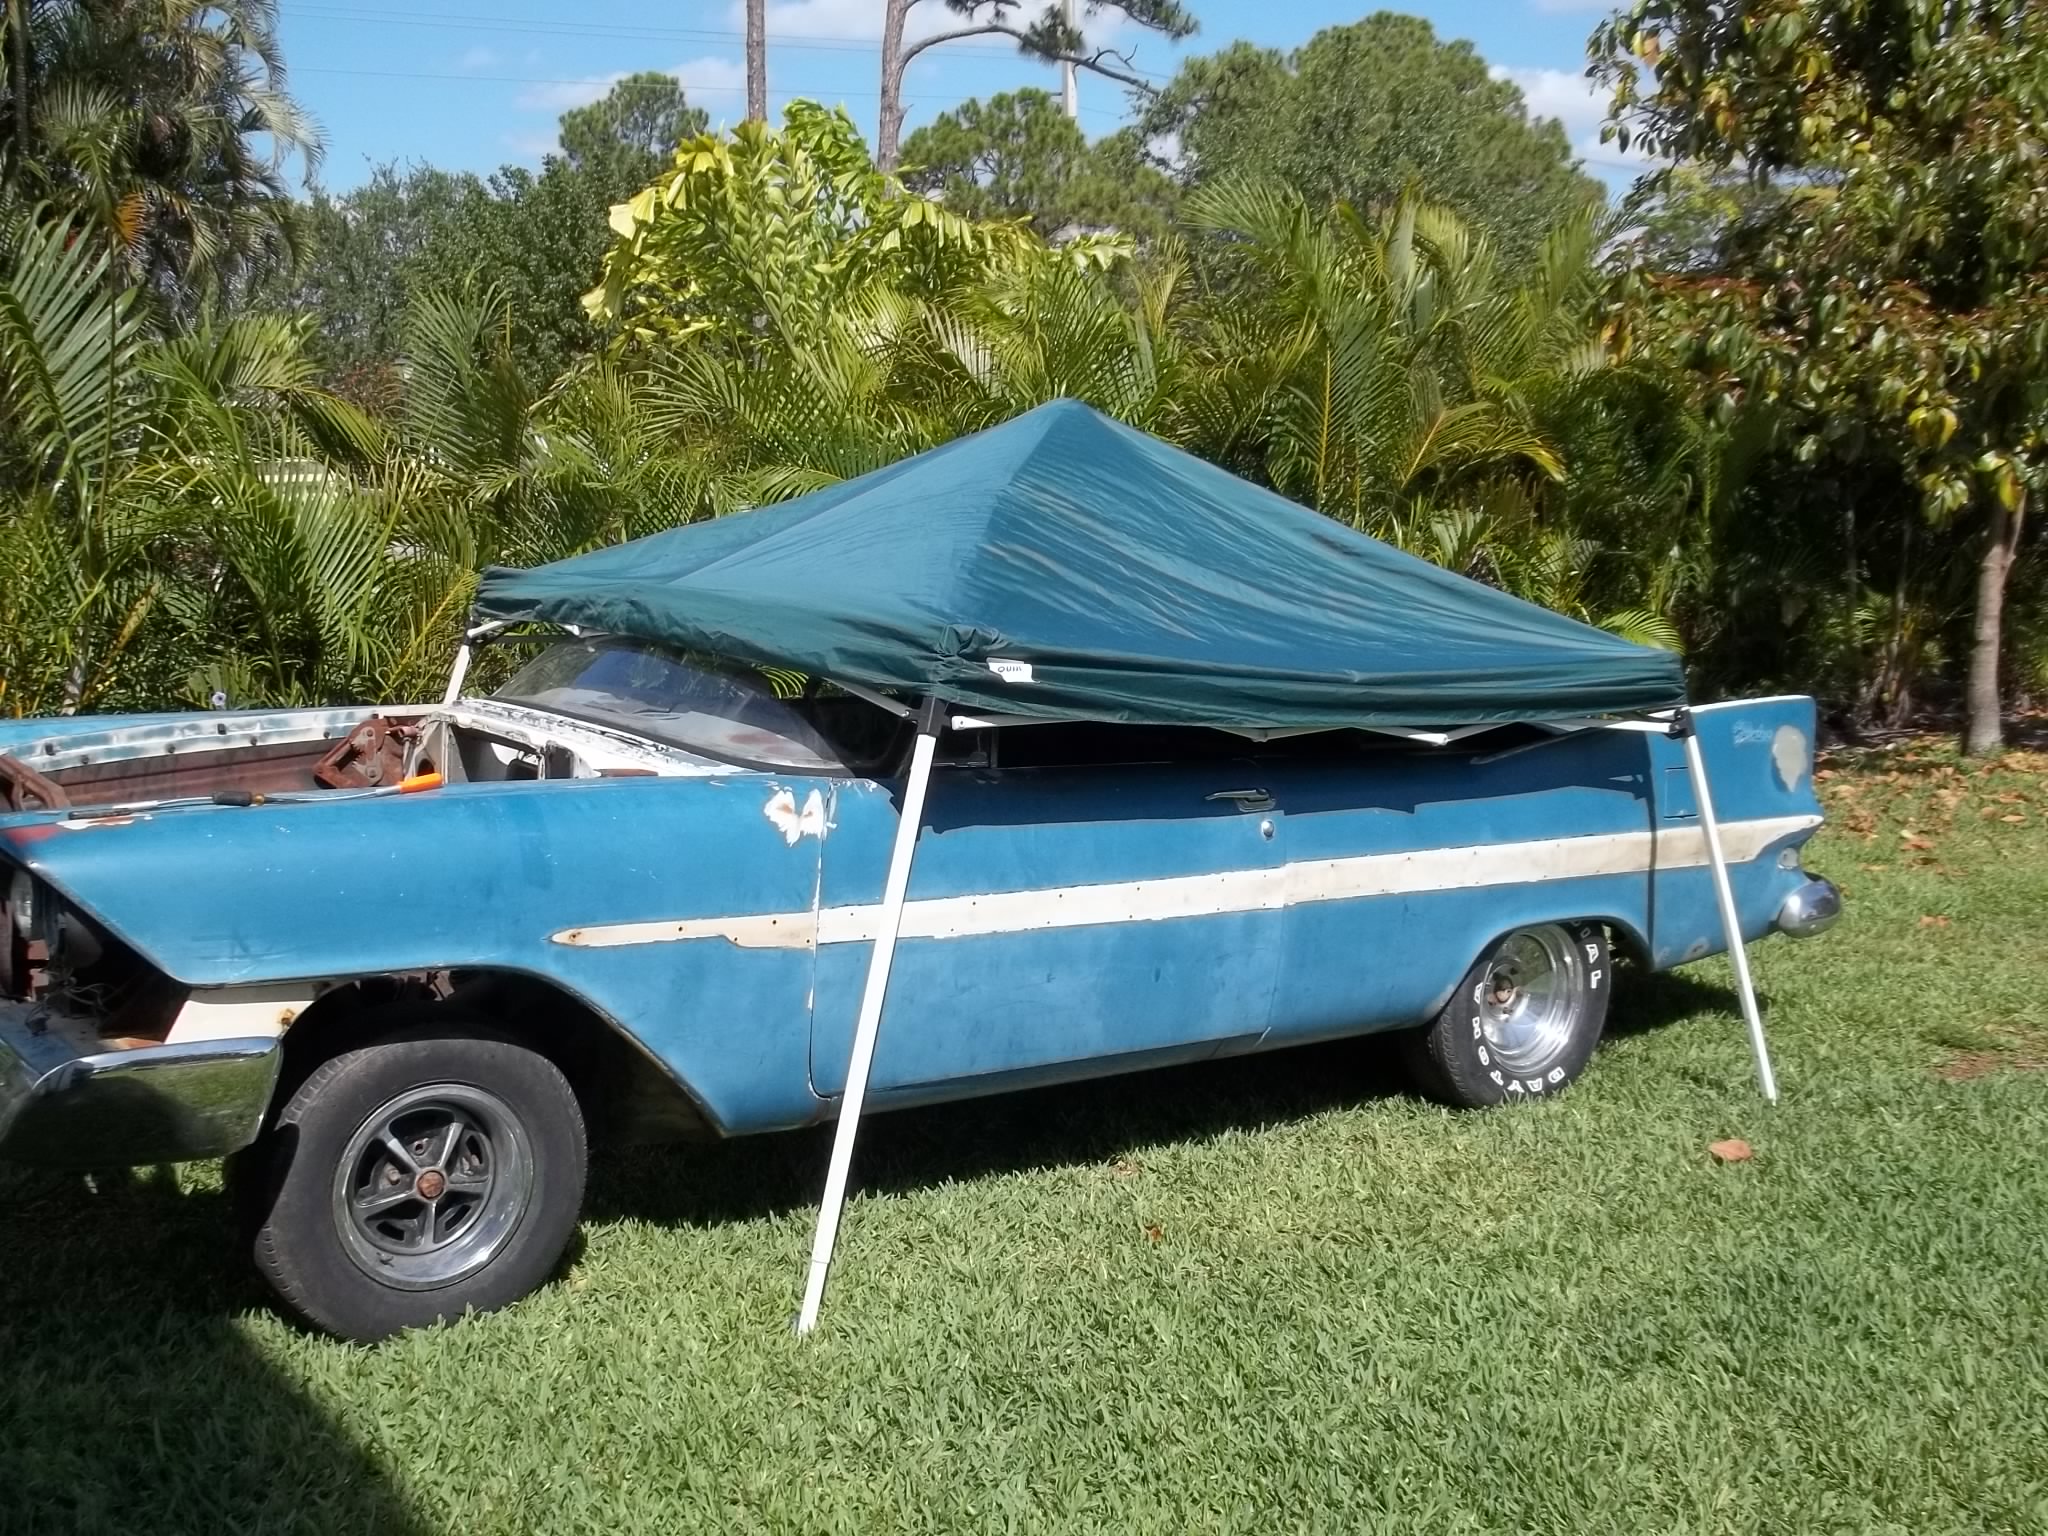
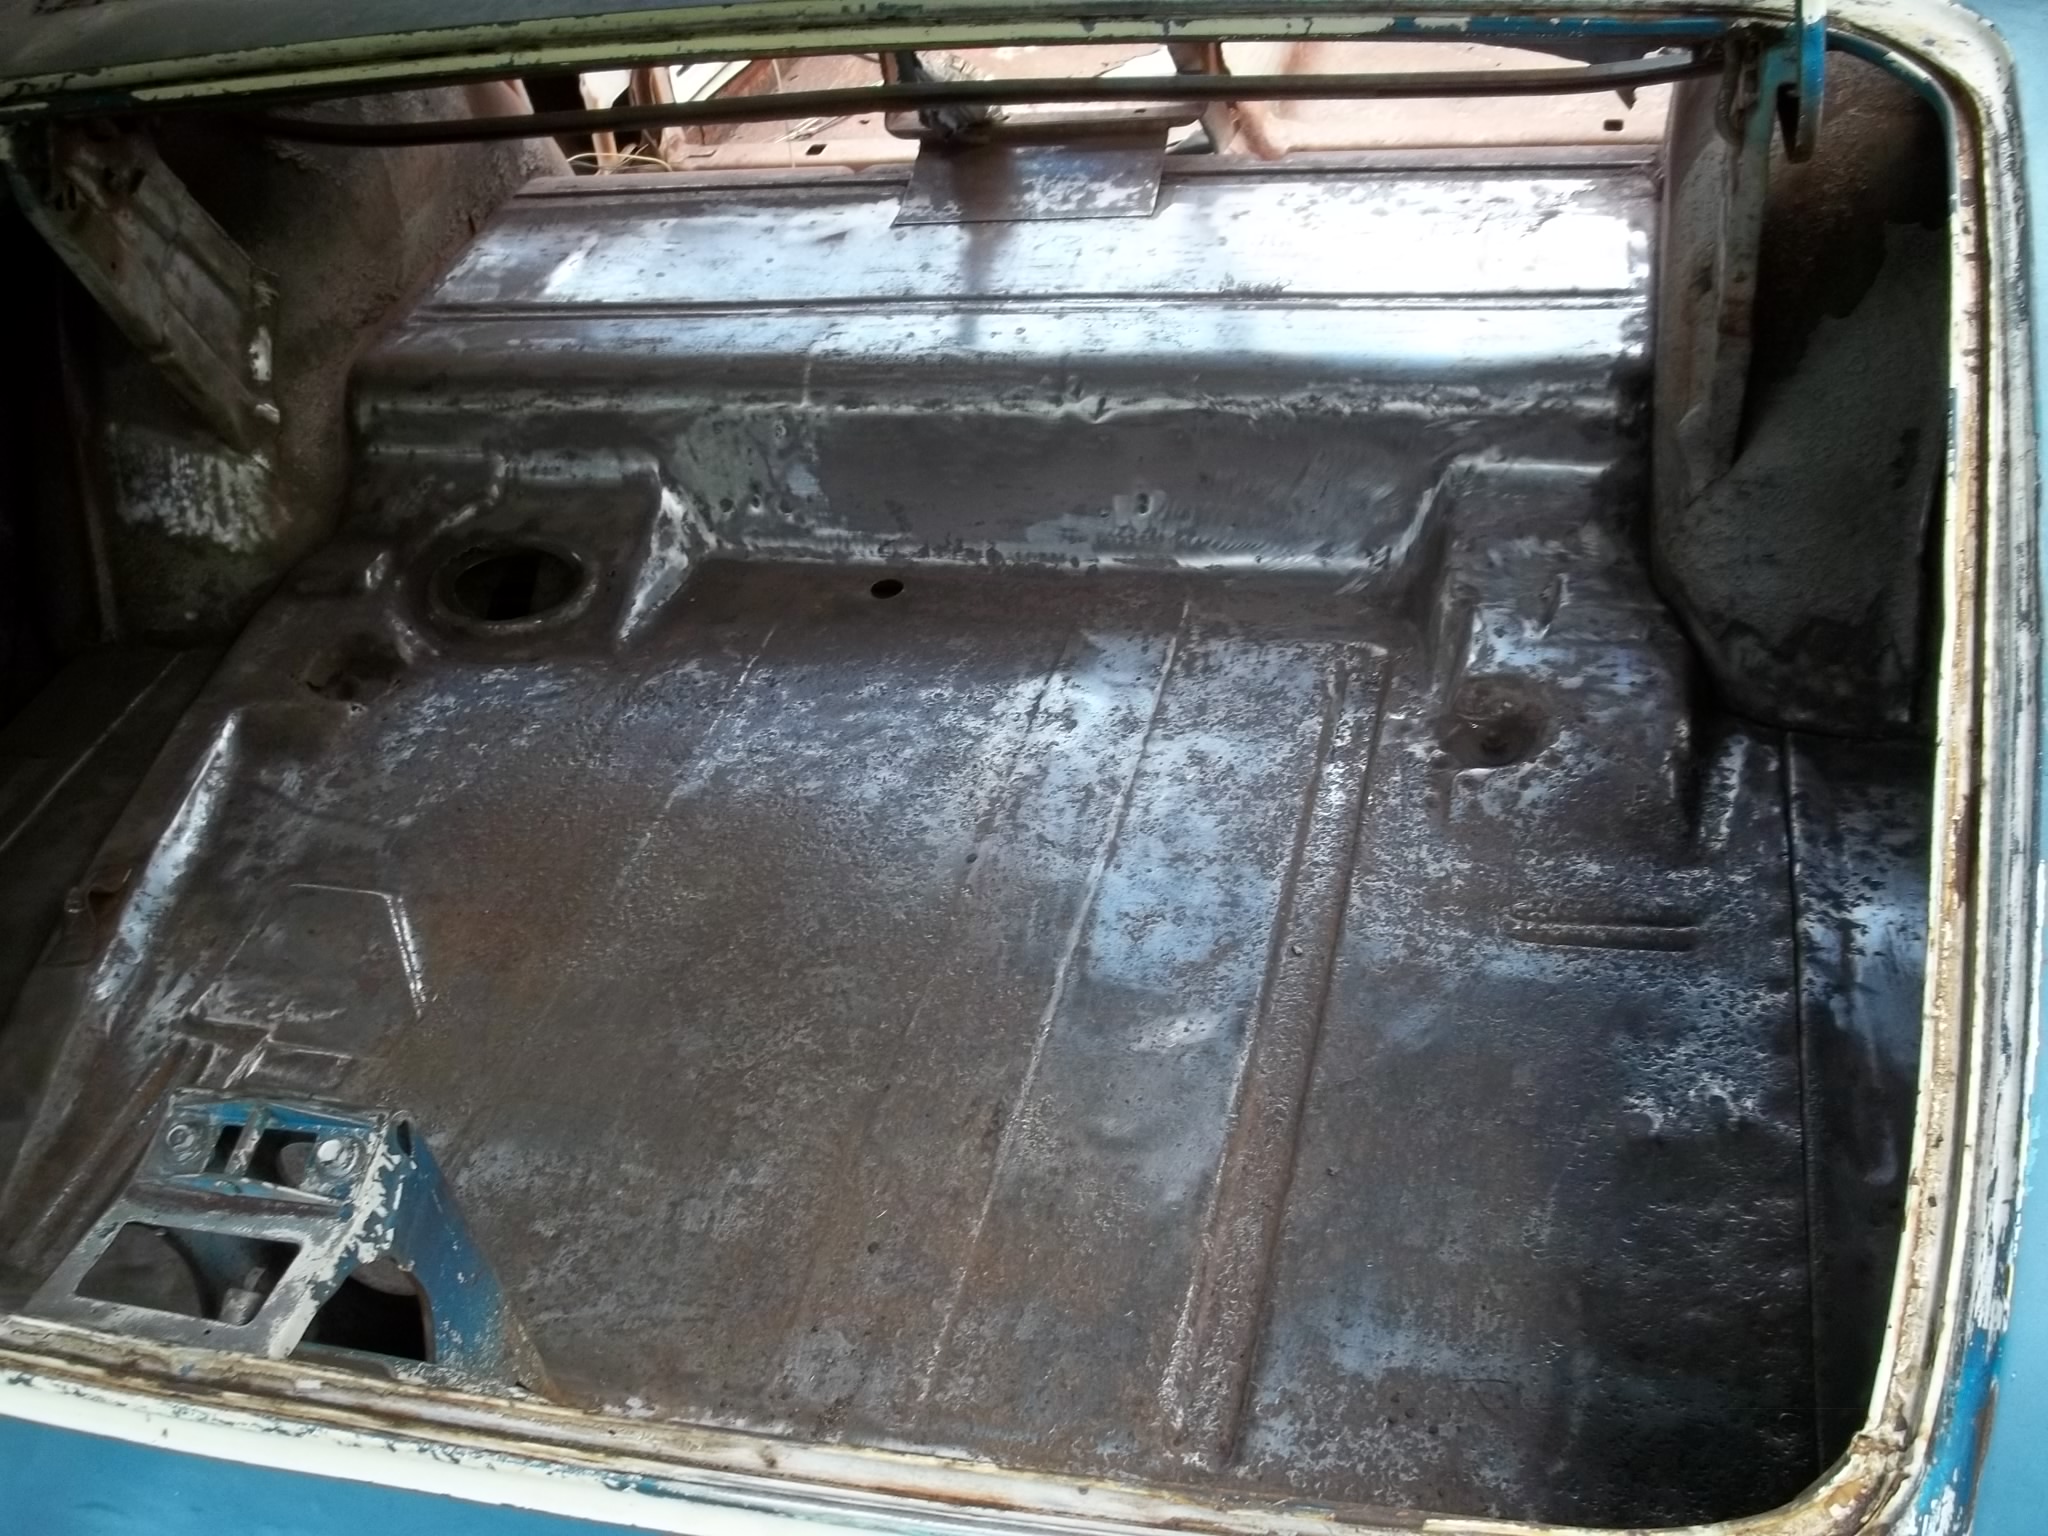
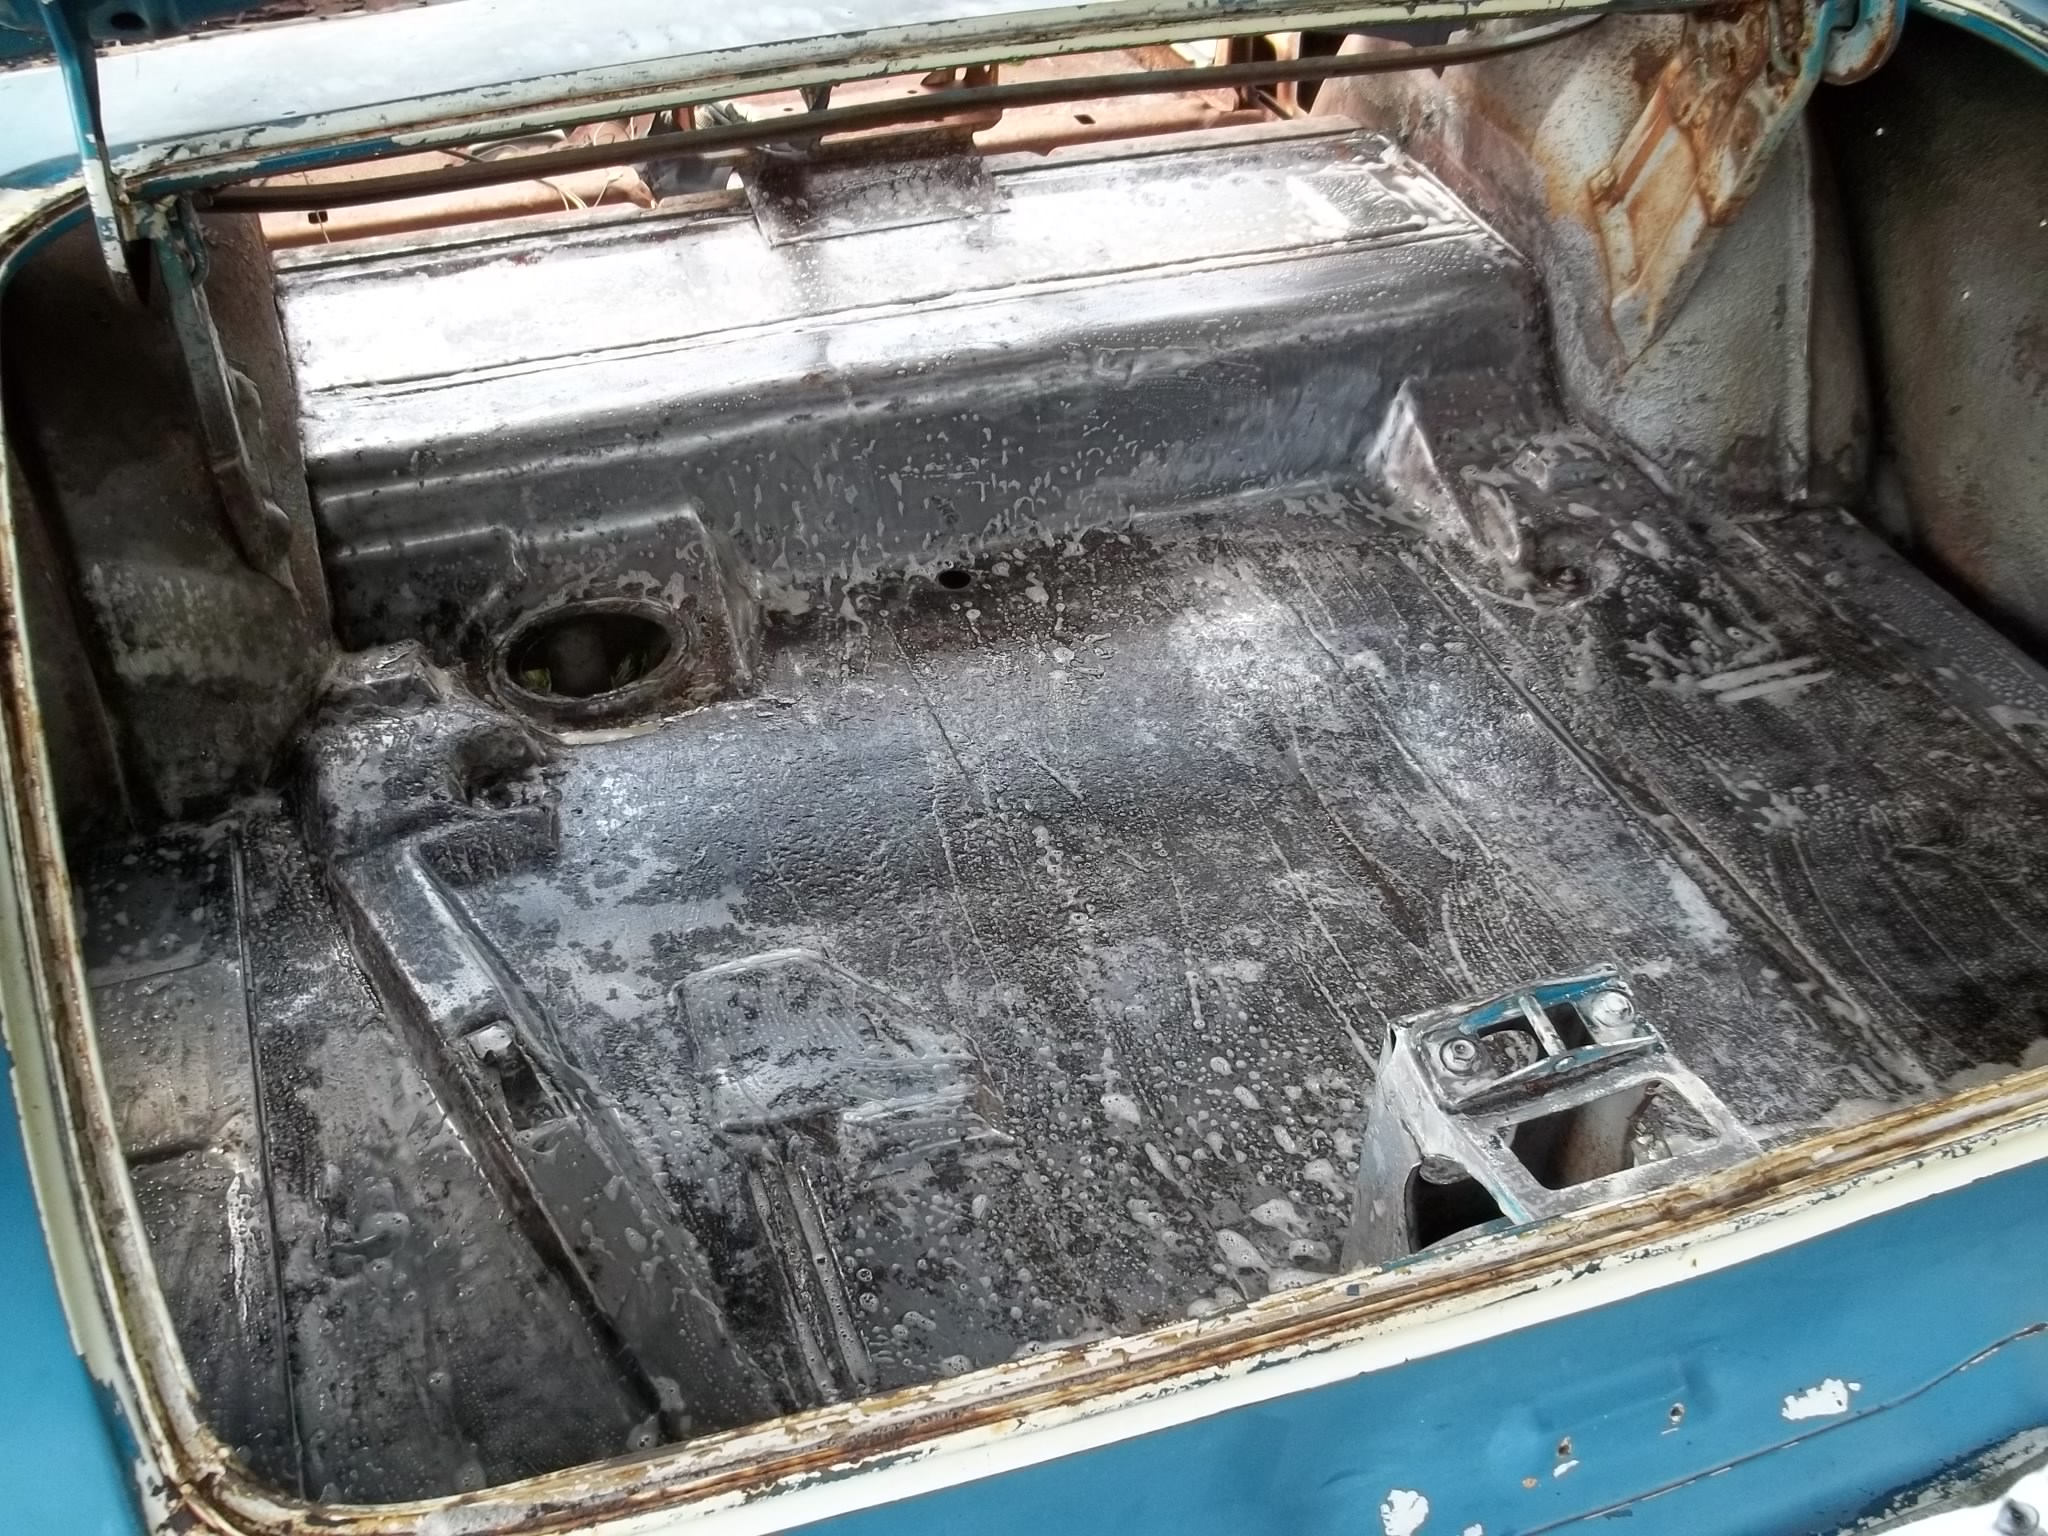
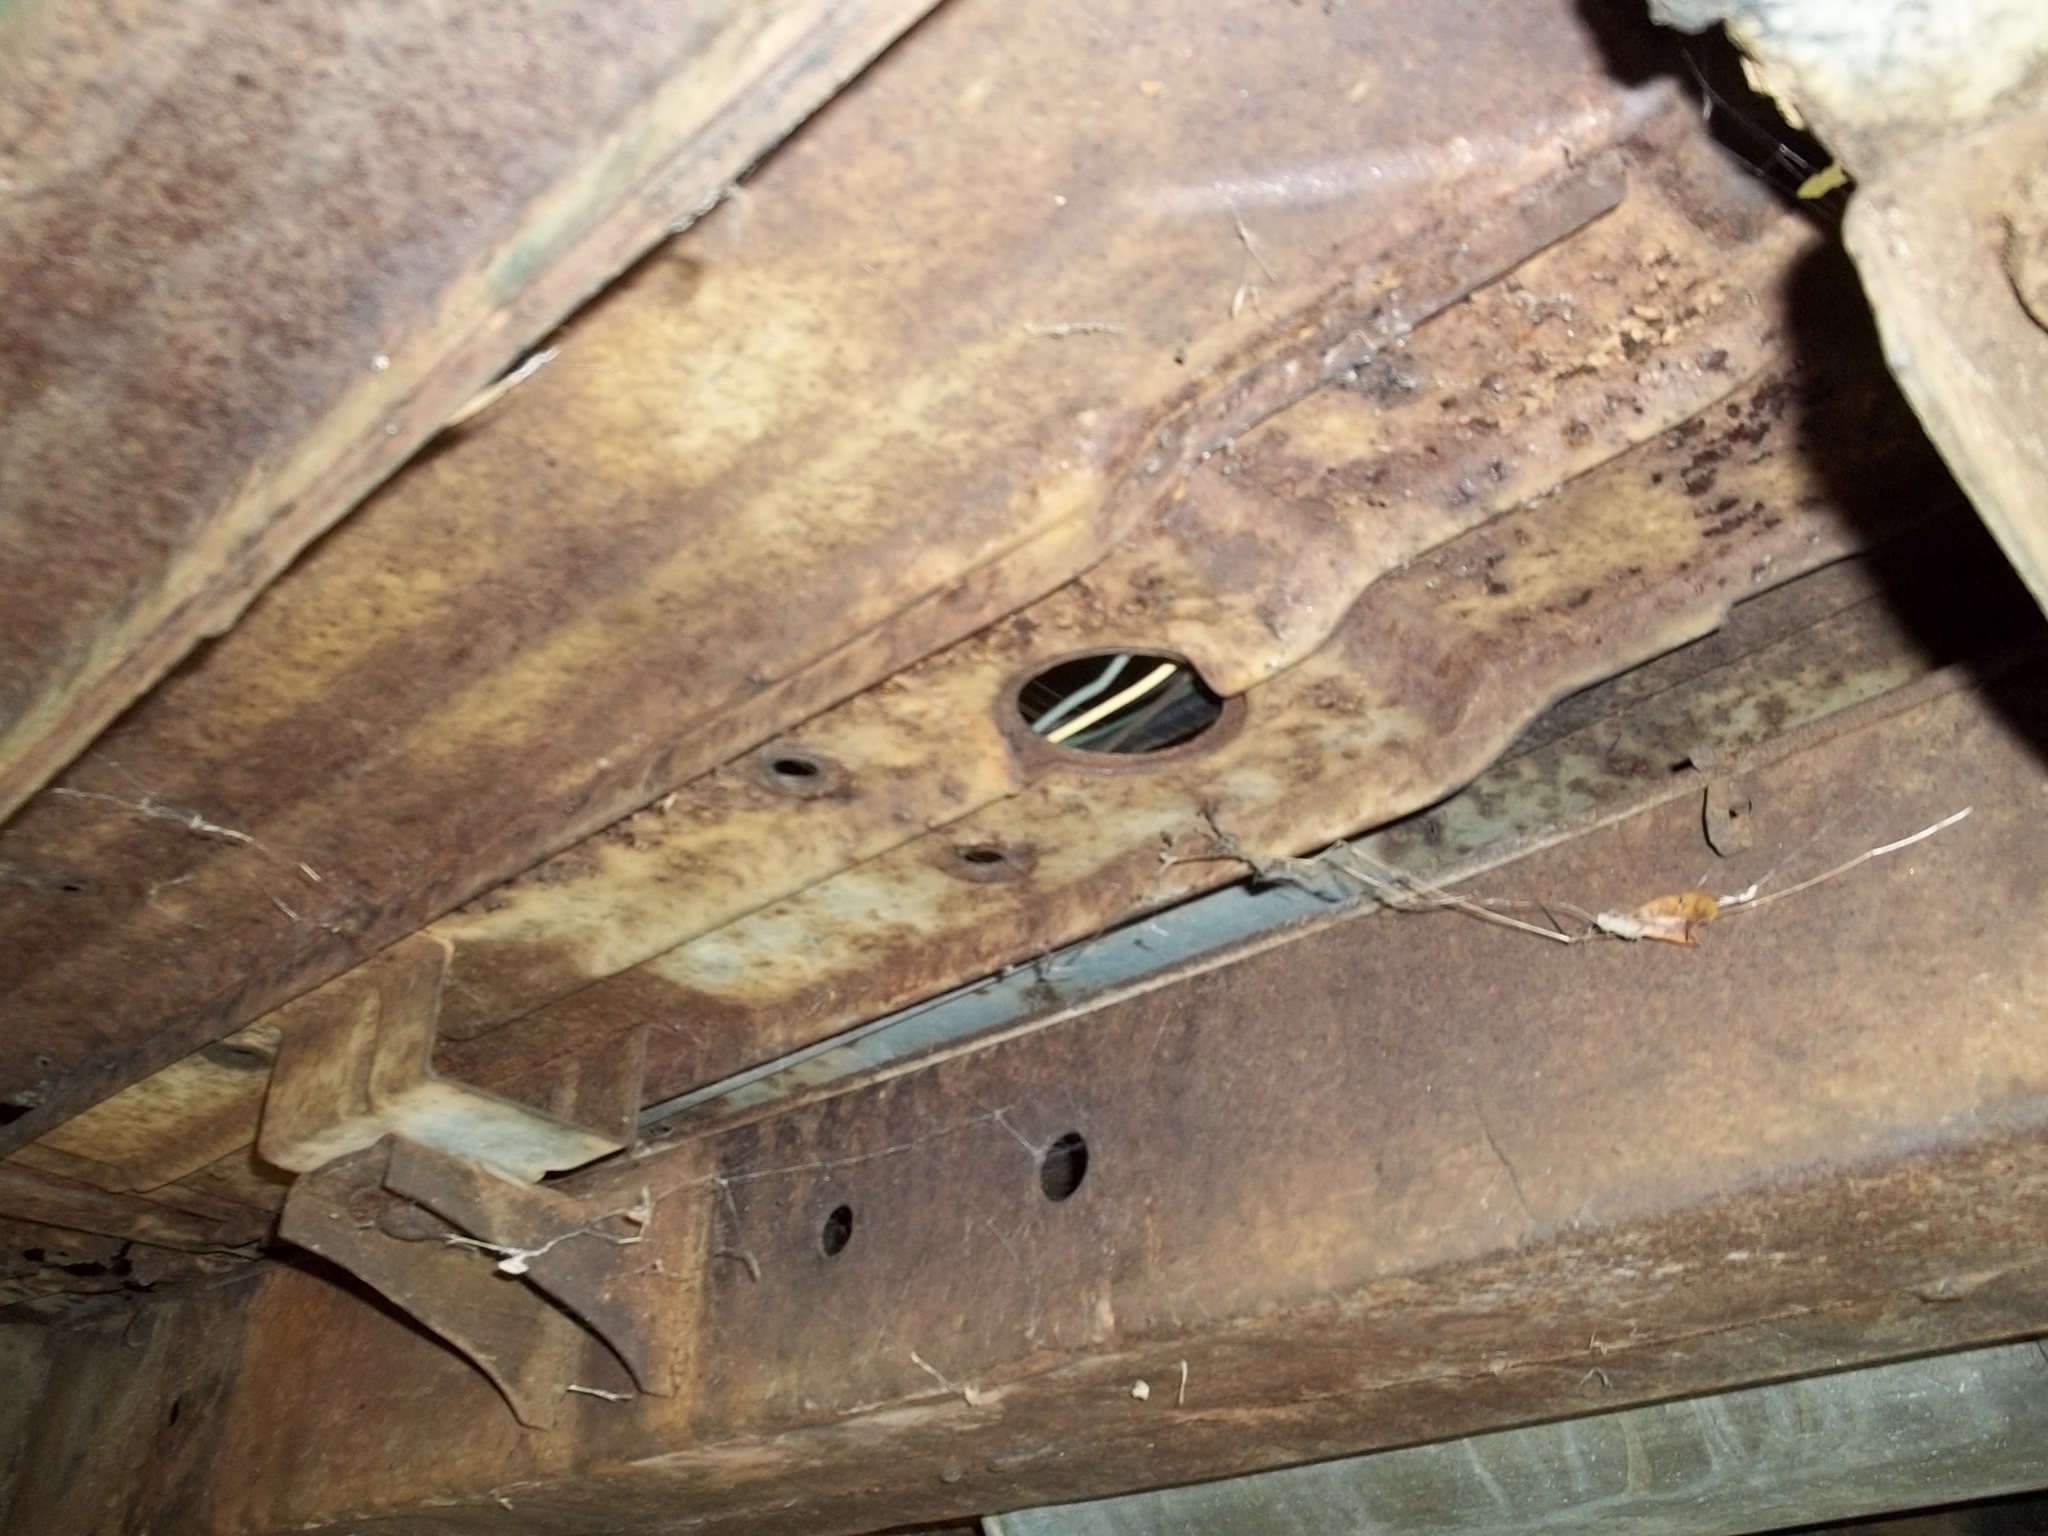
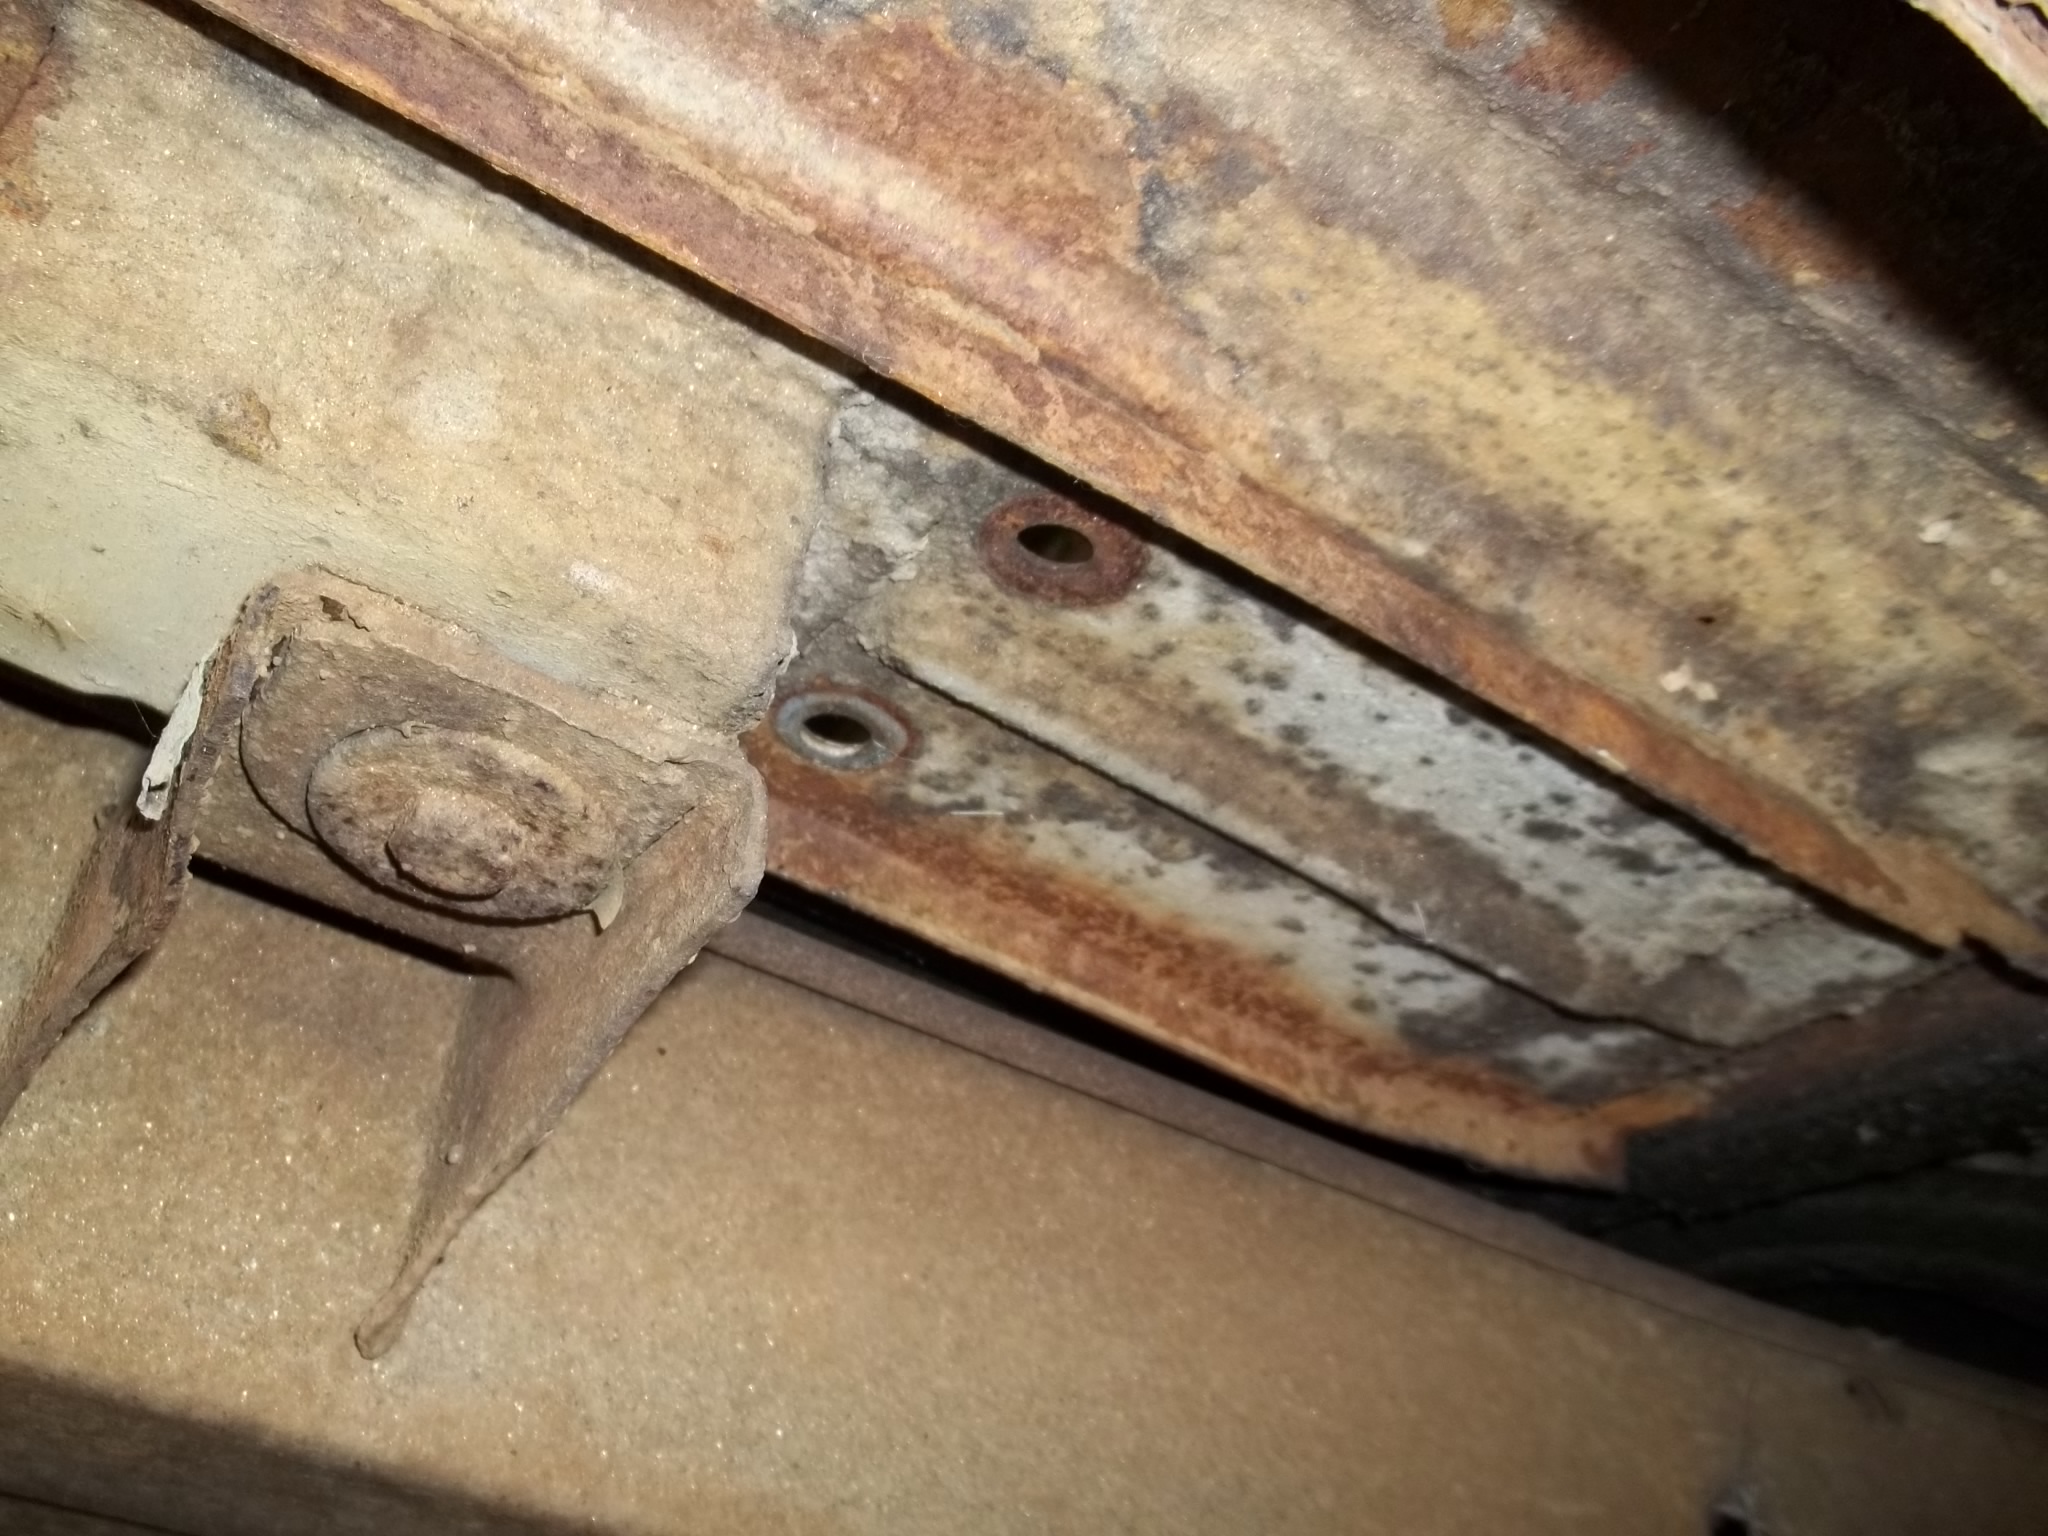
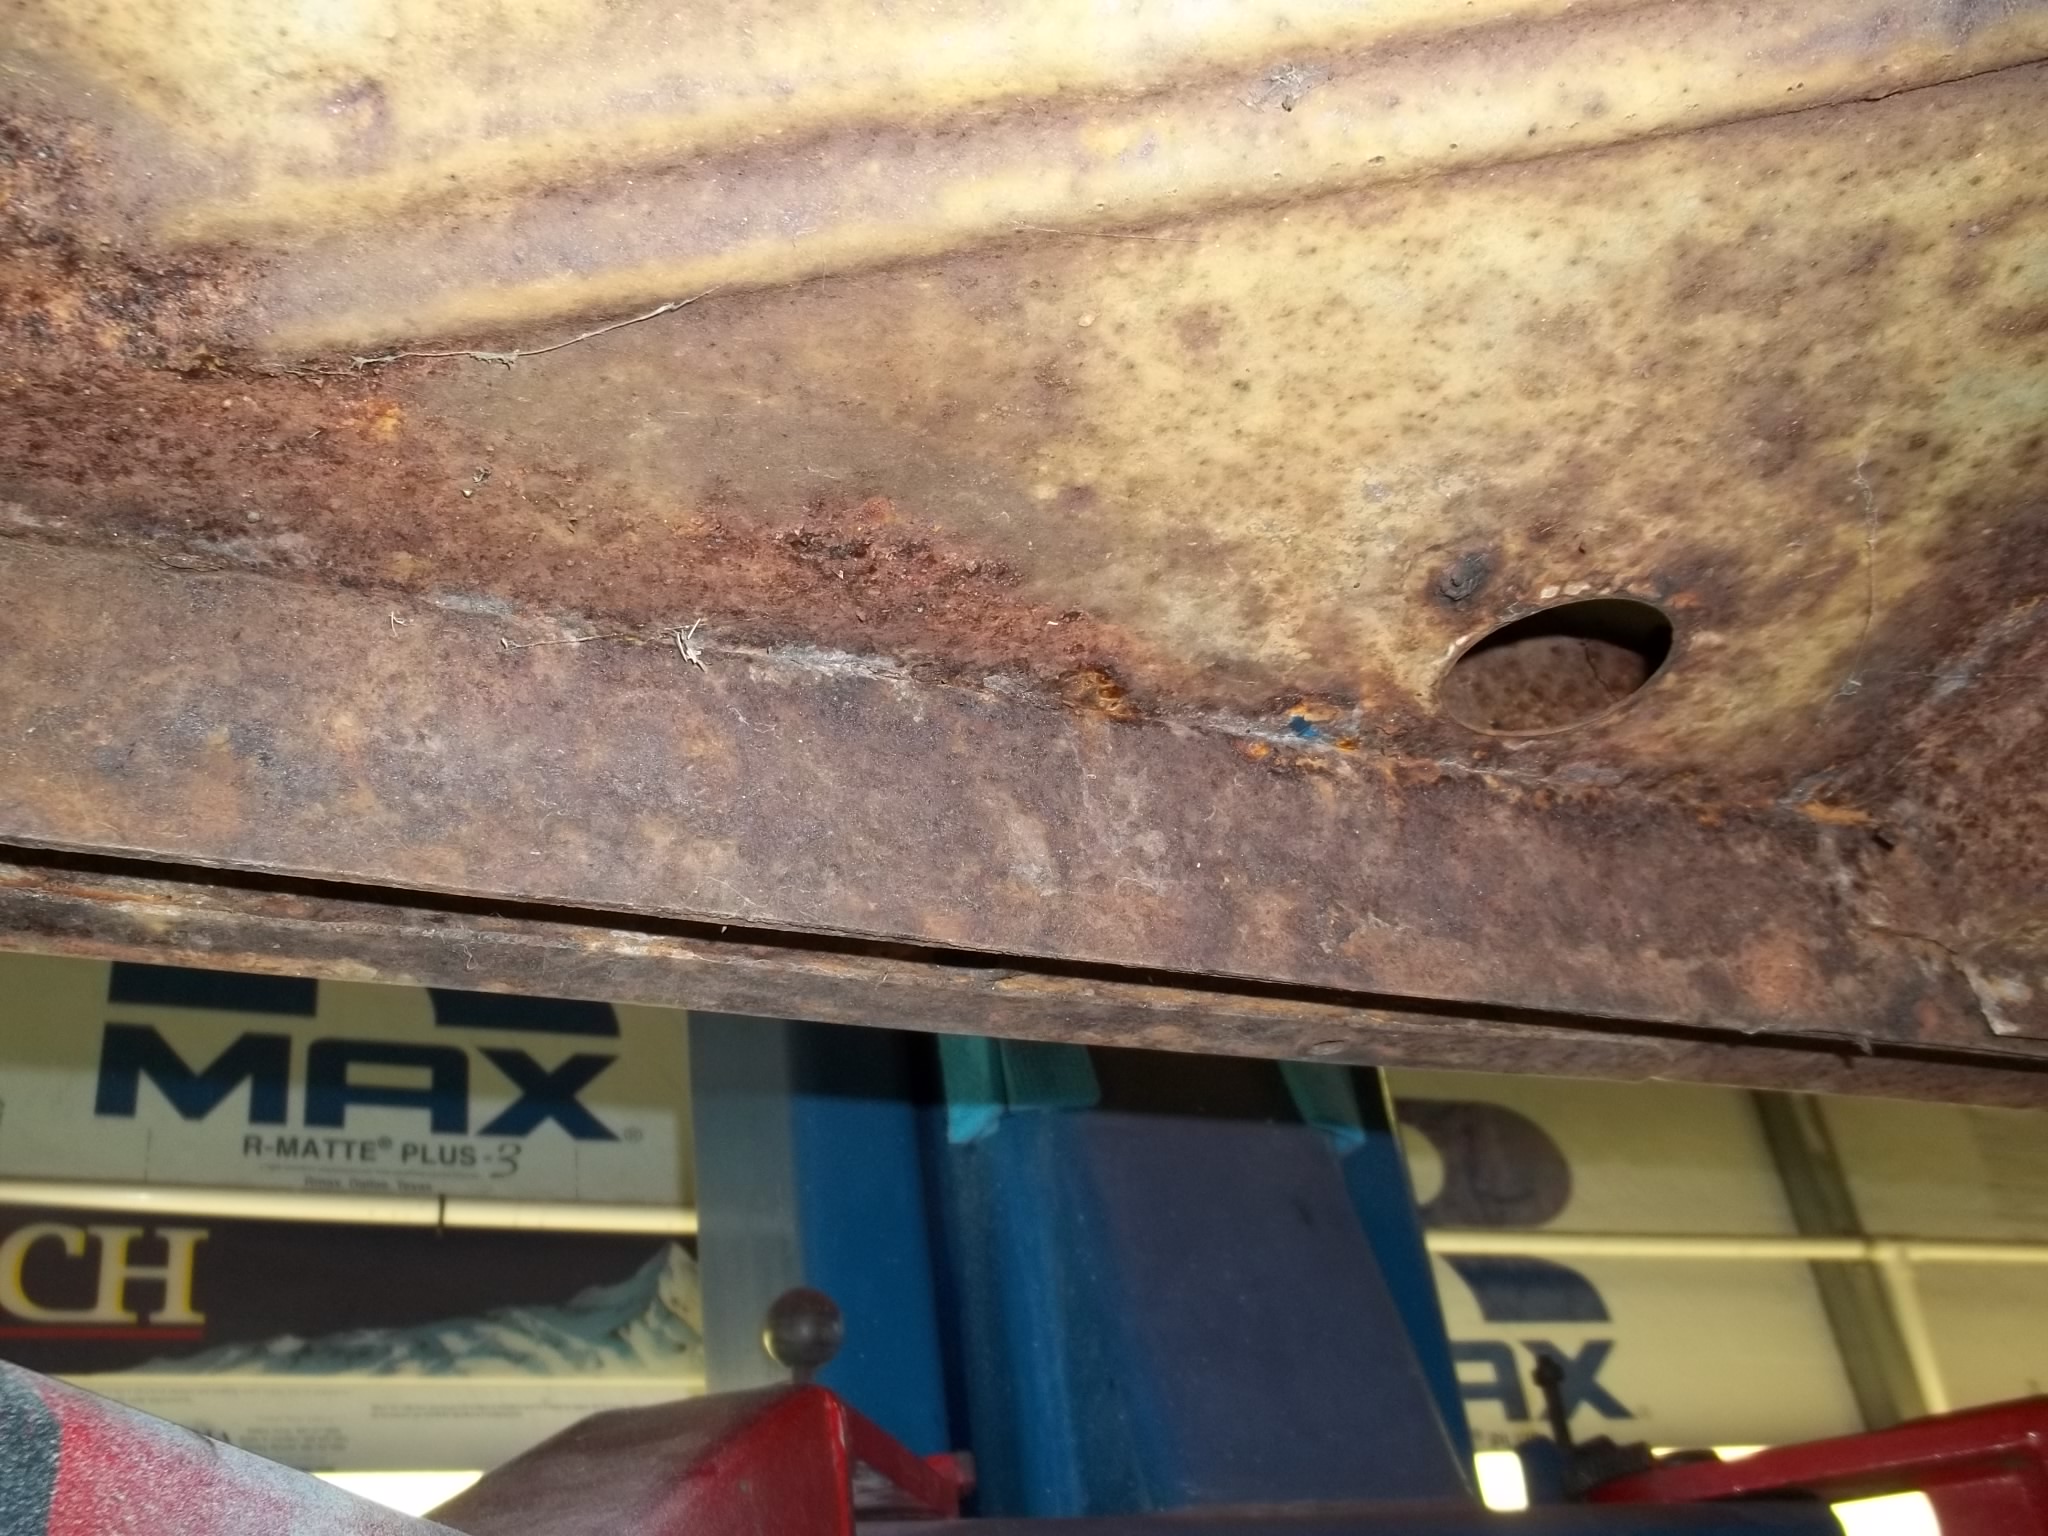
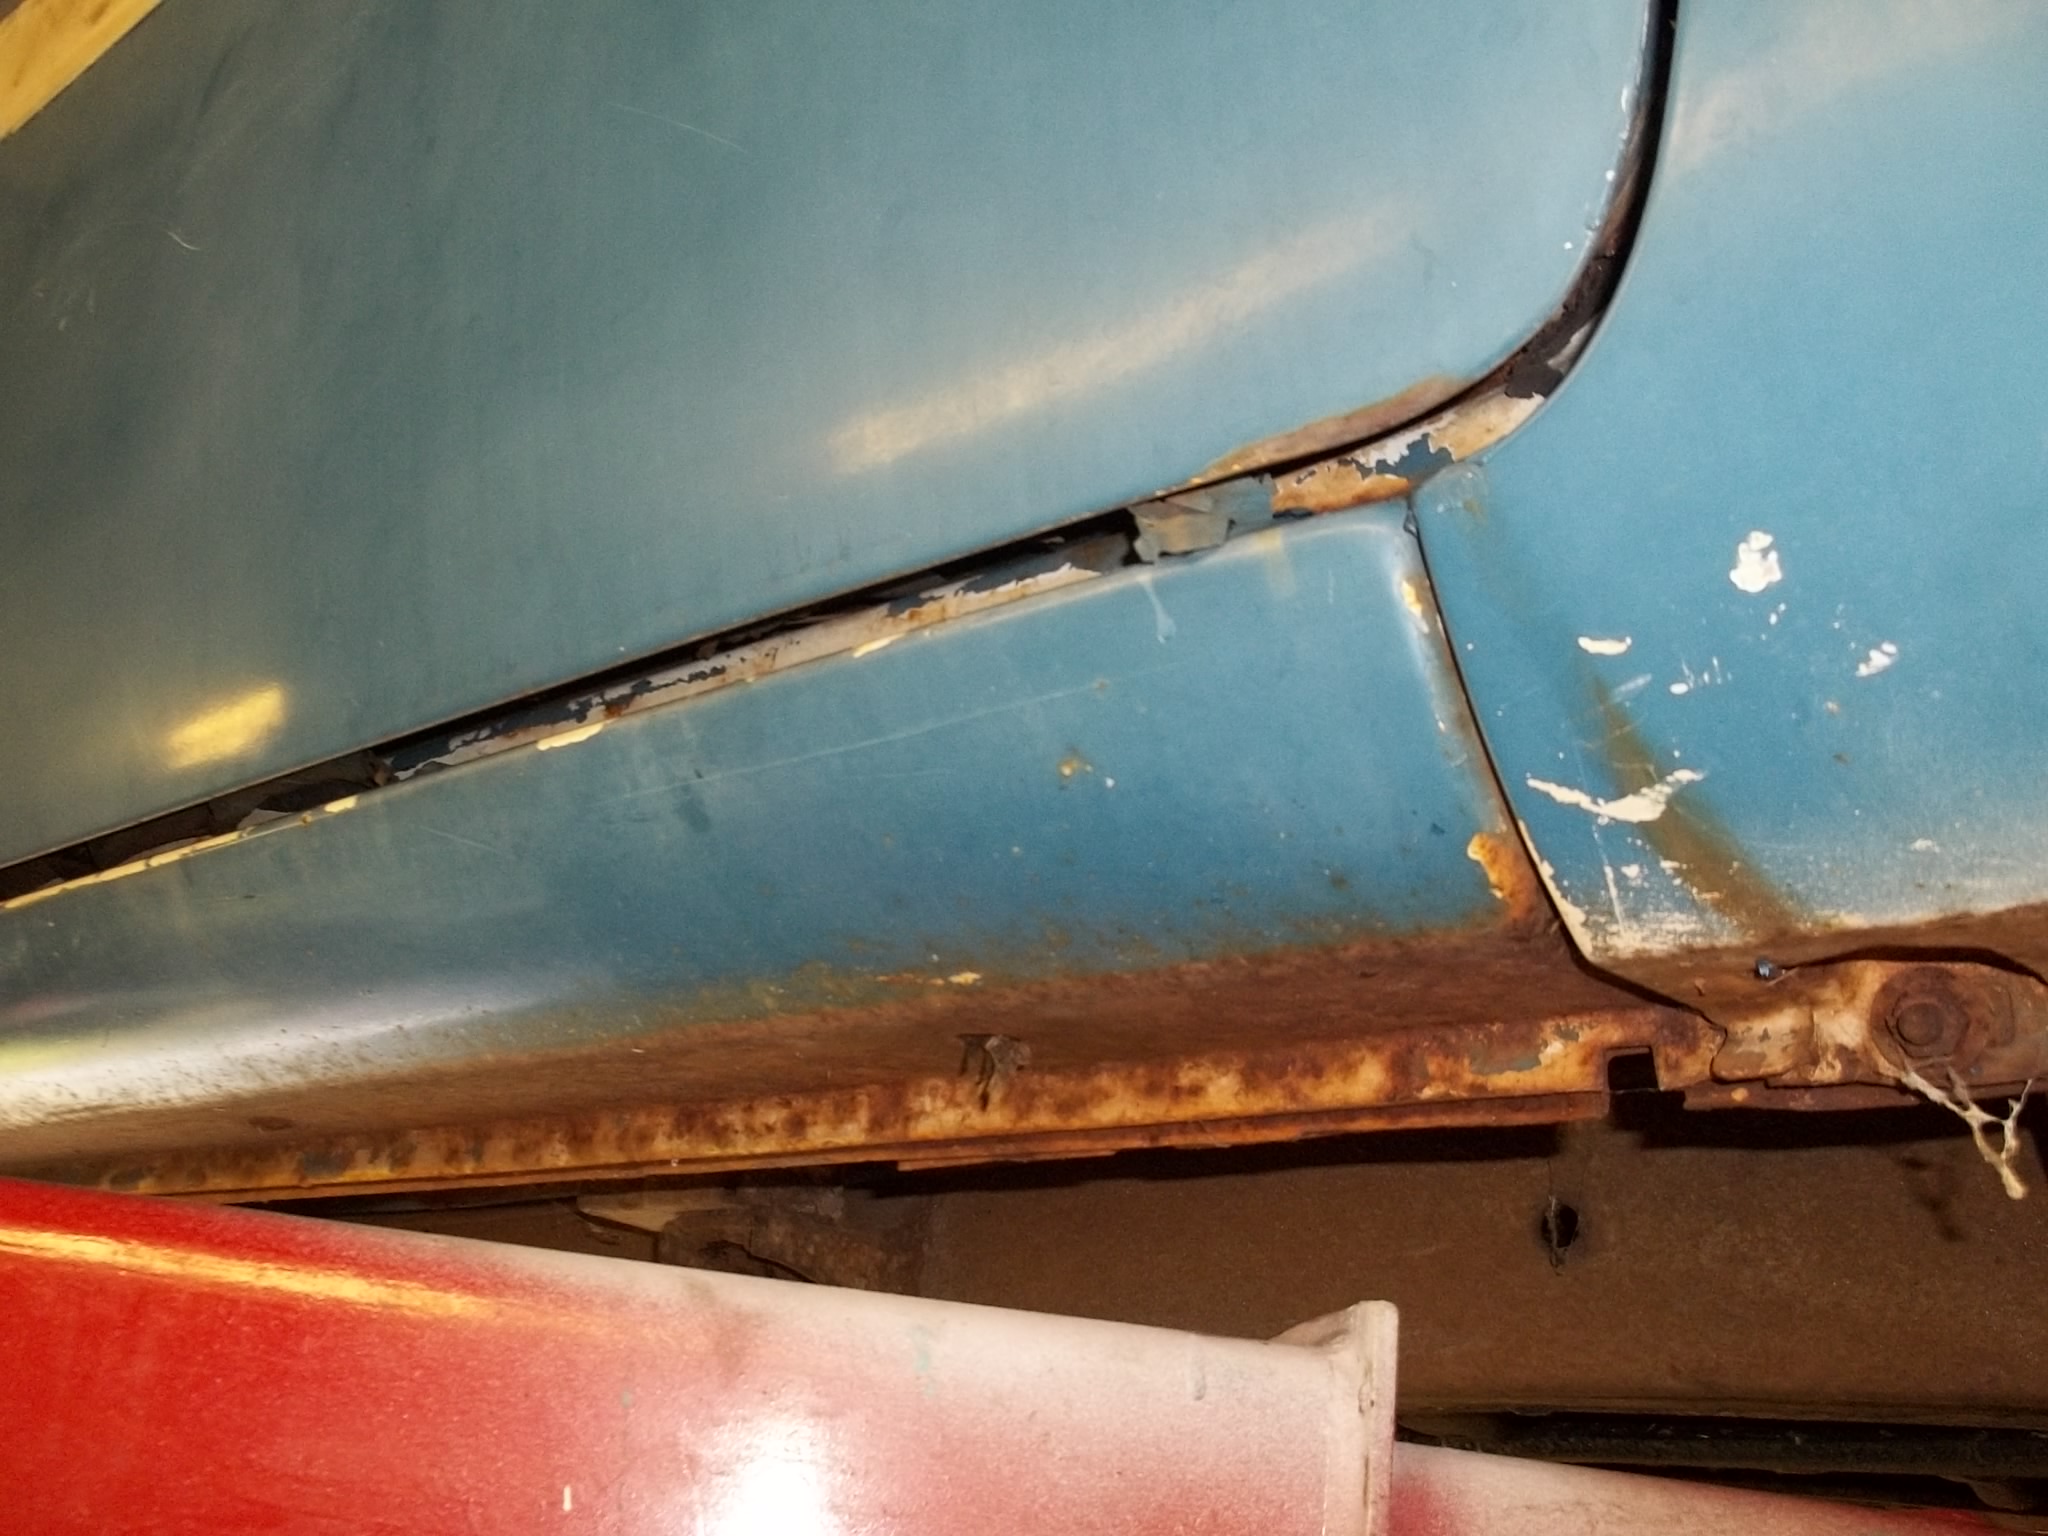
I took the convert outside, stripped all the trim off, no rust under it, whew!!! Looks like I may be able to save the trunk floor except for a couple of patches, stripped it to bare metal with a black plastic wheel on a drill motor. The real rusty areas I got a lot of rust off but not all, I Osphoed the floor and plan on two coats of encapsulator. Put it up on the lift and was pleasantly surprised, it’s better underneath than I expected. It will take a lot of elbow grease to get all the surface rust off but again some Ospho and encapsulator should do the trick, thank goodness it’s mostly surface rust. Note there are 4 mufflers, was that how the factory did it. I’m suprised that with the inner fenders cut out for headers there would be 4 mufflers!! Naturally I will be replacing all the rubber body mounts, control arm bushings, upper and lower ball joints and probably the steering linkage ends. PLEASE, has anyone have any idea what that differential came out of. They installed it temporarly backwards and upside down just to get it out of the field and onto the truck. I already have the one out of my parts car rebuilt and ready to go in. Looks like the rockers are in pretty good shape, the plan is to try and clean as much gook out with water pressure then coat the inside with that new Eastwood frame rail coating with the special nozzle. I have a set of stainless rocker mouldings that will go on the car. Grrrrr! when taking the convt top cylinders off all the bolts on both sides broke off, even after soaking in Blast for two day. The pictures will tell the story better than me.
Dick.
Dick, You are living right! There is minimal rust thru on your car. Should be easy for you to do your magic on this one to get it right.
On your bottom convert cylinder base support…Mine is just welded on with no bolts to go thru the floor. I was going to put some bolts in it since it was made for them and would be easy to do for extra support.
Either a previous owner took them out (weird if they did..) or was left off at the factory since they were welded in. Strange…
Thanks Guys - No sandblasting for me. Got to go buy me some more of those black plastic and Orange finger wheels and start grinding away at all that rust.
Dick.
I recall well marveling at the intricate exhaust system I got from Waldon’s Exhaust, but low and behold it fit except I hat to cut down the two tail pipes a few inches. Guess technically it two exhausts and two resonators maybe??
Steve - Thanks for the reply, All four (mufflers) are the same size and if he had headers as the inner fenders indicate I wouldn’t think you would’nt want that much exhust restriction. What is the difference between a muffler and a resonator.
Dick.
I think it’s amazing that you are beginning your THIRD restoration in as many years!
I did not see a picture of the exhaust as it is in your car. Nor didi I see a picture of the modifed inner fenders.
Resonators don’t have baffles, that’s my guess.
Roger’s right! Slow down old man!! Dick" does great work and it is even better in person.
Dick, here is a picture of my convertible cylinder mount that is welded in with no bolts! Looks factory. The holes go thru and you can see pavement. The other side is the same for me too! Must have run out of bolts I guess on the assembly line. Is you mount welded in to besides being bolted?
I will do what yours has a slide some bolts in to make sure 50 year old welds won’t break from the floor pan.
Thanks for showing me your mounts.
The picture is when I was comparing cylinder bases to see which style was correct, The right one is the correct style.
I guess don’t try to knock them loose if you don’t have to. The addition of the two bolts per mount would make it pretty solid for me. I have seen these mounts available on ebay a couple of times but did not pick them up as being unneeded since mine were in good shape.
John - My cylinder brackets were not welded to the floor but since the bolts broke off and will be extremely difficult to get out I just might weld the brackets in place.
Dick, my bracket and the floor boards does not show any captive nut, at least on mine. So I would just pass thru a bolt and have to put a washer nut on the underside to hold the bolt.
If yours is similar, and has a broken bolt, you should be able to tap it up or down to get out the remnants of it. But if there is a welded in nut on the floor board …then you are toast!
Thank you for the pictures Dick. I’ve never actually SEEN the two pair of exhaust parts. I knew my cvt was supposed to have them , but I couldnt find those “thin” resonators back in the day.
















 Dick" does great work and it is even better in person.