We haven’t started yet but I made an appointment to bring my car to a body/paint shop on November 29th. Of course we will make pictures when we are stripping the car and even more pictures when we start building her up!
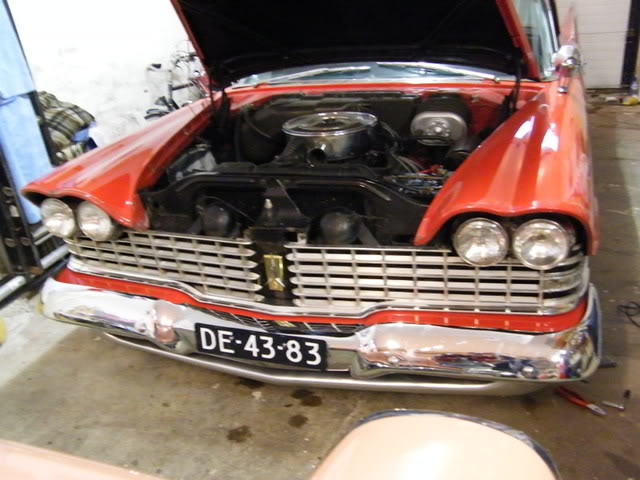
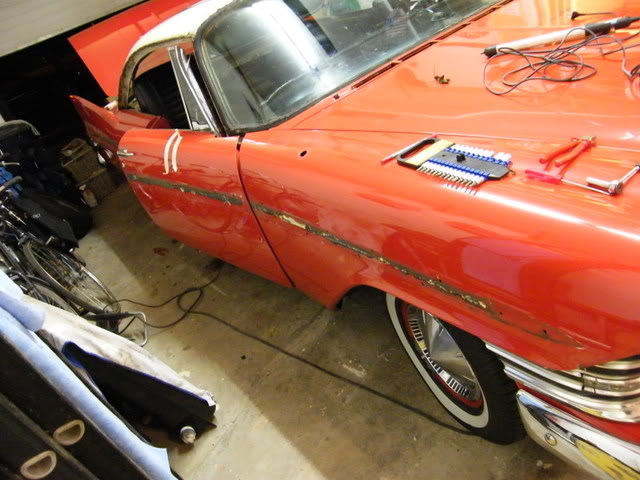
But before we start I want to paint the front valance myself to see what it looks like in the correct colour. I know it should be argent but I would like to have a number for this colour, we have no Mopar shops around to get some spray cans If I don’t like it I can have it painted bodycolour again in December. So if anybody knows the paint number for this colour please let me know as soon as possible.
Hi Ron - What a coincidence, I painted the valence, top of the splash pan and wheels on my green 59 the day before yesterday, I removed all the old paint I could, osphoed the bare metal, then sanded that, next I put two coats of epoxy primer, two coats of #10001Z Silver Argent in spray cans, two coats of #10196Z Gloss Clear Coat in spray cans. East wood catalog ( www.eastwood.com 1-800-345-1178 ) and they came out as Ed Eckerson would say Beautooooful. The only way you would know I used rattle cans is if I told you. Hope this helps.
Dick
Exciting stuff! But how to get the inserts off… use solvents? what a mess!
It is great to have someone’s project to watch, now that Fall is here.
This past summer, my brother took his Amphicar completely apart, then hauled the body to a professional shop for a complete paint strip, rust repair, and re-paint. He just got it back 2 weeks ago. Now the re-assembly starts. (I may be able to provide a link to his photos if anyone wants to see them).
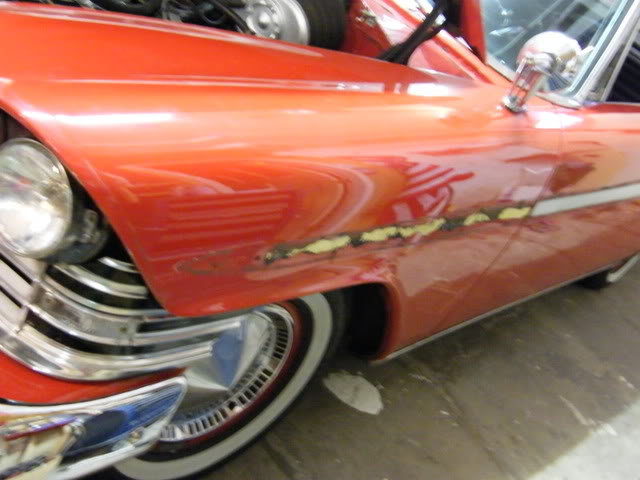
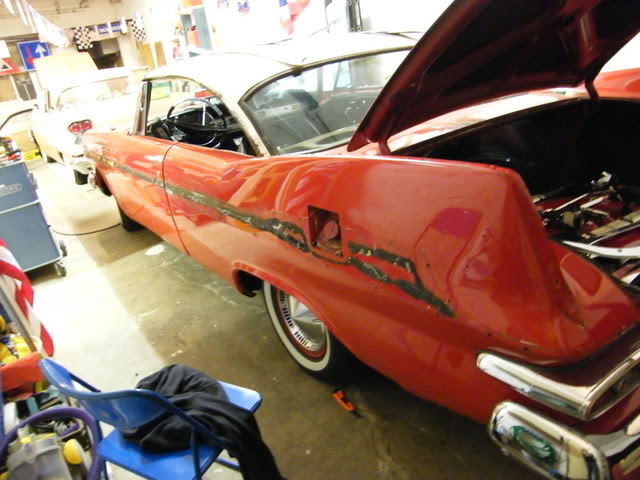
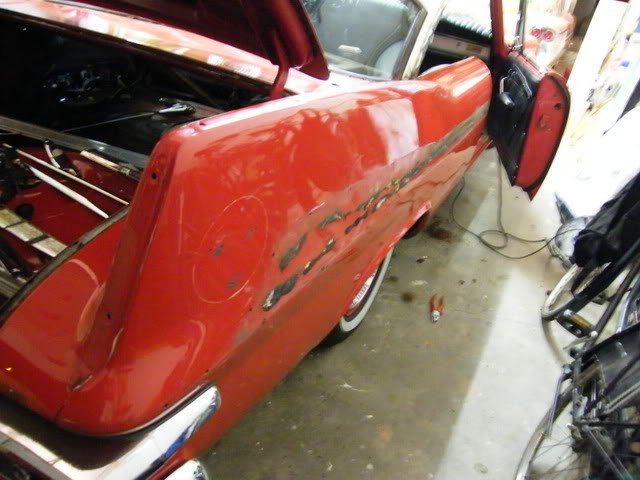
The inserts will come off with a lot of patience and hard work. Matthew did the one on the left front fender with a bit of force and got it off in one piece. The problem is that it wasn’t really straight anymore I started on the one on the door with a heat gun and a flexible knife. They kind of knife you break a bit off if it isn’t sharp anymore. I made progress but it is going really slow and I had blisters on my hand and fingers within half an hour
After the inserts are of we still have to remove the “glue” from the back of the insert. I tried different things and working with a torch and than scraping it away works OK as long as you do it outside, the smell is awful. When most of it is gone I use a copper wire brush for the last bits. It will keep me busy for a couple of weeks I guess. Just getting the door insert loose takes at least 4 hours and you can’t do it without taking a rest (read: do something else). But if the result is good I don’t mind the work
Ron
PS is there anybody who has a spare insert for the left front fender? Or another piece that we can cut to the right size would also work.
keep the pictures coming..I really enjoy them! YThe rear seat swivels make it look like a Letter car!
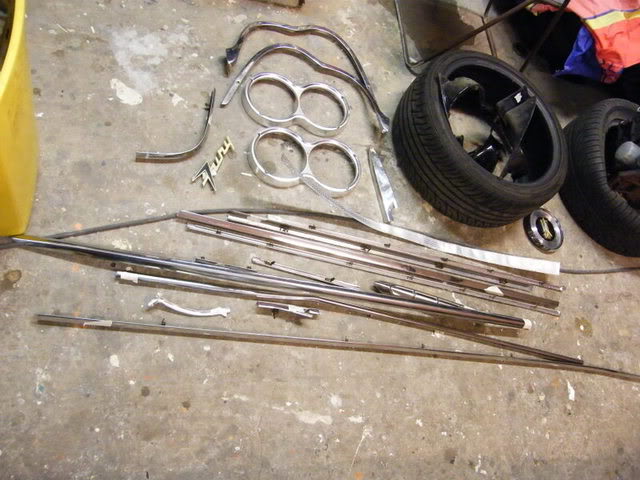
Ron, I know you went thru my crazy pile of trim when you were here. You picked out some stuff which I sent to you. Then, as now, I was a bit disorganized… At some point after you left, I realised I had not shown you one last group of SF trim. It was in the garage, lost behind some other stuff. I will have to go thru it, but I am fairly sure I have one very nice trunklip trim…I knew you wanted one when you were here, and I remember asking if you had found it..but we never completed that search.
Thanks for telling me (via Dan M) what Ragtop is asking for his two cars, and I TOTALLY agree with your opinion. Lets see what he gets on Ebay.
somewhere in here, Ron asked how much fabric an vinyl he would need for his car..
I recommend you take this question to Tom Fox…he will remember what it took.
If I had to guess, it was 5 yards of each..I probably have the receipt somewhere, but where?
I have leftover white vinyl as well as teh red fabric. I bought the vinyl from Original Auto Interiors…an excellent company to deal with. We have all heard the stories of SMS, but they are teh only makers of teh fabric.
And done! But no pic of that.
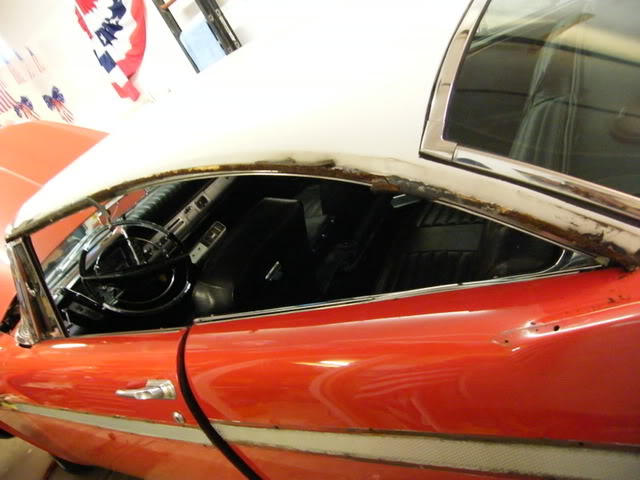
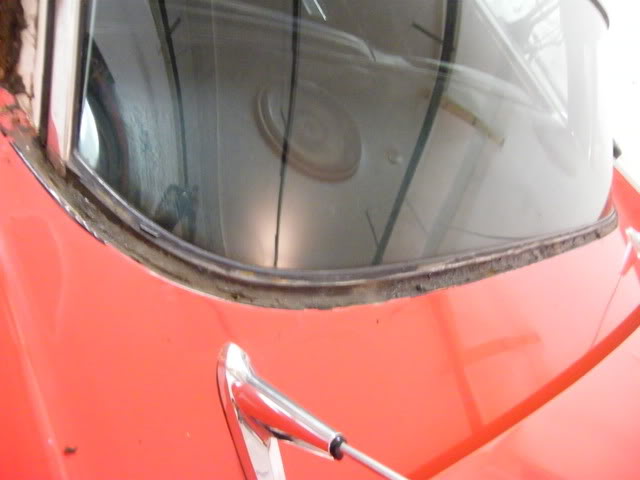
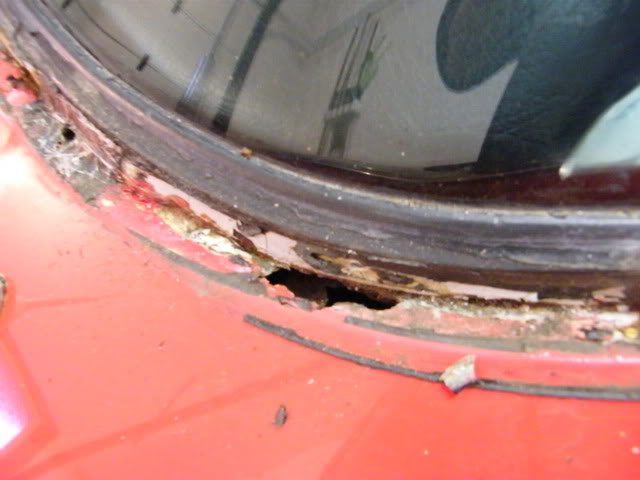
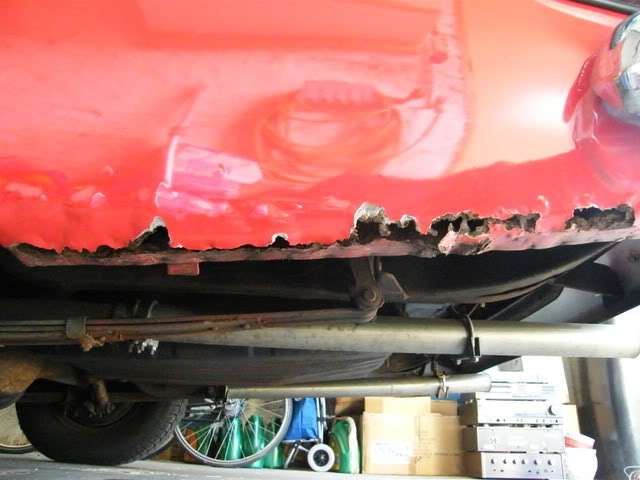
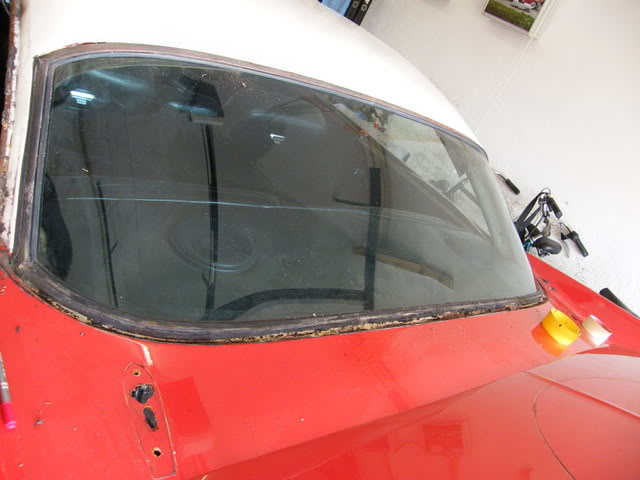
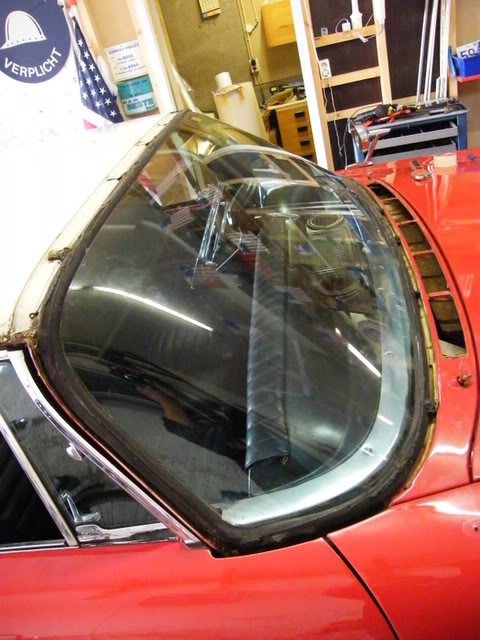
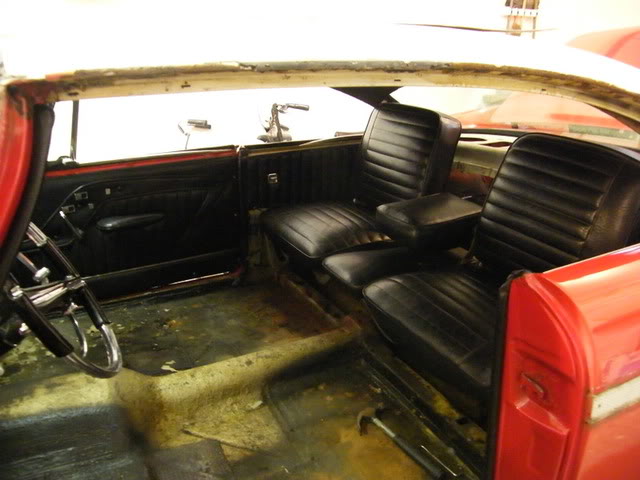
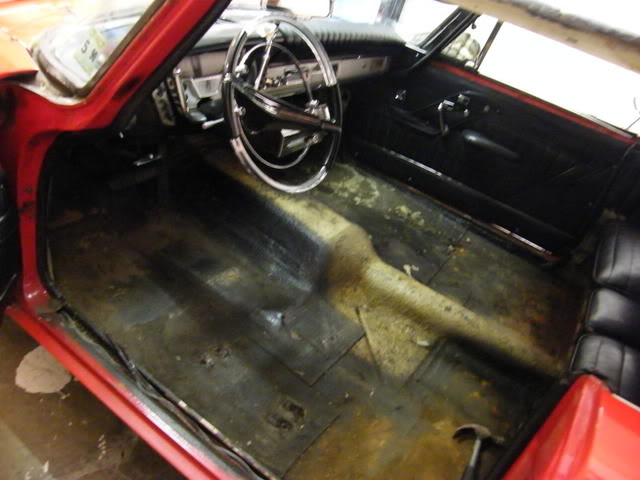
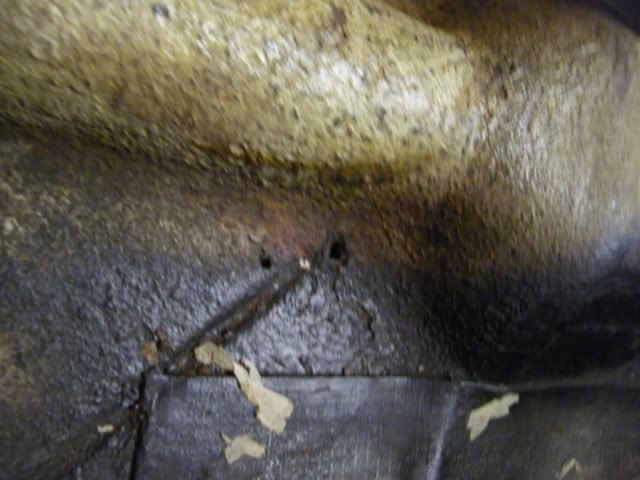
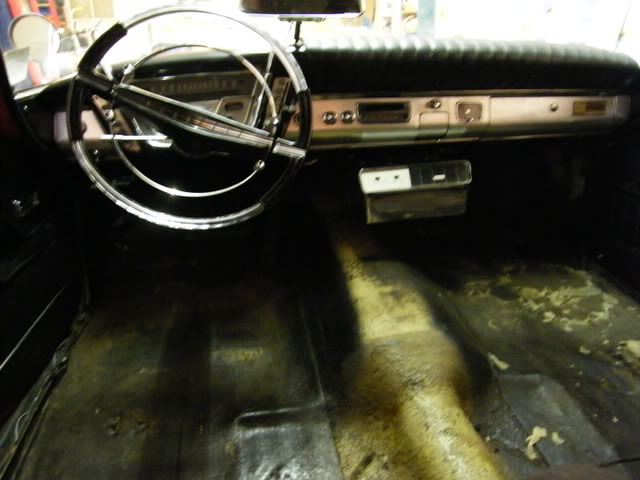
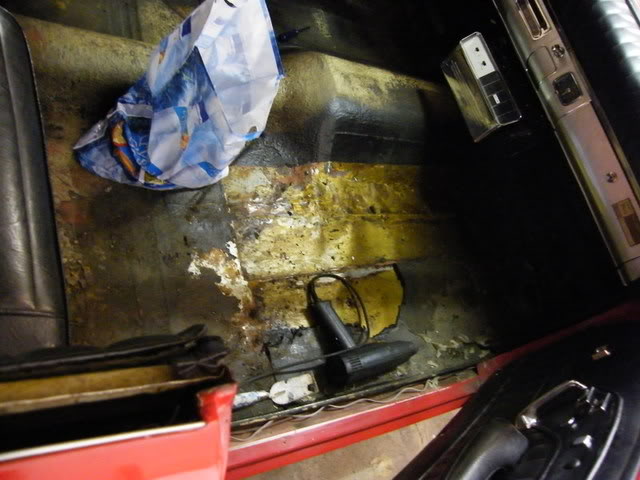
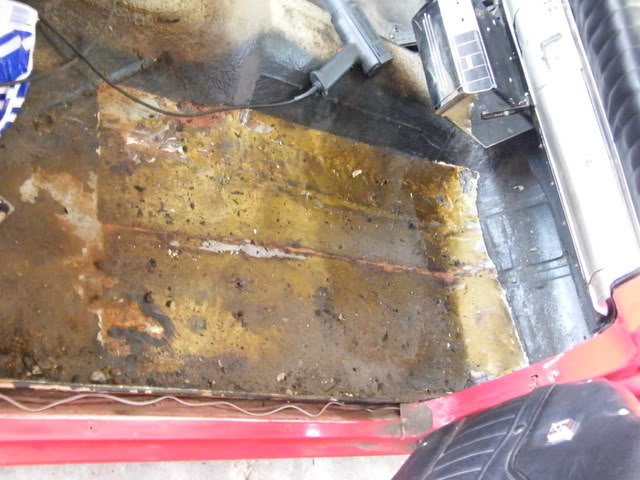
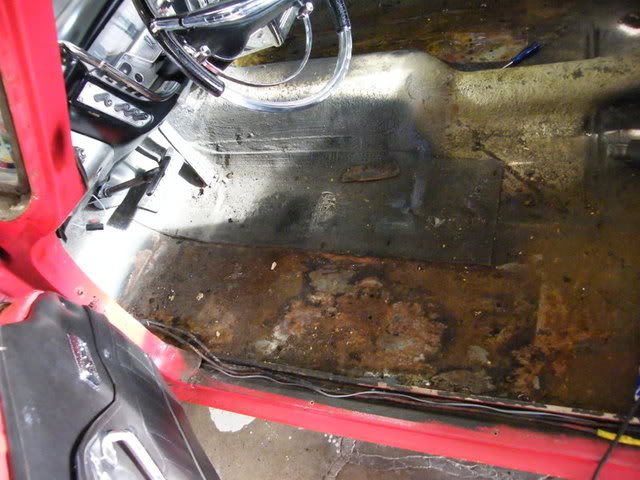
At the previous restoration they had new parts welded in the floor, not a very good job if you ask me.
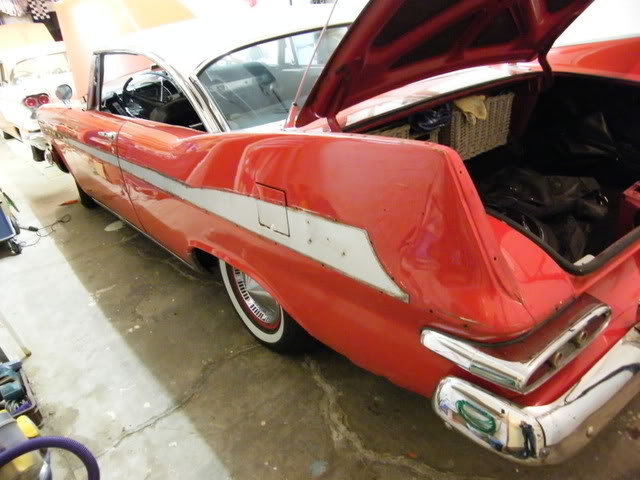
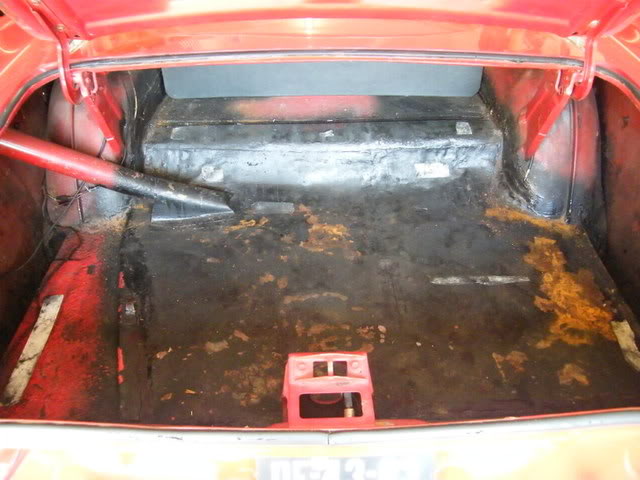
Rear bumper is also gone!
Not today, but who knows what happens tomorrow But I guess that is not going to happen, the frame is solid as a rock. And I want to keep some money in my pocket so I can come over to Carlisle and show everybody the pics of our “new” car.
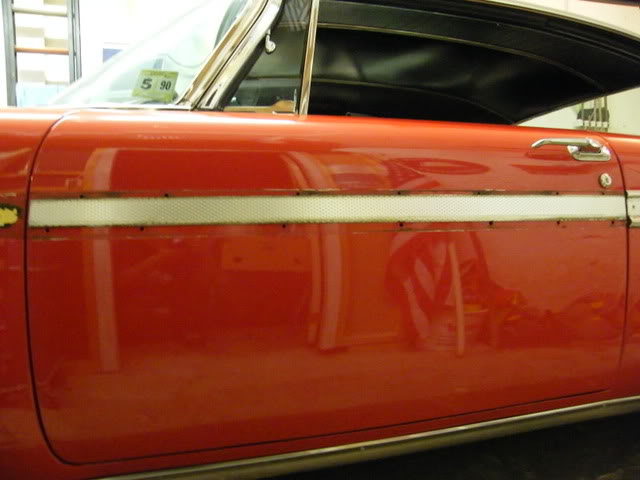
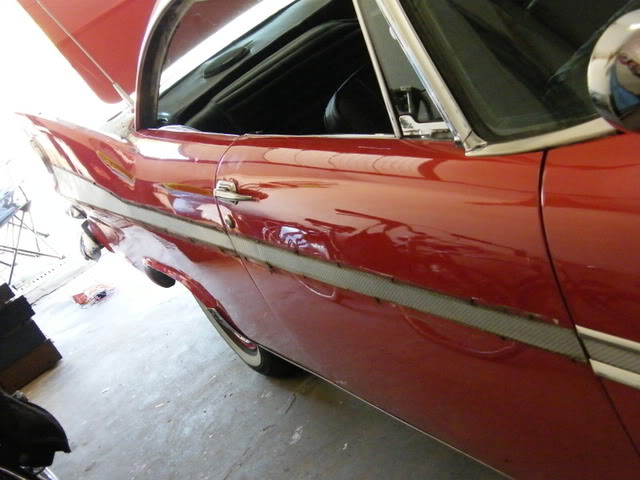
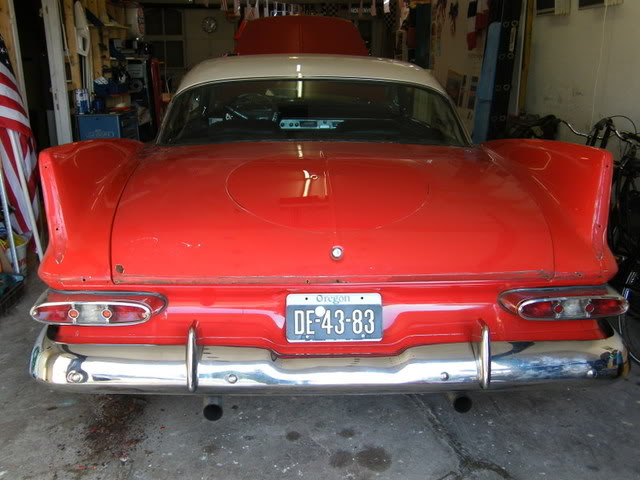
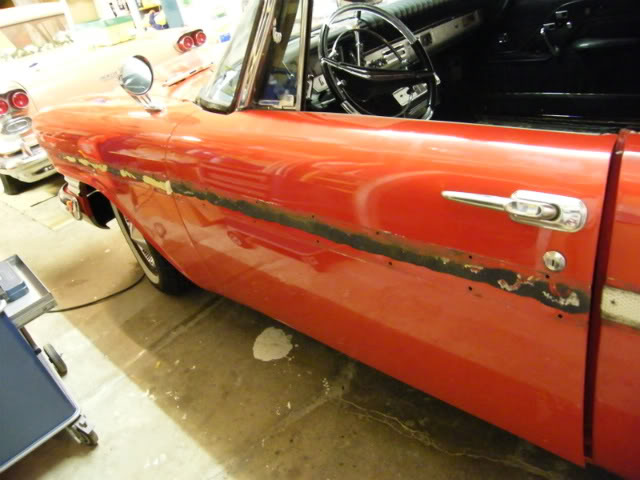
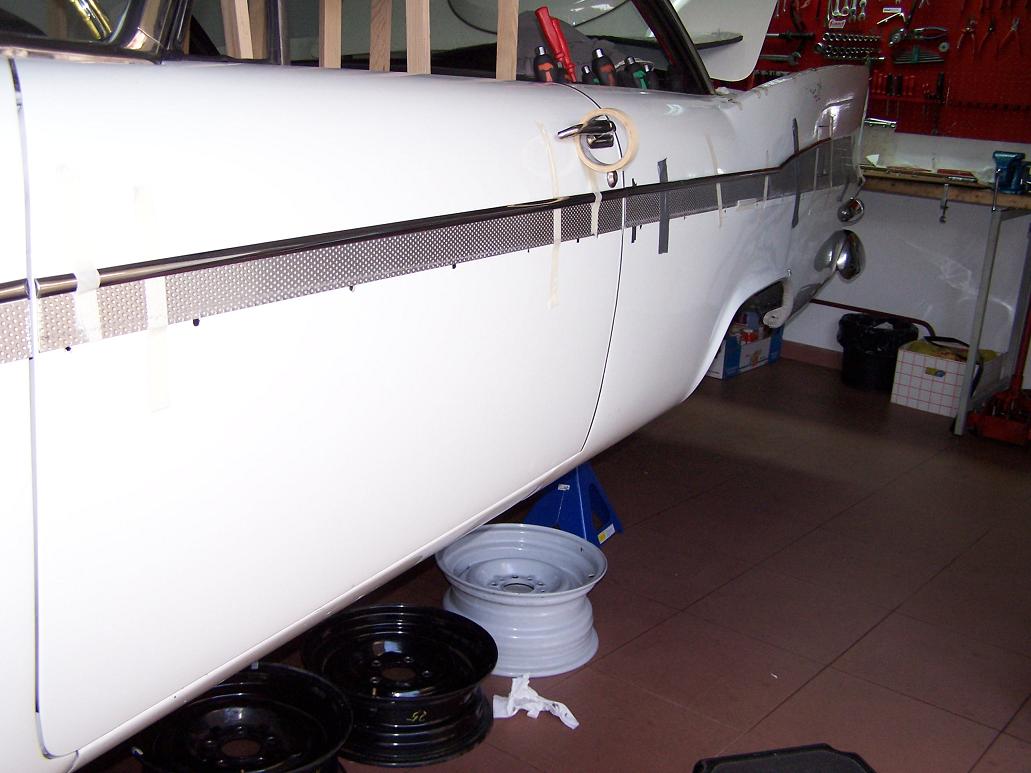
I haven’t been here for a long while. As you are doing a fundamental intervention allow me to make a suggestion: When you put the side trim on again the use a M3 double side adhesive in order to avoid that metal to metal contact. Even with good clips on the side trim it’s moving a little when you drive on bad roads for example. Do that with all the side and roof trim and you will get a perfect result without clattering and paint scratching. If you want I can send you some pix. Second, I know it’s a question of personal taste, but I would close the holes of the rear antennas and place them more to the outside of the vehicle. When I see your car straight from the back, the rear antennas simply look too close together. The rest: More pictures please . Roger is right, it’s good to see somebody’s project!
Good Luck!
We did miss your postings for a while, how is the 361 project going???
Please send me the pics of the way you attched the trim on your car, I like the idea of using adhesive. The trim was attached pretty good but I certainly don’t want to use the stuff that was on the car, it is almost impossible to remove. The rear antennas are going to be moved sideways, we had the same idea about it. We placed them there because we already had the holes there from the old non original antennas. If there is anyone who can give me the exact location where the antennas are supposed to be placed please let me know!
As for pictures, I’d like to make some new ones but the weather has been really bad for a couple of weeks here and I really need to get the car out of the garage But for sure we will make pics next week, only 8 days before she leaves for the body shop.
361 is running. Unfortunately the engine takes about 25 l/100. I’m waiting now for new carburettor jets and metering rods. I still owe the members here a little movie. I’ll do it when I’m satisfied.
Here the pictures:
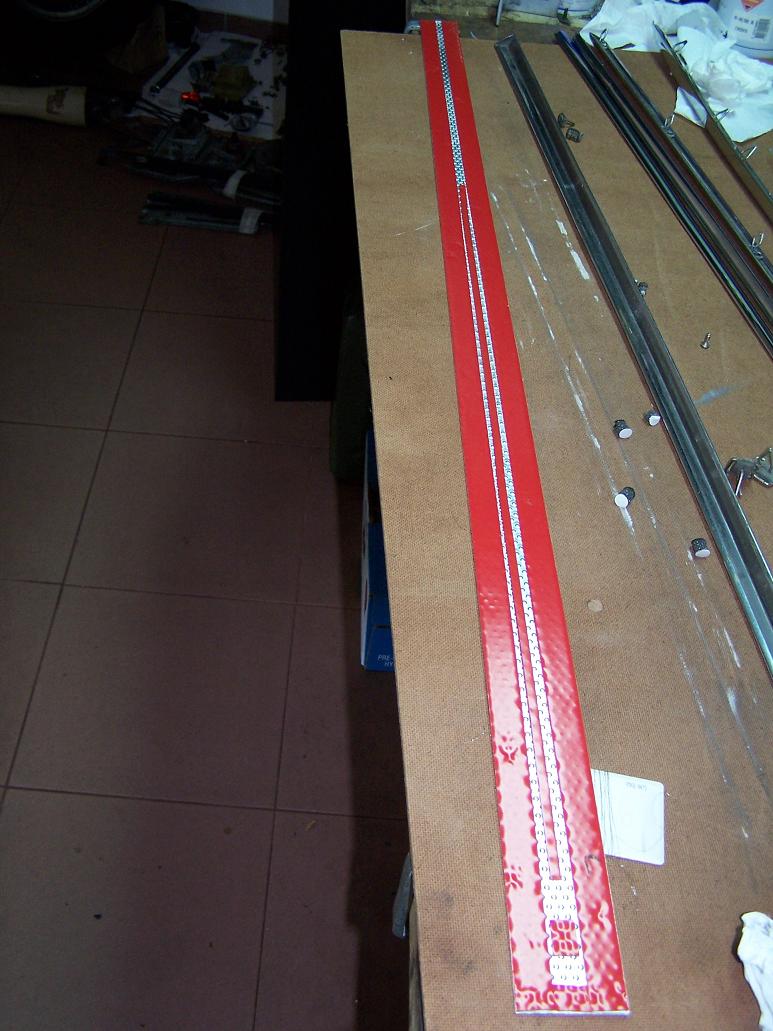
I used 3M double side adhesive band for automotive trims. Glued it to the back of the side trim, then I positioned the side trim on the car and then I removed the red protection cover of the adhesive band. At least I pressed the side trim against the car and that’s it. There is no place where metal touches metal, that eliminates the parasite noise and improves fun, really!
For our friends in the US: 25 liter per 100 kilometer is about 10-11 miles per gallon. I think that it isn’t too bad for the 361? You are lucky that the price of oil keeps going down In the Netherlands prices are as “low” as they were in 2005, still too high but for us paying $6.20 a gallon is a bargain!
Good idea! I will check where I can buy the 3M adhesive band here. Did you also use some kind of insulation for the roof (inside) and the floor?